Completely agree, looks very cool in that colour scheme.
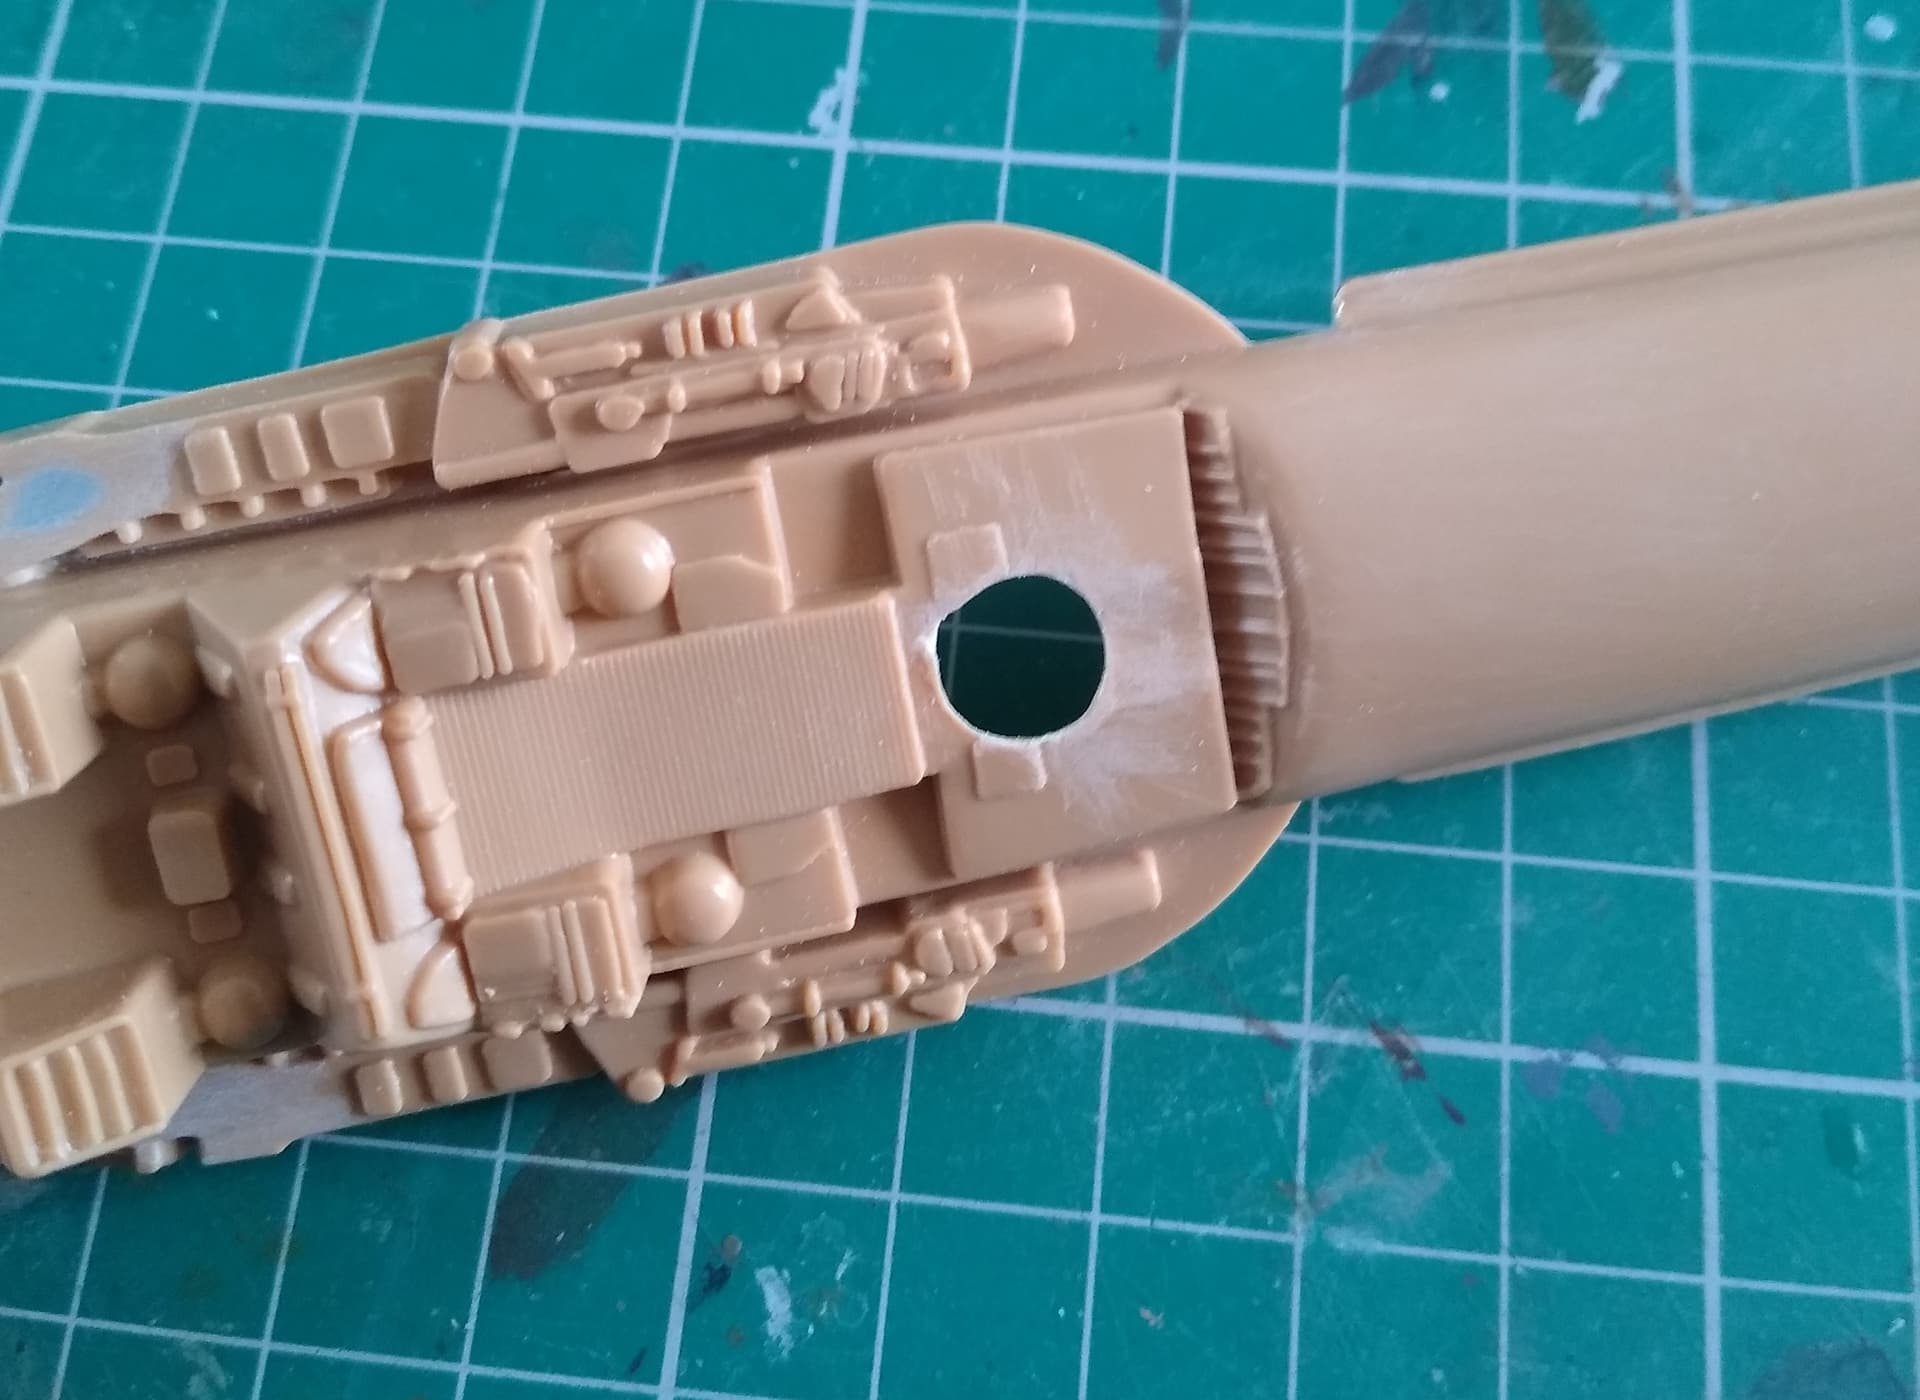
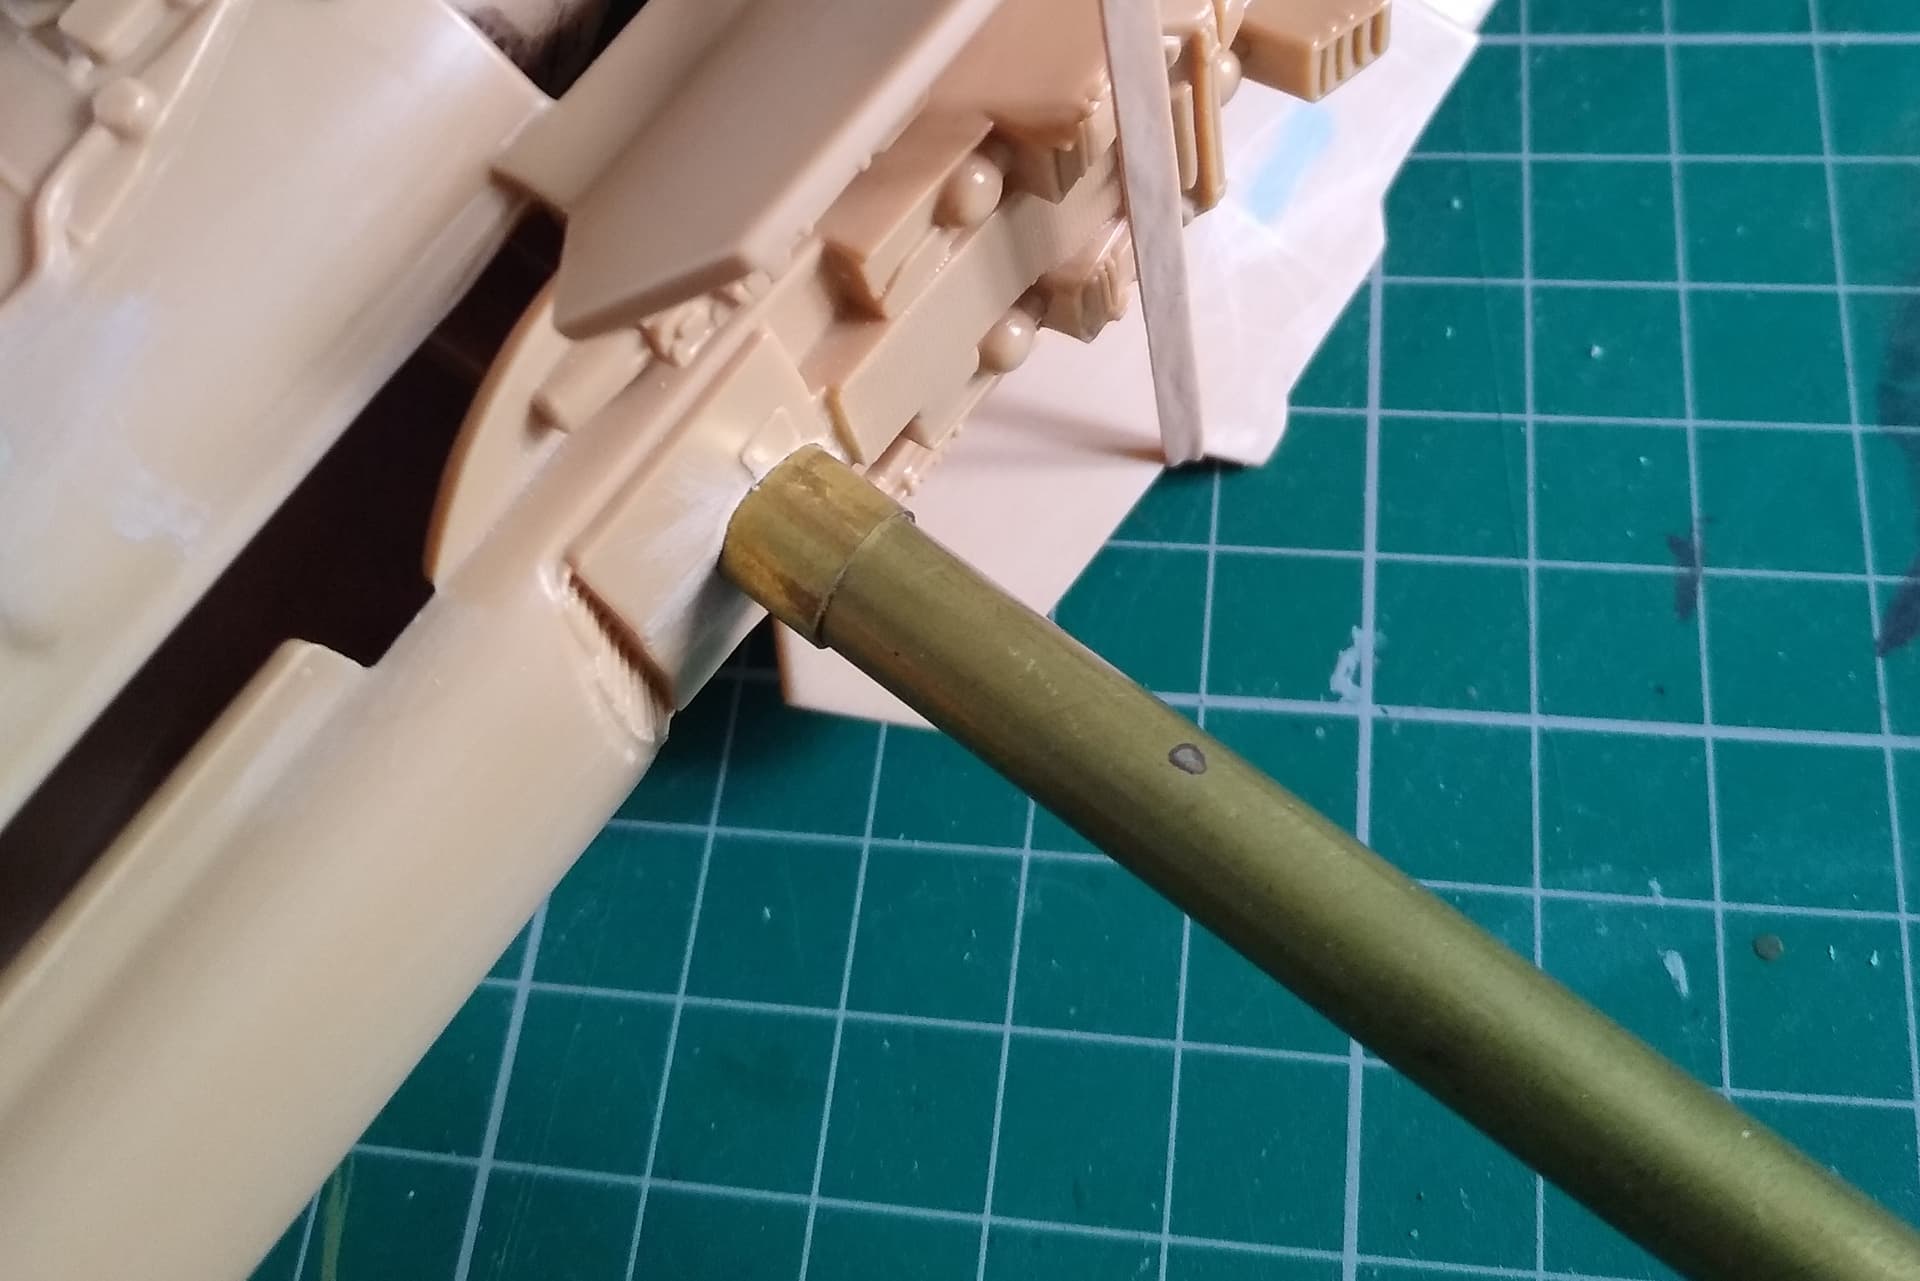
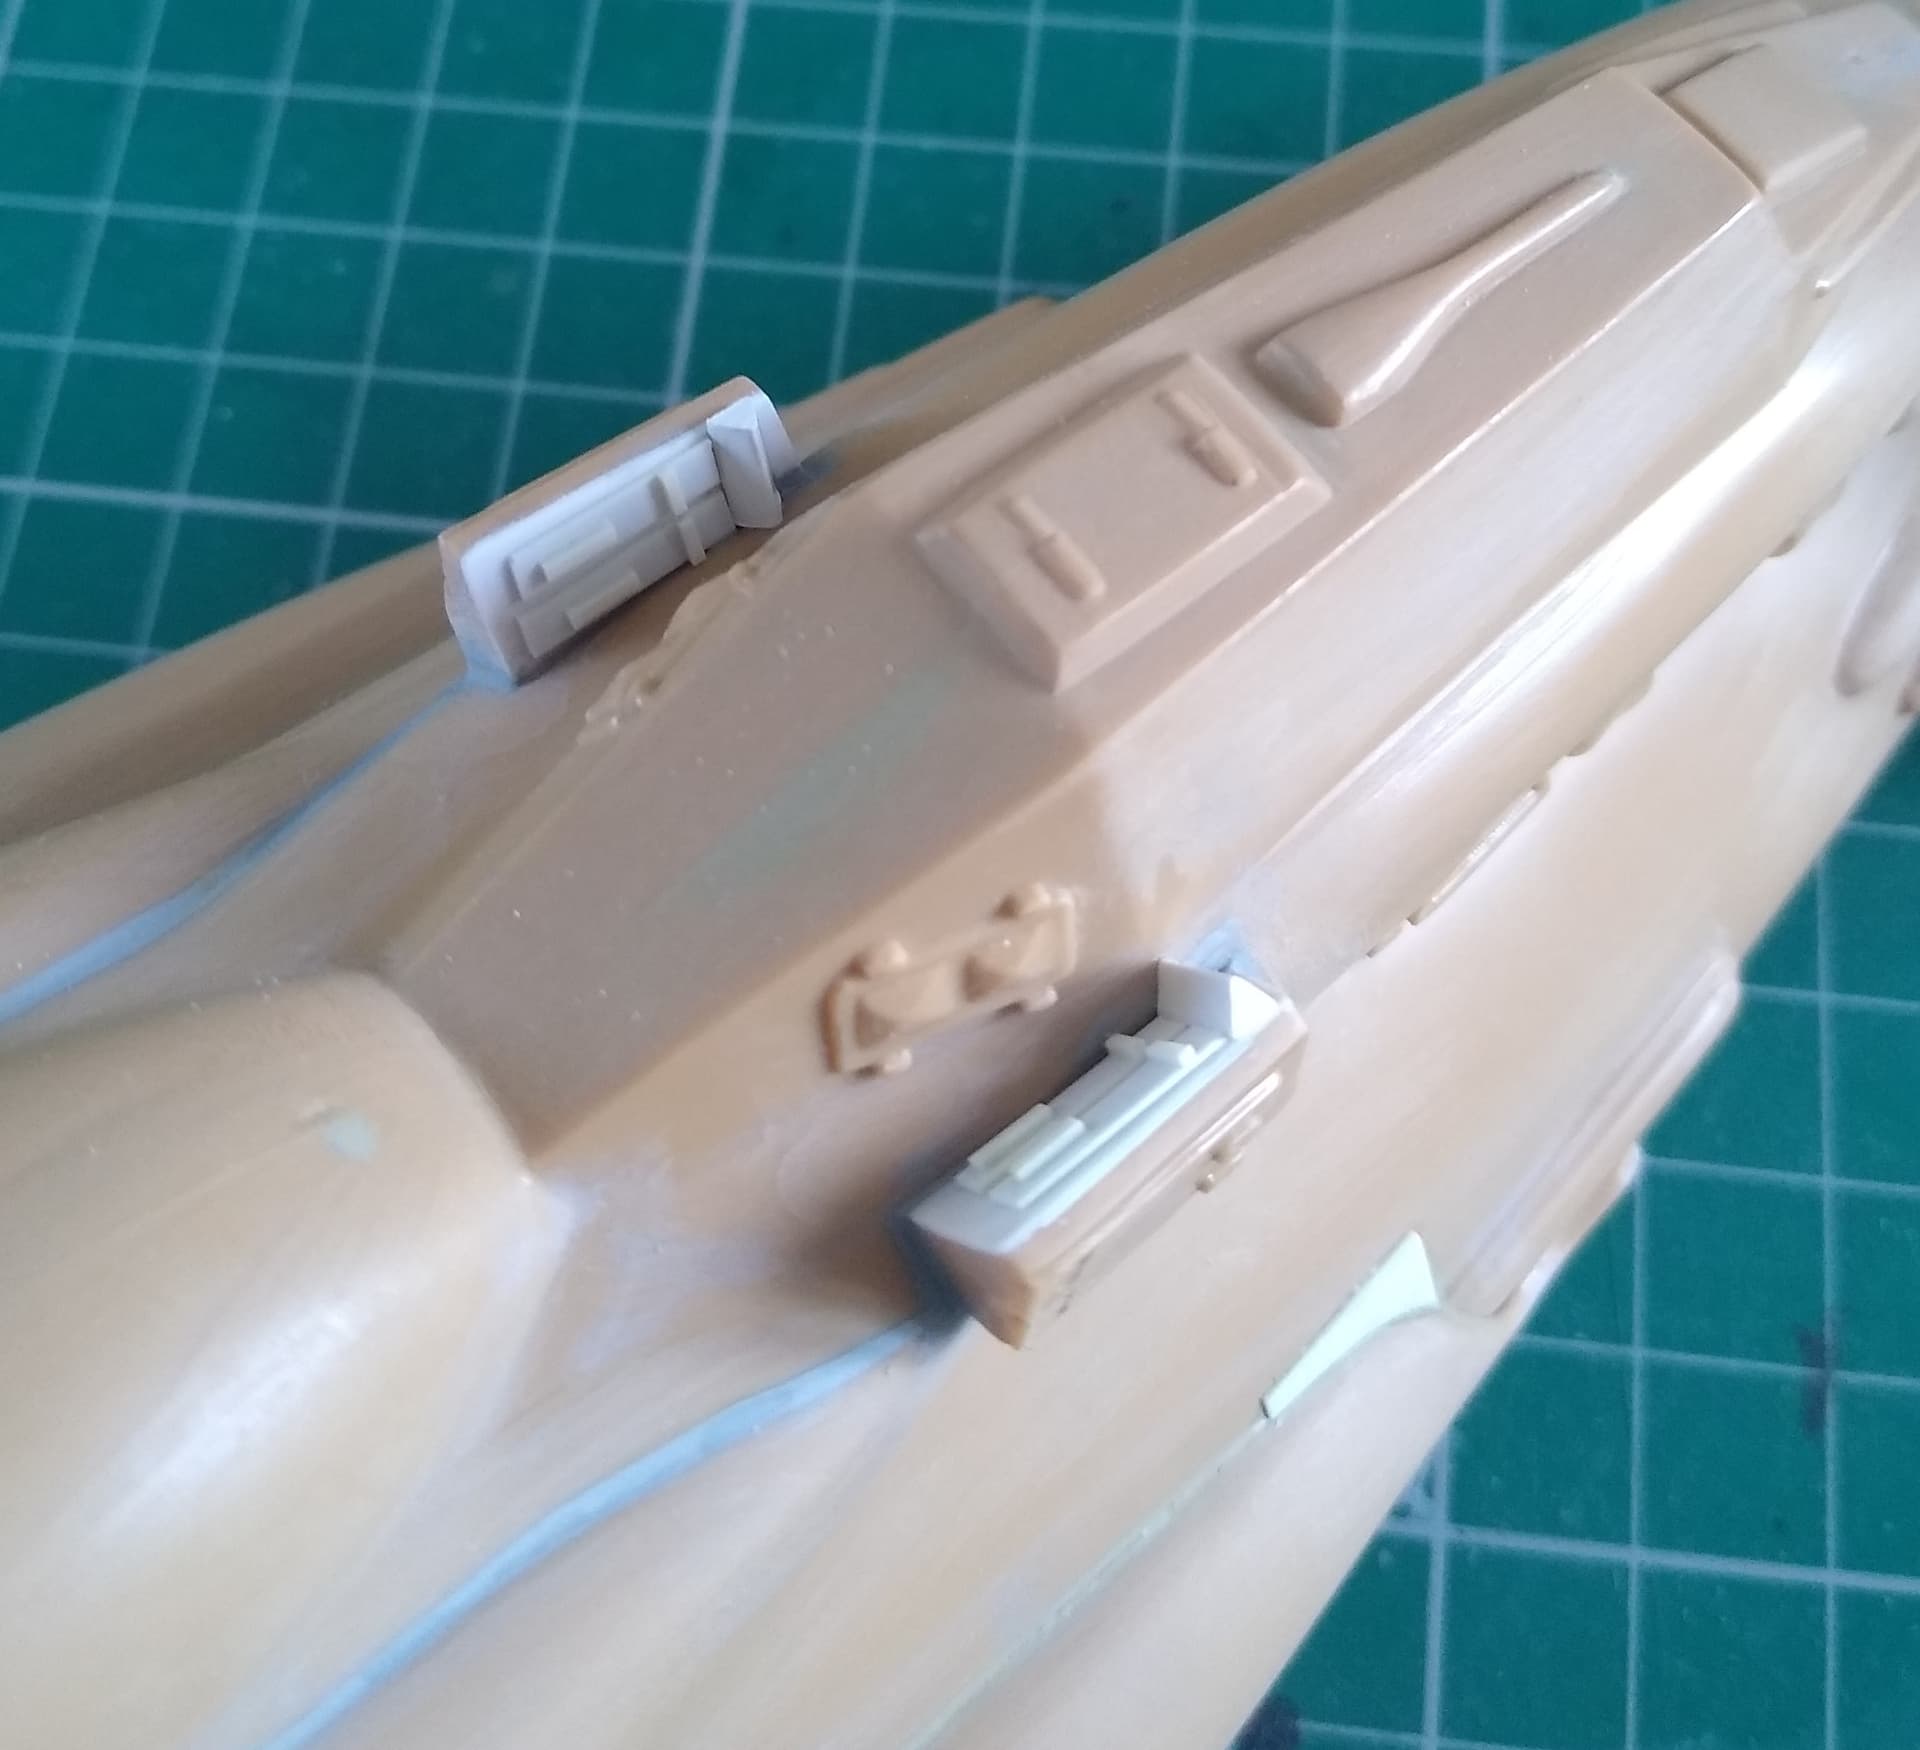
Got the mounting made for the display stand today. The hole isn’t the neatest, but some superglue should fill around the gaps. I’ll be using two sections of telescoping brass tube for the stand.
If you want something a bit neater than using glue to fill the gap, and a little different to the ordinary, use thin strips of 20 thou/30 thou styrene. Cut them in different lengths and glue them downward along the length of the brass, so the end butts up to the model. This also allows you to step the styrene over the two protruding parts The random different lengths add some visual appeal and being attached on the brass and outside the hole, it will be a stronger join. If you do the same at the other end it ties it all together.
That’s not a bad idea. Might depend on how much of the tube is protruding out of the hull bottom though.
My idea is to hold it in place with 2-part epoxy on the inside with the a blob of milliput over the open and on the inside. That itself will be stuck to the inside of the upper hull and give the smaller tube something to rest against rather than the plastic. If that makes sense?
Some great progress Stephan. Interesting idea for the post from Pete.
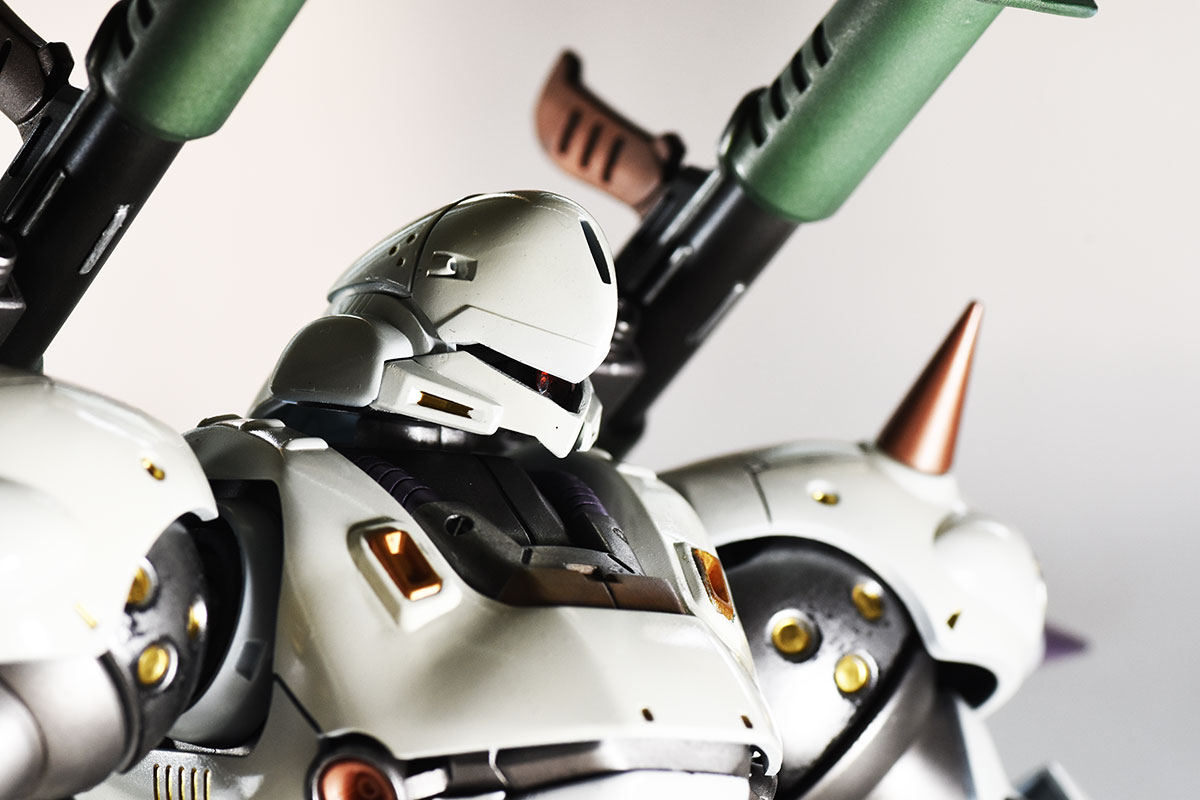
I’ve gotten to some minor detail painting and decals. I still have some more painting to better blend some under-painted parts together. Overall I’m pretty pleased with the look.
I’m not intending to use the base, but it makes a handy stand. Also, the head is not fully attached as I plan to weather the head and body separately as it is a bit unwieldy in the whole.
Very Nice Zon. I love the bridge weight decal… that extra touch… and of course it does not matter what it actually weighs in ‘tons’, as the ‘34’ is based on THEIR weight measurement!
I can see a version with some sandbag armour with the name of a girlfriend or some slogan like “First in Dantooine” on the side!
Since it’s the Army scheme, probably need to add vehicle number at minimum but probably both unit and vehicle to rear turret some place. Maybe under the rear visors as a suggestion.
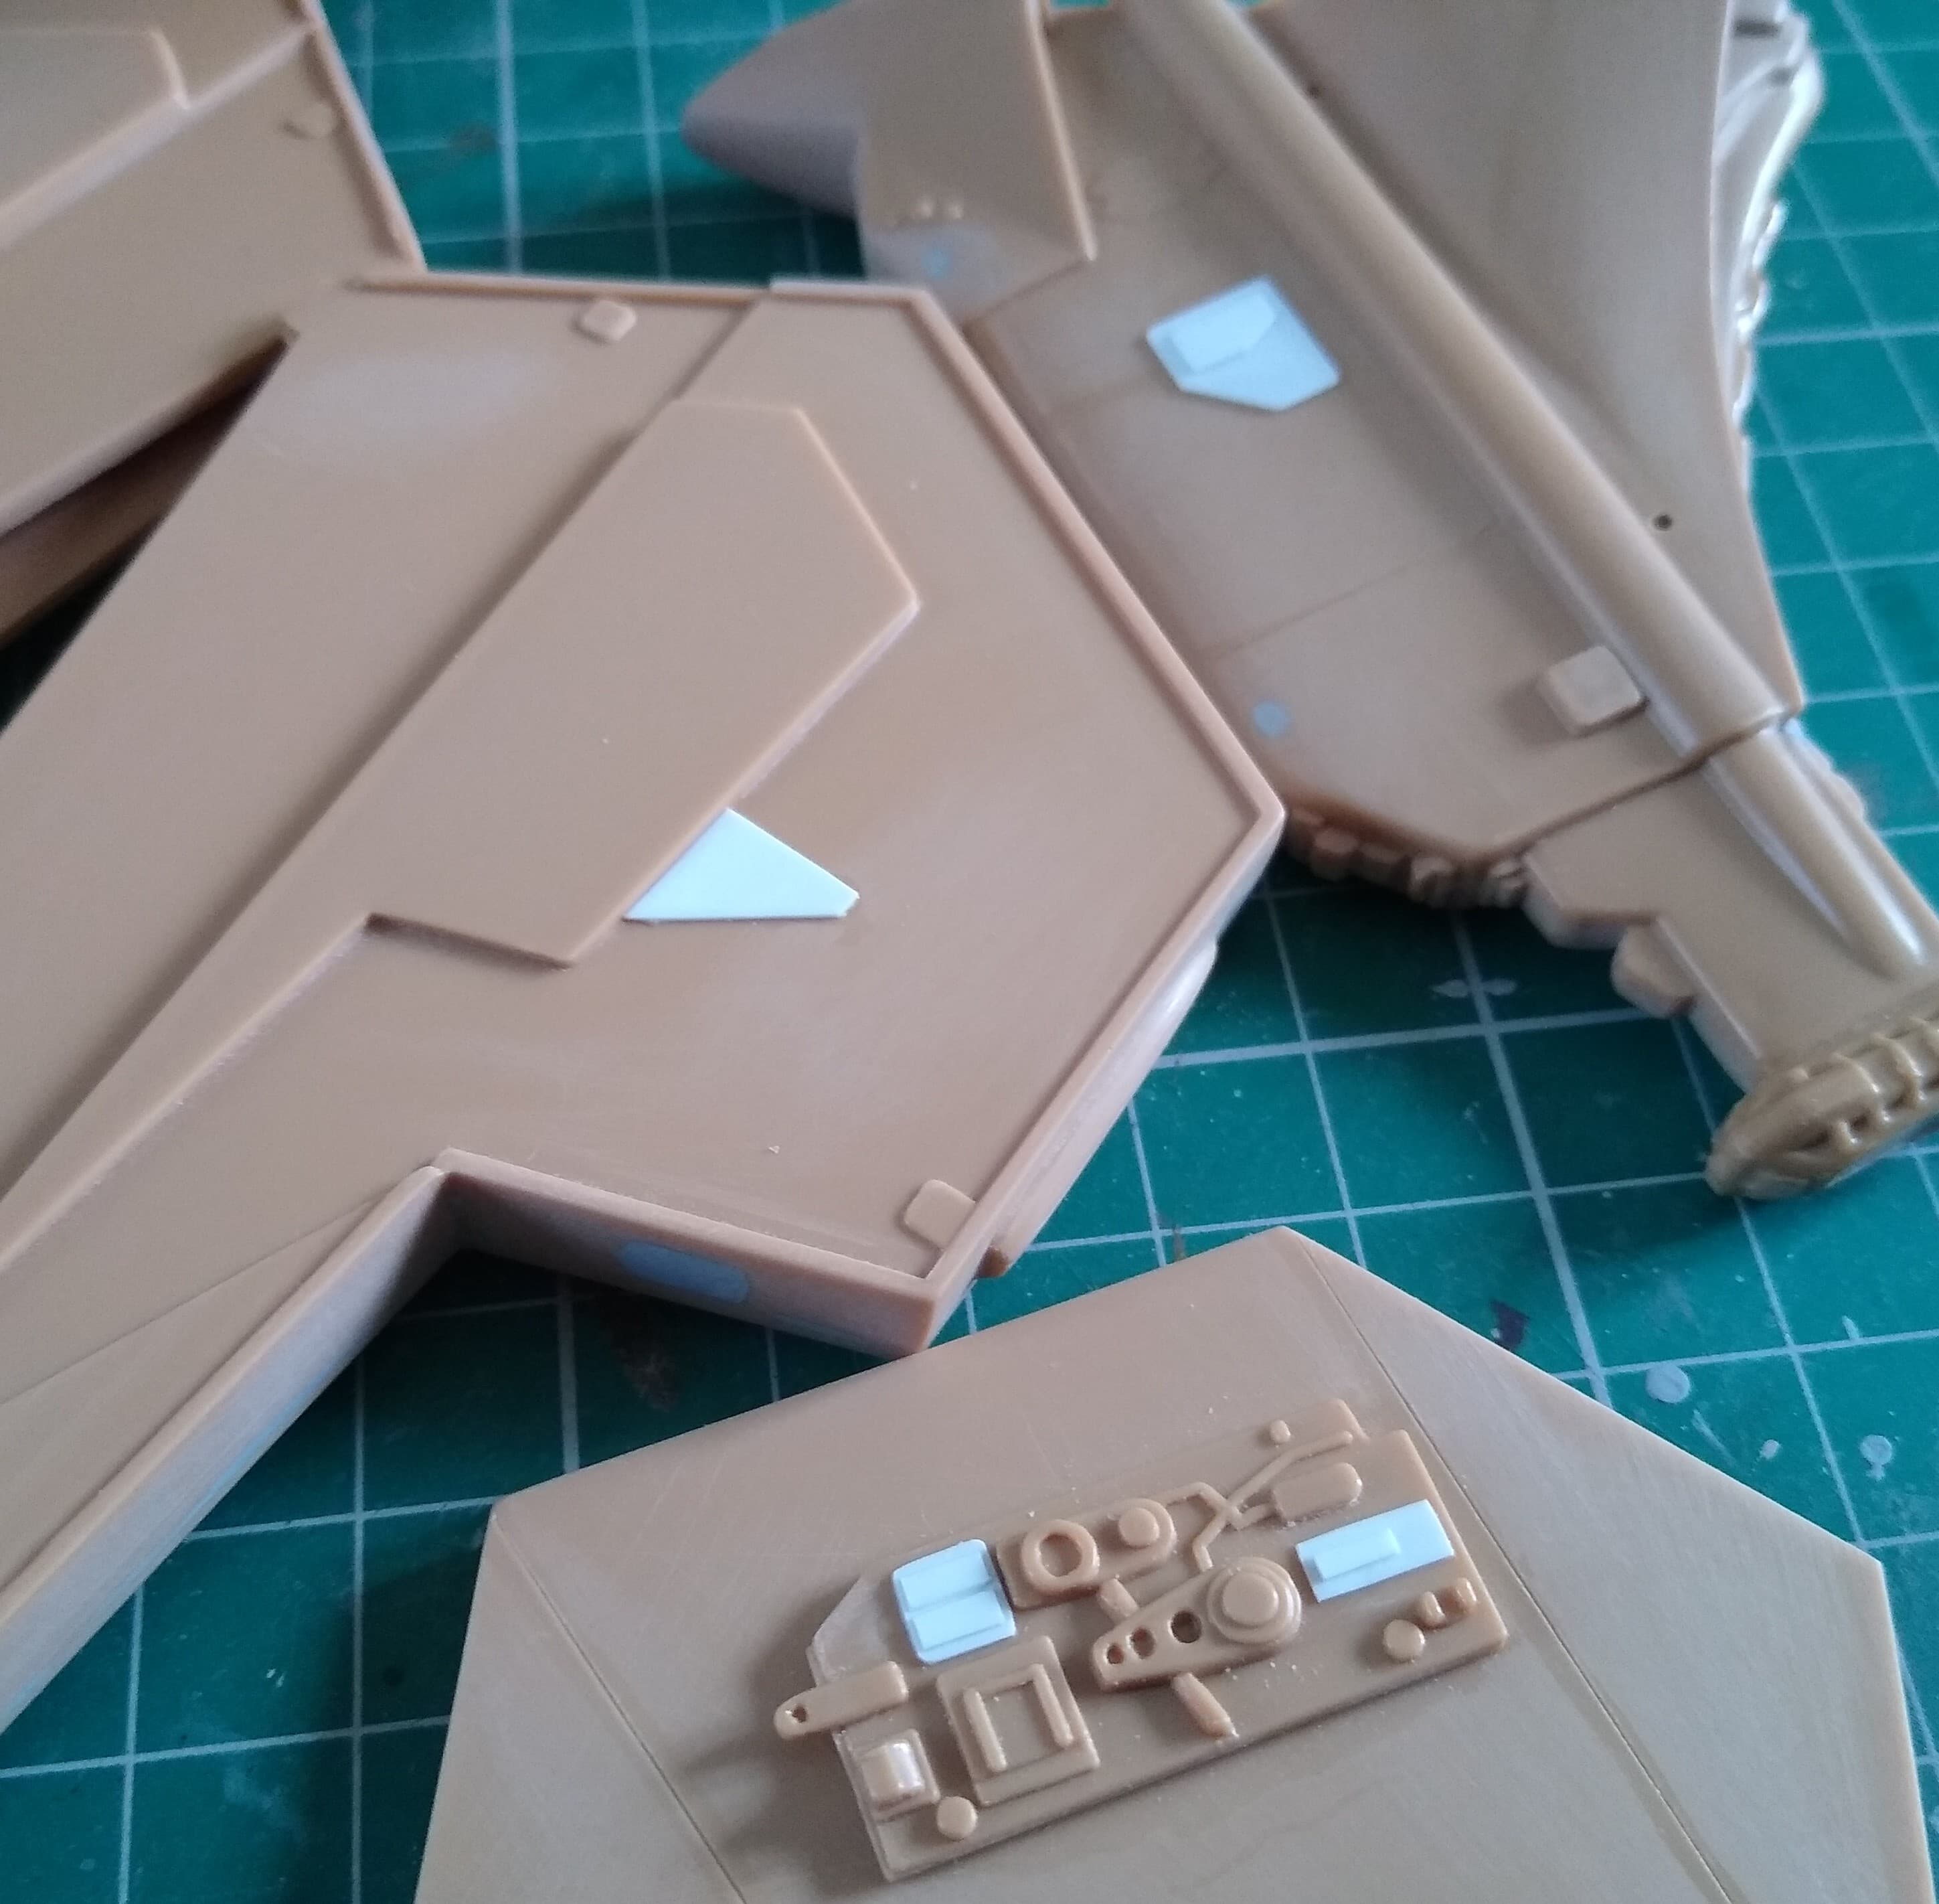
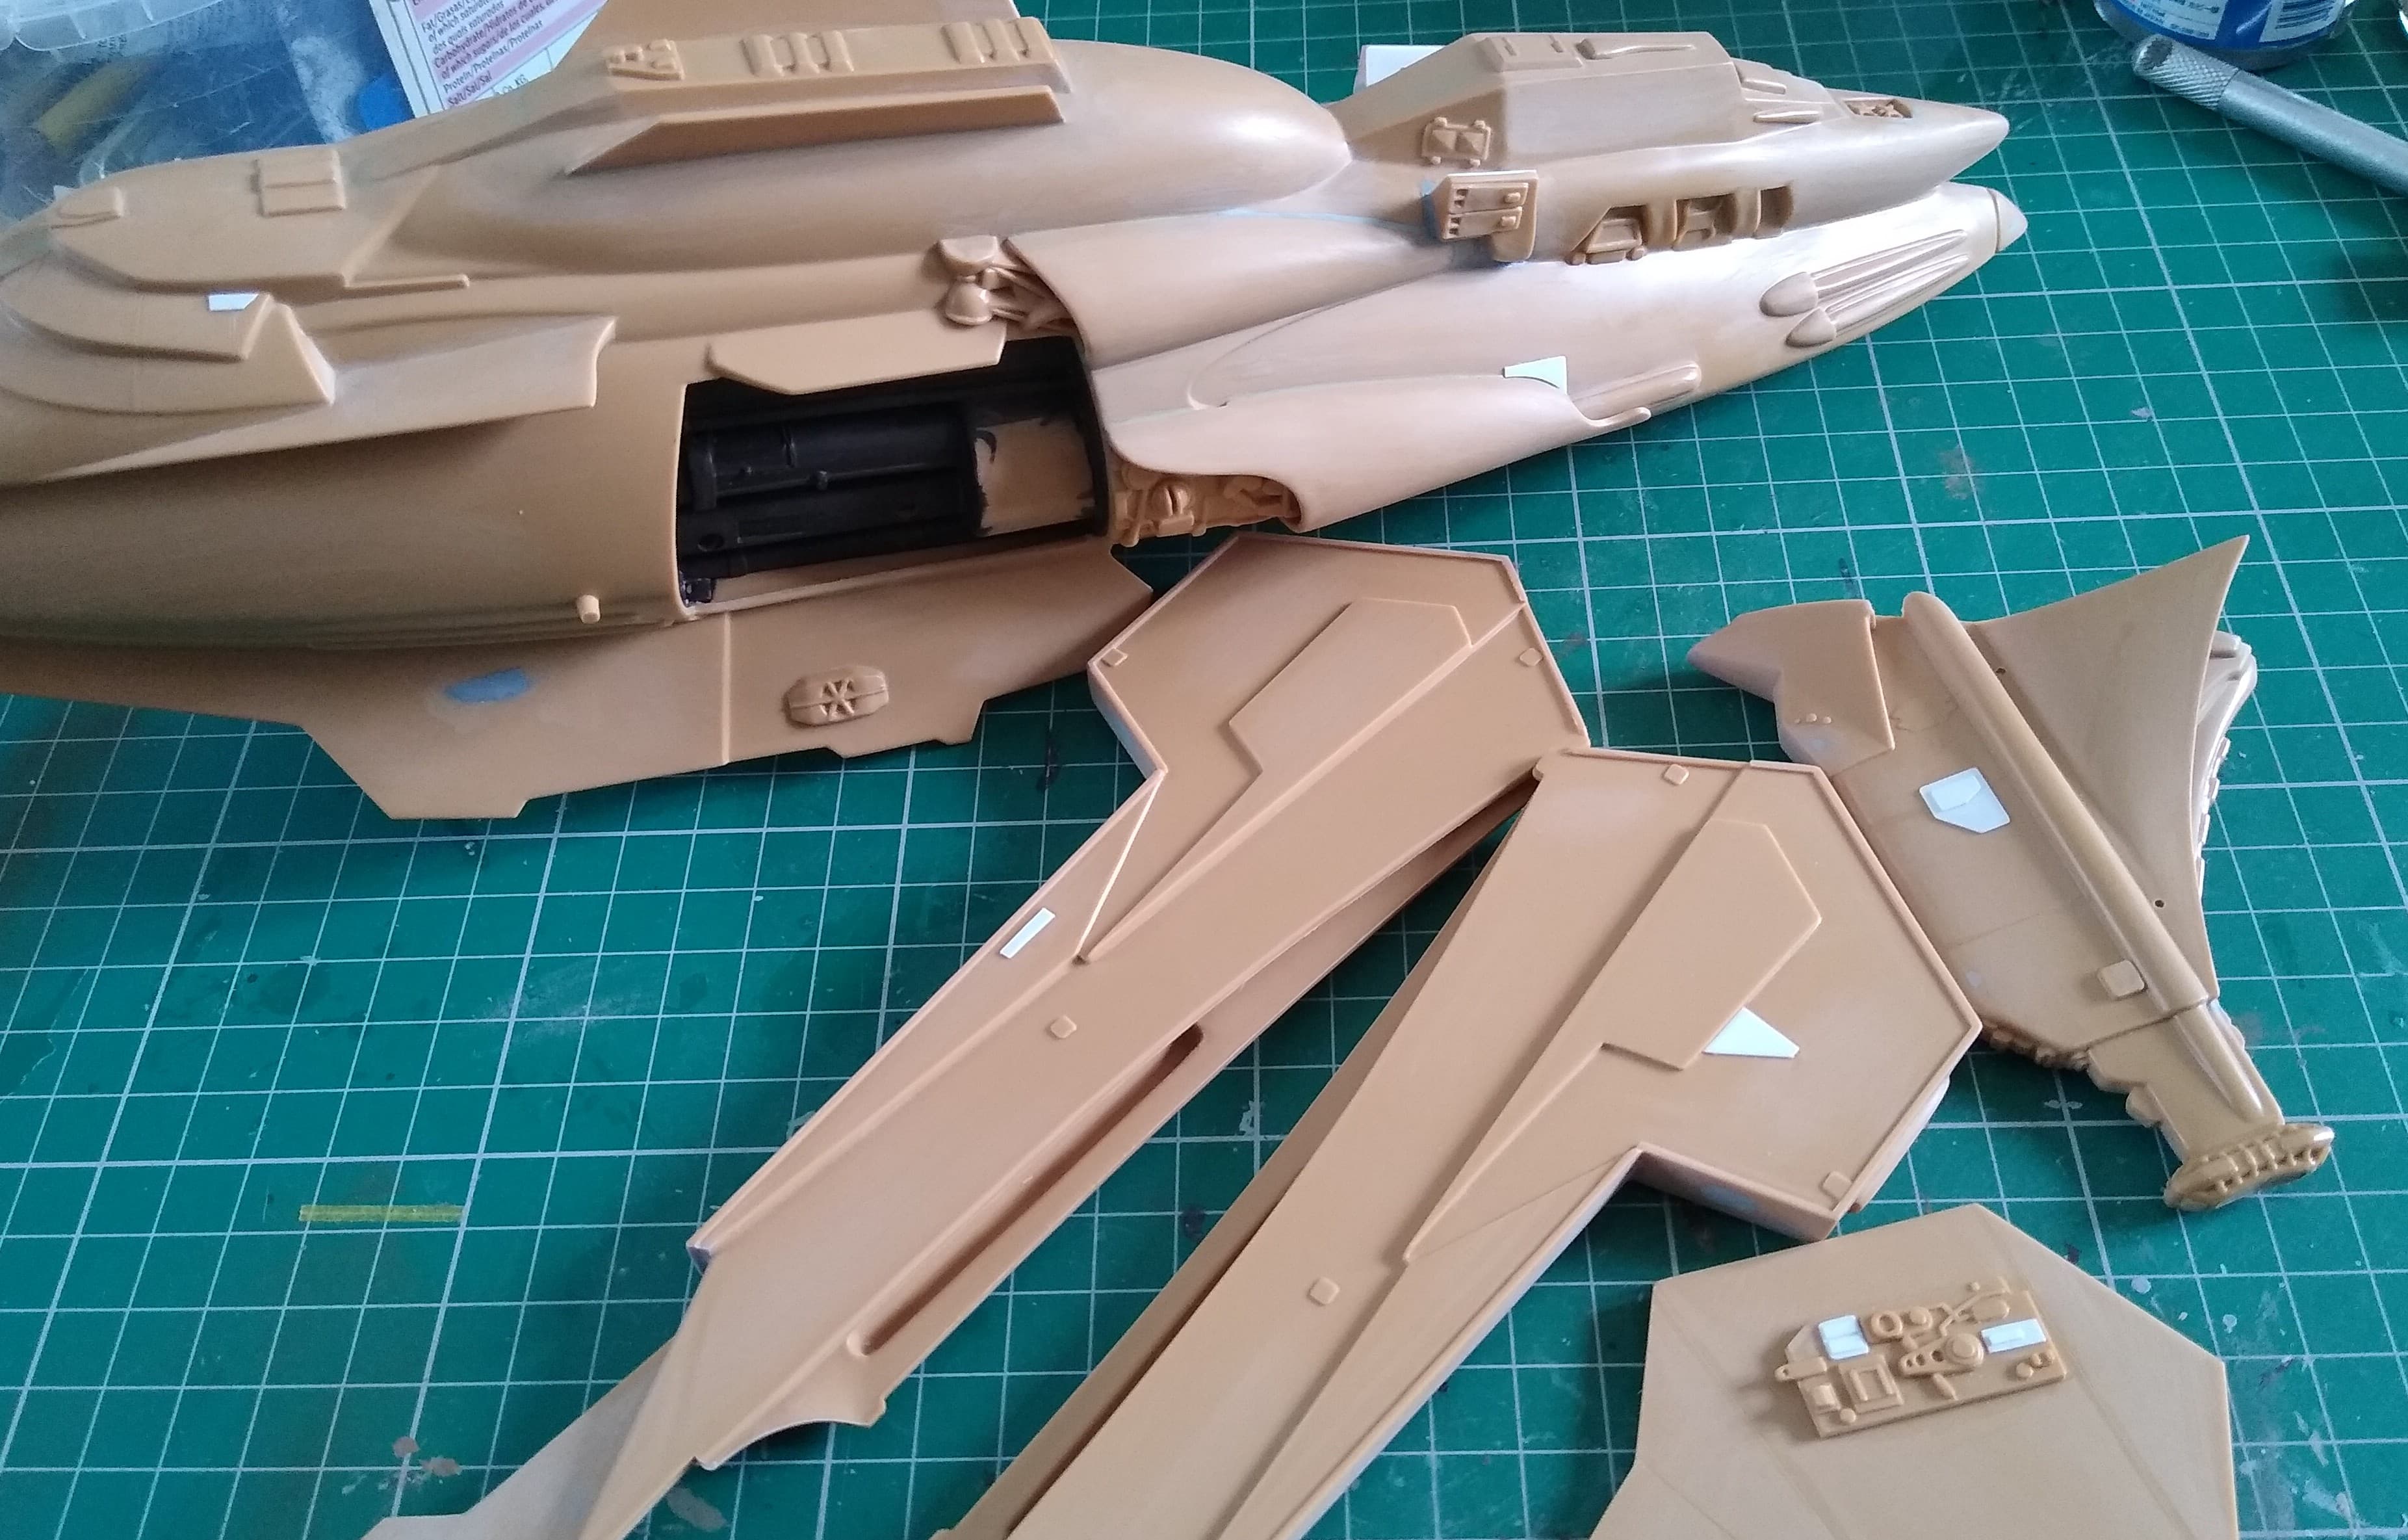
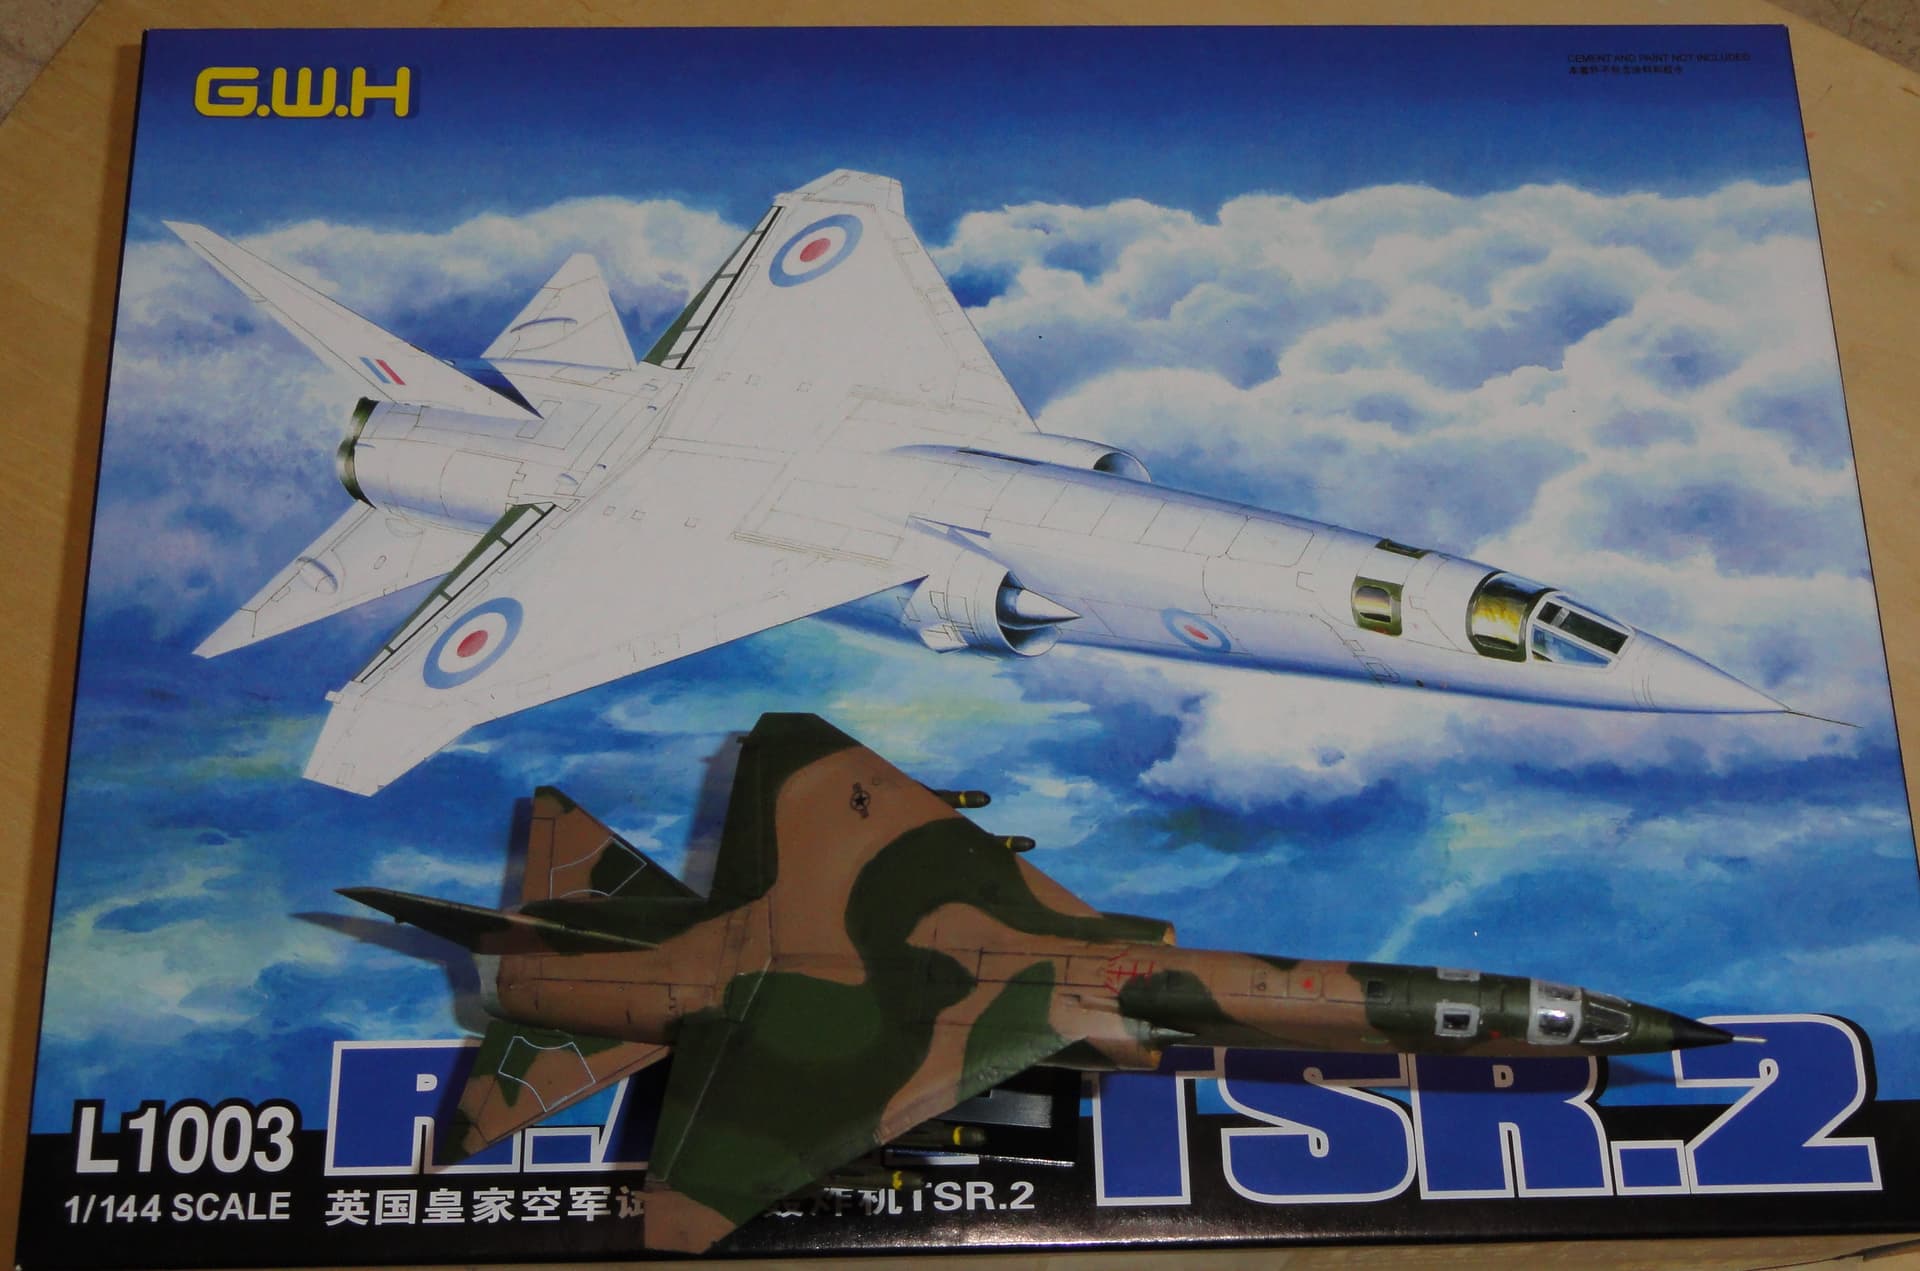
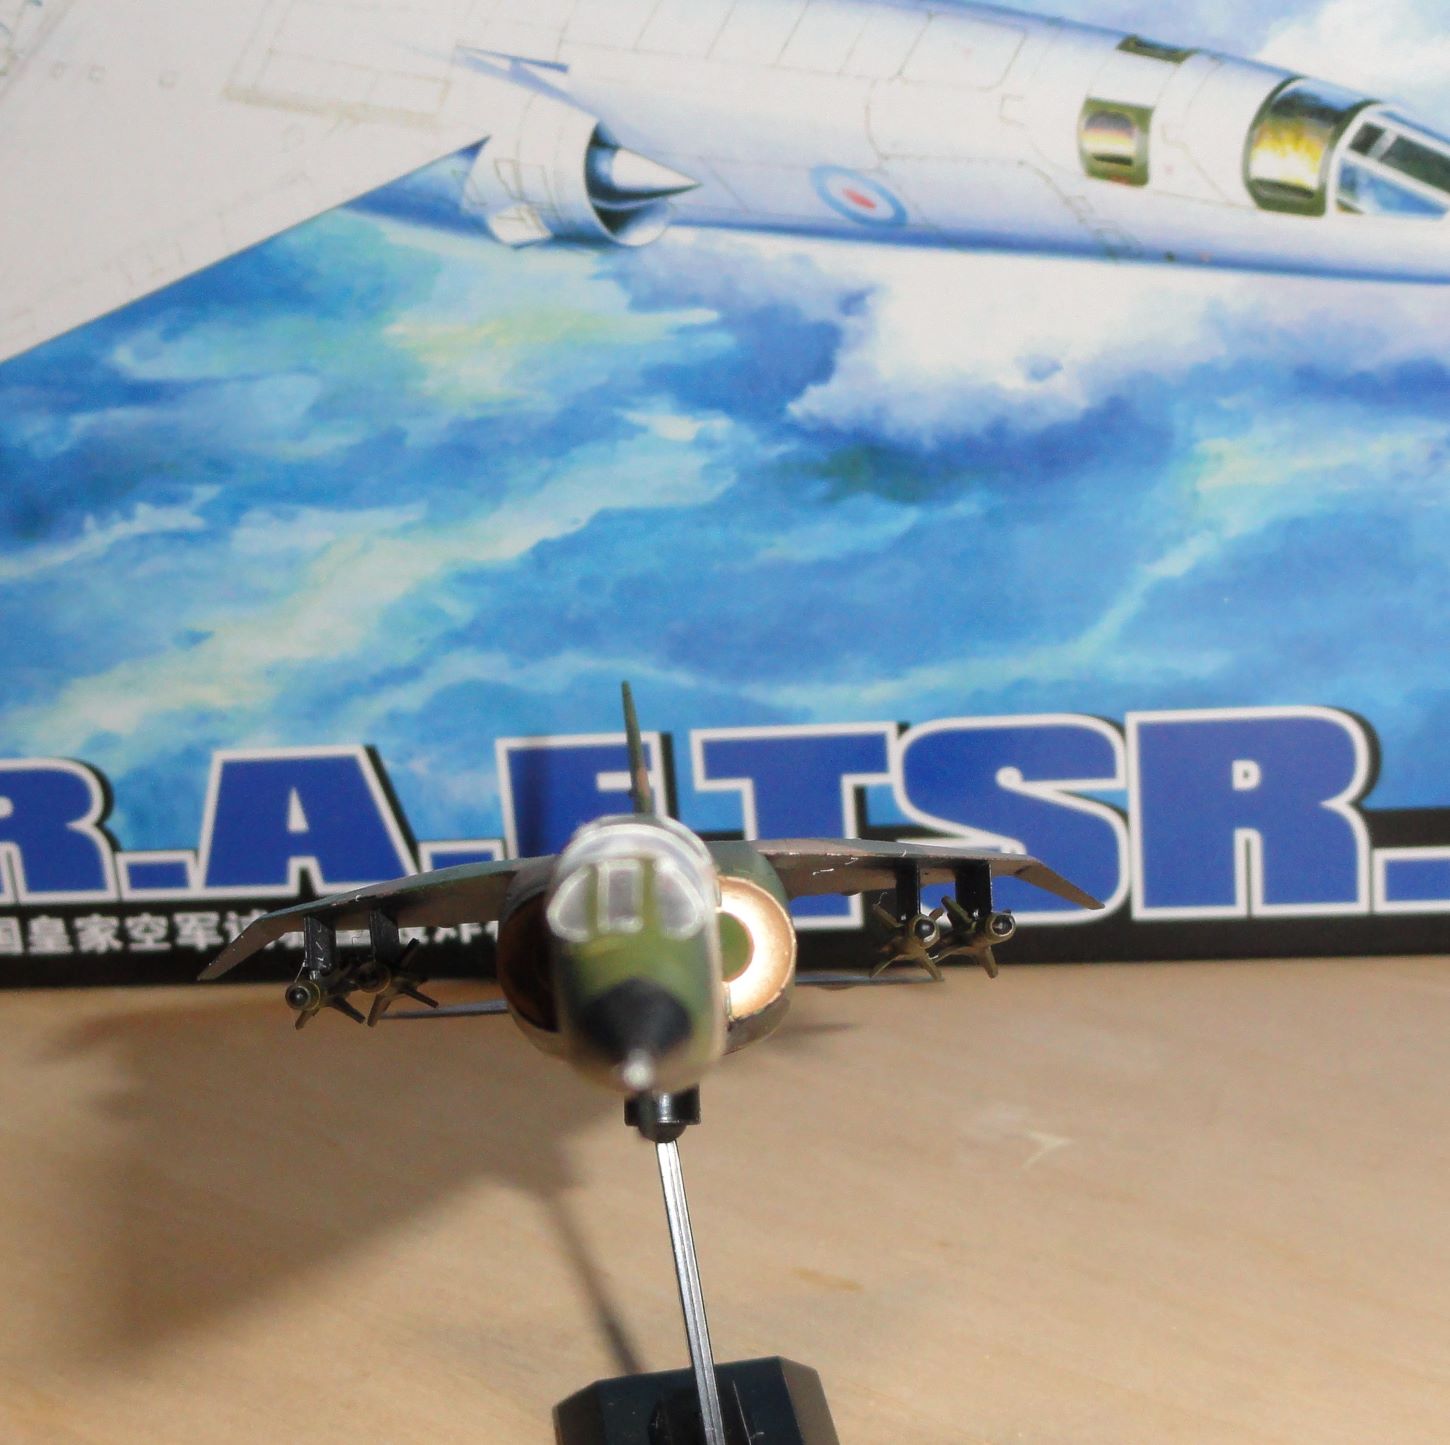
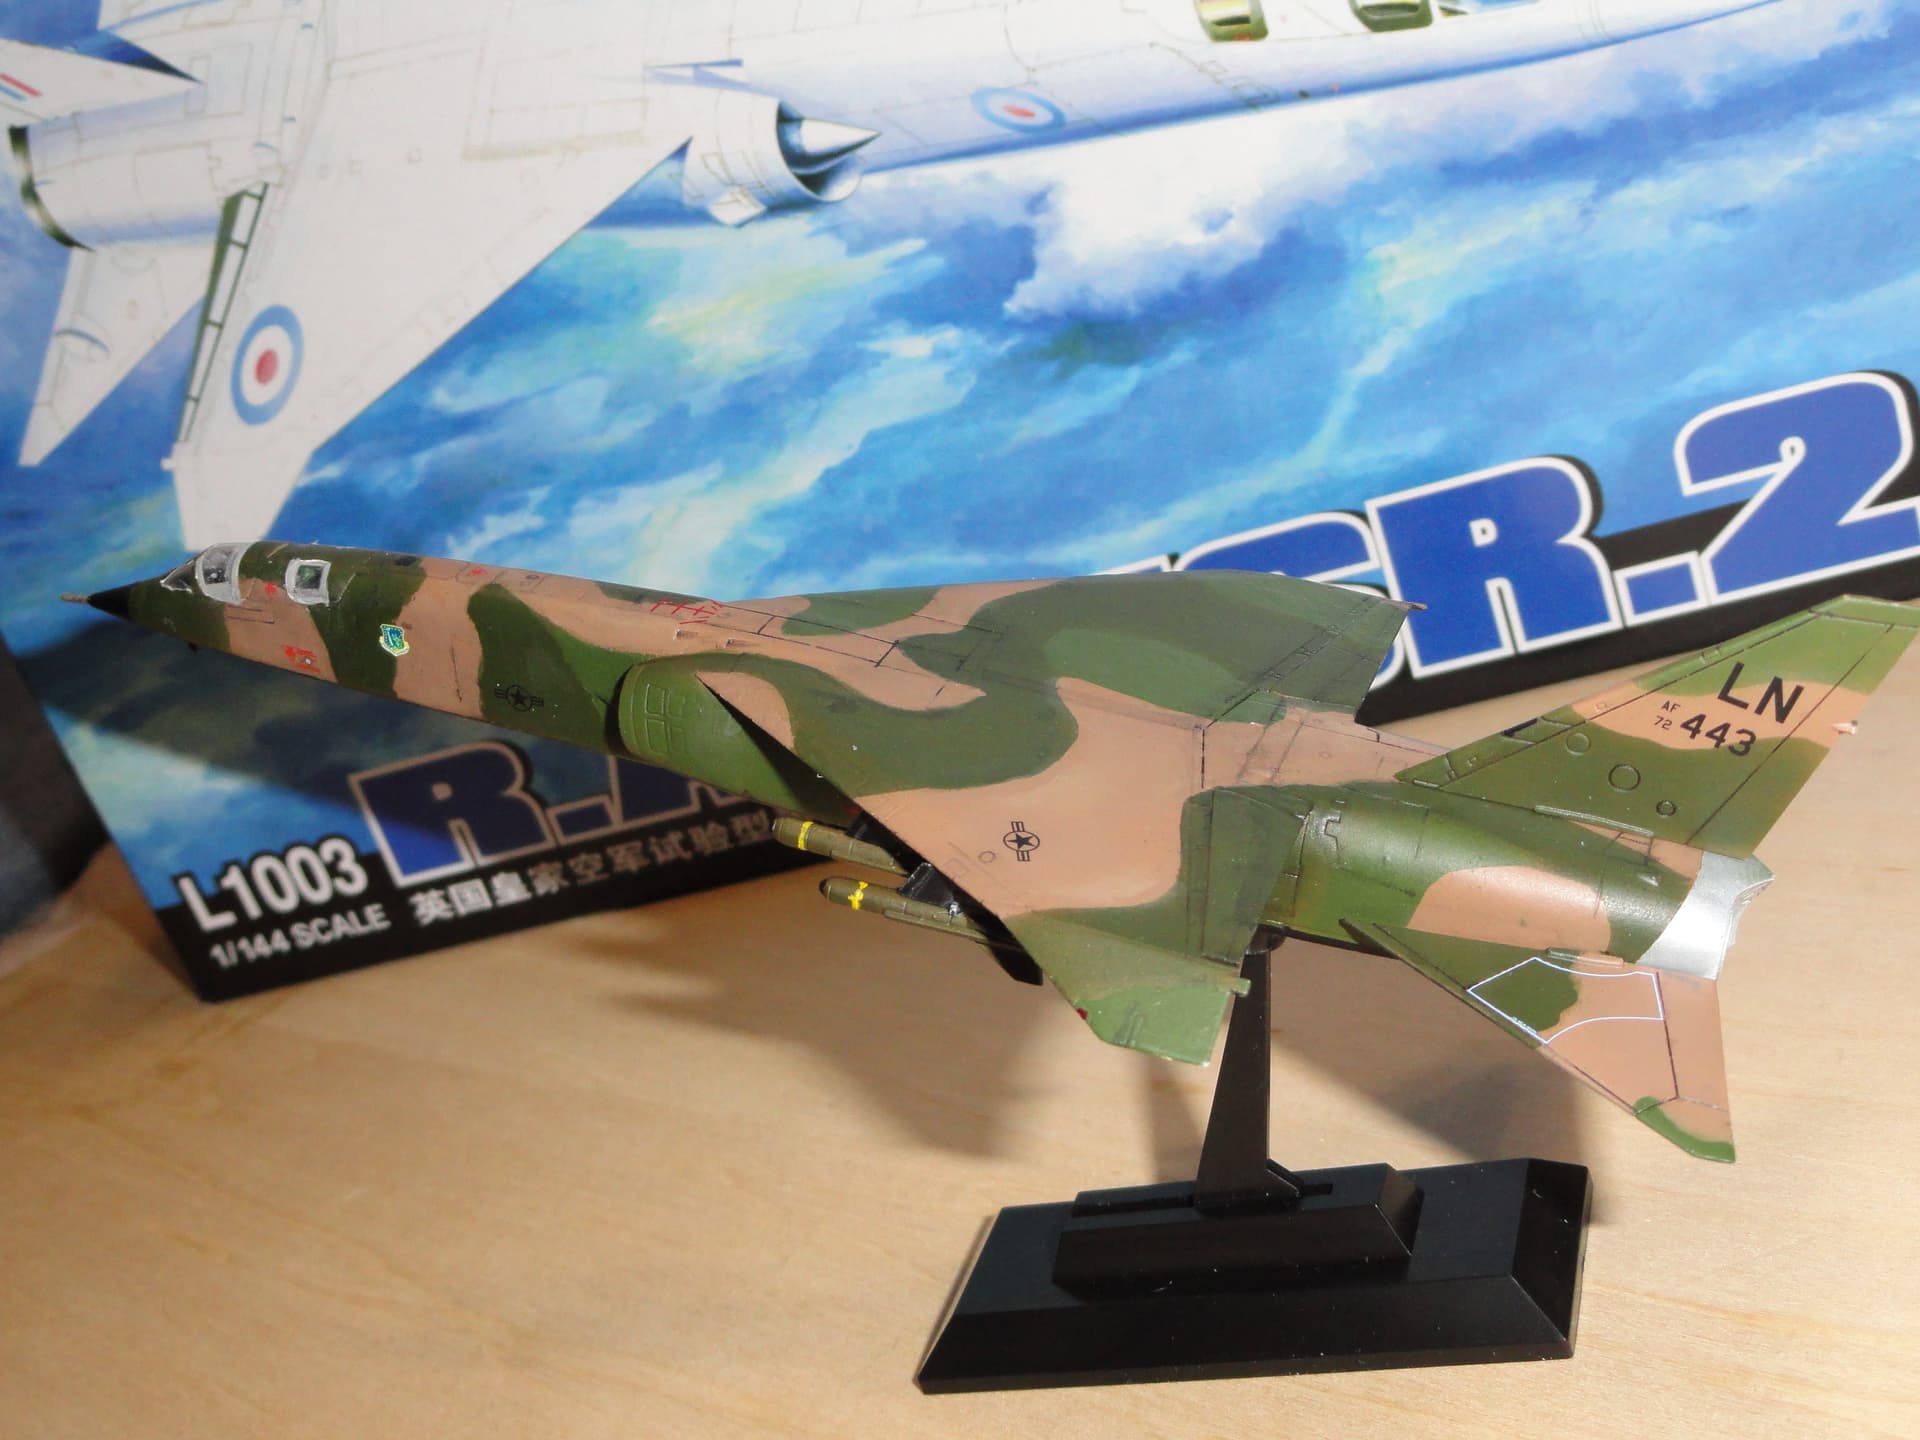
It’s OVER. I’m calling this one Done. Great Wall Hobby (was Pitt-Road) 1/144 TSR-2. What if the USAF bought the TST-2 instead of the F-111? This one is done up as one of the planes from Operation El Dorado Canyon. Since I didn’t actually have a Pave Tack designator or GBU-10 bombs. I just painted up the included missiles (Sea Lion?) in OD with gloss black lenses. I just assume that the designator stays tucked up in the bomb bay till the bombing run started.
This one was a lot of work, from the short shot, paint fighting me, my first 3 tone camo in 20 years and 5th 1/144th scale in even longer than that. But it was a bit of fun too. Thanks for hosting!
Thanks for the kind comments Peter, Jesper and Ryan.
I will have to look for a vehicle number. I snagged the unit numbers and bridge weight from Tamiya’s M26 Pershing, which makes me wonder about the accuracy of the weight even more! Anyway, it only had one set of the unit numbers so probably will only have them on the front knees.
The sandbag idea is interesting, and I found some apoxie sculp in a drawer, so I might give that a try.
Happy Modeling,
Zon
EDIT: I found some vehicle numbers in the US Infantry at Rest set with the 1/4 ton utility vehicle, which gives me another idea…
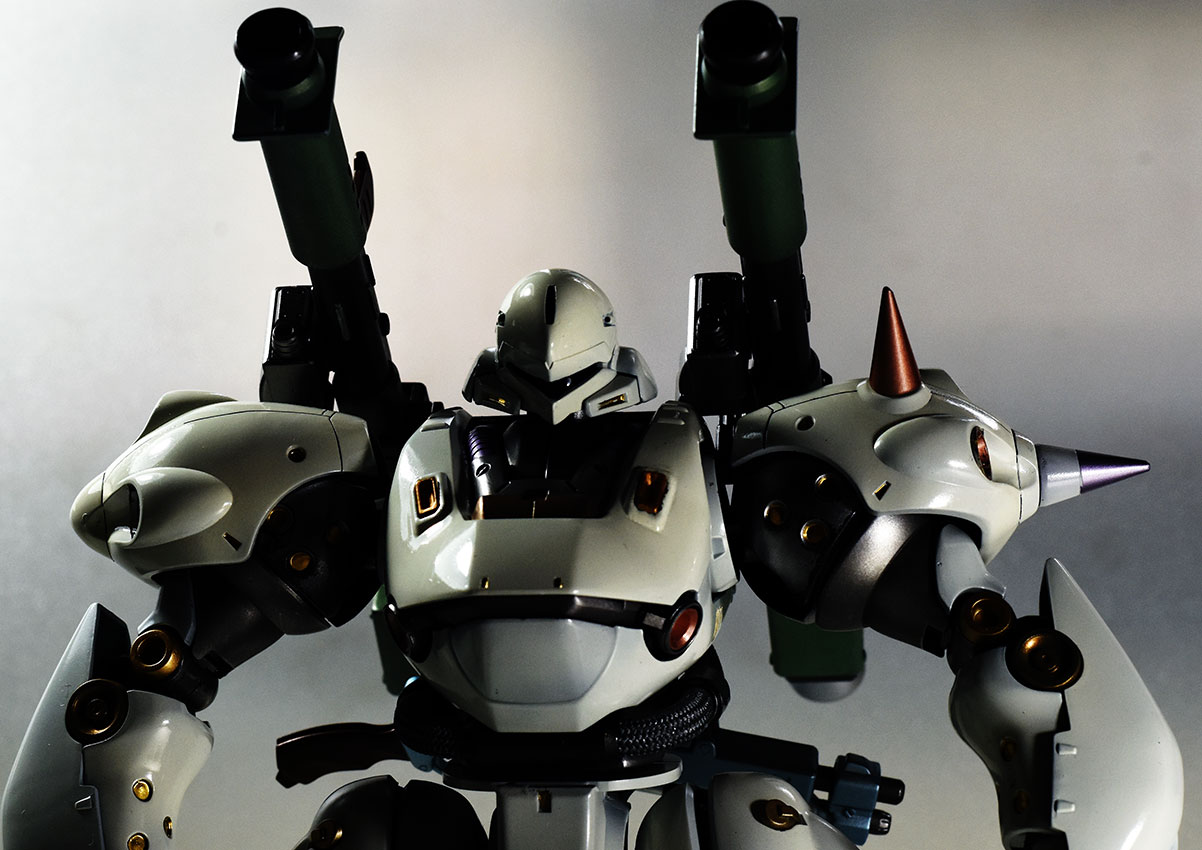
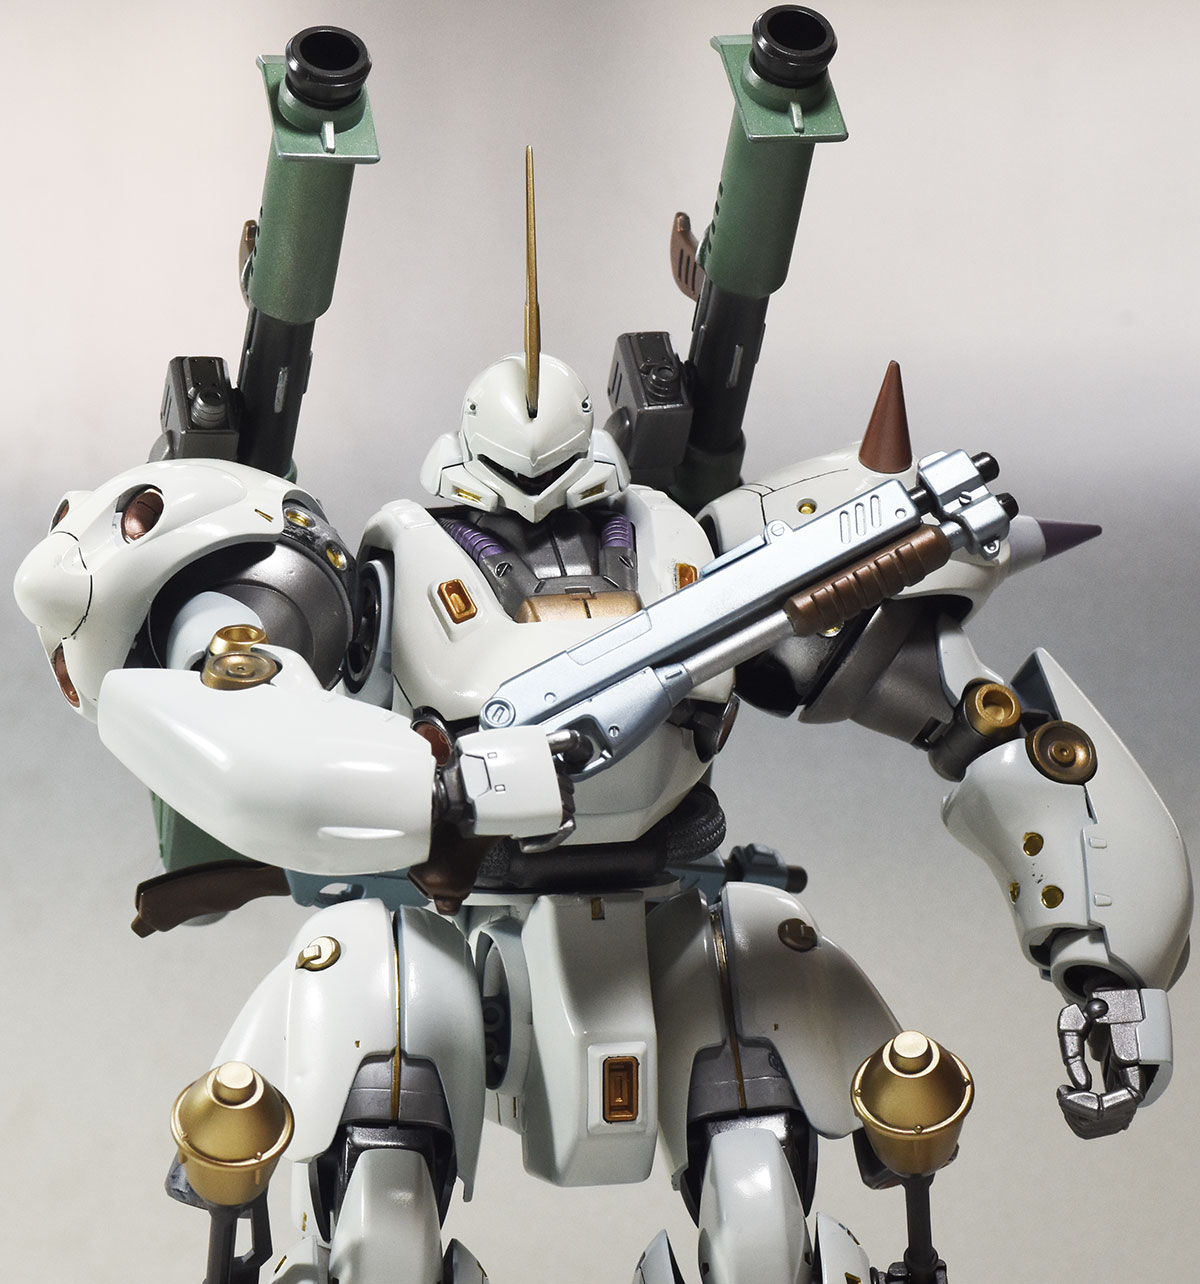
It has been sometime since I posted on the build. I thought I will not be able to finish the Build on time… But last one month is very productive and managed to work on My Kampfer.
This has held up most of of my other builds. Since this is very old Kit, Had some parts crack and break. But managed to fix them and complete the build. Will try to post more pictures later…
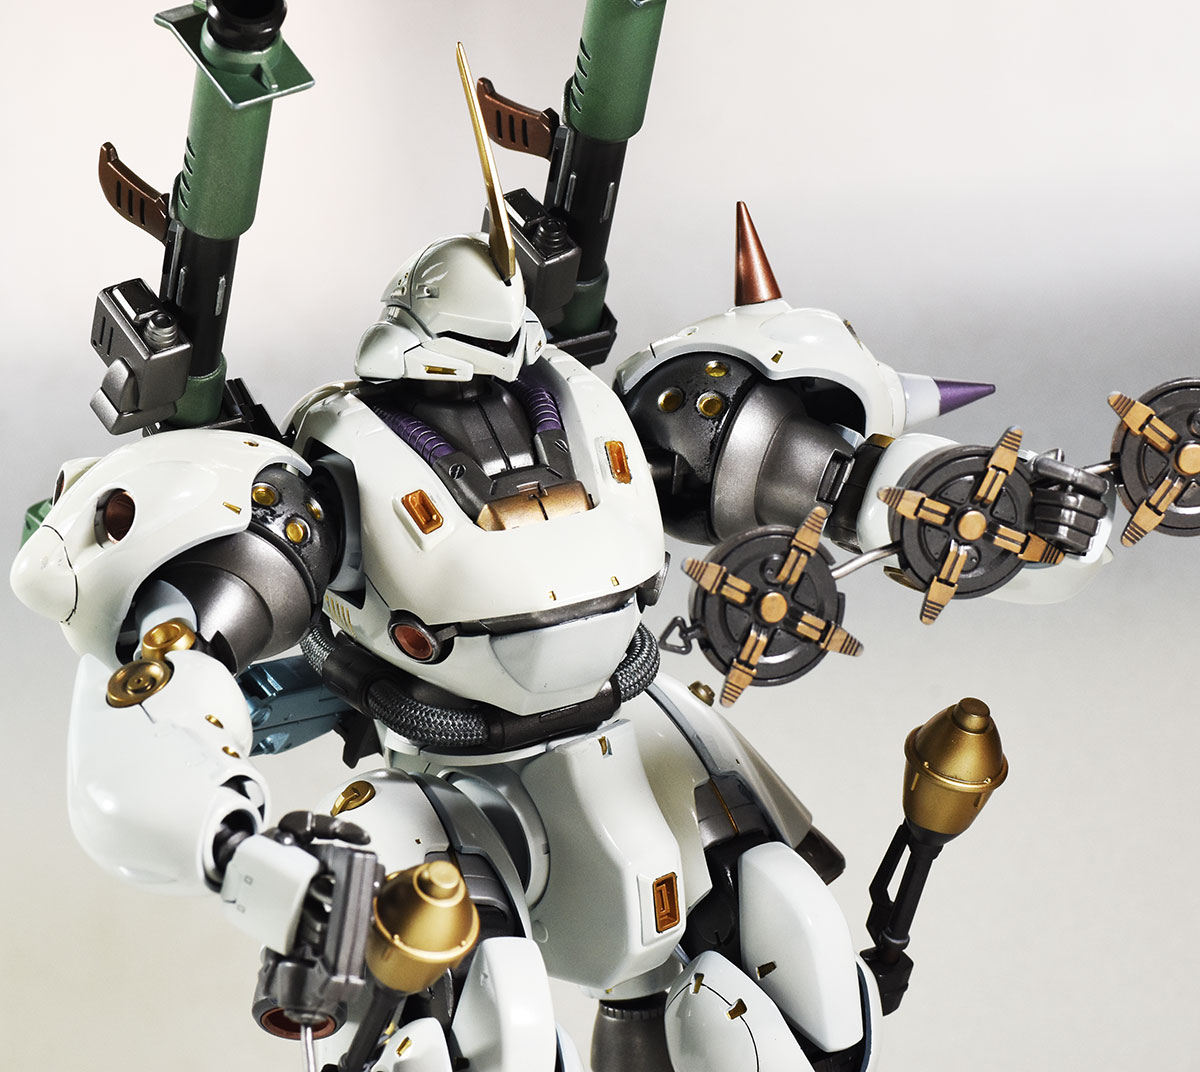
So here it is My MG Bandai MS-18E KAMPFER… Took quite long and held up lot of my my other builds on the bench… But now I can call this completed… Enjoyed building this. Its a new experience compared to building a tank or plane…
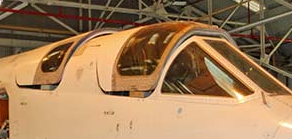
Jesper, I was trying to be true to the TSR-2 Prototypes. They had a gray surround on the glazing.
I tried to mimic that. Didn’t work nearly as well as I hoped.
I suspect that is some kind of radiation liner(?) In any case good to be true to the original as the liner would be there no matter what camo was applied.