Revell’s 1/29 Snowspeeder - build update part1
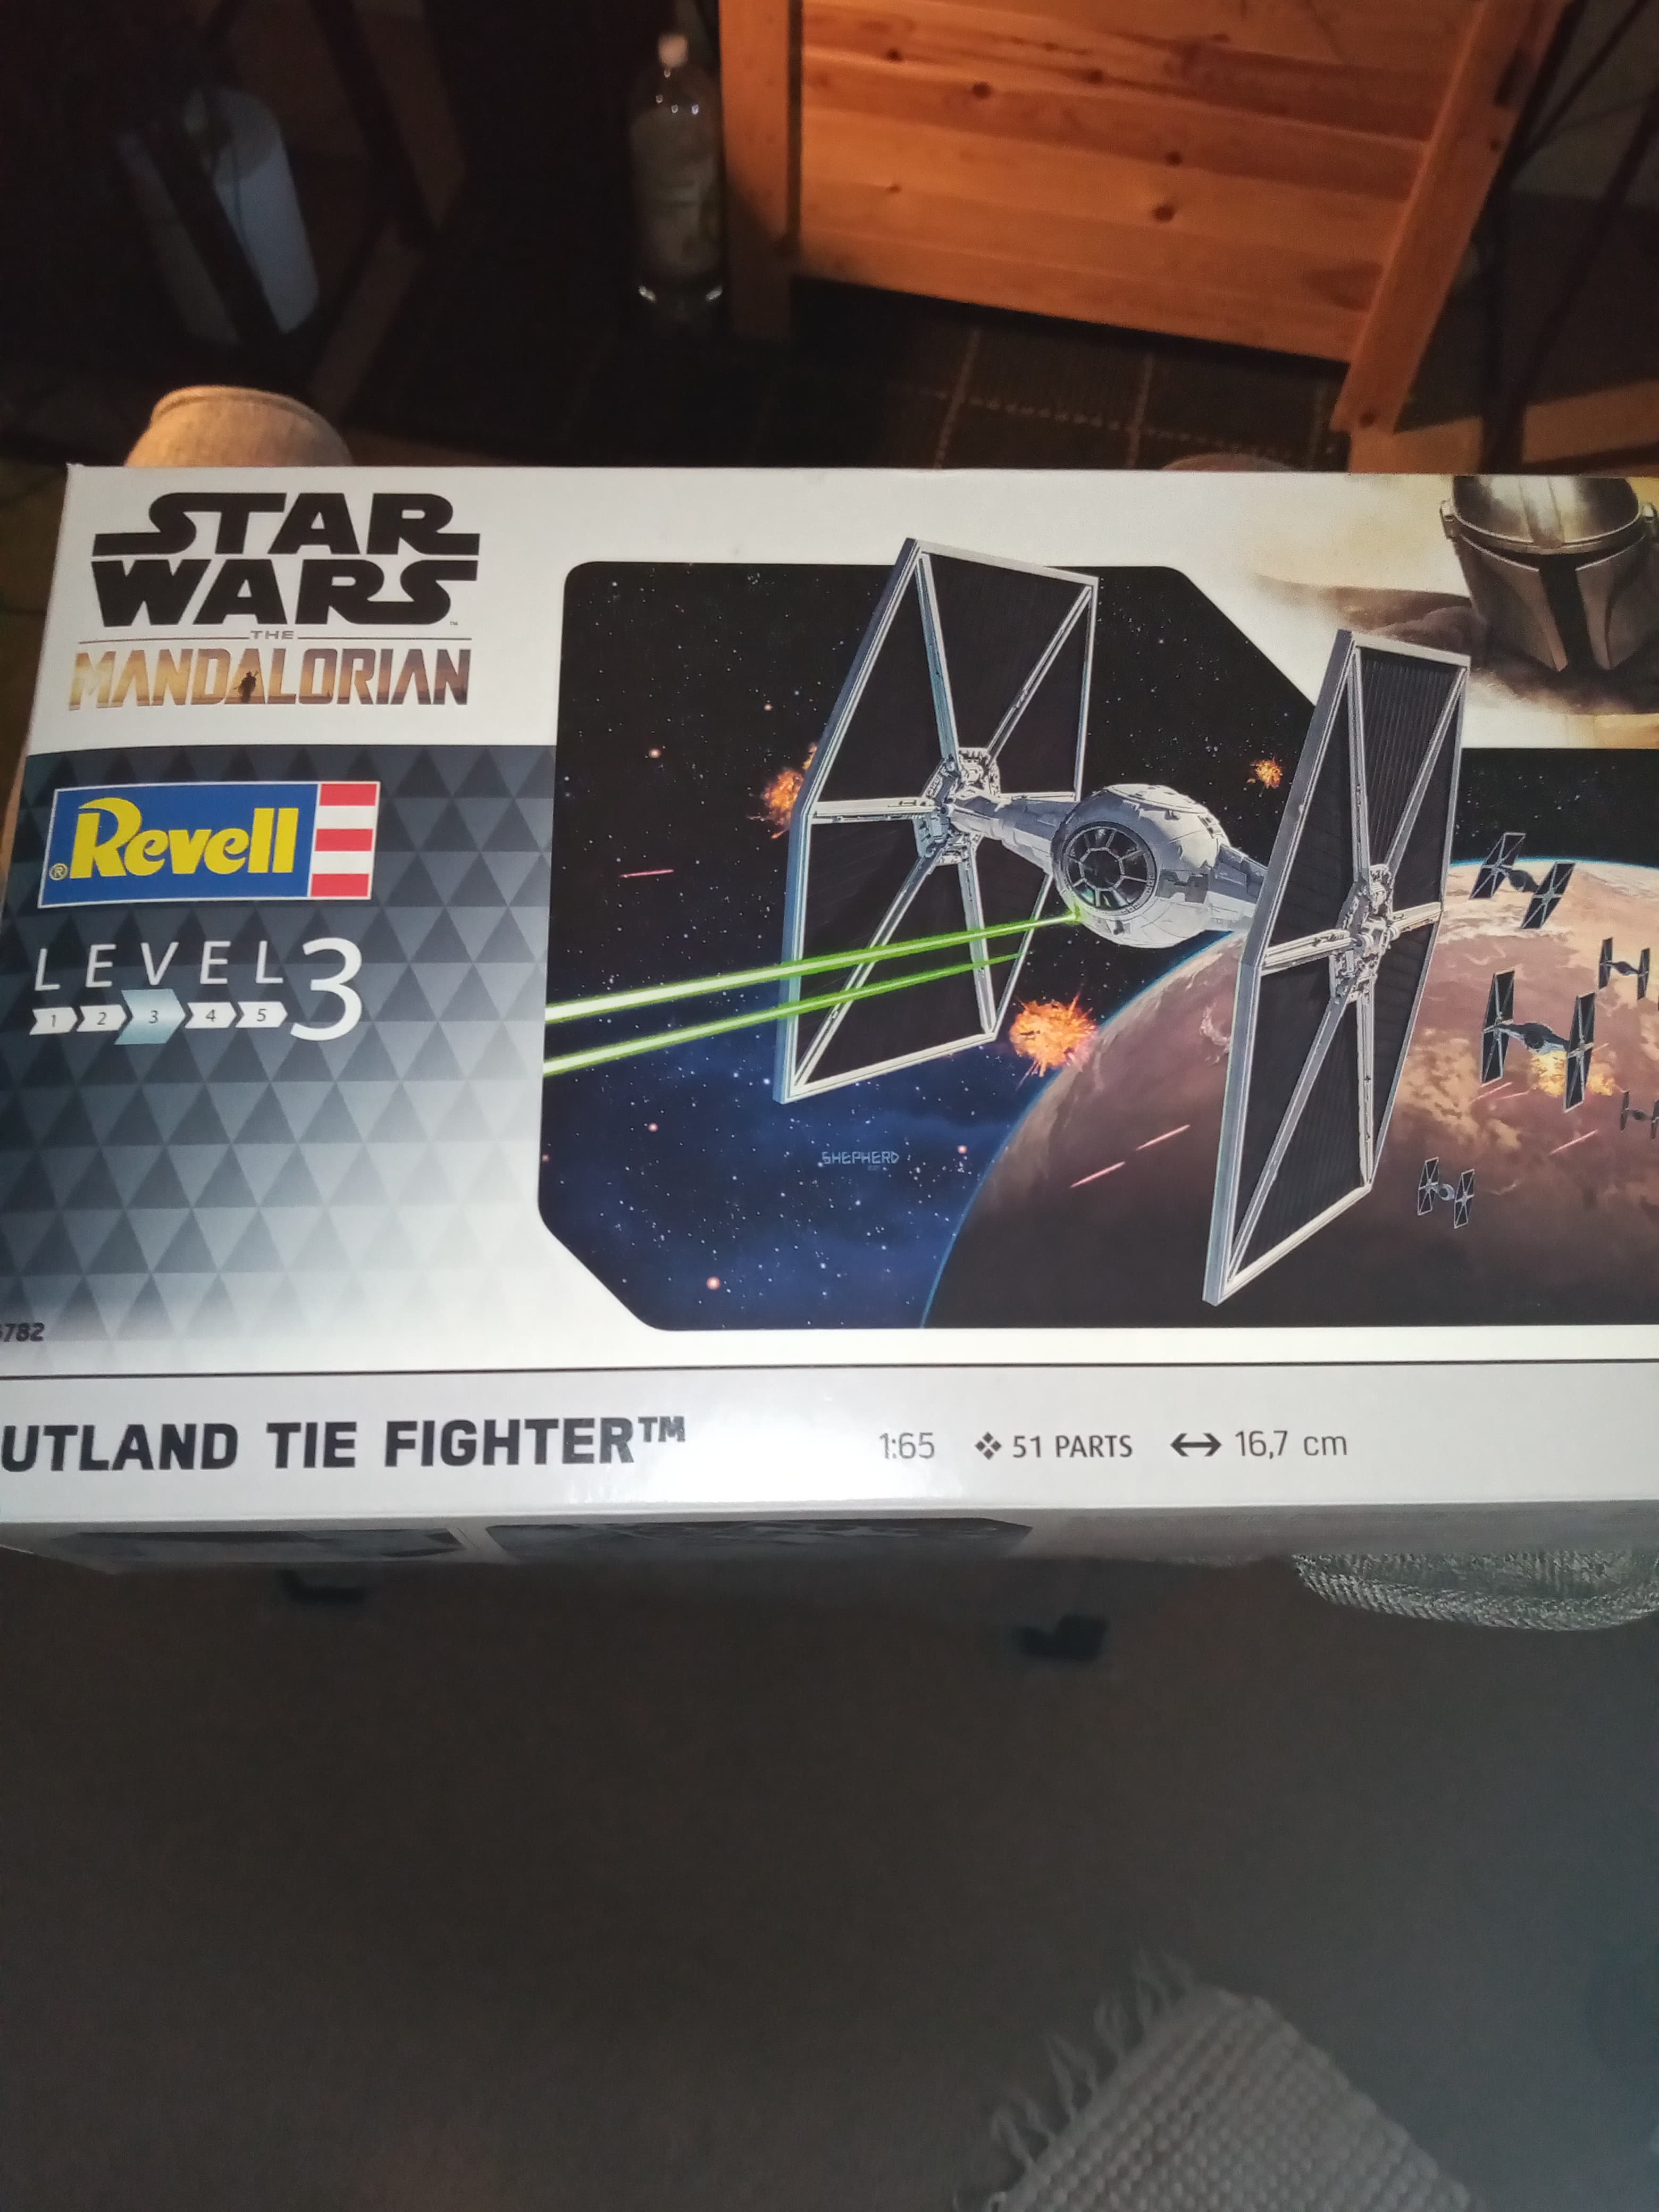
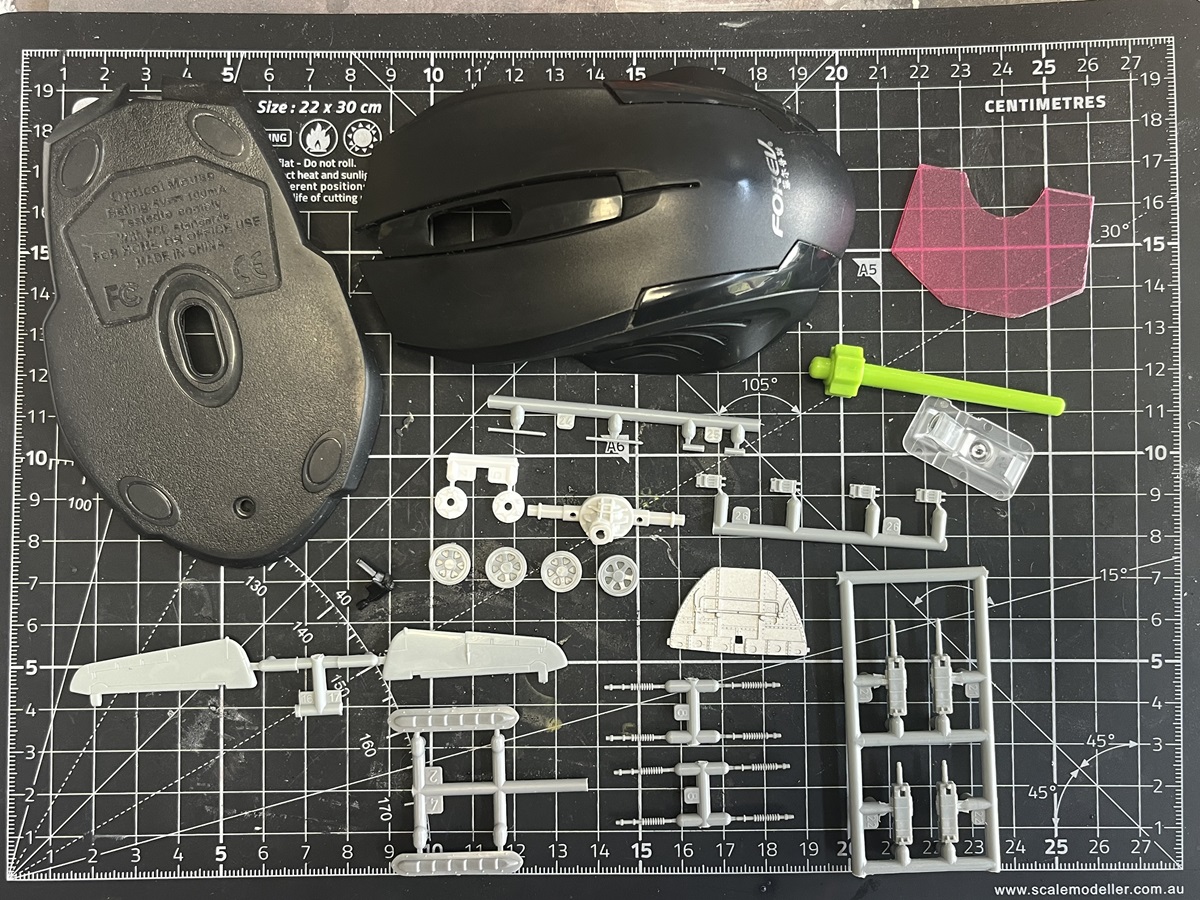
This is the first build log update I share about the campaign contender kit. Revell’s 1/29 Snowspeeder is a very simplified kit, using 28 parts only (including the two dwarfs - more details later) and really poor look and construction. Of course, the price is less than any modern Chinese or Japanese kits.
The scale is definitely much smaller than on the box. As my best guess, it is nearby to 1/40 instead.
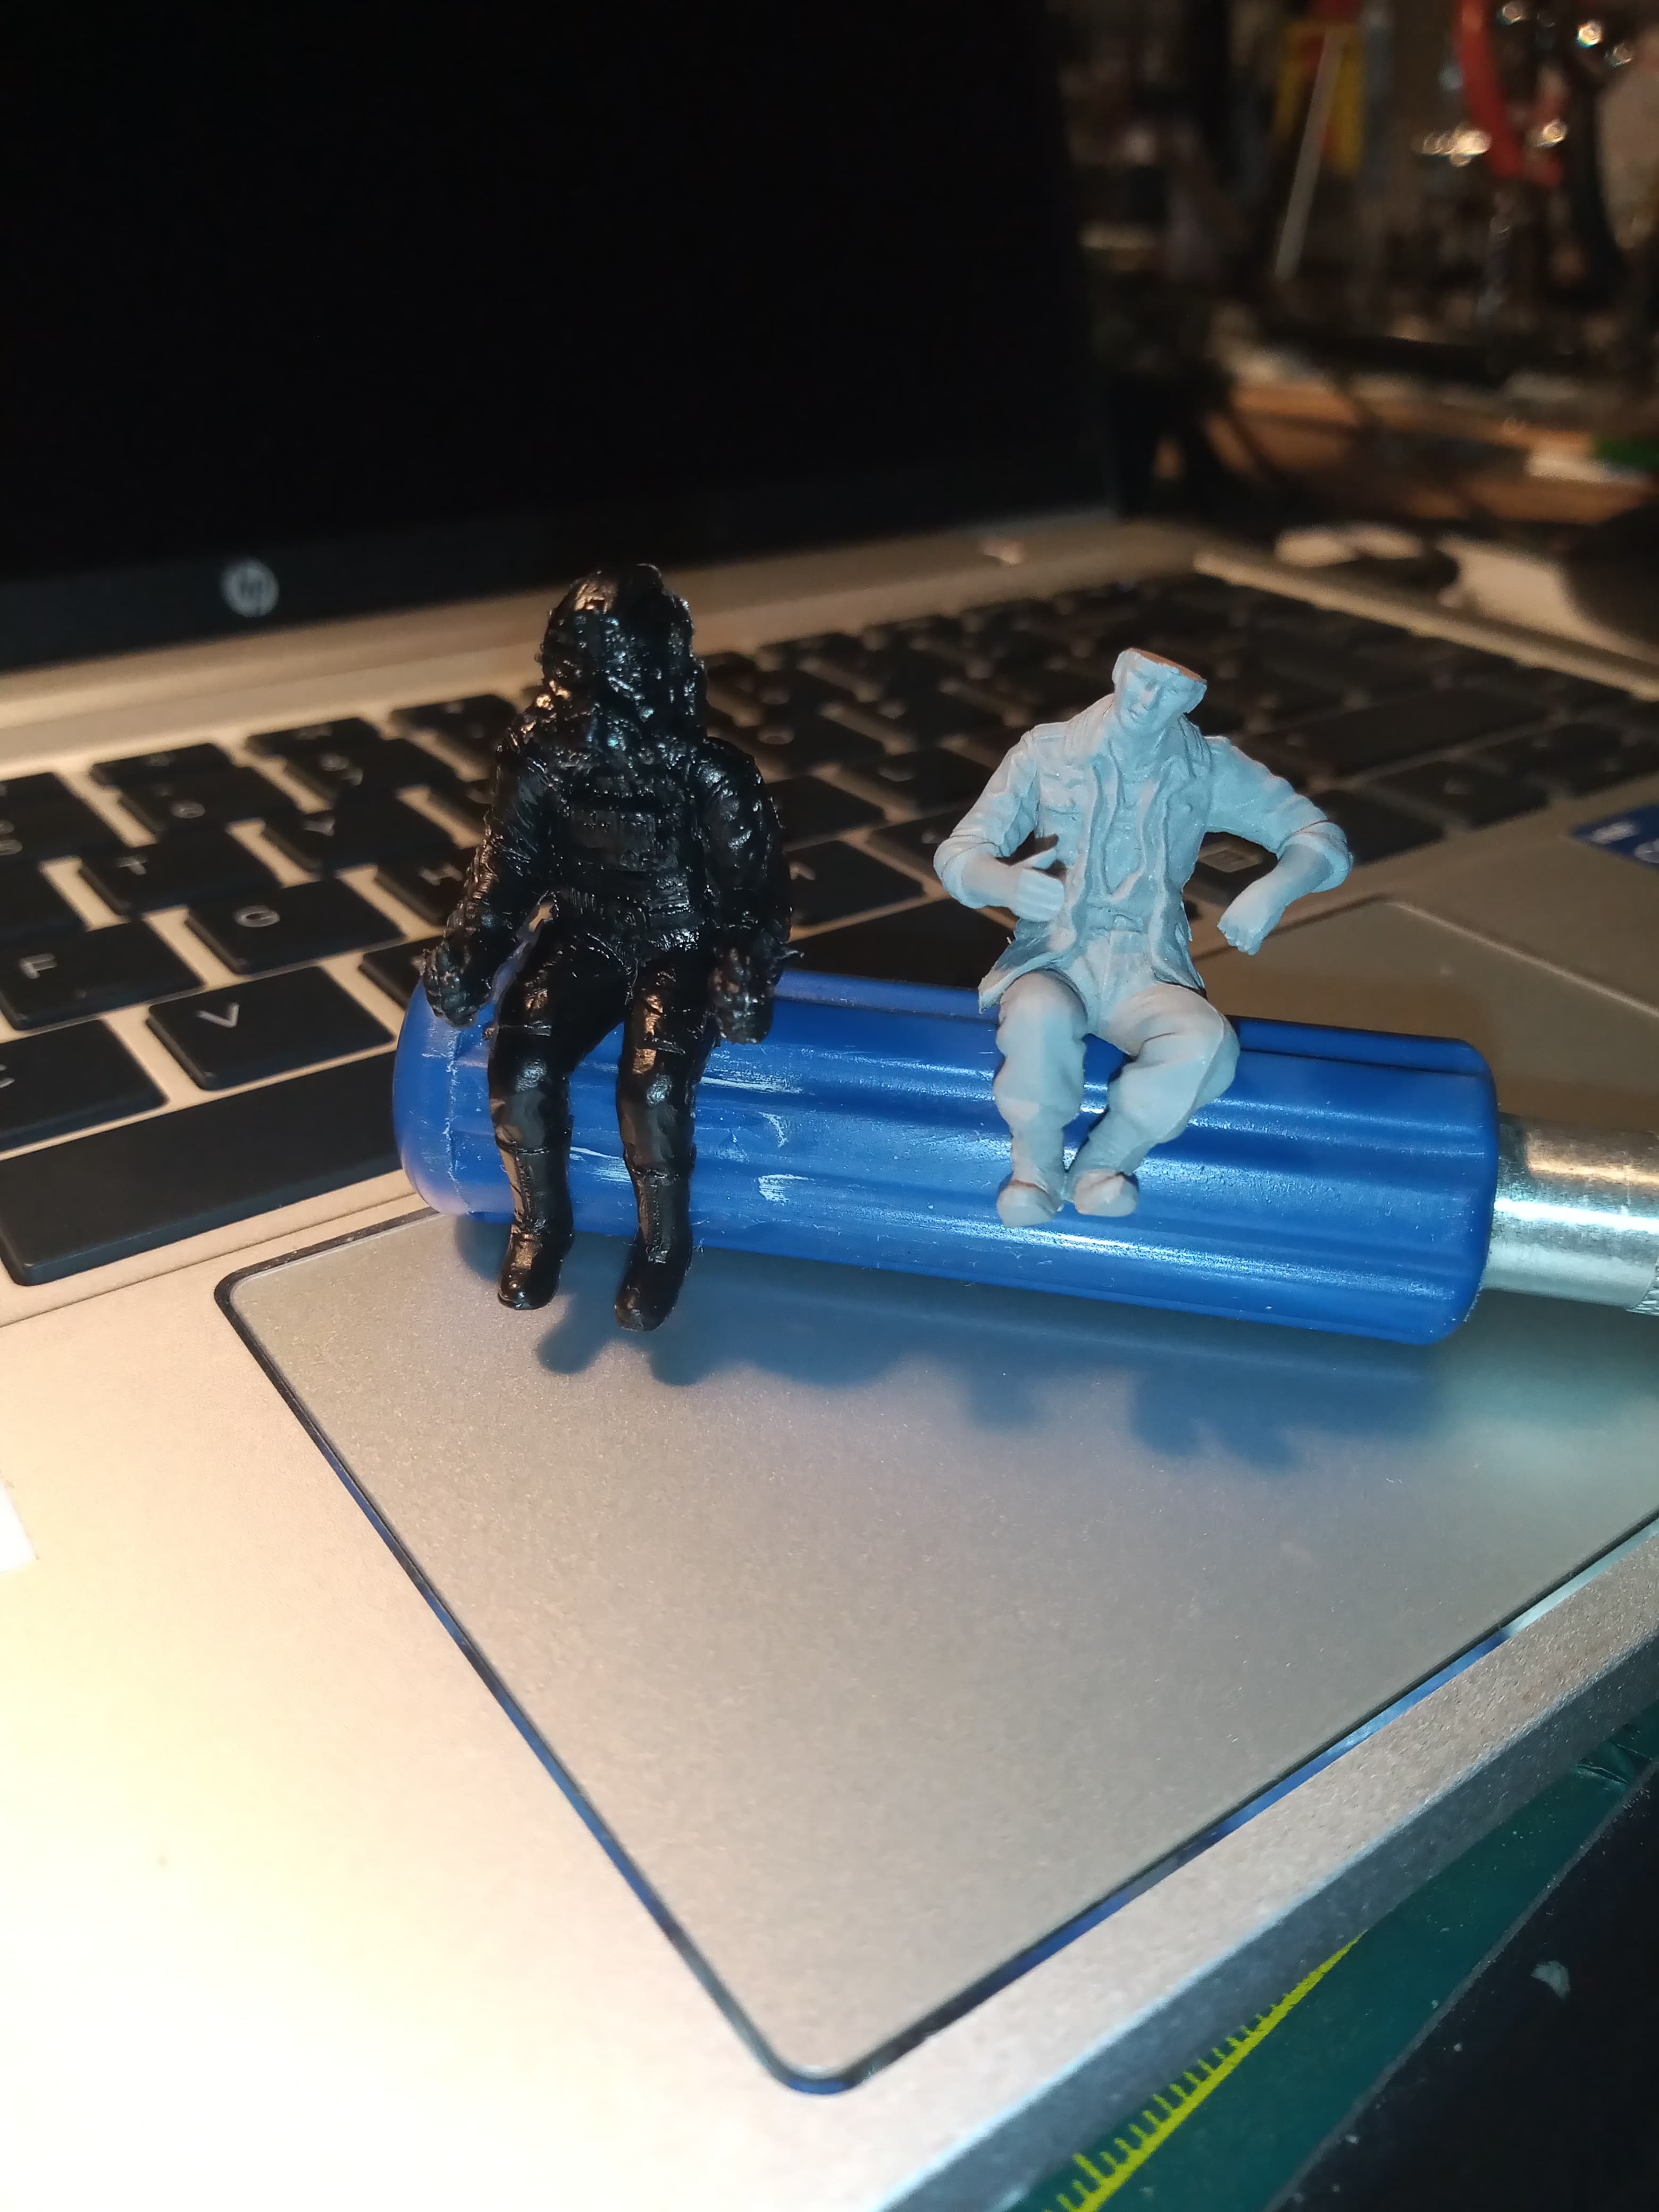
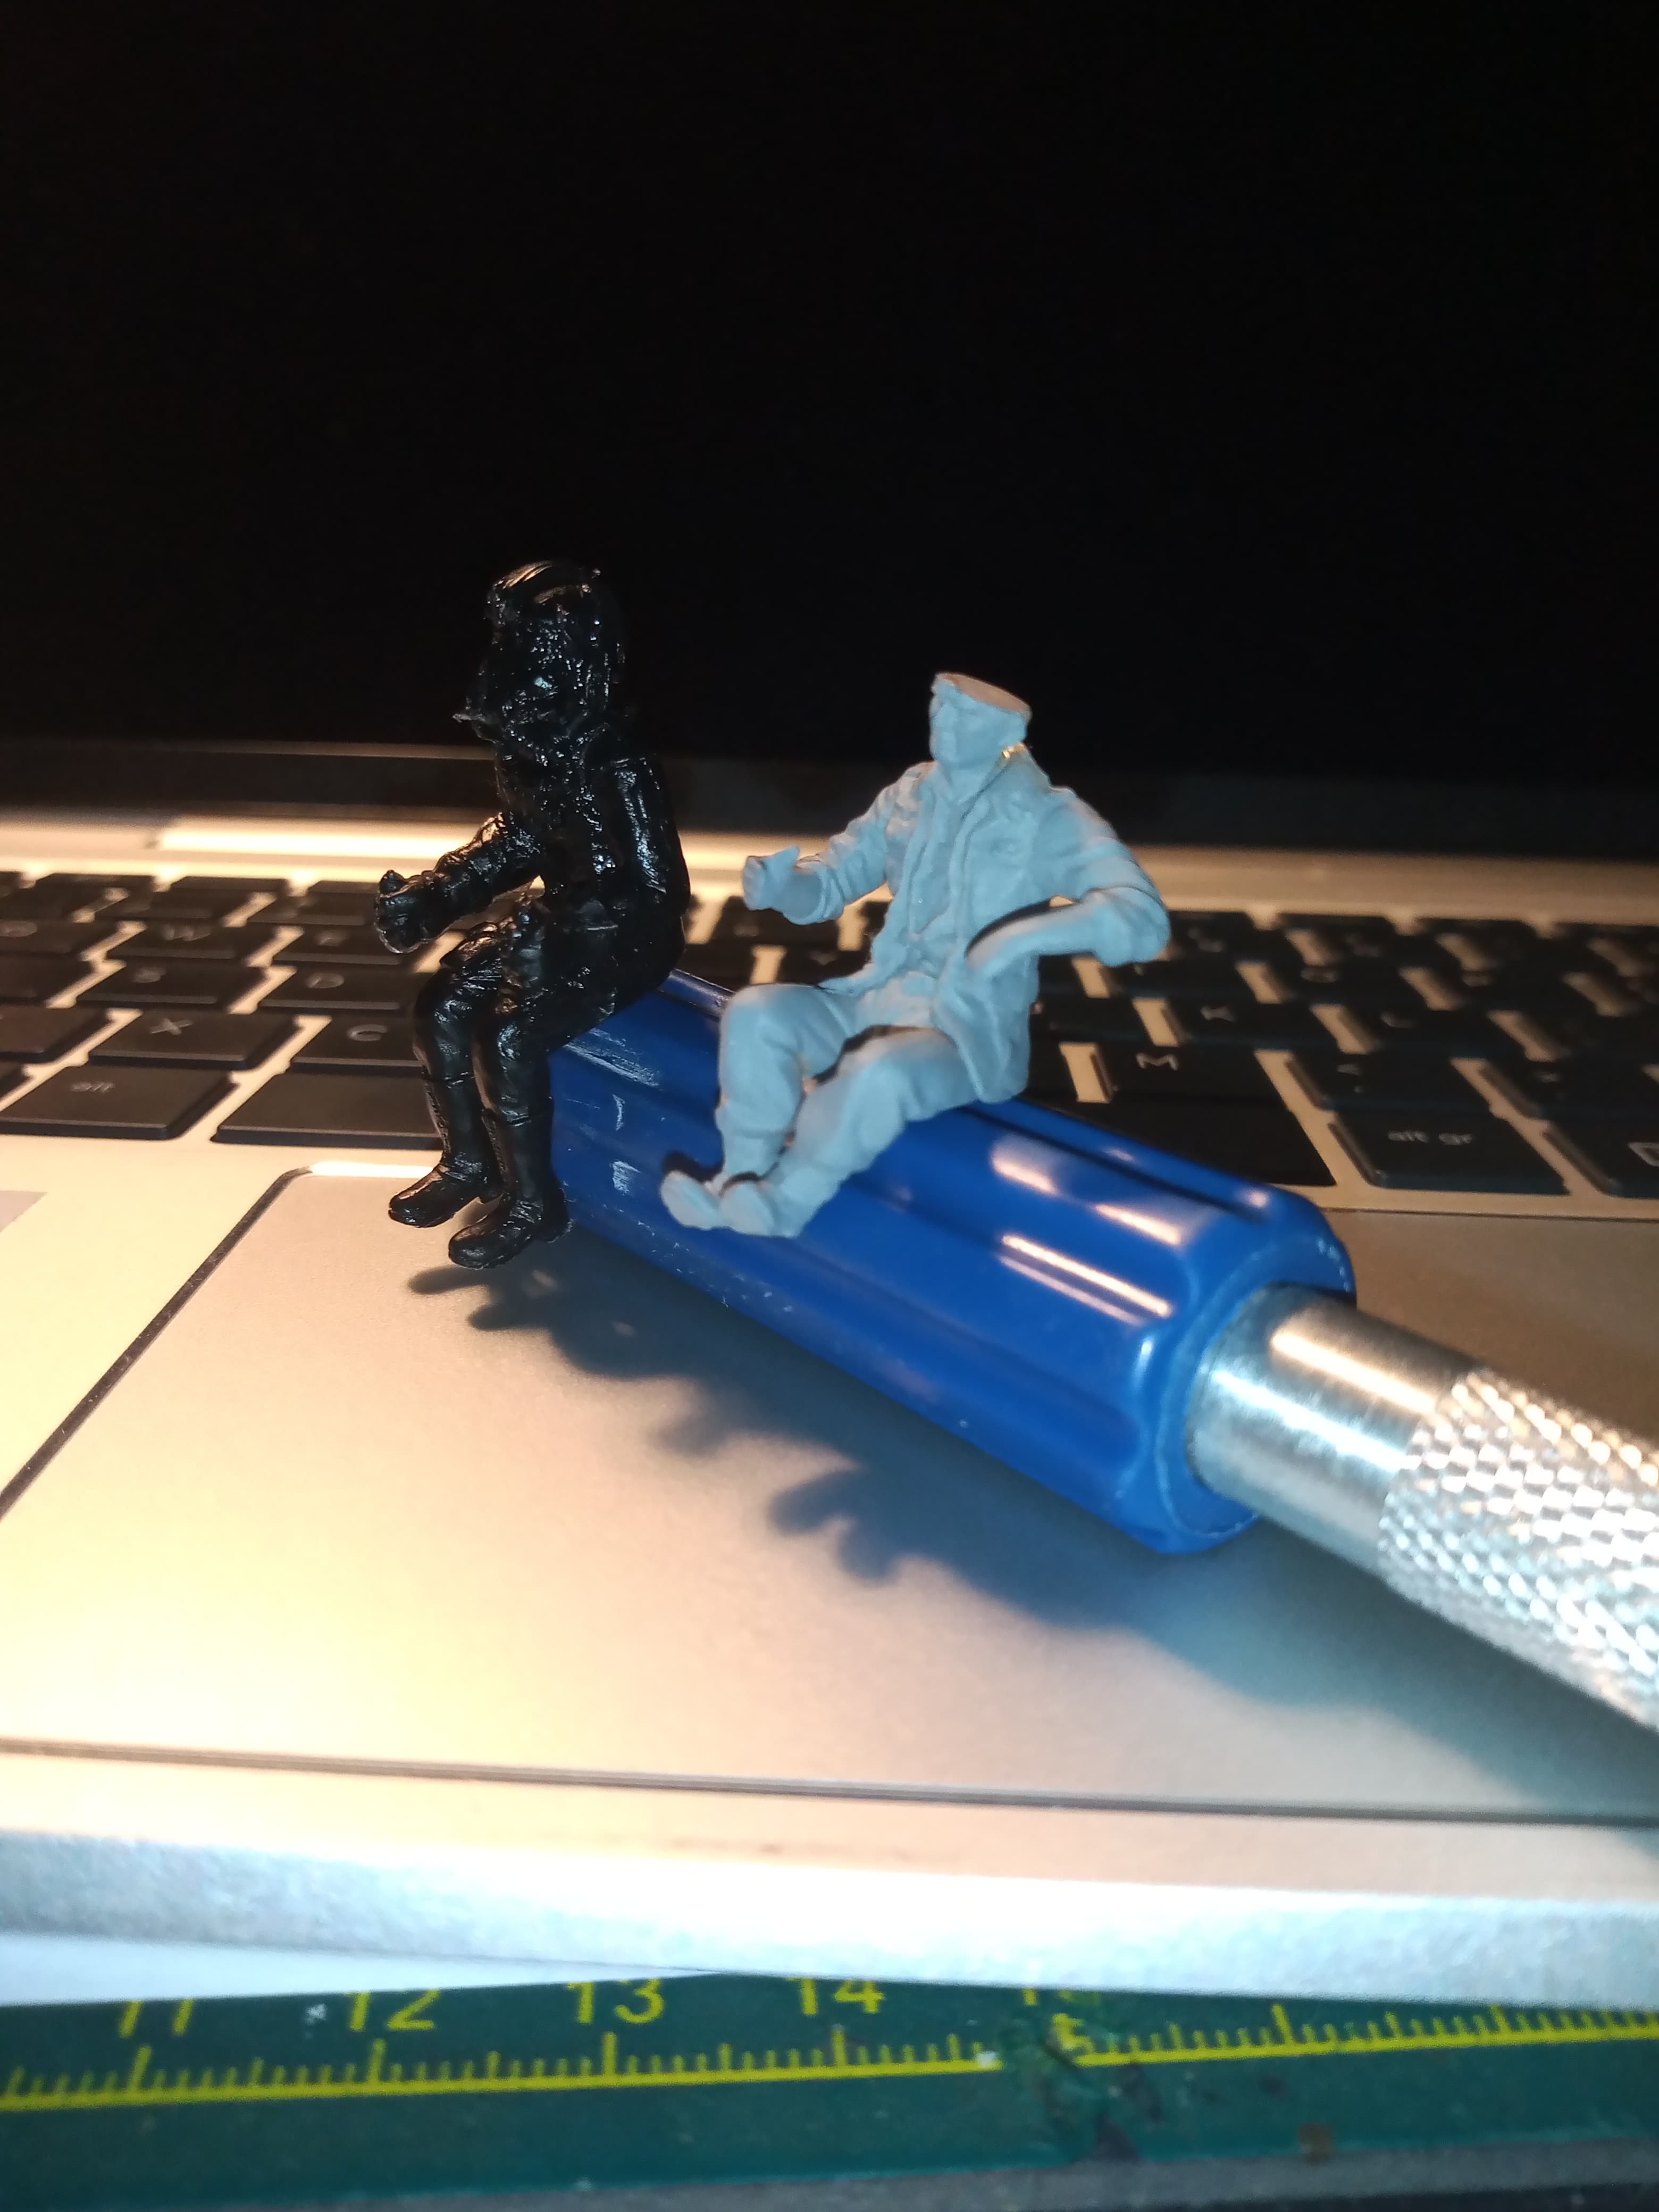
As you can see, the cockpit is nothing more than a funny inflatable mattress which you would use on the beach. Luke and his fellow rebel would be punished sitting on it during the battle on the ice planet Hoth. The figures provided by Revell are simply dwarfs in 1/29 scale and closer to the Jawas than to Mr. Skywalker.

Interestingly both sides of the cockpit tub are full of dials, instruments even on those areas where neither the pilot, nor the gunner could reach or look. Later I had to sand flat those areas to have the most realistic look.
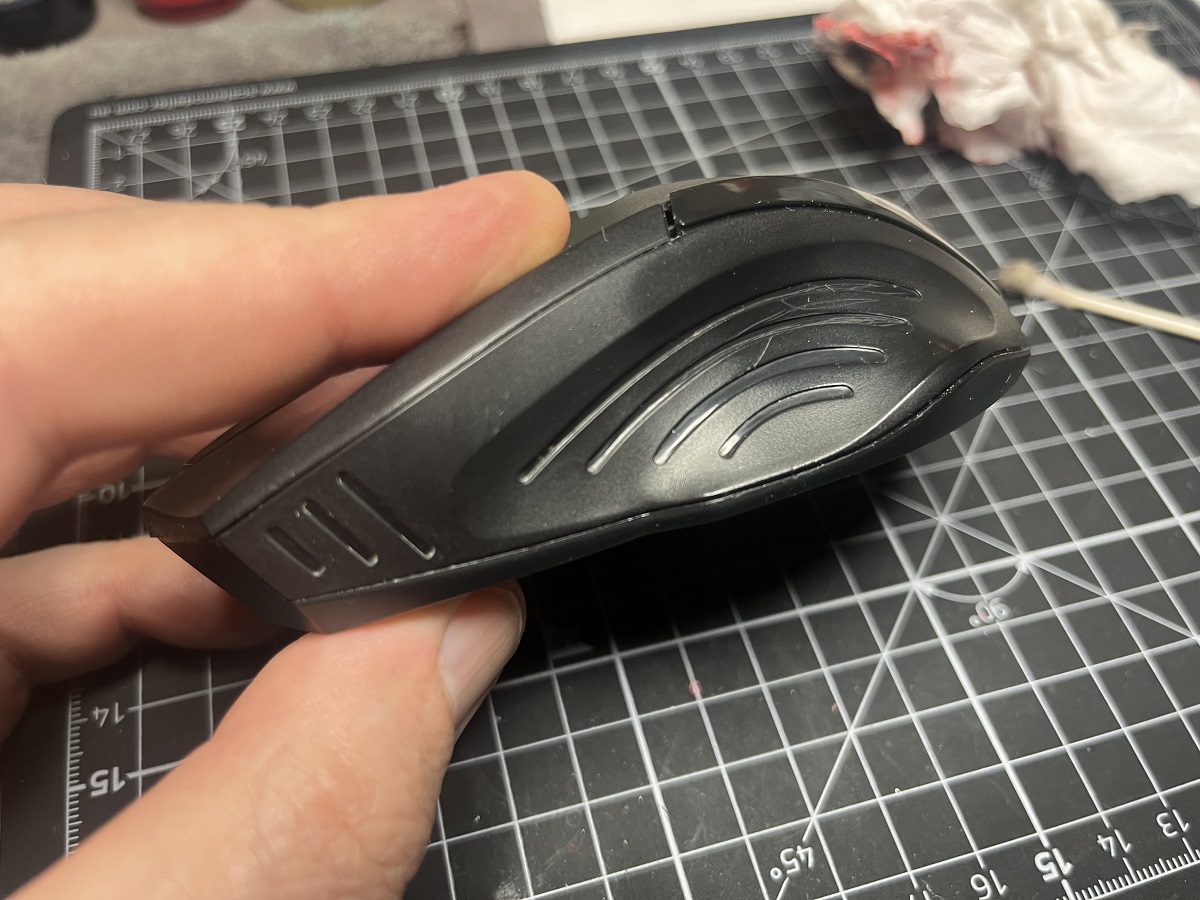
The panel lines are present but very much poor and not sharp at all. Also the construction is very poor, big gaps everywhere. Btw. no glue needed to assemble the kit. It is more like a toy.

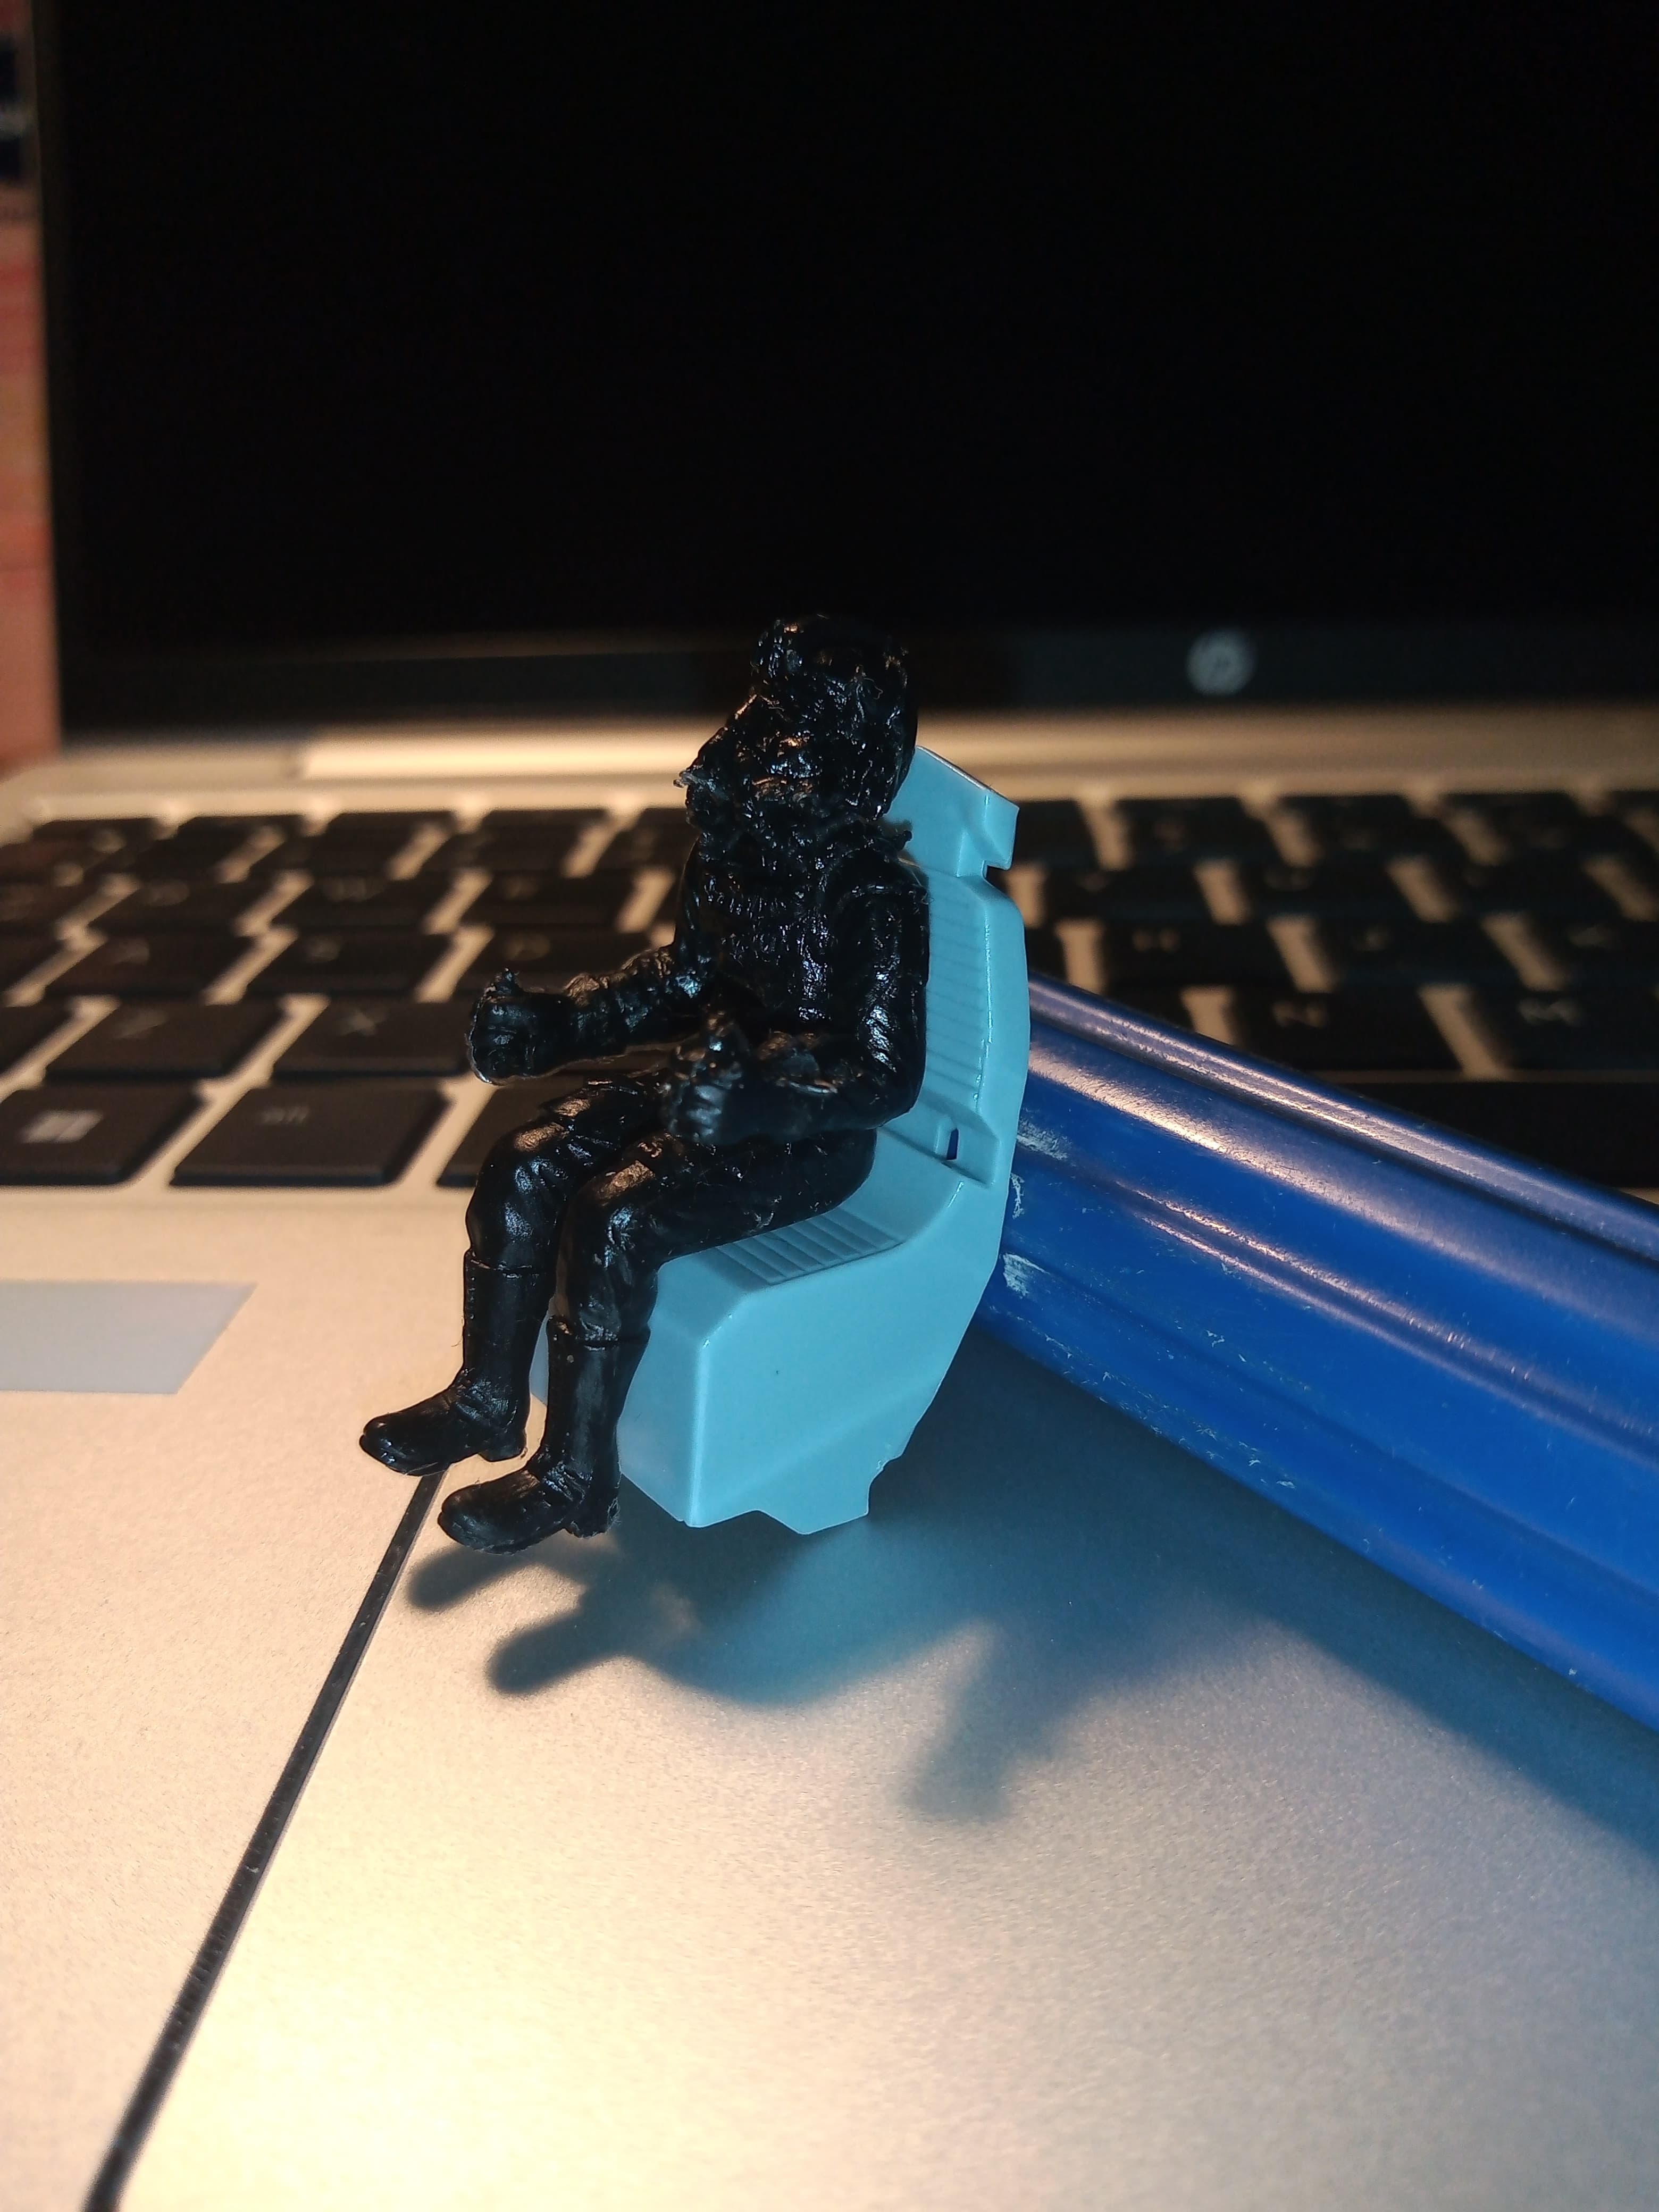
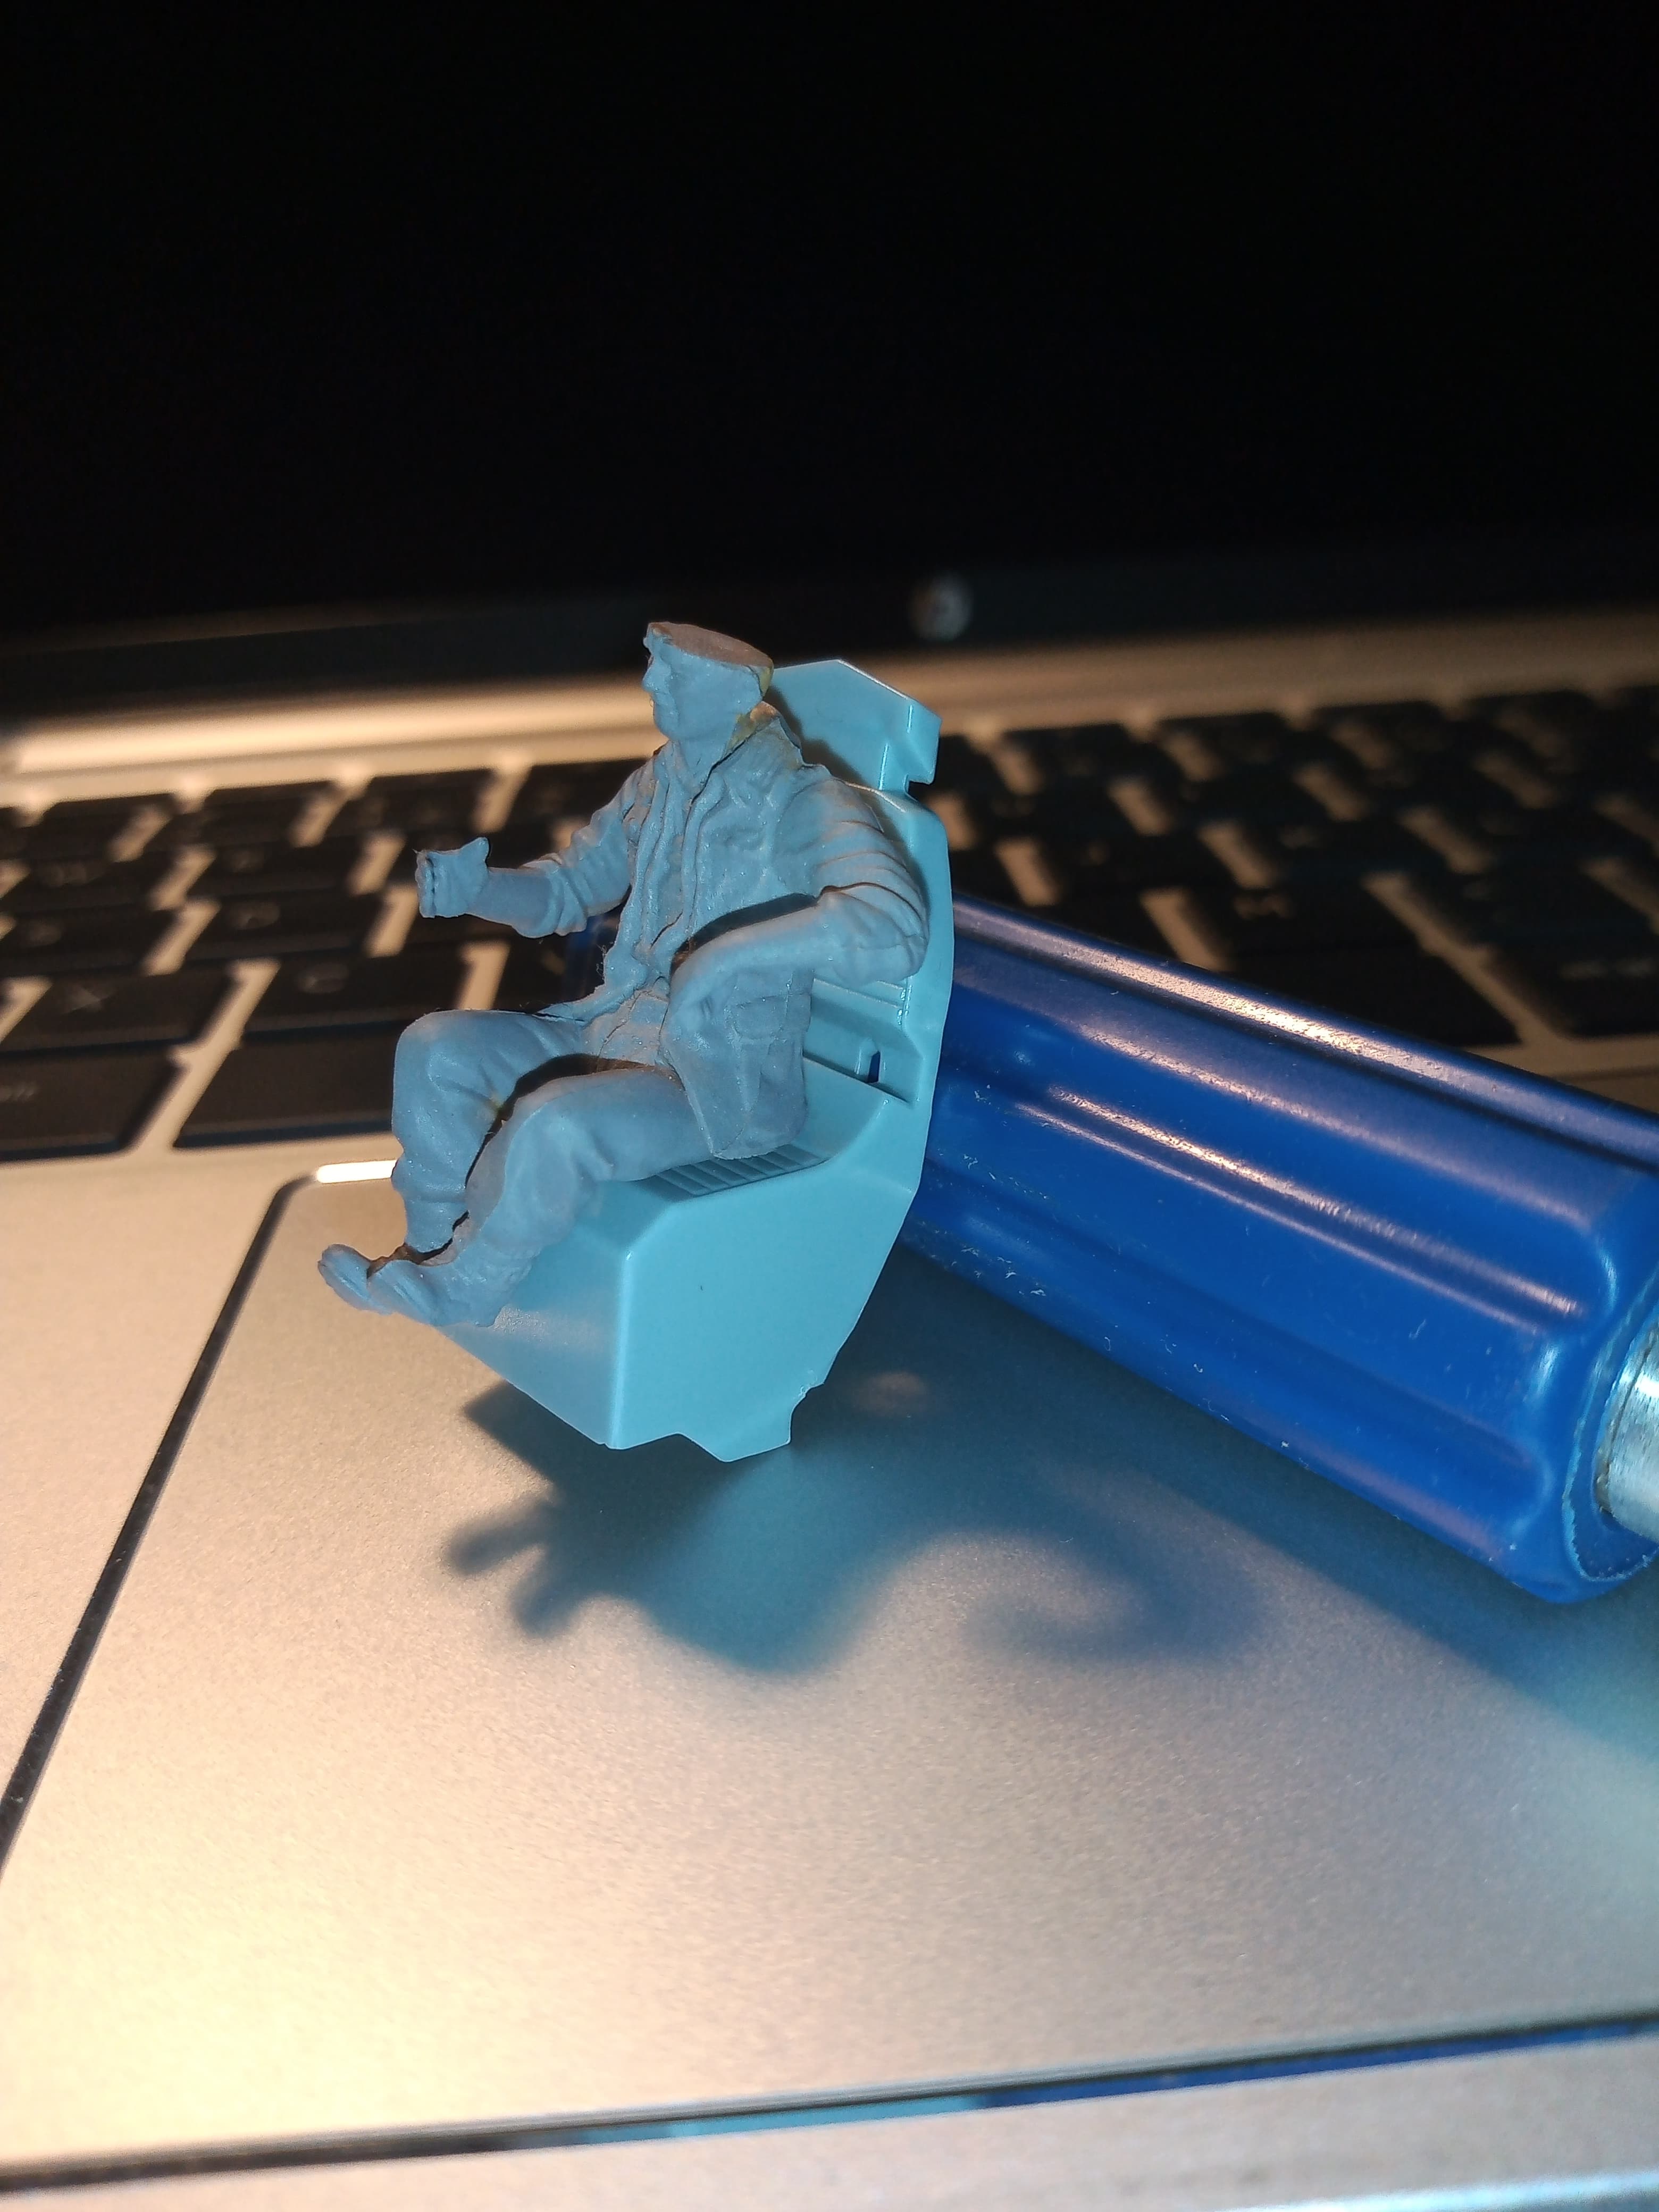
Anyway. I purchased this kit because it is the closest to my preferred 1/35 scale (I am building tanks mostly). Did know the scale of the challenge to bring up the kit to the Meng or Tamiya level so bought some random 1/32 scale plane a/m parts: 3D printed Martin-Baker Mk II ejection seats, instrument panels and some 1/48 missiles.
The subject is a “what-if the Hungarian Air Force had a low-flying, slow-speed attack plane in the shape of the Snowspeeder”. My plan is to paint it into the latest armor camo of the Hungarian Defence Forces (that you can see nowadays on the Leo II tanks, the PZH-2000 howitzers and so force :-)))
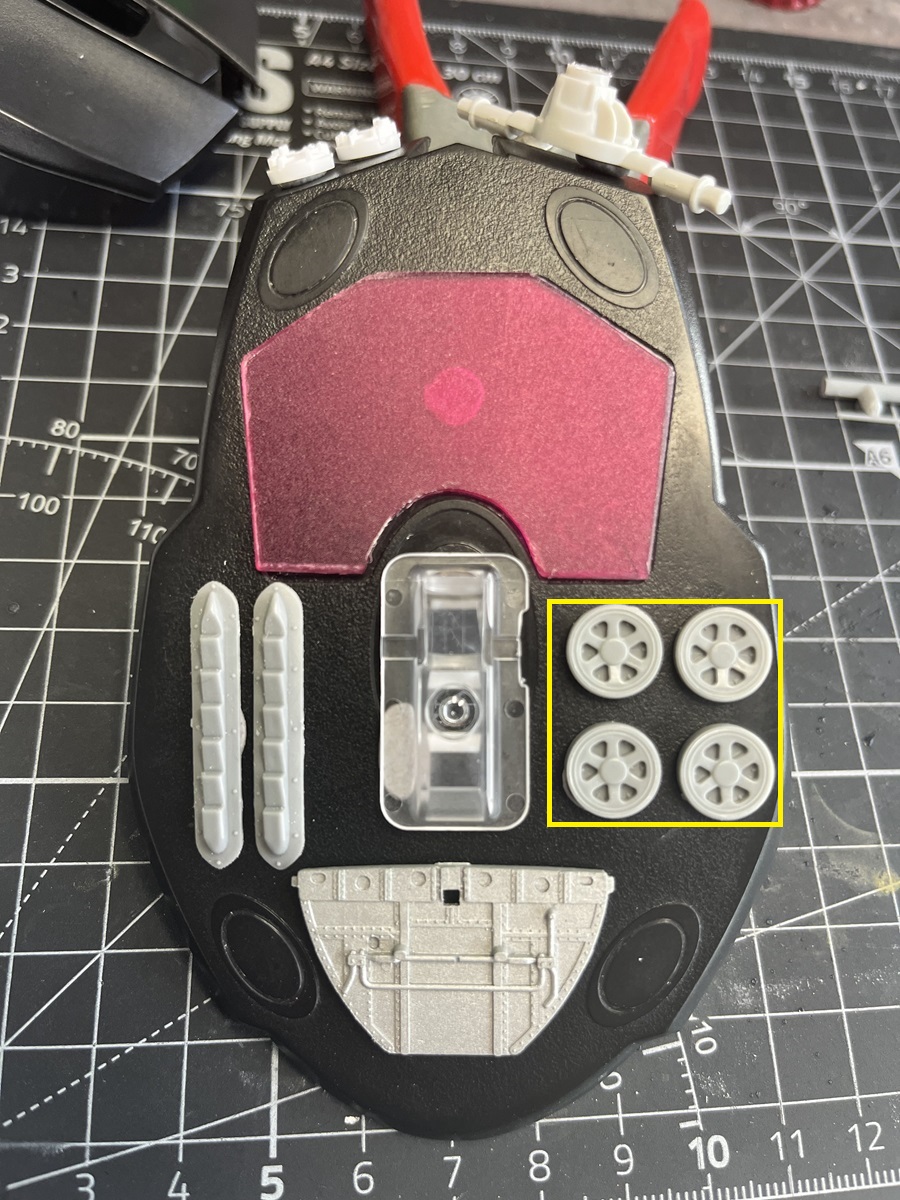
The first steps were done in the last three days. All panel lines are re-scribed already, the holes in the side parts (for the crew to step-on) and the end-part of the cannons are drilled.

Also had to completely cut out the “seat” and the cockpit bottom to ensure the Martin-Bakers will fit in. No, they do not, even after the surgery done on the kit. I opted to move the gunner’s instrument panel with some 3 mm. Even this did not help. Finally I had to remove the bottom part of the M-B seat and also remove the mid part of the head-rest. Now they fit and the canopy can be closed (I will keep it open probably, but lets see what the painting will result).
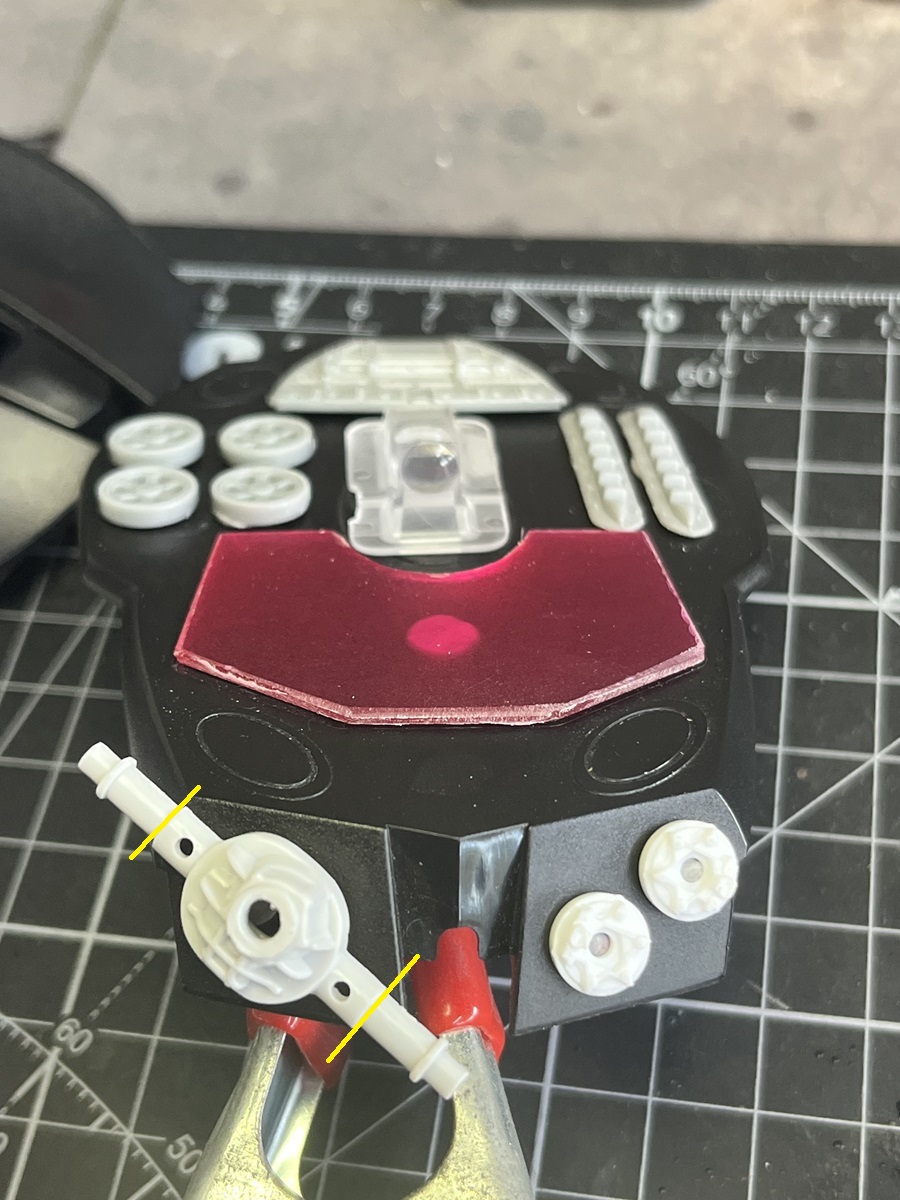
The cannons were assembled, the bad end was also drilled out and some scribe were done in various areas to imitate T-72 main gun-like assembly of the cannons. Also cut some panels on the bottom where I will place the undercarriage. I do not yet have them, a friend of mine promised to sell me a cheap, non-built 1/72 airplane kit where there are proper parts to be used in this project here. I plan to make big openings on the back part and install some modern exhausts.
I hope the planned mods and painting scheme will provide a reasonable looking airplane.
The next step will be to fill the holes of the gunner’s instrument panel and get the missing parts to continue the mods.
Cheers,
Tamas