ok well I’m ahead of schedule, don’t worry that will change
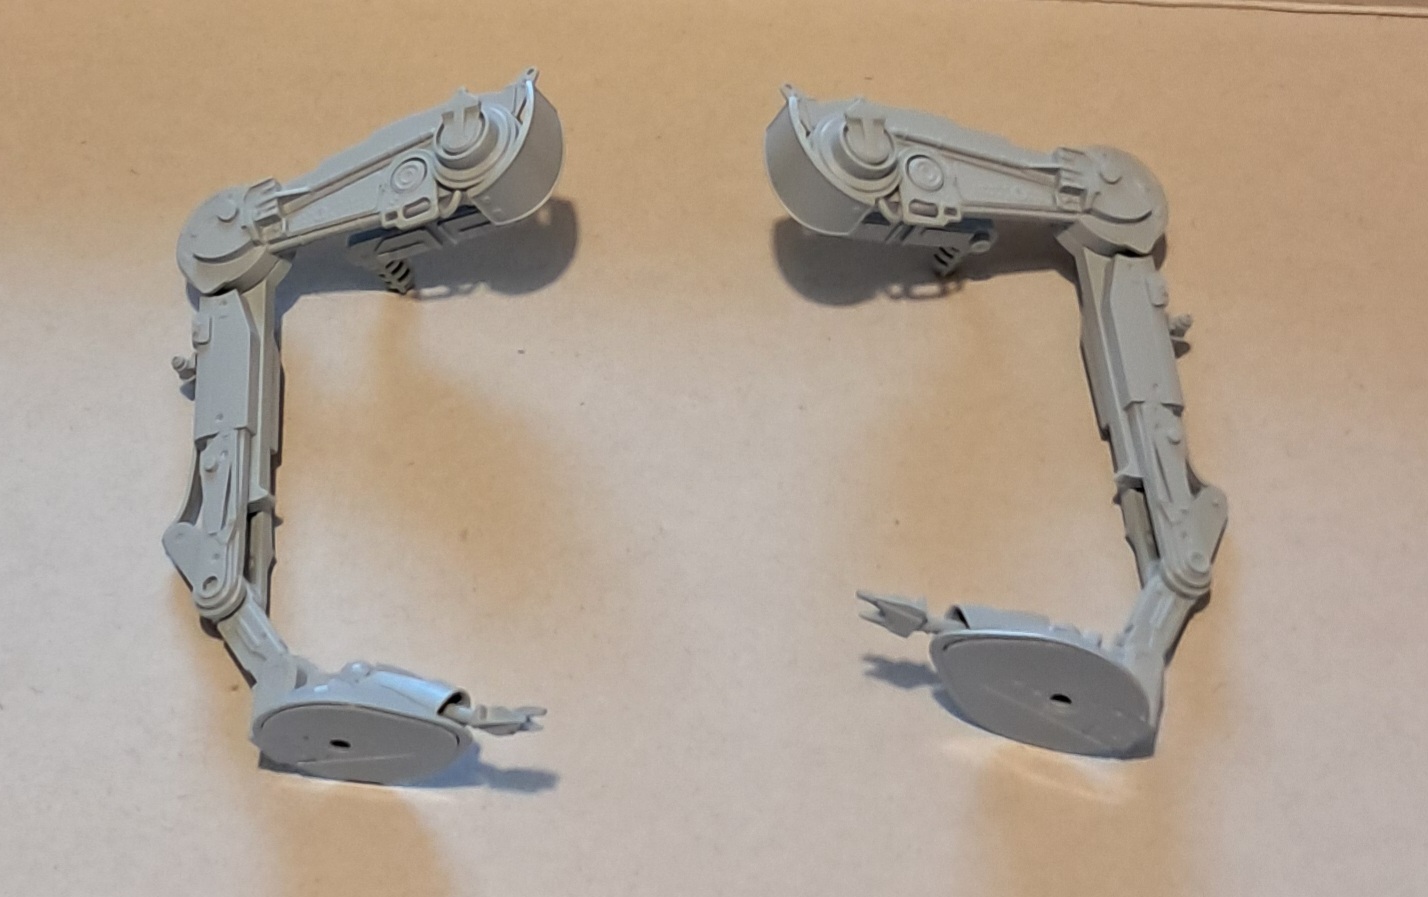
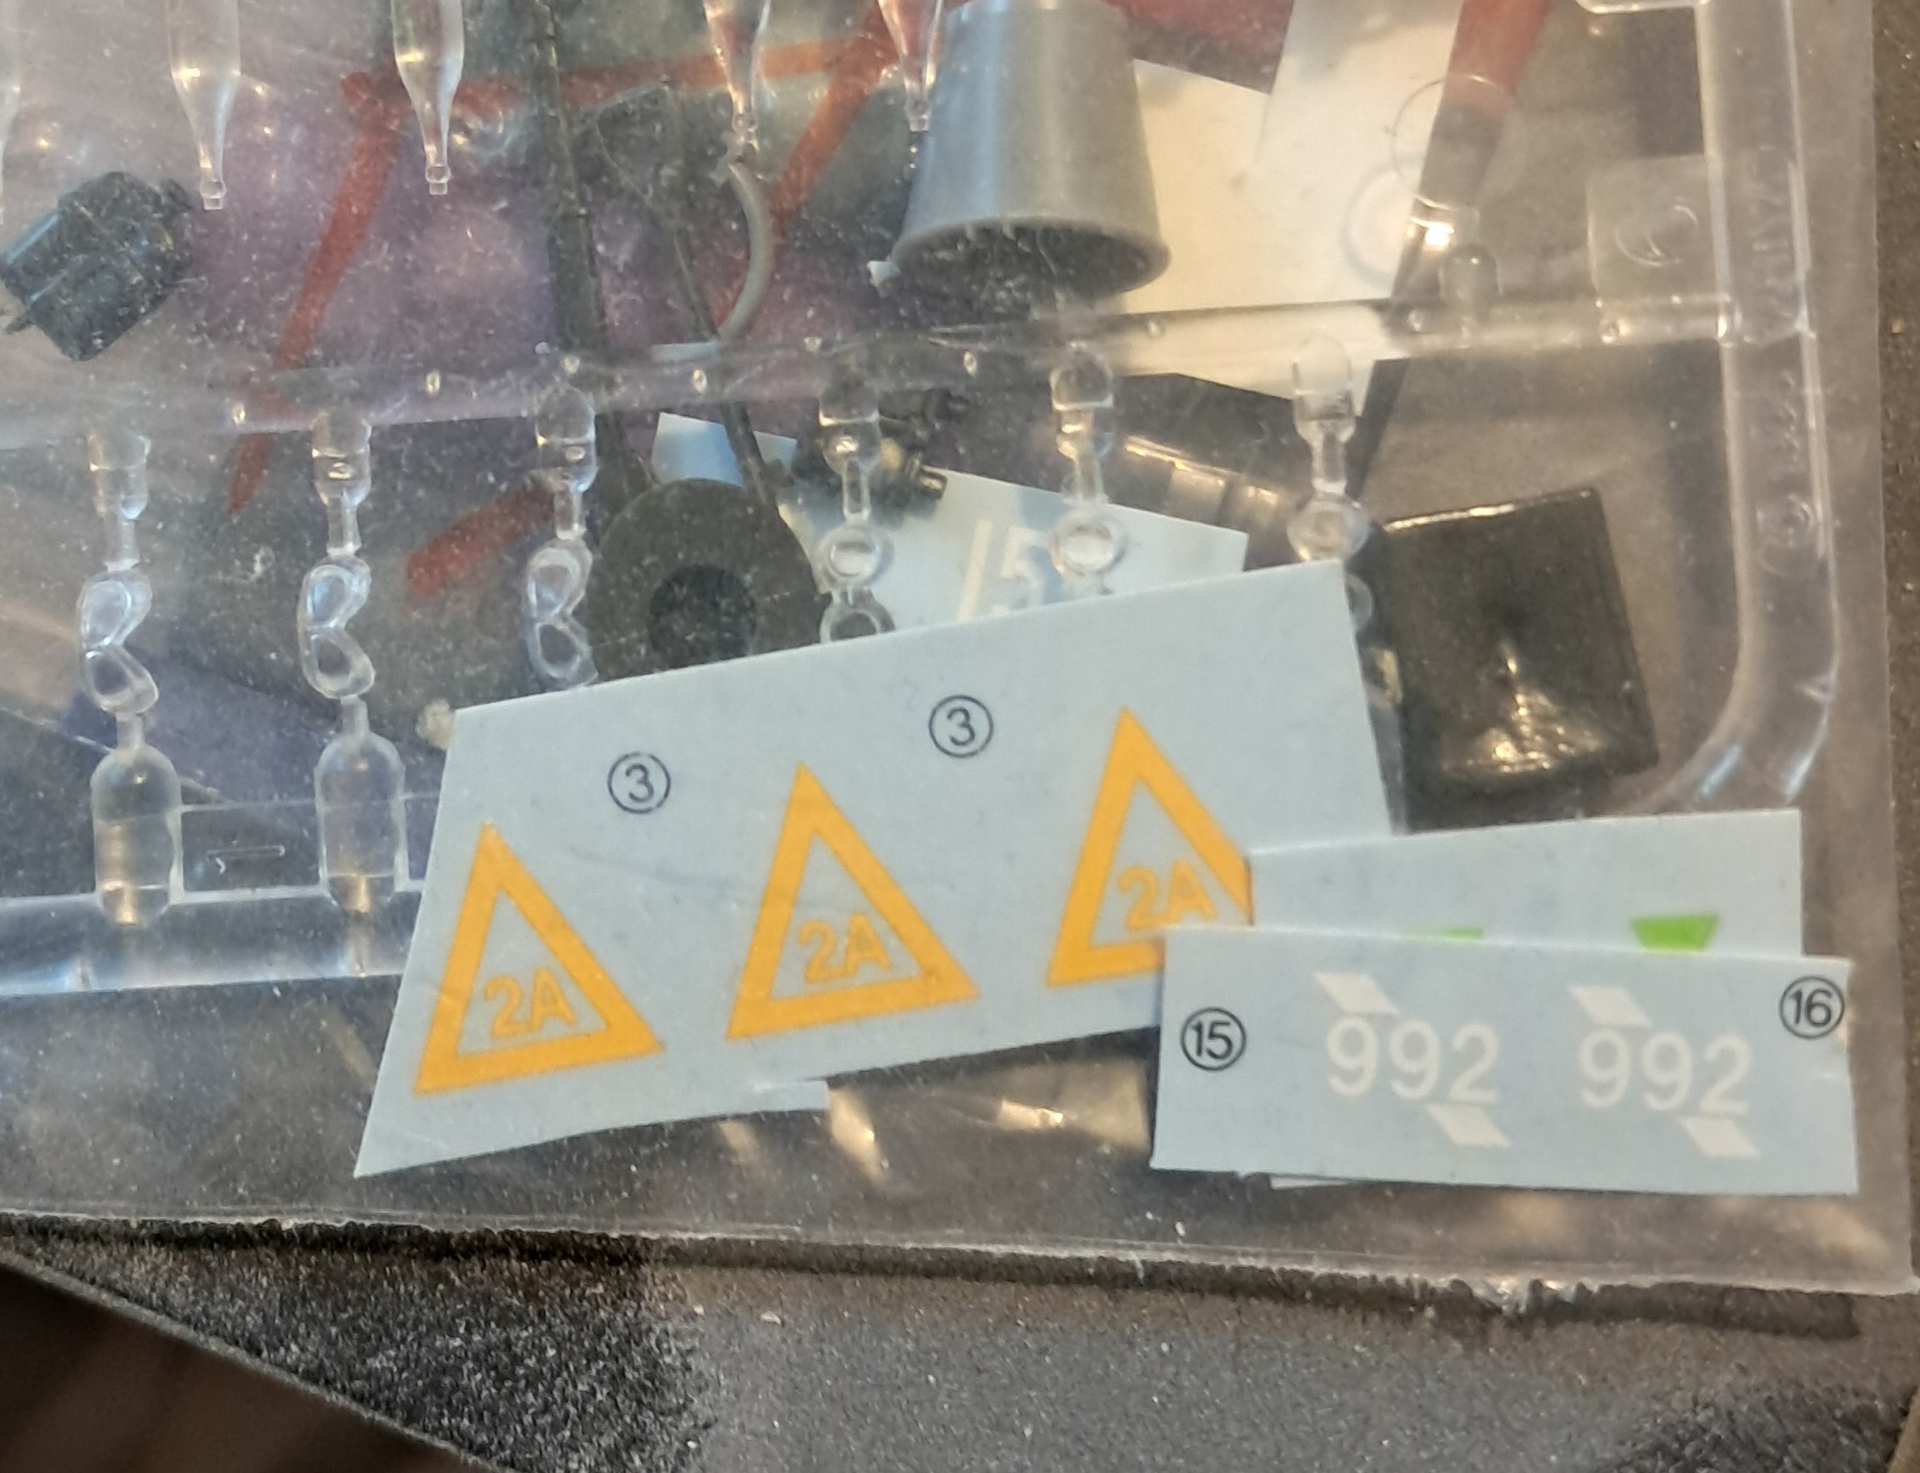
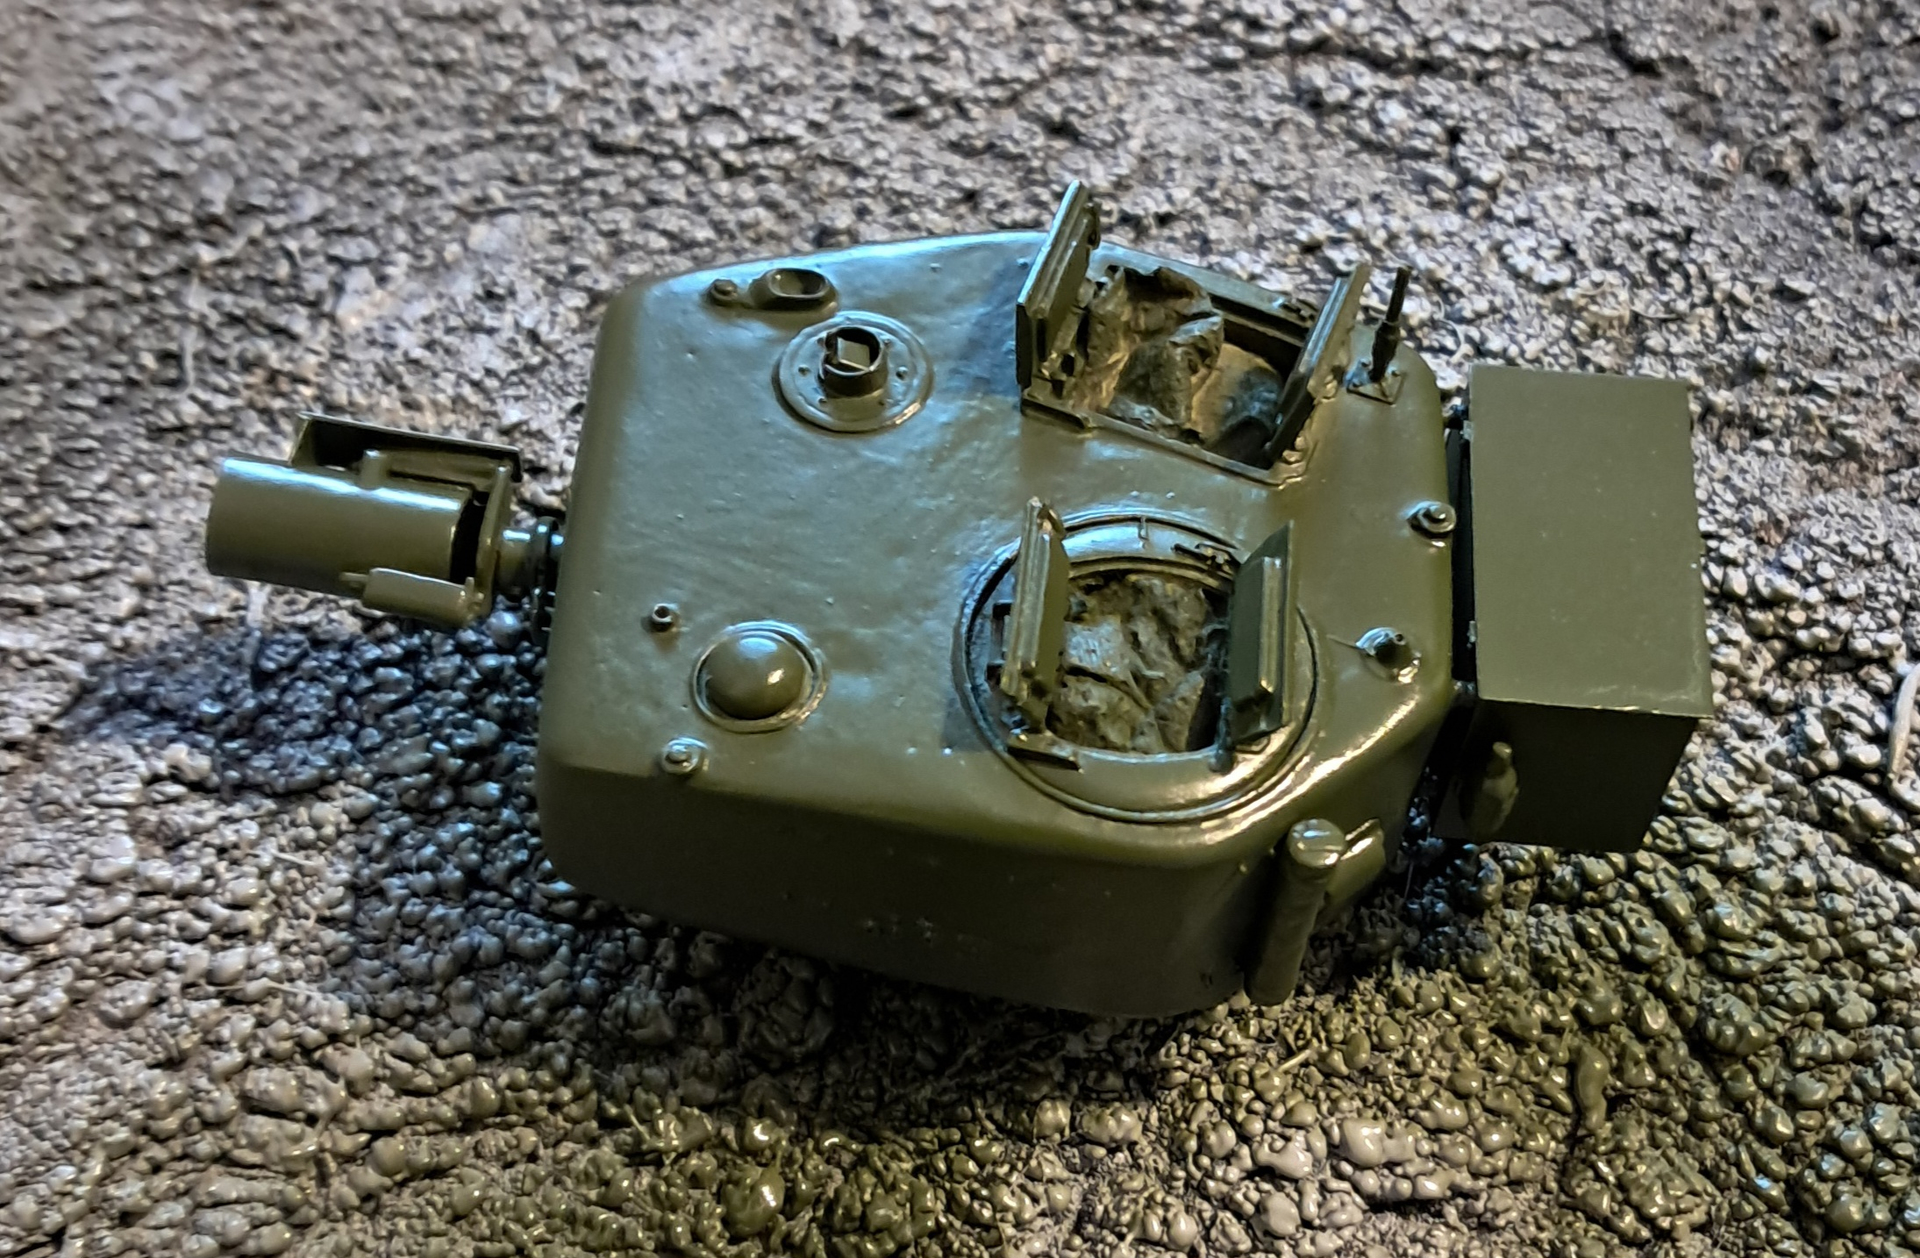
I have assembled the two legs now and I have given the turret a gloss coat ready for some decals. I also managed find some decals in thespares box left over from the tamiya Churchill i built a while ago.
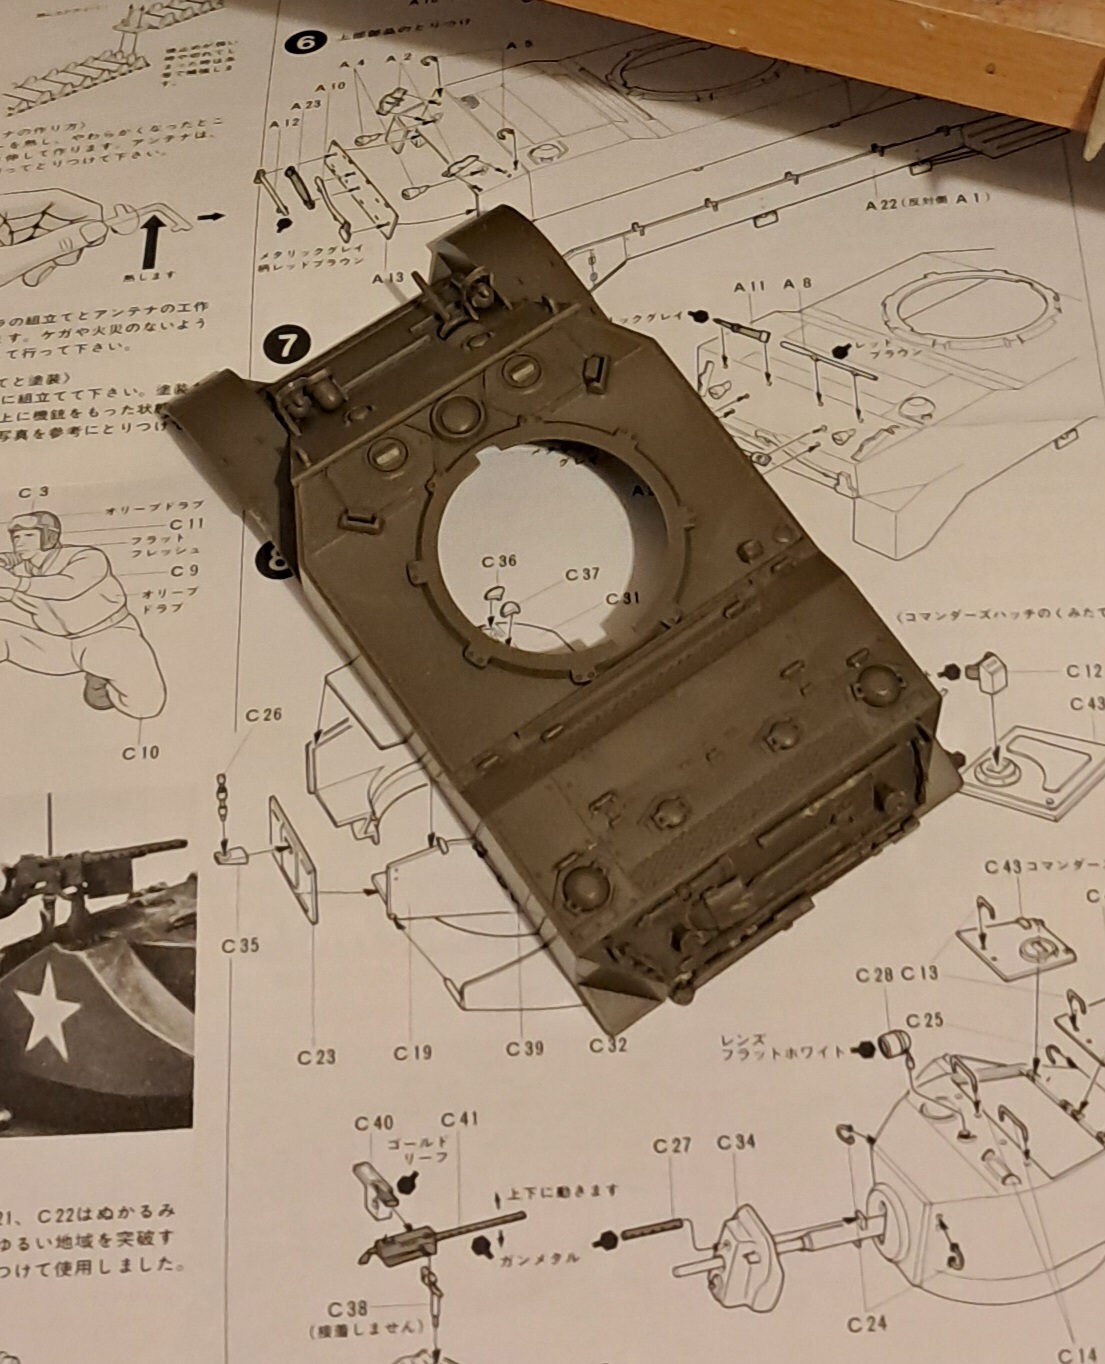
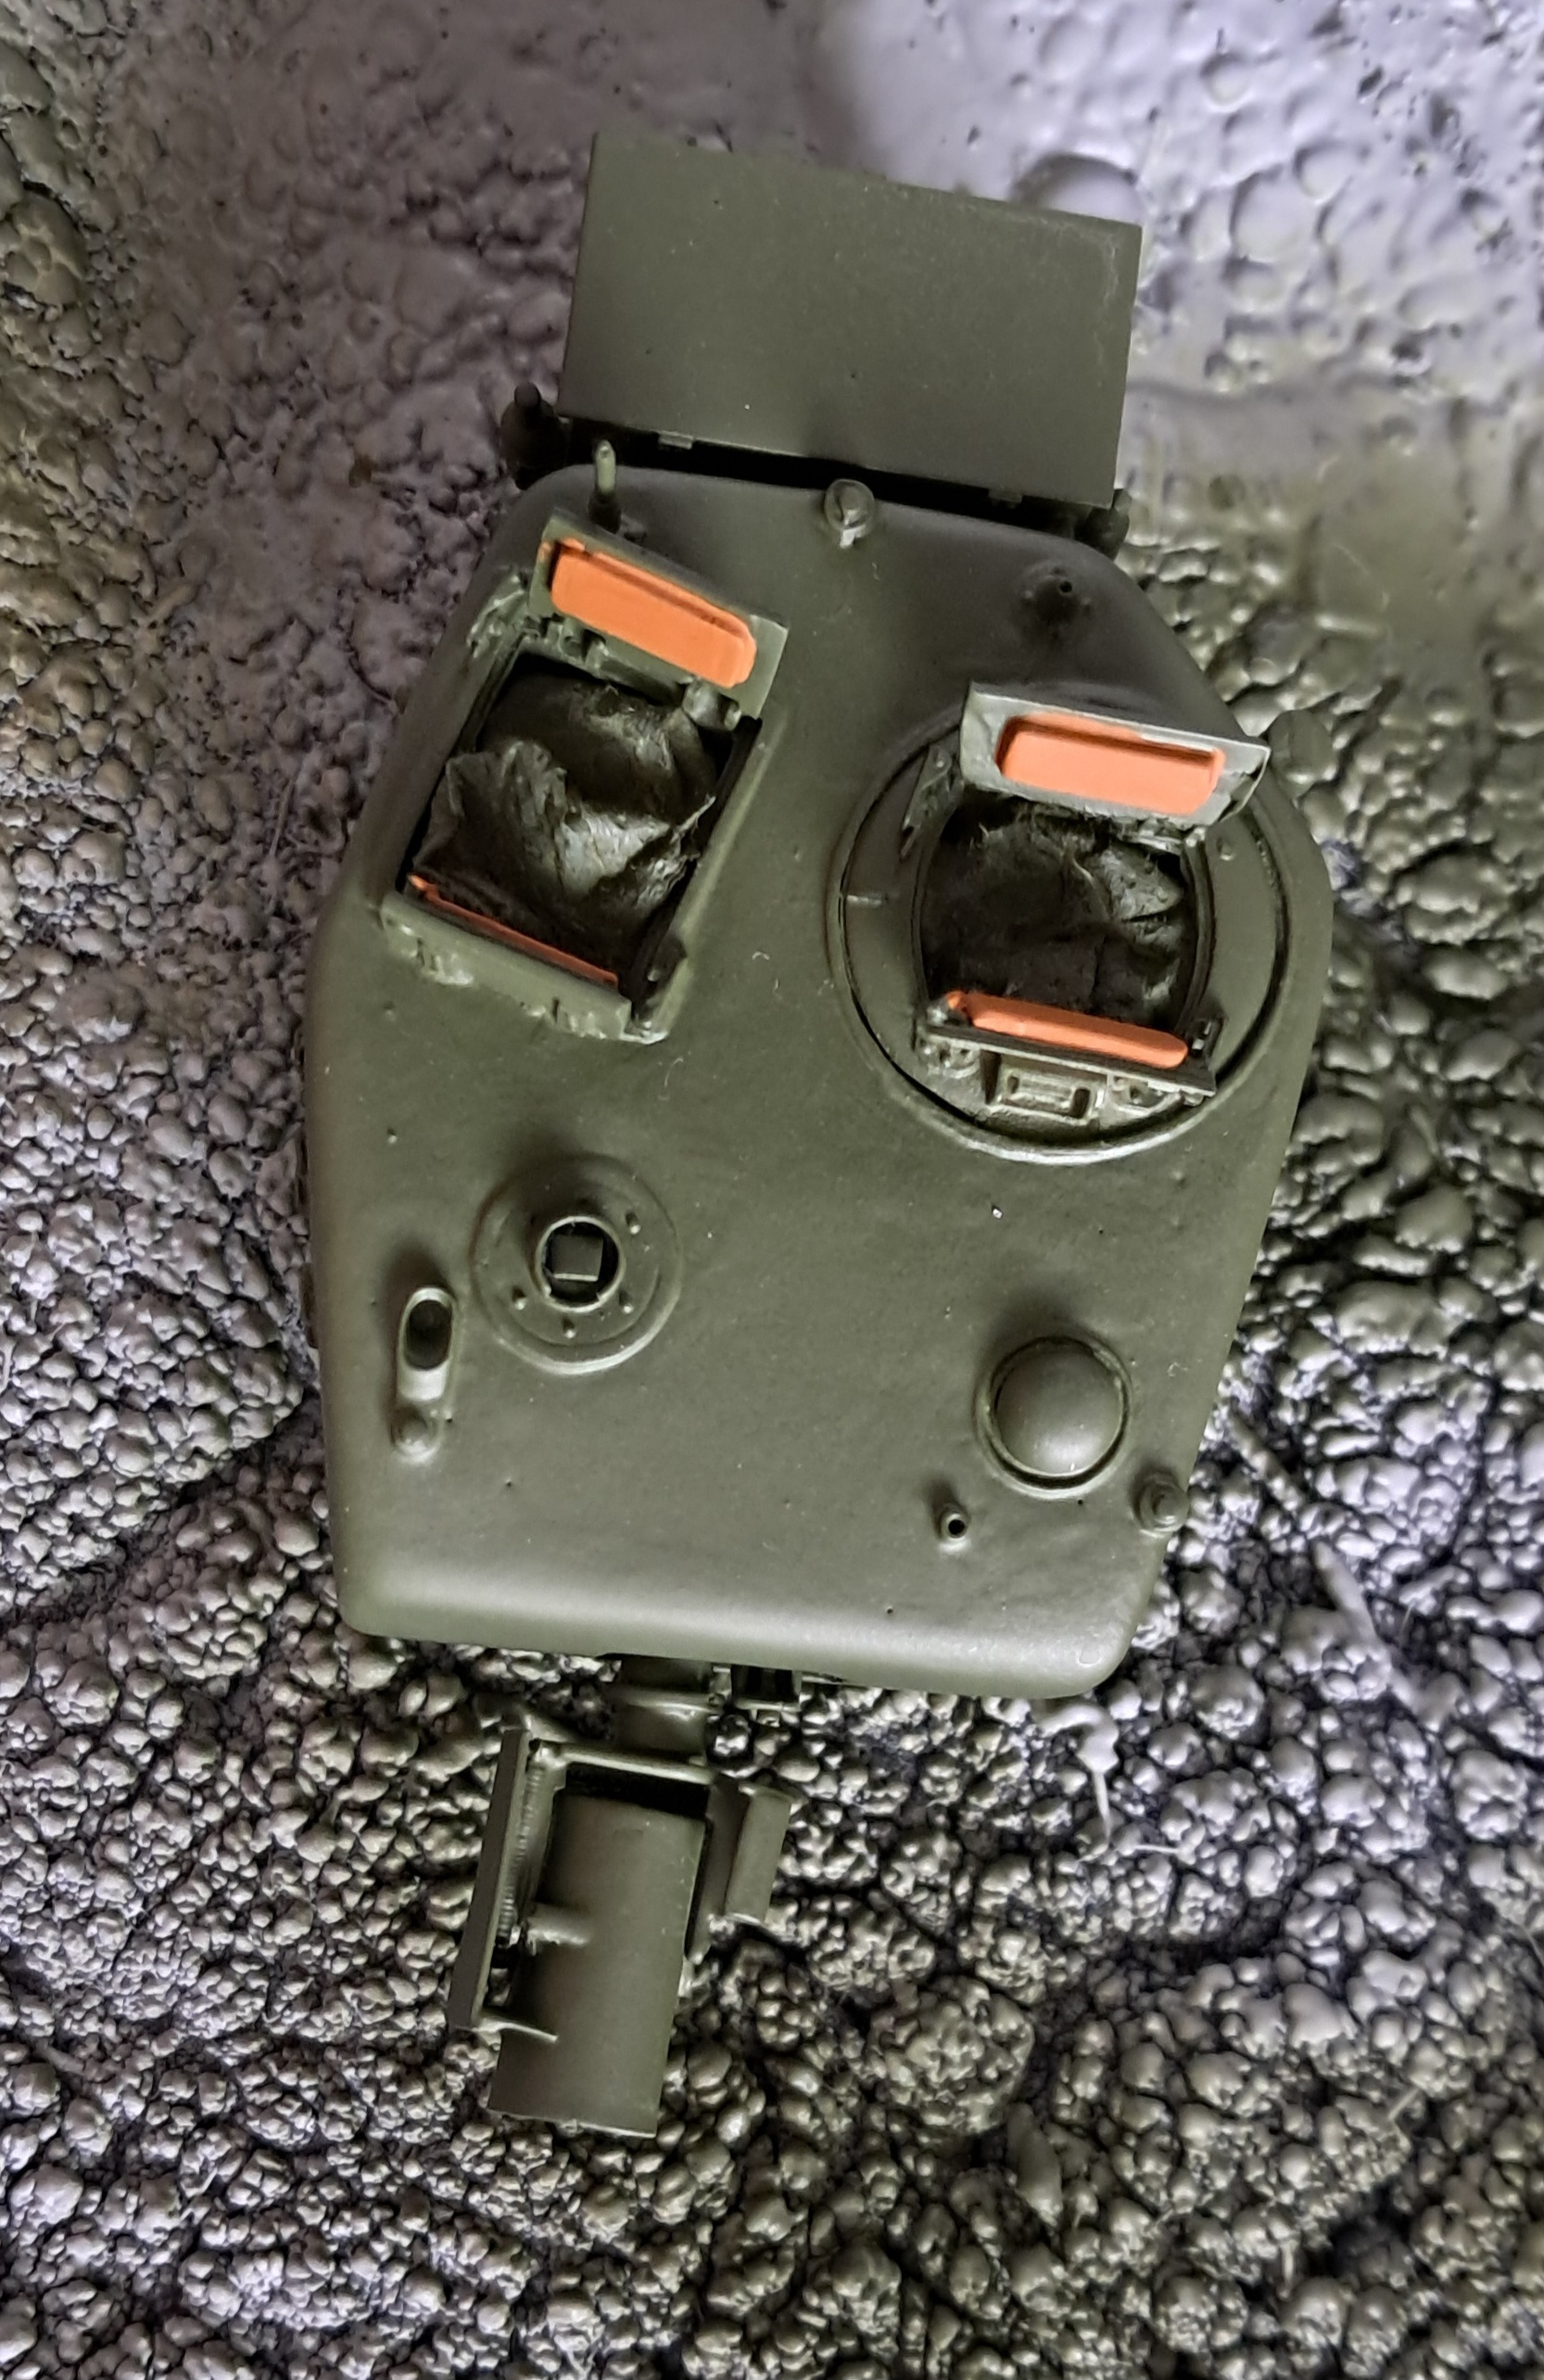
Typo David?. Your pic shows an M5A1 hull, as does your original photo of the donor kit. The M5A1 kit was first produced in 1977. Their original M3 Stuart was made in 1974 - different hull though.
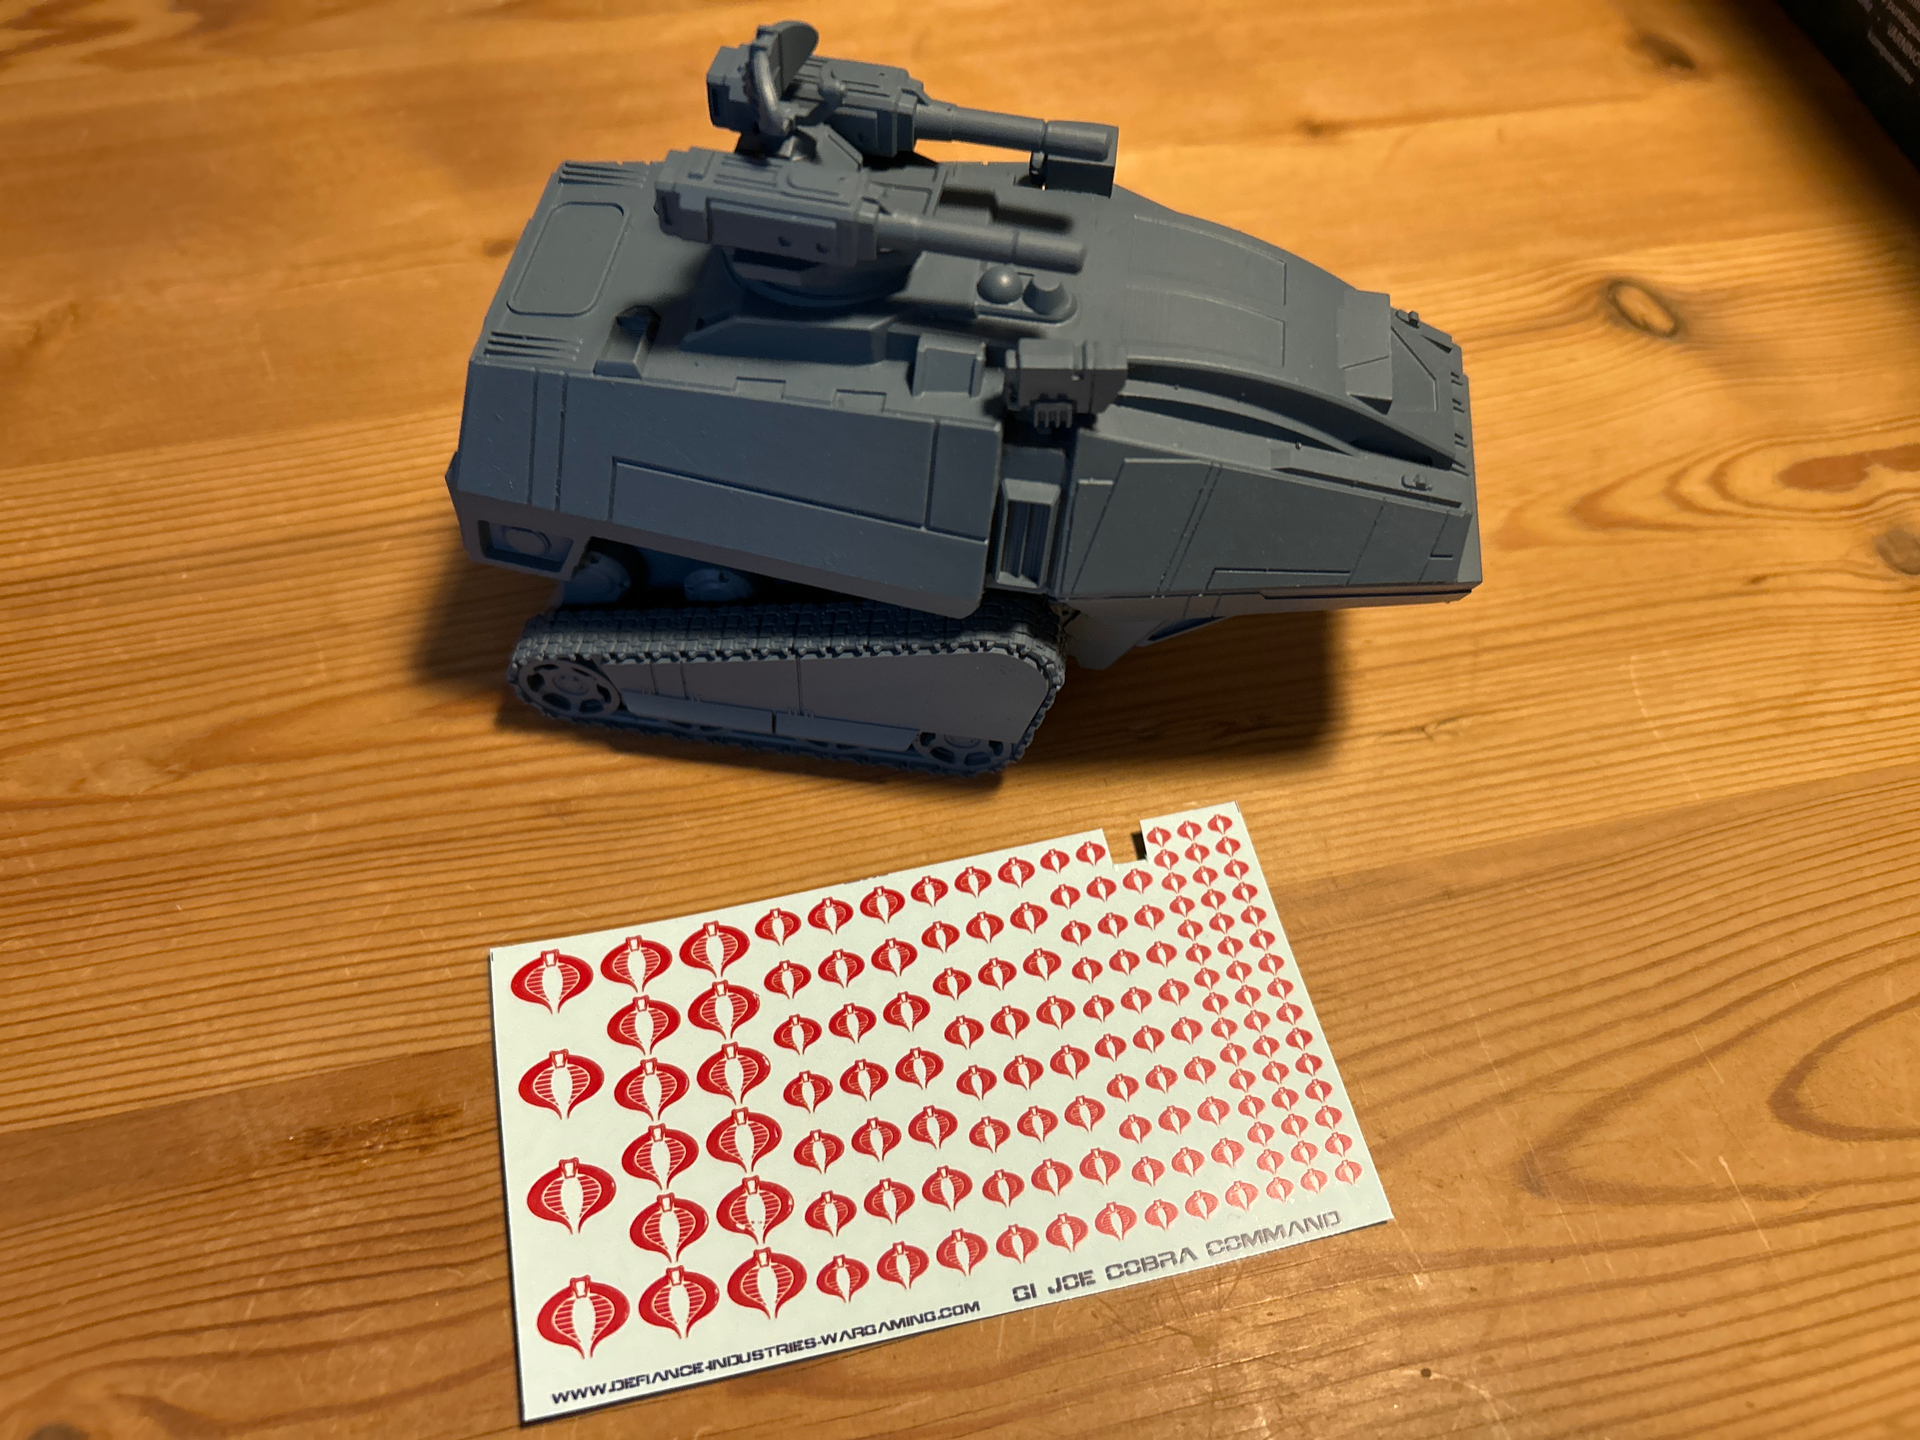
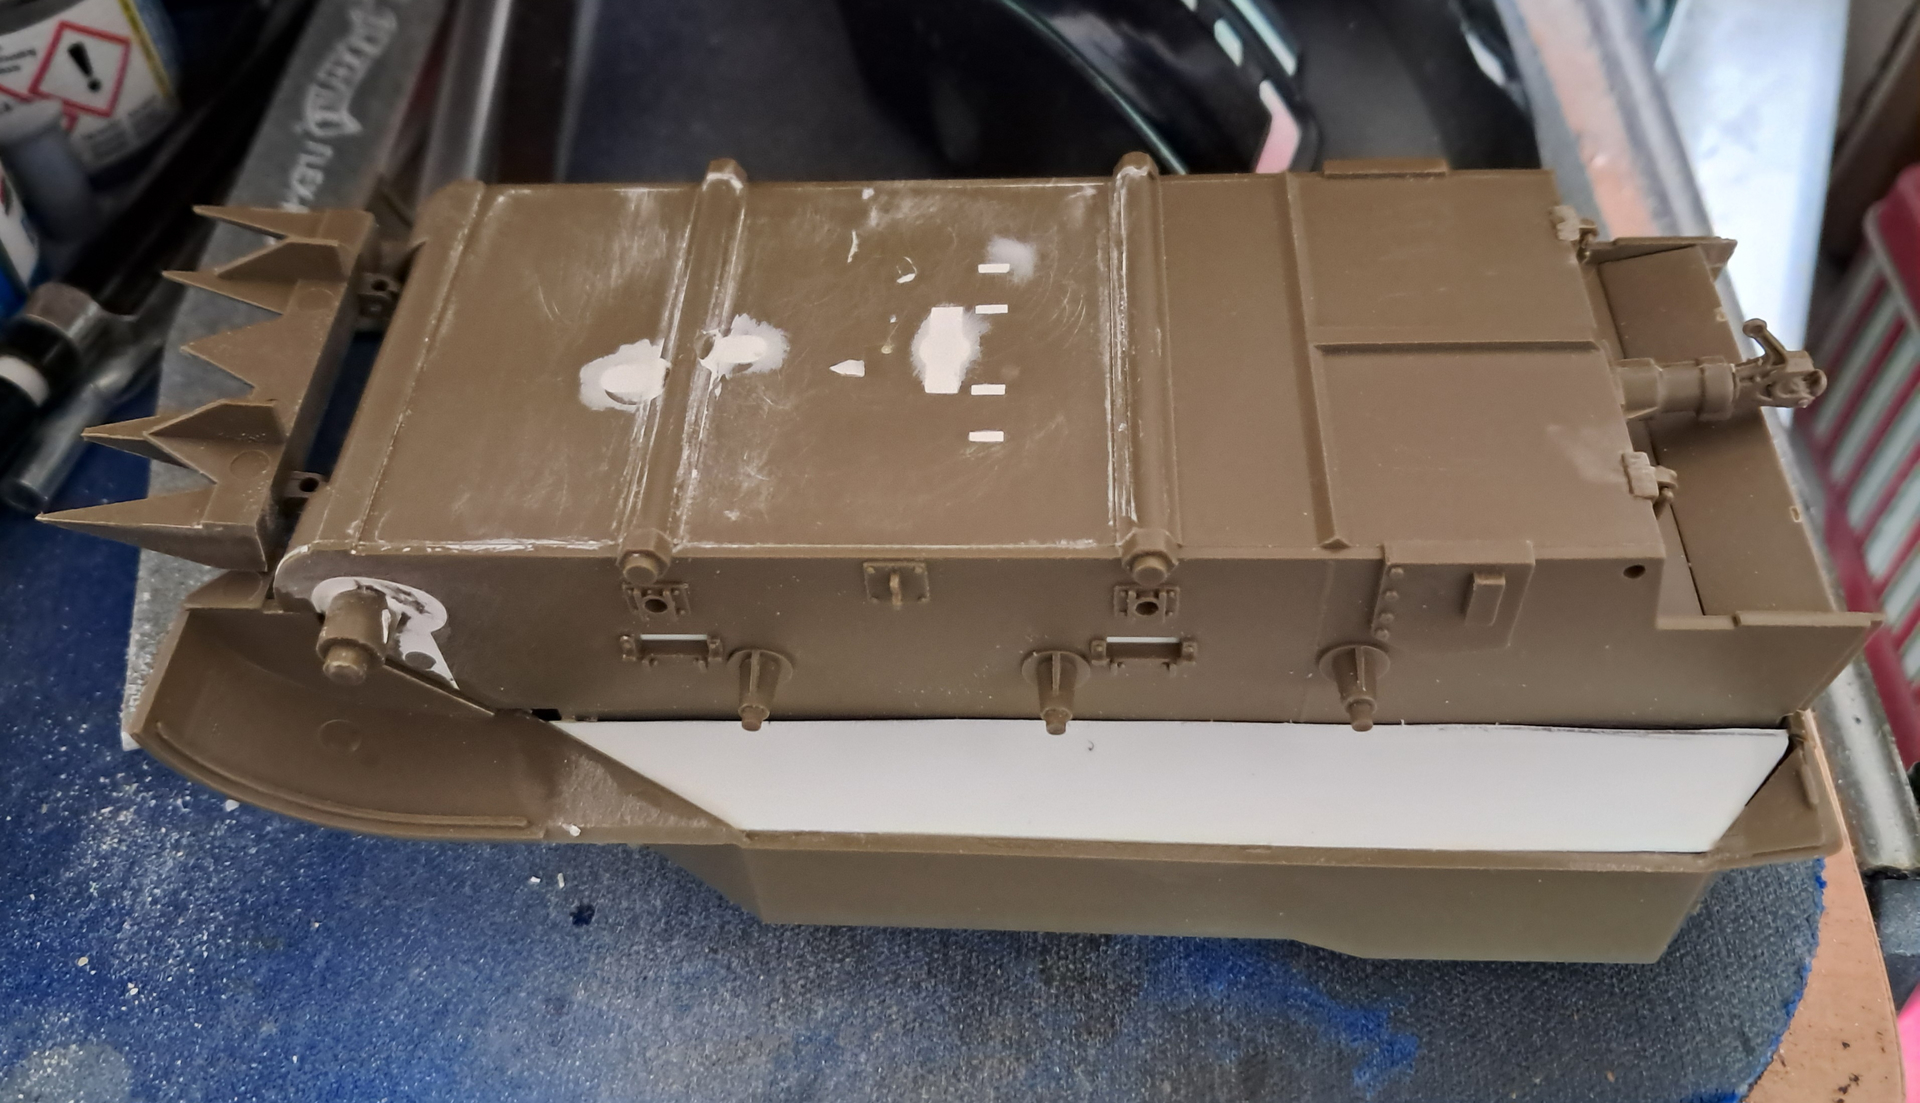
A bit more progress on my Cobra HISS tank. Base color is on.
I have also bought some Cobra decals and tested them on the bottom of the tank. Looks like they will work fine. A bit difficult to see in the picture, though.
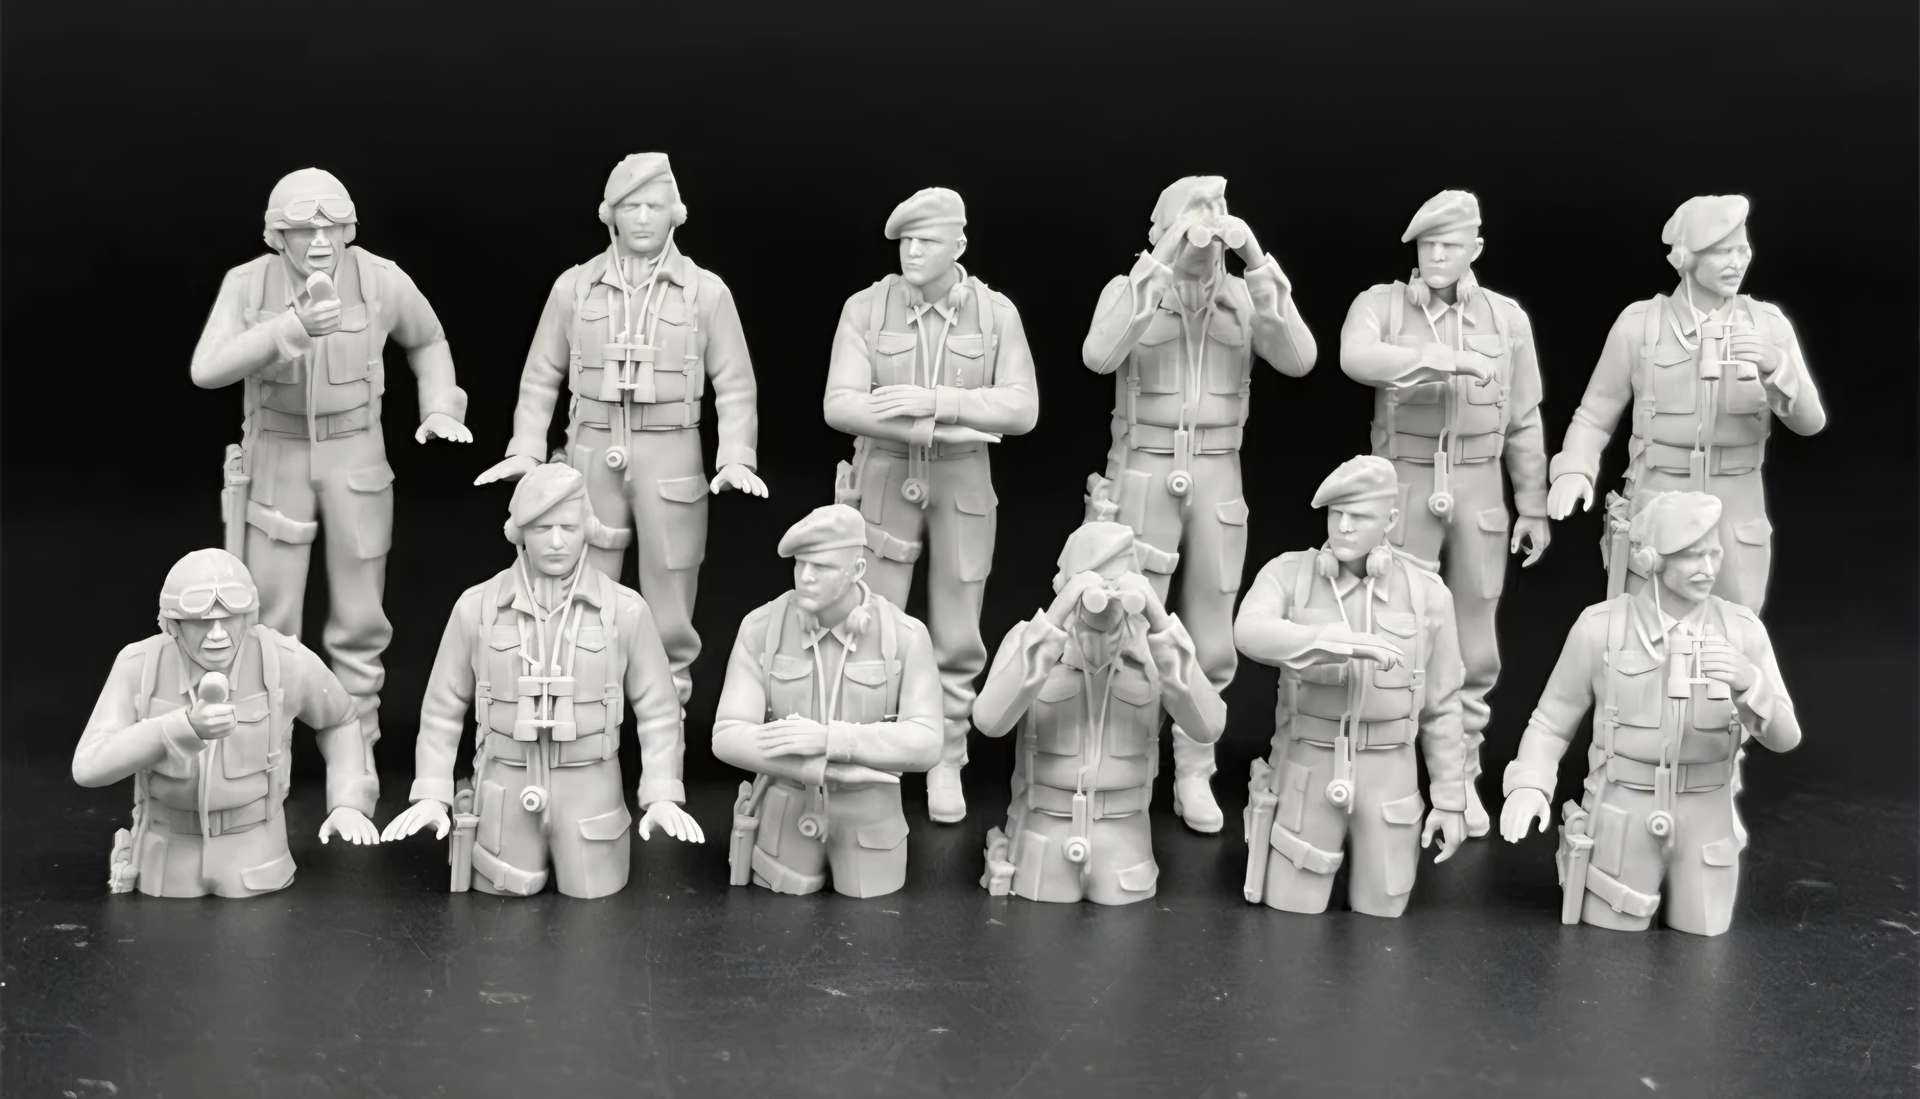
I purchased these figures as I might be able to use them on my project however, construction has come to a halt as we’re about to travel to northern Spain for two weeks.
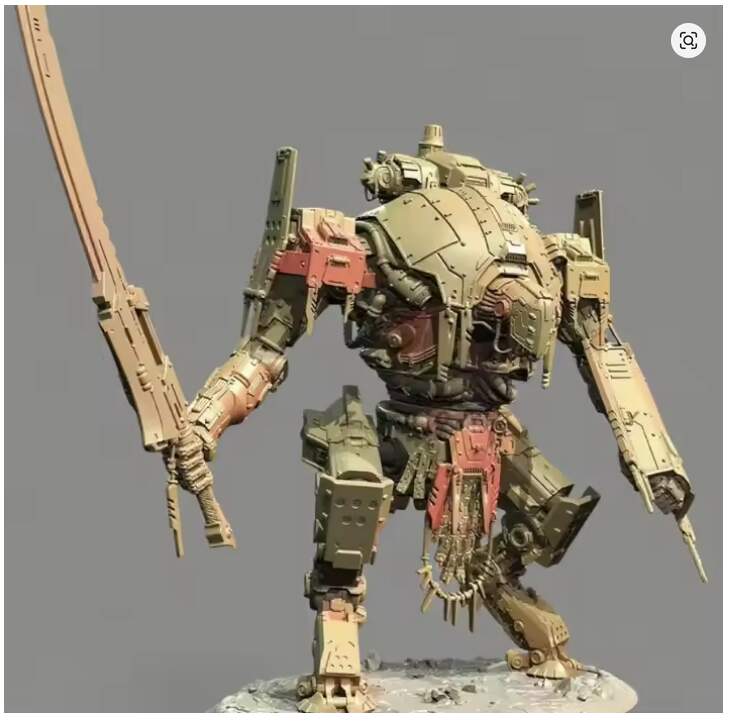
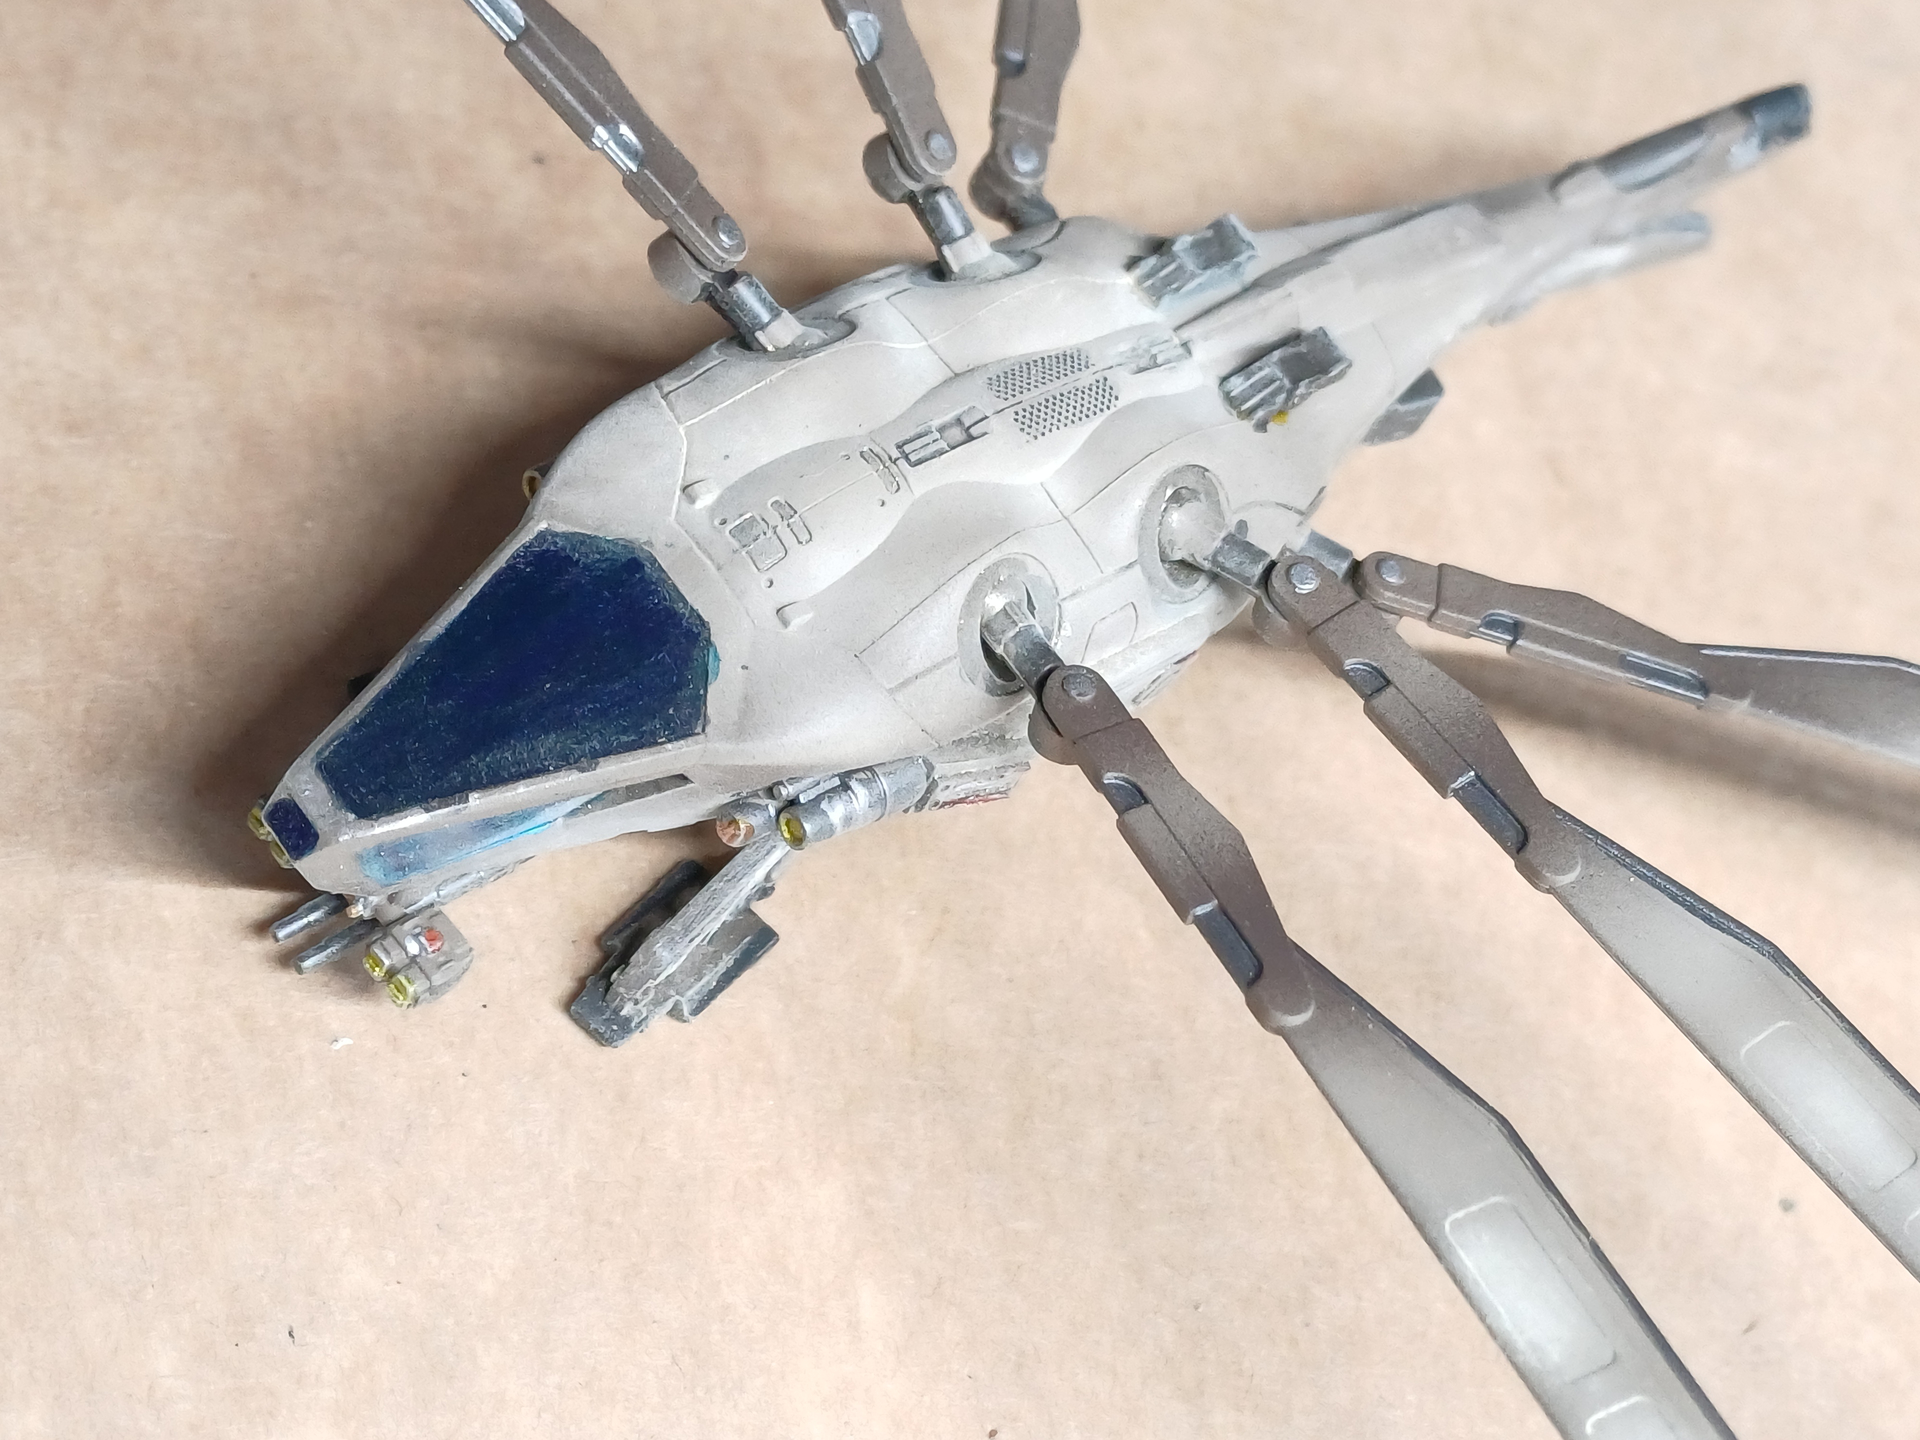
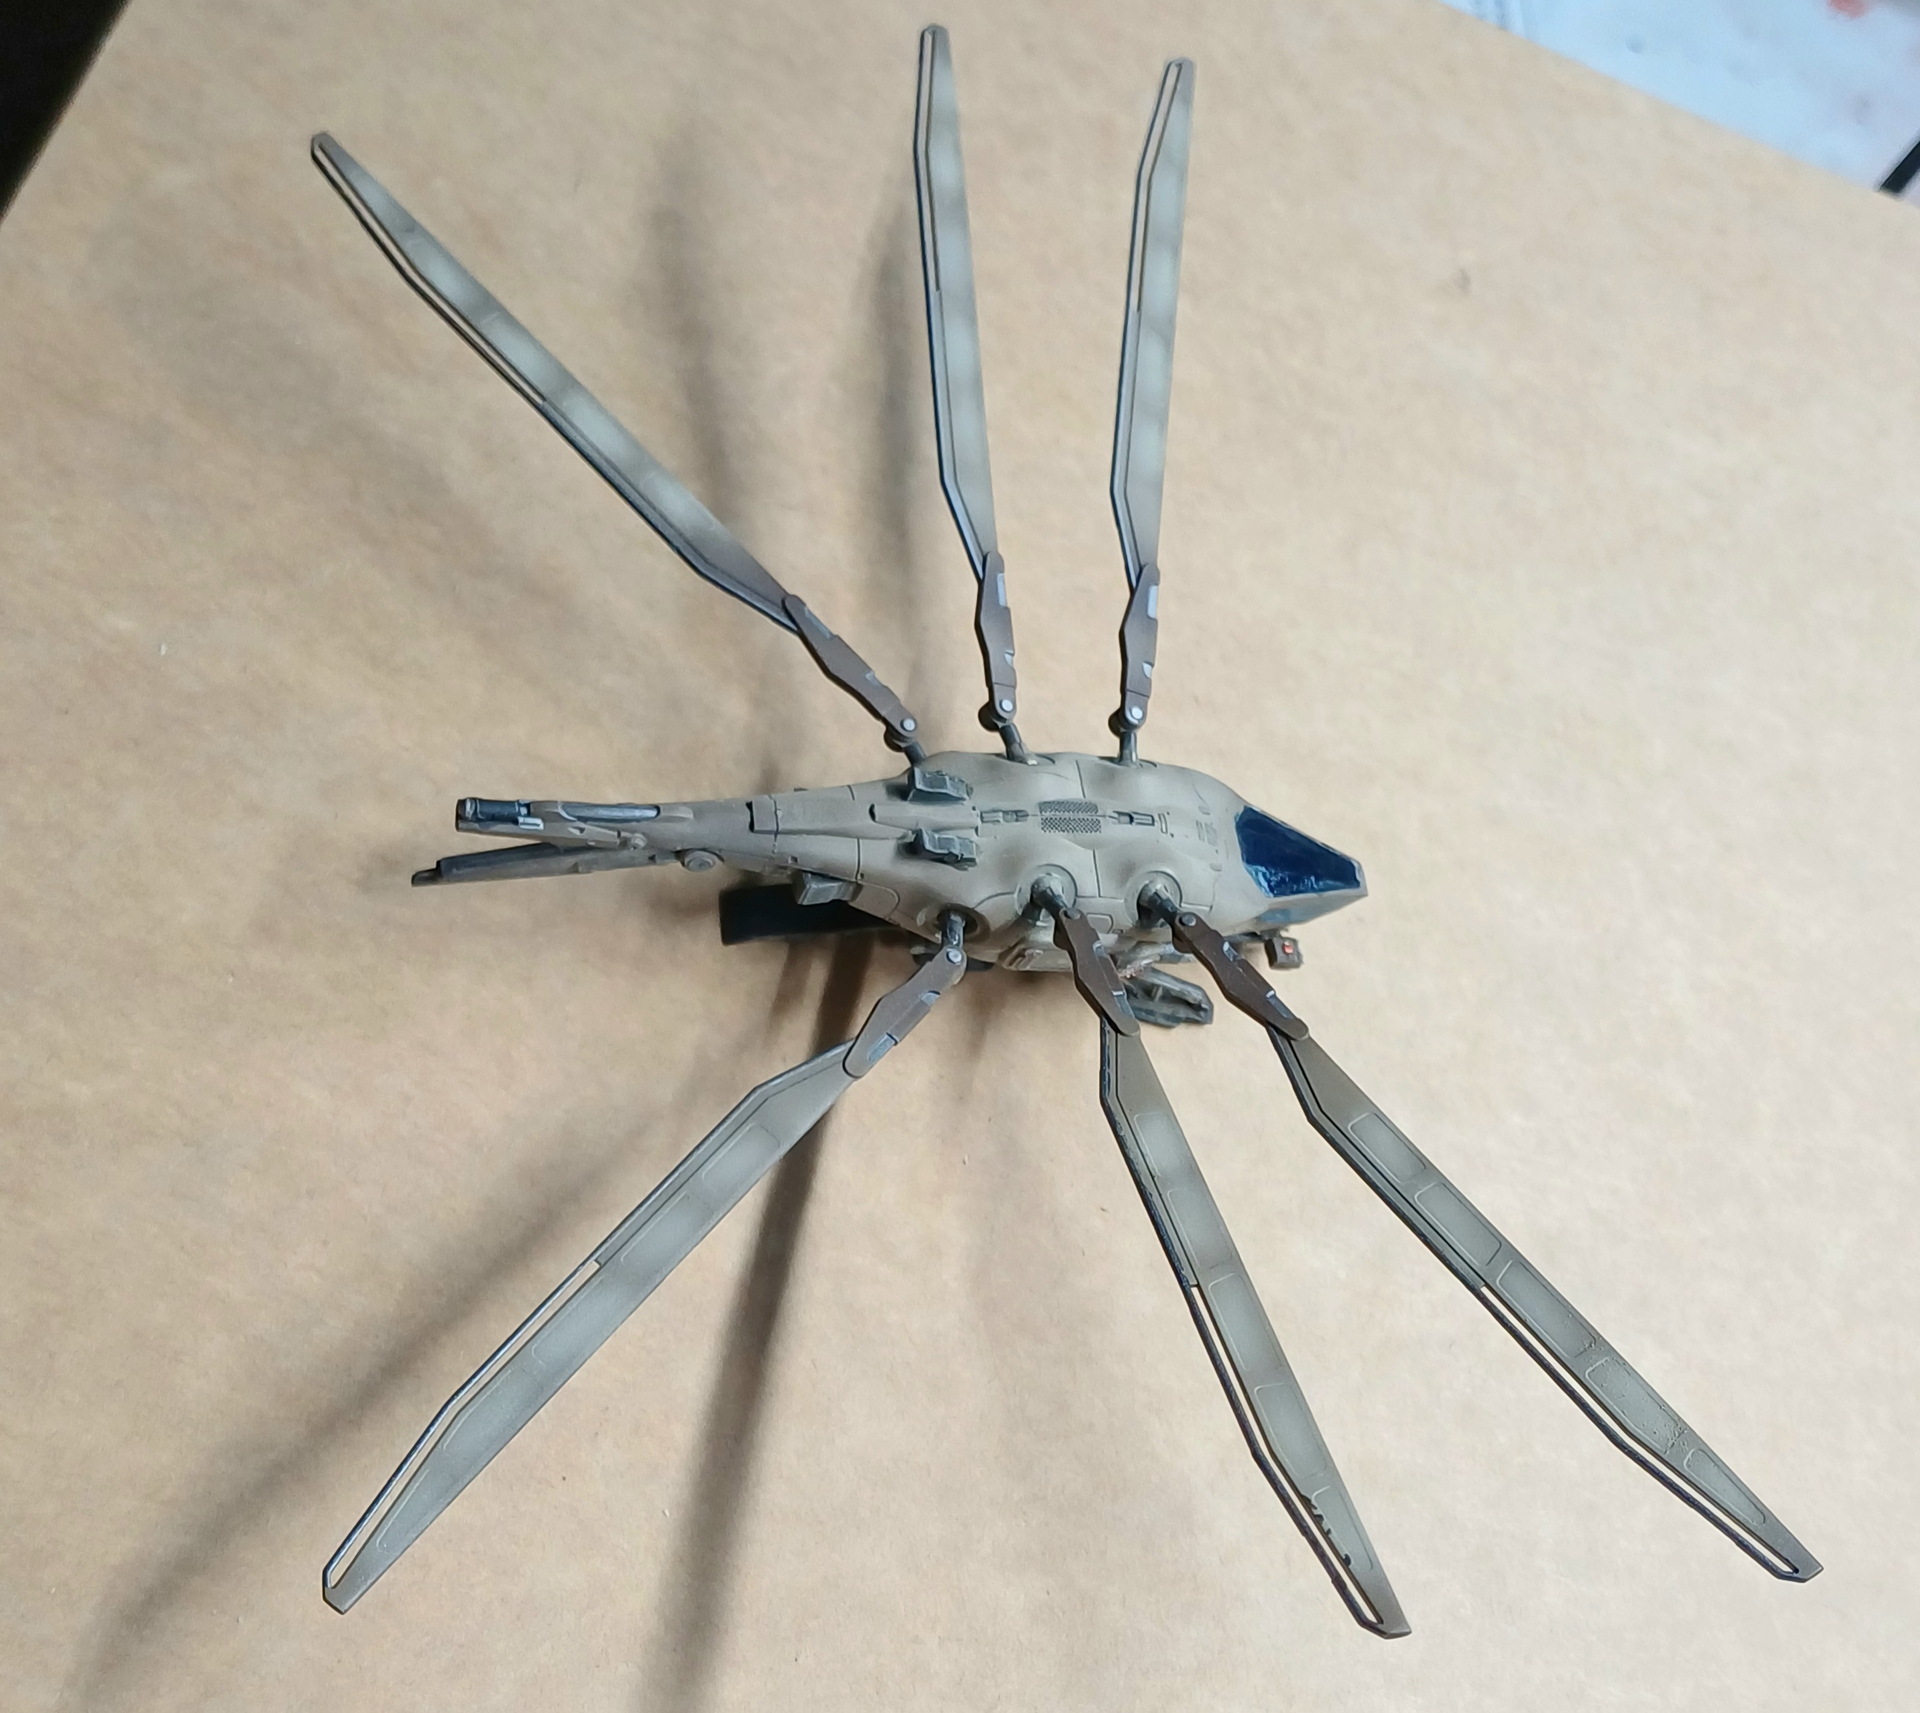
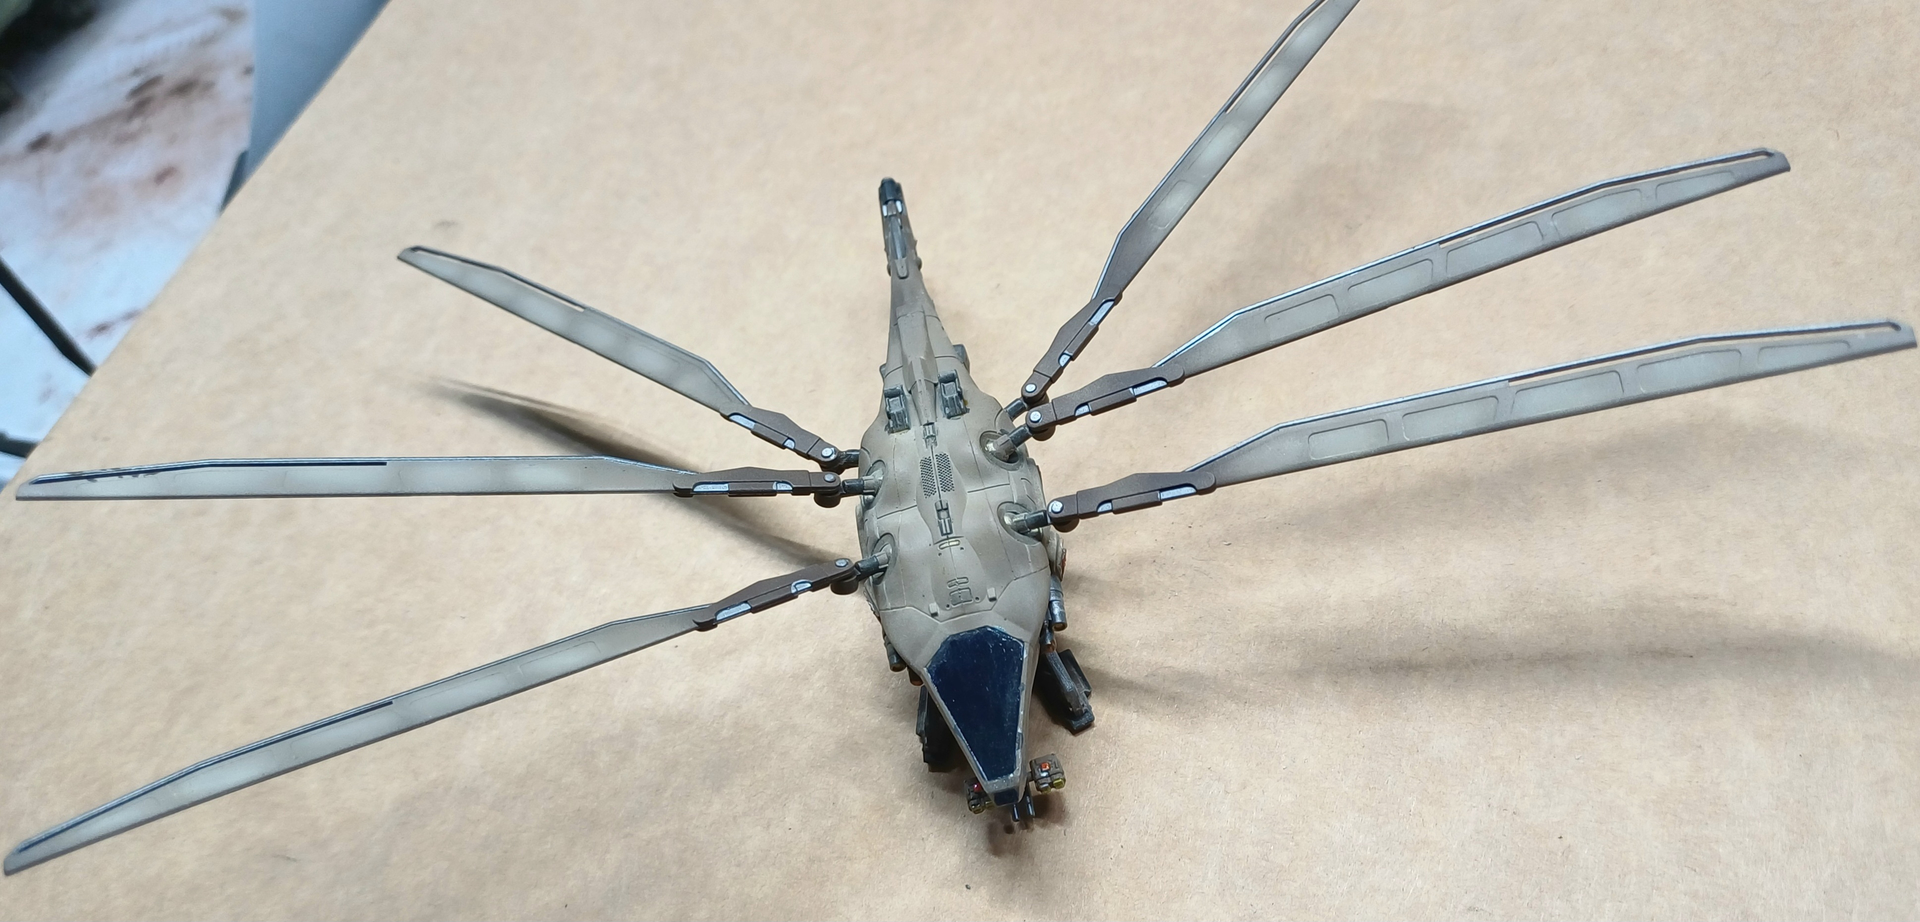
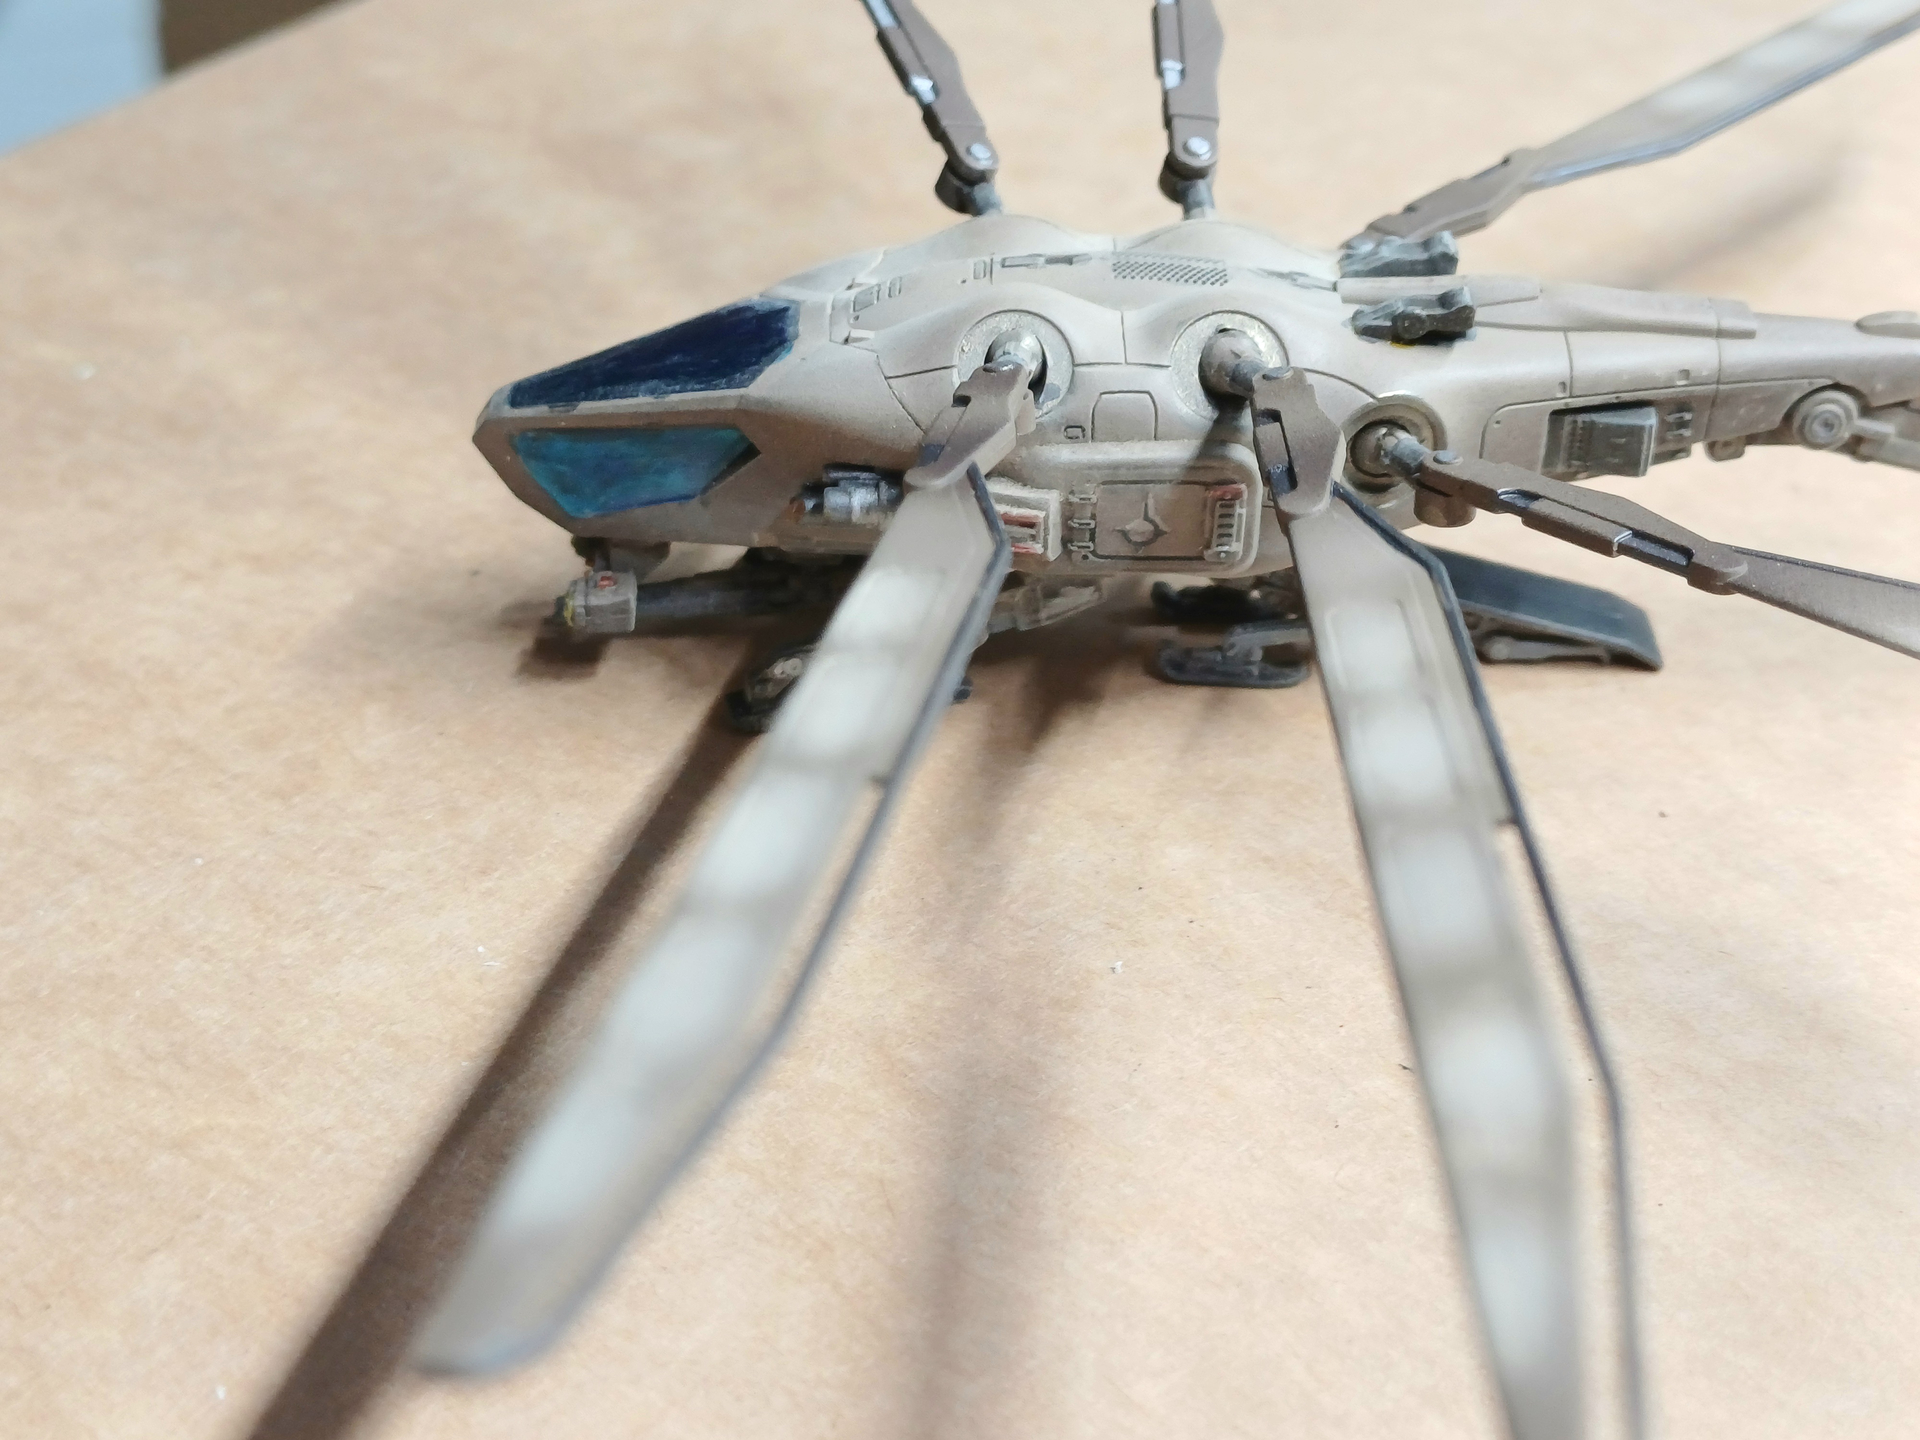
I caved and bought an Ma.K kit…in 1/35th scale. Had no idea these were going to be the size of paint bottles when assembled lol.
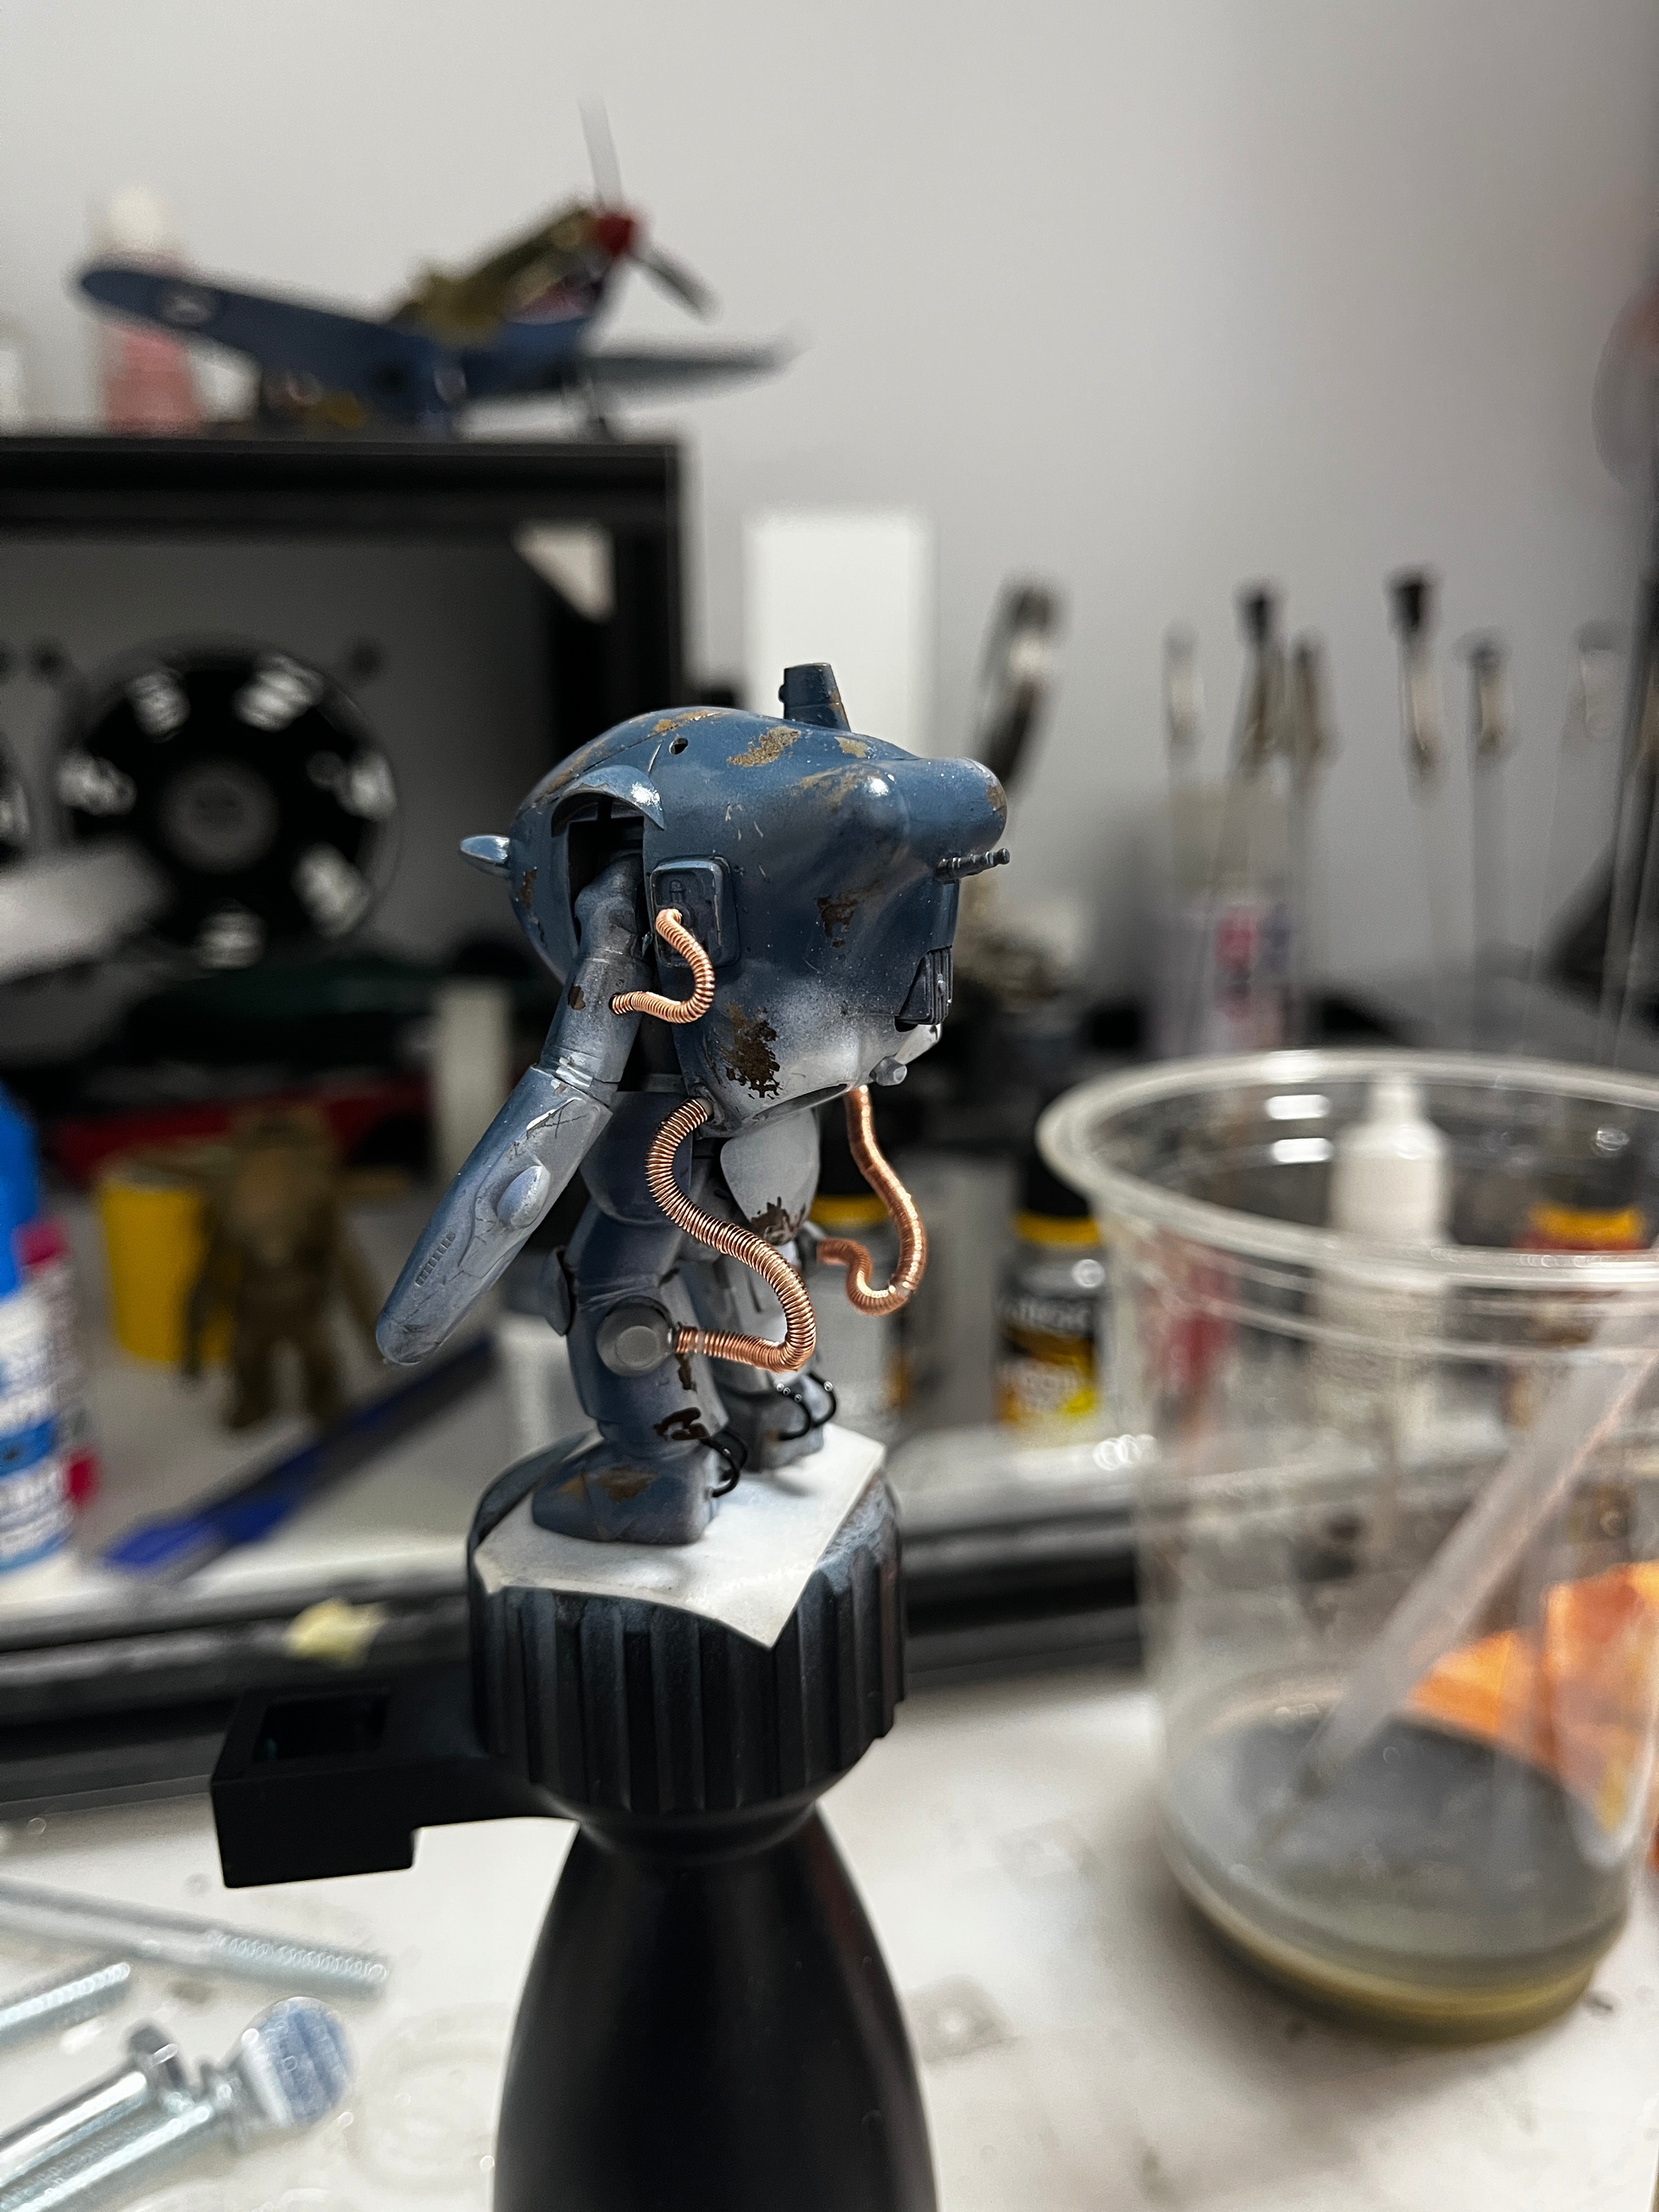
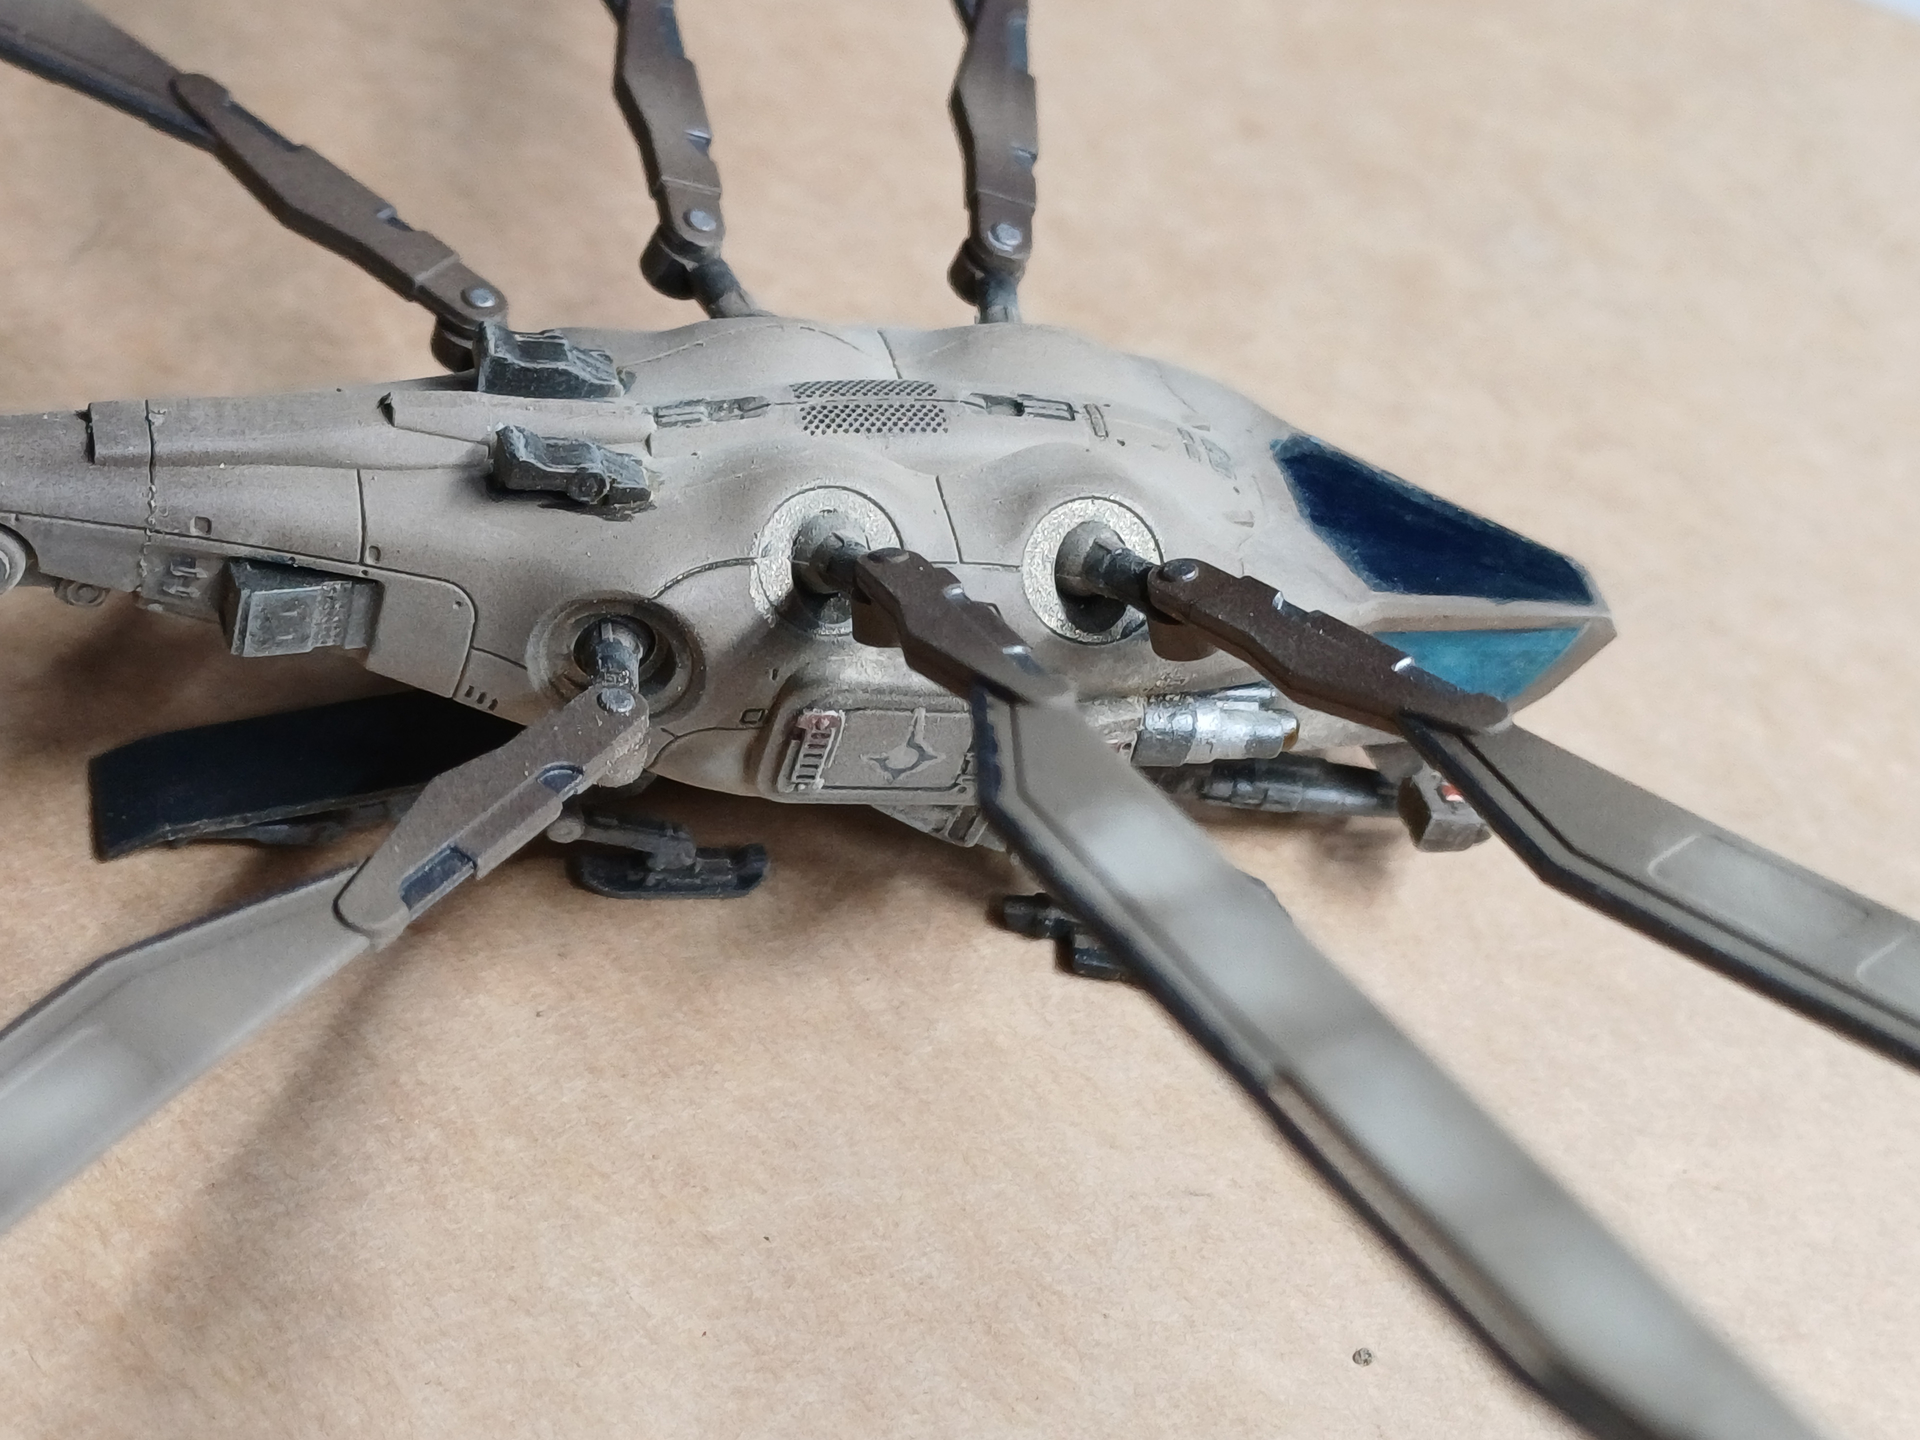
Re working the hose parts with wire (part lines and flash on the kit provided) and on decal/ final assembly on one. I’ll post progress on the second as it’s in base coat at the moment.
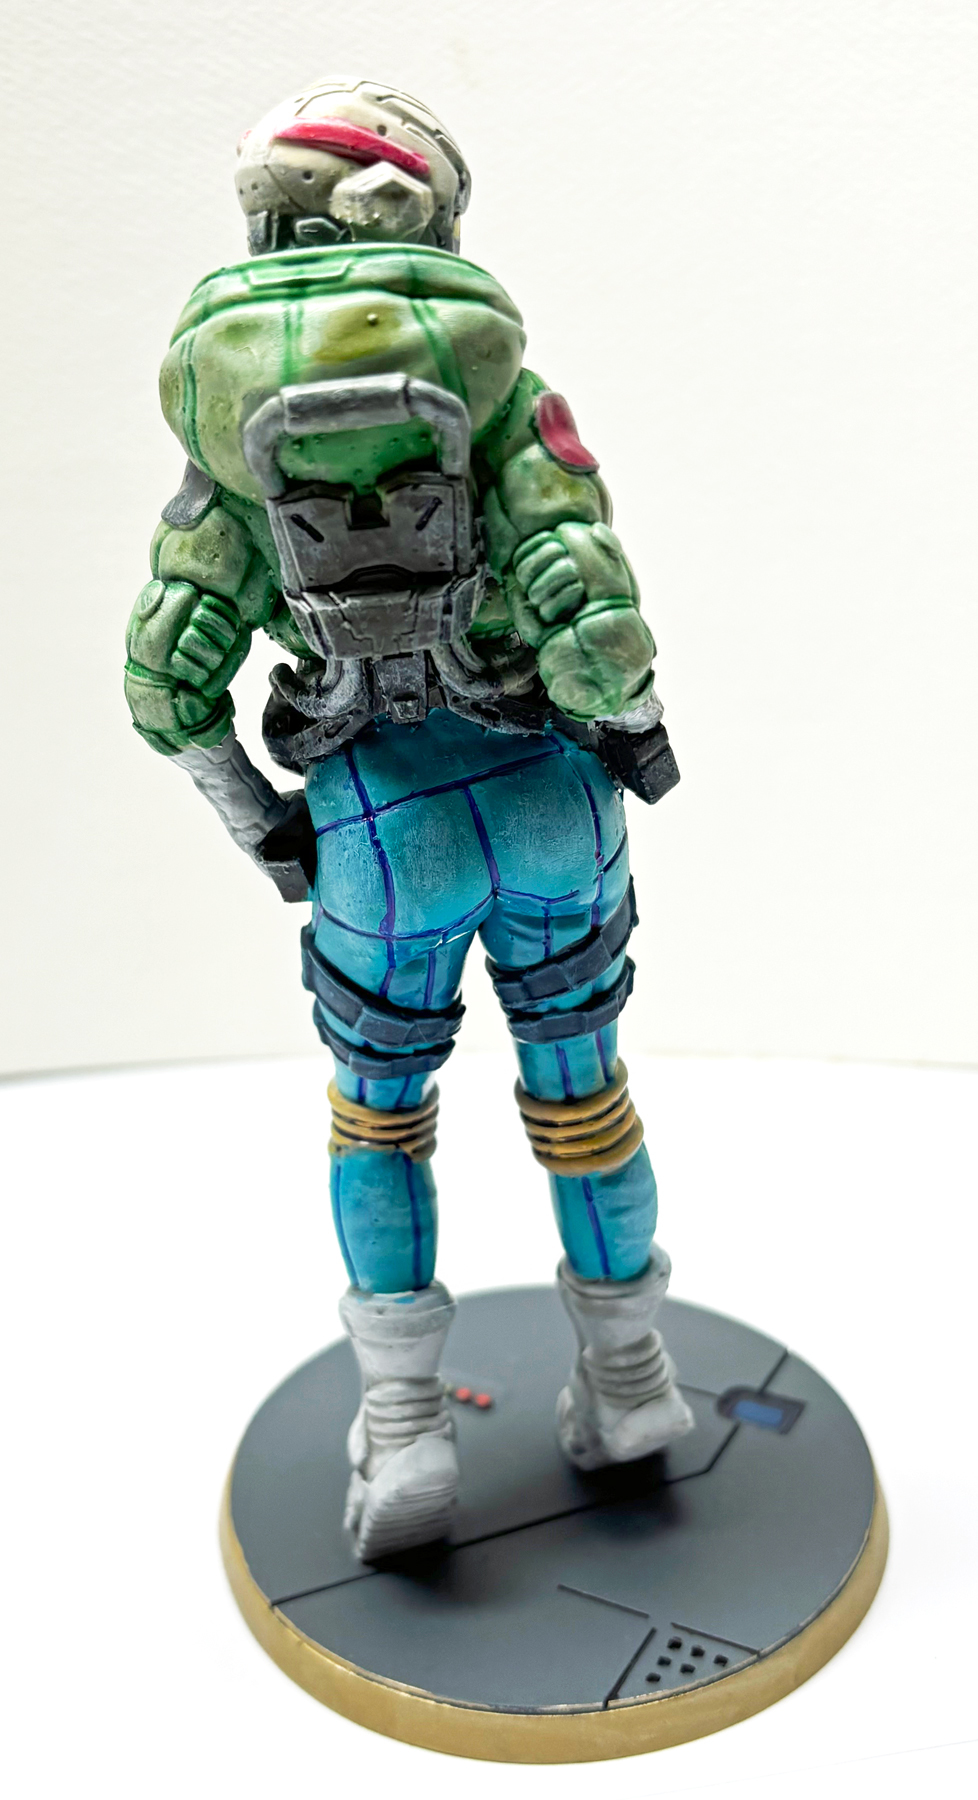
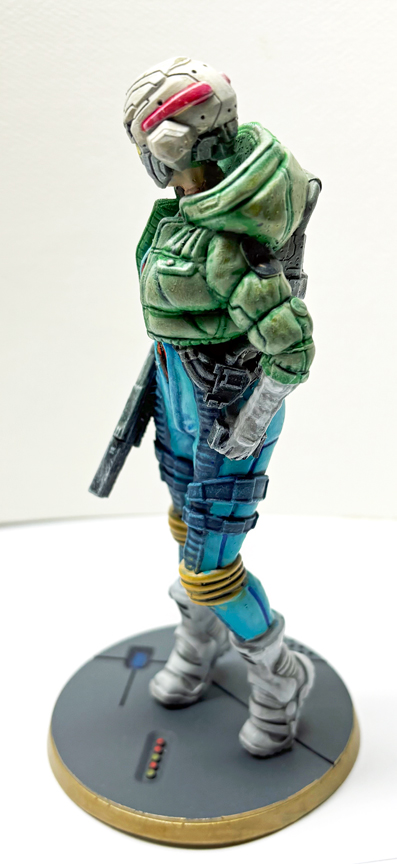
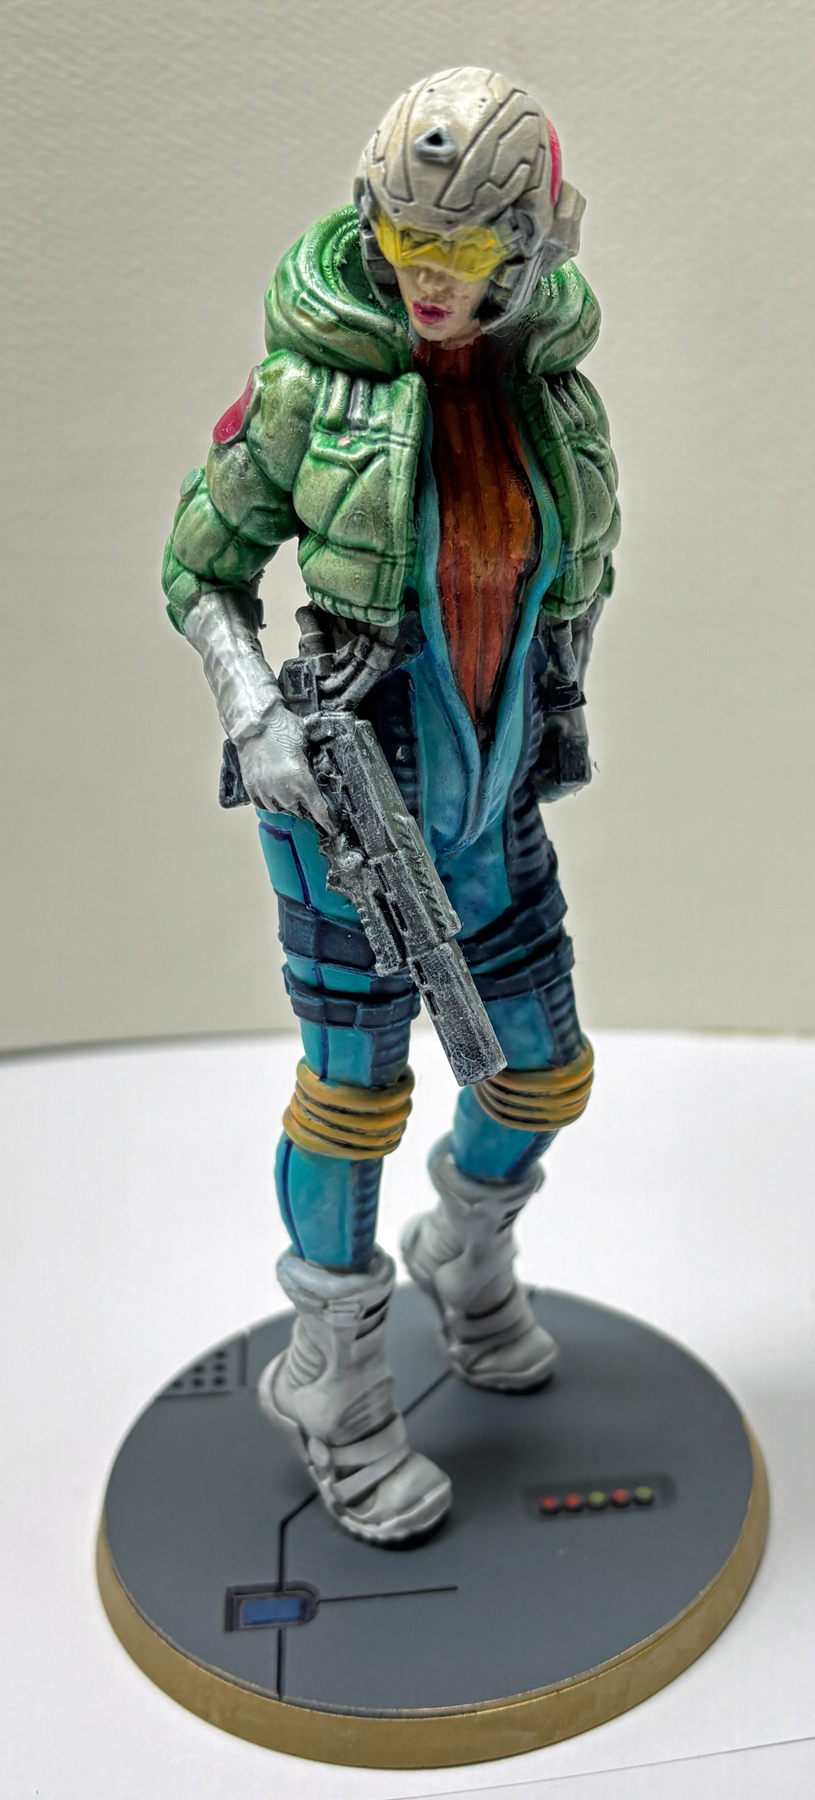
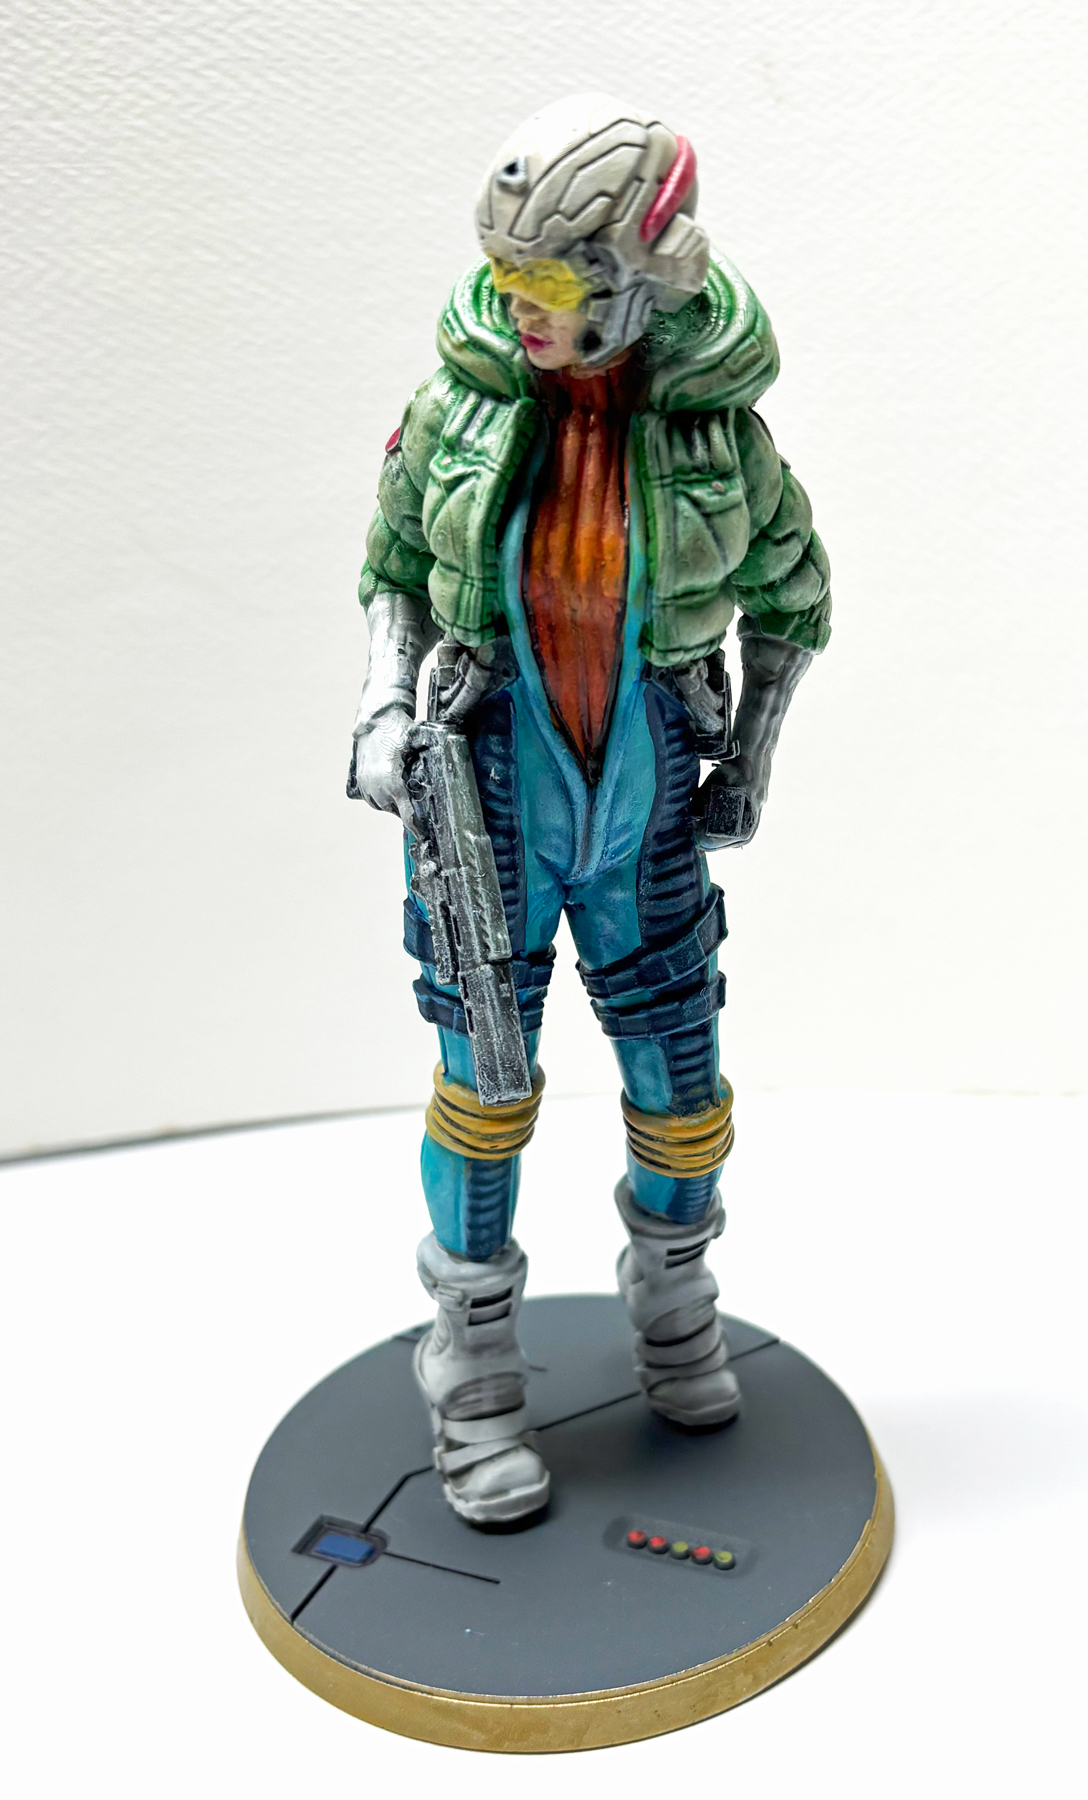
I drybrushed with MIG Ammo drybrushing paint and I used ultra-fine tip markers to outline some grooves and features.
The 120mm Cyberhacker figure is from ETSY and I highly recommend it. It’s a marvelous single 3D-printed figure scaled up to 120mm. The pose is actually on tiptoe so I Gorilla Glued the figure to the included 3D-printed base.
I painted it almost exclusively with AK Interactive Markers and then I used a brush to go in to wash, border, and touch things up.
If I have the time, I might add some spare parts decals to the green jacket shoulders although that’s not really necessary.
I have completed the Revell SpeederBike engine (bottom) part but still hesitating how to tackle the figure and the upper part. There are so many better and better choices that I just cannot choose one right now.
So put this model away for a little time and started another Sci-Fi figure here.An easy build (basically some superglue only) and some cleanup and touch-up is needed before starting the base coat.
I bought it from Ali because it looks very interesting.
Still wondering to paint it into 3 or 4-tone camo or to Japanese Samurai colours (because of the katana-like weapon in his right arm). That single sand looks boring to me.