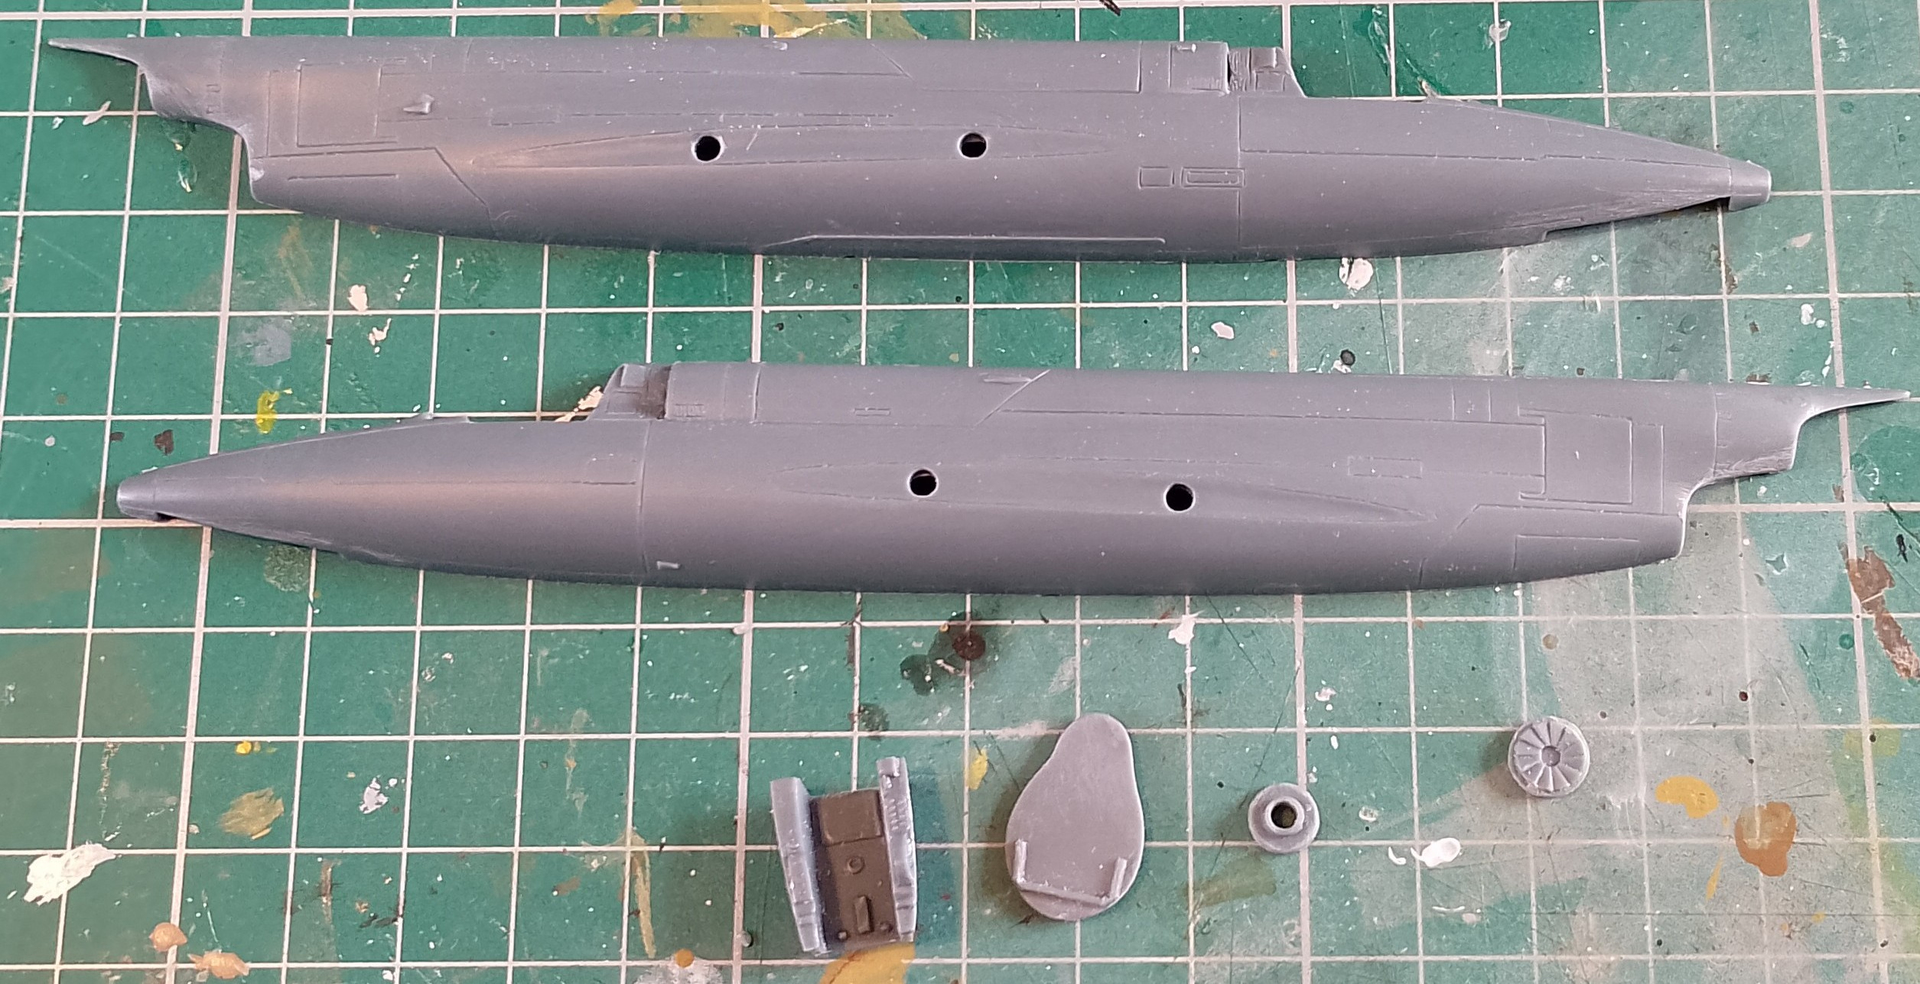
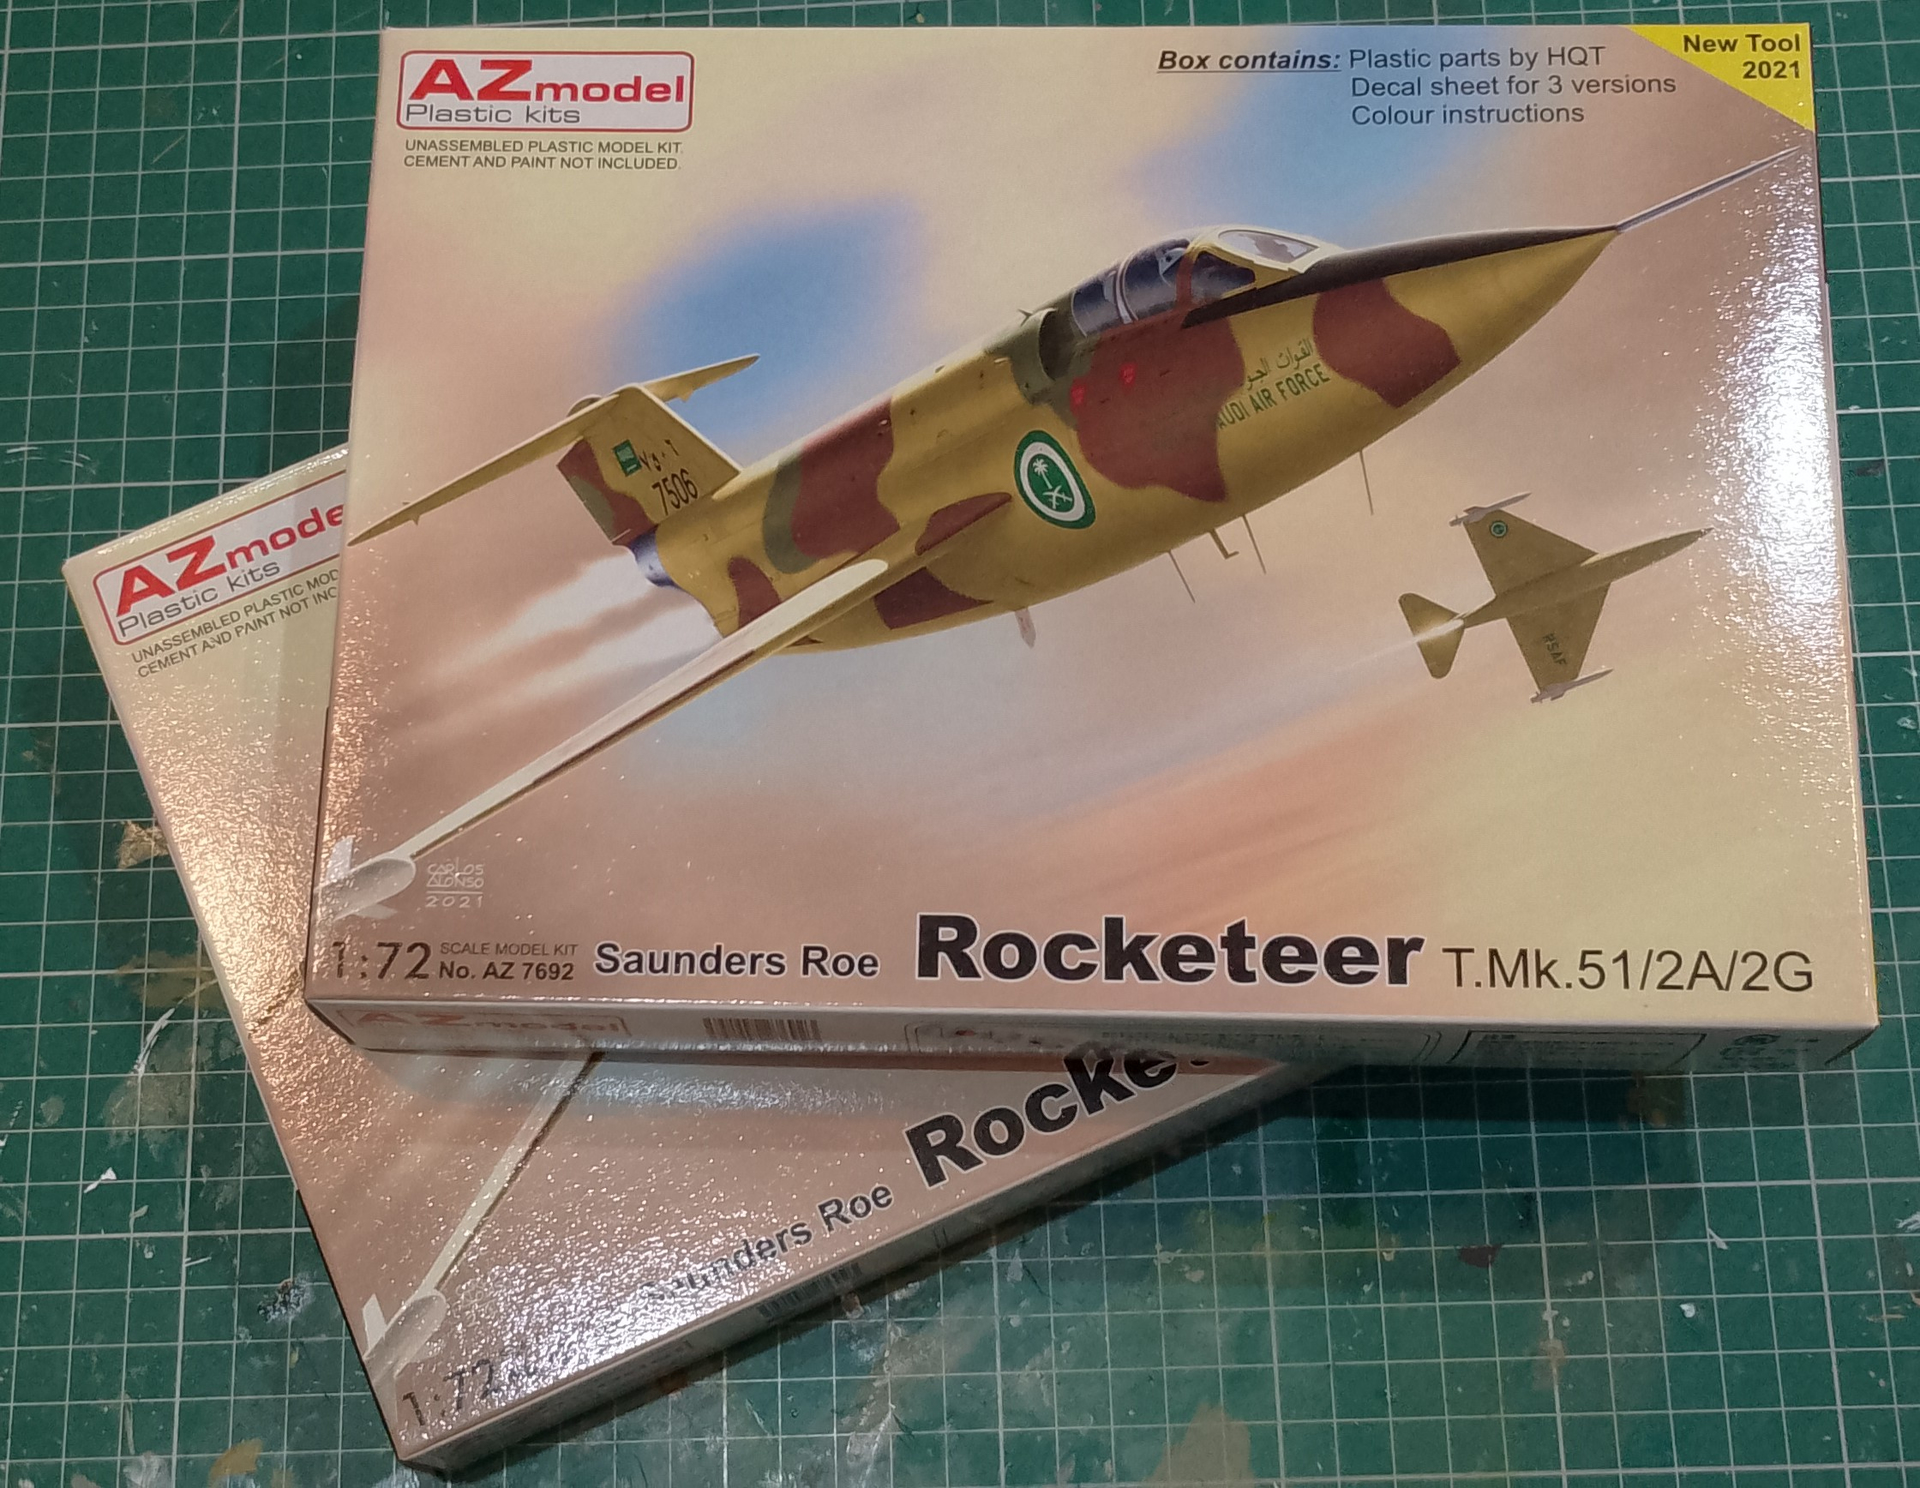
Had a spare half hour earlier this afternoon and made a bit of a start on the SR.53.
Got the fuselage and some of the internal parts cleaned up. Will get some paint down tomorrow.
Had a spare half hour earlier this afternoon and made a bit of a start on the SR.53.
Got the fuselage and some of the internal parts cleaned up. Will get some paint down tomorrow.
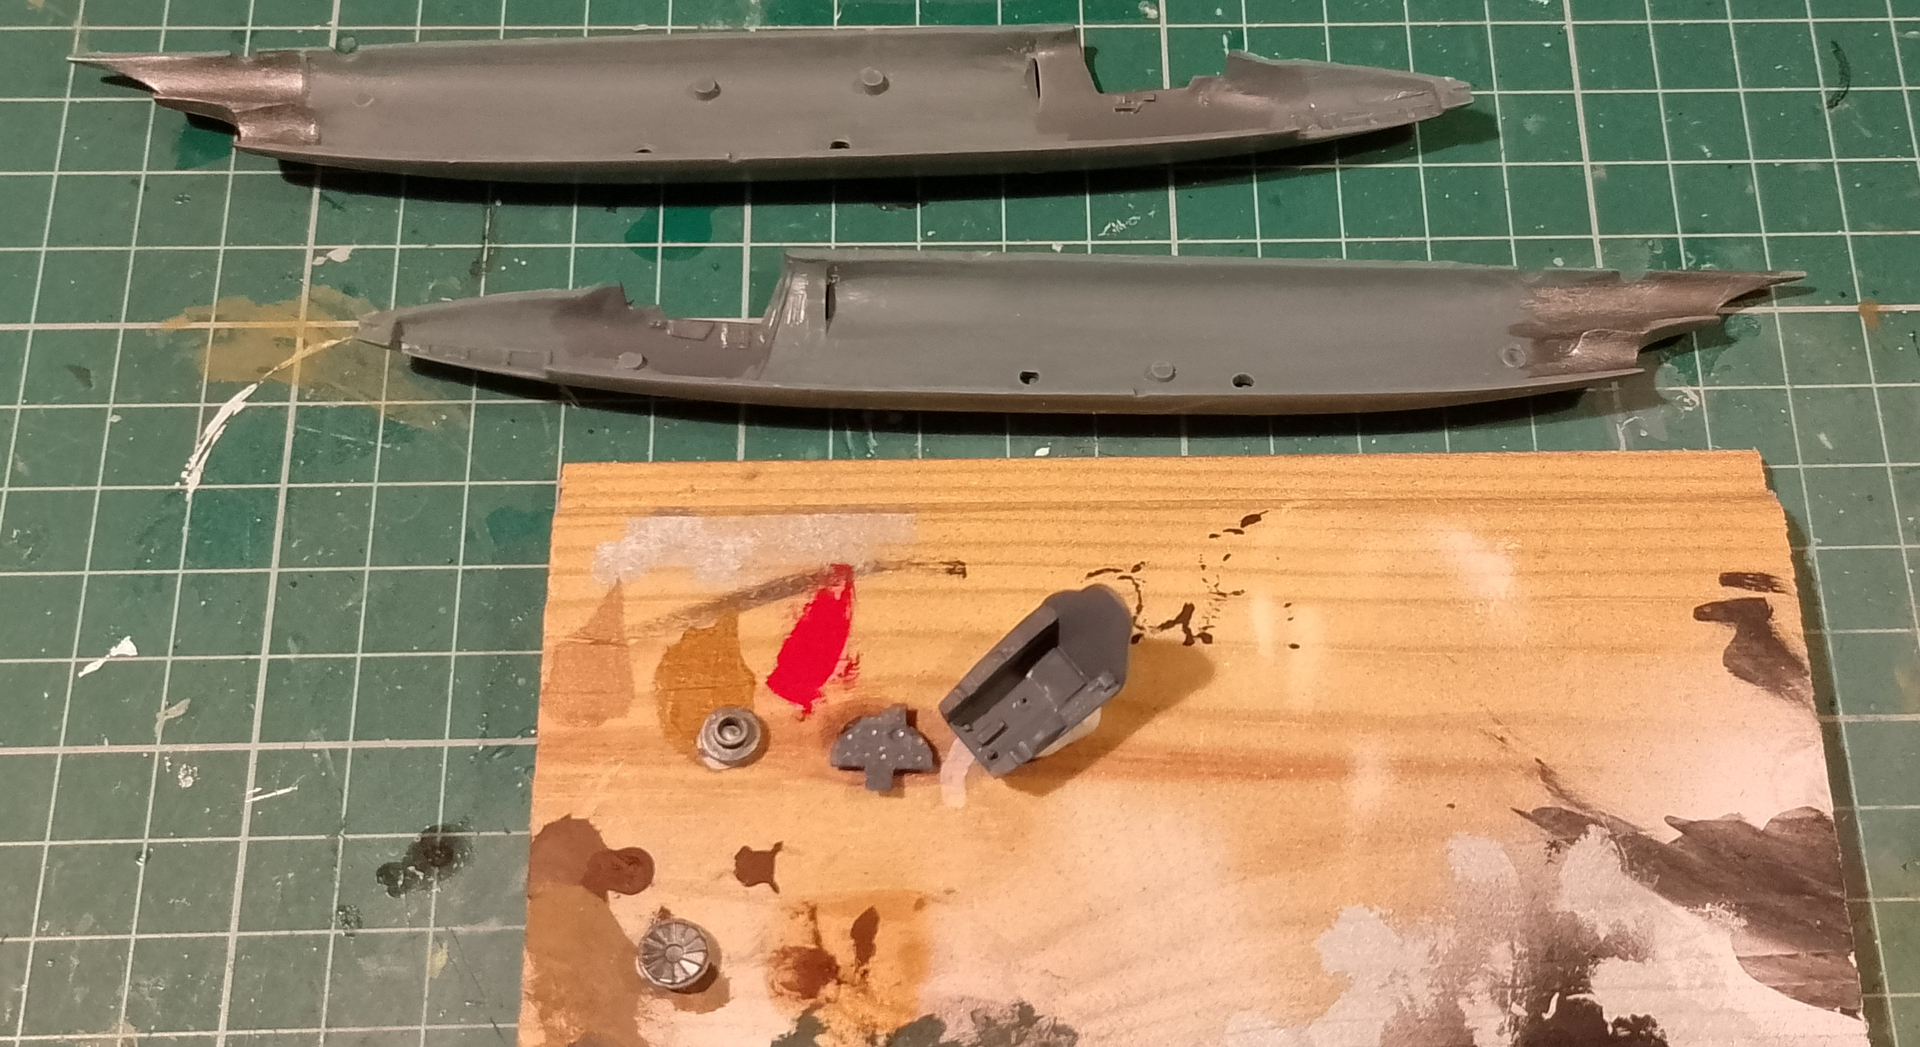
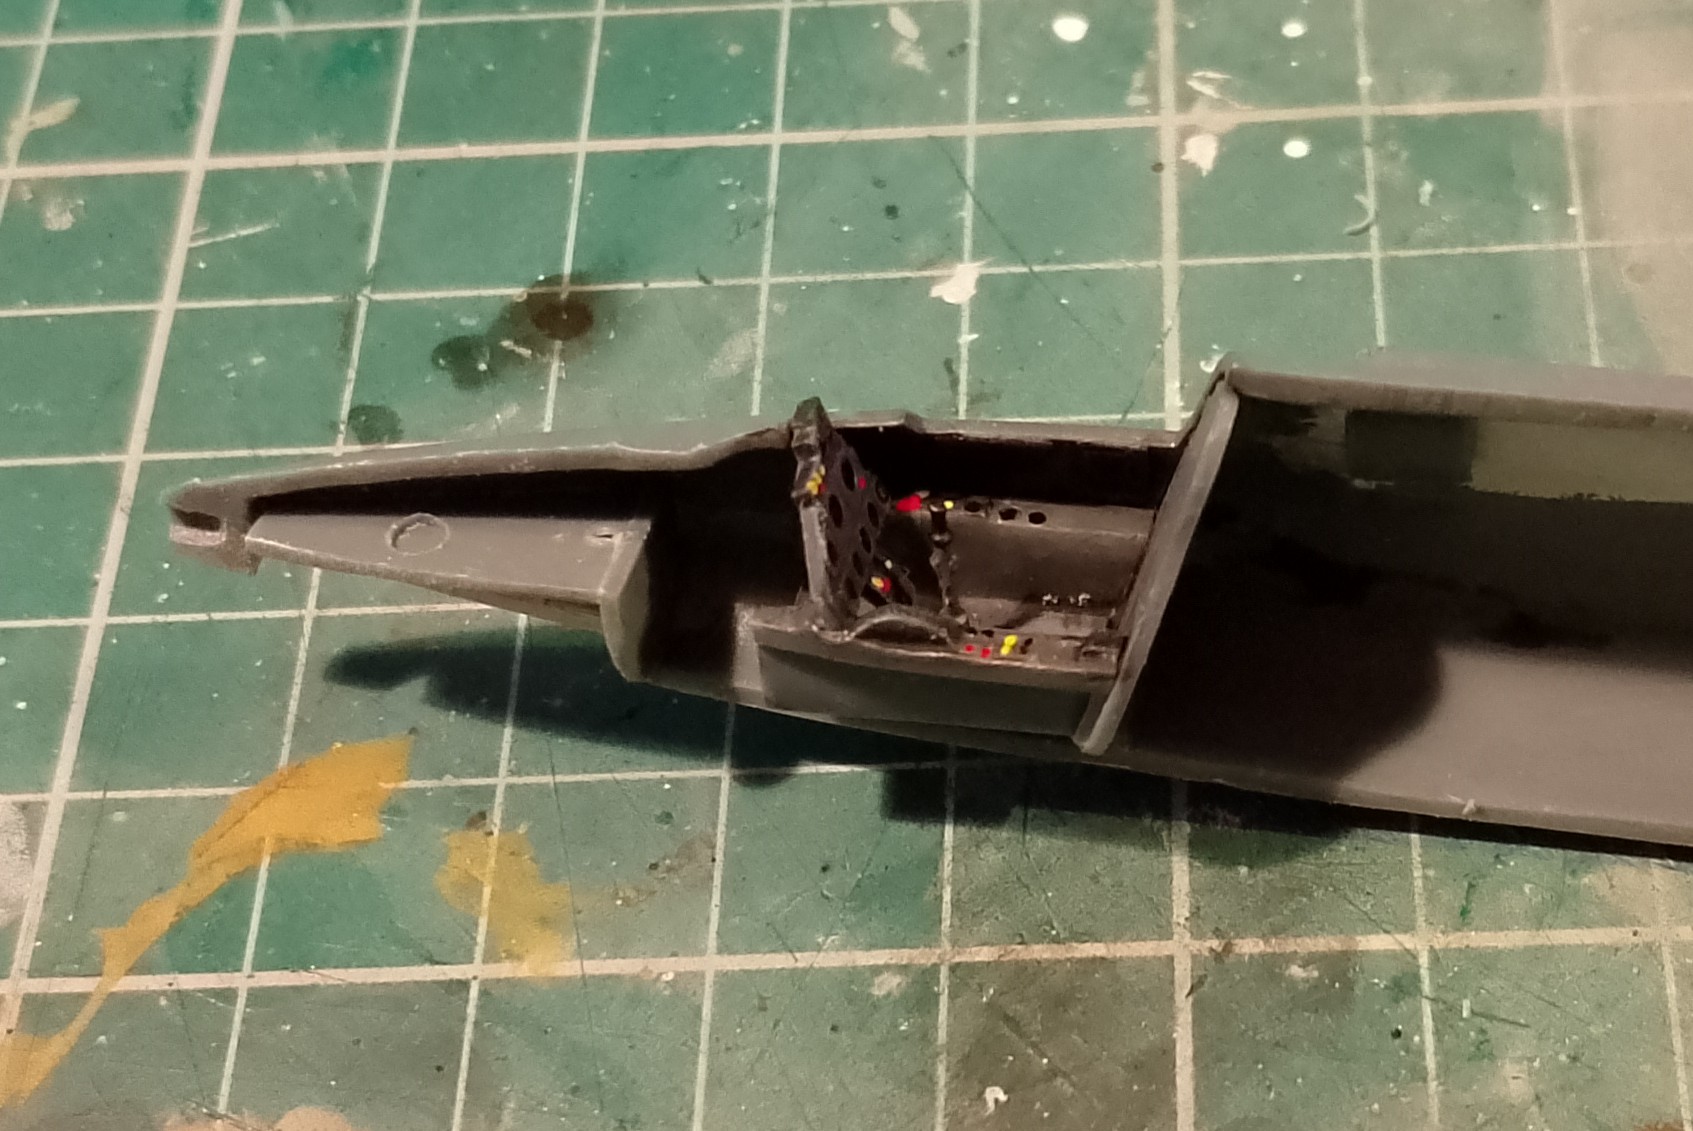
Got some paint down on the interior. Dark metallic in the jet/rocket tubes and dark grey in the cockpit tub and sidewalls.
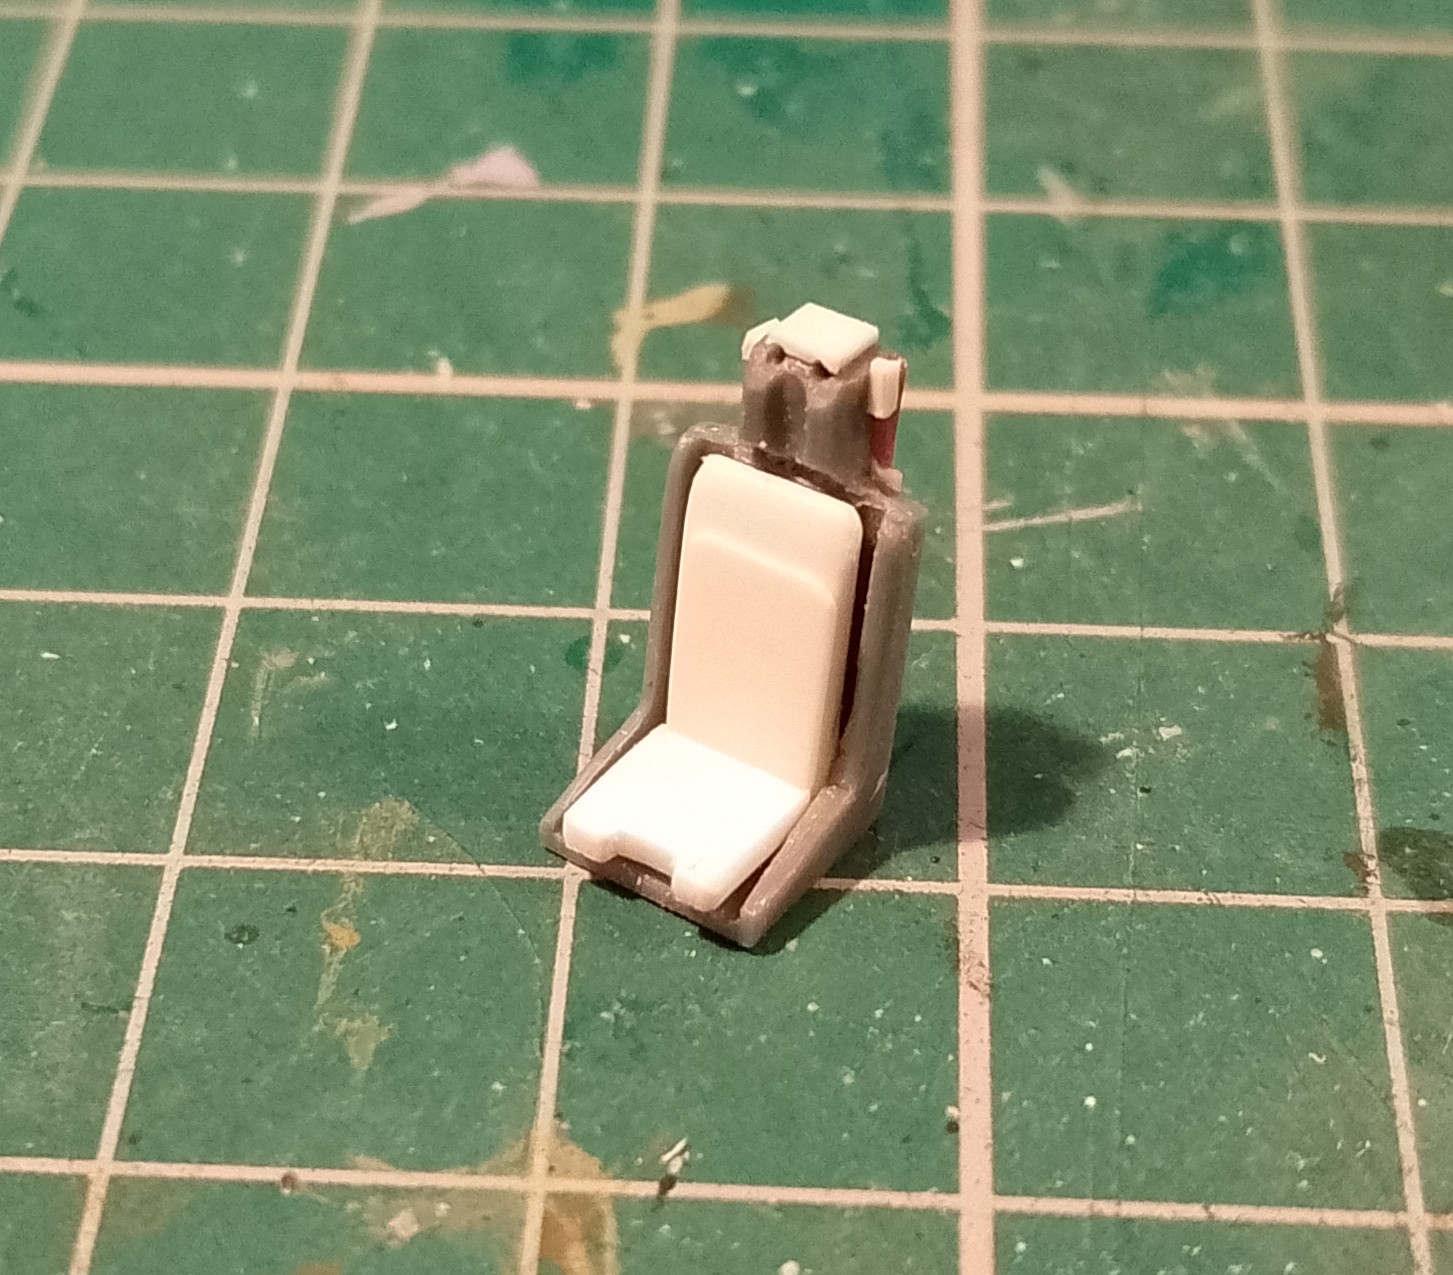
My plan to swap the seat for a resin MB.4 I found in my spares hasn’t quite worked. It’s a little too tall to fit.
Will have to use the kits, but I think I’ll improve it with padding, straps and wire firing handle.
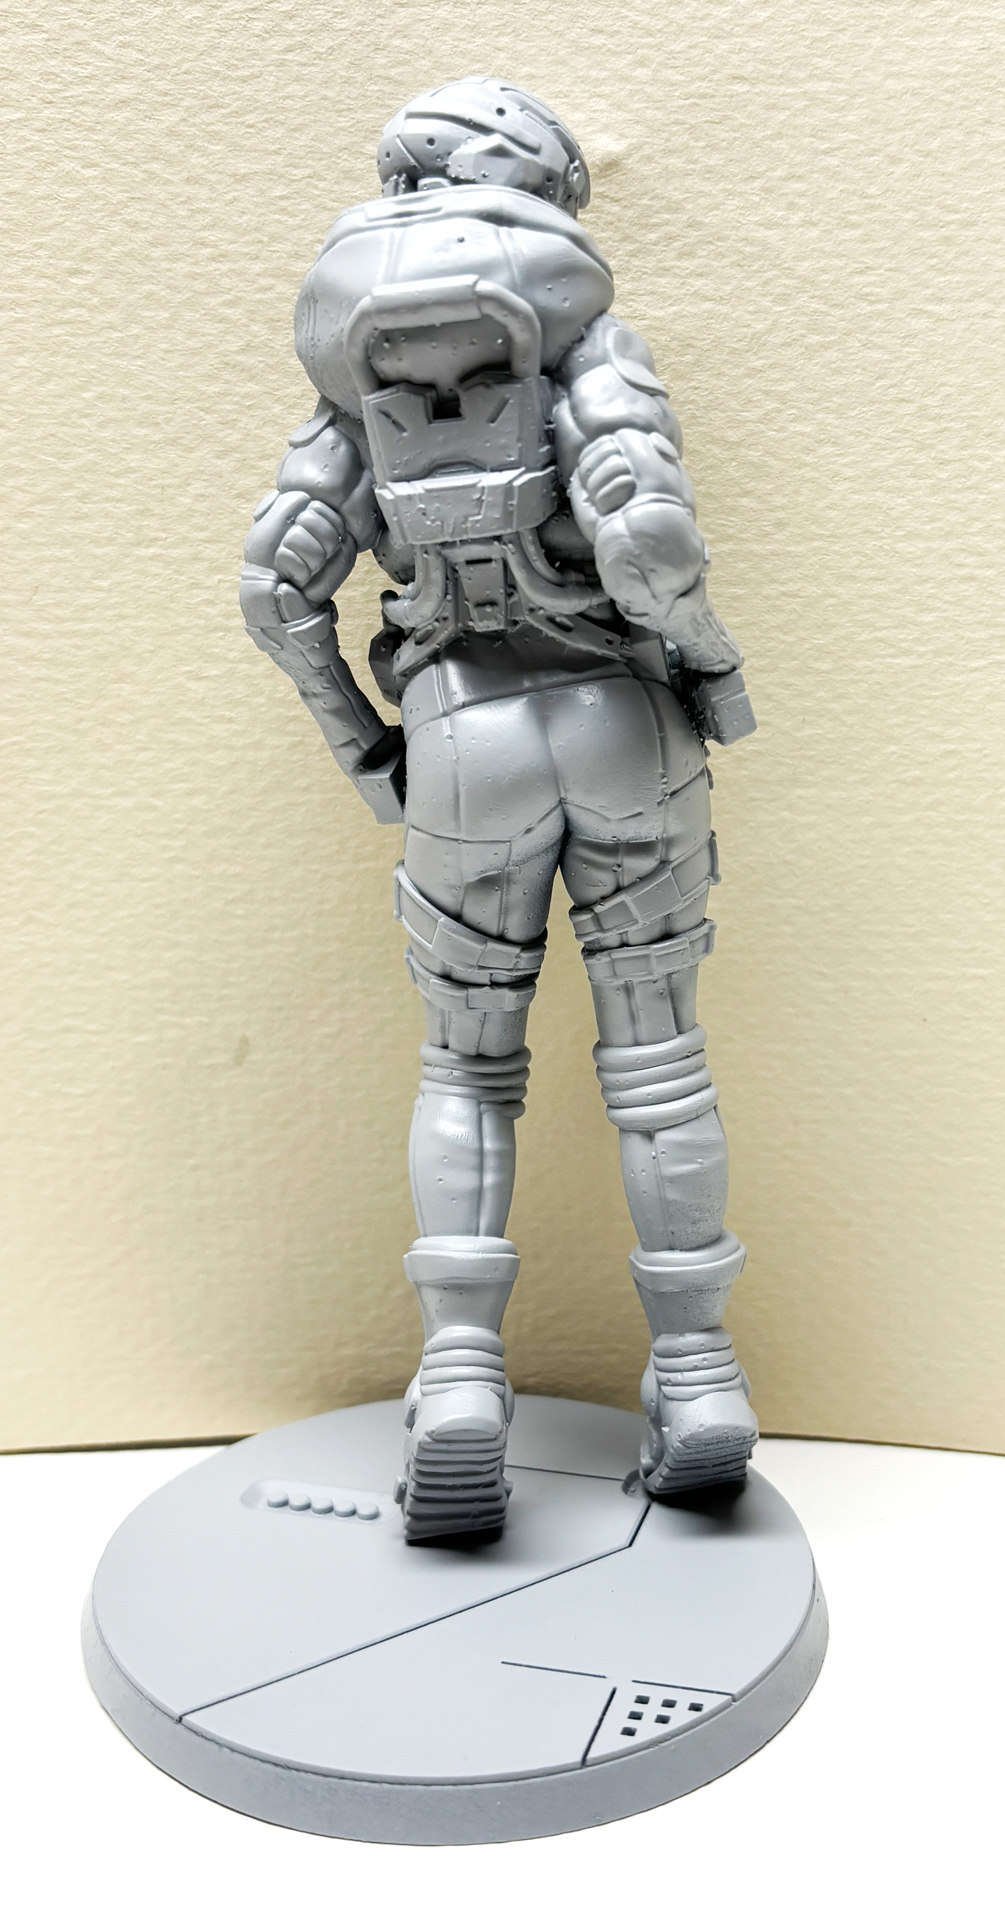
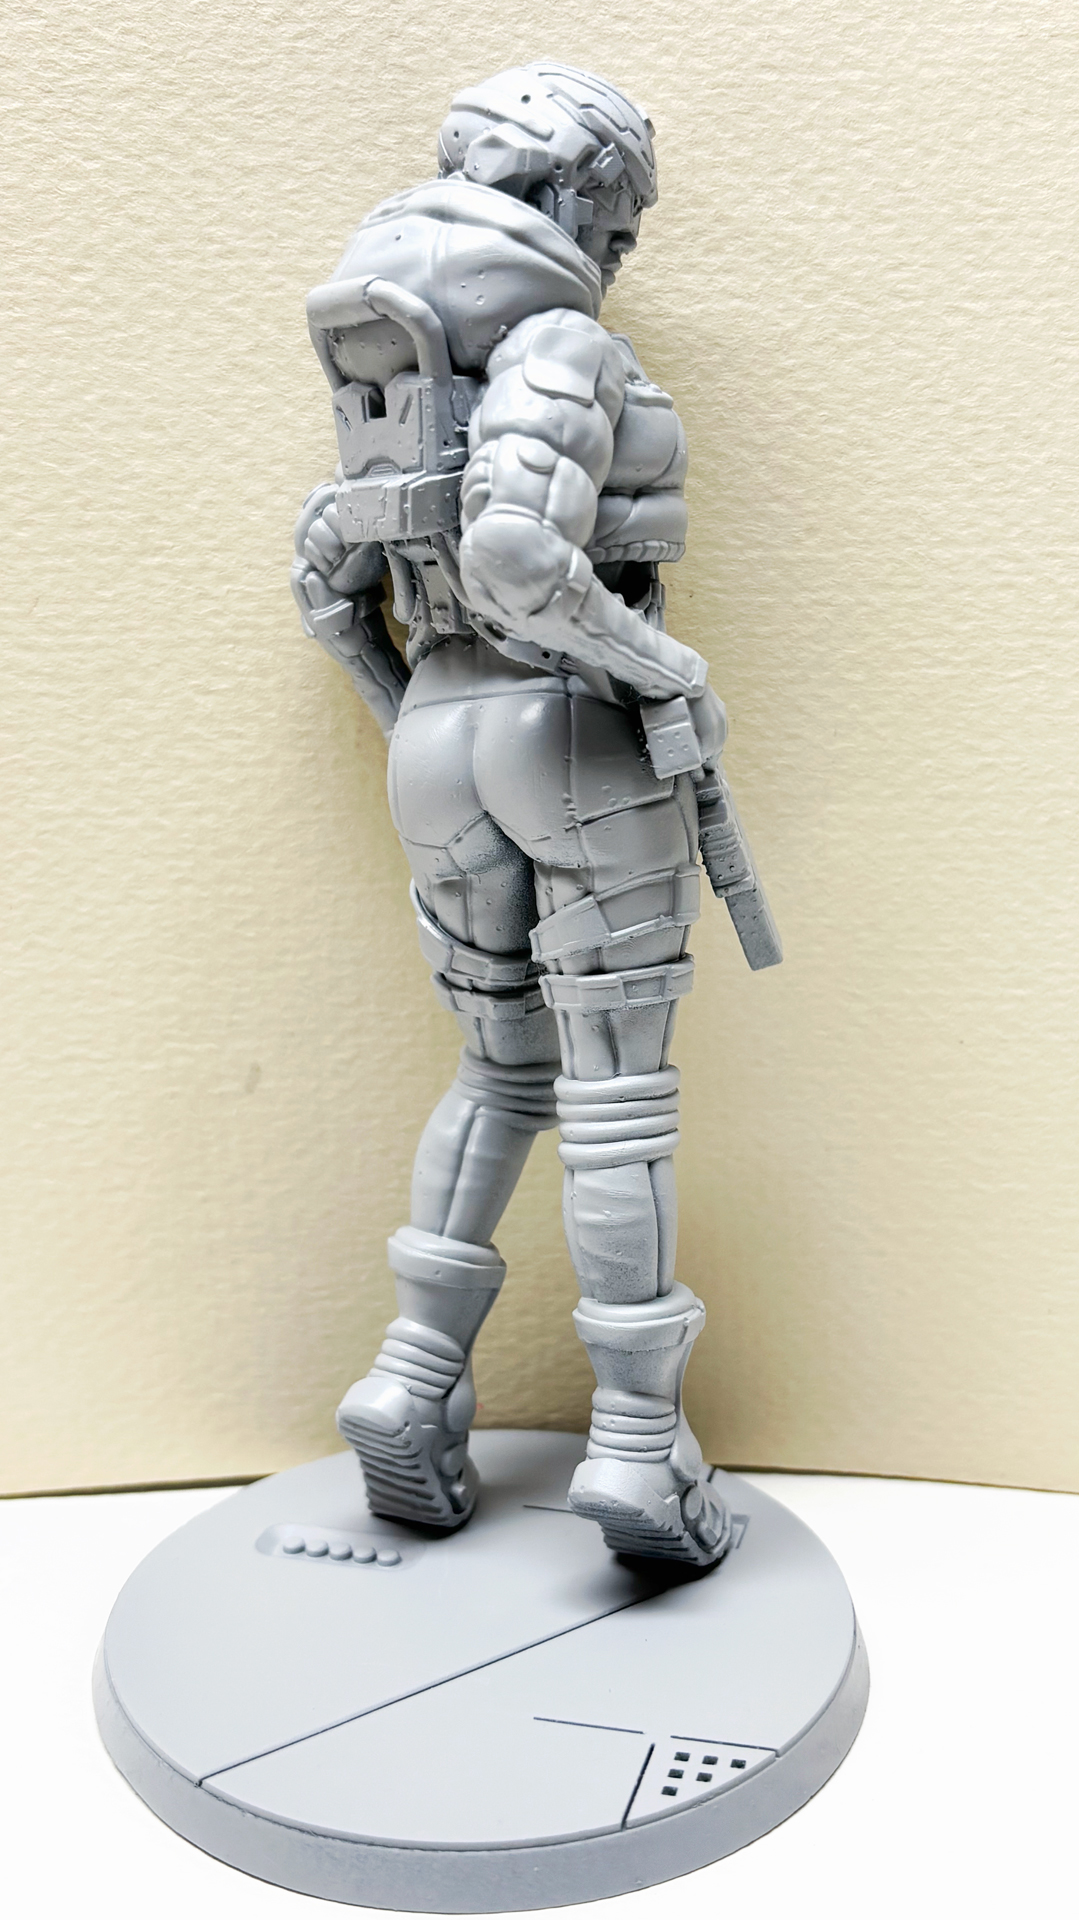
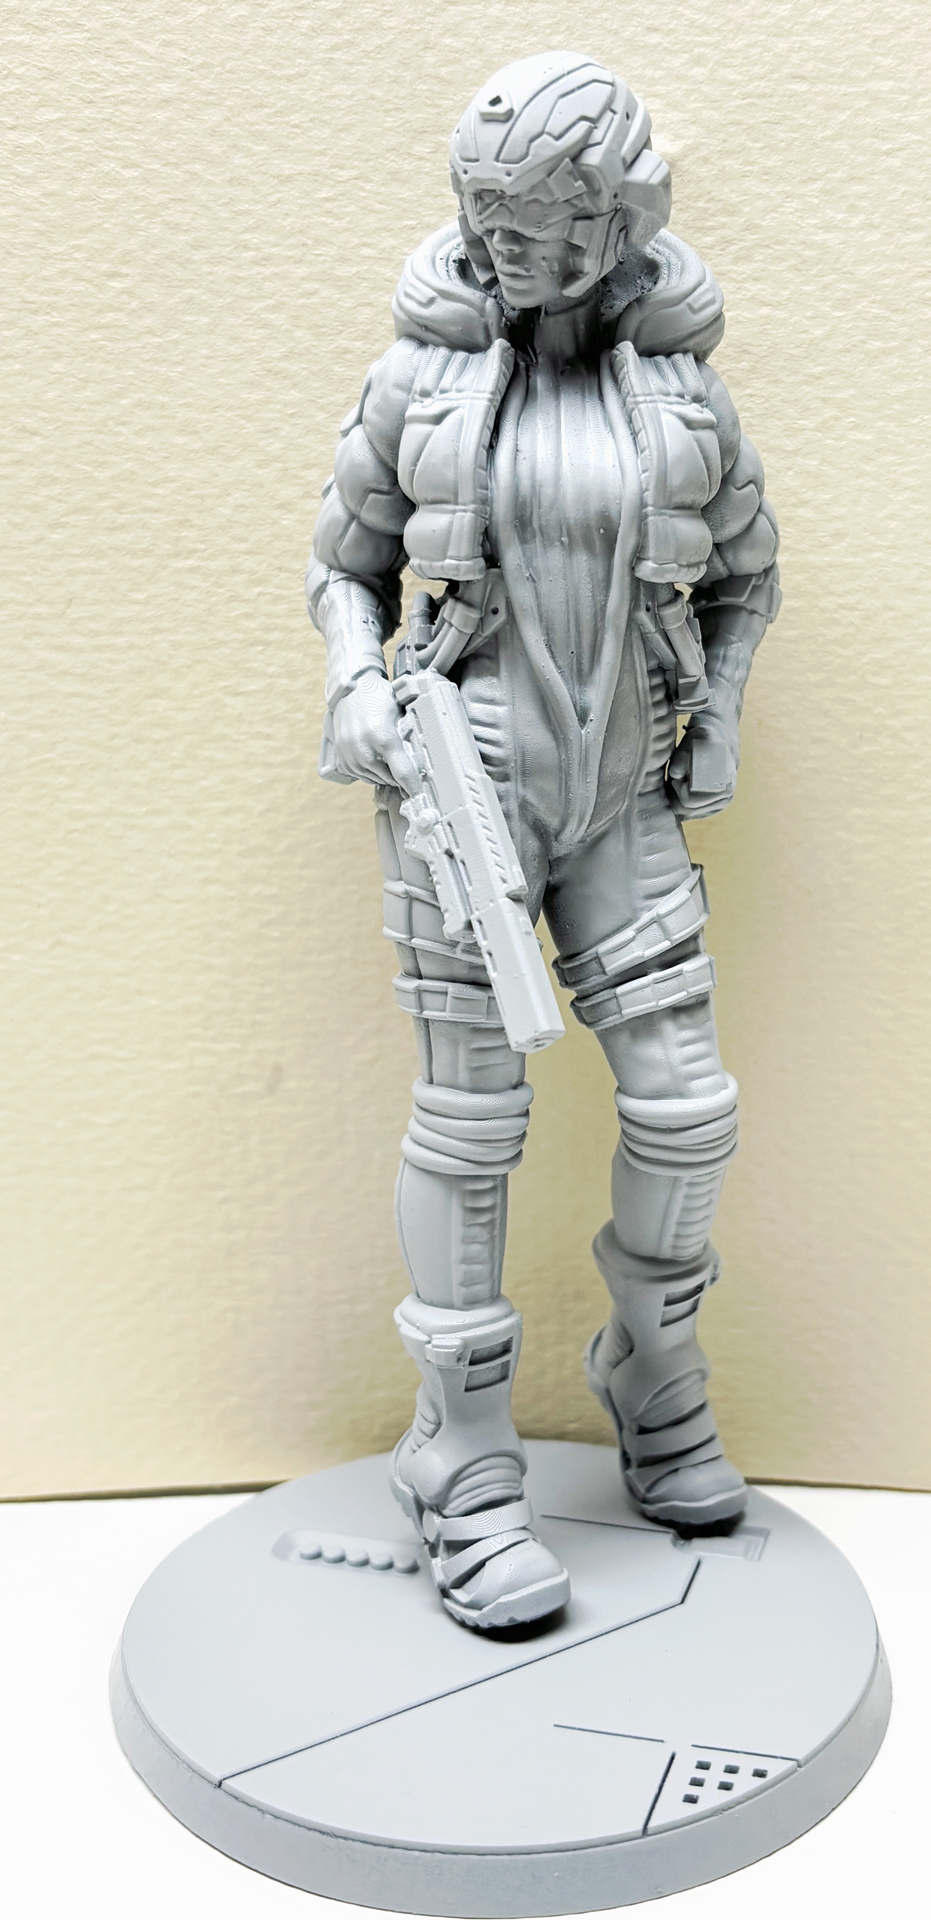
My 120mm ETSY one-piece 3D-printed Cybergirl/woman figure is primed.
As the saying goes, the digital camera has captured some leftover 3D-printed sprue marks on the cheek and sweater that my naked eyes couldn’t see so I’m going to lightly sand that down and then spray primer again.
Looking good, Peter. Seems to be a very clean cast with sharp details.
Thanks! ![]()
Looks well detailed. Interesting to see what colours you go with.
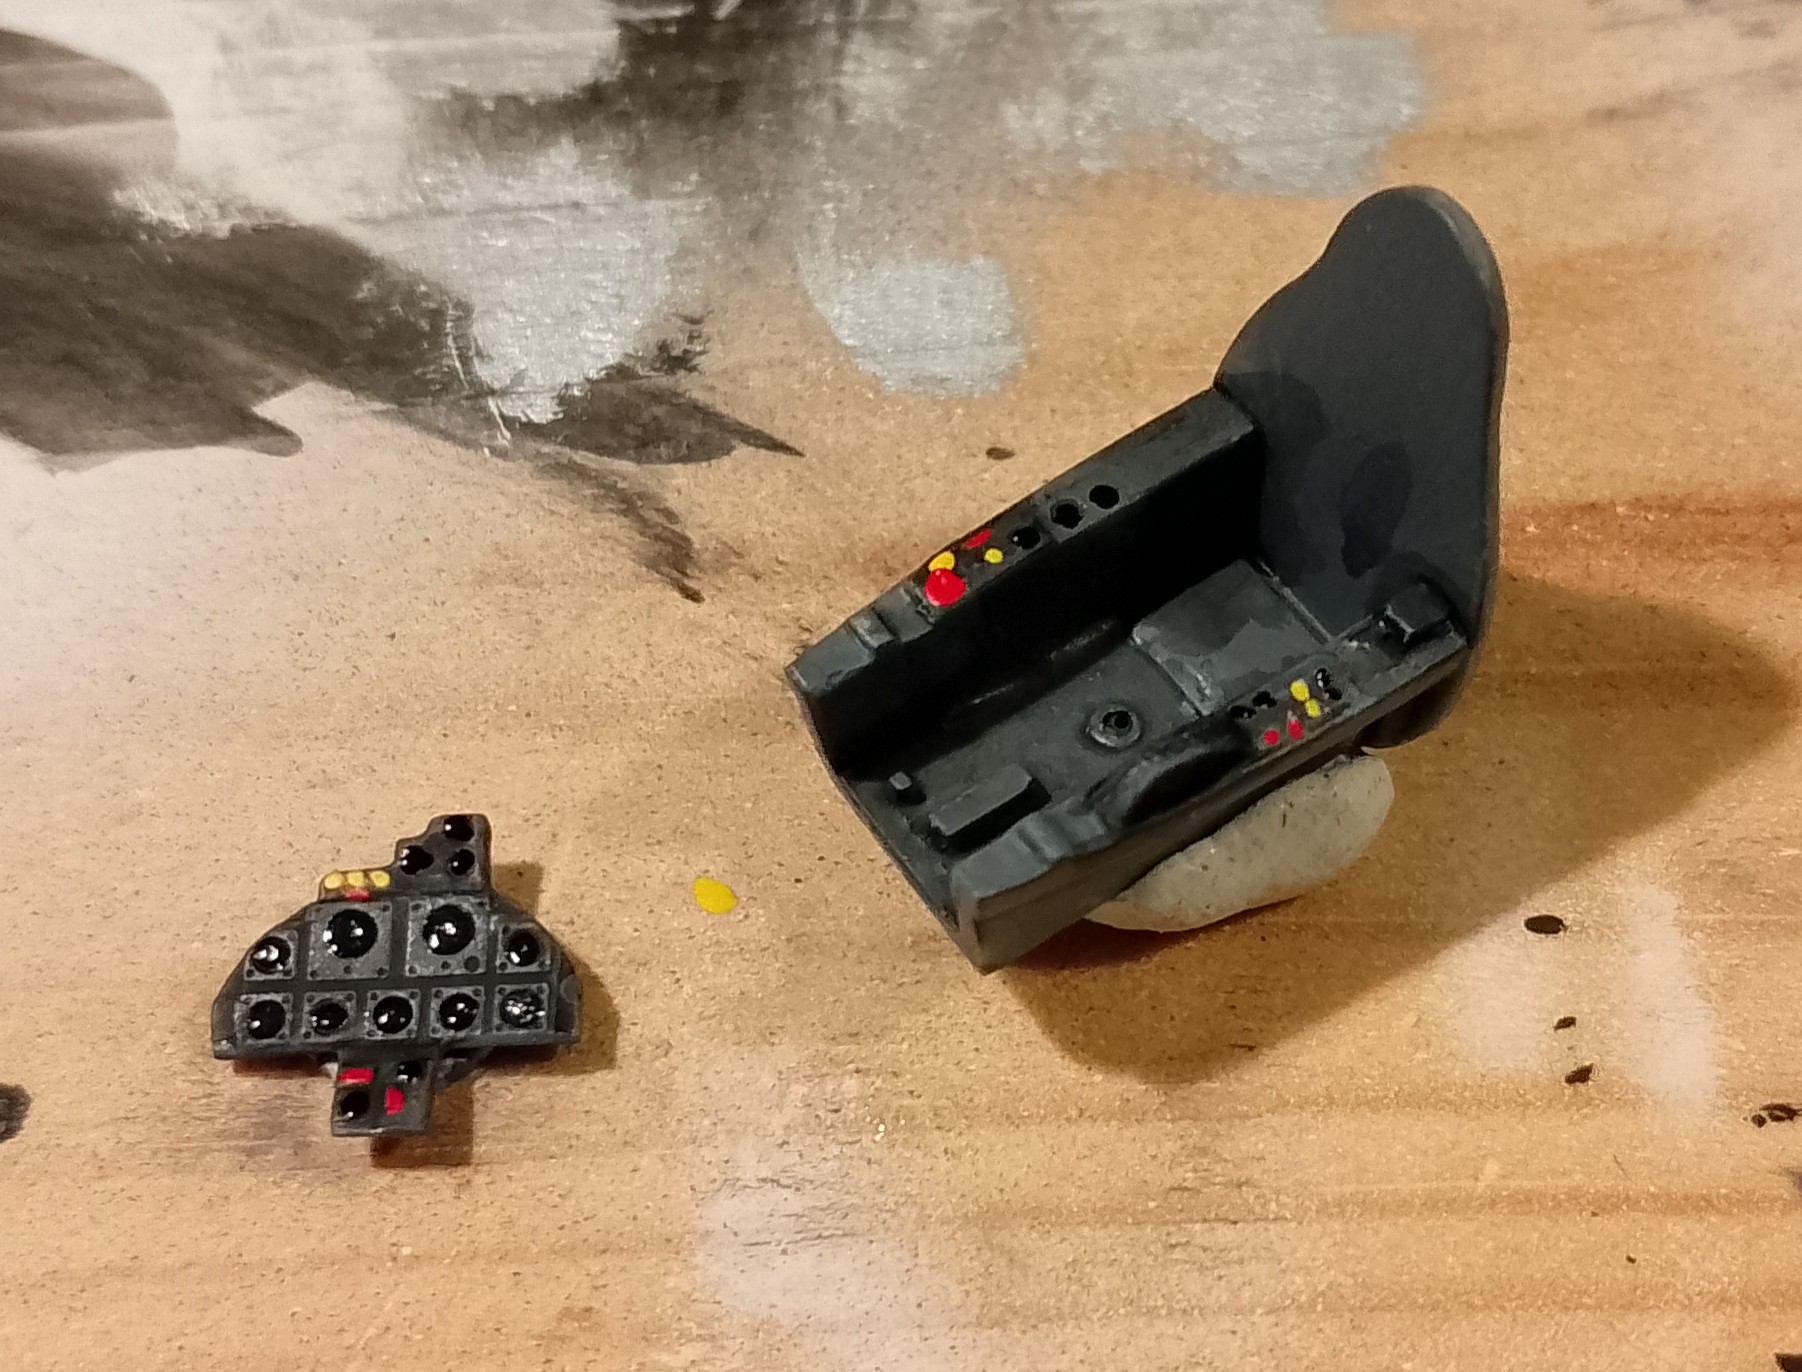
Just enough daylight when I got home the last few days to get the cockpit tub and instrument panel painted. I managed to find a couple of images of the SR.53’s cockpit to work from.
Just got to work on the ejection seat. I believe it was fitted with a Martin Baker Mk.2 seat.
And I worry that I’ve gotten a slight obsession with this aircraft. I’ve 2 of the trainer variants AZ have issued!
The 3D marks on the cheek could be kept and painted as scars. It would fit to a battle-proven cyberwoman, I think.
Great idea, @Agriamodeling ! Thank you for sharing. I think I’ll do just that and save me the trouble of sanding and priming the figure again. ![]()
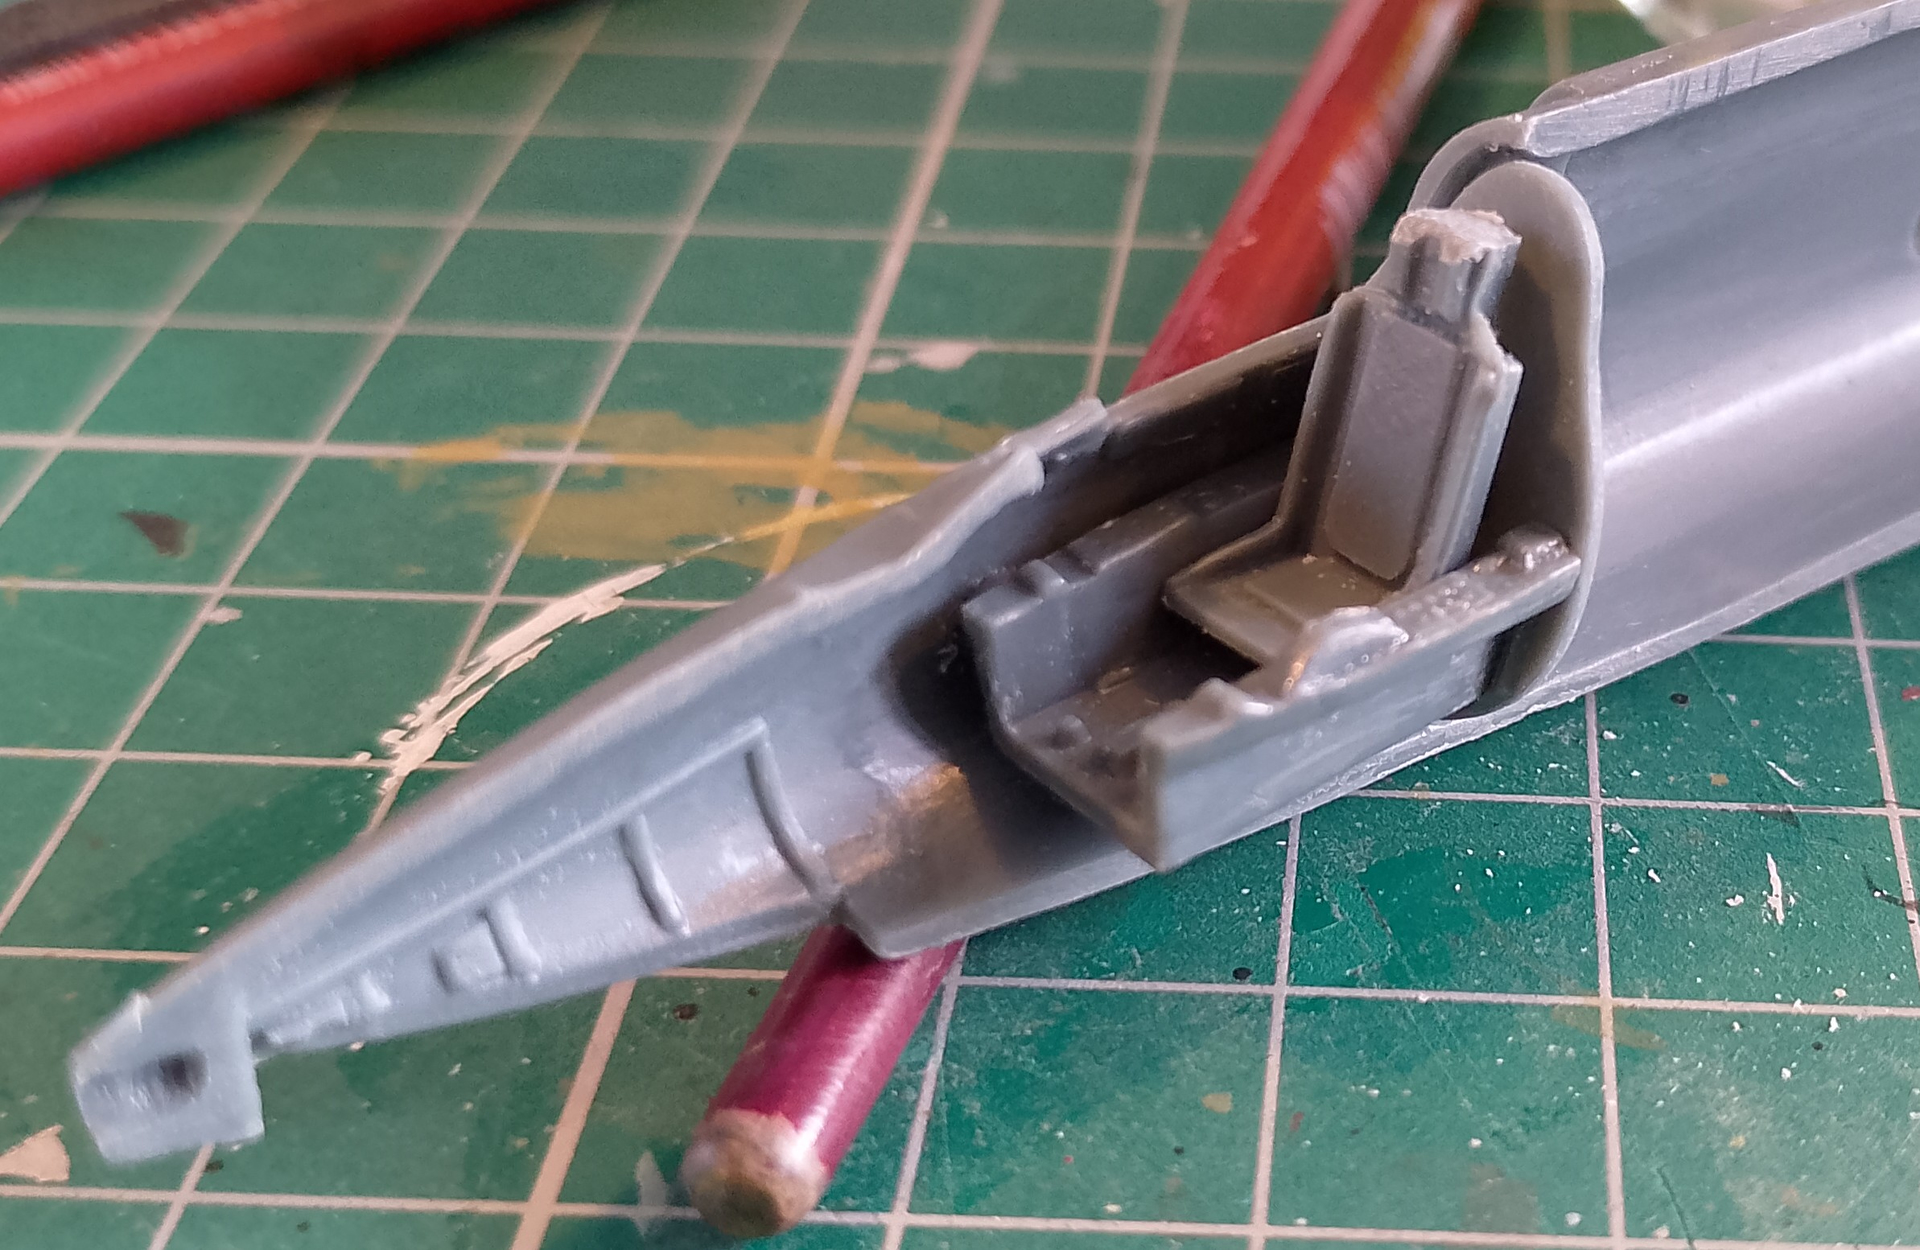
Made some improvements to the kits seat today. Made up the seat packs and drag chute housing from plasticard, some scrap bits of rod and off-cuts on the head rest. Not 100% accurate, but looks better.
Been thinking about names too, especially after fast predatory animals.
Thought of Falcon after the Peregrine Falcon, but that does sound a bit too much like Vulcan. Thought about Peregrine, but it’s a bit of a mouthful and reminds me a little bit too much of Pip in LoTR! Cheetah sounds good and naming things after big cats is always popular in the armed forces. Mako is another idea, after the fastest shark species and it does live in British waters.
What does everyone think? Open to other suggestions.
I’d pass on Cheetah myself as the species is terribly inbred due to the declining genetic pool, plus they are easily bullied by other predators and can’t growl. I love cats but they are on the bottom of my tier list. Amur tigers are on the top, btw.
Also: So glad we are spending so much energy and cooling water on AI to have it generate me a list of the top ten fastest predators that includes pronghorn sheep and wildebeest. What a technological marvel Google AI is.
Yeah, they do get the short end of the stick. But, to a Ministry of Defence committee in the late 50’s it might sound appealing. ‘What about Cheetah? Was once chased by one in Rhodesia. Lethal across short distances you know.’
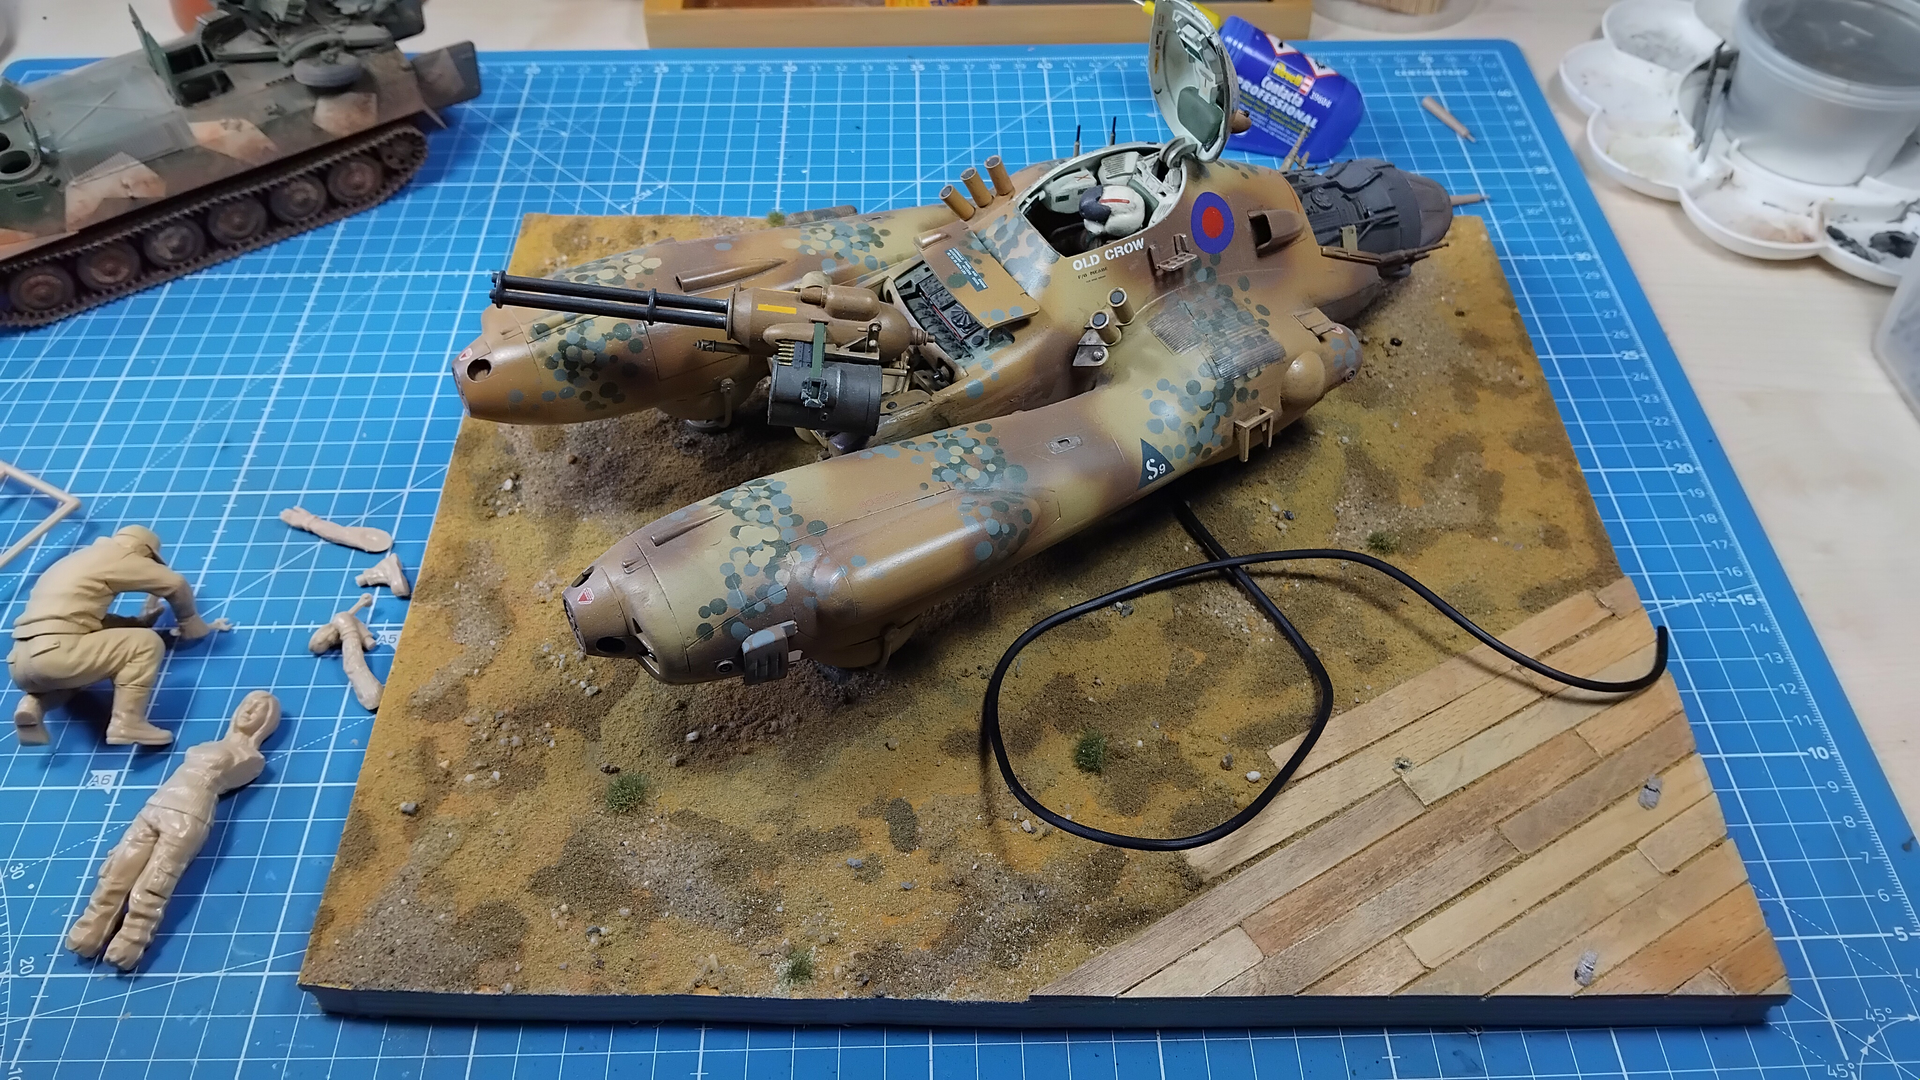
Little change of plans here!
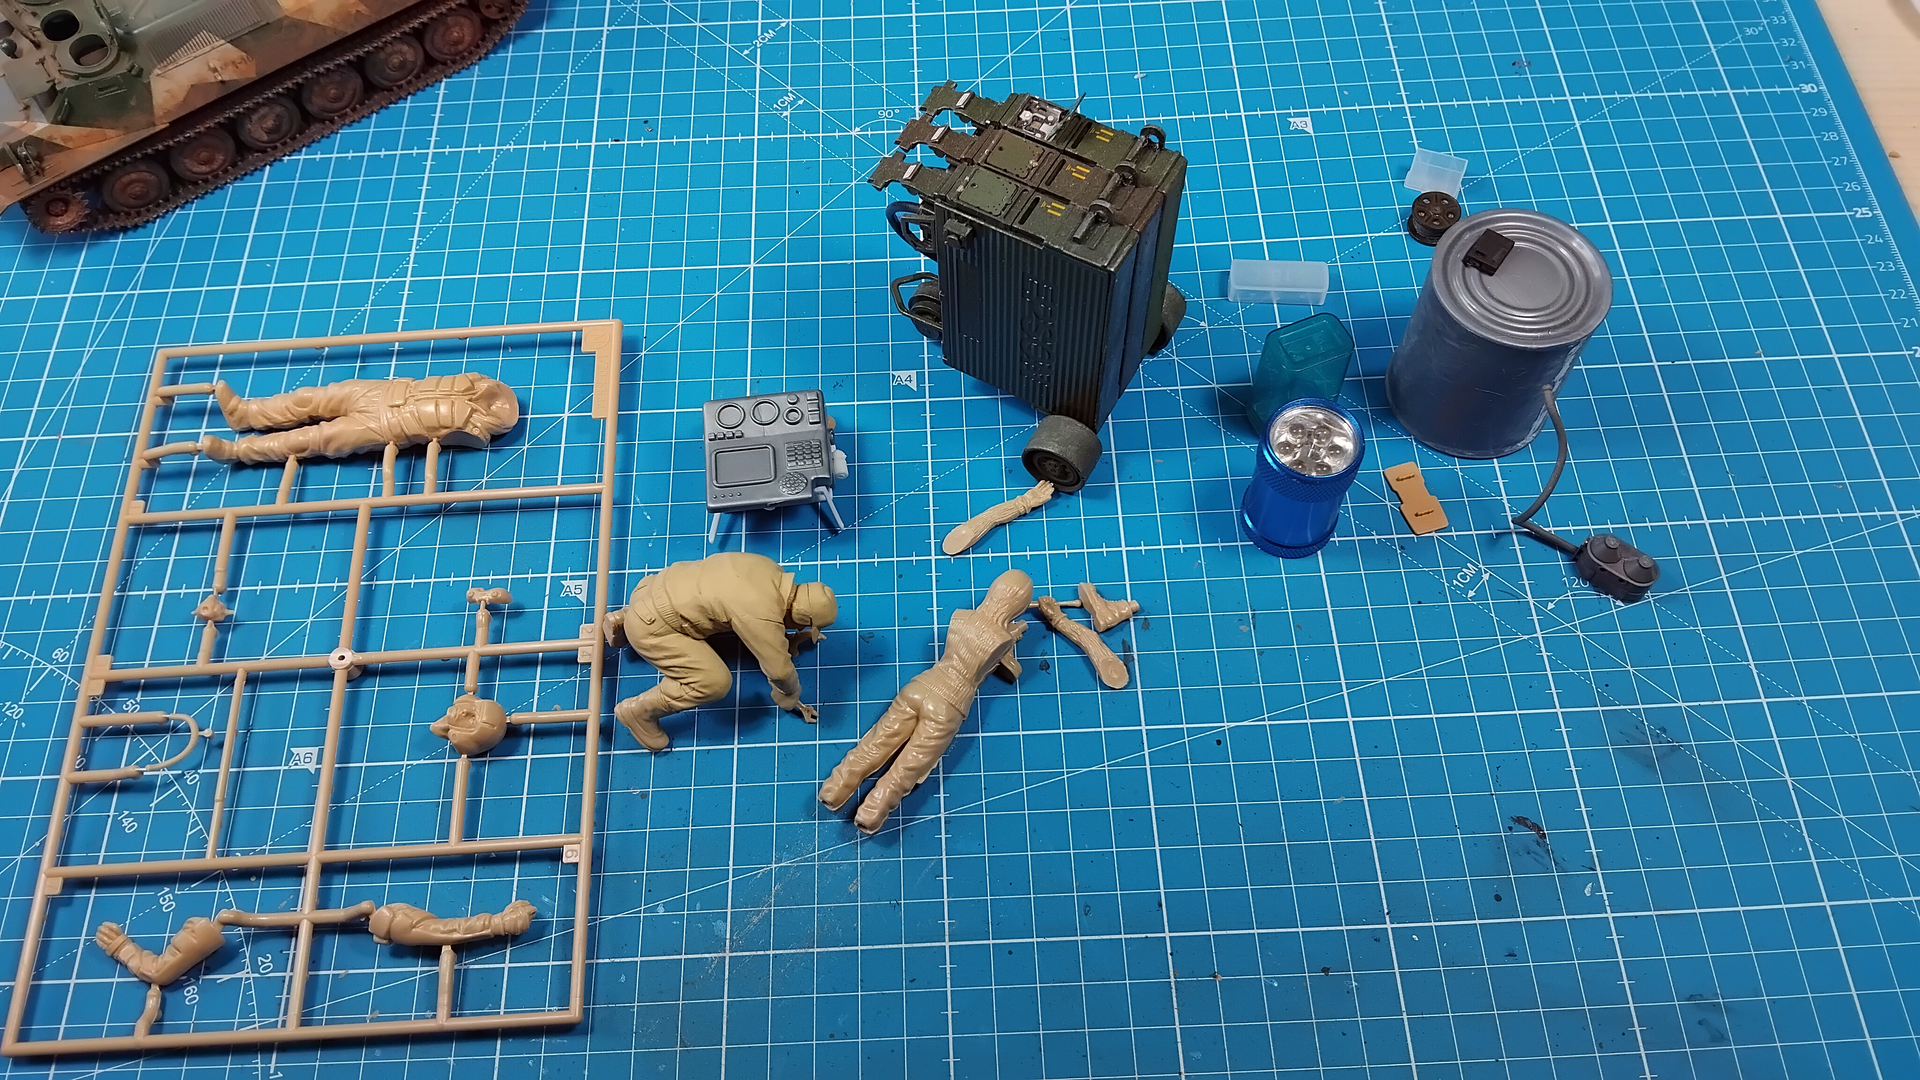
Some might remember the MaK Falke in 1/20 that I finished in 2020 and now I decided I’ll finally add the groundcrew, coming from the Hasegawa figure set A. along with equipment.
I’ll throw in the original pilot as a stand alone, just for good measure.
It is Sci-Fi. EVERYTHING is realiszic in a far-far galaxy.
![]()
Nothing wrong with SF and being imaginative, but I’m trying to keep this one grounded in real late ‘50’s early 60’s technology. More an alternative history subject, imagining this aircraft was selected over the EE Lightning.
That is going to be an awesome diorama, Ron!
Looking forward to see more ![]()
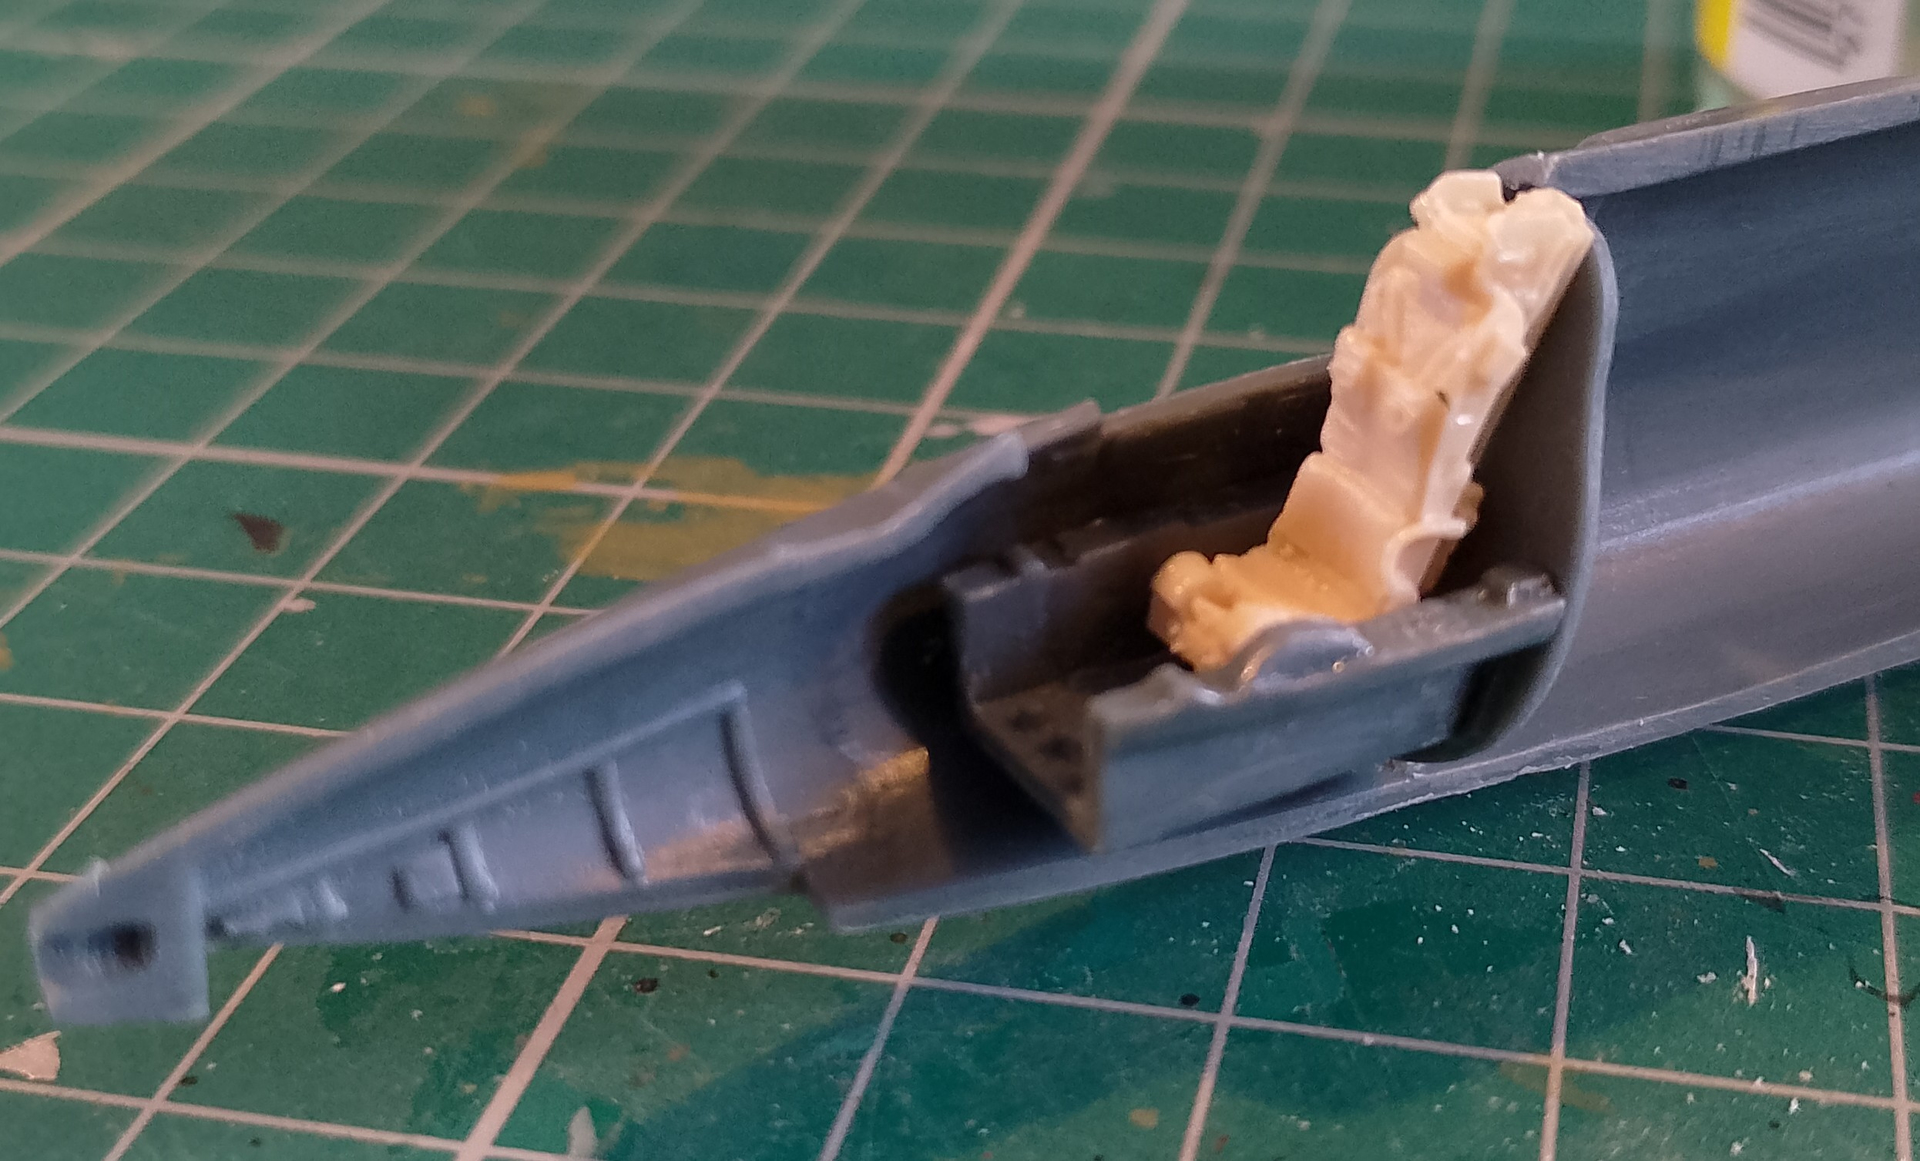
Nearly finished painting the seat. I’ll give the cushions and parachute pack a dry-brush and was. Then get the firing handle and straps made up. Probably do that over the weekend.
Fitted the cockpit tub and nose gear bay roof this afternoon. That part needed some trimming to keep the fuselage halves closed, it does seem a bit too wide and forces the nose apart.
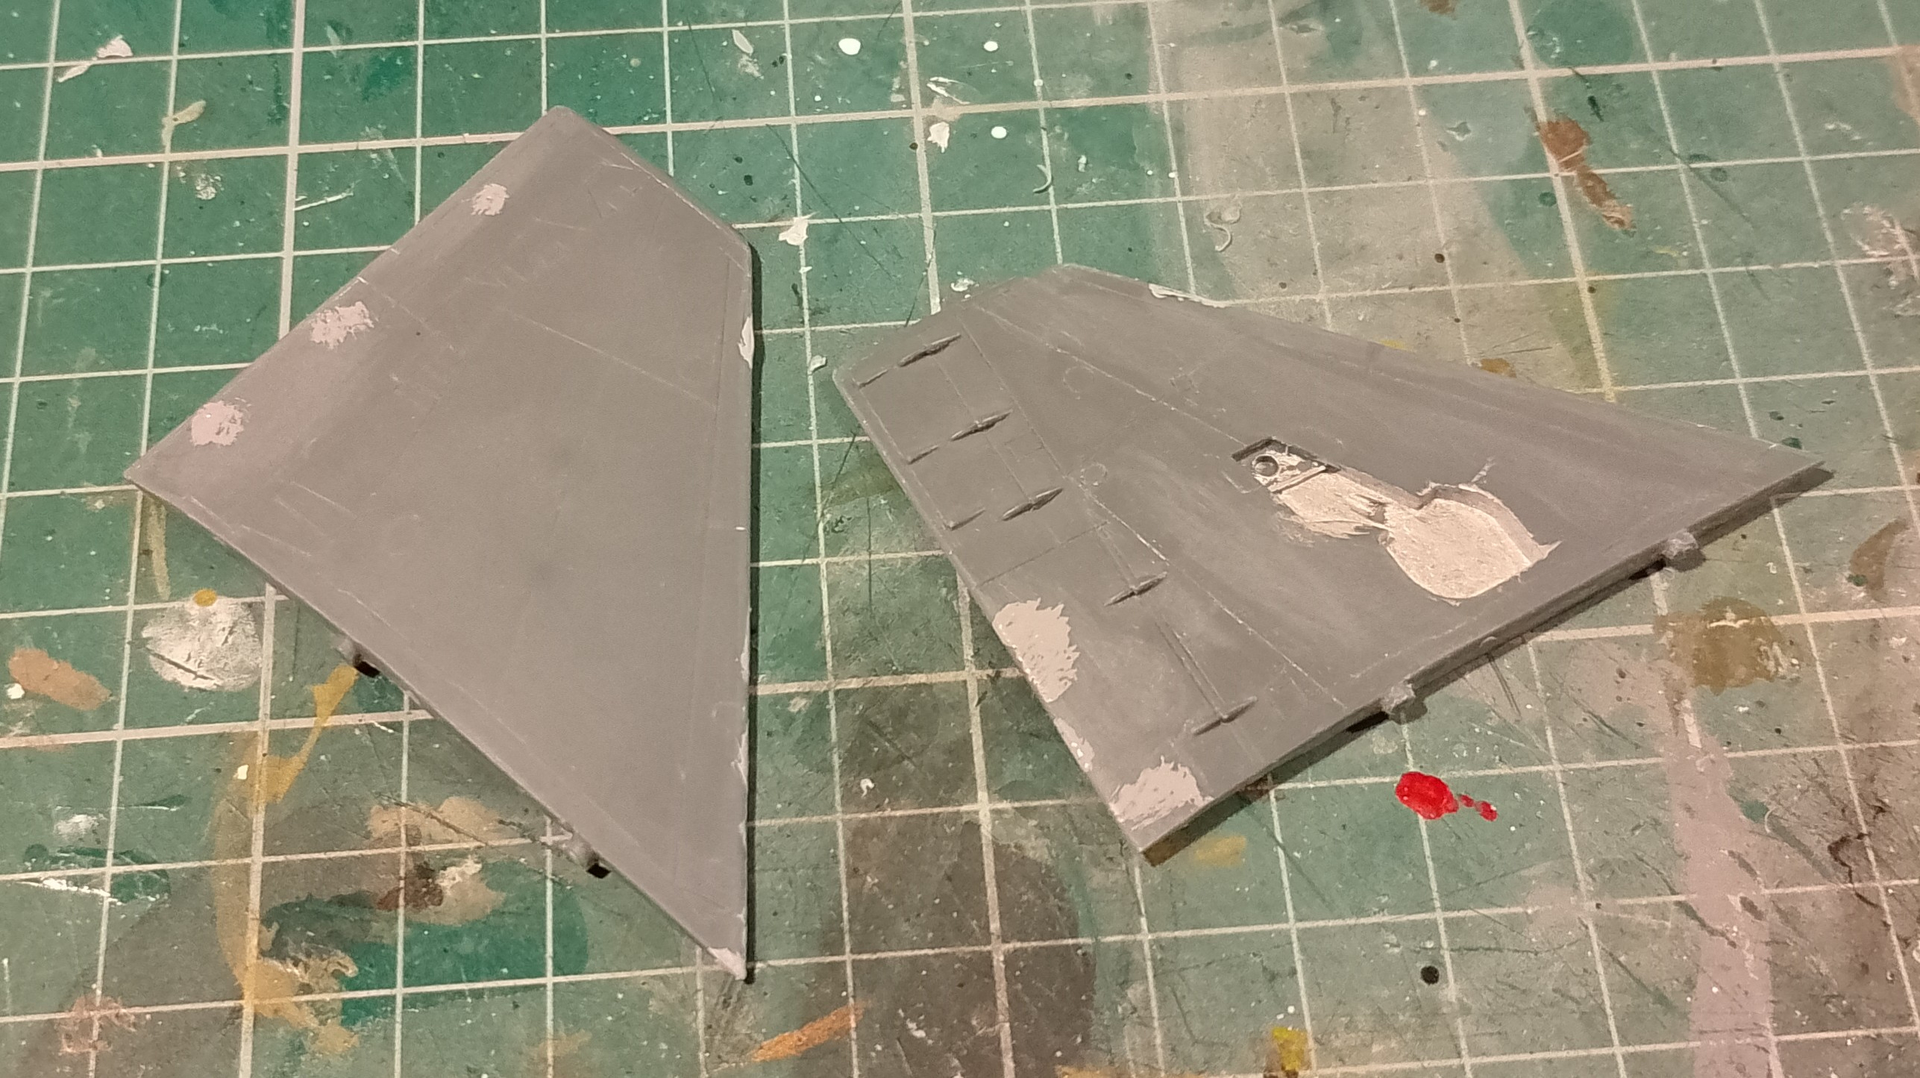
Also cleaned up the wing parts. Quite a bit of flash to sand back, especially along the fuselage mating side. There were also some scratches and scuffs that needed a light sanding and a little Mr Surfacer. I do still need to trim off the tips for the missile rails.
It’s all practice for building the others a little later.
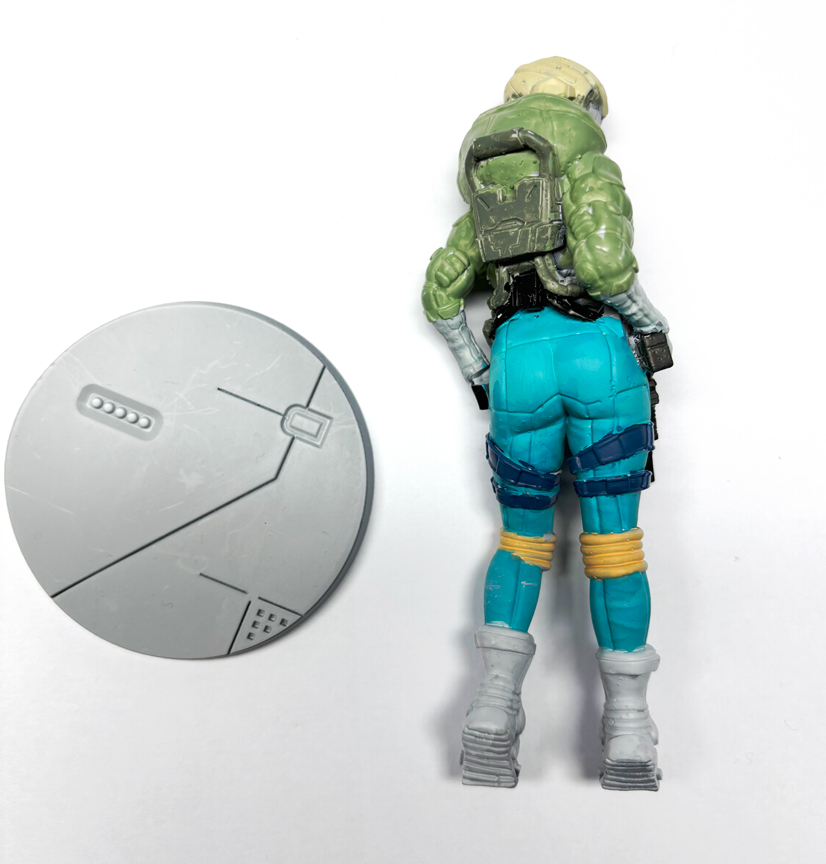
My 120mm ETSY Cyberwoman quickly basecoated with AK Interactive’s Real Markers.
The AK Interactive Real Markers are great although their tips aren’t that sharp so one still has to use a fine brush and go over the roughly colored parts. I intend to wipe the marker tips with a fine brush and paint over the marker areas that conflict in color.
Do note that AK Interactive’s Real Markers are Flat Matt paint. I don’t know if their PlayMarkers and newly released Quick Markers are any better as they come in more primary Wargaming Colors; Real Markers are more geared towards military colors.
AK’s Real Markers are a great substitute for a paint brush, but they will not eliminate the paint brush entirely.
I spent about an hour coloring in my figure, and that’s most likely a lot faster than using a paintbrush and several bottles of paint.
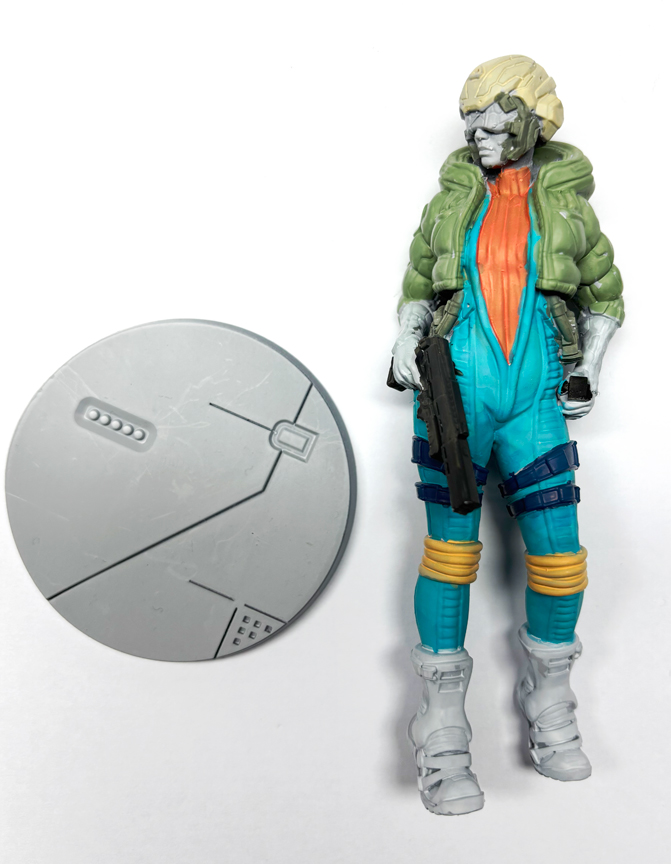
This figure is perhaps the only time I get to use colors on a figure that are bright, clash, and don’t match. I wanted to paint her jacket pink, but I was too lazy to find the pink paint bottle late at night and the Real Markers set didn’t have pink.
The base, face, and visor are still left unpainted (still gray Tamiya primer color) and I still need to do some touch up work before shading, washing, drybrushing, inking, and fine paint brush detailing.
Peter, nice choice of colors. I like the AK markers as well, but only for larger areas for terrain etc. For smaller details, figures, camouflage work etc. they have their limitations.