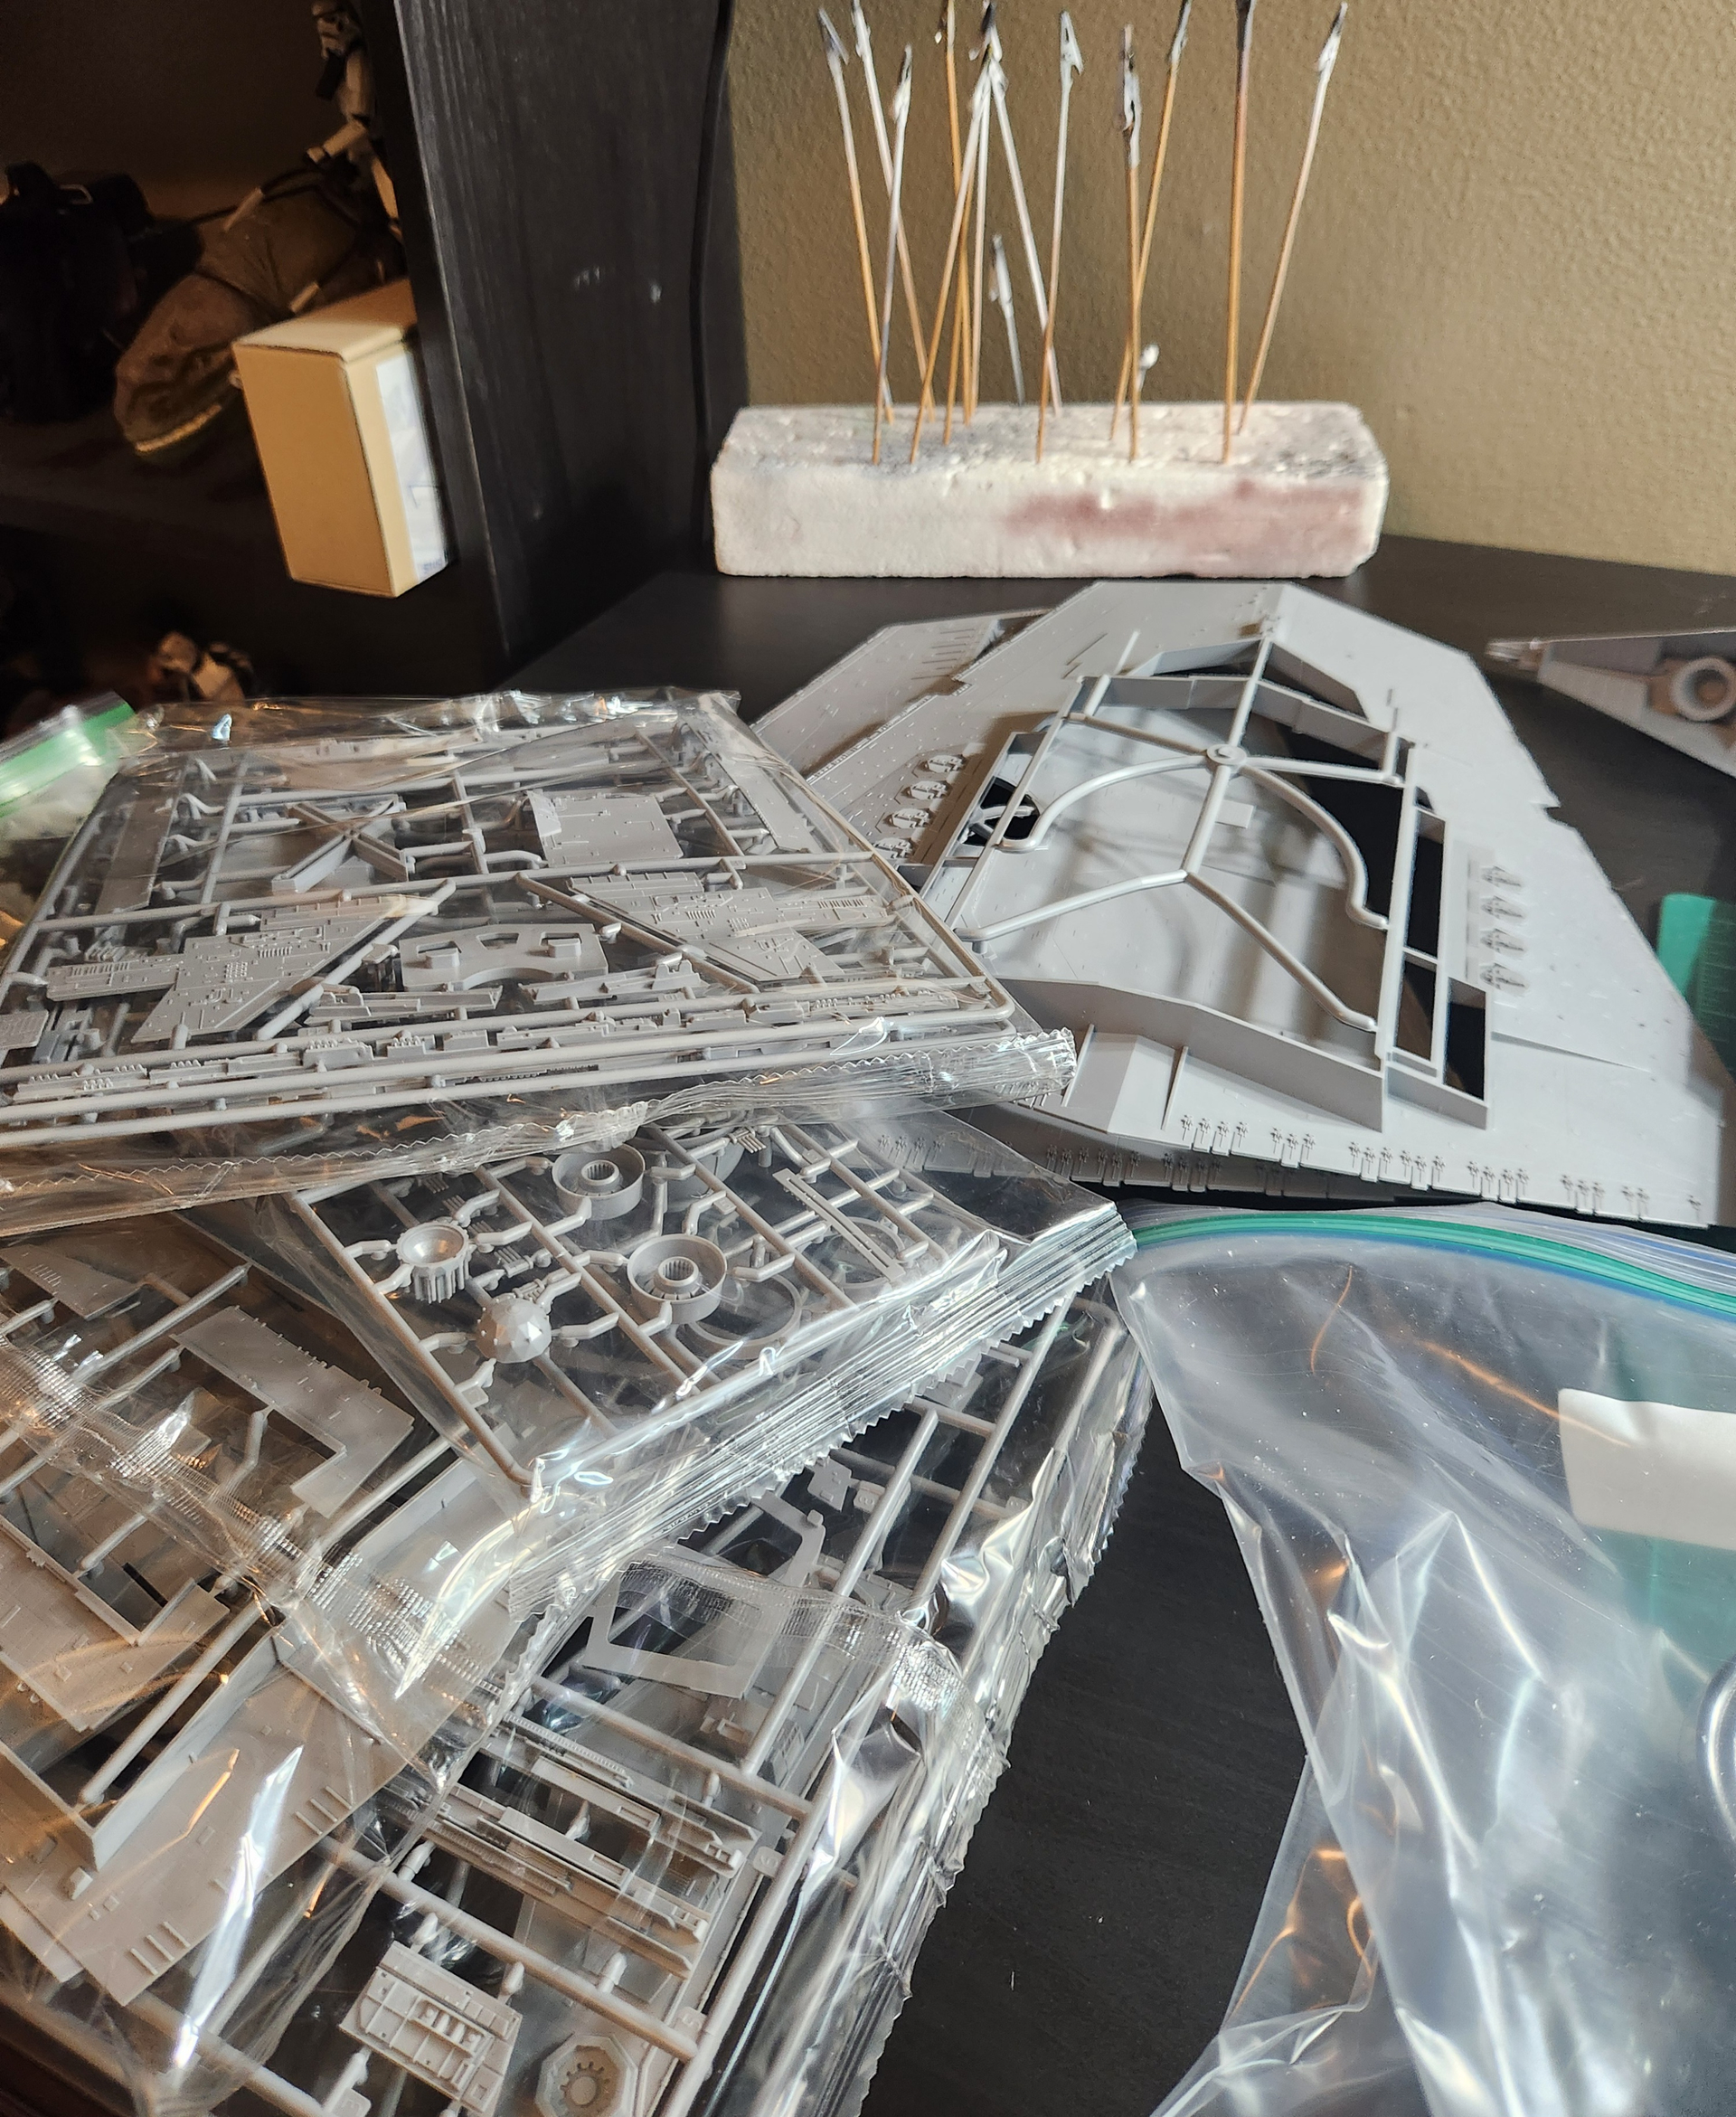
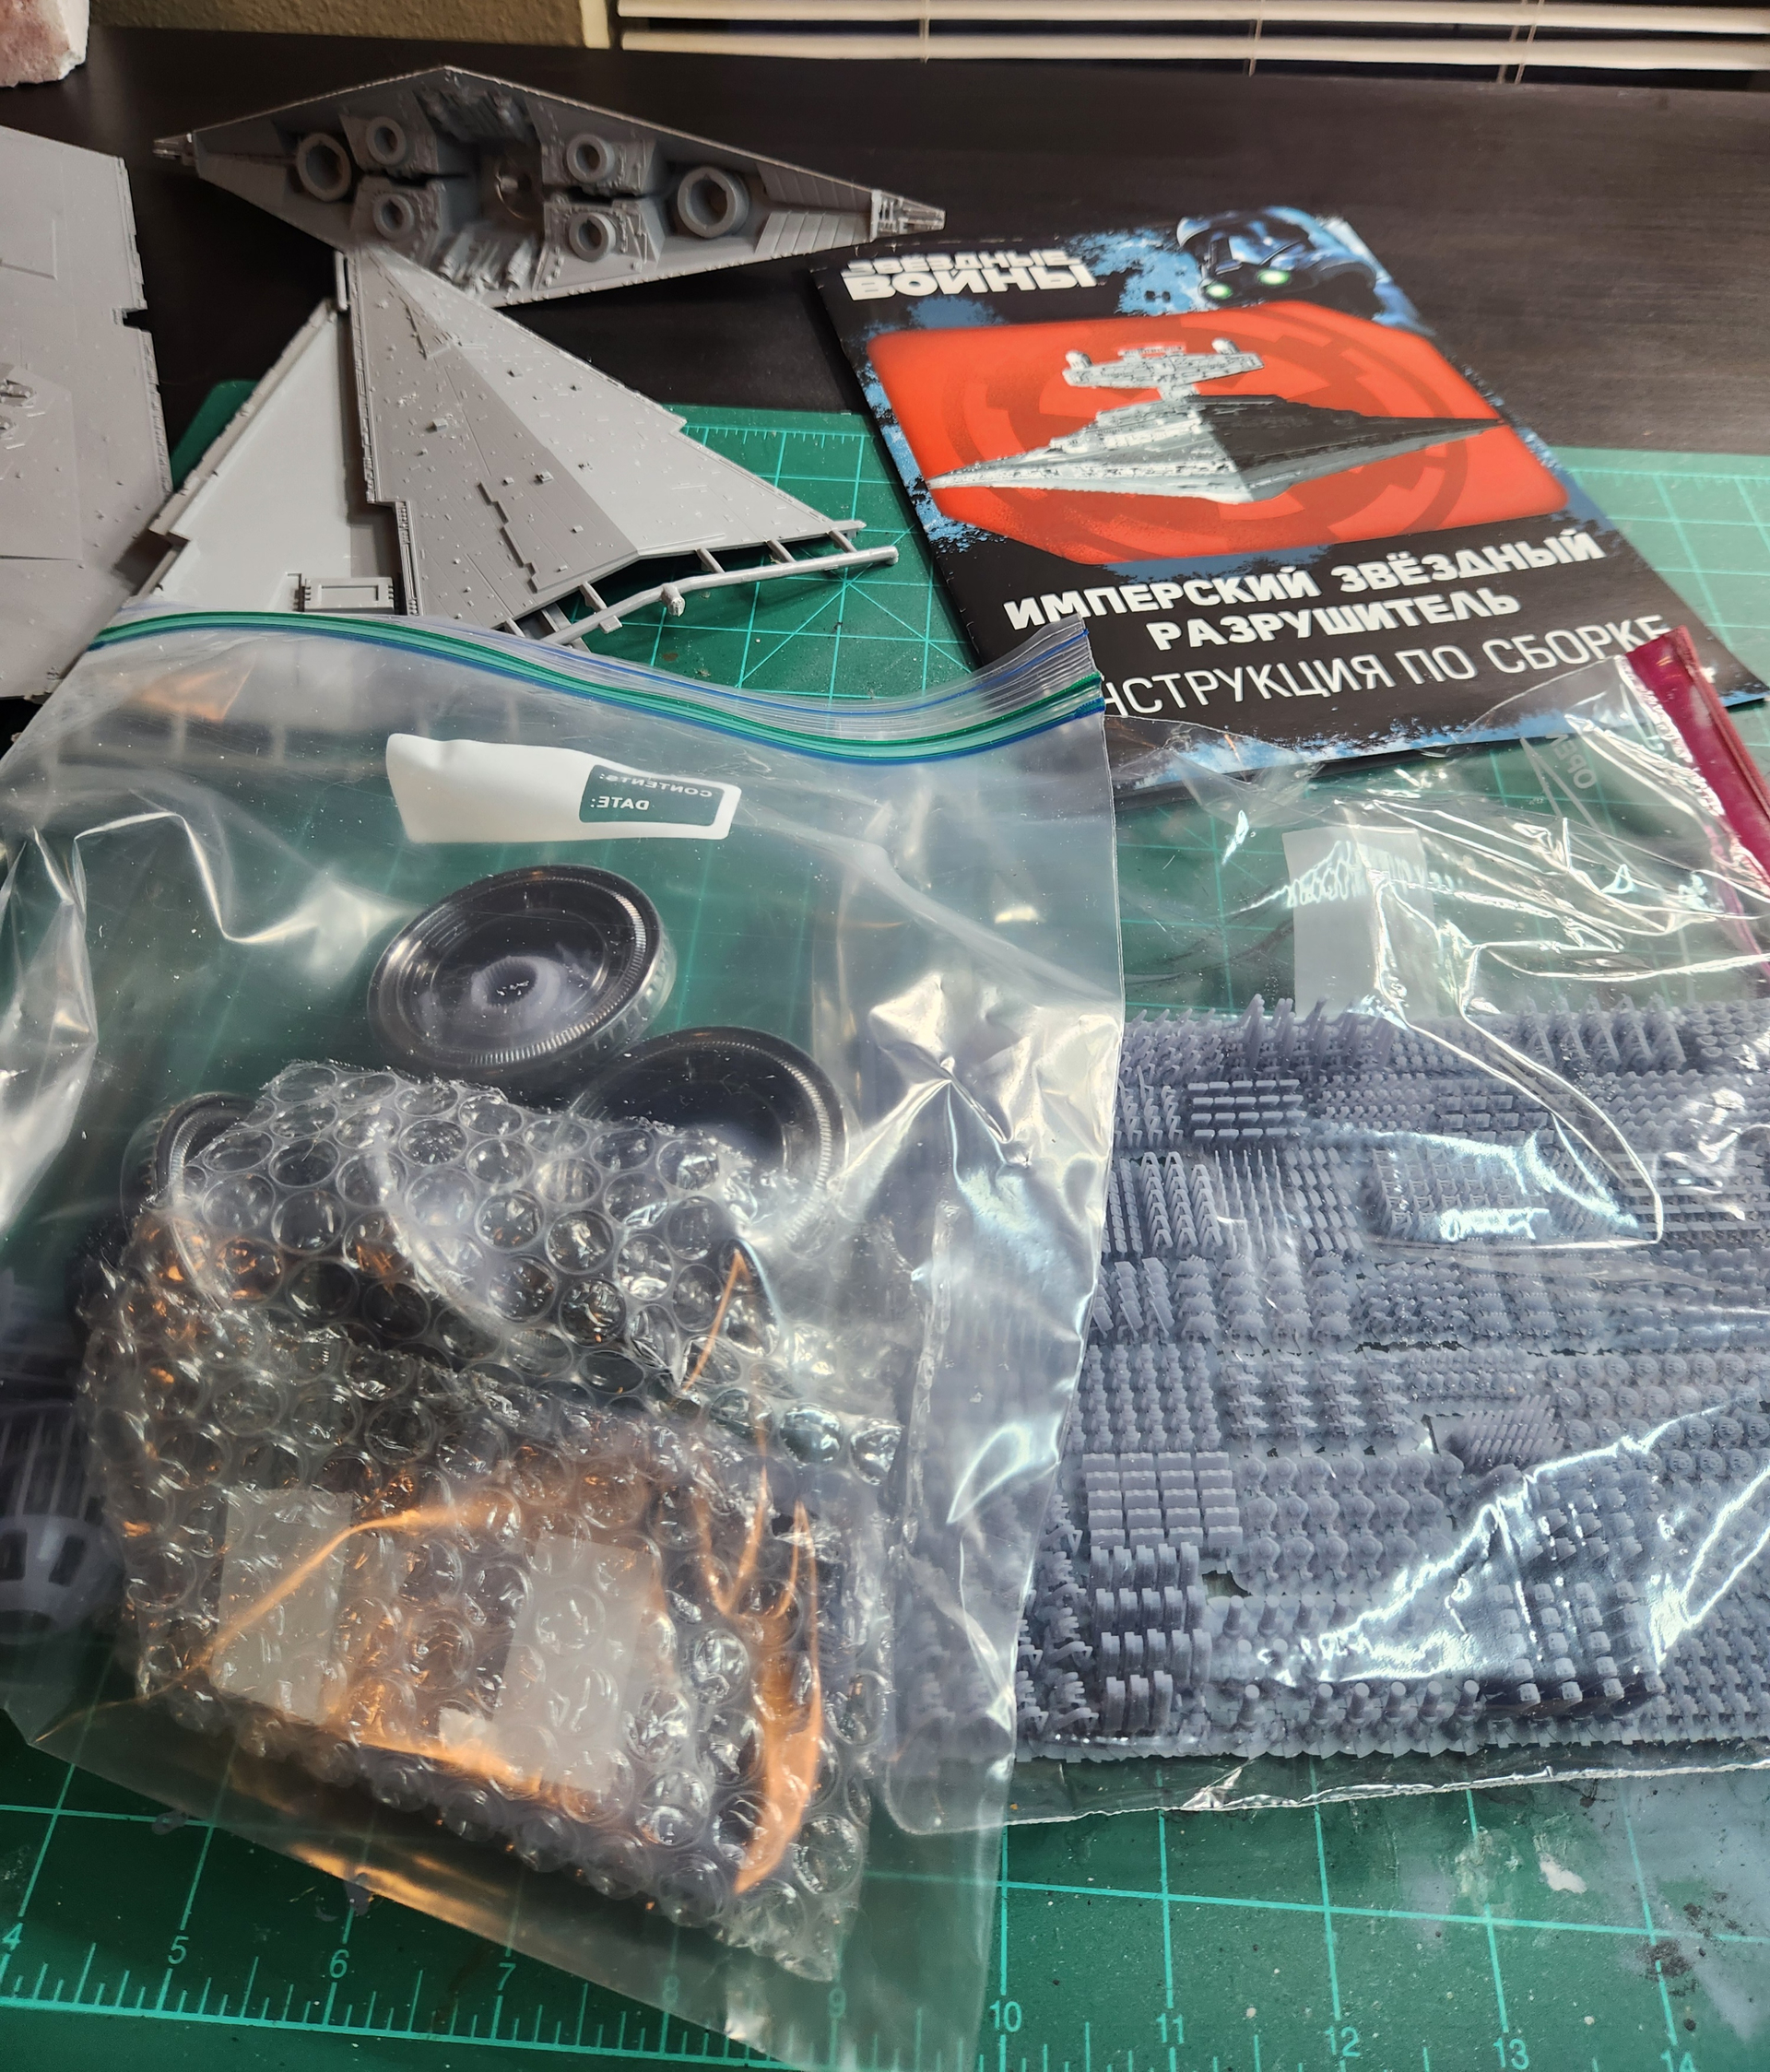
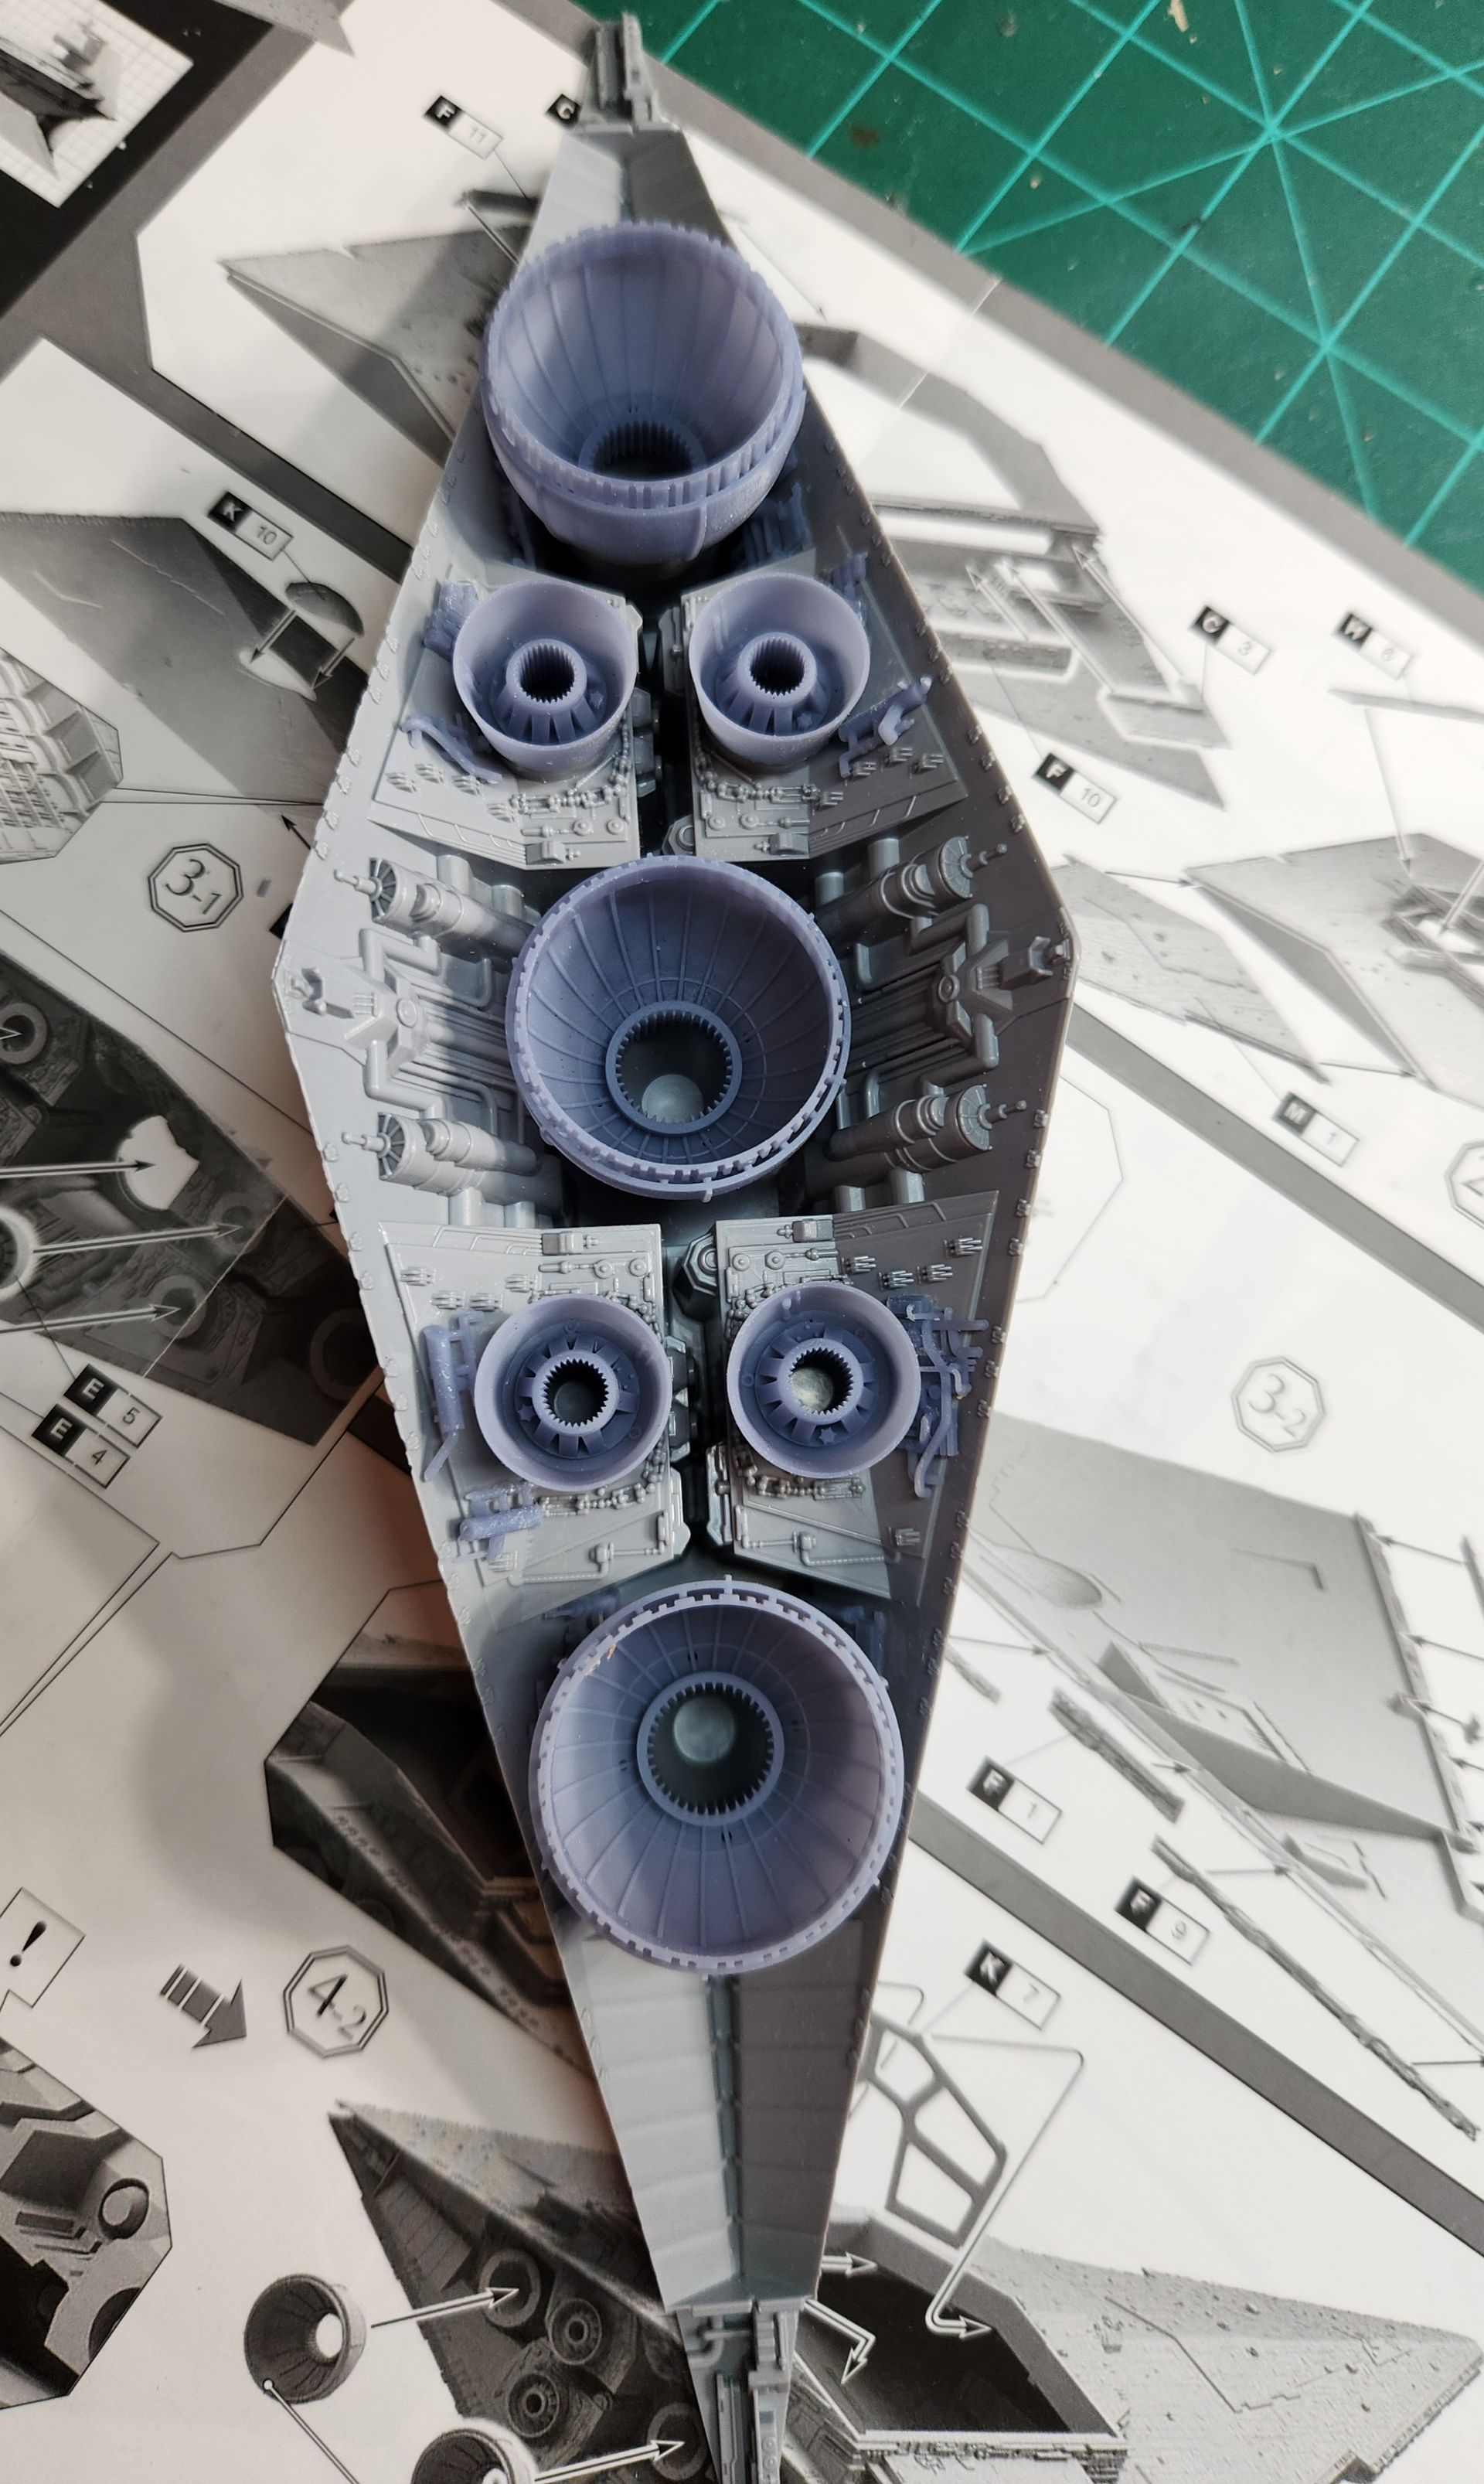
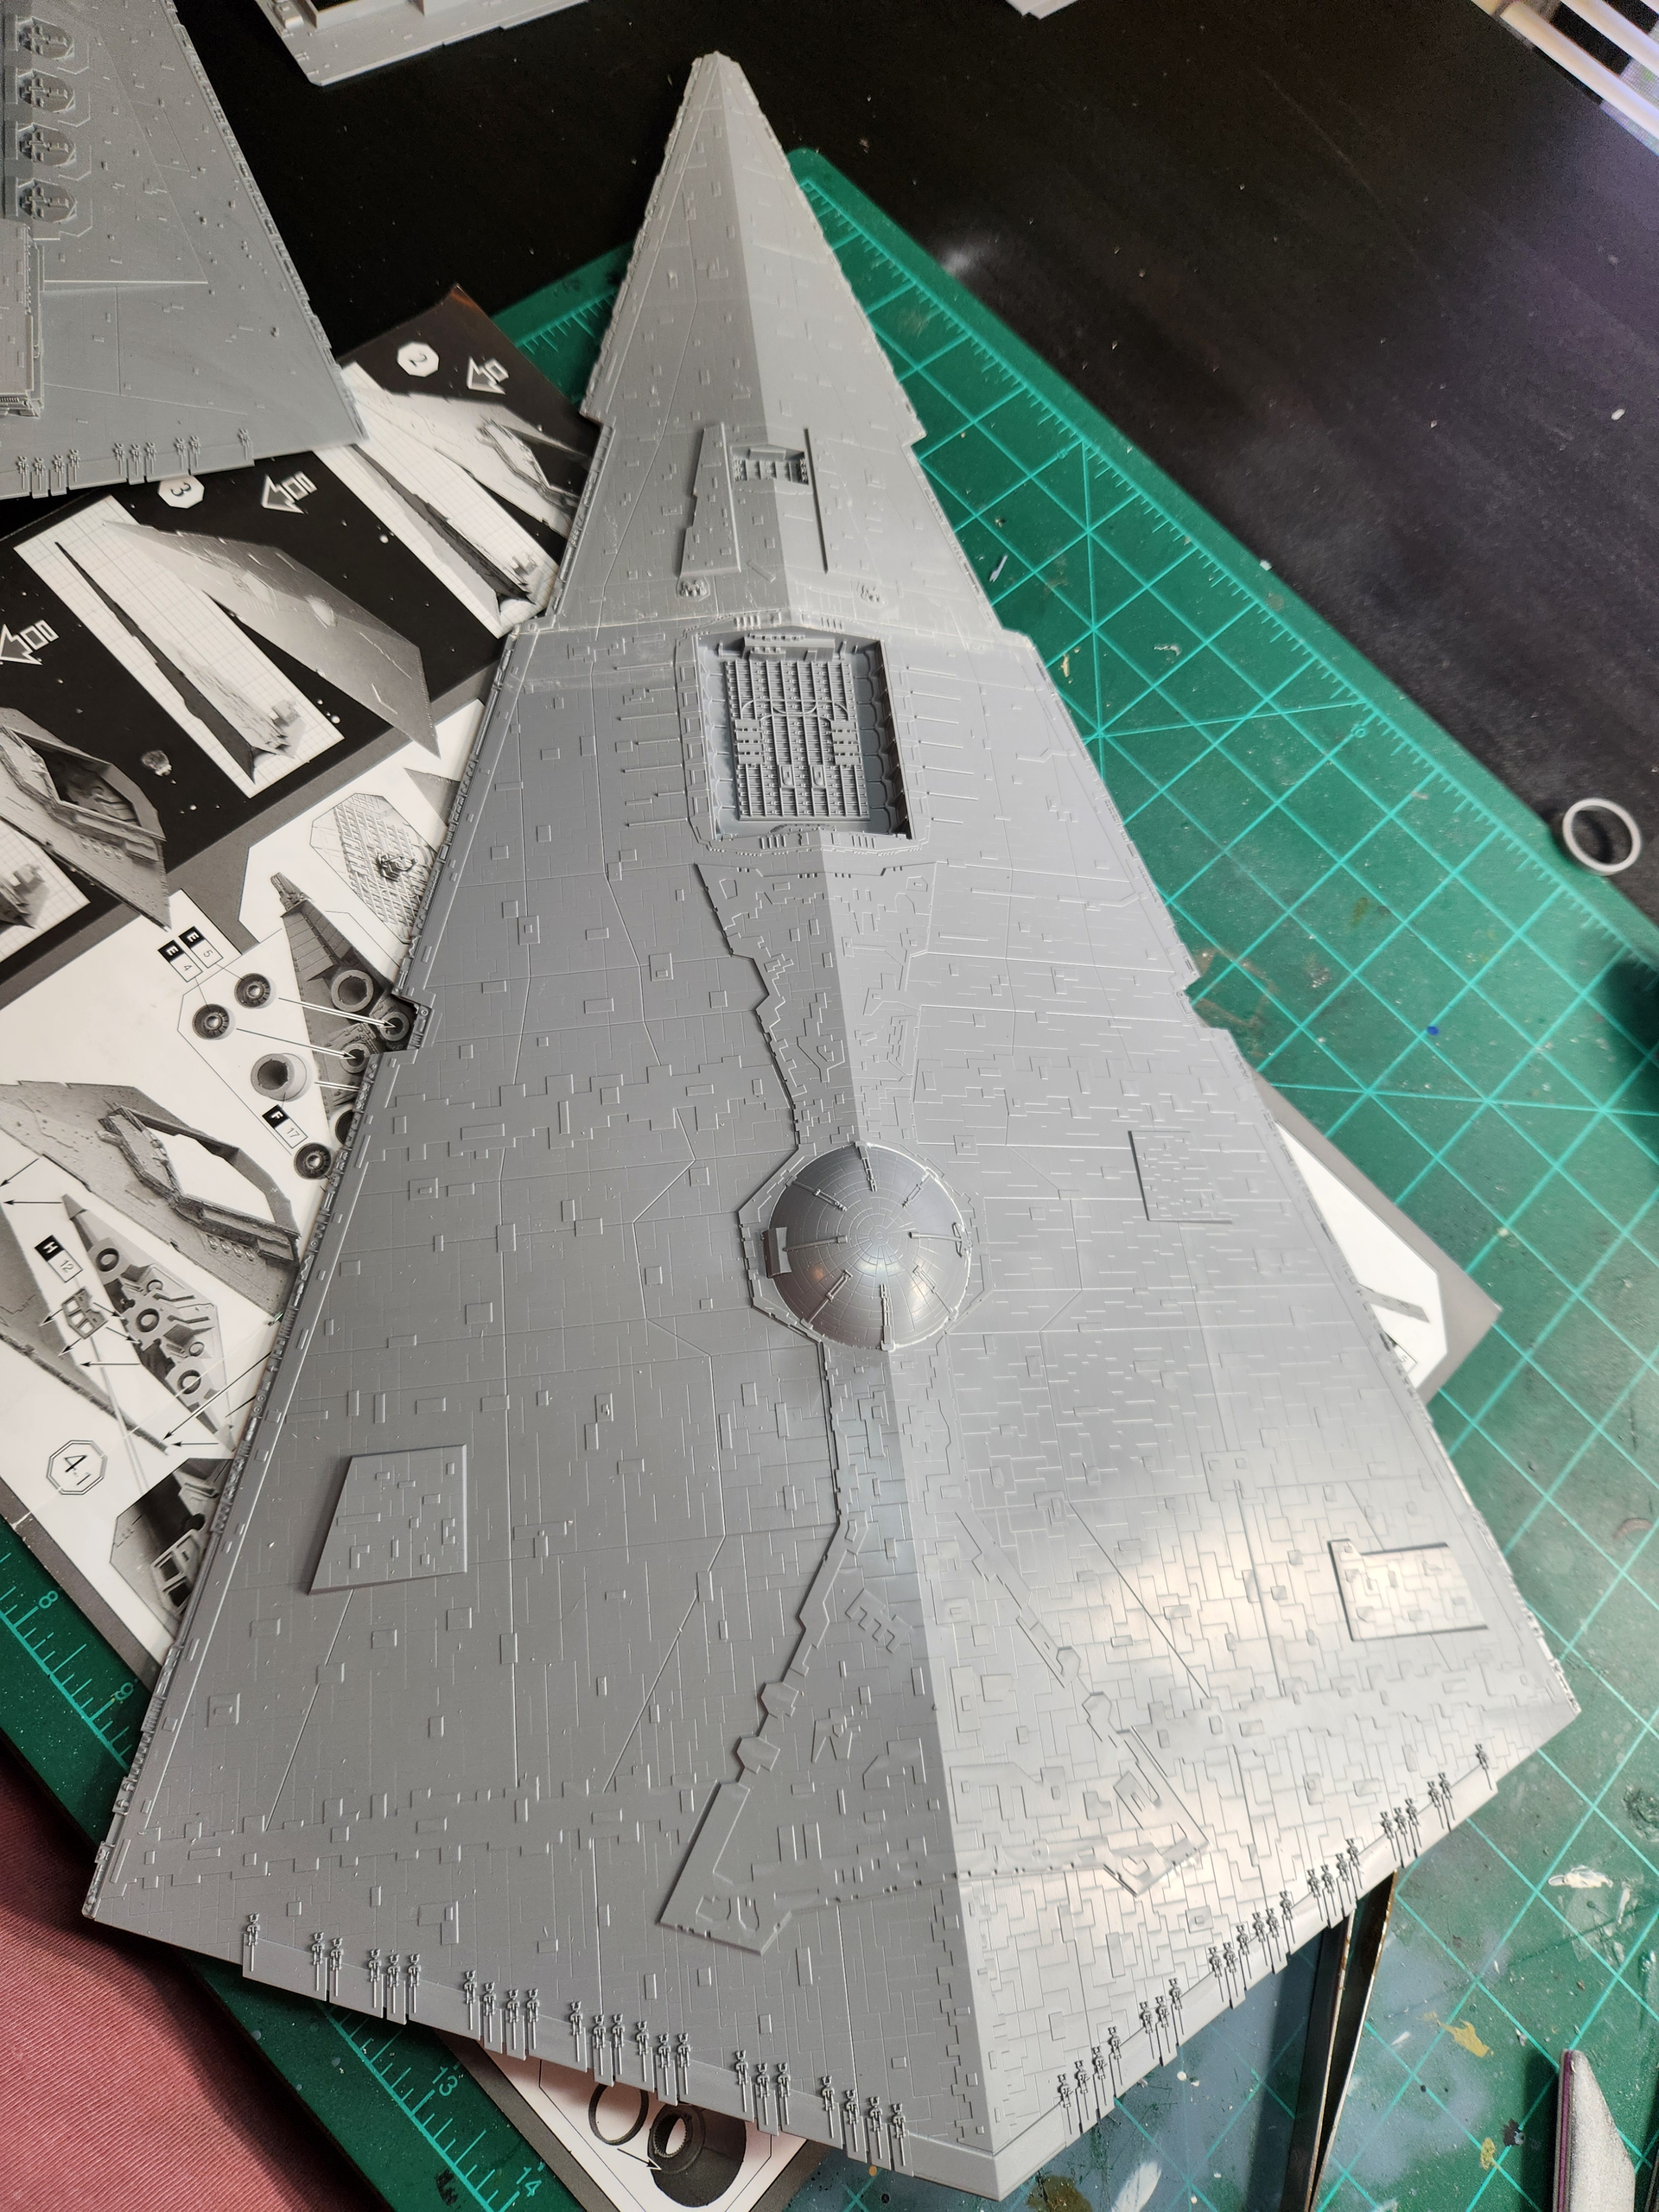
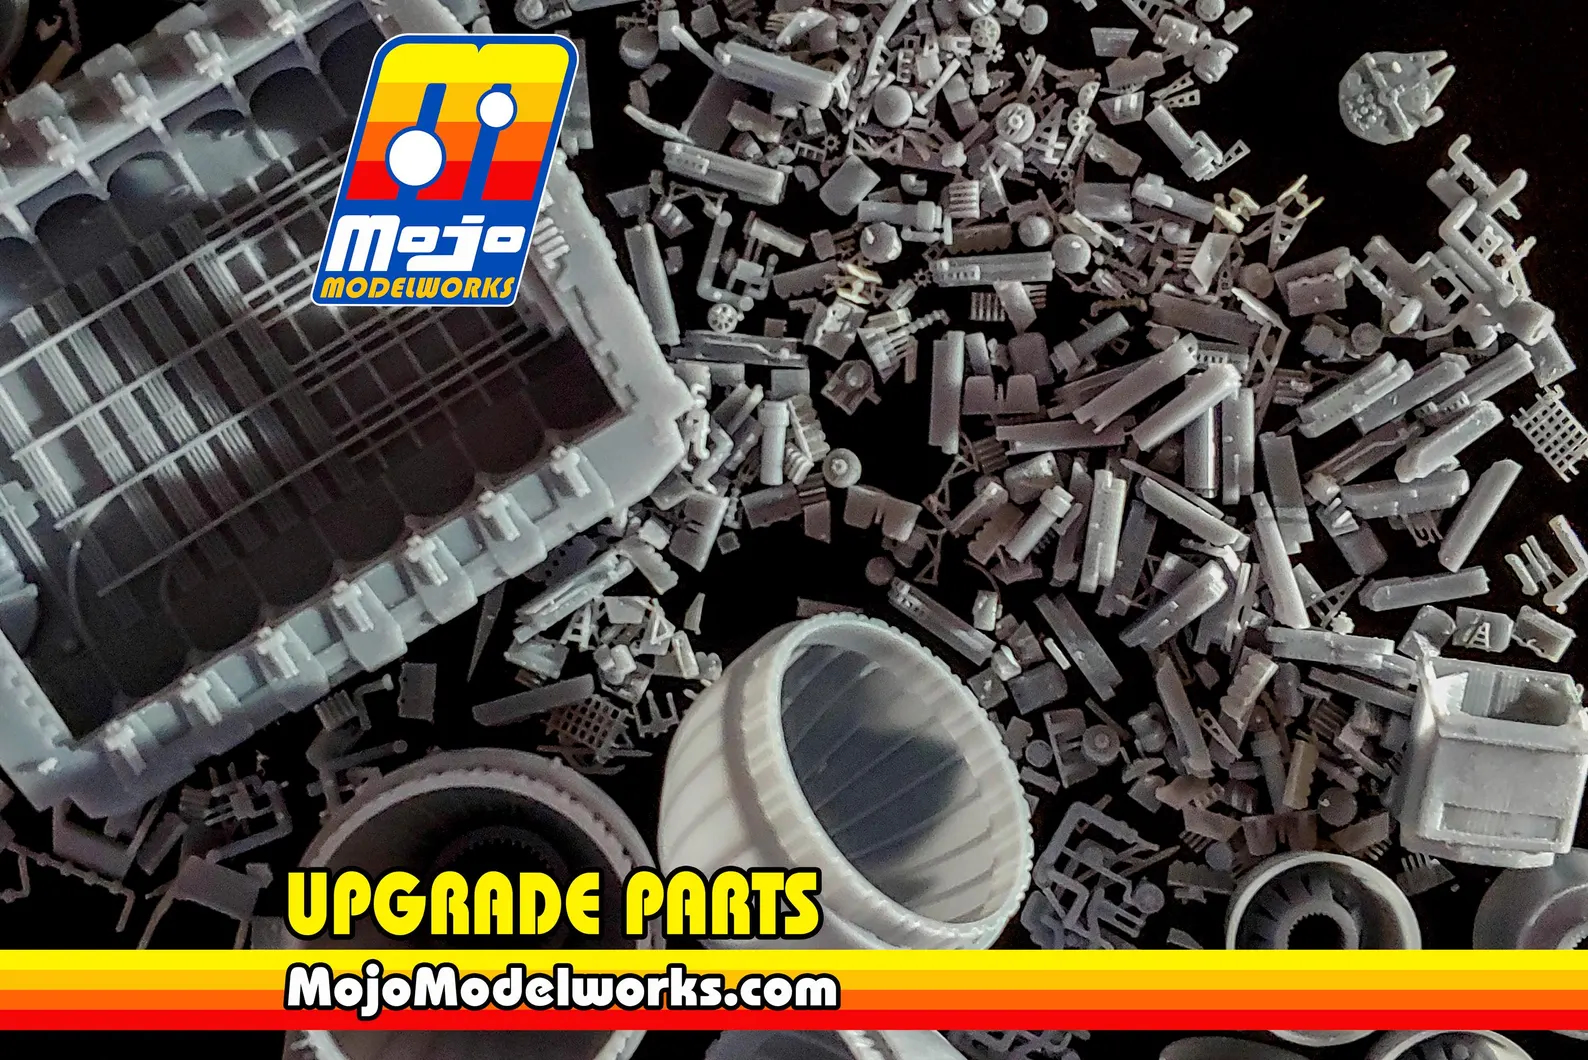
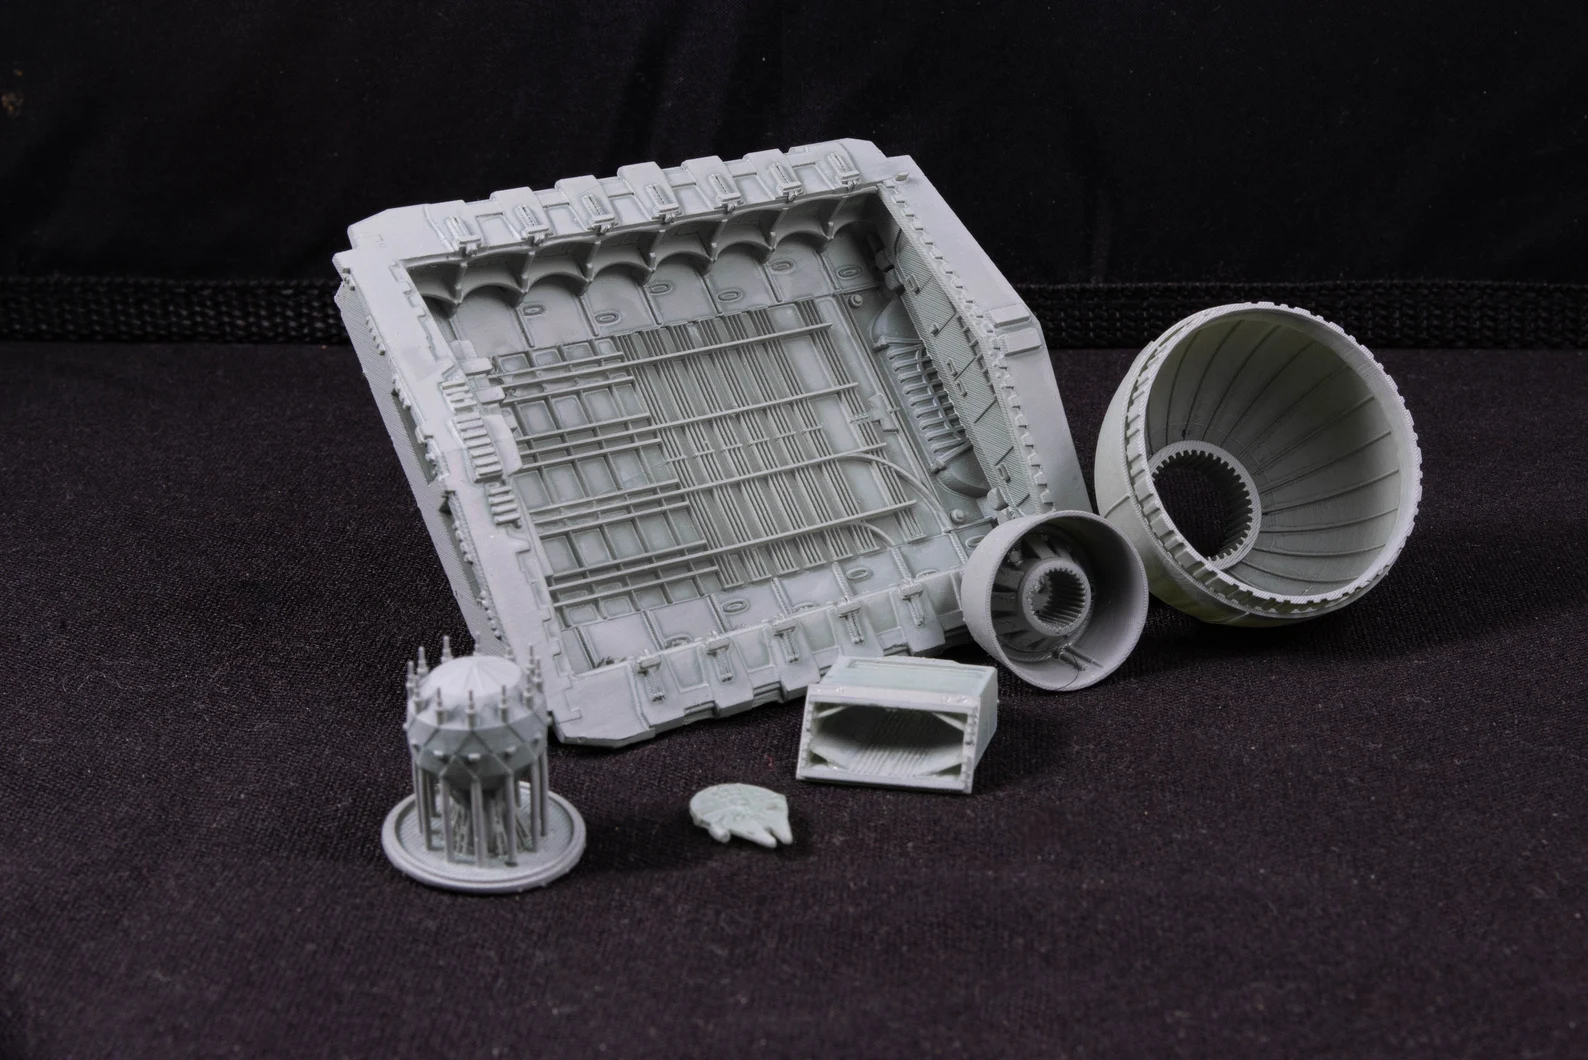
Starting the 1:2700 Zvezda Star Destroyer…..with the resin replacement parts as noted above.
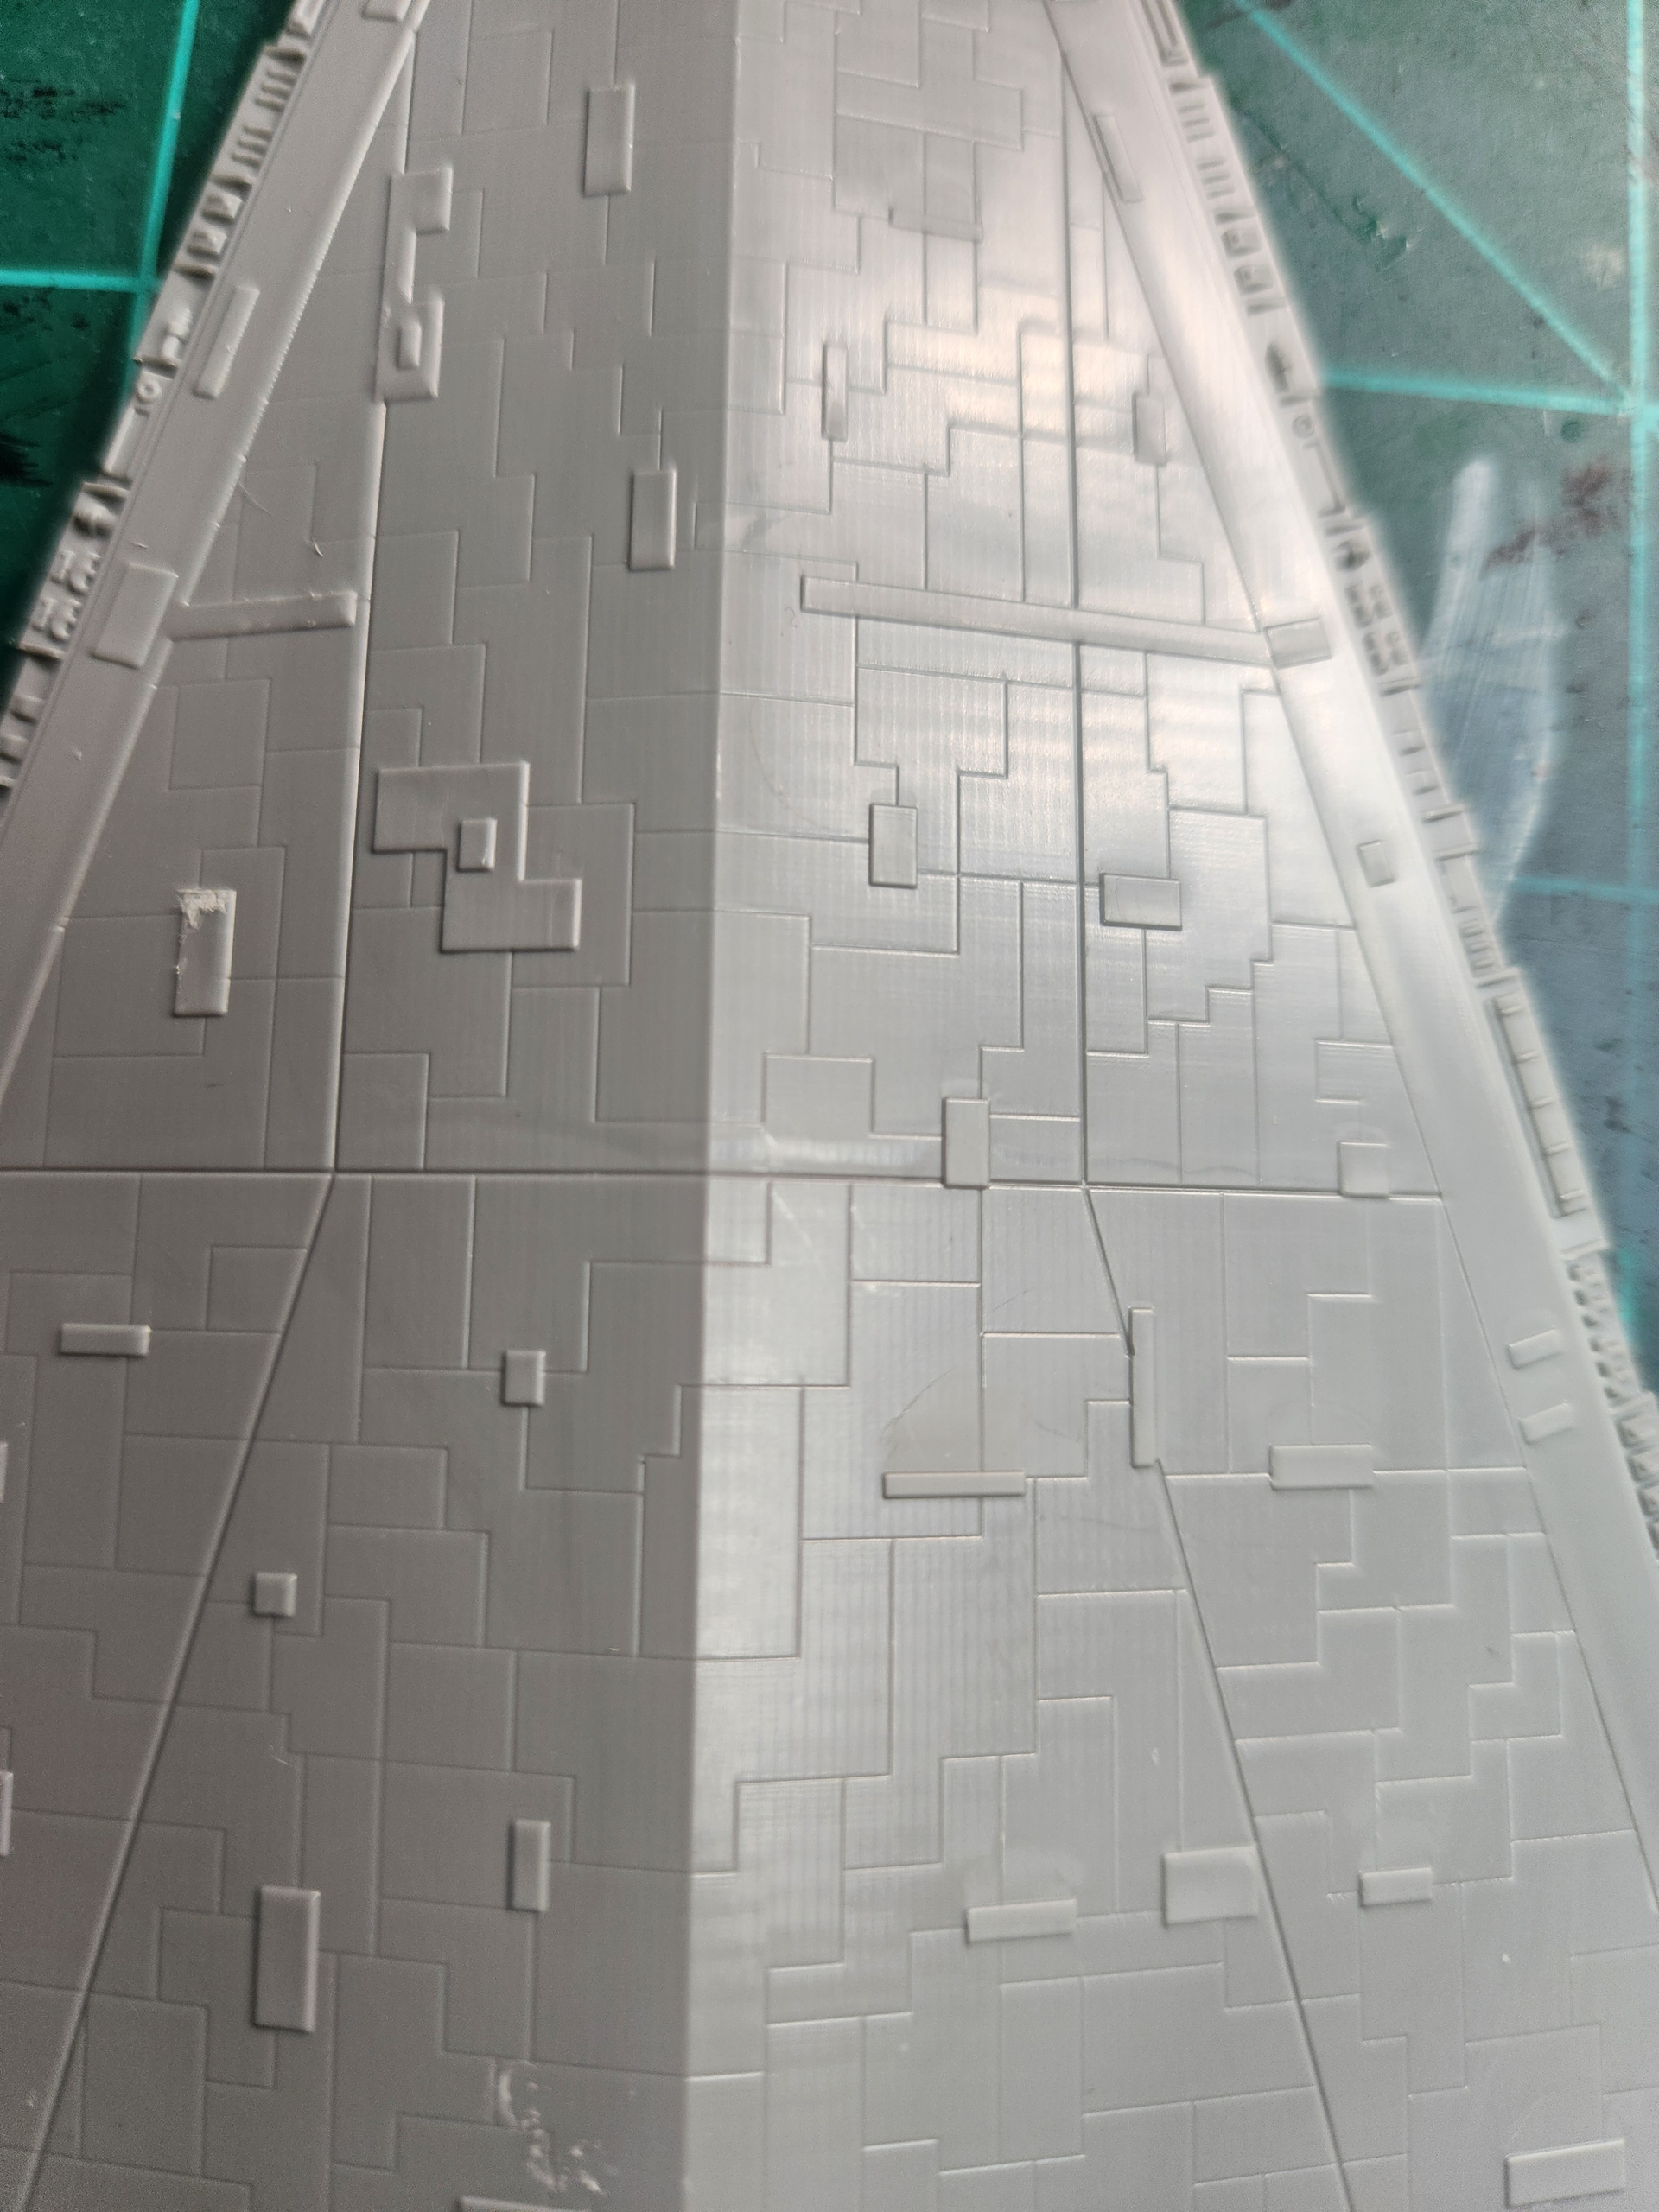
This looks like a great kit….only downside I see are the panel lines are not very deep…..have to watch it with paint.
Starting the 1:2700 Zvezda Star Destroyer…..with the resin replacement parts as noted above.
This looks like a great kit….only downside I see are the panel lines are not very deep…..have to watch it with paint.
Are you building this static or were you planning on lighting it up? I bought one of these years ago but nothing else; is there any of the aftermarket you bought something you think every build should at least get to greatly improve the look or do you think it can turn out good OOB?
Hello…..no I am not lighting it…..that is beyond my skill level…..and patience…..drilling all the holes…..no thank you.
If you look at my original post above in the thread…..I show the 3d printed add ons I got…..which I do think makes it more detailed
Good to see everyone’s projects coming along nicely.
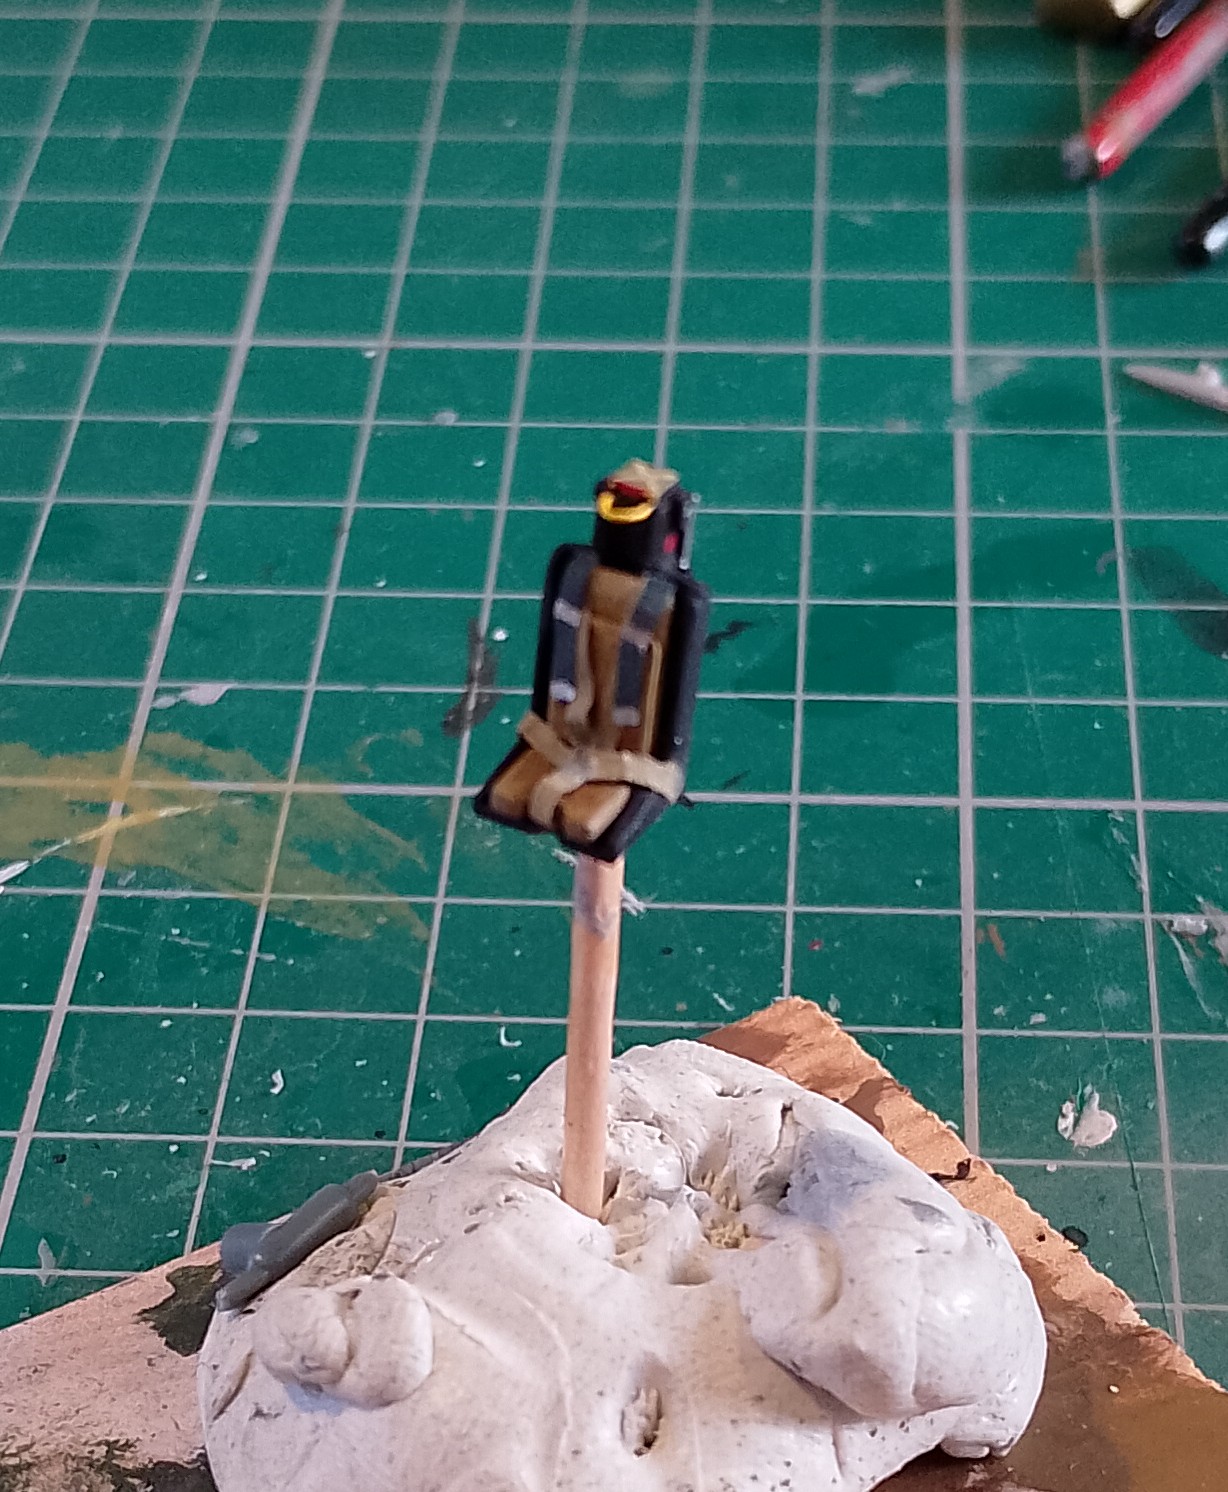
I finished up the ejection seat today. Just the stripes to paint on the firing handle once the yellow has dried. Photos a bit blurry, best I could manage.
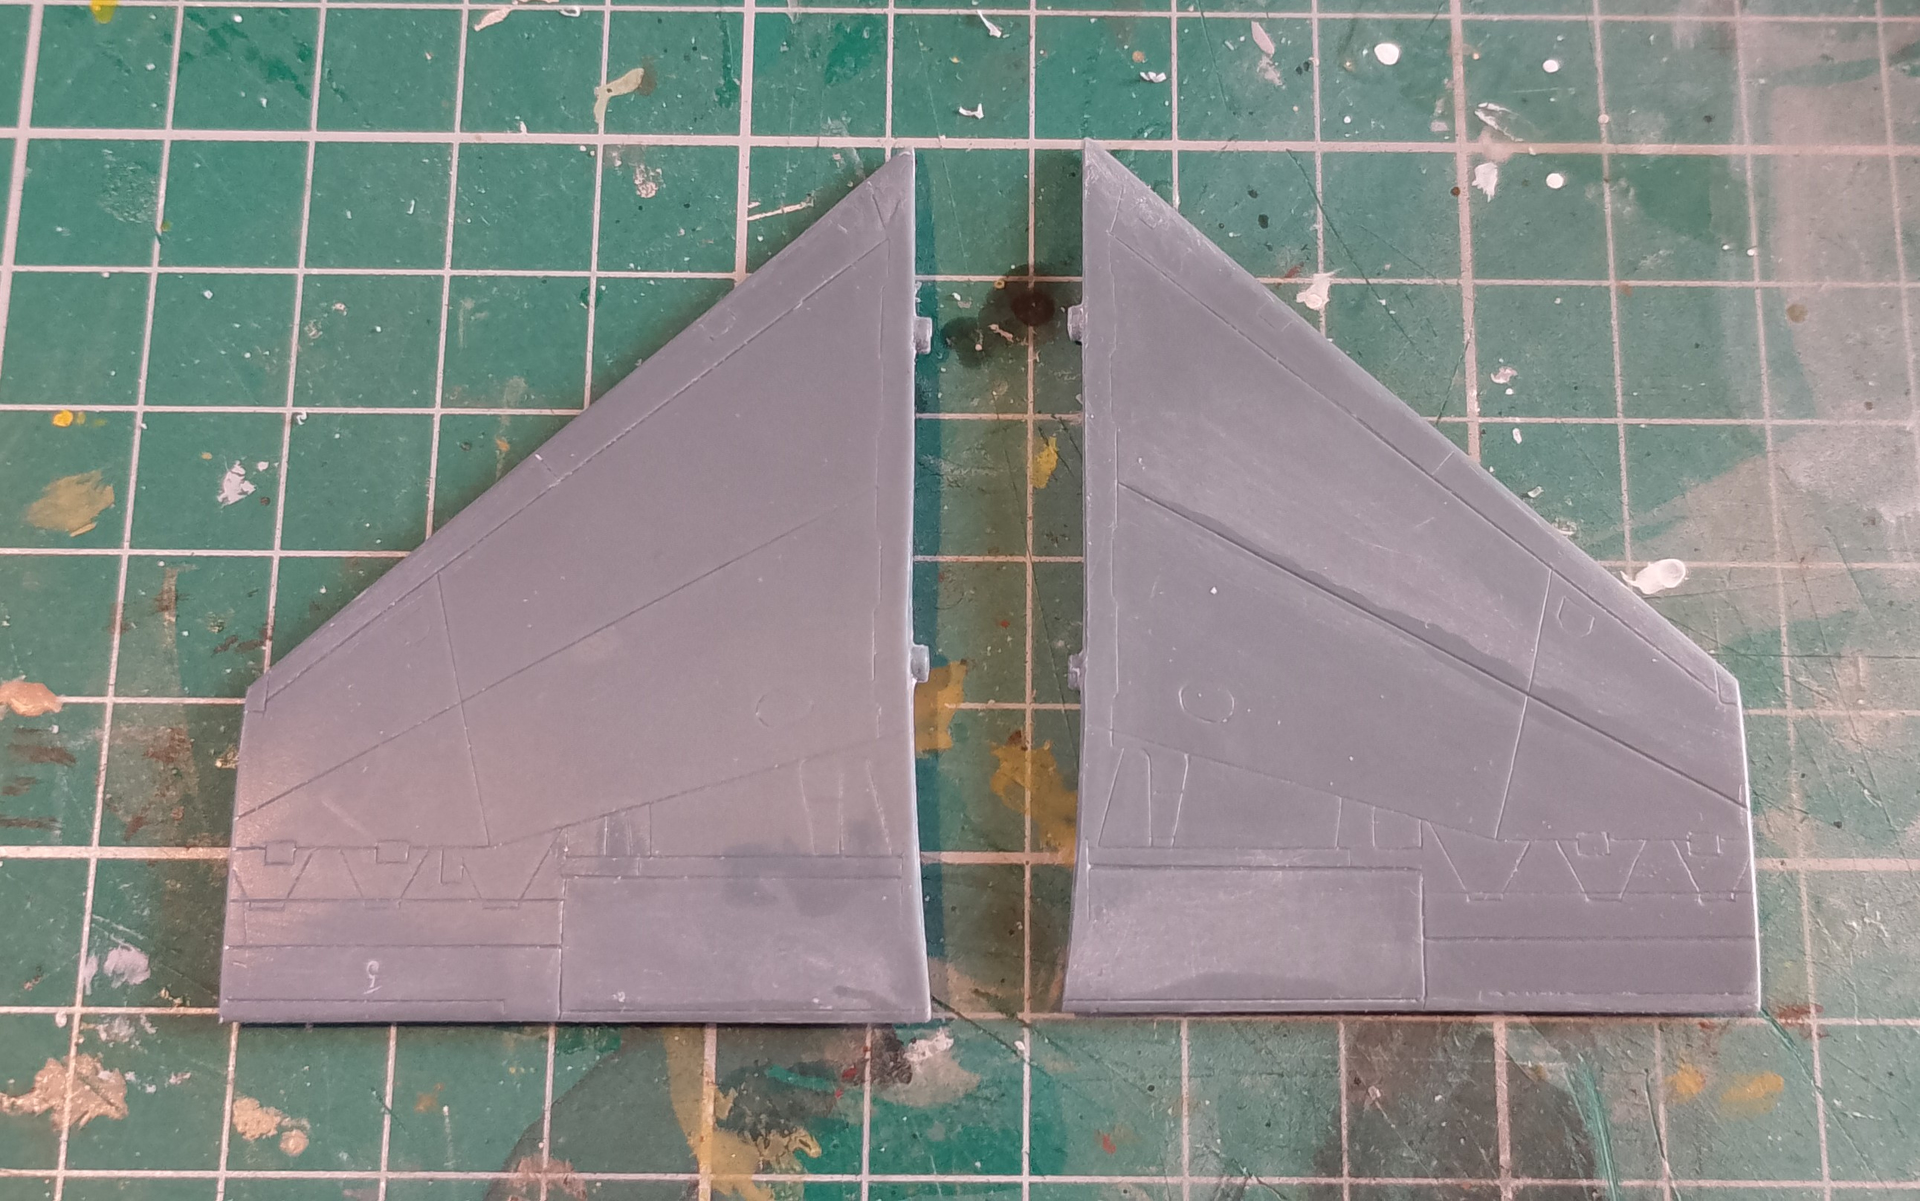
Trimmed off and cleaned up the wingtips ready for the missile rails.
Speaking of which, had a good look through the stash dug out the Trumpeter Lightning F6 I knew was hiding somewhere. Pinched the Firestreaks and associated launch rails from it. Always intended to fit that with Redtops so they were going spare.
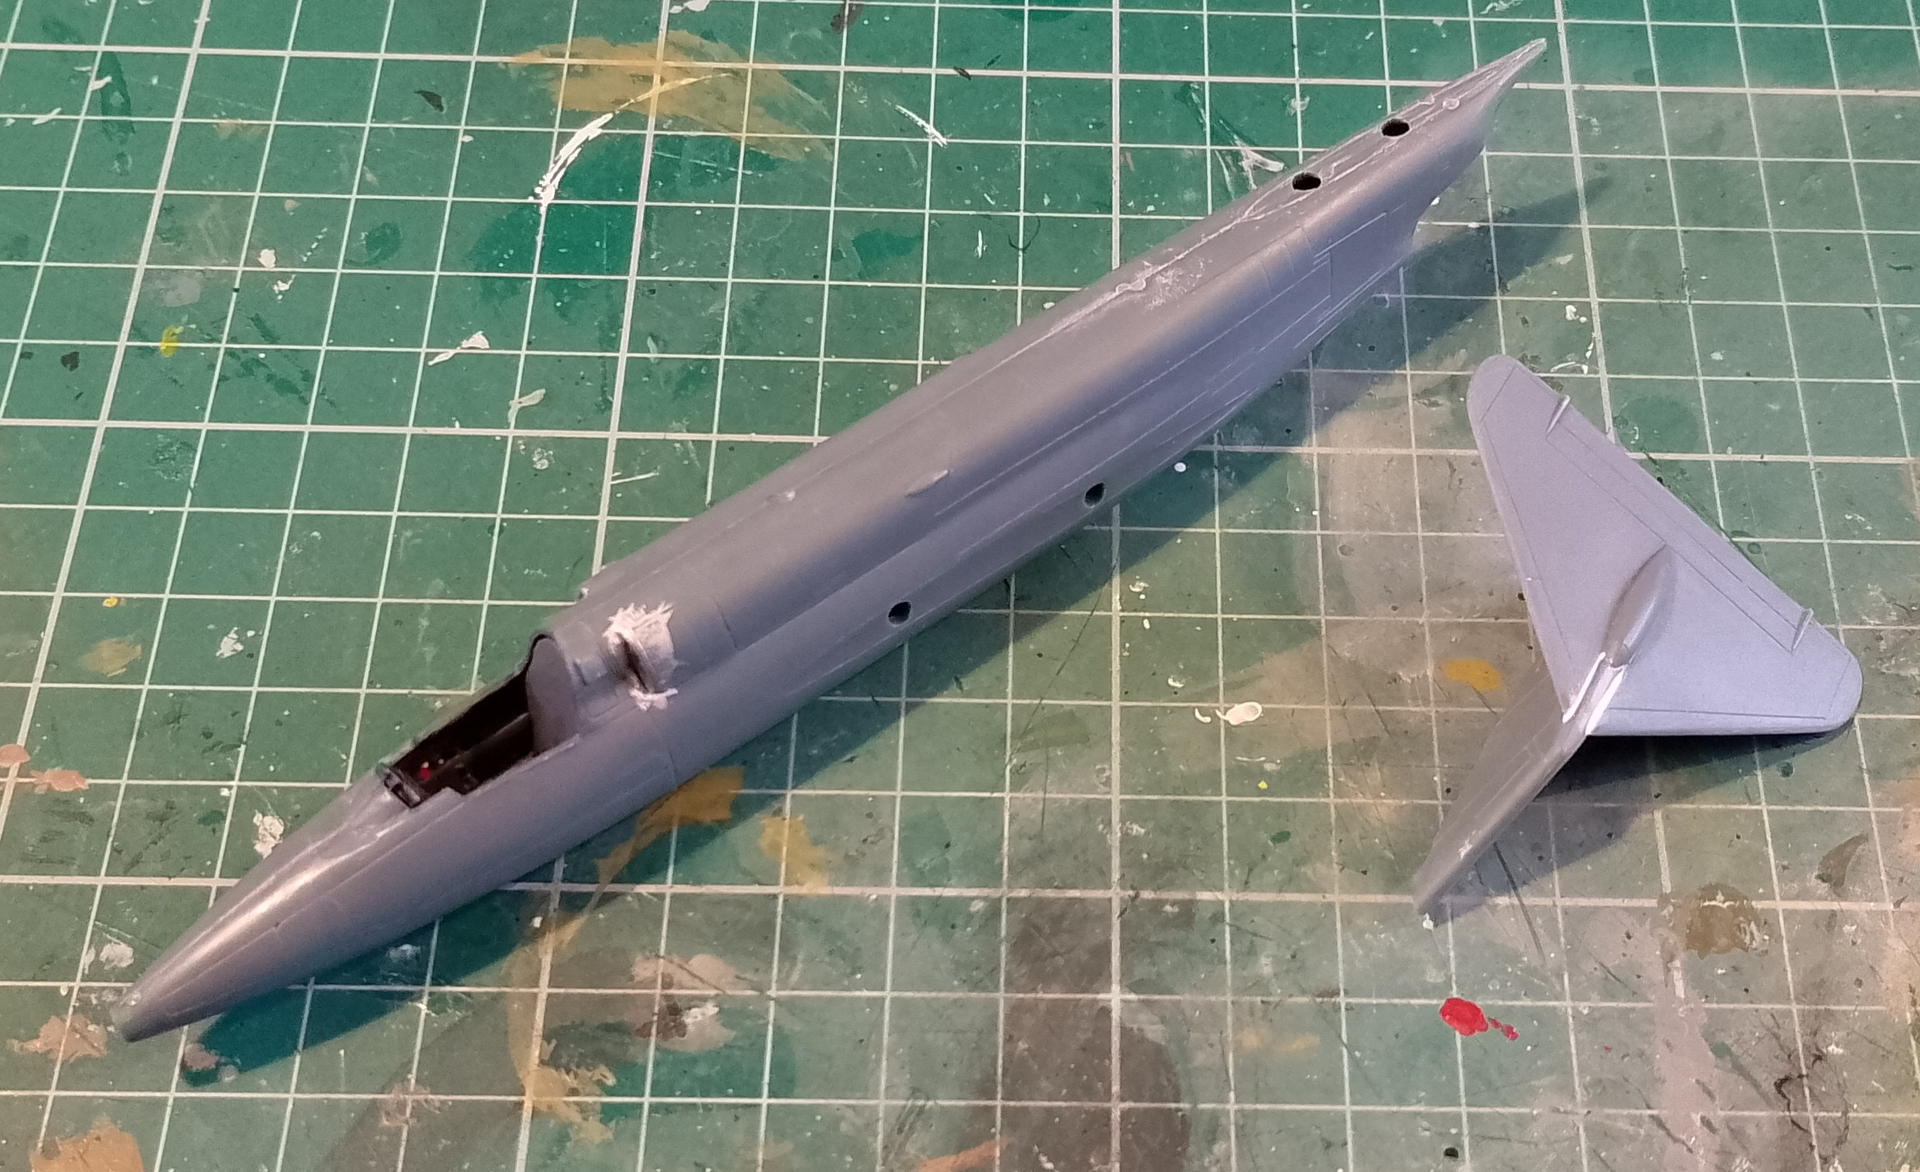
Fuselage halves together today. Not forgetting to put some weight in the nose first. Fit was pretty good, but as there are no location pins, you do need to take your time making sure it all lines up. No gaps noticed. The fit of the tailplane to the rudder is a bit gappy though, so had to use some filler there.
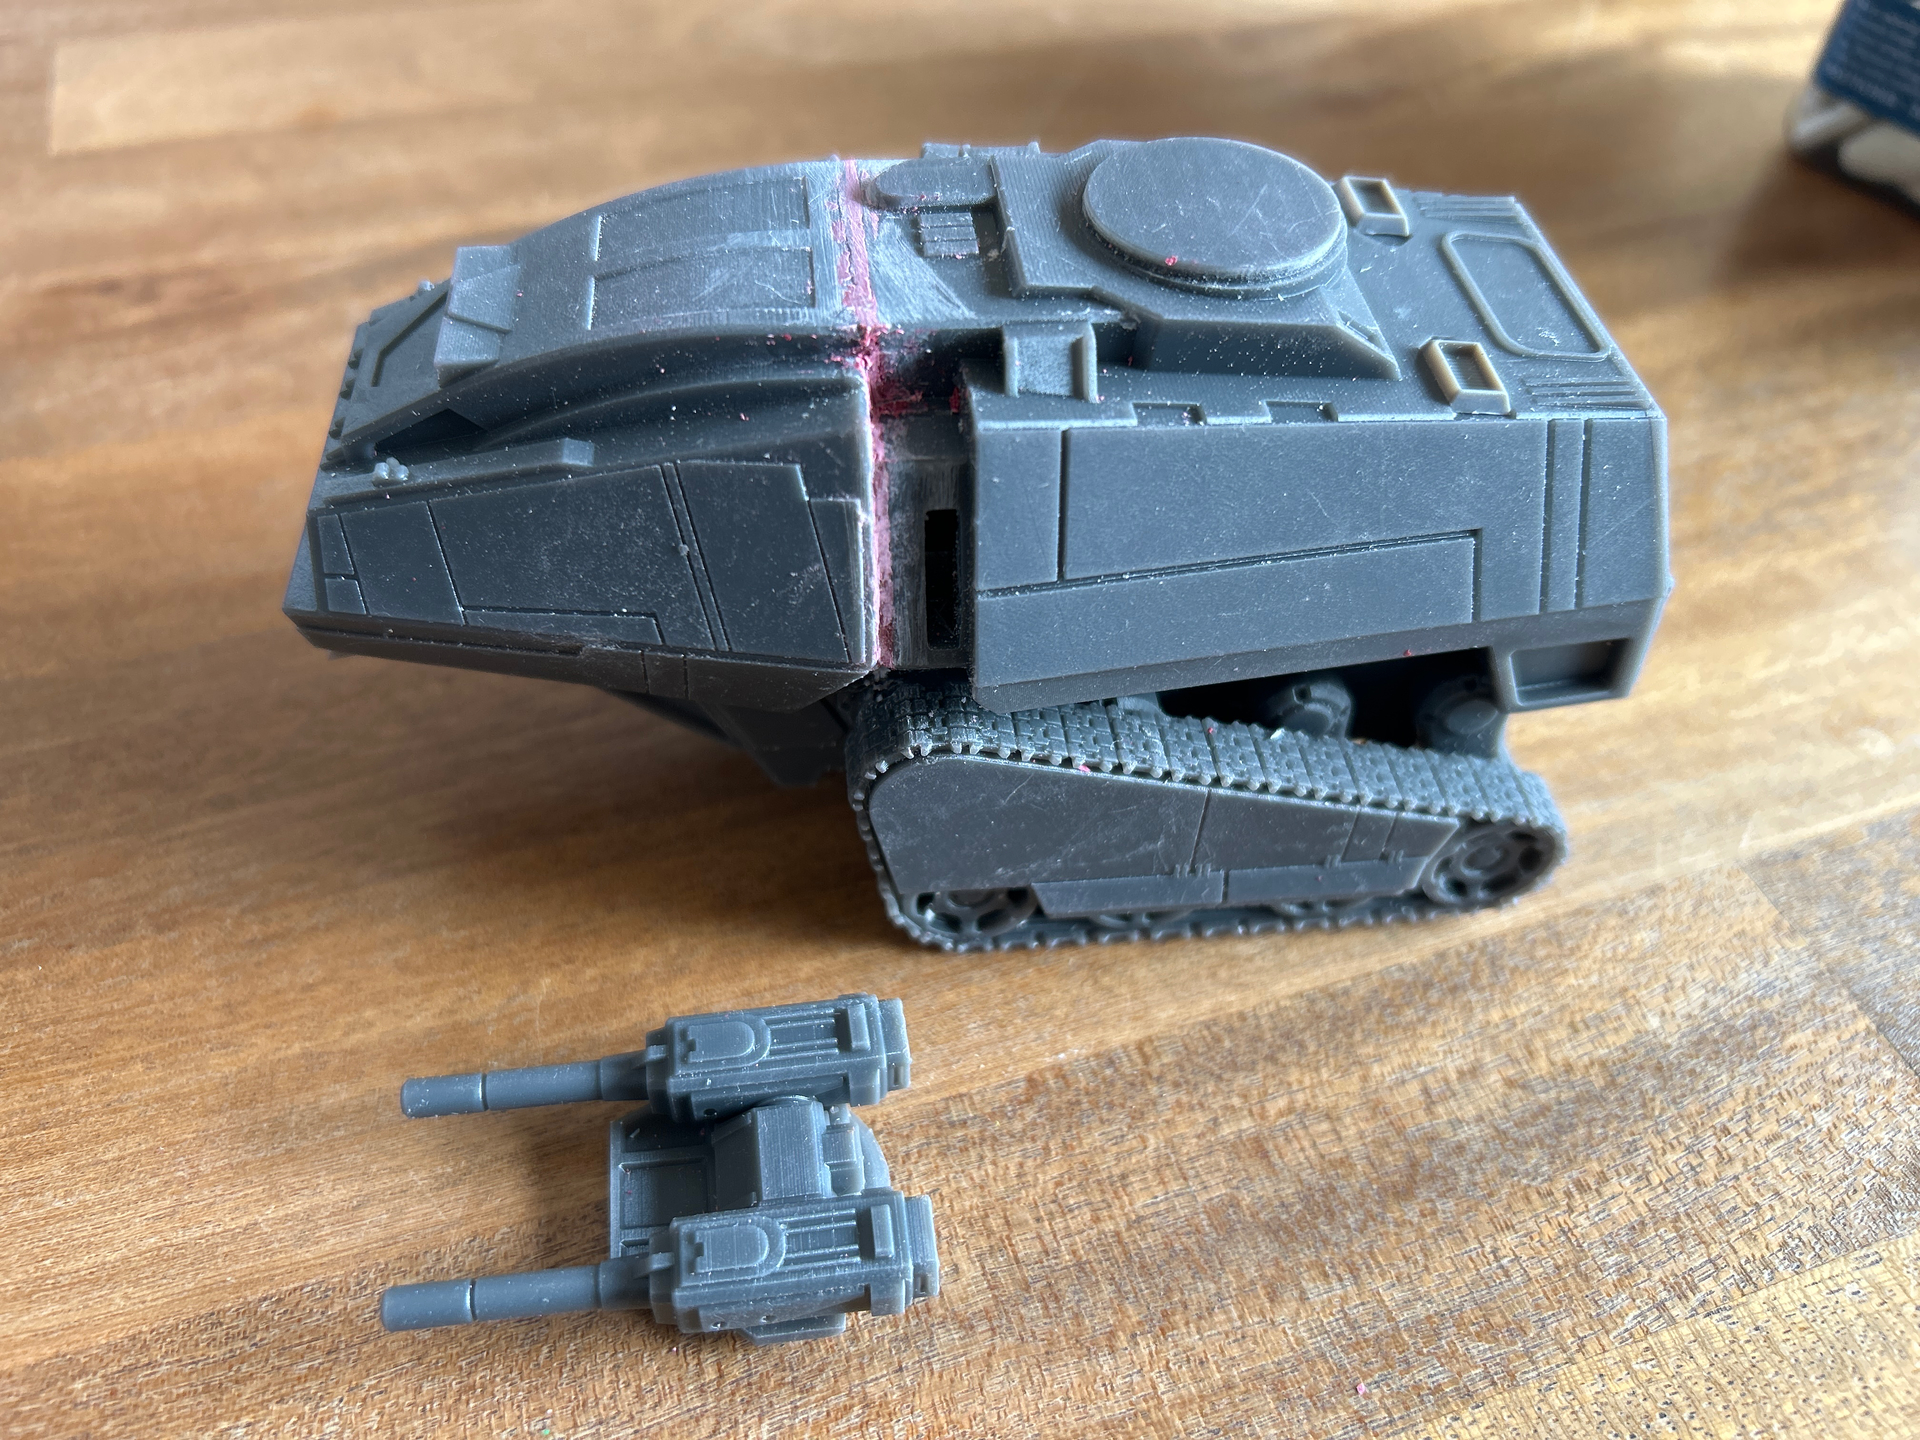
I am going for a Cobra HISS tank in 1/48 scale. It is a 3D print.
The fit along the front part has large gaps that require a lot of work.
More to follow ![]()
That’s very cool!
I only ever had a couple of GI Joe figures and vehicles, but I do remember that one in catalogues. They were quite an expensive line in the UK and I was a bit more into The Ghostbusters and Lego. Still have all of those somewhere at my parents house.
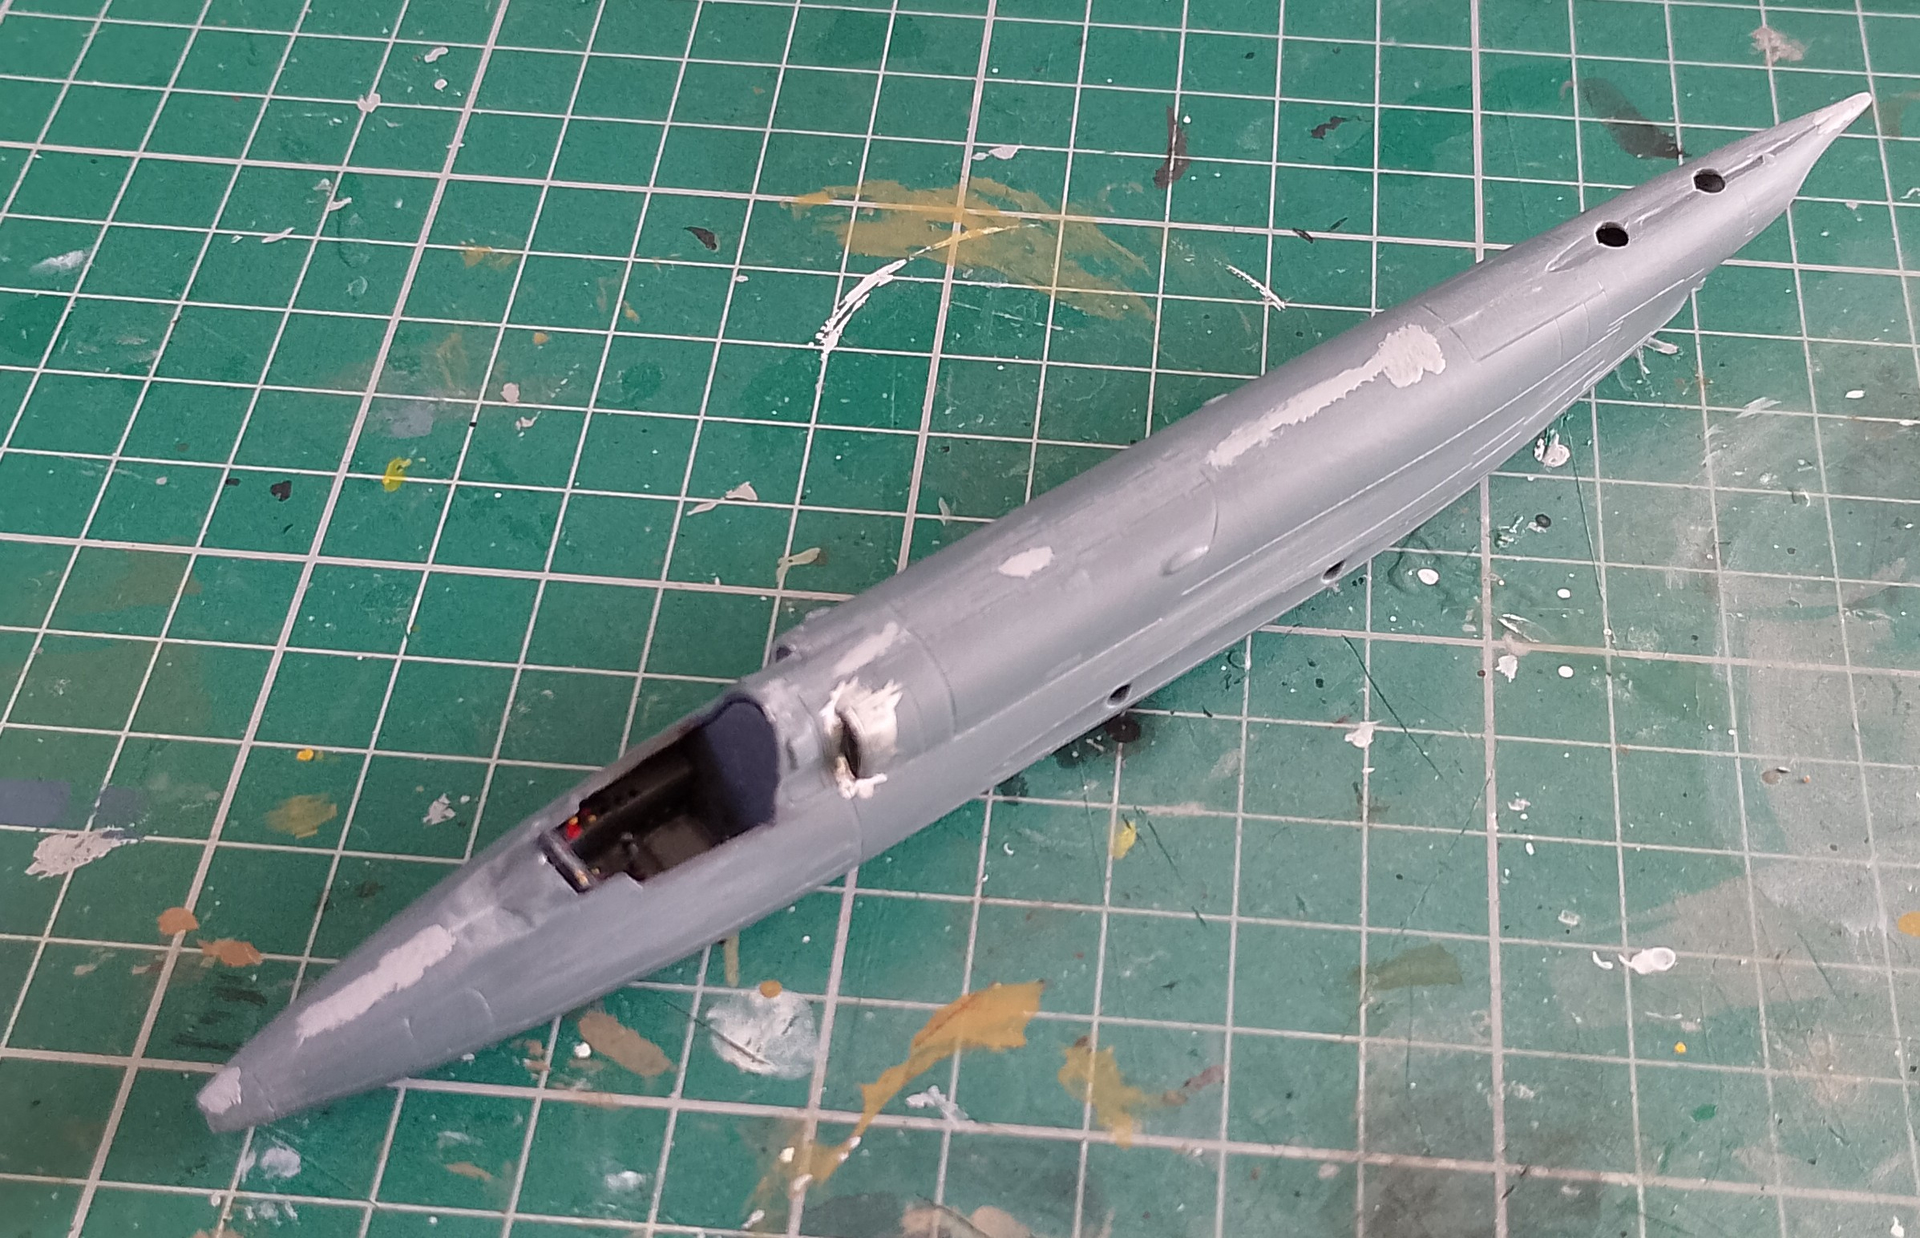
I sanded down the joints on the SR.53 today. Couple of spots needed some Mr Surfacer, but nothing I don’t see in most kits. So no big problem.
Been giving a bit of thought to the later version I have planned, preliminary calling it the F.3. Thinking about maybe adding an IR tracker on the nose rather than a radar (although I do have 2 single seat fuselages to play around with spare from the trainers). I still might see if I can trim the nose of a spare drop tank and see if I can get it to fit.
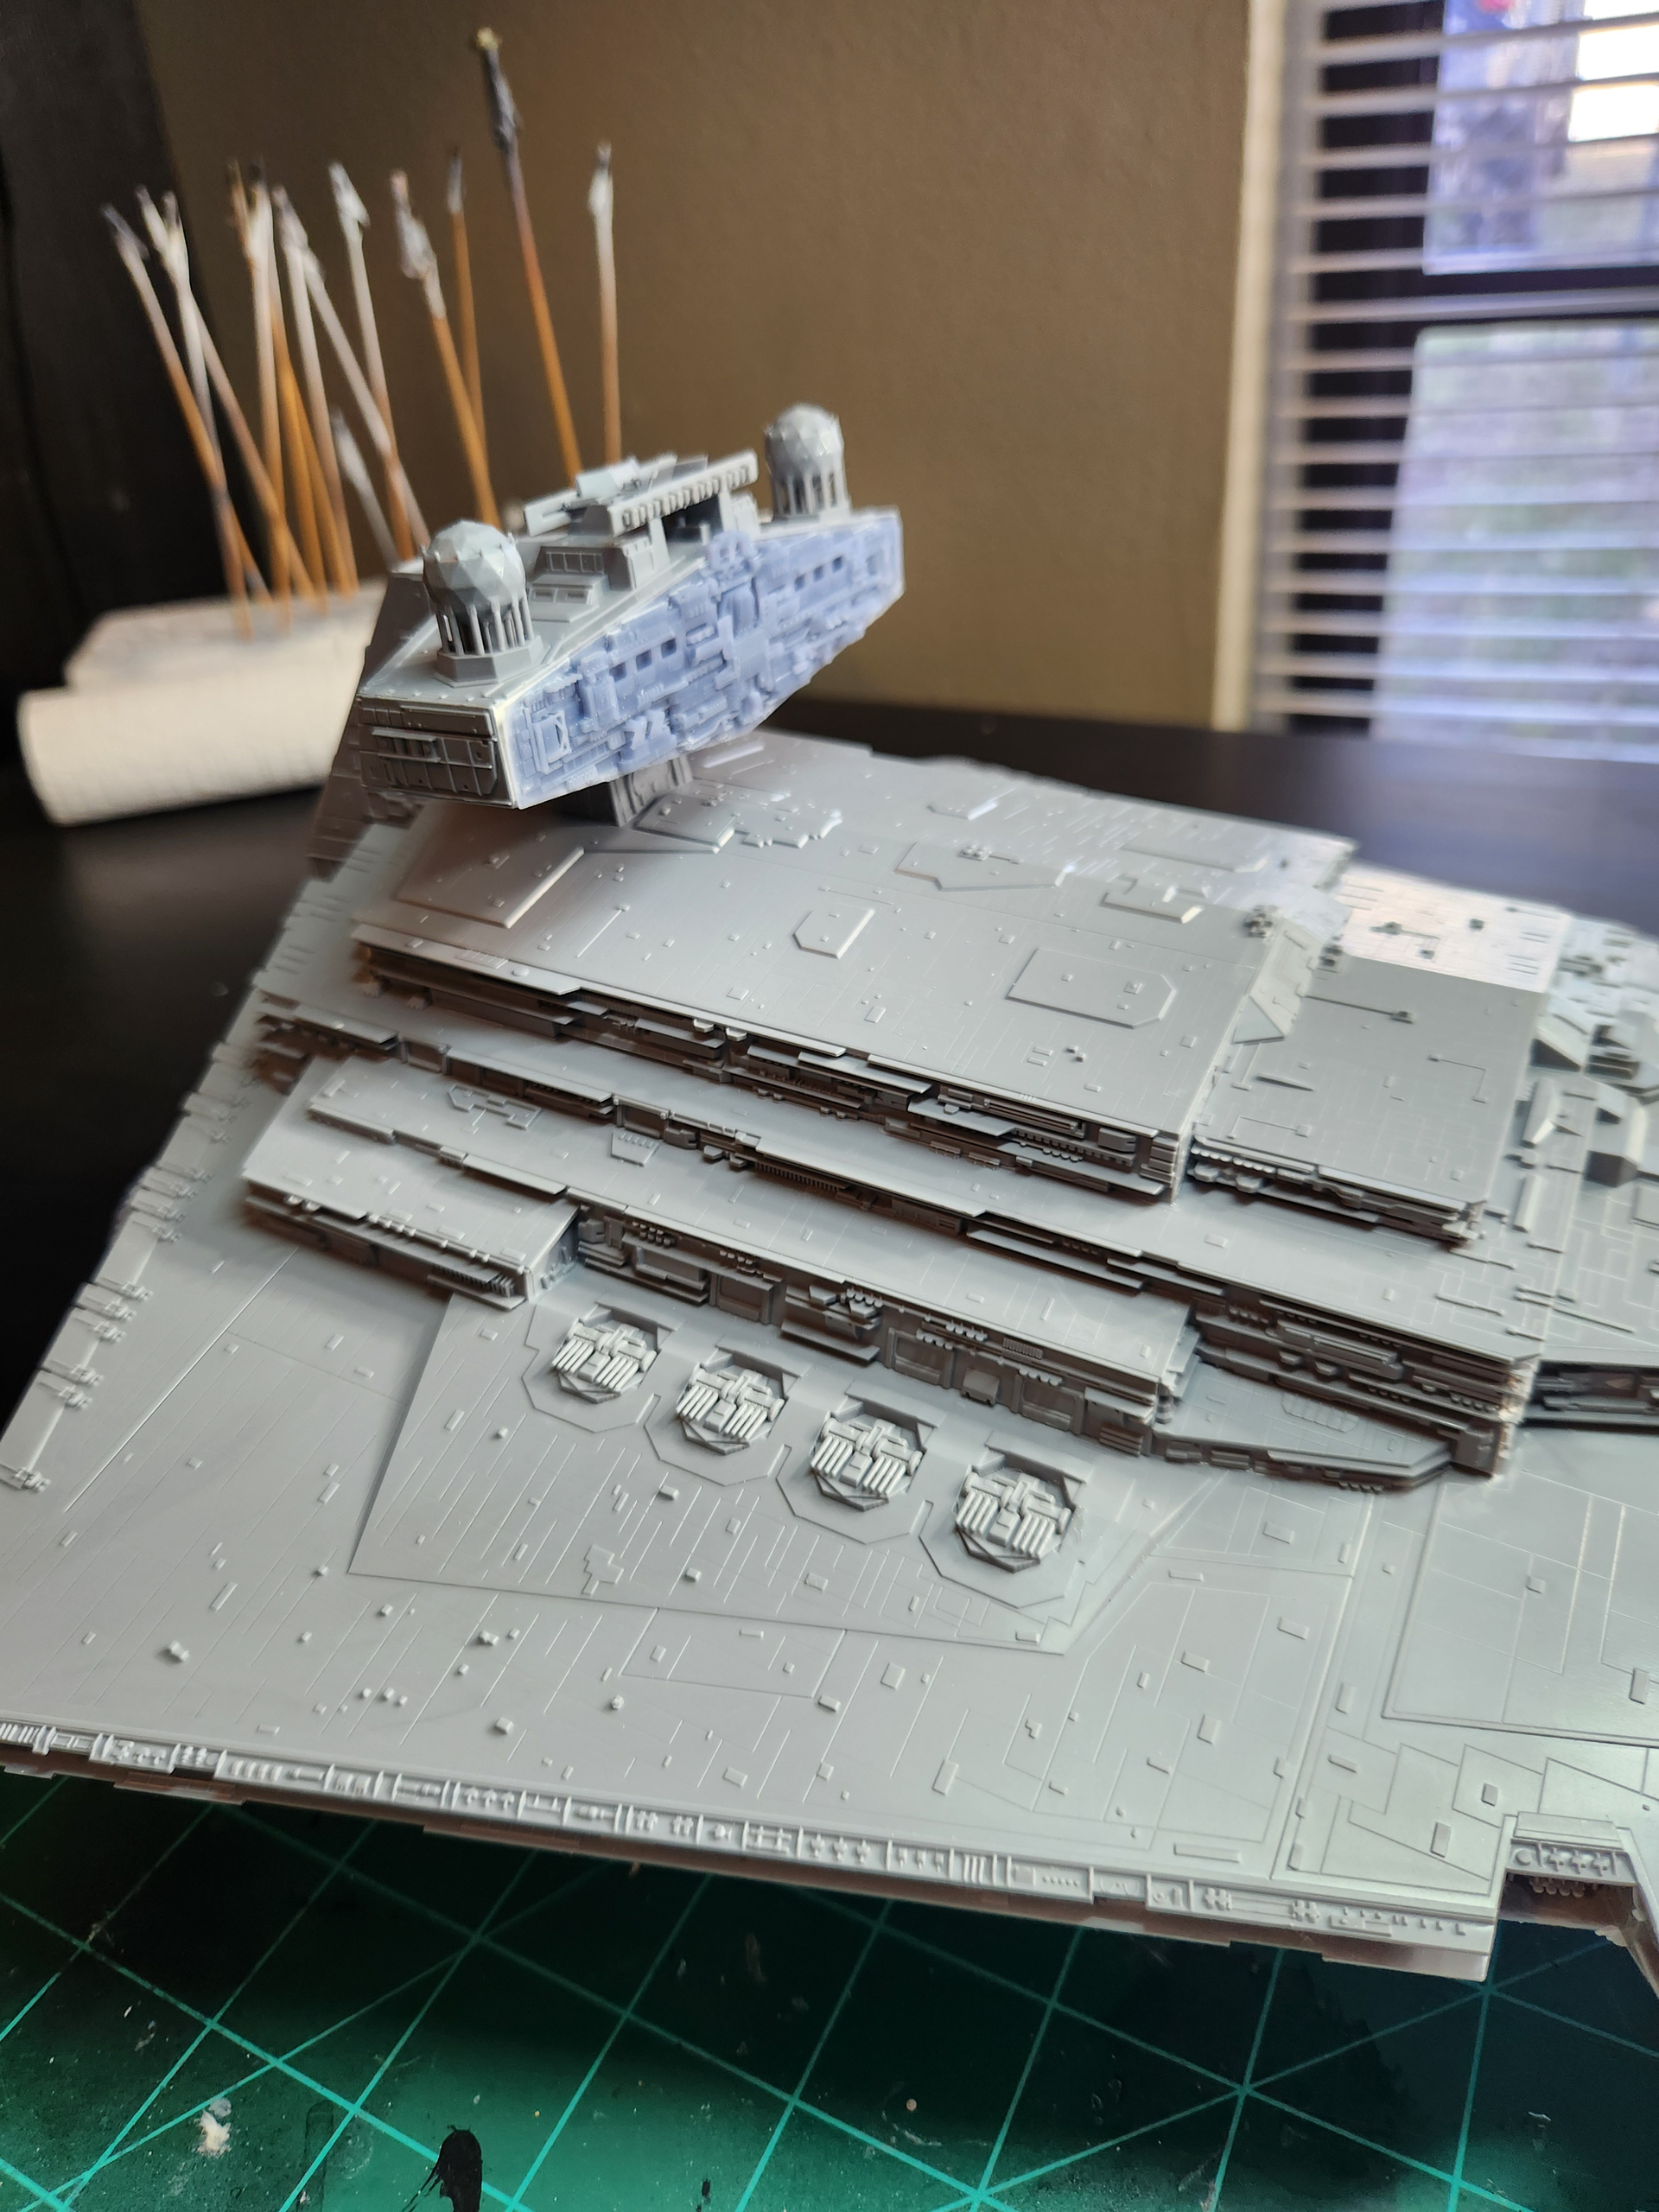
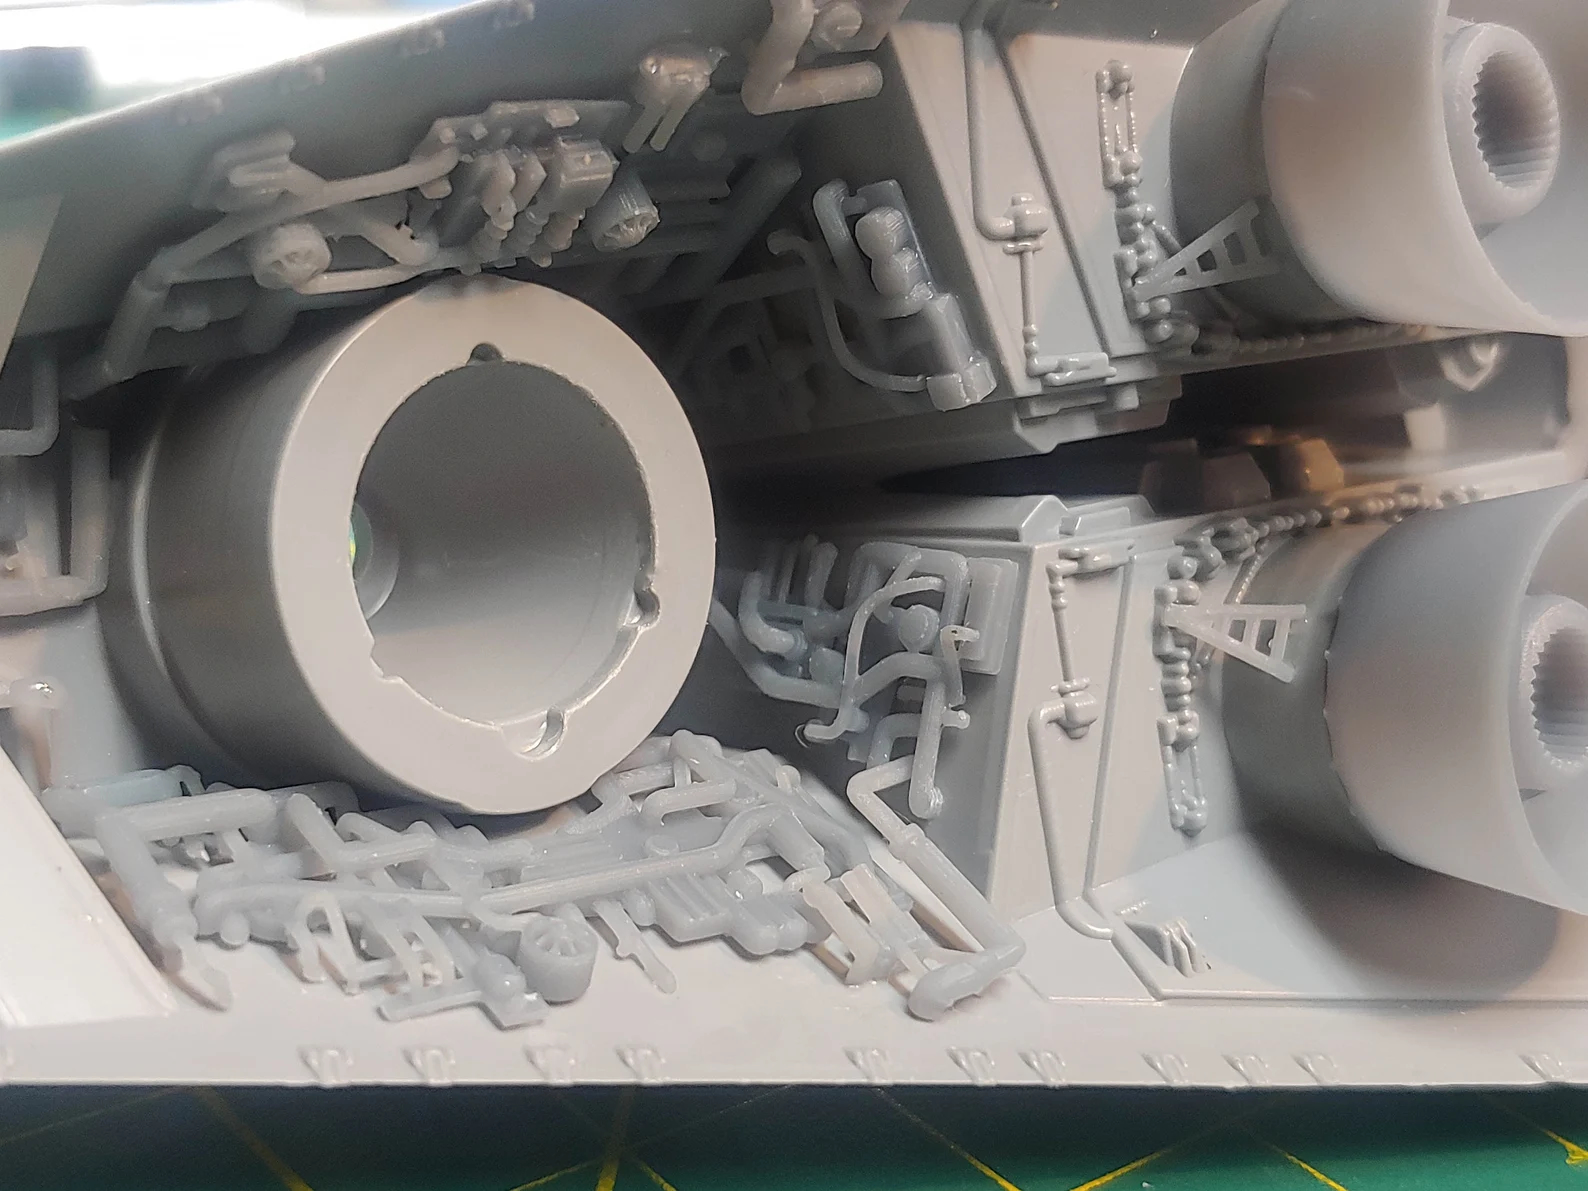
Some update picks…..I did not add the 3D printed hanger bay…..I was scared to ruin the model….have the seam line on the top half to finish cleaning up.
Nice use of colours on the suit, however let me suggest to take some more photos and look at them with a good zoom. This can help you to identify areas where the hand painted stripes and other details have gone over to other arras unintentionally so you can correct them all. This cpuld improve the figure, I believe.
This can help you to identify areas where the hand painted stripes and other details have gone over to other arras unintentionally so you can correct them all.
![]() Lol, only it wasn’t entirely hand-painted; it was base painted with AK Interactive’s Real Color markers. Only the washes were hand-painted.
Lol, only it wasn’t entirely hand-painted; it was base painted with AK Interactive’s Real Color markers. Only the washes were hand-painted.
I noticed it, yes, that the markers’ tips aren’t fine and sharp enough to keep within the parts so there are areas where the markers went over the parts into the other color. The problem is that I don’t believe that I have the paint bottle colors to match the marker colors; I’m going to have to double-check. If not, I’m going to have to use brushes to rub against the markers’ tips and then touch up the base colors.
As you can see, the Real Color Markers are not really opaque one-coats and they can be sloppy when applied. Really, nothing beats a paintbrush.
The blue wash was haphazardly applied, especially on the posterior. I used a Q-Tip to squab the most of it off, but I knew that it was running and crossing over into the base turquoise overall color.
The washes I used were Flesh, Blue, Green, and Gray. It’s not the best wash job I did, and to touch it up requires the markers again. I suppose that is the problem with using AK Markers in that their tips aren’t fine enough to color in all the runs and overlays of the other colors.
I do have MicroMark ultra-fine tip color pens that I could have used to outline the overall’s seams and I knew this when I was doing the blue wash. I was just too lazy to break them out and draw in the blue lines. Yes, the sloppy results show.
This is the first time I see a model being painted with markers. I am an oldschool modeler, painting with aurbrush or handbrush (weather sometimes with pencils, though).
A good clean-up of the flaws will surely make your figure outstansing. I do like the colour combination a lot.
Keep up, I am looking for more photos after the correction!
This is a great piece of work that immediately draws you in with its colors and atmosphere ![]() Overall, it’s a very lively and memorable piece, especially thanks to the colors and the transparency effect.
Overall, it’s a very lively and memorable piece, especially thanks to the colors and the transparency effect.
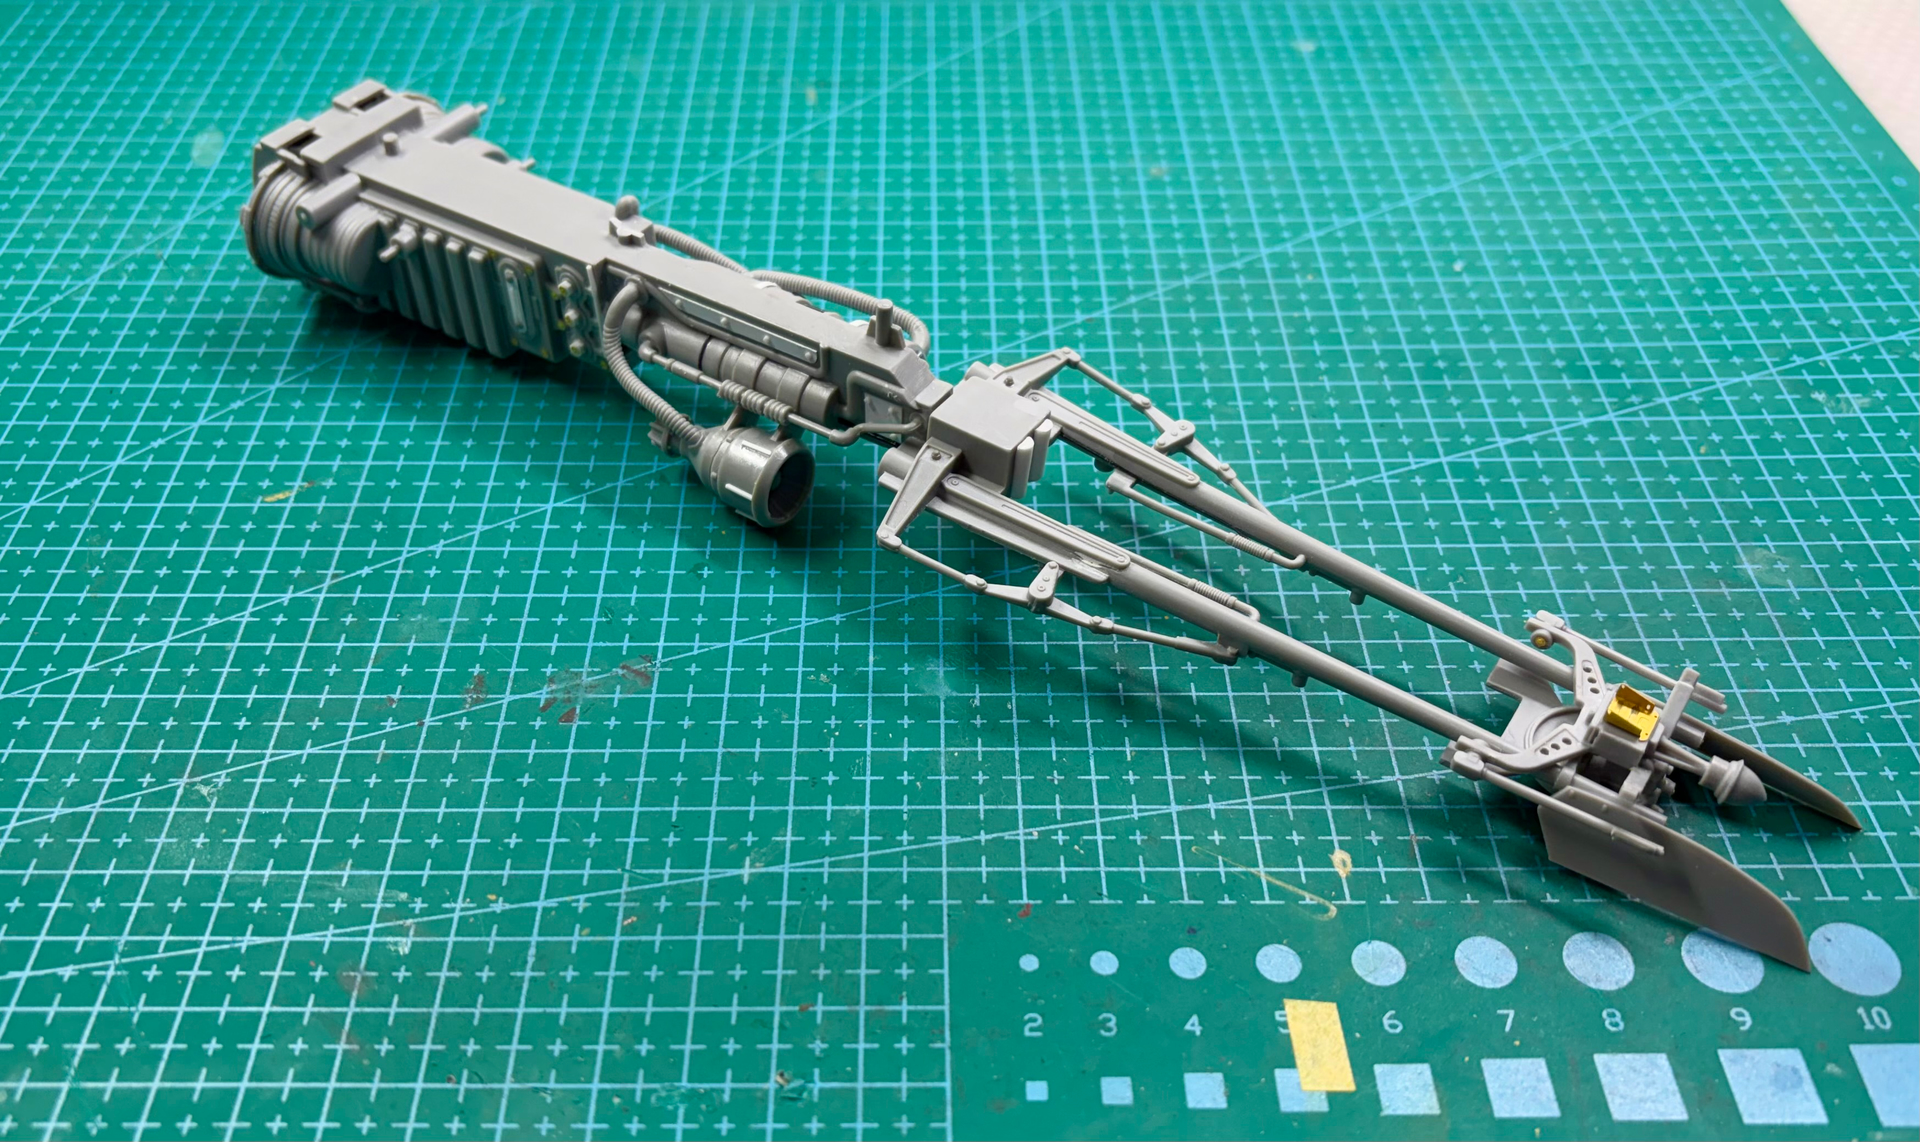
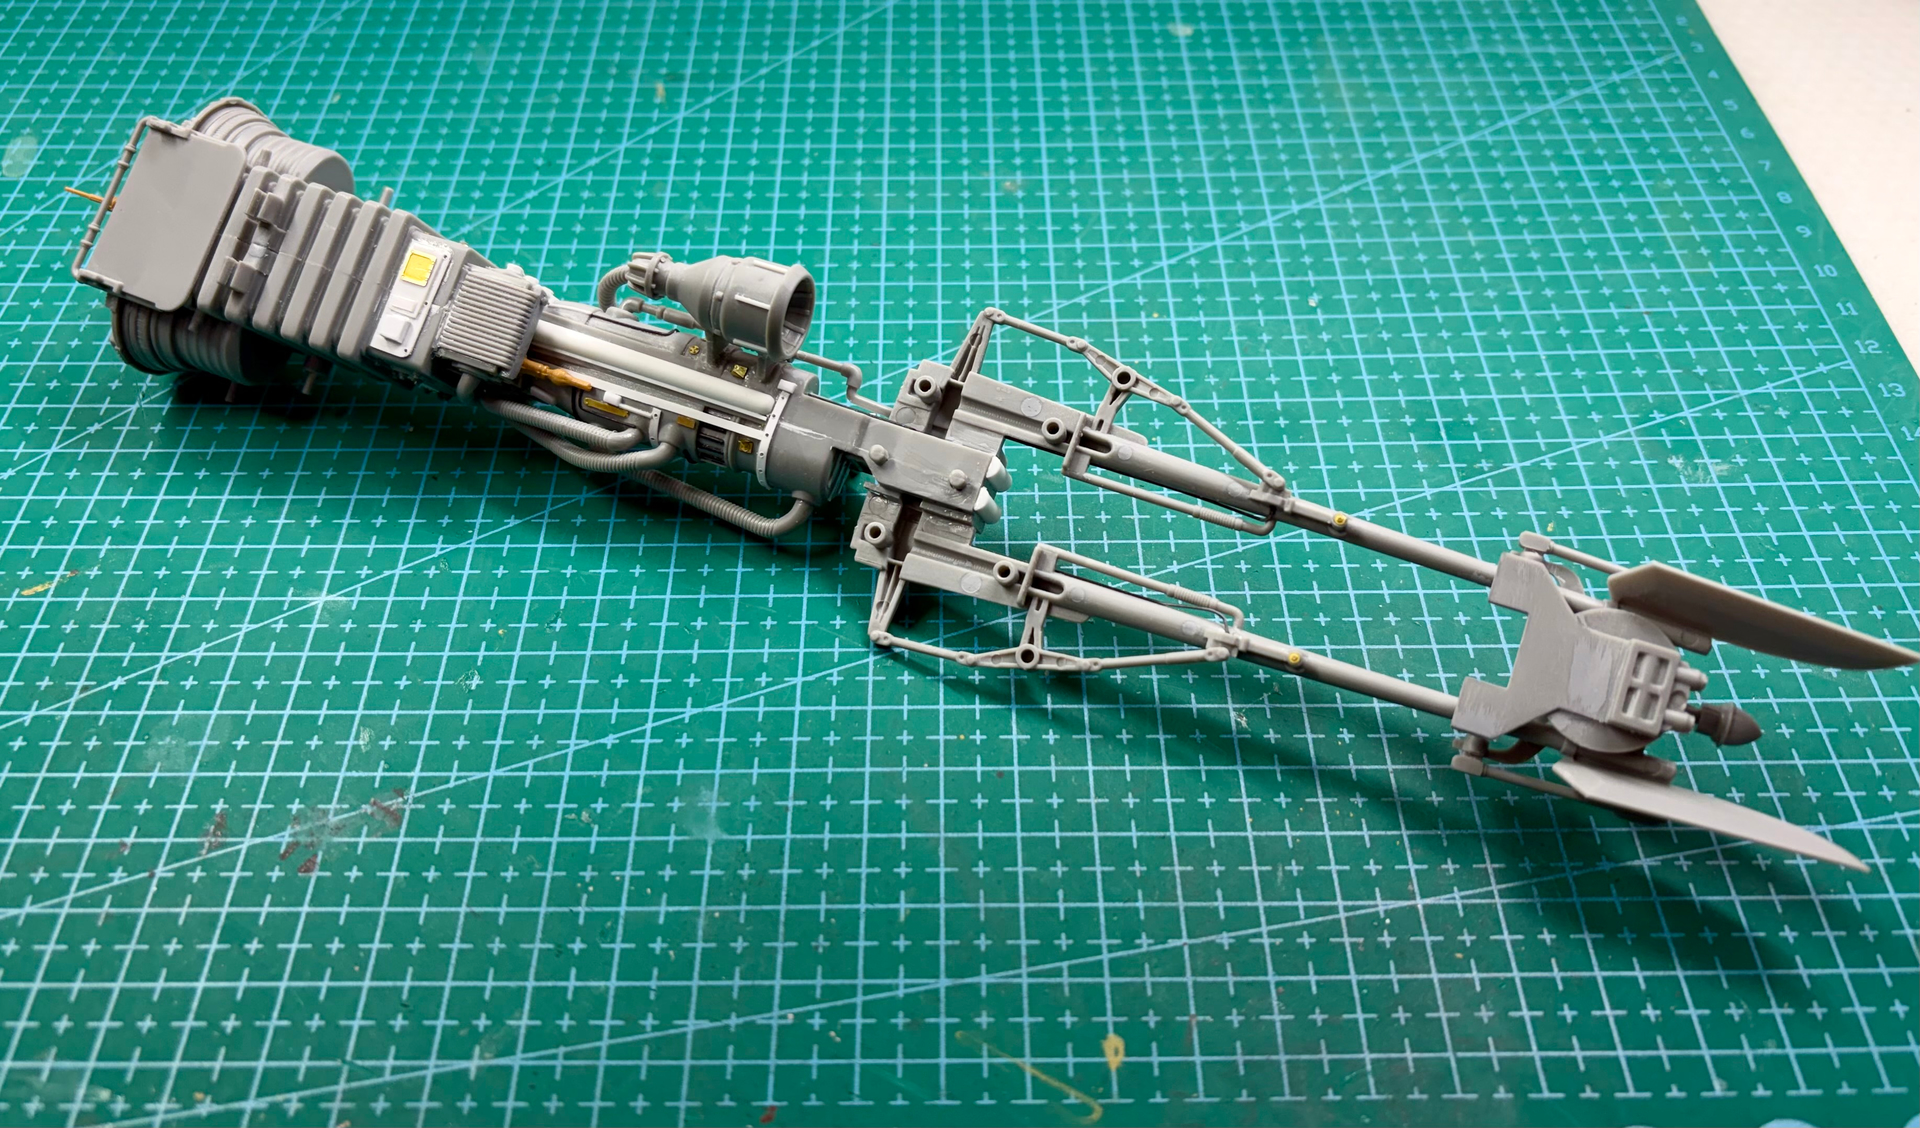
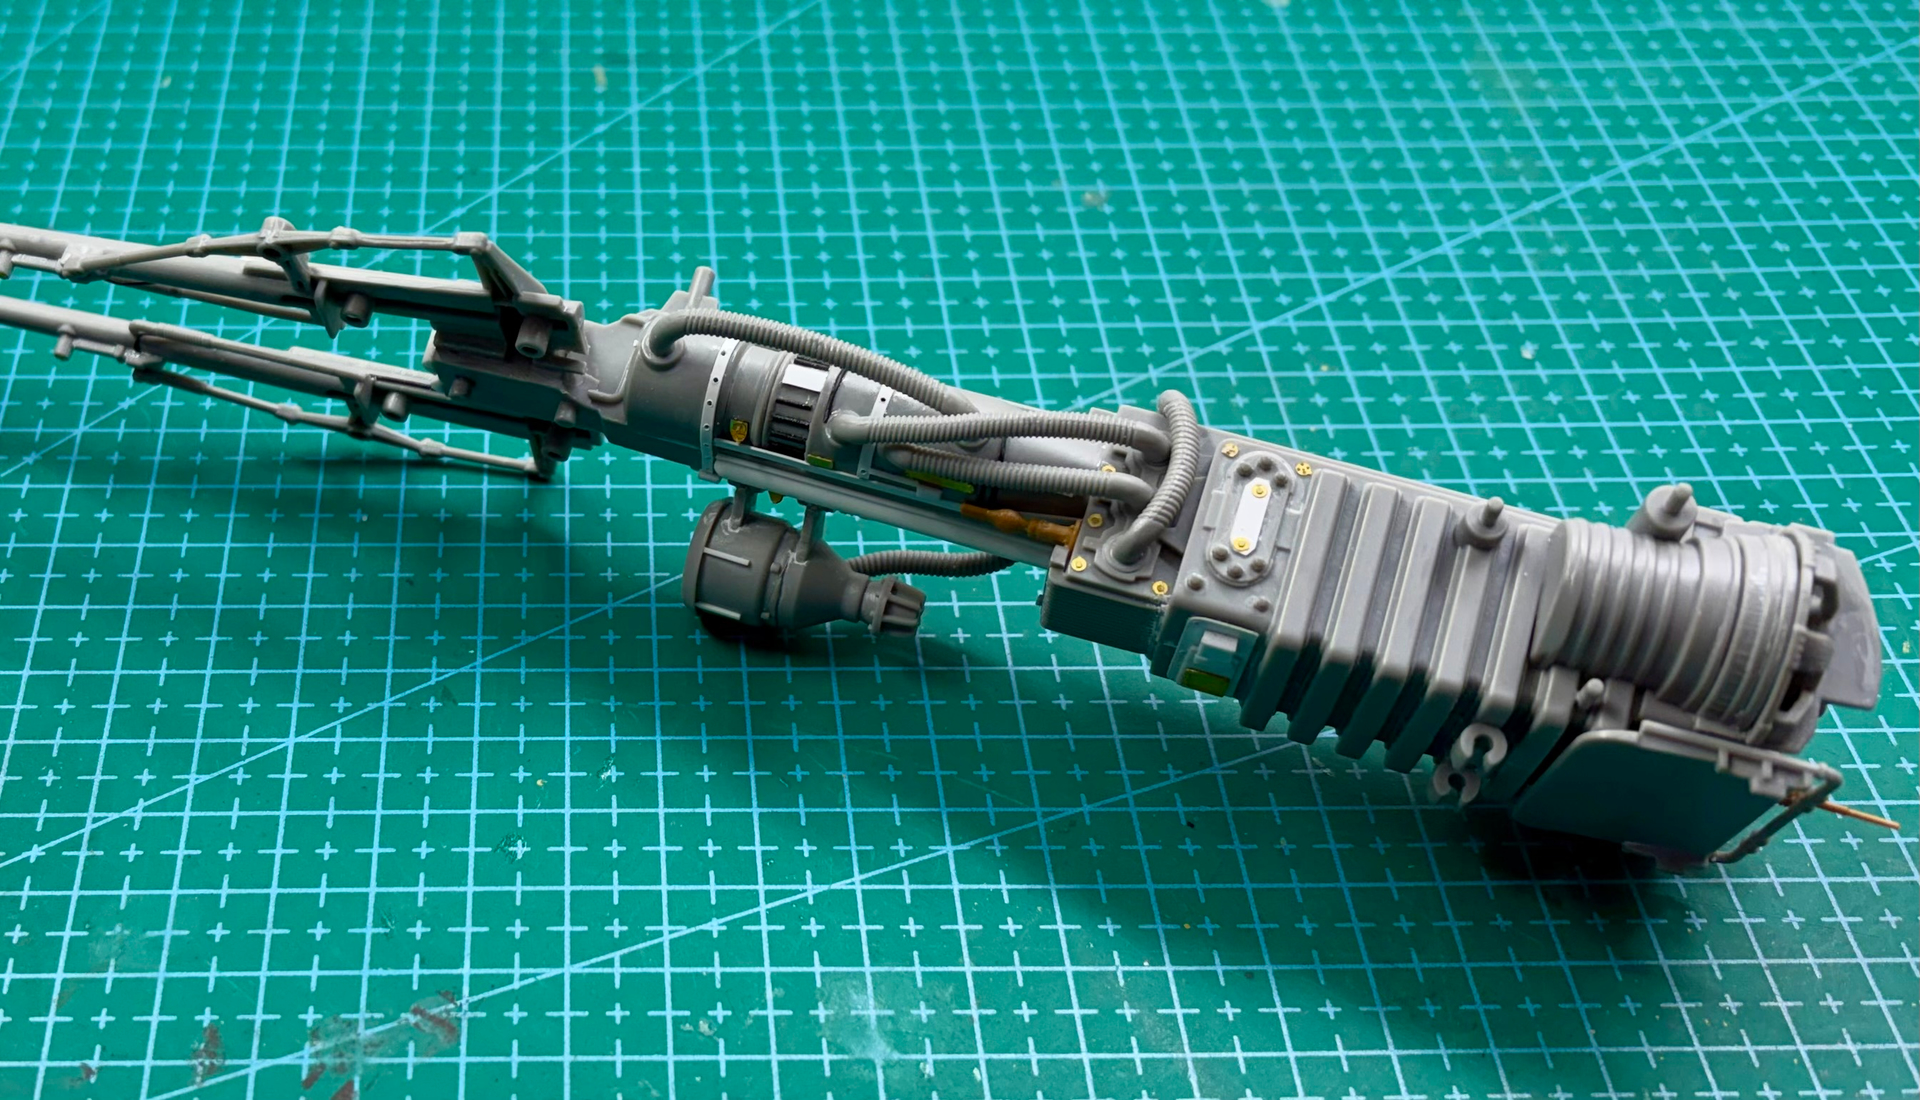
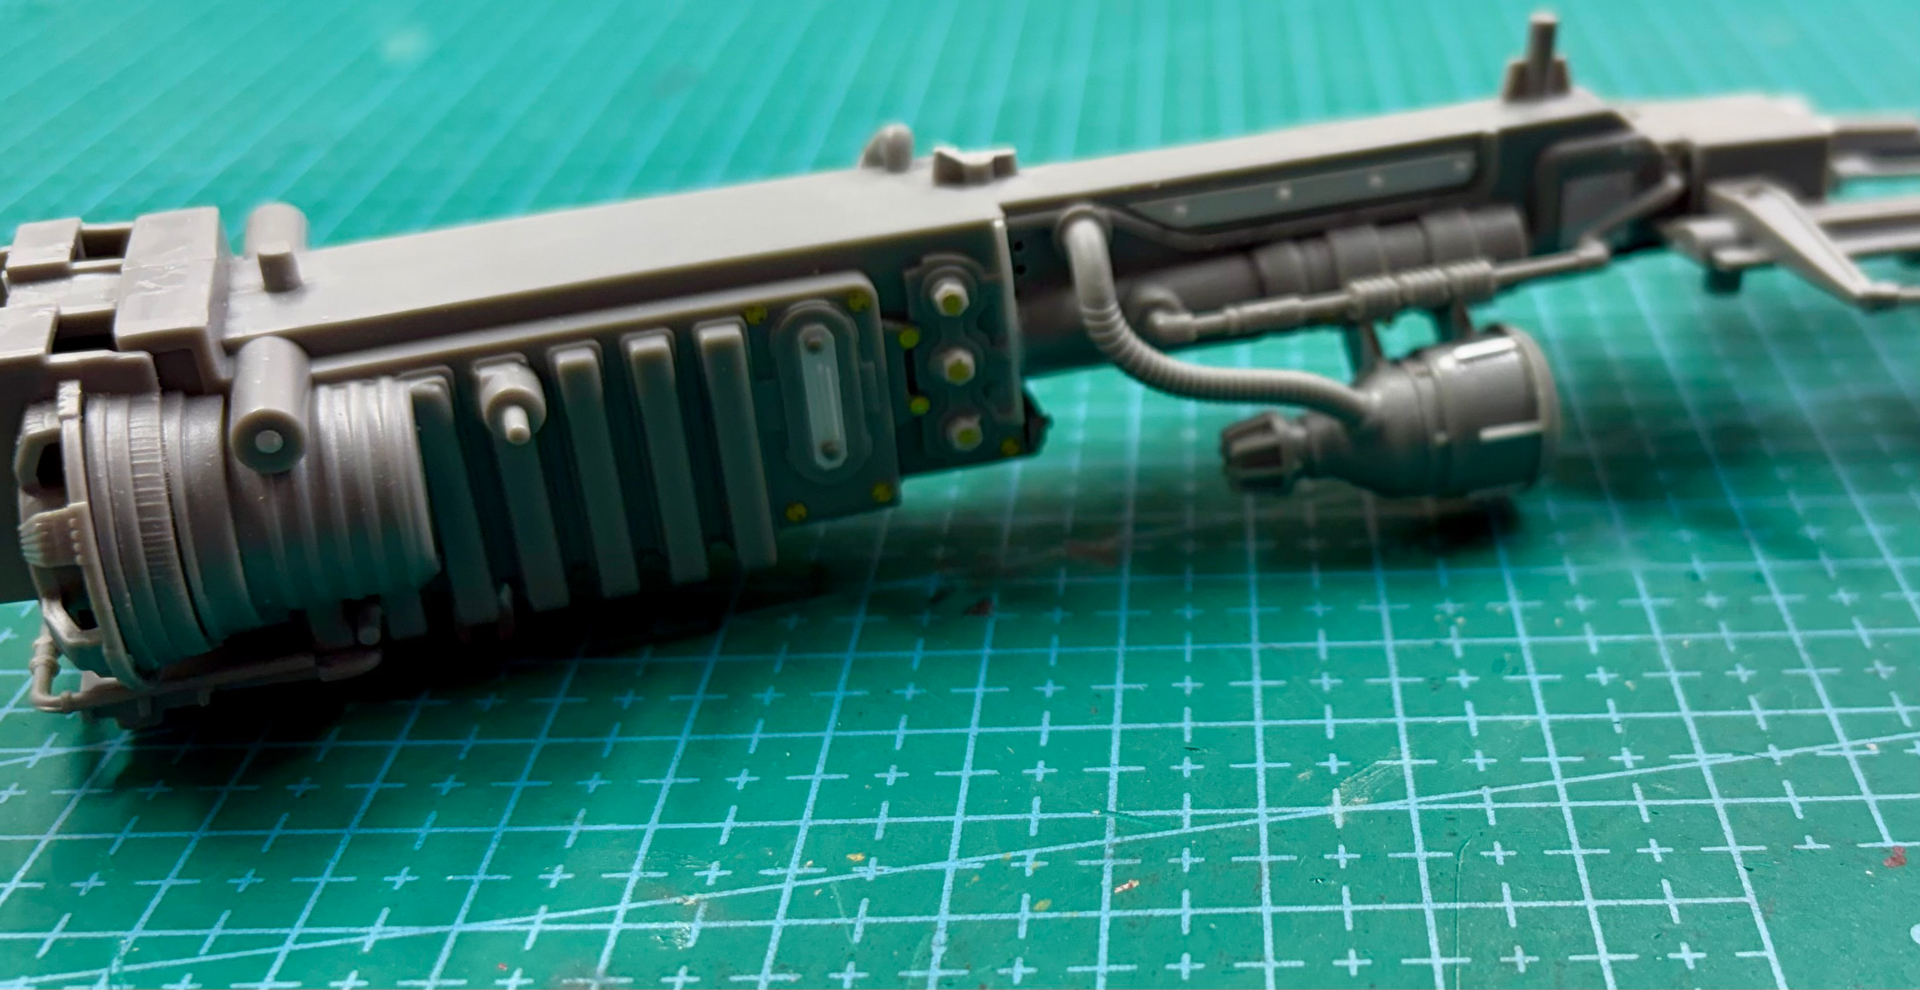
I am also happy to share some progress on the Revell 1/12 Speeder Bike model.
Firstly, it is an awfully simple kit. Made as a(n almost snap-tight) toy for children so I took heroic efforts to bring up the model to the modern standards with improving the details on the engine as well as on the body and the figure.
The photos are taken about the engine-front combined subassembly only as the body and the figure is still being worked on (sharing details is planned in a post later).
Where ever you see copper-black-white-brown details, they are all my scratchbuild attempts using extra parts from Trumpeters T-72, Italeri Humvee and various other 1/35 kits, sprue sections and Evergreen stuff. Also added some grey (big) bolts from a Meng set. Any other grey details are the original kit parts. All randomly, not thinking on real engines but for my liking ![]()
This subassembly has already been primed with Gunze 1200 Grey Surfacer and I plan to fully airbrush it with shiny black paint as a primer. Once dried (probably on the next weekend) I will start painting the metallic colors for the engine, later hand brush the tubes, mechanics and any other details.
Happy modeling!
Tamas
Thanks!
I invested in some Vallejo Game Color paint sets since I lack the AK Interactive’s Real Markers colors. I plan to go back and touch up the wash overruns and mistakes with a paintbrush. The AK markers can only go so far because their tips aren’t fine enough.
I also find the markers good and useful for bigger projects, but they cannot replace old school brush painting.
Looking great so far - looking forward to see more ![]()
That looks great. Excellent work on improving it.
Have sometimes thought of getting one, but I’m not sure if it’s the same type as the ones from Return of the Jedi.
No photos today, just getting on with a little more work on cleaning up the fuselage before fitting the wings. I keep spotting little dings and scratches in the plastic. The sort of thing that shows up badly on metal finishes. The mould for this kit does seem a little rough! I’ve added a strip of plastic to each wingtip just to help give the ailerons a bit more clearance from the missiles.
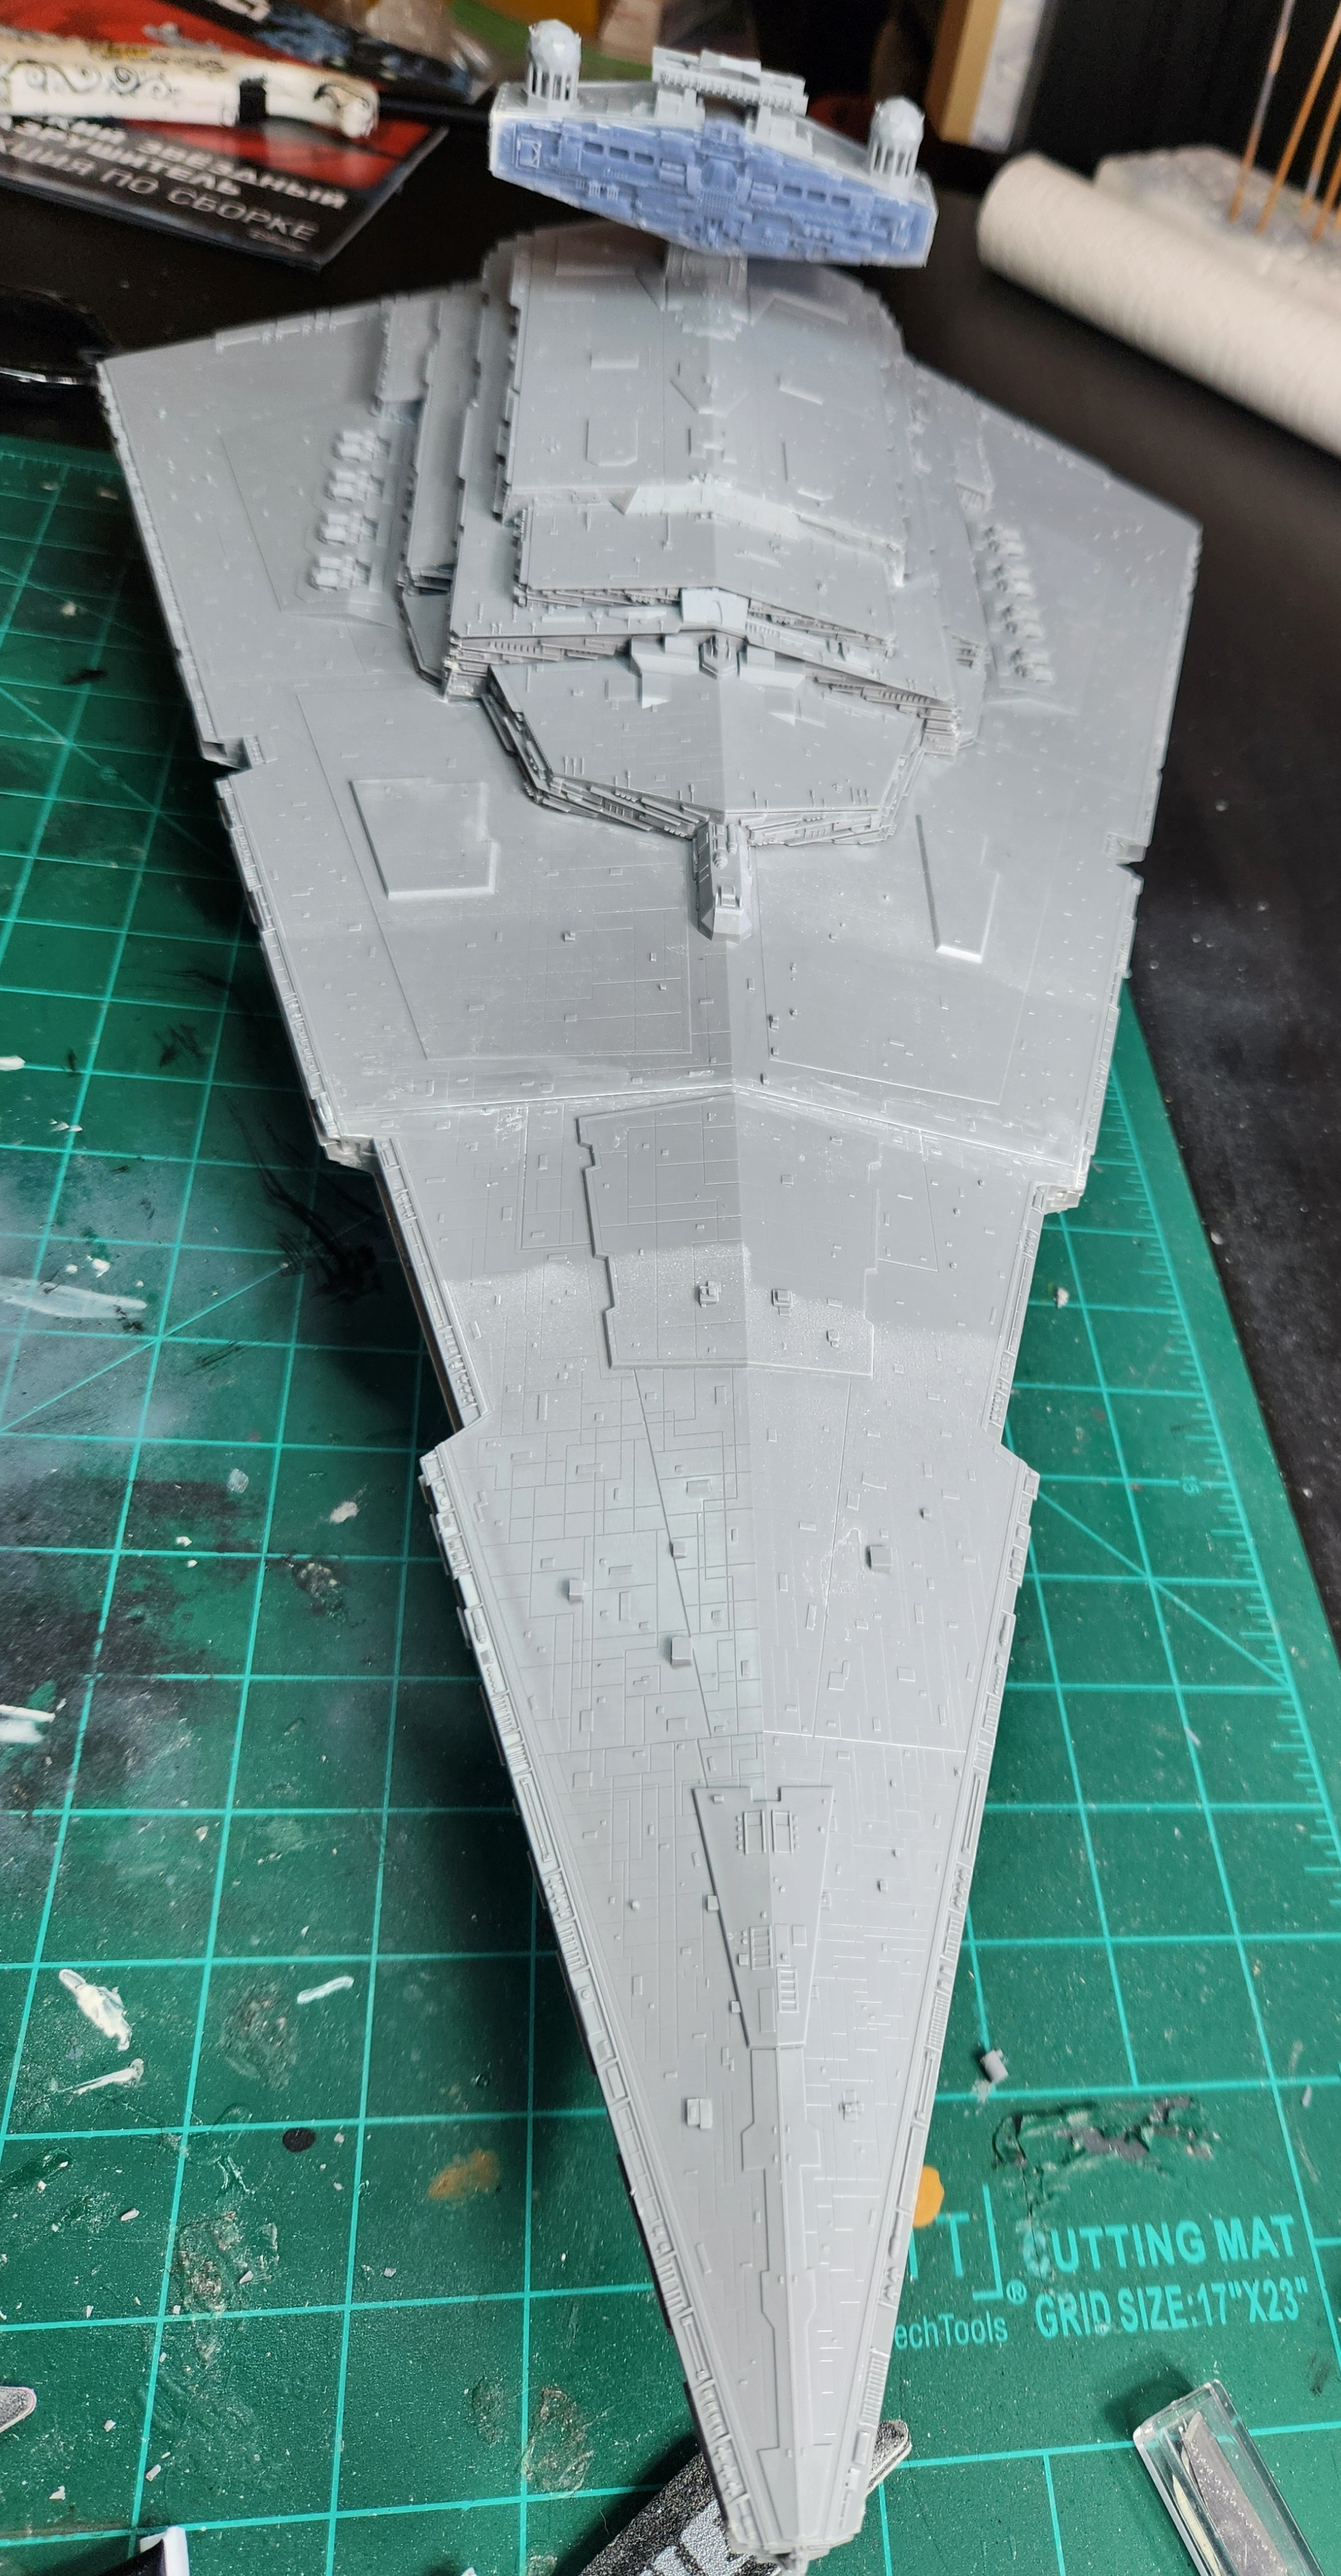
Building is complete…..this is a big model….one picture has a jar of Tamiya paint for reference……some putty was necessary…I was bummed as I could not use the 3D printed shield generators…..they are beautiful….but dropped one and broke several of the prongs off. On to the paint booth next….gotta come up with a plan for painting….. I think I have one in mind.
What a beast! It looks great! The resin improvements really shows.
looking forward to hear and see your painting plans. ![]()


