Thank you
2 Likes


Did you consider to preshade the bigger panel lines? I may see some and such extras would break those huge light surfaces.
You can also add some shade variation to some bigger sections, however the original props were probably single coloured.
Many interesting visual effects to add some extra to this beast, aren’t they?
2 Likes
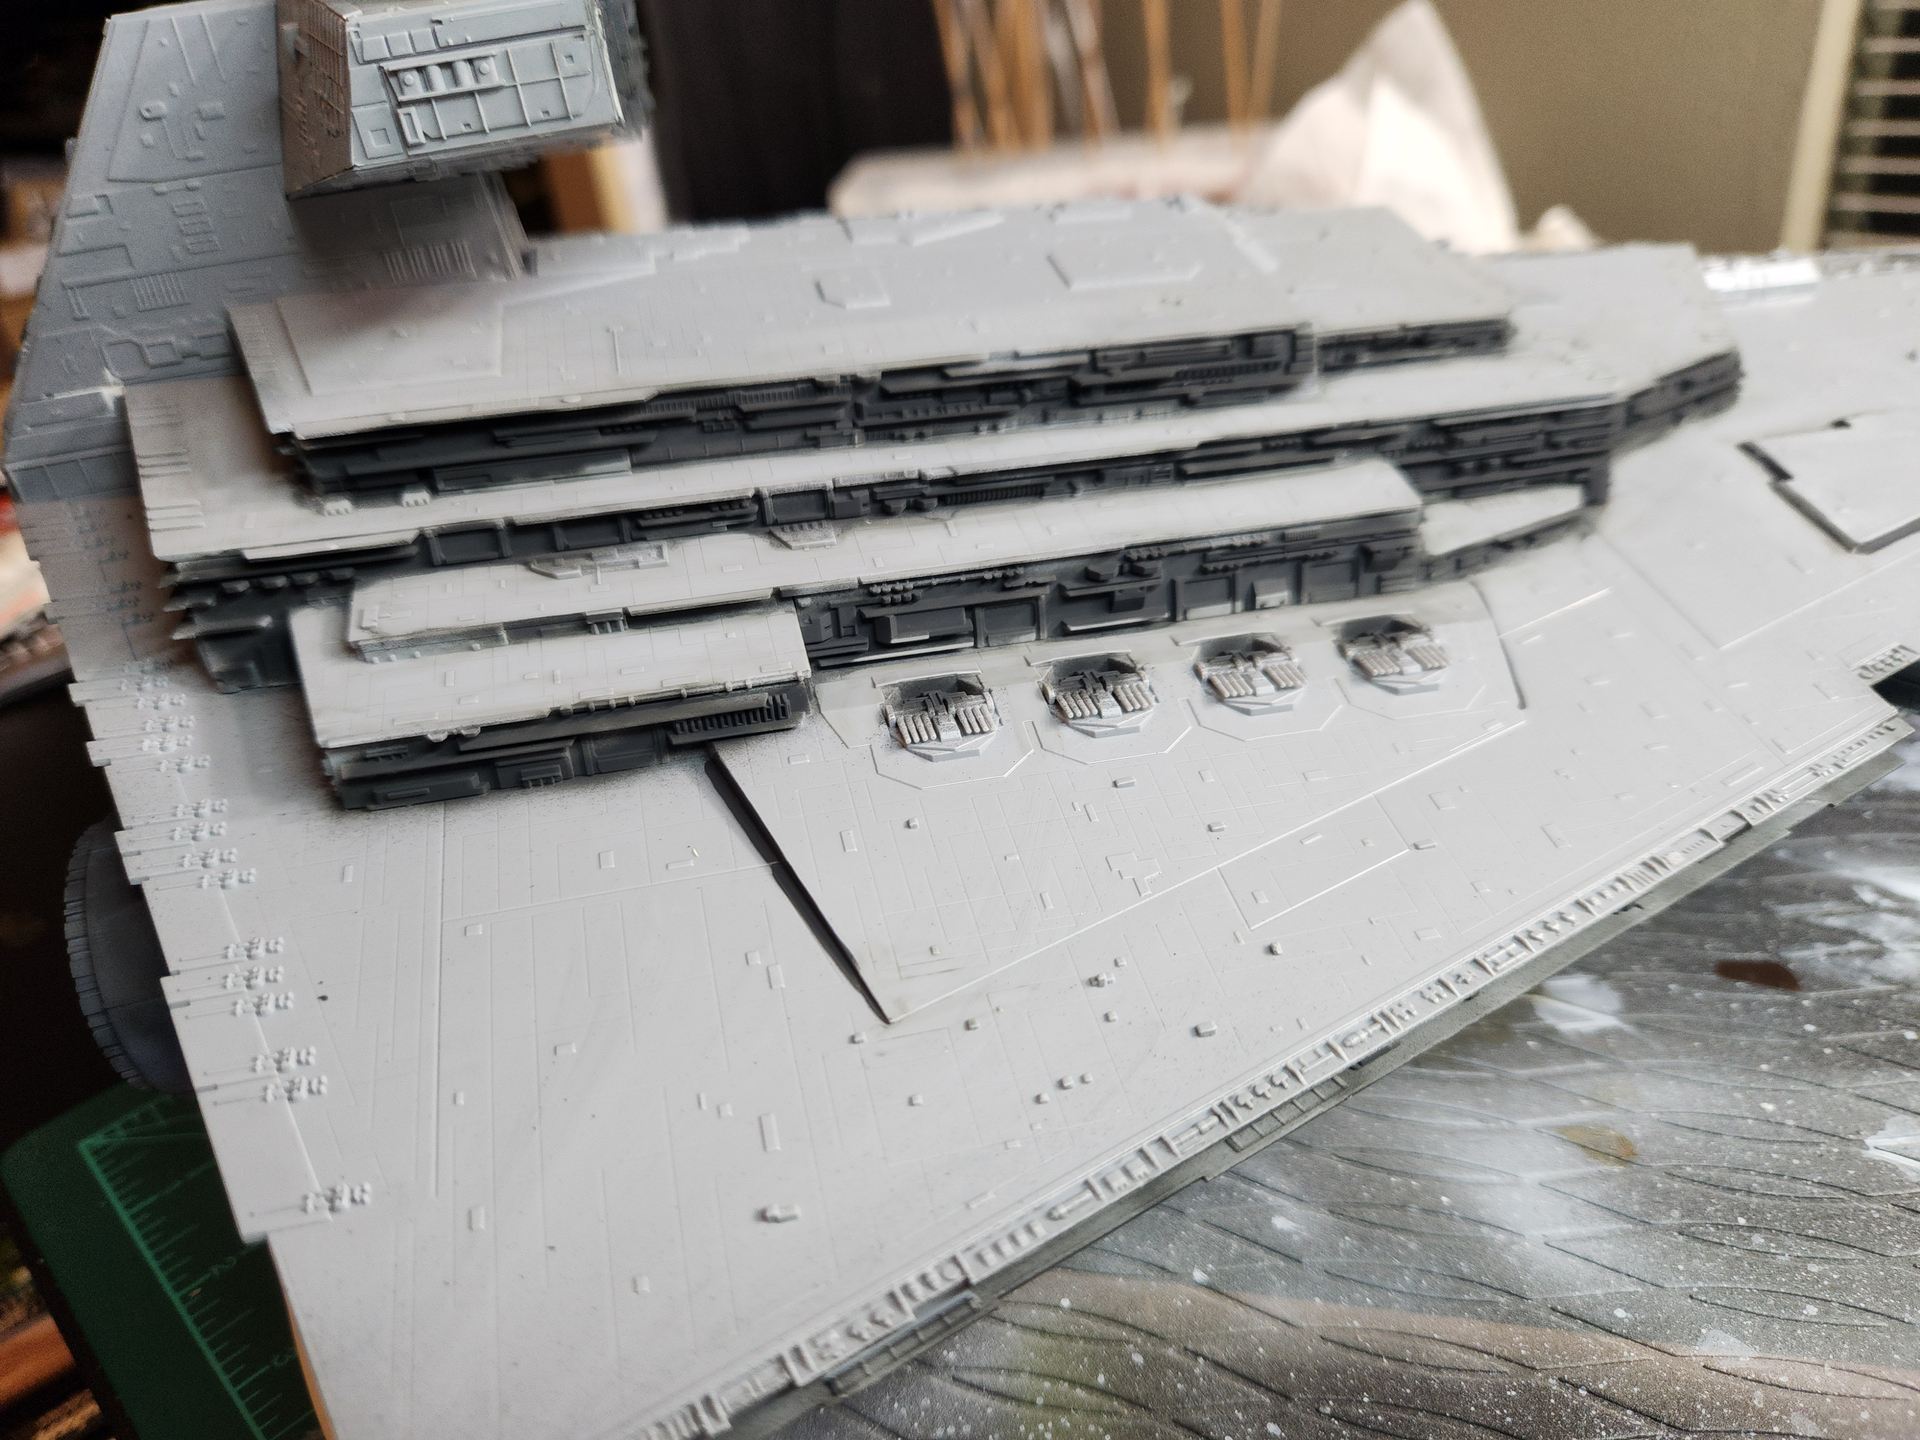
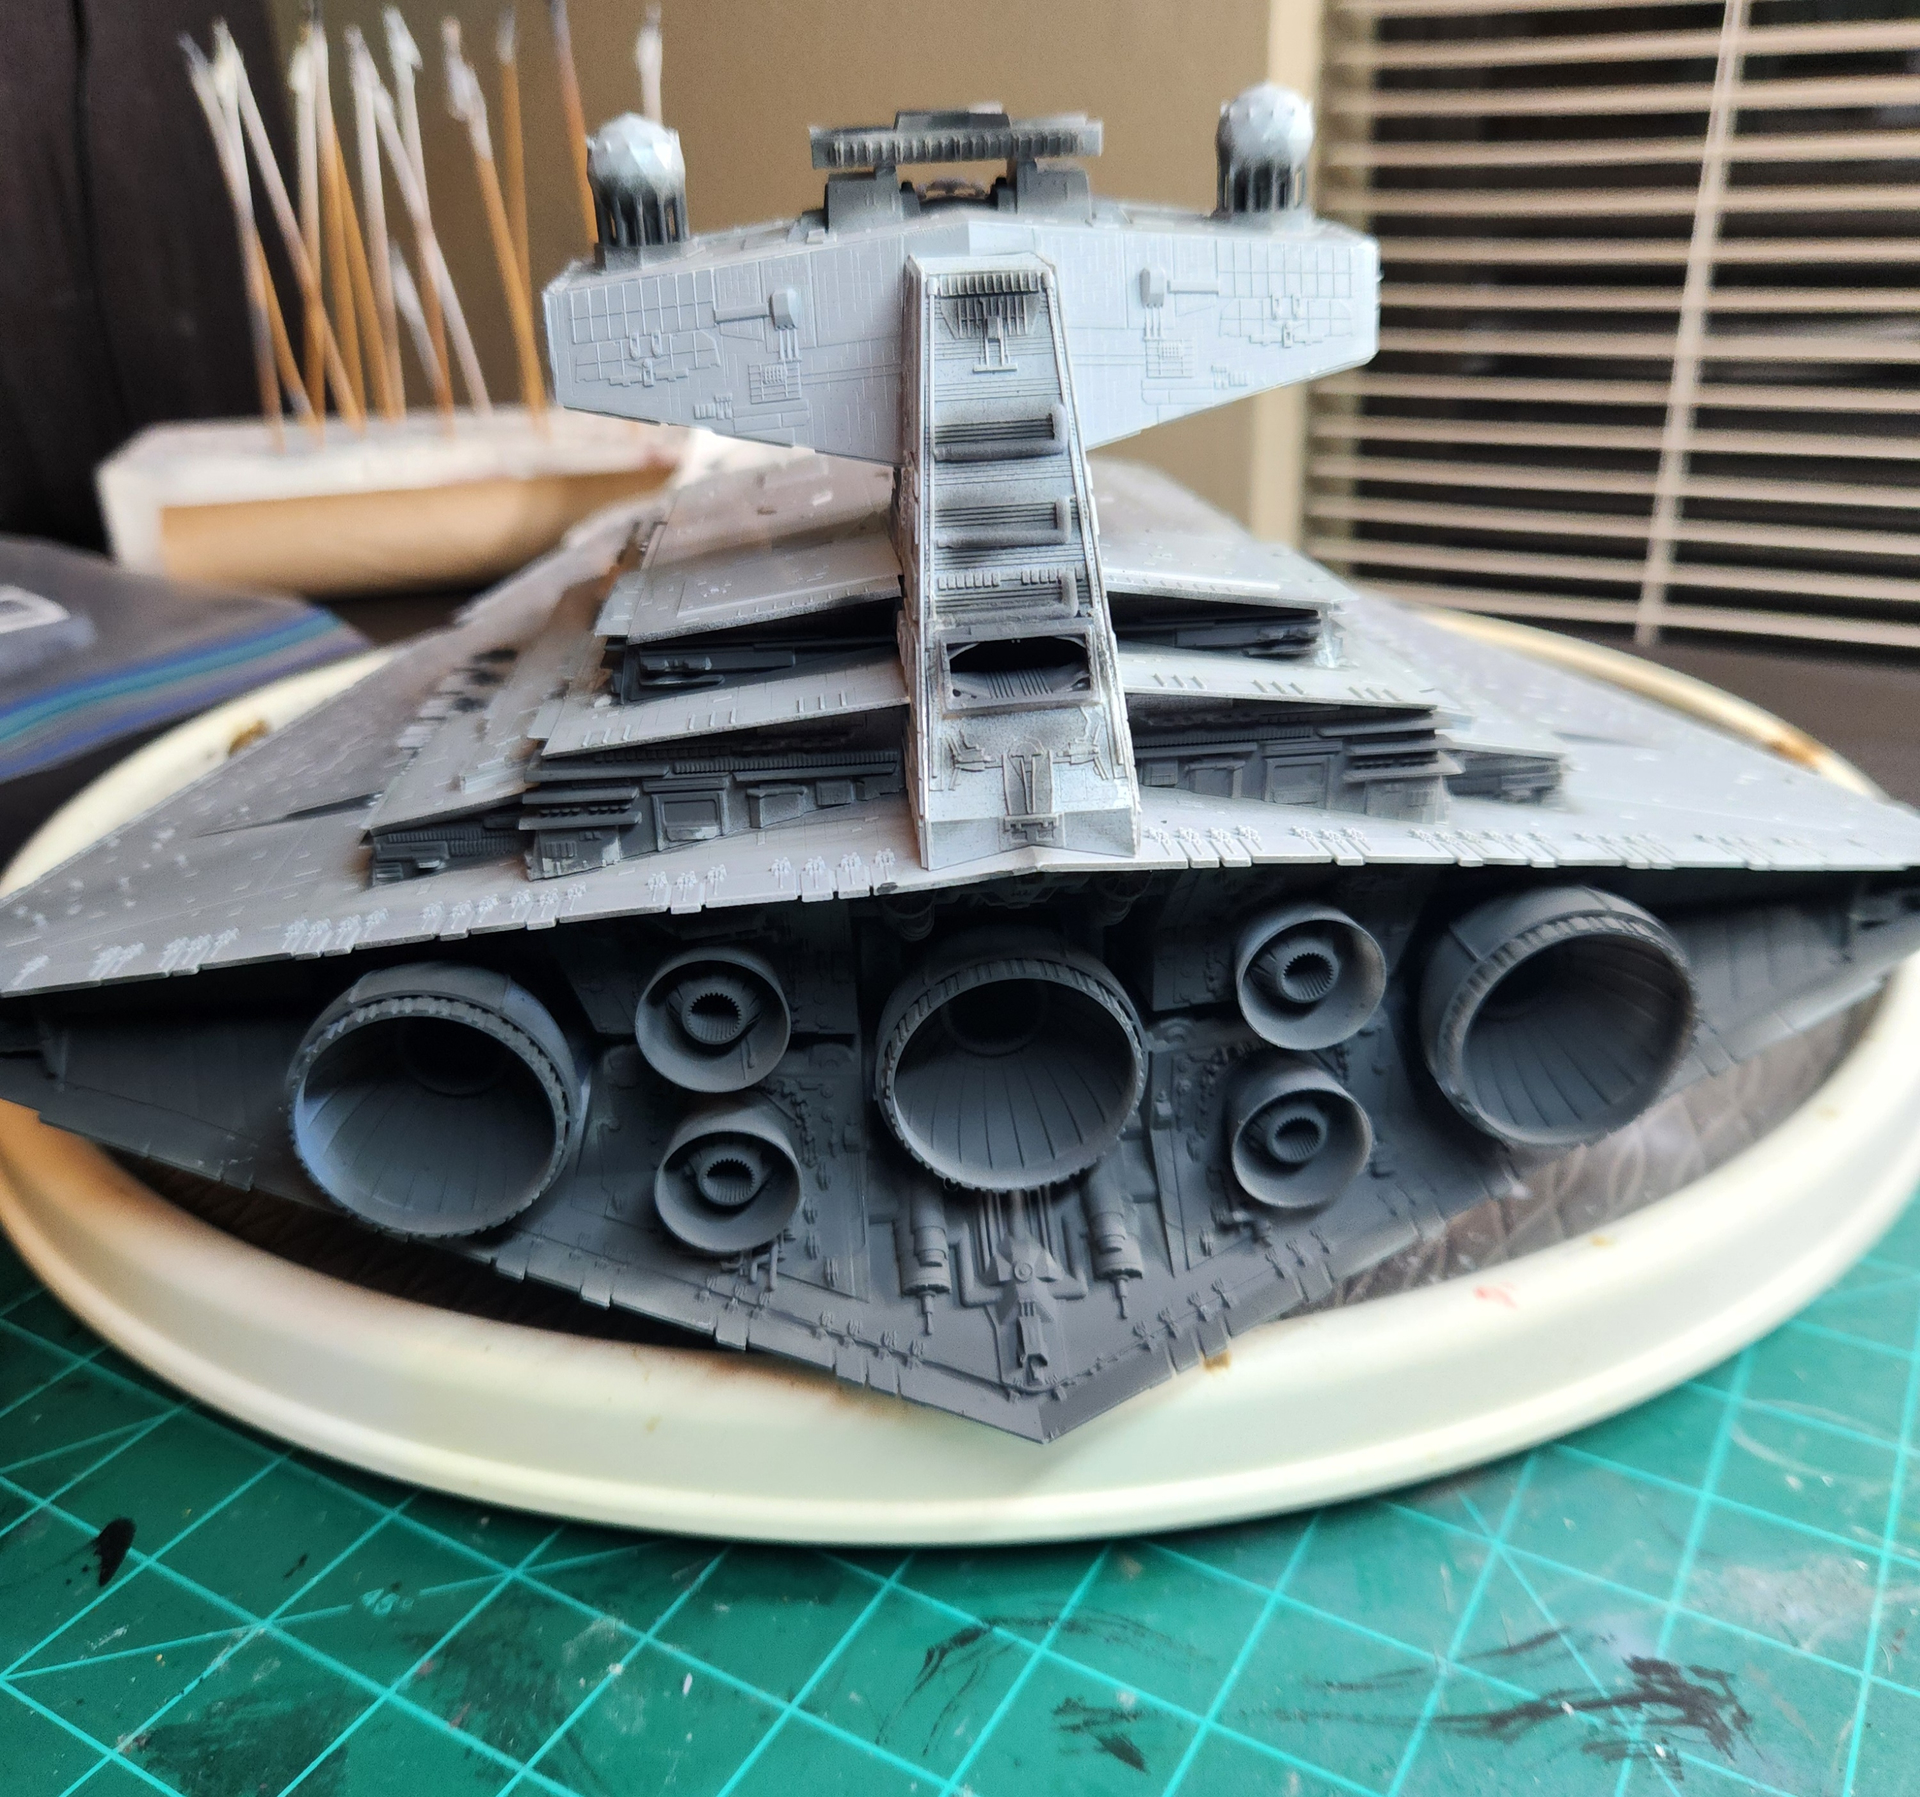
The problem with this kit is that the panel lines are not very deep…..so i did not even use a primer……I am going to do an oil paint sludge wash……removing the surface oil paint…..but leaving it in the panel lines. I used the preshading in the “shadow” areas…..as a wash would never be able to be removed properly in those areas of the bridge and decking…..at least with my skills.
3 Likes
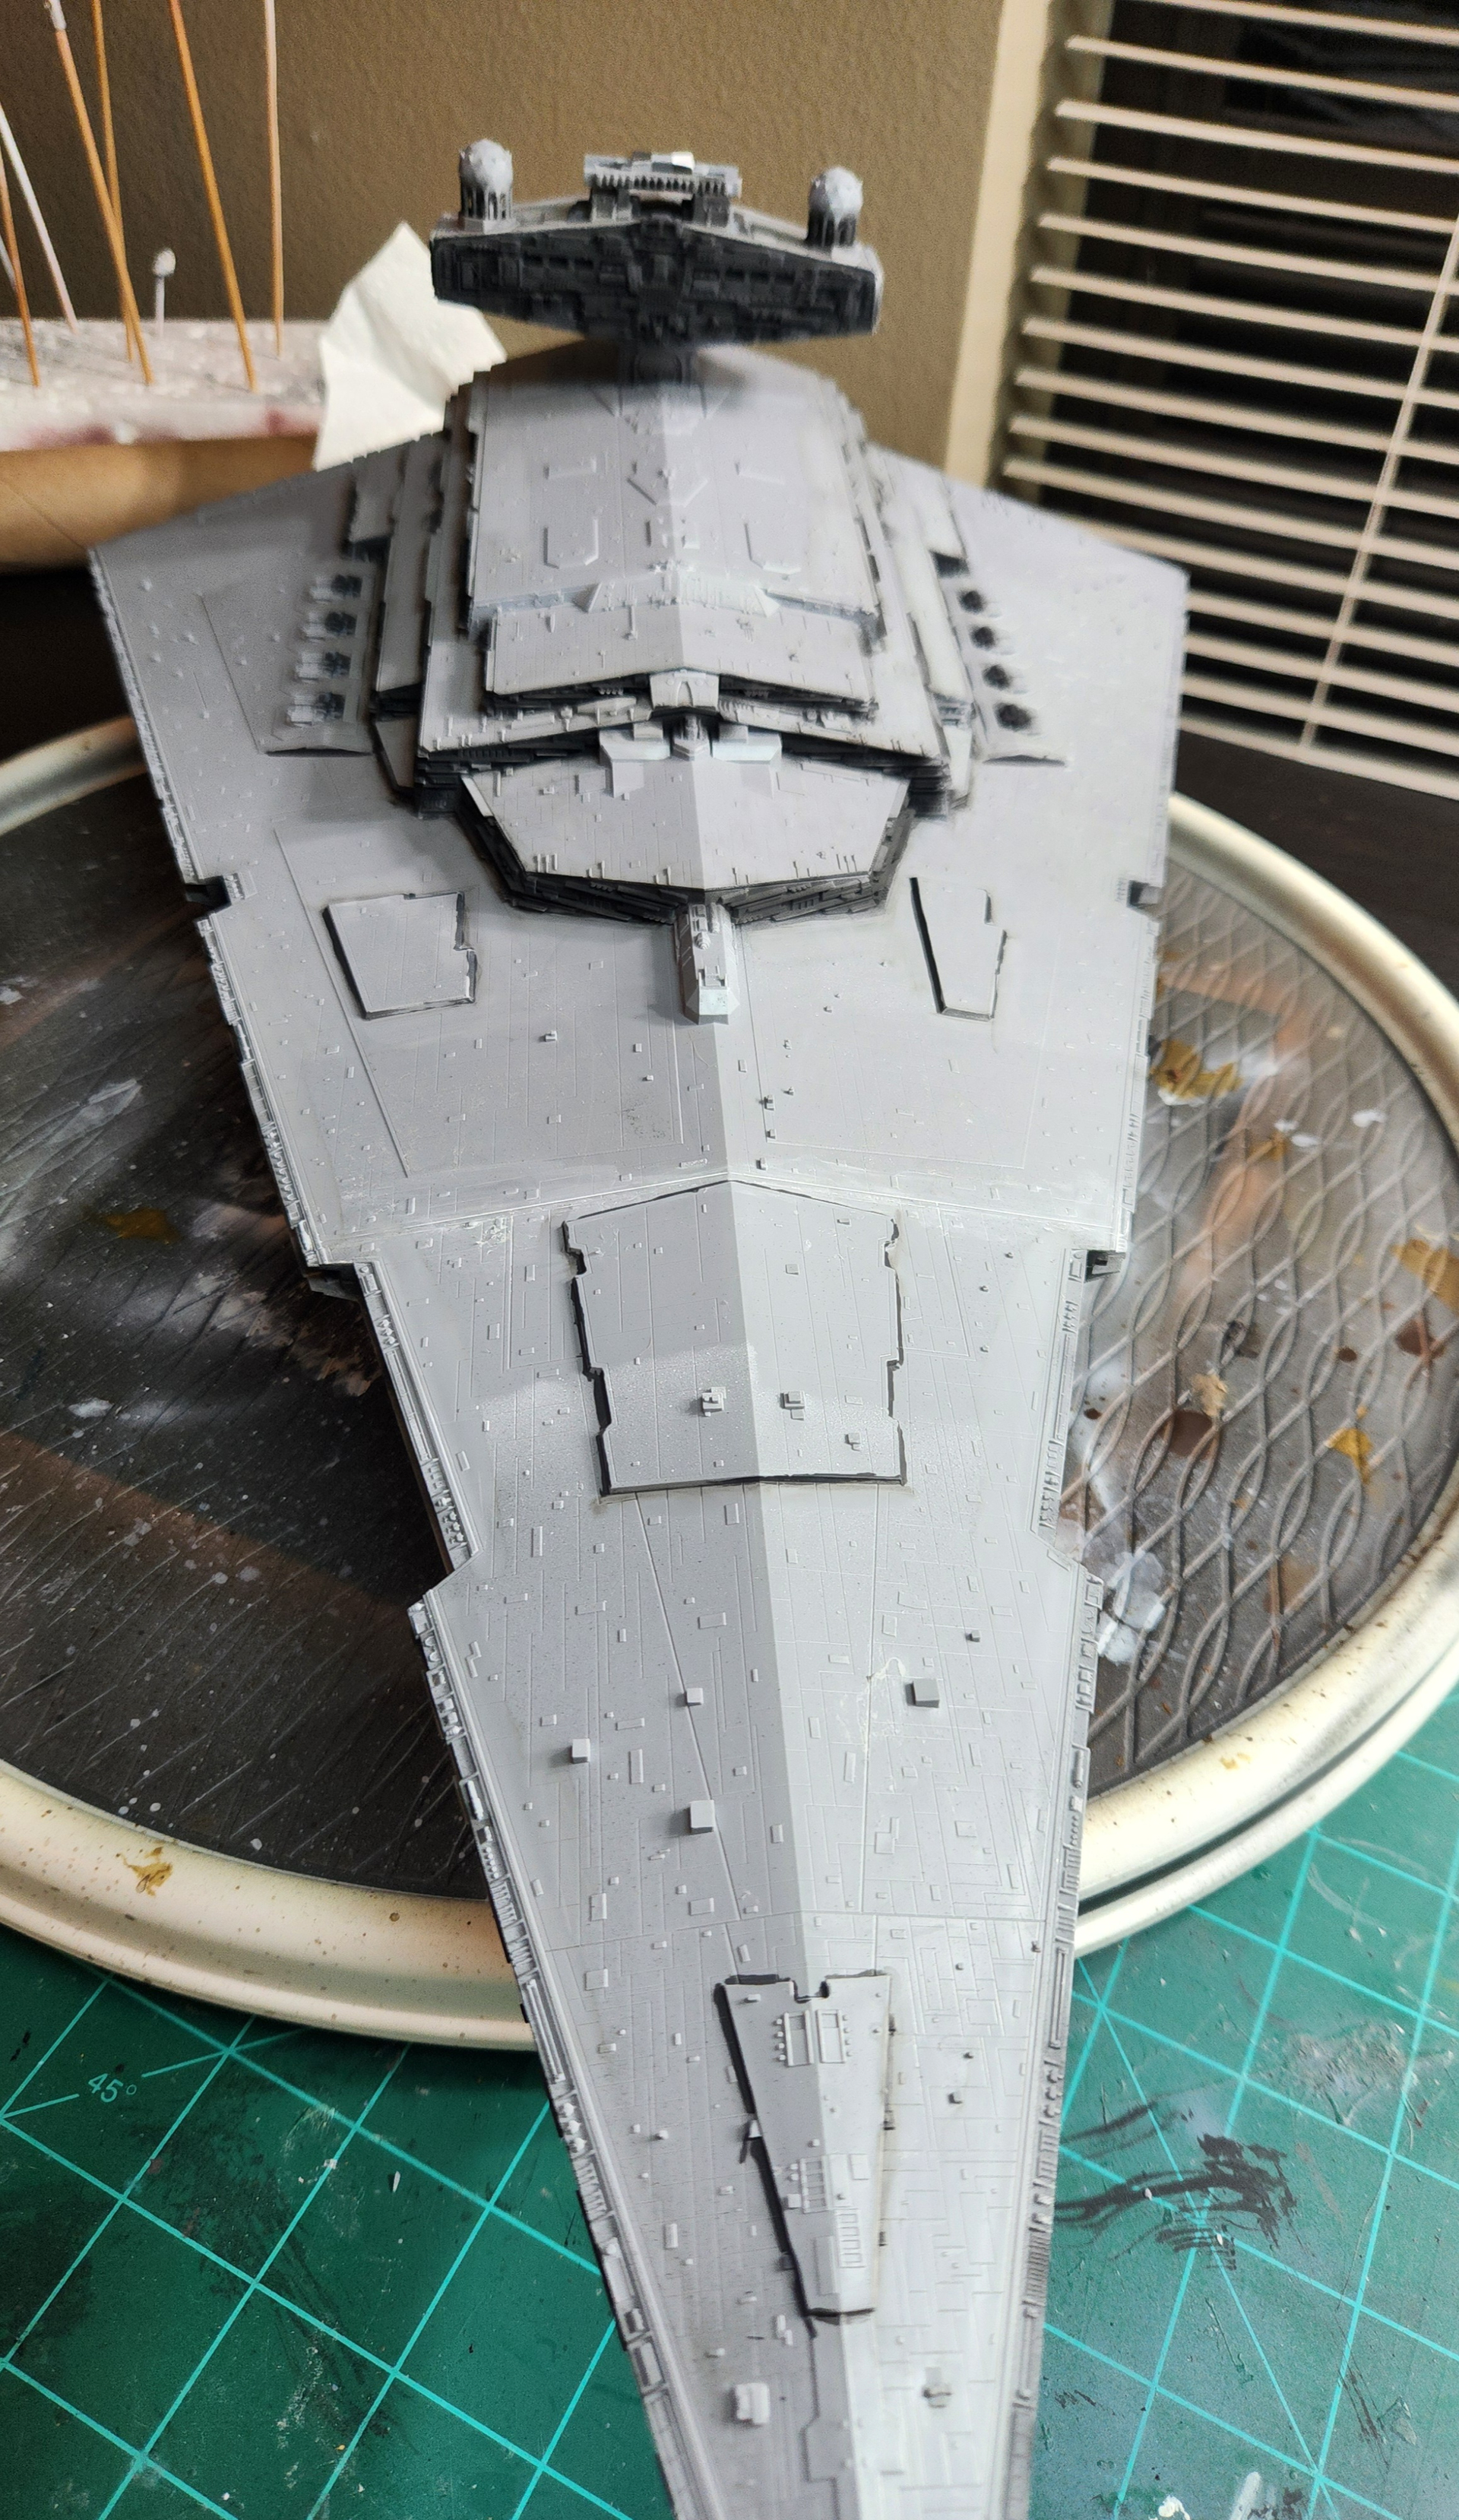
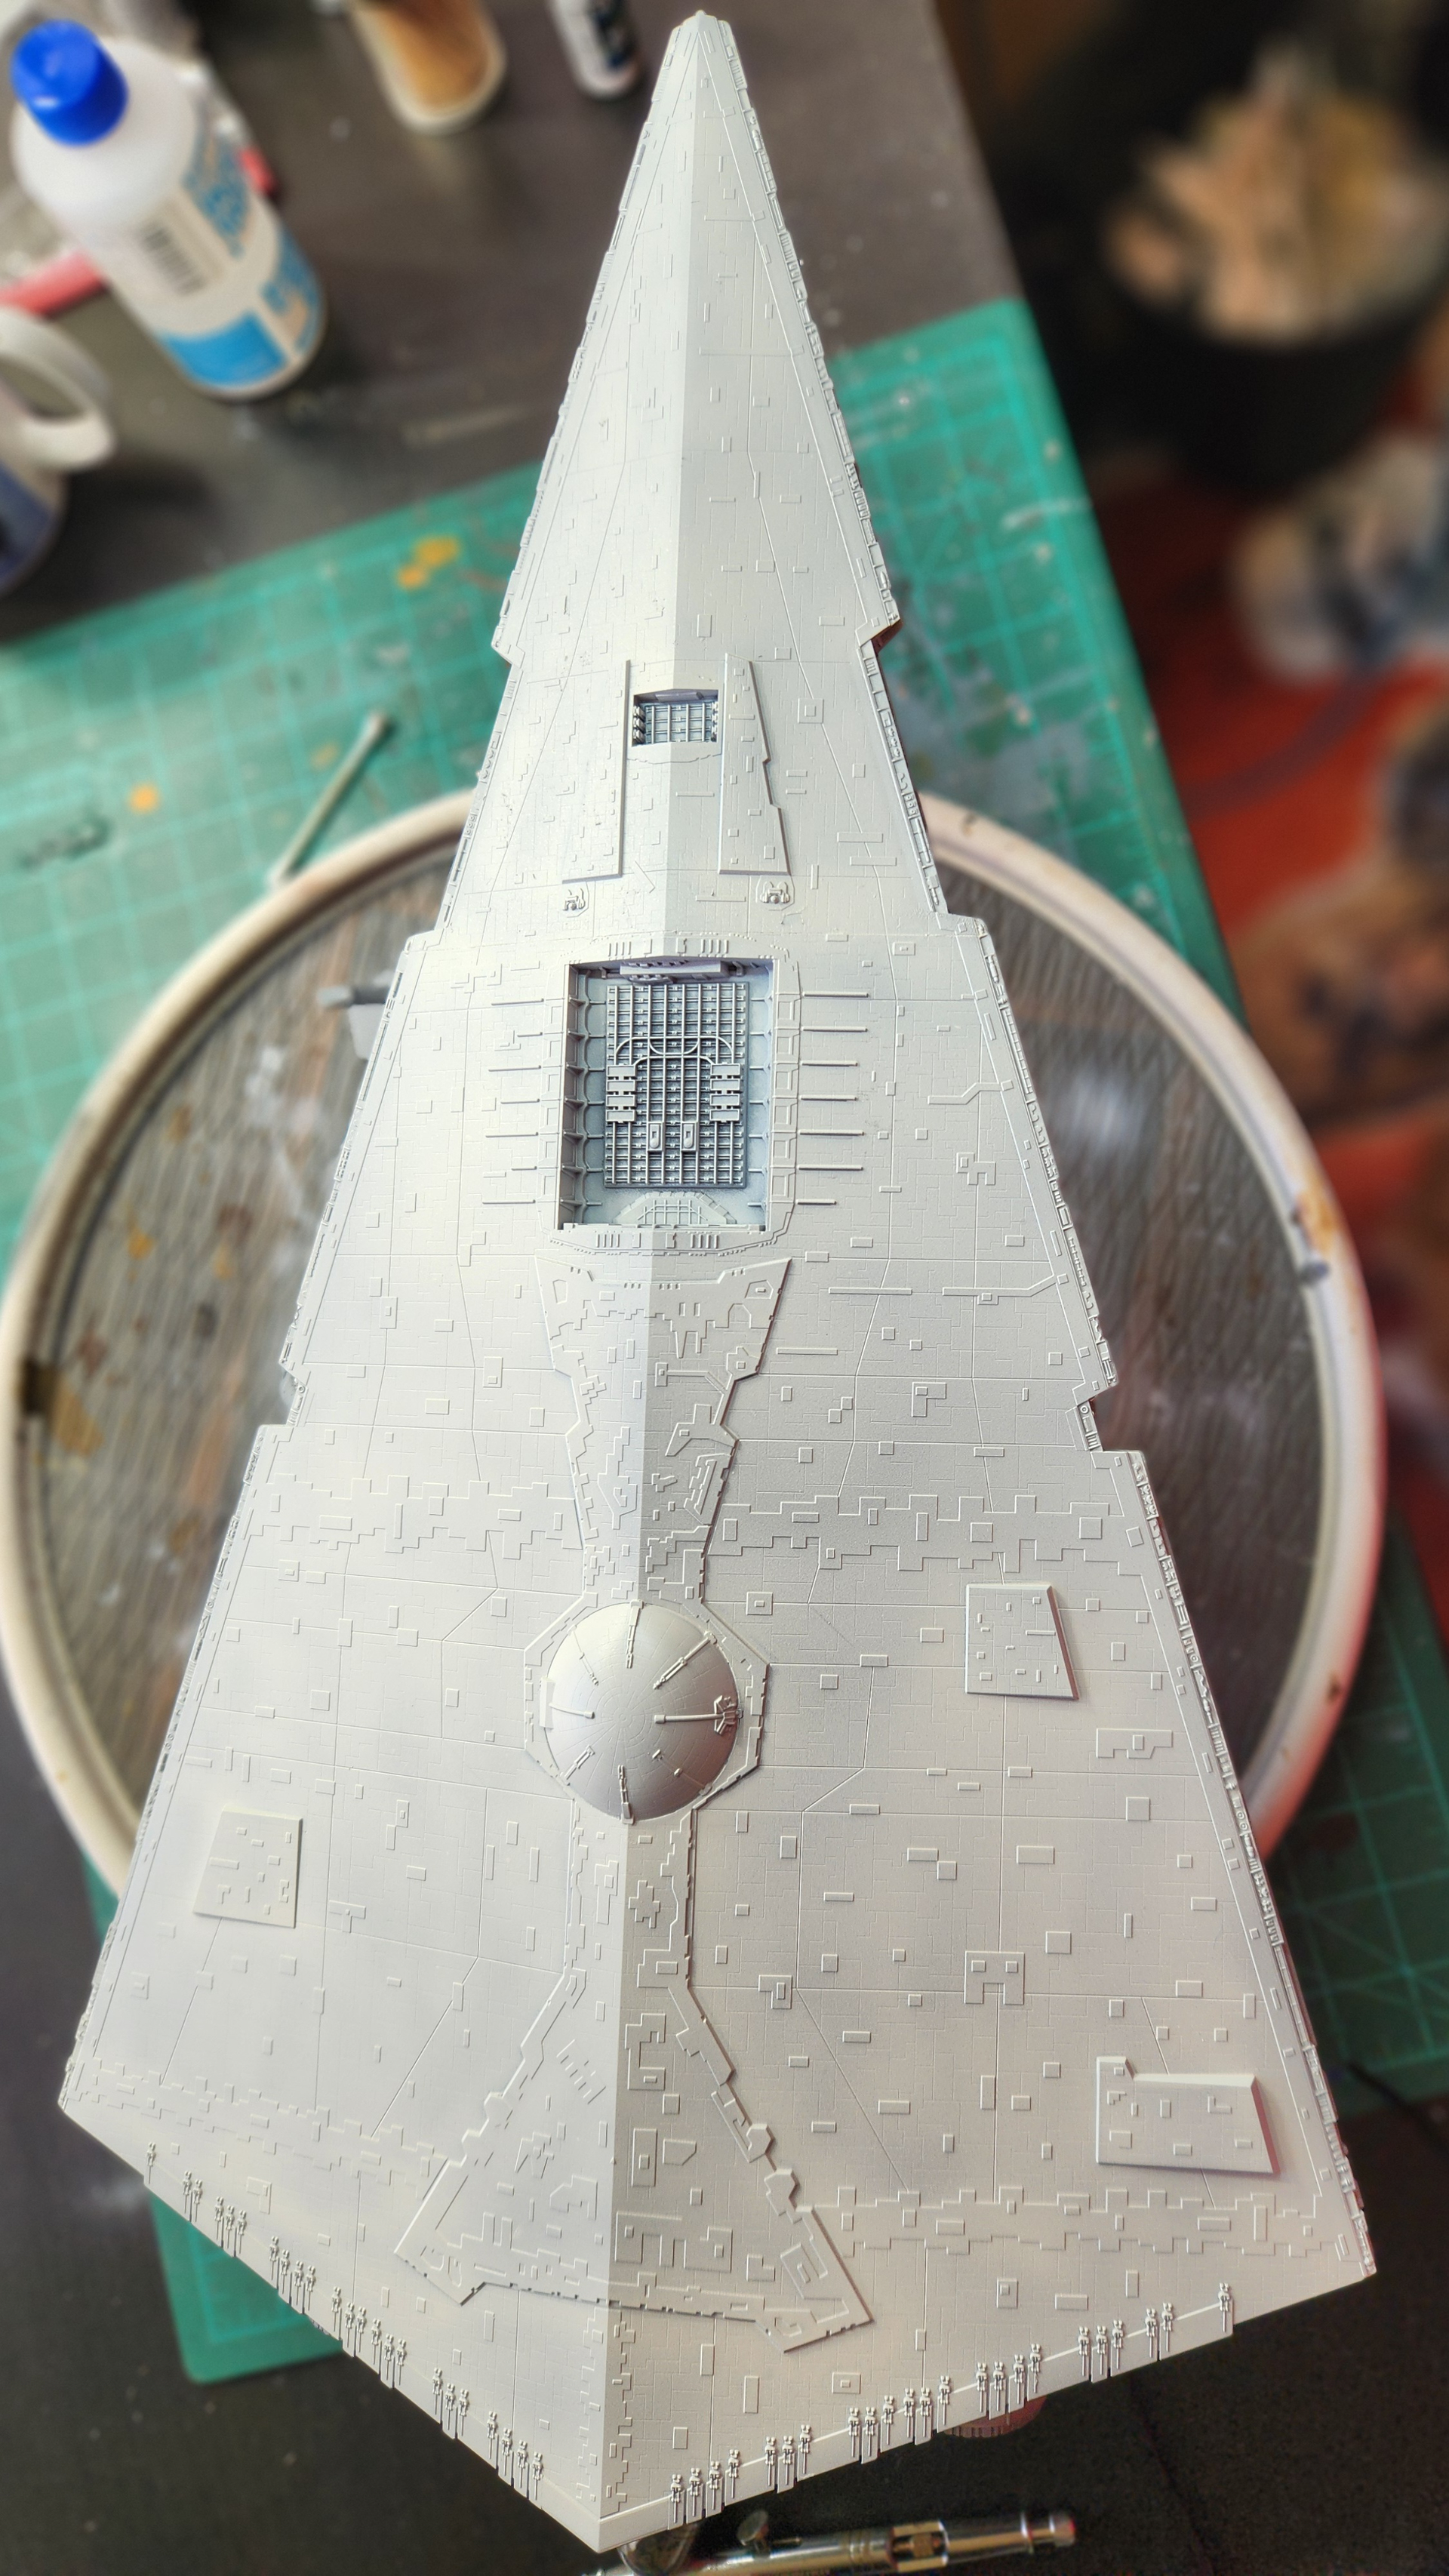
The bottom is painted the base color….Vallejo White/Gray and a satin clearcoat applied…..I will then do an oil paint sludge wash…..Hopefully when I wipe away the oil paint…..it will remain in the panel lines….. I am going to finish the bottom first so if I do mess something up I can learn from it and it’s going to be hard to be seen when it’s on display anyway.

7 Likes
I believe that if you wait 2-3 days the coat varnish will be surely cured to withstand the wash. The residue shall nicely build up around the small rectangular areas as well as in the grooves.
It is too late to advise unfortunately but I also re-engrave the shallow-looking groves on tank or airplane models. My eyes just need to see better defined grooves. Revell kit suffer from poor molded grooves as per my experience.
And when removing the excess wash, let me suggest to move the cottom bud or anything you use in parallel direction starting from the nose toward the engines so you can probably imitate the “movint-flying” effect causing the dirt like on mornal airplanes.
I know that there is no air in the open cosmic space but the Sci-Fi FX people use auch technic in the films as the audience is familiar with the real life effects and using them makes the film “realistic”. Any good scientist will go mad, though they still enjoy the story ![]()
I am following your build with high interest. It is a huge model of a great subject.
3 Likes
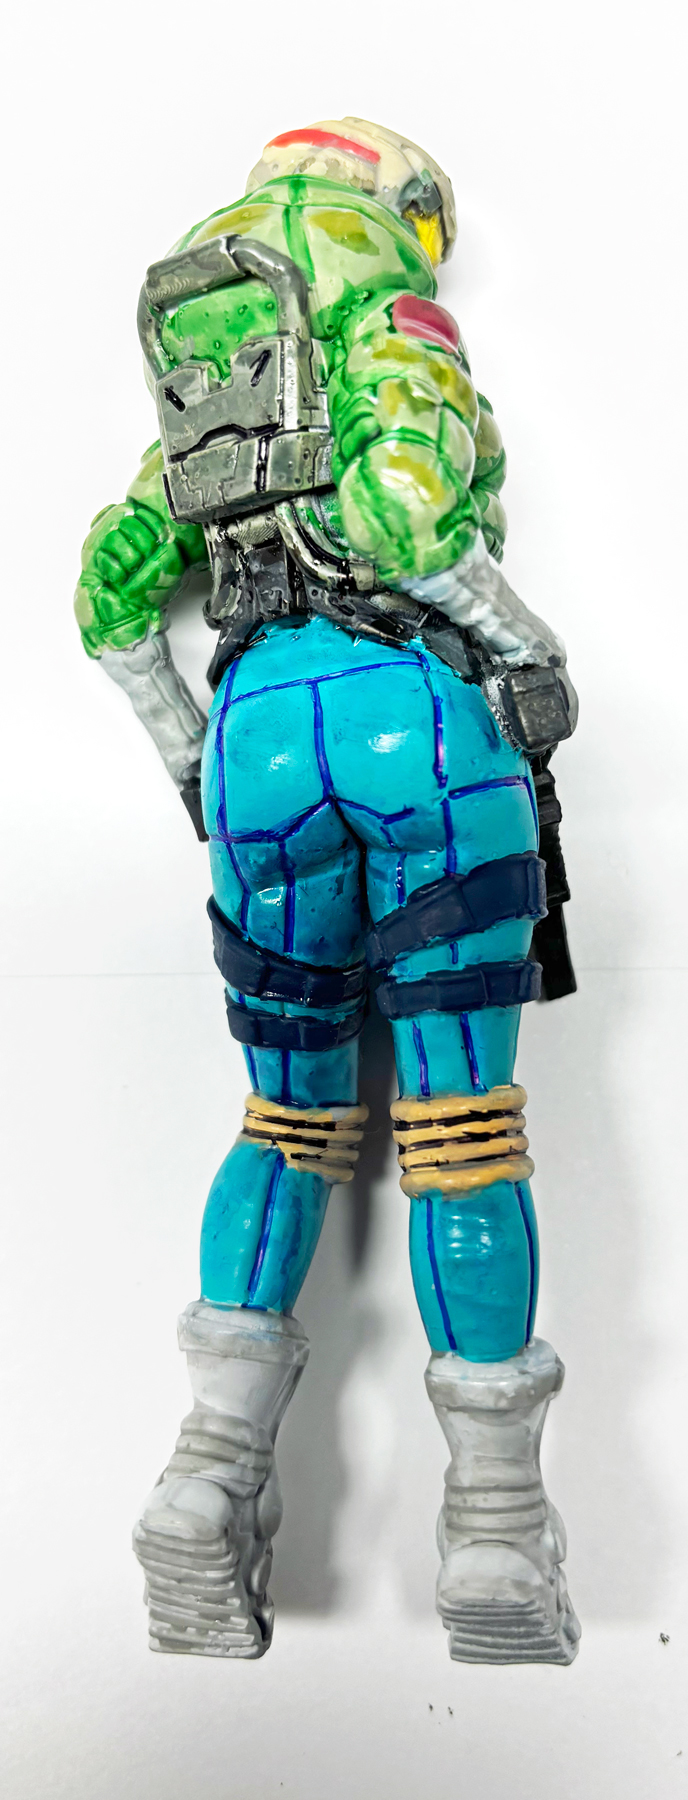
I decided not to be lazy so I went back and used AK Real Markers to paint over the runny blue wash and I used a MicroPro blue pen to ink in the blue seam lines. I painted over the blue fabric trimmings instead of using a blue wash to paint in the front of the turquoise overalls.
I used MIG AMMO Shaders (which is essentially a wash) for the green coat, overalls, backpack, and lips.
So the washes are completed and I spent some time cleaning up the runny wash mess ![]() .
.
I still need to drybrush and add final touches.
The figure is lying on the desk and isn’t standing up, hence the lighting is poor.

8 Likes
Normaly not realy into building SF models but as my grandson got me one for my last birthday I’ll join with it….


Something very different for me, tiny both in size and parts ….
Should be able to finish this in time ![]()
8 Likes
It lools way more impressive now, all time you spent on the corrections did worth, I thimk.
I am looking for the pics when the drybrushing done!
2 Likes
Looking forward to seeing this come together.
I grabbed myself one of these, the Atreides ‘thopter and the Spice Harvester. They’re really nice little kits. I keep meaning to get them built.
2 Likes
Thanks!
1 Like
Parts are very small, but very clean, can be done without glue. Not going to bother with changing landing gear so I used glue…

5 Likes

The Harvester is really nicely done. It’s quite big despite the scale!
The trick will be in not making weathering look out of scale. Was thinking putting it on a sand base, the rear of it looking beaten up. Think I’ve got some red-brown pigment that might work as the spice field.
2 Likes

