Didn’t thin it mate, shot straight from the bottle. Just need to shake it well as it does separate quite a bit. I’ll use it on this kit with Vallejo Nato green.

1 Like
Cheers dude
1 Like
I built the Academy Warrior a few years back when I was just getting back into the hobby after 30 years out. It was the first model I’d done that I thought was a decent result. No pre or post shading, no oil washes, no shaders, no dust effects just raw pigment spooned on, no oil paints, I think only a very rudimentary Tamiya panel liner wash (without a clear coat first!) and that was it. Not even any drybrushing; acrylic or otherwise. Turned out lovely for where I was back then.
I remember I ordered the bar armour Eduard set for it, took one look and binned it off hahahahaha


You are doing an incredible job with the same kit mate. The attention to detail is fantastic. I guess it hits different seeing the errors in the kit if you are as personally familiar with the Warrior as you are.
I have the Meng TESH kit upstairs and will crack on with that at some point. I love Warriors.
Keep the updates coming!
7 Likes
Nice looking Warrior mate … Certainly did it justice ![]()
2 Likes
I agree with Johnny, that’s a nice OOB build especially for someone coming back into the hobby.
2 Likes
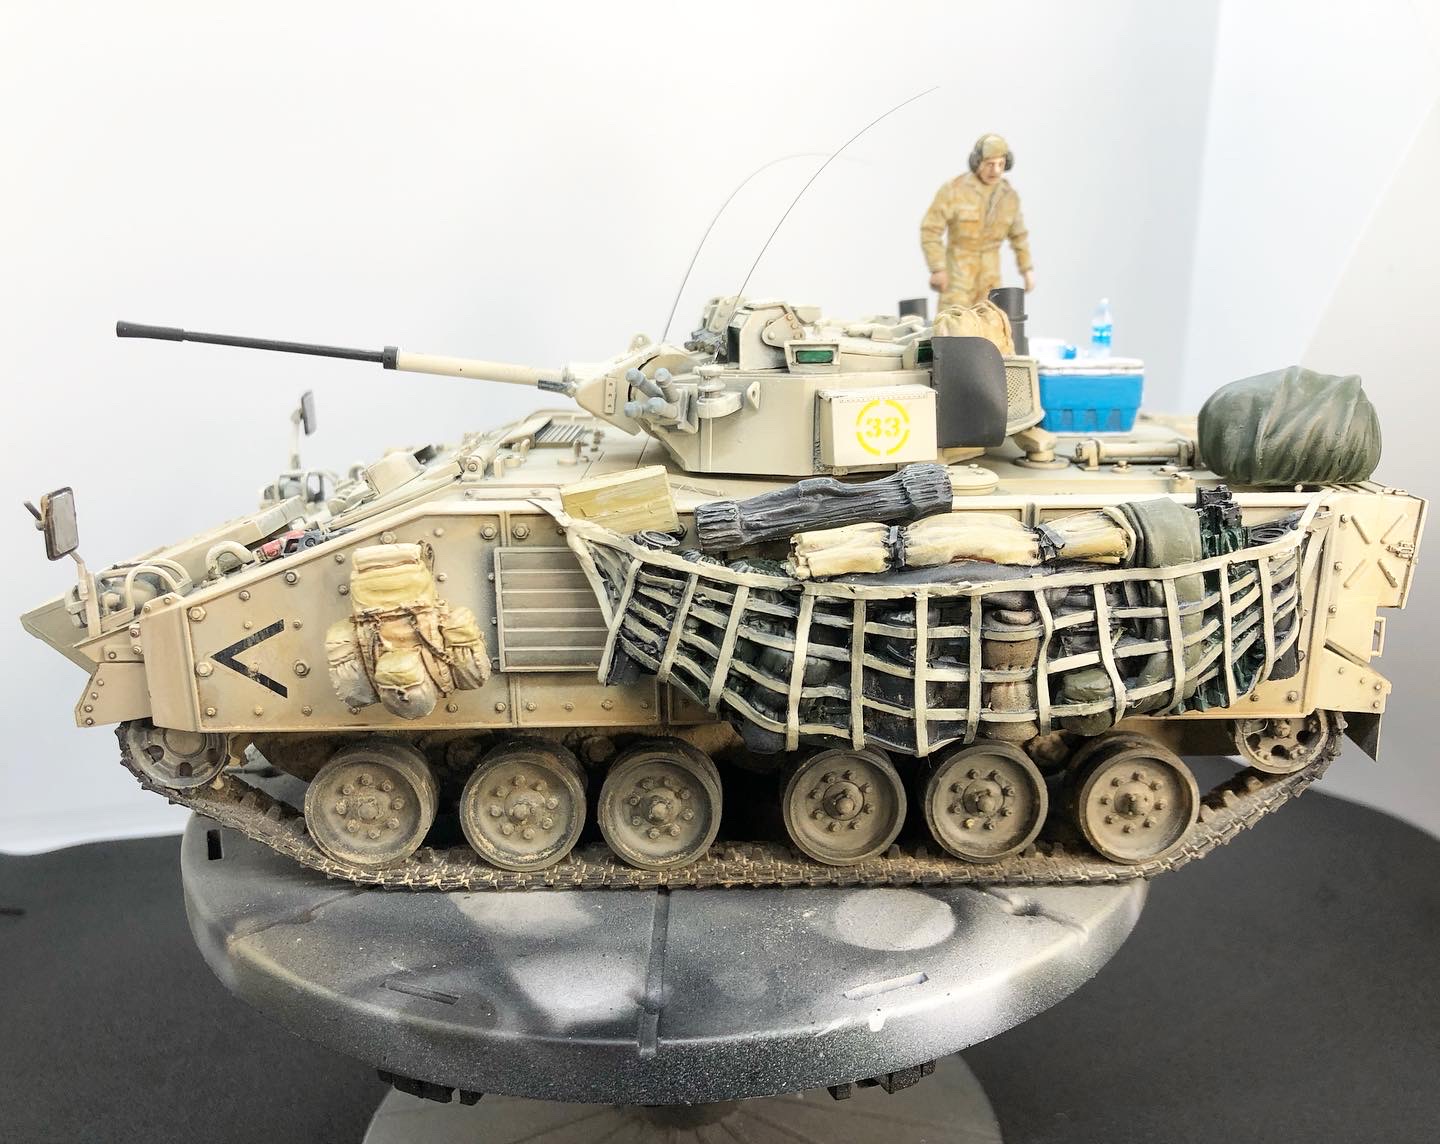
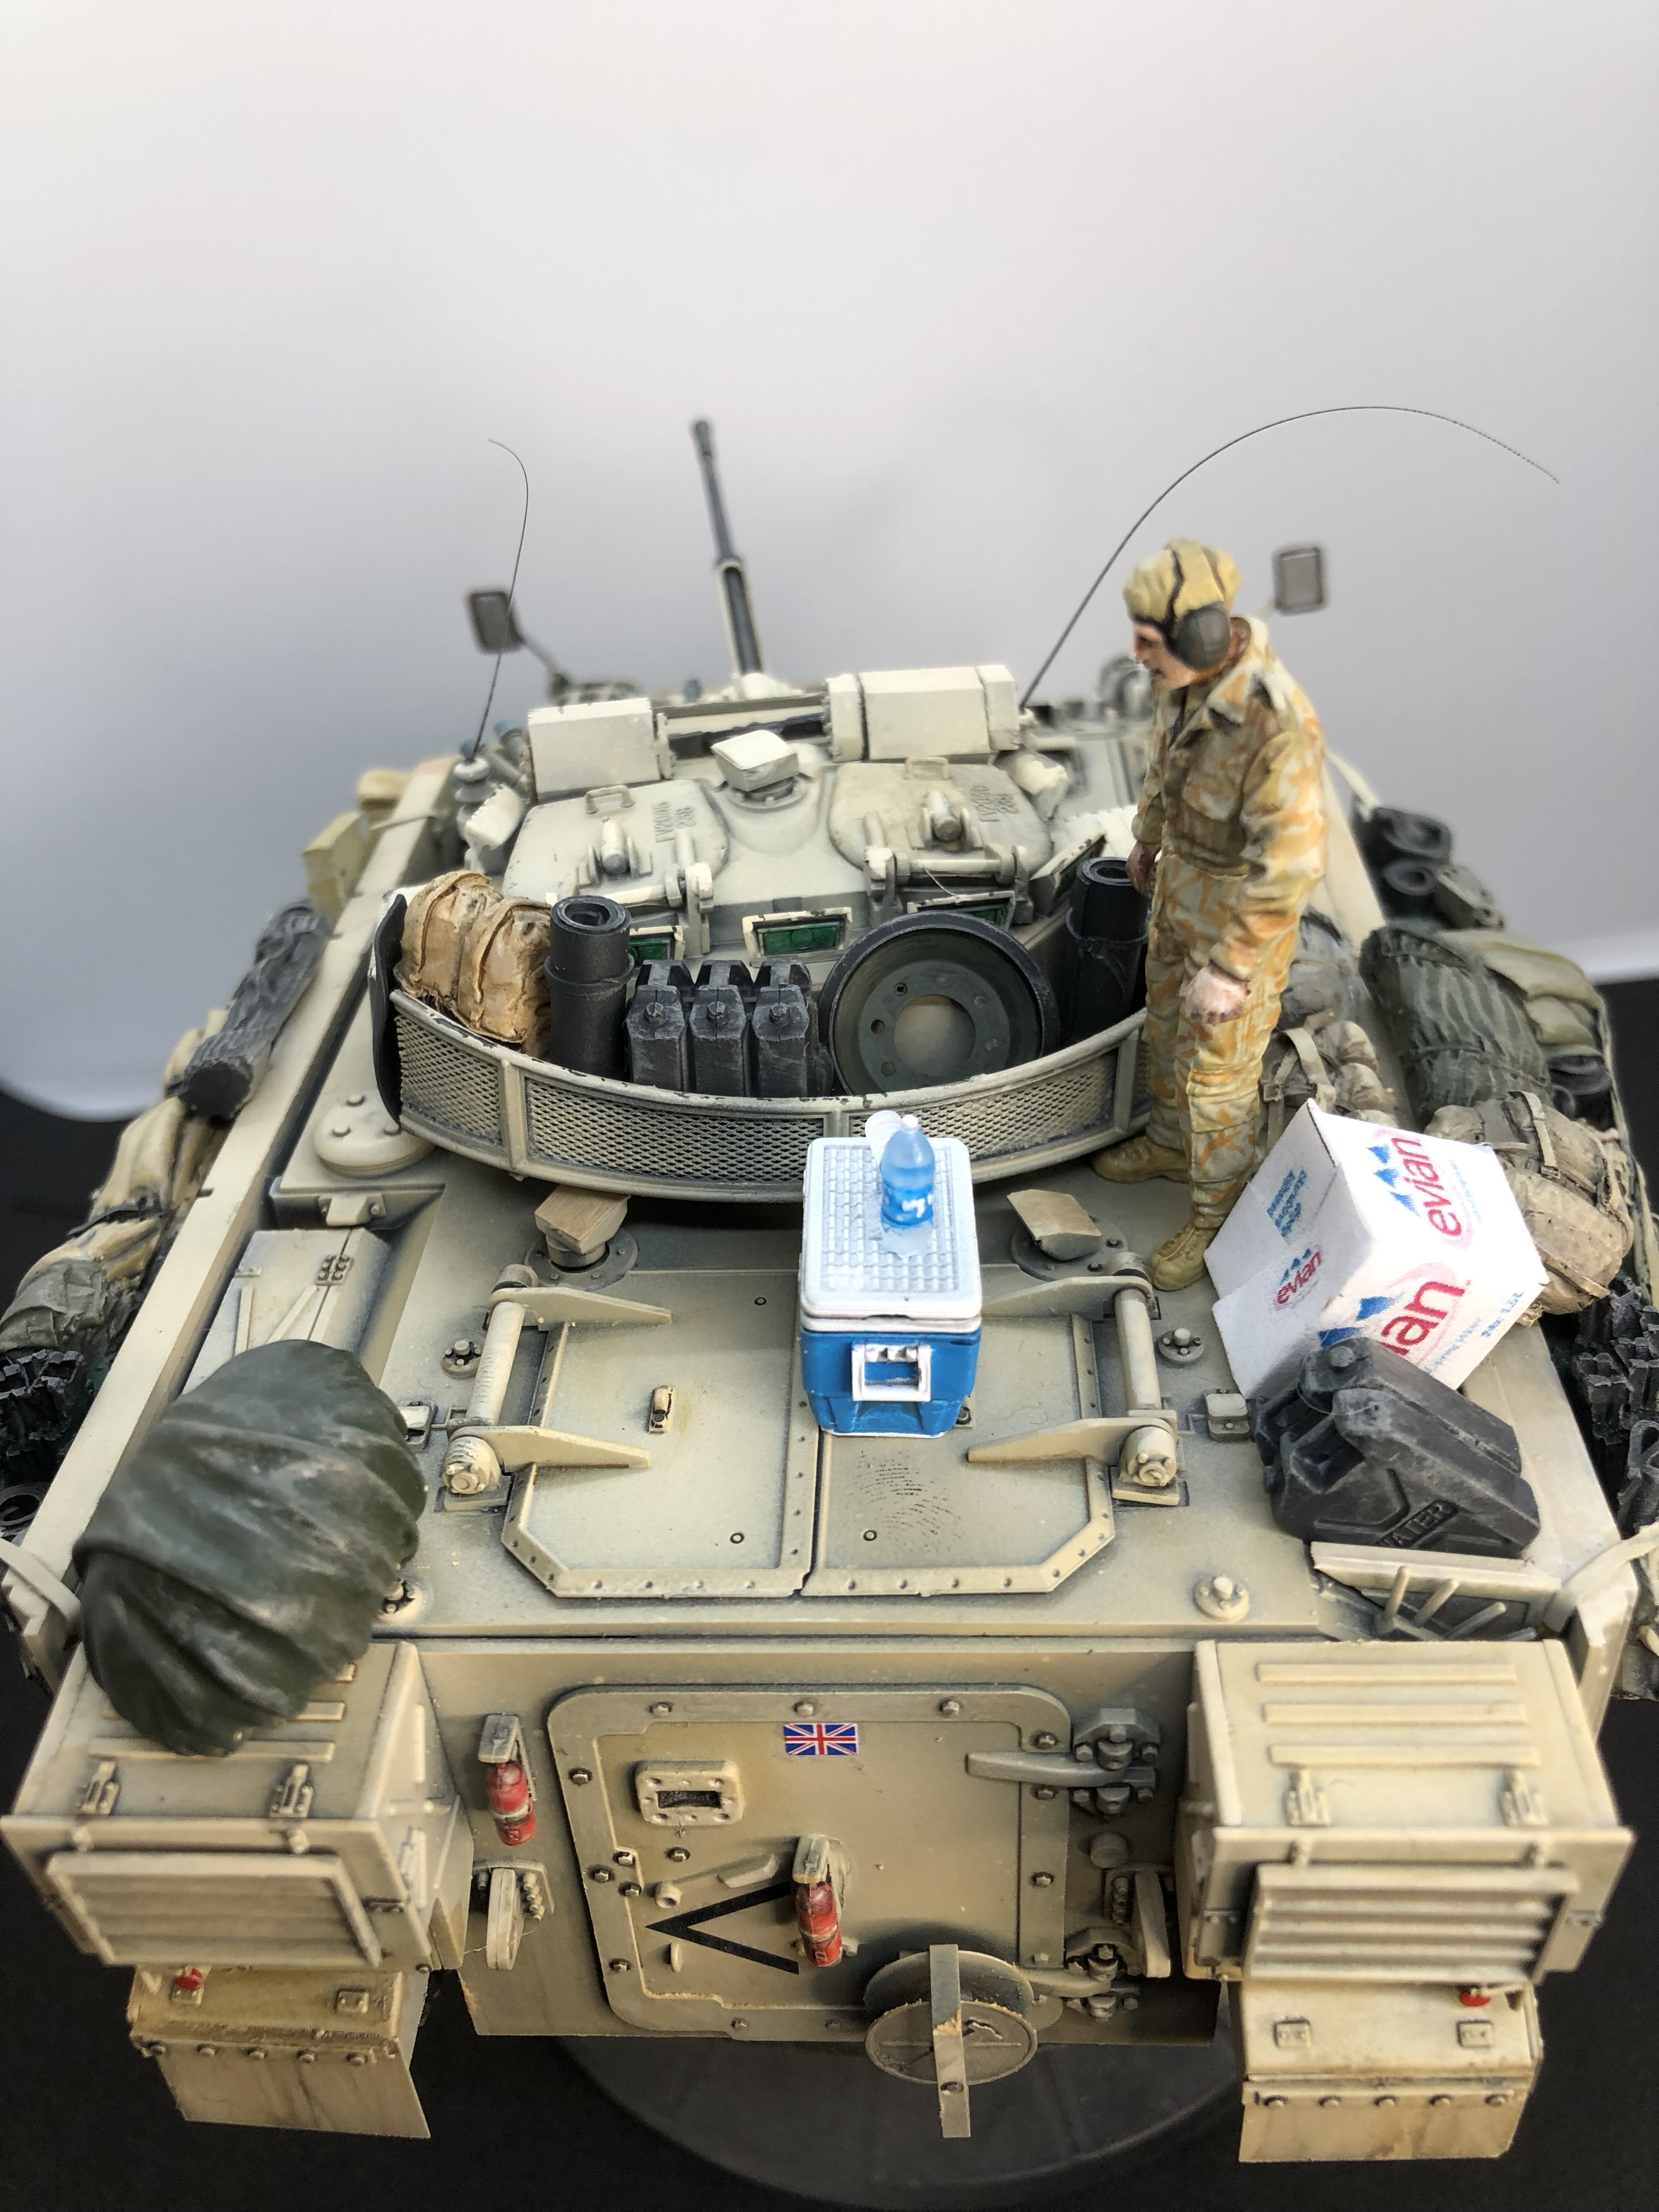
How common were the big stowage slings on the side of the wagons, may I ask? I ordered the resin because I thought it would be fun to paint but I didn’t really do much research?
I spent a few years in and around Sennelager and Paderborn when I was a kid, 82-86 and will be making an effort to model some of what I can remember from my time there. I remember seeing loads of Abbots and (I think) M109s, Chieftains, Bedford trucks everywhere.
I can still smell the big army barbecues they used to do when I lived there. Frying bratwursts etc, it’s a very distinctive smell. I miss it.
3 Likes
I’ve seen pictures of Warriors during Op Telic with stowage on the sides, but only in that theatre due to the lack of things to bump into and then usually only on initial ops as later a wagon would typically only have a couple of top cover guys in the back instead of a full section. Plenty of stowage inside when there’s only 5 or so onboard. You’re asking to lose all of your kit when a driver plays chicken with a tree anywhere else.

4 Likes
As Max said really, only on Op T for the stowage slings.
There will be plenty of wagon variety for you to model from your time around Senny.
One of the Inf Bns also had Warrior over in Paderborn, and as well as 3 Chieftain Regts, there were 39 Heavy RA who had M109 and M110 trundling around.
1 Like
since the husky TSV was a US vehicle didnt it come direct from ther factory painted in US CARC 683 sand or did the Brits repaint them?
Never say never, however as the British Army were the only military order for them it’s not beyond the realms of possibility that our paint was used on initial painting. It wouldn’t make sense to me to have them delivered to then have to immediately repaint them.
2 Likes
If it is anything like the Chinook new buy Mk 4 Programme that i was involved in, the aircraft were built by Boeing in the USA to UK spec.
3 Likes
Considering all you didn’t do Chris @BringupthePIAT, I think your Warrior looks pretty damn good, nice model!
Cajun ![]()
3 Likes
I remember seeing pics of them in NATO green and i think i seen on on Ukrainian digi cam
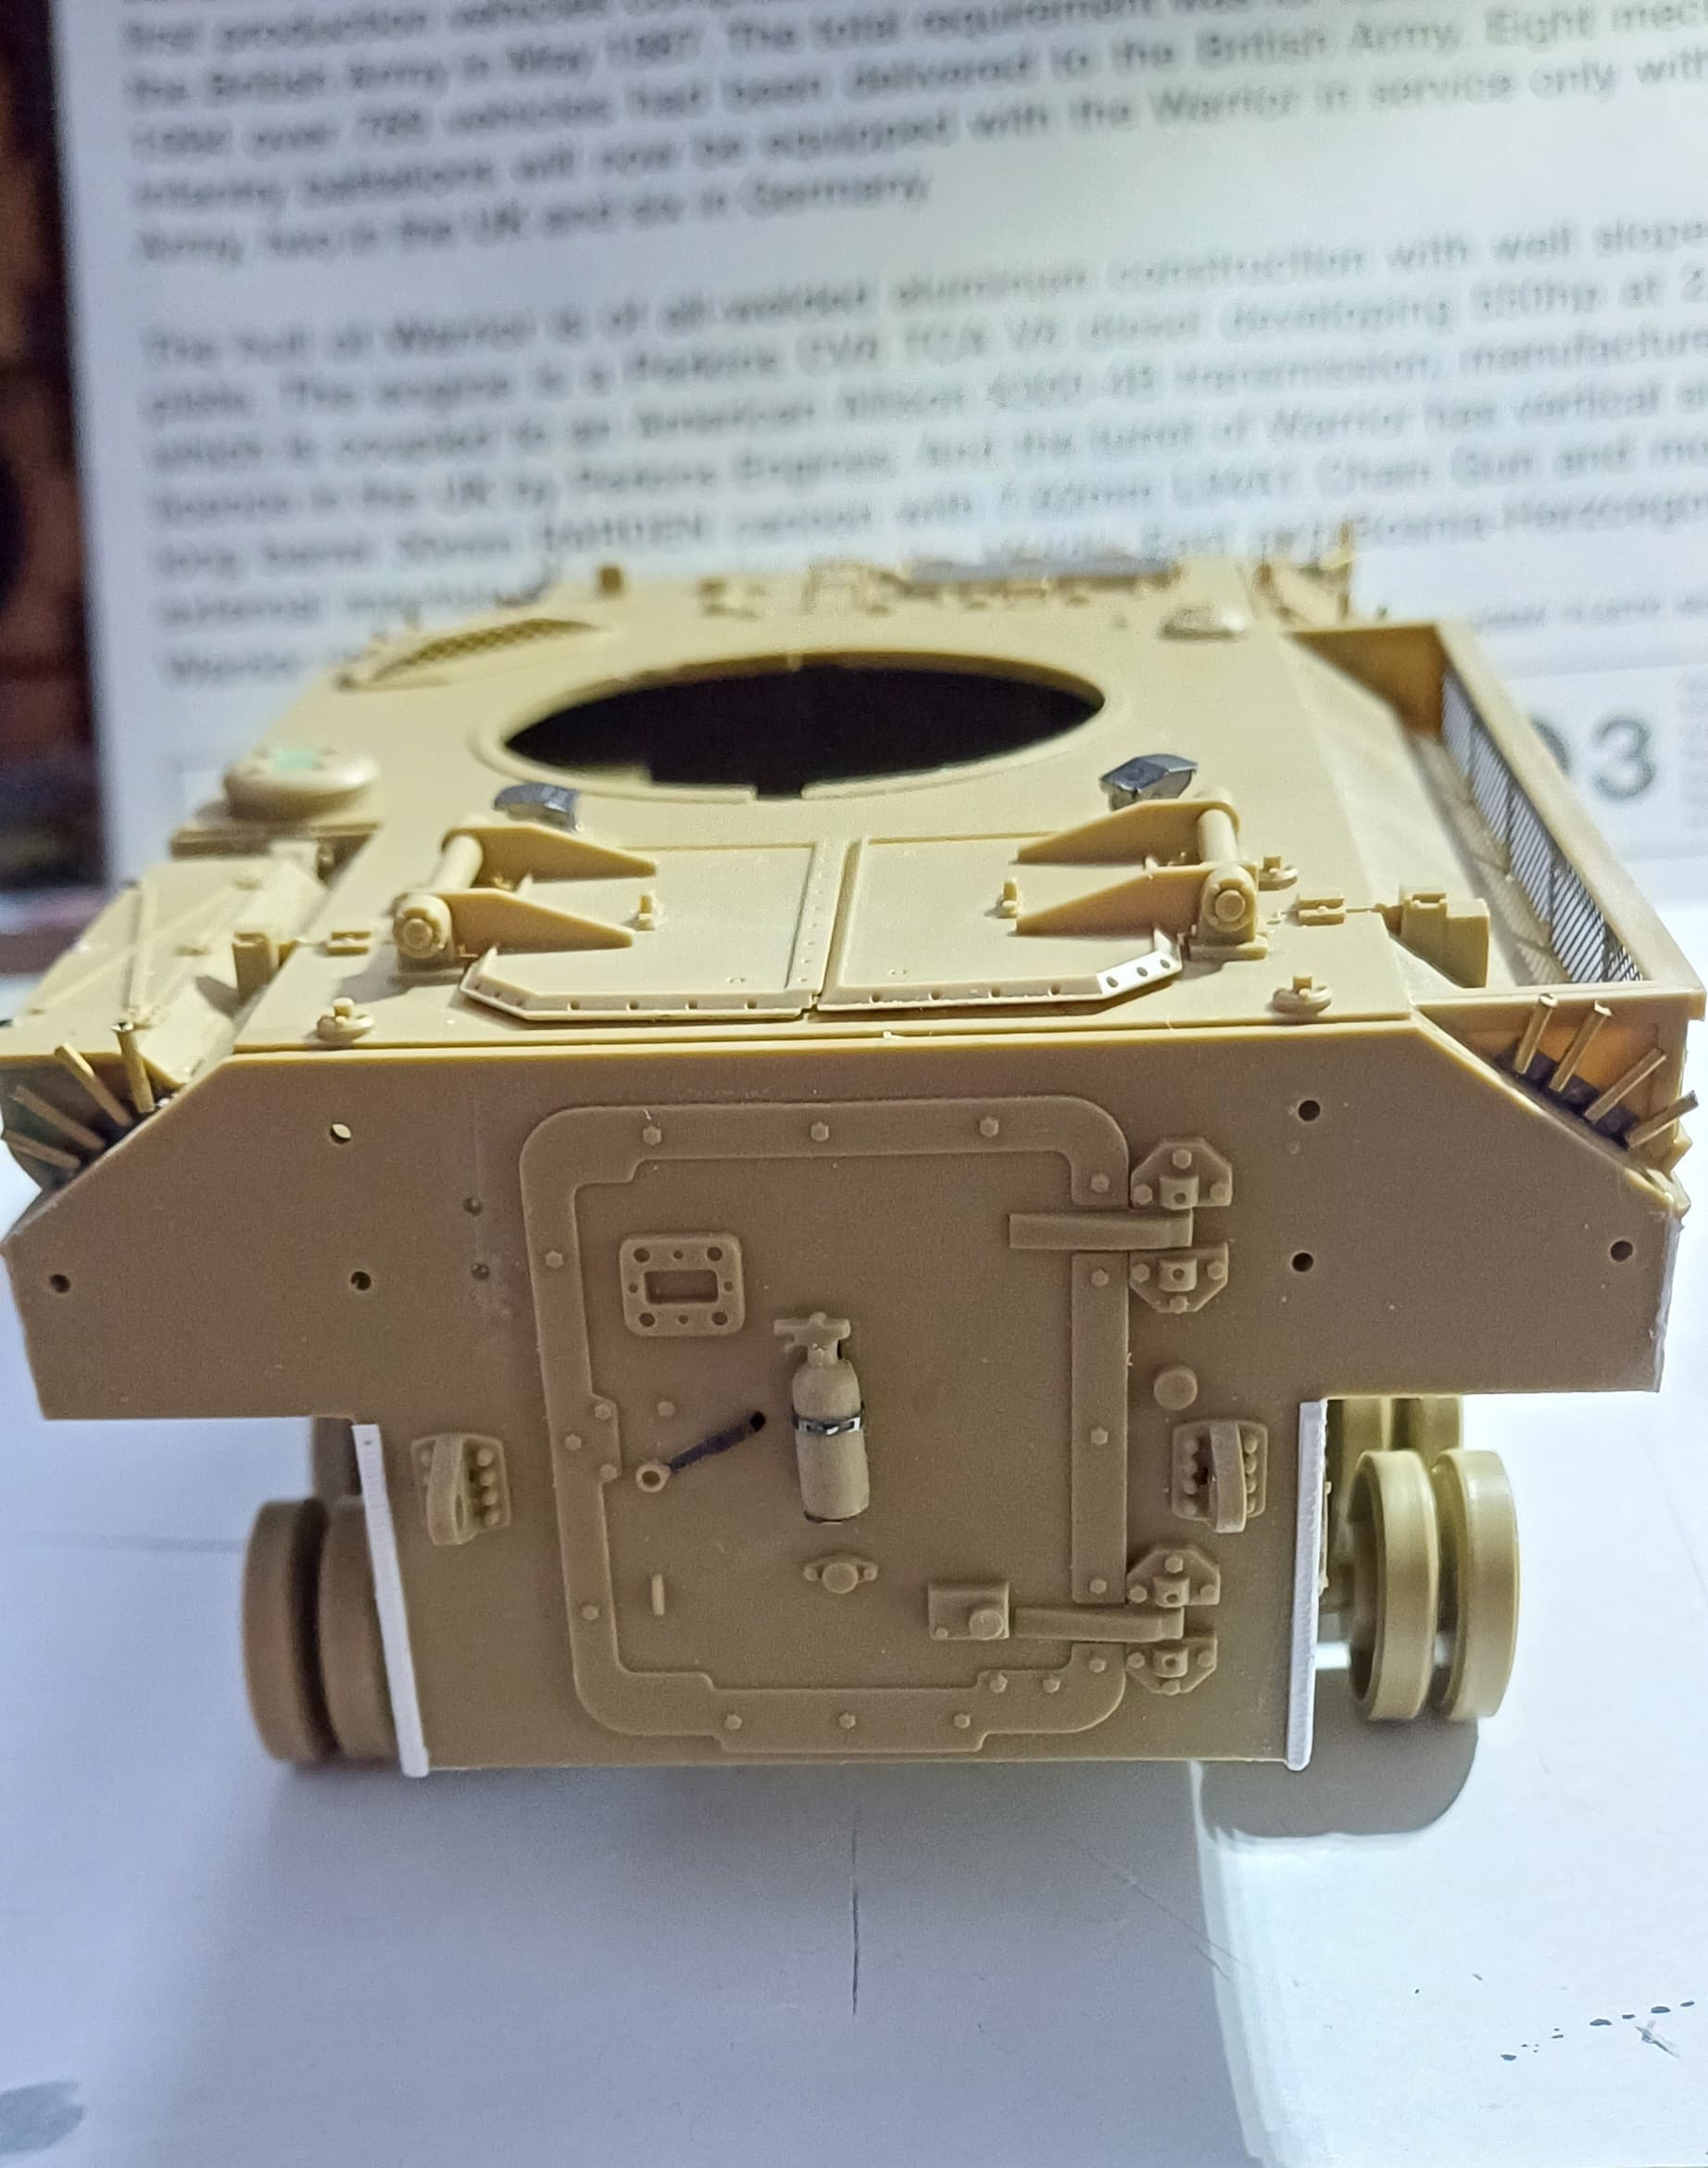
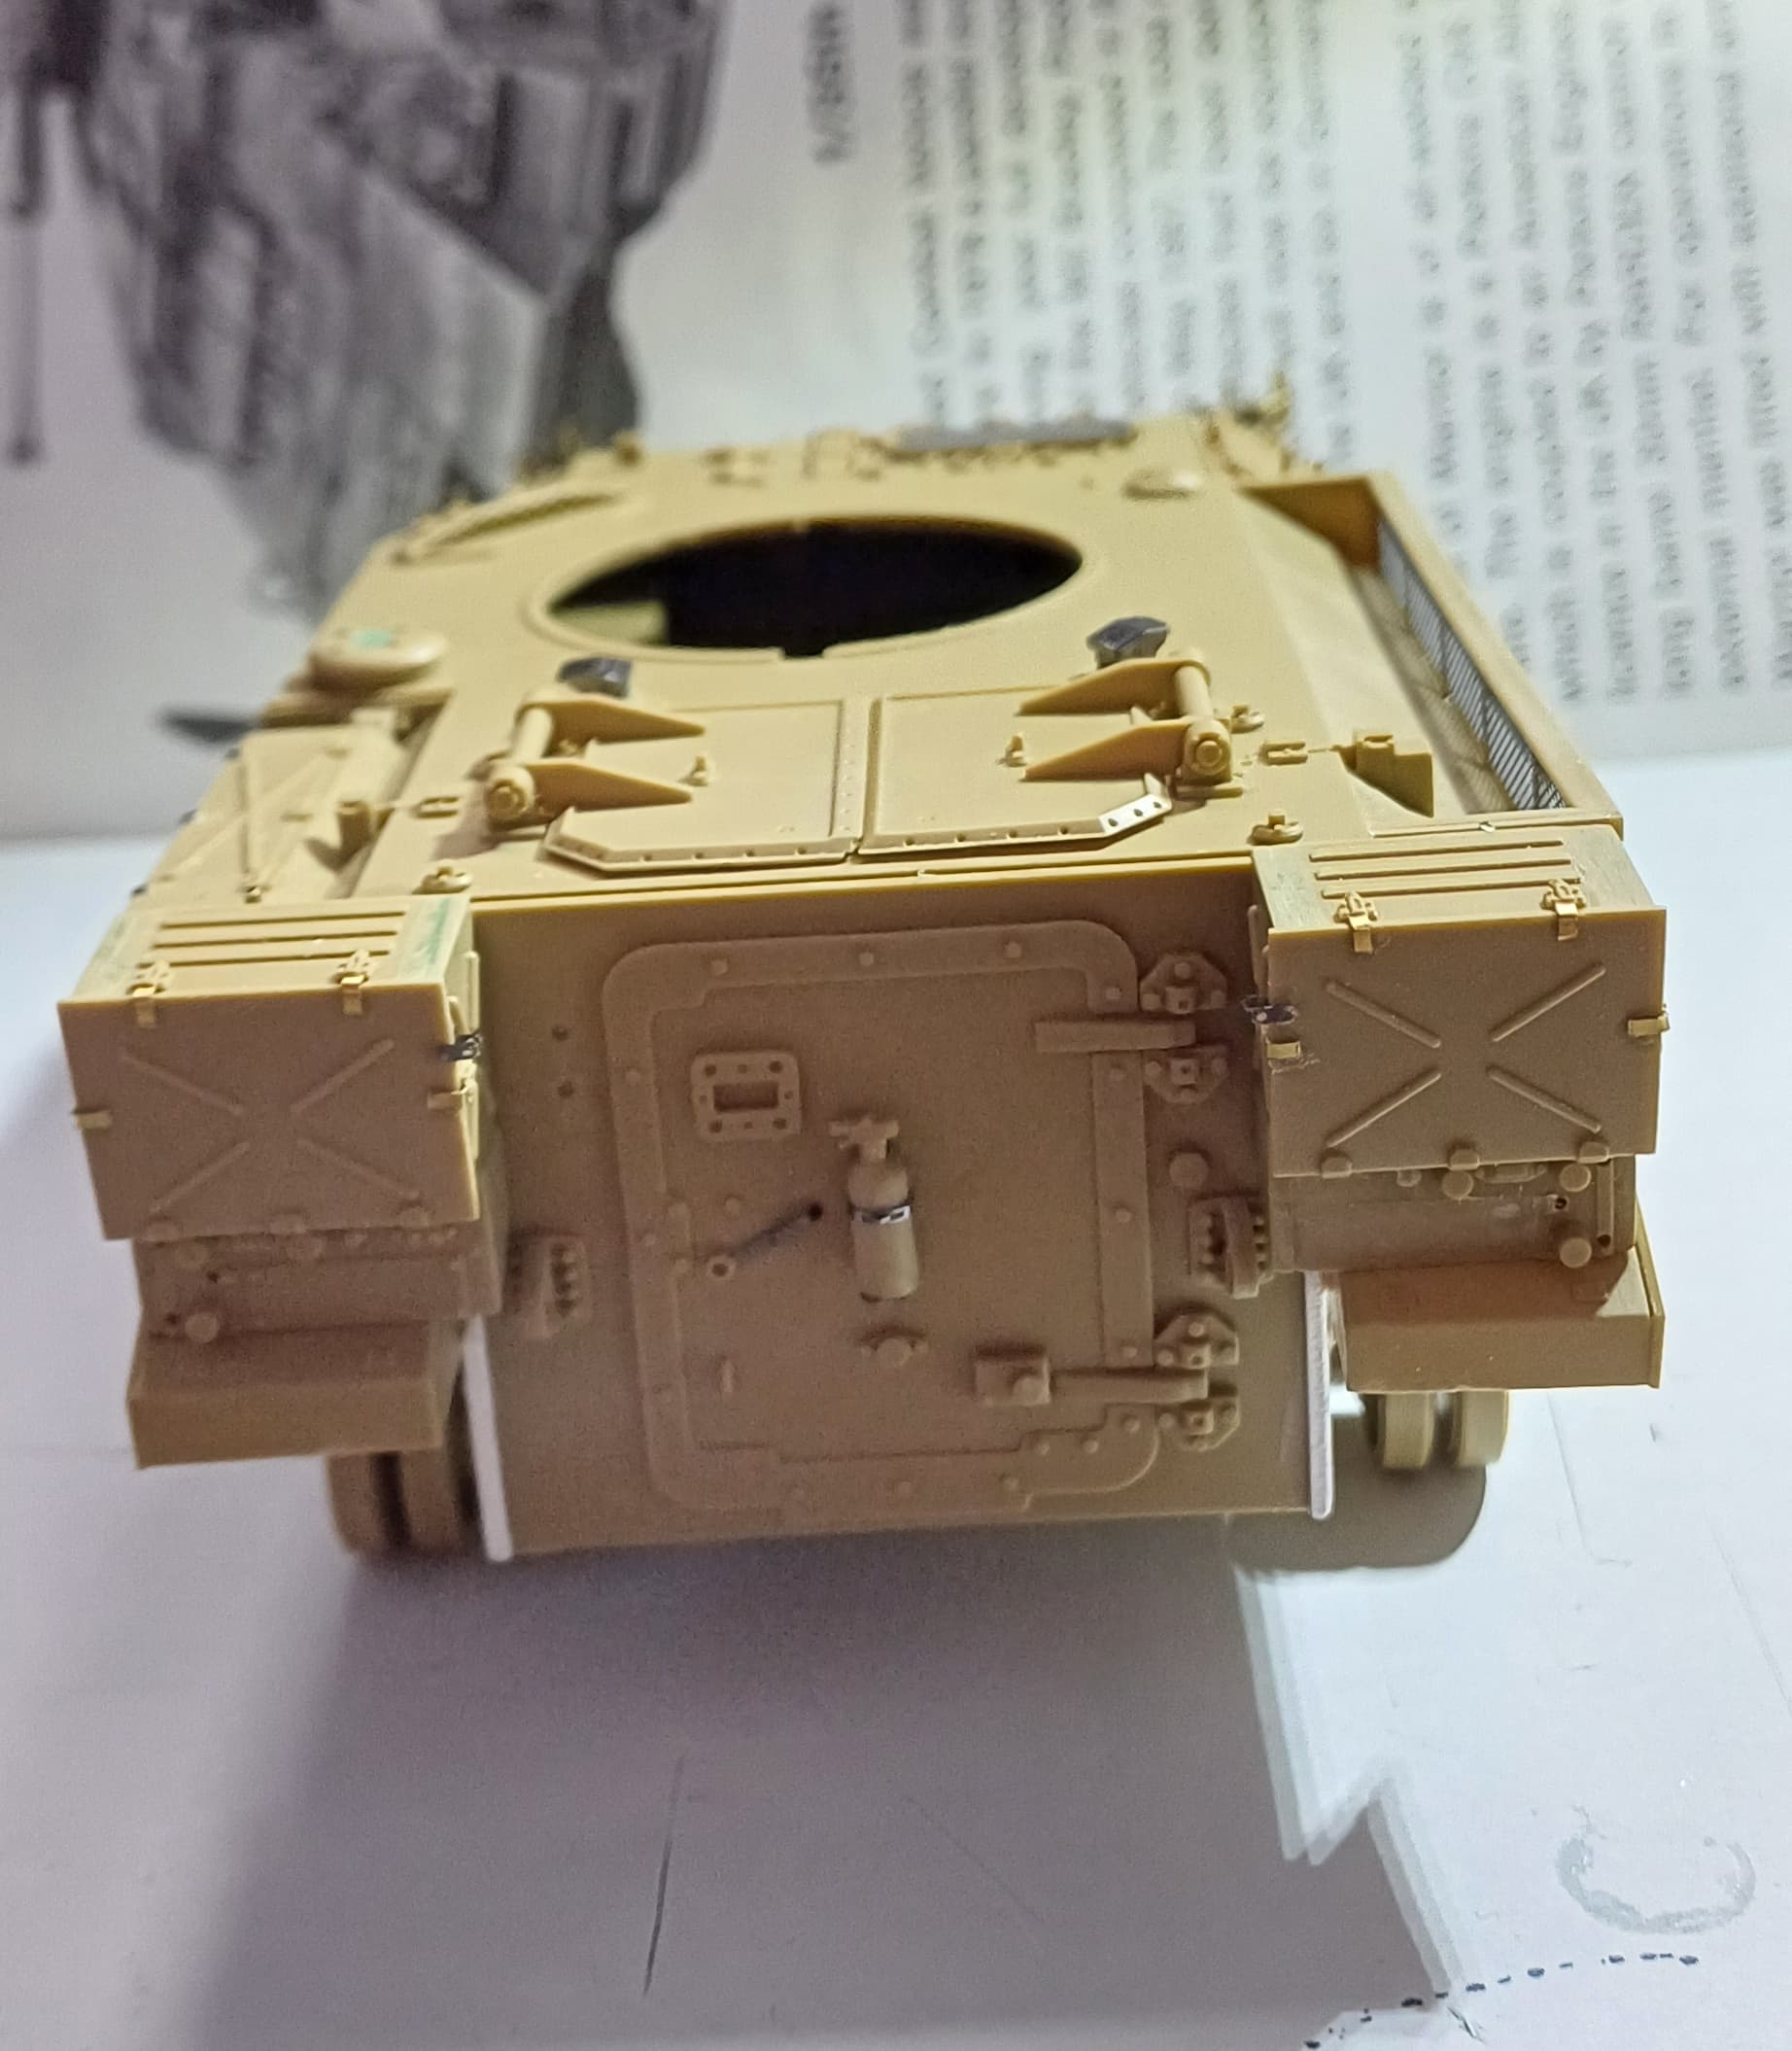
So, managed to get the axle arms on at a ride height I think is about right and then got the hull sections together. The front and sides are no problem, however the rear has a tab inside which is meant to make it seat firmly. This tab bows the hull roof upwards slightly as you can see on the picture below. Luckily the hull rear is only dry fit at the moment so I’ll have to shave the tab off and then attach it.


3 Likes
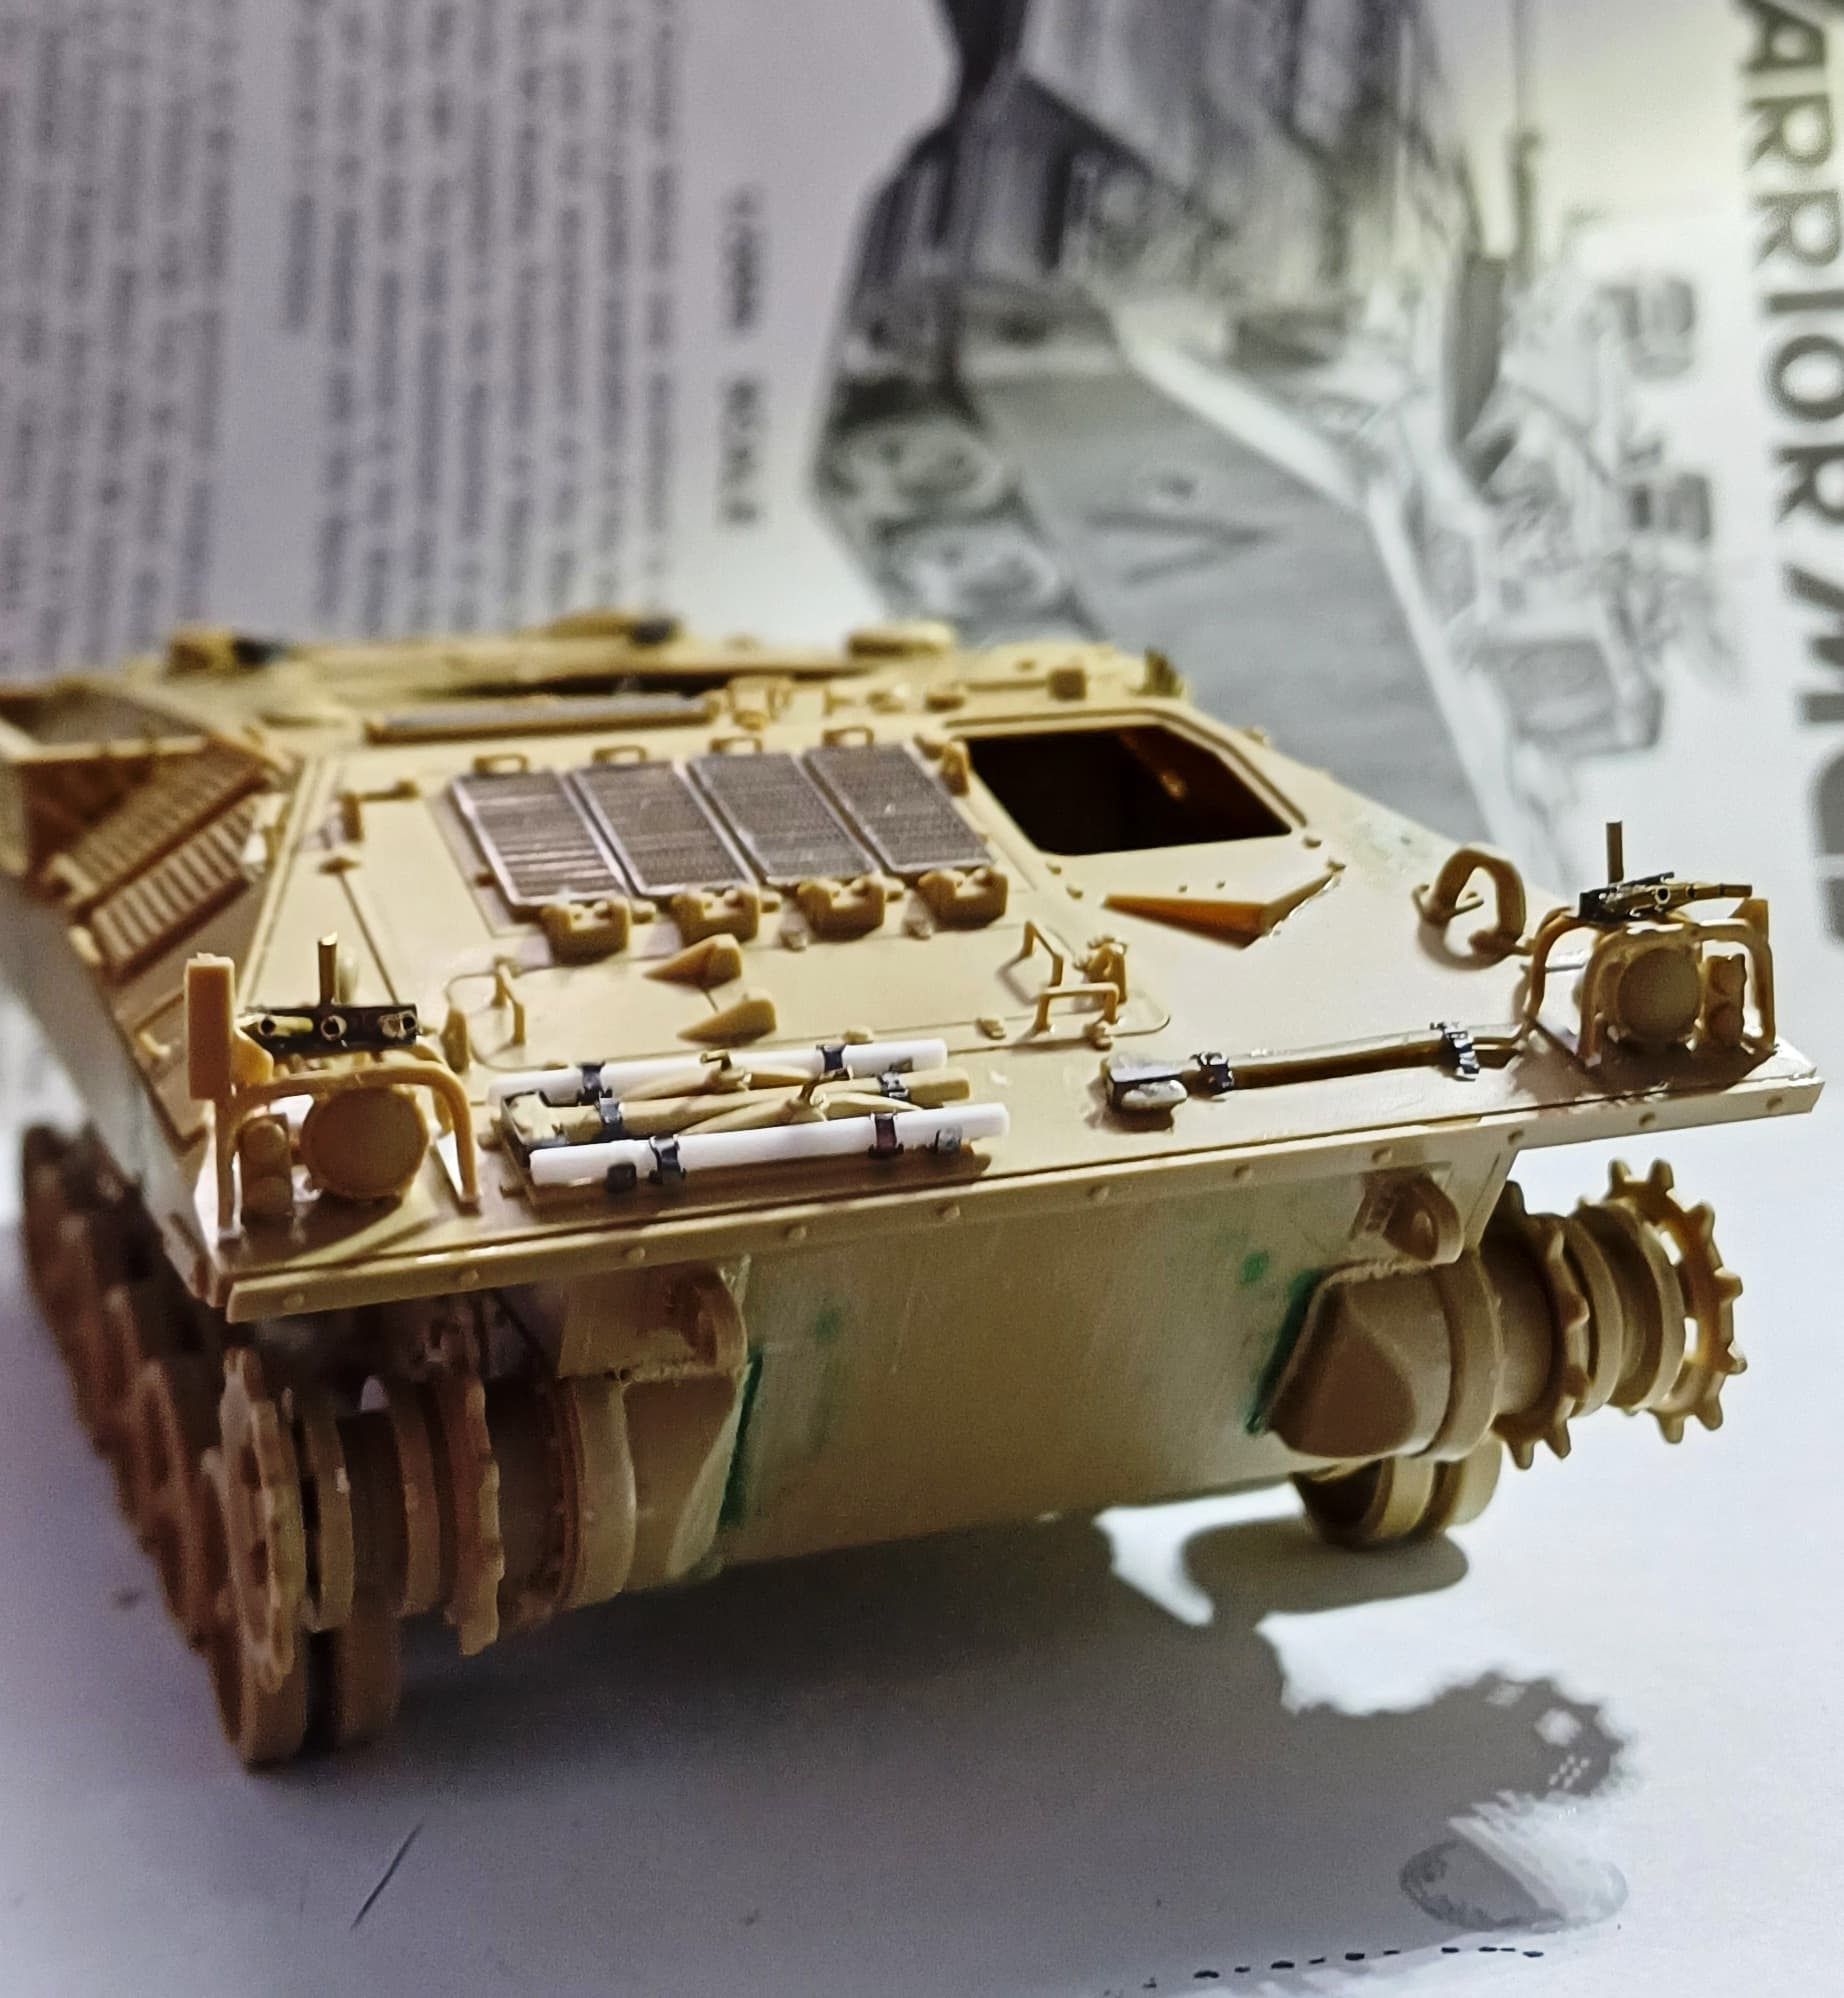
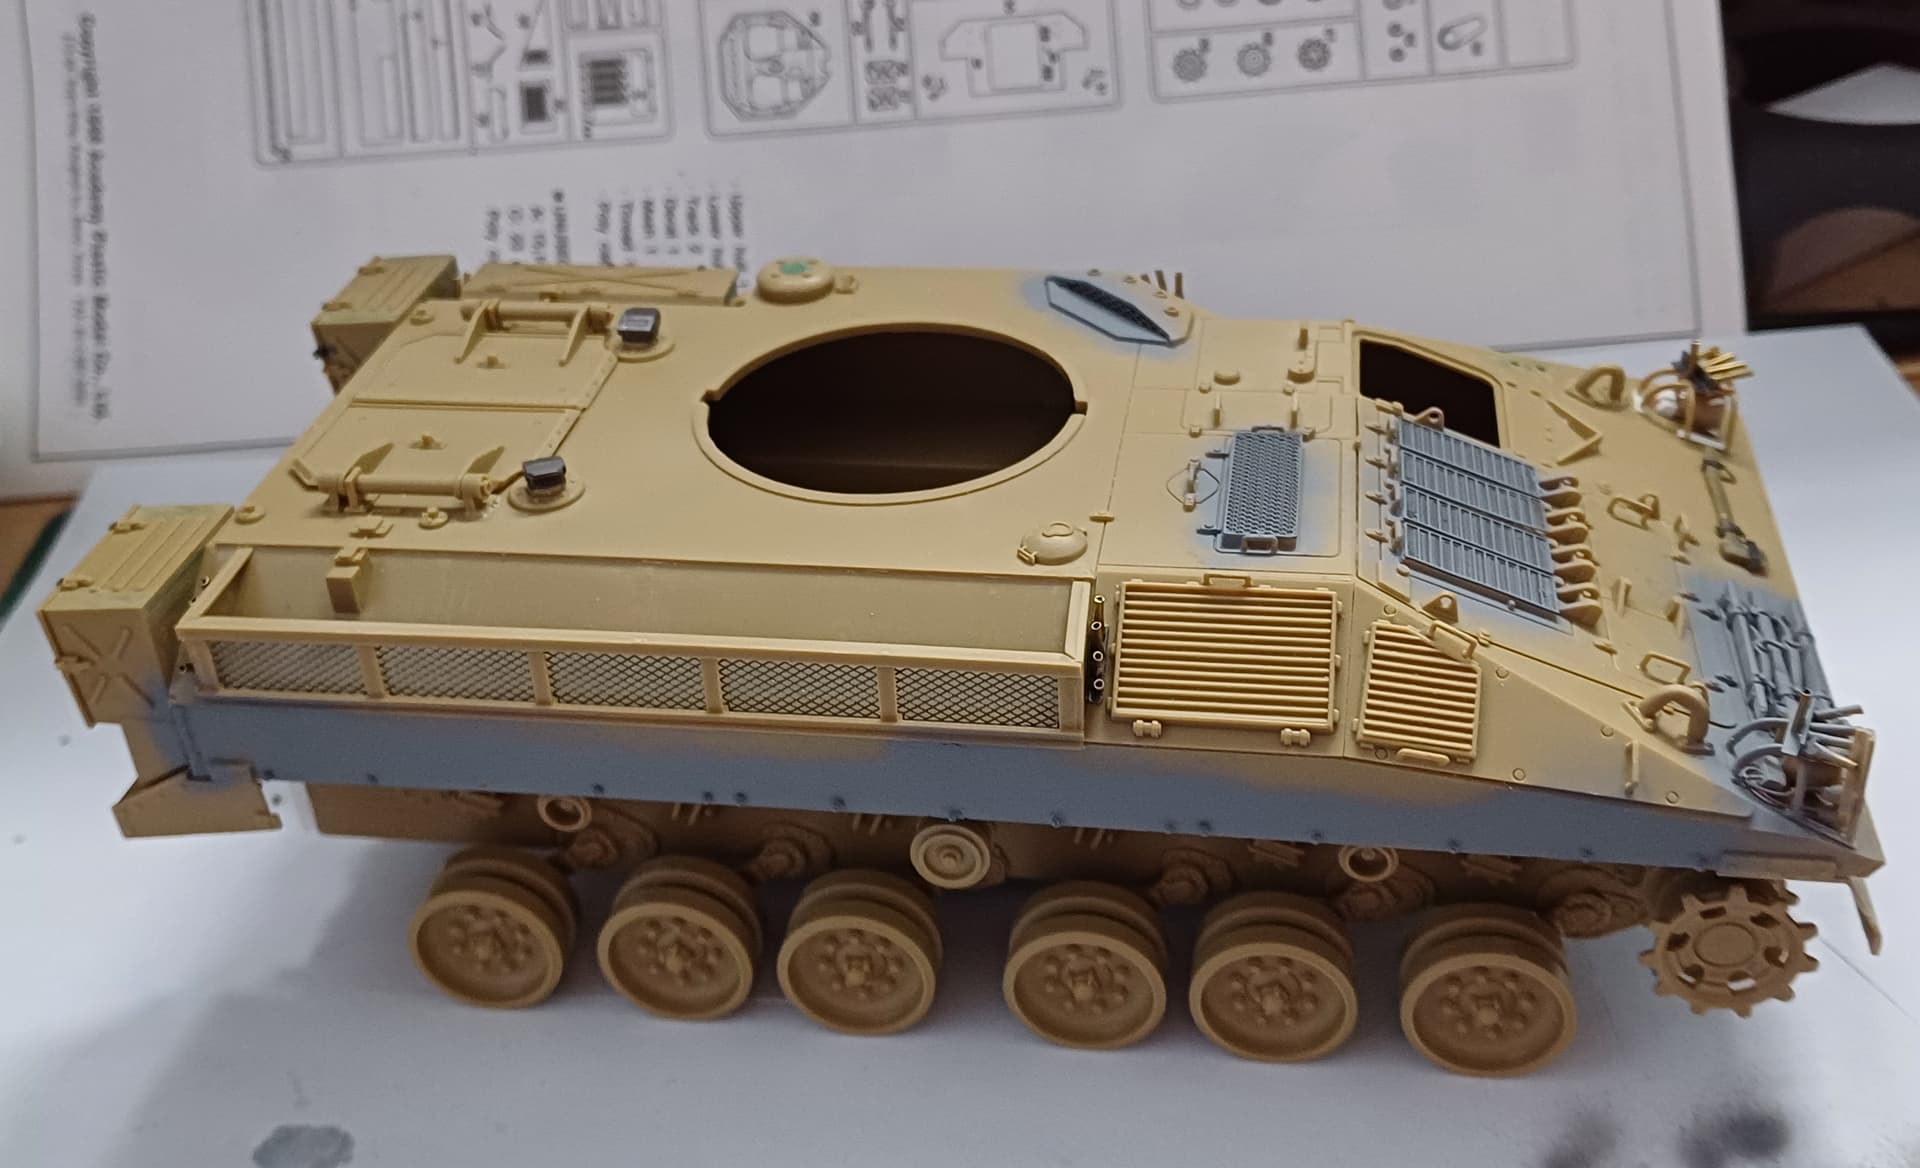
Not a great deal done in the last few days. Filled the gaps in the sponsons which are there if the side skirts are to be fitted. Mine won’t have them as typically Batus Warriors don’t have them on. Also added missing welds to the rear corners of the upper and lower hull and sorted the bulge in the hull roof.

A quick edit, tried the etch mudguards and they are really not very good. Too thin in this case and overly large in my opinion. The kit mudguards a far better and the fit is spot on. Yet another time etch is not the best way to go. Also fit the rear bins.

5 Likes
Coming together nicely mate
1 Like
It’s not as bad a kit as people make out mate. Yes it has it’s issues, however they are all solvable in one way or another through either a little scratch or aftermarket.
2 Likes
Building up nice mate
1 Like
Thanks Johnny, I’m enjoying this build. See if I say that when I try and scratch the TES gear!! I bought some Ammo one shot primer over the weekend and gave it a try, specifically over etch to see what the coverage was like and I am impressed. It covers well as you would expect from the name and shoots straight from the bottle. I stopped priming for a time but have gone back to it as I prefer to be able to see problems before the final coat goes on. I’ve also added the sideskirt bolts using Liang models bolt heads. They have come out OK in my view.
4 Likes
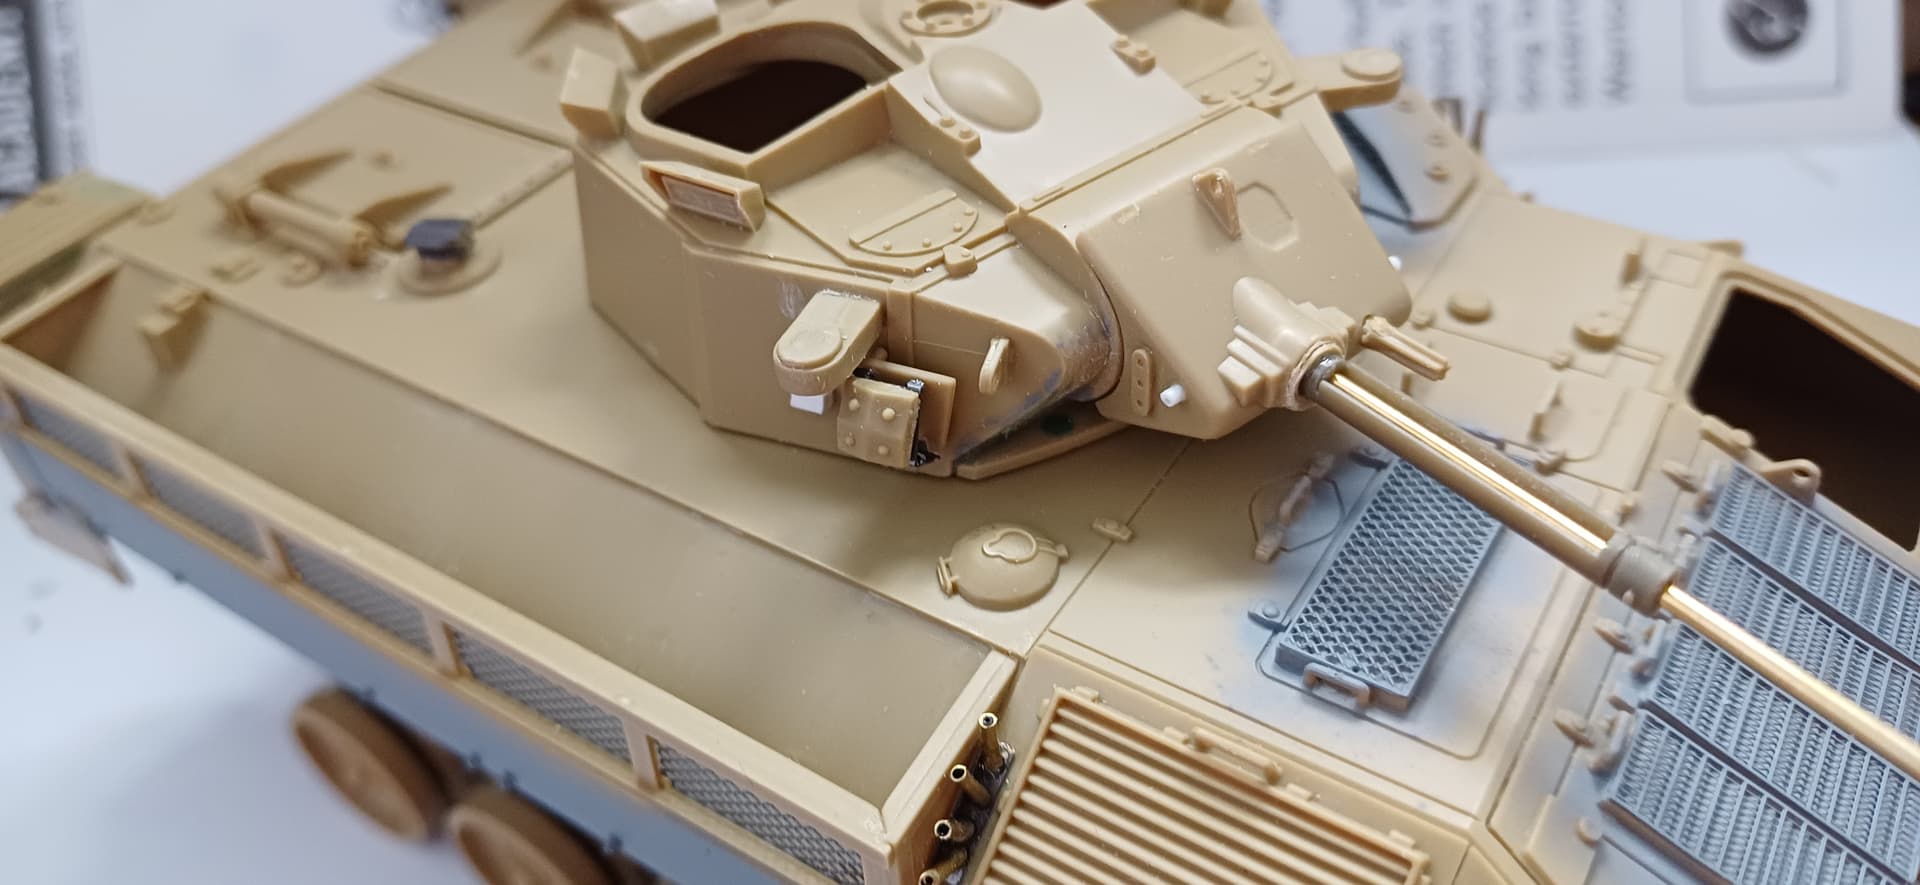
Started on the Turret just to get ahead with a few things. Replaced the kit barrel and barrel trough with an AFV Club Scimitar one. cut off the Clansman antenna bases as they were really bad and will be replacing them with SMM upgrades. Added the through armour block for the smoke grenade dischargers and the missing attachment points on the mantlet. I was hoping the etch vision blocks on the turret would be useful but they are completely the wrong shape and are really two dimensional. I’m pleased the etch didn’t cost me much (£10) as I won’t be using a lot of it. I’ve used the kit vision blocks however they have a knock out mark on the face of each object glass which is a pain. I’ll have them sanded down eventually then hopefully paint will hide any errors. I went down a half and half kit/etch route for the grenade dischargers to try and get the best look.


2 Likes