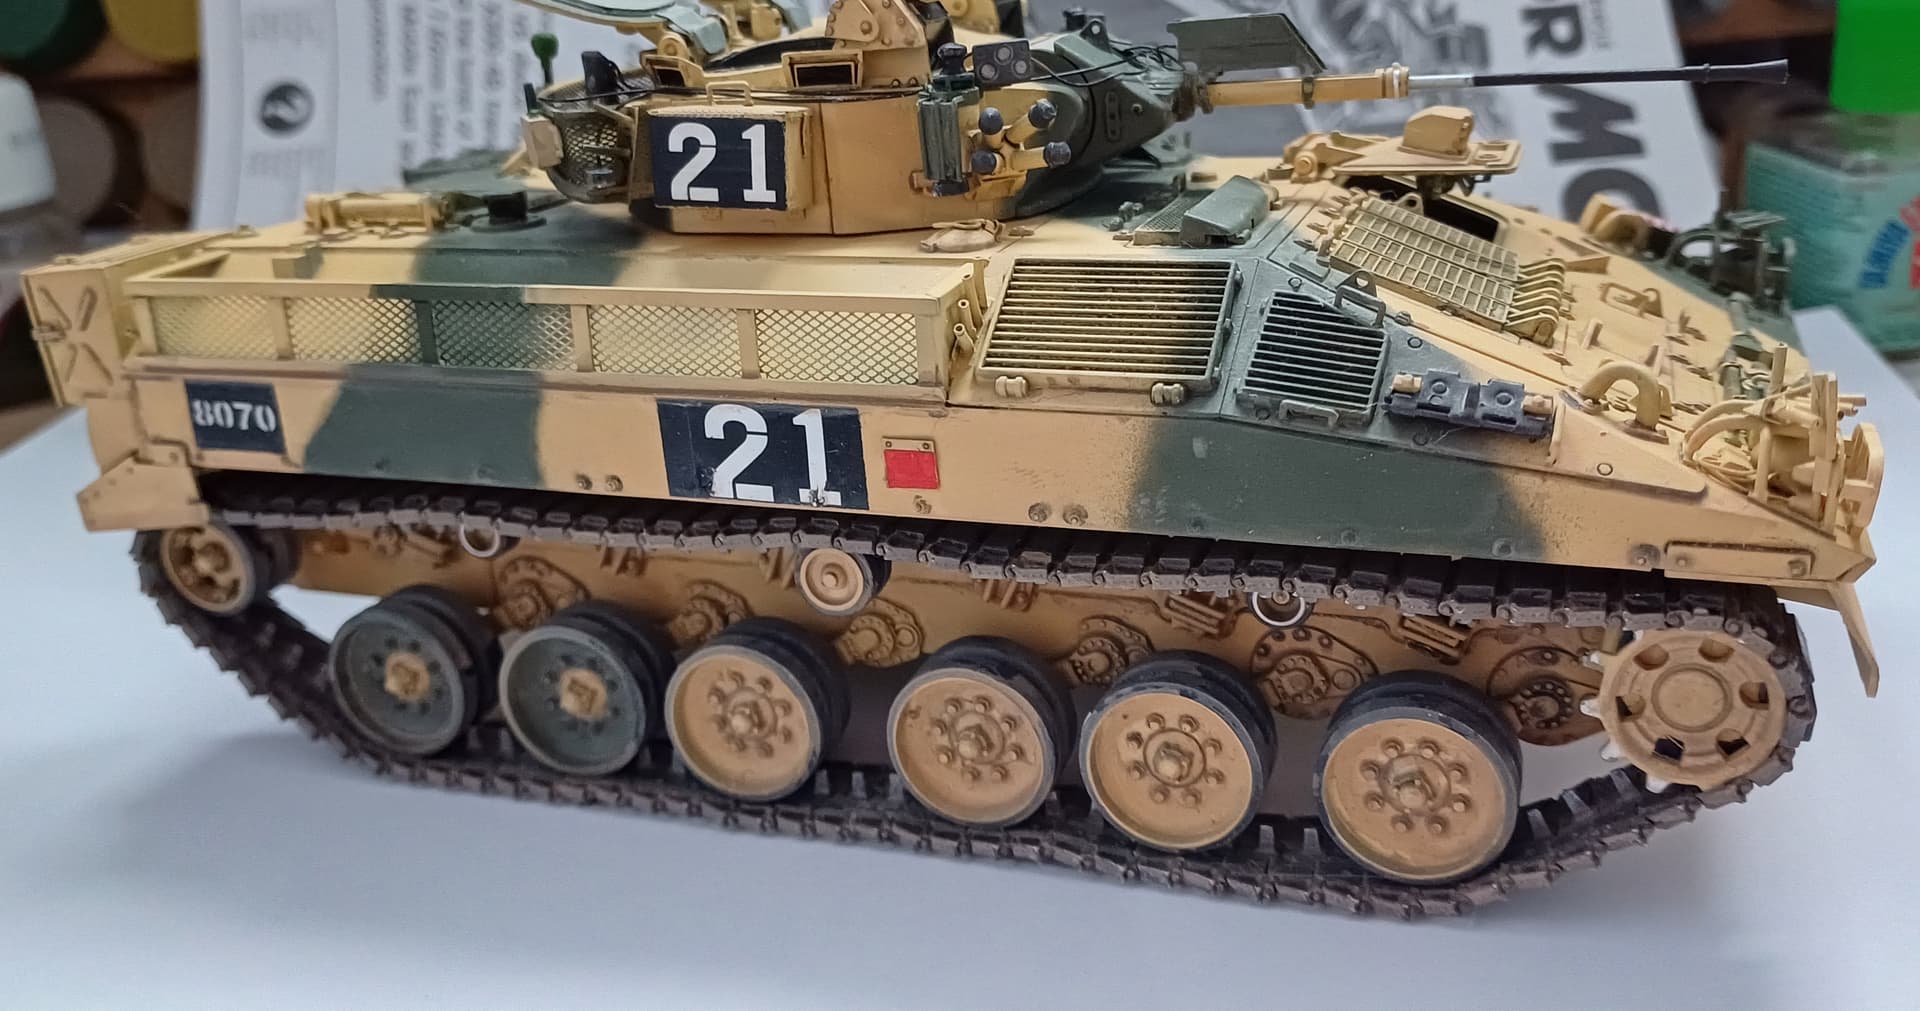
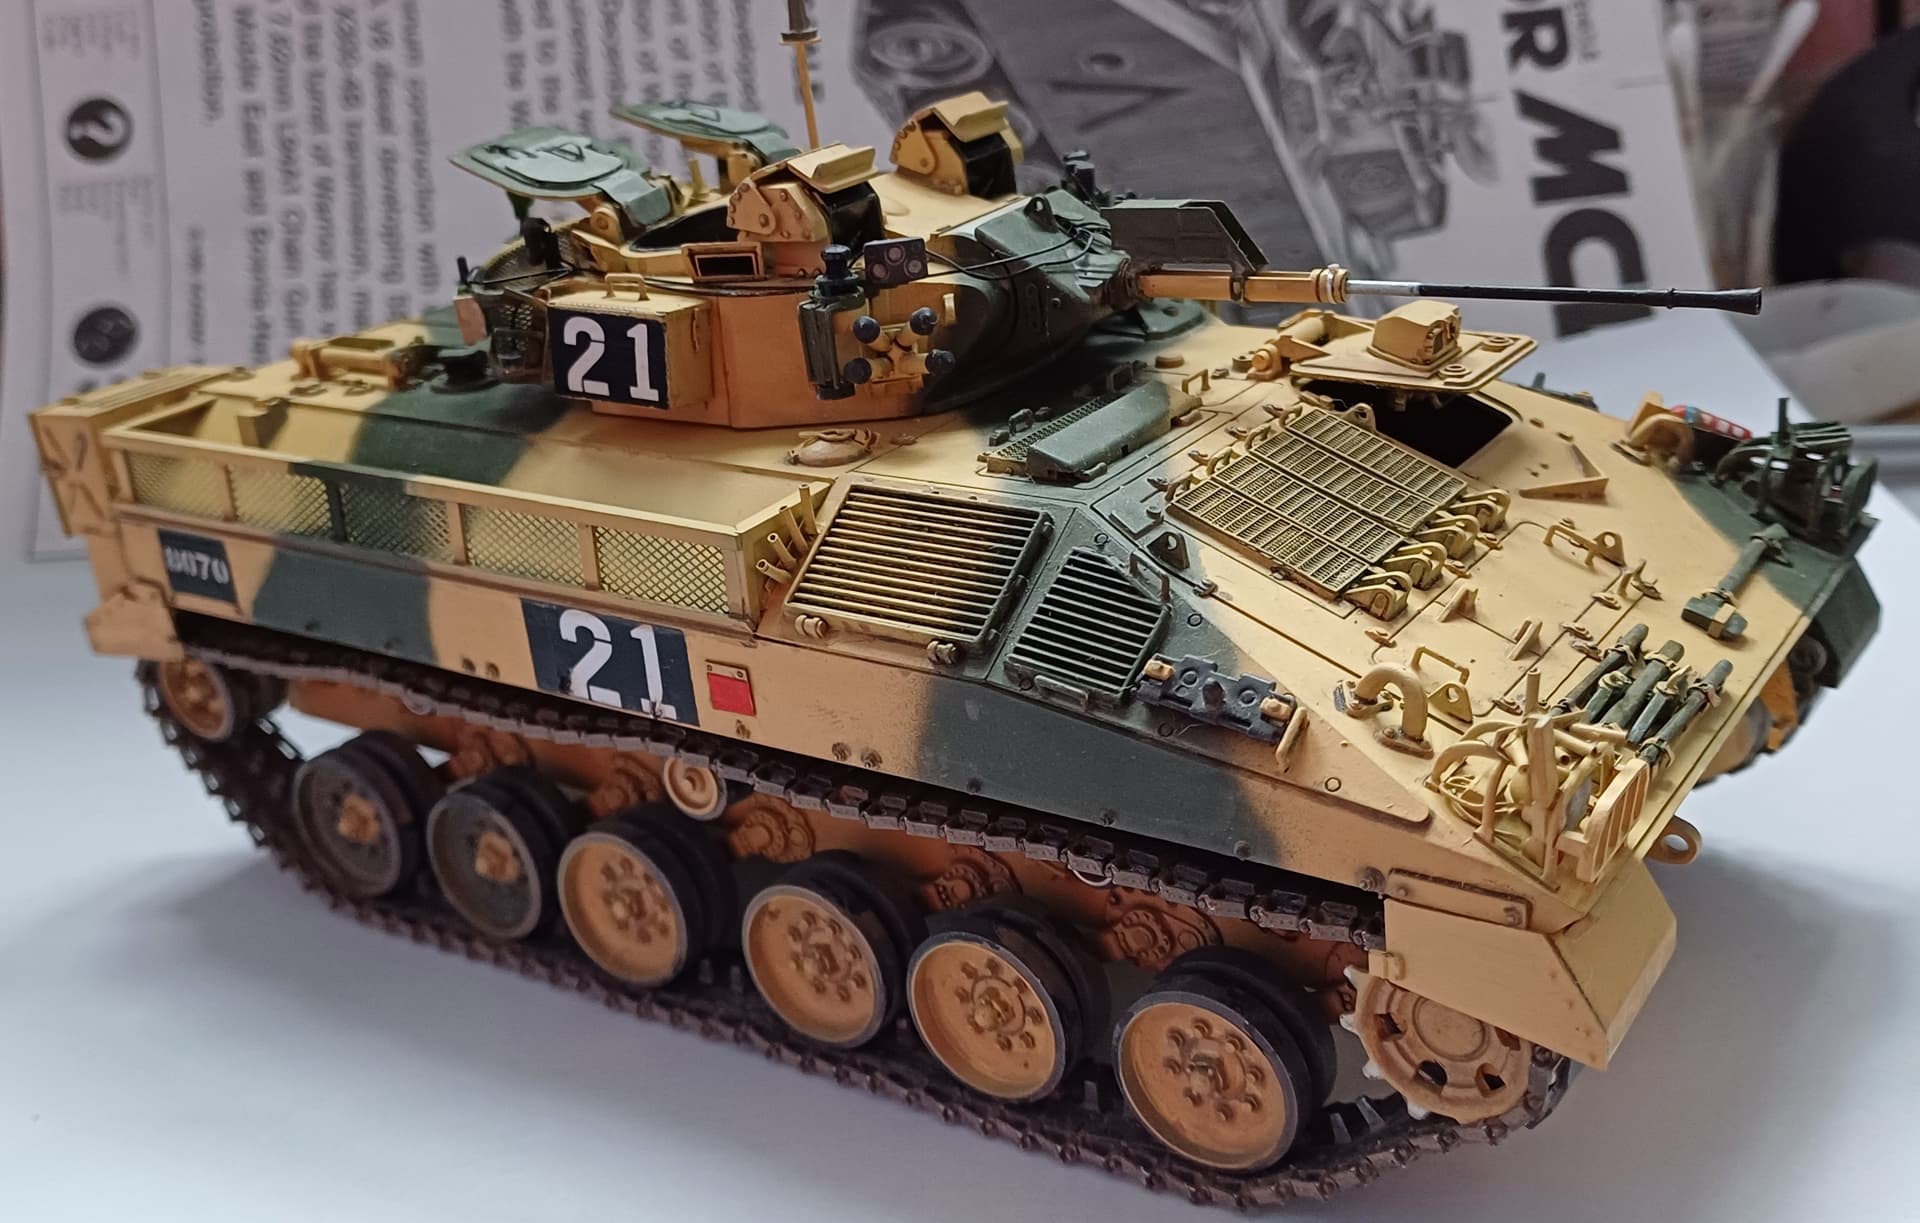
Finished the wiring on the back of the Warrior and made the strange little bulbous antenna out of a spare Leopard 2 smoke discharger. I’ve also added a faint dust coat using Humbrol dust wash and then sealed it in with Vallejo flat varnish.

9 Likes
This is how we’re looking so far. Apart from the cam net stowage and antennas pretty much everything is done on the hull and turret. I’ve got one Friul track put together, need to sort the other and then paint and weather them. I didn’t manage to get any barracuda style cam net so will have to look further afield or possibly make some.


11 Likes
If you’re happy with a more generic type of stowed - as opposed to draped - cam net, then you might wish to make your own using used tea leaves as per my, now, ancient Leopard:

Admittedly, what you see is mainly draped, but the materials are the same.
For say. portraying a net rammed into a stowage rack, use a chunk of Milliput or similar; swathe in gauze bandage using diluted PVA glue - not strictly necessary as stowed net hardly ever reveals the net bit - and using more white glue, coat, sprinkle/add, used fresh tea leaves - not the stuff from tea bags, but proper tea. You might have to touch up a bit here and there as some may well escape; once dry, cover with diluted PVA glue, then prime, and paint as necessary. The pieces of scrim in my day were brown one side and olive green the other, so paint accordingly if that’s the effect you’re after.
2 Likes
Reference my last: for a more recent effort see the back of this Land Rover from the “get Hitched” campaign:

3 Likes
Looks outstanding!
1 Like
Outstanding
1 Like
That’s looking like it could be the way forward. Take it that is just tea leaves glued straight to the underlying piece without the gauze? The majority of the “net” will be under the basket cover anyway as per the picture below so wouldn’t even need to do that much.

2 Likes
Yeah, the Land Rover piece hasn’t any gauze; as I’m sure we agree stowed nets hardly ever display any netting - depending say, how they’re rolled up etc.
Of course, it doesn’t have to be tea leaves, but I identified a brew from Tesco’s whereby all the leaves were more or less, a constant size. I imagine model railway flock would do if you can identify a decent size.
Tea of course, is likely to be cheaper, and one gets to enjoy a really good cuppa(!)
I forgot to mention, the tea leaves must be used; what I do is spread them out on a piece of kitchen towel which drains them, then transfer to the airing cupboard overnight, job done.
Good luck whatever you decide.
3 Likes
I think I’ll go the tea leaves route, I think it would look better than flock and loose tea is cheap as chips. Though saying that chips aren’t that cheap anymore!
3 Likes
Now mate, that is exceptional. I think its the nicest Warrior I have seen done. Detailing is top dog and the TES cables look so good and tie it all together.
1 Like
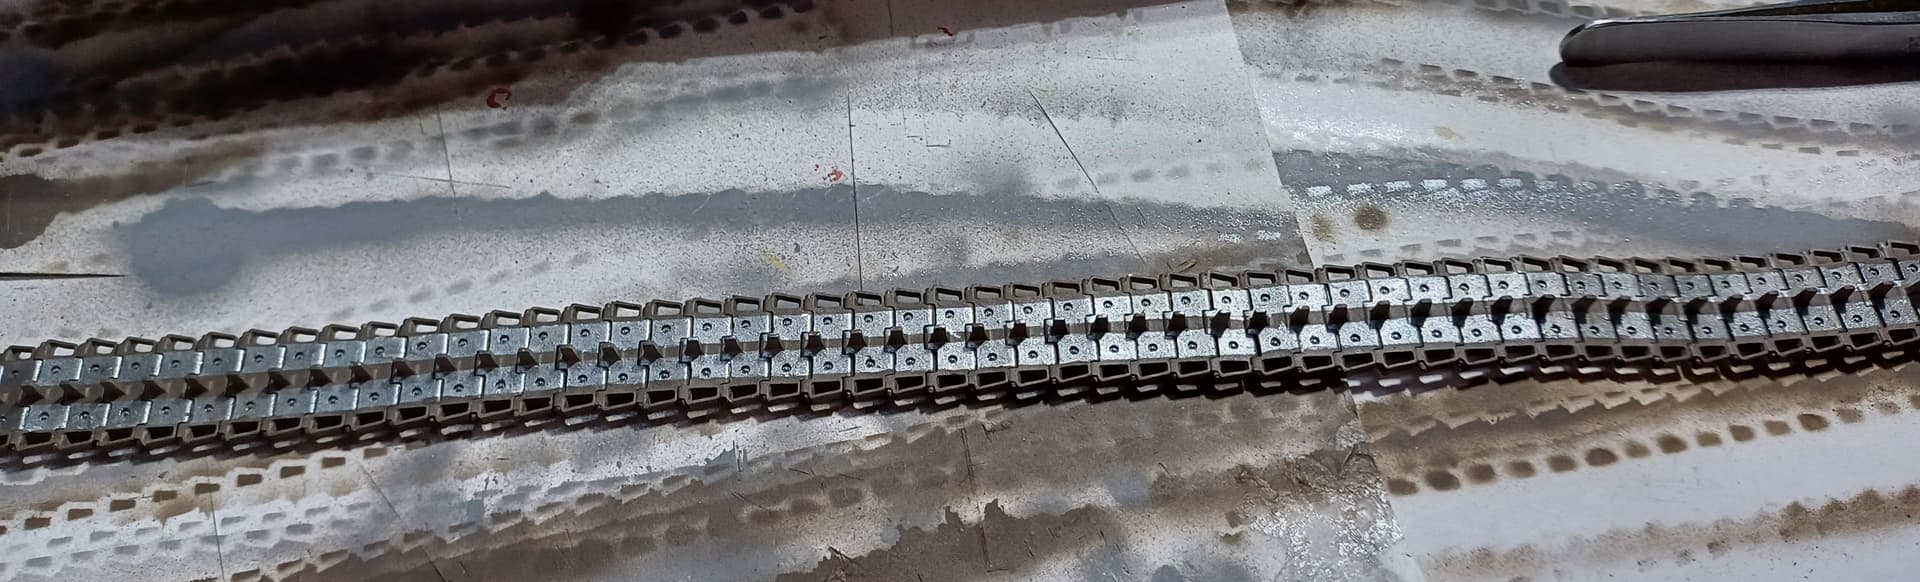
Cheers Johnny, coming from the master of detail that means a lot. The tracks will be the end of me though, I dislike indi link tracks at the best of times but have a newfound animosity for Friul tracks. Granted they look good and for this kit due to it’s woeful included tracks they’re a must, however they take so much prep and they’re so heavy. Once they’re on i’ll be gluing the idler and sprockets otherwise I fear them coming off over time.
One track painted, weathered and fitted. I’d have liked to get it a little tighter, however it was putting too much strain on the sprocket and idler so I’ve left it be. I’ve got the left hand track to do and then fit the front mudguard sides. Got to sort the cam net and stowage out next.
11 Likes
That looks outstanding.
Outstanding !
1 Like
The weak point I have found, is the suspension arms,
Brilliantly built model.
1 Like
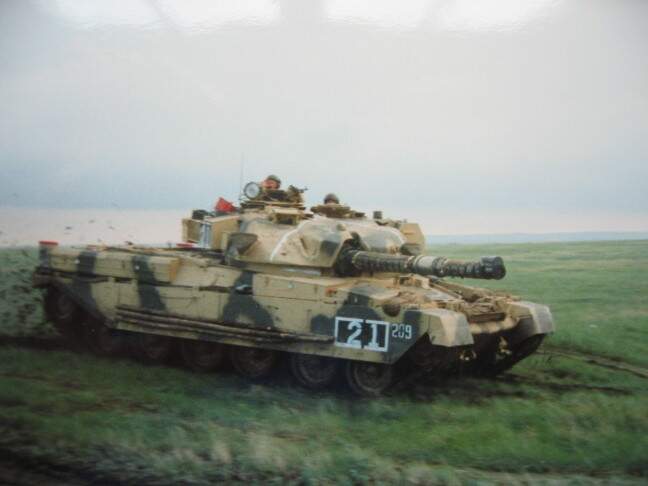
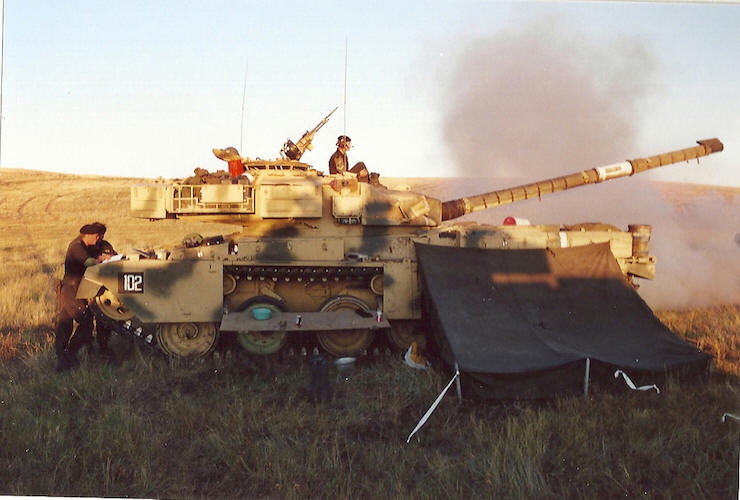
Cheers fellas, it’s getting to the finish line slowly. I’ve a couple of daysacks for the turret basket and maybe a water jerrycan but they never seem to be packed fully. I plan on putting a civi 20 litre oil drum in there also. From my Batus adventures I remember us being issued civilian oil in plastic drums for the wagons. Useful as the bottom could be knocked out and a wire put on them and they hung off the spare track hooks on the back and became our toilets. You can just about see what I mean on the pics below, first wagon has them in the usual place on the rear corners, while the second one has it on it’s side on the back decks. Grey with a bright red top.
Like this but with a red top.

3 Likes
Really really impressive ![]()
1 Like
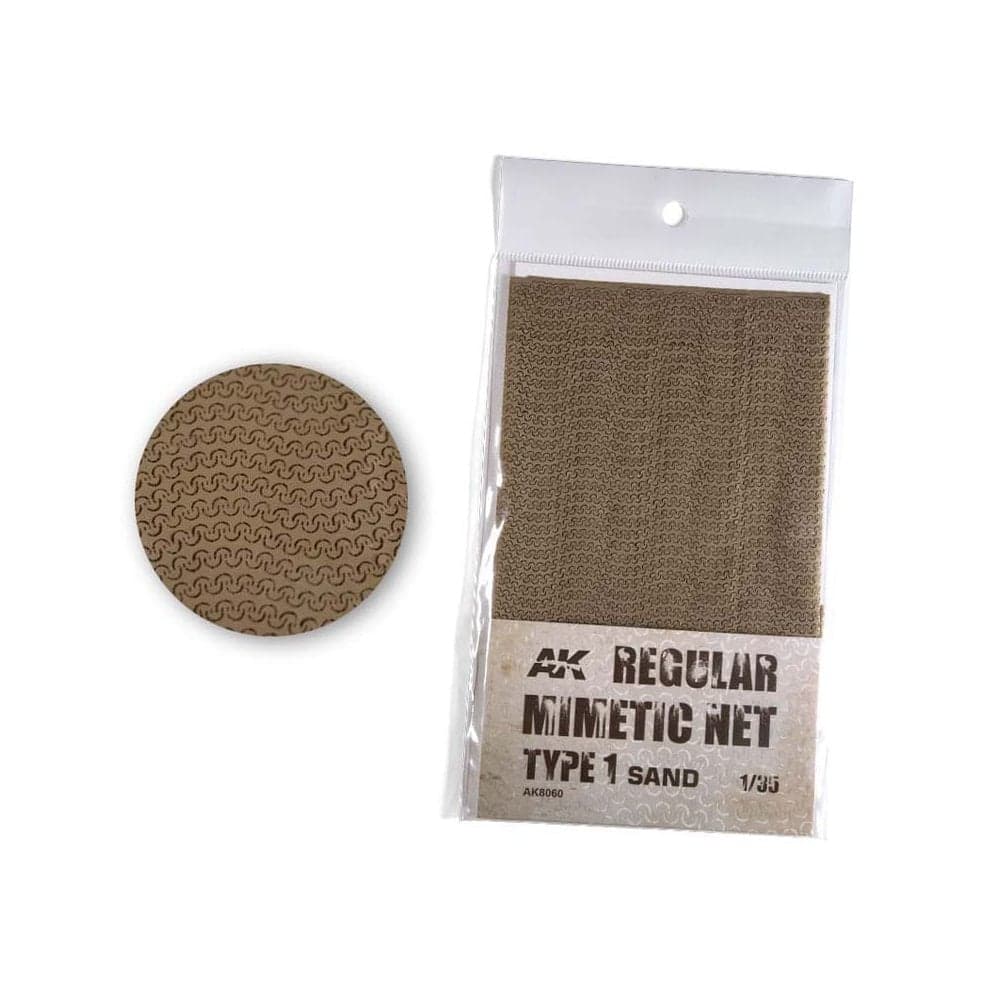
Well I gave it a try but the term “looking like a bag of smashed crabs” comes to mind. No doubt I would get something I liked eventually but after three goes I chucked the towel in and bought some AK net.
2 Likes
Well, good luck with that!
The only thing I would say, when I’ve seen it applied to models, is that it often looks a bit “flat”, almost 2D as it were; I’m sure you’ll do something spectacular with it, but I only mention it for what it’s worth (which may not be much at all!).
1 Like
A very small update, work on the kit stalled for a while due to work. Finished the Friul tracks, primed, painted and then fitted. I used Vallejo oily steel for the worn sections then masked and sprayed Vallejo track primer as the top coat, I like the colour as I find it simulates older dusty track well. Applied a gloss coat using Klear as a usually do then Humbrol dust wash over the top. I have the cam net stowage cover to do and then antennas and it will be done.

8 Likes