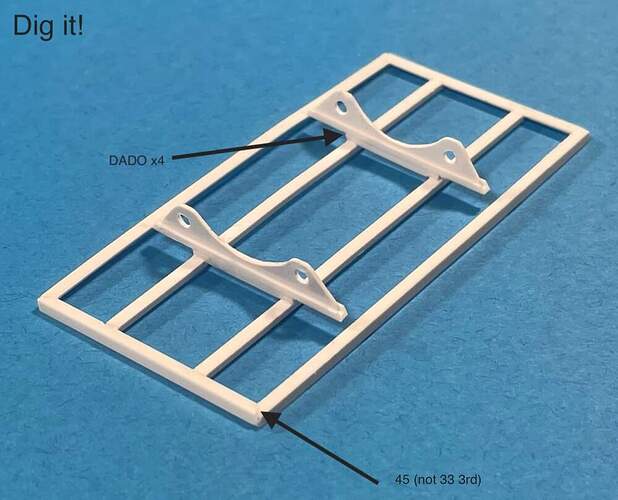
Dig those 45 degree cuts and Dado cuts ![]()
![]()
Jeez I totally failed to come up with a gag about decals lying awake nights, no doubt much to everyone’s relief. Instead how about calling it the Z1 Humdrum? Diggin’ the cuts, can’t wait to see what you have in store for wheels…or might this be tracked?
Thank’s guys!
The concept and wonky cuts are basically just freestyle. I don’t know why, but I was too lazy to bring out the ‘Chopper’ today. I just hack, assemble and let the Tamiya Extra Thin melt the corners and ideas together. After everything cures, when it’s easier to handle, I’ll sand-down the rough stuff.
I’m thinking four inboard castors for wheels near the cradle supports. I envision the trolly as kind of a maintenance platform, i.e. off-load bomb from a truck, attach electrical cables and roll it through a top-secret hangar (implied). Nothing too elaborate.
—mike
PS: I did a 180° “reverse-thruster” on the funnel. I think it makes a little more sense now.
Nice work on the skid!
Kinda, although for Brit slang aficionados your use of the term Chopper may cause some confusion, if not outright alarm ![]()
Rivets… every rocket come bomb needs rivets, hey Gromit!
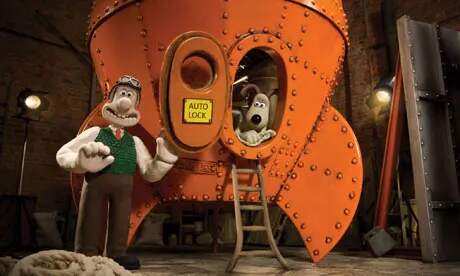
Very cool Mike… A really clever idea and the drum use is terrific… Love the bomb trolly as well… Great work all round.
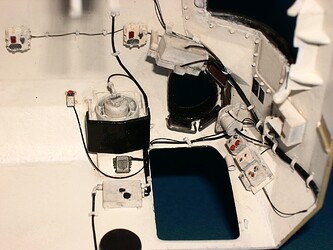
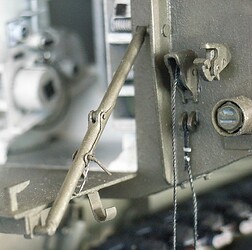
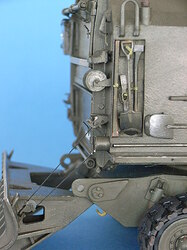
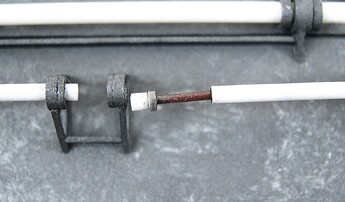
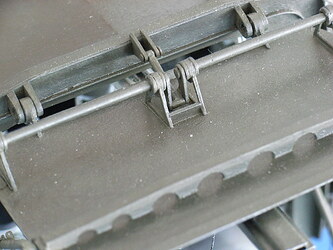
Here are a few more of my M55 SPH details:
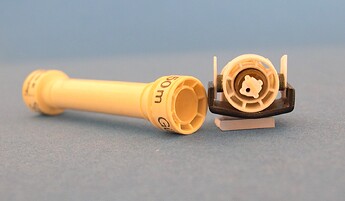
The turret ventilating fan started out as a sewing thread spool.
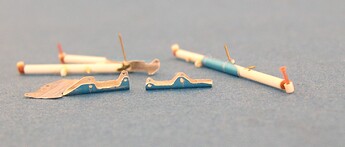
The rear door braces are from styrene rod and sheet aluminum, their securing pins stretched sprue with latex “chains” off black pantyhose. Note stowed position of these pins in the 3rd pic.
Both rear doors have torsion bars for easier operation, the upper one with a conspicuous transmission.
Unprecedented detailing, Peter!
Hat off to your devotion,
Cheers,
Angel
Nice! I love a good repurposing session! ![]()
![]()
—mike
Angel, Mike,
Thank you for your kind words - but as Robin wrote a while ago: “Who needs a stash if one kit lasts him for a year” - this old Renwal beast kept me busy for more than two decades, albeit with pauses to regain a little sanity. AMS at its worst, incurable. But I love to find additional details to procrastinate instead of paint a model.
Peter
Sometimes a good night’s sleep sends things into a whole different direction. Maybe I shouldn’t go to sleep… ever! ![]() … Well, as long as I wake up, I guess.
… Well, as long as I wake up, I guess. ![]()
![]()
![]()
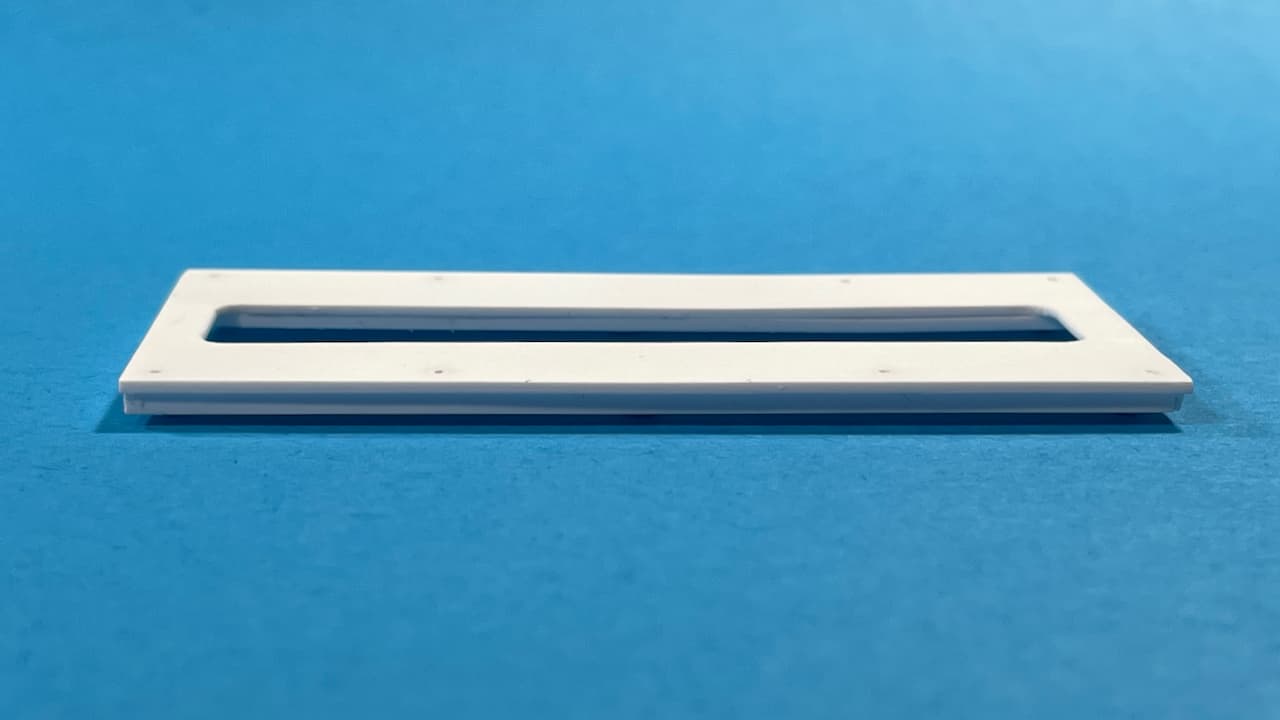
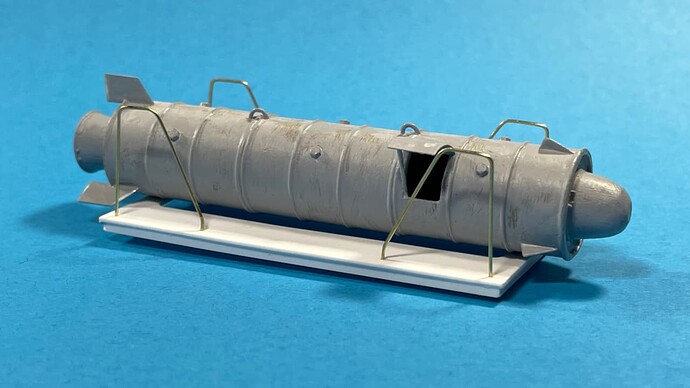
So I eighty-sixed the former wooden platform idea in favor of a steel one. Here’s a start to the new ‘Bomb Lifting Trolly’…
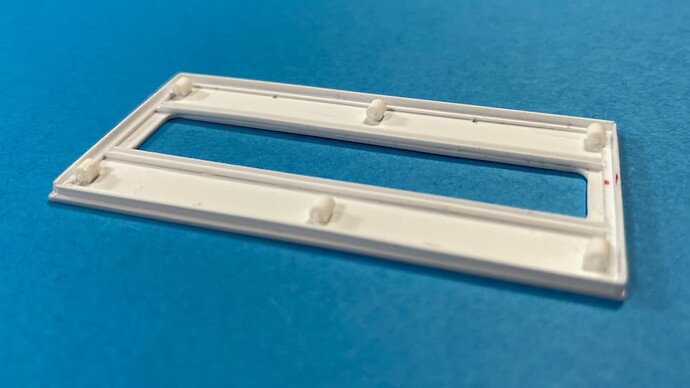
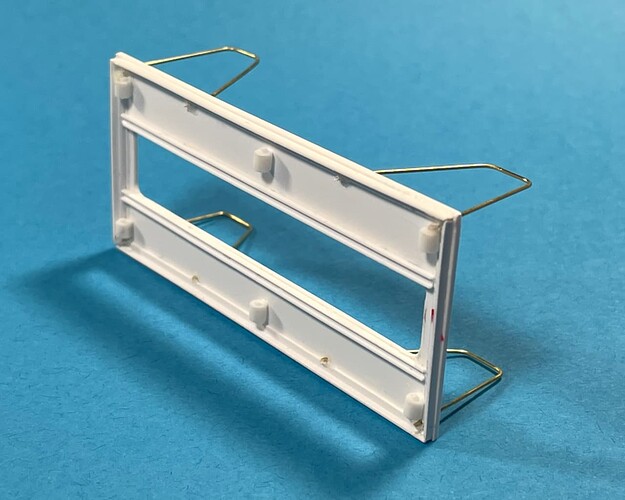
A look at the underside (salvaged frame) with new base plate and castors added.
• Evergreen Styrene (9030) Sheet (.030" 0.75mm).
• Evergreen Styrene (223) Tube .093 2.4mm).
• Evergreen Styrene (220) Rod .035” 0.88mm) inserts.
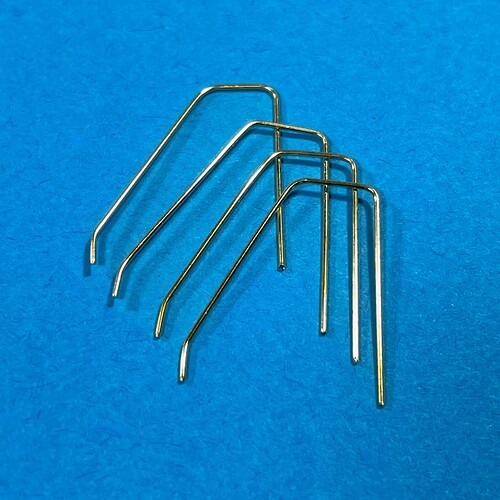
I bent-up some corner push railings.
• K&S (8159) Brass Rod (.020" 0.51mm).
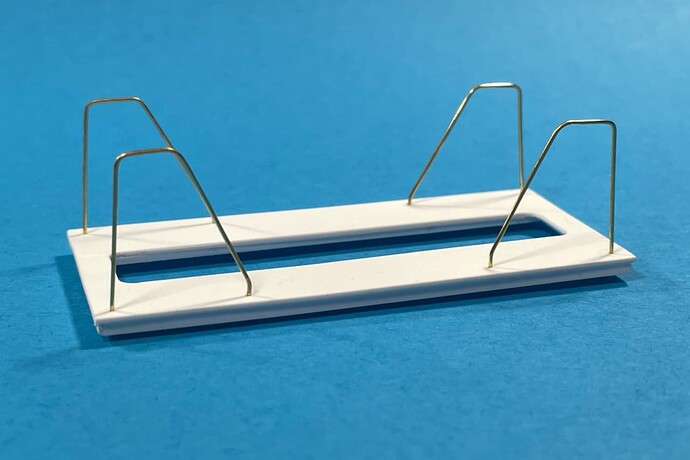
Drilled the base plate and installed the railings with CA Glue.
Another look from the underside.
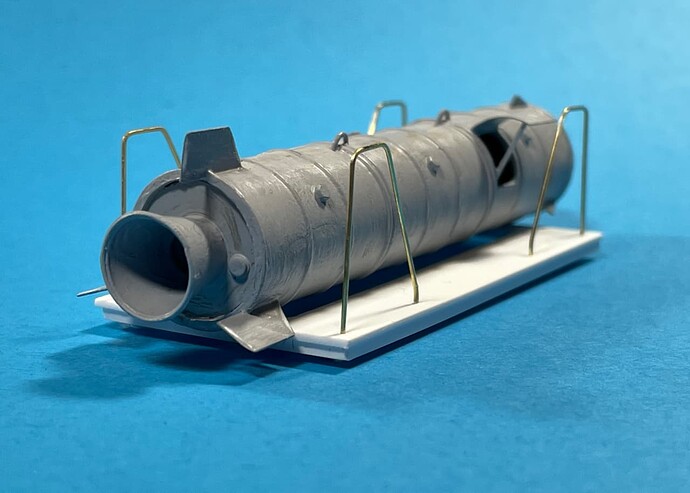
And a quick dry-fit session with the bomb lumbering-along like a beached walrus. ![]()
More soon to come. ![]()
—mike
That’s nicely done … Very well thought out and made ![]()
Saying that this is amazing would be a disservice. This is mind-blowingly awesome.
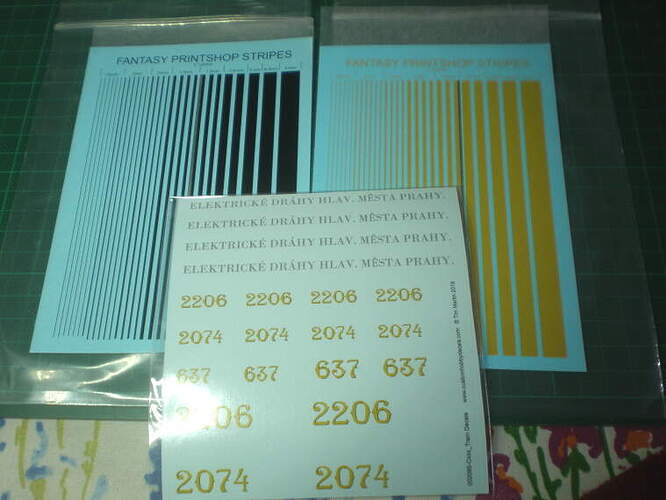
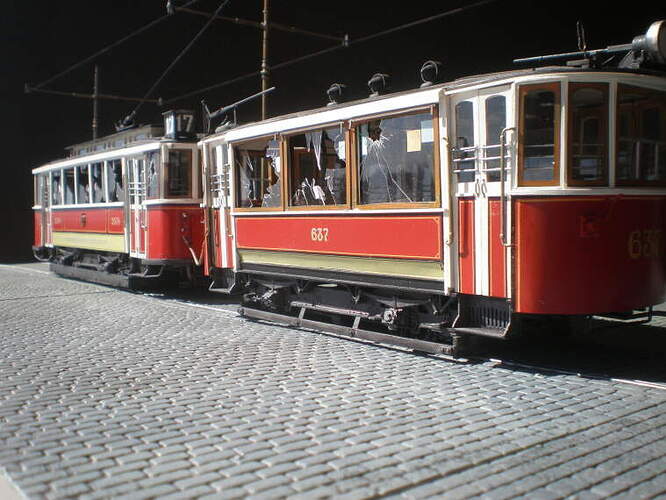
Thanks Reynier & all who commented/liked, hopefully you’re helping to recharging my dead batteries to finish the project. So far we haven’t mentioned decals in the context of scratch-building but surely they qualify too? I designed the tram/trailer markings in basic MS Paint…
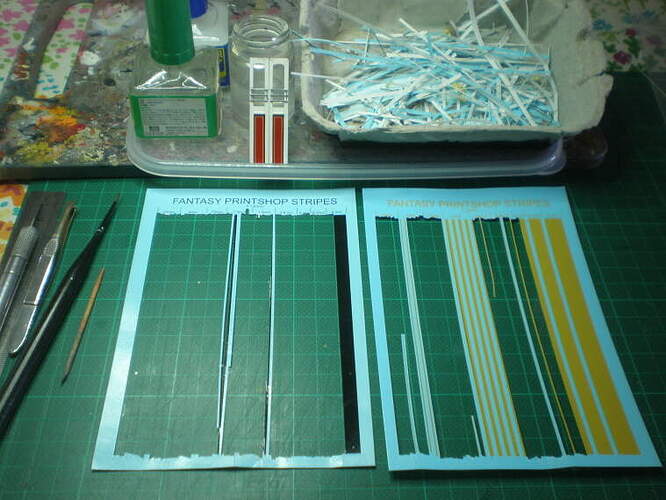
…and got them produced by Custom Decals & also got some stripes decals from Fantasy Printshop (all water-slide)…
Here’s what was left of the stripes, after my removal to the padded cell having completed slicing several yards of crazy-thin strips & applied all livery lines to the two trams plus trailer…
Bonus shot: post-assassination blast damage…
…which you’ll now have to forget you ever saw, because the trams in this condition should only be seen when I publish final project photos. Cue Ipcress File hypnotic noise: “Now listen to me…” ![]()

@ Diohypnotist: Whatever it is that I am not seeing is simply brilliant!
![]()
You do realise that with some left-over styrene and a raid on the Bits Box for Greeblies you have just started your (first) entry for the Sci-Fi and Alternative History Campaign IX?
![]()
![]()
![]() ?
? ![]() ??
??
Cheers
M
Tom, Thank’s for having a look!
Unfortunately, these don’t qualify due to the campaign February 1, 2023 start date and/or the no more than 25% built rule. However, they will tie-in as peripherals in a broader picture when the campaign hounds are let loose! … February ![]() … March
… March ![]() …
… ![]()
—mike
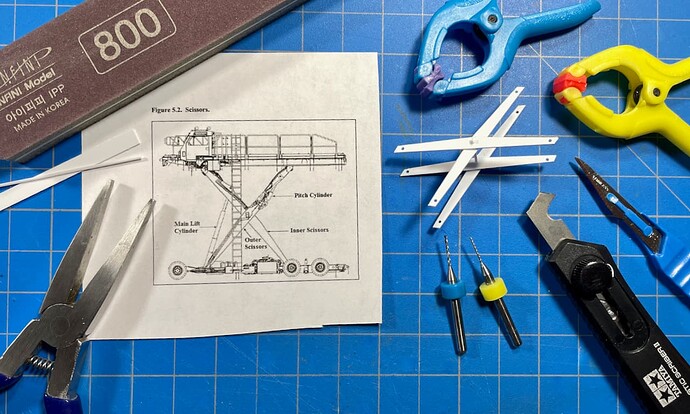
Tons of googling around last night unearthed some nice schematics for Aircraft Loading Lifts — gave me the basics — just what I was looking for!![]()
Release the Evergreen! ![]()
![]()
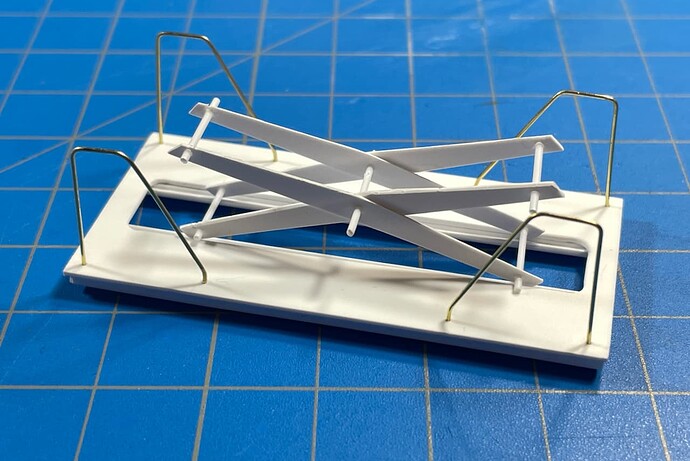
Disclaimer: Mine won’t actually operate — just needs to look like it could. ![]()
![]()
The scissors are glued into position while dry-fitted onto the channel tracks.
I seem to have this wonky assembly affliction. ![]()
—mike ![]()
Noice!
