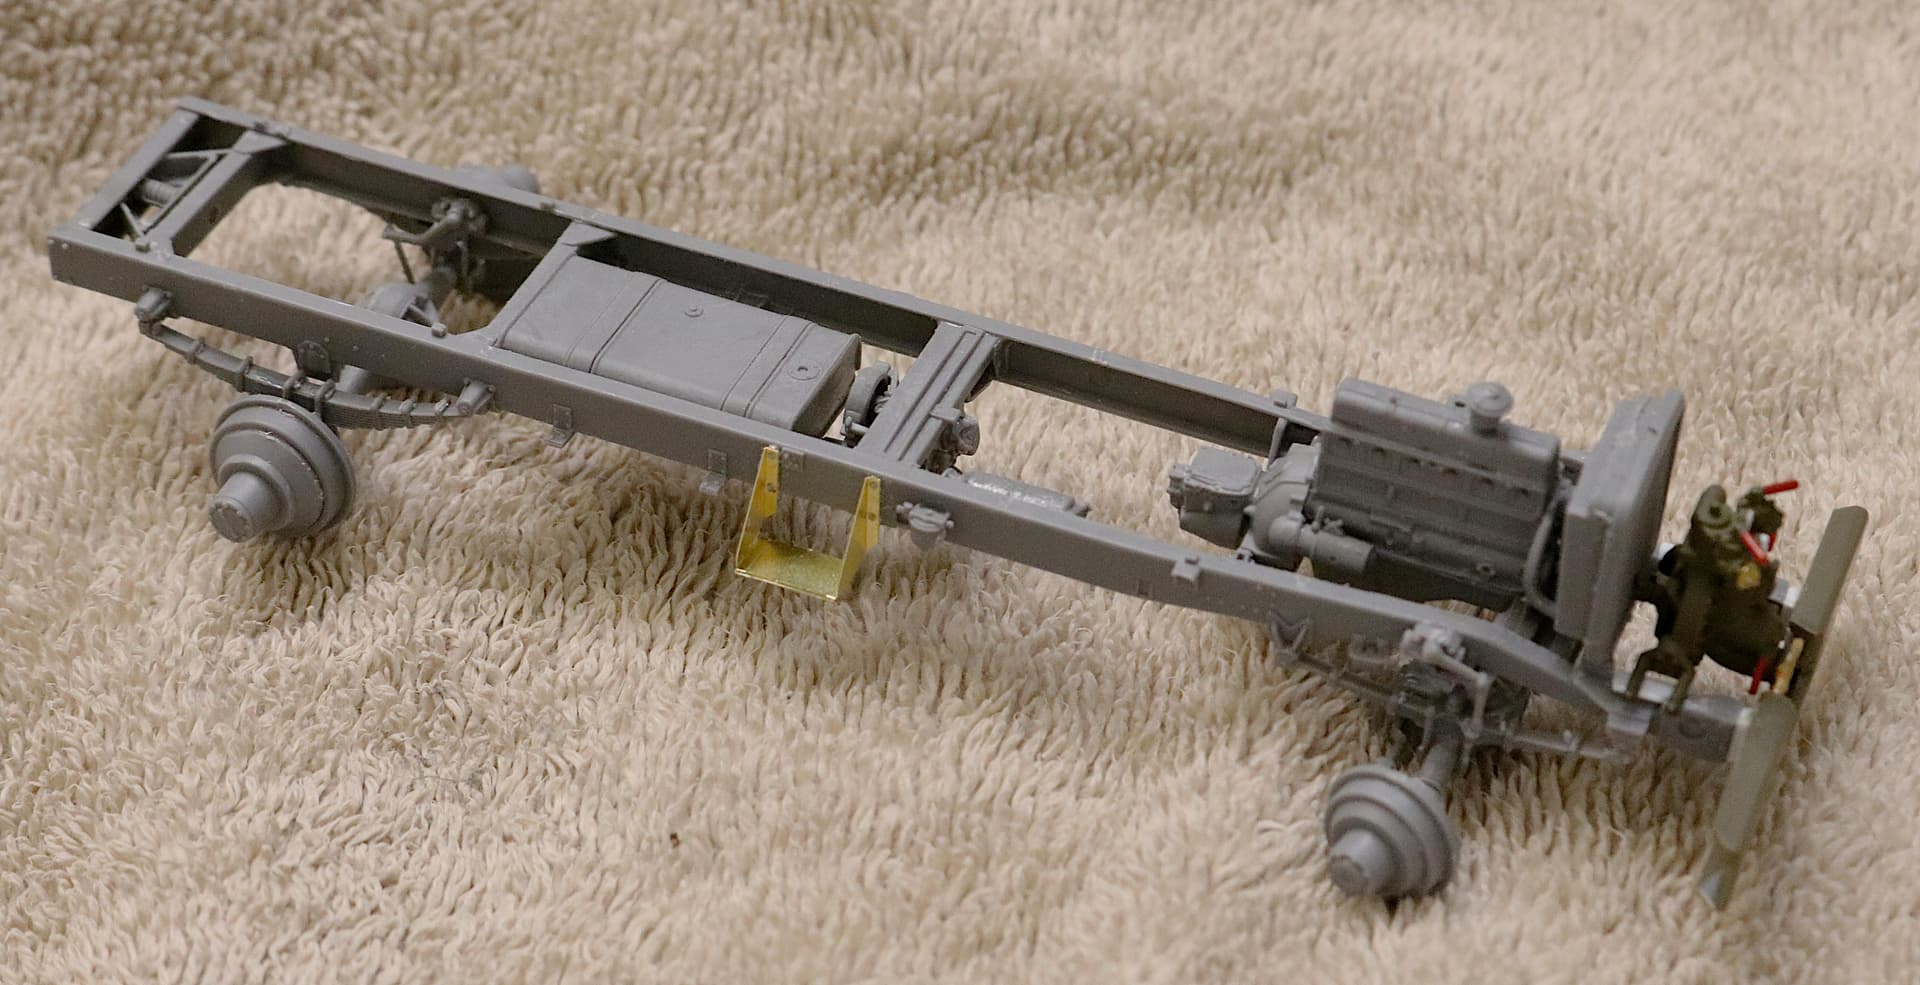
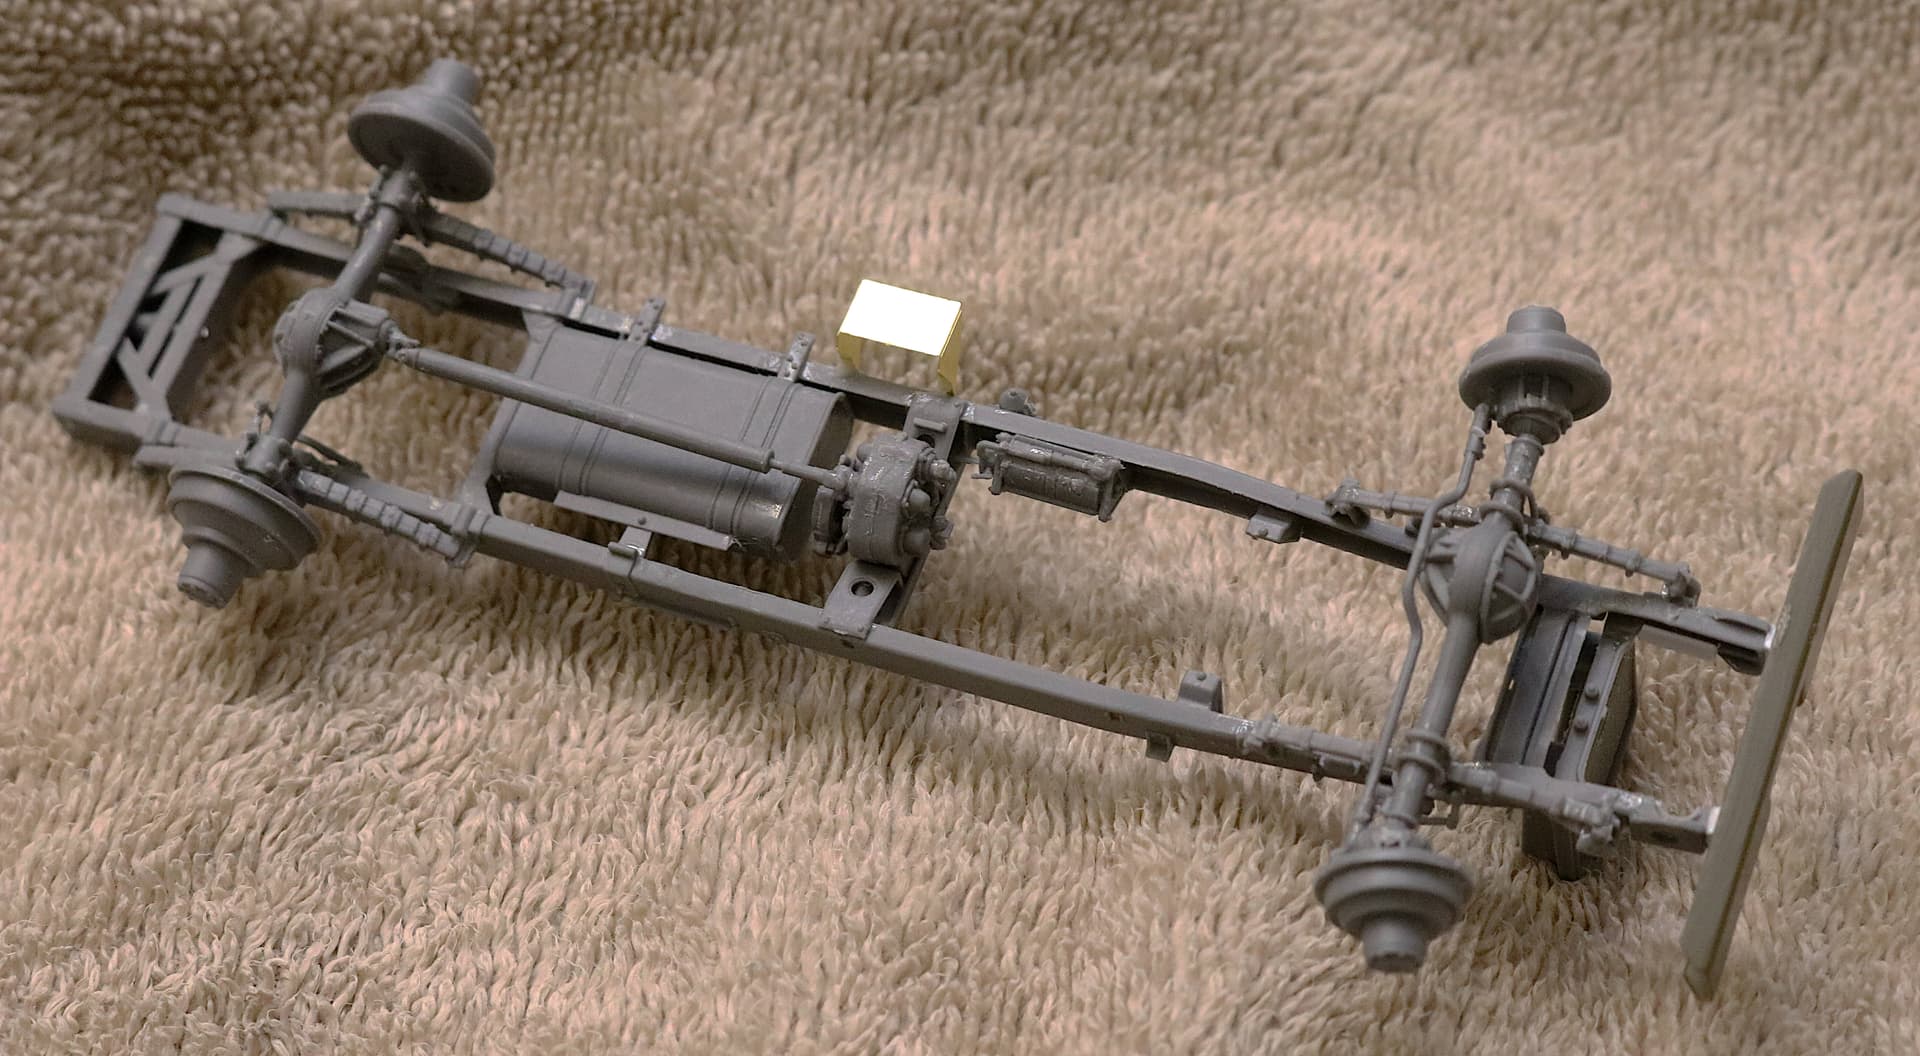
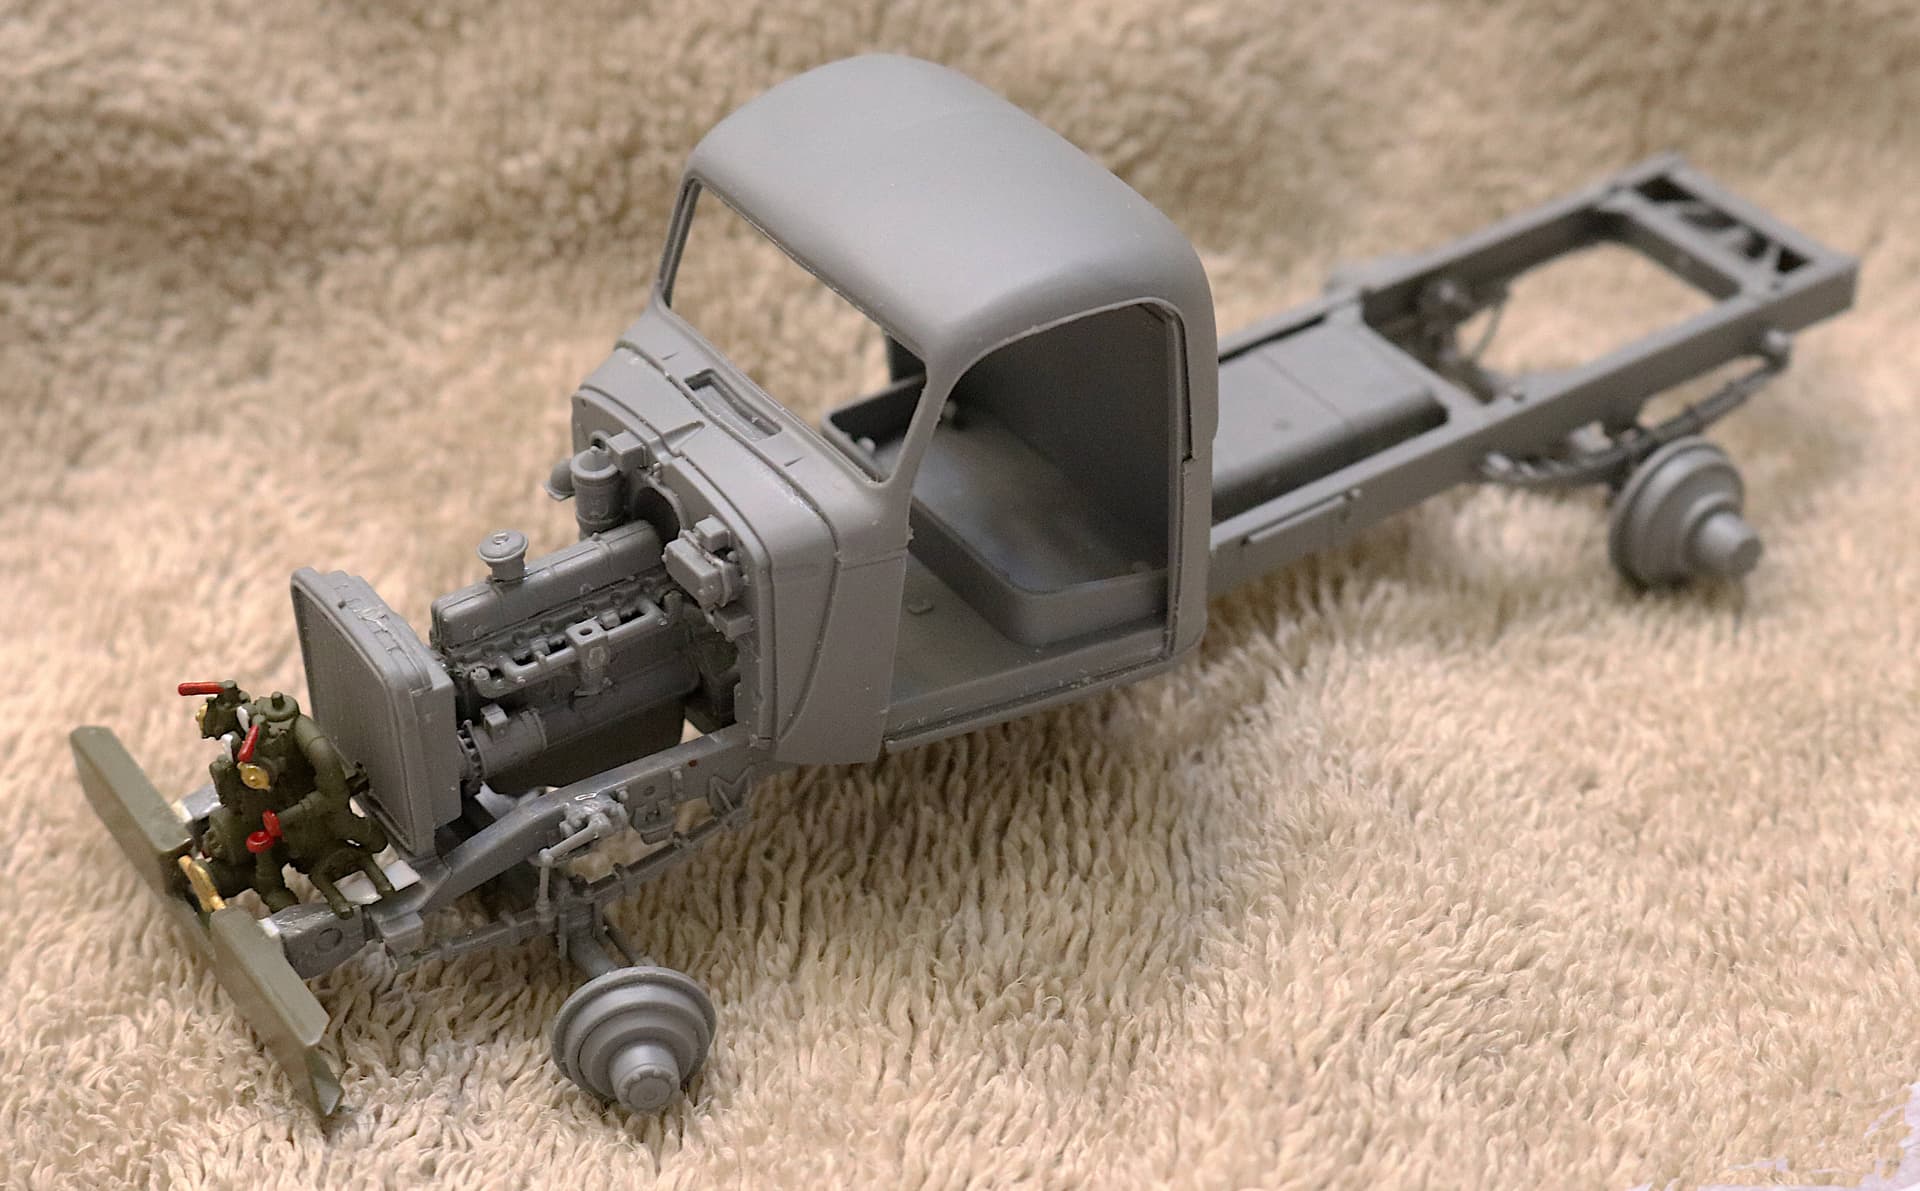
Working now on converting the new MiniArt 1 1/2 ton Chevy Cargo truck to a fire truck. (Which of course means they will be coming out with this variant in the very near future.)
So anybody happen to have any reference on one of these trucks maybe having been bomb damaged and turned into a single axle trailer???
I am going to have the entire rear cargo body left over and as I say I have plenty of leftover Italeri chassis parts and even a few Tamiya Deuce wheels/tires laying around to build a salvaged motor pool trailer out of?
I thought perhaps I might be getting a bit too deep into this vehicle as a build thread so I started oa thread of its’ own over in the “WWII Allied” section.
A model building tip that might be news to some but old hat to many others.
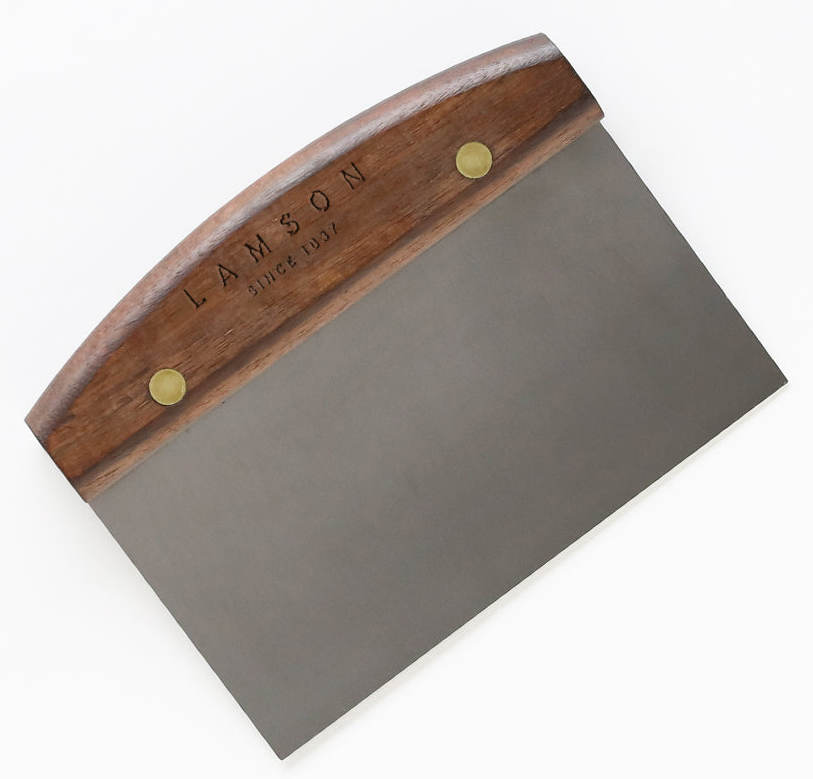
I once was in a real Amish furniture shop and I ask; "What did cabinet makers use before the invention of sandpaper to smooth the wood used for their cabinetry panels? The tool the man showed me looks much like what your Mother might call a “Dough Cutter.” A straight bladed piece of heavy steel with some sort of rolled handle and a machine ground and sharpened knife edge opposite the handle.
This implement was forcefully PULLED along the surface of the wood, some times held at a 90° angle to the work and was used to knock off the high points in the wood panel to eventually smooth it down.
It was then I realize I could use the blade of my hobby knife, dawn along a surface or a panel edge to smooth it. Or when pressed harder it could even shave significant material from the edge of a plastic model panel.
Used gently this is perfect for removing mold lines from plastic parts. (Such as the inside curve of most all vehicle leaf springs.) Or used heavily it can slowly shave significant material off the edge of a vehicle floorboard to alter it’s size or profile to better fit into the vehicle’s cab.
Please Note: If this post ends up being seen as just one great big “No Duh” by the group then please forgive me for wasting your time. ︎
I’m thinking of going the “back country, get er done” route on that trailer - I hate to see good plastic going to waste - but still trying to do it with some military GI polish.
The cutting edge of the knife or nr 11 will be dulled by using it as a scraper.
The back edge of most nr 11 blades have sufficiently sharp corners to function
as a card scraper for seams. I used to dull and destroy many scalpel blades
with this practice.
Fairly easy to sharpen the back edge to a 90 degree angle though …
The tips about “sharpening” a card or cabinet scraper can be applied to the
back edge of a knife blade as well, just be aware that such a corner/edge
functions as a knife and will easily draw blood.
I used to consume a lot of nr 11 blades.
Then I started using side cutters to remove parts from sprues.
Then I started scraping with the back edge instead.
Then I got myself an assortment of needle files and the
“burn rate” for the nr 11 blades reduced even further.
A positive side effect of using side cutters and files instead of
nr 11 blades is that the abrasion rate for the skin on my right
thumb has gone down. Never any deep cuts drawing blood but
the “fingerprint” area felt like the edge of a pack of cards.
Another advantage of the files is that it greatly reduces the risk
of cutting to deep into the plastic. Top quality files isn’t strictly
needed as the styrene is soft, filing metal obviously requires better tools.
Modeling Tip ~ Dashboard Gauges: Place the gauge decal first, allow to dry and then put just a drop of Future on each gauge and allow to dry to represent the glass.
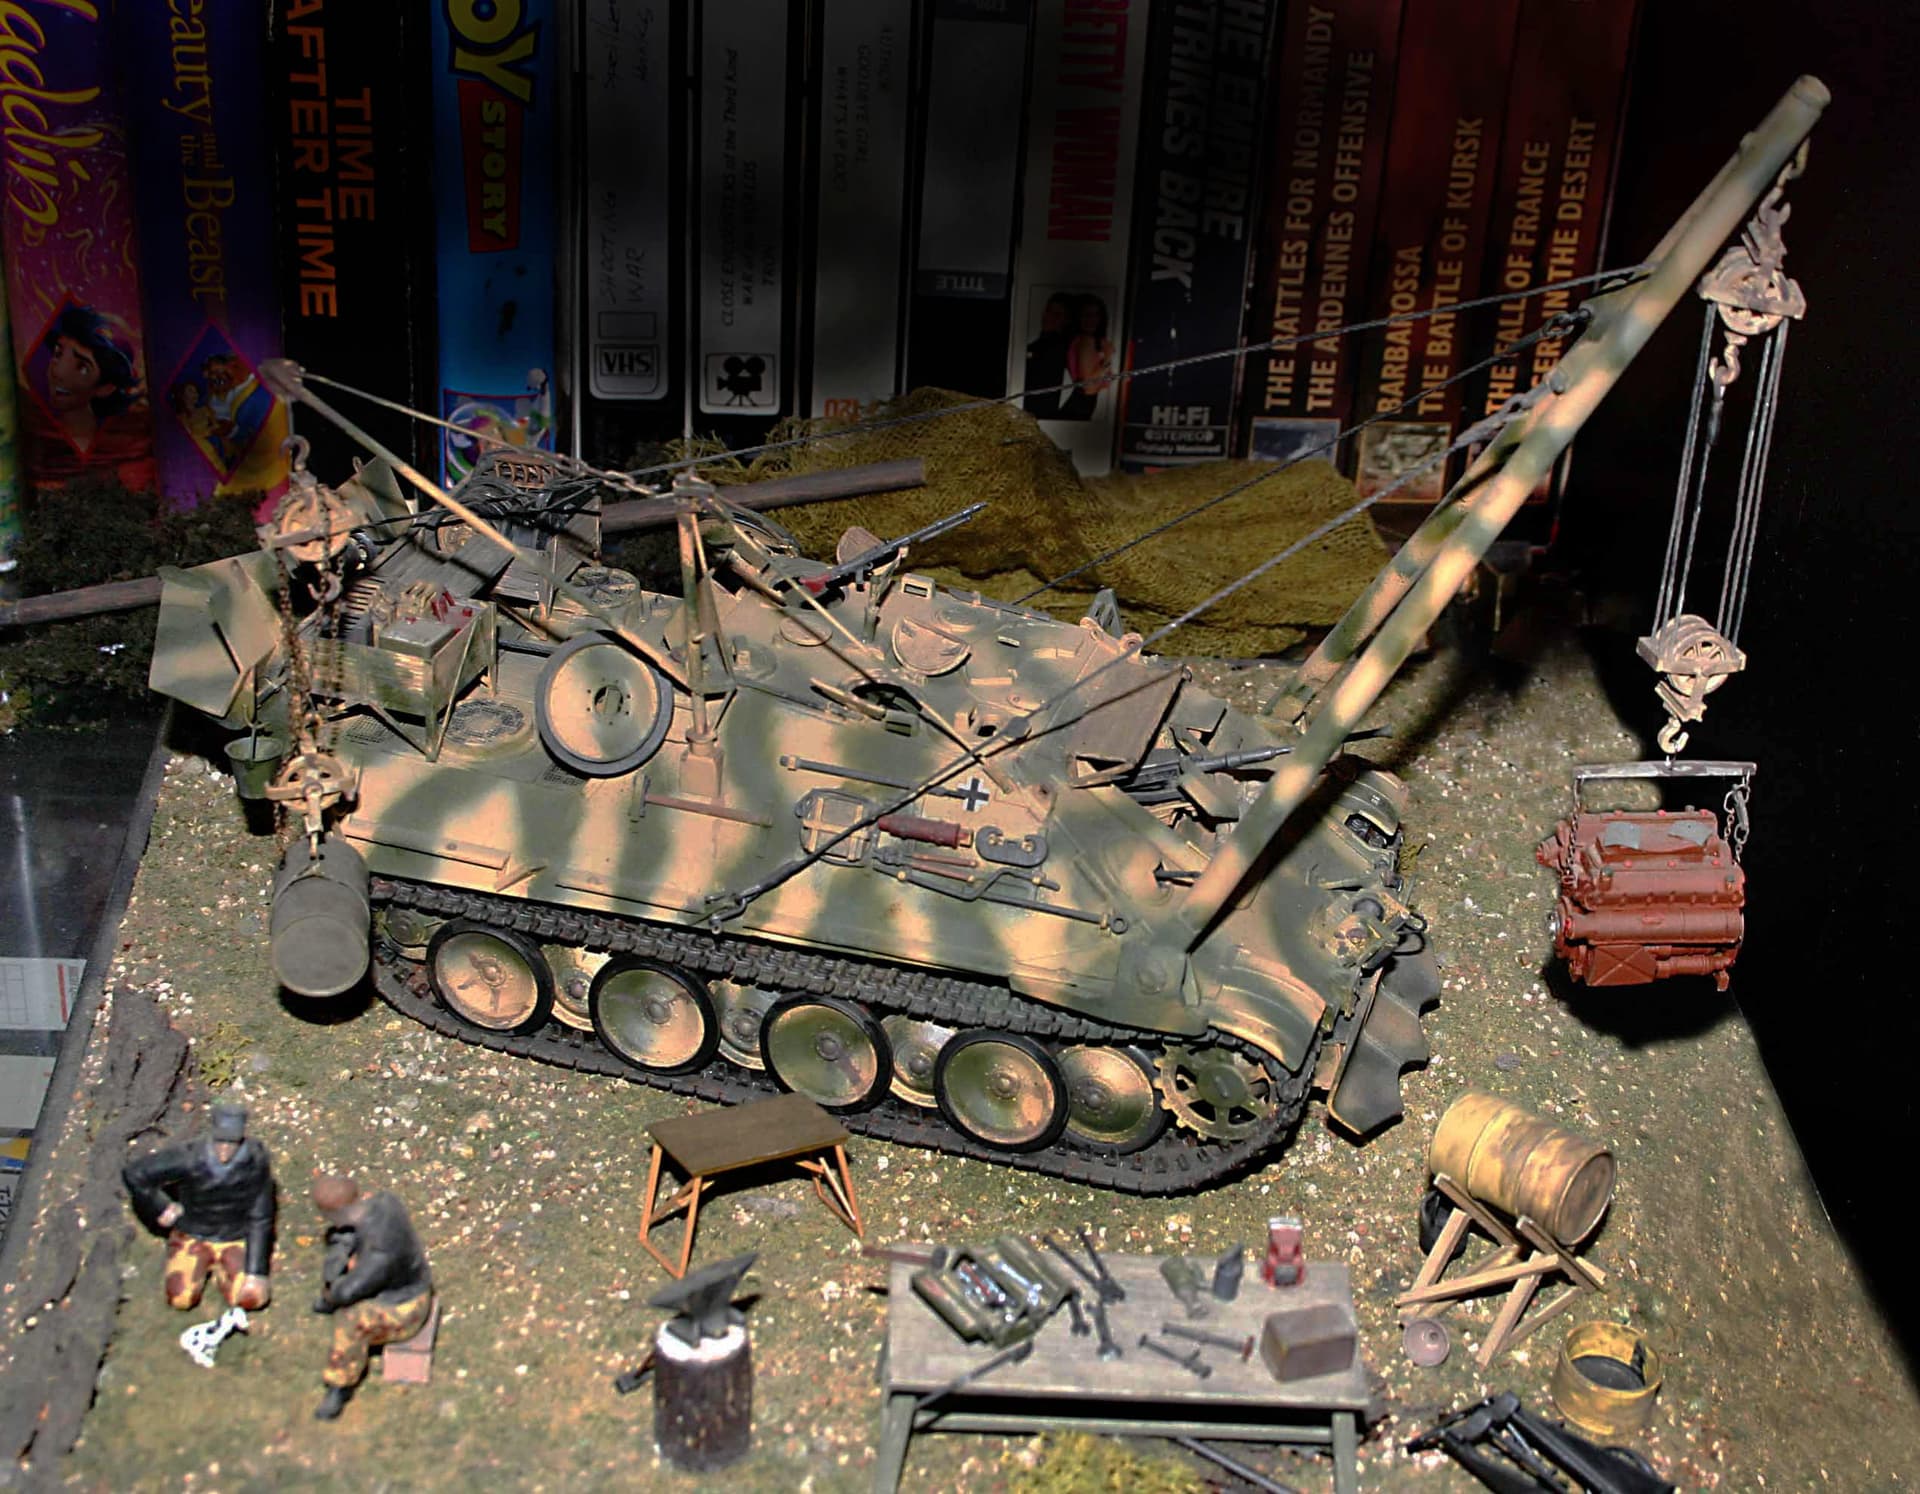
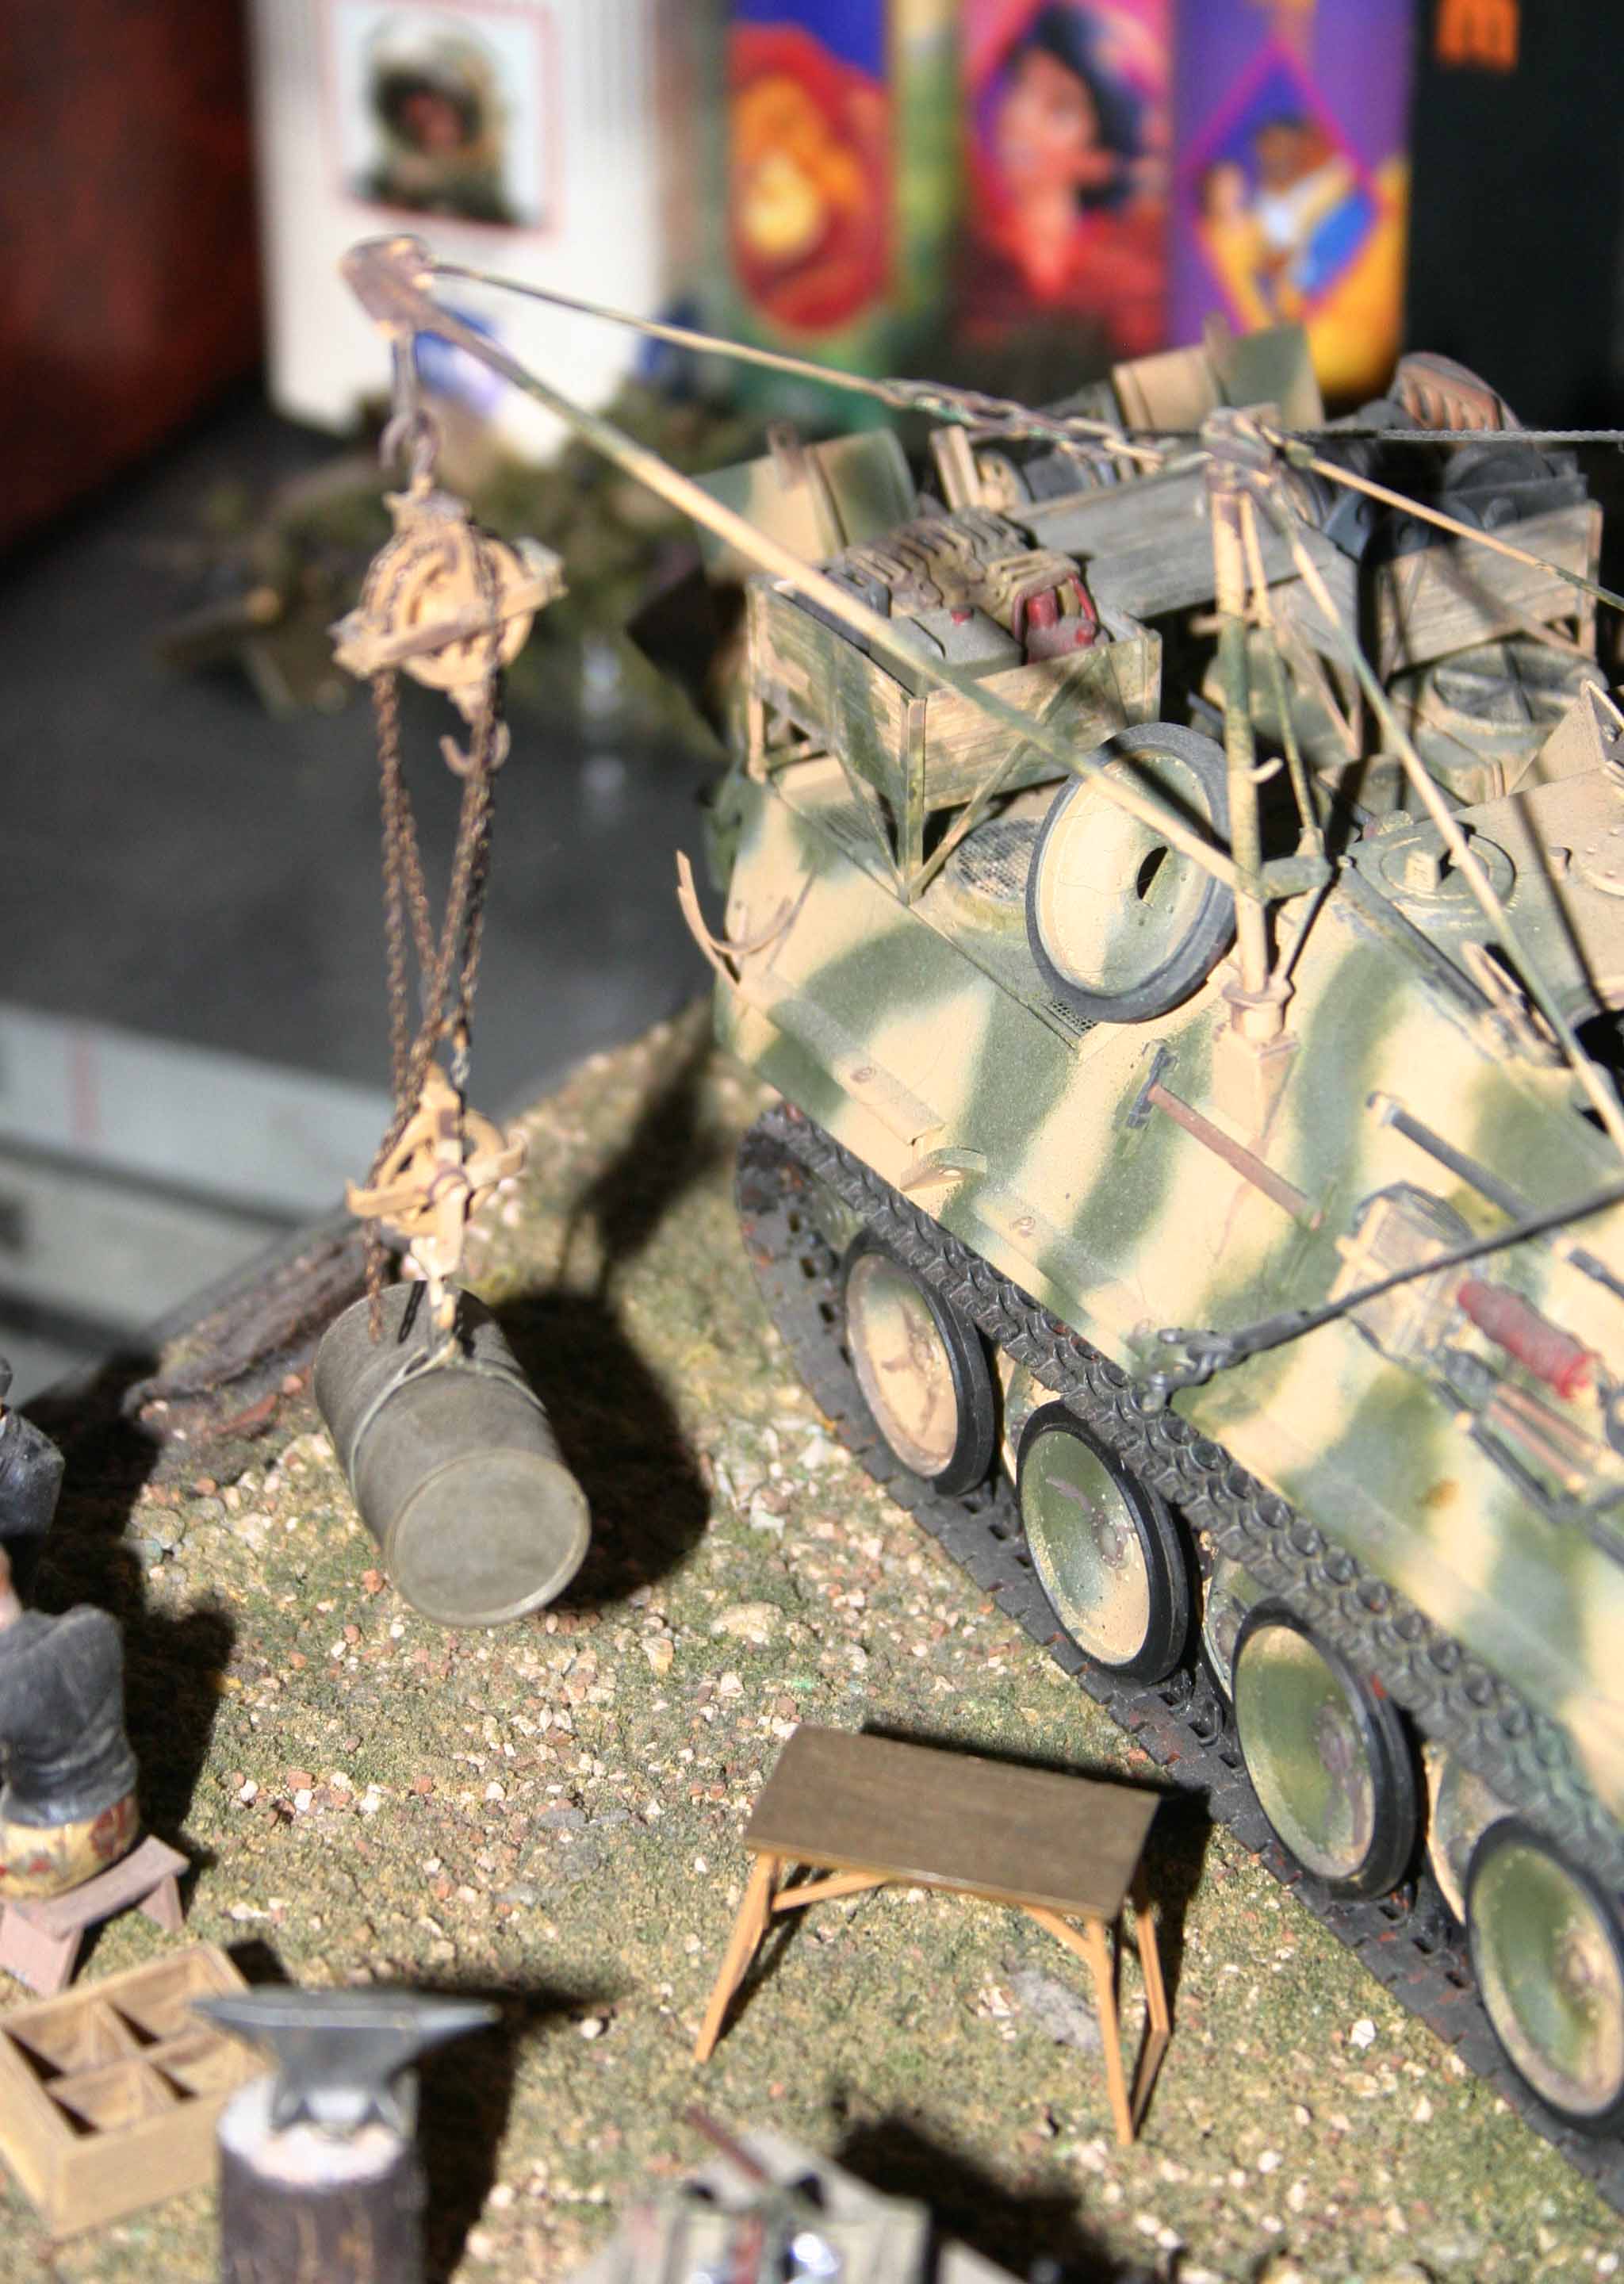
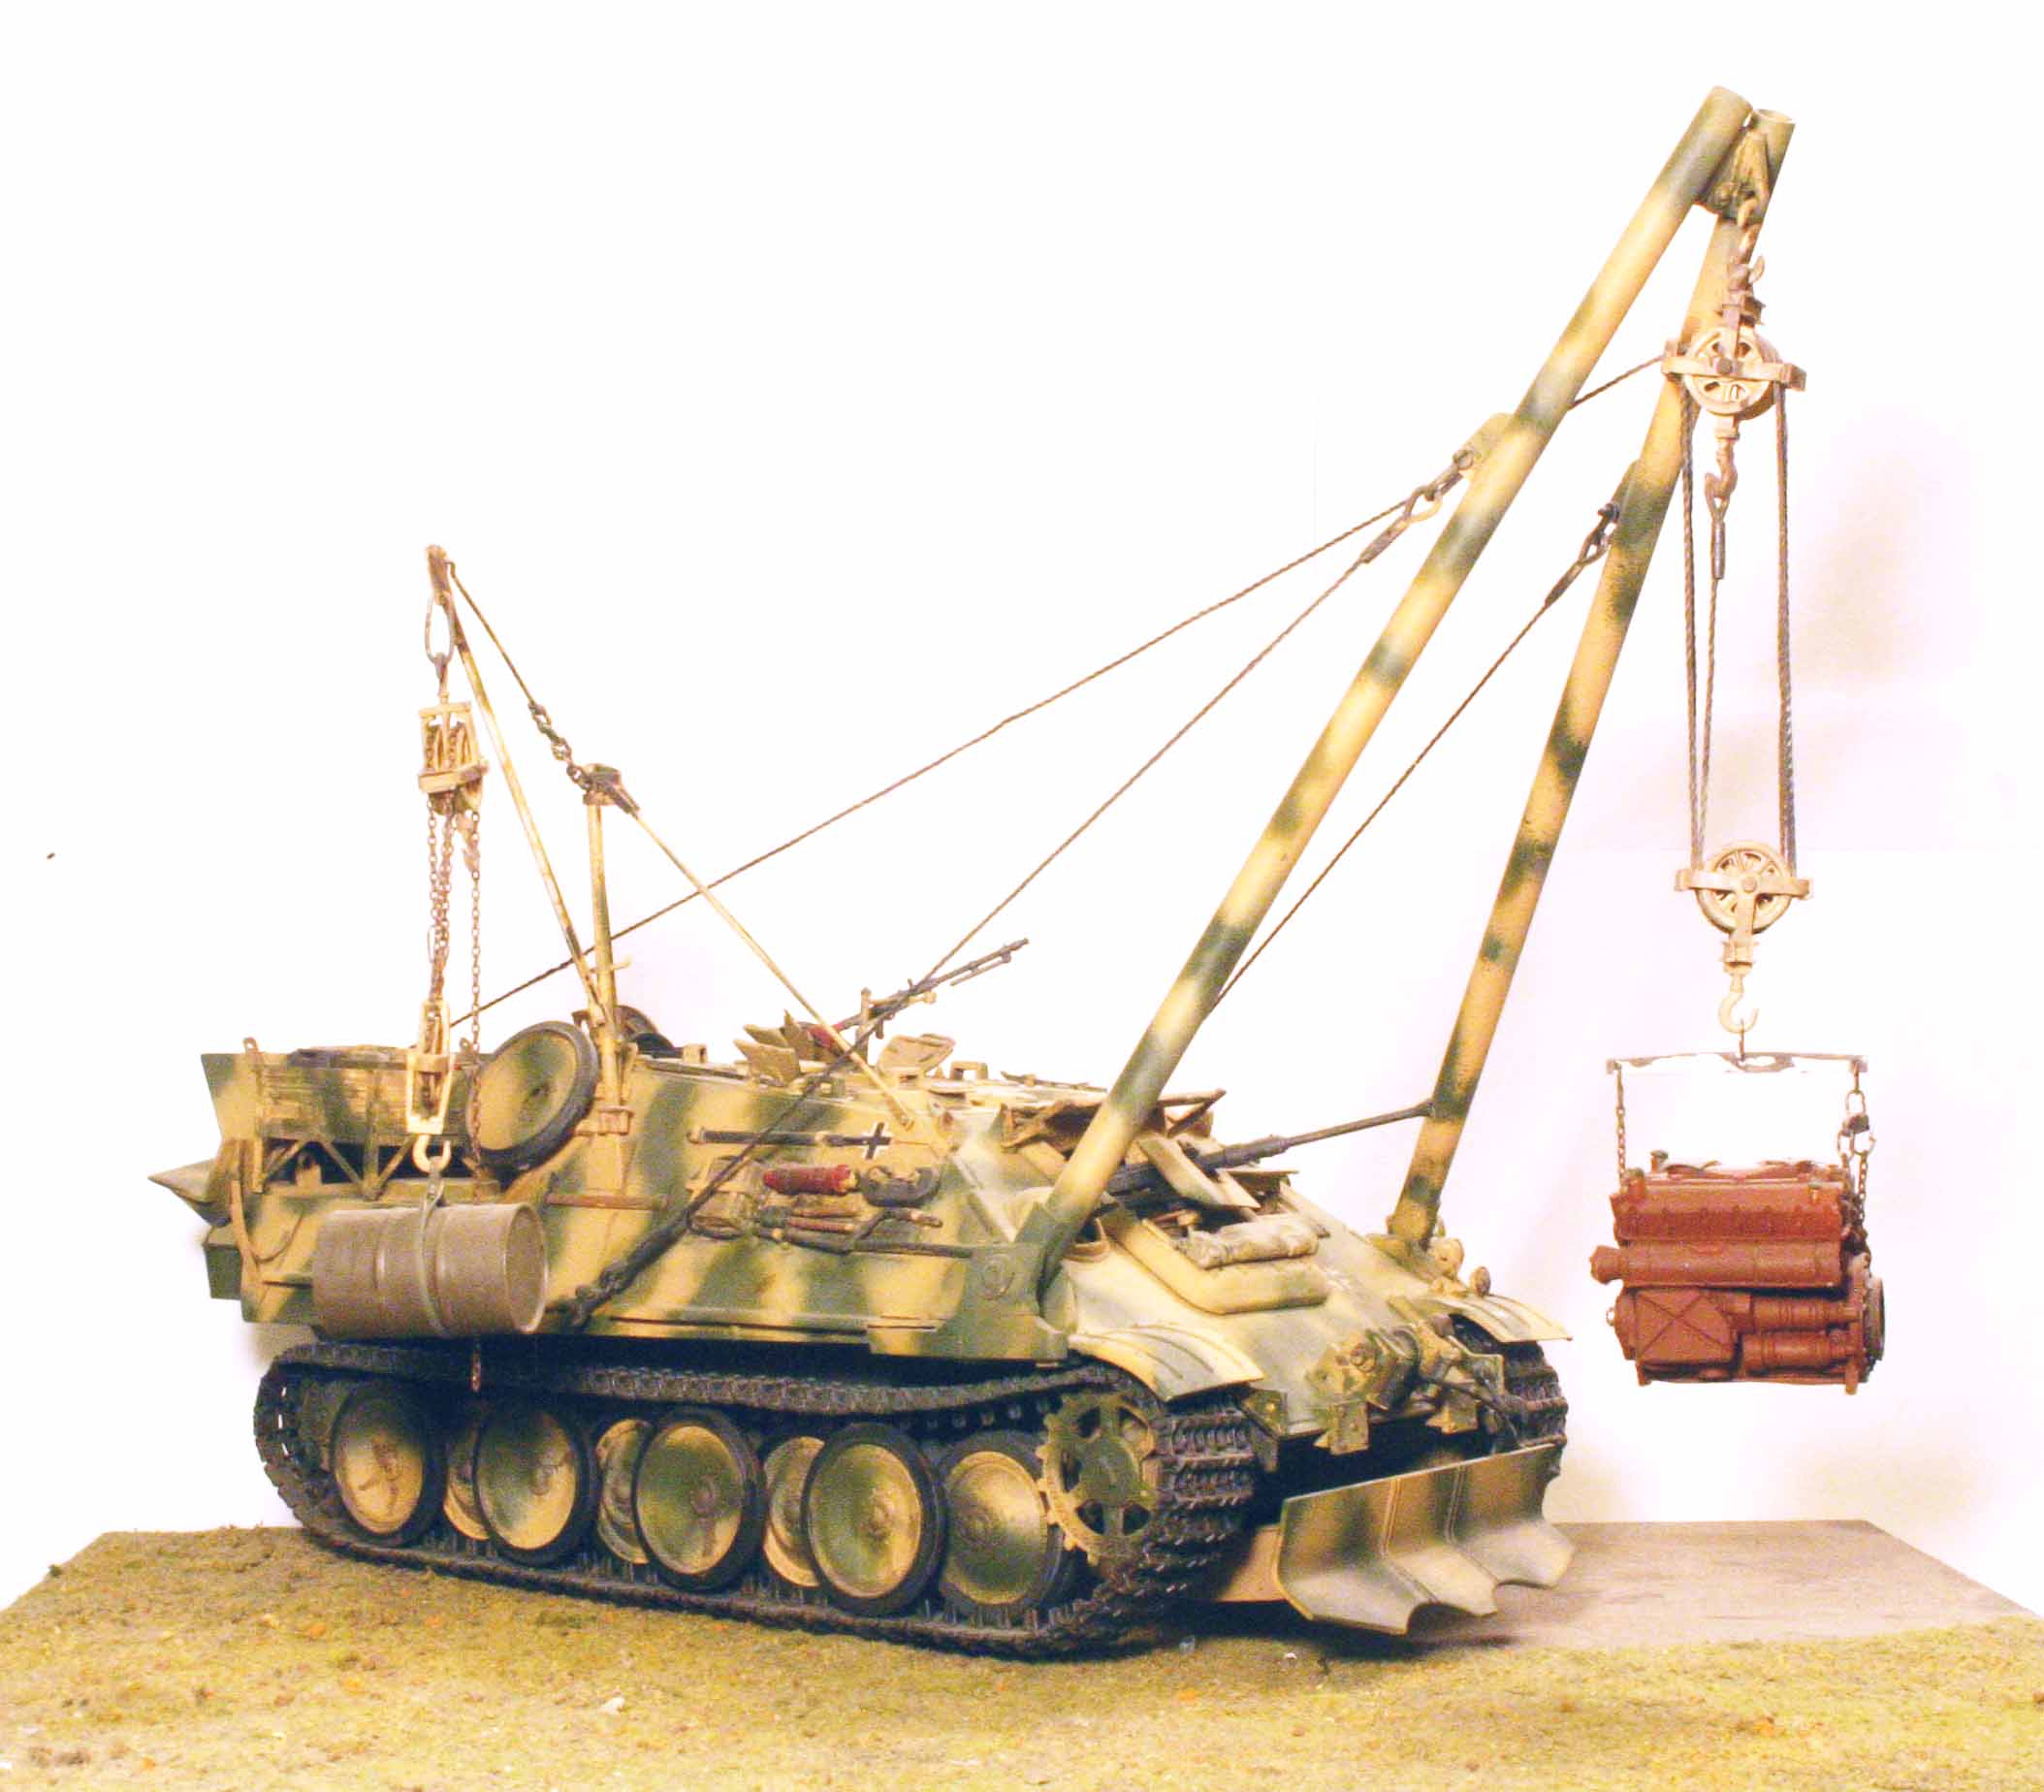
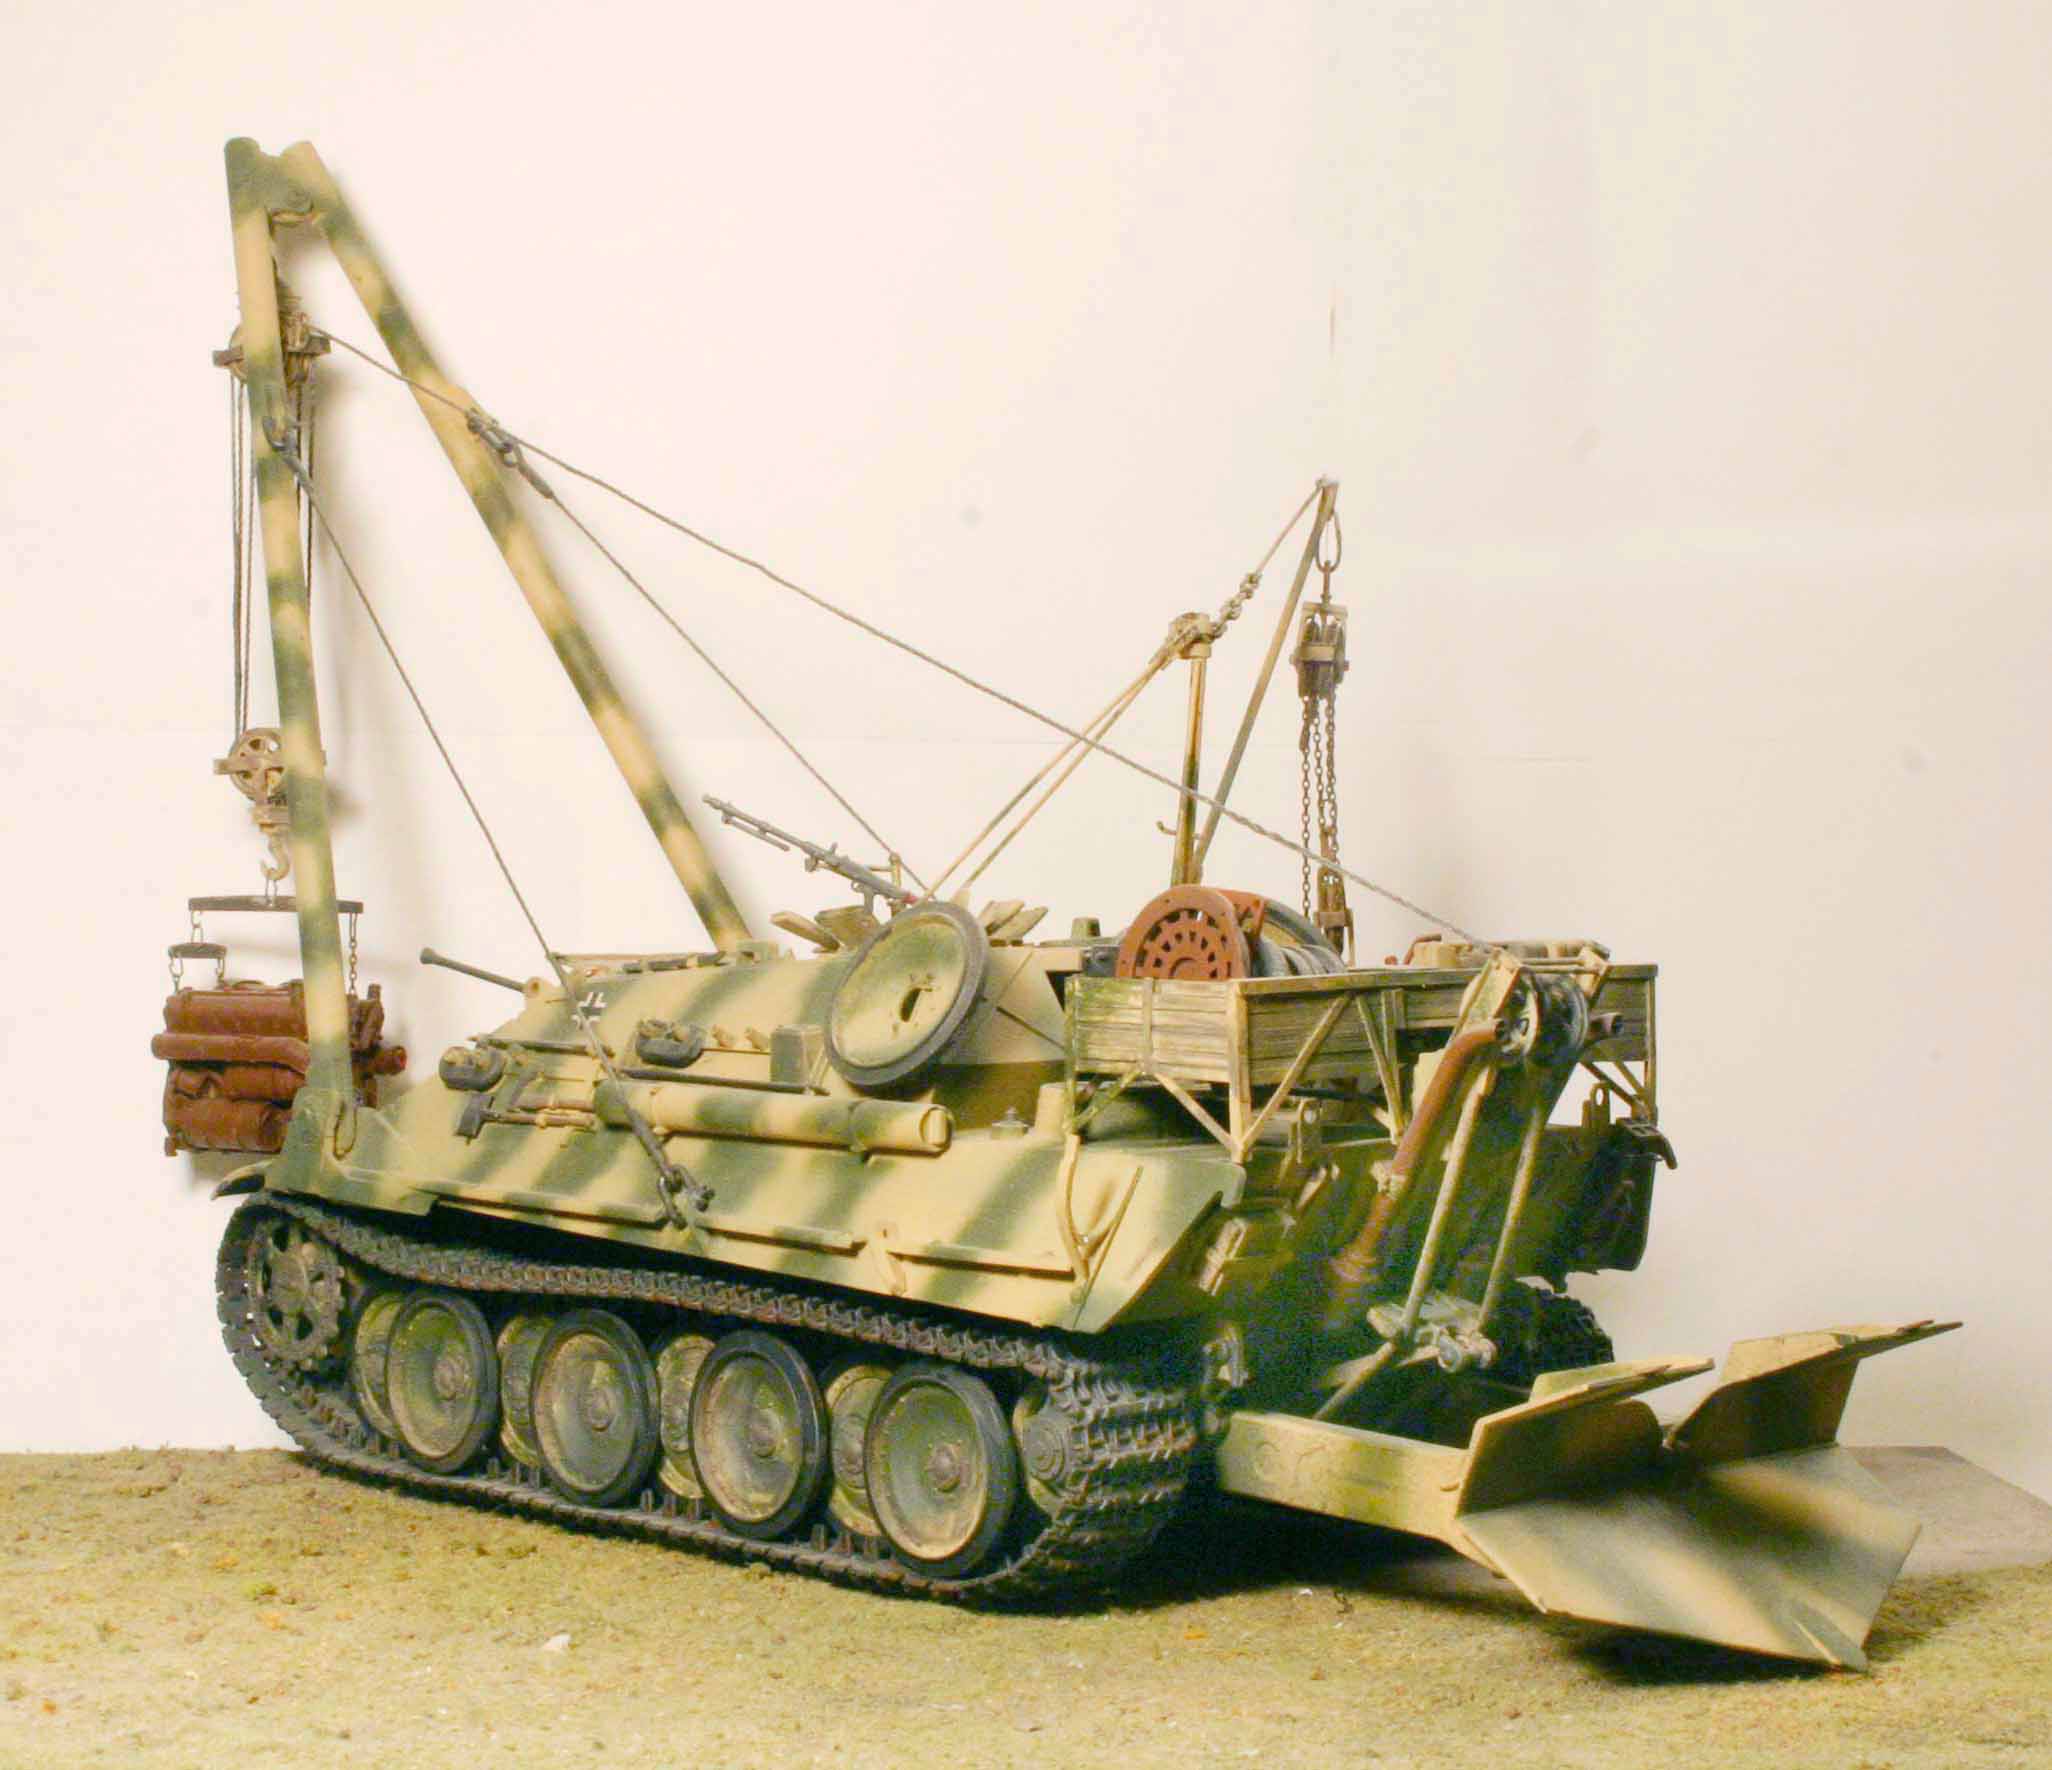
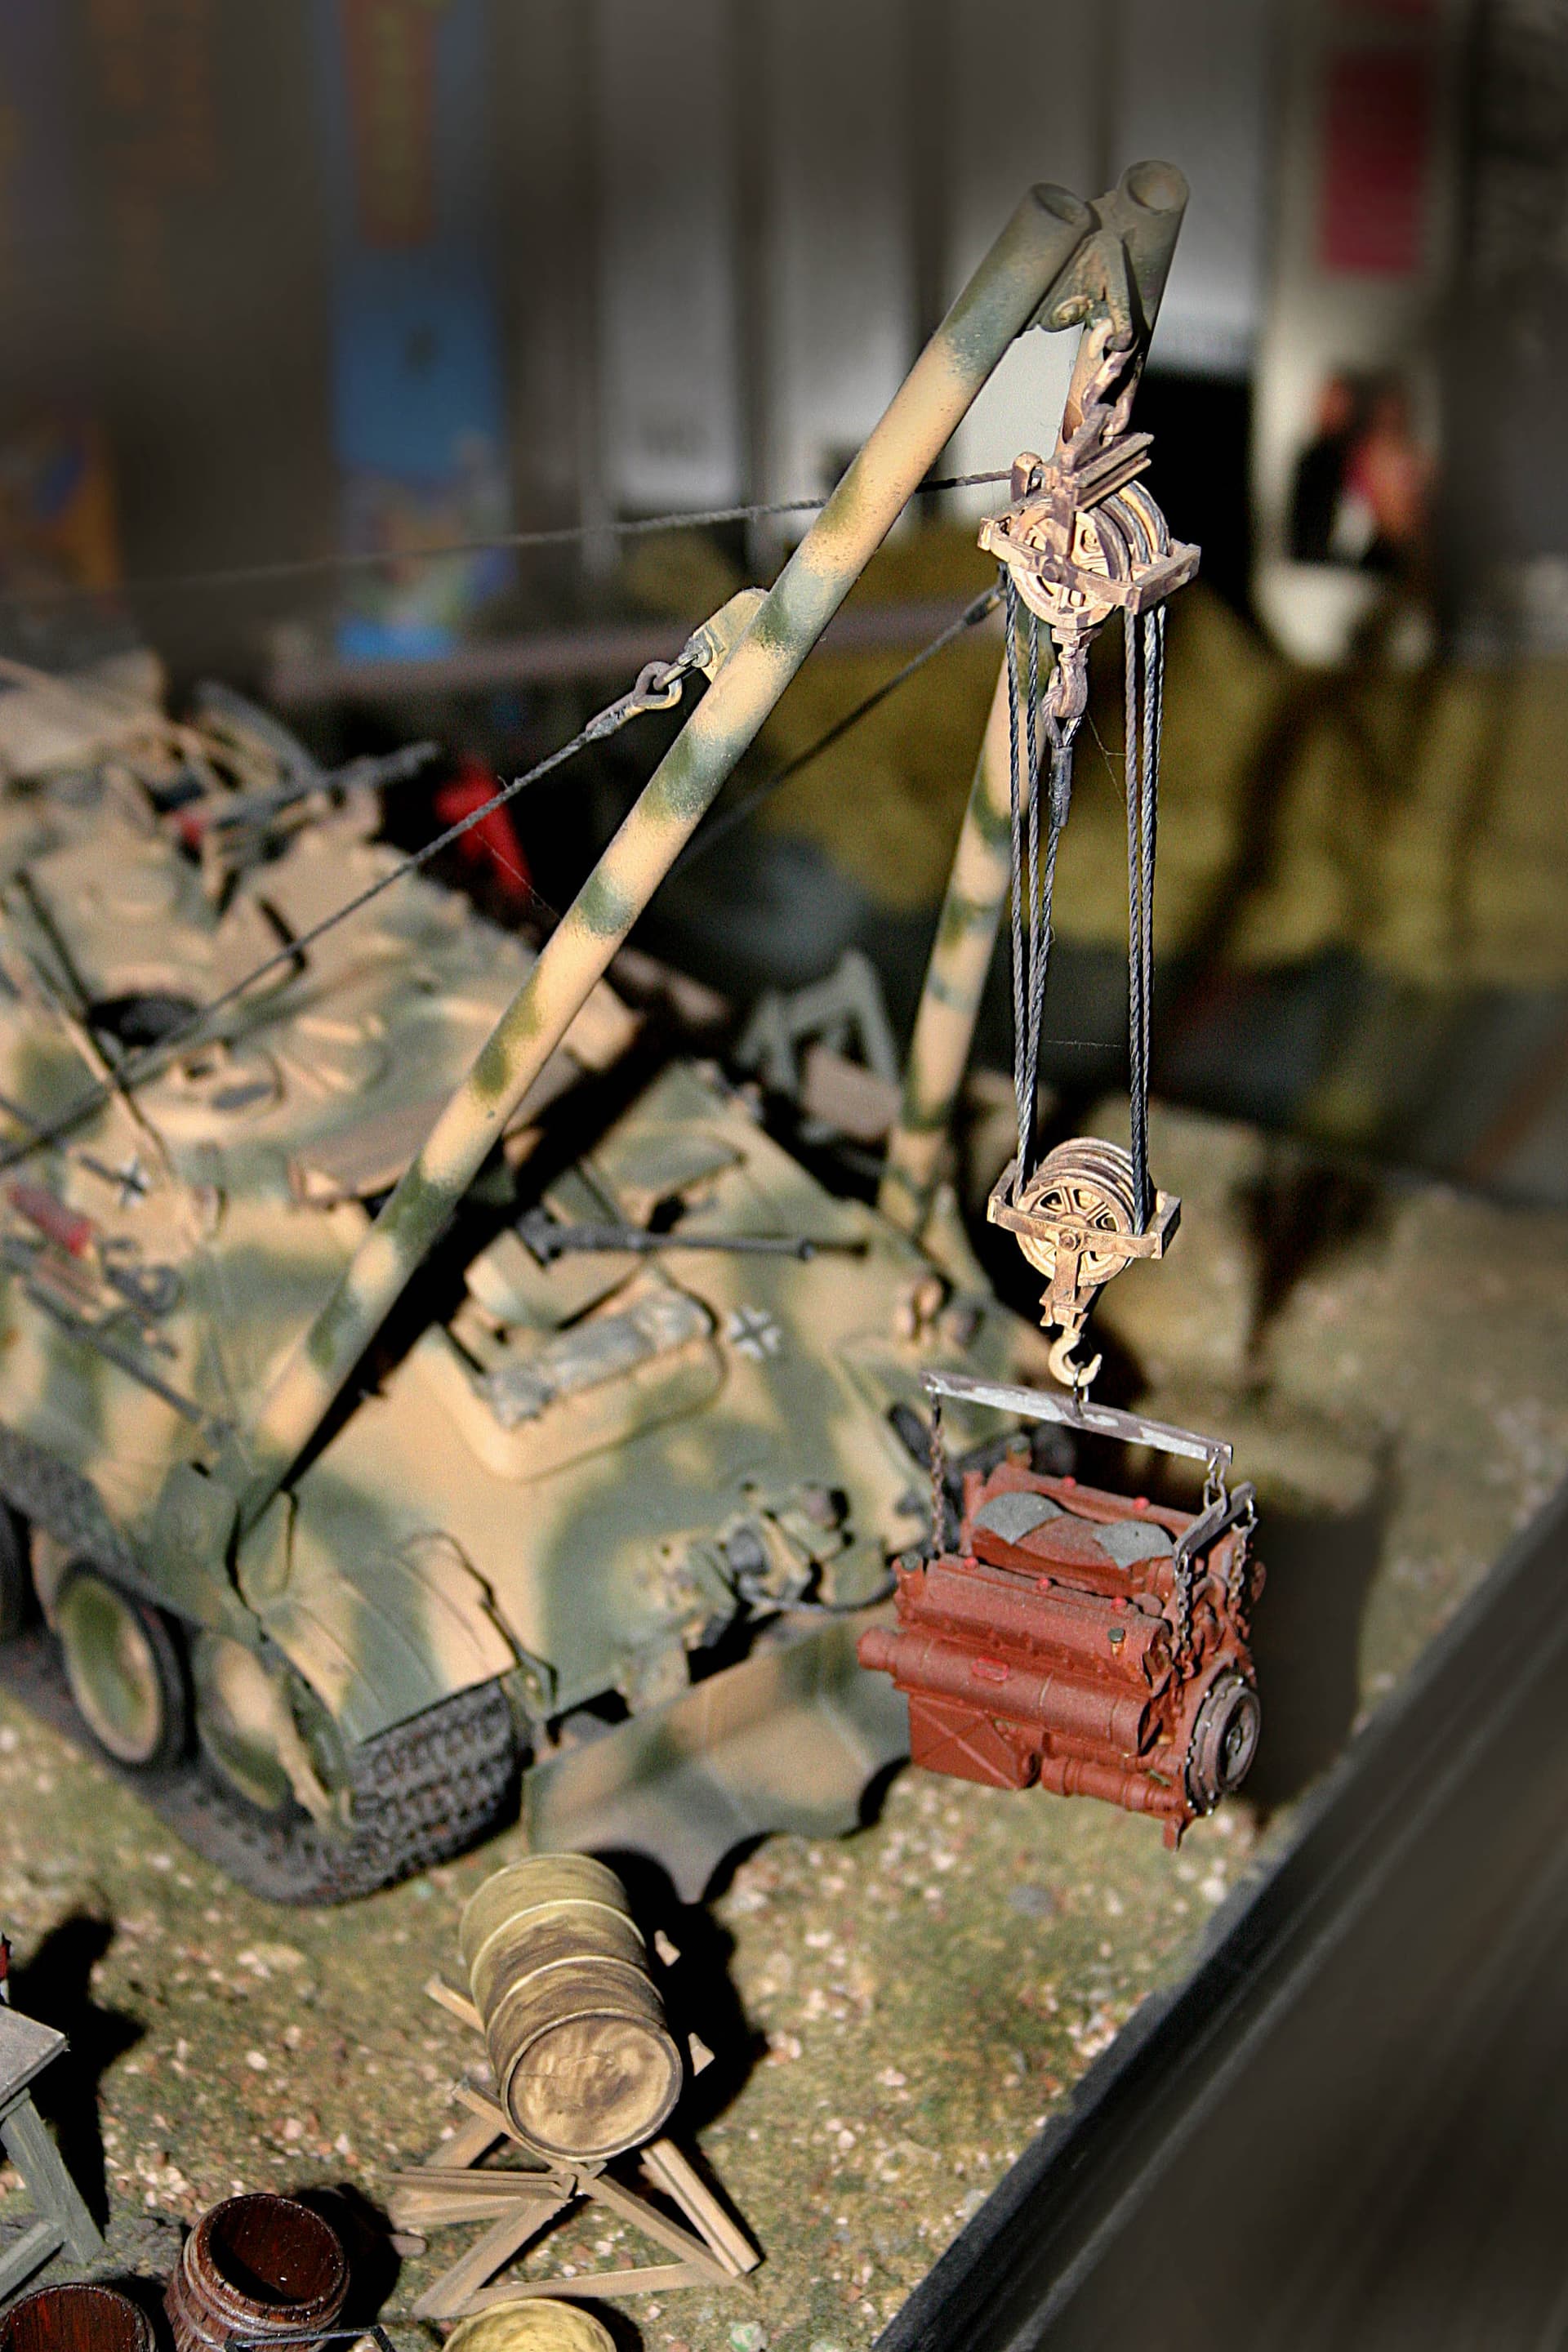
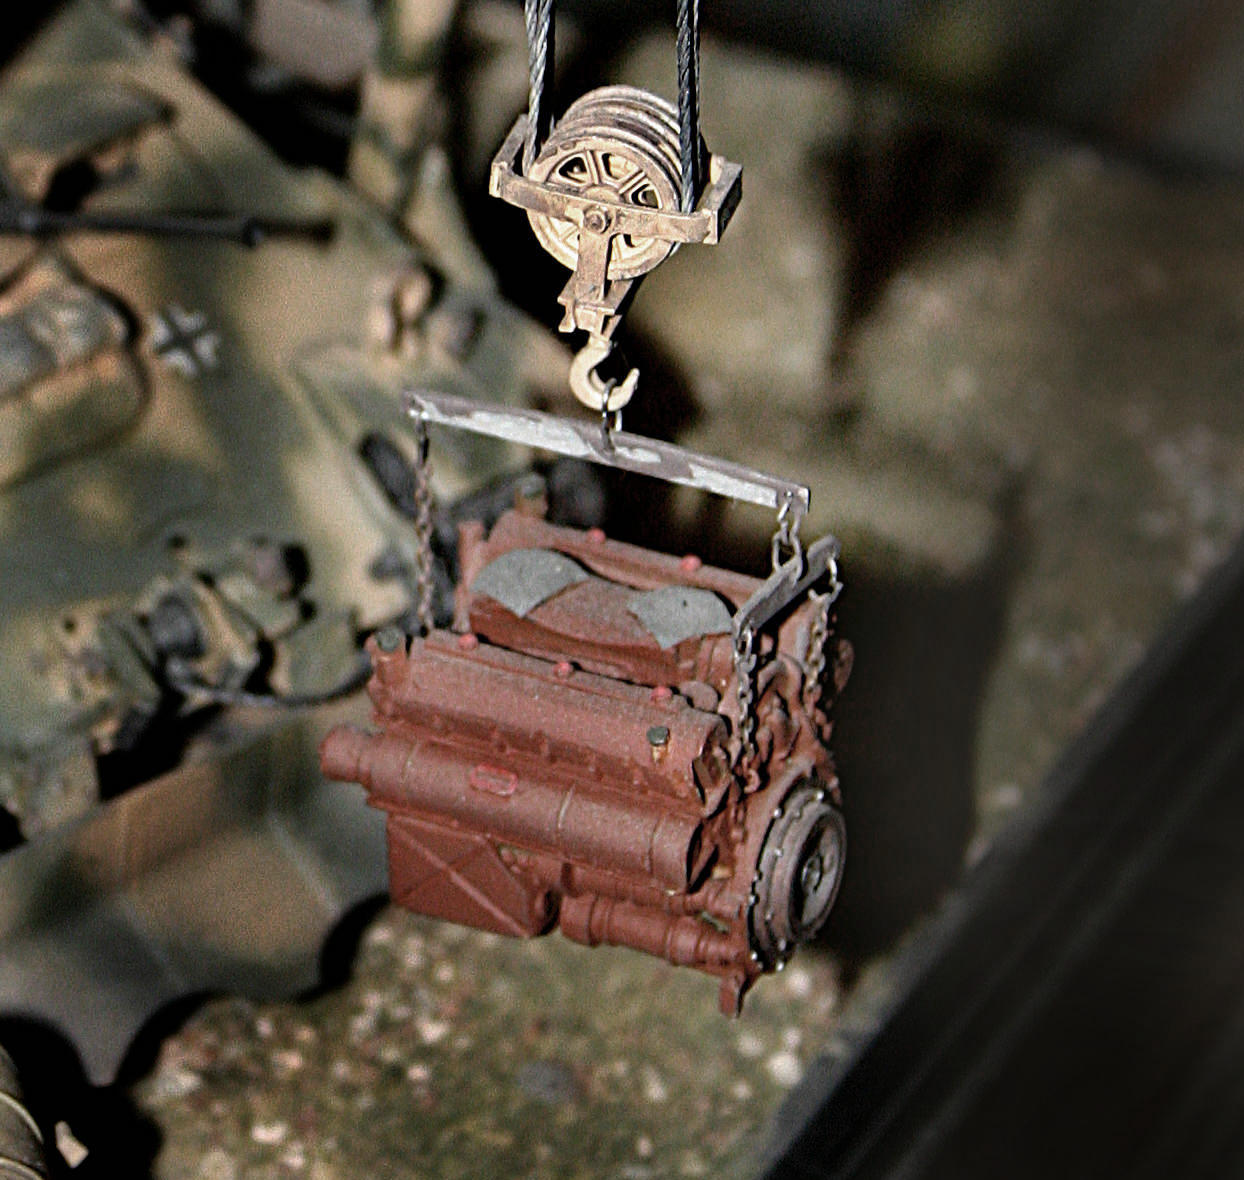
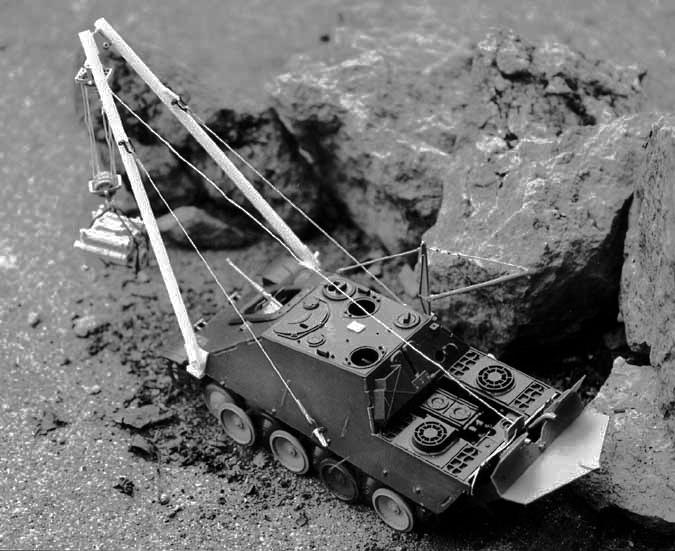
Just showing this “what if” scratch & conversion to give this thread a bump and keep things moving.
Appologies that the photo quality is so “all over the map.”
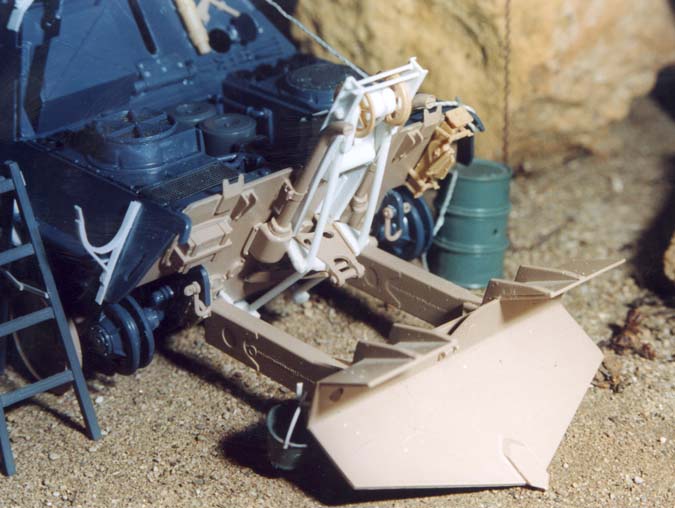
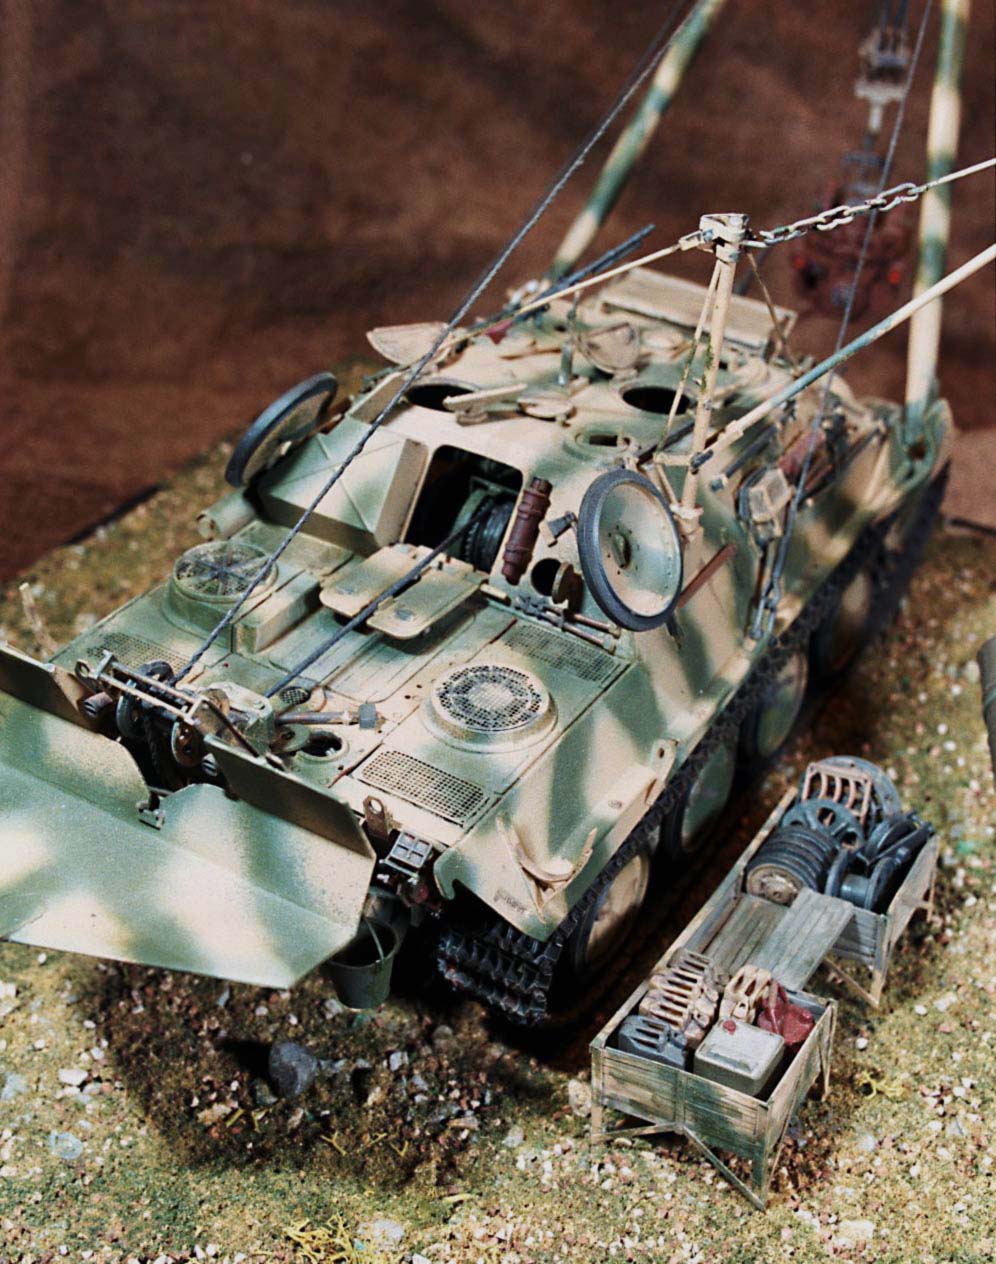
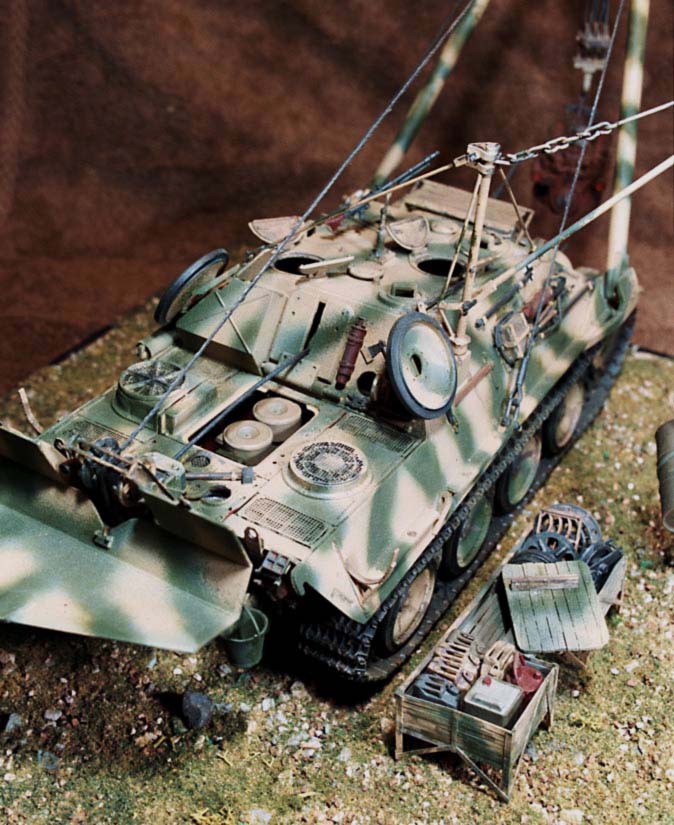
This is a combo of a Jagdpanther, plus Bergepanther, plus a scratch built boom, haul back, block & tackle and the tool crib. (The forward plow is a modified spade from the Recovery Famo AM set.) An individual track link set has also been added.
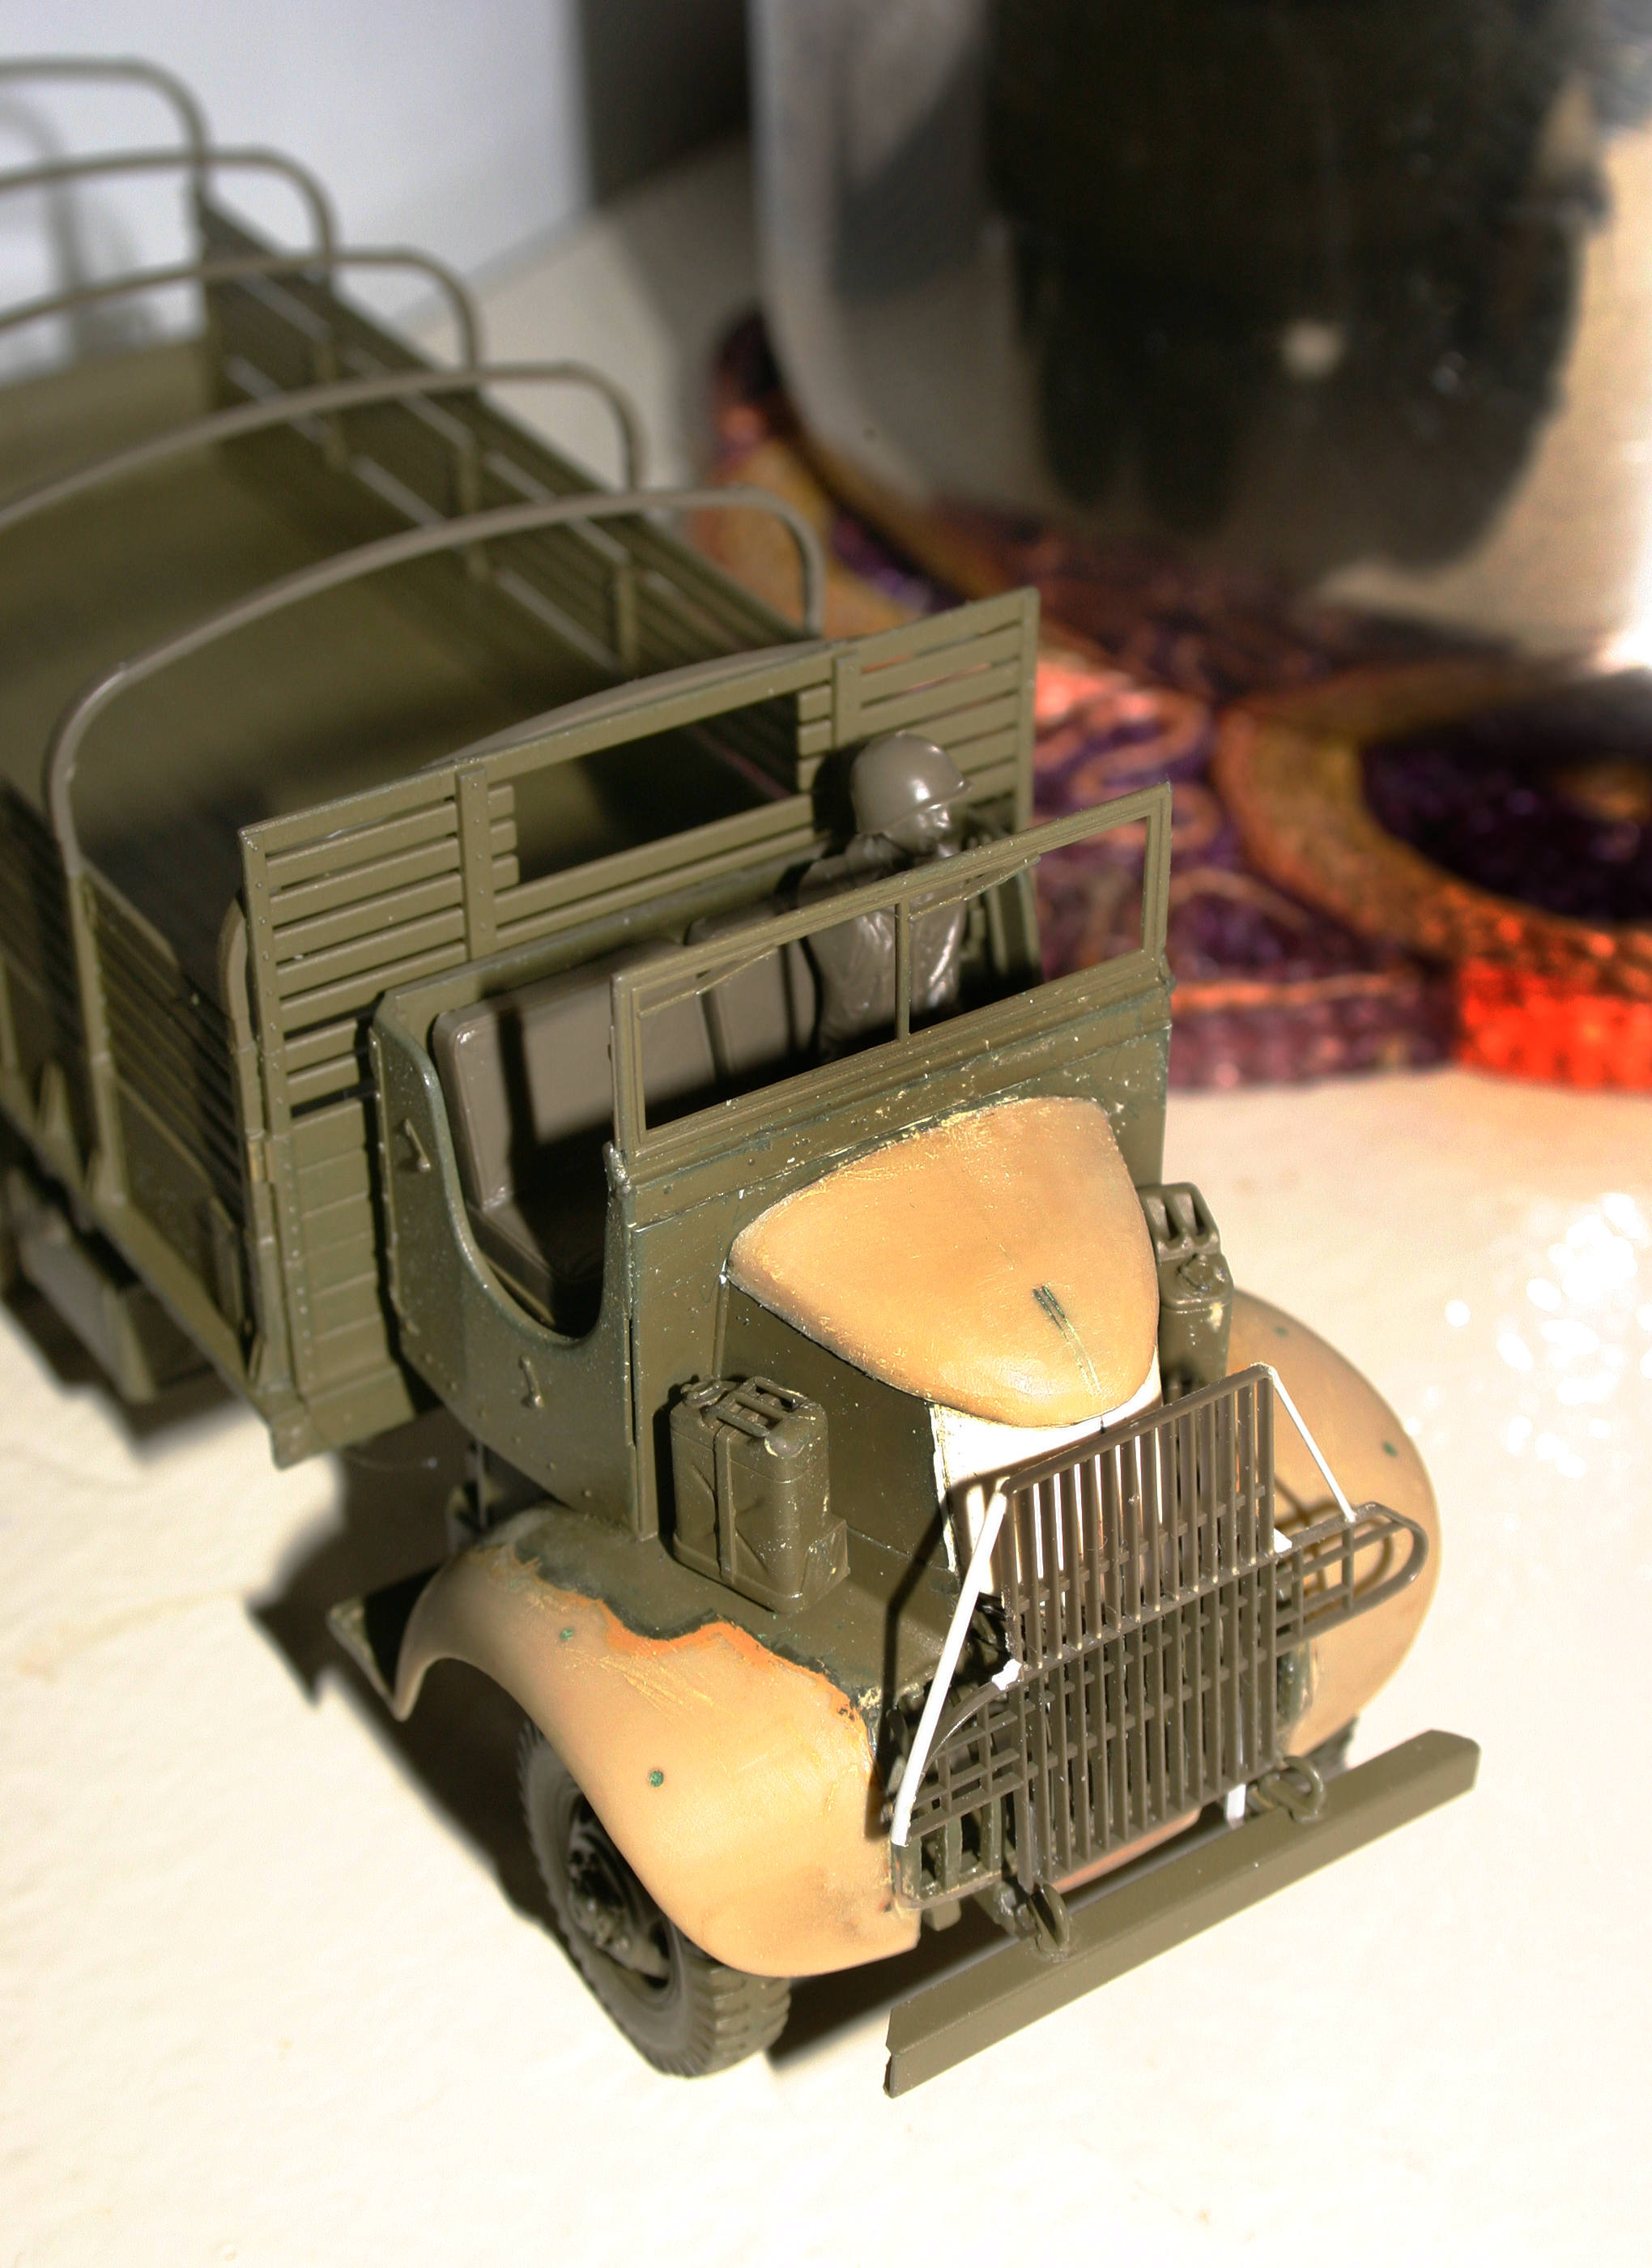
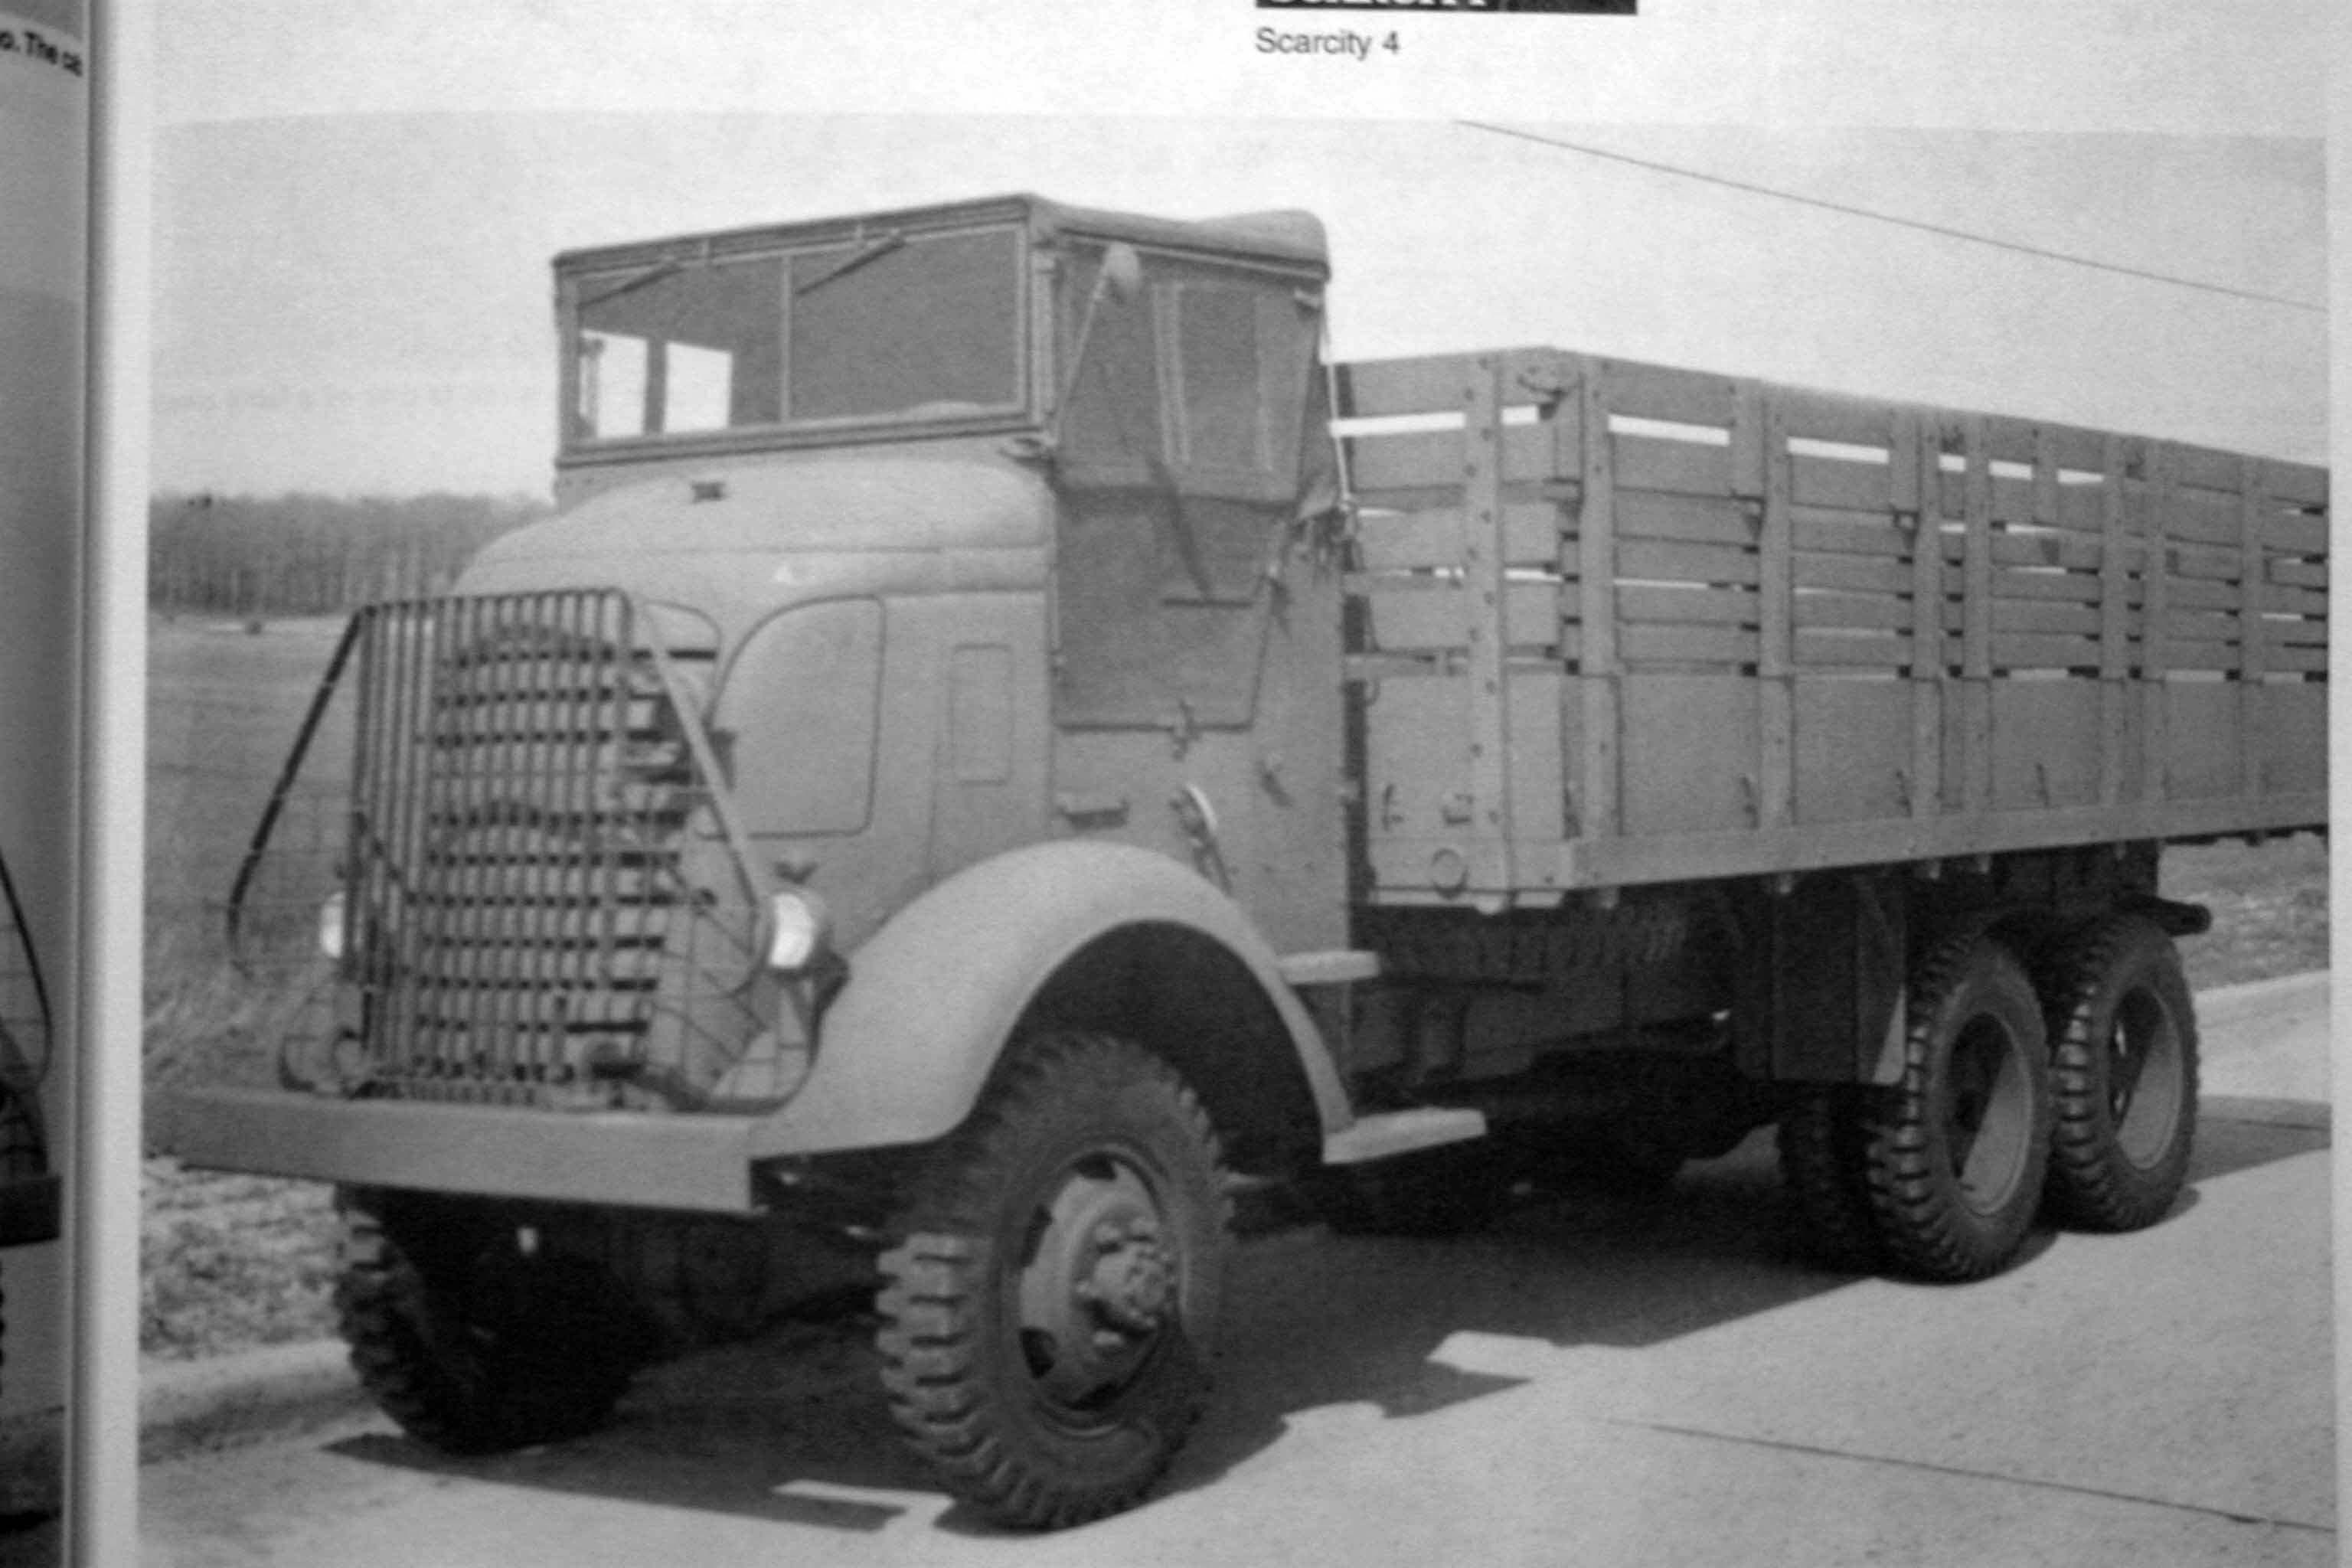
OK, admittedly this conversion build is a bit of a free-lanced abomination but I really wanted a long body COE and would not/could not afford the price of the full resin European kit. (I tried to buy just the resin cab molding from the company but they were not interested.)
This Rube Goldberg AFKWX Cab-over started as a standard length Tamiya chassis. I then joined two Tamiya load boxes to make the extra long load body. That COE “cab” is a combination of the Tamiya Long Range Desert Truck fenders and grill, just a little bit of the LRD hood, plus a standard Tamiya open cab from a CCKW and a few scratch parts. The tall brush guard is a combination of two standard grills plus a few extra pieces.
I choose to refer to this as a GMC, shop built, first off, hand made prototype.
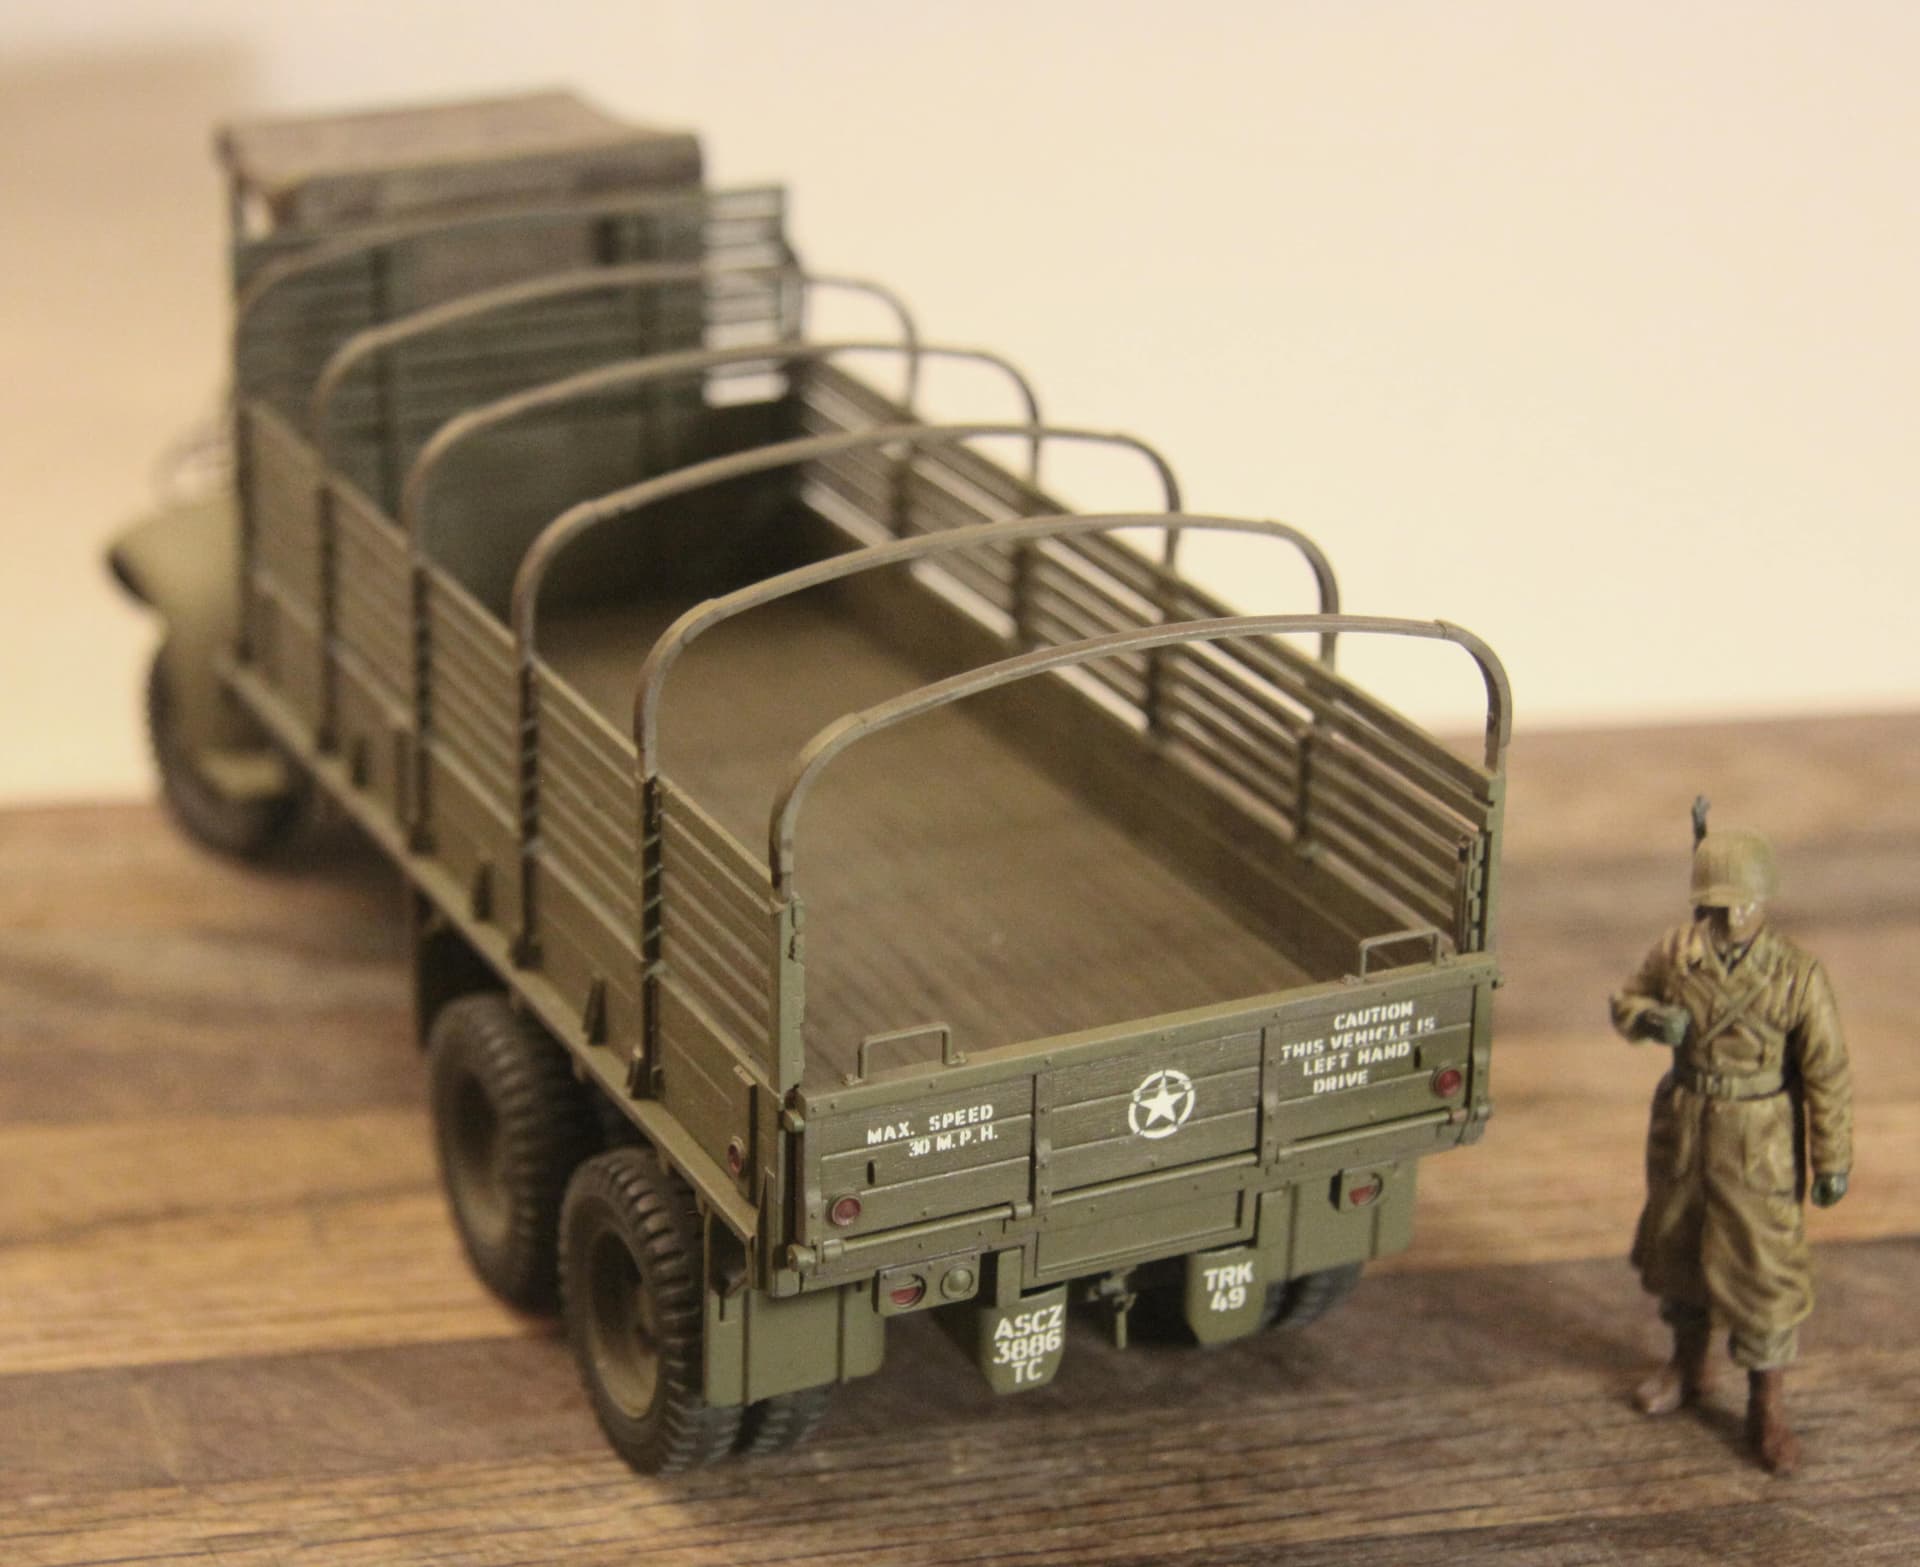
As to splicing that load box:
I have become somewhat adapt at cutting and then splicing styrene body parts together. I coat both sides of each part to be joined with an application of regular Testor’s model glue/solvent. I then push the two parts together while holding them against a firmly anchored straight edge to completely distribute the solvent.✱✱ I then pull them apart and give the solvent a bit of time (a slow 10 count) to really soften the styrene. After that I again push the two pieces together FIRMLY against the straight edge applying as much hand pressure to the union as possible, this allows the two plastic parts to truly become one. This process usually only takes one to two minutes of pushing and then you can release and allow the parts to re-harden over-night.
✱✱ Care must be taken in preparing the two mating faces of the plastic parts so that they are truly flat and the surface faces meet solidly. This is no time to rely on the “gap filling” properties of the glue/solvent. You want these parts to join solidly in order to become ONE continuous piece of plastic! (This also makes it possible to carefully sand away any visible seam between the two parts because they are now really just ONE solid part.)
I’m curious that this thread has (as far as I recall) avoided mentioning 3D printing (apart from an aside I made in my tram-trailer contribution), or if it has not in great detail. I’m not sure why, it’s surely the present & future successor to old-school styrene scratch-building. Is it because we’re the Last of the Old Fogies?
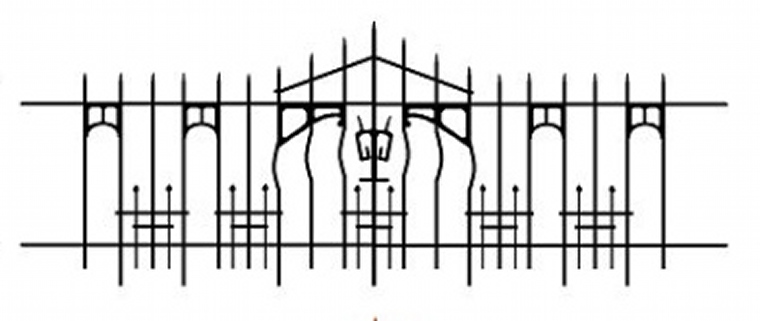
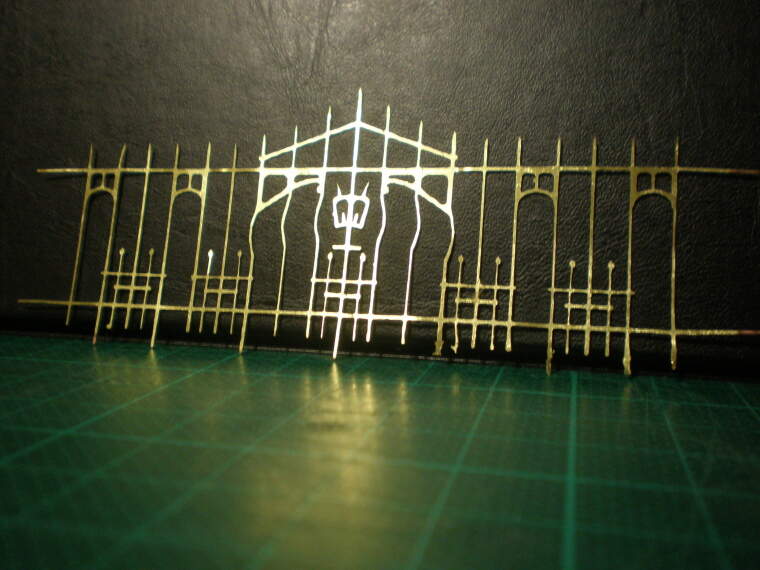
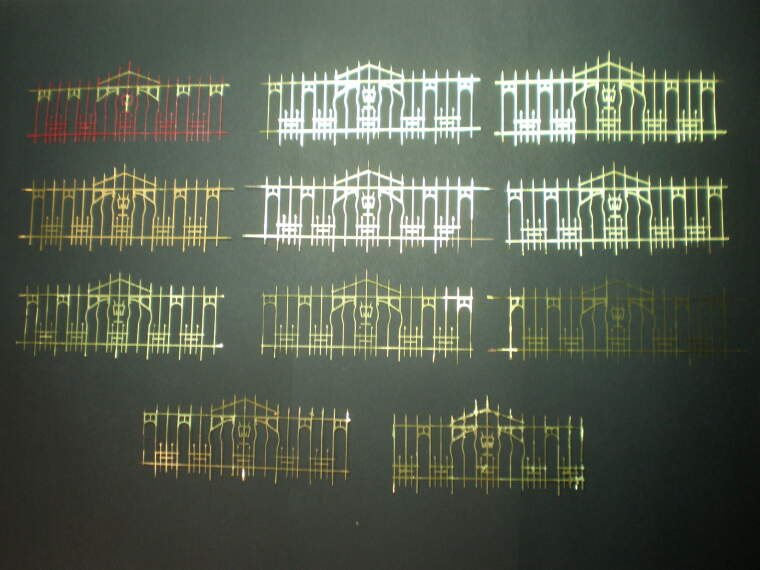
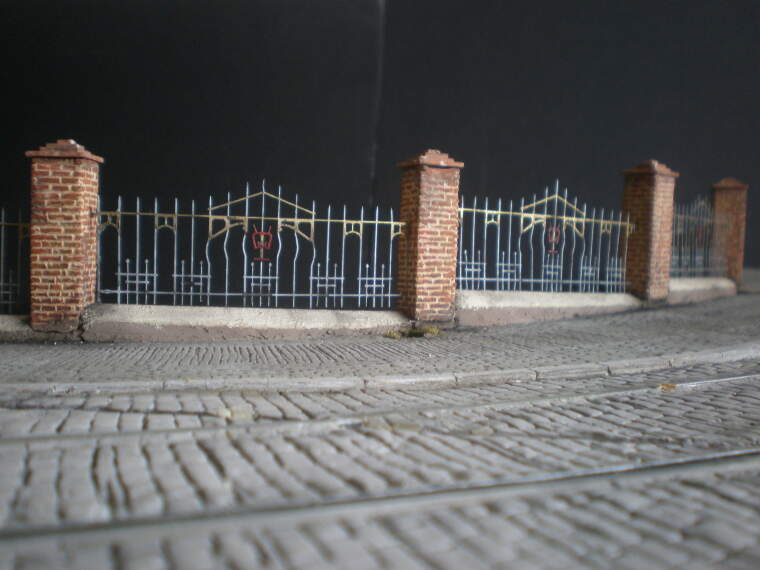
Trundling that train of thought on to the next station, is there anything 3D printing can’t handle very well (if at all) yet? I think so – very fine/thin/delicate elements. For some time photo-etch brass has been the default solution, but only if a manufacturer provided it. Which is where my train of thought hit the buffers two years ago, wondering how to make a bunch of unique park railings for my aforementioned Operation Anthropoid diorama.
To my knowledge nobody else (in Kitmaker forums) has attempted DIY photo-etching, not even since I did. Here’s the link to how I went about it:
Anyone who is seriously interested should read that thread right down to the end result, because I learned a lot along the way. Initial outlay’s not so cheap but the materials will make way more than I needed. What’s possible is, as they say, only limited by the imagination…
Custom photo-etch used to be the fair haired child of the model railroading faction. (20-30 year ago.) Ornate custom tail-end passenger observation car hand railings probably being its’ first use.
I think you will find that laser-cut card stock is about to replace photo-etch. (I am close to showing some very shortly, as in relating to my fire truck conversion.) The Laser-cut system could have easily burned-out ten or fifteen fence sections such as yours (or more) in an evening with no chemical muss or fuss and no dealing with acids.
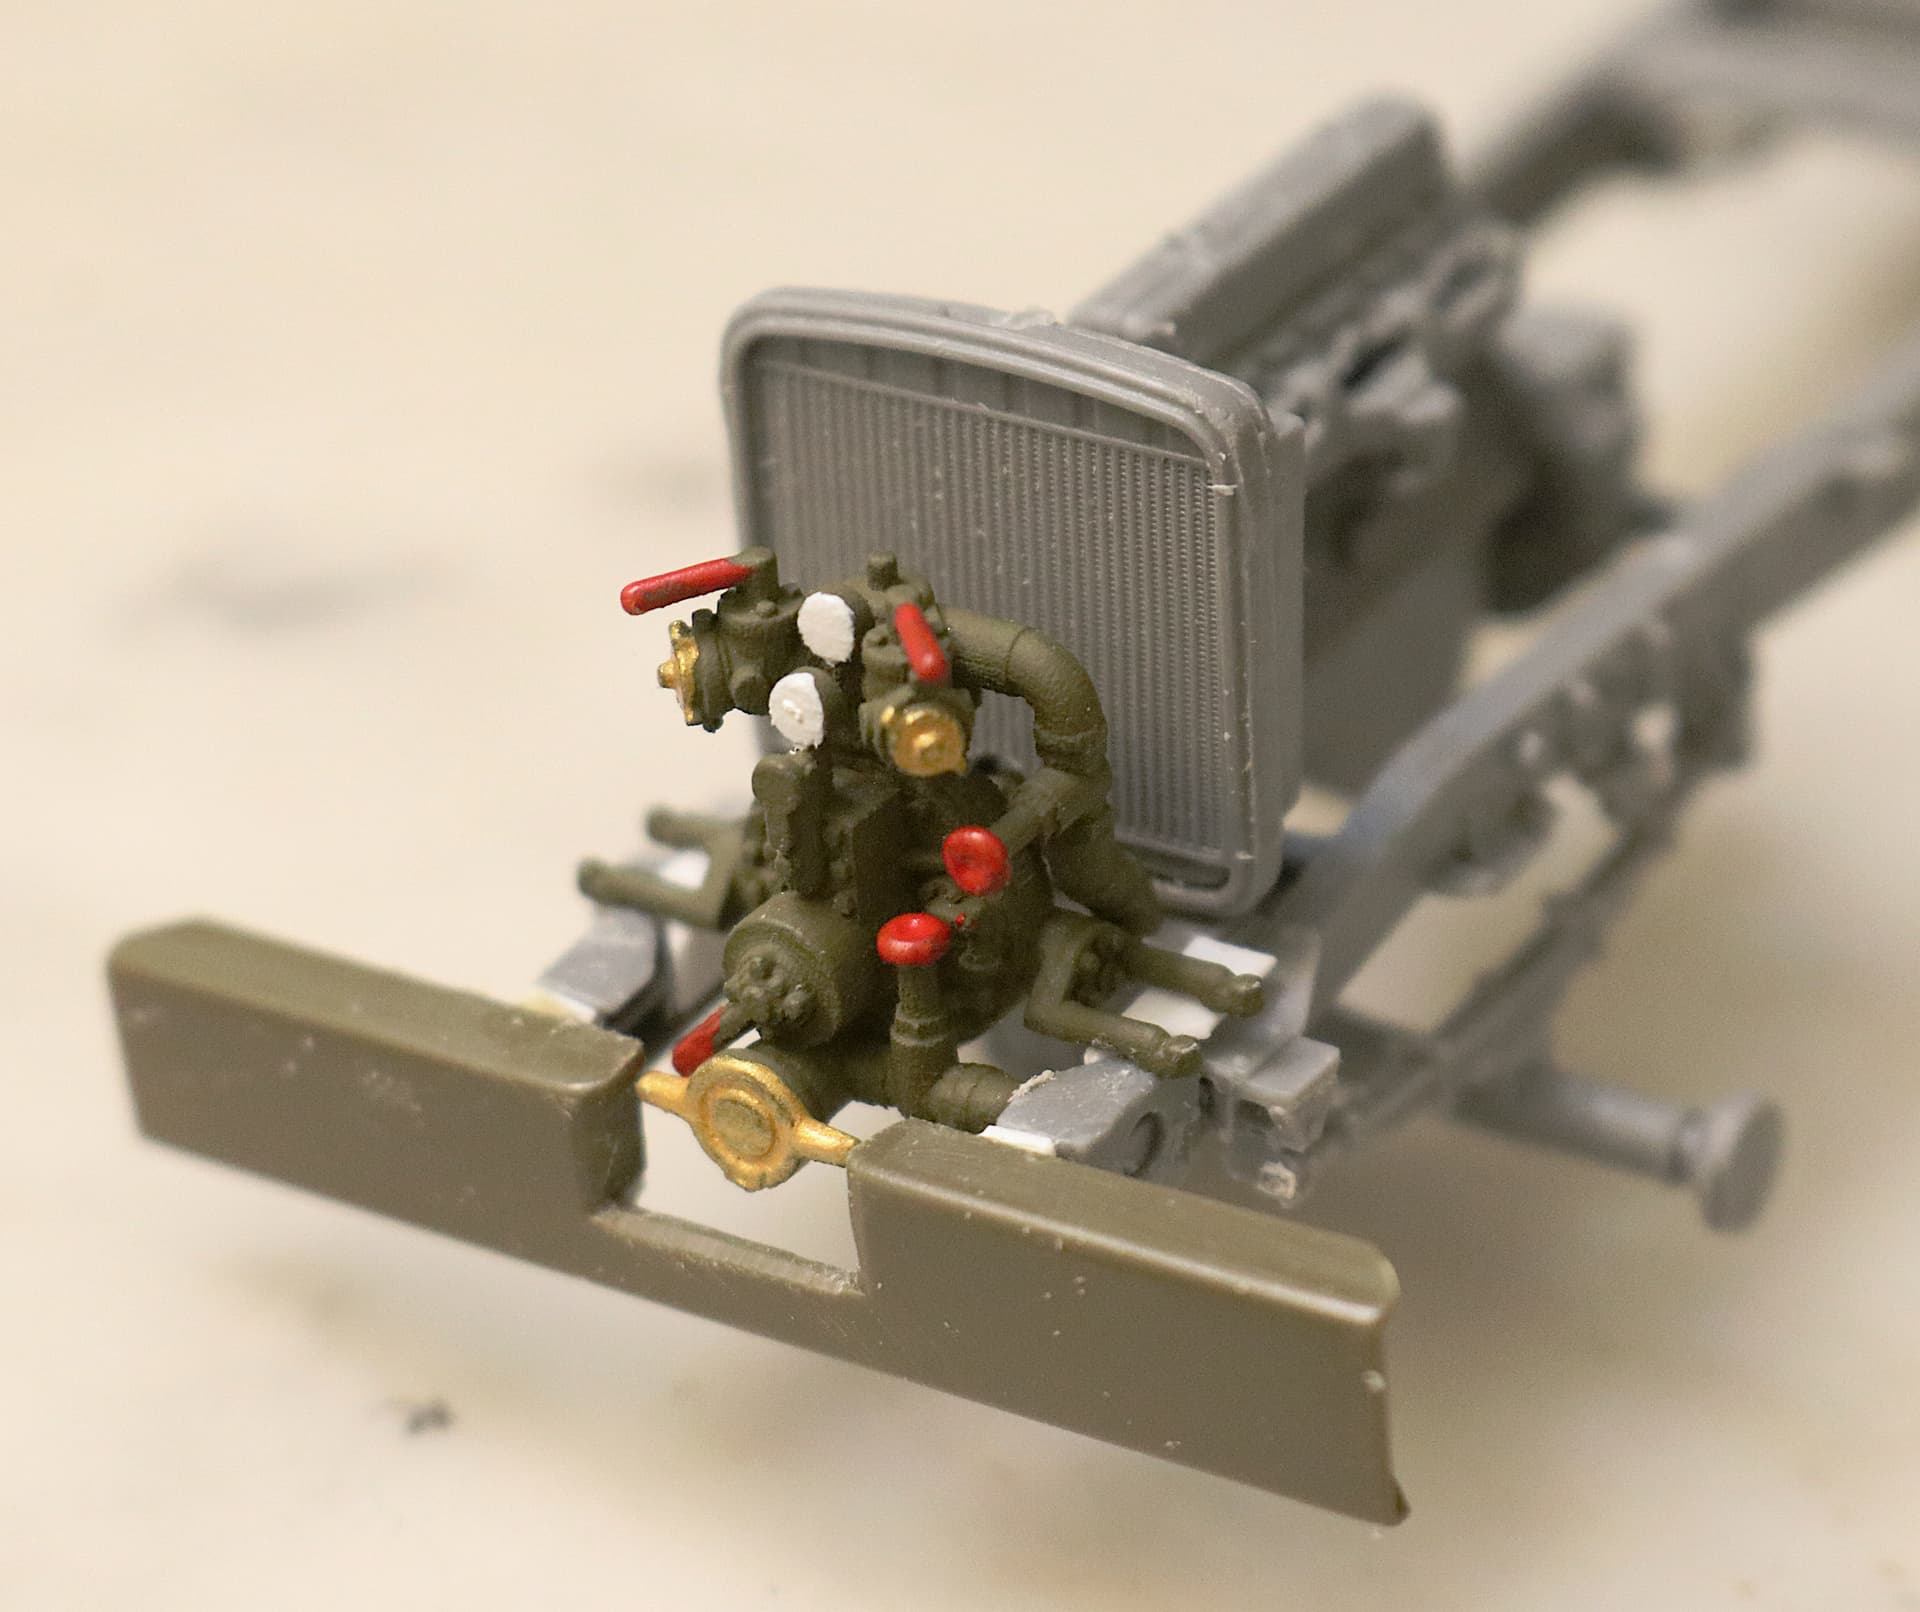
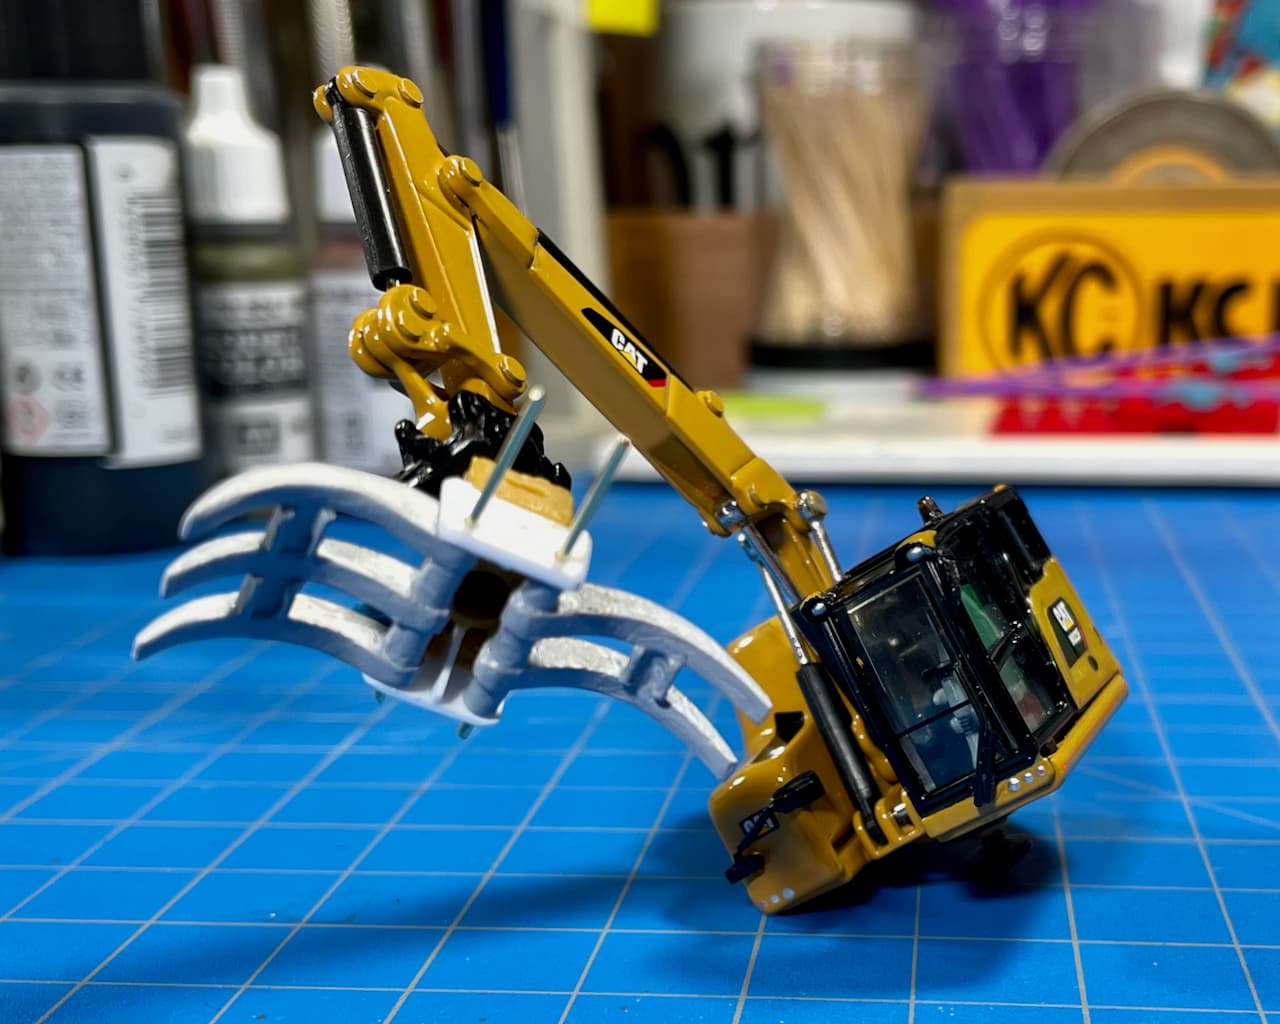
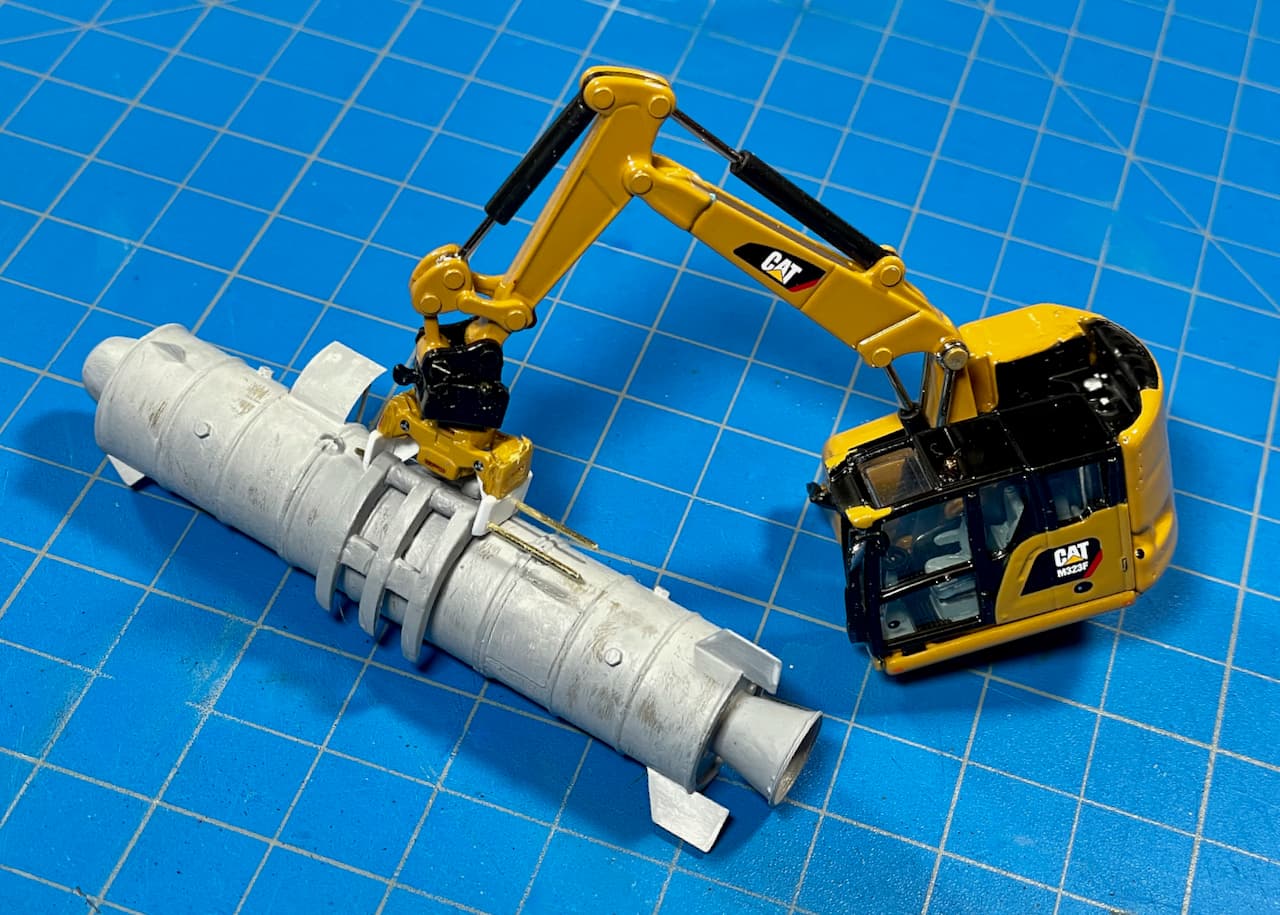
As far as 3D printed parts go; again I am already using a 3D printed water pump in my fire truck conversion plus assorted hose fittings, tools, extinguishers, etc.
The 8x8 conversion of a Mk 23 truck I posted several years ago contained six major frame parts that were 3D printed. That lucky find saved me A LOT of scratch building time.
Unlike some in the hobby I do not consider 3D parts as “cheating”. I look at them as no different than any other after-market part that someone else designed and made that I have now incorporated into my build. If we were to say “we should out-law 3D printed parts,” then I think we have to also give up resin AM, as well as photo-etch. AND laser cut!
All Mk23 long frame chassis have these same frame stiffeners. I was lucky enough to find someone who had already produced them as 3D prints. (Set now available from Shapeways.)