I here you that. My etch set came with the kit - it was second hand. So much of it is not going to be used. Aber even gives you parts for the inside of the cargo bay walls, which will not be seen unless you open the doors, but then so much other detail is non-existent.
The front screens, side screens in the hood, dashboard, tool clamps, seat mounts, pedals and attachment plates are about all I’ll use. 1/4 of the fret at best. No way I am even going to try and build the gazillion part etch windscreen. At least that can be used for brass strip for scratch building less insane parts.
Some of the other bits will probably be recycled in the Tamiya Horch 104 I have. I scratch built it all last time, but maybe the etch will be faster when I get around to that.
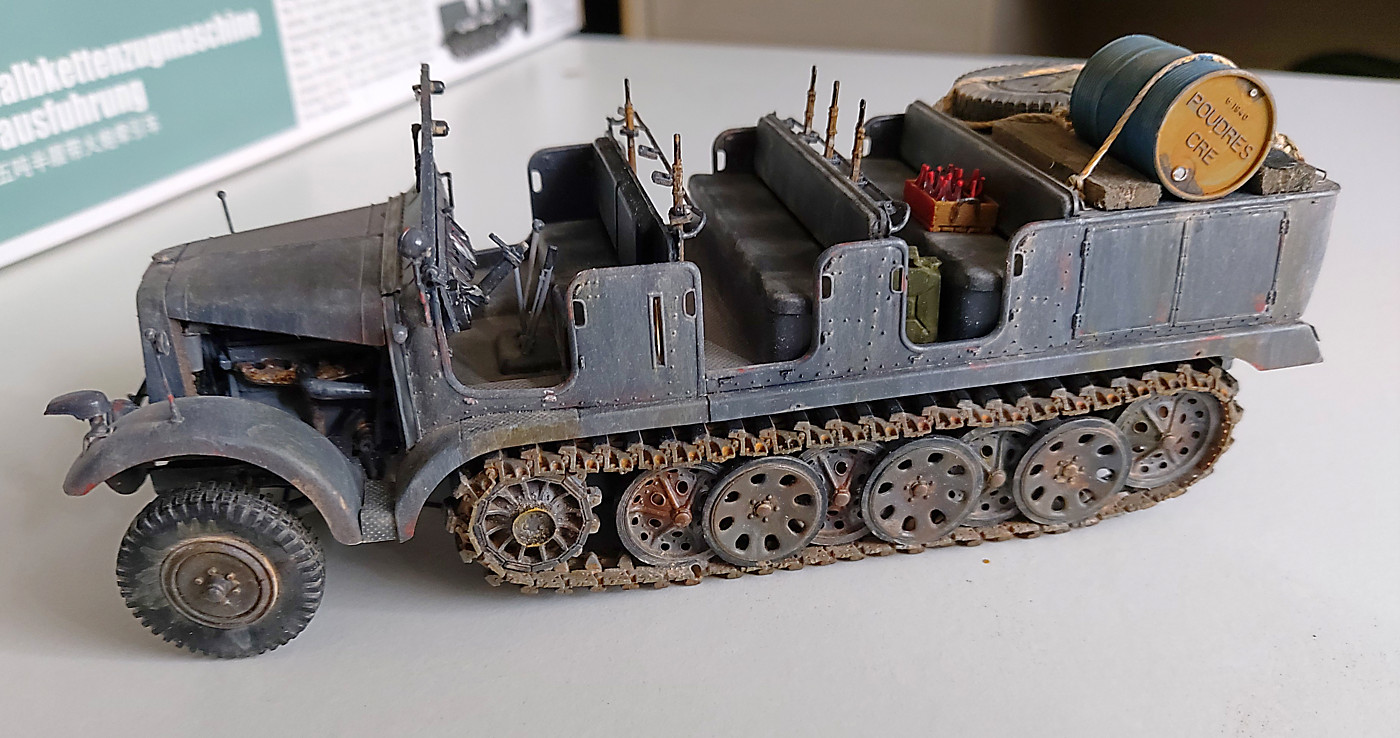
The railing isn’t a real issue. I could use some brass wire. The holder/clamps are just too chunky. To compound the issue there are 10 gun holders and Trumpeter only give you 8 rifles. So the empty holders look too big.
But I’m not finished yet so plenty of time for some cheating!
bruce
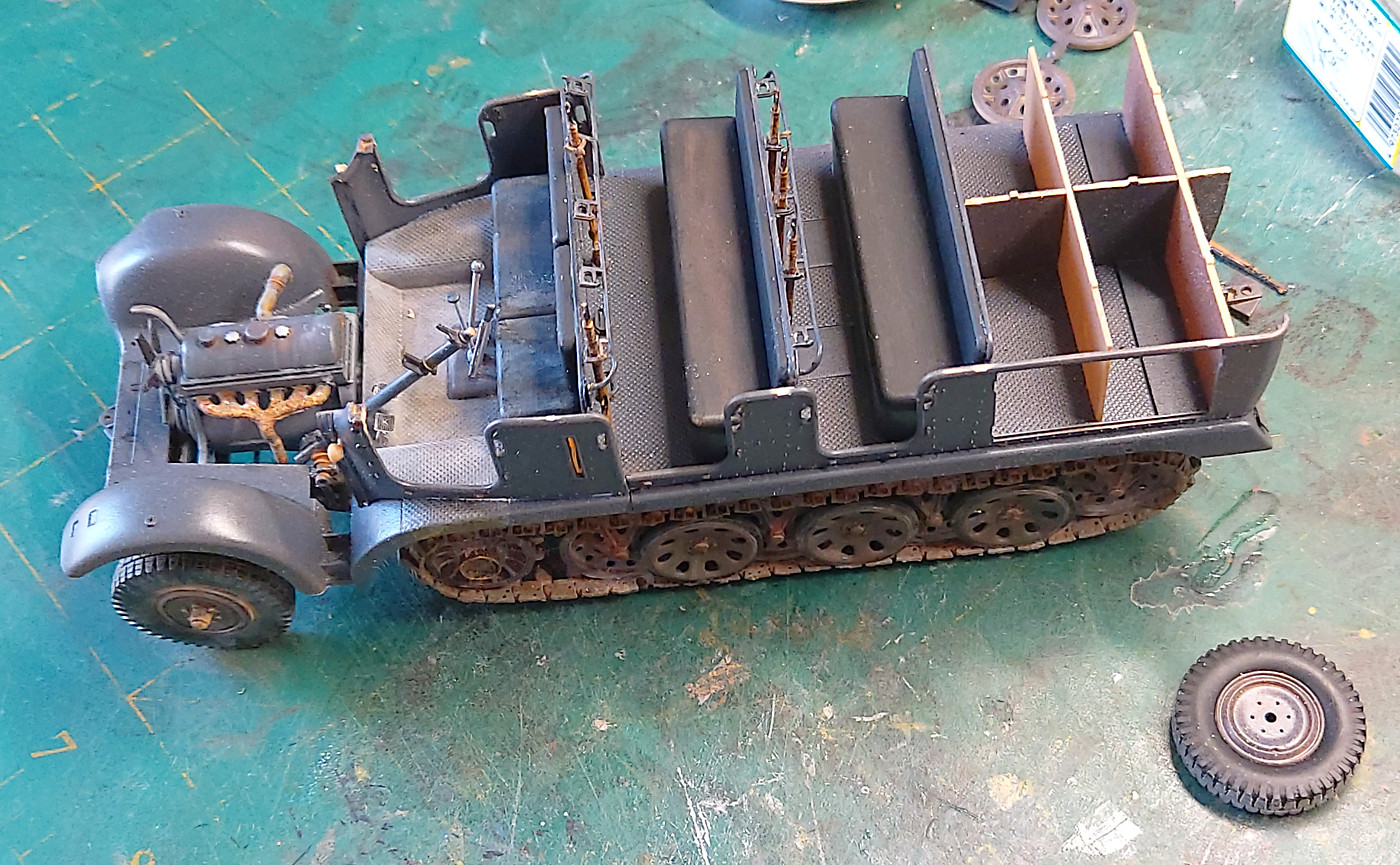
Some dry fitting. Oh and the spare wheel? Er I forgot to put it in place.
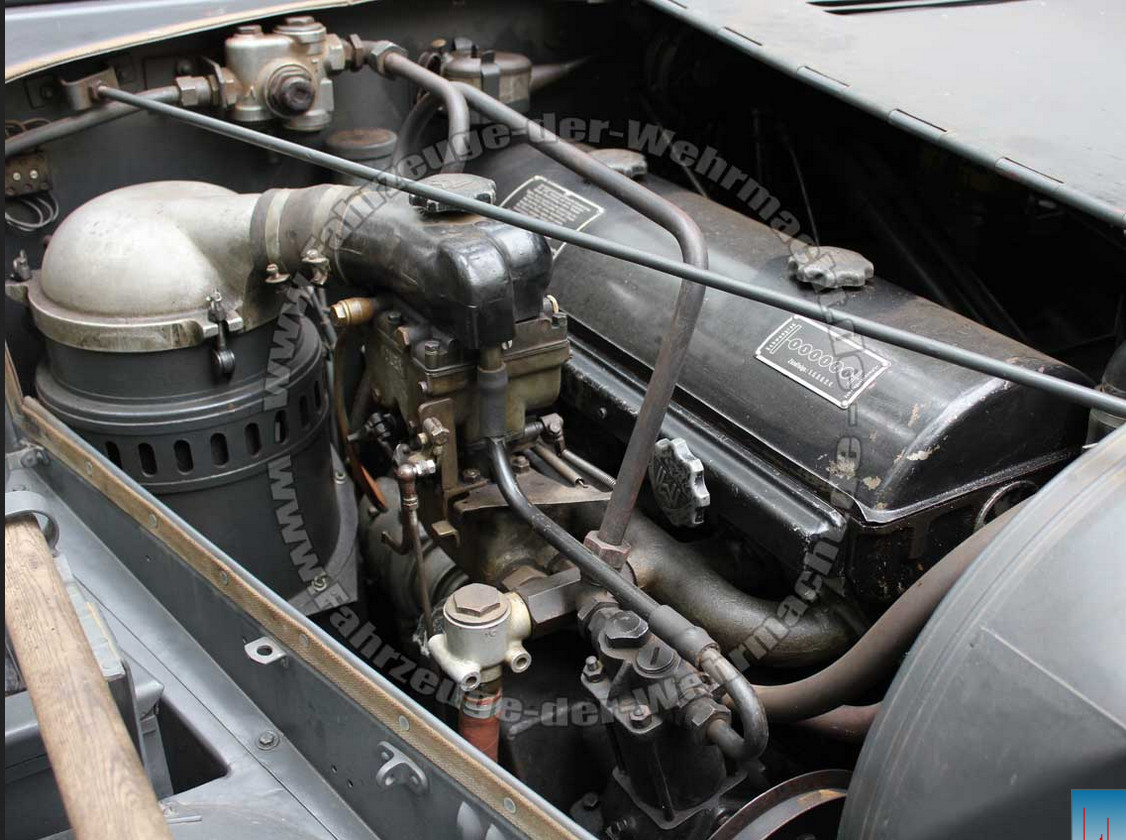
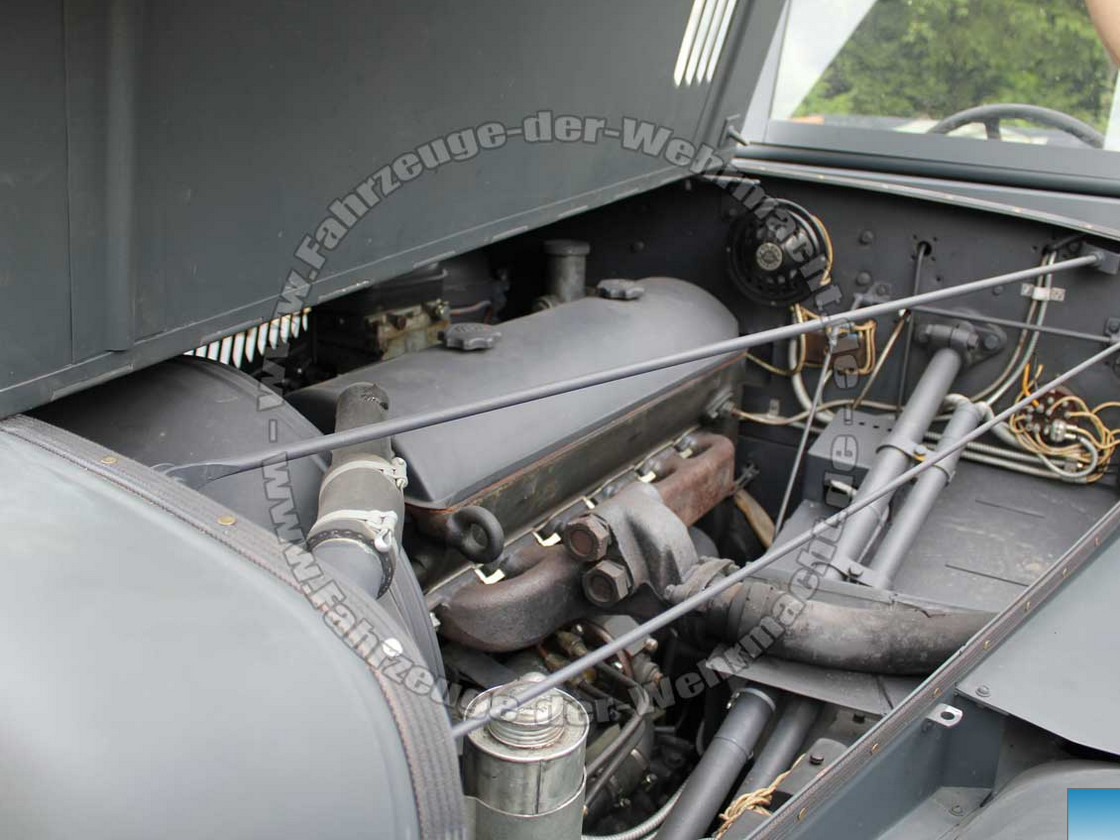
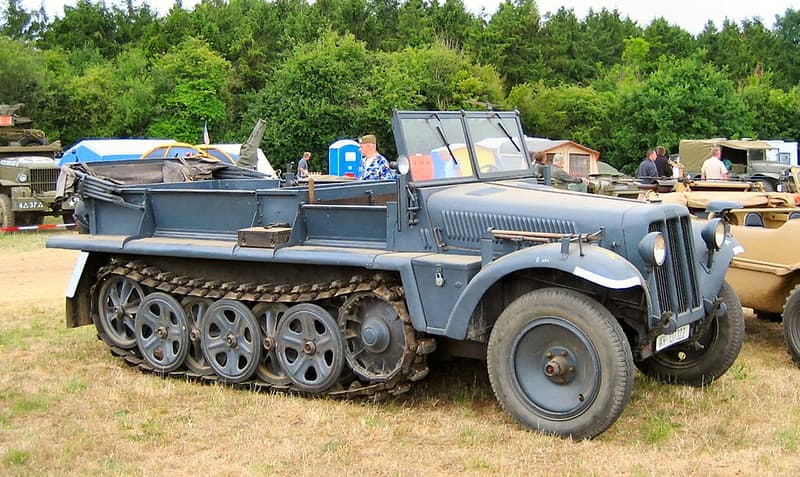
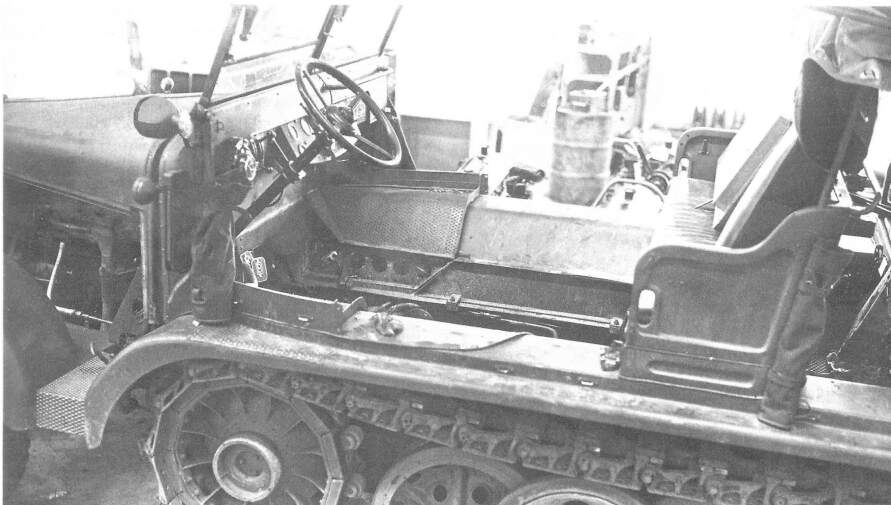
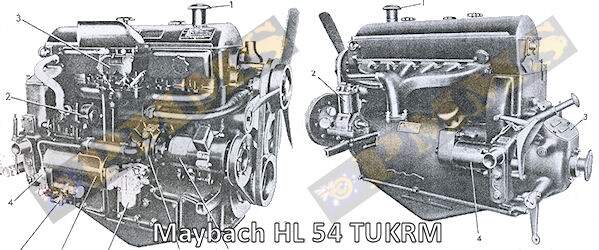
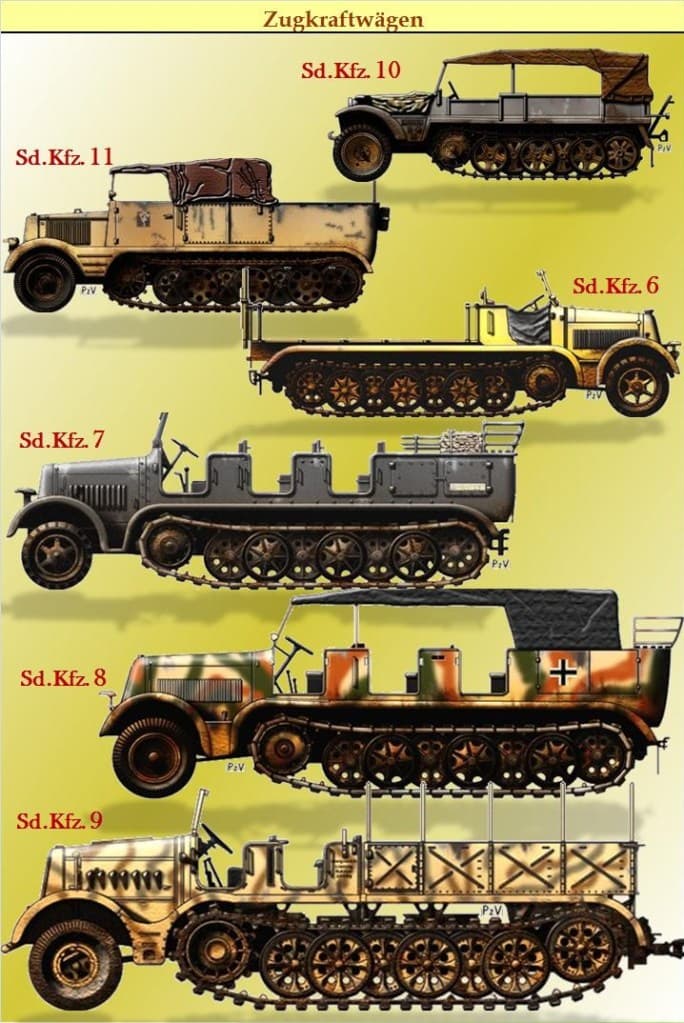
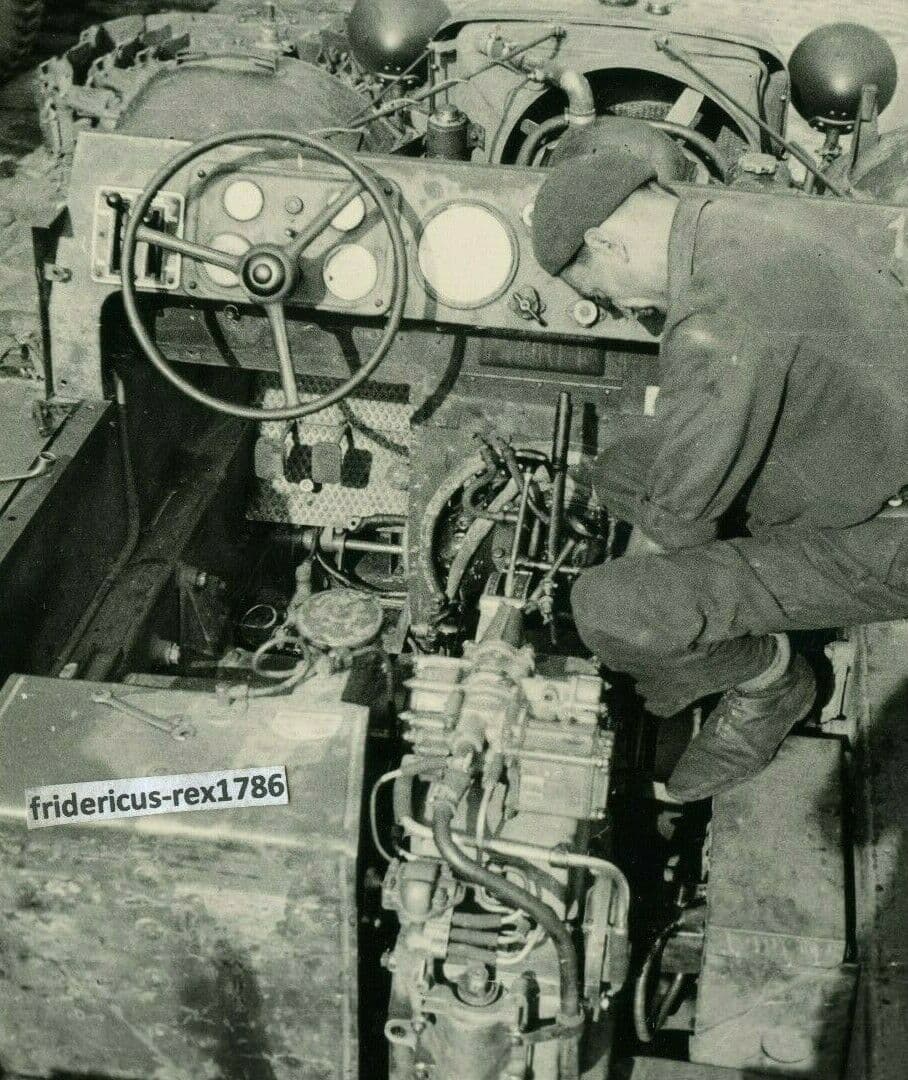
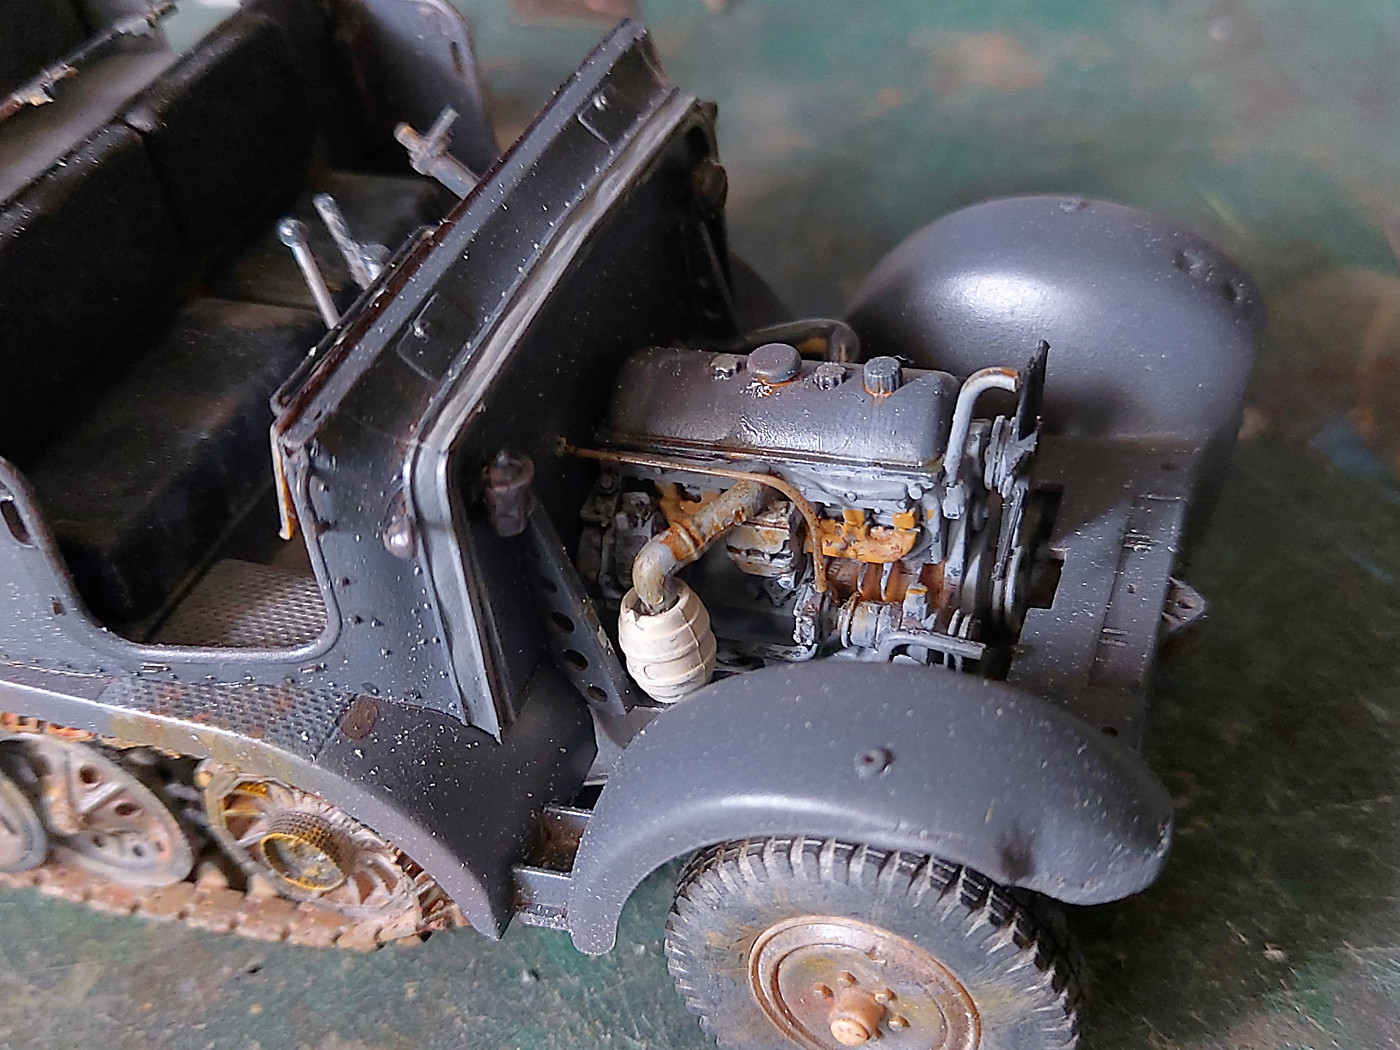
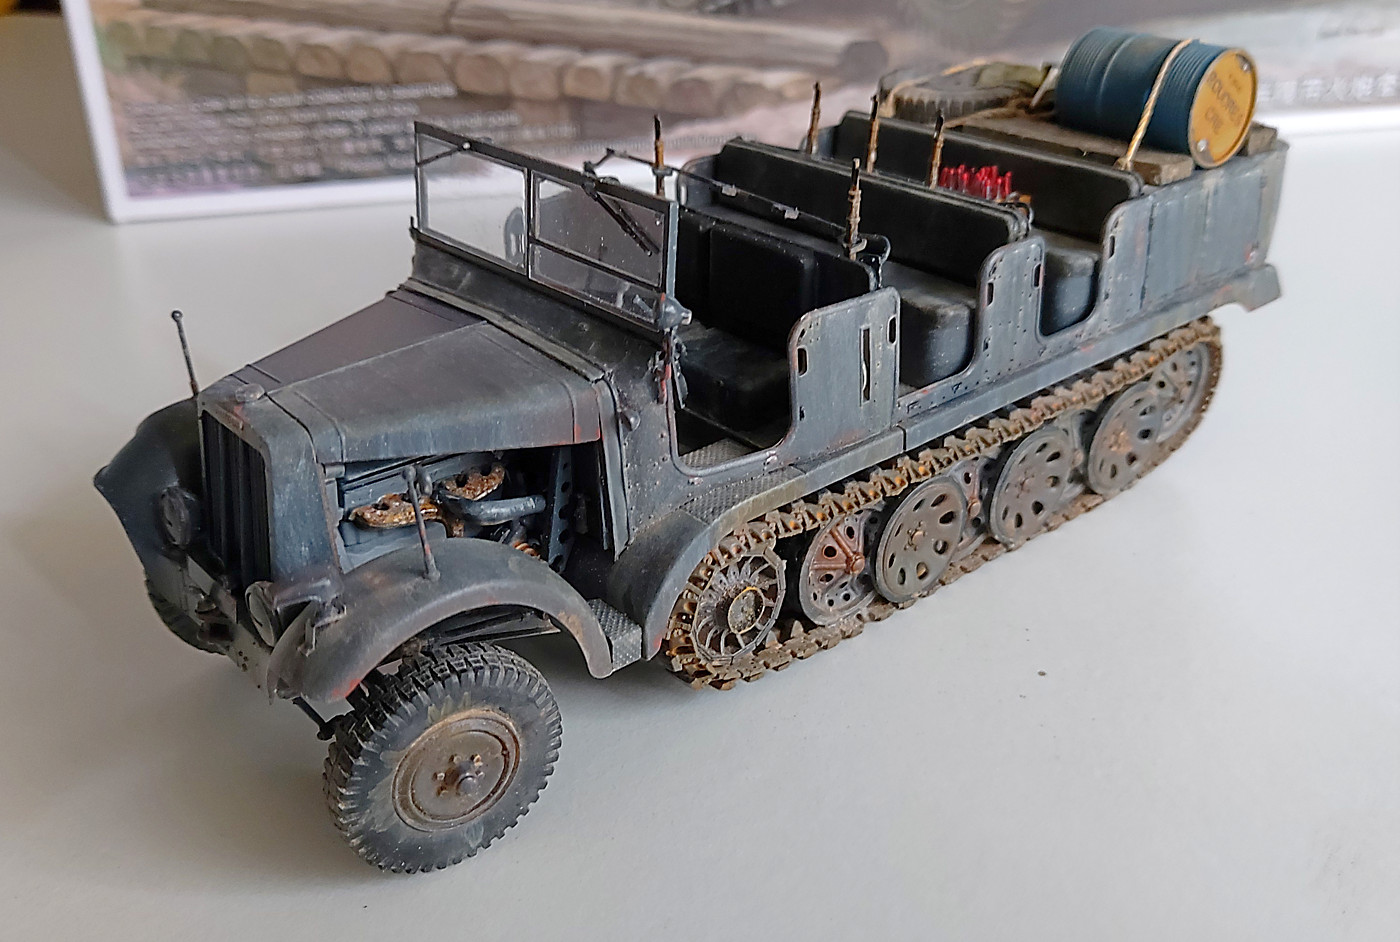
Nutha dumb question. I’m leaving off the hood sides so the engine will show. Yeah I know it’s the wrong engine. But I’m going to try and base my engine on the below images. Yes is will be a Frankenhalftrack. So what am I looking at? I’m under the impression it’s a Sd.kfz.6. And yes the Trumpeter is a ??? But look where the steering column is. The kit is a way sharper angle. The images show the steering column heading at a lower angle towards the front. Where there variations or has Trumpeter really had a brain fade?
The air cleaner I can make up. But is the image below half right?
Remember I’m not rivet counting but I do want something half believable.
Thanks petbat. I have the http://fahrzeuge-der-wehrmacht.de/Start.html site. It’s confusing because the Trumpeter kit has the wrong engine. So I’m trying to cobble something together that never existed. Just the same I want to go just a bit further than the kit engine. I’m at the point now where I will make it look ‘ok’ without being a copy of anything that existed. (I traveled to Germany quite a bit on business. Spoke and read a bit of German but have now forgotten most of it. My browser nolonger supports a translator so I’m guessing a bit. Well maybe more than a bit).
Even though the Trumpeter kit isn’t that accurate it has given me some food for thought about building a series of halftracks. The PMMS wasn’t all that flash about the Bronco version either. But it is what it is.
The 88mm I’m putting behind the 6 is an AFV Club kit. That will give me a feeling for AFV Club.
When you look through the many web sites you can find so many variations a halftrack. From ambulances to command cars. Lots of potential.
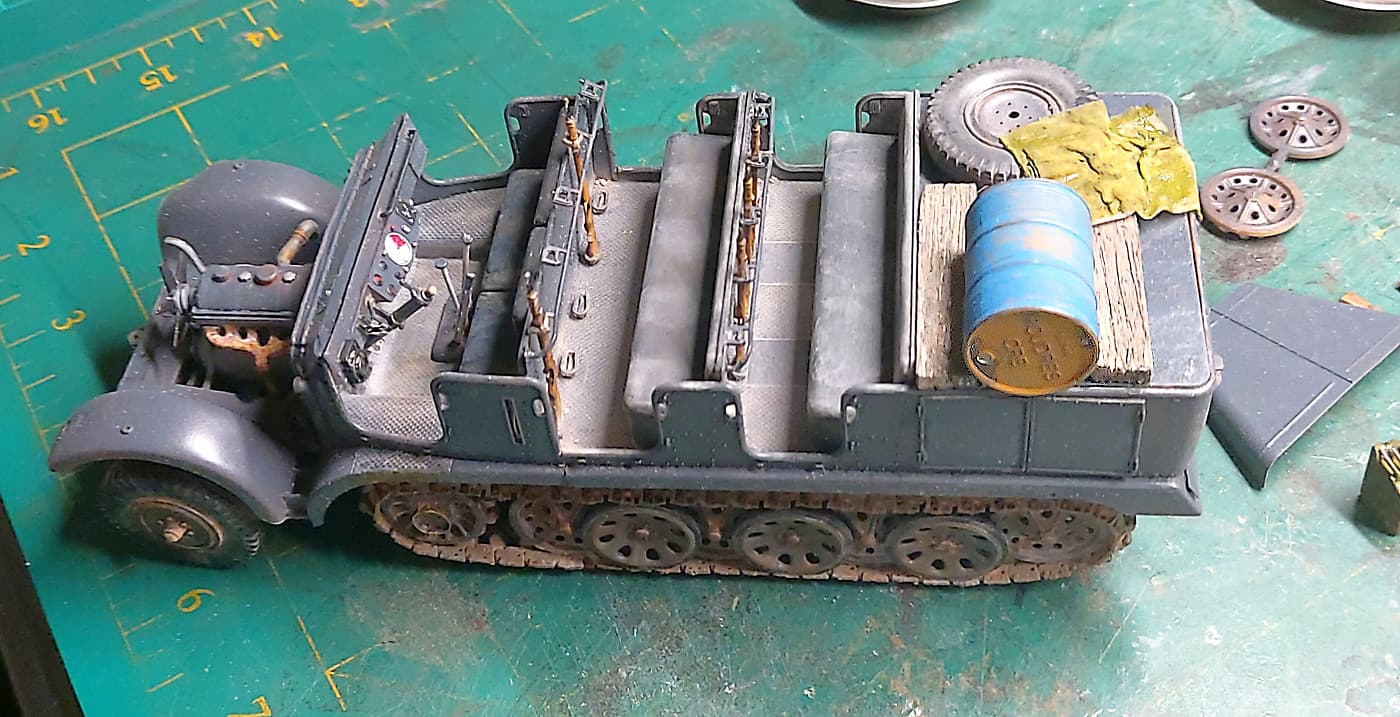
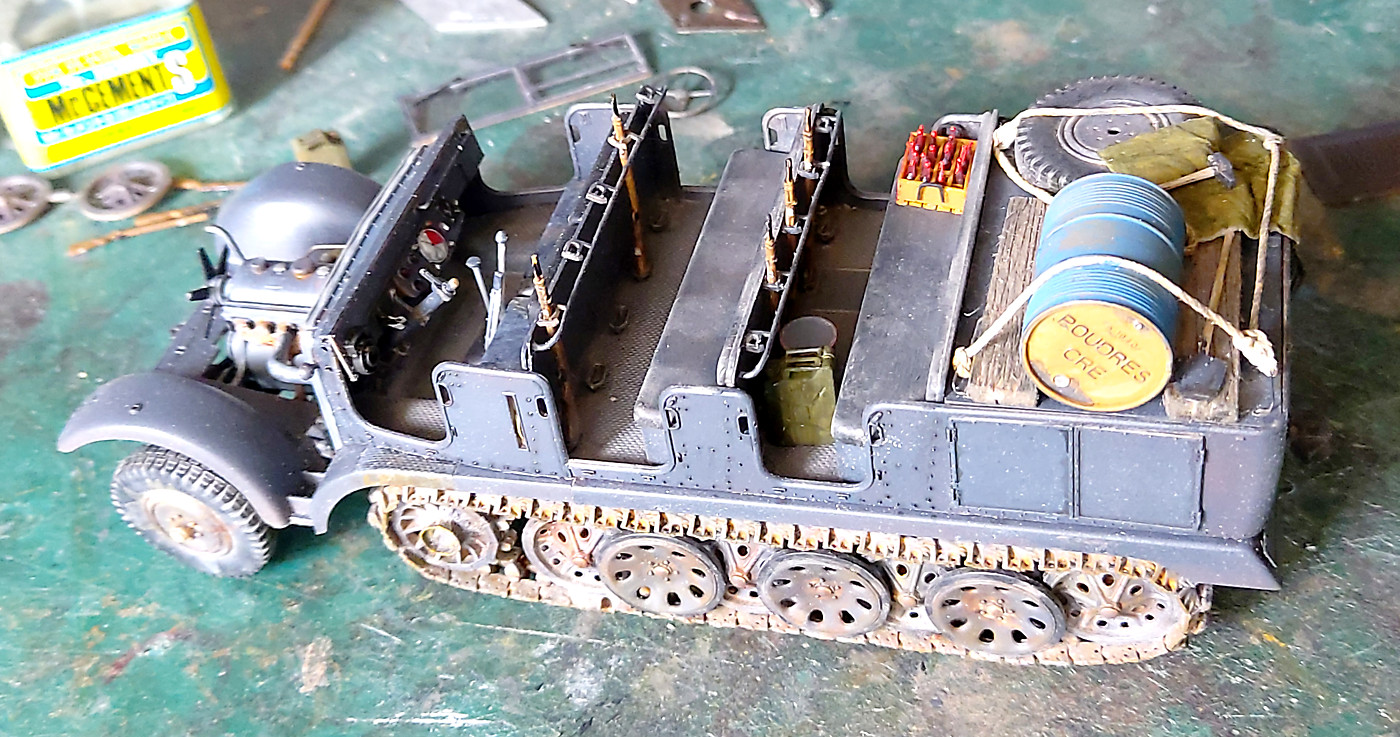
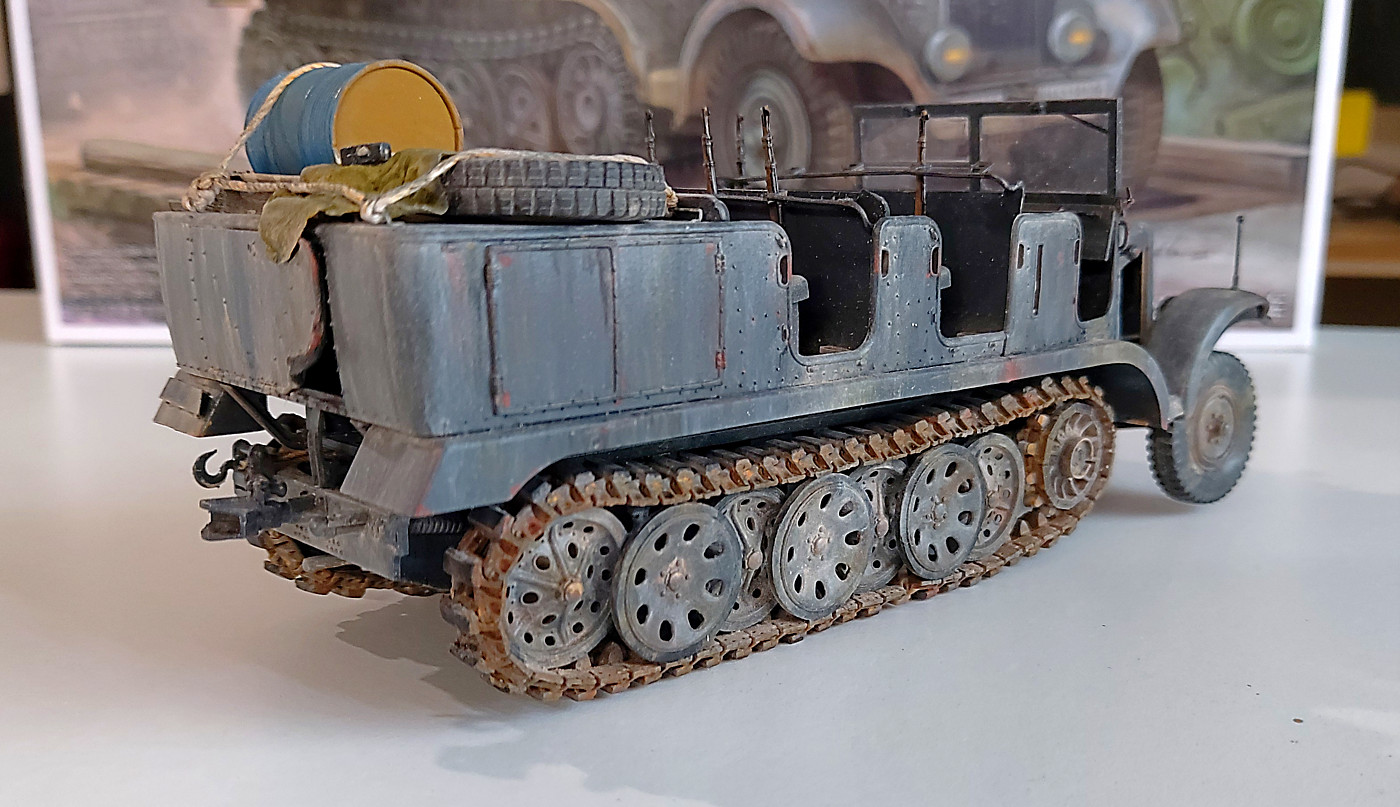
I forgot to install the spare tyre. So I put it on the back along with a few other bits and pieces. Still playing with the layout. I need to figure out some tie downs of some sort.
I’m stalling on the engine detailing. When I’m in a better mood.
Then some weathering. But maybe not until I’ve assembled the 88mm so that they can be weathered together.
Not much going on.
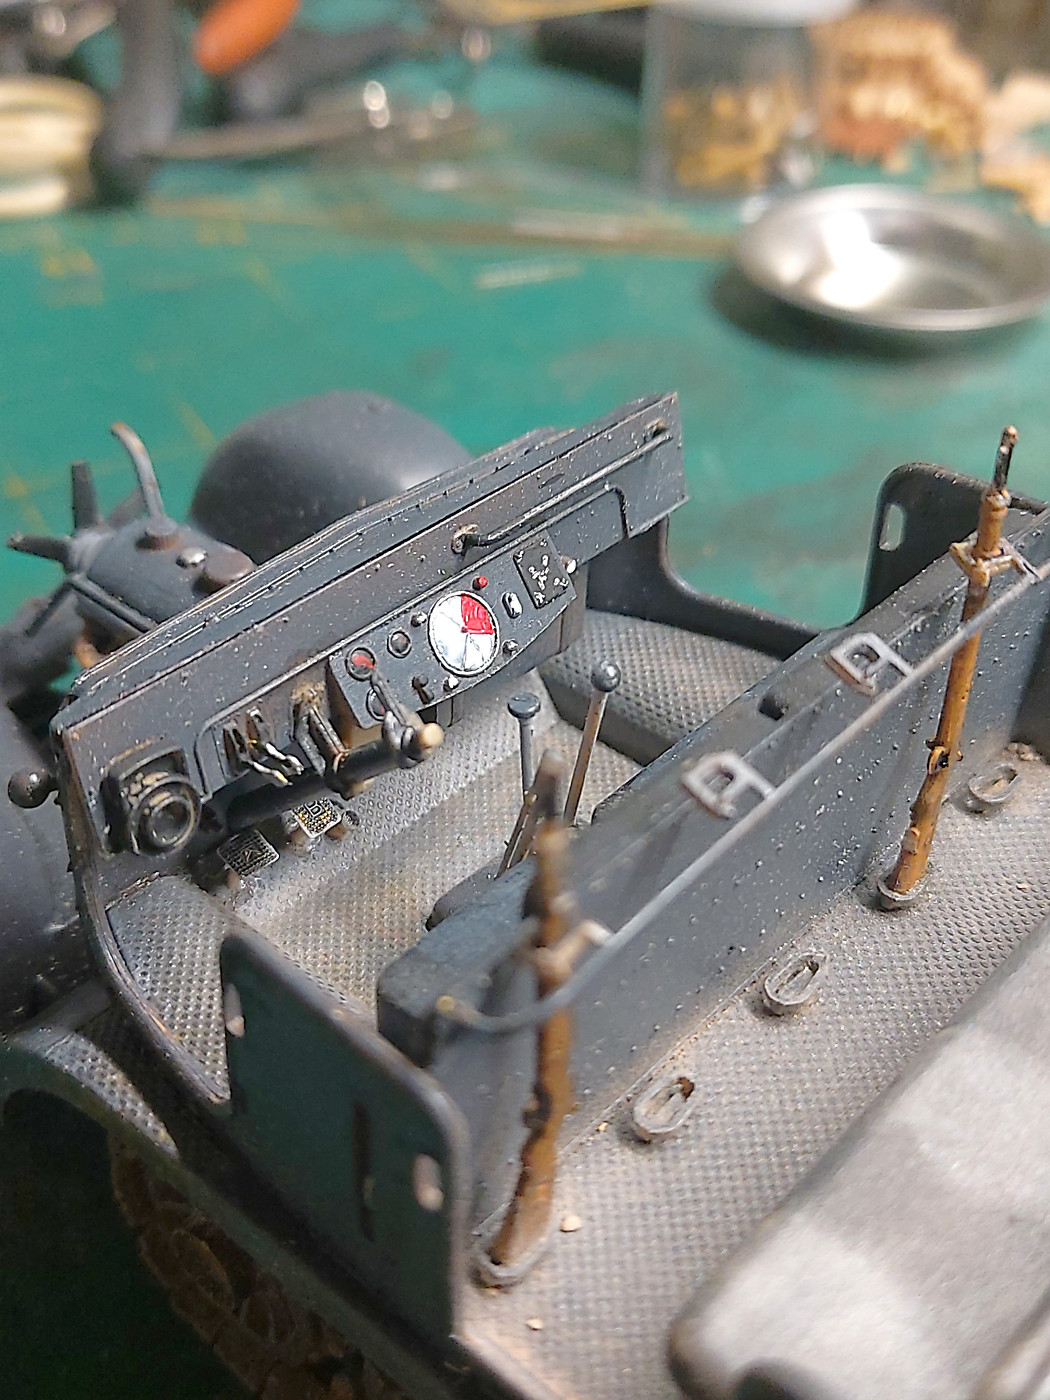
I finished painting the dash and dials. put glass on them. I hand painted rather than use the kit decals. I struggled to find two images of the dash the same. So builders license.
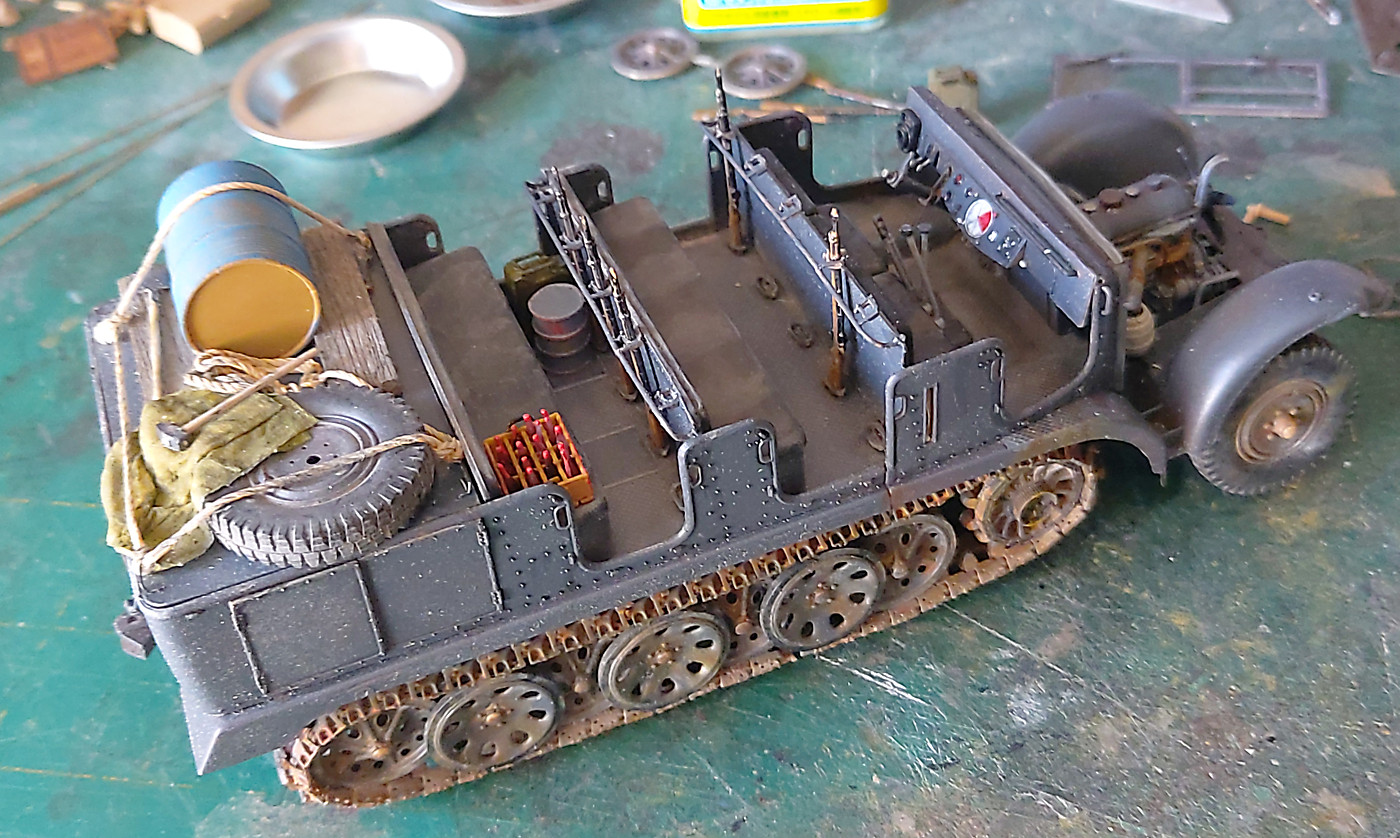
I finished the ‘junk’ on the back. Not great but still some fine tuning to do.
Some engine details.
I’ll post some engine images later.
I have to find a suitable driver hence the missing steering wheel.
Health issue and I’m burning out and taking short cuts which I don’t like. But it is what it is.
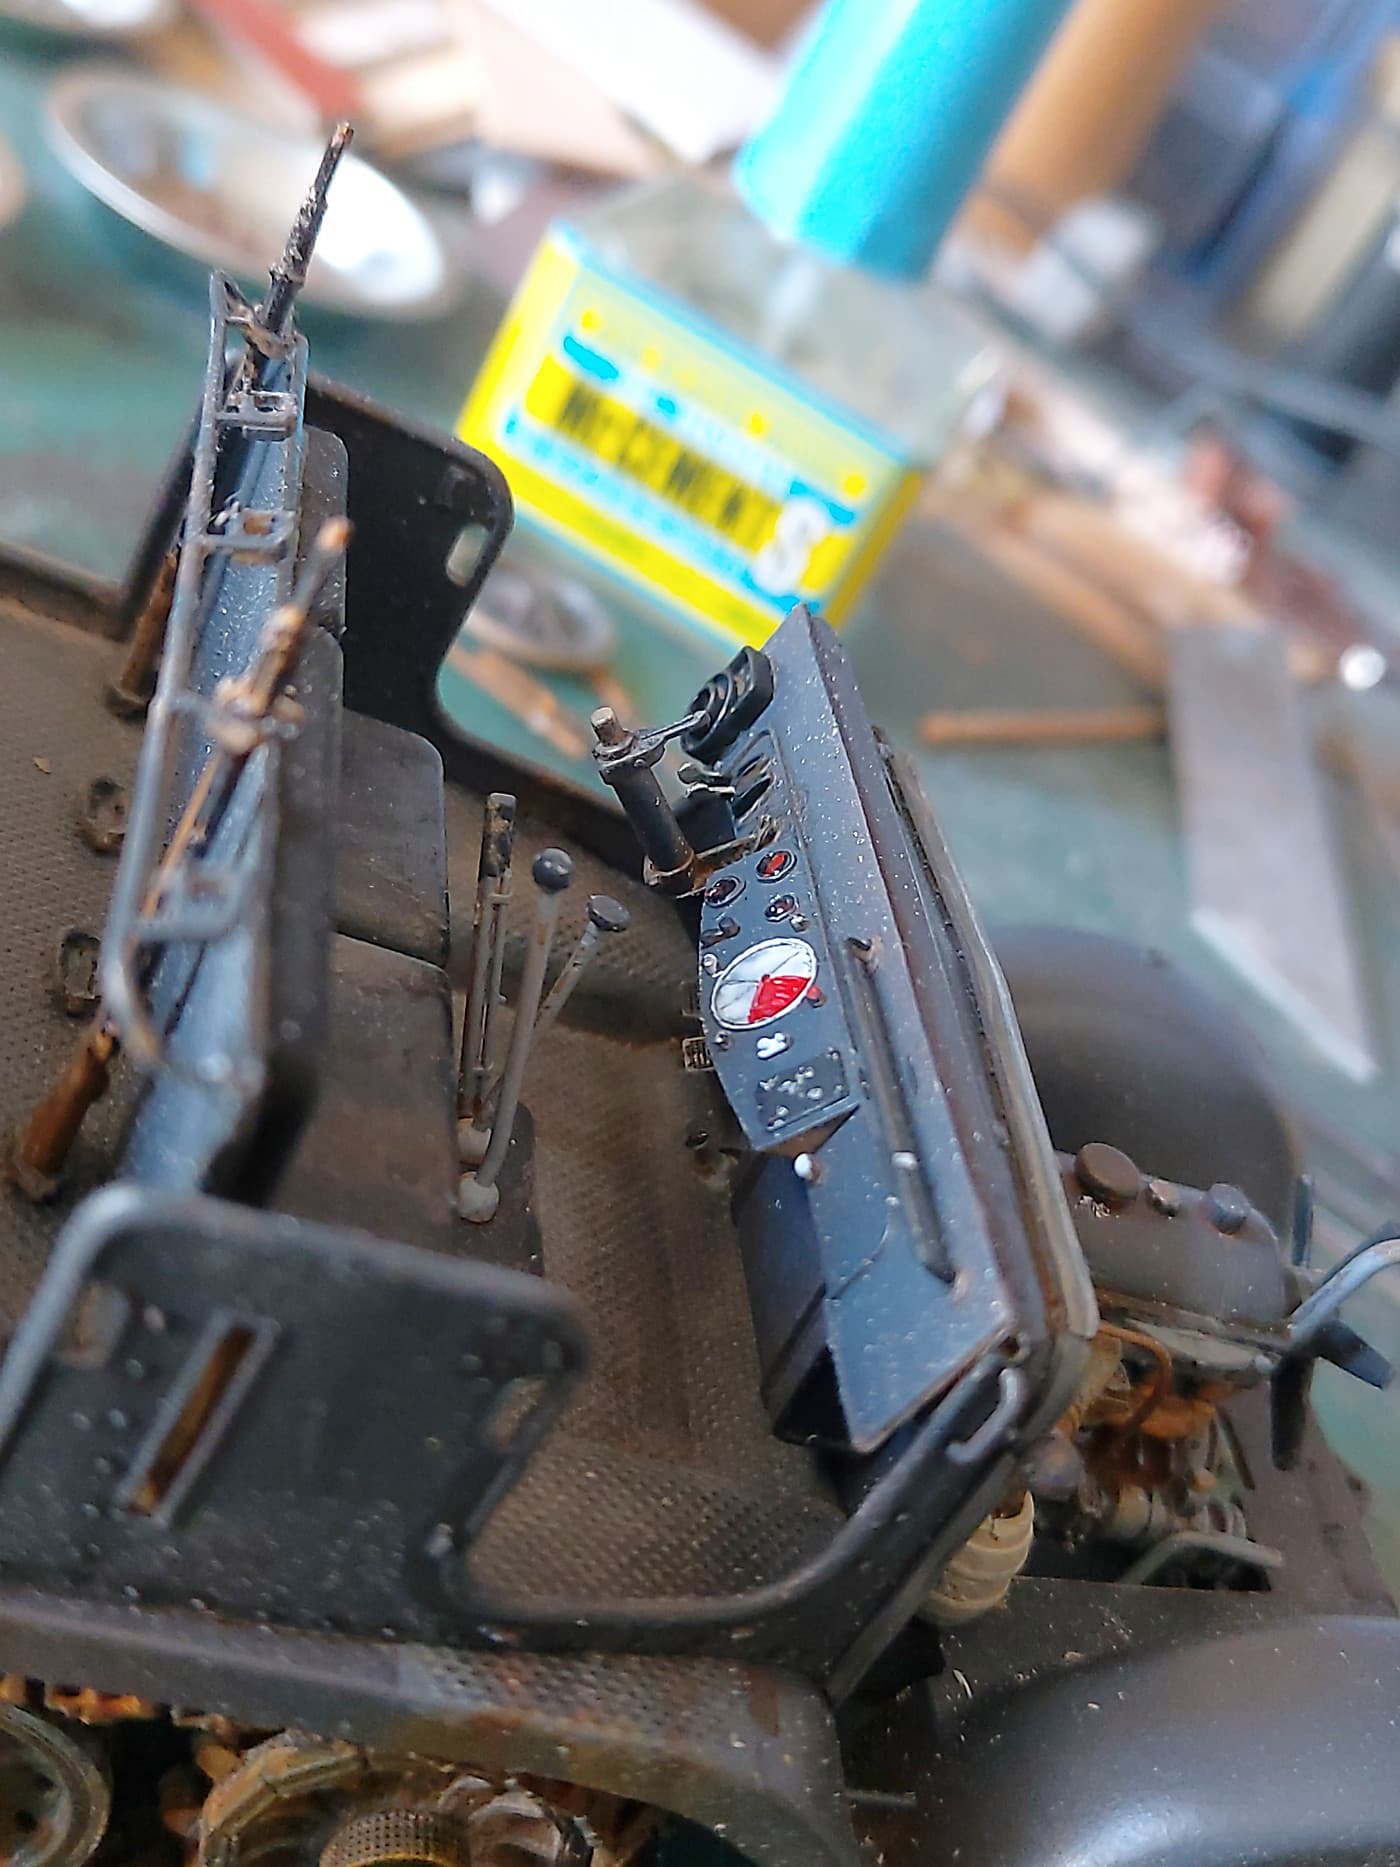
Canmedic I used acrylics to paint the dials. Give it a day to dry. Then I use craft tacky glue. (Thick PVA).
Yes you have to be careful with the amount you put on. Too much and it looks like a dome. Too little and it may get holes in it. I dob it on and as it dries I use a long needle to life some off.
Just as an aside. Craft tacky glue can be used to make windows. Albeit smaller windows. Put the glue around the frame. Then carefully drag the glue across with a needle or such. It will spread and dry clear just like custom glass. Craft tacky glue is also good for PE parts.
A couple more images. Please forgive the dust and poor quality. We live in the sub tropics and it’s around 30 here each day. I work right beside a door that I have open for fresh air. But fresh air brings dust with it. So does sanding and filing.
Engine has been harder than I thought. There’s not much more I can do at the moment. Lesson number 3547725. Do the engine first.
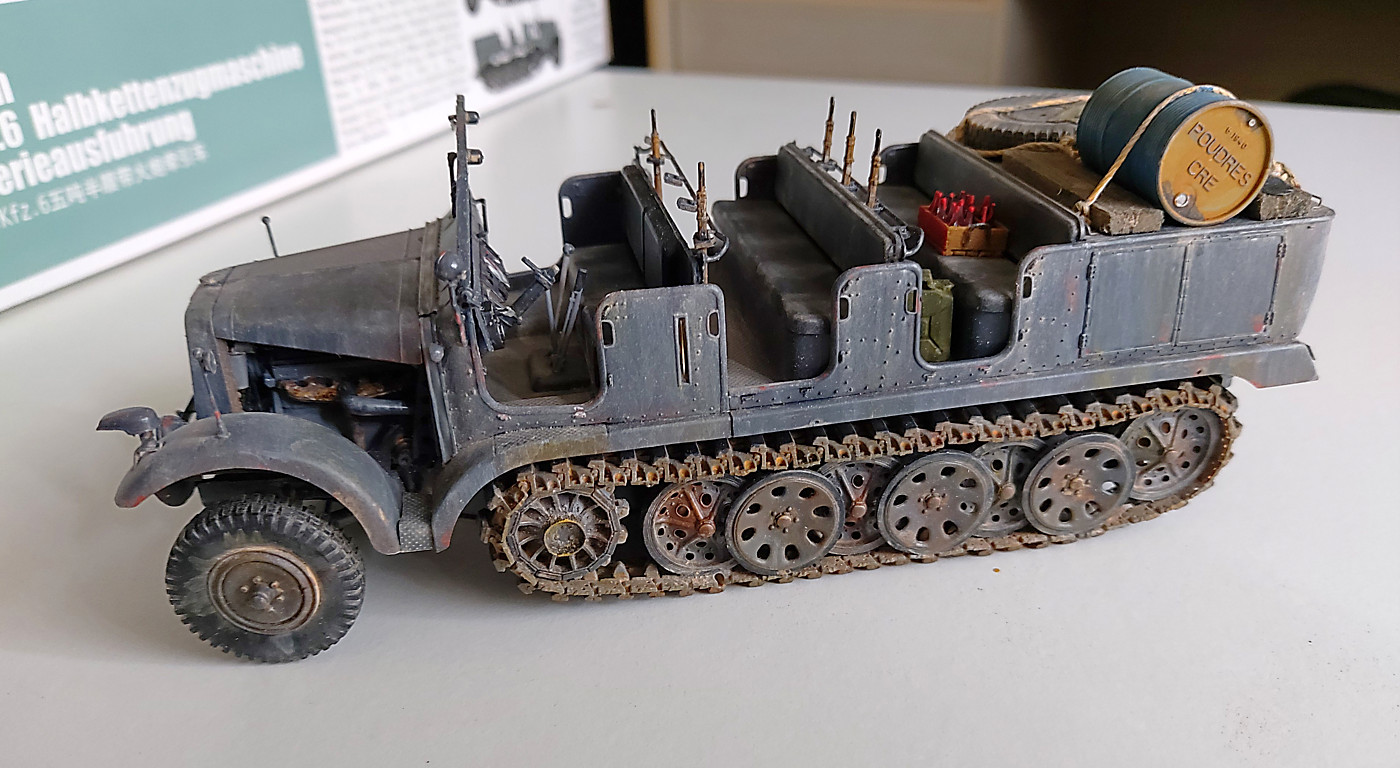
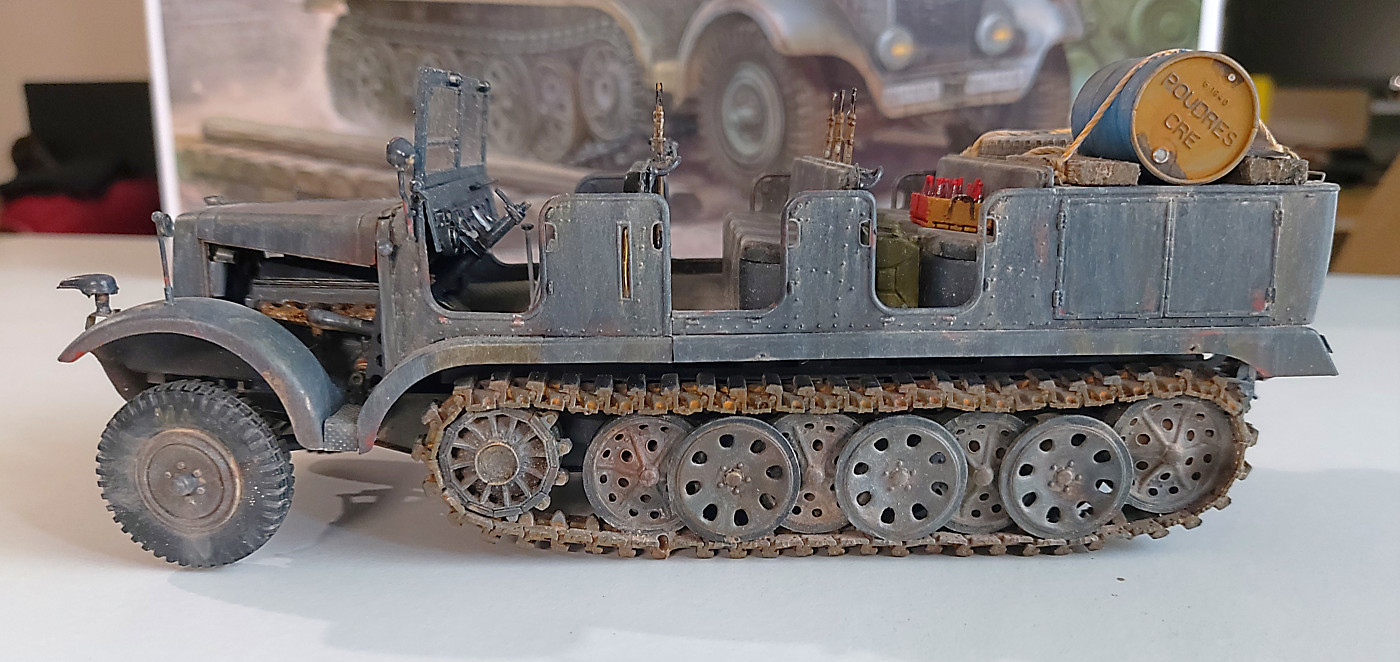
The ding in the front fender was when Fritz wasn’t concentrating.
I’m loving the lived-in worked-hard look Bruce (the vehicle looks great too! ) it just looks so “right” to me. Take it easy like your cyber-medic just said & hope you feel better real soon (PS tiny suggestion – Fritz’s ding looks like it would have exposed a shiny bit of metal)
Thanks Dioramartin. Ah the ding. There’s another one on the back as well. I just haven’t weathered or detailed them yet. I’m led to believe the bottles on the rear seat are full of schnapps. That may explain the dings.
Short story. Some years back I was on business in Germany. Nuremberg of all places. One snowy night I went out to diner with some clients. They fed me schnapps. When the cold hit me outside my legs went on strike. 2 days later I started to sobber up. Beware the schnapps.
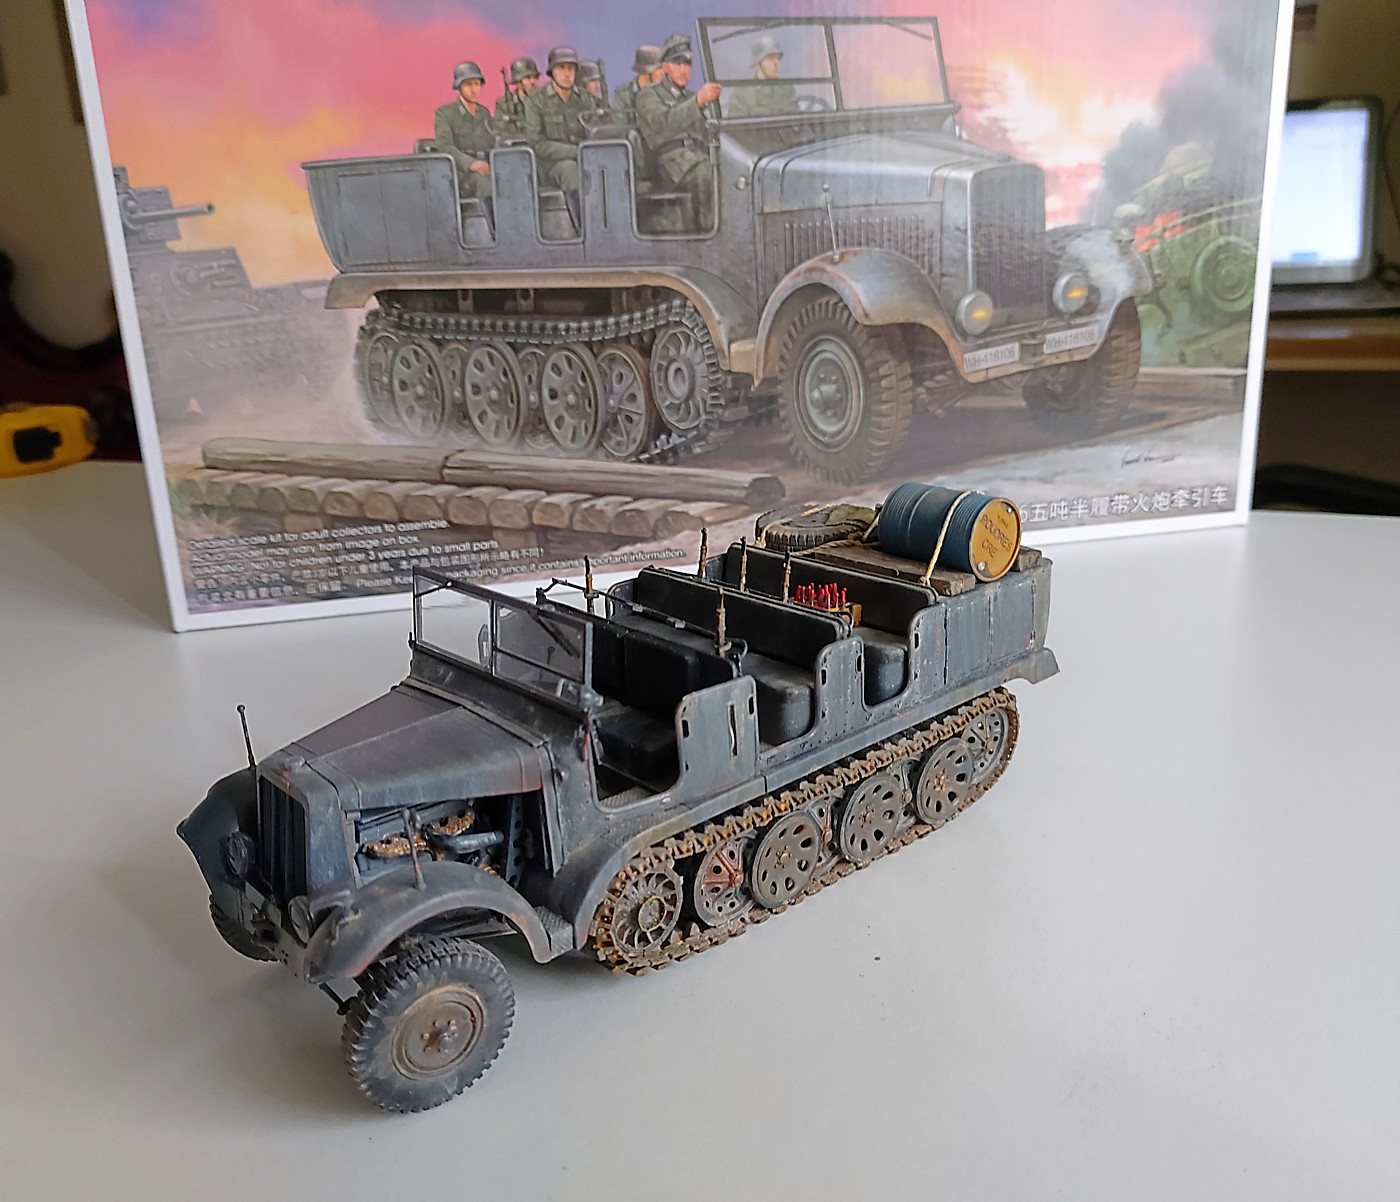
Last few. I’ve ‘finished’ the weathering at this stage. Now to put it aside and start the 88mm.
Don’t mind the front right wheel cocked in the air! Oops.
The steering wheel goes on when I get a driver.
Except for a few niggle it was a fun kit. It needs a better detailed engine. And the right engine.