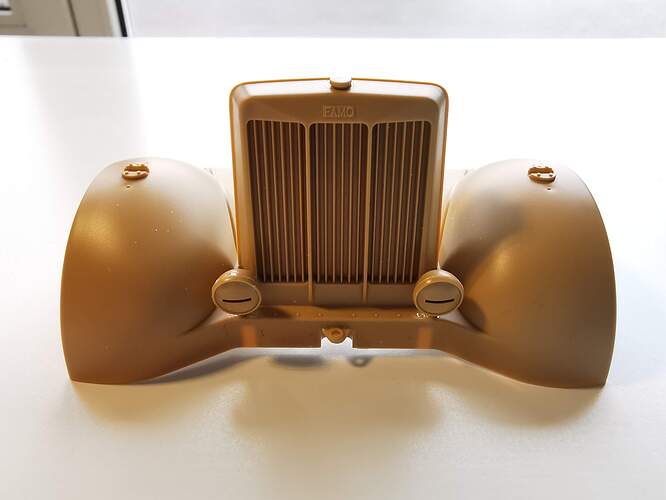
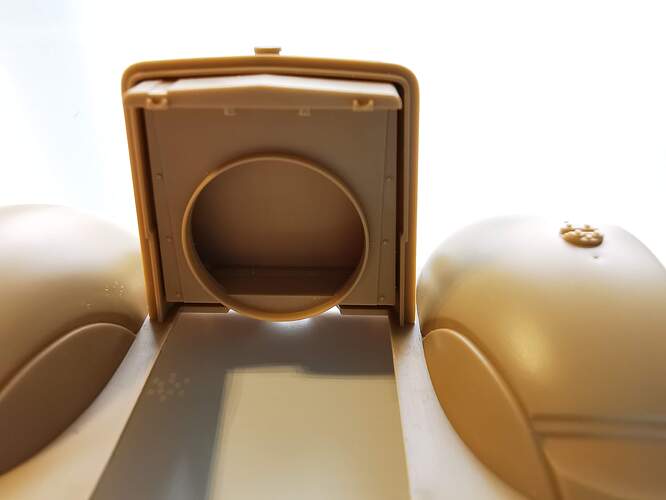
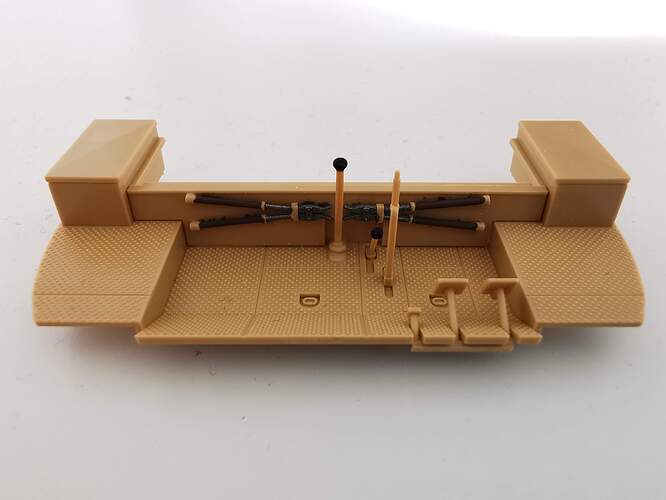
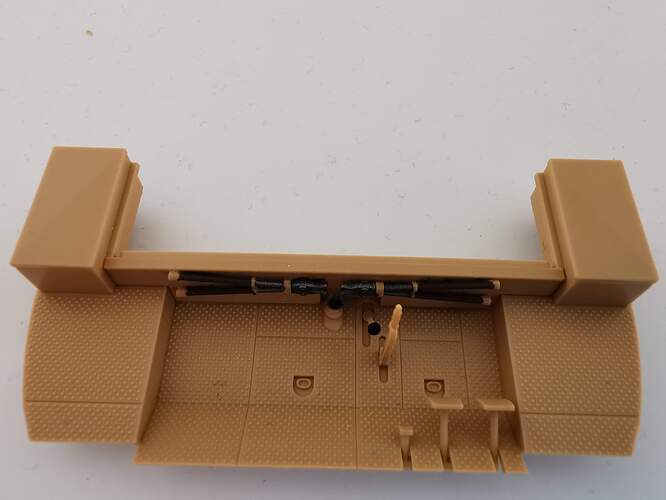
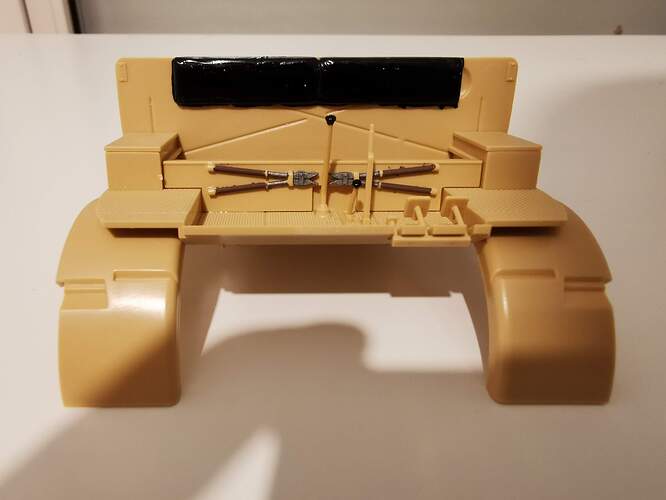
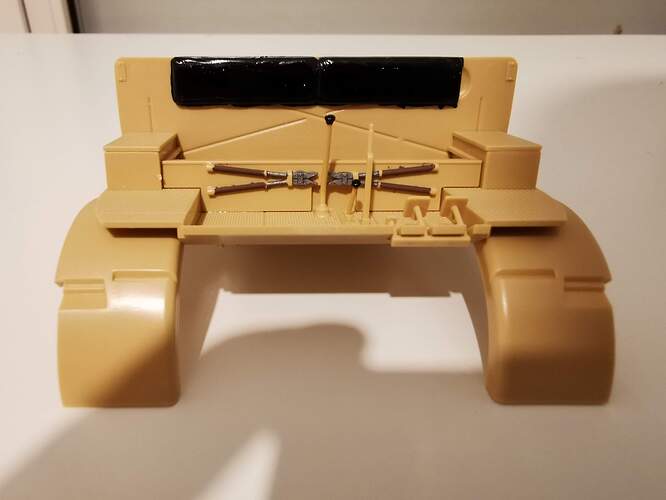
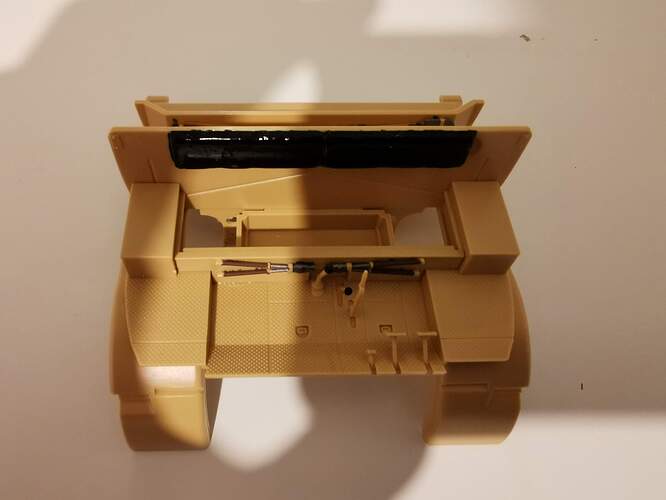
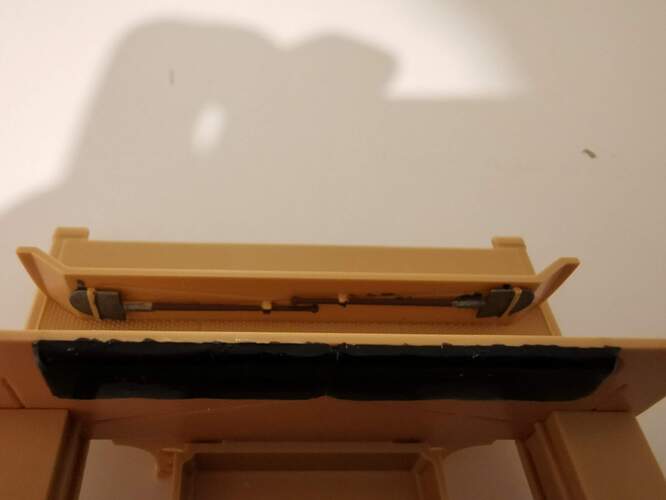
Here is the latest progress I made so far with the project.
It did take me some time to find some time to spare to make this update on this topic.
But, finally I’m able to update this.
Although it becomes harder to keep this topic updated, I will do the best I can to keep this up to date.
Any comments that help me out, give tips etc. are welcome.
First of all I have worked on the grill and the front fenders.
Today I have worked on the seat panel for the driver and the floor with the pedals and hendels for the driver. The painting took some time. And also filing, especially the smaller and more delicate bits did take more time than the other parts.
Hope you like it.
Till next update, stay tuned.
6 Likes
If you have any photography tips, I would be glad to hear them.
Looks to me that you need a larger background area of some sort. Consider a piece of paper curved upward at the rear in order to avoid inclusion of your room’s furniture. Otherwise, your photos look in-focus and very clear.
Nice progress so far!
—mike
This photo shows where the slots should be opened when using the bumper
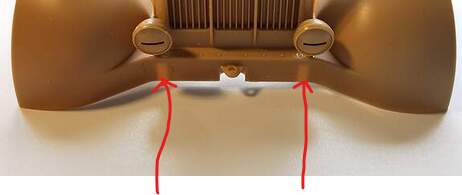
I have decided to not use the bumper.
I’m going to build the version from Yugoslavia.
1 Like
I will see what I can do.
Does it matter what kind of background?
Something neutral which doesn’t have the “same” colour as the object you are taking picture of.
A beige/dark yellow background would be less suitable for German stuff painted Dunkelgelb.
An olive green/brown background doesn’t work so well with US/Allied stuff.
Dark grey fails for German Panzergrau and a white background will be bad for UN-White vehicles.
A very dark background will “steal” too much light and cause contrast issues.
A light to medium blue works in most cases but one single background will never be able to handle all possible colours of the photographed objects.
2 Likes
For very small files look up Hobby Elements on YouTube and FB. as small as 0.5mm. I use them everyday. Very nice build thus far.
2 Likes
Thanks everyone for liking and commenting.
I don’t know if I have something I can use that provides that background.
I’m also having difficulties with lighting.
Because sometimes natural light I believe is to bright. And sometimes to dark.
So I’m thinking of some kind of solution that I can buy.
I remember for example the light box being suggested on the old forums.
What would be other options?
I do have large window in my room, but that isn’t ideal.
Since this causes difficulties with lighting.
For example, to bright sunlight shining insight.
Or to dark or less lighting from outside.
It is rarely ideal.
Help for improvements would be welcome.
Natural light is difficult to control, not available during half of the day and varies with weather so better use artificial.
Easiest way is a commercial light box, for the Famo you will need a good sized one. This one for example is available at 40x40cm and costs 20 euros:
https://www.aliexpress.com/item/1005001841695402.html?spm=a2g0o.productlist.0.0.3c7631b74eG0jK&algo_pvid=21eb84e6-337d-4891-b448-e33e54088caa&algo_expid=21eb84e6-337d-4891-b448-e33e54088caa-7&btsid=0b0a182b16185632692633650ee97b&ws_ab_test=searchweb0_0,searchweb201602_,searchweb201603_
There are instructions to build one yourself as well, if you want to.
Look at others which may be cheaper or better lit (2 rows of leds), or get lamps to build one… your decision 
Thanks for suggestion.
I will take a look at the internet myself as well.
For quick pictures subdued natural light is fine, either outside when the sun is not overhead, or if sun is coming through a window, taking pictures a foot or two away from the beam. For finished photos or to capture detail artificial light is good
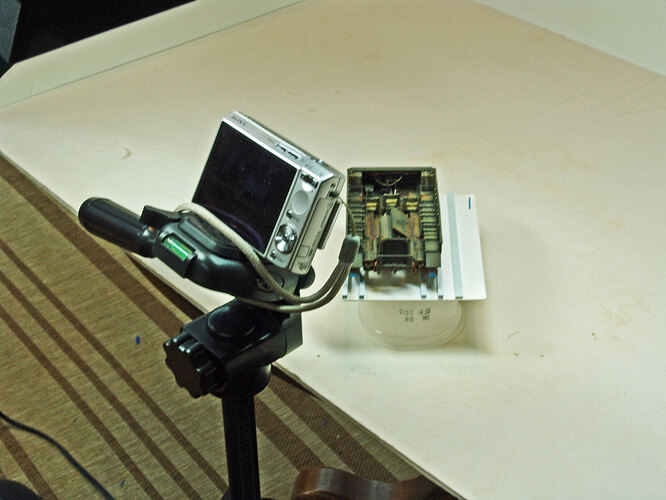
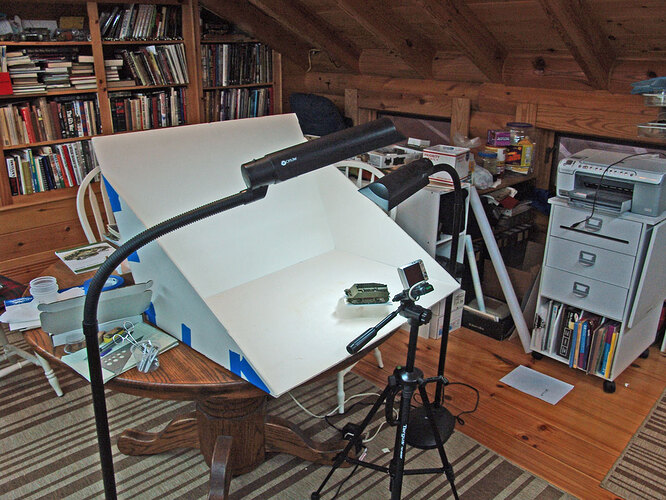
Here are a couple of shots of my very simply photo setup.
My “light box” is made from foam core poster board. I have since painted the inside using a couple shades of sky blue and gray. The blue-gray “sky” colors help with color balance. These colors were added using common, hardware store “rattle can” spray paints. Lighter blues nearer the bottom. Medium blues in the middle with some white “clouds” showing. Medium blues and grays mixed with some white near the top. Just trying to roughly replicate the sky from horizon up.
It’s open on the top to allow easy lighting. The parts are held together with tape. It’s very lightweight and portable. As you can see, I use a pair of floor lamps with day-light balance florescent bulbs. I usually position one shining on the model from the direction of the camera and the other above and to one side to provide fill light (to soften the shadows).
My camera is a Sony T-100. I generally use it in its auto settings for focus and exposure. I also have it set to take the largest file size possible. The image can always be made smaller, but enlarging and cropping to show details means you should start with the largest possible image. I just use the photo software on my computer for any enhancements.
The tripod is an inexpensive one. However, it is essential when using auto exposure settings because the aperture can be open for over a second.
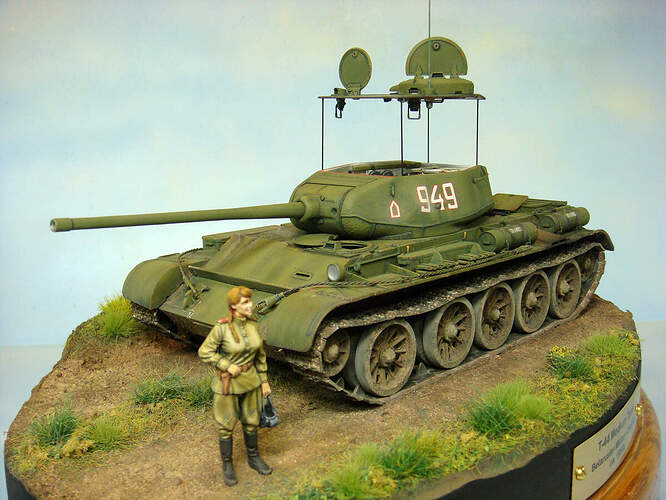
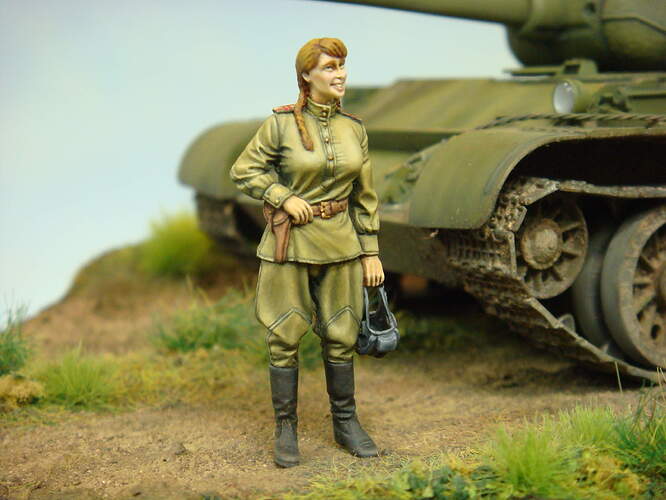
This last photo shows an example of the kinds of photos that can be taken with this simple setup. You can also see how the colored background helps.
Using the macro settings on the camera gives pretty good closeup shots.
5 Likes
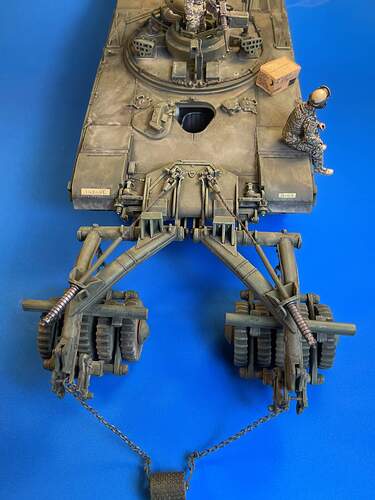
Wow Mike I was wondering how you get such great pics. I am going to change my background to a lighter blue/ gray as well. I still use my phone to take pictures and they come pretty good but I think the blue I’m using is overwhelming the more I look at it. My figure painting friends say it’s ok for armor but too much for figures… or is it the other way around?? I forget. Here is an example of my background some of you may have seen:
3 Likes
This kit is just loaded with details. I see bolt heads on that engine that sometimes aren’t even there on a 1/24-1/25 kit. This is looking great so far.
It took me a while to figure out that changing my photo backdrop colors to something that more closely mimics natural sky would eliminate / mitigate issues that I had with color balance.
I do still occasionally experience some problem or other with that, but a light, sky blue - gray really does help. It also makes overall lighting a bit easier since it doesn’t absorb light as much as a darker backdrop. Shadows seem a little less deep and dark.
I started with the plane white, and that was very easy to light and shortened exposure times. However, I still needed a tripod, so that was not as much of an advantage as it seemed.
The auto settings on my little camera like “natural” light much more than “studio” light. A combination of daylight balanced CFL lighting with a natural colored “sky” backdrop works well and greatly simplifies the whole process.
2 Likes
Here is the latest progress I made with my project.
I have done the first part of assembling the cabine.
I know my photographing skills aren’t that good, but it was just quick and easy.
A next time I will have improved my quality of photographing.
5 Likes
Michael, I have to say that’s a very impressive T-44.
2 Likes
