This is really impressive and even more so with the colours going down, Thomas 
But now we know and we are grateful that you’ve shared! ![]()
![]()
—mike
Its a brilliant build and particularly enjoy following your progress Thomas…
Thank you all for watching and your positive feedback. Keeps my building mojo high 

Thomas, amazing work, really enjoy watching your build come together
David
That’s the most impressive thing I’ve seen outside of the more elaborately rigged WWI biplanes and fully rigged wooden clipper ships. Looking forward to all that amazing photoetch work sitting on that hull.
1 Like
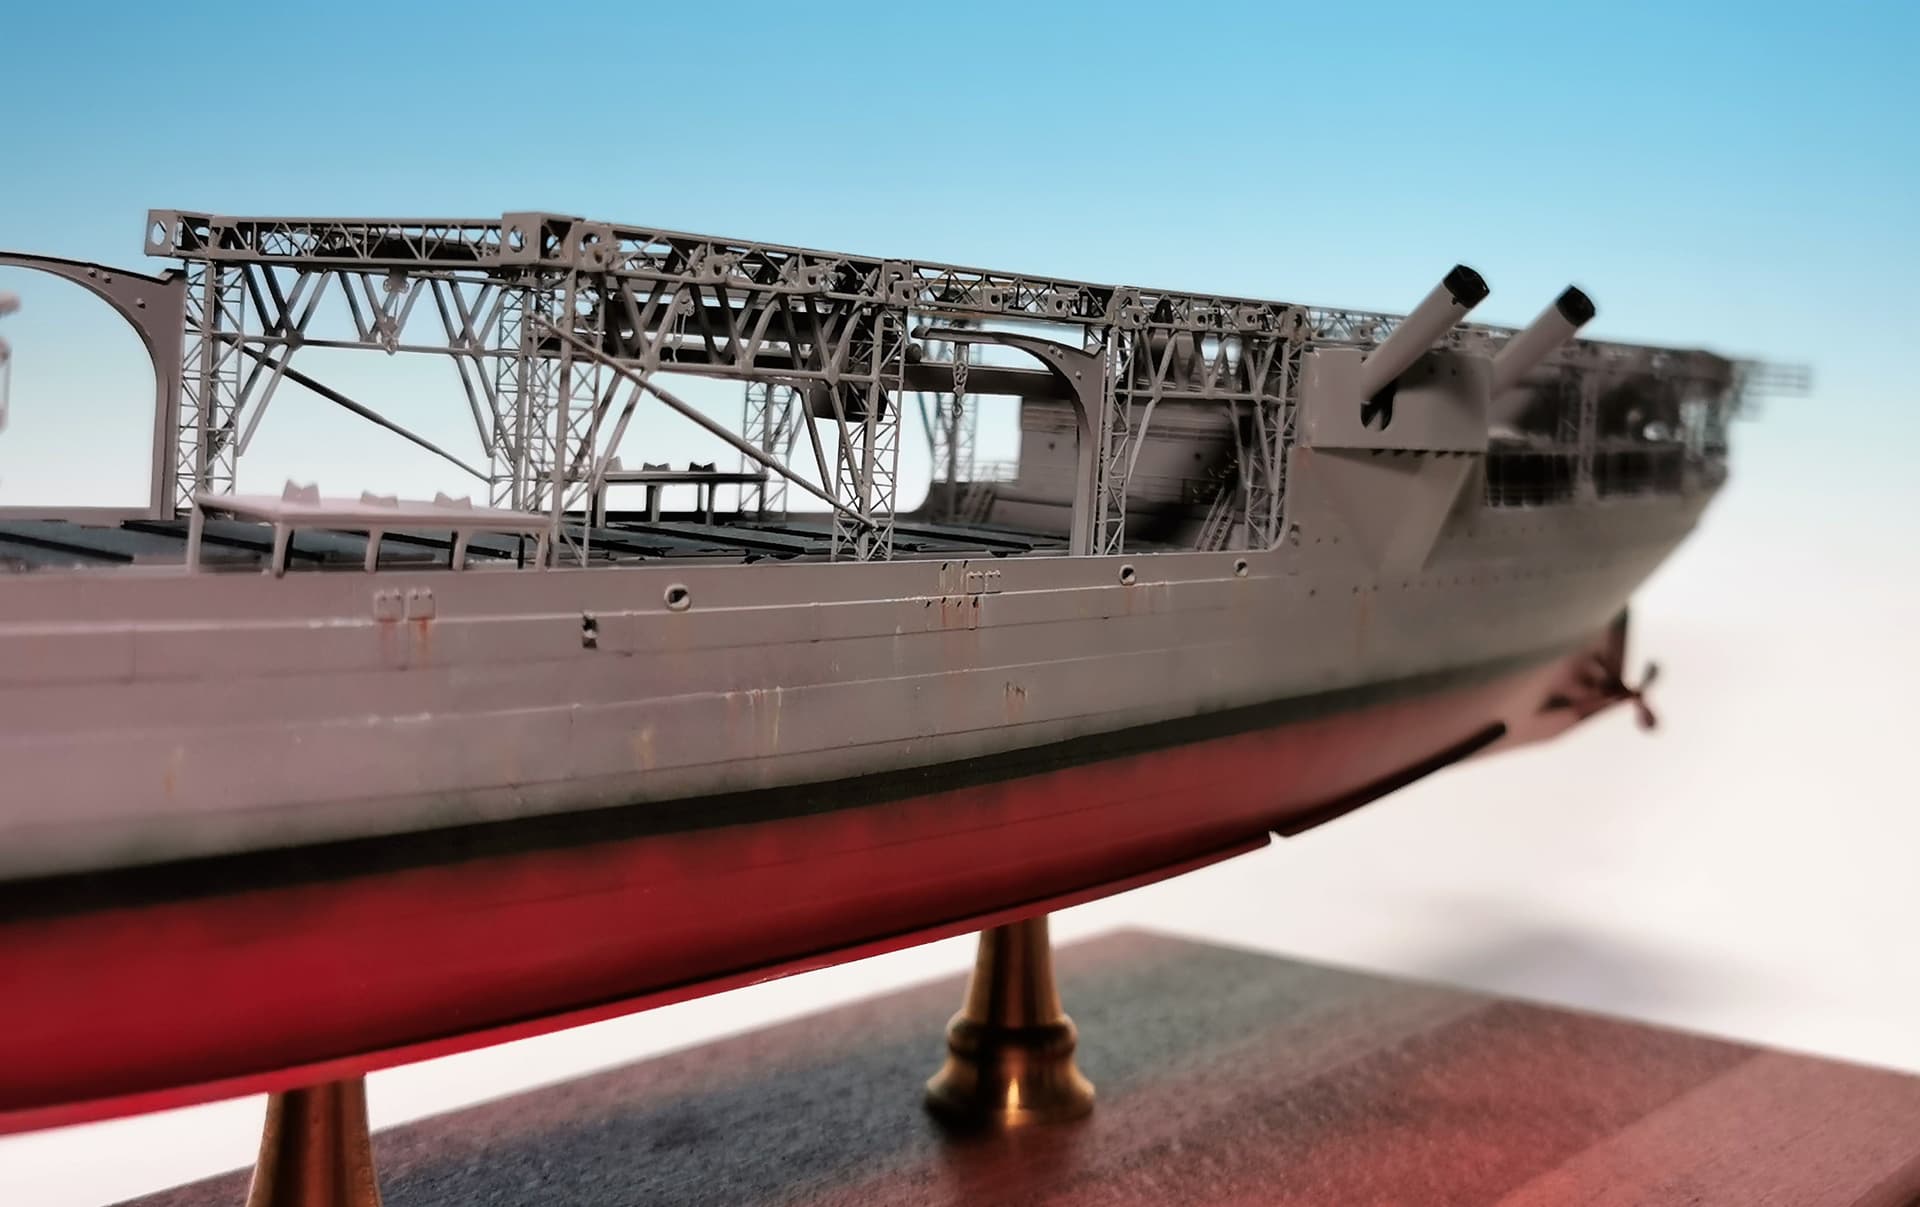
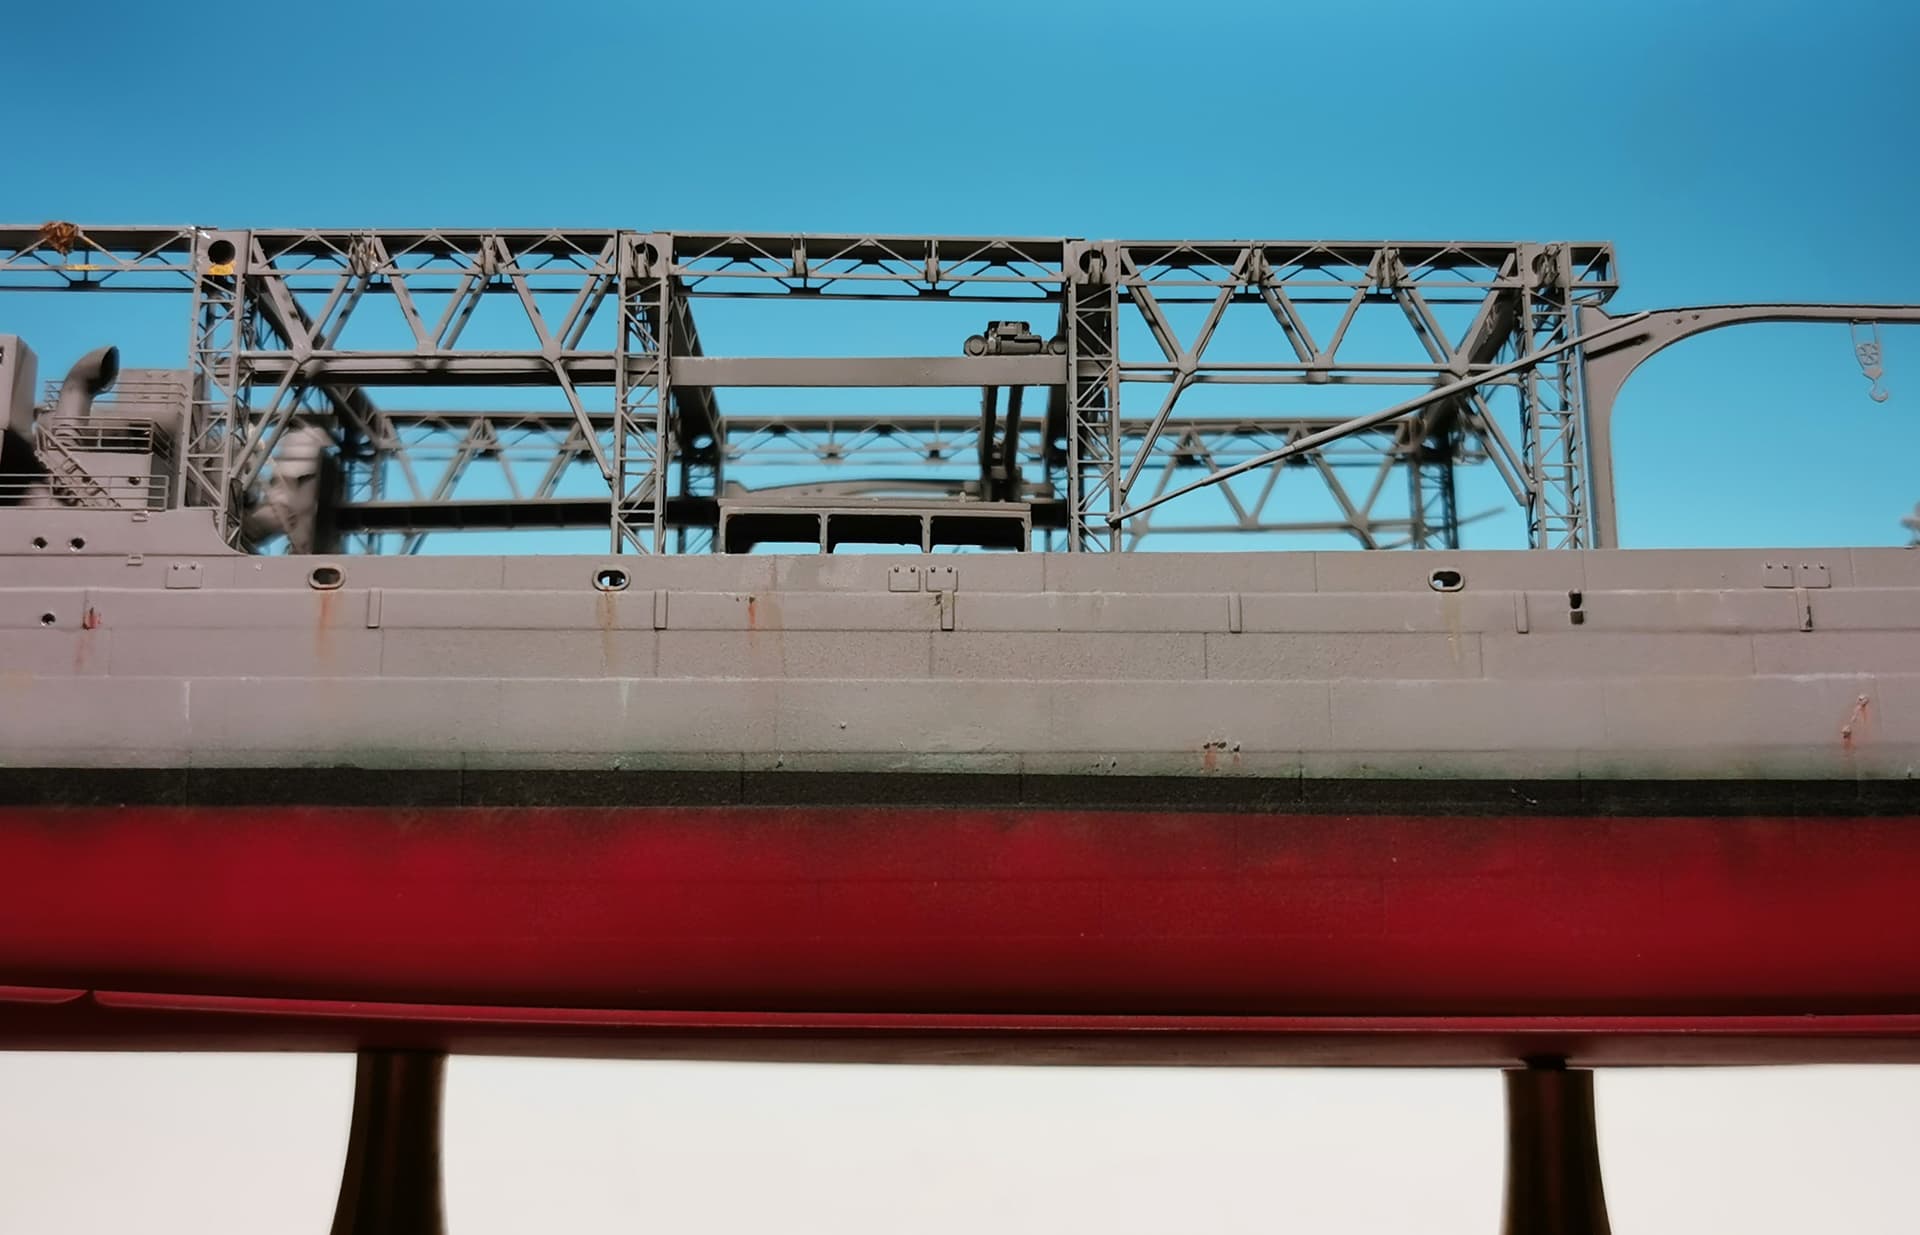
Wow … That is all looking fantastic Thomas. The girder work looks amazing … that was a lot of hard work
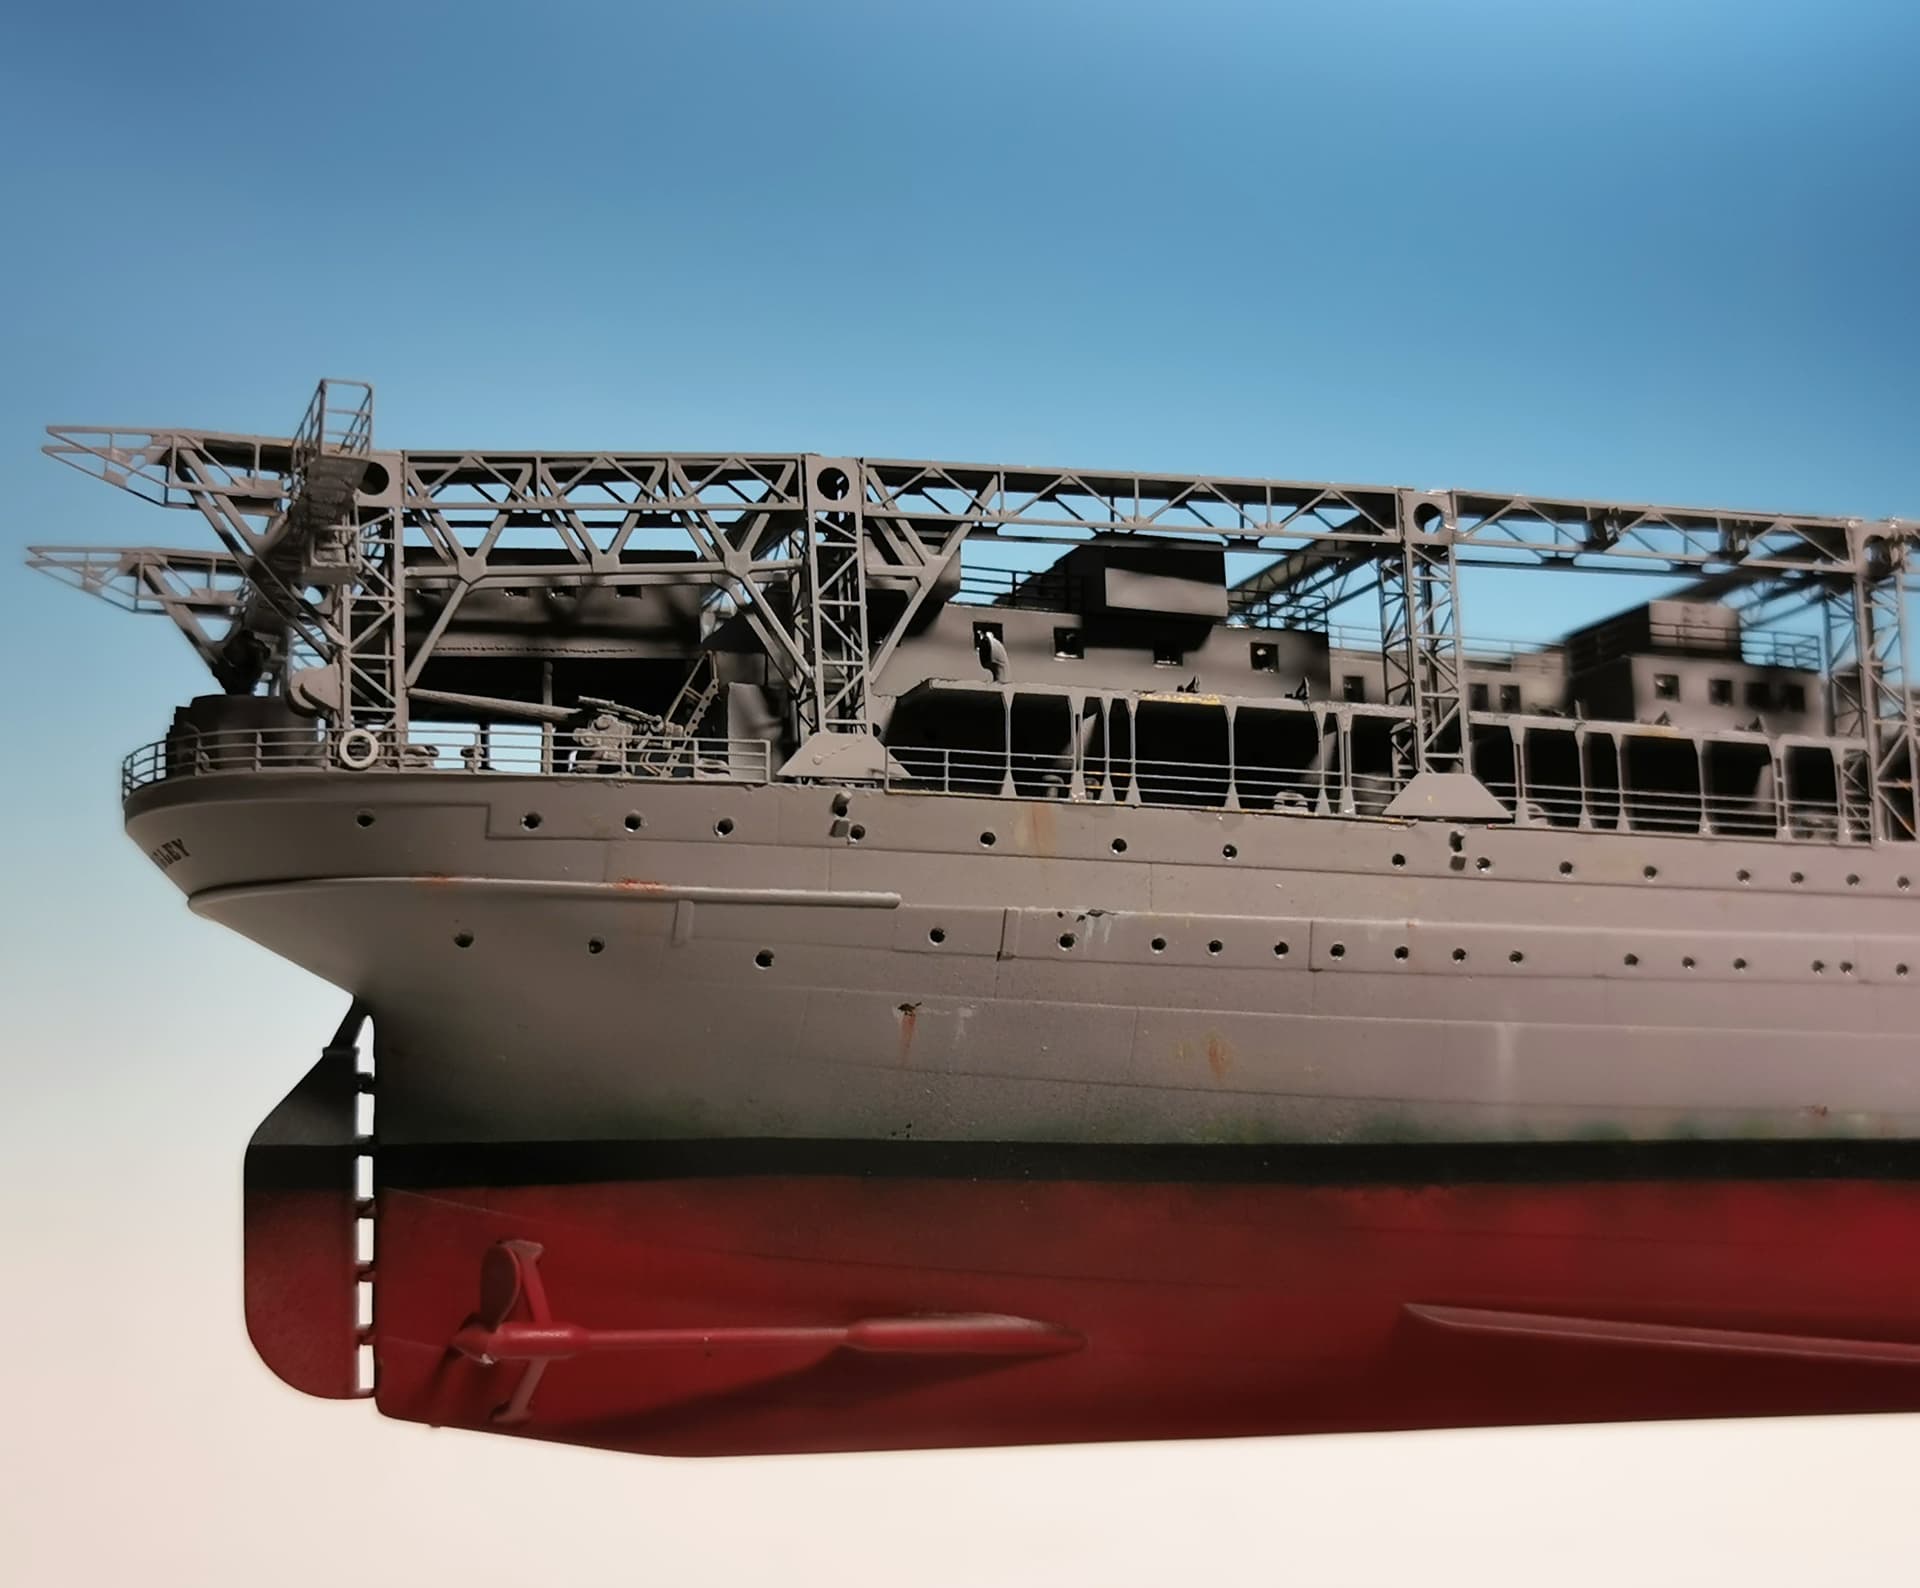
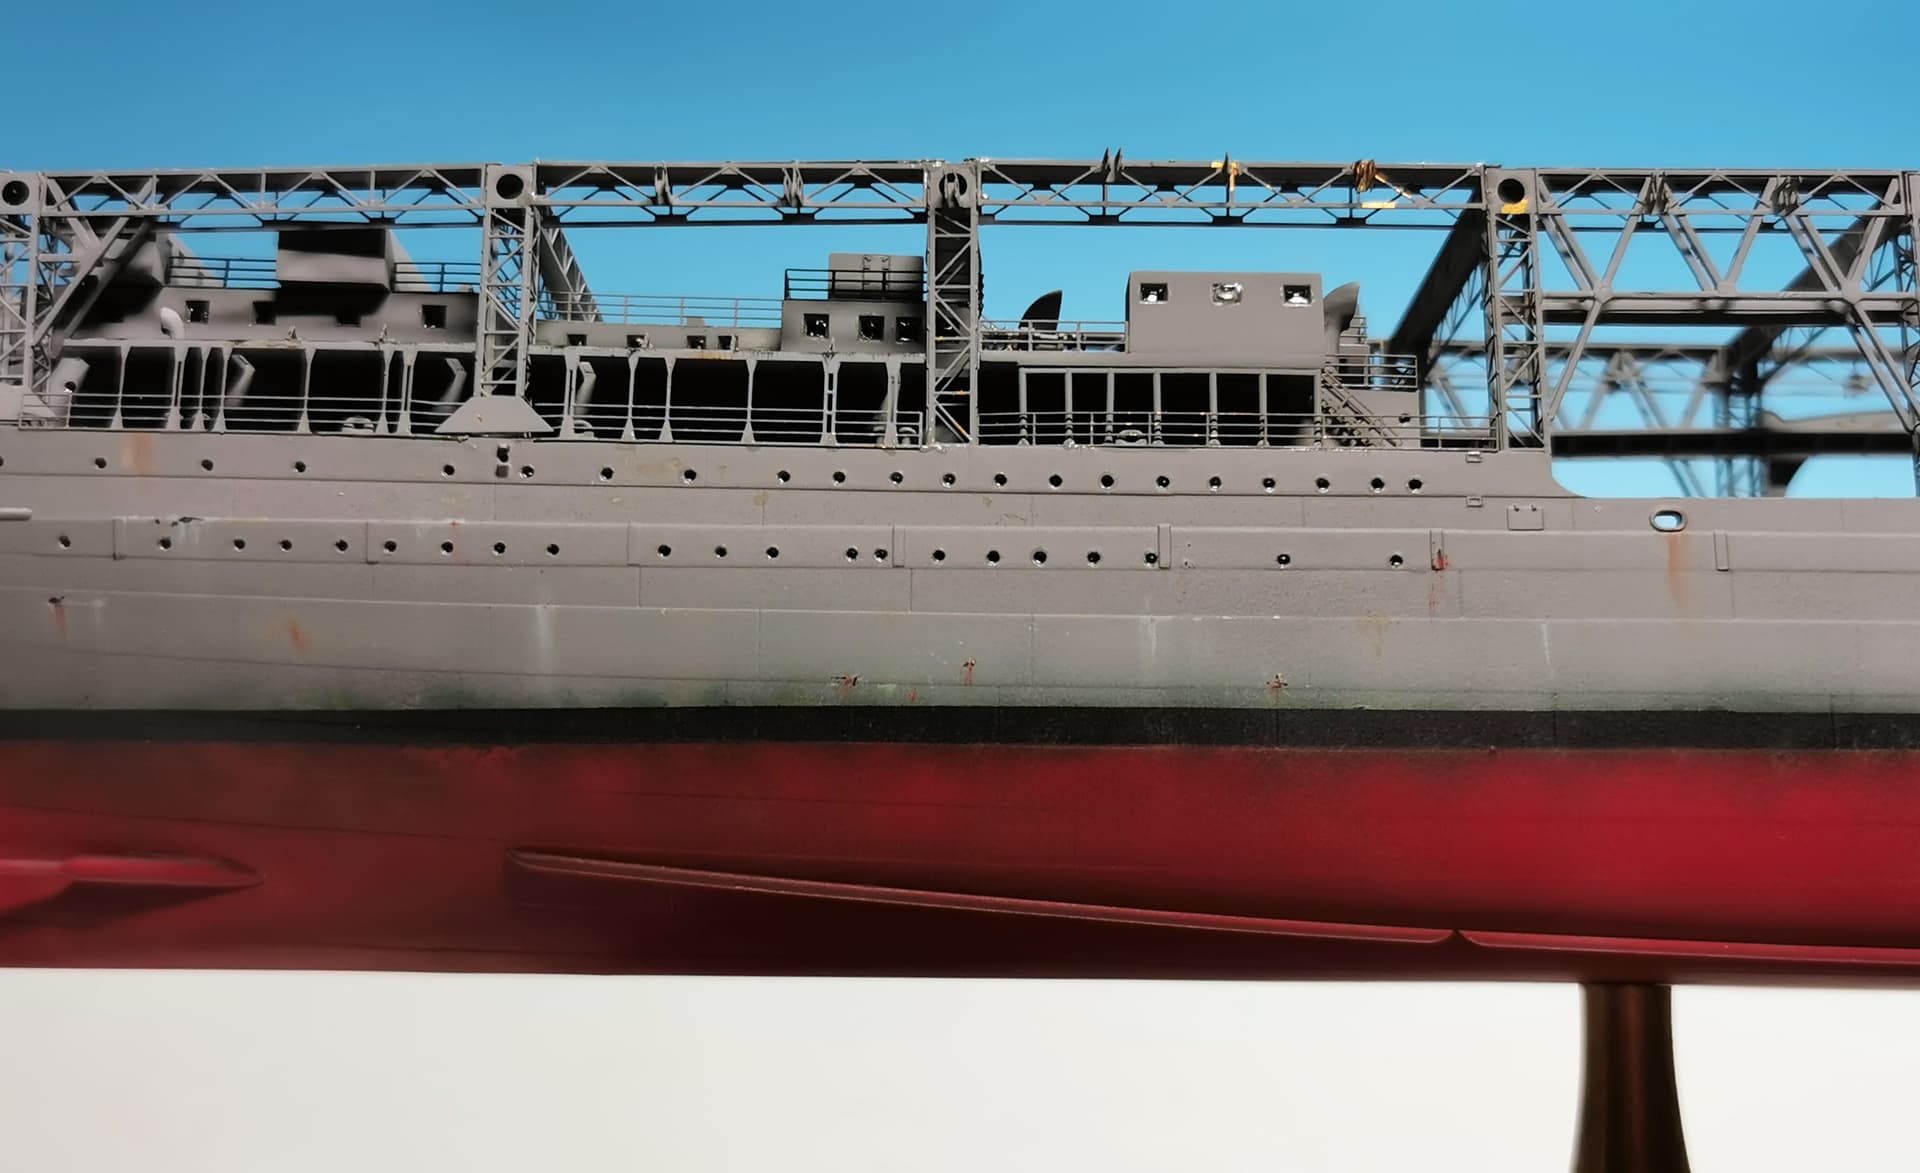
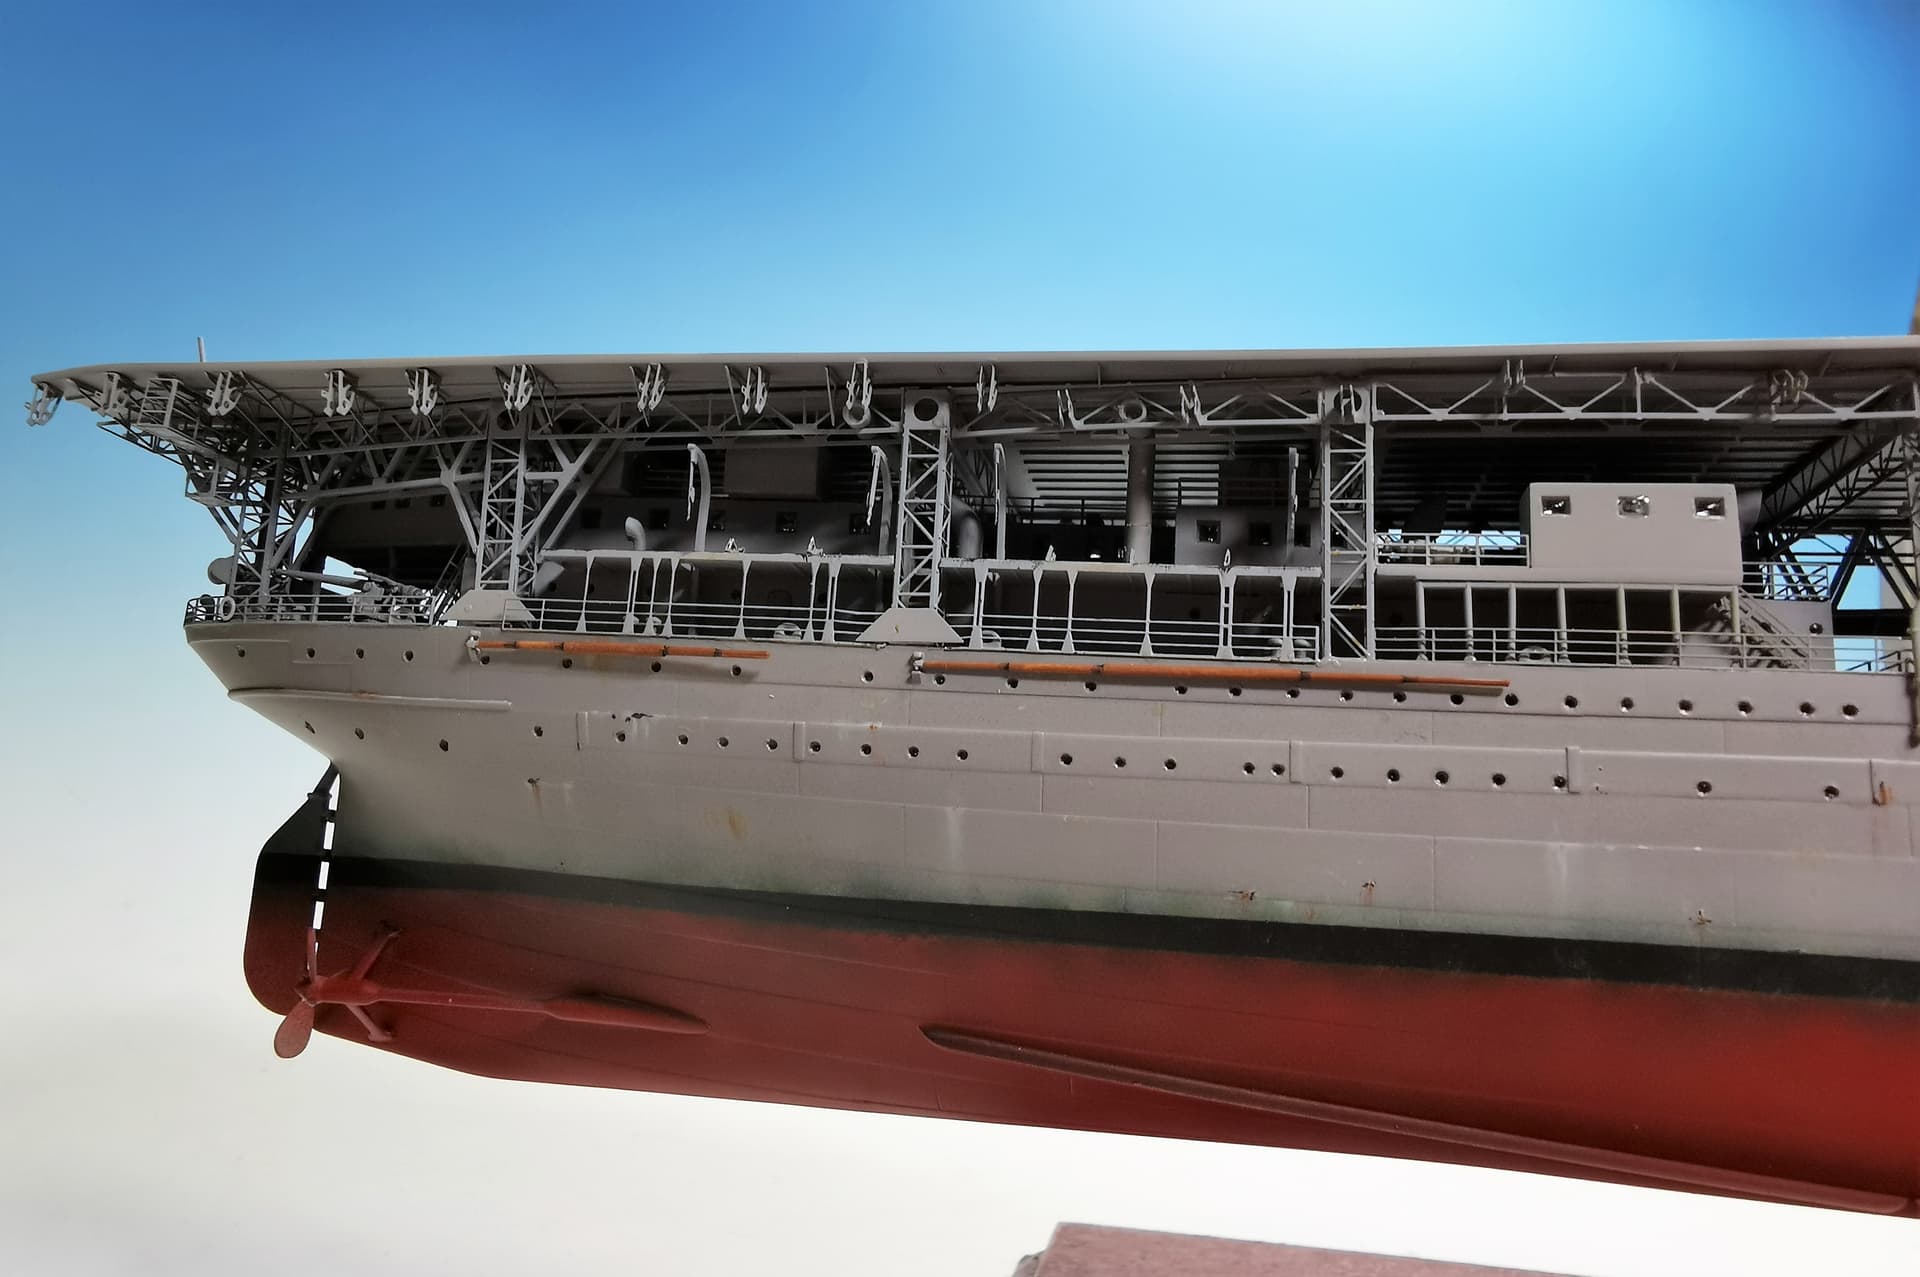
The superstructure looks quite complex, there is a lot going on under the flight deck.
Looks great Thomas.
Cheers
Si
@RollTide: David thank you, glad to have you along my side
@loncray: Lee thank you, too for that commendation. I will keep doing my best to let her look great in the end
1 Like
@Johnnych01: John it was indeed a lot of work. The “secret” is to really try to work as accurate as possible to save blood and tears later during the assembly of the girder construction onto the ship and later the flight deck onto the girder construction (I know what I speak about  )
)
1 Like
@RedDuster: Simon this was indeed my most complex photo etch work so far (maybe along with my former SMS Emden build which also had two complete eduard sets with a lot of small parts). I will post some pics of the views inside when I installed the flight deck 
Some important progress happened  I fixed the flight deck on top of the etched girder structure. Again I can just recommend to work as precise as possible to avoid problems in the final assembly
It looks very nice and complex now already. I like it very much
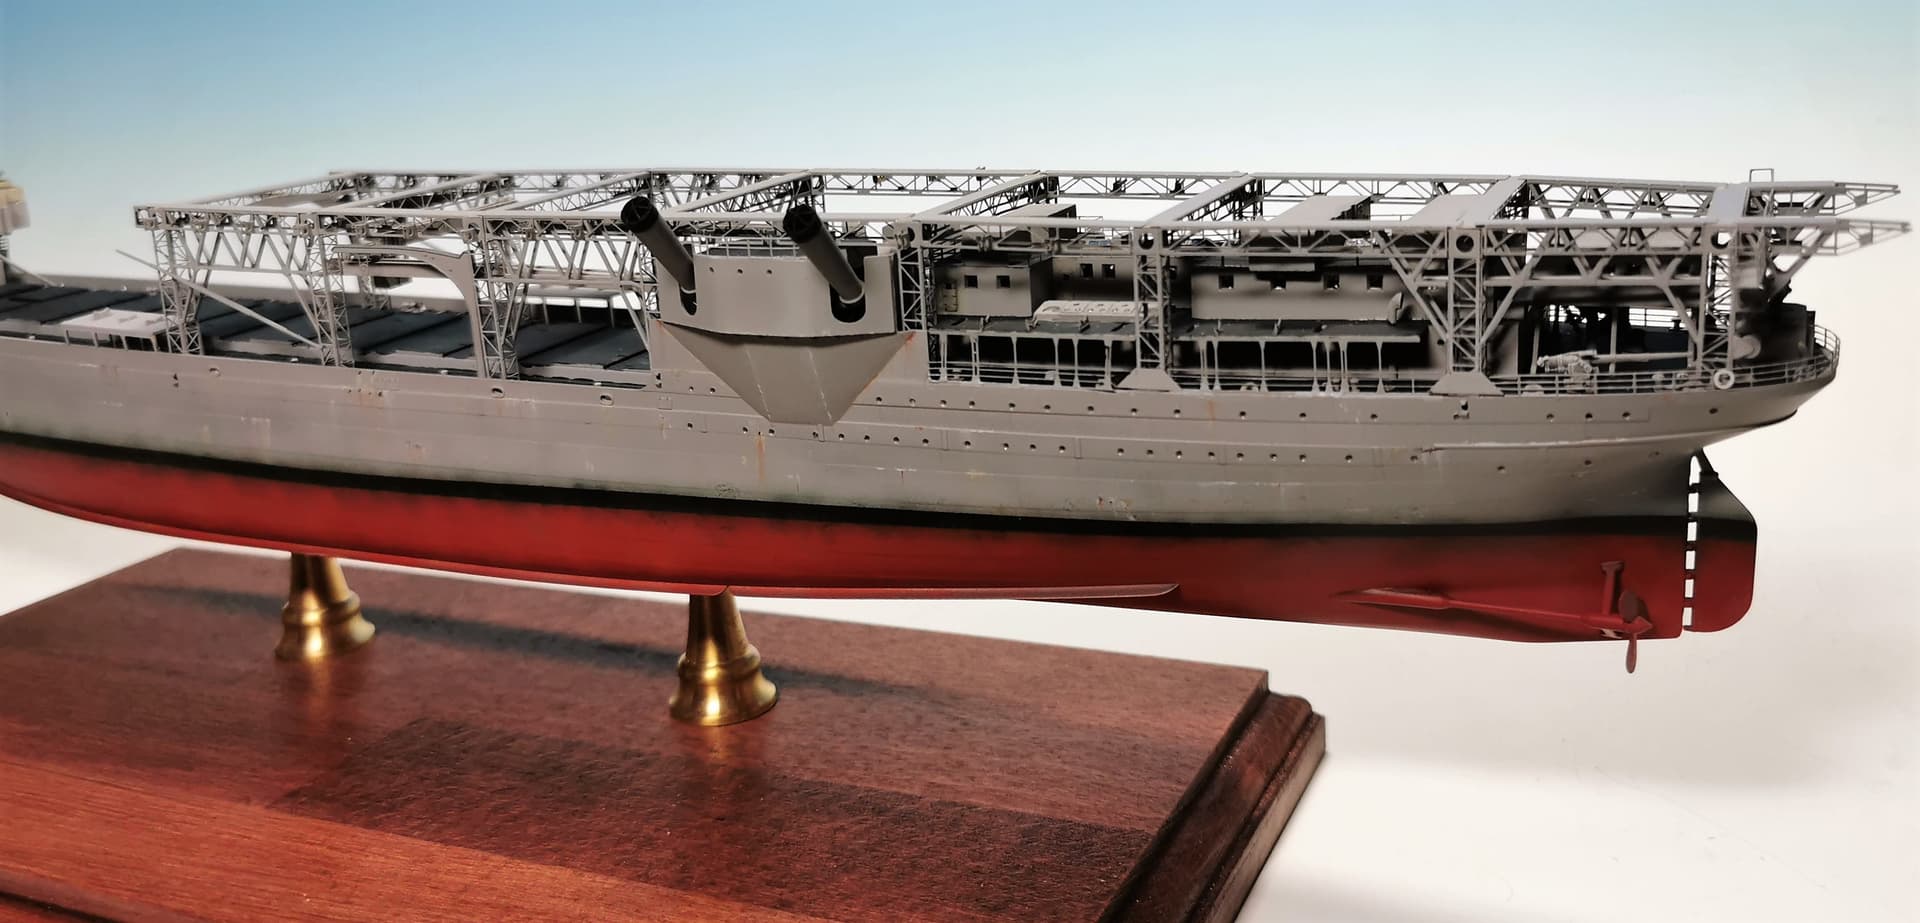
Next step is to finally glue, hopefully without any unforseen ocurrences , the flight deck onto the finished girder construction.
Cheers 

9 Likes
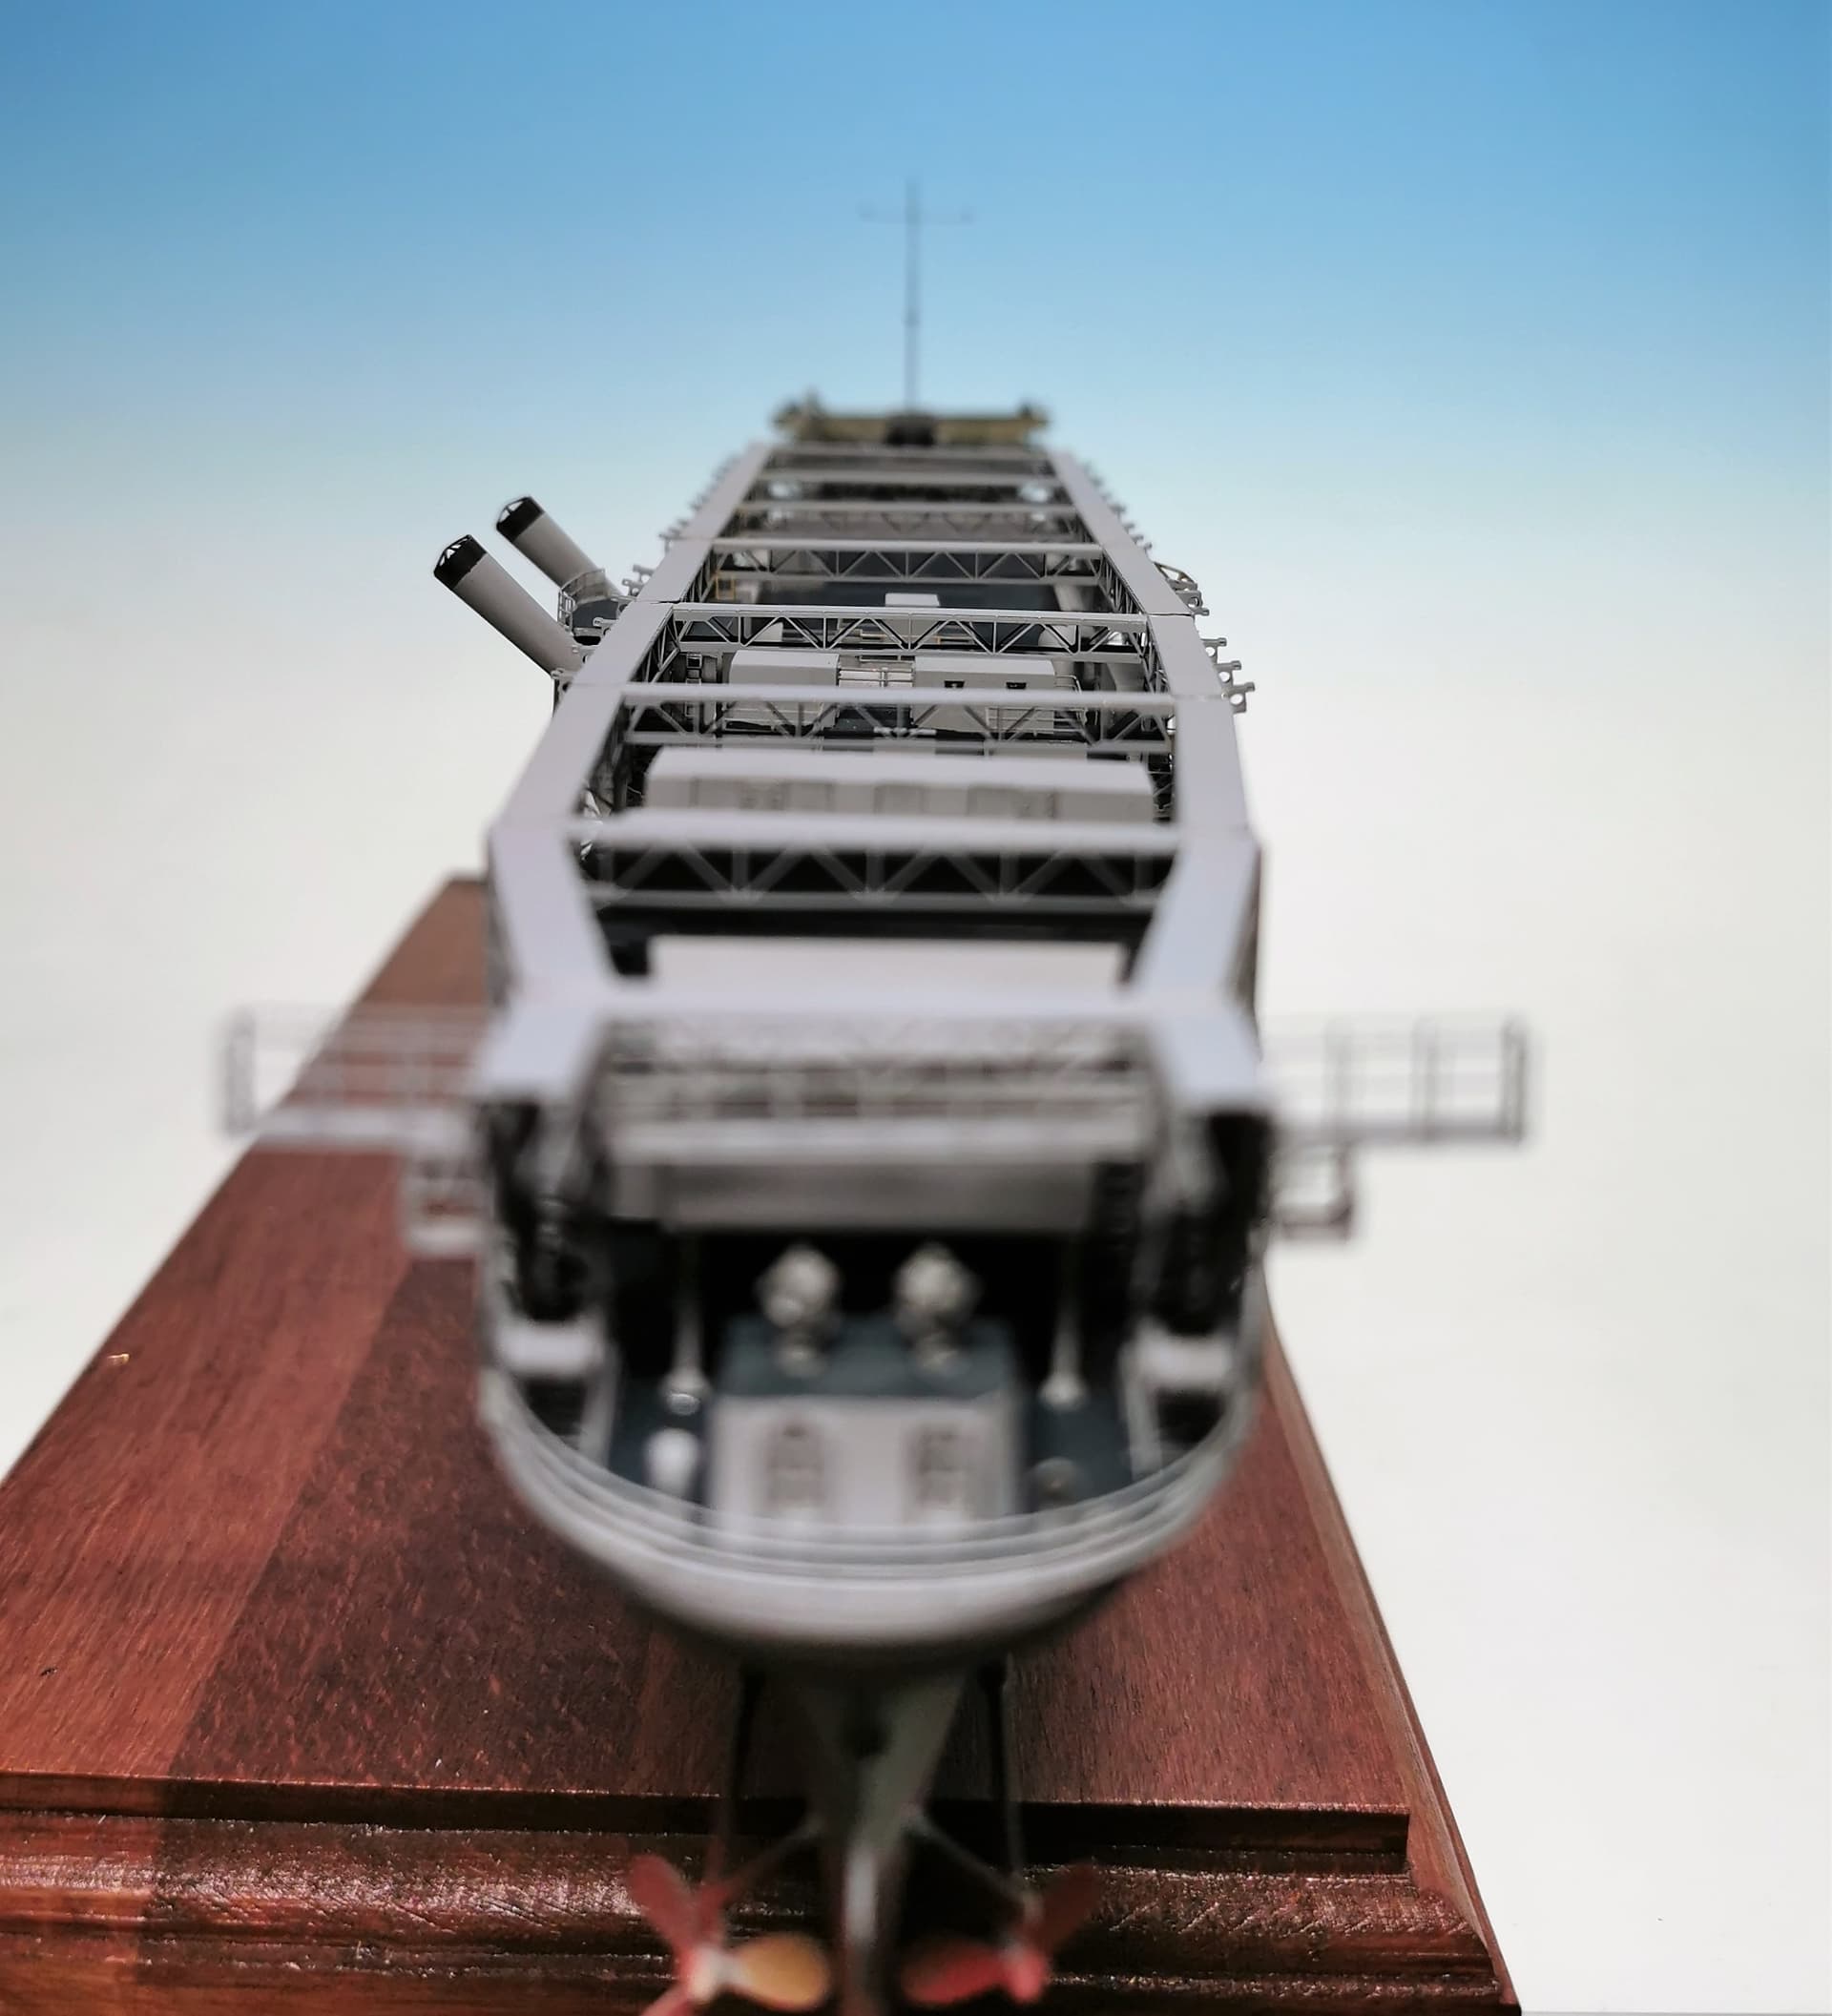
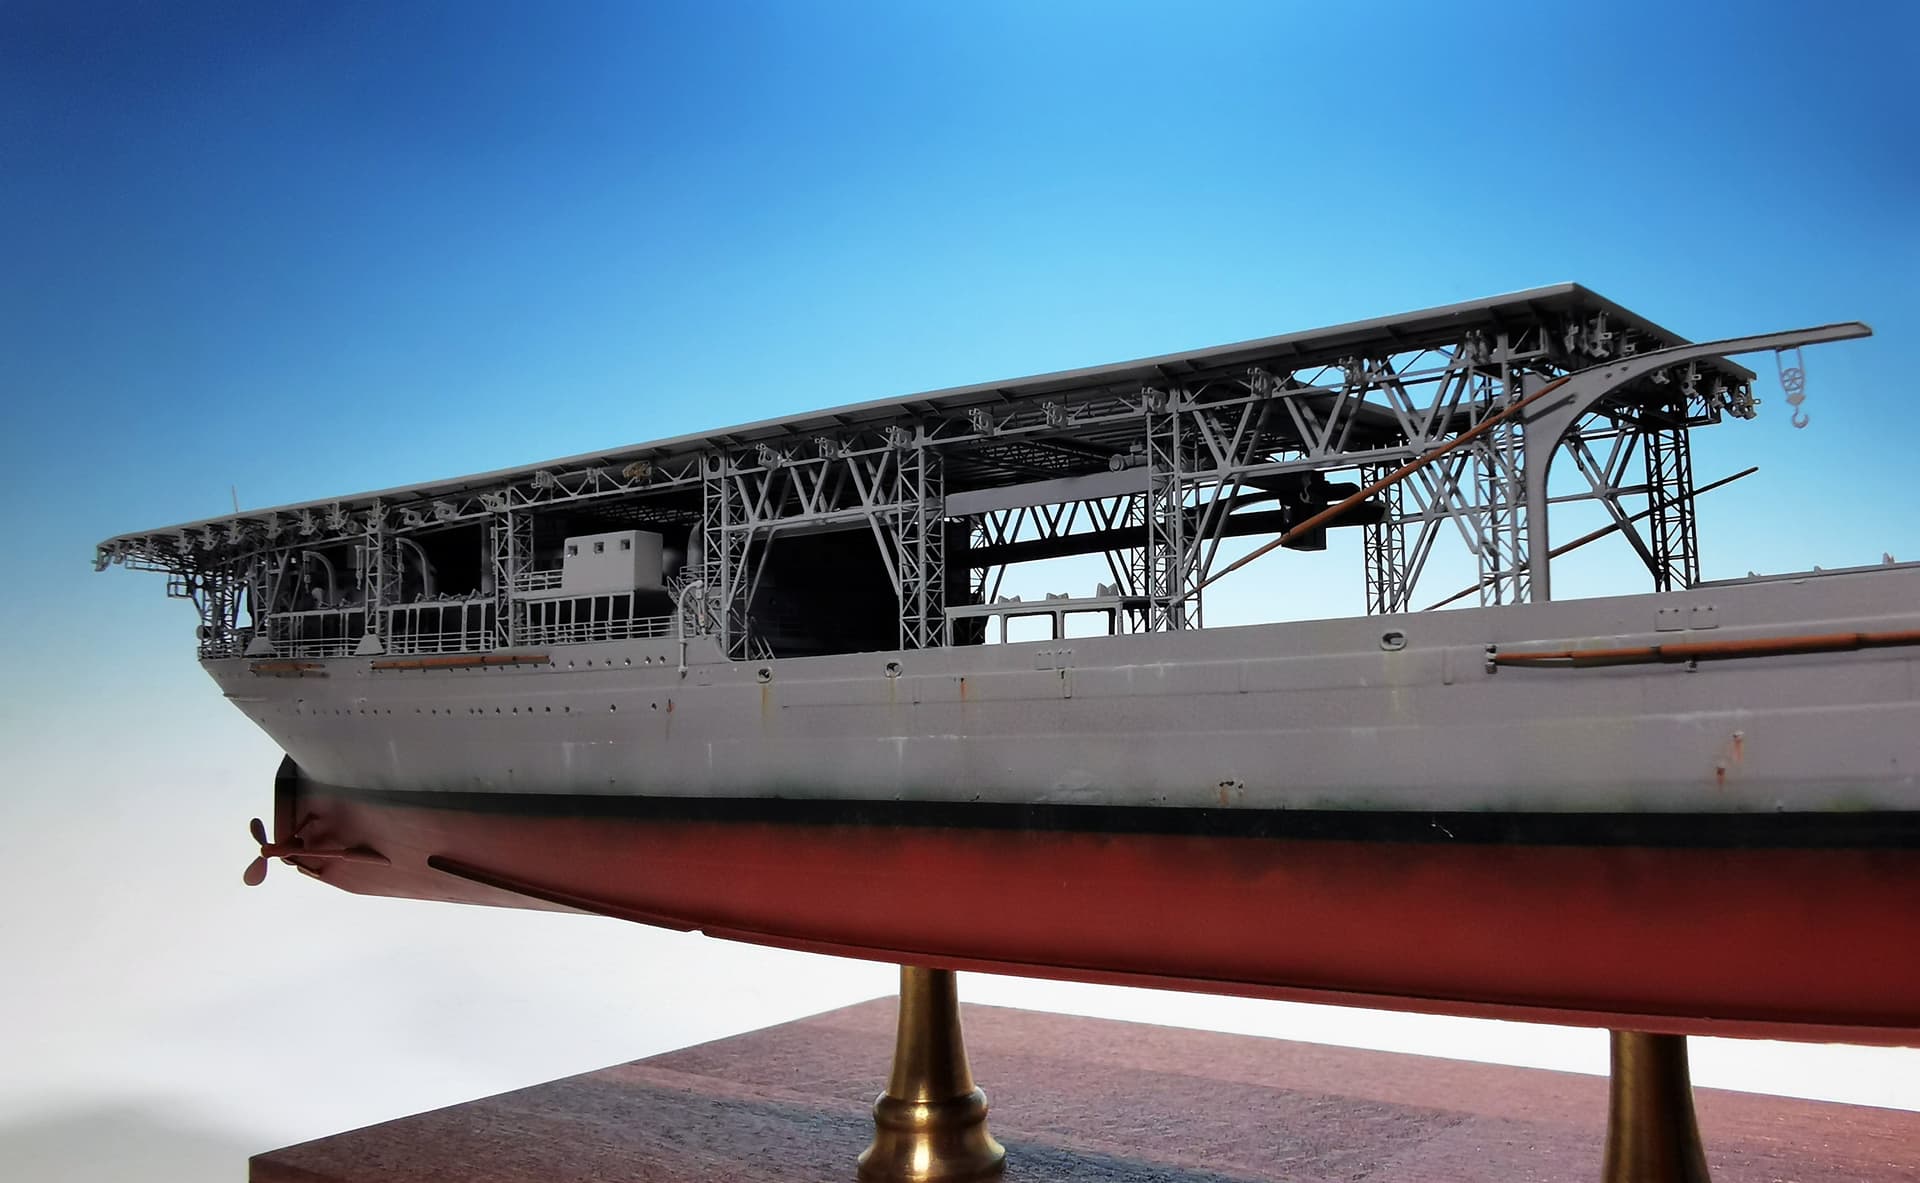
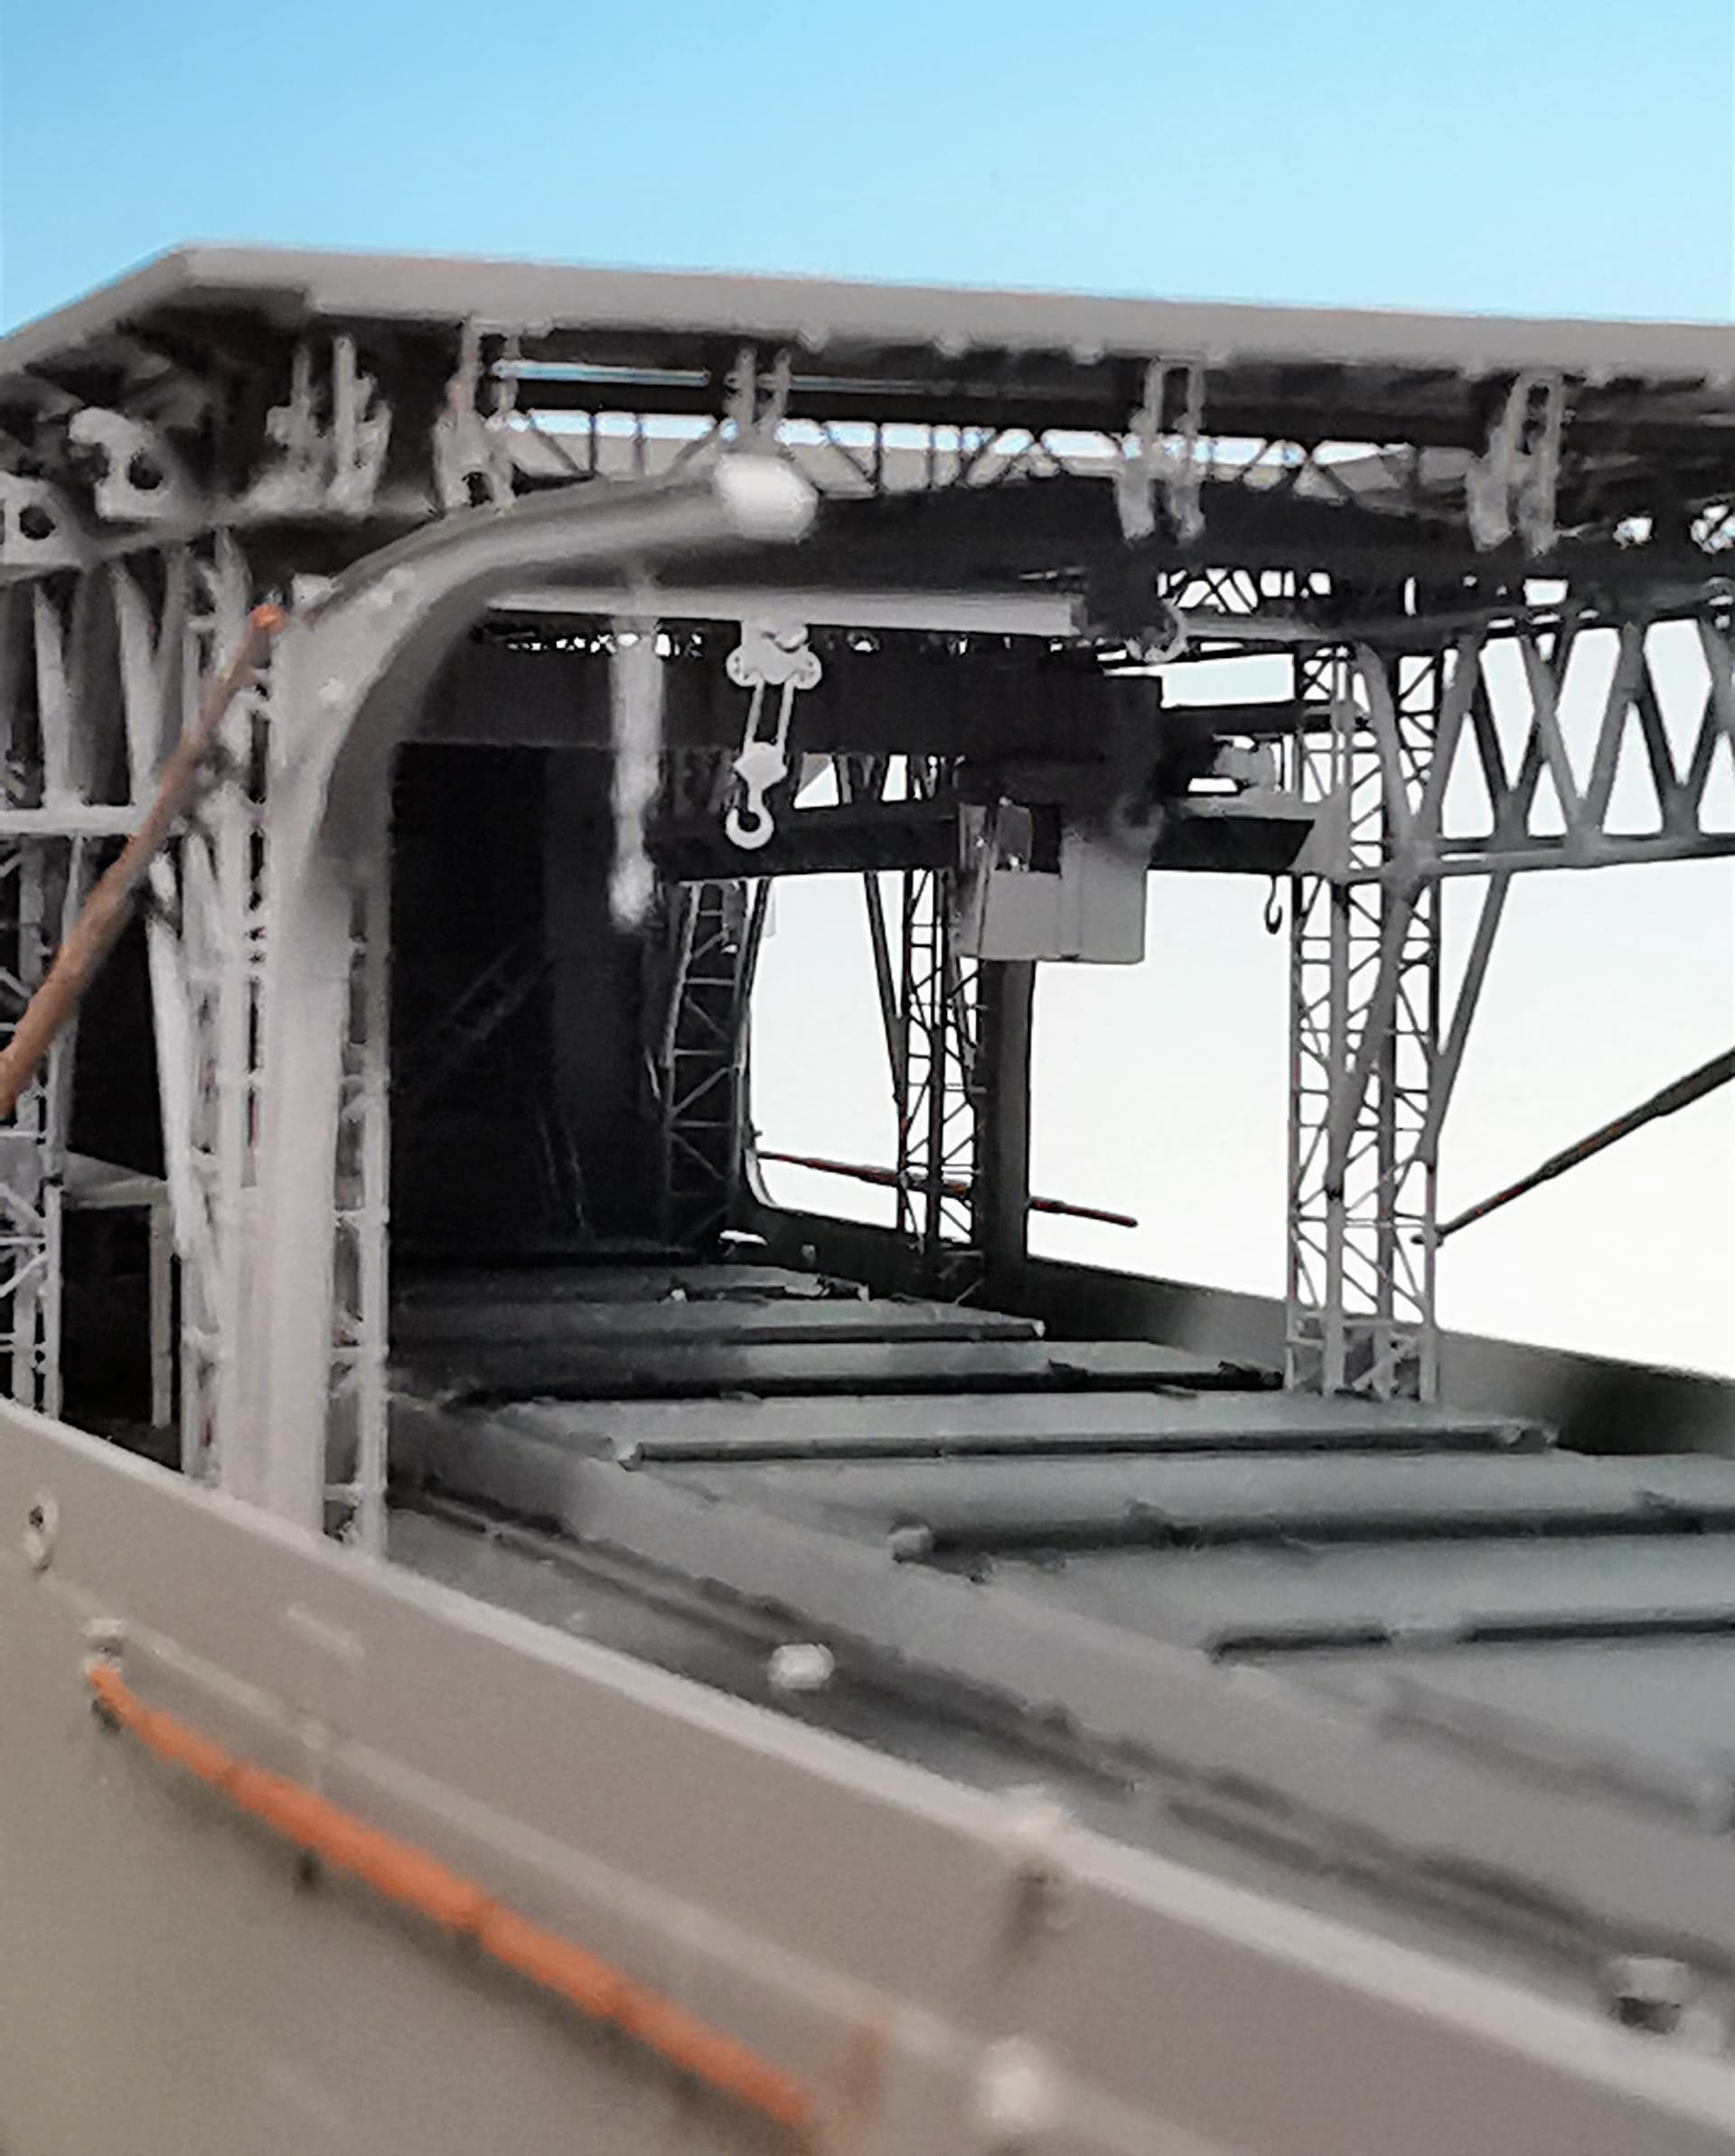
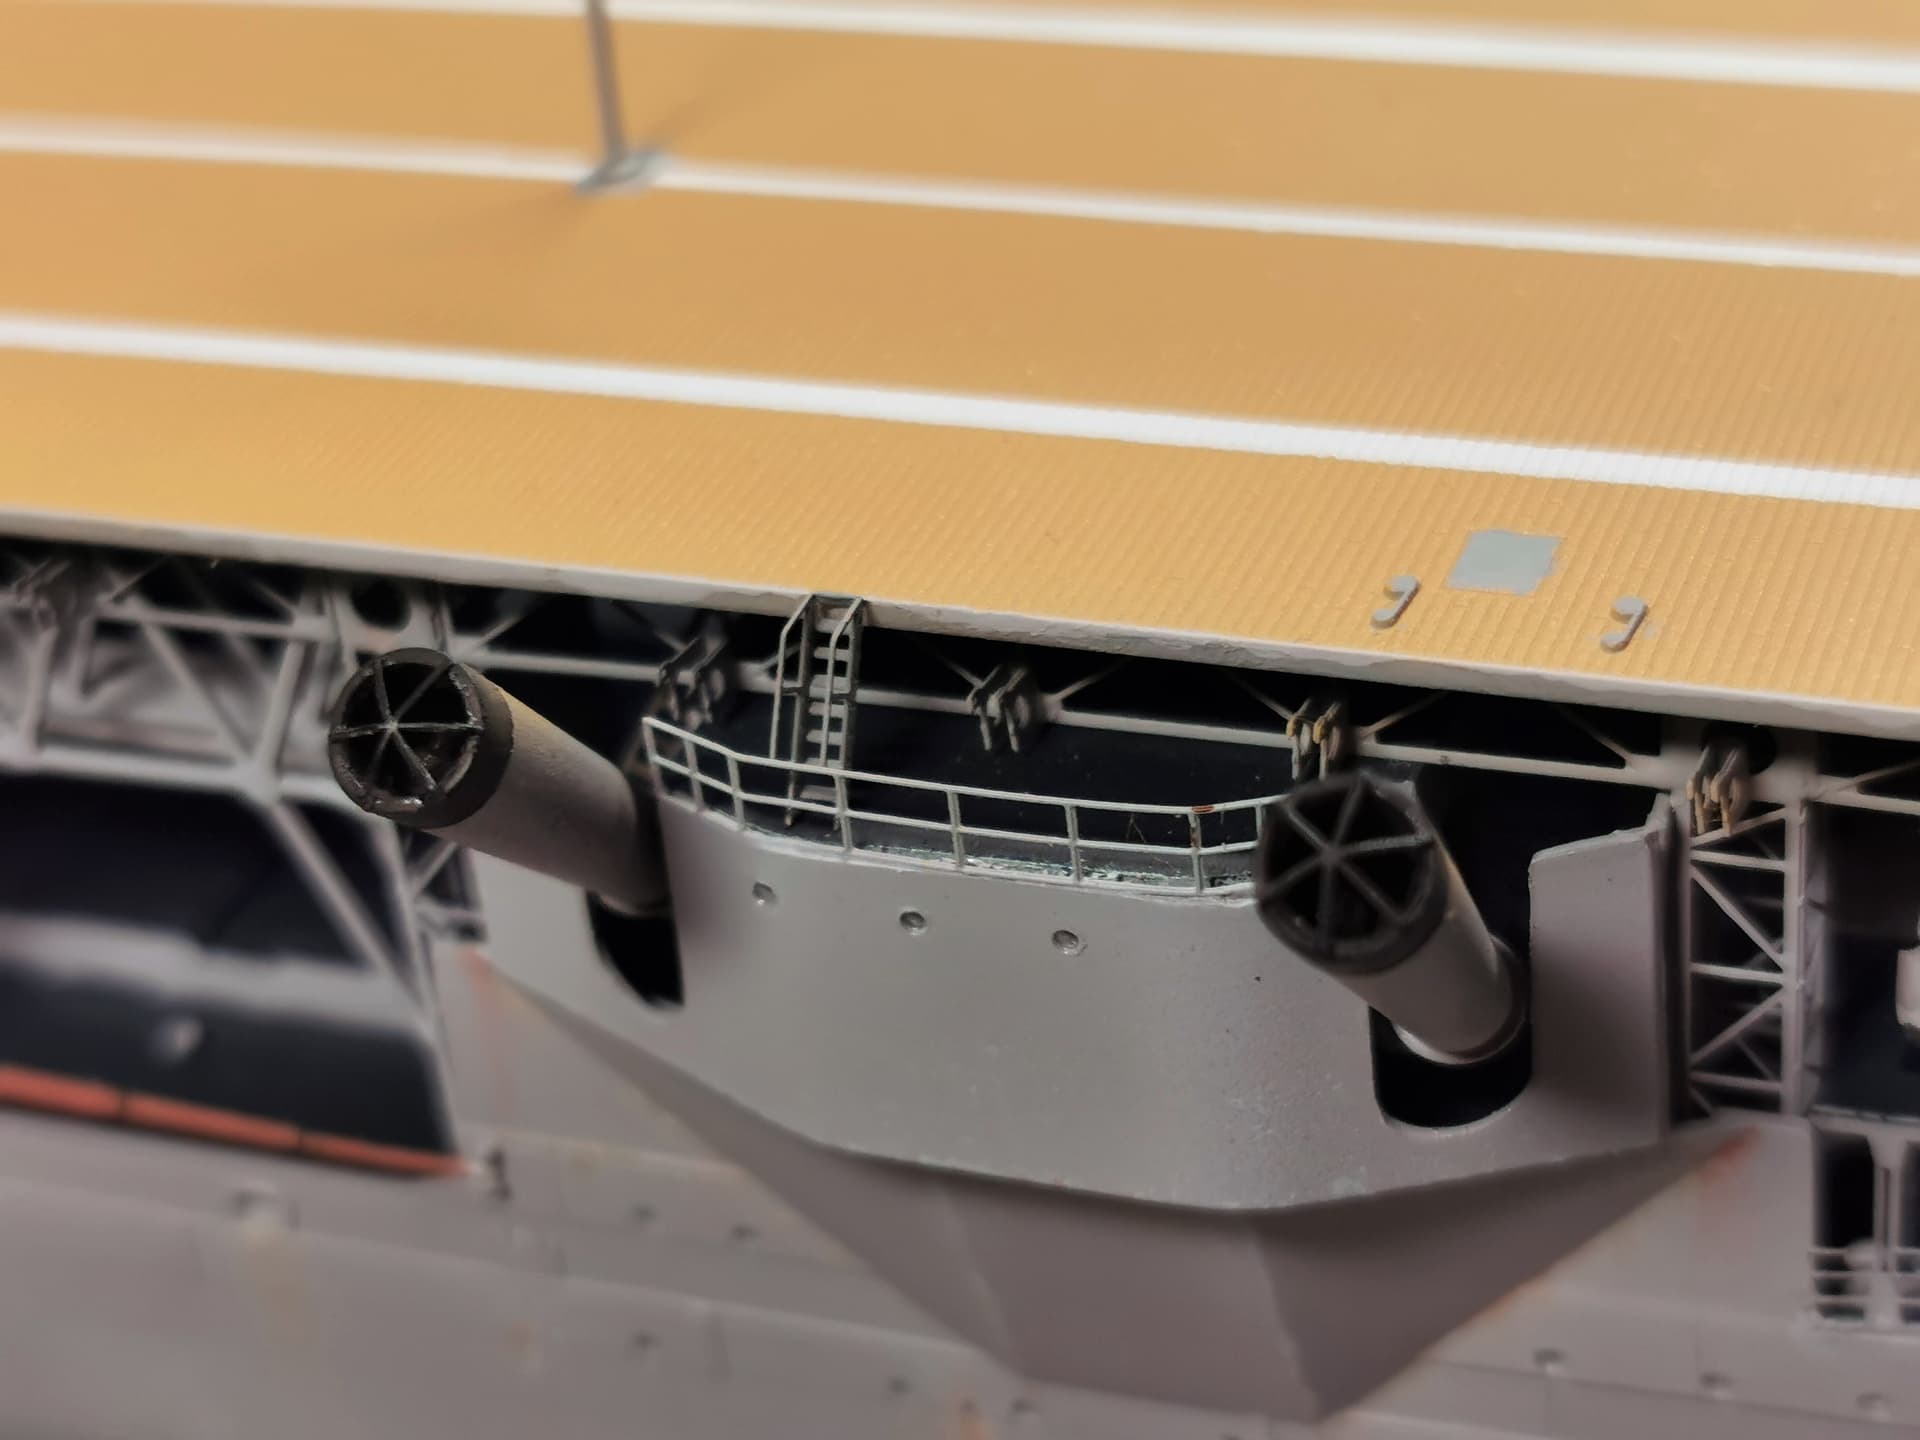
Last report for this weekend: I fitted the landing deck onto the girder construction - not with some losses but nothing which could not be repaired. Despite a lot effort to make an accurate work with the girders I had problems to fix the landing deck with the trusses beneath. I had to cut some inner beams of the etched trusses to let everthing fit together. Luckily this will not be seen by the casual observer:
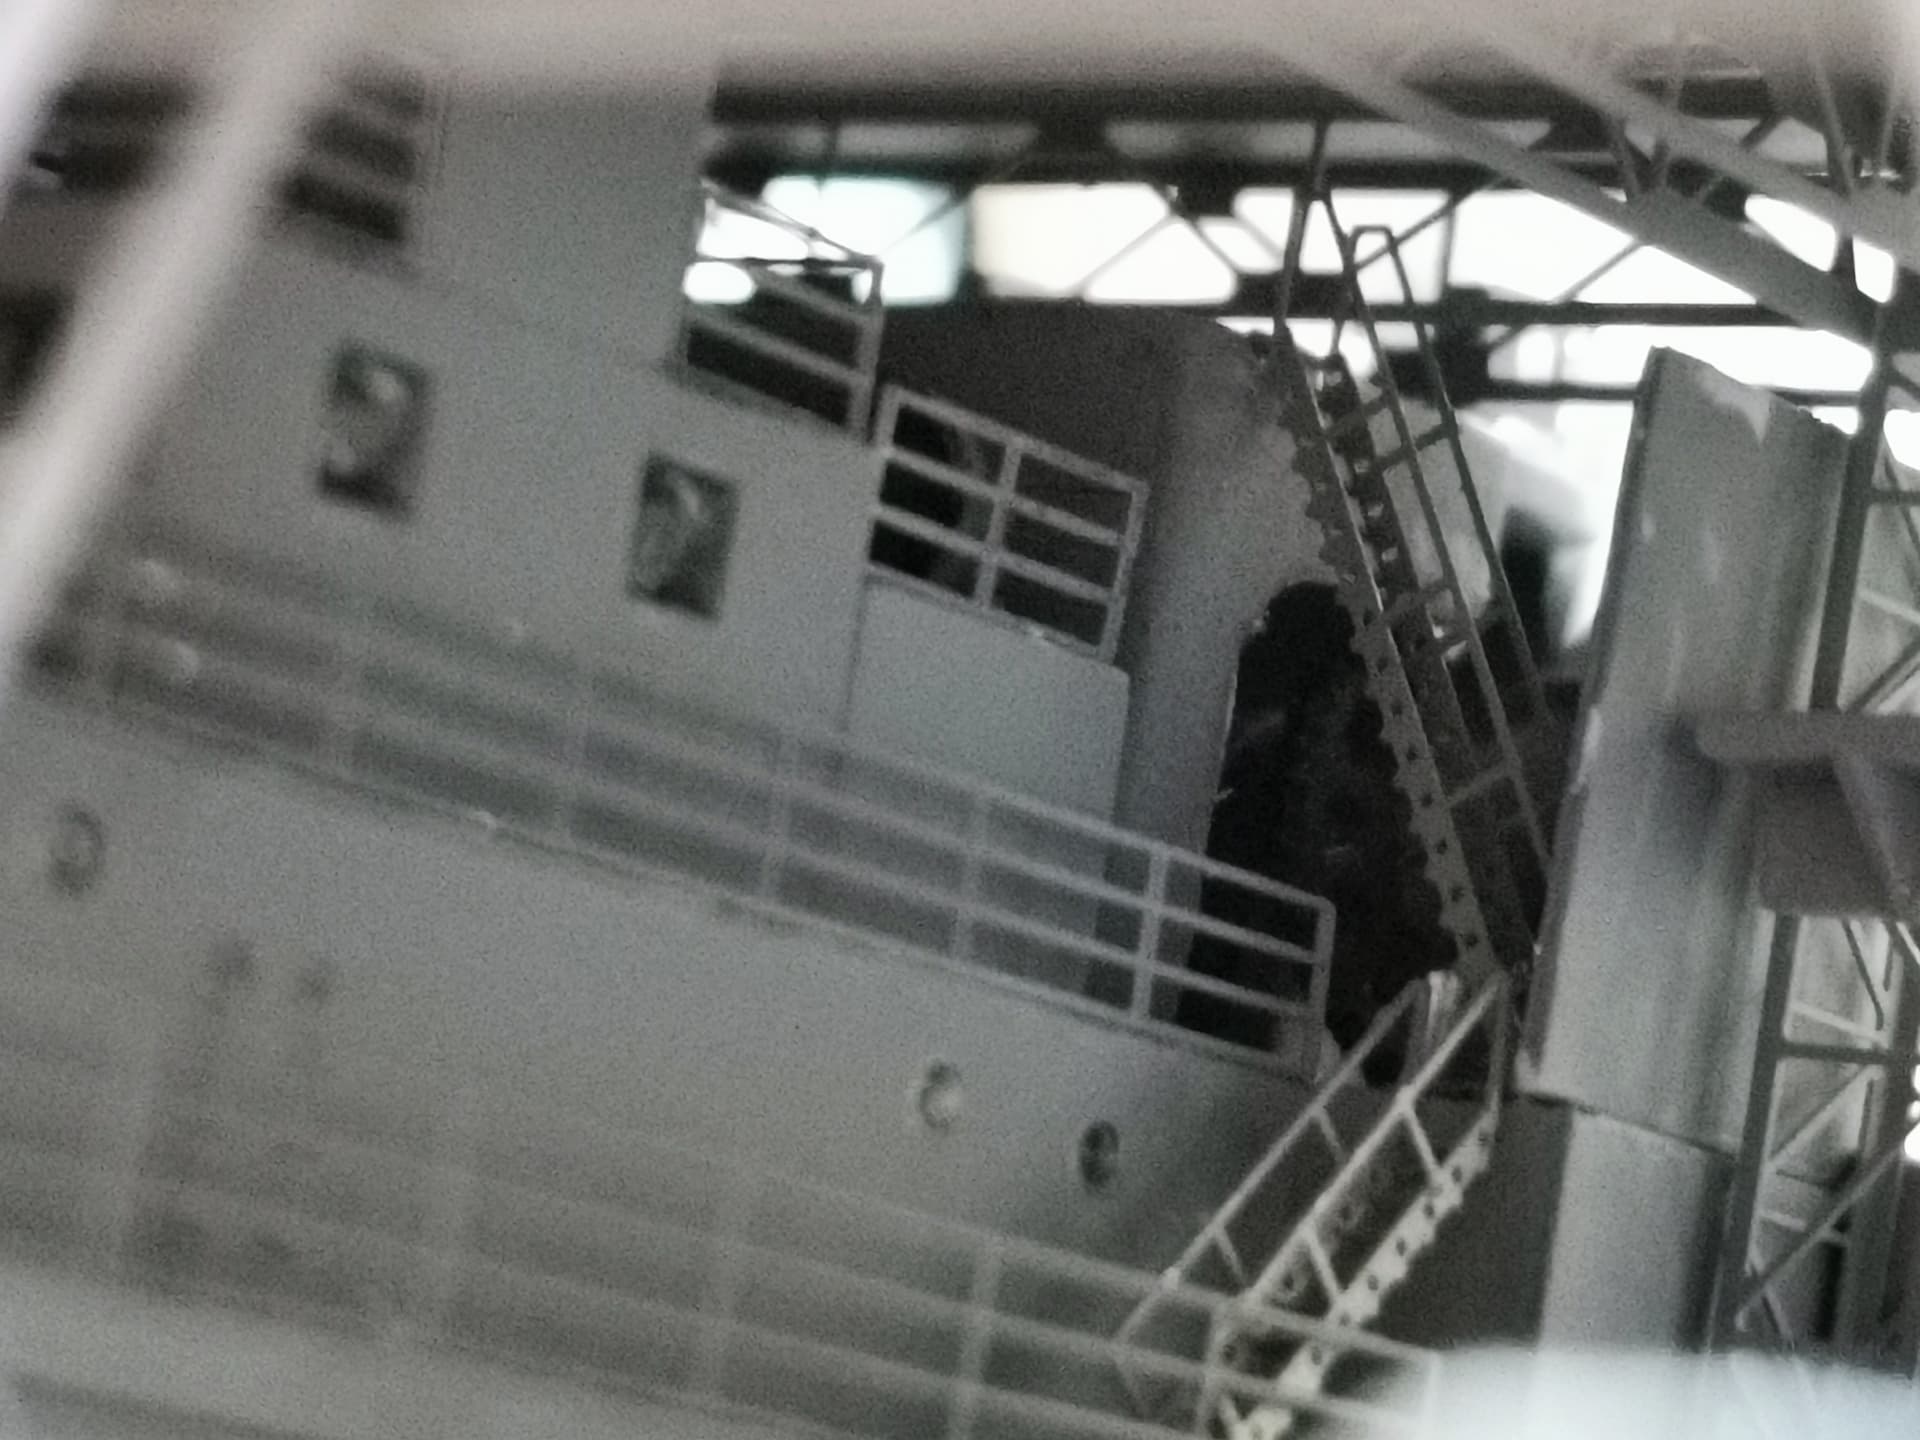
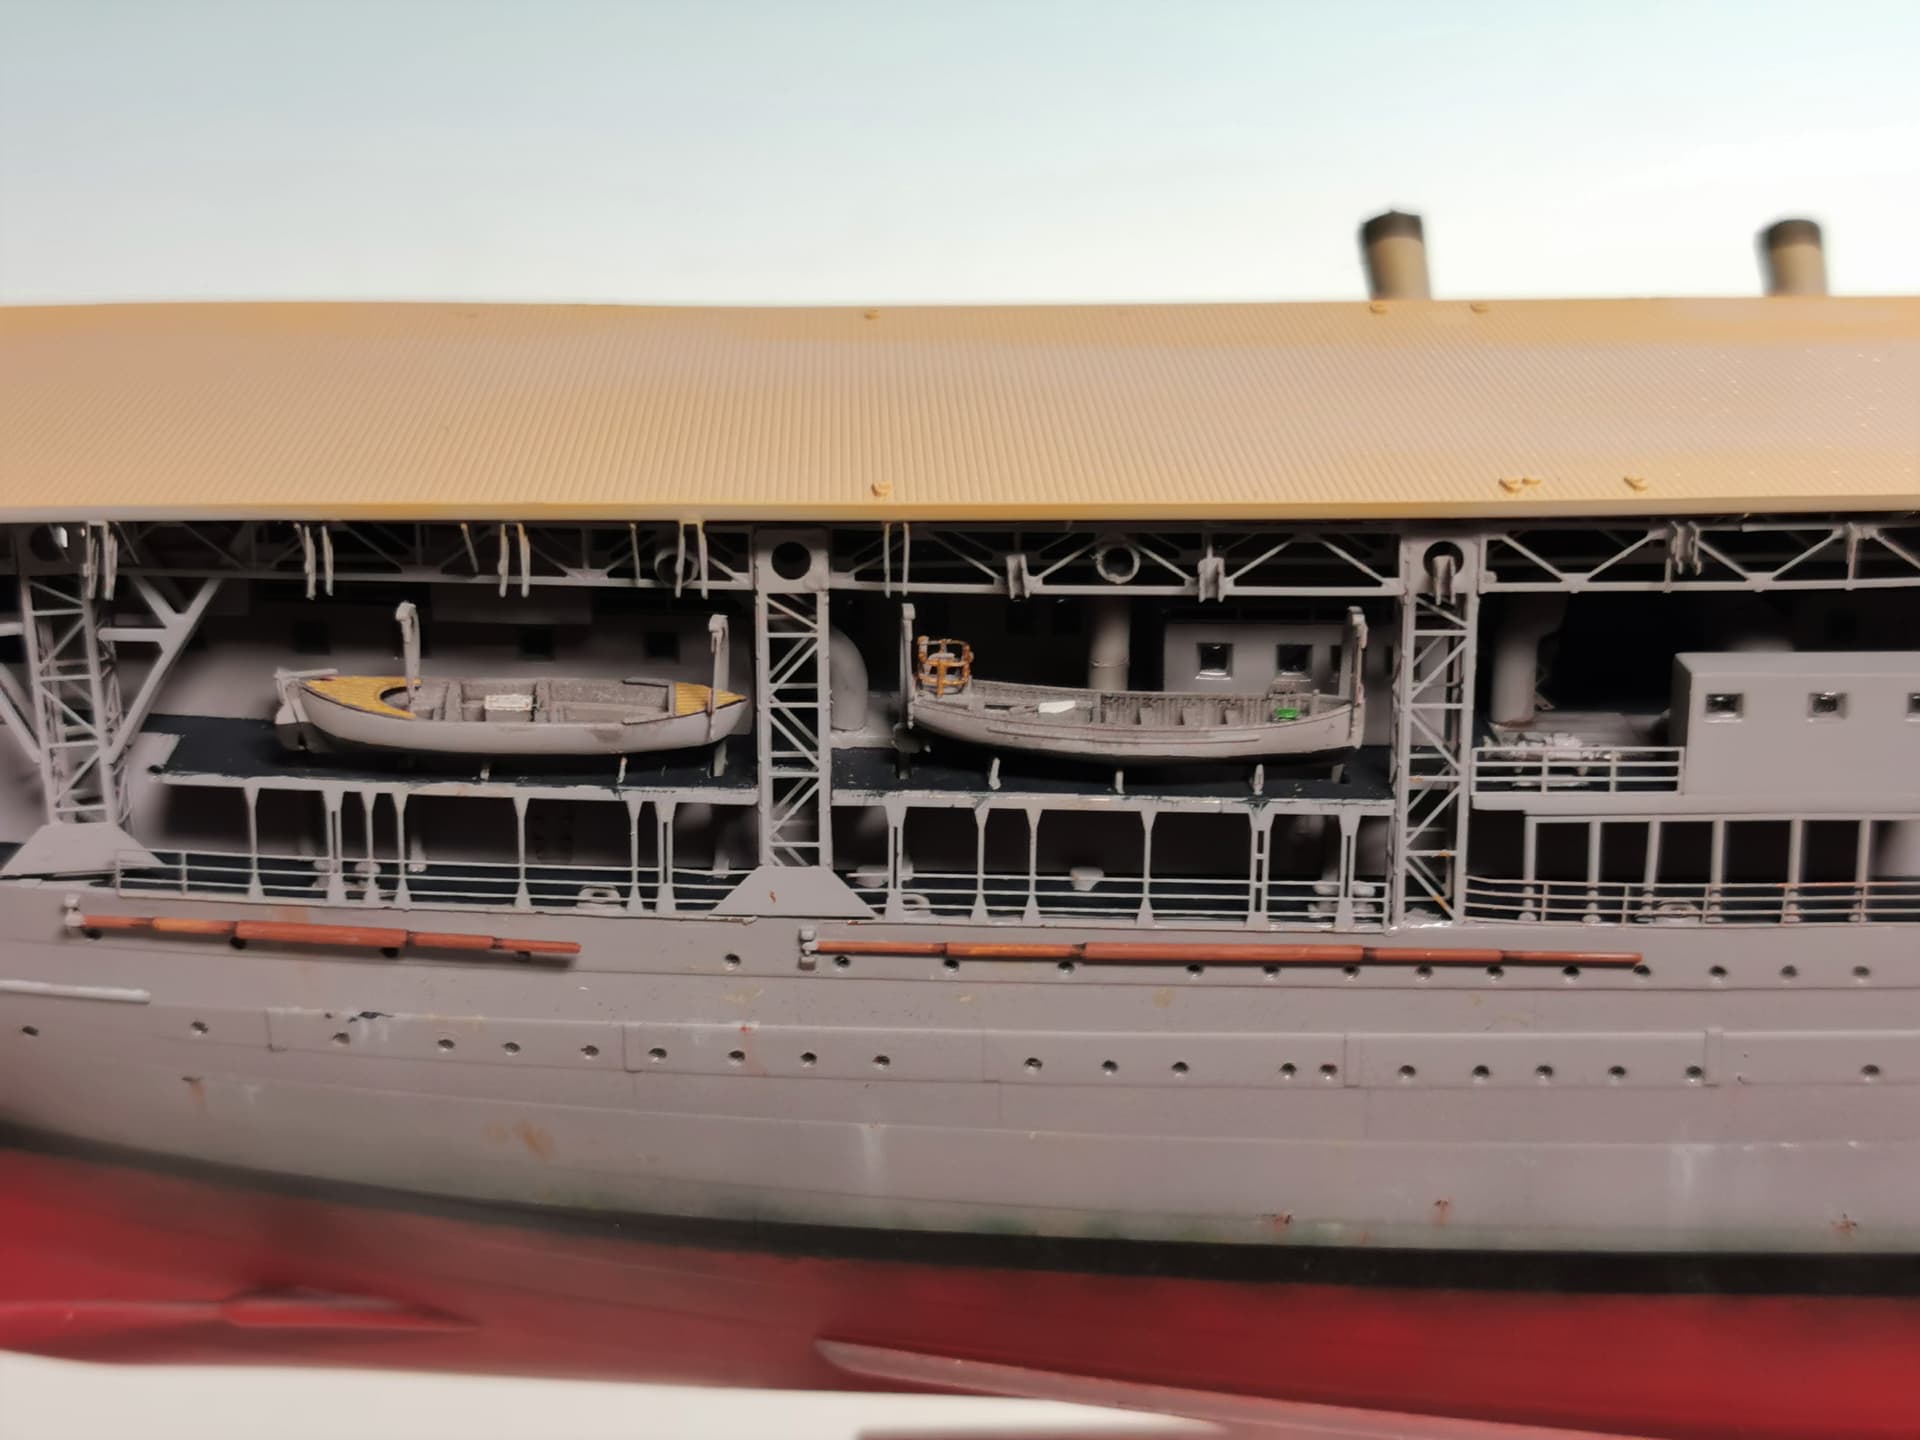
Some glimpses inside at the superstructures now


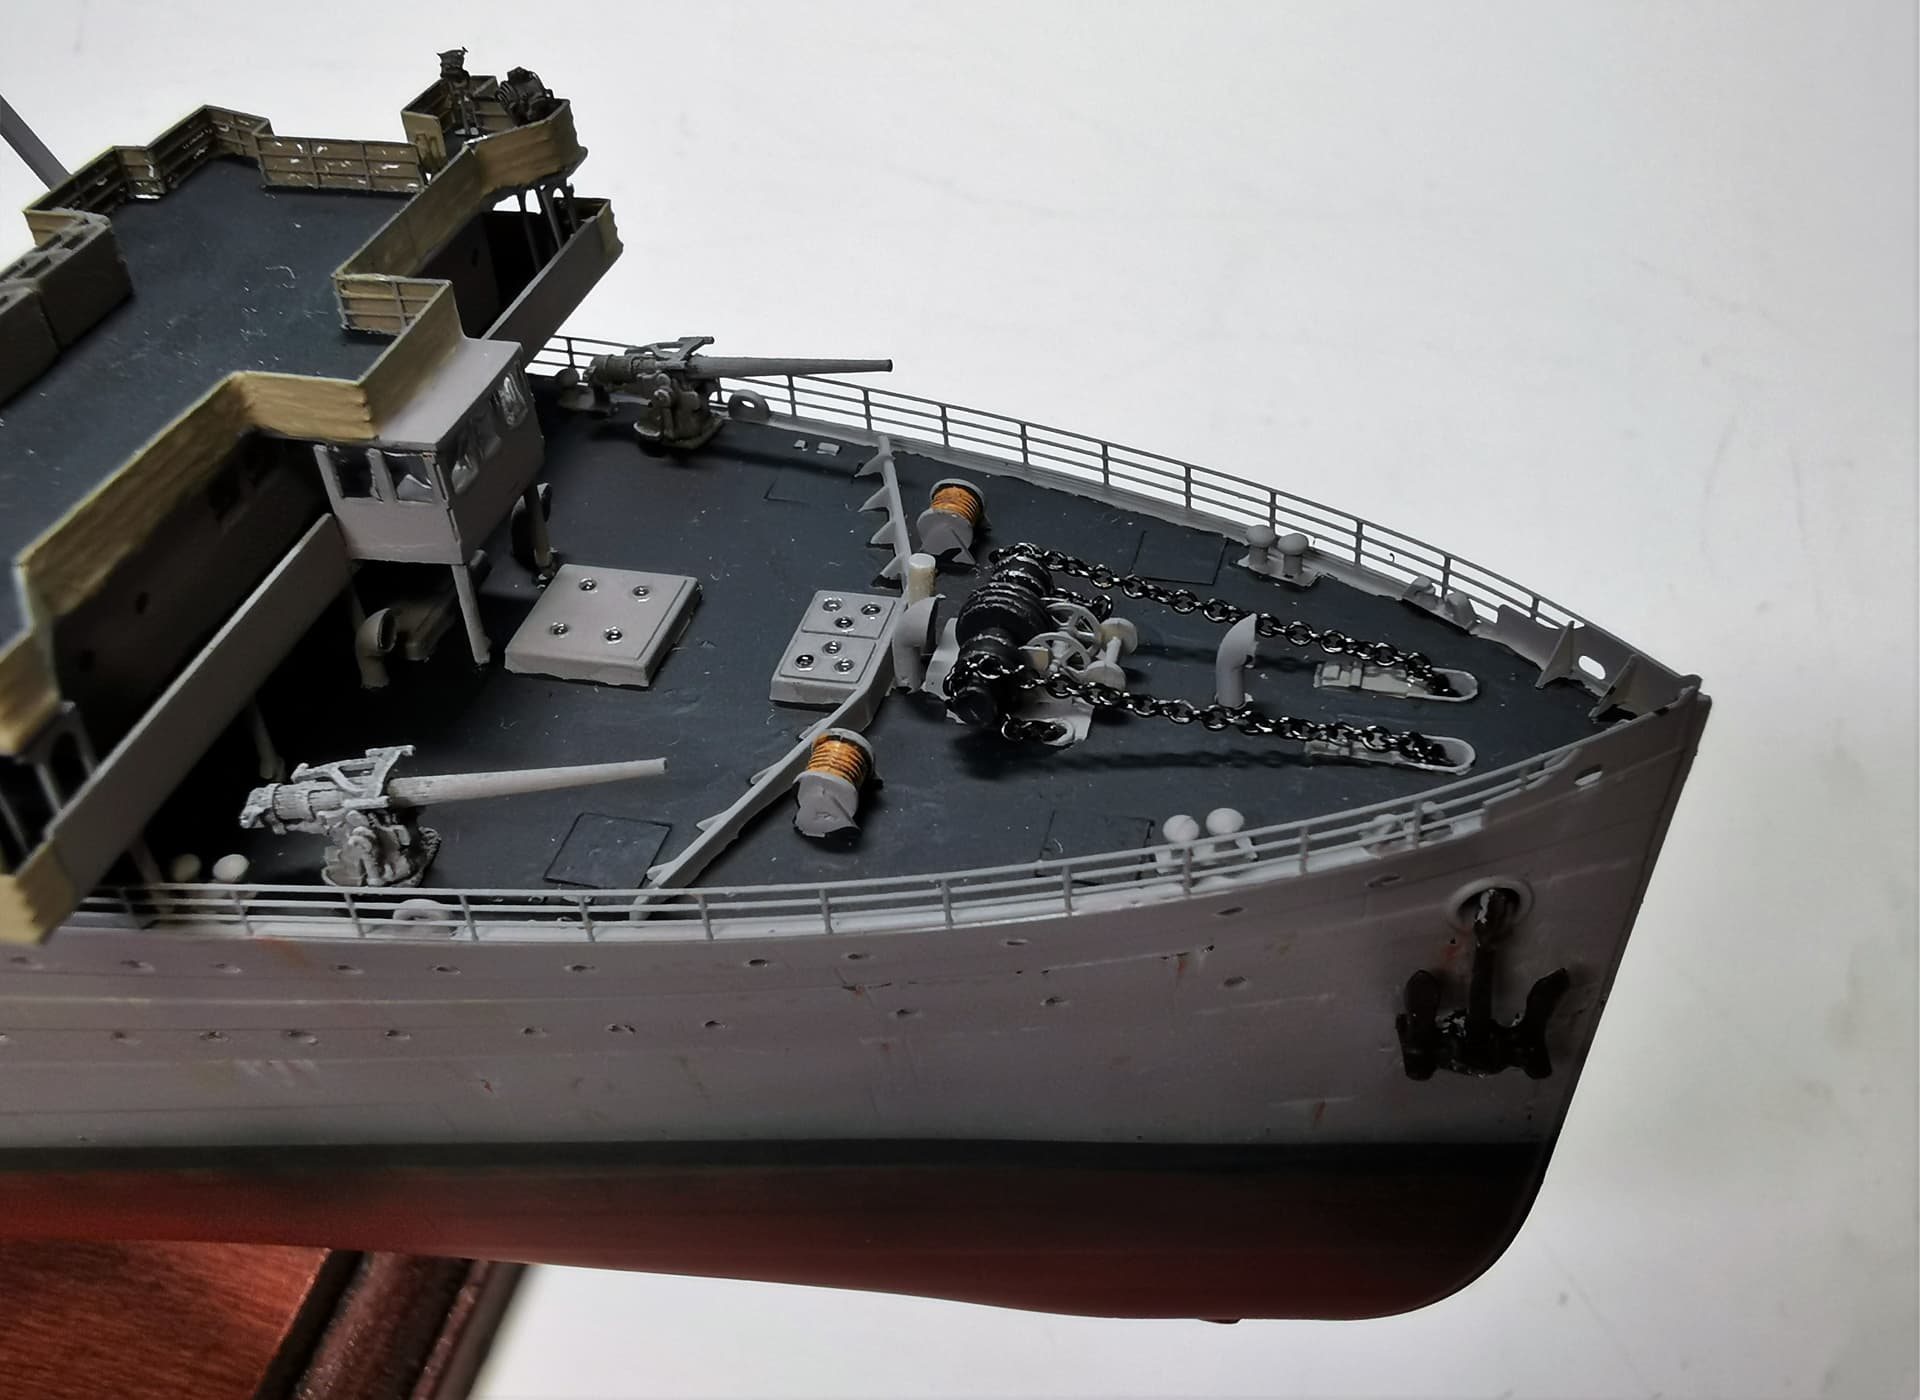
I then finished the anchor winch, the chain and the anchors itself
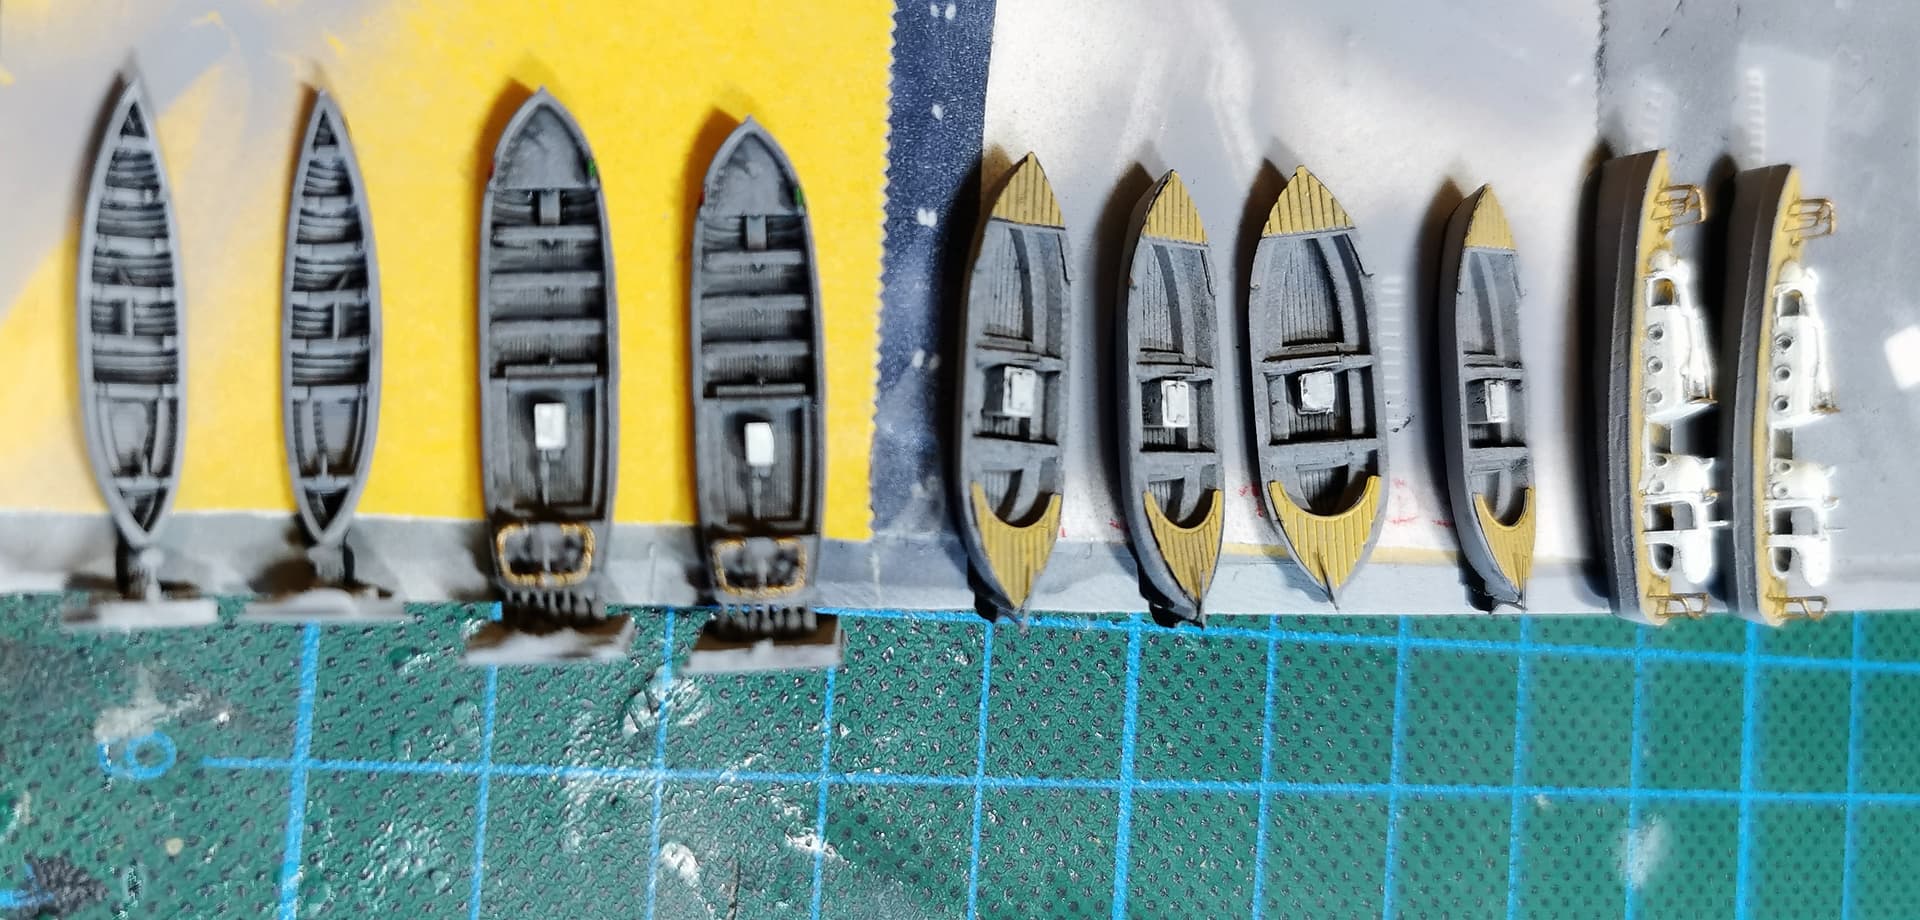
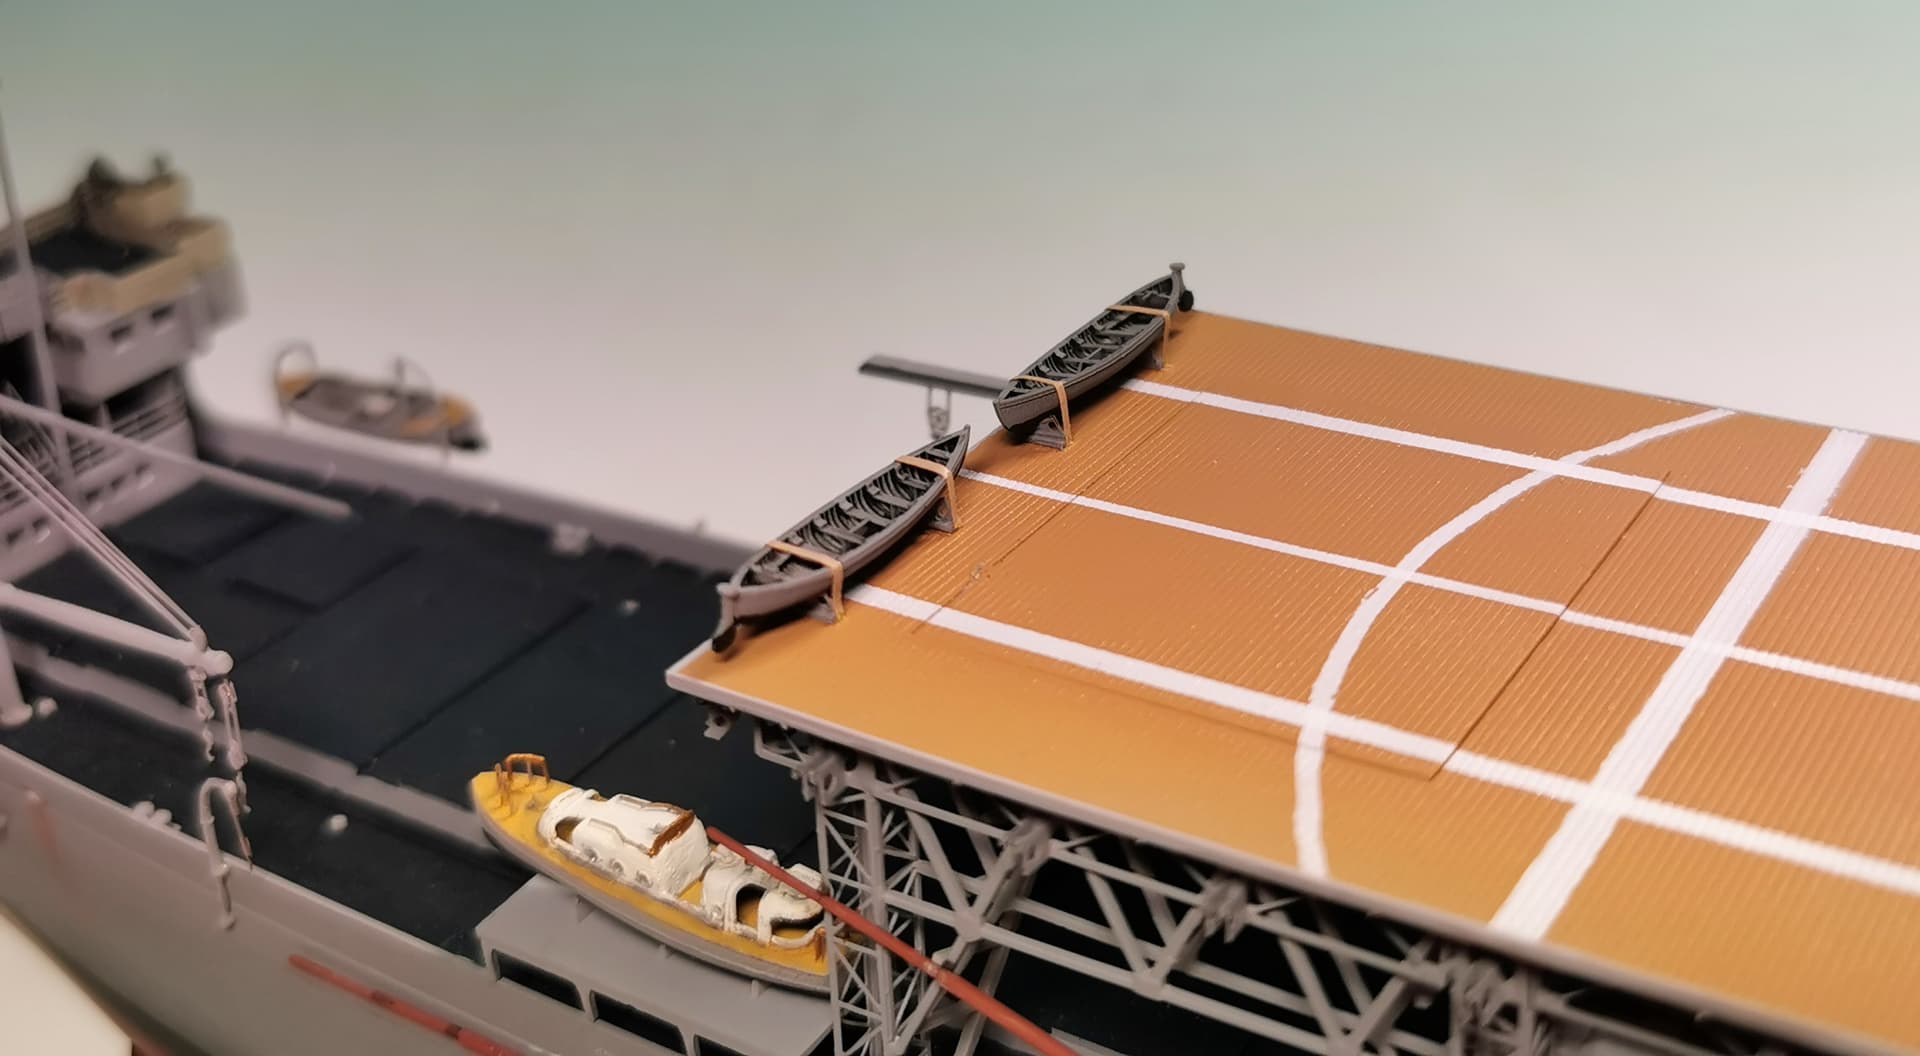
As I still had some power left I decided to finish the lifeboats also this weekend. The Black Cat 3D printed boats look already super, I just drilled out the windows and sealed them with Kristal Klear at the two biggest lifeboats for a more realistic look:
Finally already at their destined places


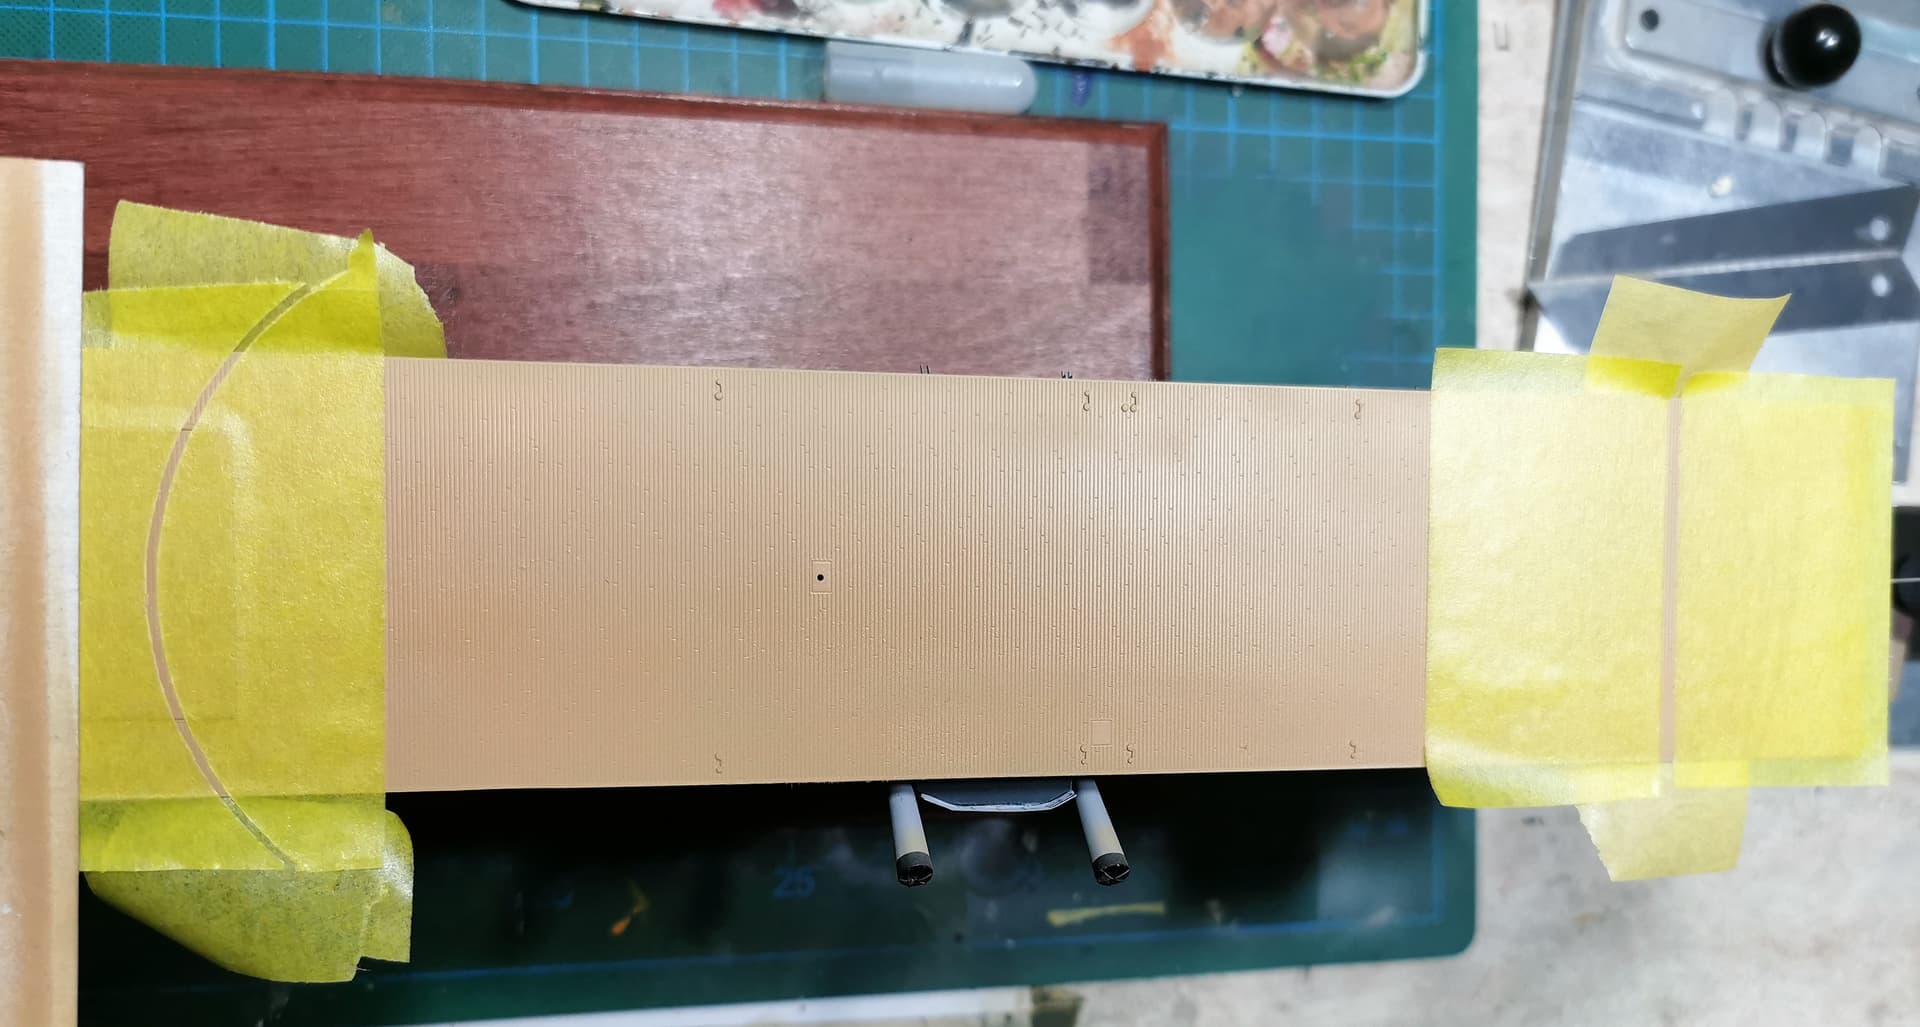
As you can see I also started to paint the landing deck with gunze sandy brown as the suggested tan color looked too light for my taste. This will thoroughly dry now until I will continue with the white strips
Happy evening everyone
15 Likes
Just a beautiful job all around Thomas - very impressive.
Cheers - Richard
Fantastic! Been waiting for this update all month. What an impressive kit, and you’ve done an excellent job with it Thomas. Now I’m going to take my leave and drool over the complexity of those girders for a while…
Marty
That is simply gorgeous work!!! 

Amazing work Thomas, on what is a very complicated ship 
Thank you all for your comments, I am glad you have joy with my build 
The flight deck was first painted with Gunze 19 sandy brown as the suggested Tan was too light for my taste. I also decided not to use the provided decals for the white stripes. Instead I first took use of my Vojager masker easycutting jig 3 and spraypaint these lines. The circular mask cutting was pretty easy with this jig:
painting the lines was done with Tamiya flat white
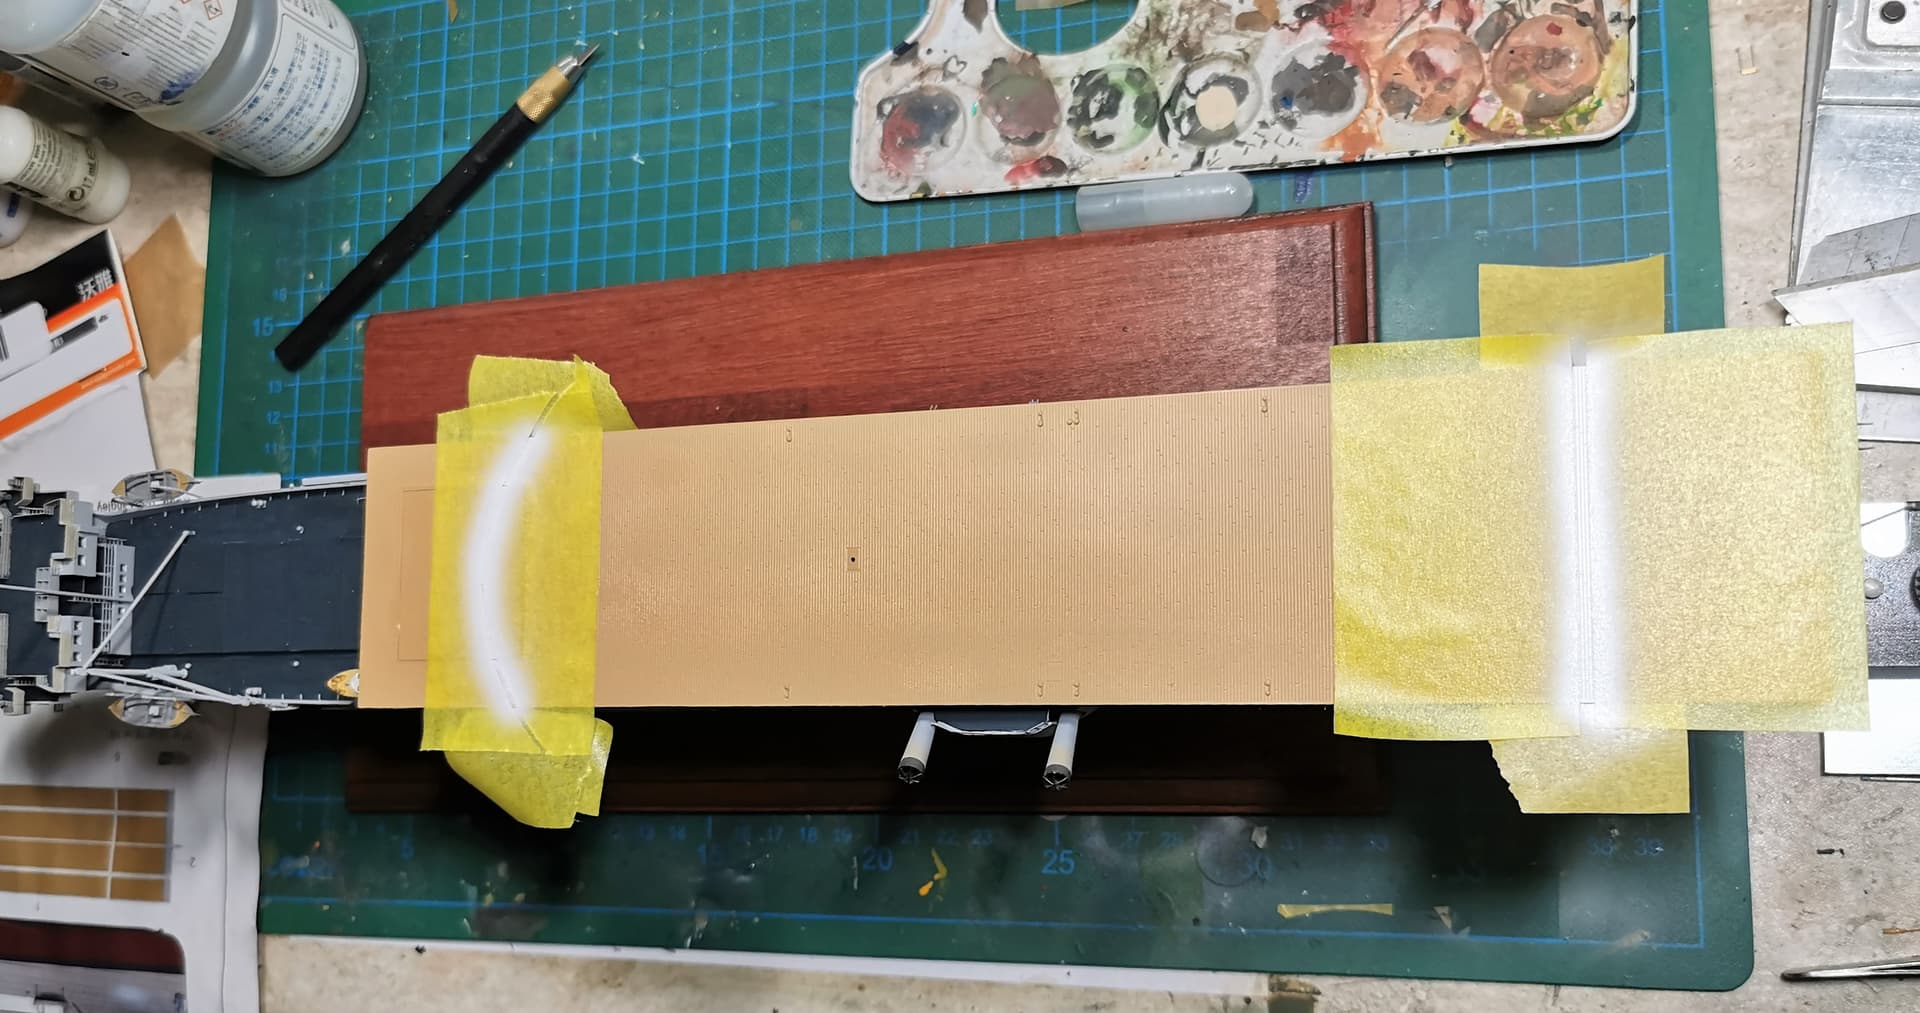
masking again for the parallel white lines

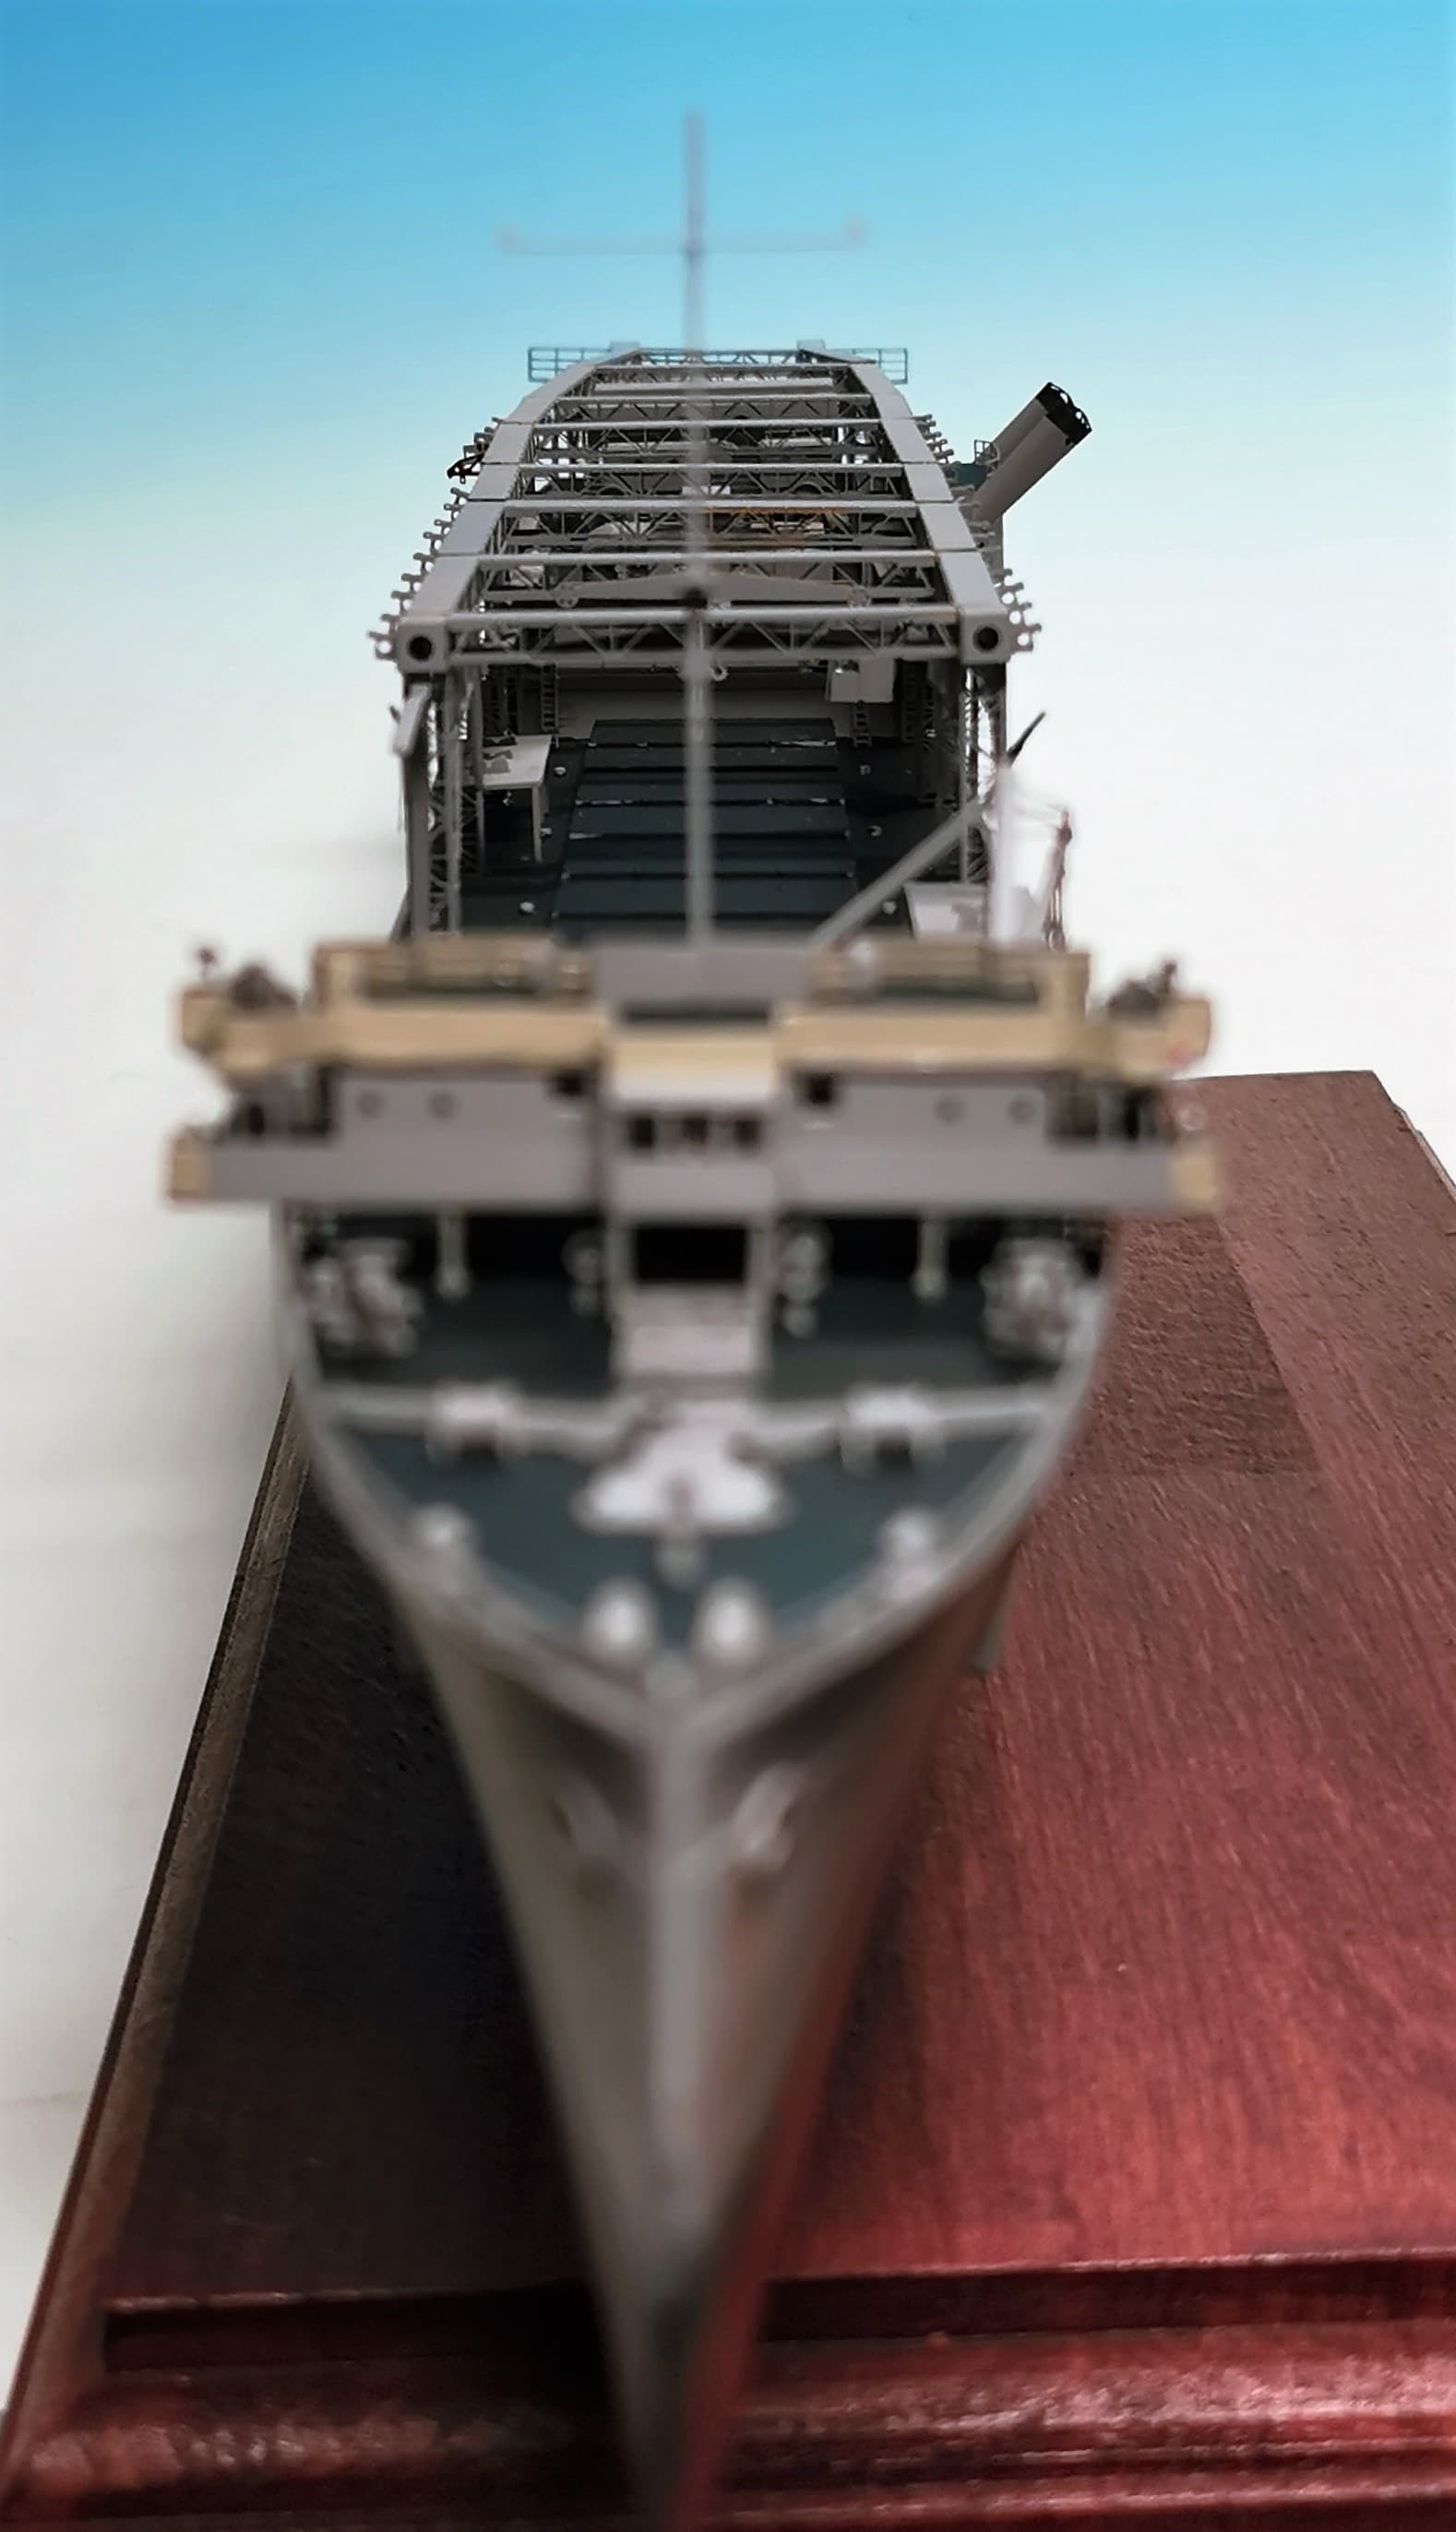
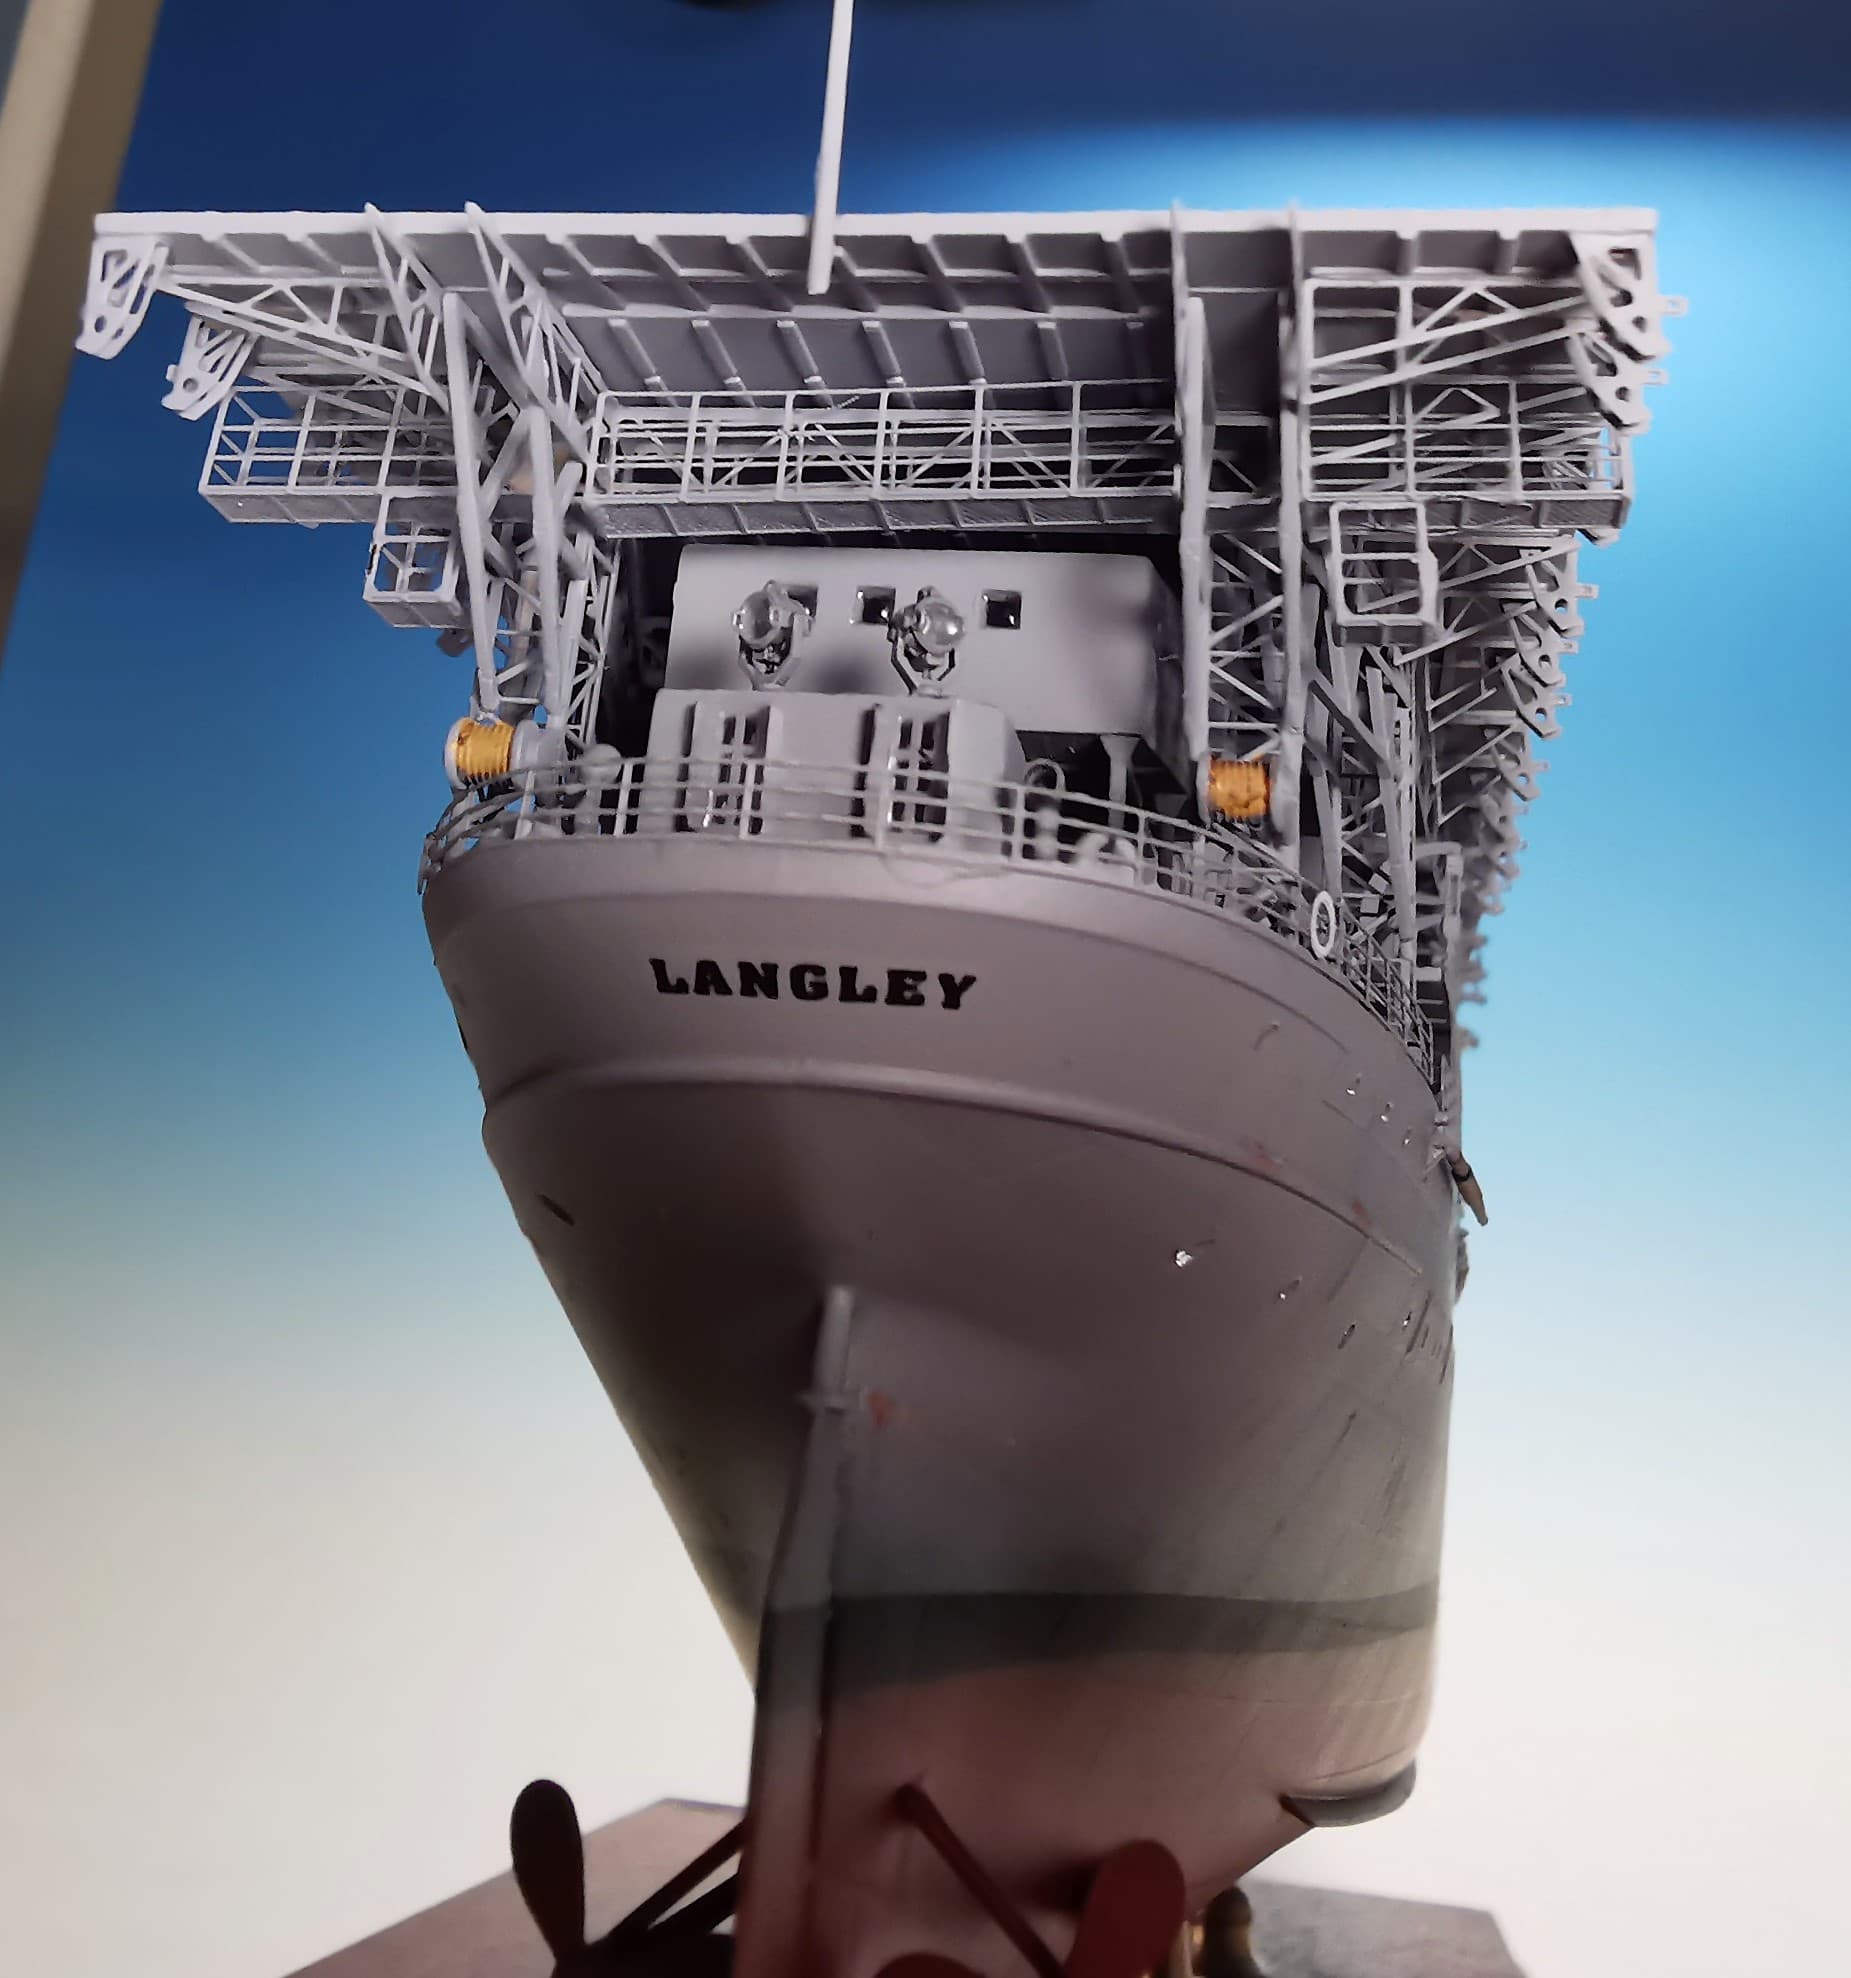
and “voila” after removing all masks and installing the last plastic part of the ship, the aft mast
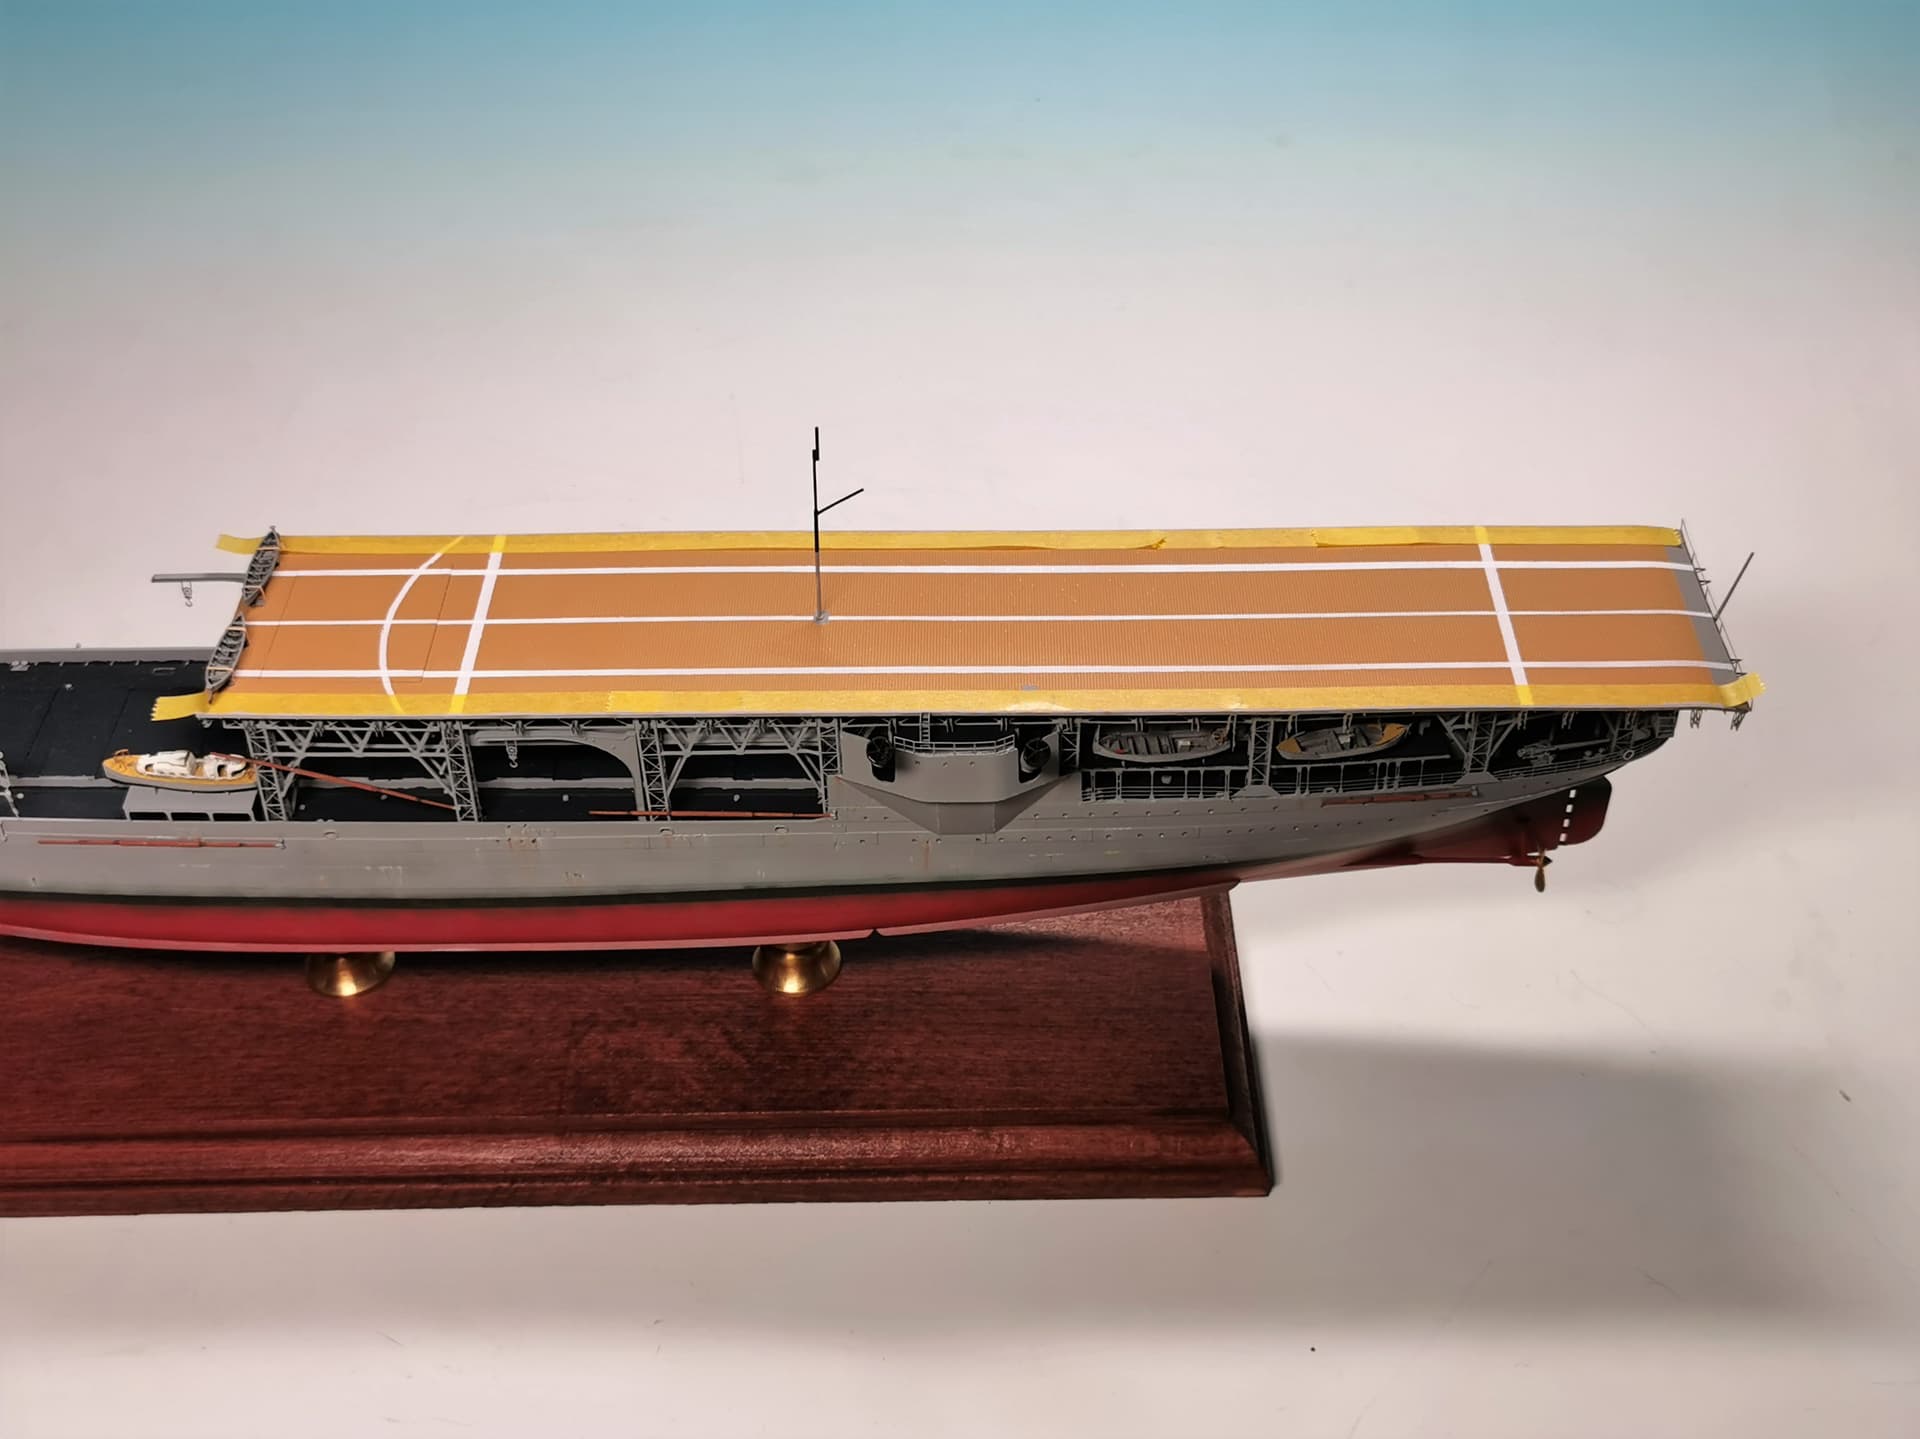
Almost all pictures of the real ship show two lifeboats at the front edge of the flightdeck. I used therefore Black Cat´s 27ft Whaler boats for this task. The tie-downs were made from thinly cut masking paper painted in tan color.
As I finished all parts from the ship there was just one very last ladder “jippie” to install from the funnel upper deck to the flight deck
Now it comes to the (for me) most delicate work - the security nets and the mountings; all out of EDUARD´s etched set
After this its just some small rigging works and the stars and stripes flag to do, then the mothership is done and I can proceed to all its loaded aircraft 
12 Likes
Thomas,
It is such a pleasure watching your Langley come together. Everything you do seems to work perfectly - the flight deck markings kook great! Keep those pictures coming
1 Like