Ok, back to the drawing board… Thanks for the reply.
Ok, back to the drawing board… Thanks for the reply.
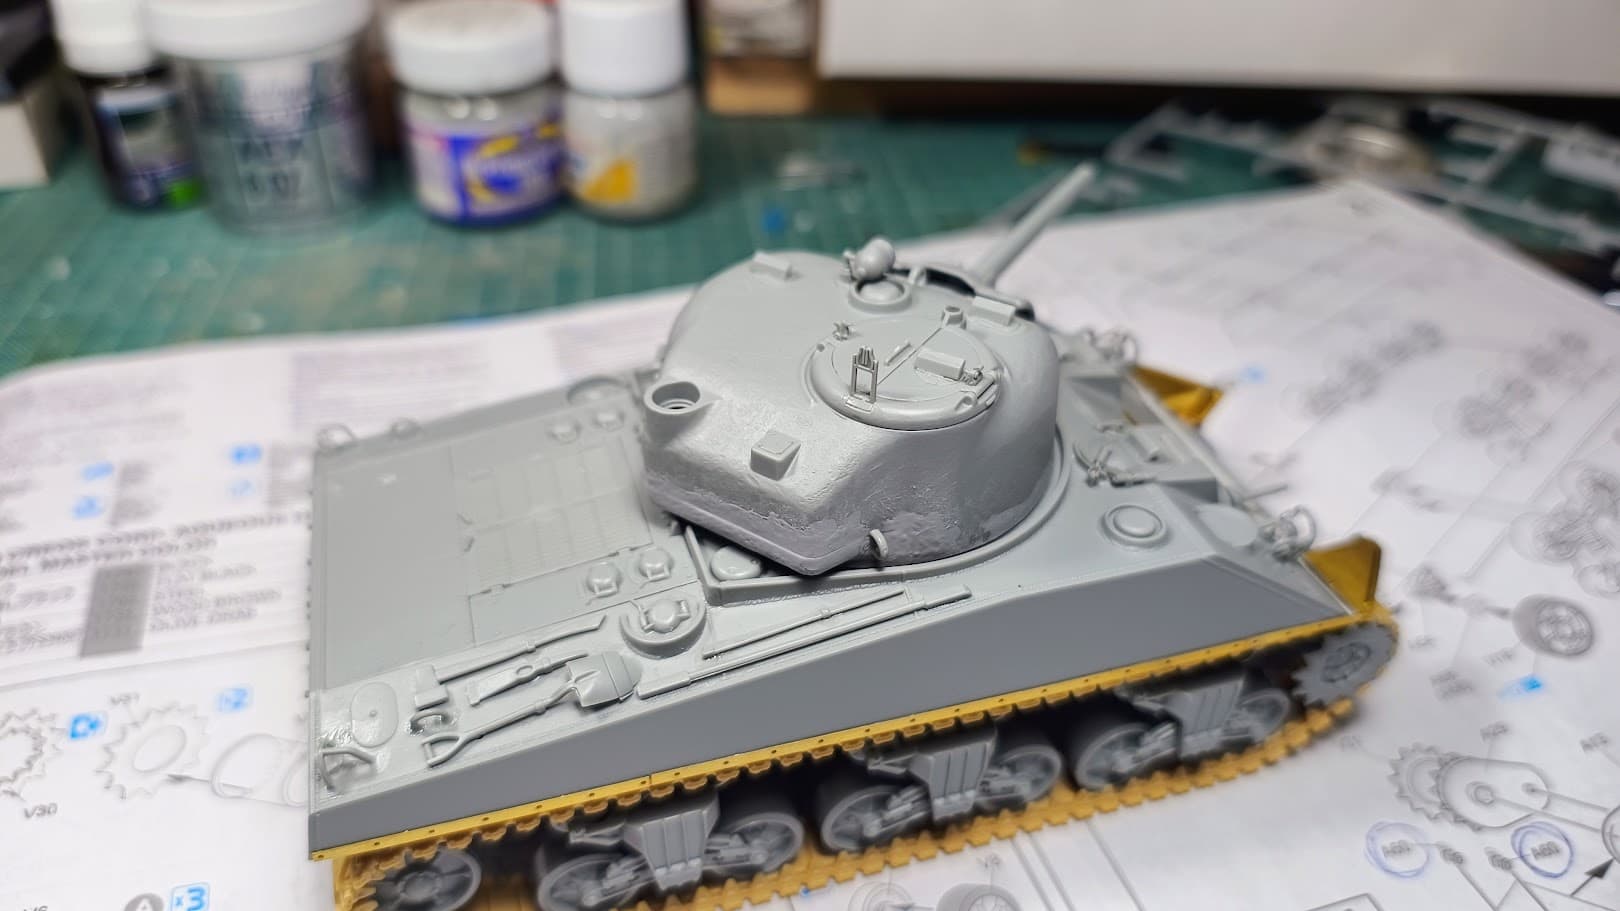
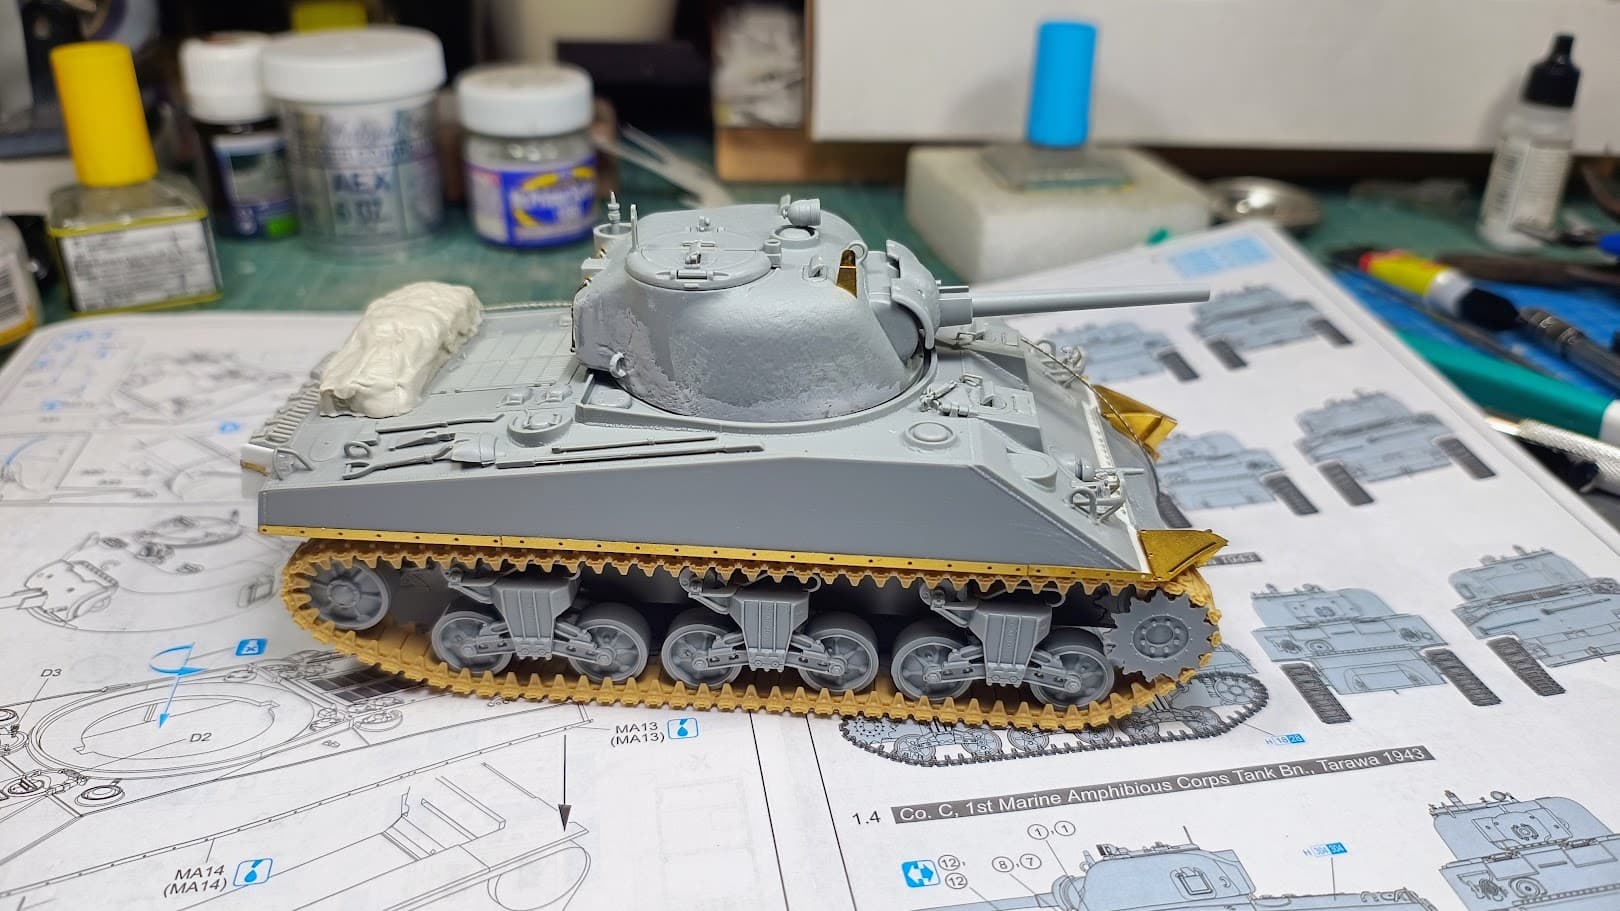
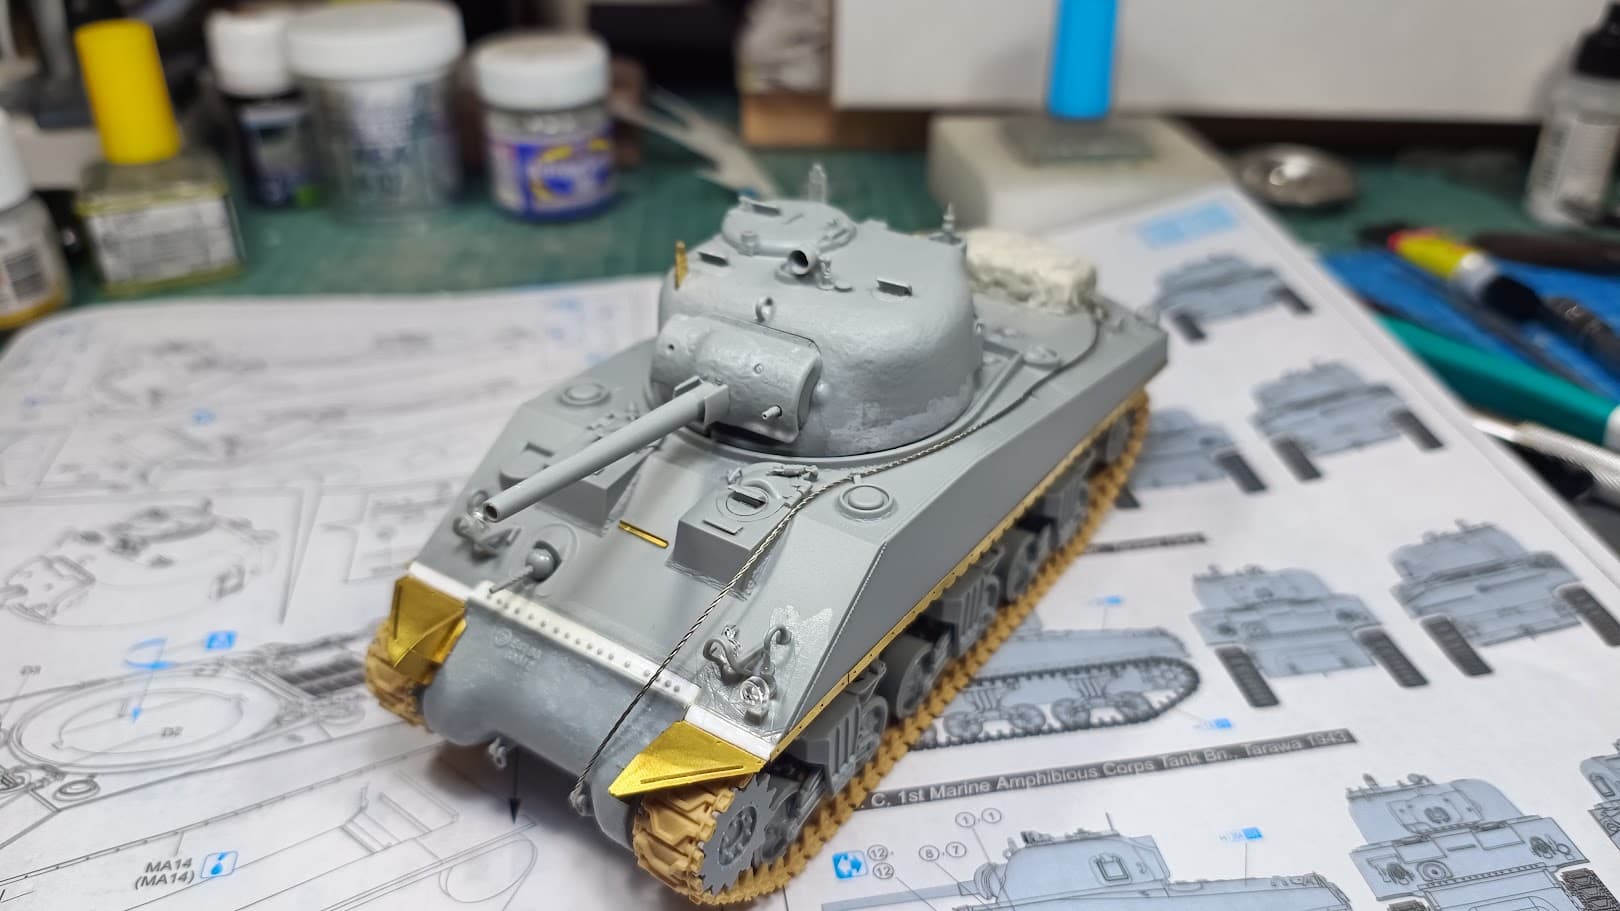
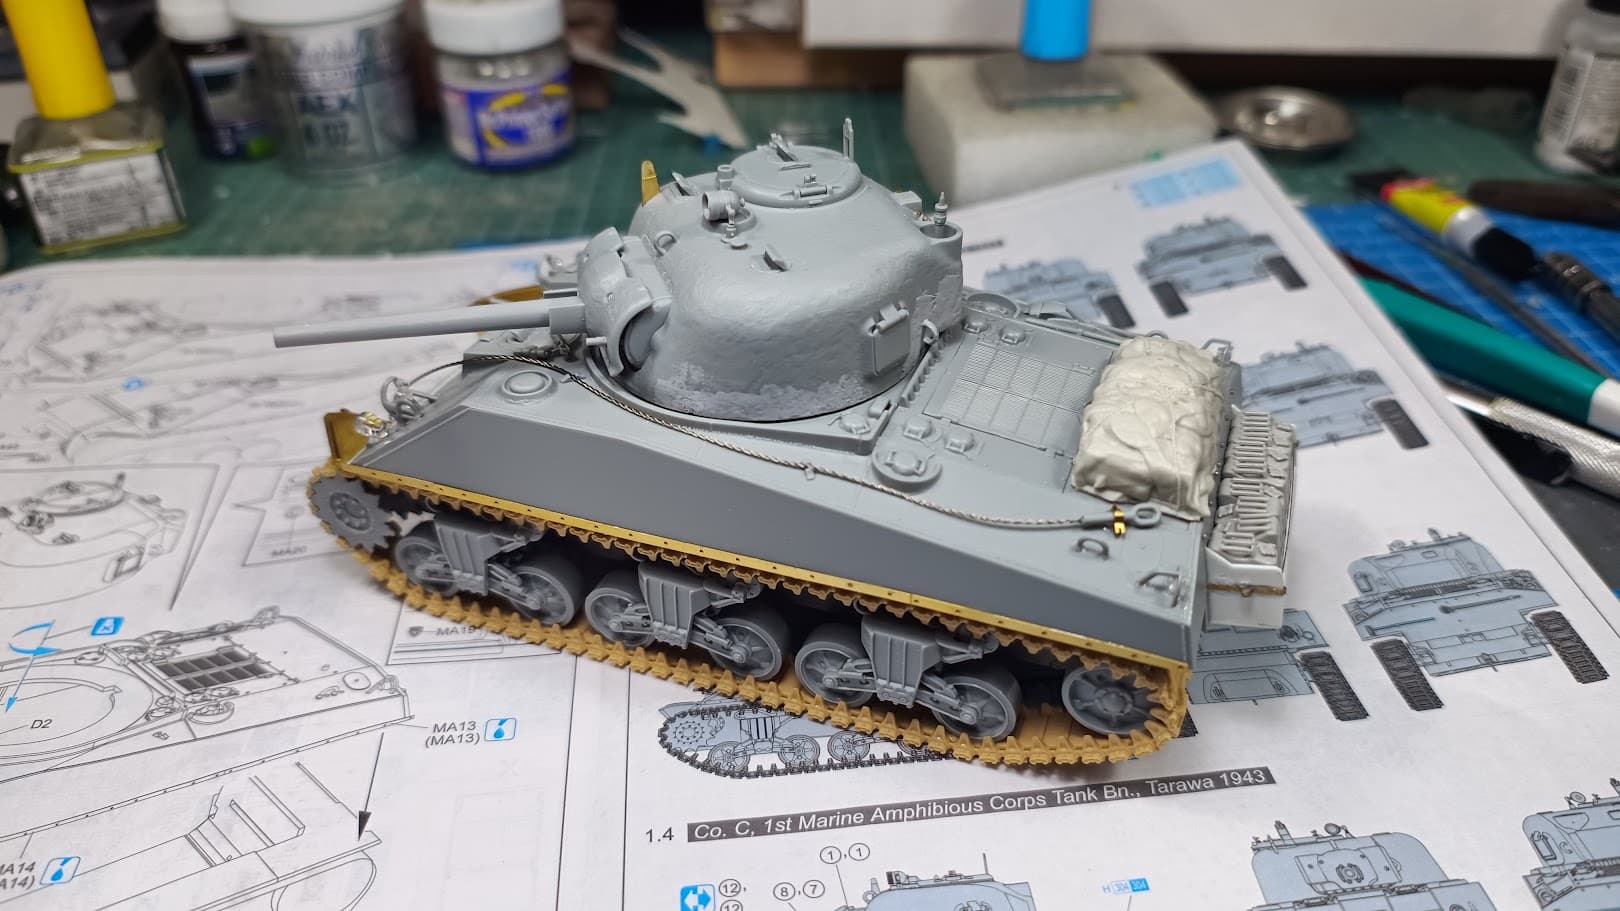
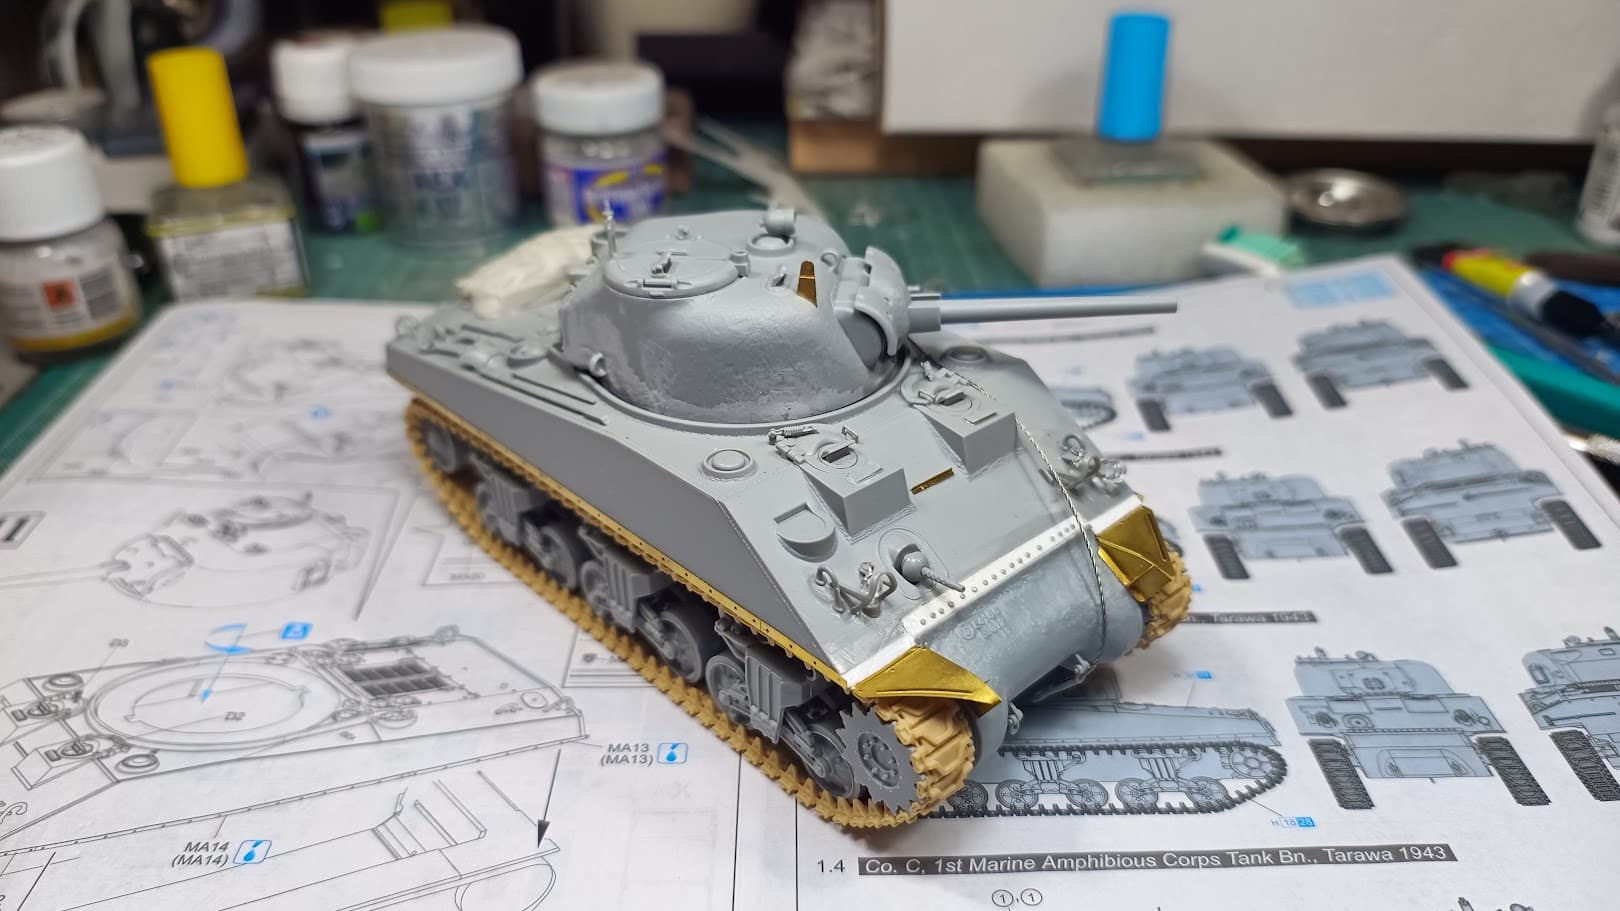
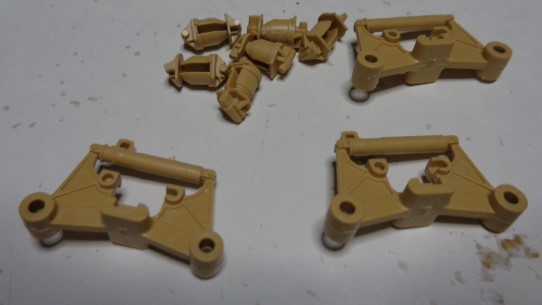
Cleaned up the other set of HVSS Suspension. Glued the engine deck and hatches to the upper hull. Glued the mantlet to the gun shield and then added the gun mount and hatches to the turret.
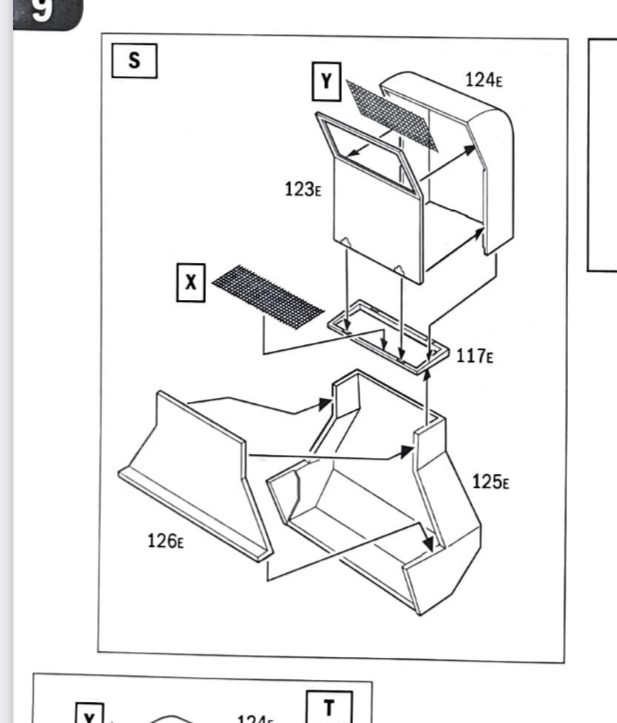
So the first looks like a simple air deflector to help keep the dust down. The photo of Charlie, looks to be the lower assembly for the wading trunk similar to the M36 part. Marine were know to remove the wading stacks once ashore. This was probably a few days past landing and the longer process to remove the more was done. The lower assembly looks to be left in place act like the simple deflector.
Italeri’s version of wading tanks.
Also looking at the simple and this
Those deflectors seem to have a simple bar to attach on the sides. The Charlie photo is solid.
Those wading trunks have to cover the whole area at the rear of the tank (to keep water out!) while channelling the exhaust fumes and air (from the radiators) up above the waves. The upper parts of the trunking would block the gun’s rotation, so are designed to easily come off once the tank hits the beach, leaving the lower part to be removed later. There are lots of pics of tanks with only the lower trunking attached as they struggle inland and wait for a lull in the fighting so the trunking can be taken off. The original factory-fitted deflector may be hidden underneath, or it may have been removed to fit the trunking. Sometime after the landing, when the tank gets called in for field maintenance, the deflector may be refitted if they can find it…
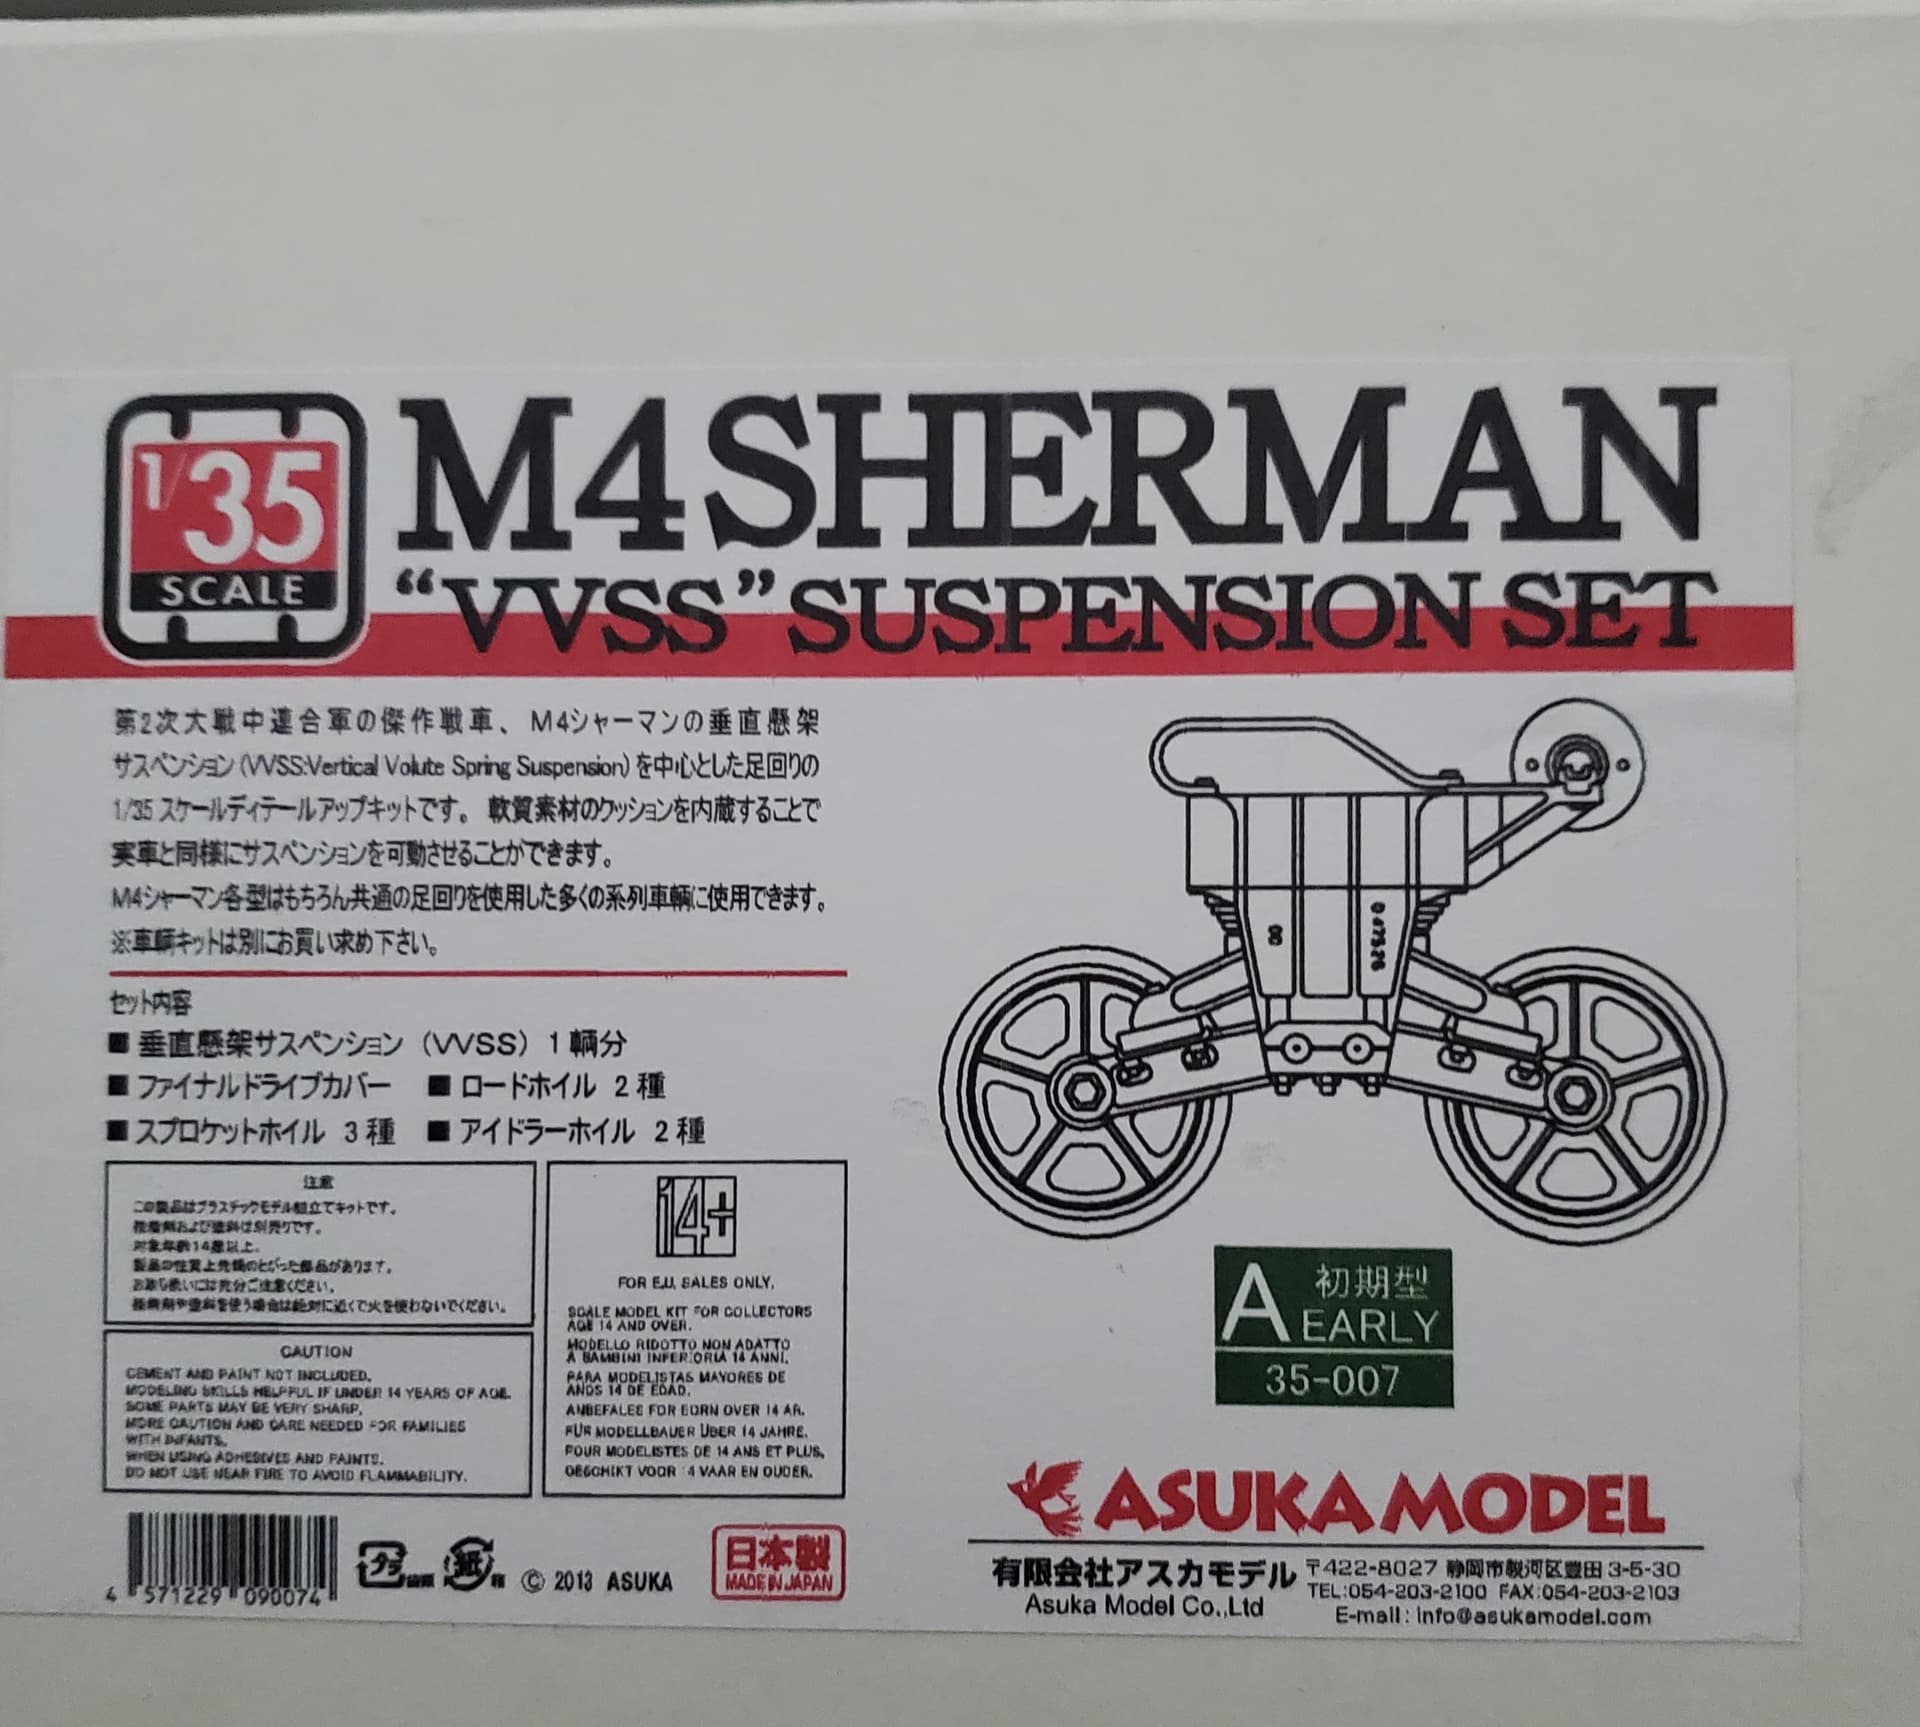
Not even a 1/3 way through my first build, the two Tamiya M1 Super Sherman kits I have are already spares. With the bogie wheels completely useless (one sided detail) there is not much left vice some turret and hull usefulness for other Tamiya Sherman kits. Opening one of those Sherman kits gave me a broken hull. I dedicated one Dragon Sherman by robbing one kit of three different bogie wheel variations. Add 7 different Asuka suspension sets that are proper and detailed bogie wheels, I now have spare variations to use on any IDF Sherman I choose to model since they are known to use whatever is available with one example of an IDF Sherman that used 4 different bogie wheels (there is plenty of photographic evidence) on just one vehicle. If there was ever an army that would cannibalize vehicles of parts, it would be the IDF. They were probably the experts of the likes never seen before. The IDF Sherman I’m currently working has two different bogie wheels. Let the fun begin!
Zvezda M4A2 kit provides one of those deflectors and i have also the one from Academy M4A2
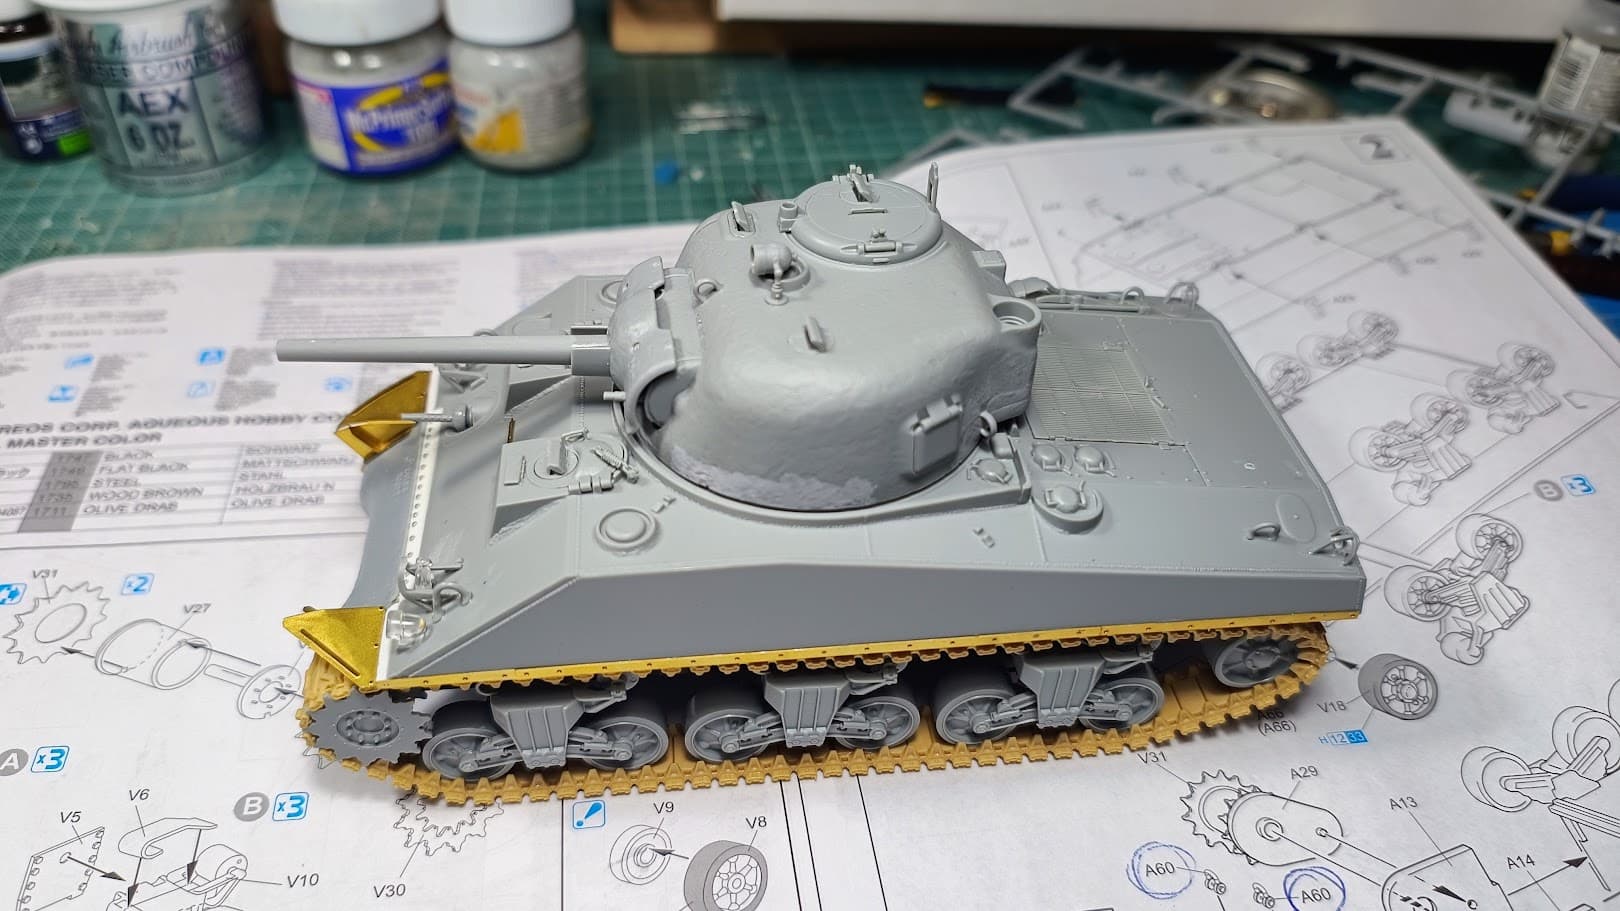
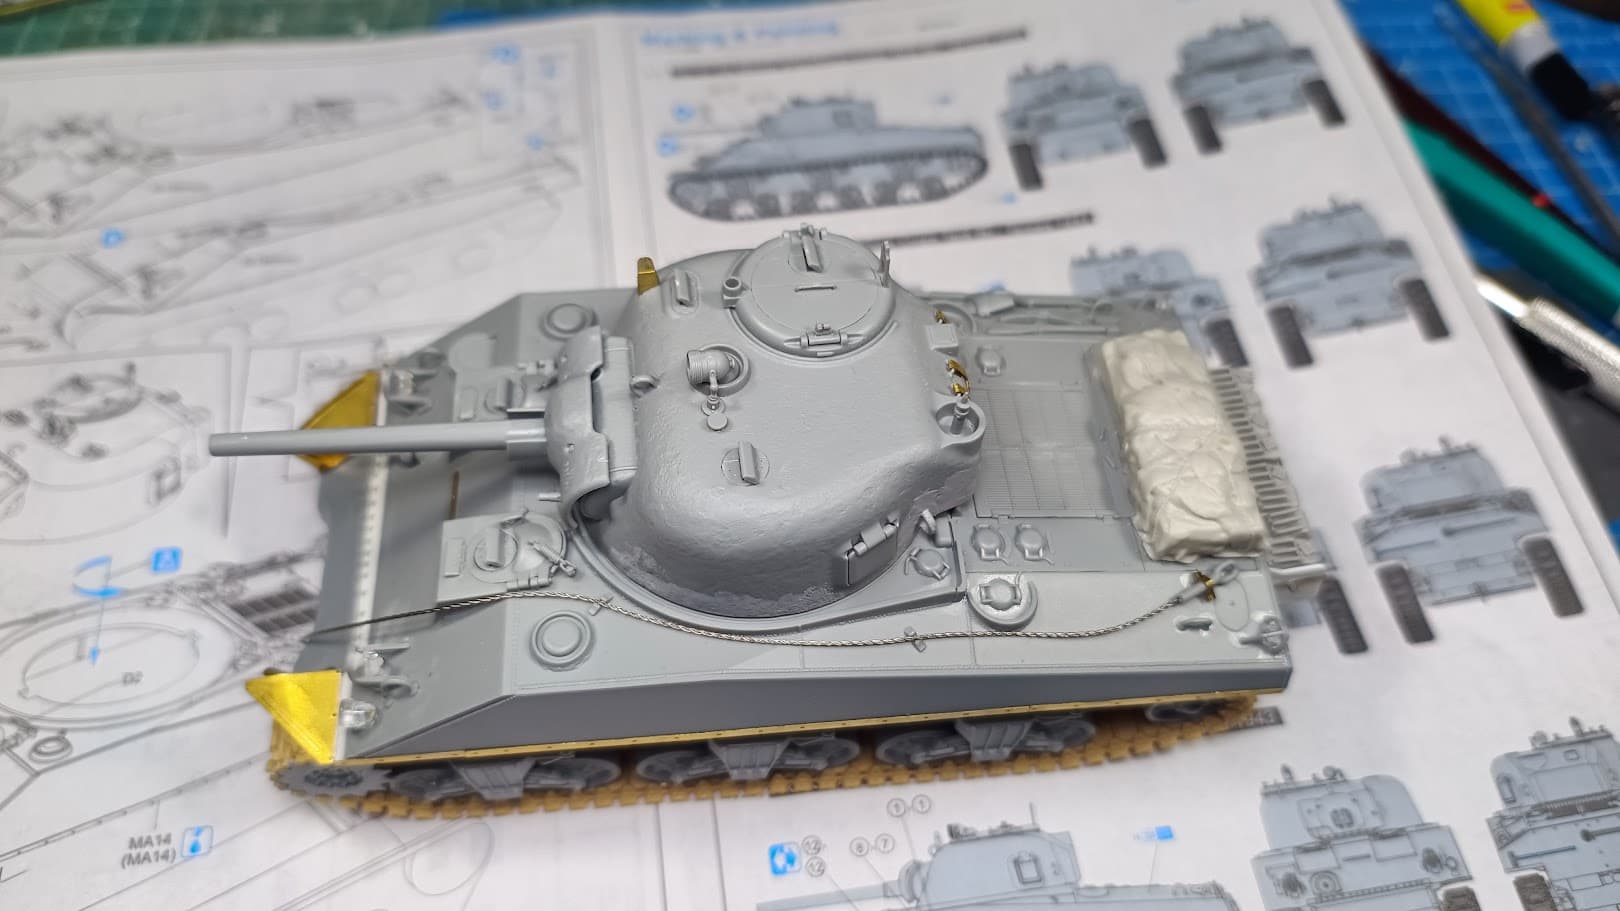
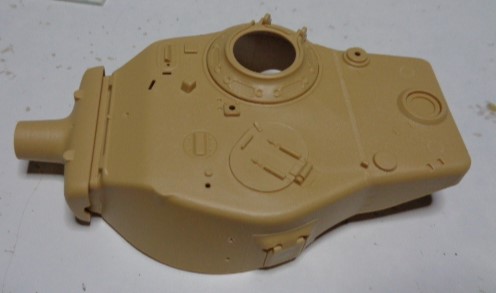
I went on with assembling the turret. I need to cleanup the joint at the bustle and figure out the final details.
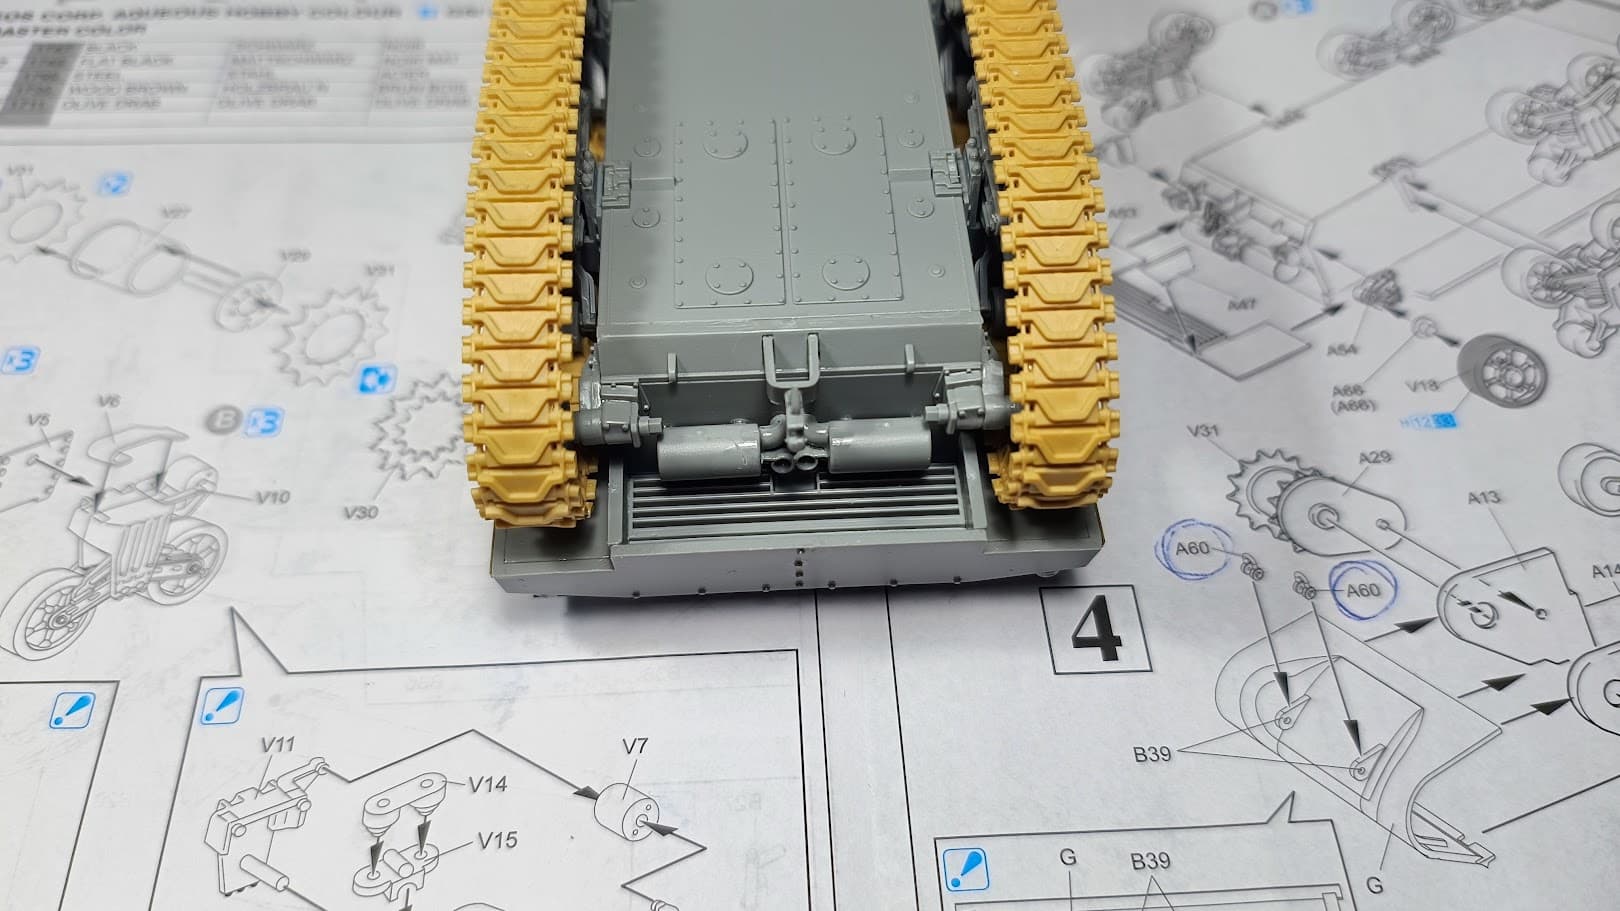
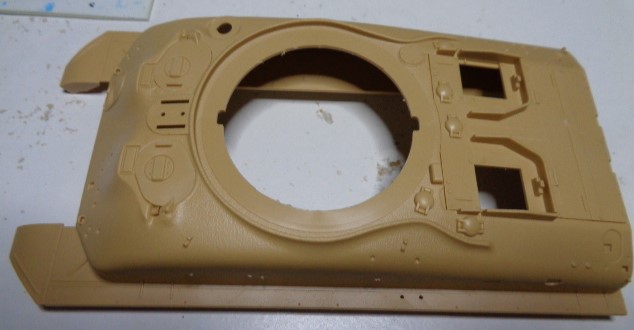
Am I correct in thinking that the detail inside the hull overhang is incorrect? That there should be vertical detail depicting the air coolers and not what Dragon supplies?
As mentioned previously Zvezda provides the proper deflector in their M4A2 kit
Anyway, I think I am overworking this build, I might just finish the assembly of whatever is in the kit and be done with it.
Nope, that rear hull detail is correct for an M4A2. It had twin 6 cylinder diesel engines and the air cleaners were inside, on top of the engines.
Ok, I am a bit confused. I am referring to the horizontal grille provided by Dragon above the exhausts. Should that grille be there? Is it something that was later removed and that is why Zvezda, Academy and Tasca/Asuka do not provide this detail?
This is the best photo I could find -
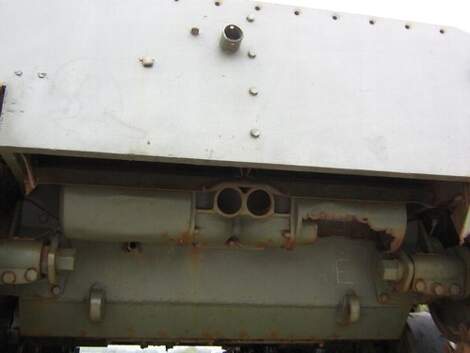
but no, that humongous out of scale grille should not be there.

I need to address the missing member of the WW2 AFV trinity…
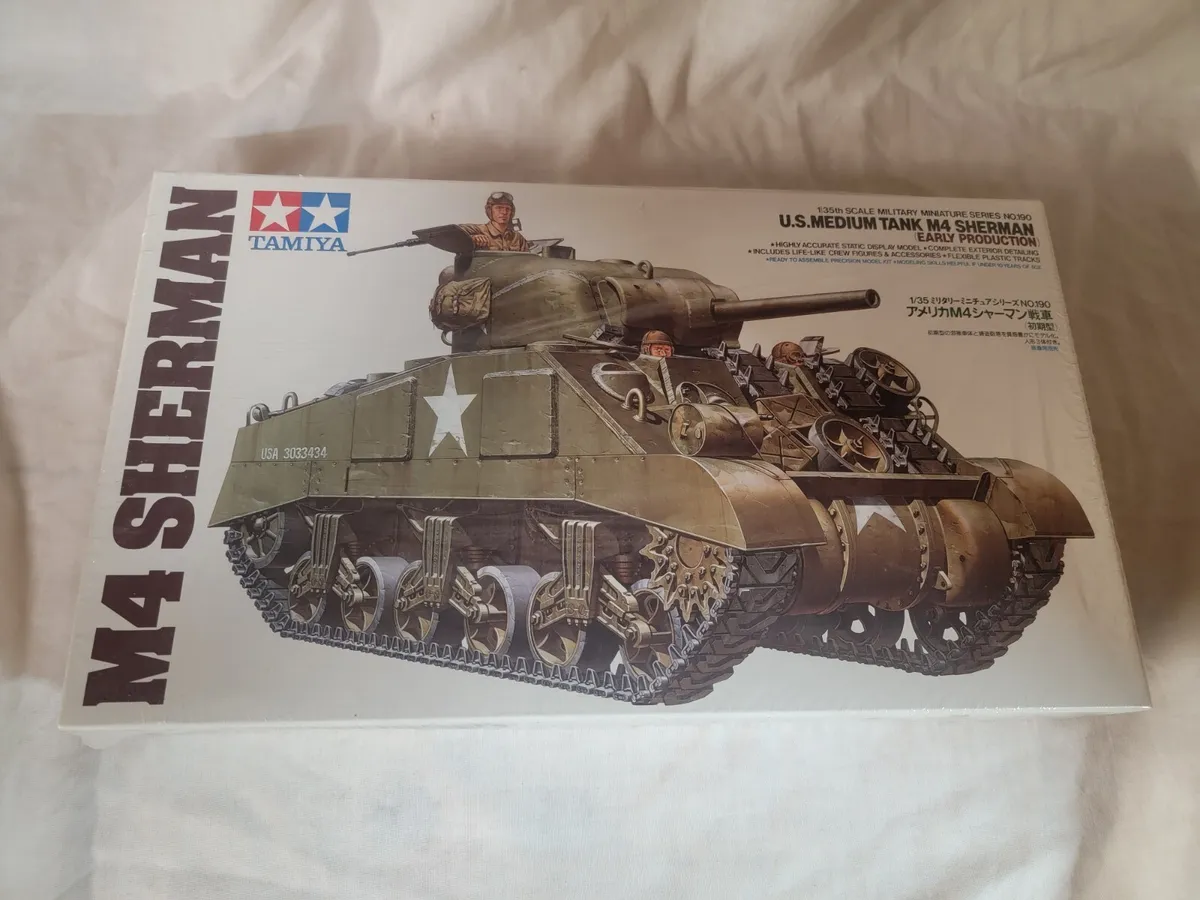
Which is good first 1/35 scale build for an otherwise experienced modeler, that’s never built a Sherman? ![]()
Looking for a good clean build without any built in “Dragon level” fit issues. Near out of the box build build with just R Model T-66 tracks to replace kit tracks.
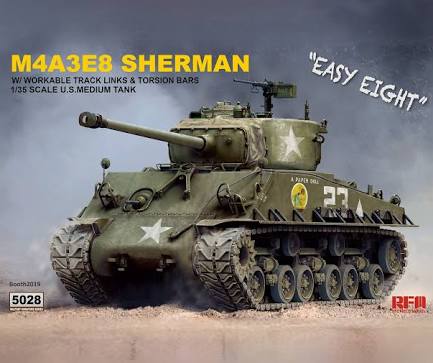
Wade, if you’ve got R Model T66 tracks, build the RFM M4A3E8 kit. It’s dreamy. It’s just one of the best Sherman kits there is. You’re going to love it.
The RFM is the only one you could fit the T66 tracks onto, but the kit tracks are good if you are careful with the glue… It’s a good kit with excellent fit - lots of parts but it goes together very easy. It’s a latewar tank, and there are precious few seen with the canvas mantlet cover so you may wish to leave that off. I built one for review ages ago for the old site: https://archive.armorama.com/review/14707/index.htm
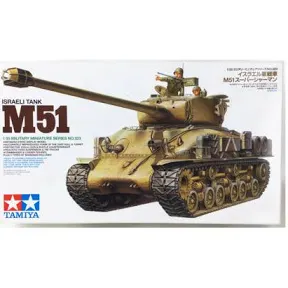
The Tasca firefly is great too. The Tamiya Early is an easy and simple build, but the front hull is a mish-mash of different Sherman types so purists would want to do corrective surgery. I haven’t seen the Tamiya M51 so cannot comment.
Thank you, Matt & Tom. I like RFM, plus with the good recommendation & wanting to use the R Model T-66’s, it will be the RFM Easy Eight.
Much appreciated on the review link!
My skills are rudimentary but I built up the Tamiya M51 lower hull in about an hour. It is a multi-piece hull, not single piece.
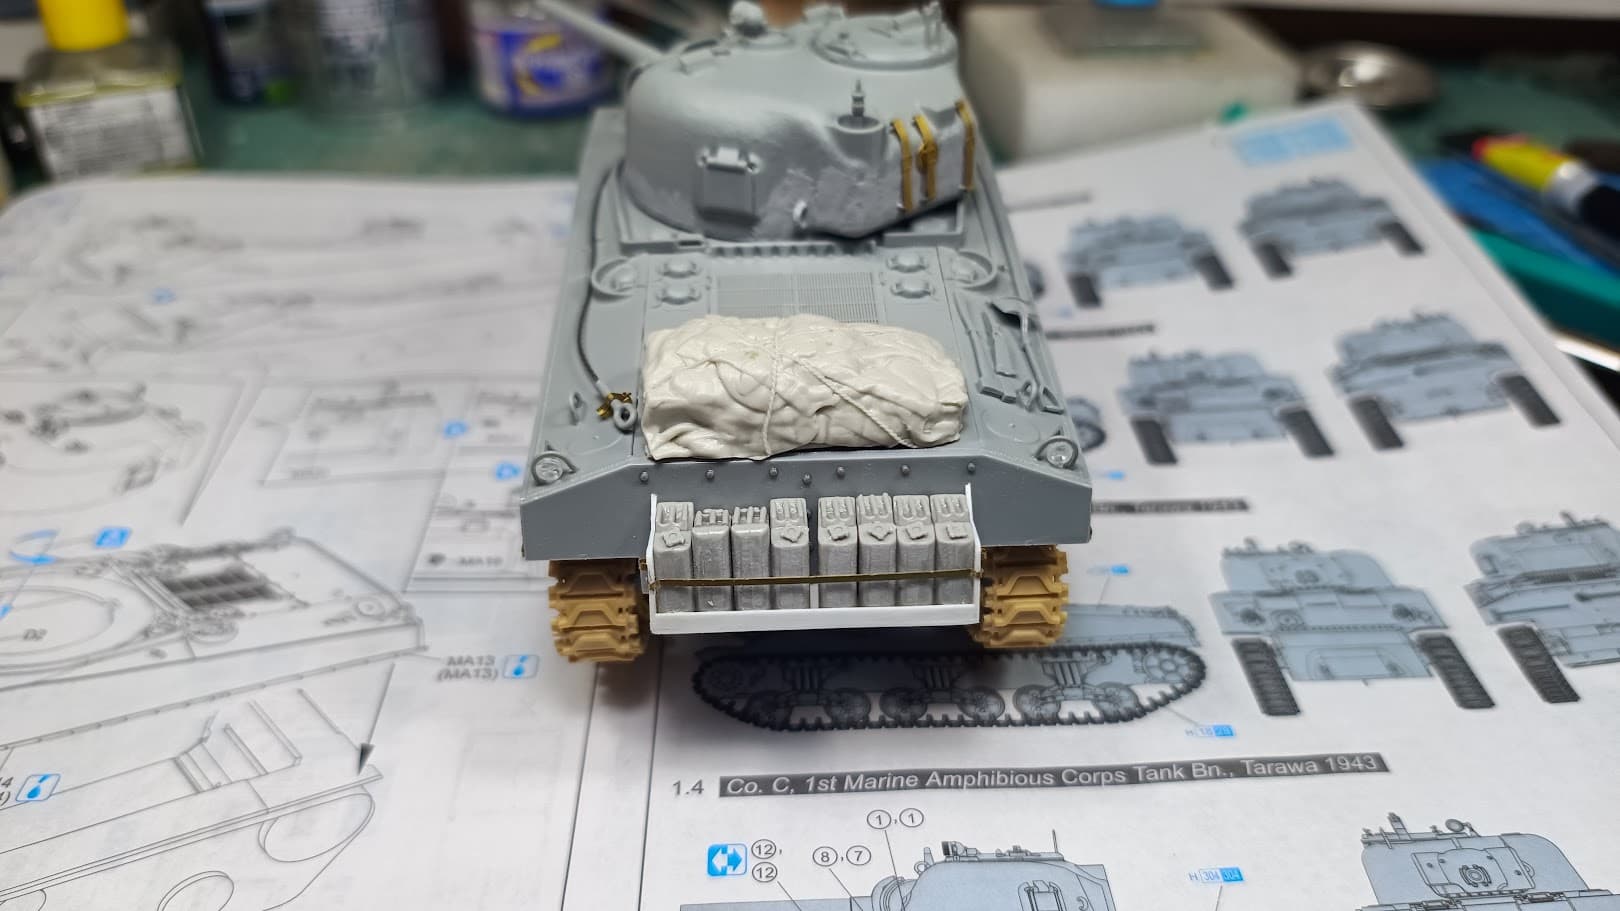
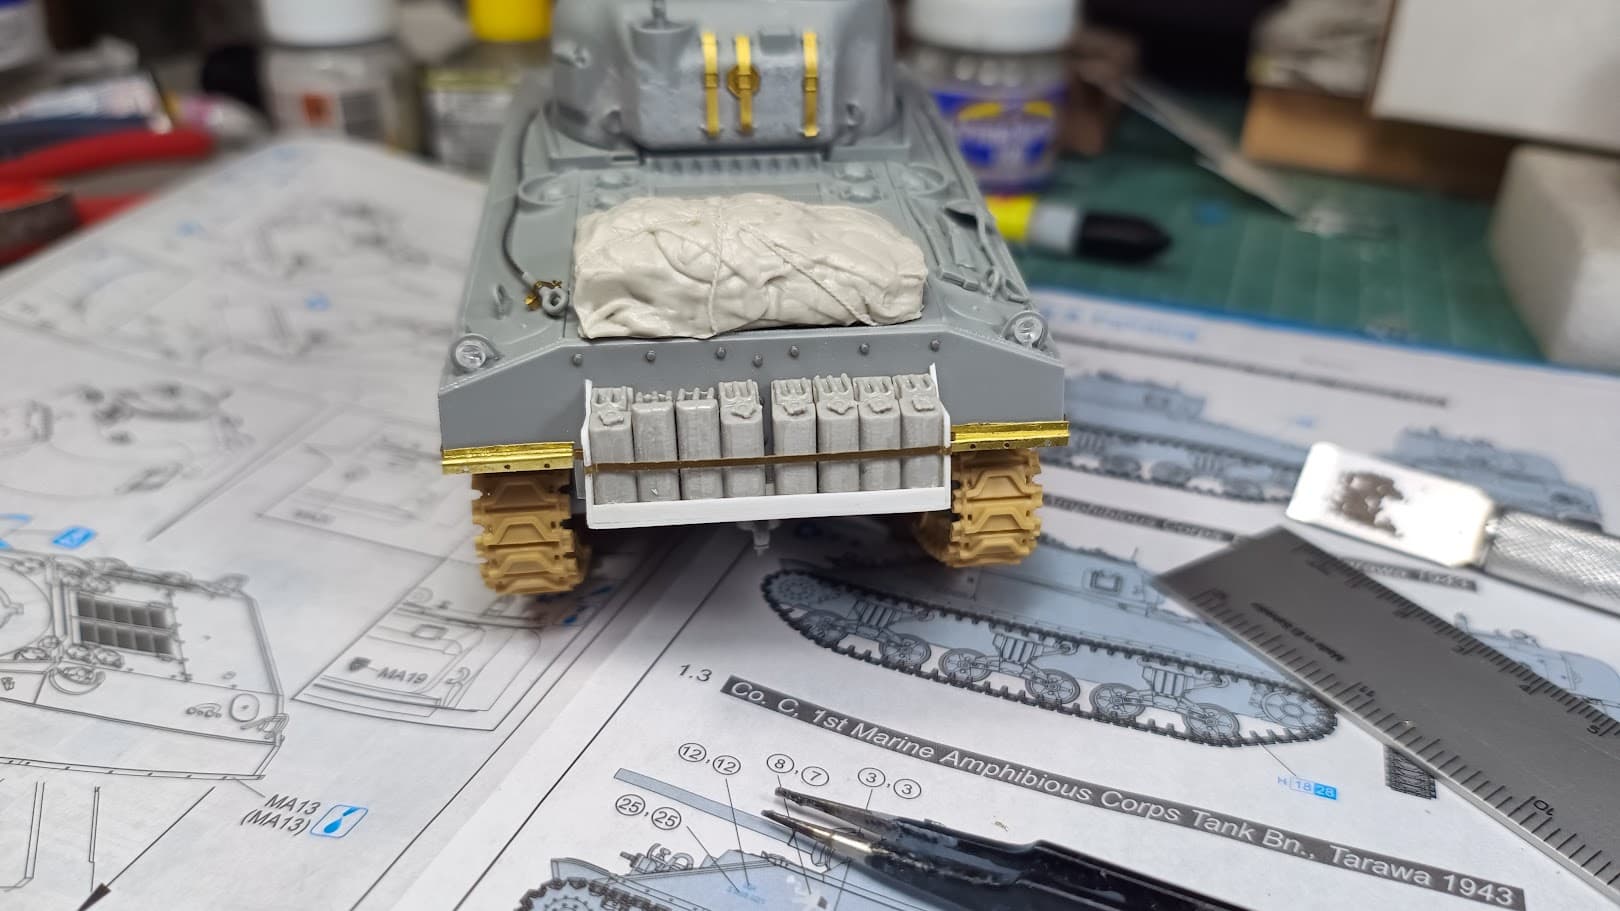
I am almost done with assembly, I just noticed that I need to fabricate the rear mudguard mounts (not included in the kit) from photoetch. I have decided to ignore the exhaust deflector existence and move on.
Comments and suggestions are more than welcome. I will let everything dry and then prime it.
EDIT: I was in the mood for PE work so I did the rear mudguard mounts.
I think that is best. Once on a base, no one will know/be able to easily see either way.
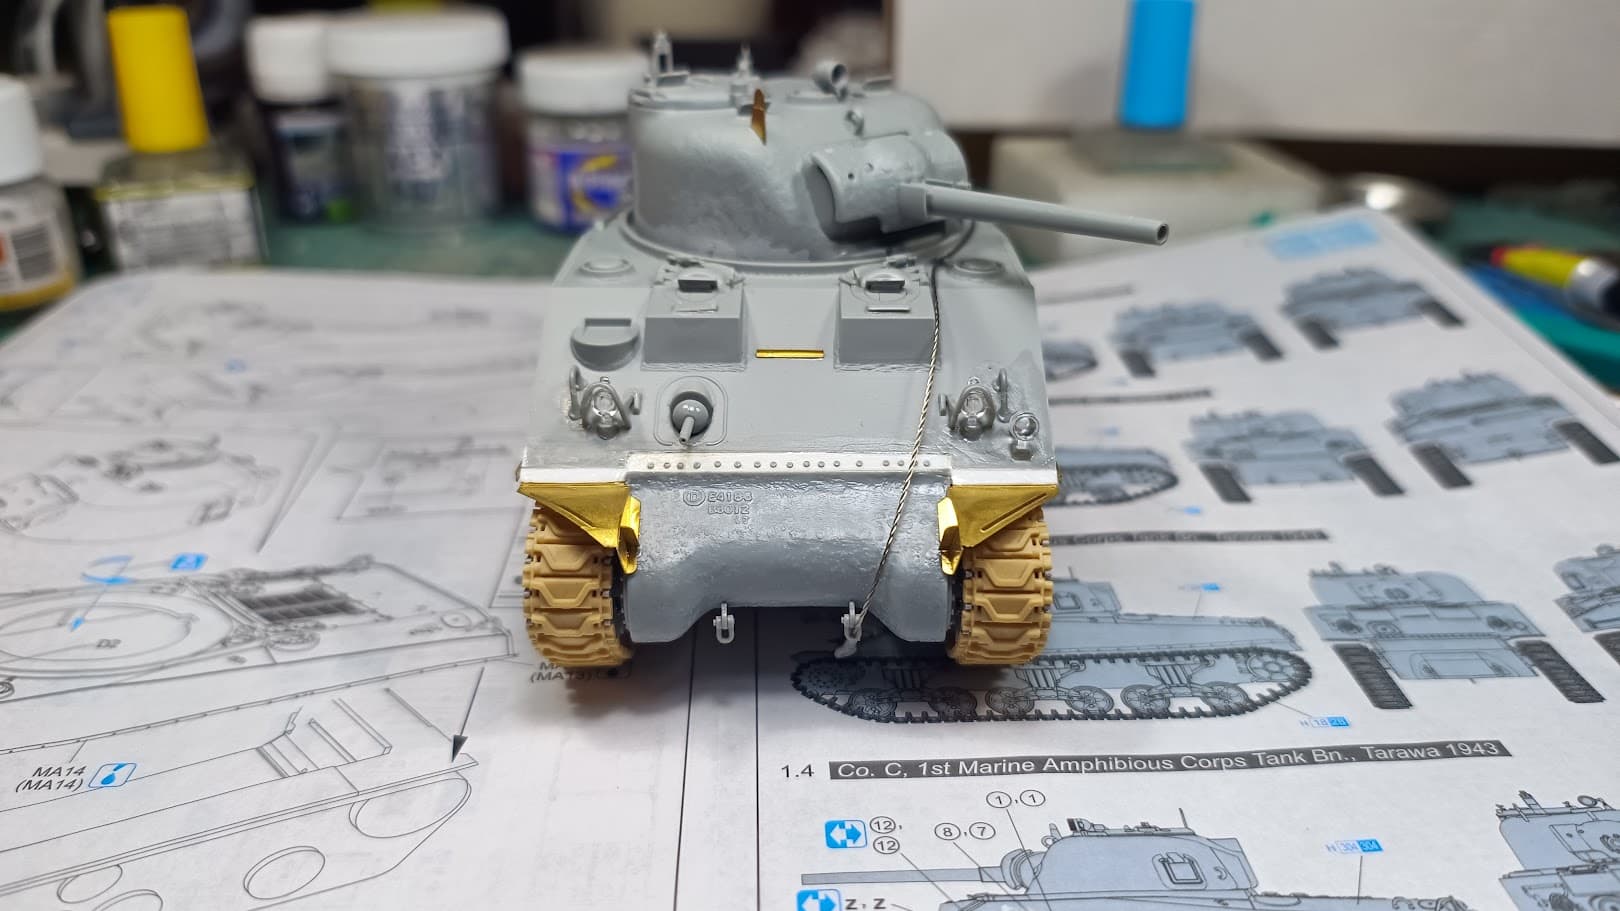
One detail I noticed is that you have the headlights installed. Most times they were removed before combat. Looking at your earlier posted Tarawa photos only, most do not have headlights and some even have the light guards removed. Looks like Charlie still has the horn installed. Some appear to also be missing the horn.
I would also remove the barrel locking/holder on TC’s hatch. If modeling Charlie, it had a post installed but barrel holder and if so not elevated. Modelers choice to address or not.
Otherwise I am really liking this Marine Sherman. I have this kit to build in the future and hope it comes out half as nice as you have it to this point.
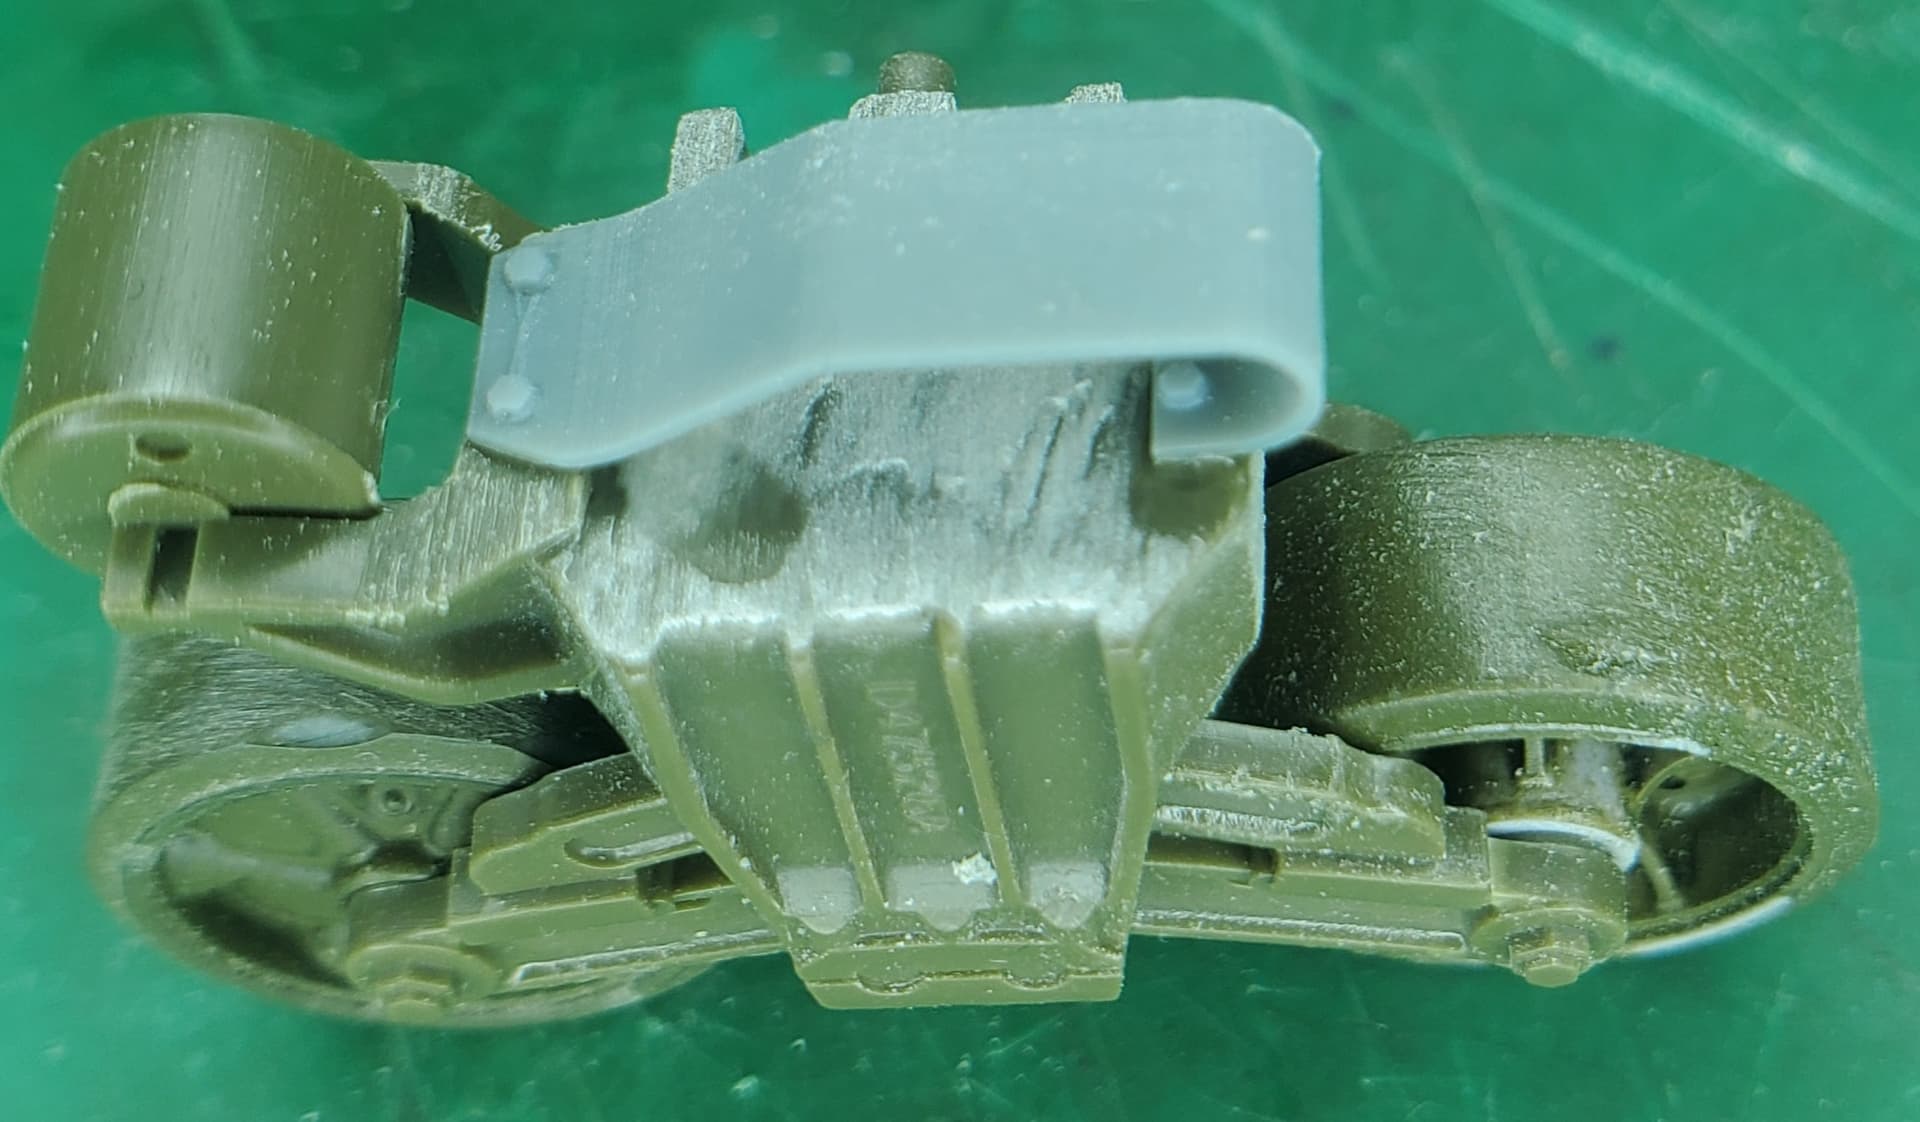
Little modeling victories here and there concerning the POS Tamiya M1 Super Sherman kit. This particular small battle won is with the bogies. Knowing the Tamiya road wheels are crap and detailed on one side only, I cannibalized a Dragon kit for it’s wheels and applied Panzer Art wheels, both appropriately detailed on both sides, drilled out to fit the Tamiya bogies. Then applied an ARTO (Korea) track skid where the bolts actually show safety wire.