Select the text you want to quote, the options will pop up above the highlighted text

You can do the same for photos but do not click on them, drag your cursor across
Select the text you want to quote, the options will pop up above the highlighted text
You can do the same for photos but do not click on them, drag your cursor across
Awesome! Thank you.
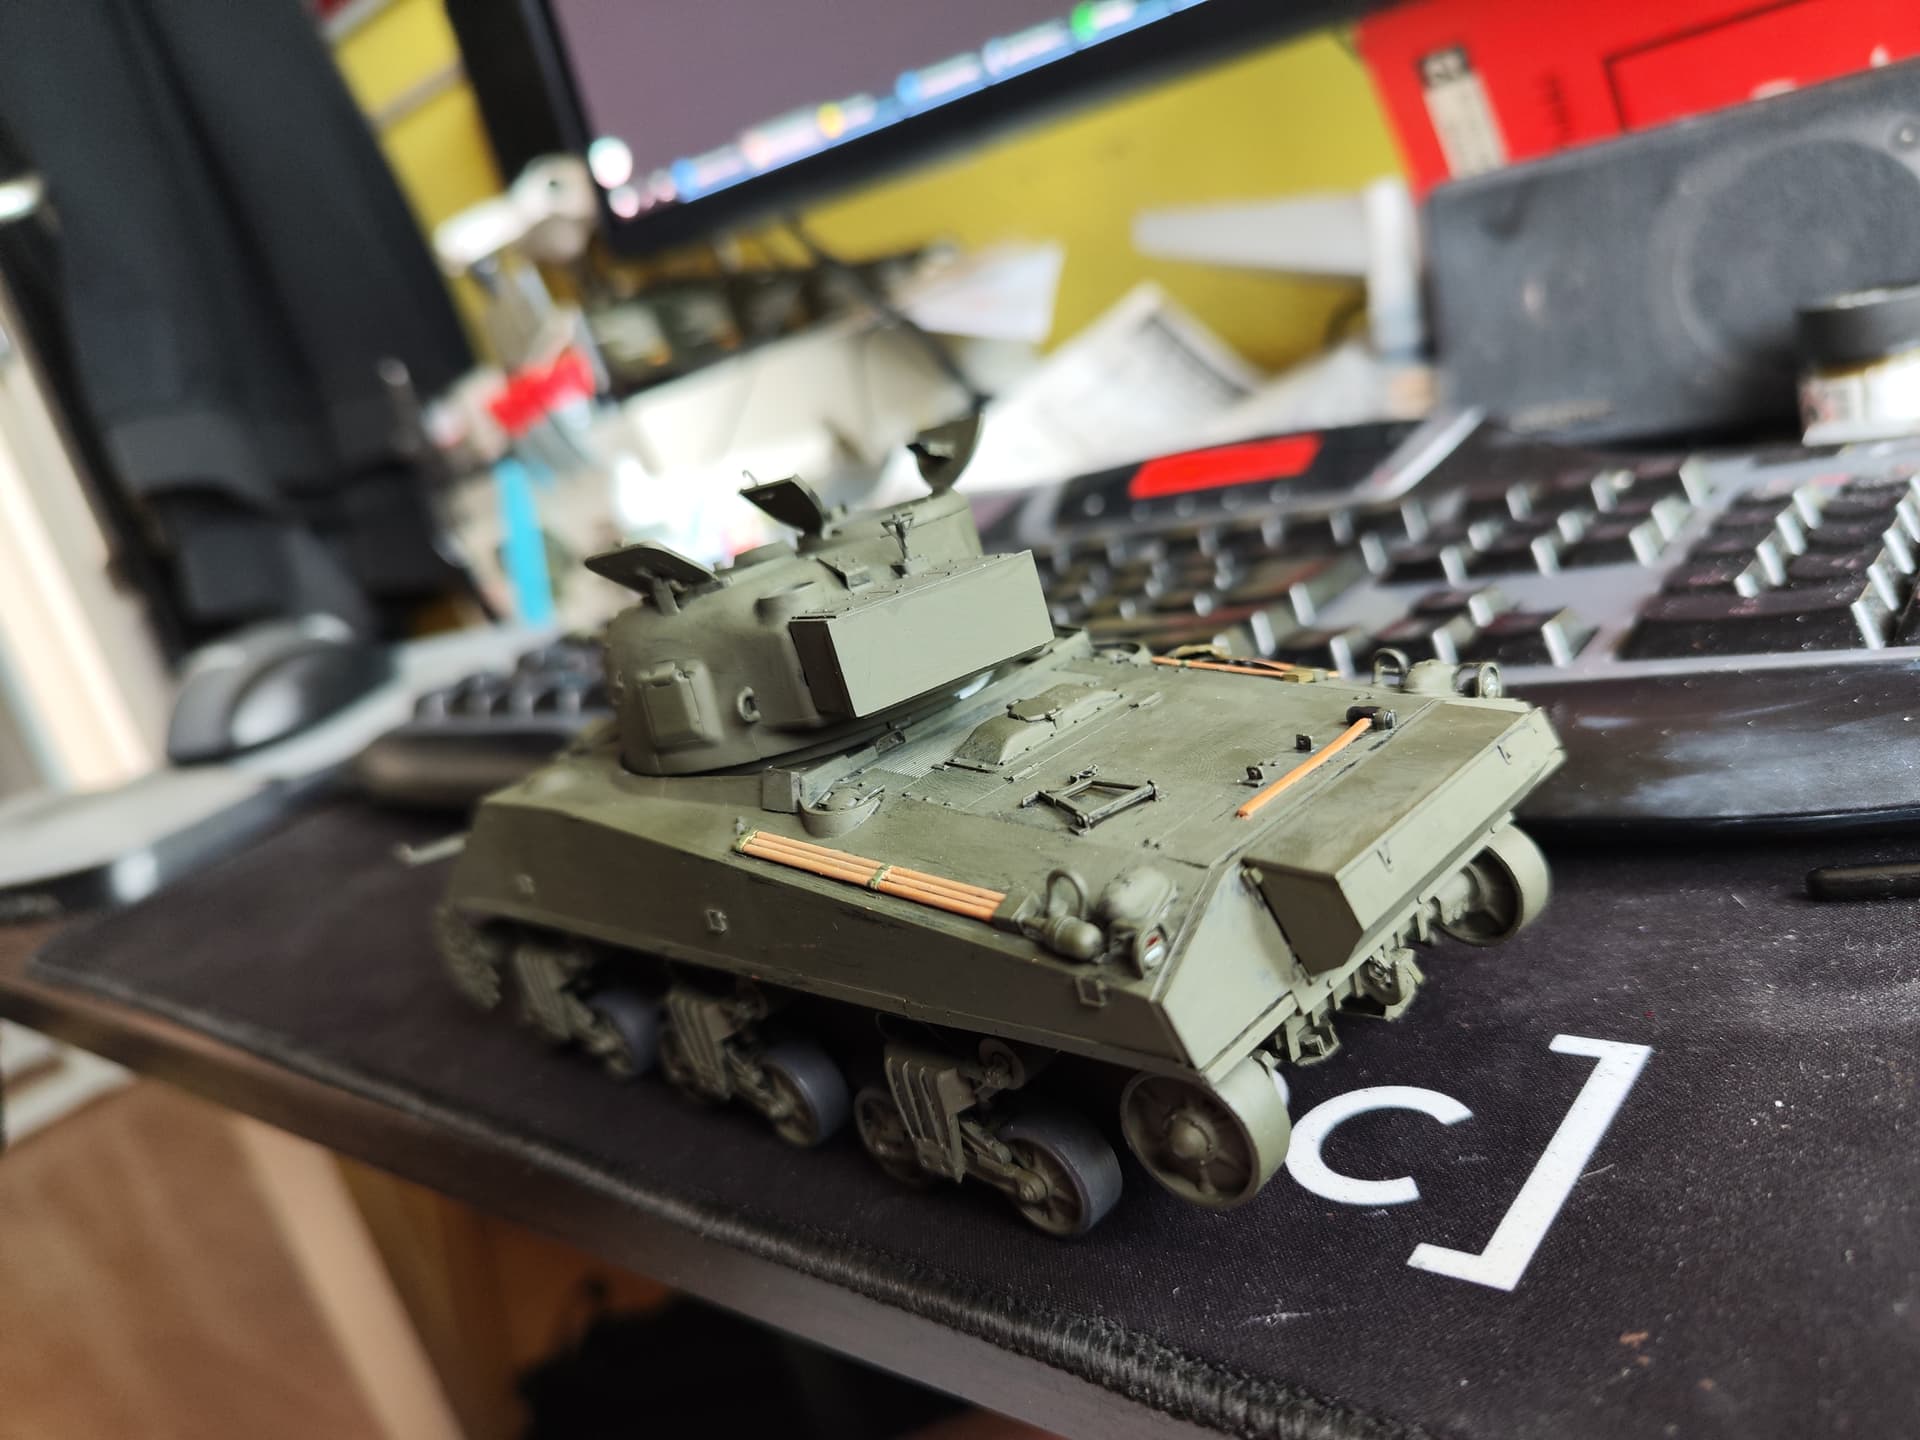
After several weeks, some advances with this Meng Sherman.
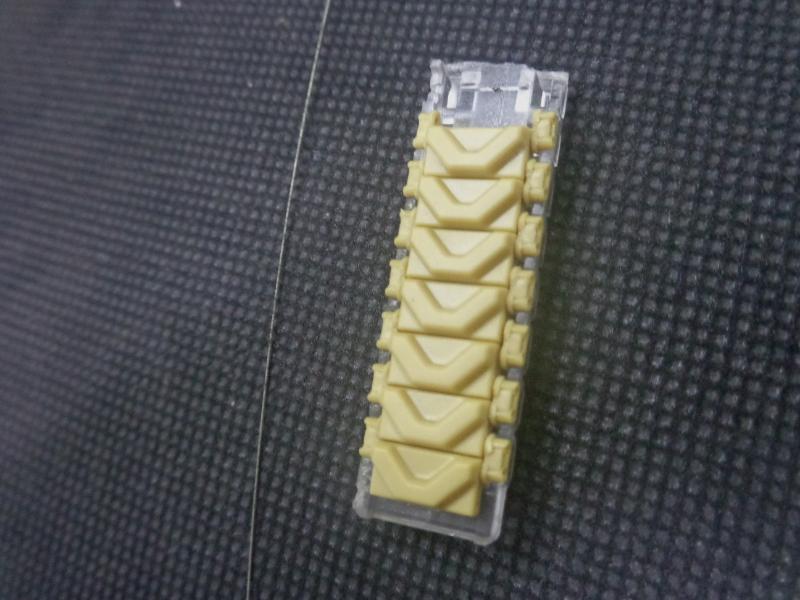
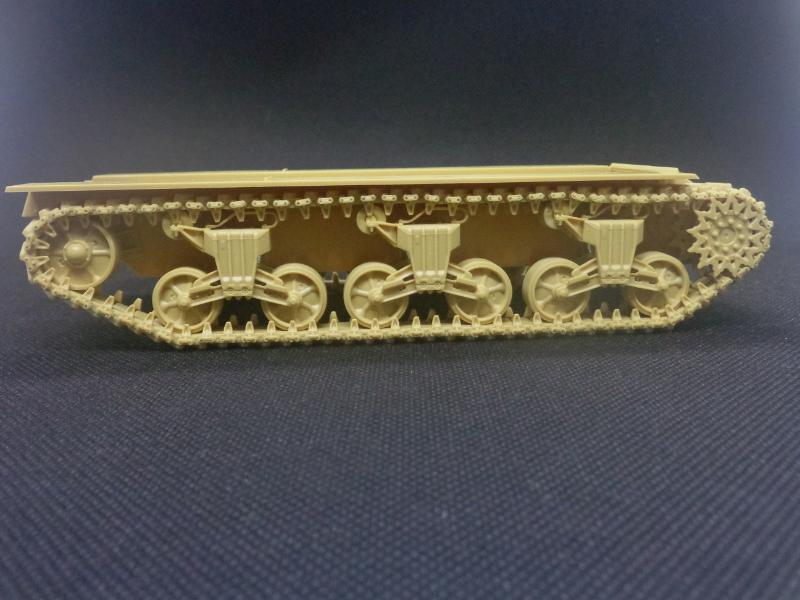
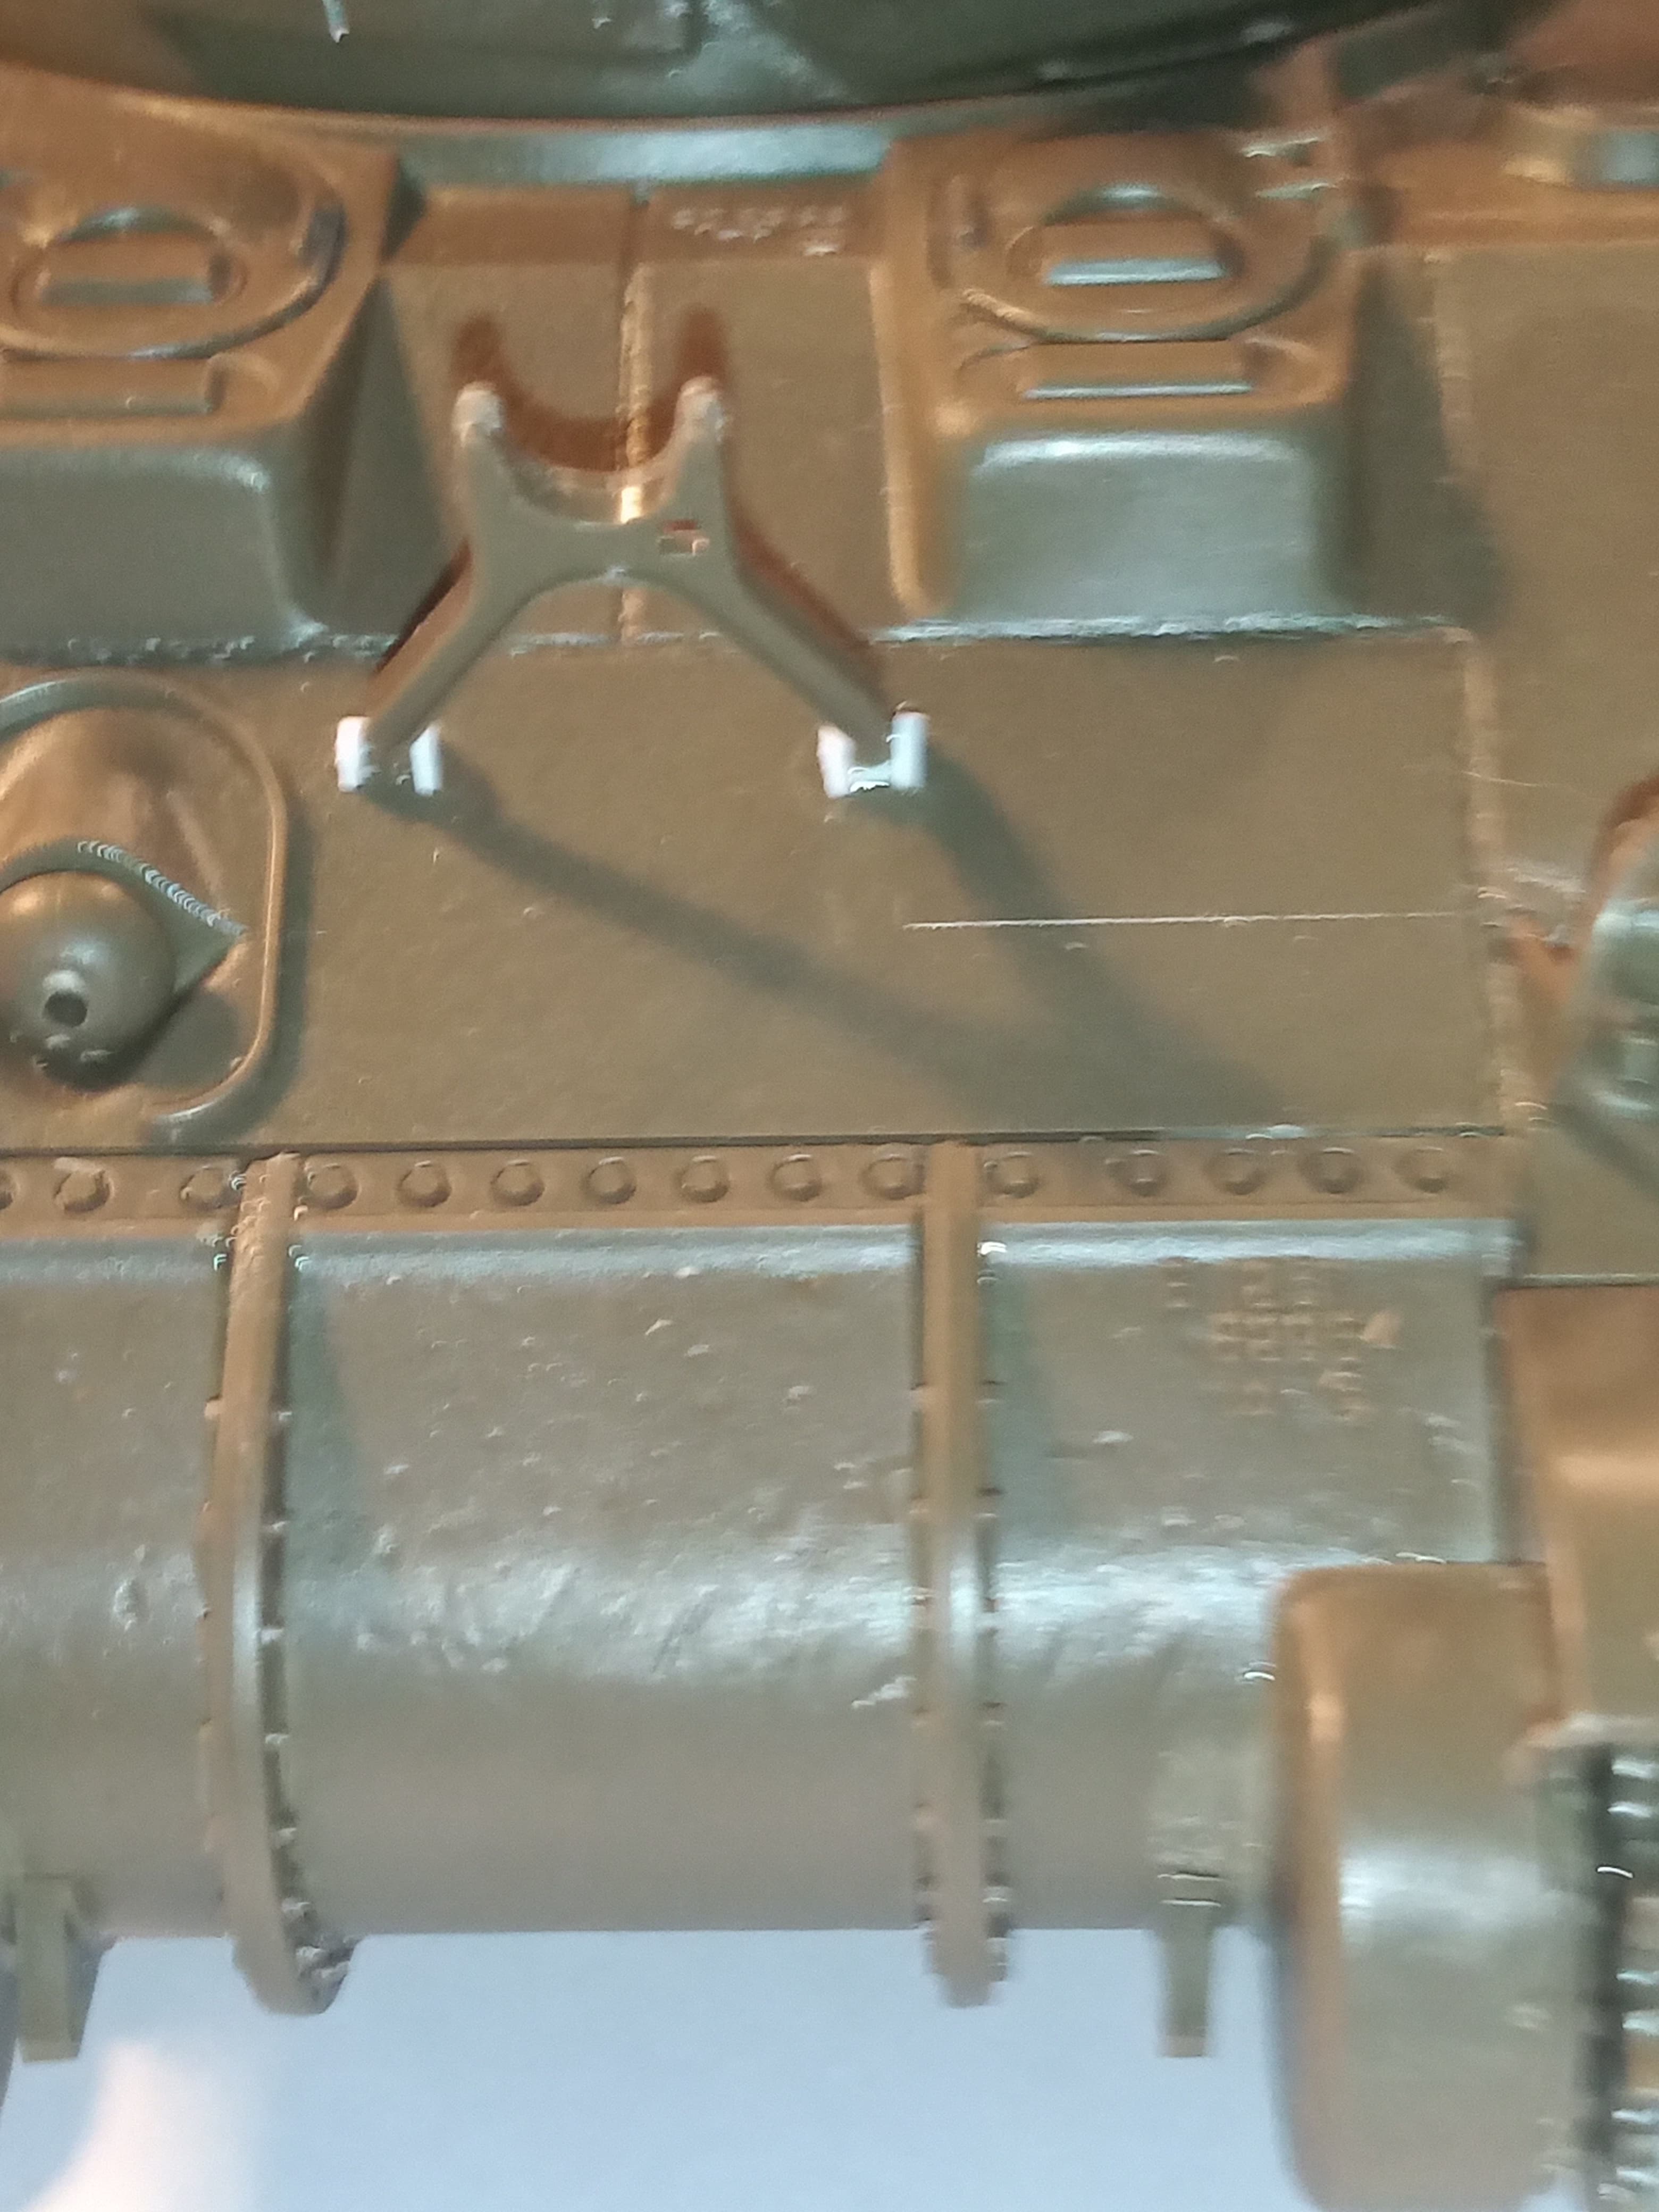
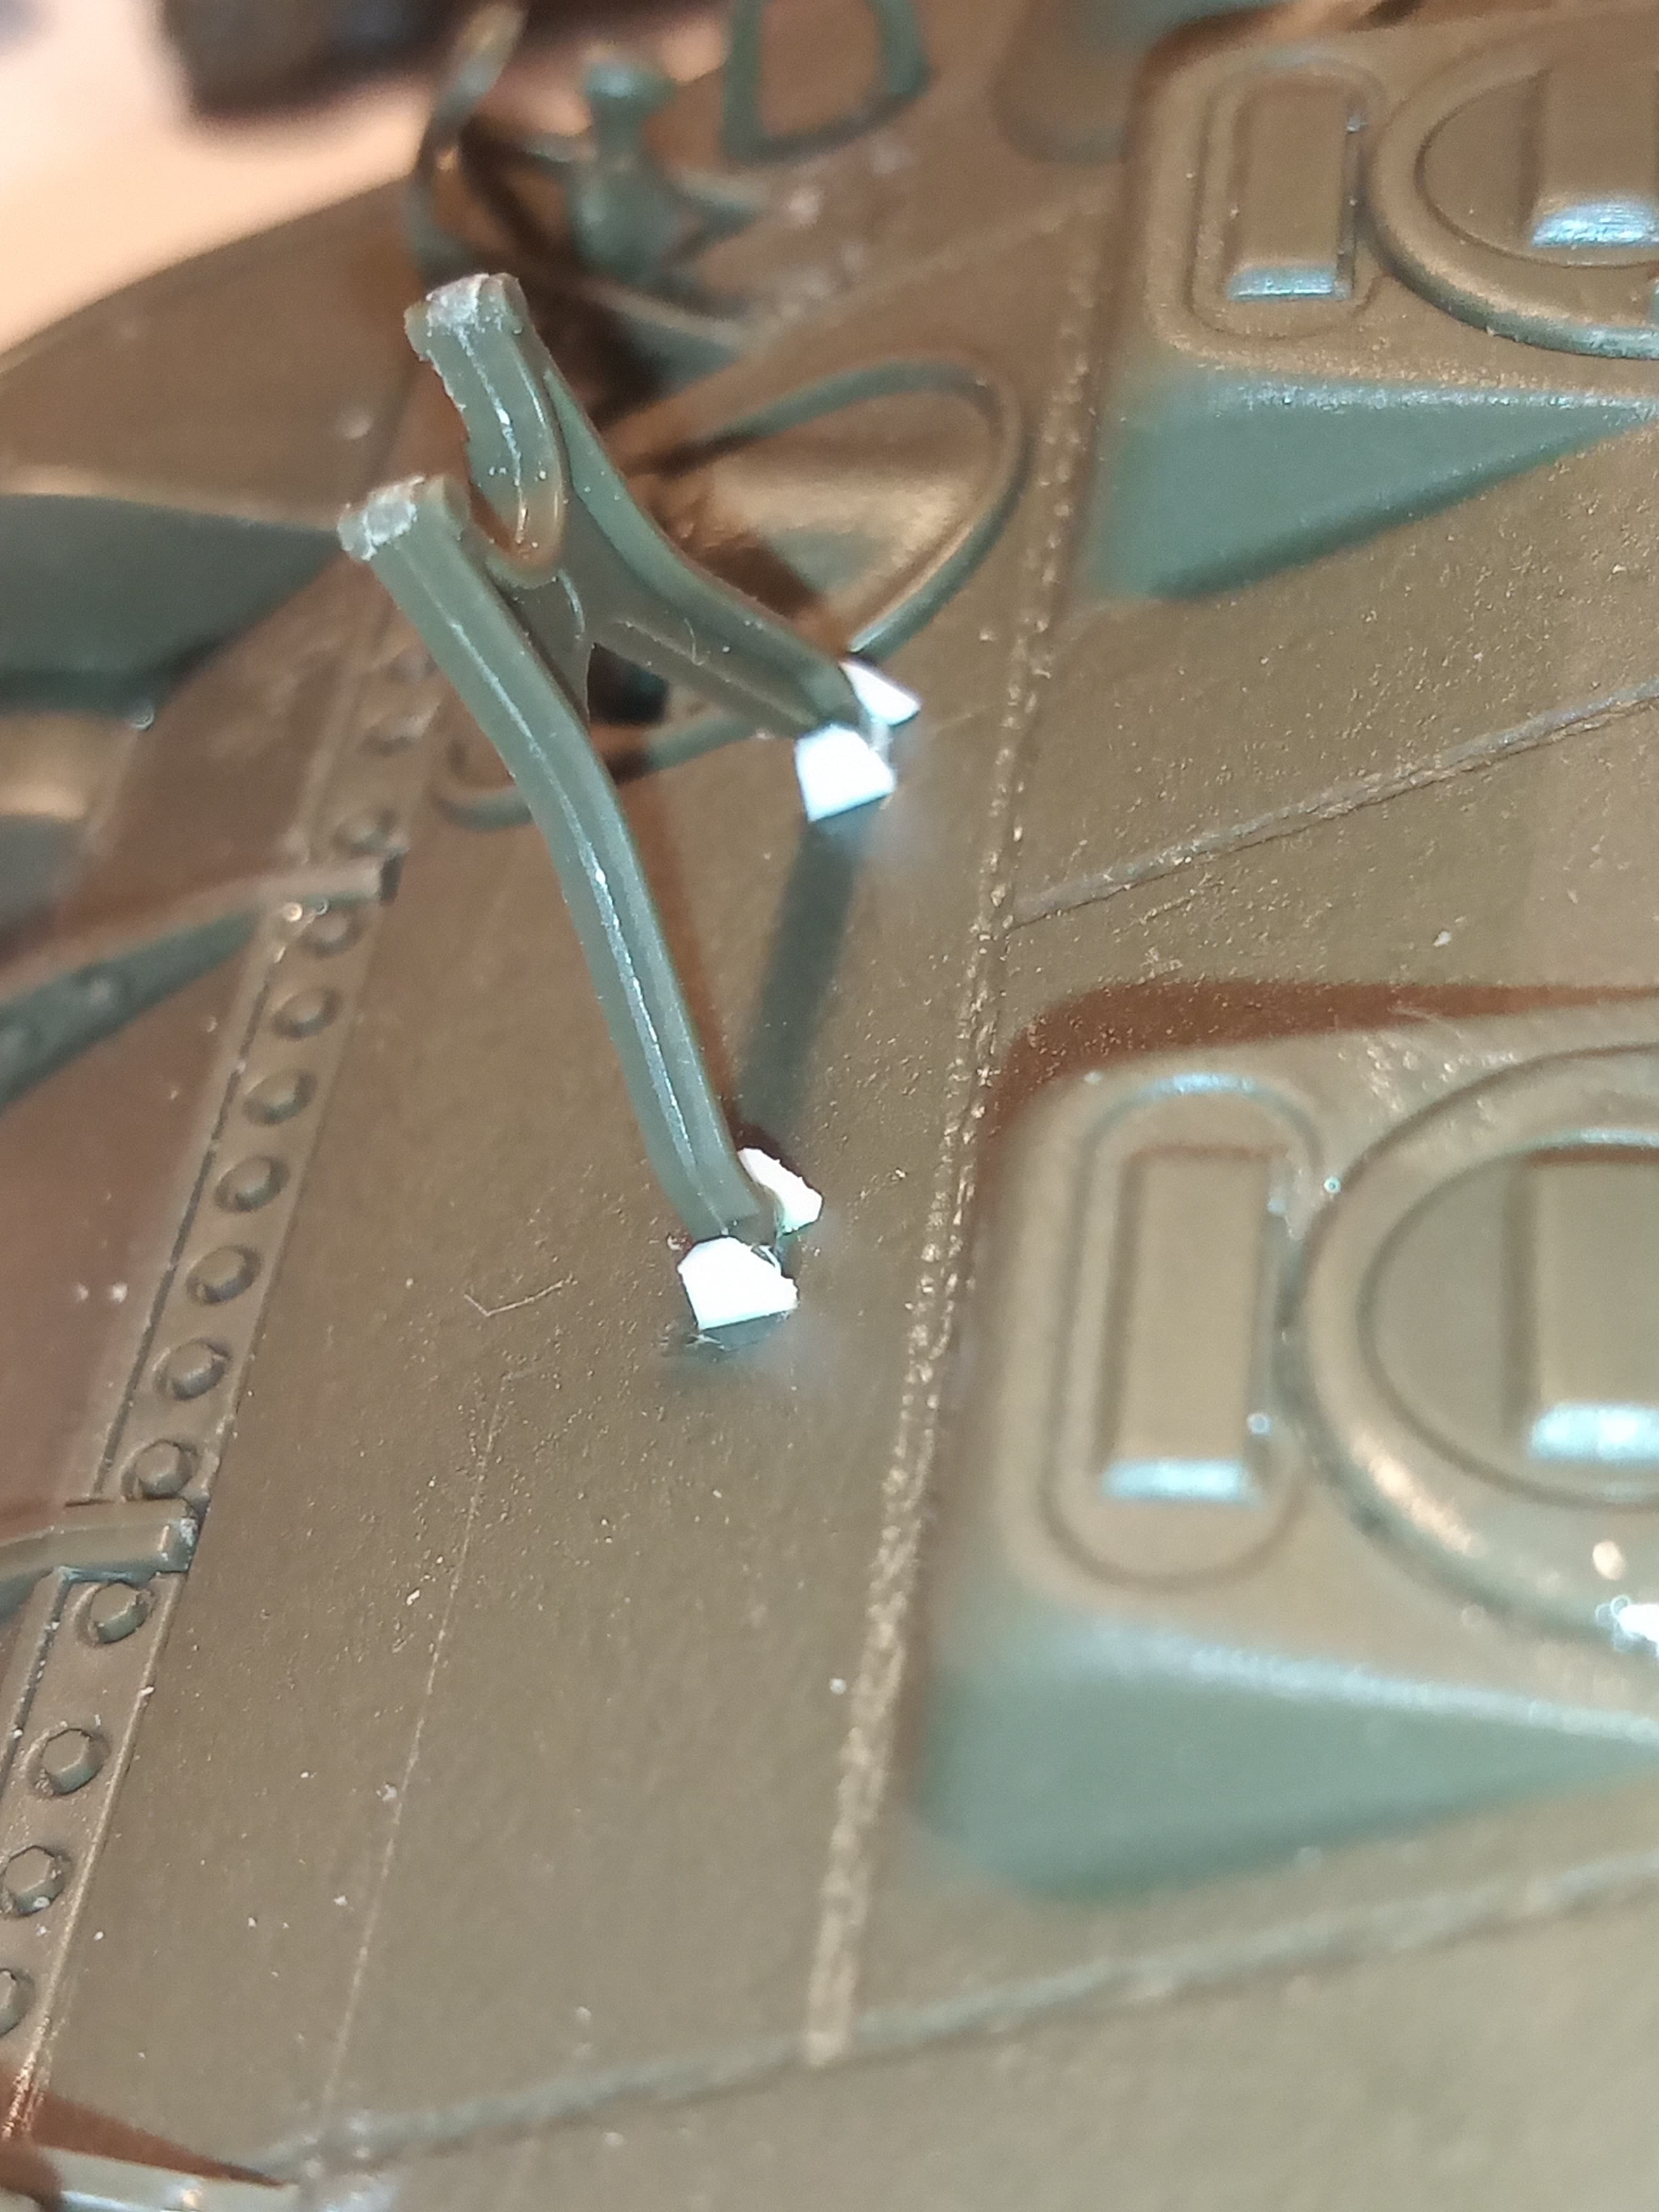
And this is the main reason for “after several weeks”: the tracks, which have four pieces per link.
A roll of wire is supplied, as well as a two parts jig, for the tracks links.
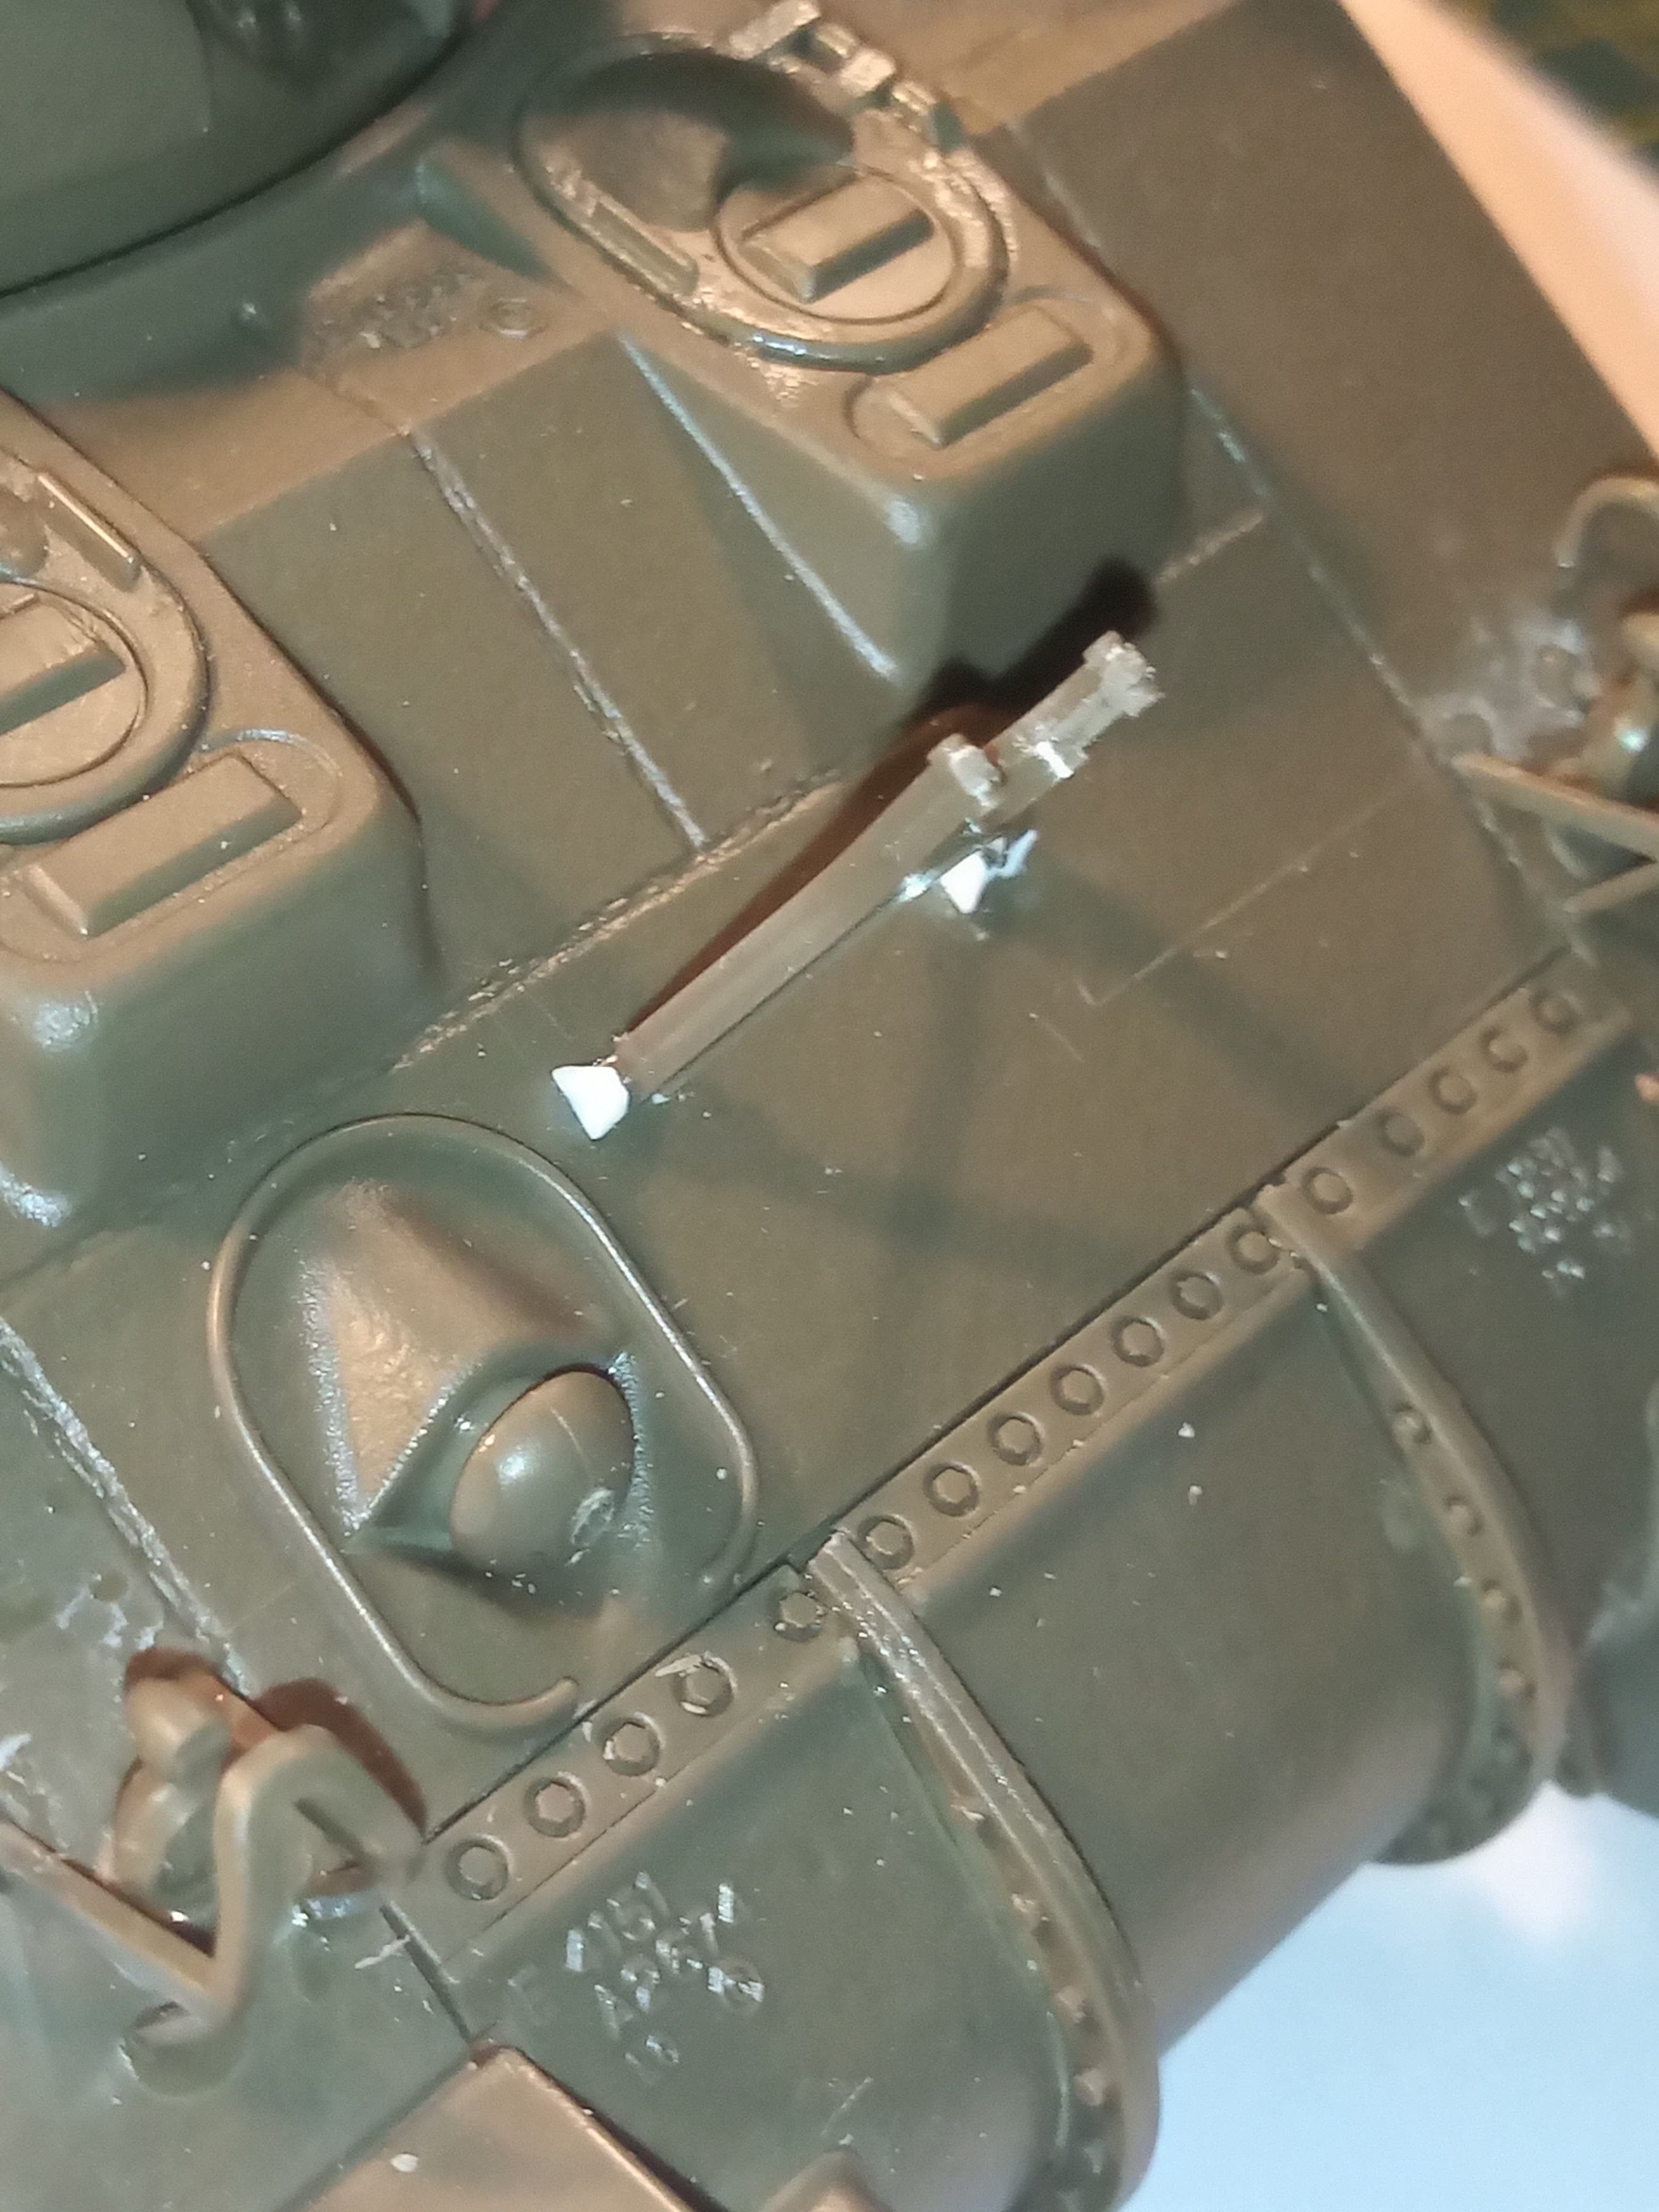
We need cut the wire to size and a dot of super glue to hold the pin in place.
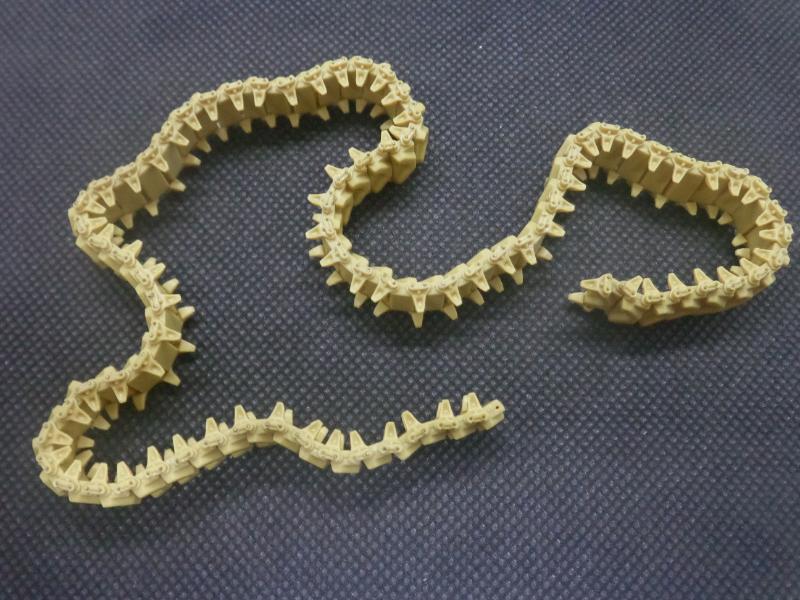
And after a large amount of hours of work, this is the result:
That’s looking good Tom…
Bit of progress on mine …
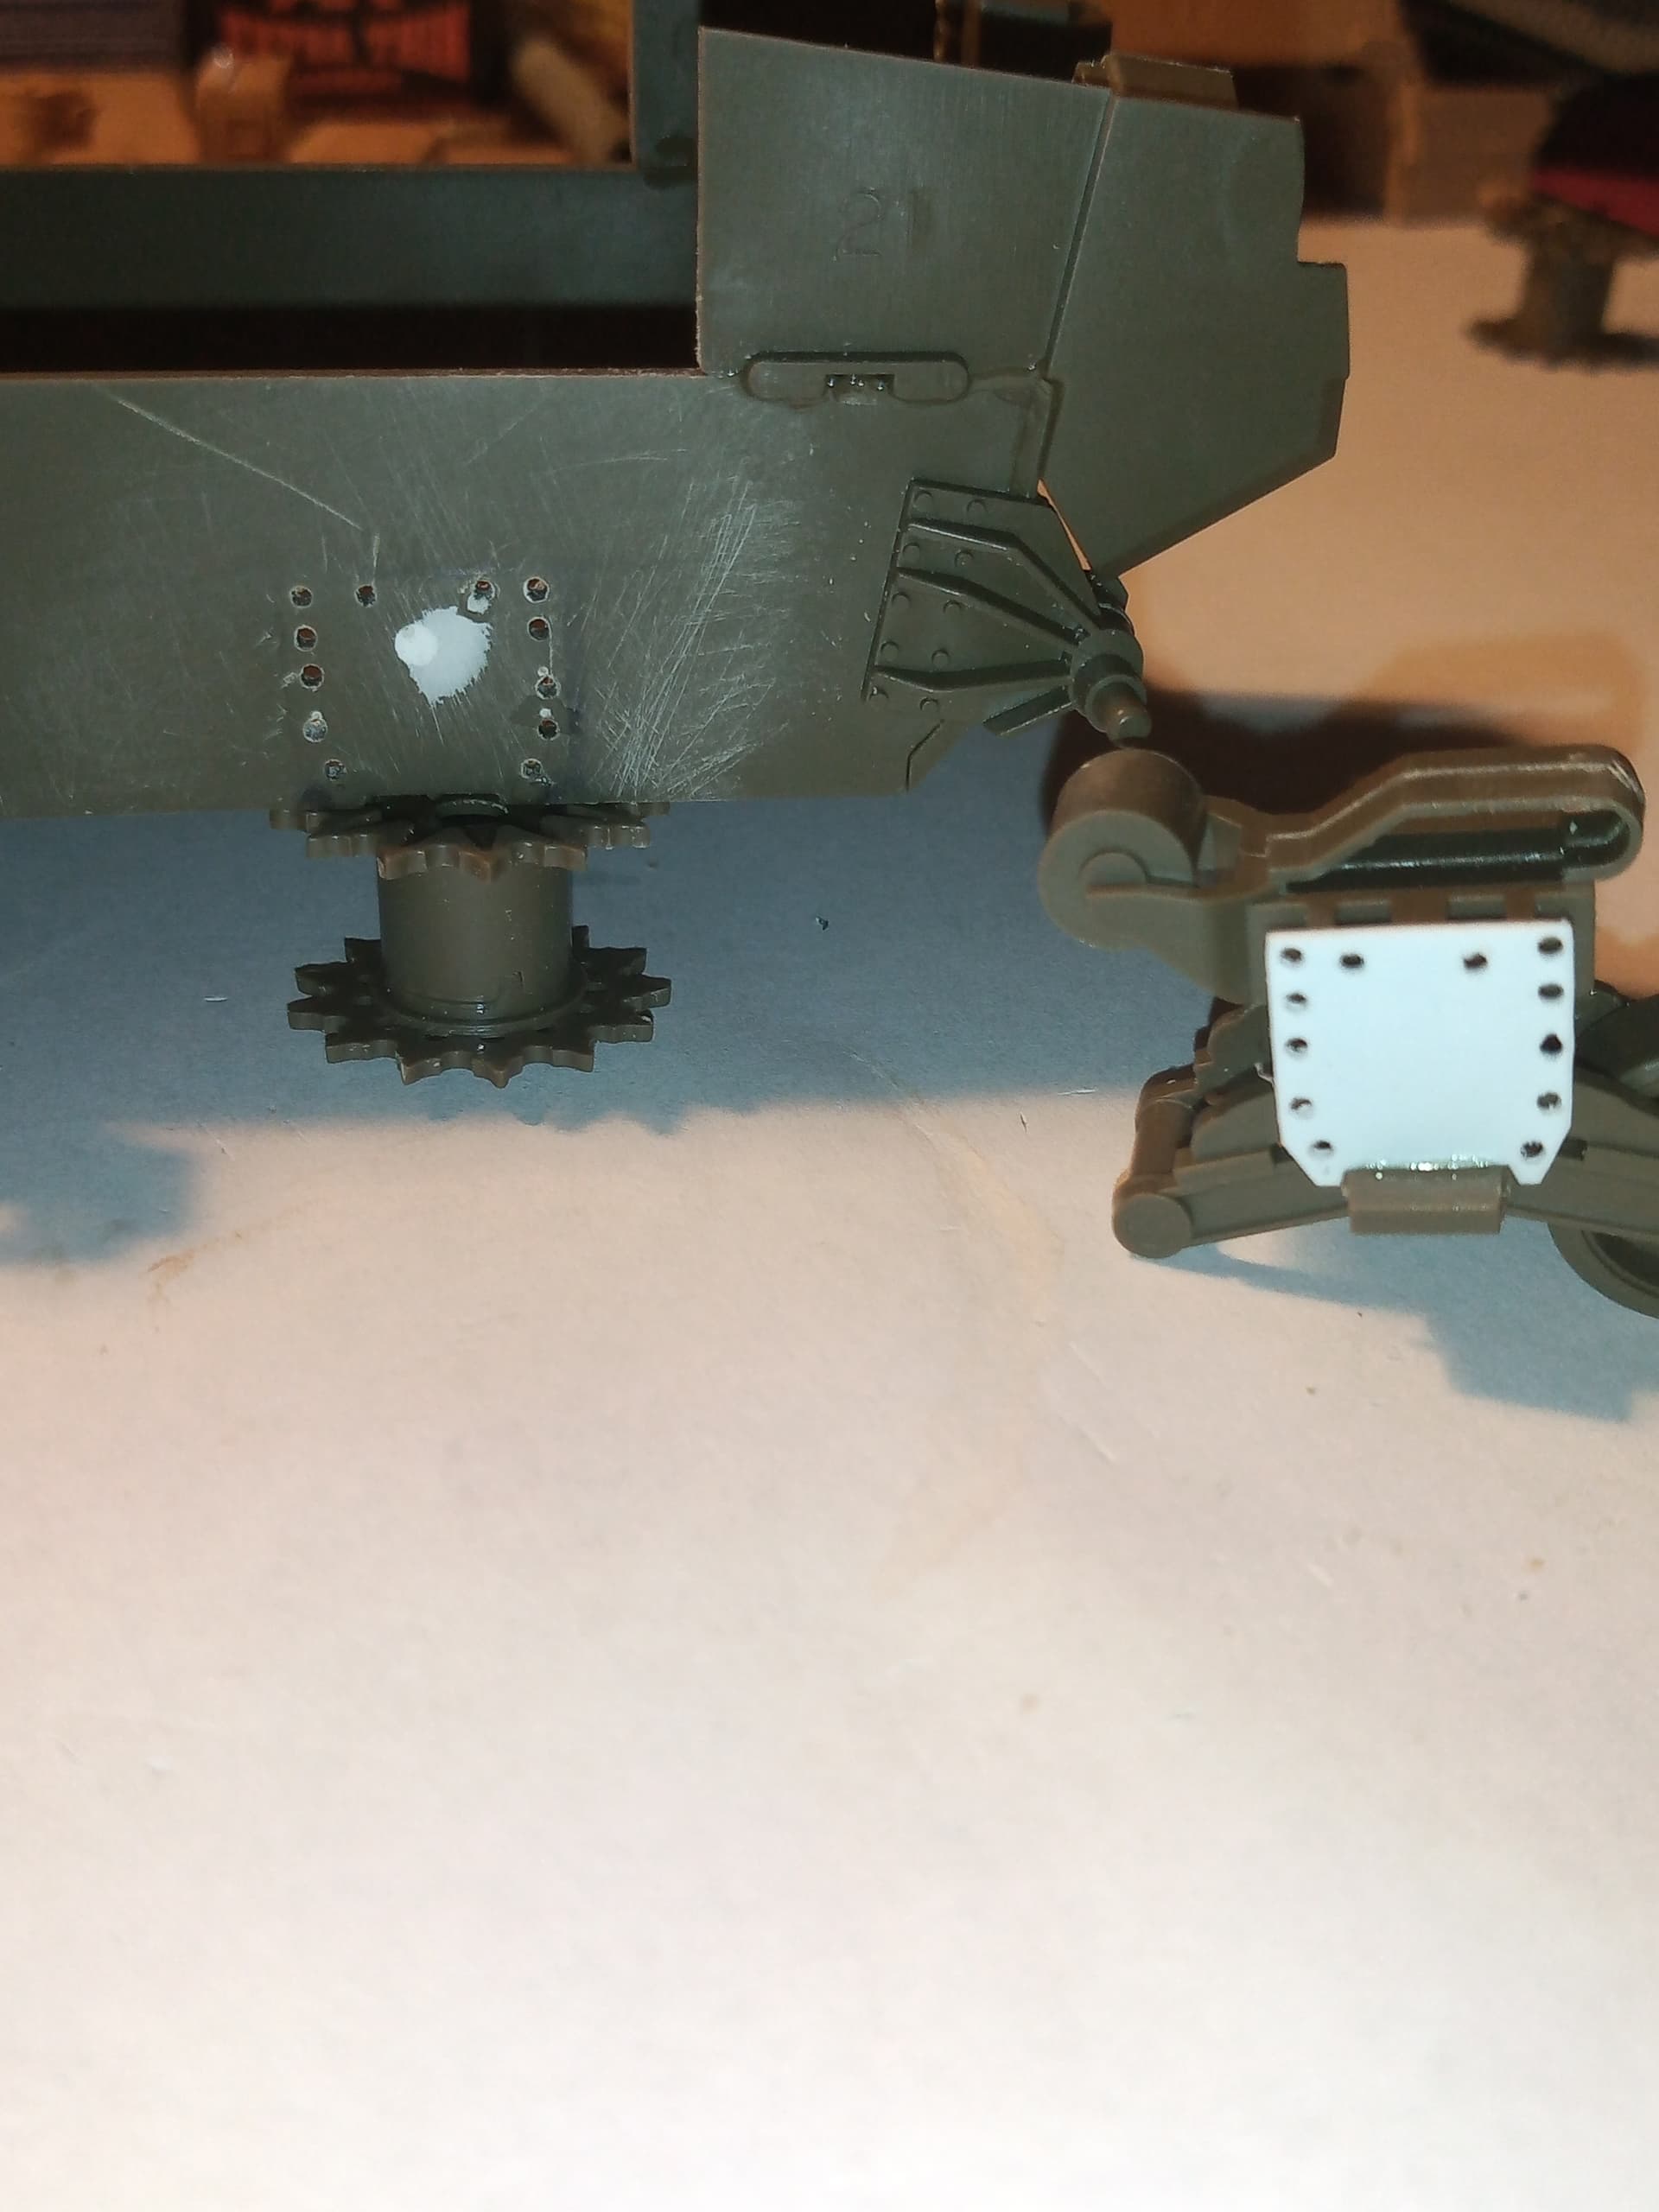
Sliced off the LH rear hull suspension unit detail. Then drilled out the locating holes.
Also made up a back plate for the unit that will be off the wagon…
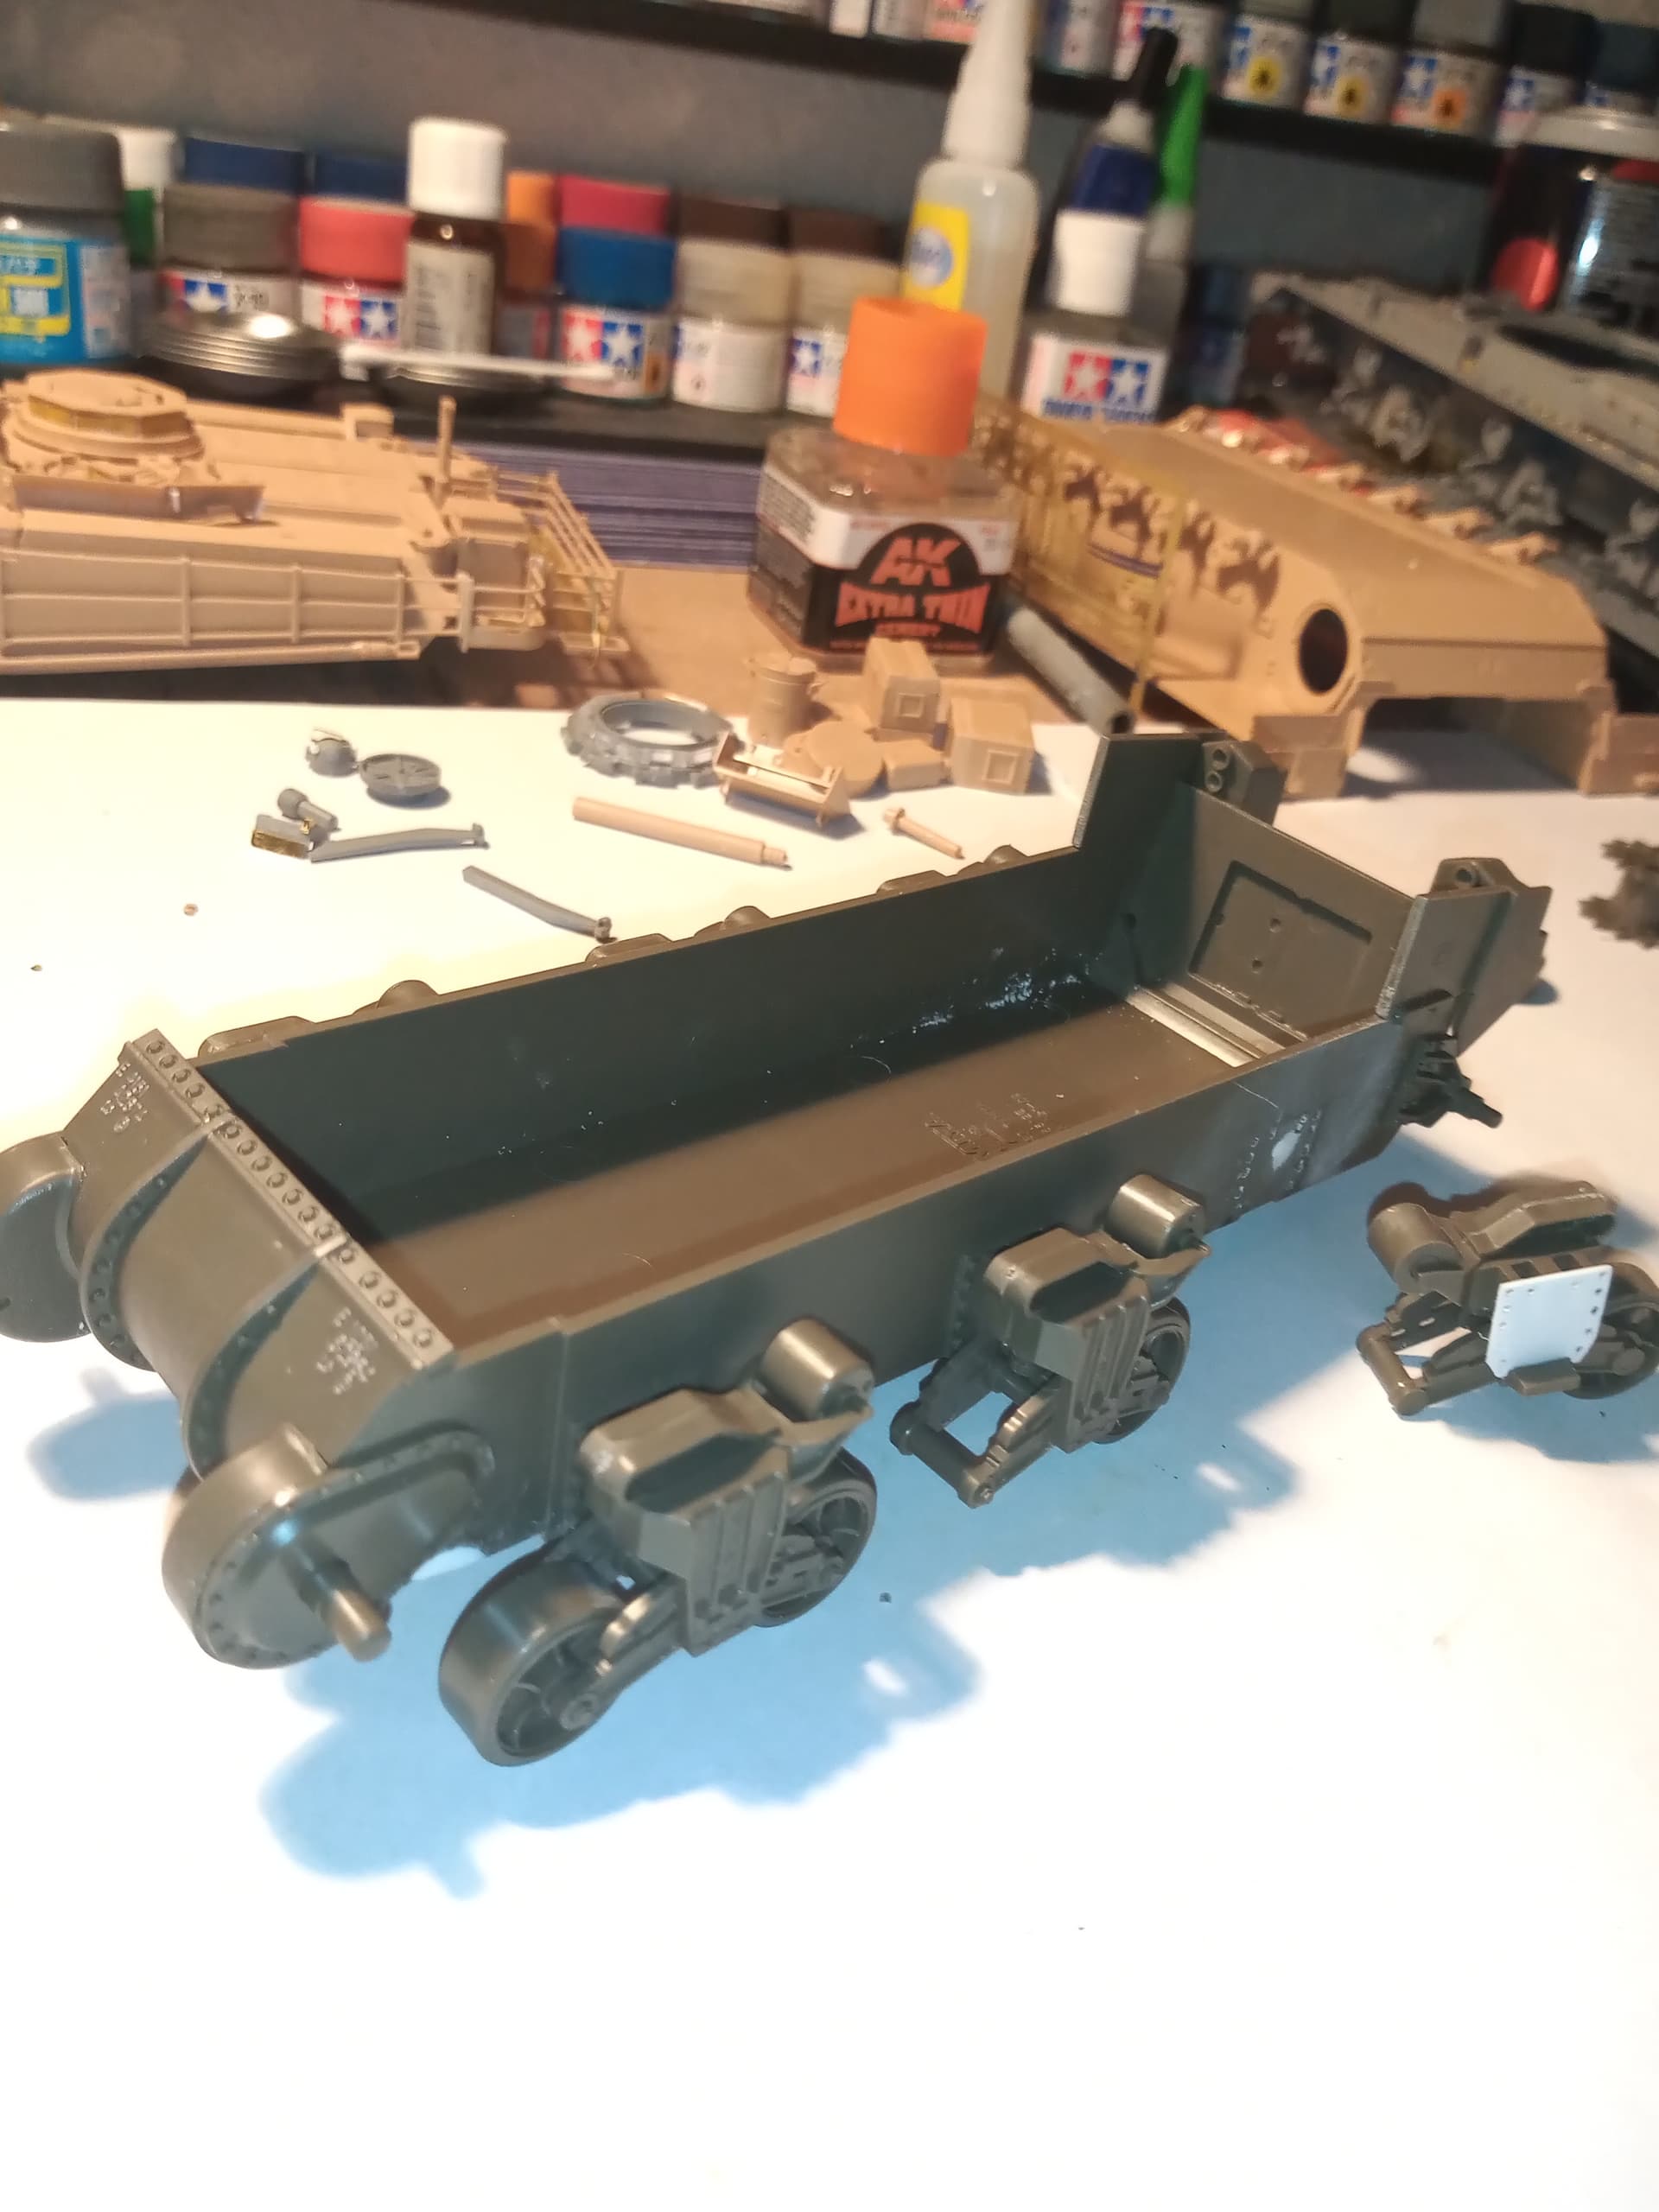
Rear plate for the engine doors was also made up with the air cleaners.
Fitted the suspension units.
As I’ve got that kit in my stash too, I would like to ask: the superglue, does that go on the outside, after the wire has been put into the end connector? Because then it’s doable, but if I have to put superglue on the ends of the brass wire before putting the end connectors on, I highly doubt I will be able to keep the track workable.
Make up the wire and end connector parts first. Later sandwich them between the track pads and you should have no problems as long as you take it easy on the glue on the pads - don’t let it run to the connectors.
Get some double sided tape and stick that on some Evergreen square tube. Place the inner track pads on that. When you have a few on the tape, slip in the wire and end connector parts over the two pads making sure they are in the right way around. Add some glue in the centre of the pad, then push the track pad face on to the inner, trapping the wire in between.
That sounds like a good way to do it, but I foresee myself not getting all the pins-with-end-connectors at the correct spacing ![]() I’d say my best bet is to just put together a short run as a test, to see whether I would be wiser to invest in some other track set or not.
I’d say my best bet is to just put together a short run as a test, to see whether I would be wiser to invest in some other track set or not.
Exactly, you should apply superglue on the outside after the wire has been put into the end connector. The wire proved to be too small in diameter.
Thanks, that should make it more doable for me (when I get round to this kit, that is).
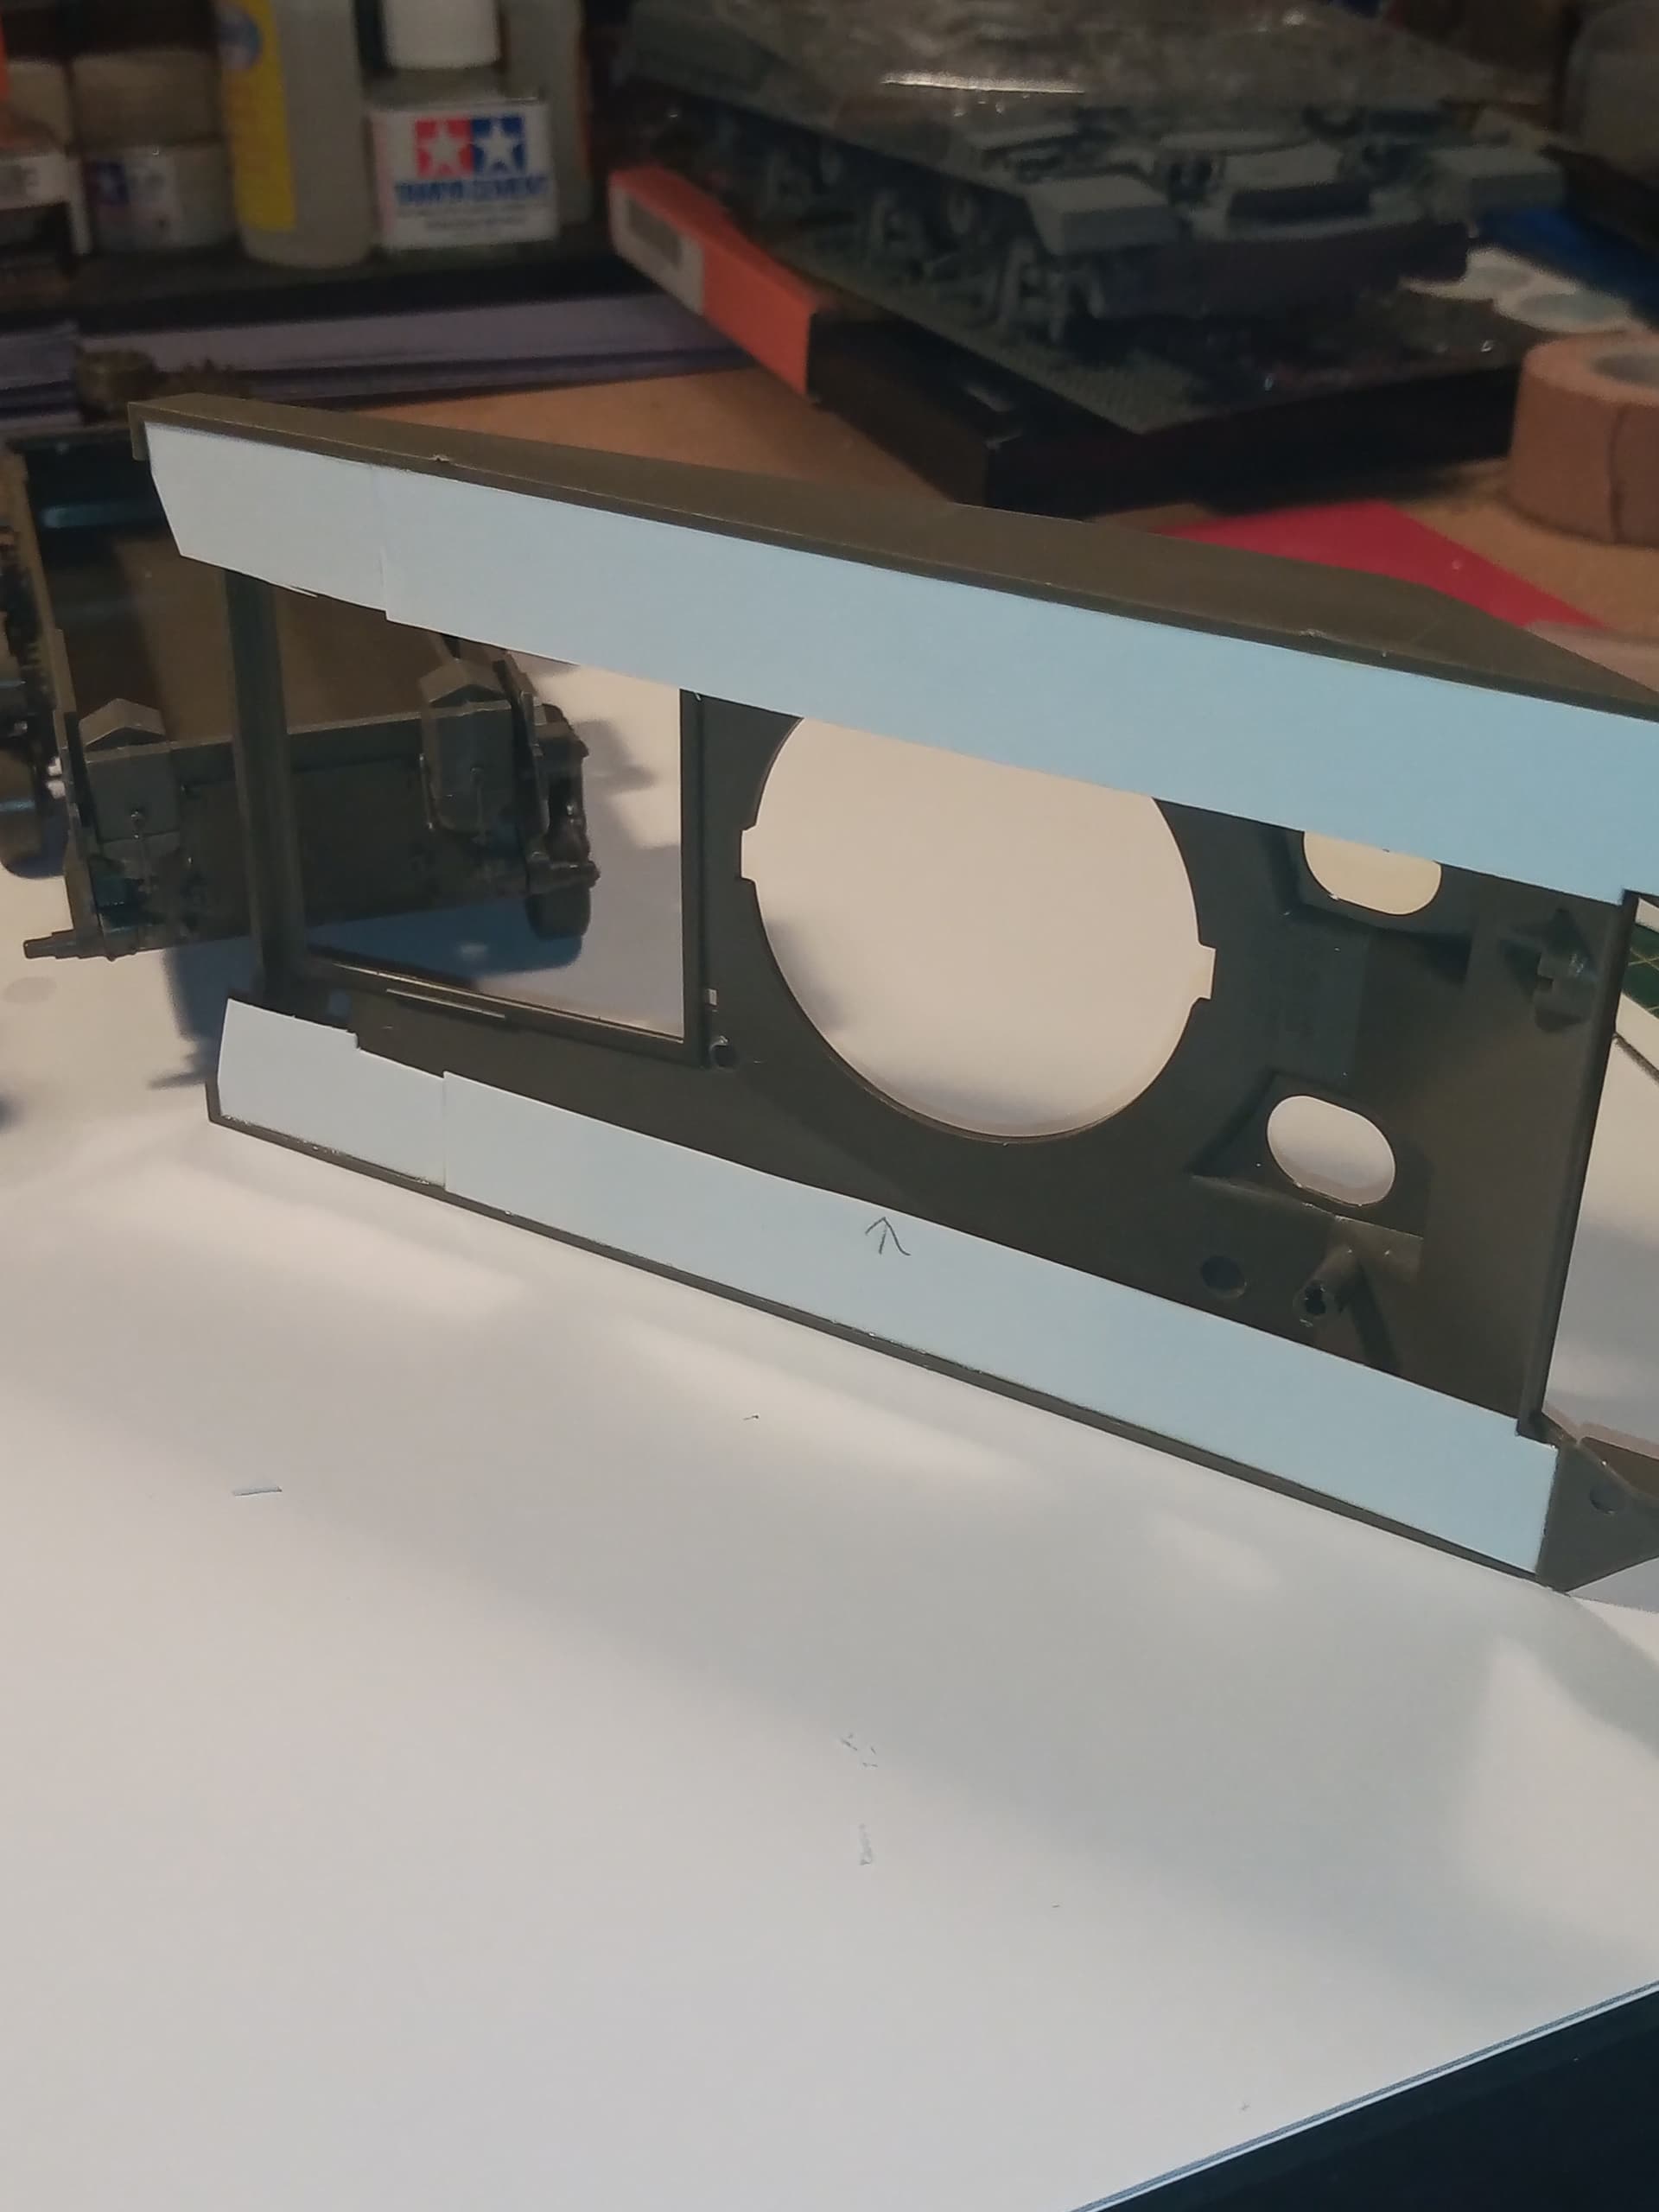
Added some plastic strip for under the hull area above tracks to blank it all off once upper and lower hull are together
If you haven’t already done so, add some rectangles of card between the hull top/sides and the sponson fillers to make them more rigid and to keep them flat when you put the hull parts together. I found that when I had a snug fit, they tended to curl up in the middle when the lower hull was added. That maybe because I used .20 thou card stock… but better safe than sorry.
Just building up the rear of the idlers to add the rib detail as once fitted, these will be quite visible on the finished item…
Just used plastic putty to build up the inside and then Mr surfacer 500 fill in and level it ofc before I do the ribs.
Hulls together… Started on some of the detailing, but some will be getting left off for various reason… Need to find out how the gun clamp brackets looked as I need to fit that…
Also need to build up the rear of the idlers still before I put the ribs in …
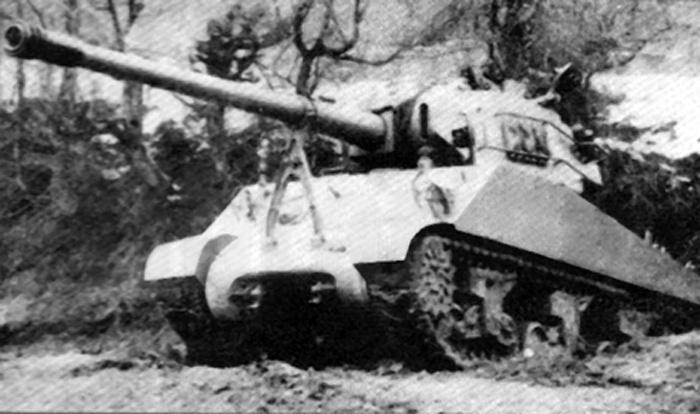
Sorry for my correction, but this is an Argentine Sherman
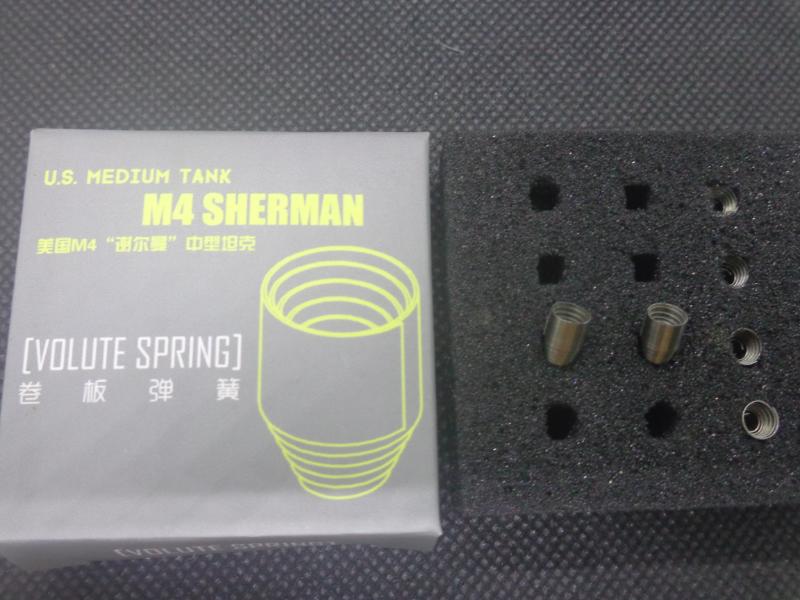
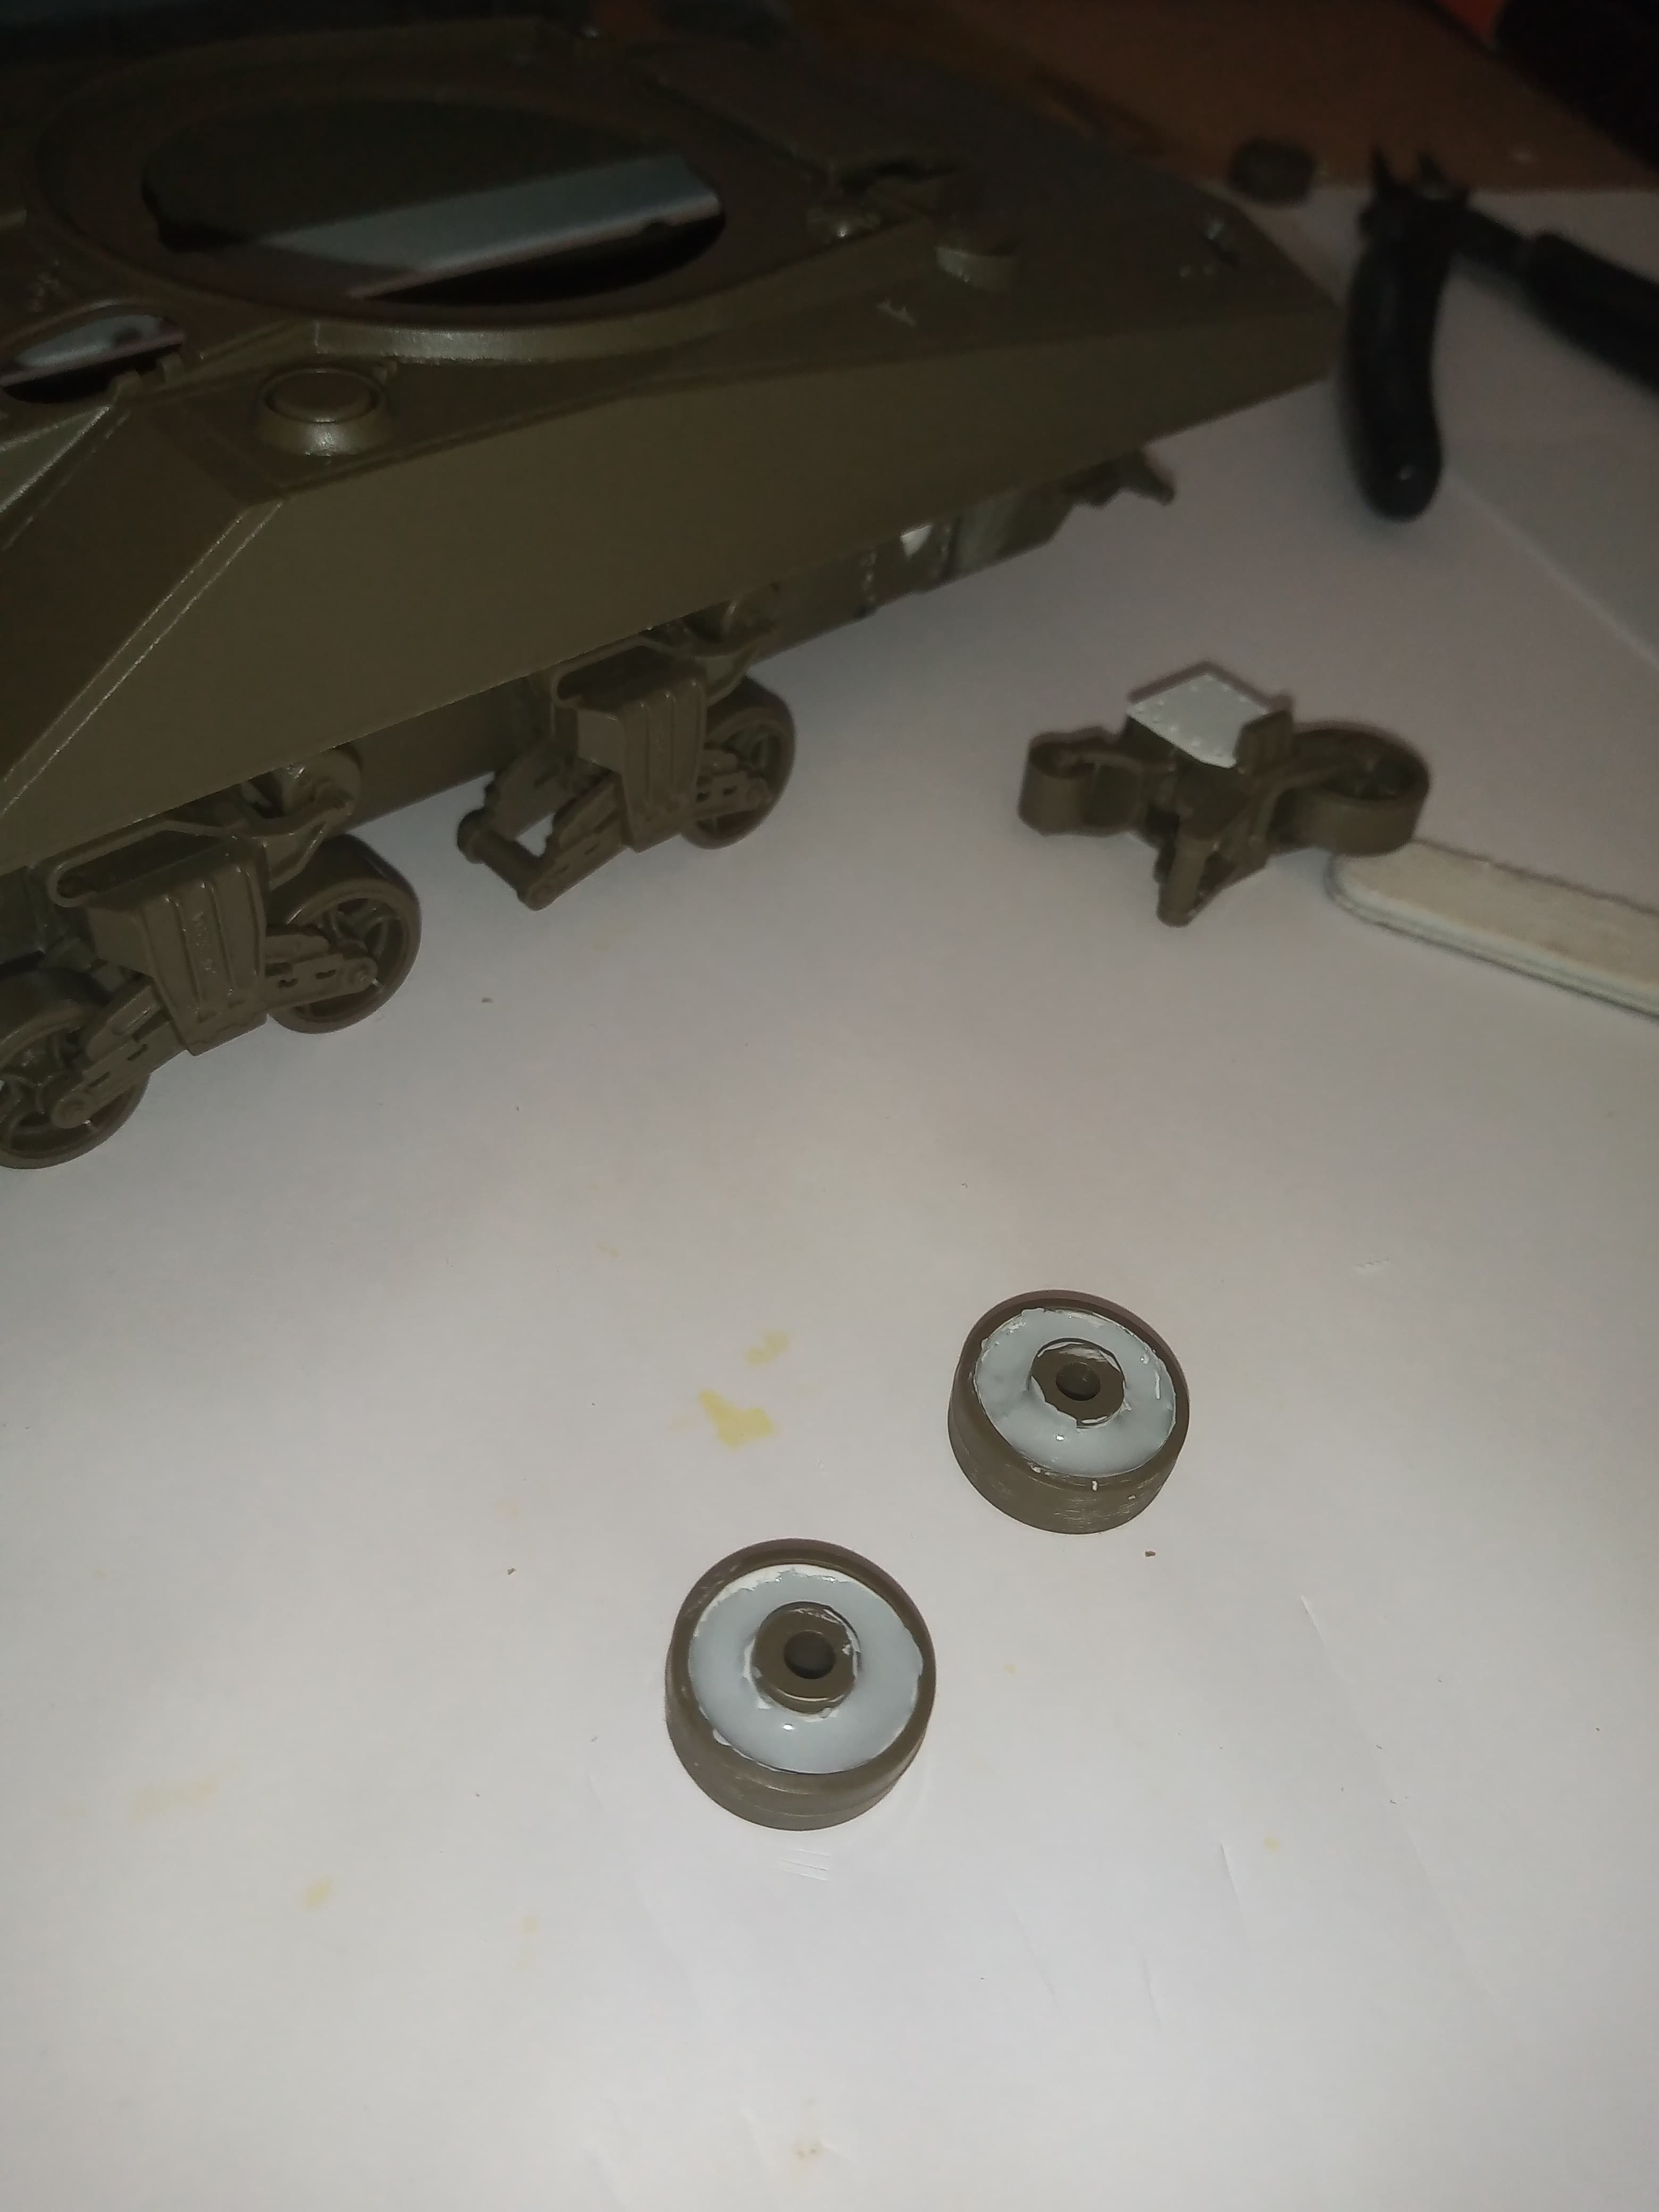
Finally I got the extra sprue from Asuka!
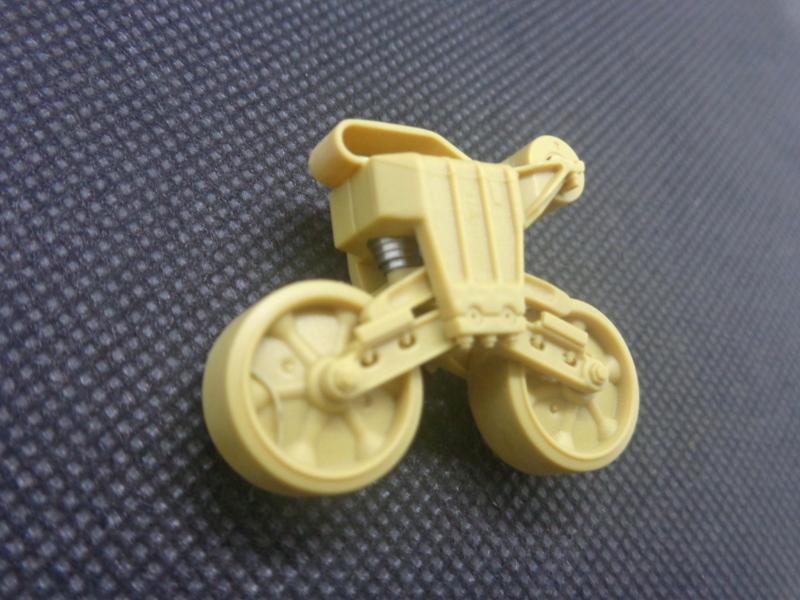
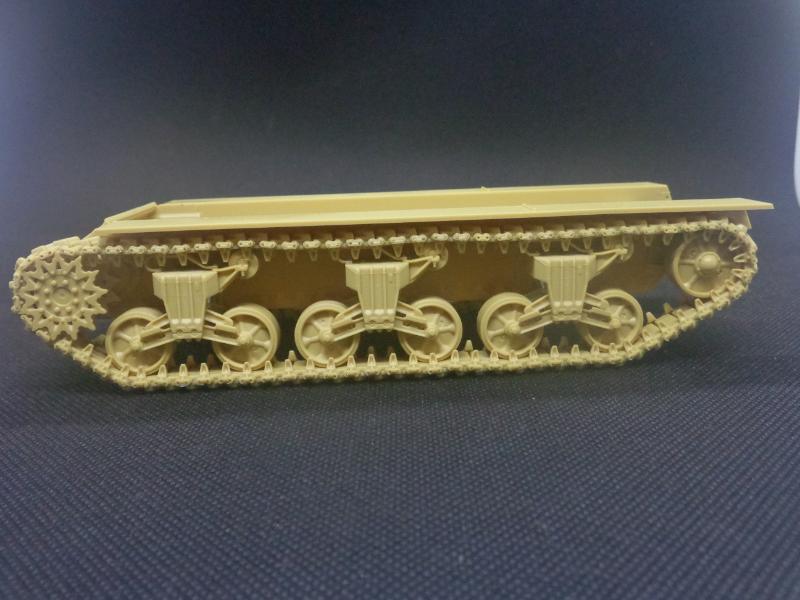
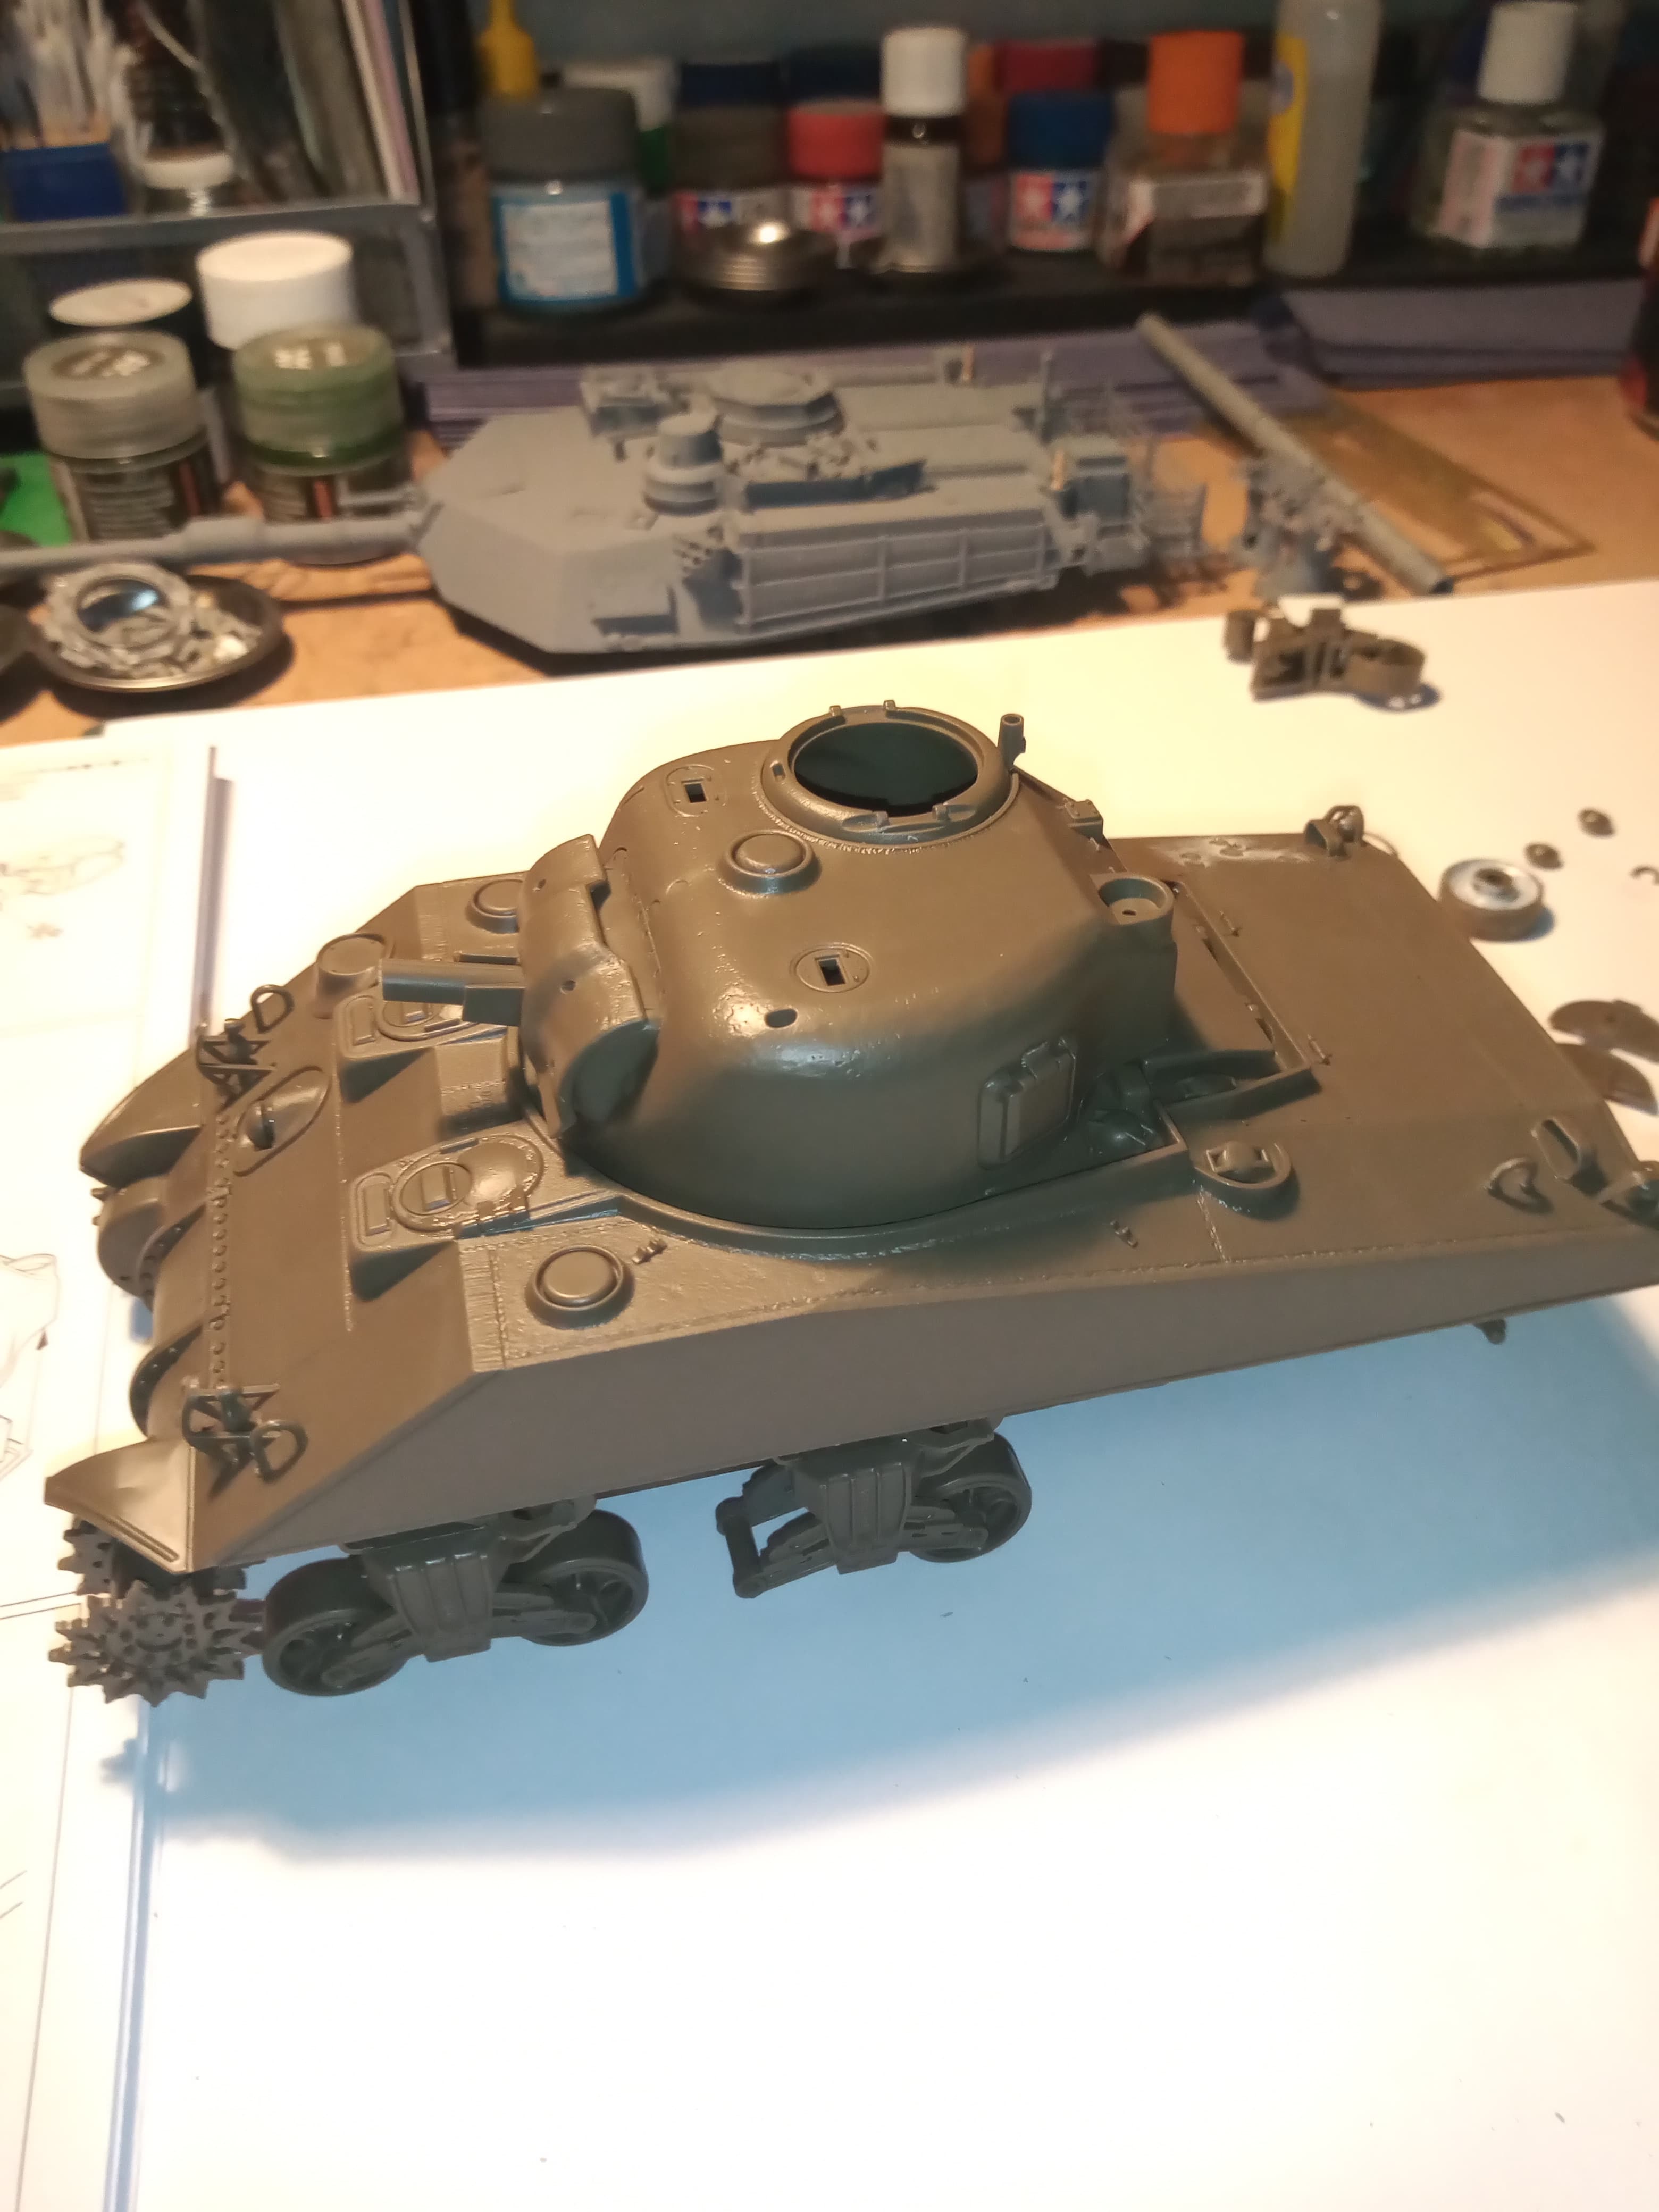
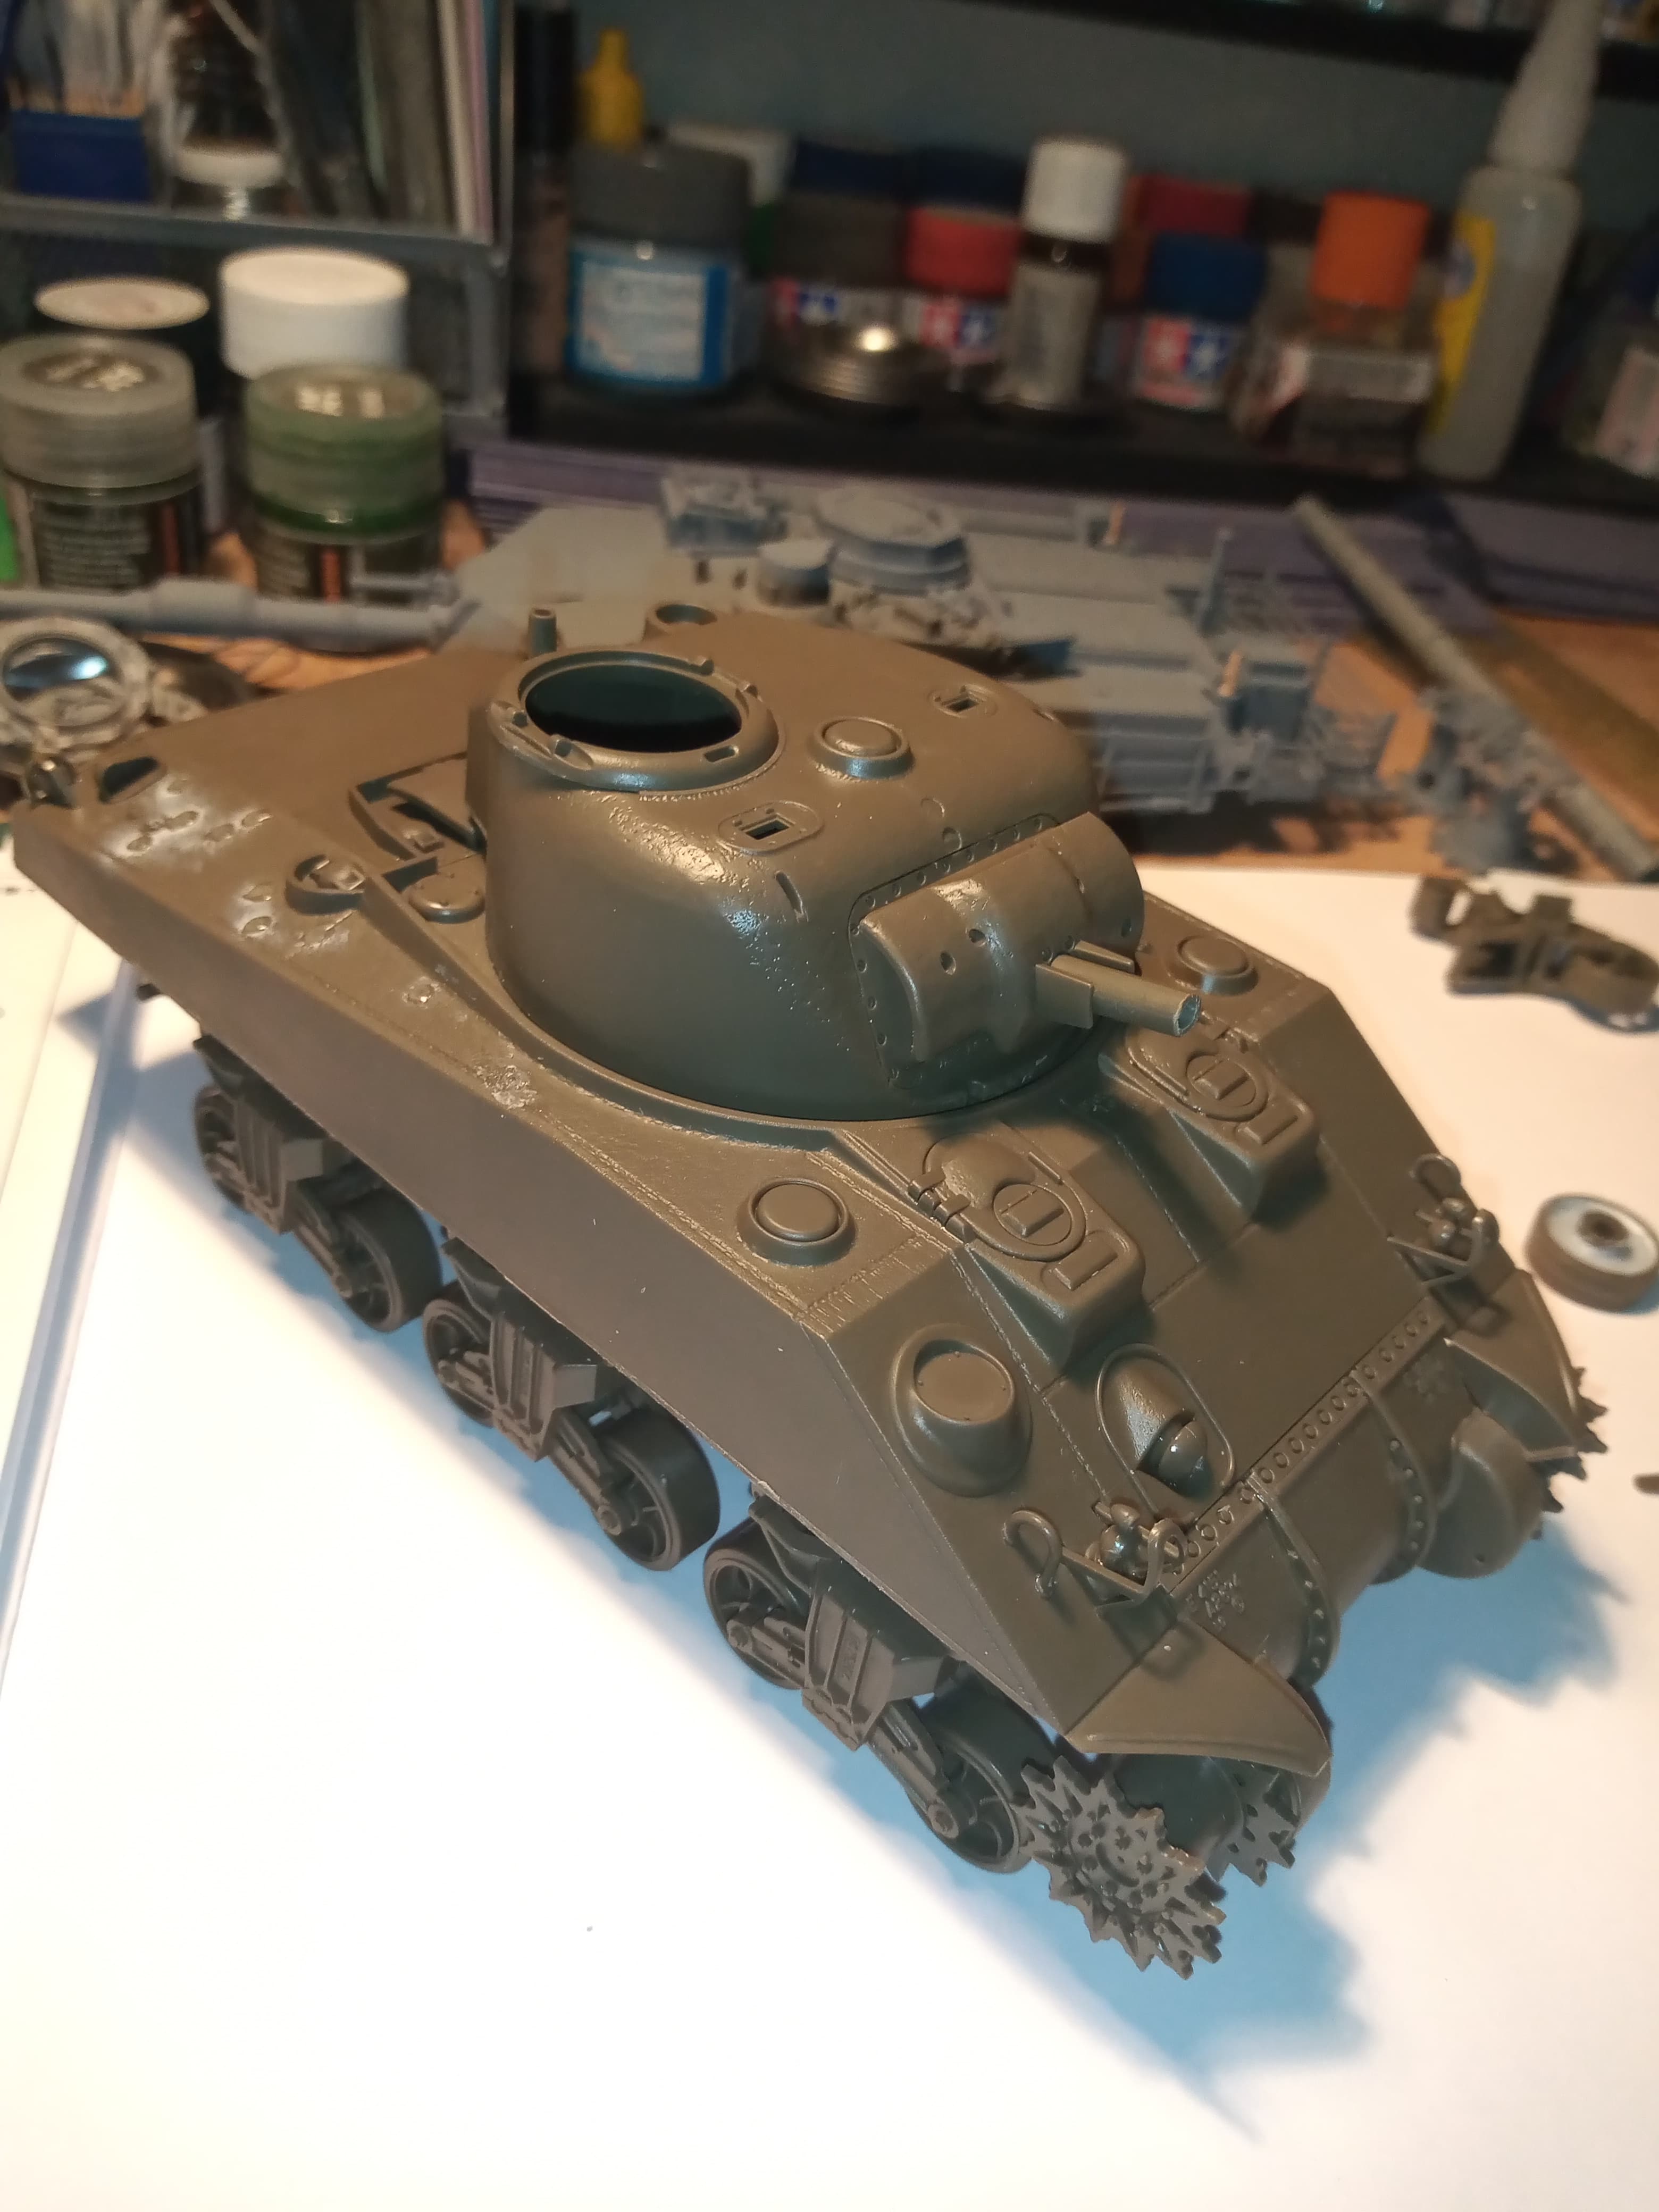
I assembled the final bogie and painted it, after which it was mounted to the vehicle.
Everything is base colour now, so next will be the decals and weathering…
Looking phenomenal Erwin!
Thank you very much Matt… The tracks are lurking around too, but I want to do basic weathering (like pin washes) first…
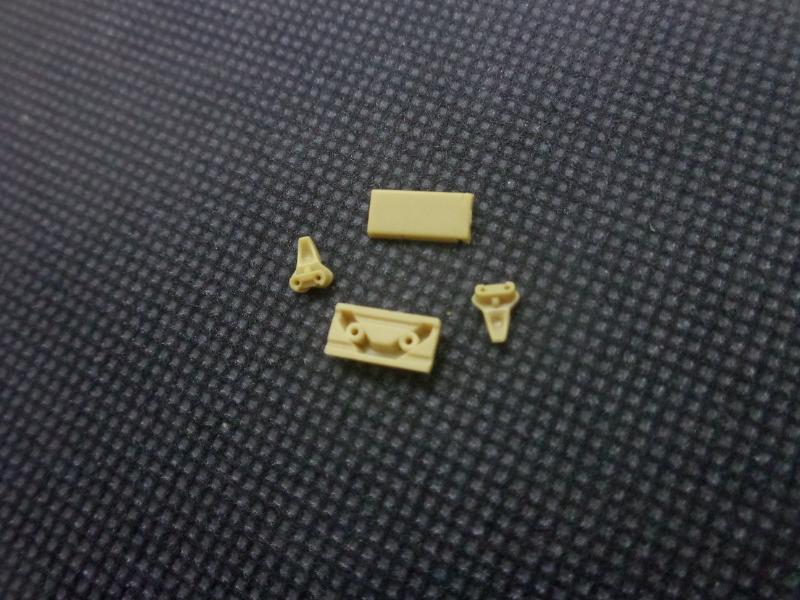
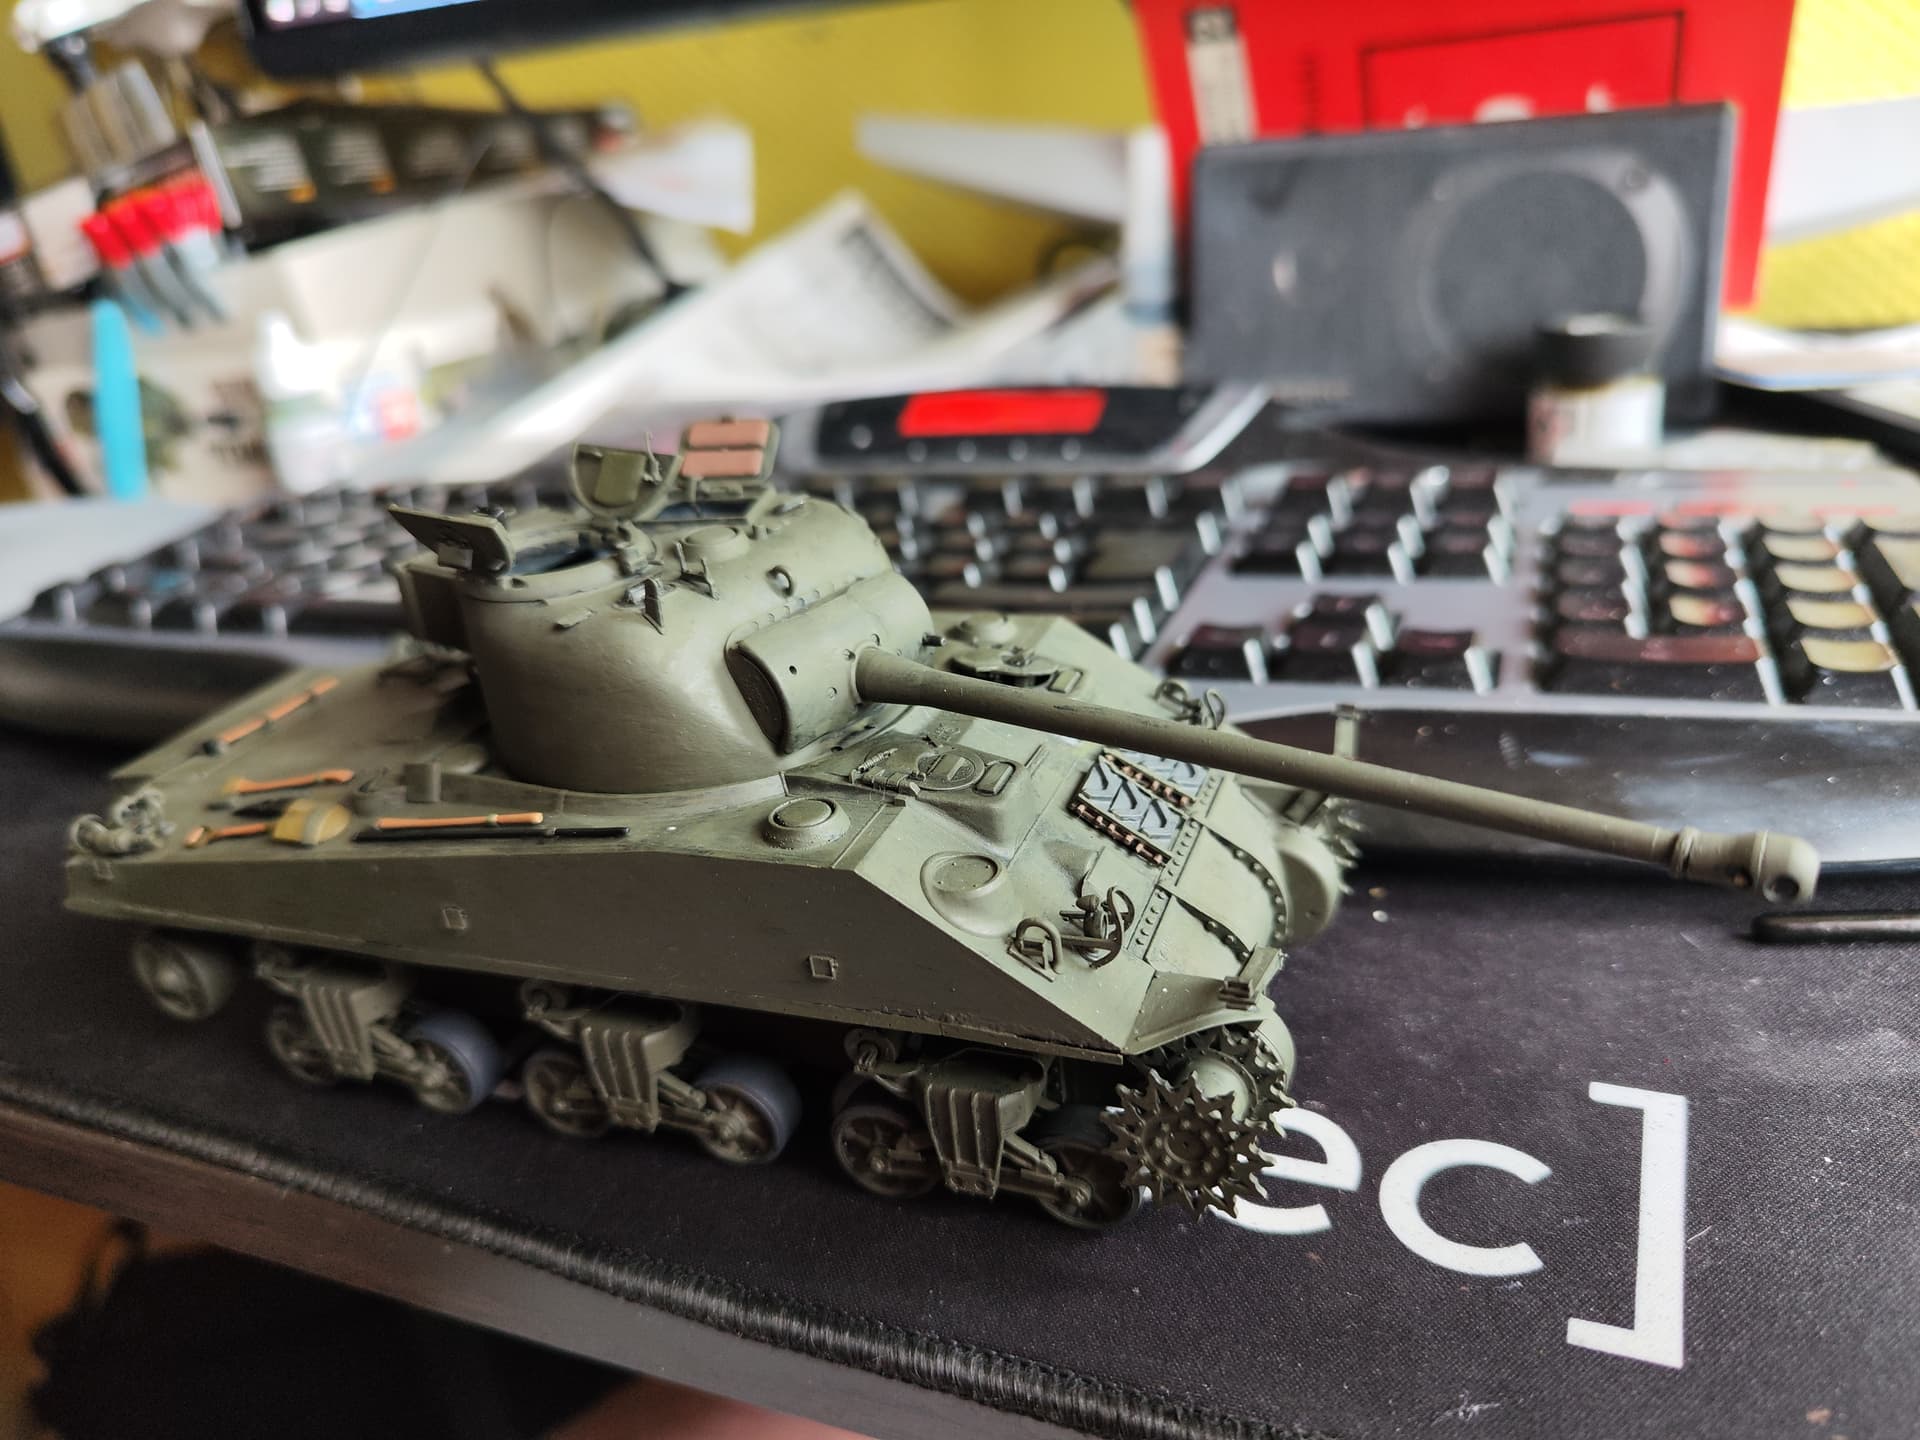
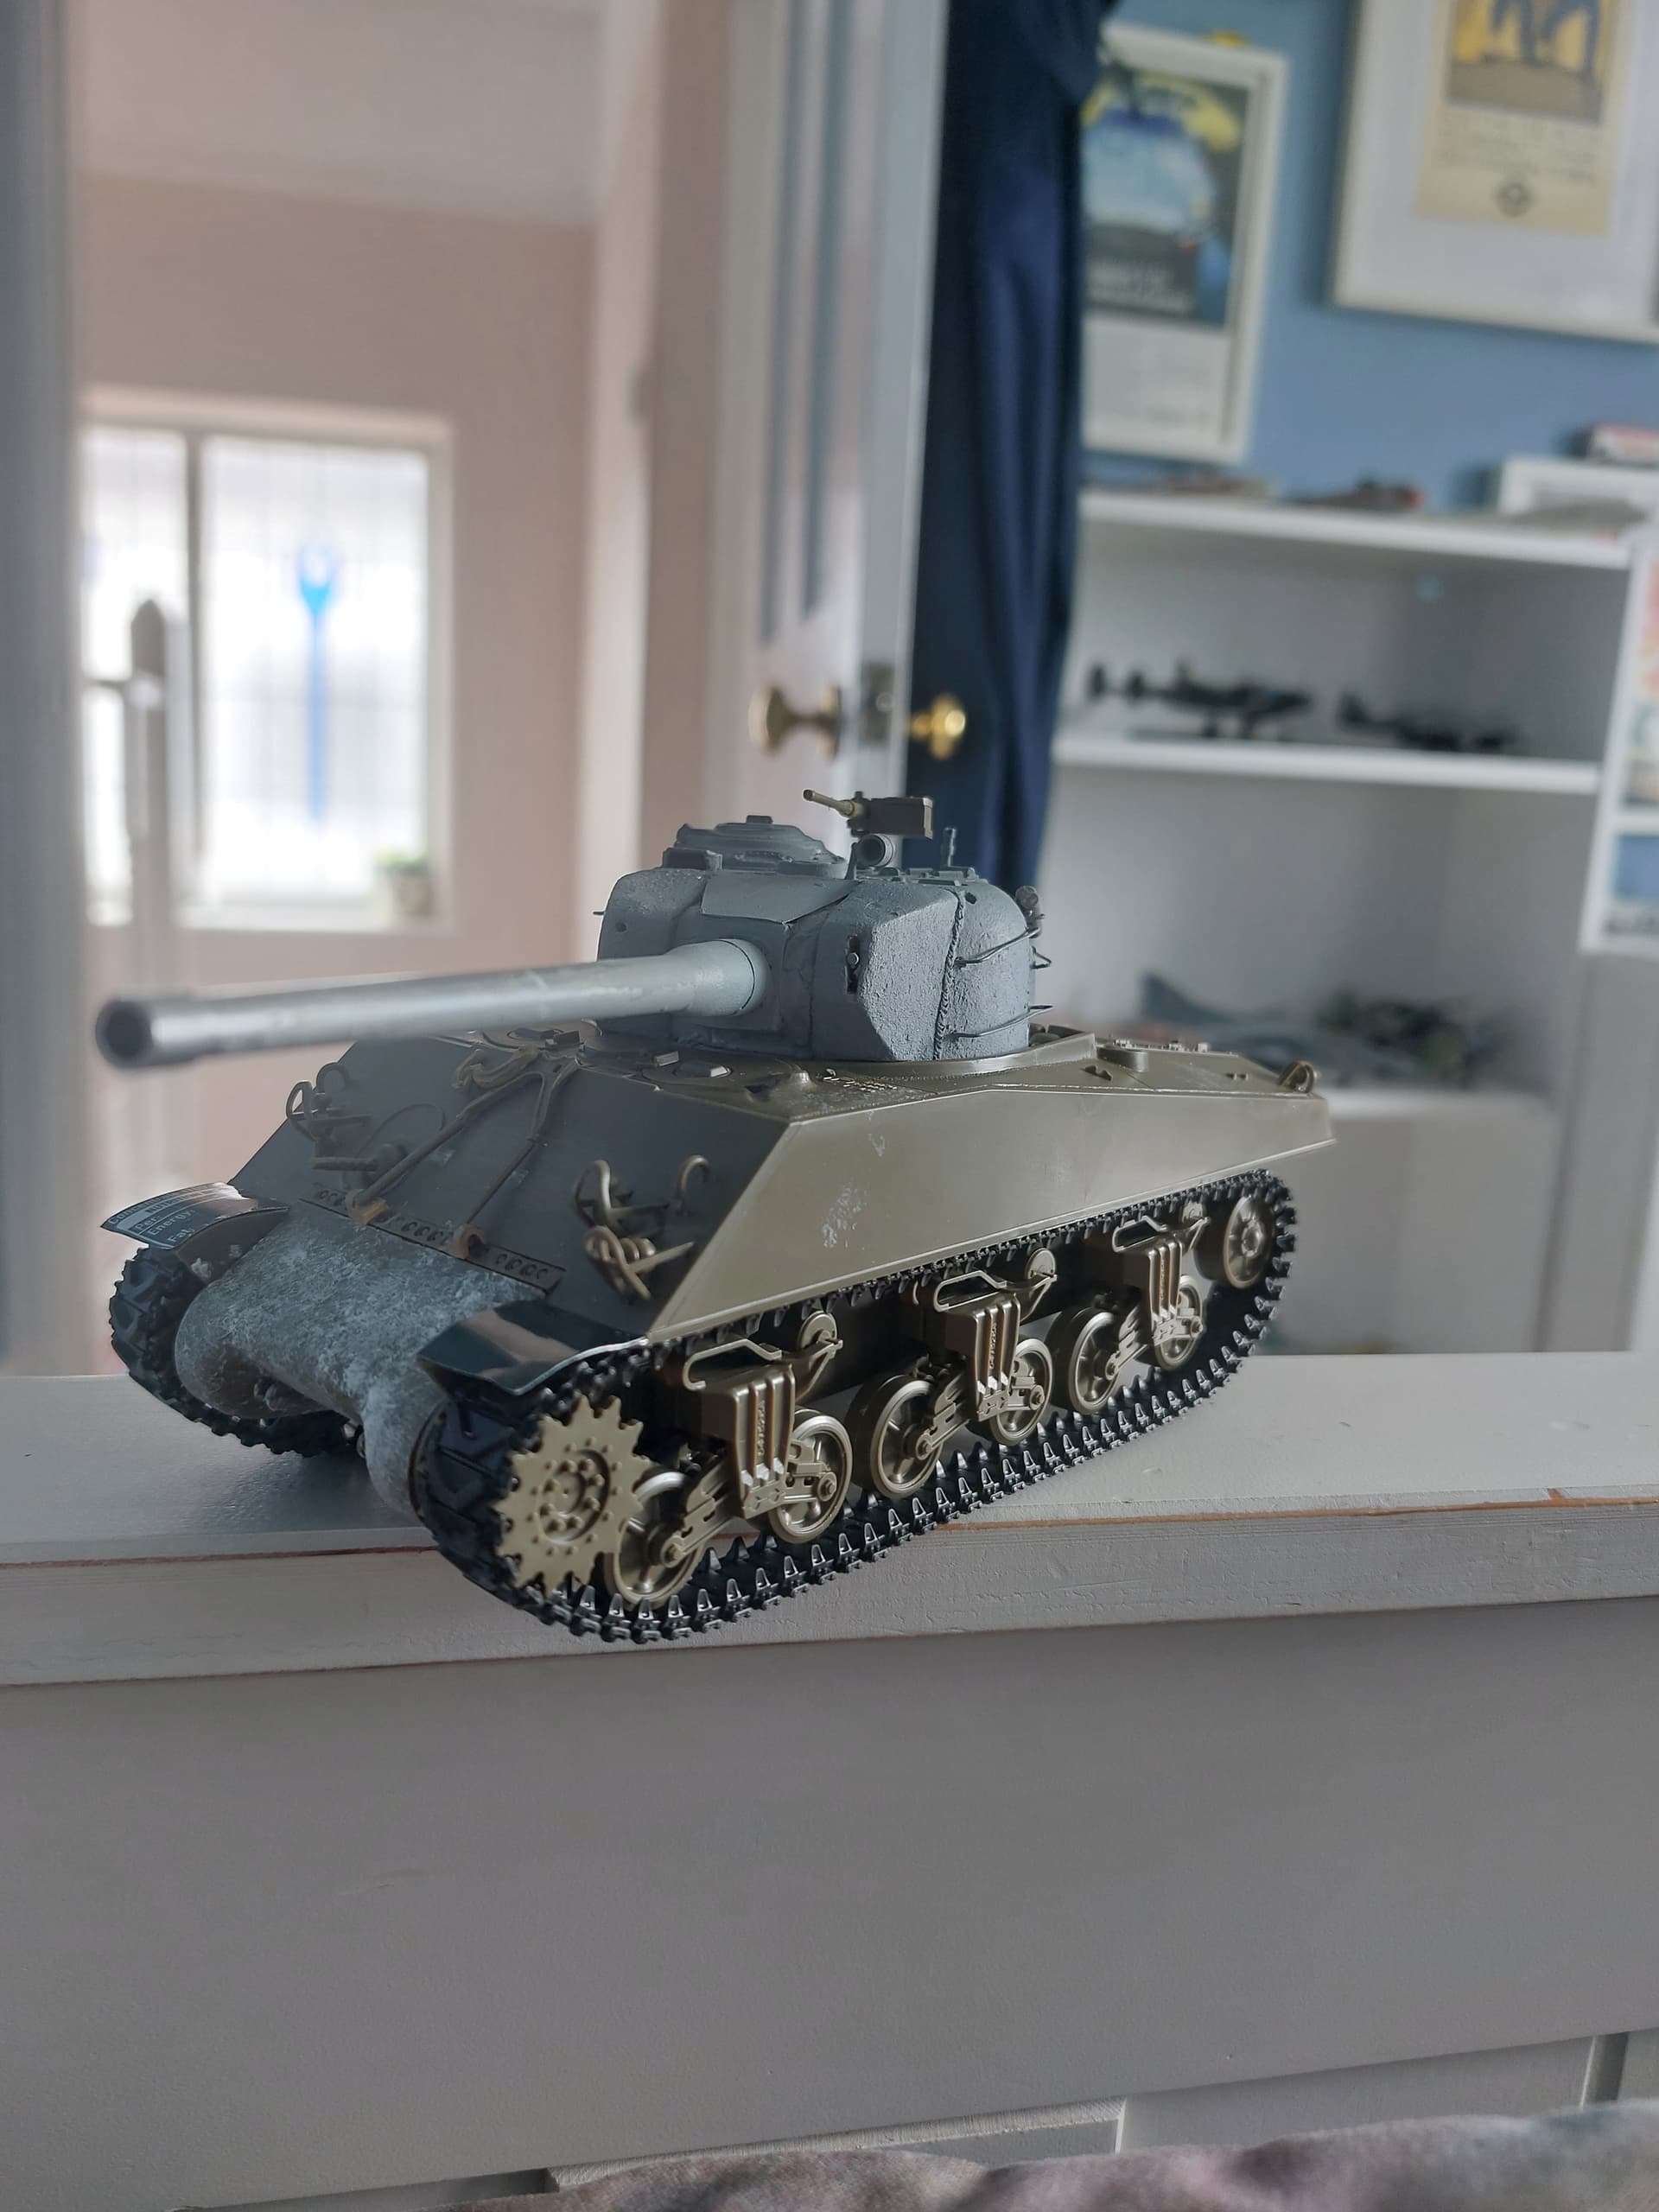
Made up a makeshift mounting bracket for the gun clamp…not perfect but it looks ok for my needs.
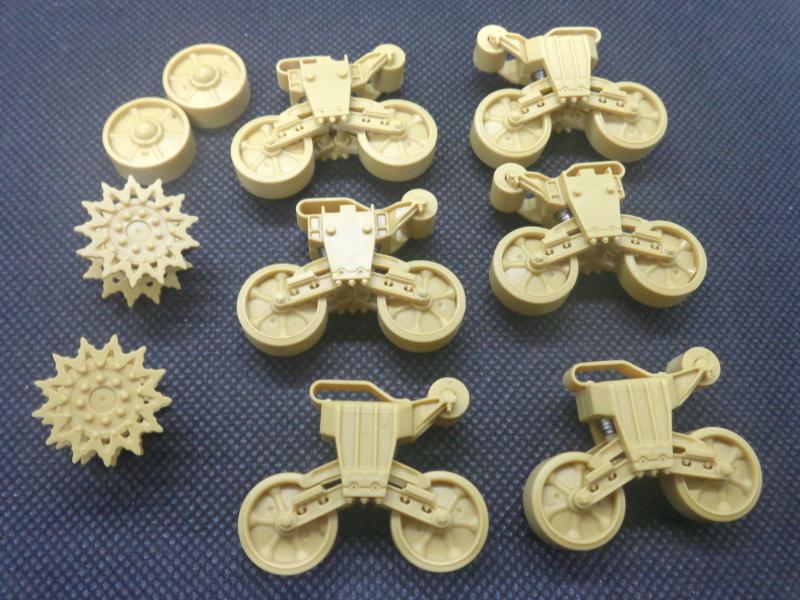
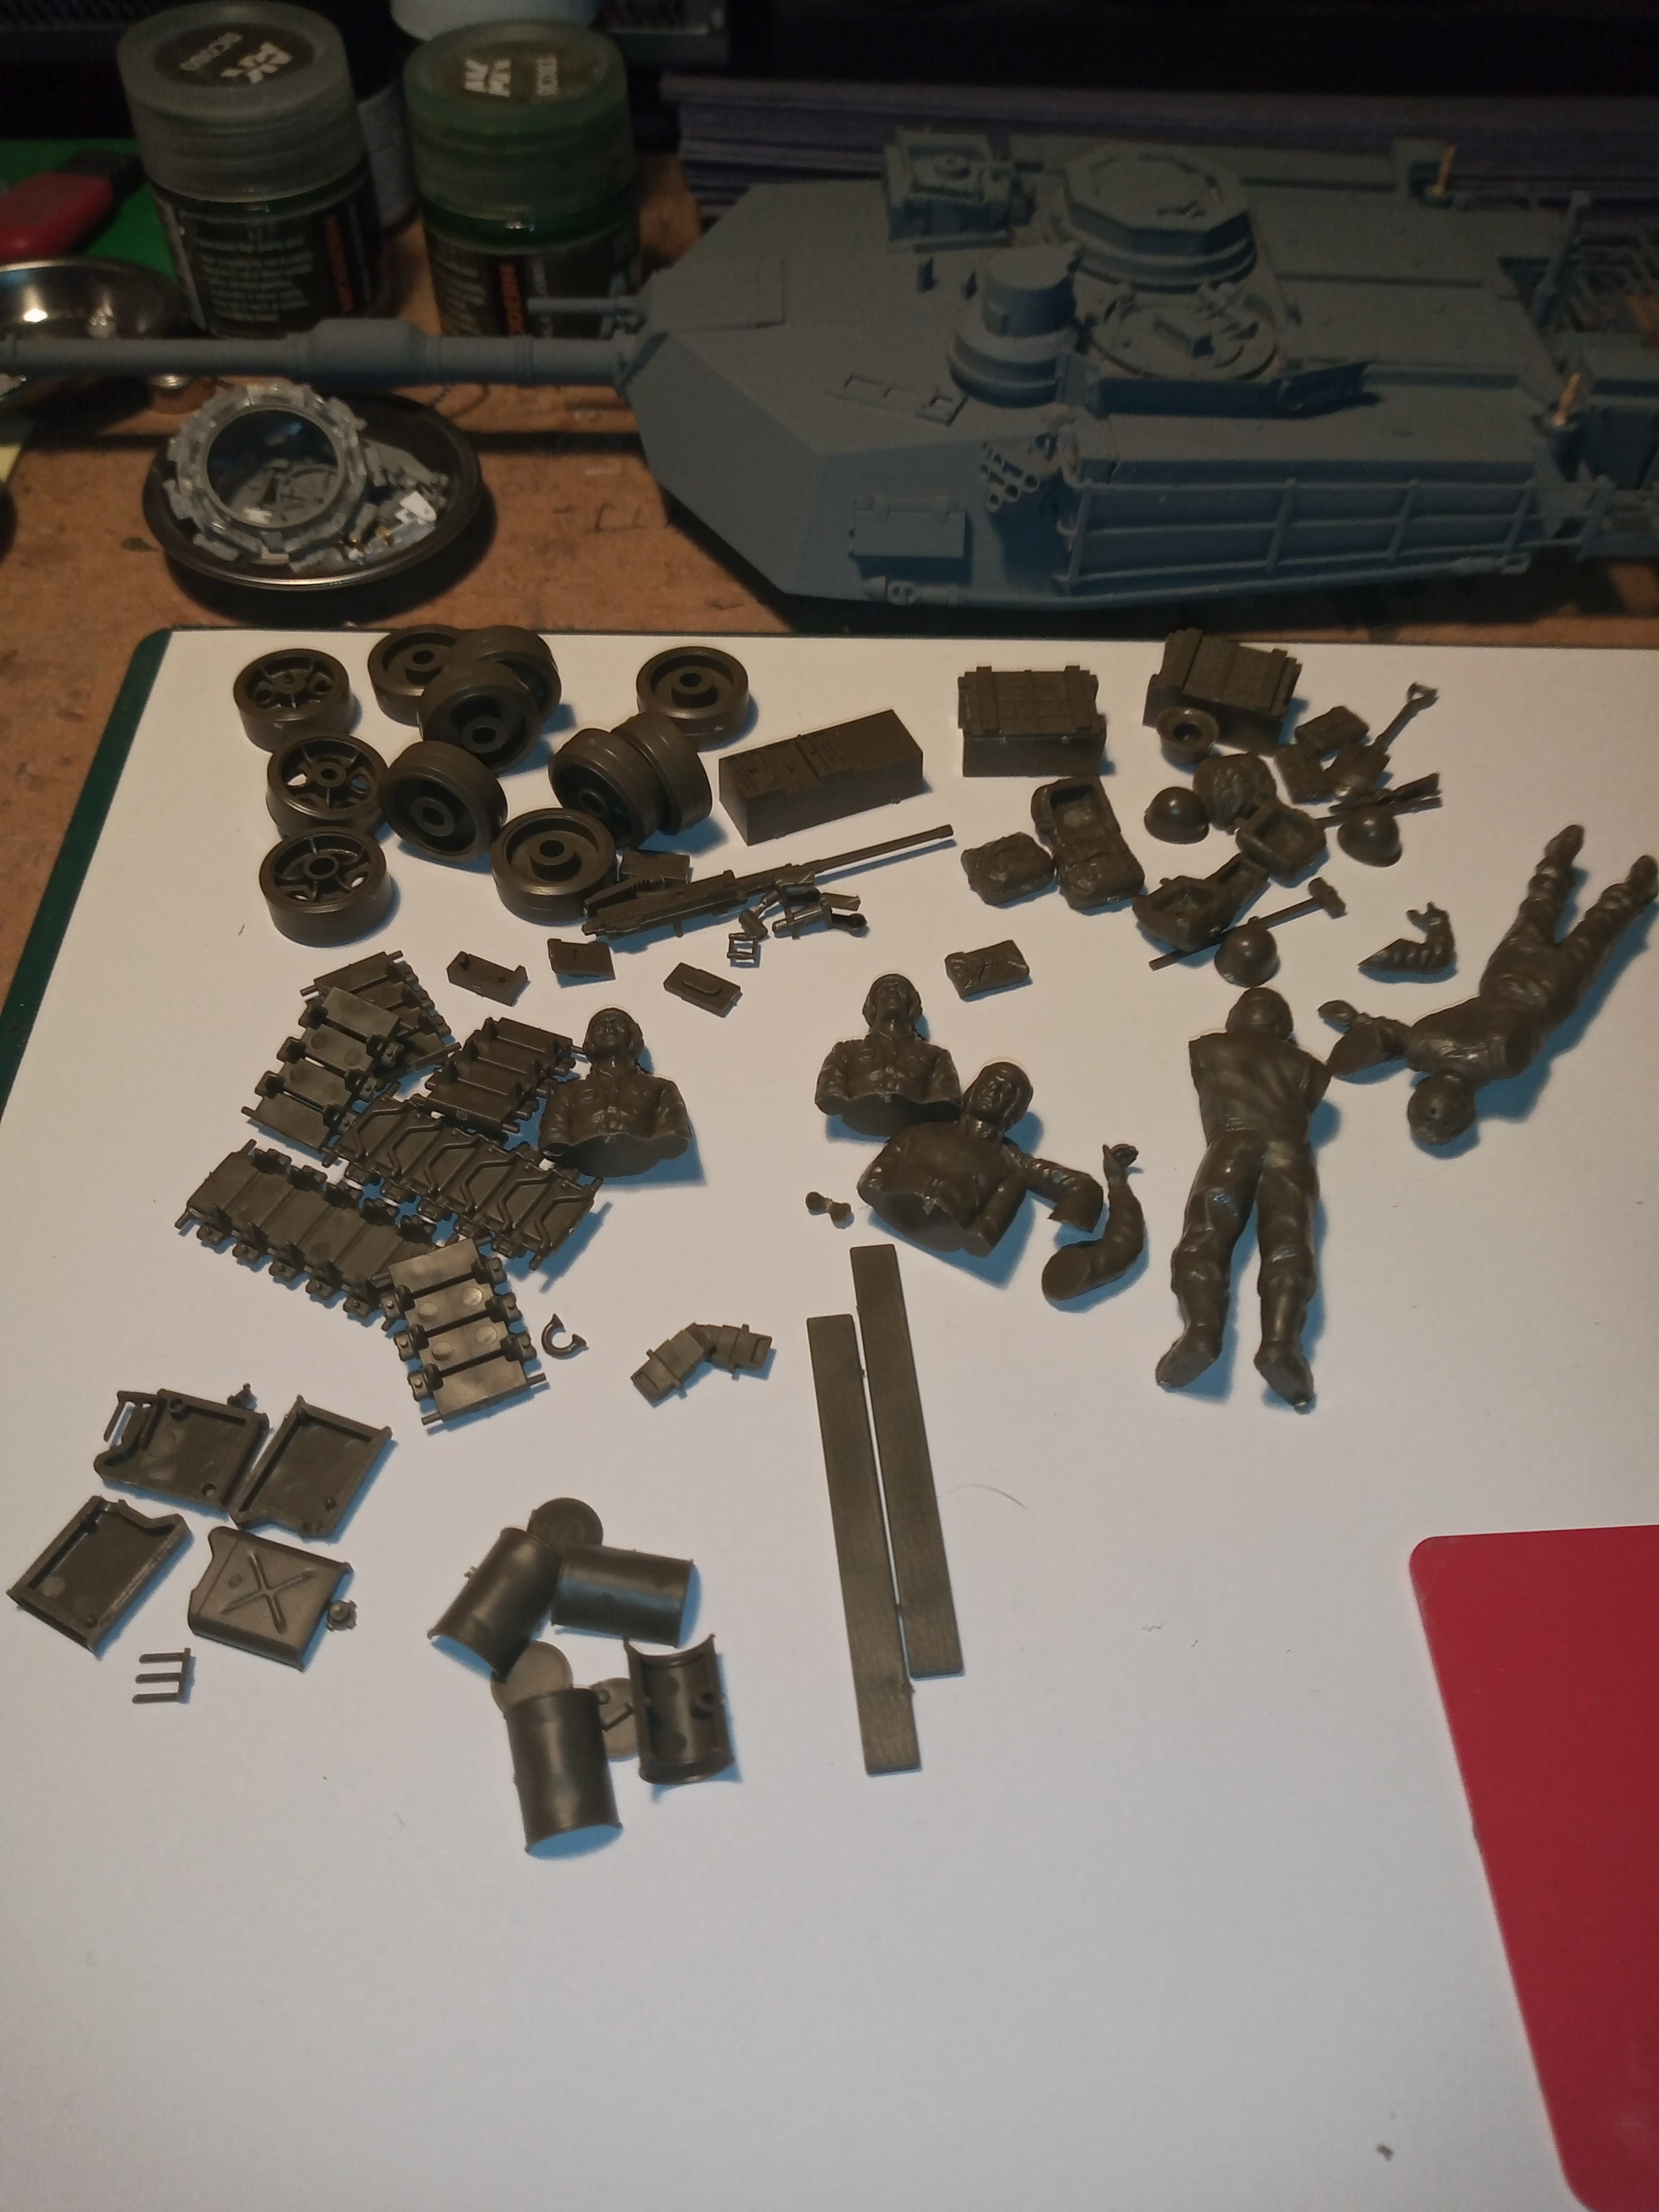
These are the left over usable/spare parts I will be keeping…
This will be the last update for a bit until it’s nearly finished… As looks can be decieving at this stage … Stay tuned ![]()