Thanks for that detailed information. My understanding is that they did not have the Mk III when they took heavy losses at El Alamein. If I understand correctly they received the MK iii to resupply when they were posted in Syria.
2 Likes
Could well be, which is why I assume Dragon produced what they did; I must just add that I’m no Sherman Ninja, nor know that much about the RWY, just that as a Wiltshireman I though I’d wade in(!)
Personally, if it was me I’d depict it in Syria; if nothing else, the markings are notably different - reflecting as they do, the towns and villages and even pubs of Wiltshire, but that’s just me, and God knows my half-built stash is vast.
Anyway, good luck with it all.
3 Likes
Yeah I think I’ve changed plans. I’ll grab an asuka Mk II for this project and keep the Mk III for a later project!
3 Likes
I hasten to add I didn’t mean to suggest you don’t do what you want to do(!)
3 Likes
I didn’t take it that way! I am very far from knowledgeable on Sherman’s and I wanted to be accurate!
4 Likes
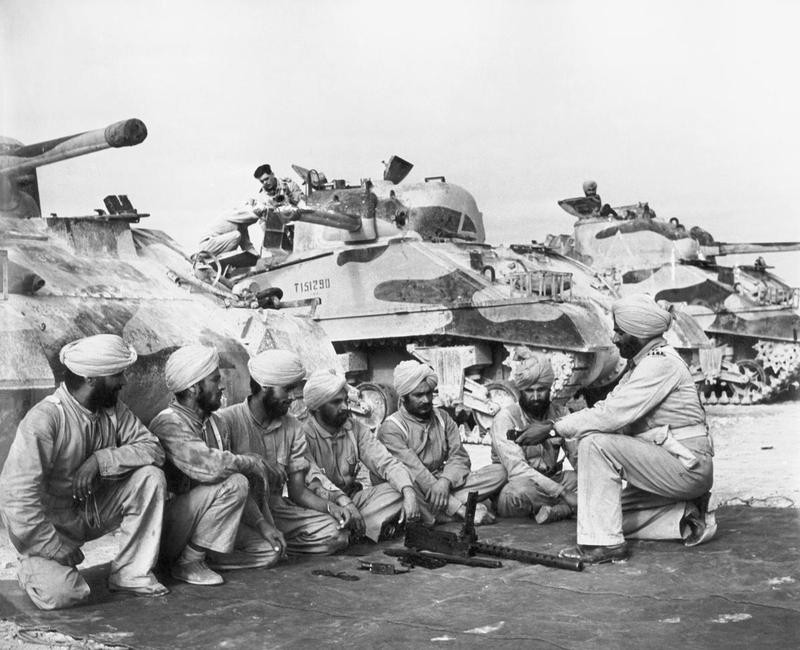
These are Sherman IIIs:
(Source)
The first (left-most) one is a Fisher-produced M4A2 with driver’s periscopes, the second and third have direct vision (DV) flaps, and judging by the antenna mount, the second one at least is also a Fisher tank; I can’t see it on the third well enough to tell. The second tank is much the same configuration as the Sherman I’m building, the third is earlier (it has return rollers on top of the bogies instead of behind them), while the first tank is of later production than the other two.
Interestingly, I’ve just been browsing the IWM’s collection for photos from Tunisia, 1943 and almost every welded-hull Sherman in the photos has DV flaps. This is the only exception I saw on a quick look:
 THE BRITISH ARMY IN TUNISIA 1943 Image: IWM (NA 1574)
But it’s not clear to me if this is a Sherman III or Sherman I.
Be sure to get one of the kits that say they’re “direct vision type”. That would be suitable from El Alamein onward, if you add the British additions to it anyway.
4 Likes
I have seen photos of this type of Sherman III in the 1943 portions of the North Africa Campaign in Tunisia. You would need to get new decals, but the basic kit should be good.
2 Likes
5 Likes
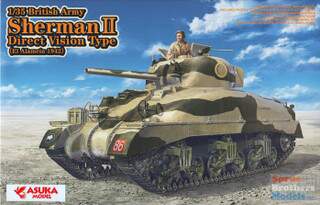
I really dig the way you’ve attached the satchels to the rails on the turret. did you drill through them? Curious to know how you set that up!
Cheers!
J
2 Likes
Thanks Yo! I added the packs by thinning them out with a grinding bit on my Dremel first, then using a razor saw to cut along the pack flap border is. Then I filled the back hollow area with putty, pushed the packs into place, and used a toothpick to push the putty around the back of the railing. It isn’t perfect, but does look decent enough.
1 Like
It looks great. I’m definitely going to have to give that a try!
Really looking forward to seeing this one complete.
J
2 Likes
That is exactly the kit that’s in my cart!
3 Likes
I forgot about that one this morning, I was only thinking of their American M4A1s, which would need the British-specific gear added. This kit already includes everything, and would make an ideal North Africa Sherman II, if you ask me.
3 Likes
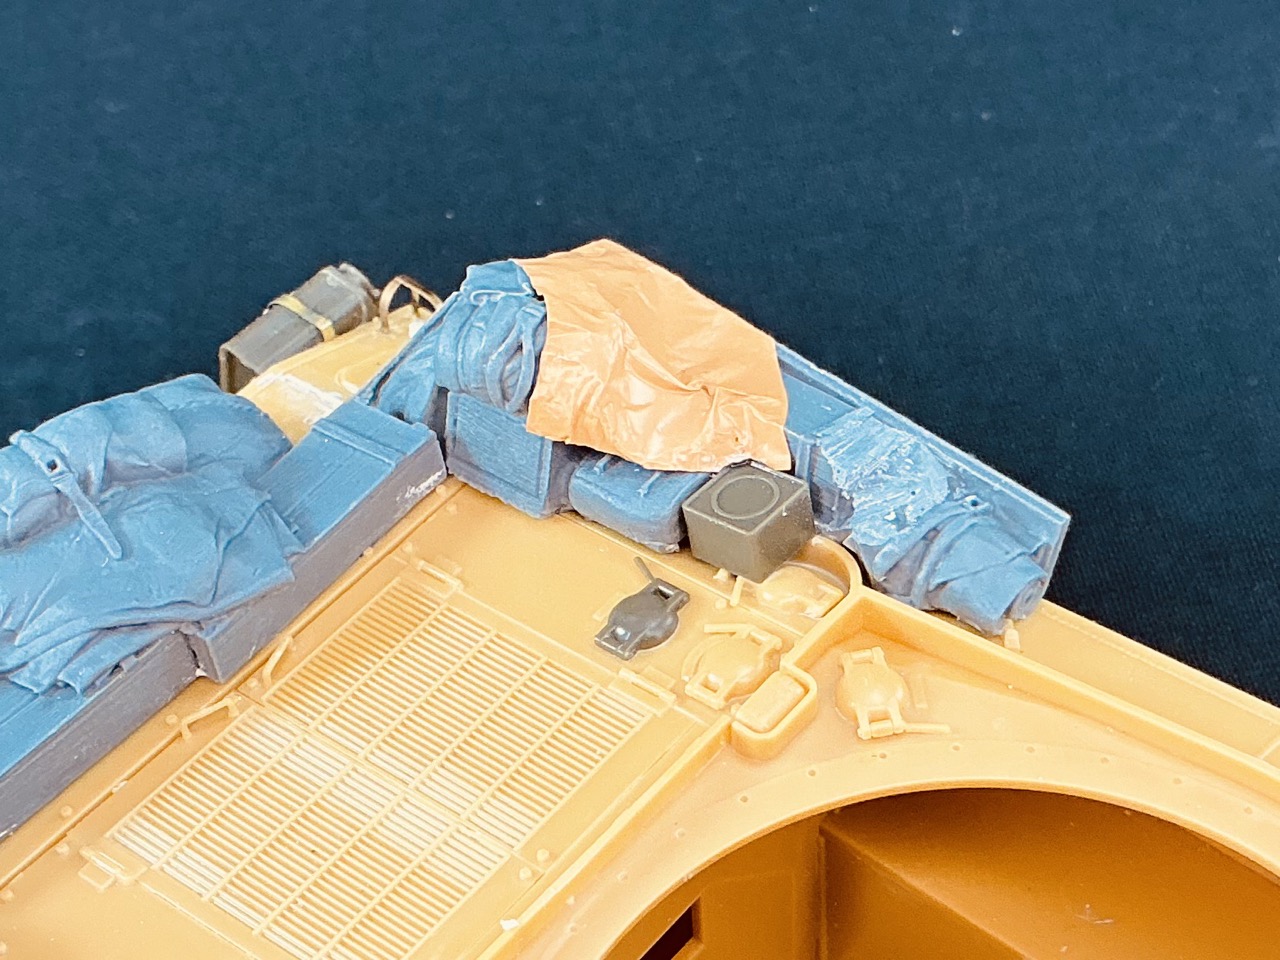
For a while now I had been unhappy with the left rear stowage rack. It held two helmets and a jerrycan. Who puts helmets and a jerrycan into a stowage rack? My modelling saw made short work of them:
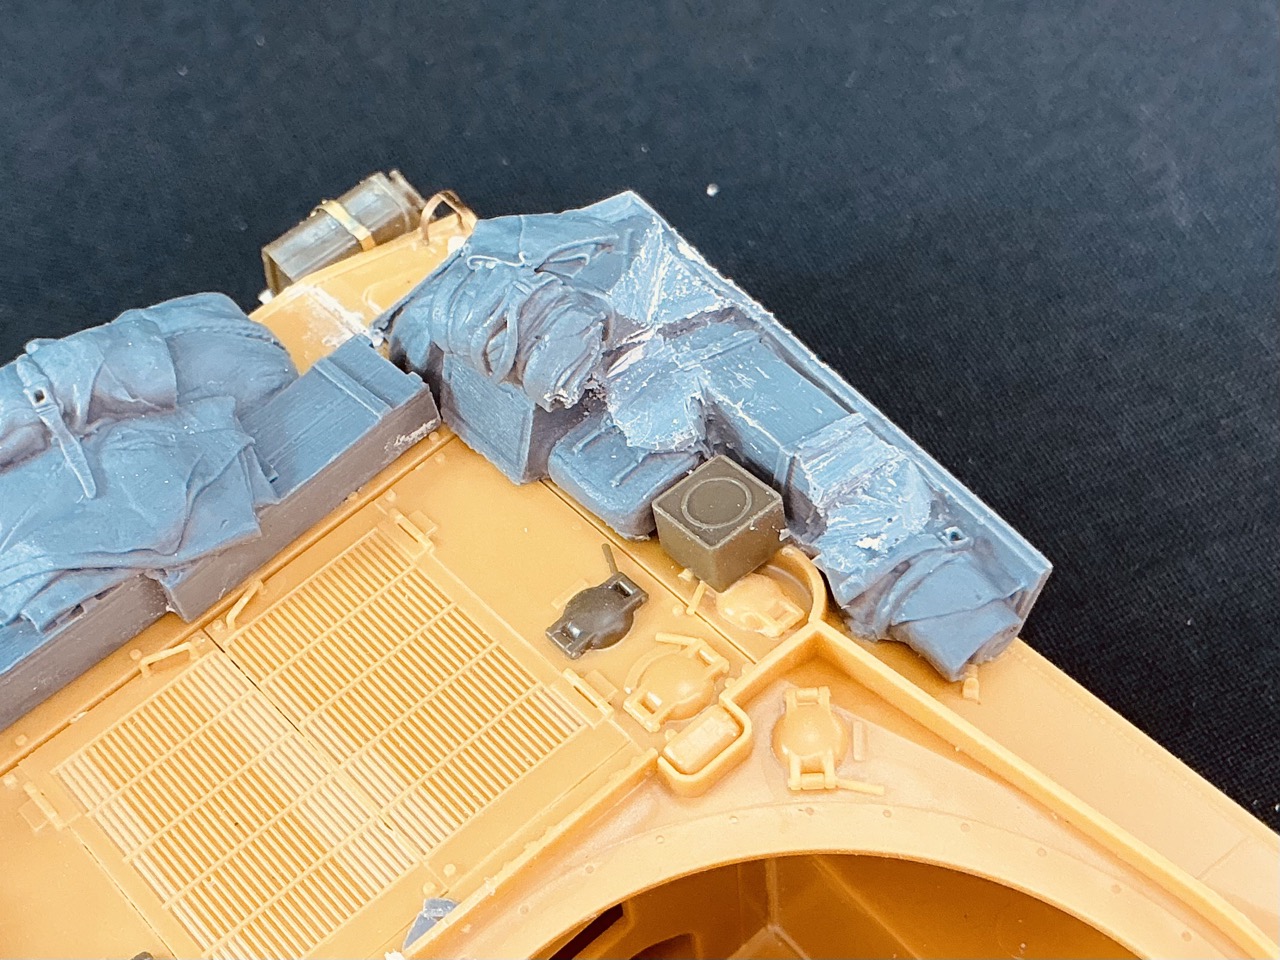
When I took this photo, I had already carved what remained of the front helmet into something that can pass for folded cloth or similar, but the rest is harder to transform into more plausible items, and also to remove completely to allow other items to be glued in their place. But this afternoon I got an idea when I was eating a biscuit-chocolate-bar-thing:
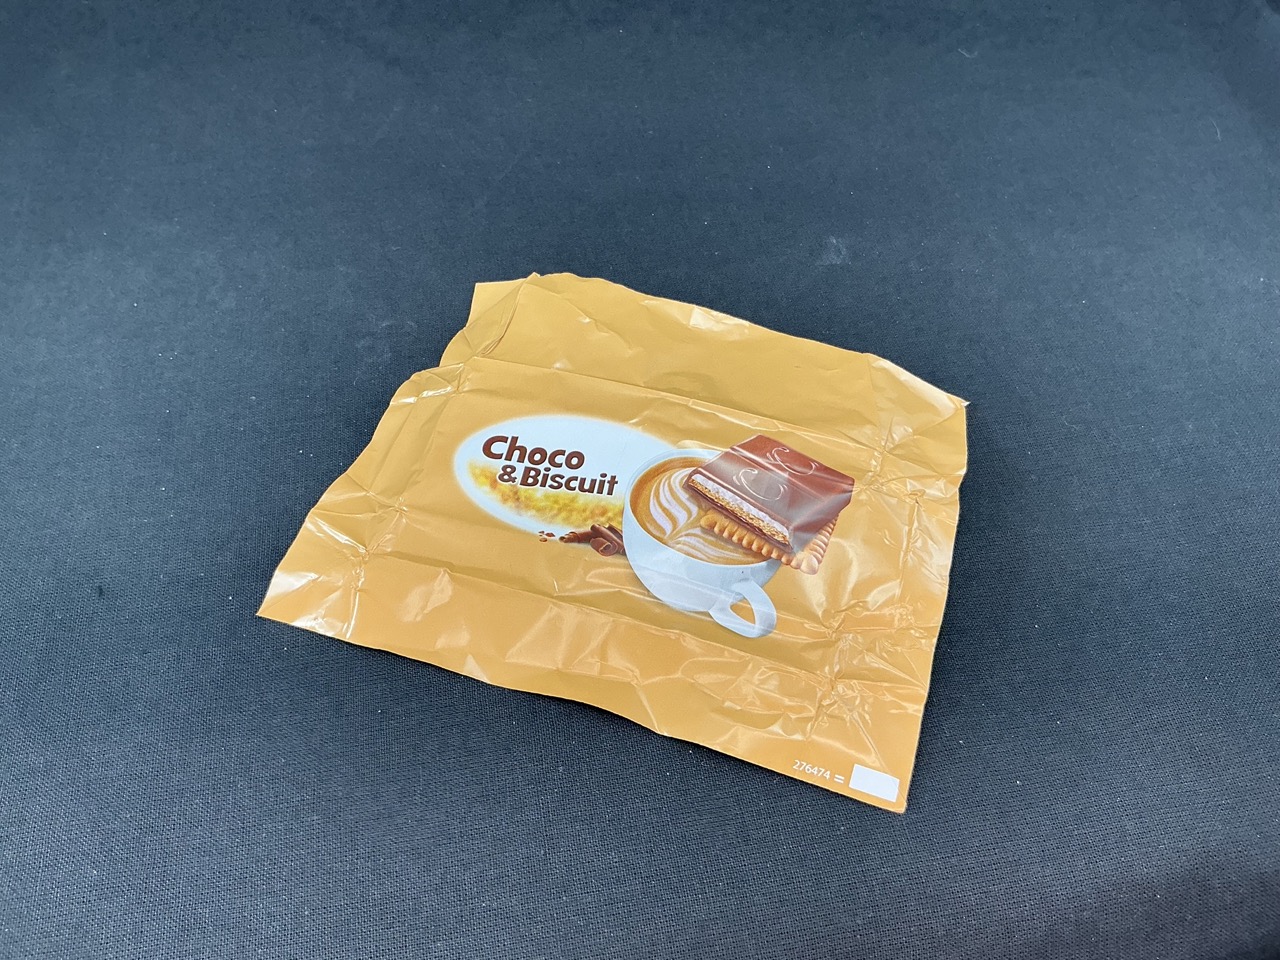
These Aldi bars are in a wrapper of aluminium foil that’s clearly thicker than the kitchen kind, so:
Also, I built a commander to go in the turret:
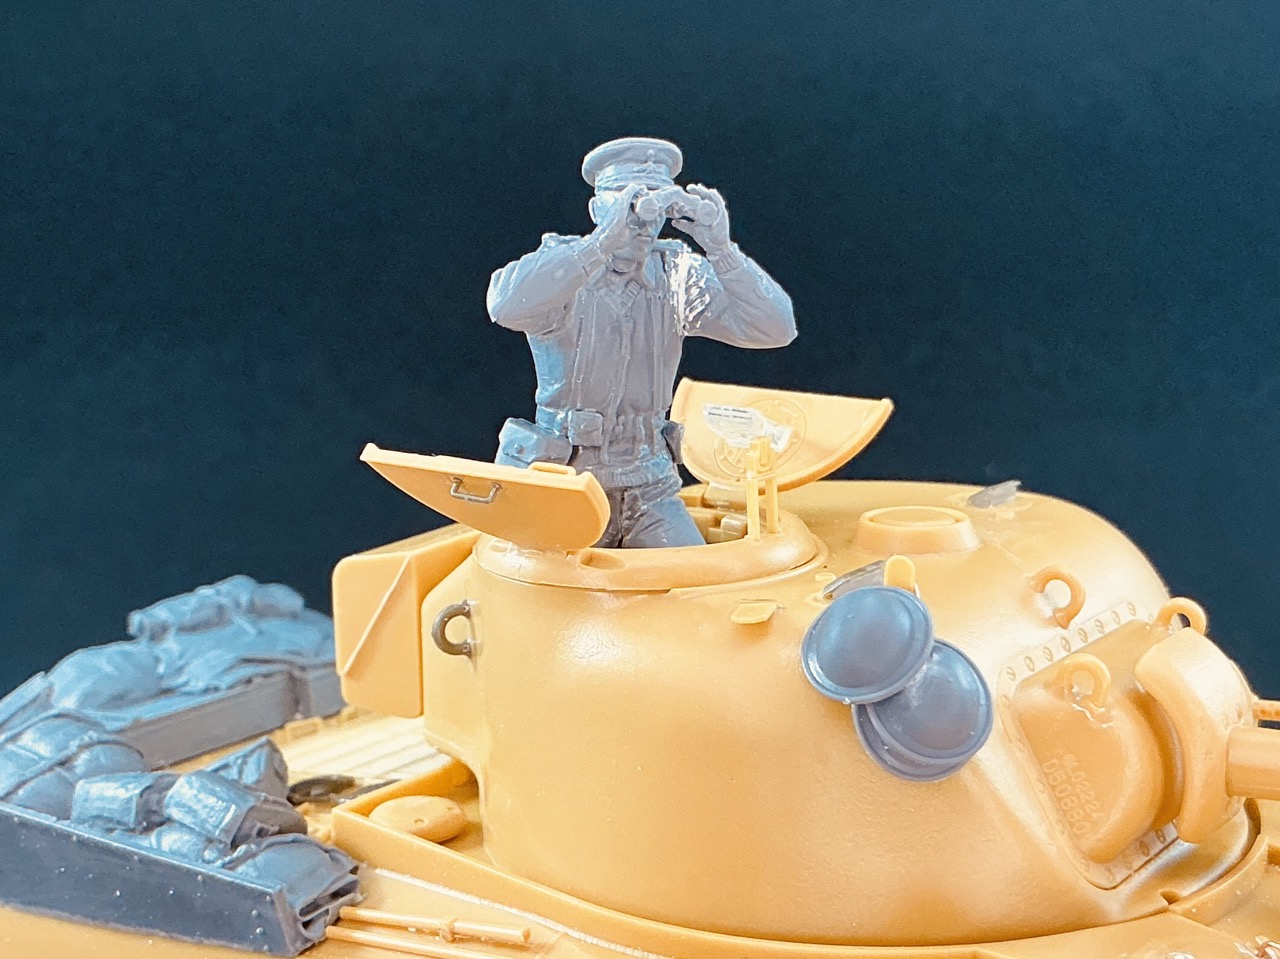
He’s from the MiniArt set of British armoured car crew, and picked because the real Churchill’s commander was also wearing an officer’s cap ![]() He has a pin in his foot, that goes into a piece of drilled-out sprue glued to the support for the seat:
He has a pin in his foot, that goes into a piece of drilled-out sprue glued to the support for the seat:

As you can see, I did have to amputate one of his legs before he fit. Because he stands with his feet apart, they wouldn’t fit through the hatch, and as he also has his arms wide, he couldn’t go through from underneath either.
8 Likes
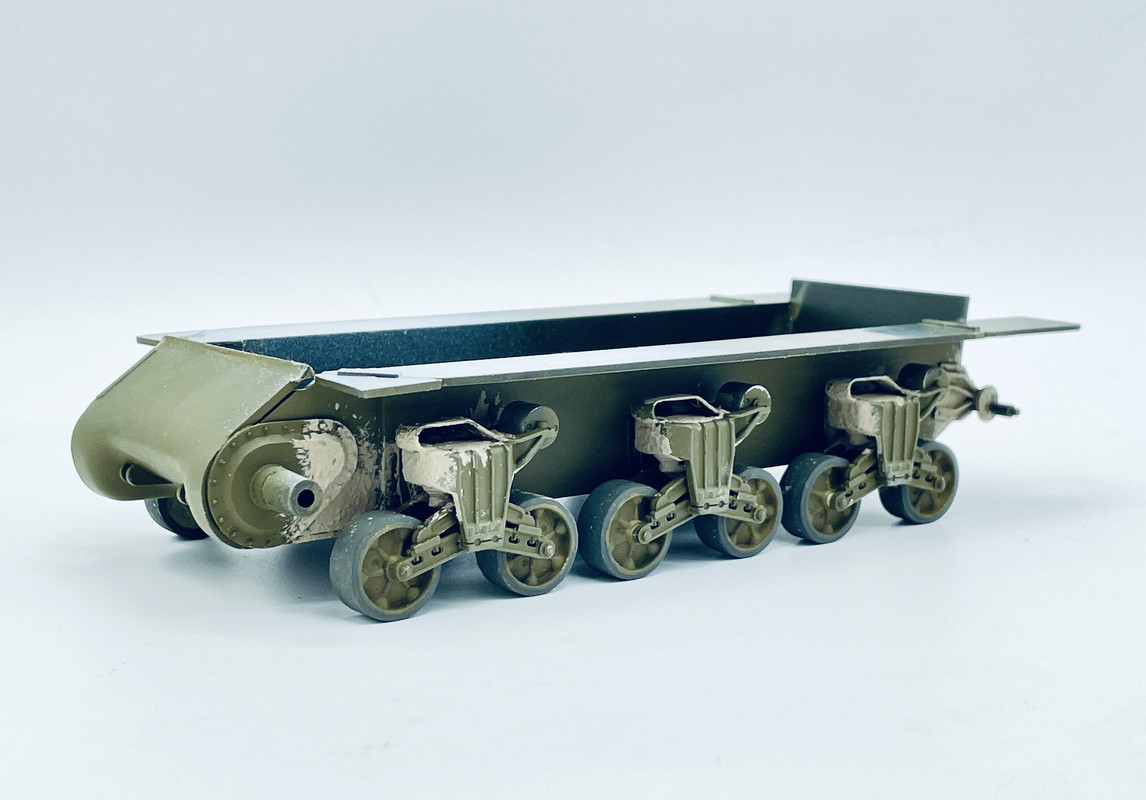
Well, I guess that I neglected to add my last update on progress on this one. While I was working on the suspension for my Easy 8, I also added the suspension onto the hull of this M4A3 as well. I figures that I was using many of the same colors and weathering stuff, so why not?
and then over the past few days, I finished up adding the details onto the interior portions of the main gun. I glued the previously scratch built telescope sight and co-axial .30 cal. into place, as well as scratch building and adding an indirect fire elevation quadrant onto the main gun breech area
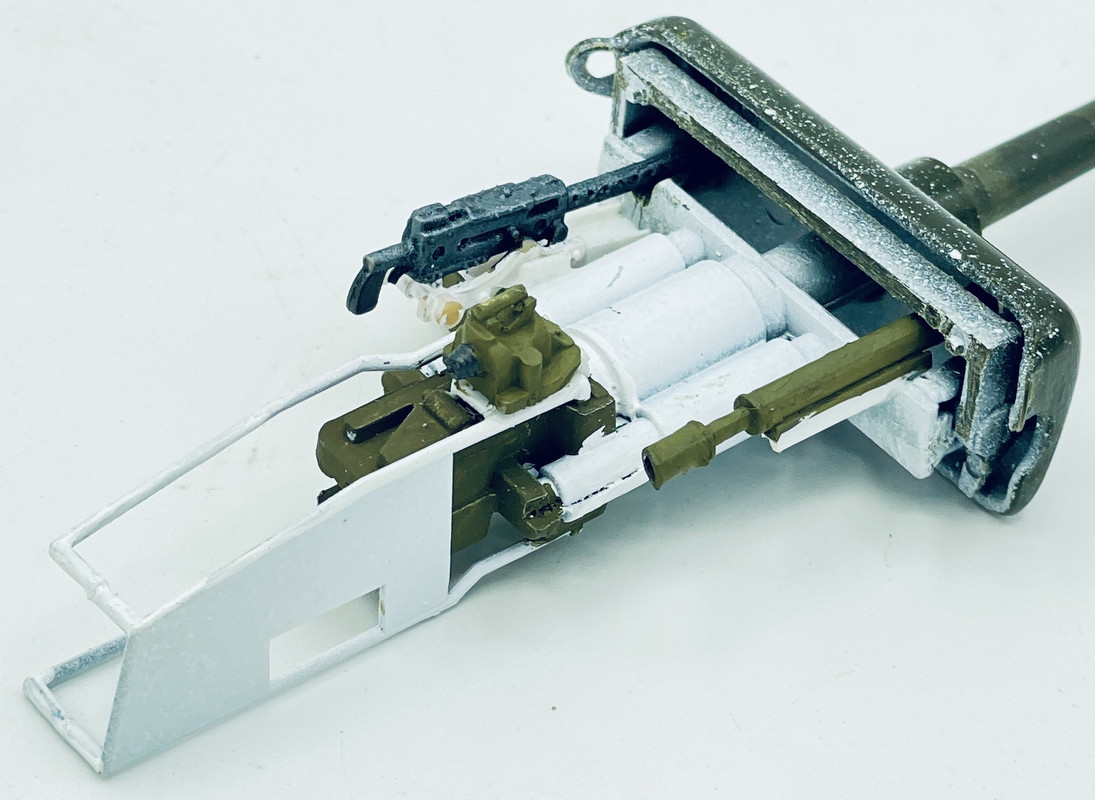
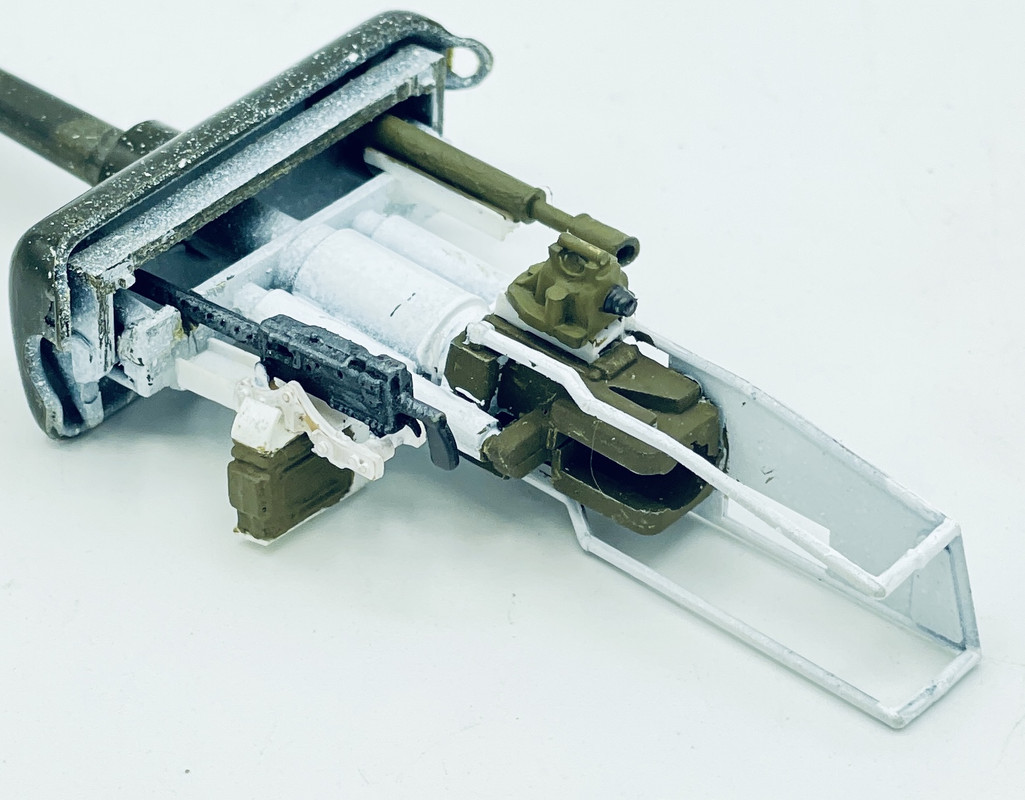
now I need to start working on side wall fittings such as the commander and loader seats, plus some other items… all in good time, no rush on this one.
6 Likes
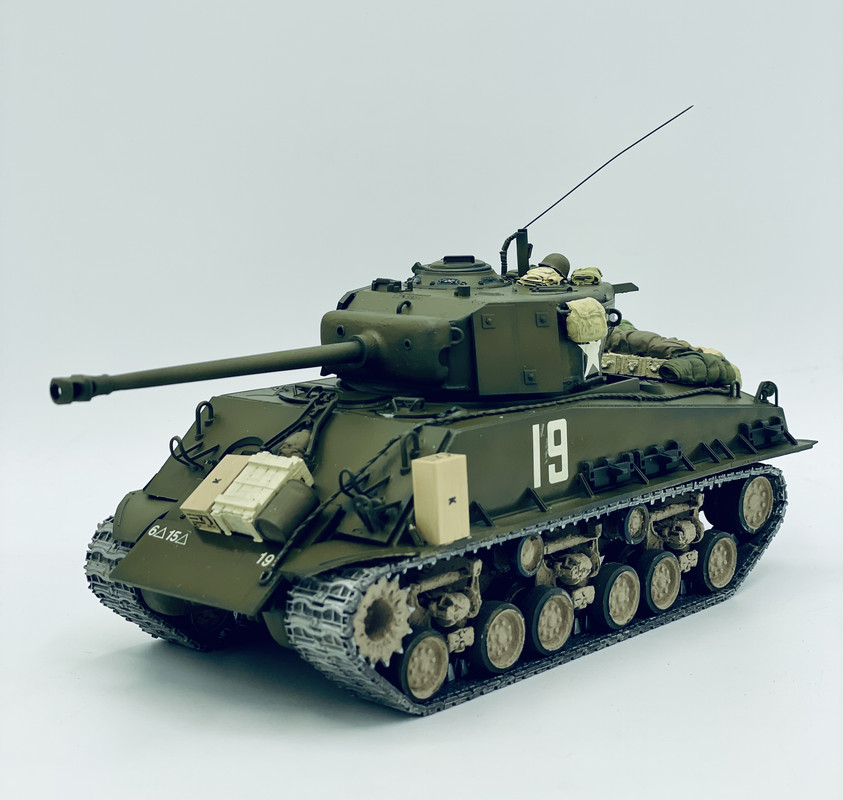
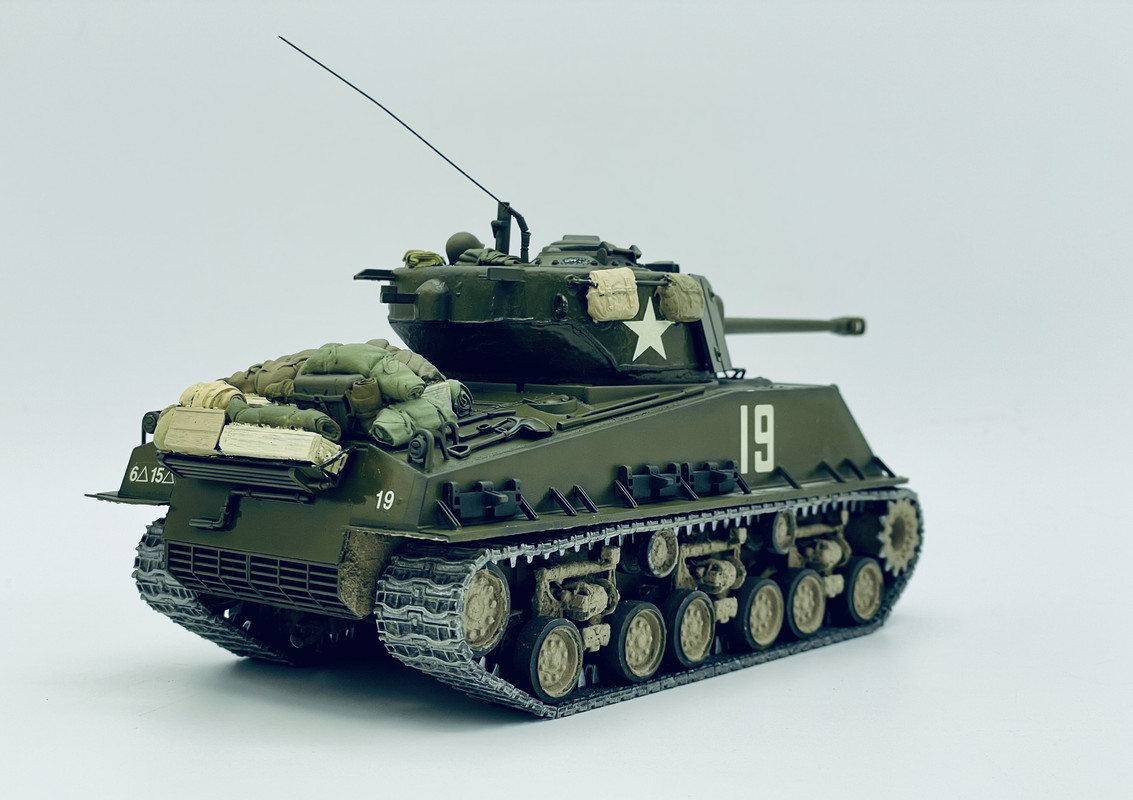
And here we are… markings on!
seriously they are minimal… bumper codes, ID stars and unit “speed number” markings, along with a few decals on the ration crates…
oh yeah… yesterday I primered up the loaders hatch figure
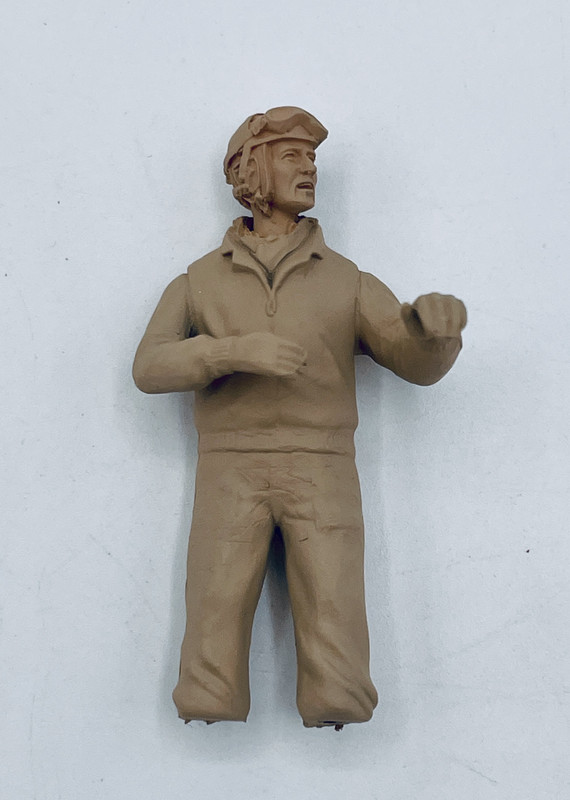
next up is the flat coat, weathering, and figure painting… stay tuned ![]()
10 Likes
Thanks I will join if that’s OK.
1 Like
Excellent ![]()
1 Like
Hi, sorry I’ve come to this a bit late. I’ve clicked ‘going’ and have asked to join so hopefully it’s OK to post some pics of my Sherman Dozer. Based on the Dragon M4A2 MkIII and Resicast Conversion kit.
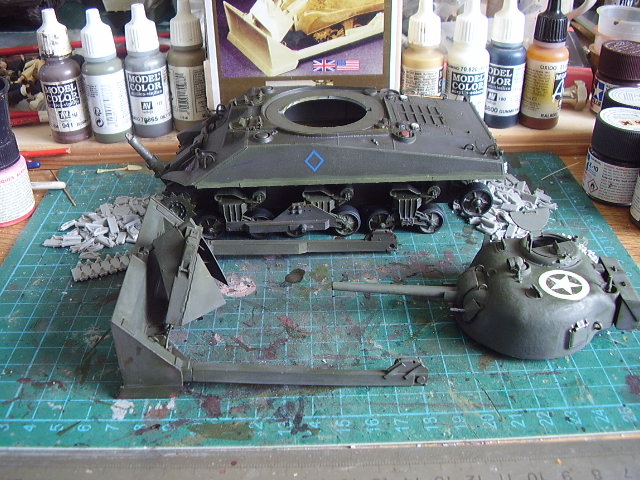

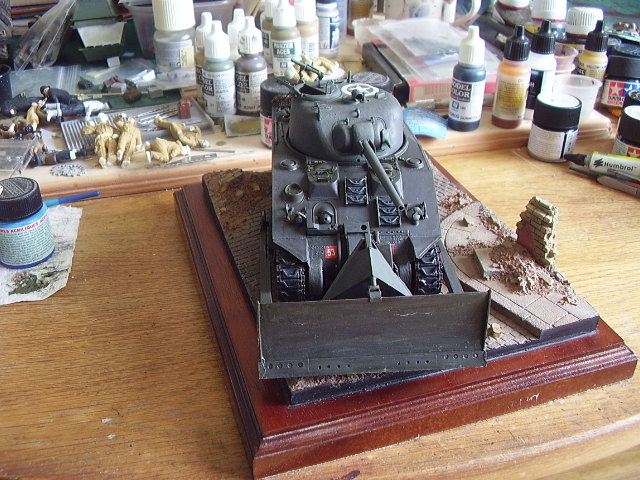
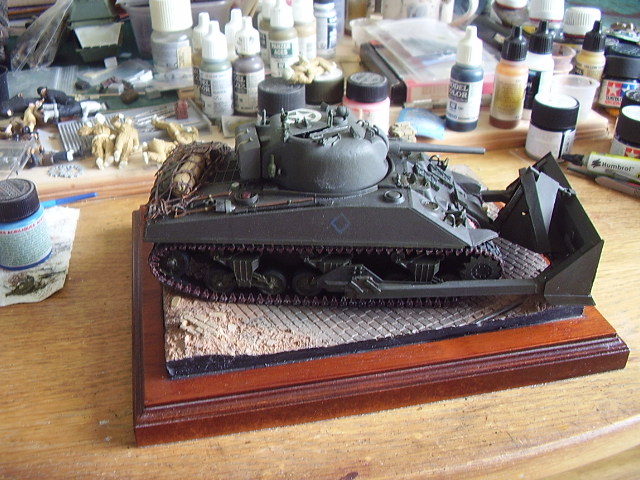
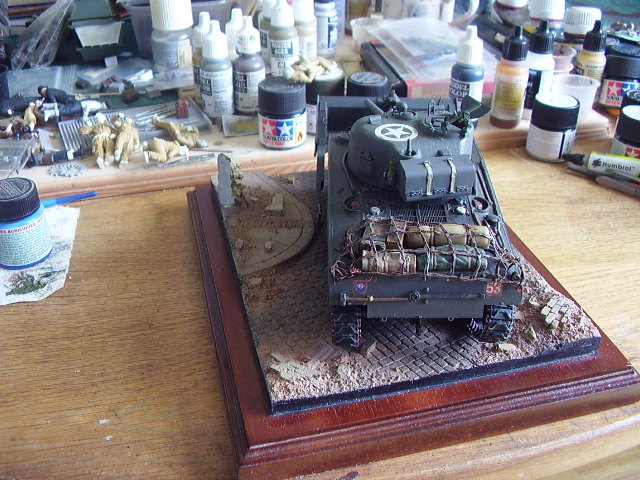
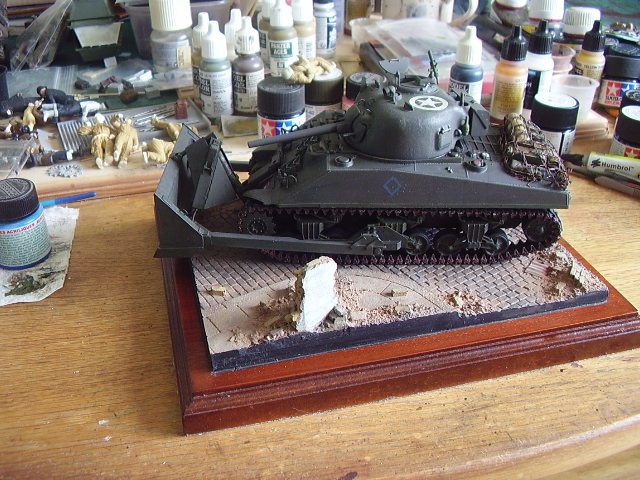
This is how it stands at the moment.
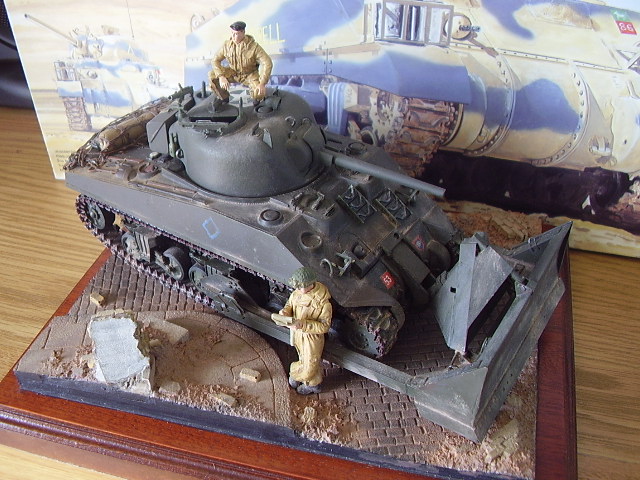

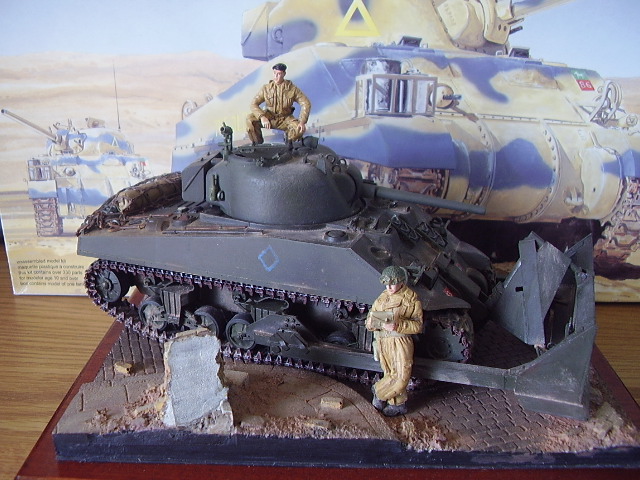
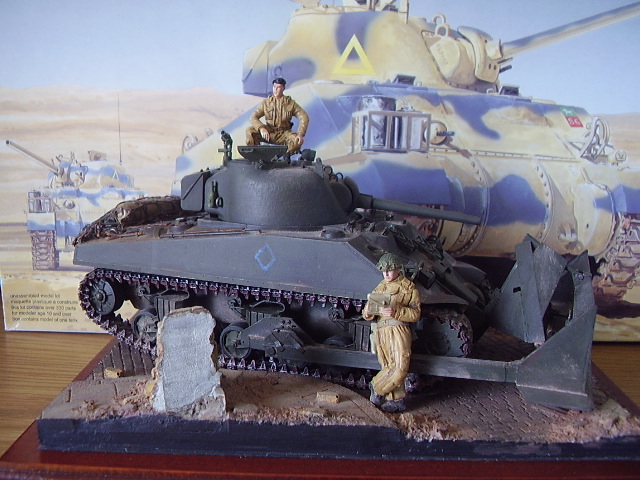
Thanks
8 Likes
I found that the radio antenna sections are color coded for the assembly to the antenna base. Because matching units weren’t available, sections of different lengths were used for the full scope of frequencies on the SCRs. My pics of In The Mood show them: red, yellow, green from bottom to top.
If you need that detail, I’ll link more if I recollect the pics.
3 Likes