
Is there an enemy submarine…?
7 Likes
I was wondering the same thing. You can still see light when looking in the cockpit on my build. Not sure what changed, but I also am thinking of getting another kit and trying again.
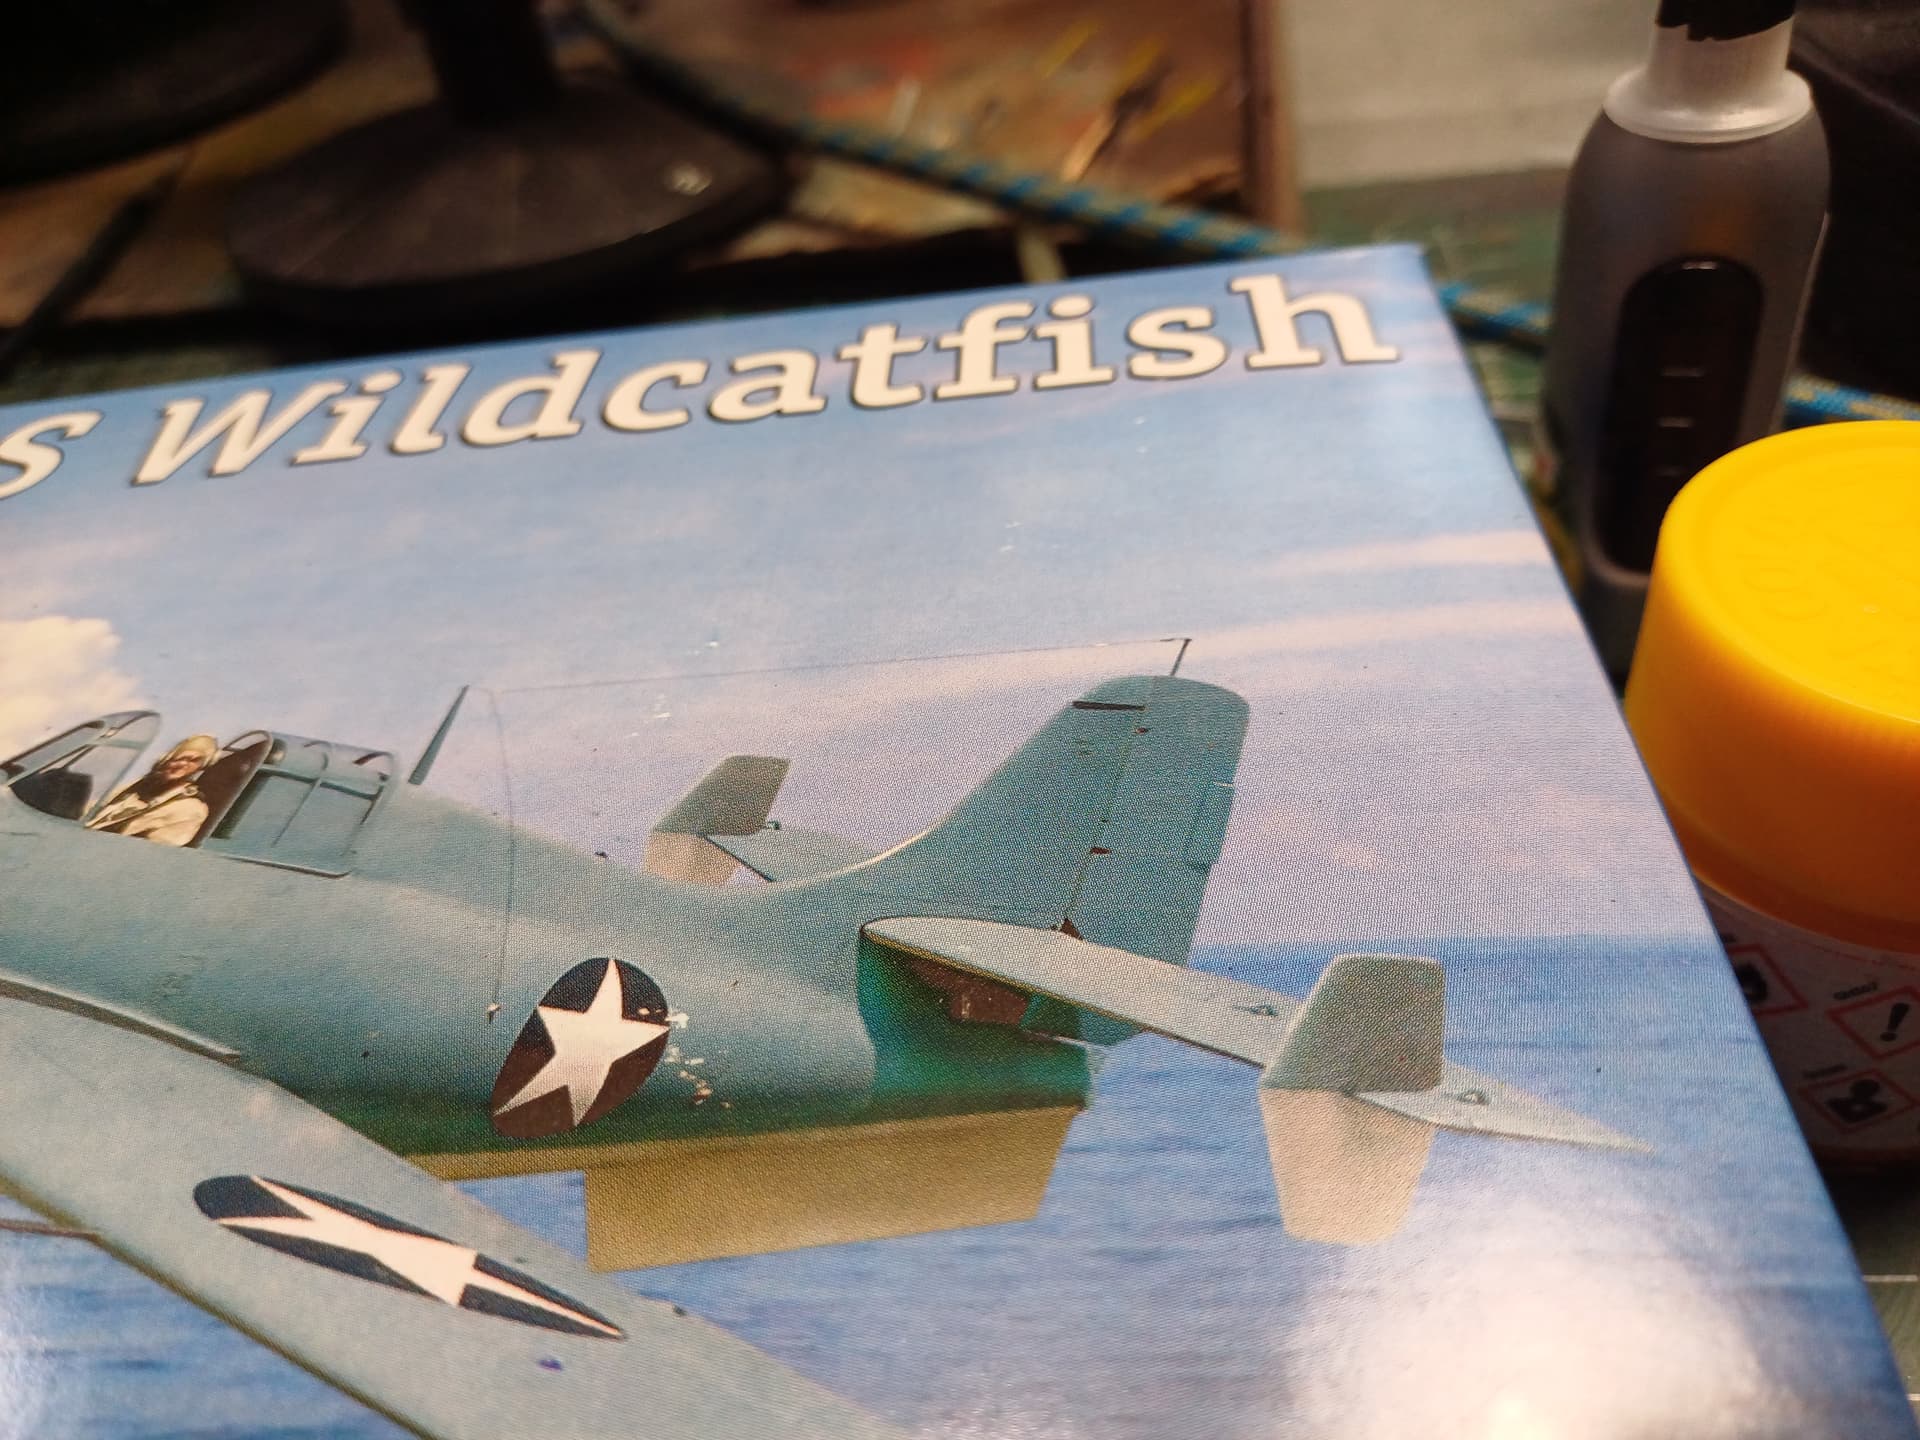
It’s a fun little kit!
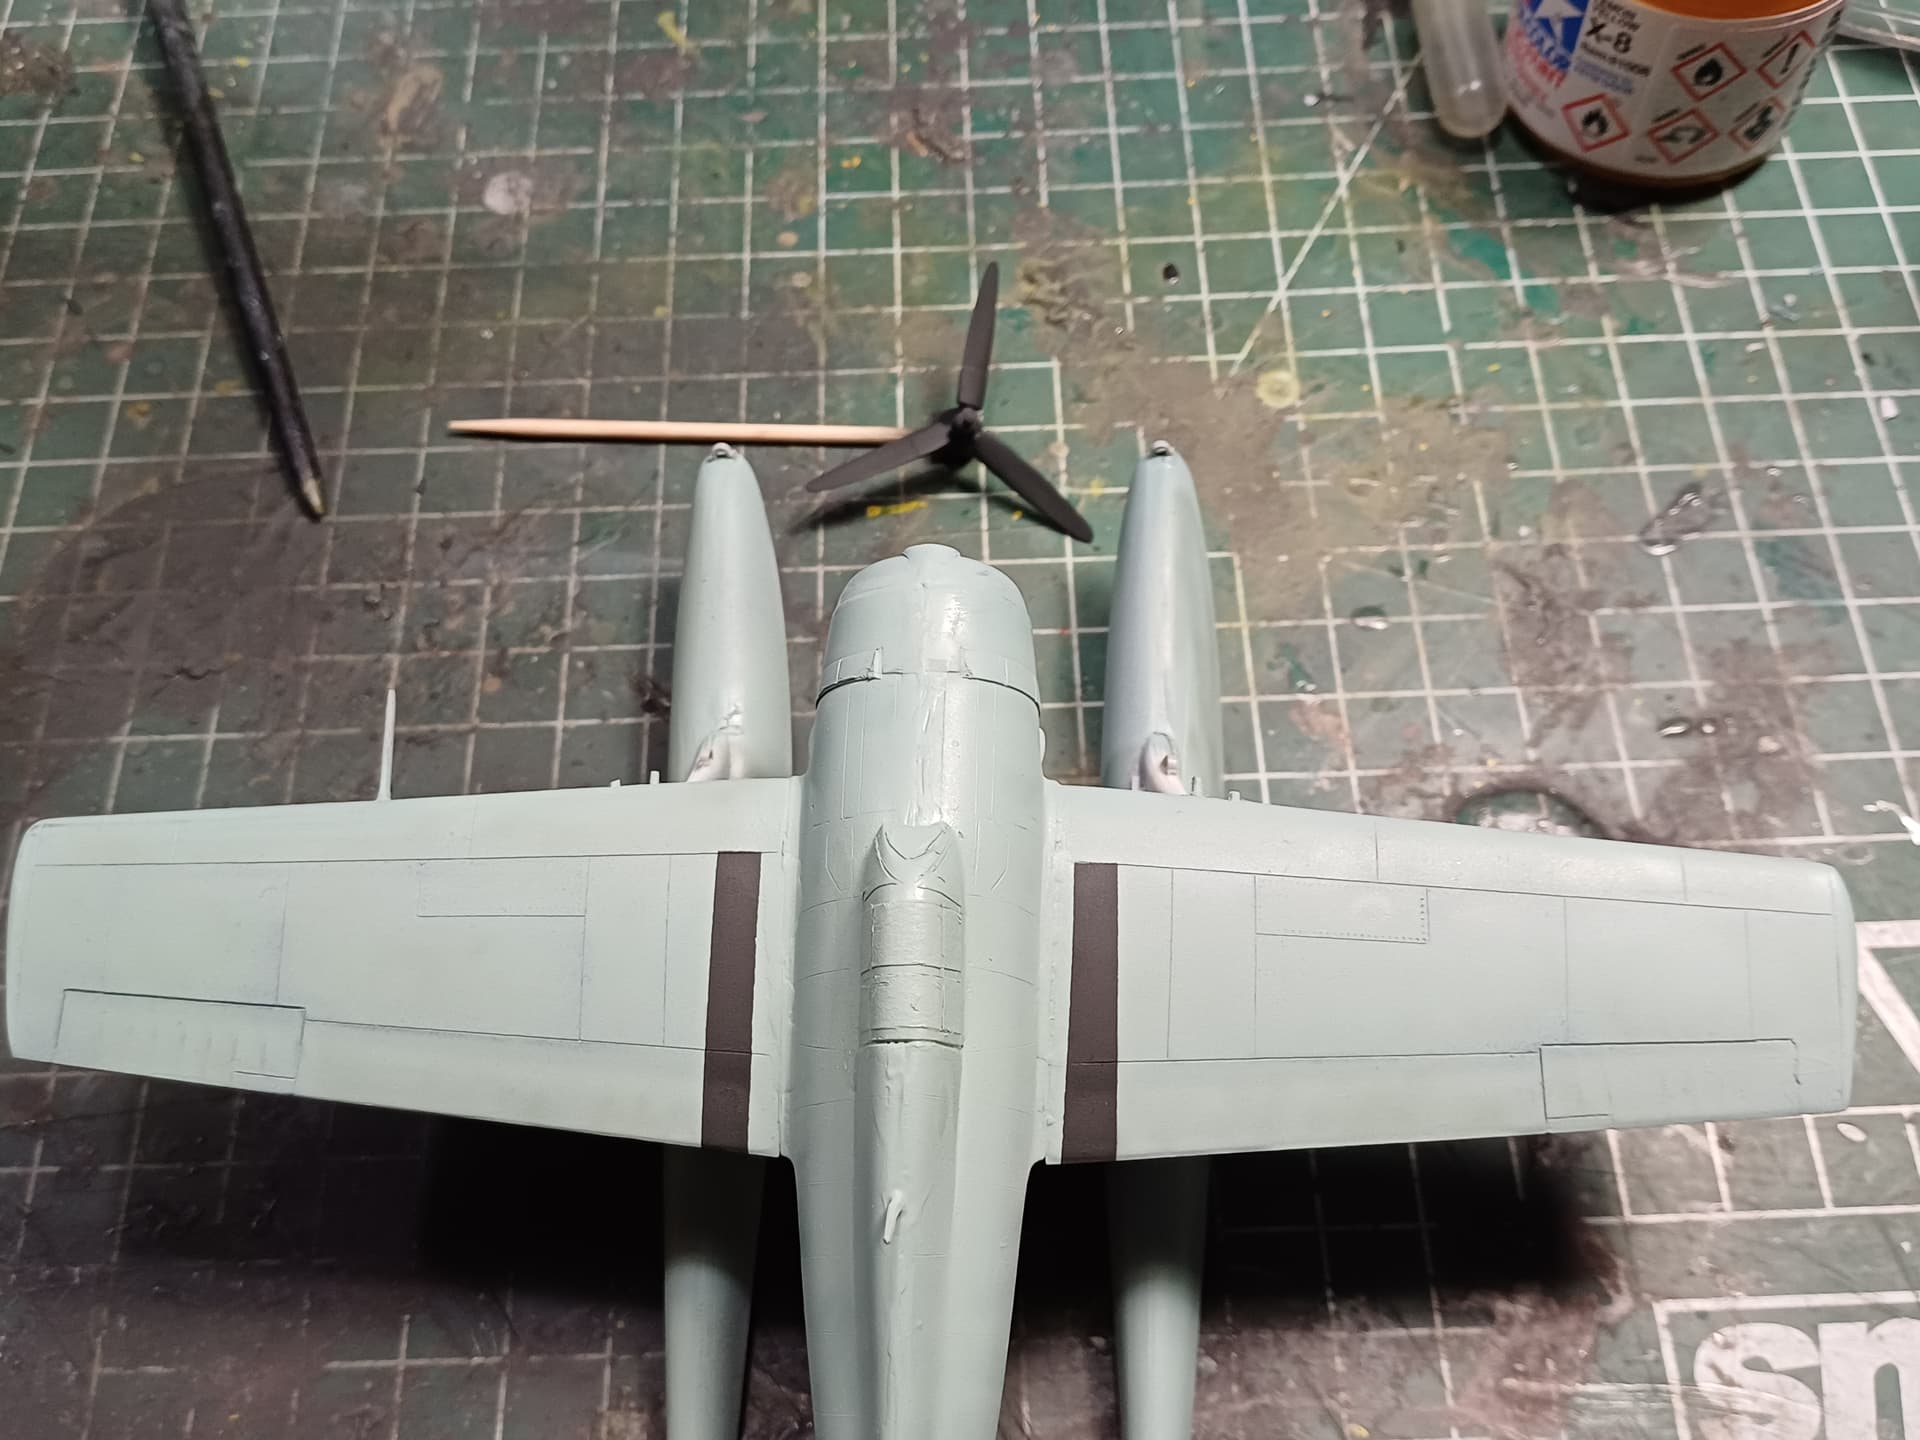
Wings in place and primed, we’re in the short rows now.
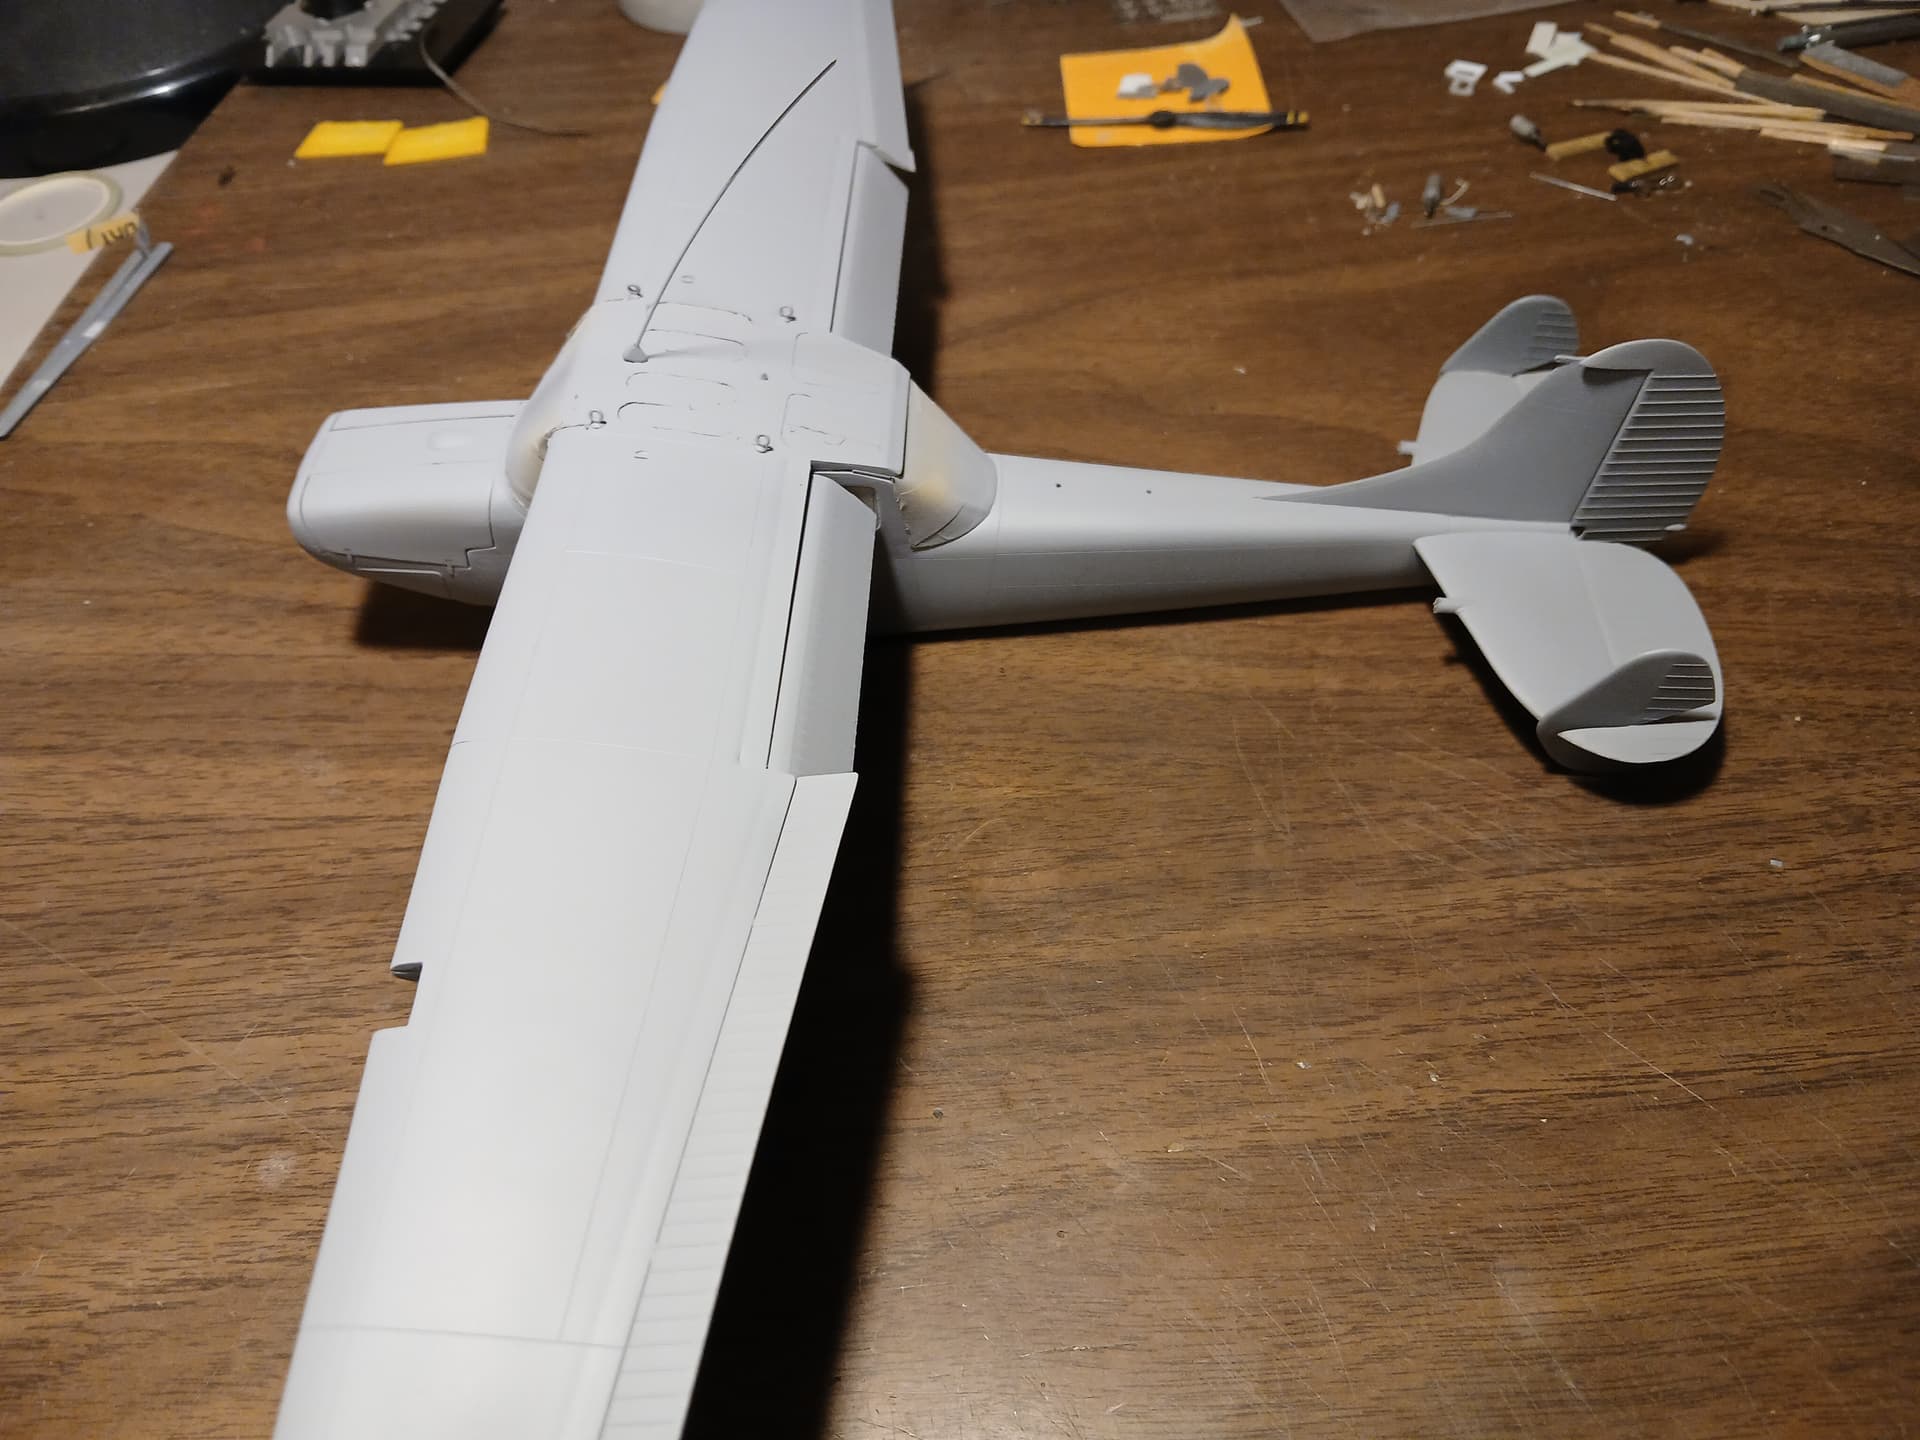
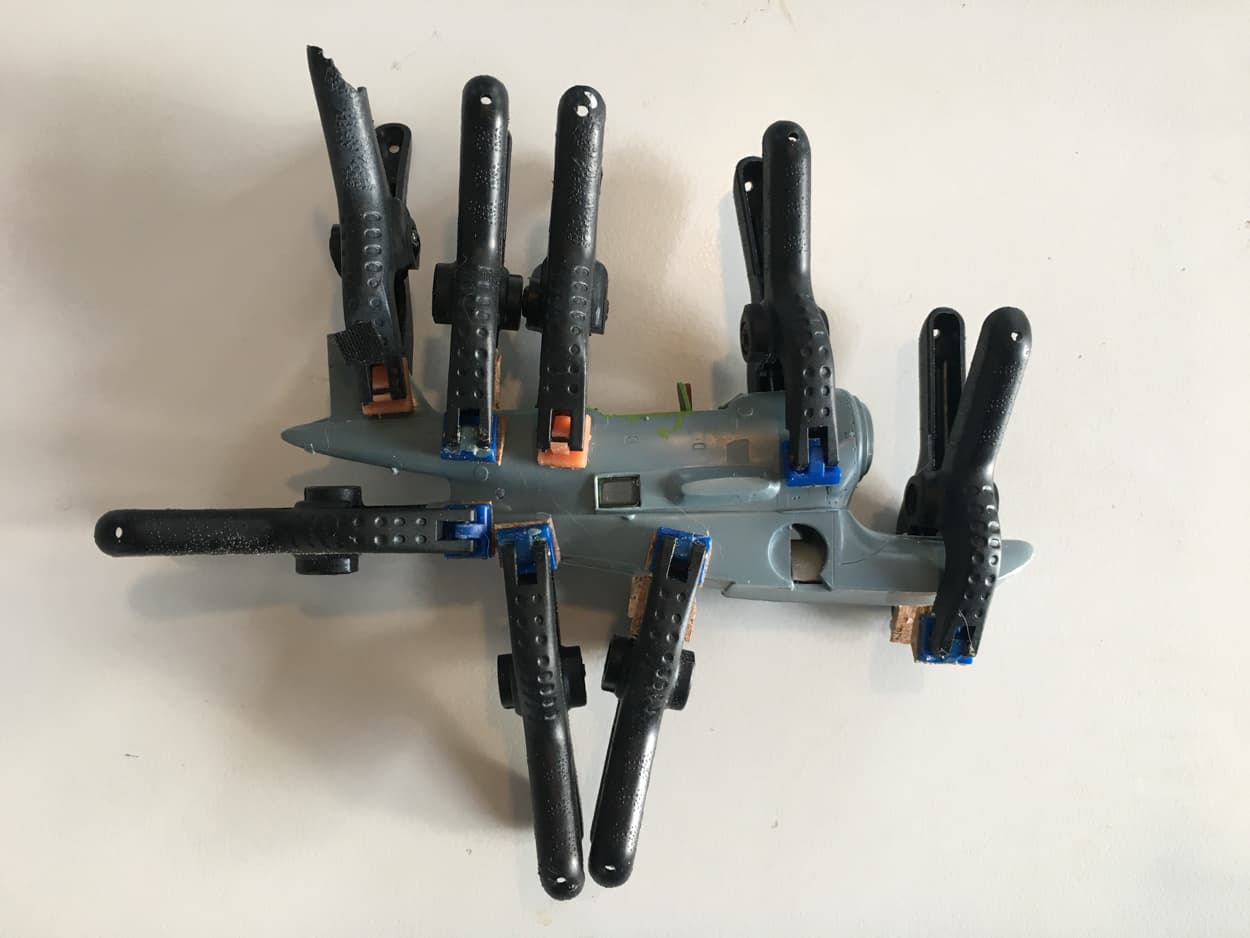
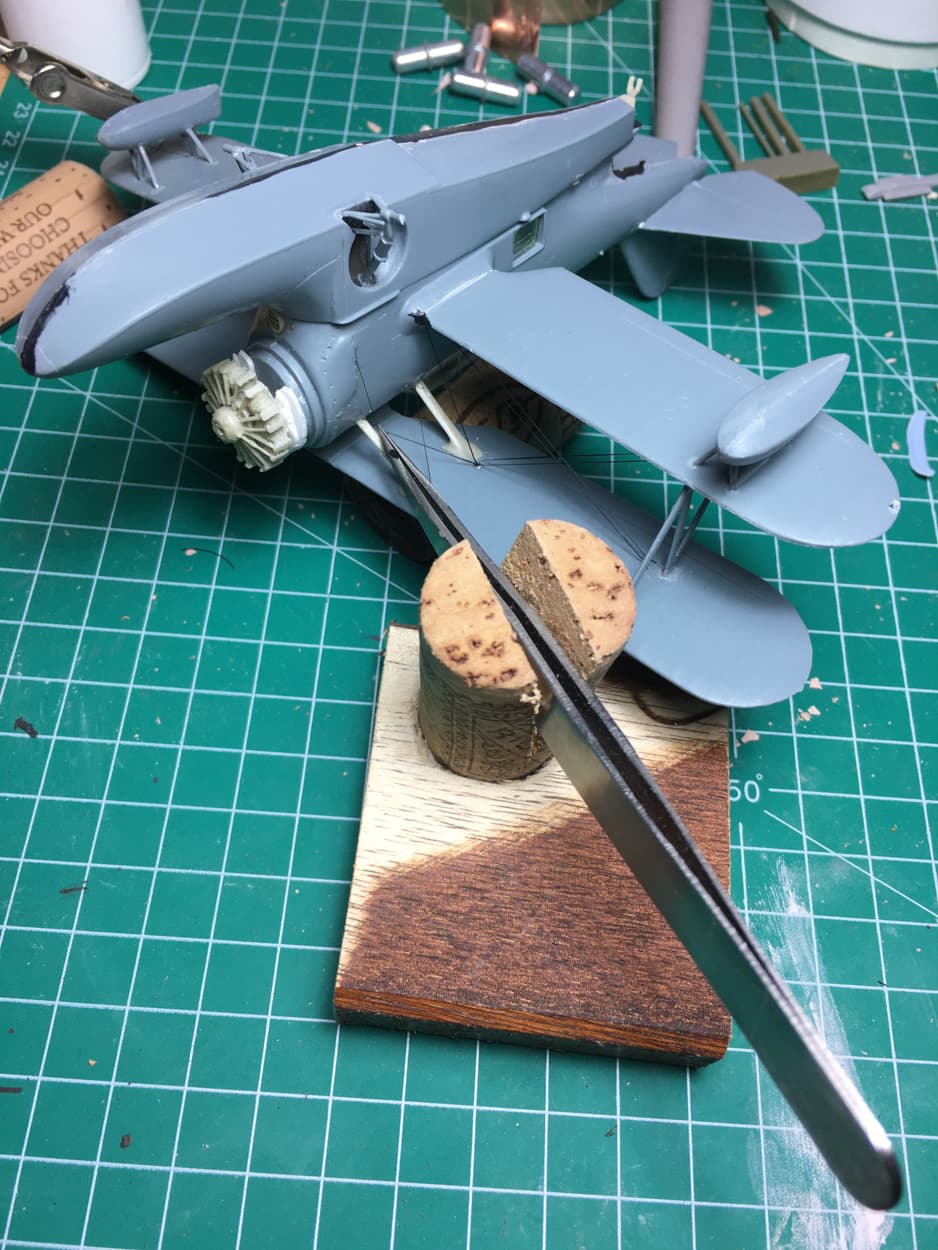
You might recall earlier in this build I mentioned that I started glueing the wing halves together without dry fitting the parts, well I managed to sand out the mis-alignment of the leading and trailing edges but I didn’t consider the join at the wing root, it took a lot of effort to get the wings in place but there’s a nasty little gap at the top of the windscreen and along the cabin’s top port side edge. Ughh, this little plane has been a PIA from the get-go.
Cajun ![]()
8 Likes
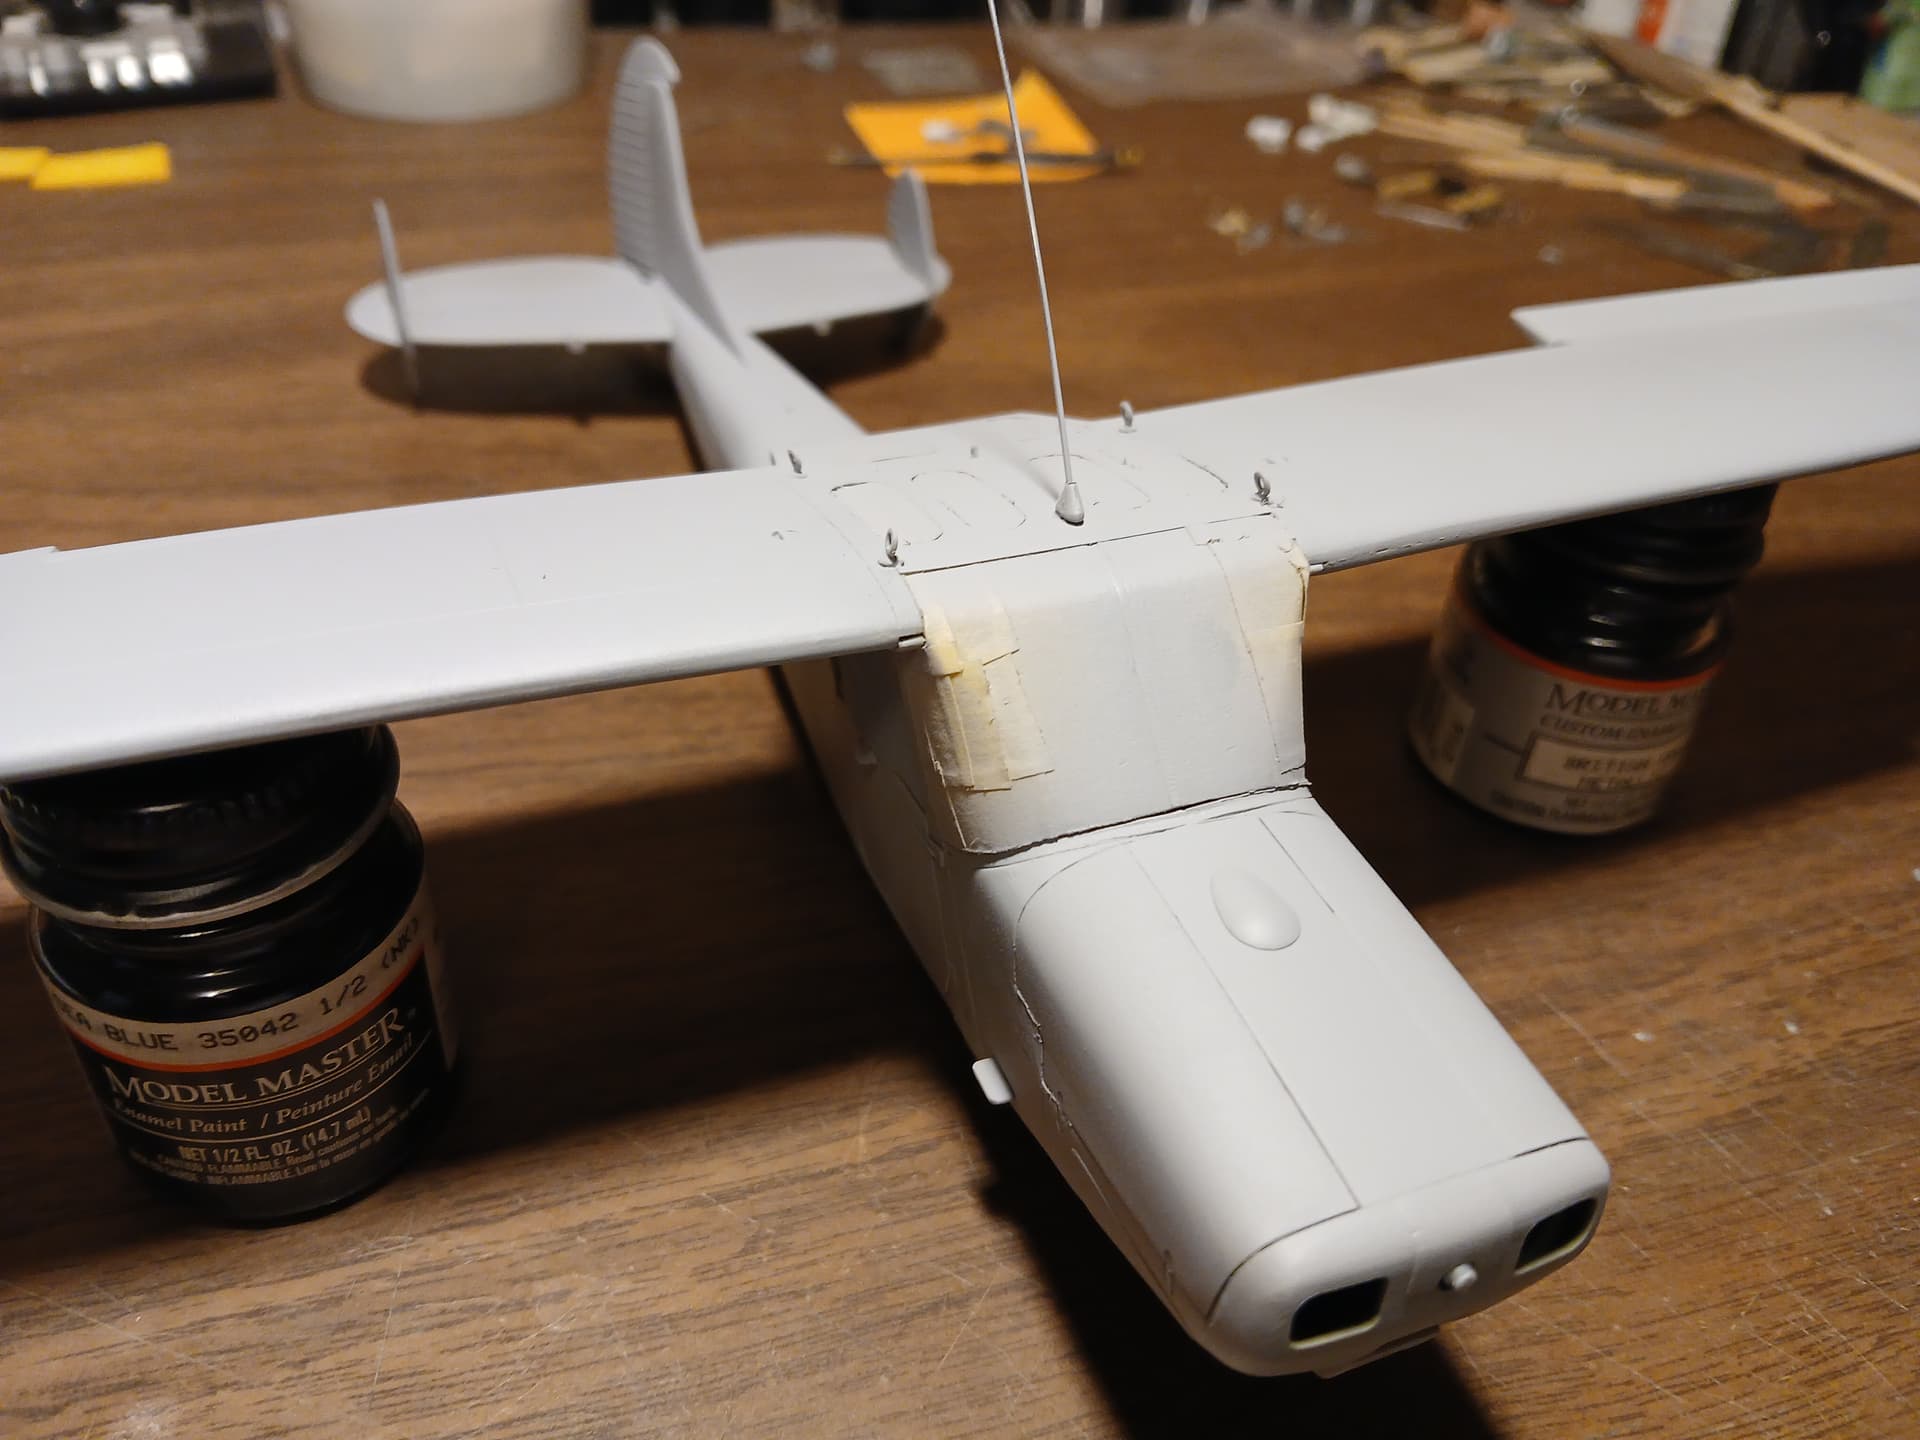
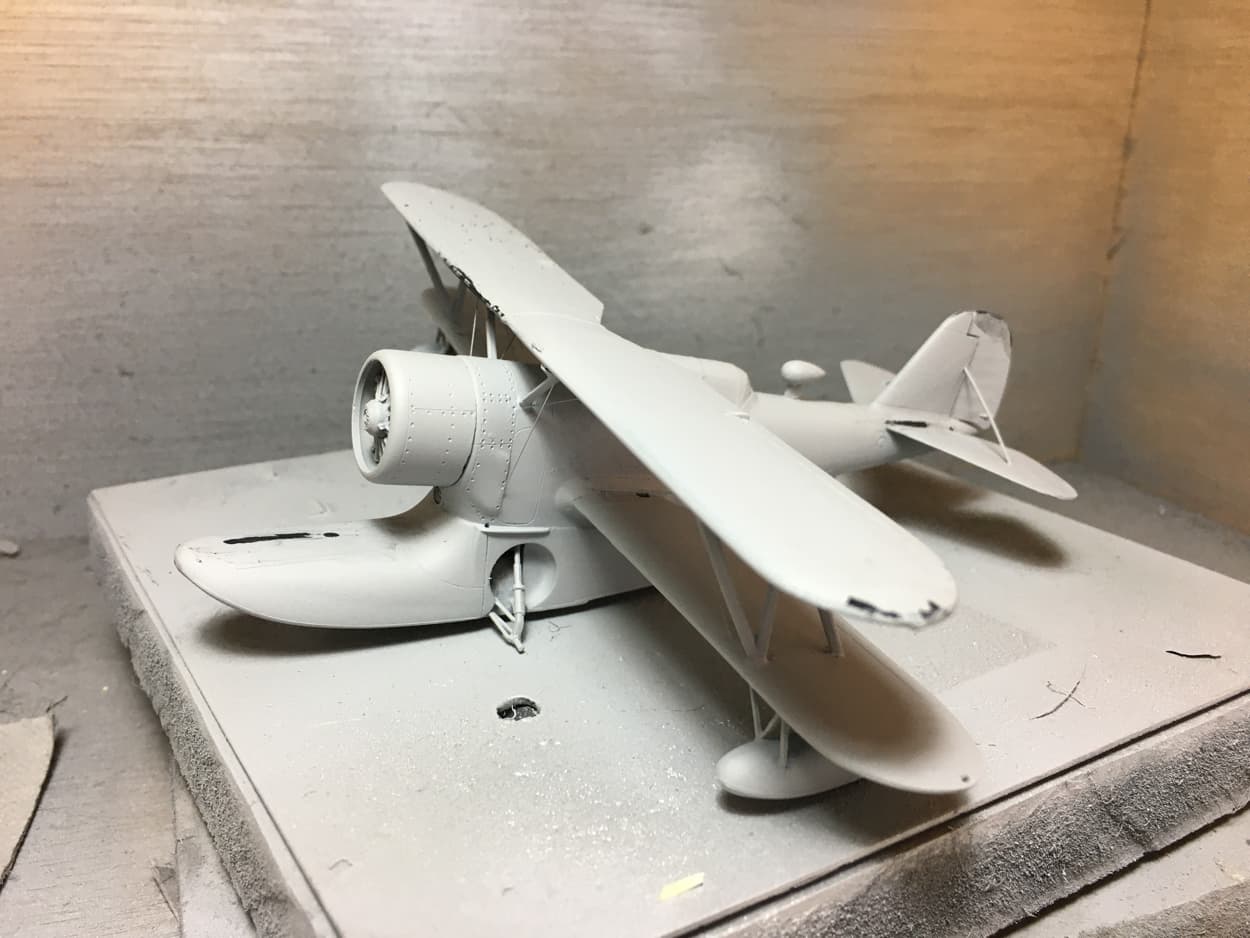
No pics today, spent Friday evening spraying the base coat only to realize Saturday morning it was too dark, re-sprayed with a lighter gray and left it for today, Sunday. Today I sprayed the clear coat and it came out very pebblely, few hours later I attempted shooting the plane with Future . . let’s back up here . . . the last couple of models I’ve been struggling with my Iwata, been getting serious blow-back into the cup, I’d clean it, load it with paint/thinner and go to spraying again but still getting bubbles, understand now, I treat my gun like a surgical instrument, needles’ not bent, nice deadly point, O rings are good and you can bet your a$$ it’s clean . . . so here I go trying to squirt Future and its spitting and bubbling and puddling on the model, runs going down the tail and sides and I’m getting bent. So now I’m spraying water on it to wipe off the Future, that wasn’t really working so I spray it down with Windex and strip the Future off. Tear down the airbrush, clean everything and just started spraying water to see what would happen, same thing, bubbles, . . . .

then I noticed I could see just a glimpse of O ring between the head cap and body, tightened it down and problem solved. Well hell, I knew I was only tightening “finger tight” but I didn’t think the threads were that loose, live and learn.
As far as the model, I’ll get the Future applied tomorrow and start slappin’ on decals, one problem though, it wasn’t until after I got the fuselage together that I thought about nose weight, sure enough it wants to sit on it’s tail. Can’t wait to get back to ground pounders.
Cajun ![]()
3 Likes
Tough luck, but keep going, you’ll make it! ![]()
![]()
![]()
Peter
2 Likes
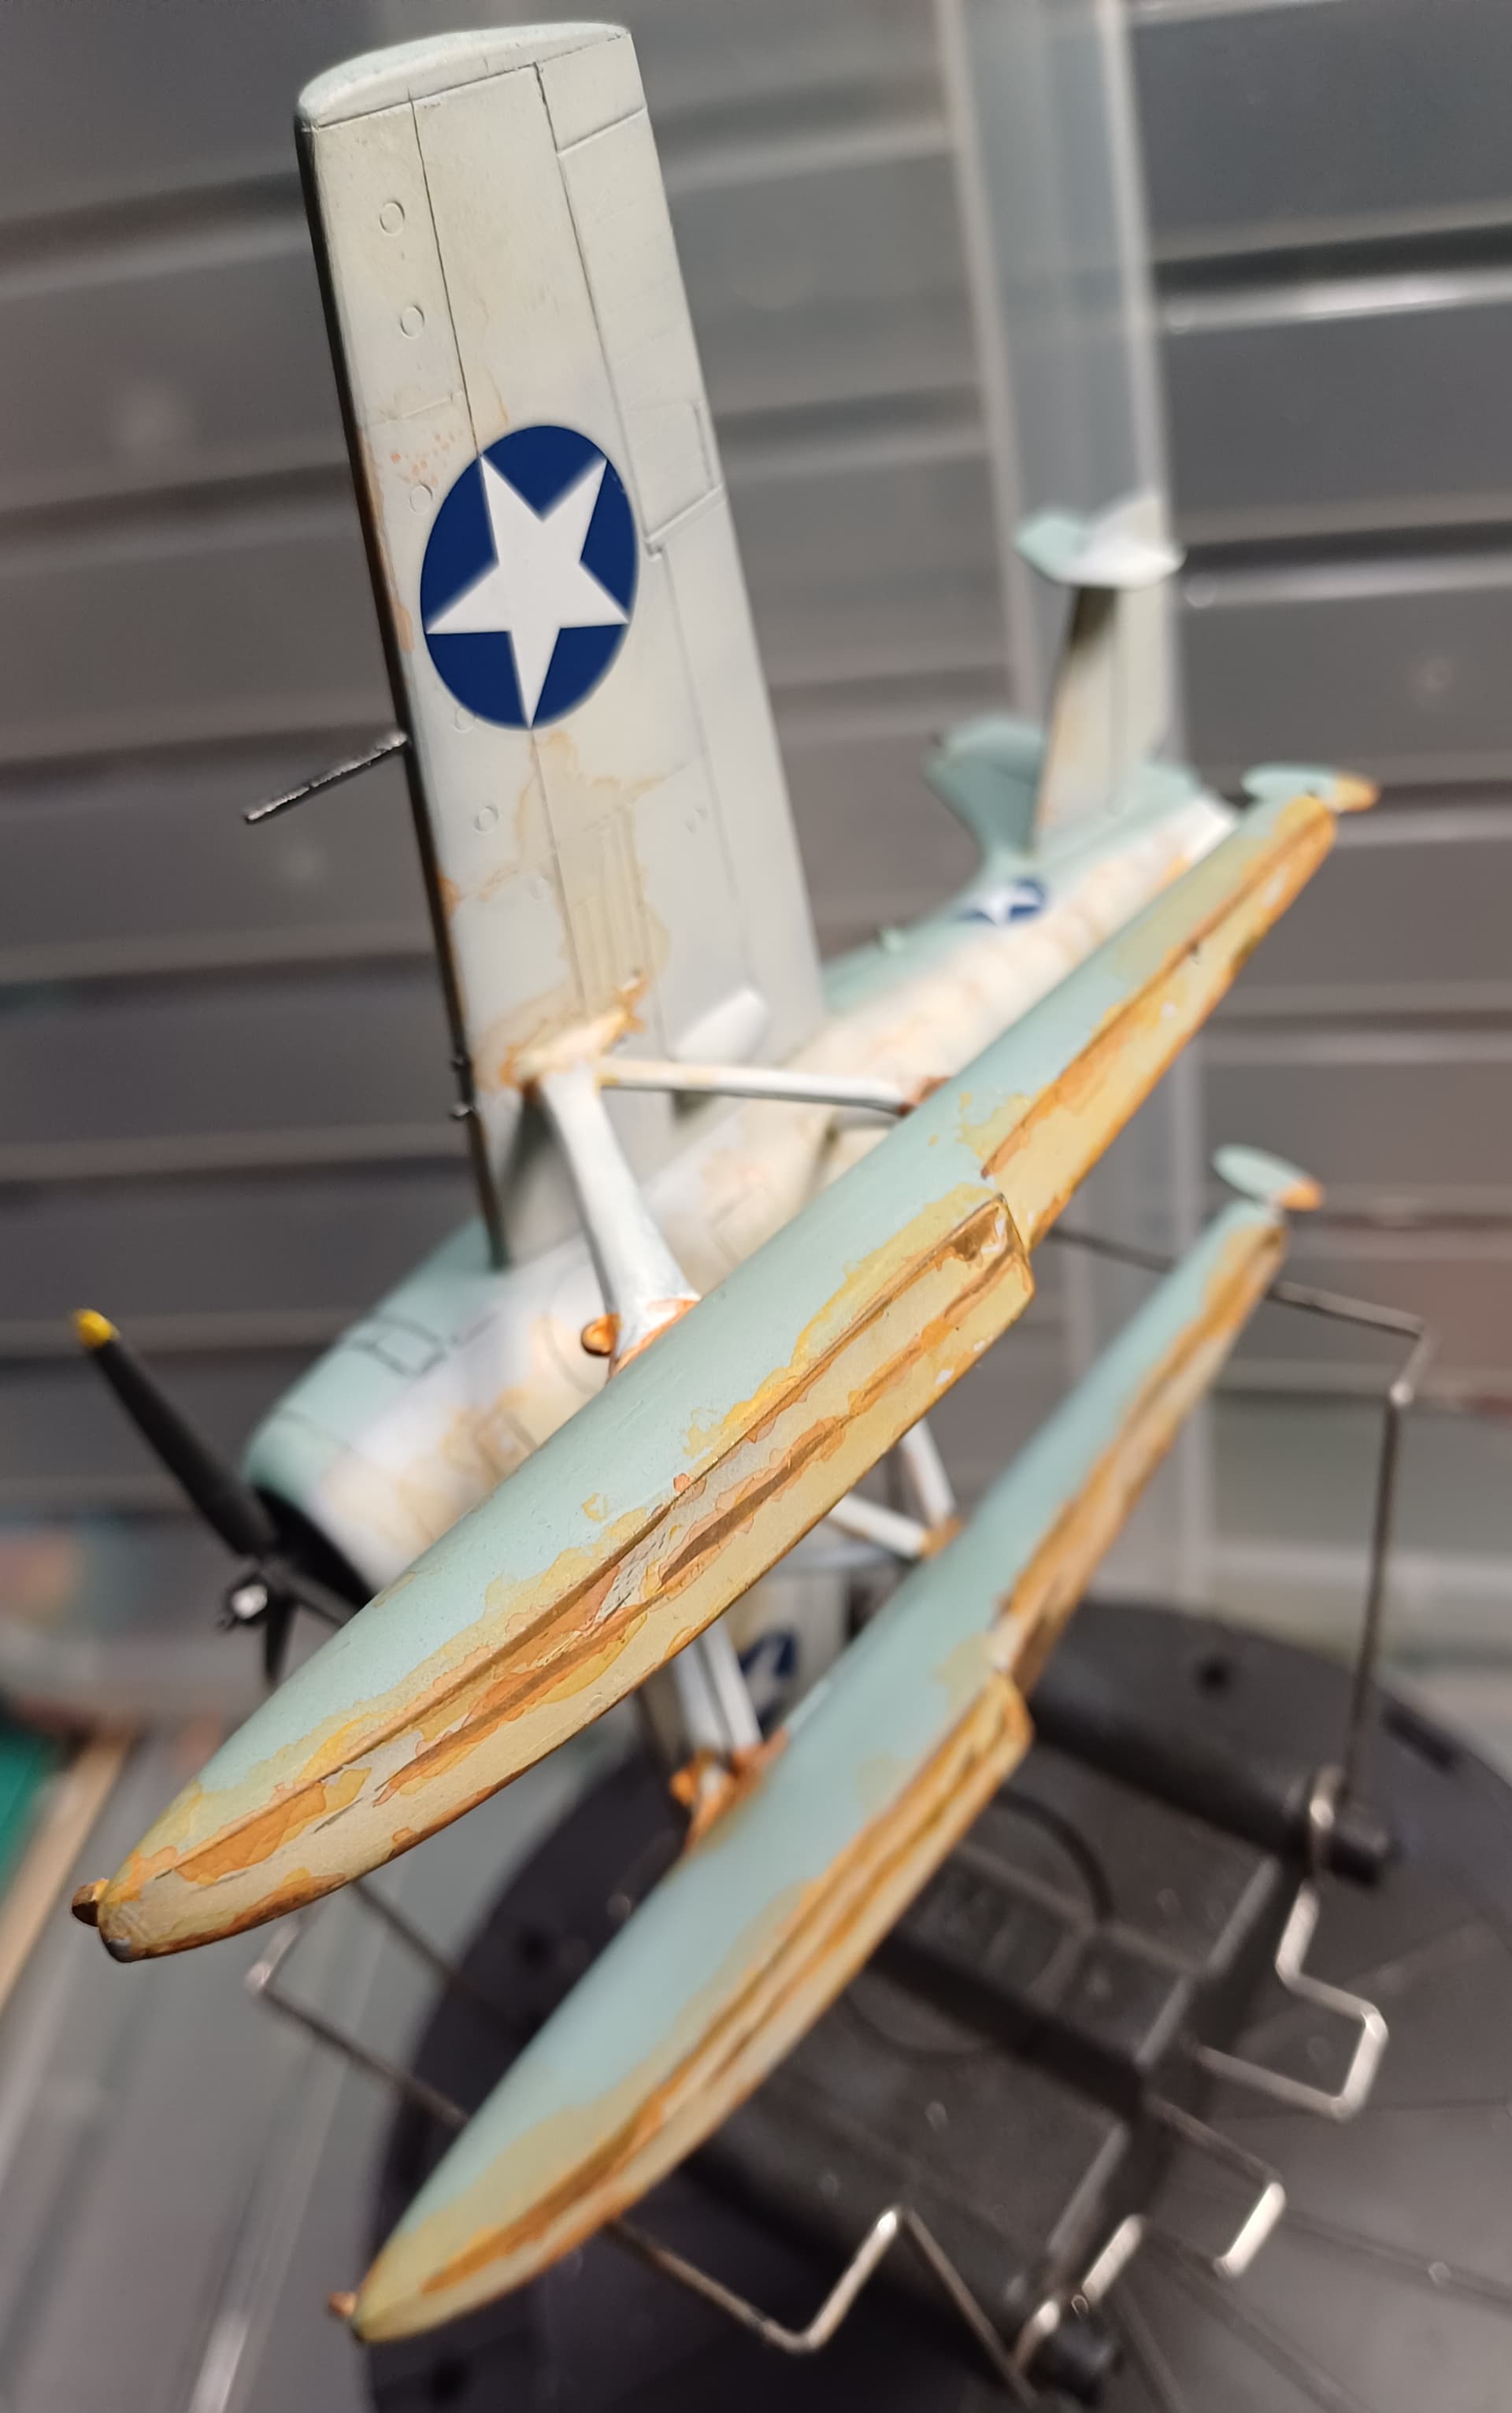
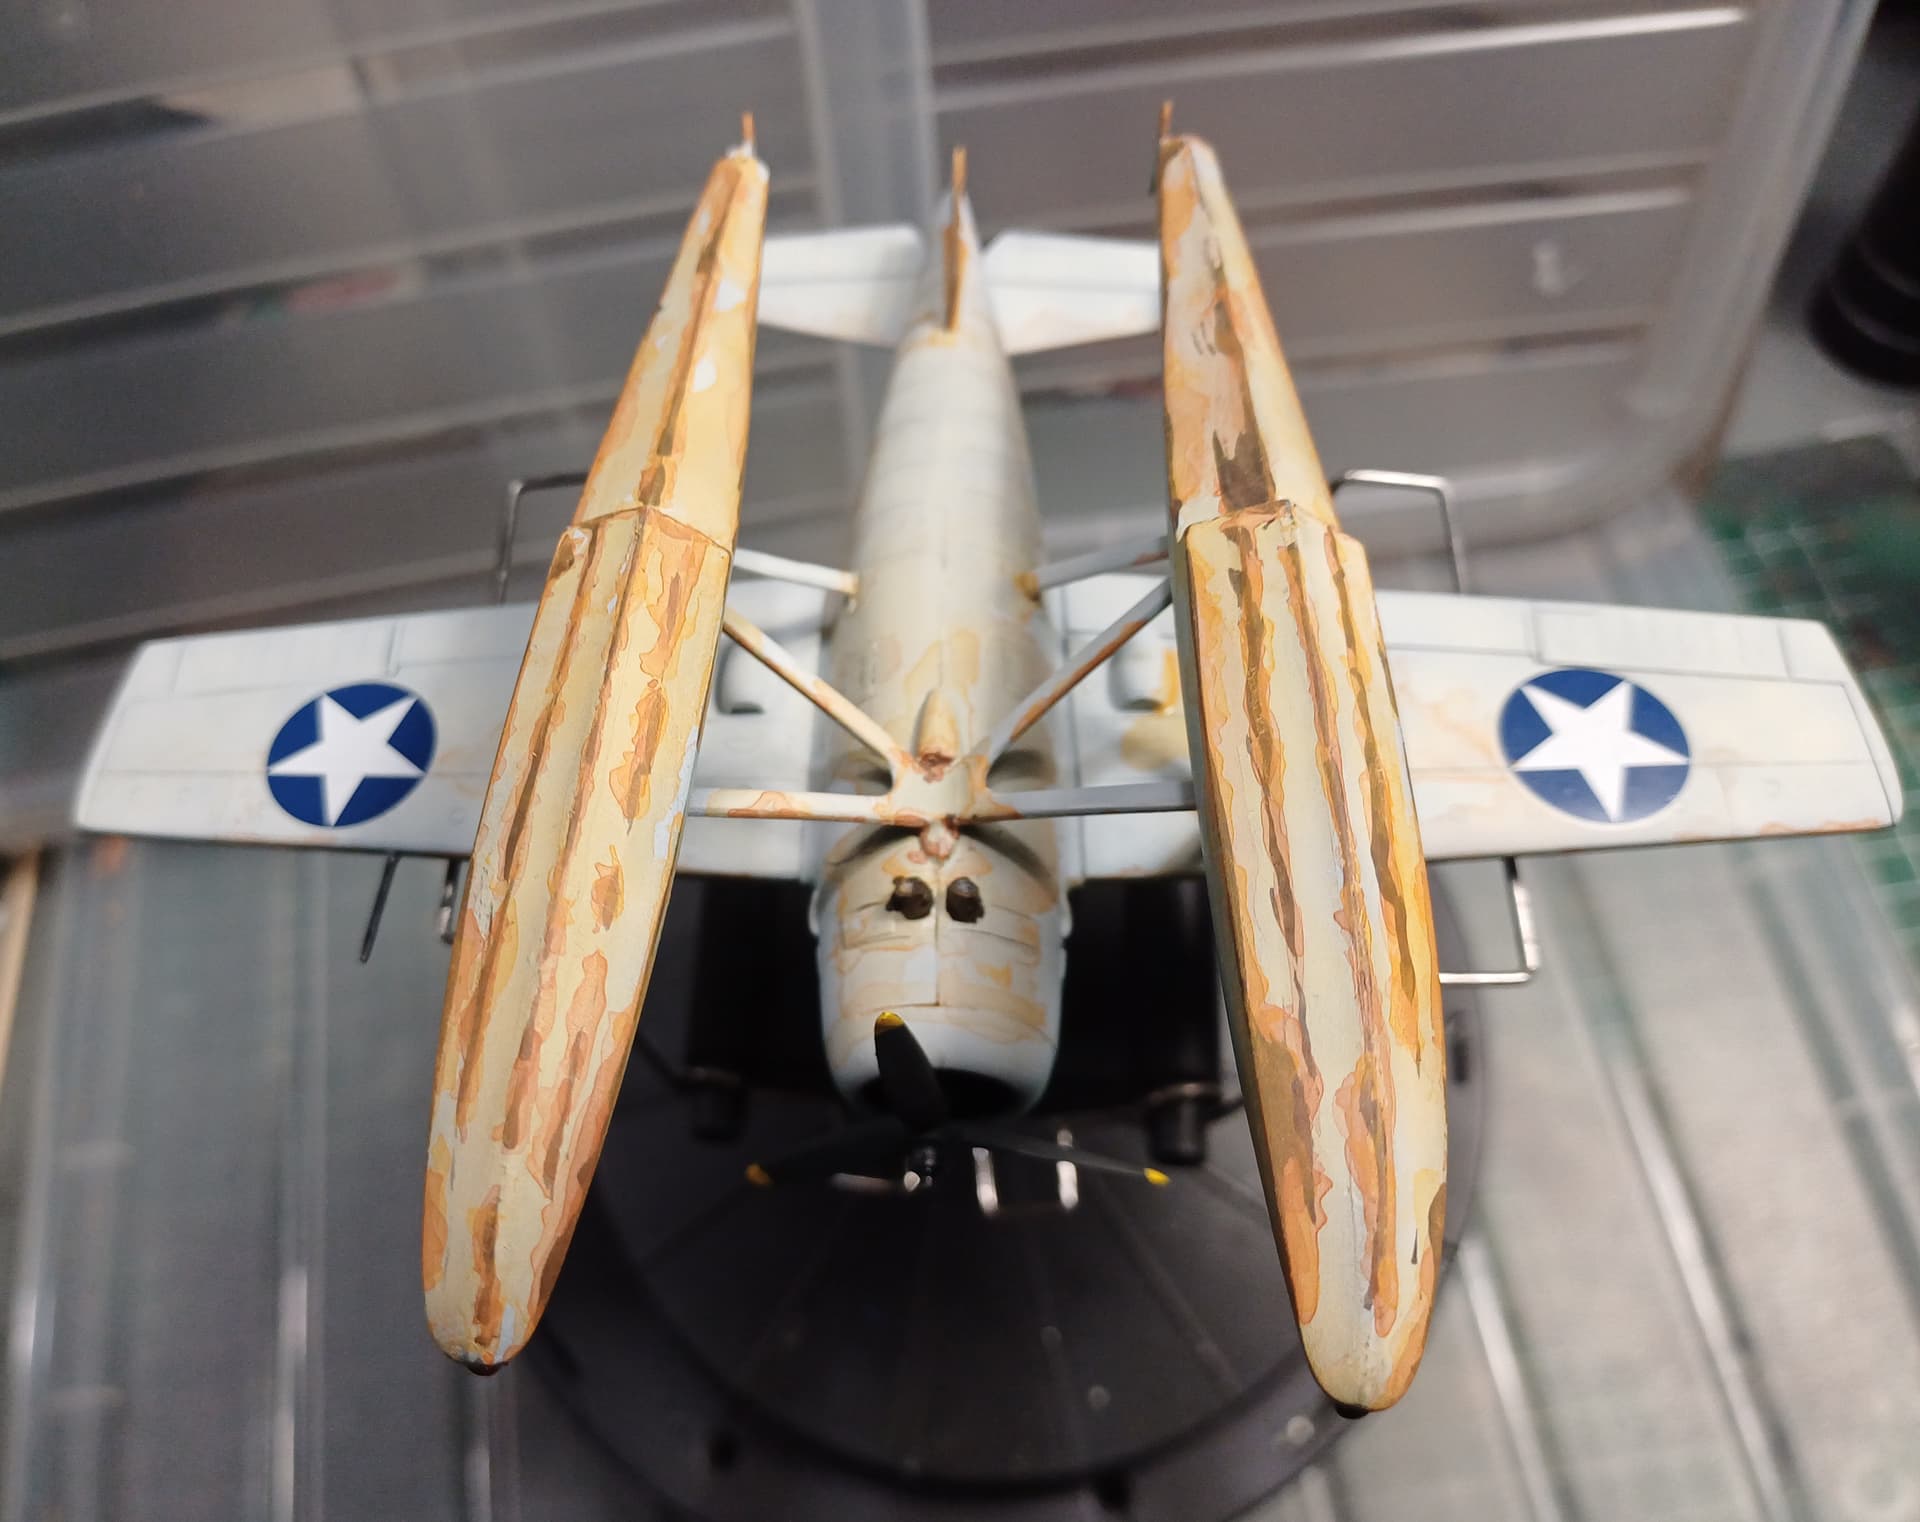
Decided to add rust to the floaters… just because I liked the idea and wanted to practise that a bit…

That makes this one finished… thanks for the nice campagne and good luck to who is still to finish ![]()
12 Likes
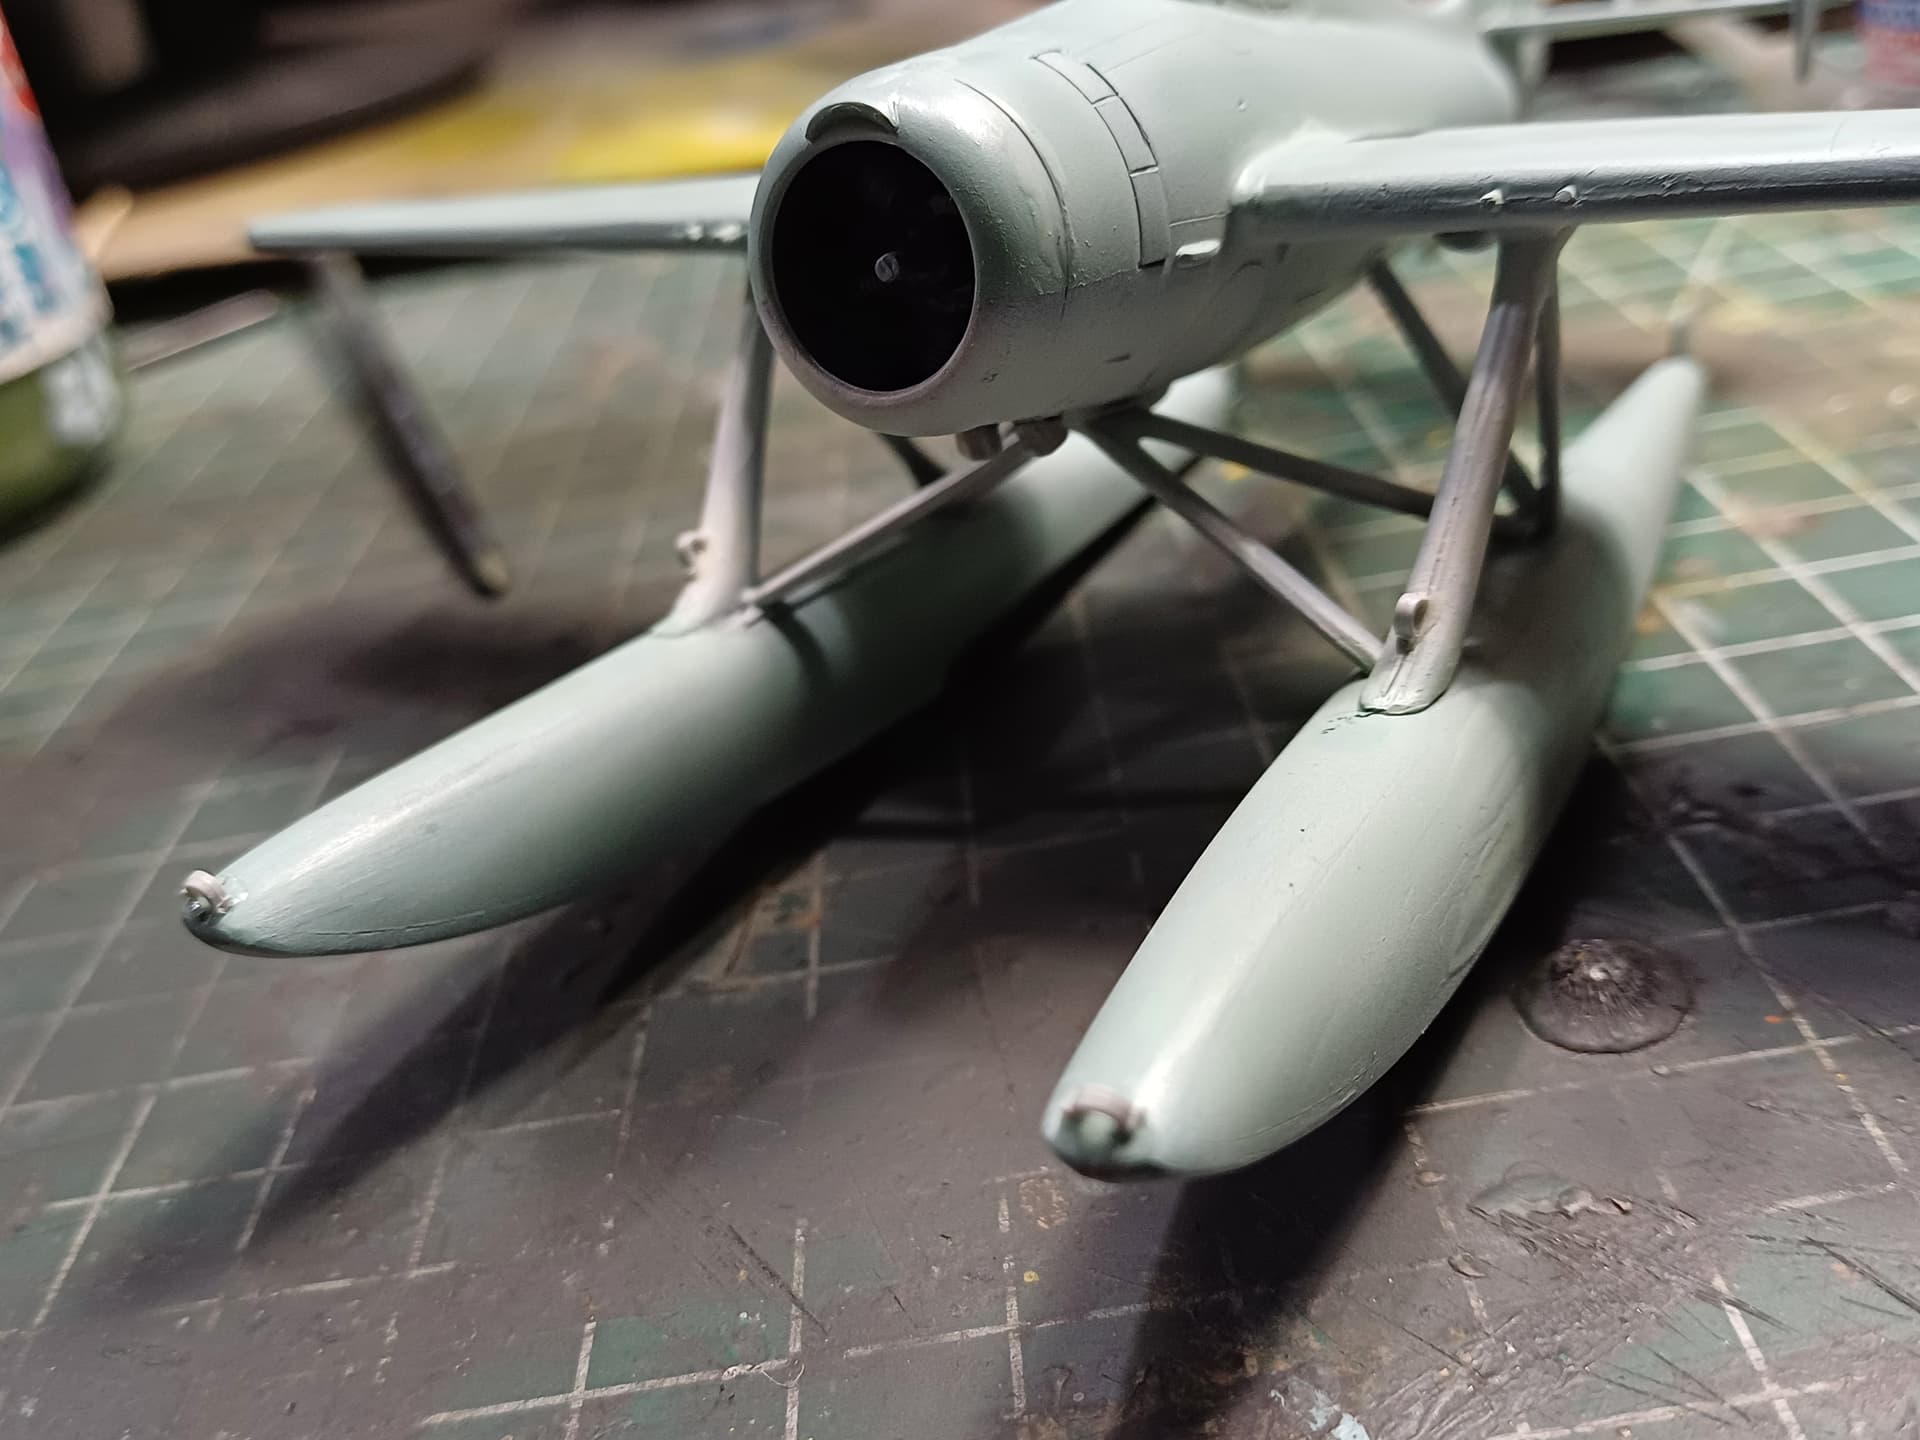
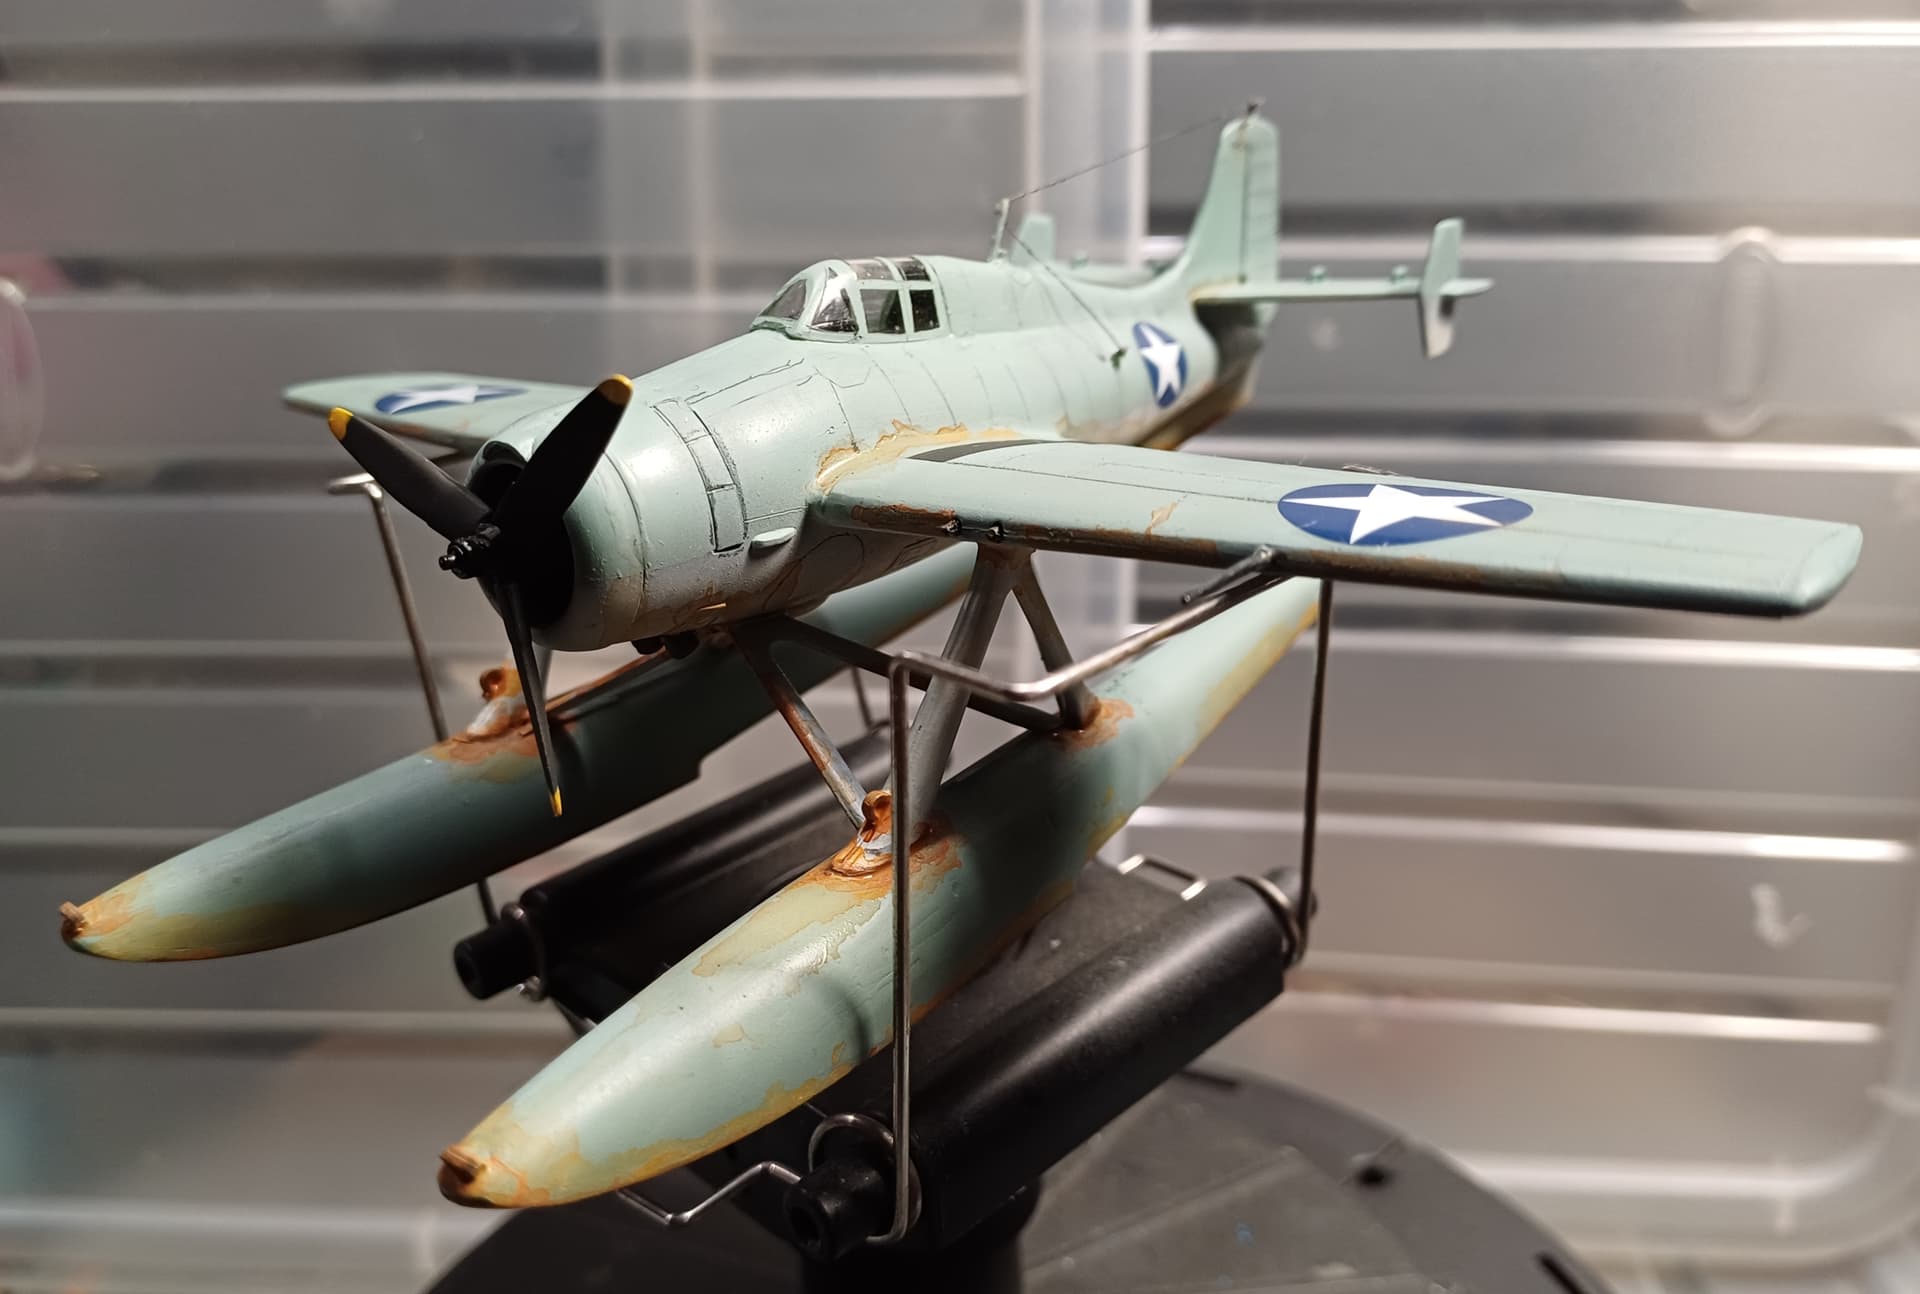
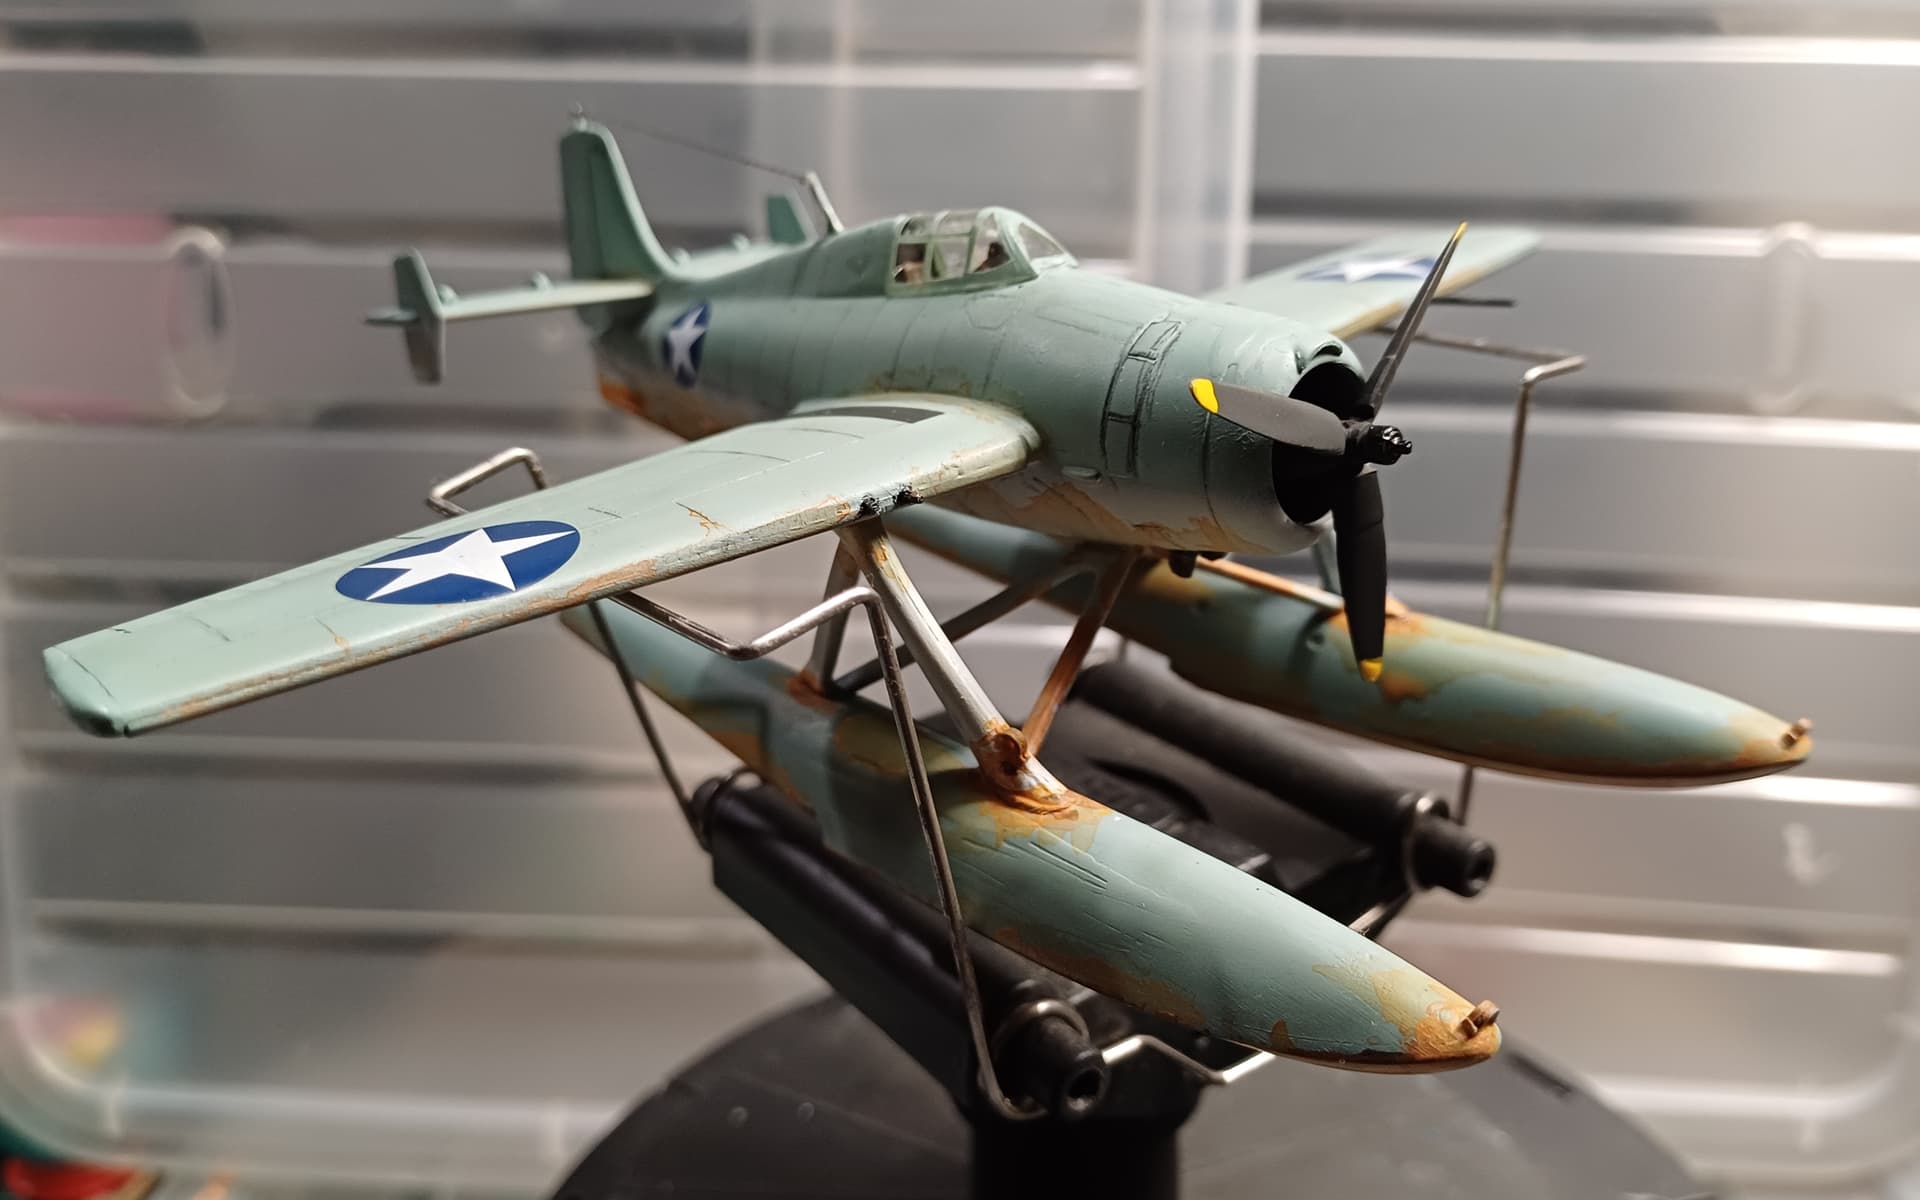
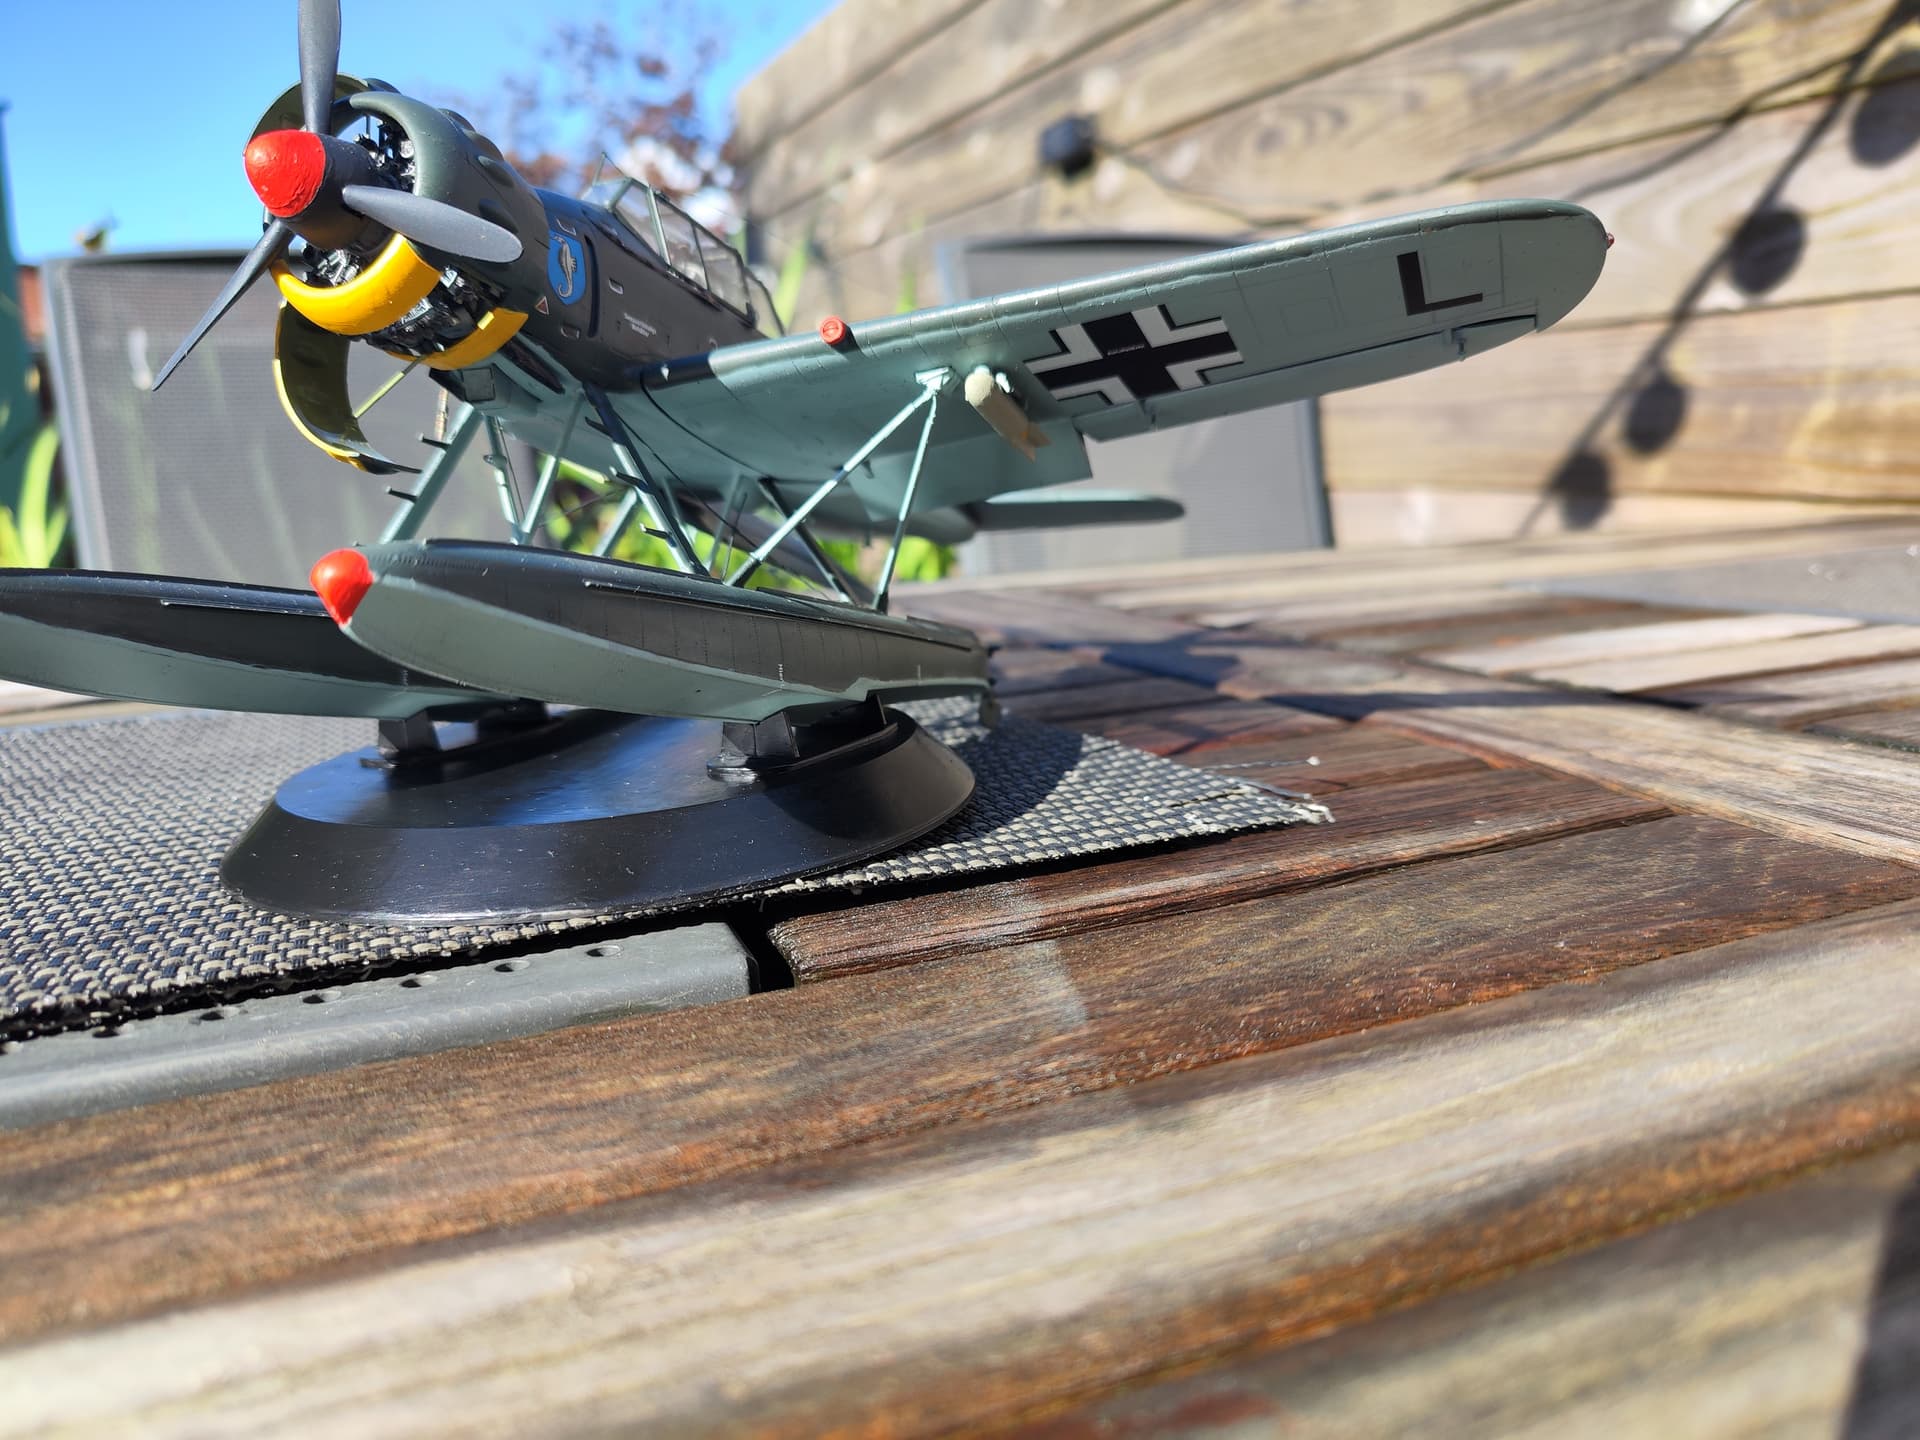
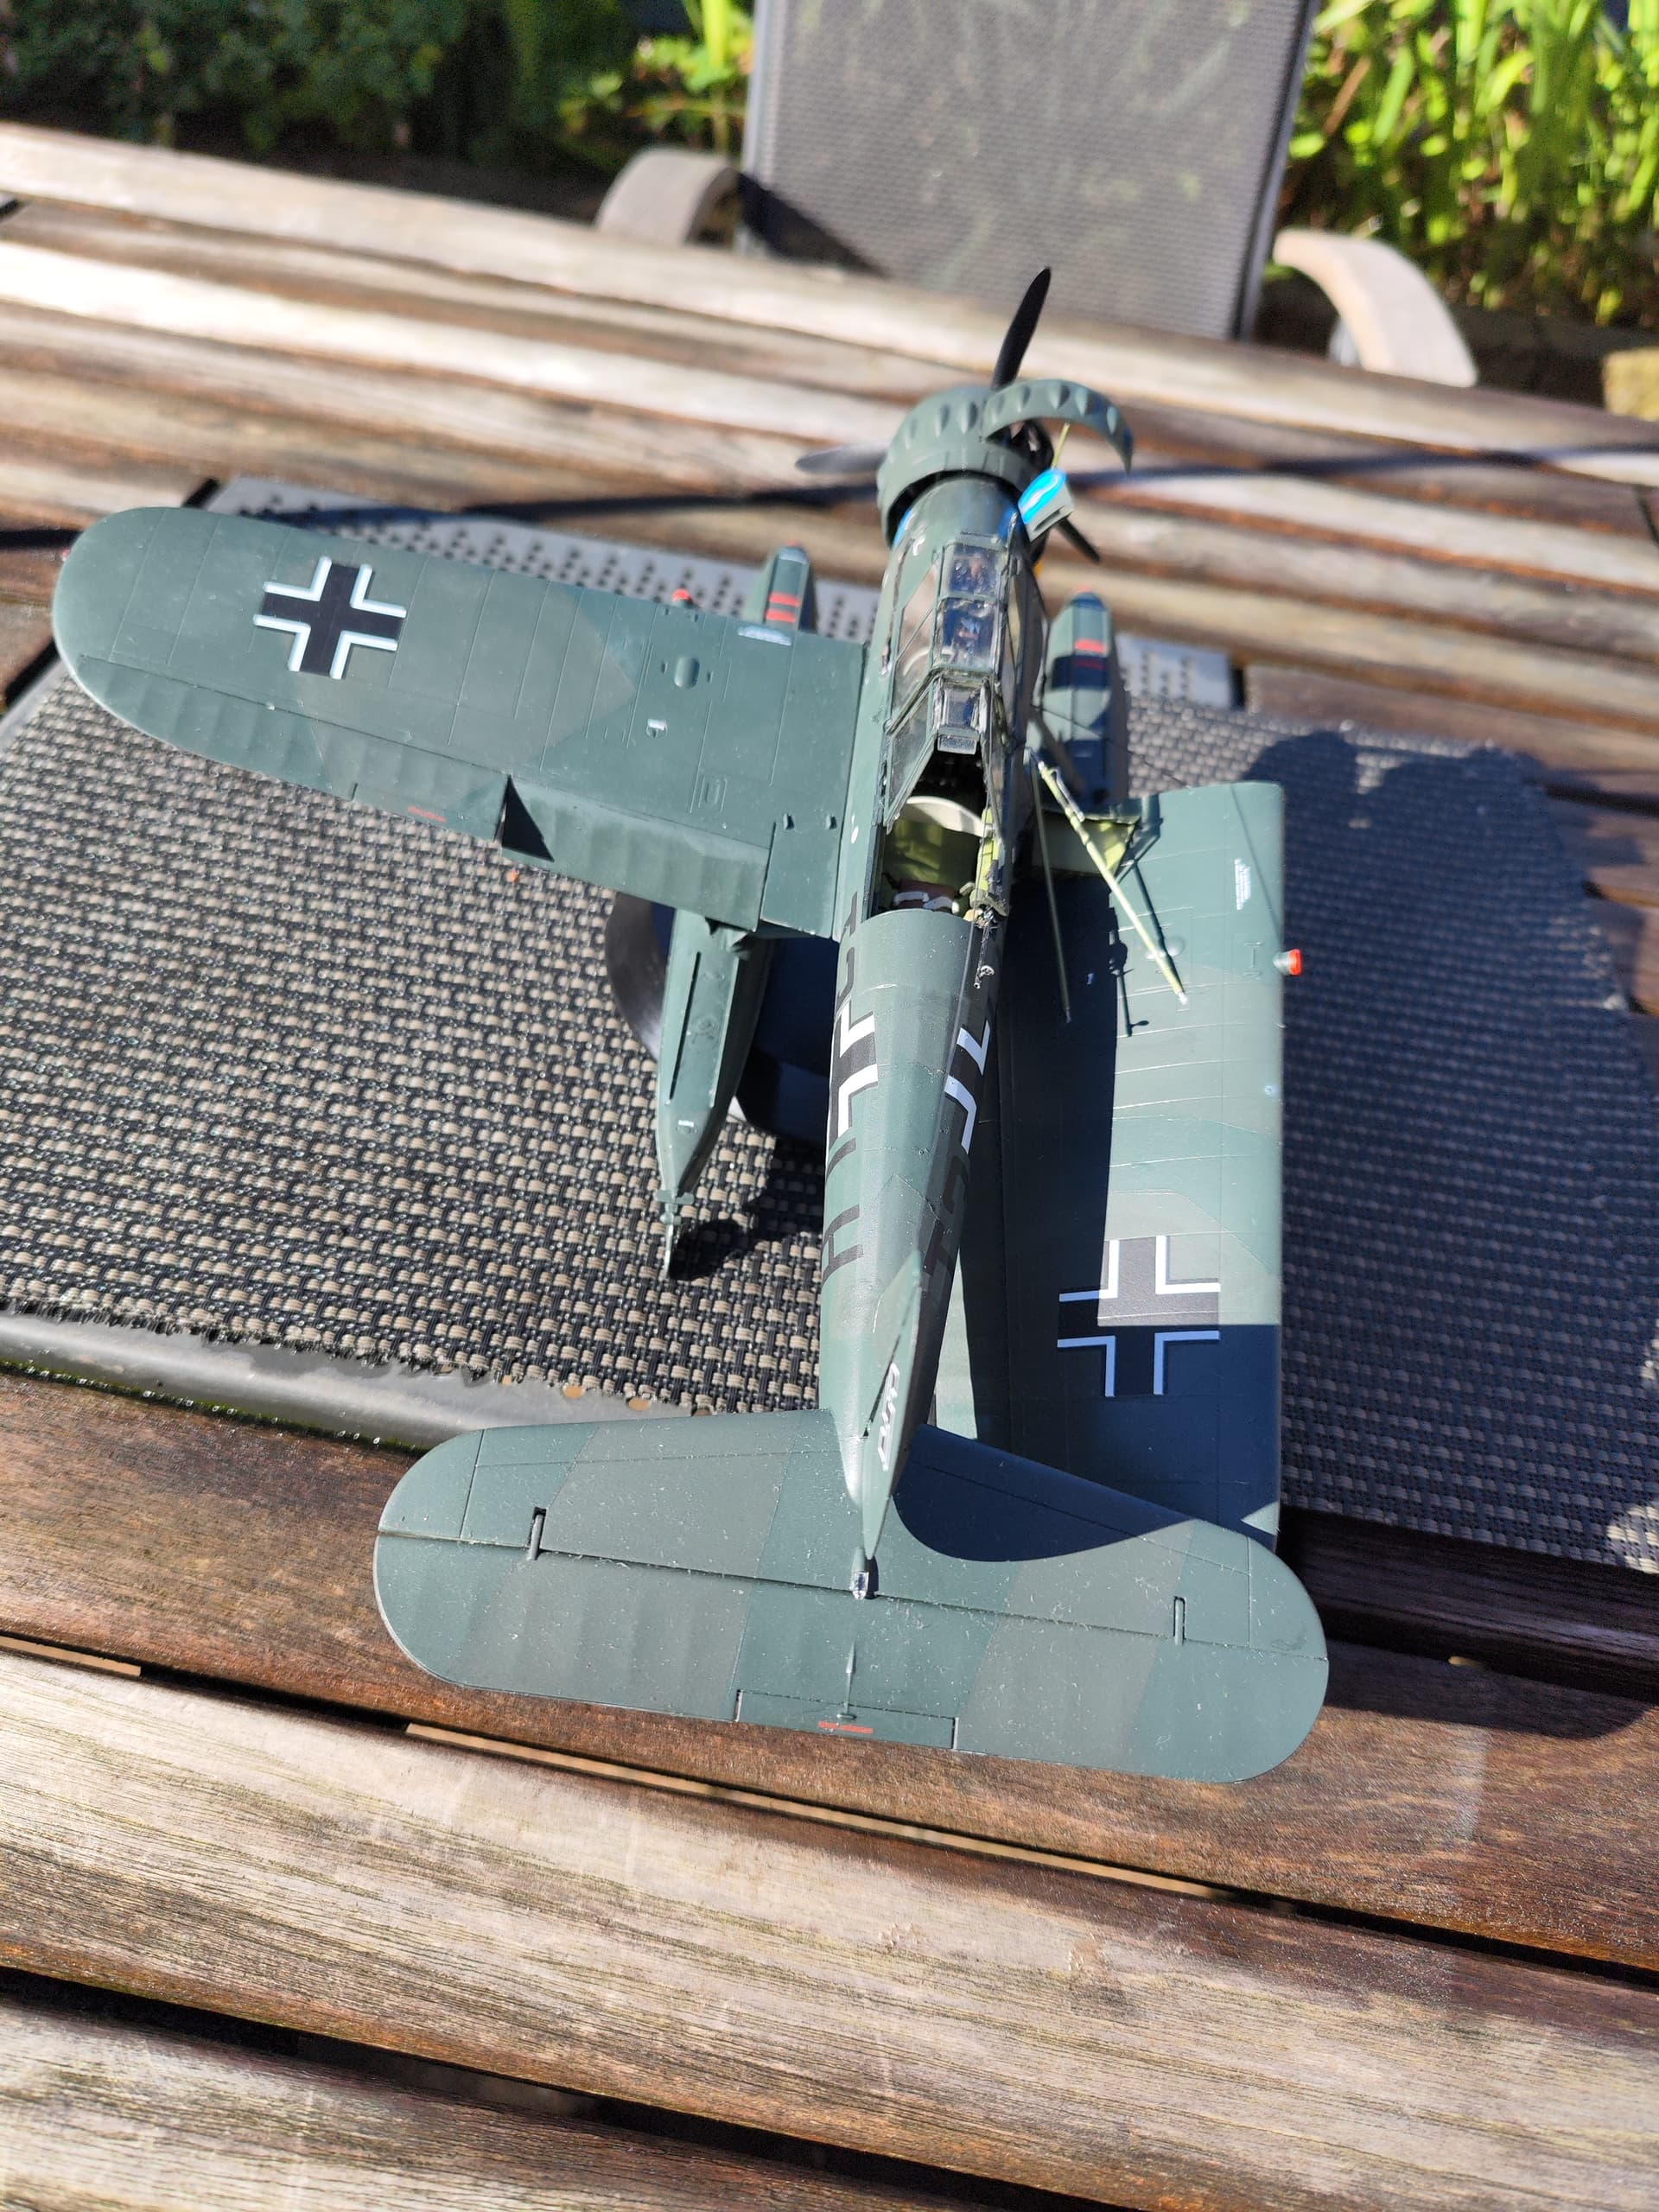
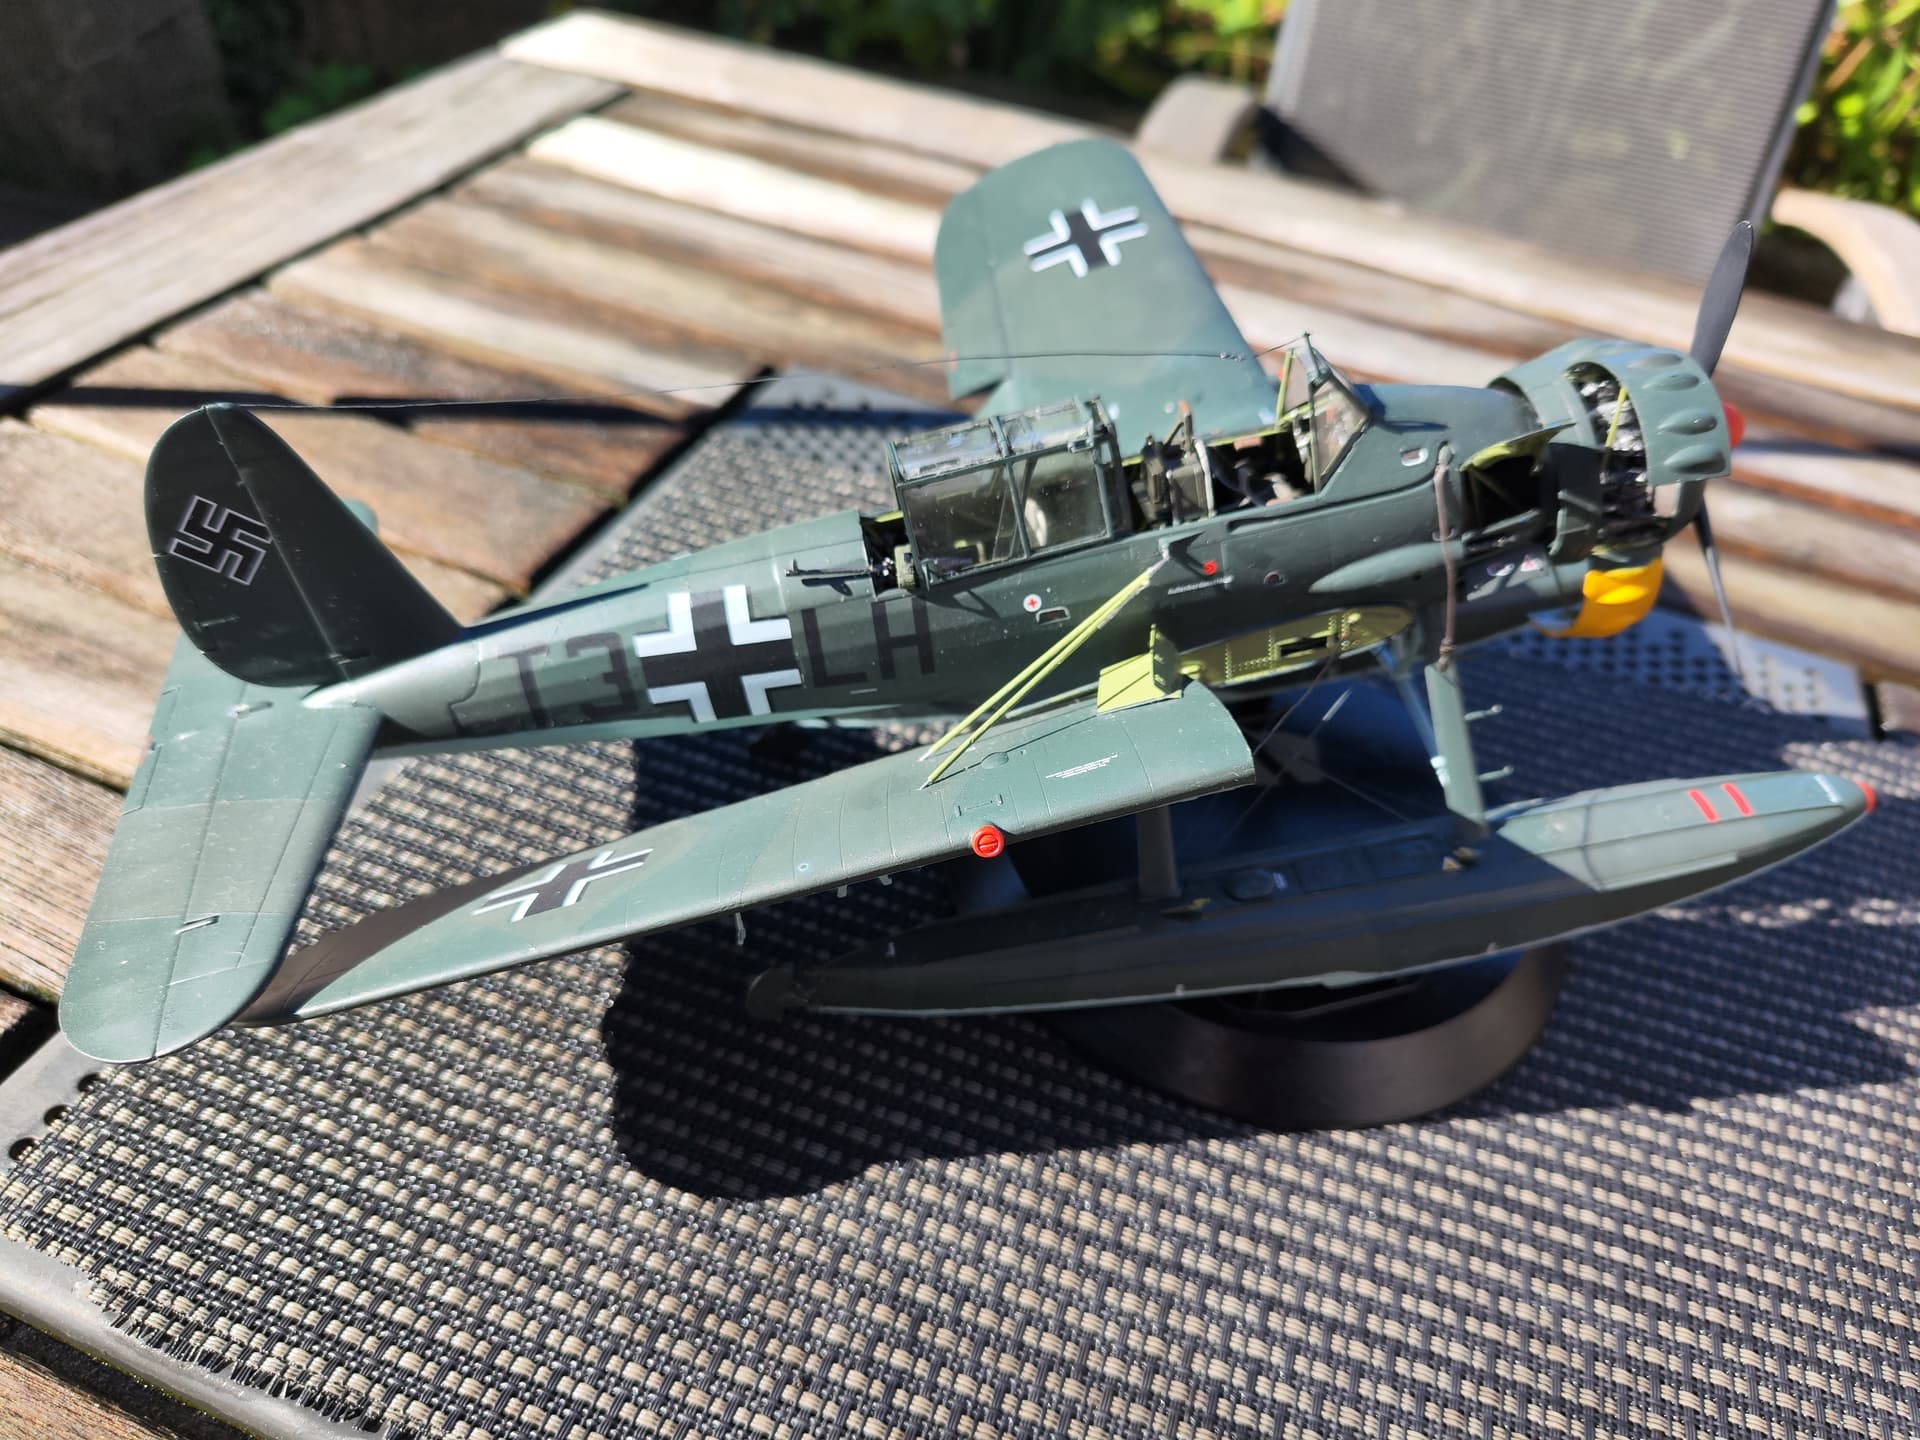
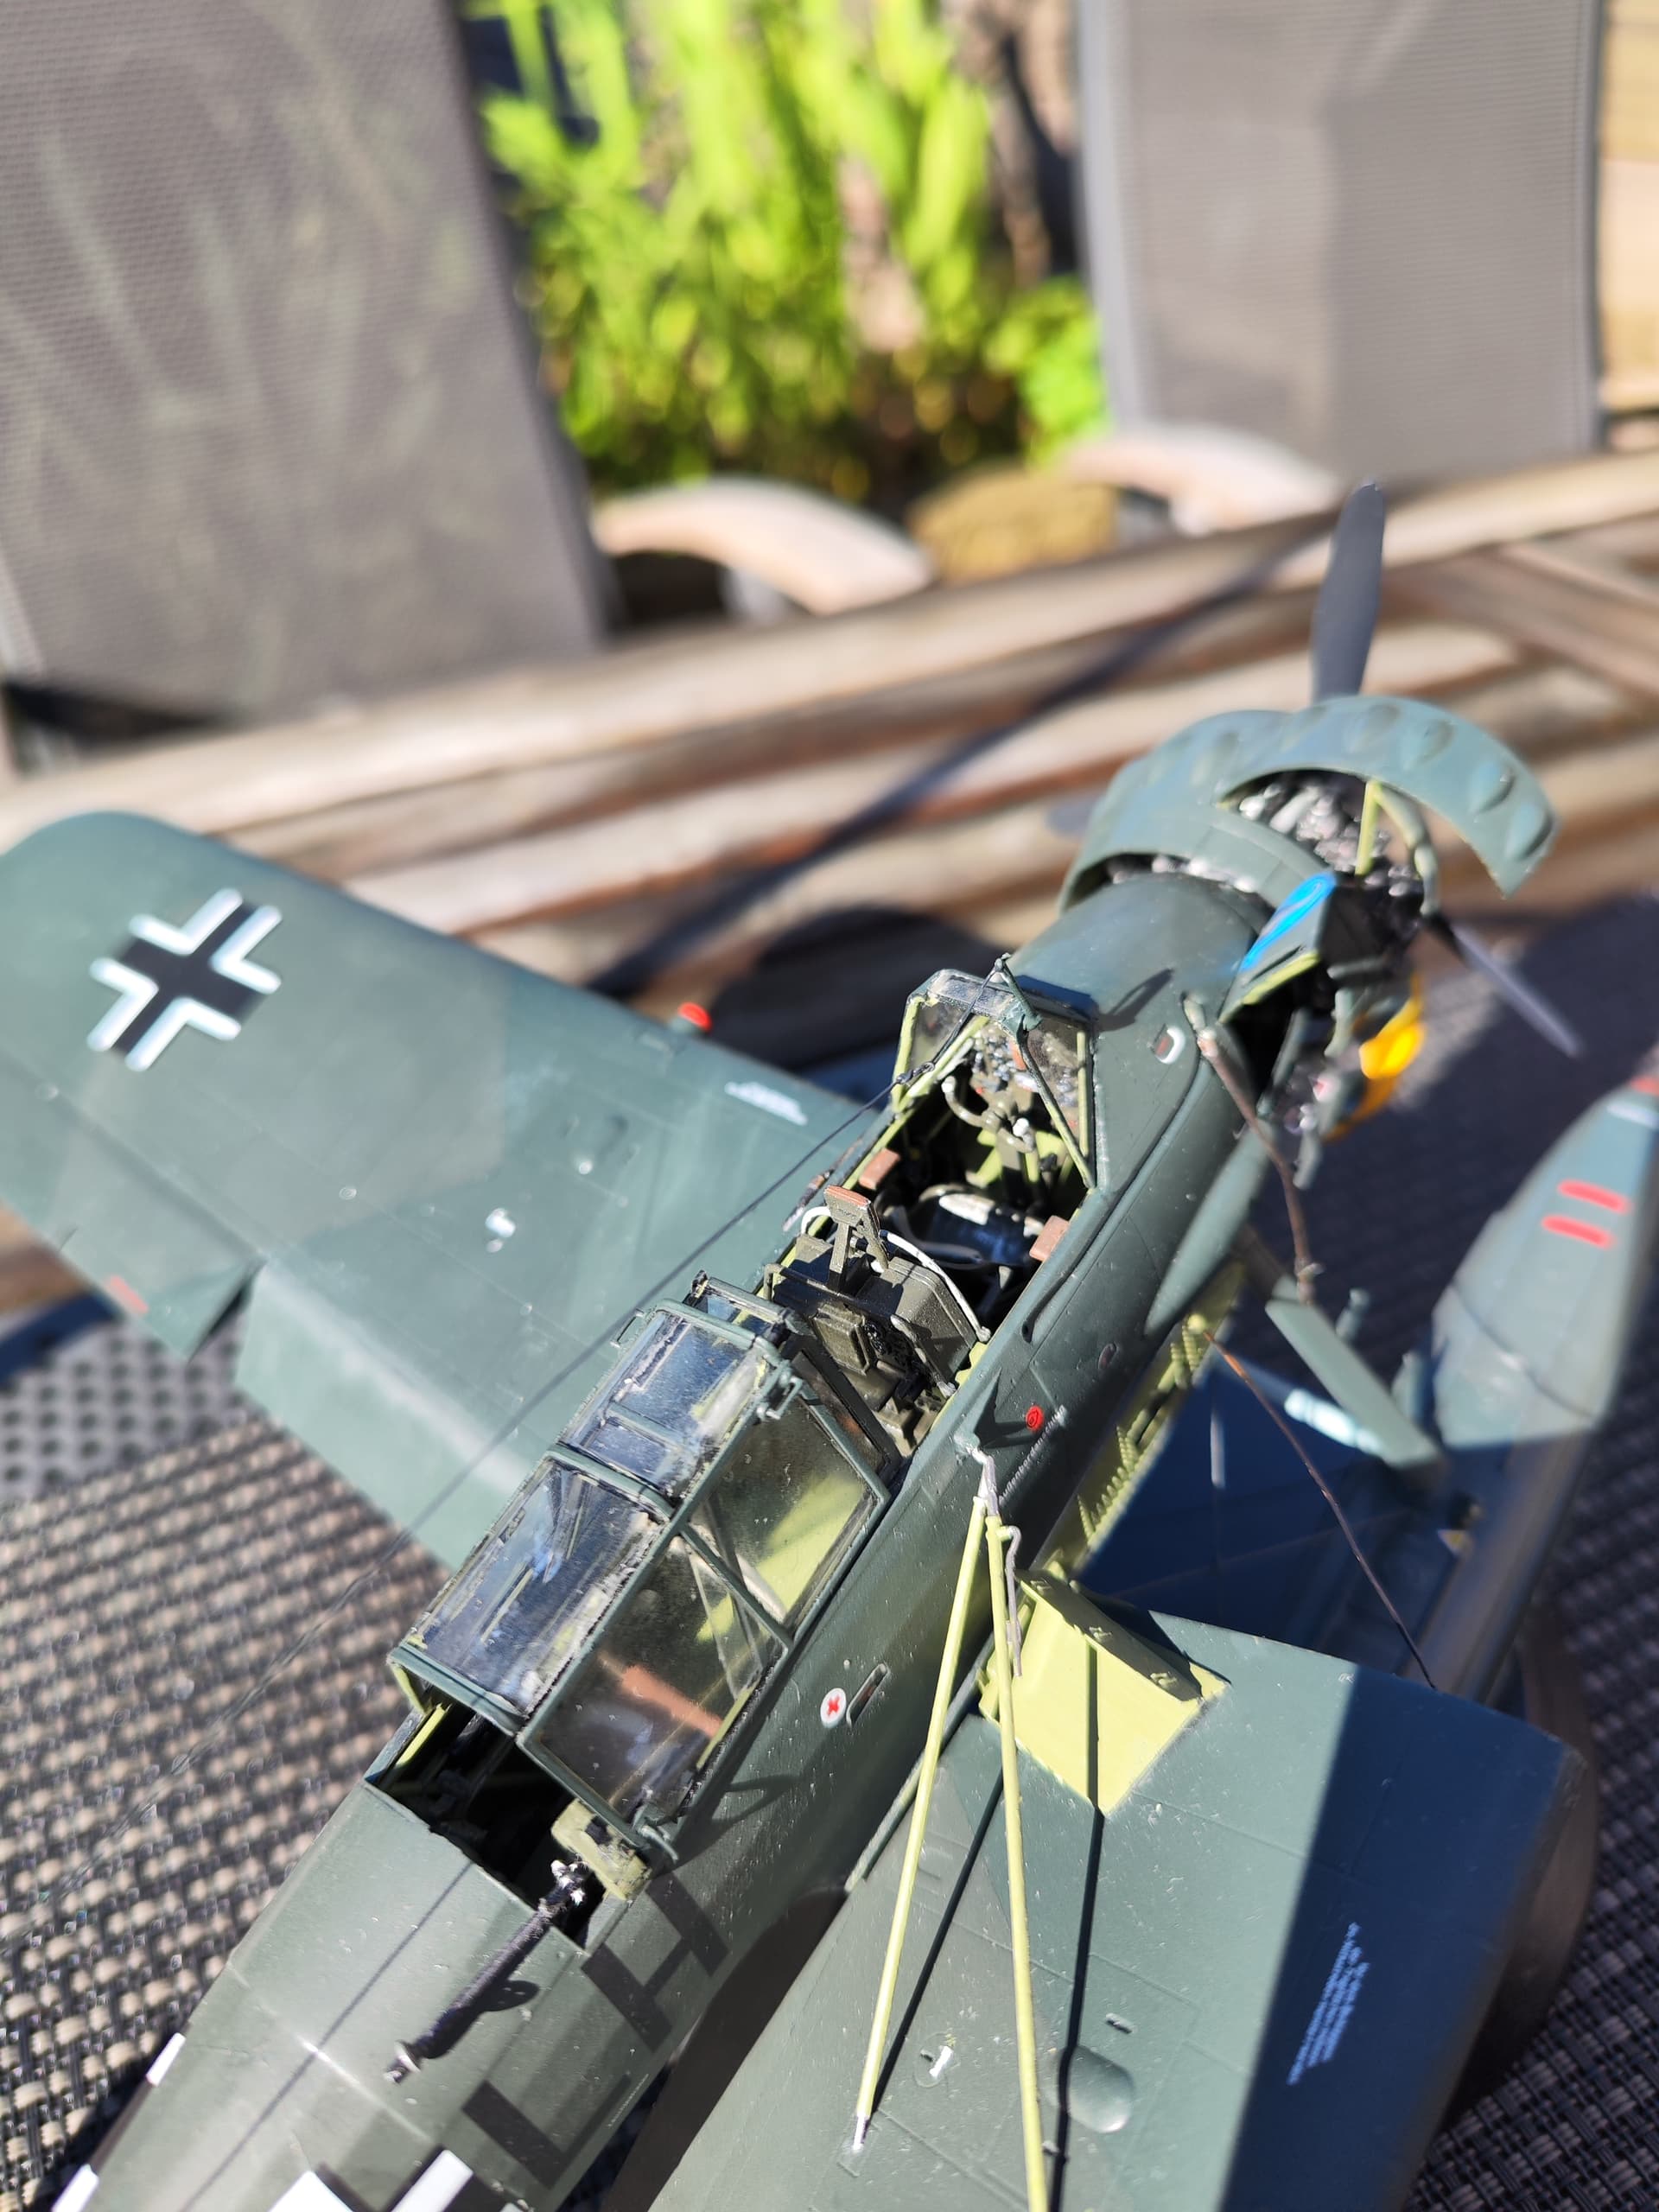
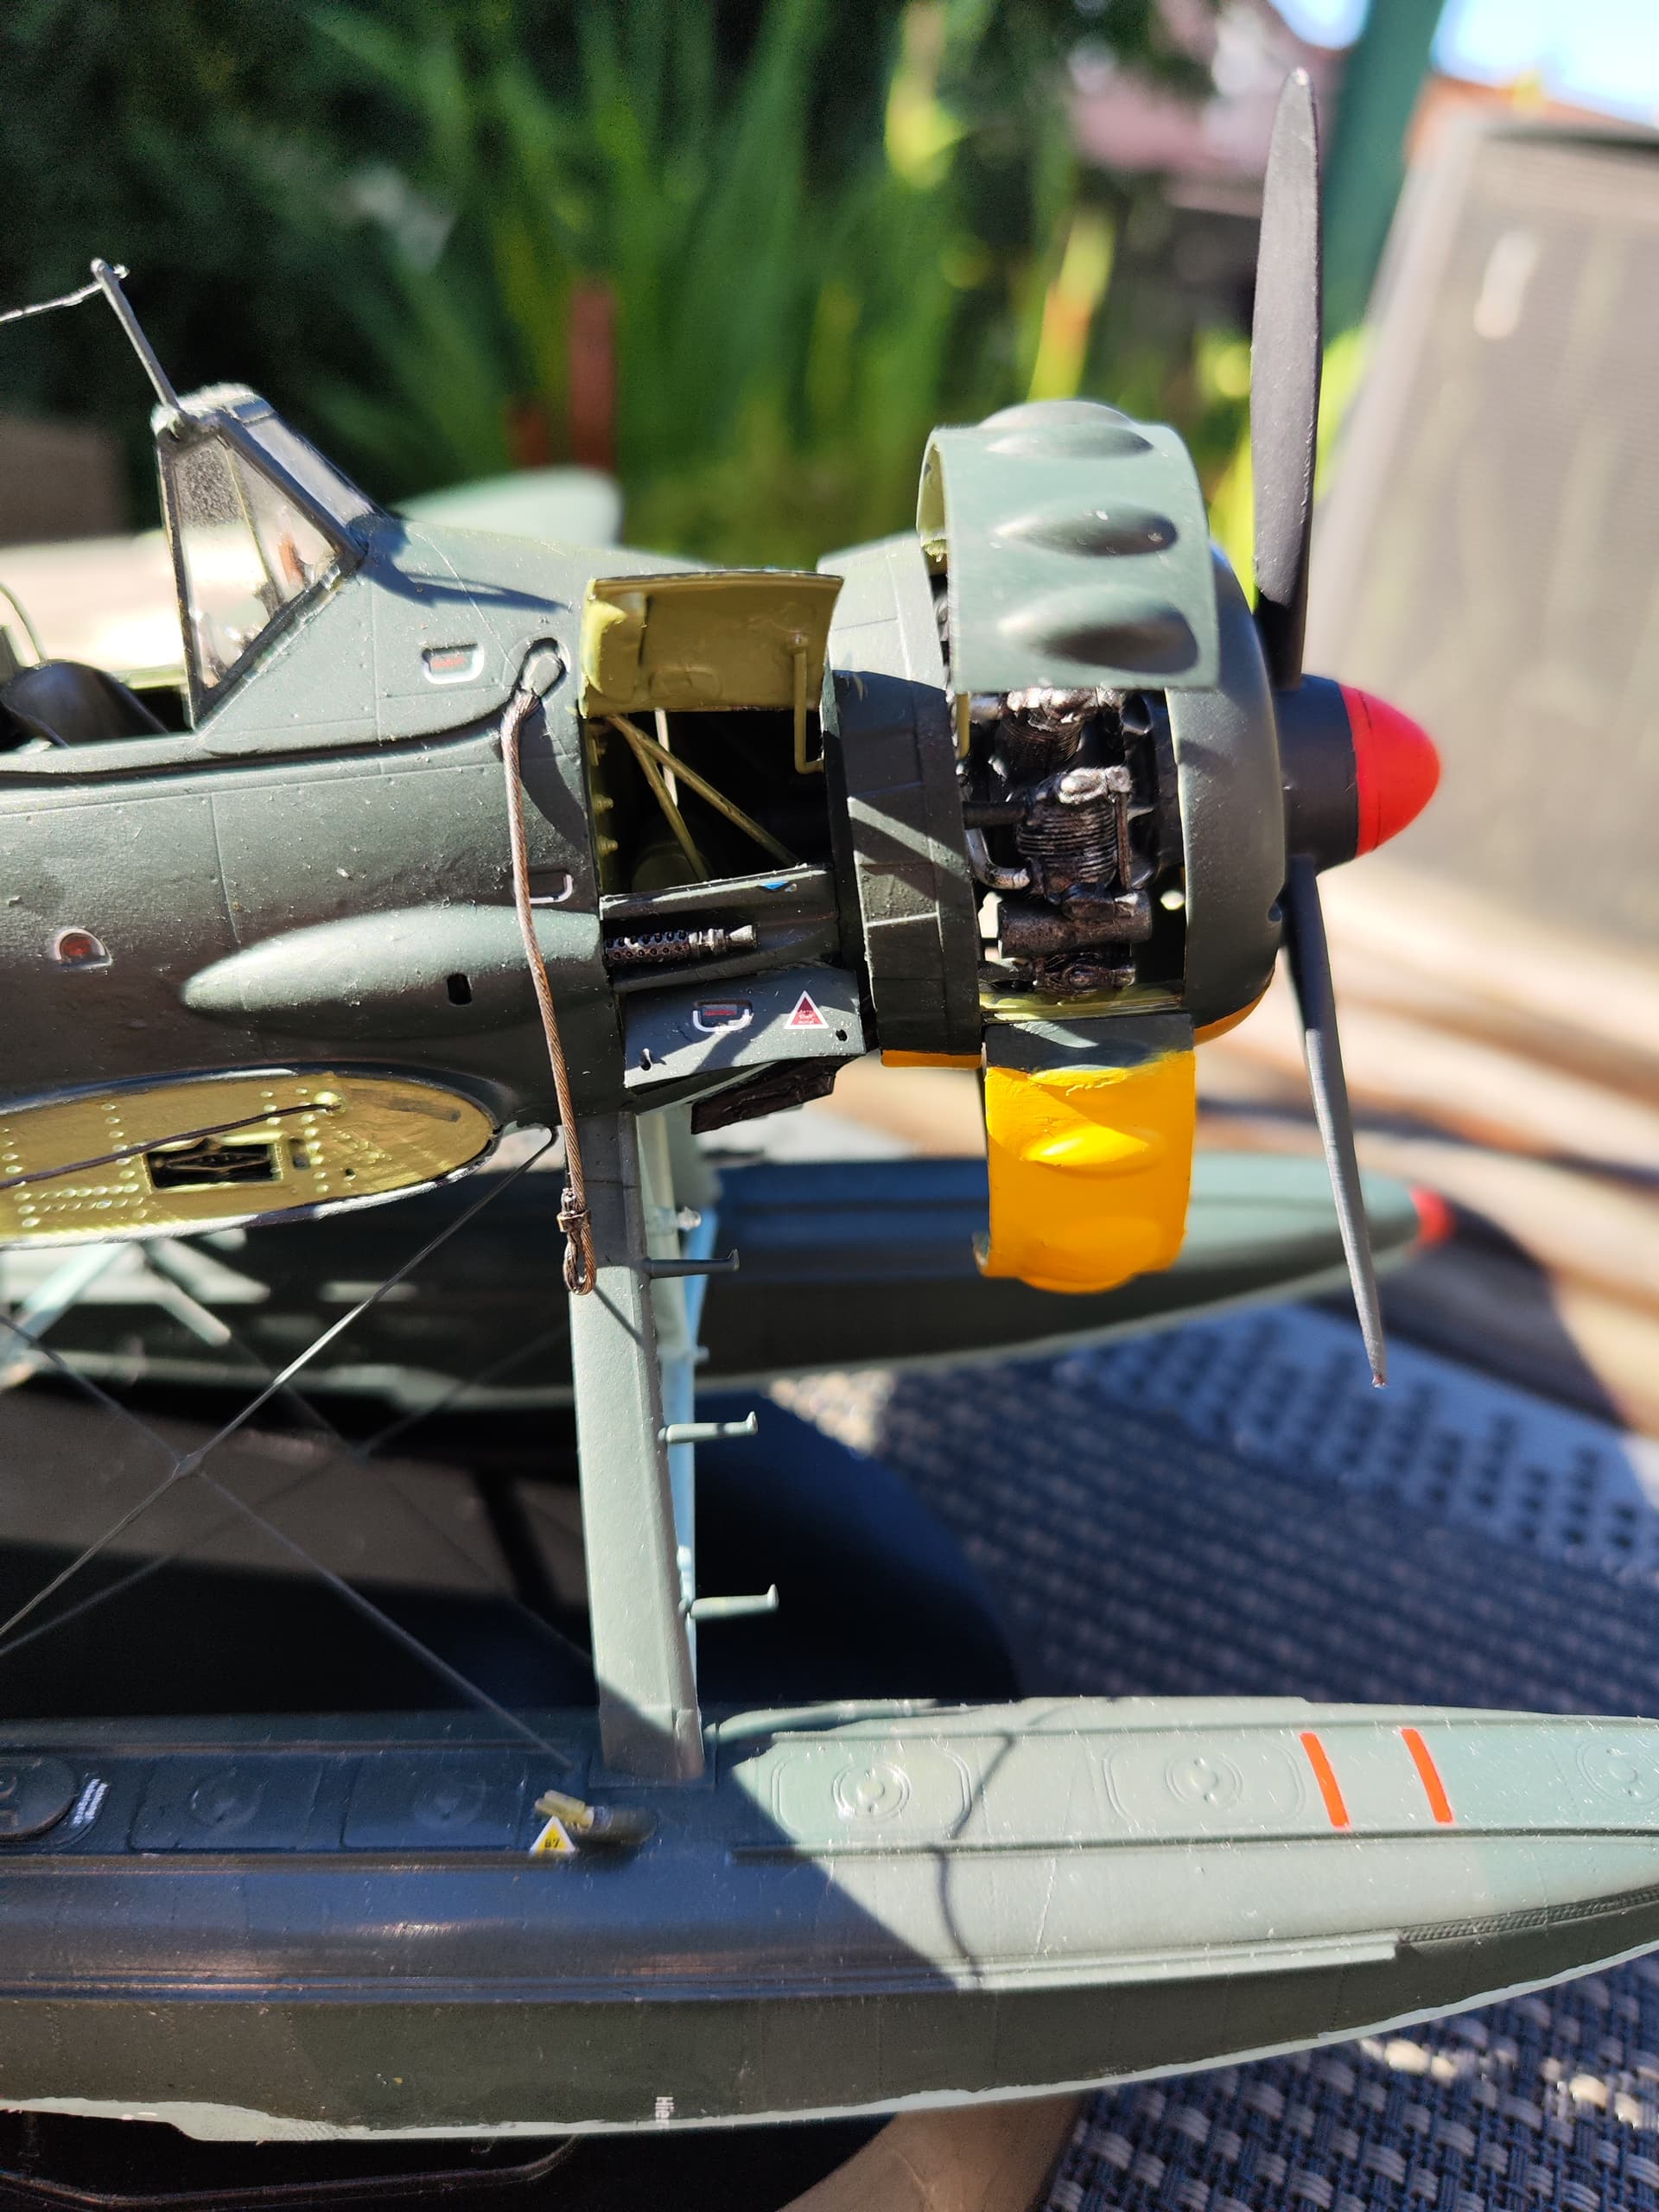
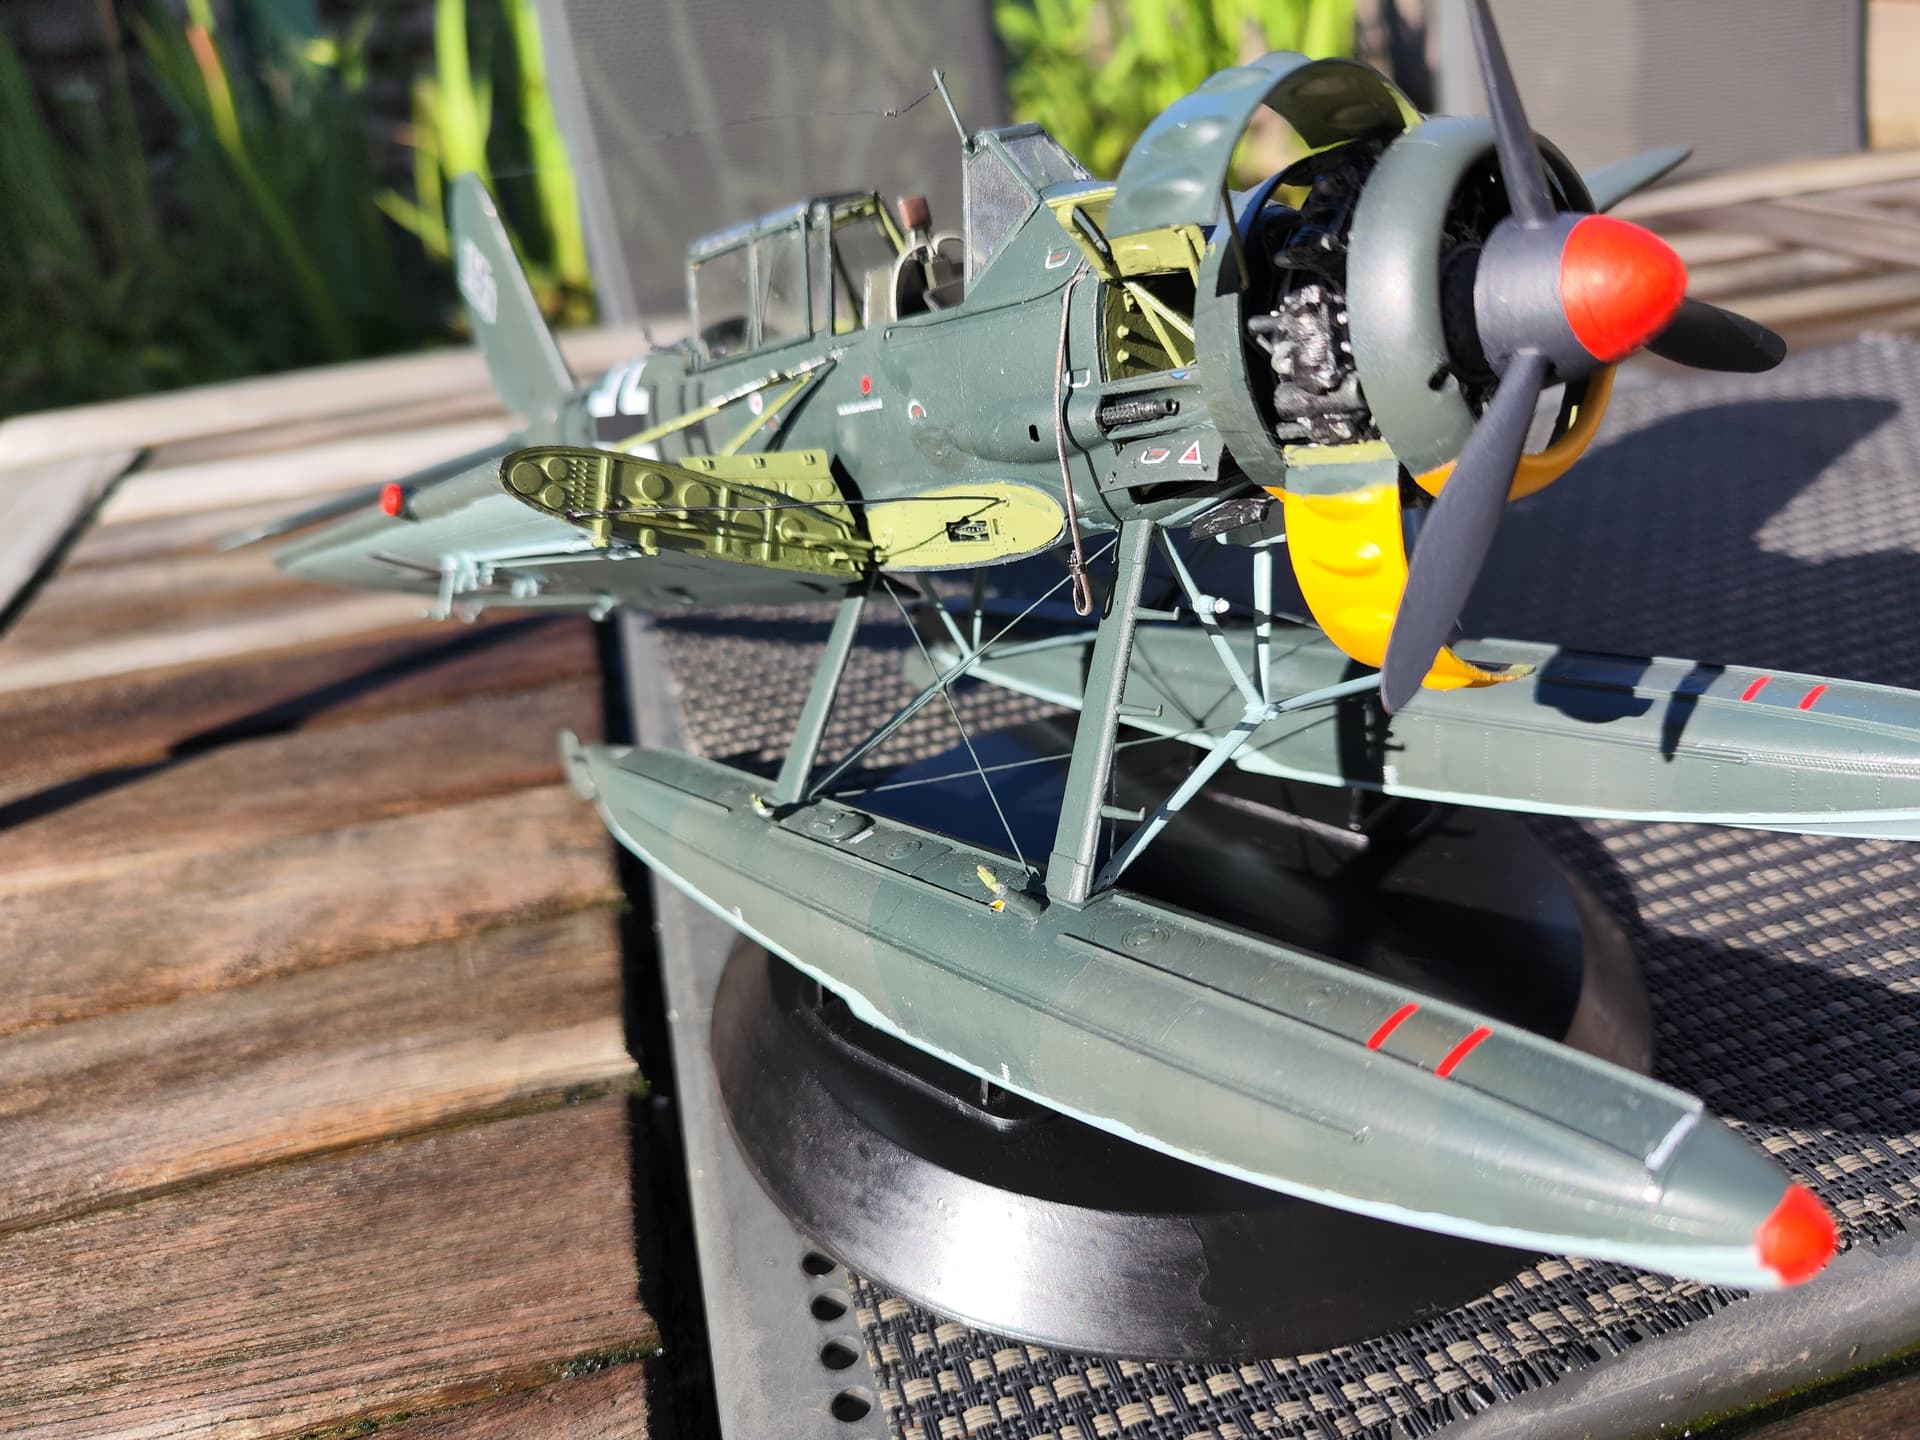
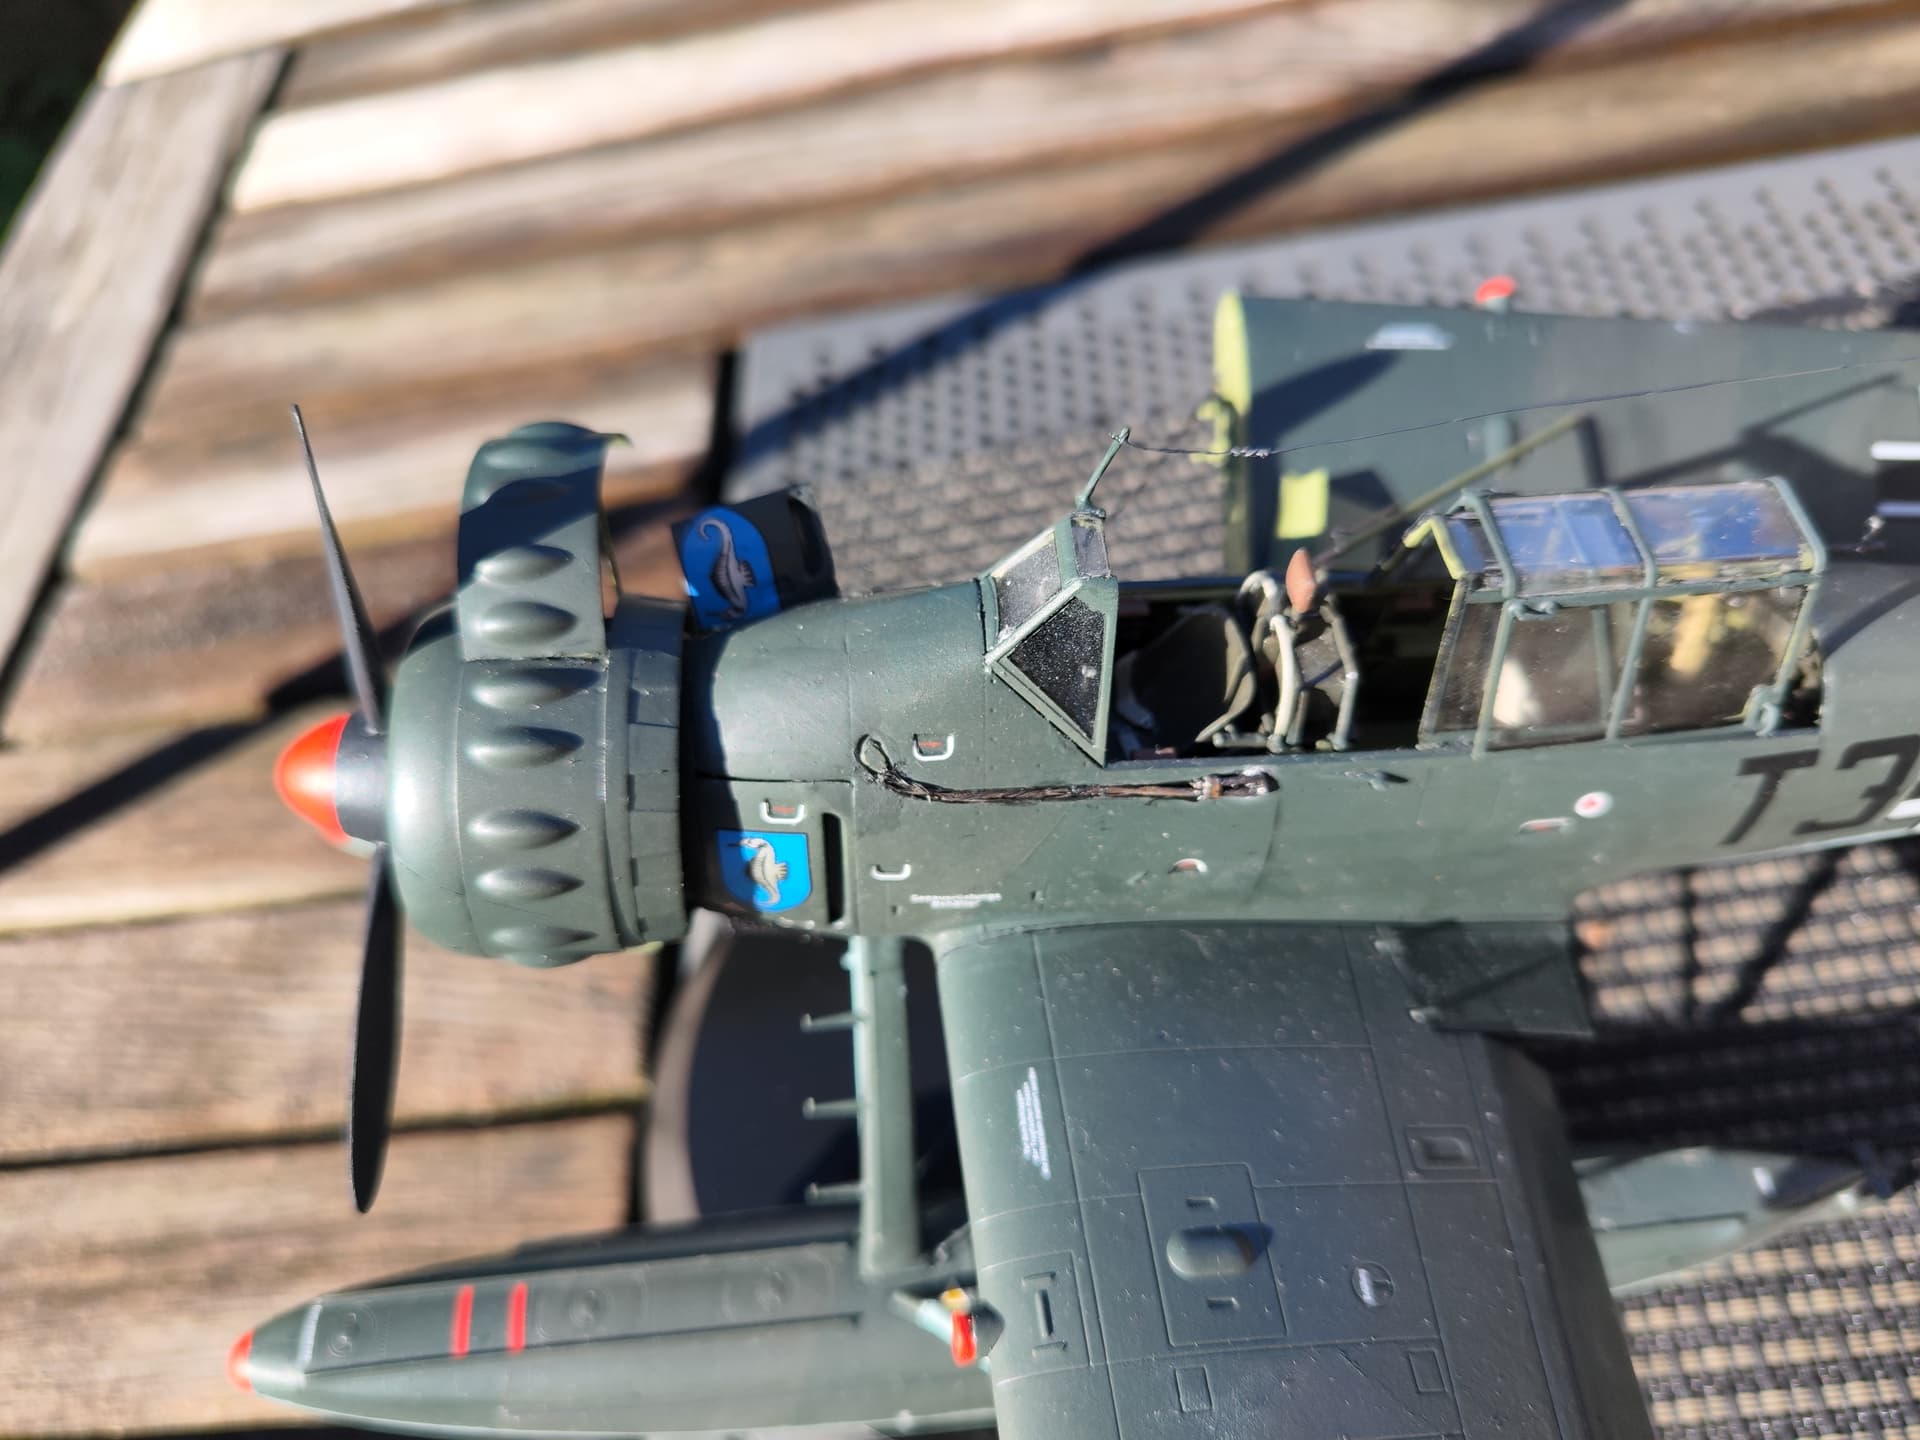
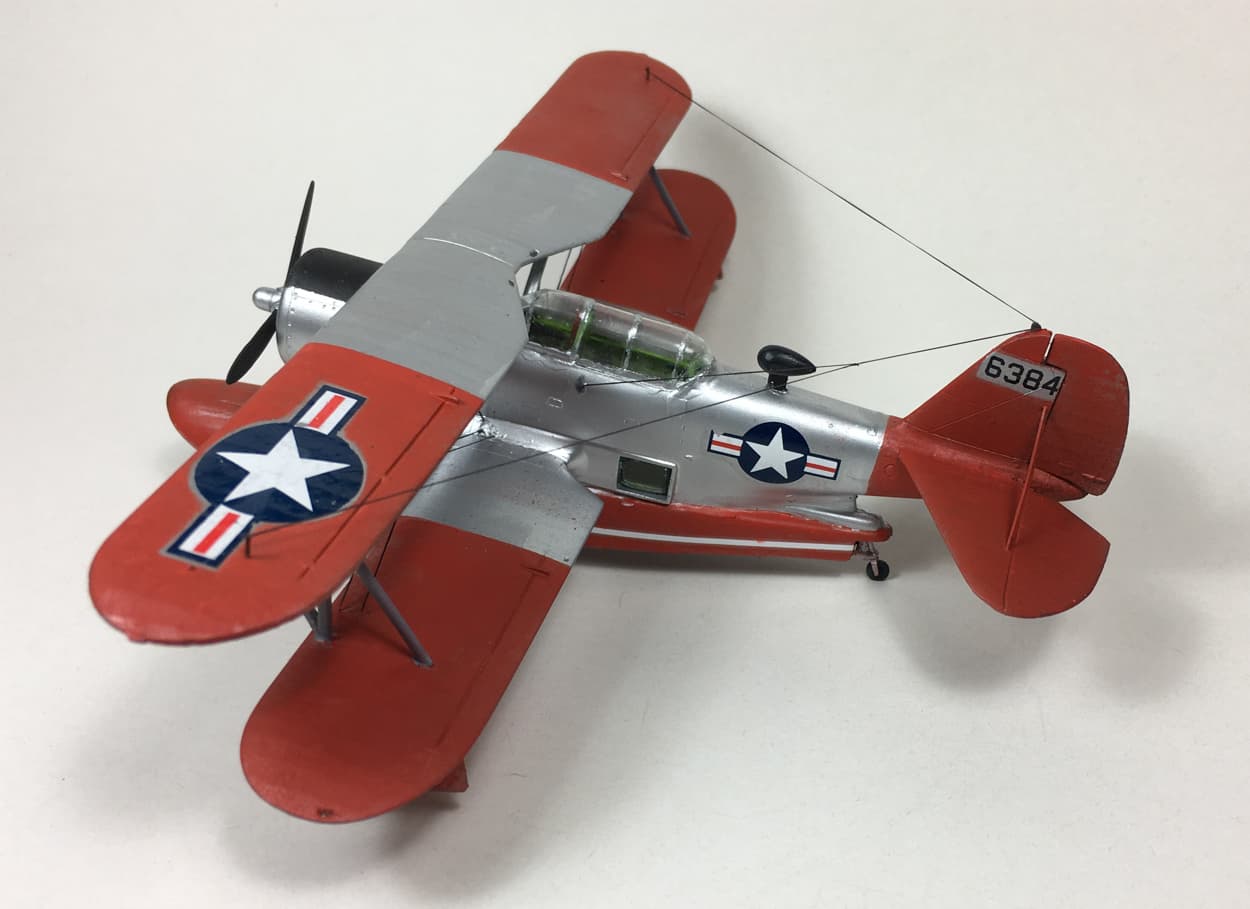
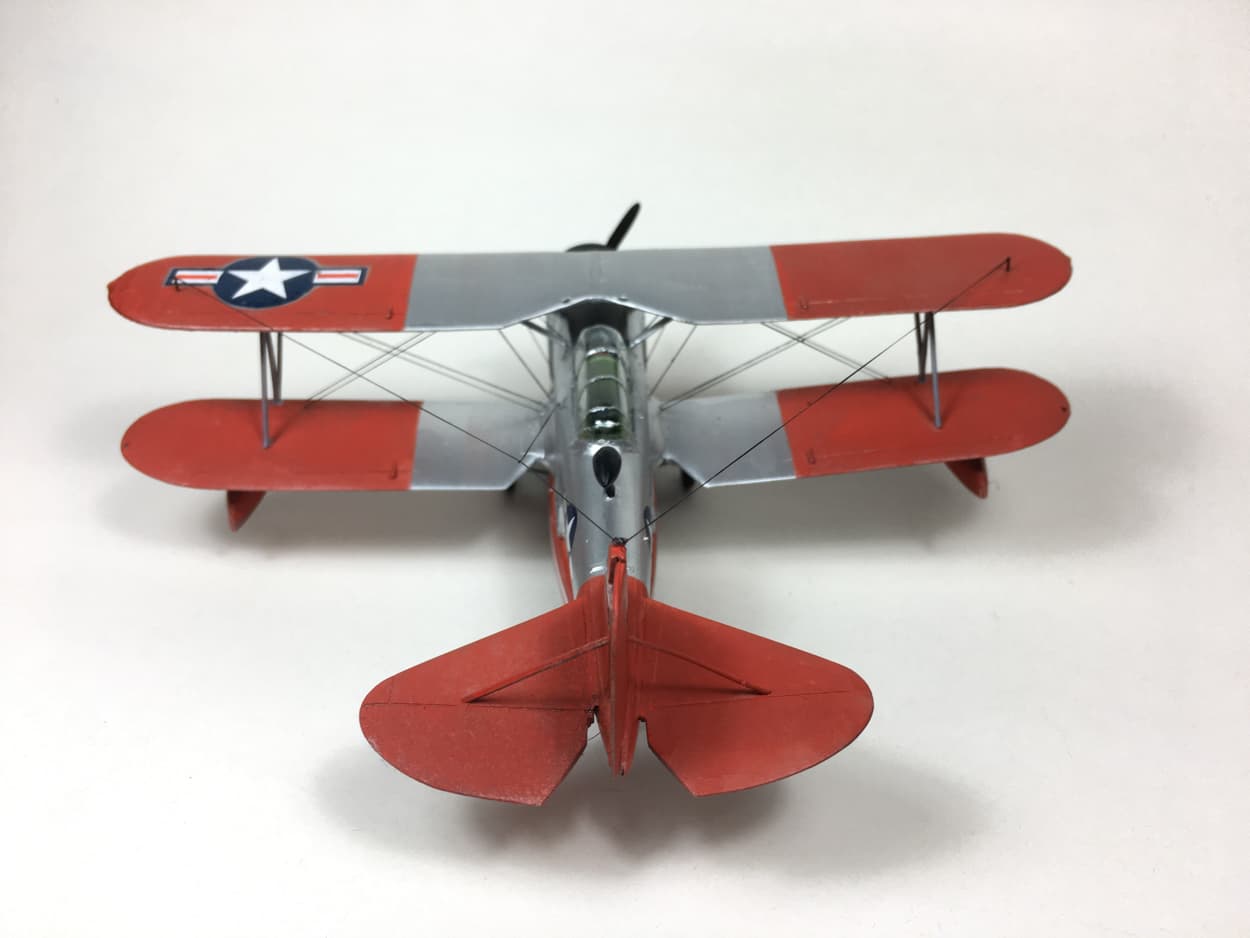
Well, quite with the final dead line in sight I managed to finish my 1:32 Revell Arado Ar-196.
Am I happy with it? Not quite. My major disgruntlement goes to the fact that dust has settled on the layer of matte varnish, even though I sprayed it outside!
Some details could be better executed on my side, but it is as it is…


15 Likes
I like it, great job ![]()
1 Like
How are folks doing? Anybody need a few extra days?
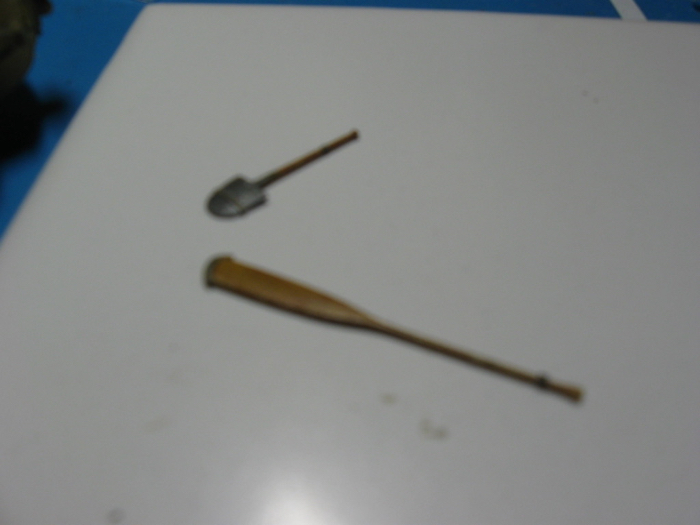
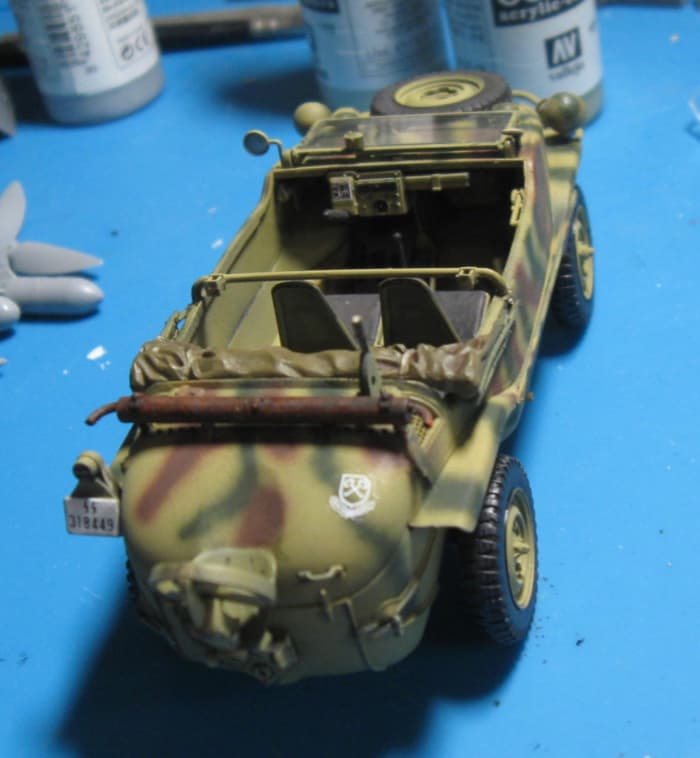
My schwimmwagen is essentially done. I was just starting to attach the shovel and the paddle today and realized the backside of each was somewhat visible so put another coat of oil on them. They may not be dry enough to attach by Monday, but it is otherwise done. Will probably post pics tonight.
You could try to use a hair dryer to speed up the drying… Just don’t hold it too close…
@B-17-peter : Thanks Peter. It’s not bad, but I think it could be better…
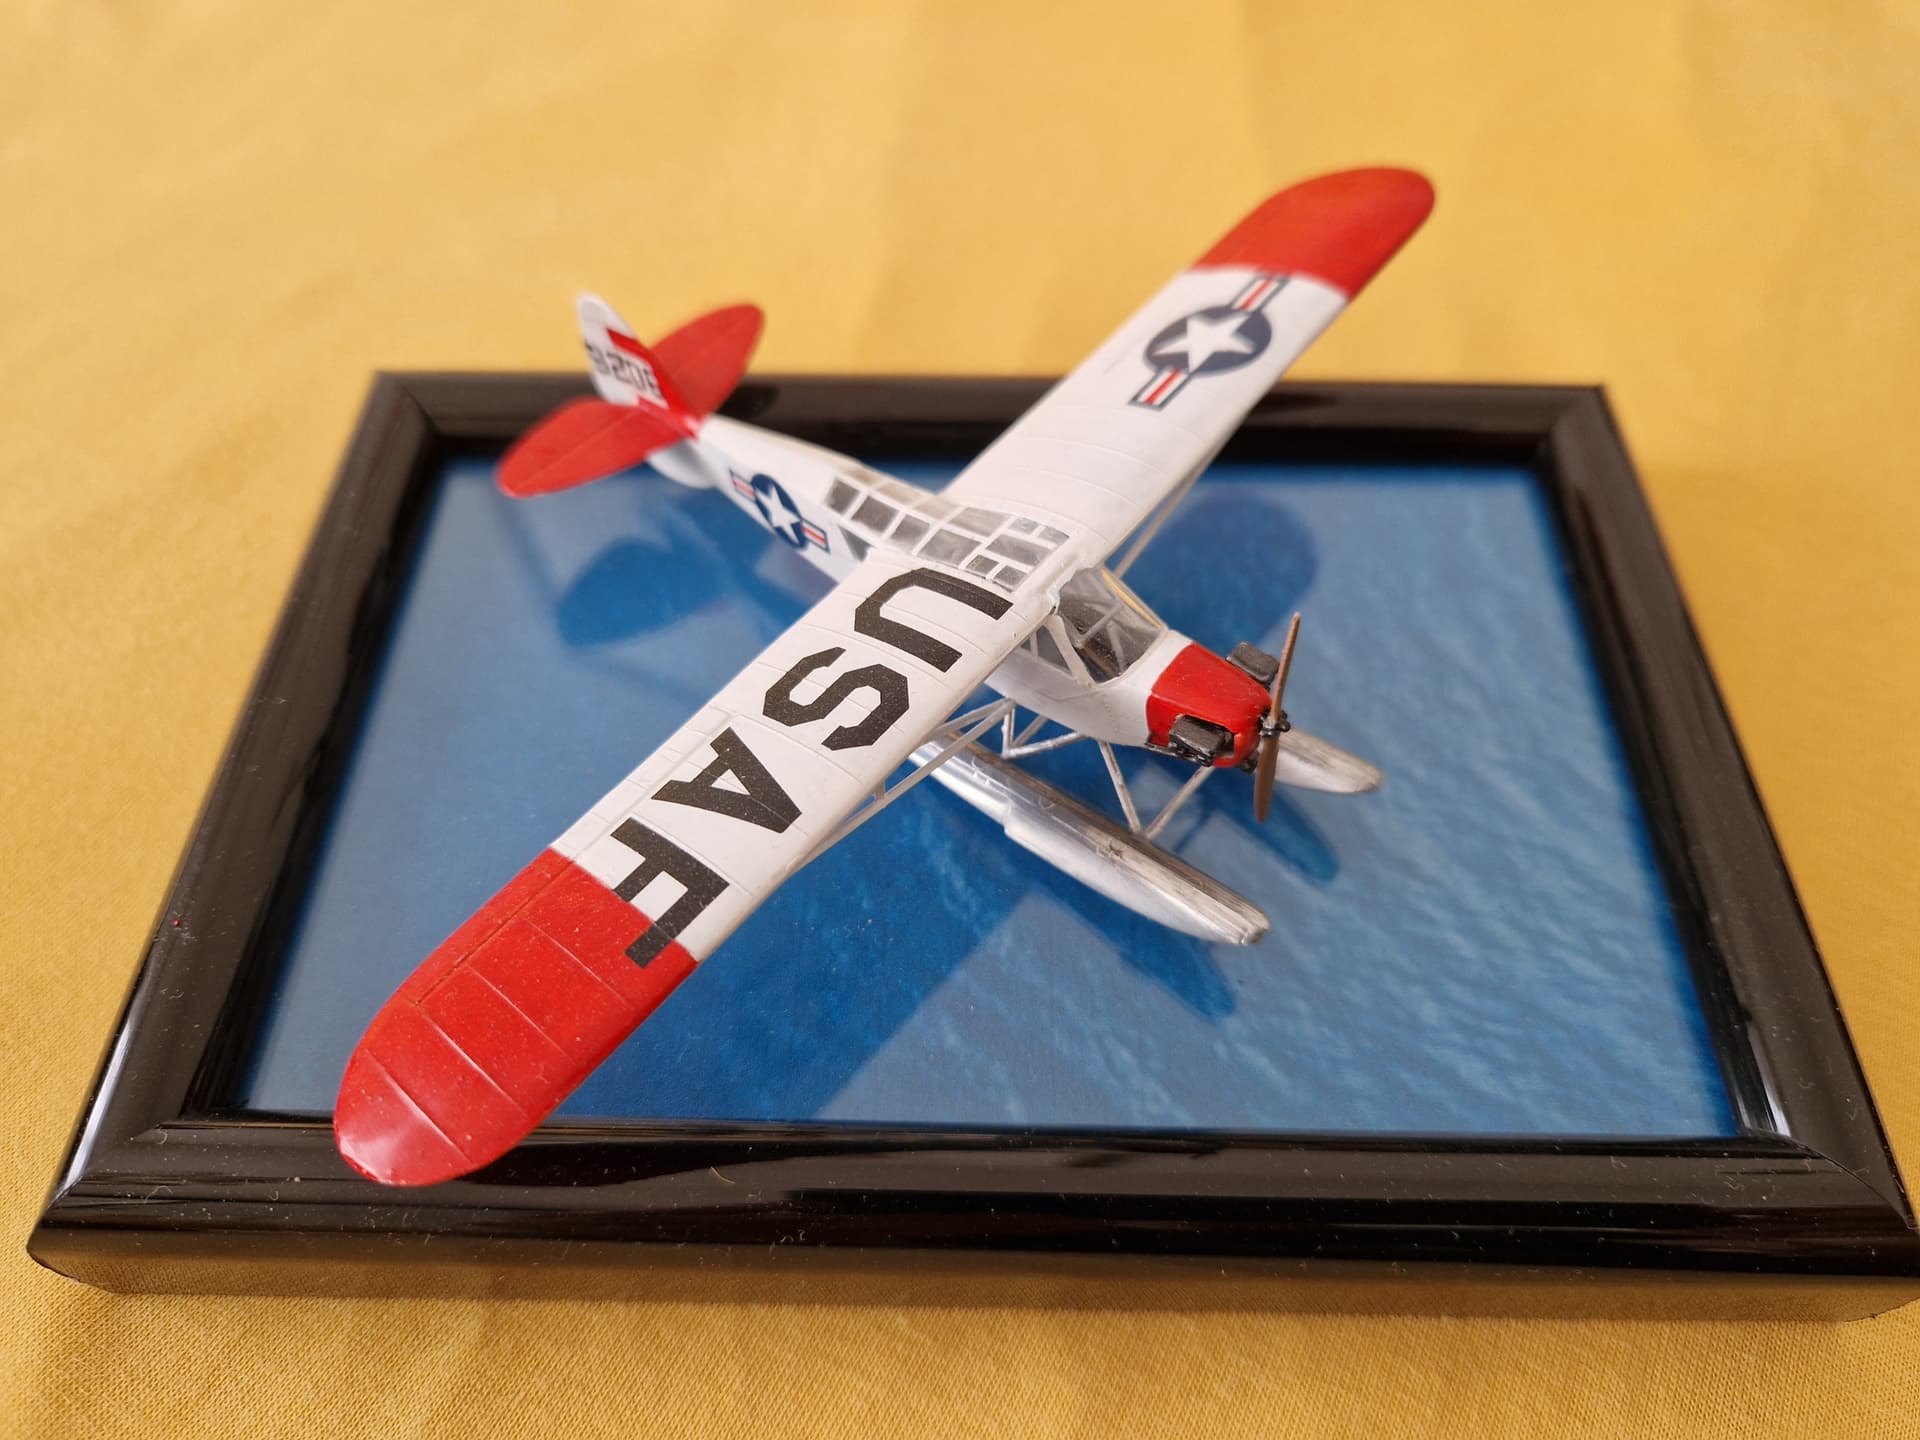
I’m done (sort off) maybe it need a wash but i consider it done.
I took the box out of the stash on the 1st of Jan
The model has a whole lot of resin and canopy to make all sort of version, really nice but beware the decals are,…old
Kit requires some help to get into shape
After the basic build it all stalled,…but i picked it up and worked on the rigging (lots off)
primer
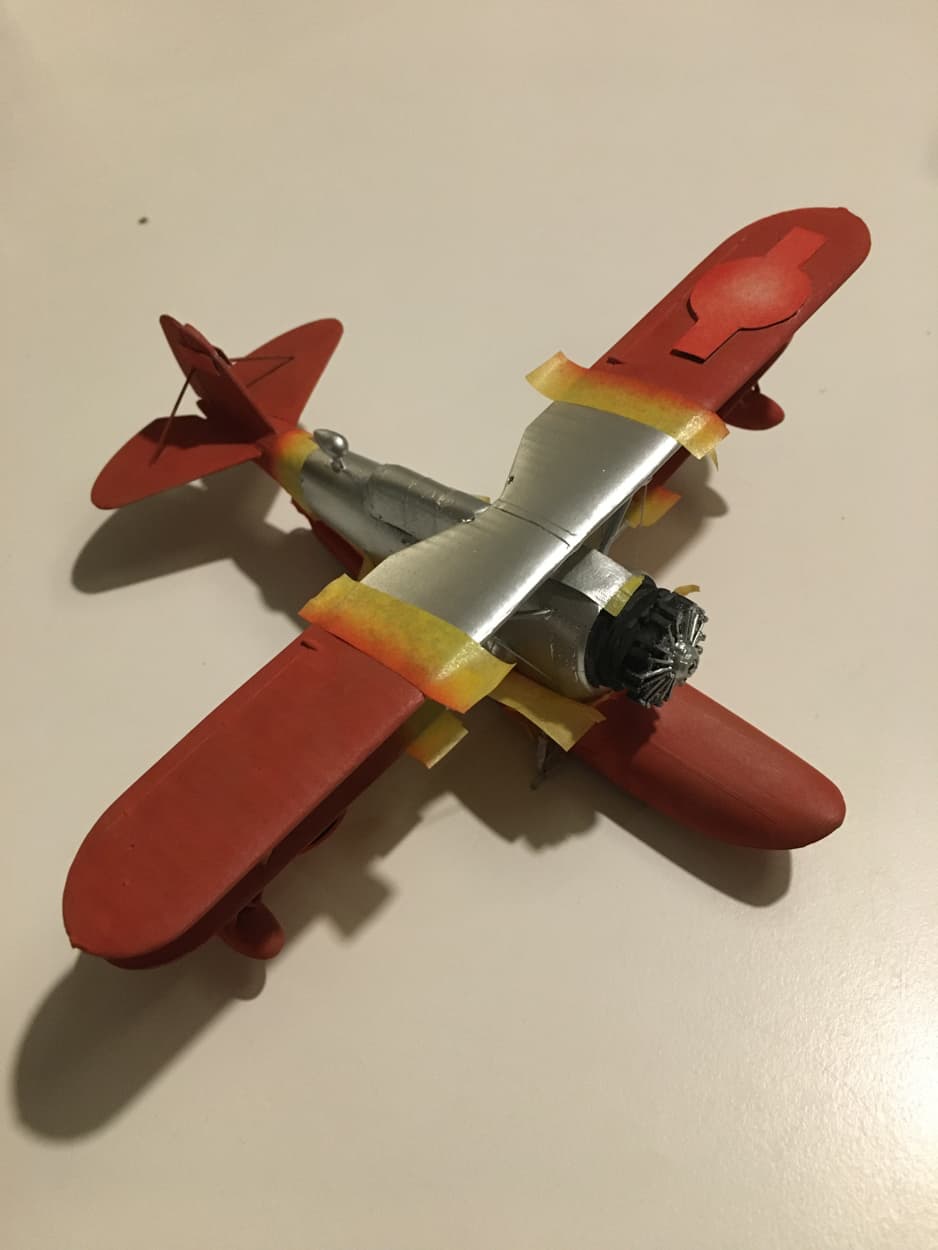
main colors silver (easy) and red
As mentioned the decals,… when i did the bottom one it totally broke apart so i got the microsol old decals restor out,… it required 2 layers but it worked for the upper decal. The wheel decal was ![]() ,… anyway moving on. For the waterline decal i used a general line decals set and the others from the spares box
,… anyway moving on. For the waterline decal i used a general line decals set and the others from the spares box ![]()
i tought the red was not red enough,…so after another layer of thin red brush paint brought it more out. So im done


Thank you for this Campaign
13 Likes
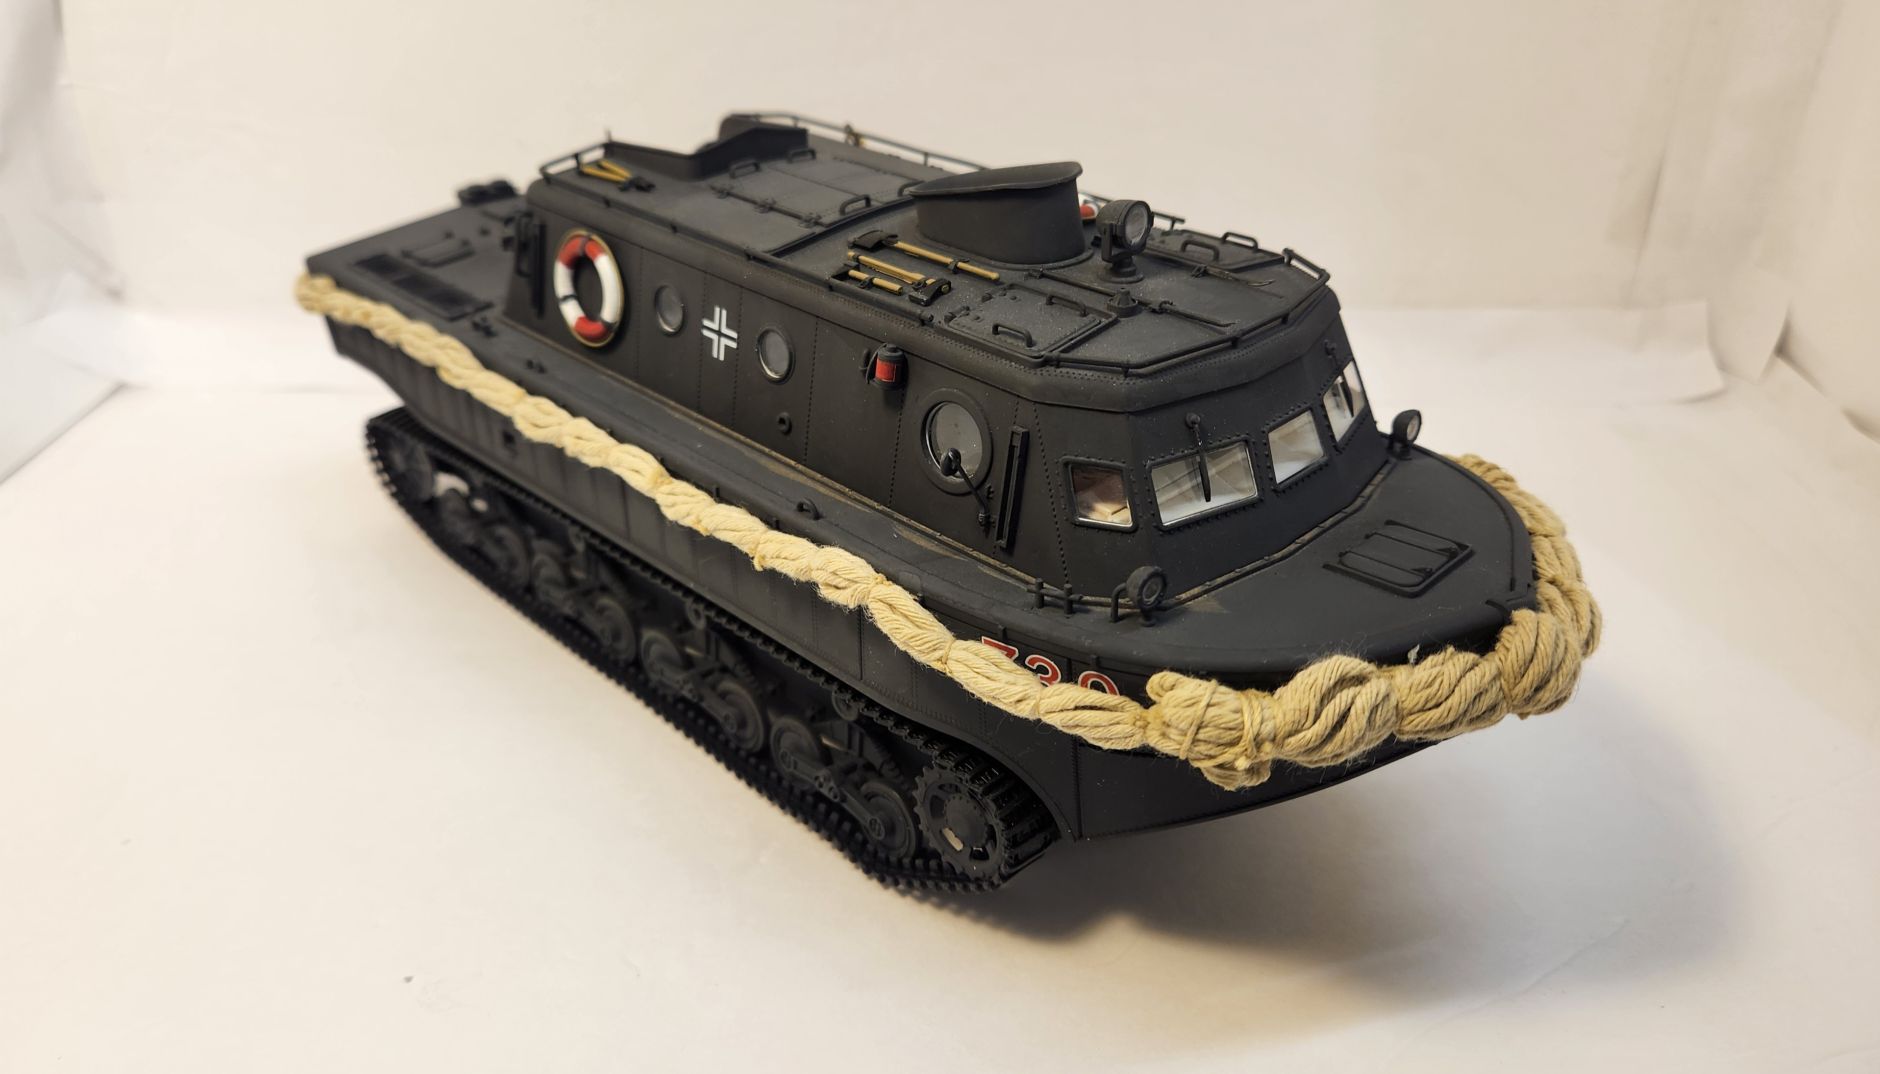
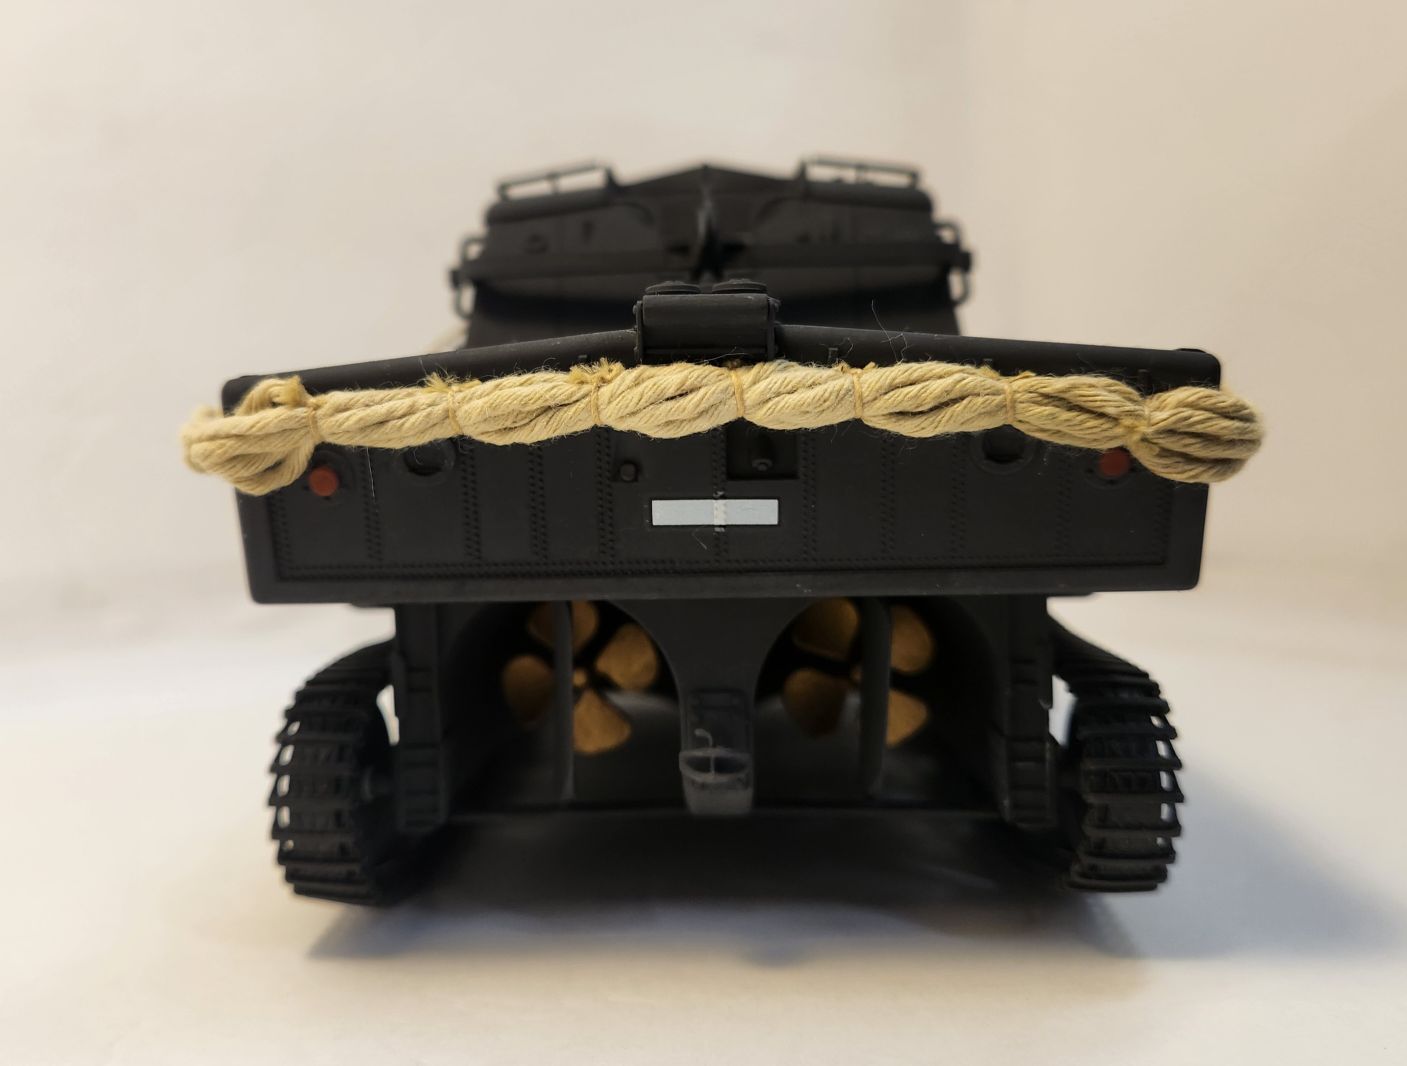
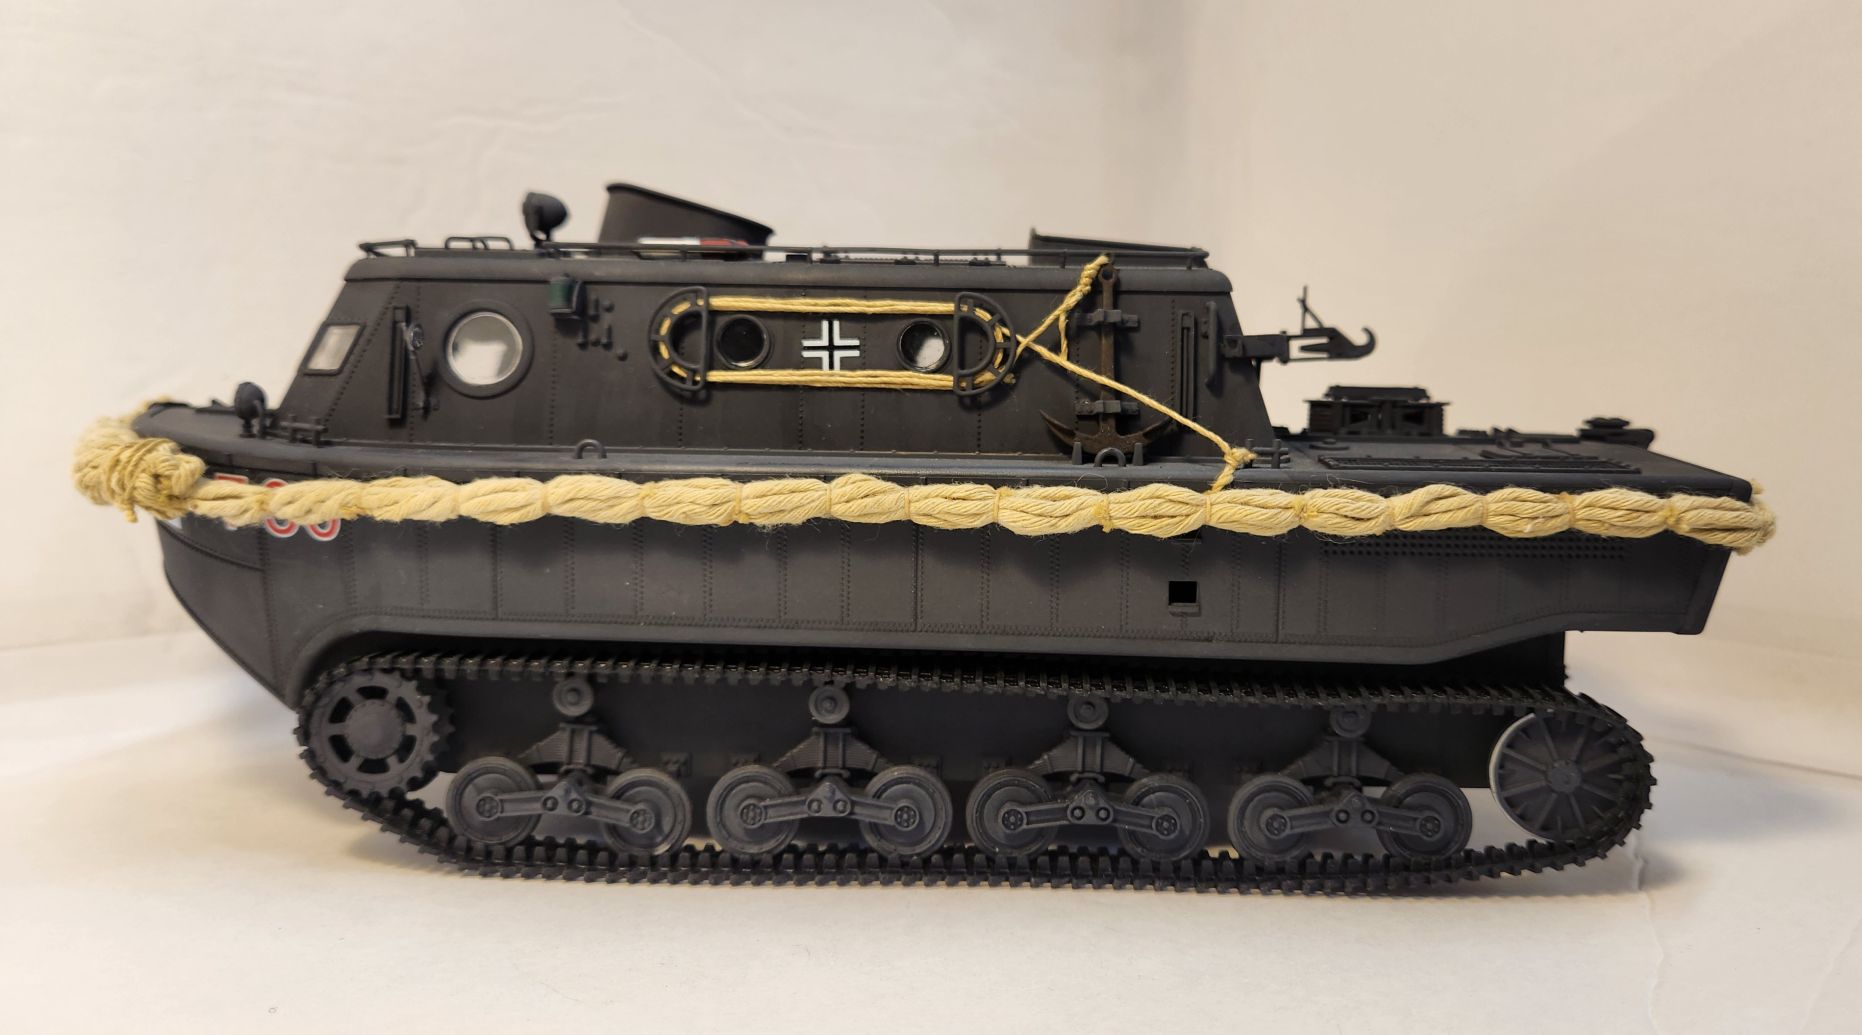
My LWS is complete as far as the kit is concerned; currently trying to find a way to attach the bumper I made without resorting to epoxy or anything else that might mess up the model itself.
Currently waiting for a hurricane to make landfall so I can’t run out to the store, so if anyone needed a couple more days I would not fight it.
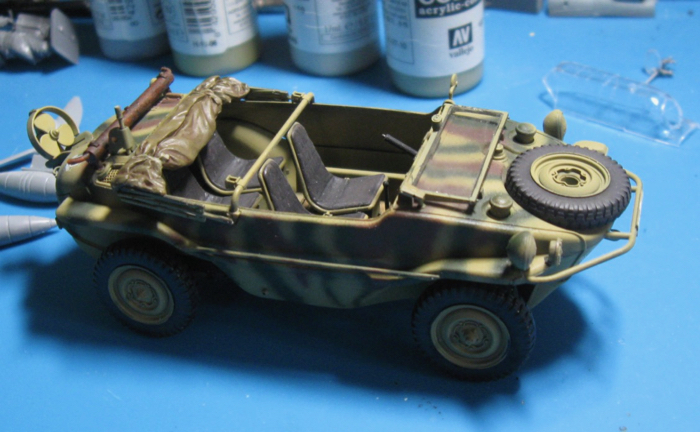
Here is my schwimmwagen. It’s a great little kit. I bought another one. I think on the next build I will try to do something different with that portable tarp thingie. The fit wasn’t really great with the plastic parts. I might use the scaffolding parts (whatever they are called) and fashion the tarp thingie itself from TP.
Now you might ask, how can I say it’s done with a steering wheel? Well, I haven’t decided on a driver for this (or not) and don’t want to attach it without a driver in place. The shovels needed more oil on the back and that is now drying, so I’ll glue those on in a couple of days.
I also deliberately left the cover off the exhaust. It seems to be missing in a fair few photos and it gives the ability to show off the rusty exhaust that way.
But here 'tis:

11 Likes
Looks good Erwin, congrats. ![]()
Thank you very much Ryan!!!
1 Like
Okay, I am calling this one done for now. I want to make a base for it but haven’t decided yet on a format (beach/river’s edge/street) so I have not really done much in the way of weathering yet.
I may make another bumper as this one did not turn out as I wanted – needs tightening up. This one is just Modge Podged on. I also have to mend the left idler as it is not handling the pull of the vinyl tracks.


13 Likes
Lighten? I’d rather darken the bumper…