OK, folks, we’re live, it’s winter, let’s see those skis ![]()
I’ve been really anxious to start on the Bird Dog but wanted to get the bench cleared off of another project, an early wake up this morning and I’m studying the build plans and came across the first hiccup in step 4 . . .

. . part 17F is mis-labeled on the parts tree . . .
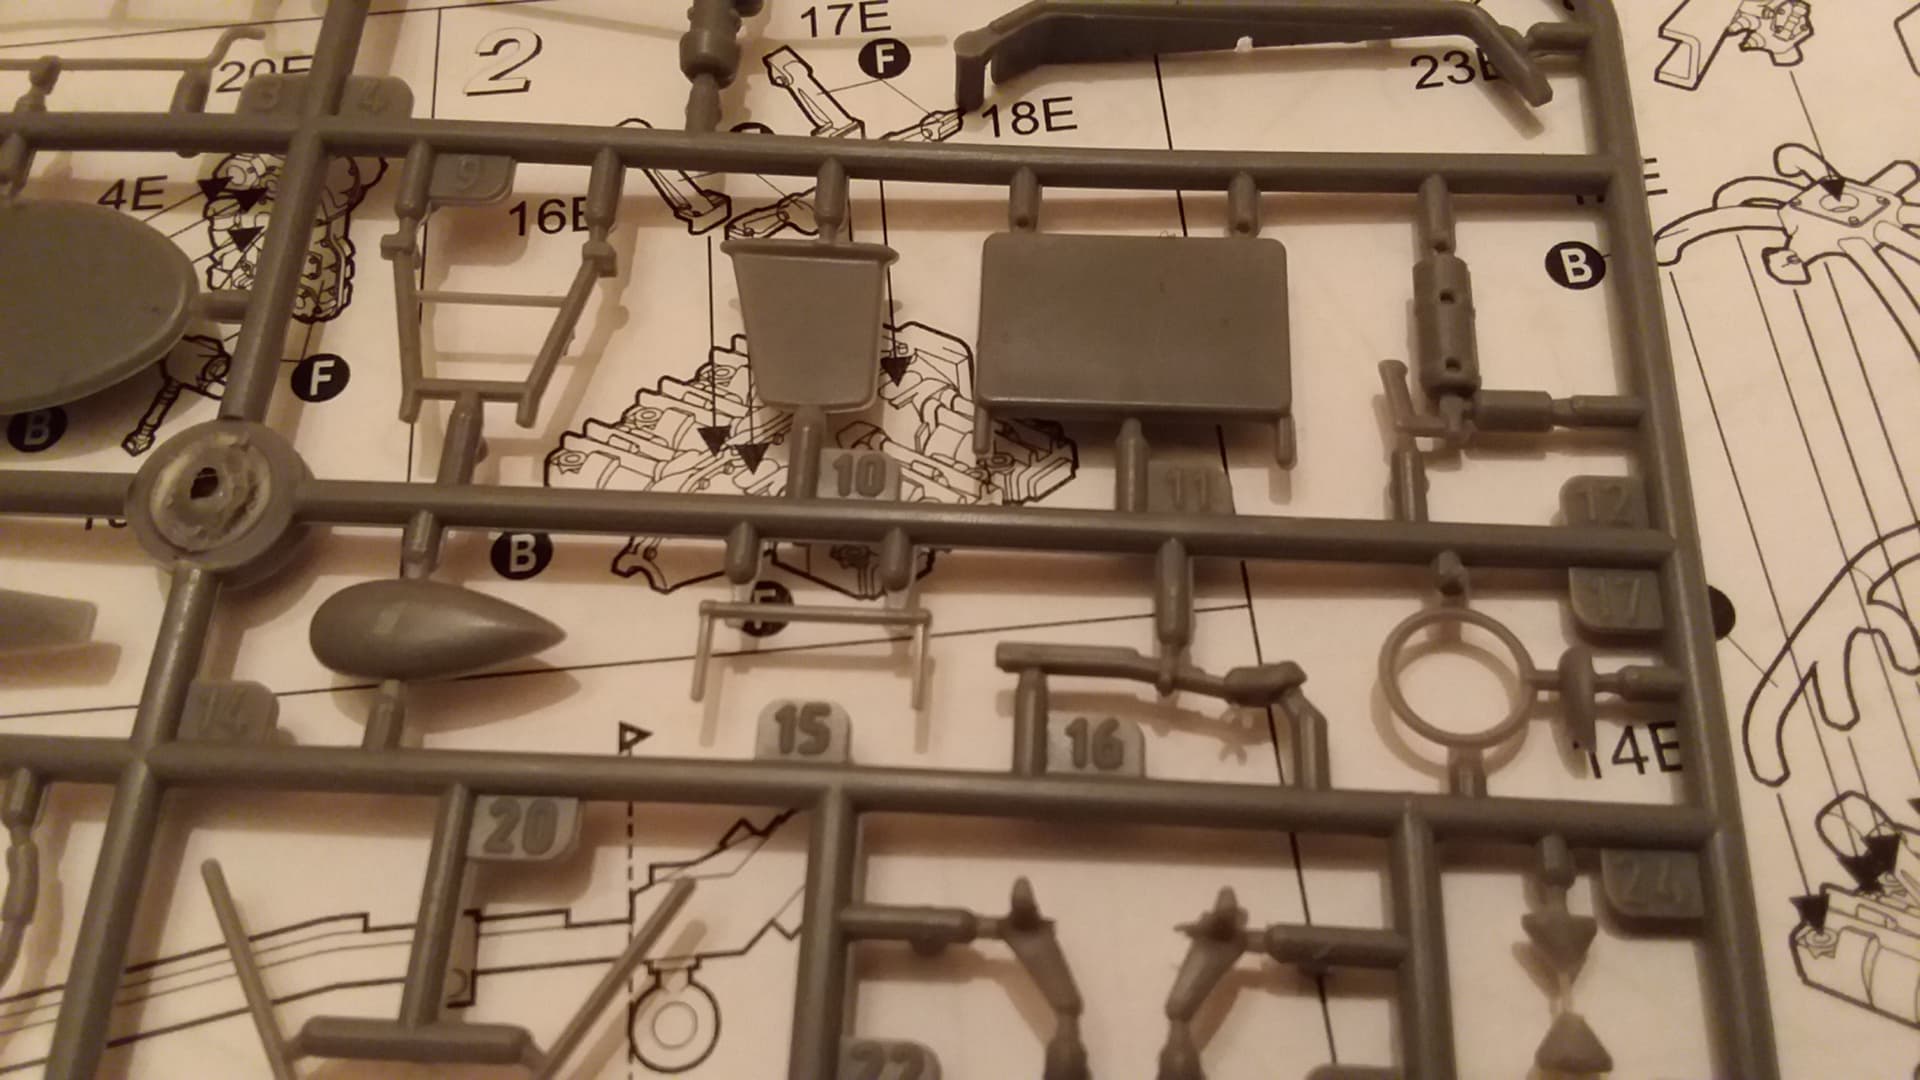
. . . as 16F, okay, easy enuff to figure out but I cannot find where the part actually goes. Ruh Roh, I may be in for a hard row to plow if this is any indication of what’s ahead.
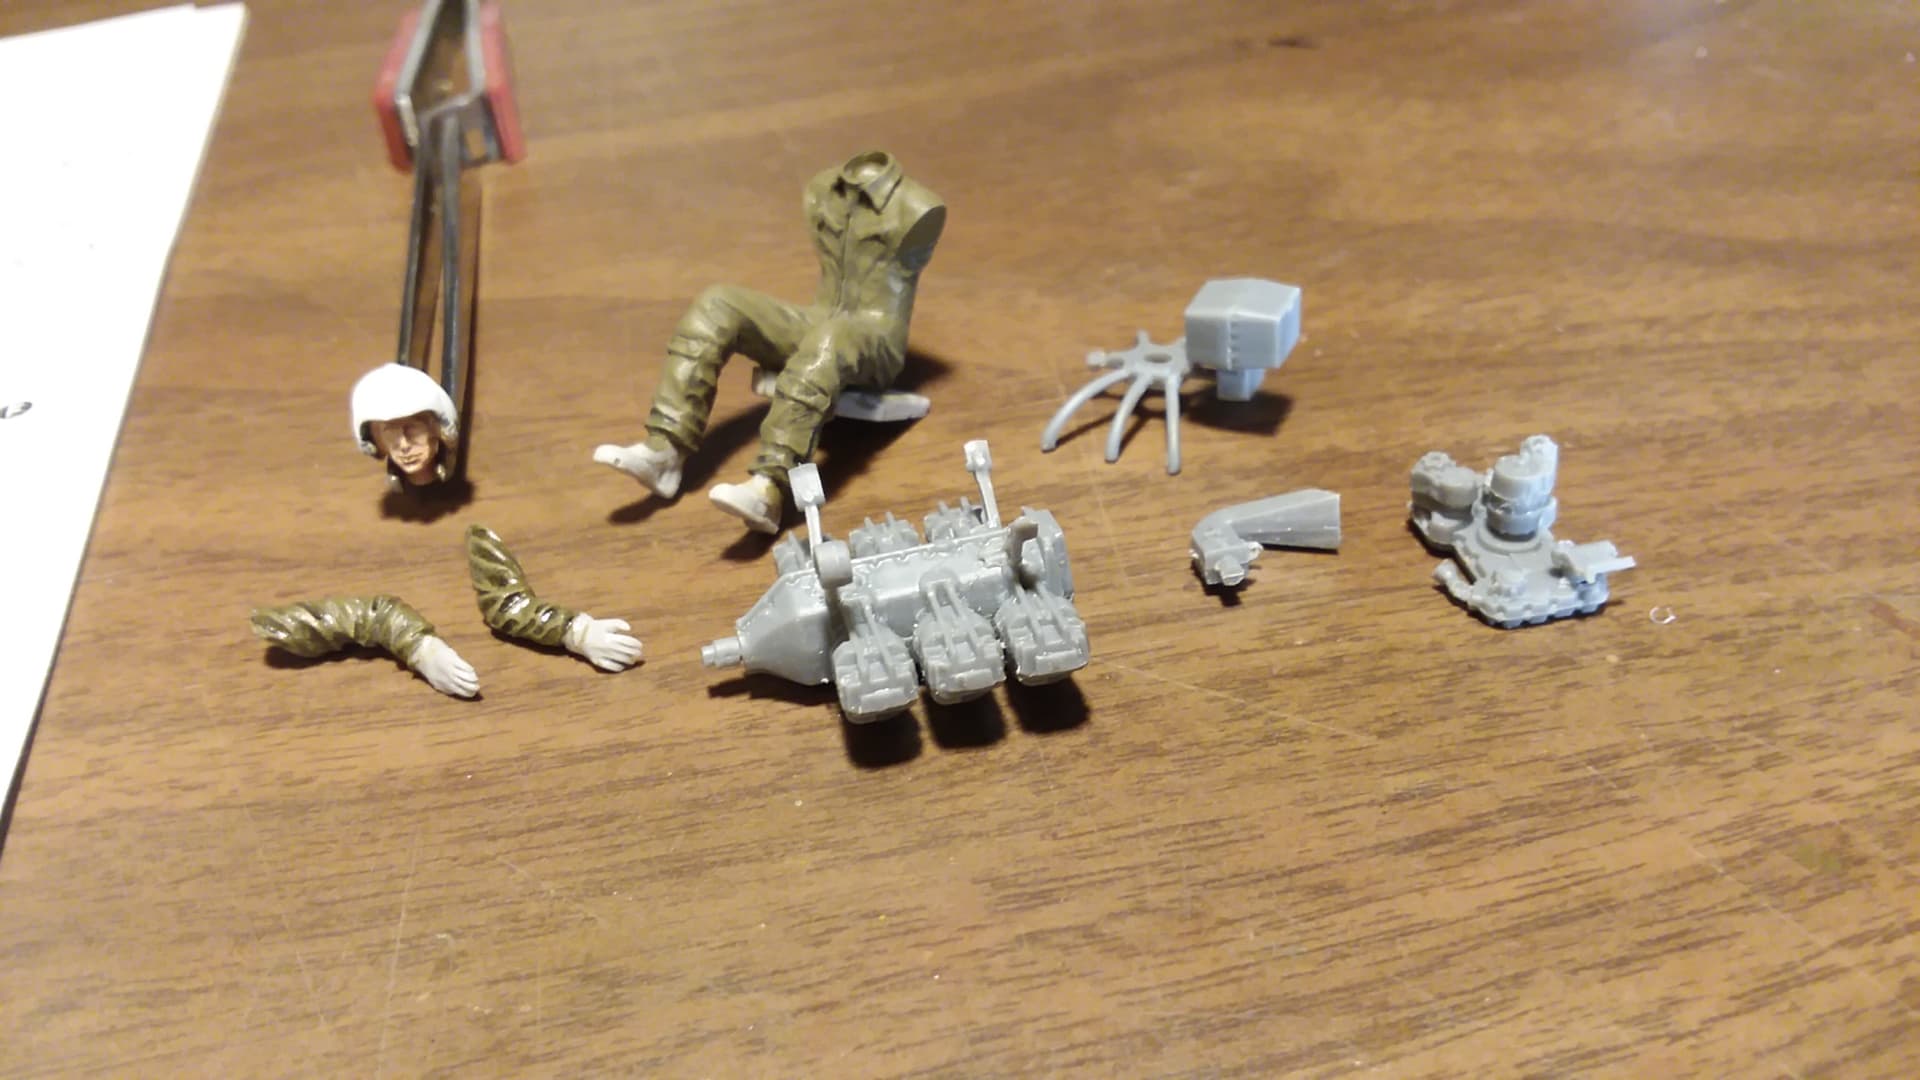
Well I’ll get started on the pilot this morning and tackle the mysterious part later.

One of the more interesting details of this plane are the servos and cables on the top of each pontoon that connect the float’s rudders to the flight controls, I couldn’t find a picture online that would let me capture the image but it’s an interesting feature, far above my skill level though.
Been a looong time since I tried to paint a figure, this could be a make or break situation.
Cajun ![]()
5 Likes
Hi Everyone,
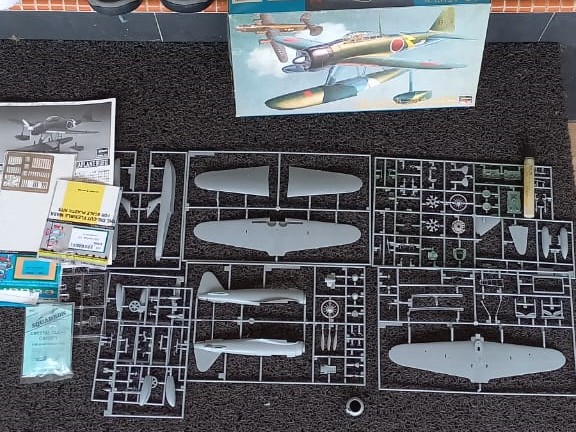
Seeing some very interesting stuff underway here, I’m looking forward to see how they shake out! I’ll be tossing my hat in the ring, with Hasegawa’s A6M2-N “Rufe”. I’ll be doing a mostly out of the box build, and give it a green/grey camo and include the lightning bolts for the scheme of the 934th Flying Group on Ambon Island in 1943.
Till next time, stay safe and wash your hands!
9 Likes
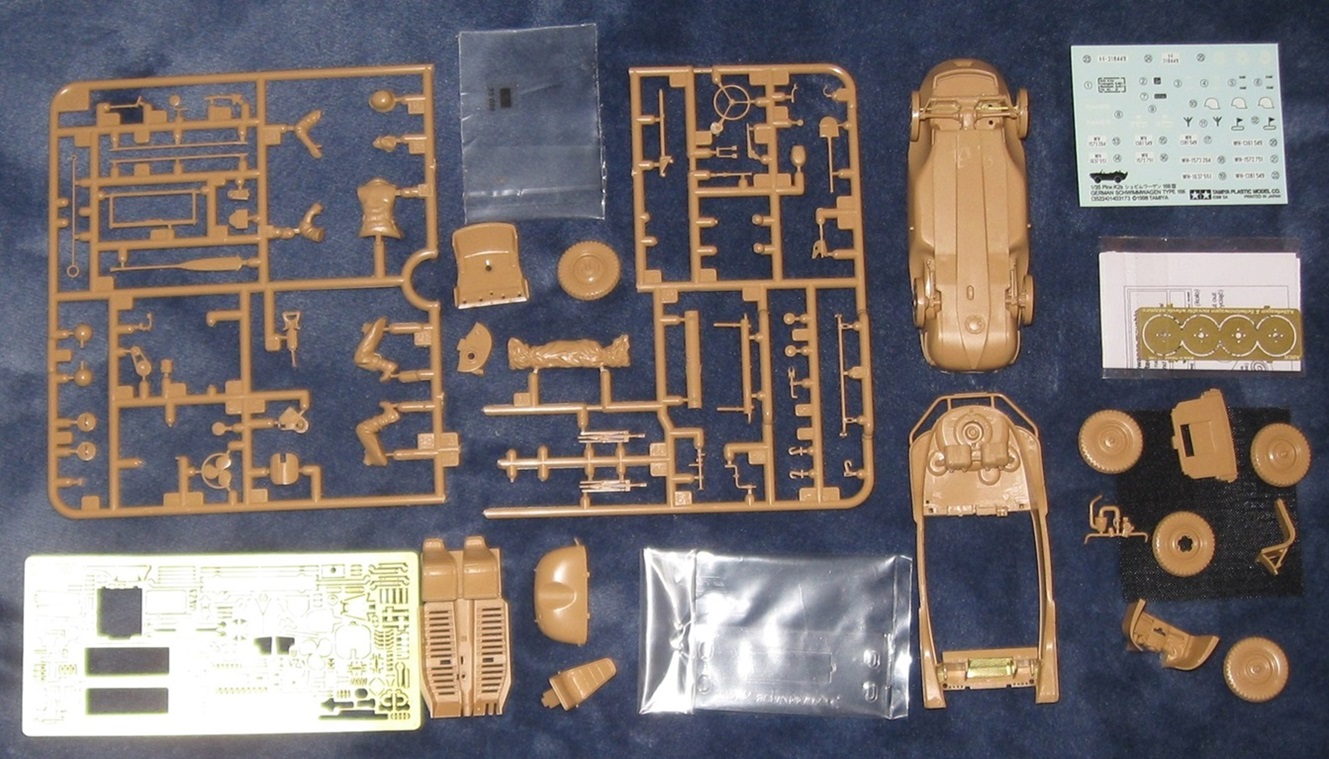
Making a start on Tamiya’s 1/35 Schwimmwagen. Just some parts removal and clean up.

7 Likes
Finally cleared off the work top and spent some time getting the Bird dog build going.
Debated on installing the power plant since the cowl will be buttoned up and decided I 'd have to for sake of the exhaust pipes.
This little engine is a jewel and just begs to be detailed wth a wire harness and hydraulic plumbing. Lots of flash though between the cylinder jugs that took a couple hours to clean out. If you’ve ever built a Roden model you know they have a unique approach to their assembly scheme, not known for locator pins and when they do provide one there’s no receiving hole, go figure.
All that said the detail is exquisite but petite to the point of fragile. I really had to pay attention to the instructions and constantly compare parts to the diagrams.
Thanks for taking a look, time to get this GB rolling!
Cajun ![]()
5 Likes
Yeah, I need to get started on mine, but I have a bunch of things to clear off and finish up so it may be awhile before I start on anything new. I really, really, need to clear up my too many already started projects.
Having said that, I’m very glad to see you helping move this along!
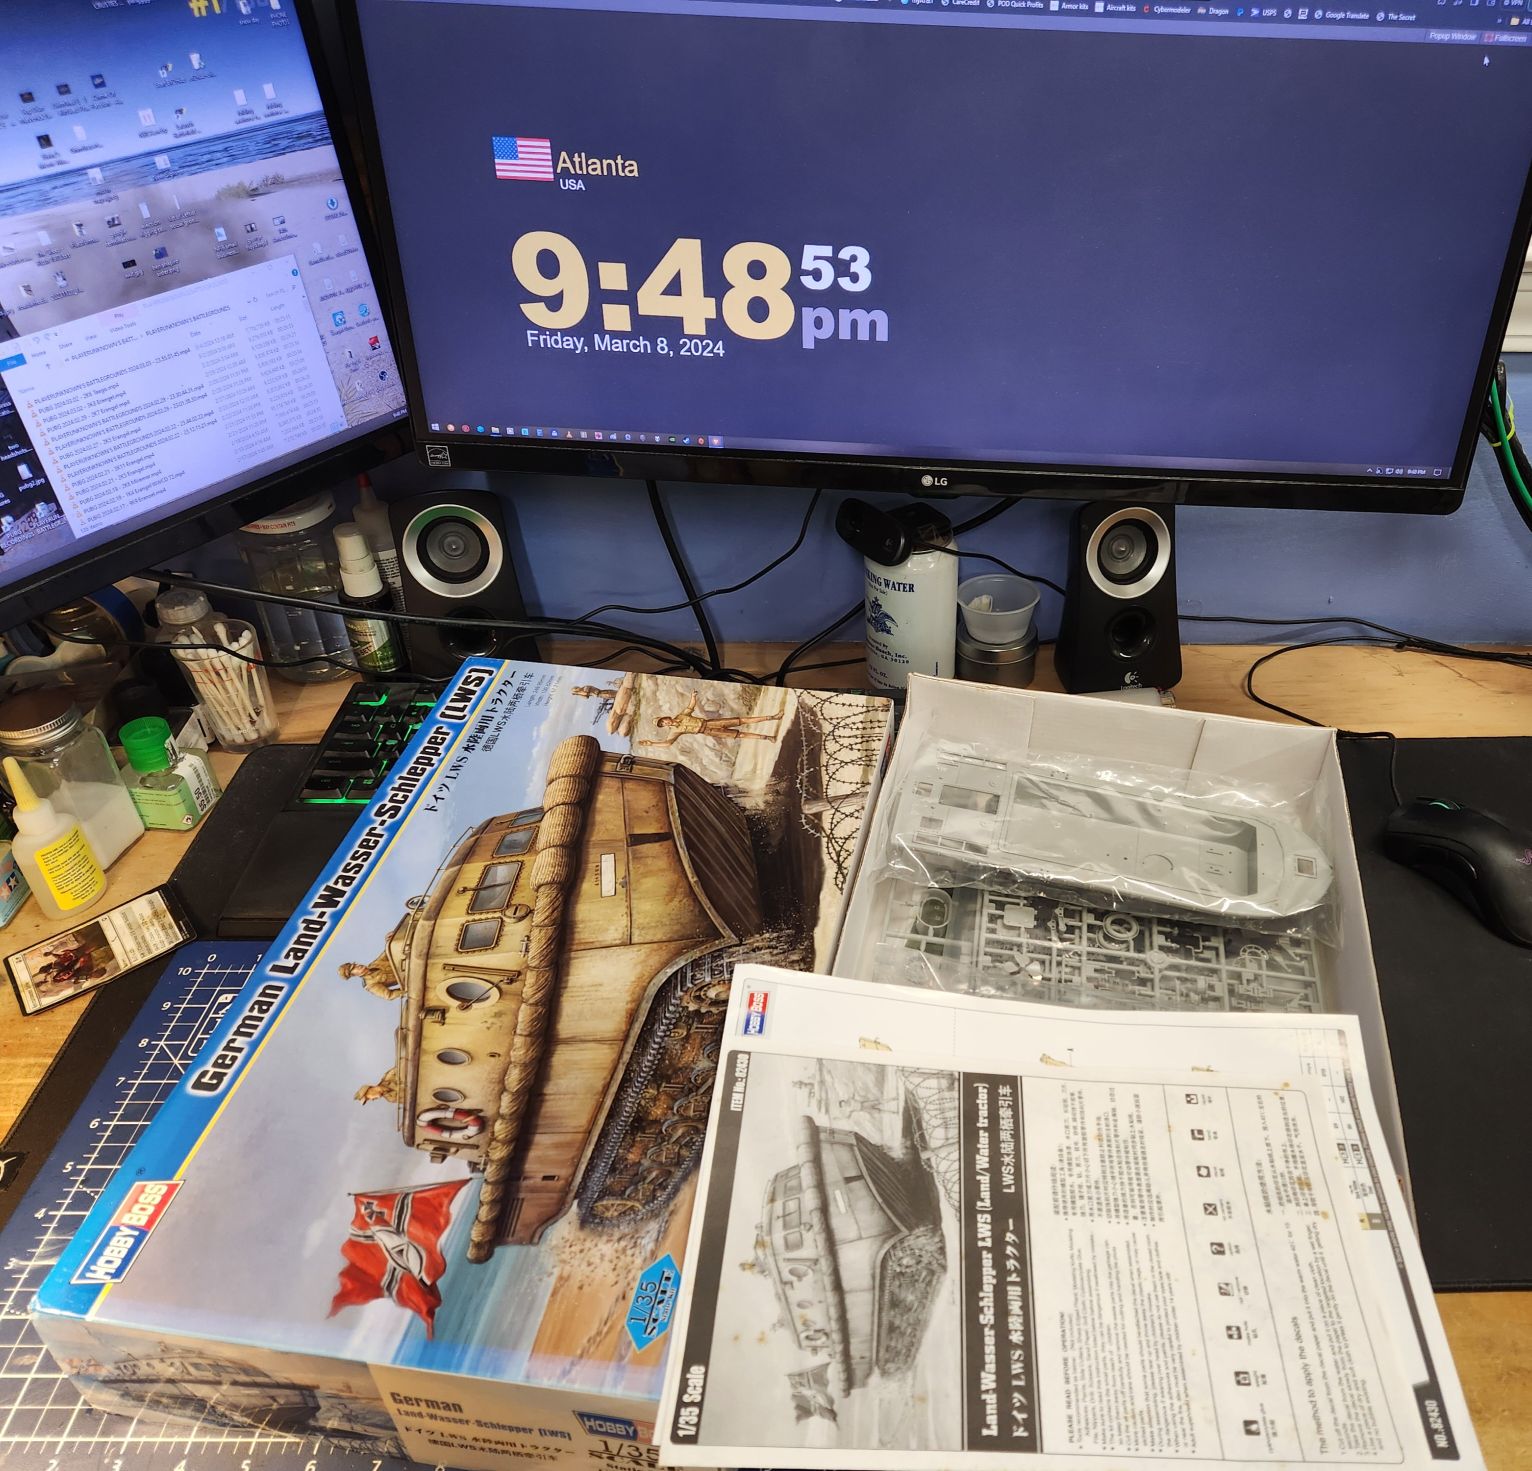
Okay, finally getting to this. Since the kit forgot it, I will try my best to replicate the bumper that goes around the hull. Yay. I will entertain any suggestions on how to achieve this.
3 Likes
1 Like
lol I actually found that video about an hour before you posted it.
Thanks
2 Likes
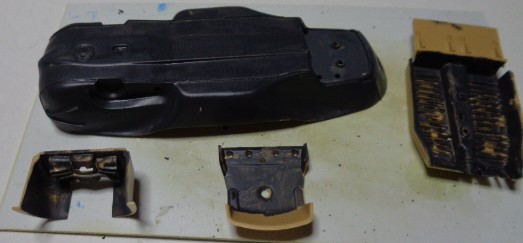
If previously started models would be acceptable I gotta “shelf queen” waiting in the “wings”? It is so close and yet still so far. Would like to build a base for it as well. Something about doing maintenance along the beach, calling it “Tide’s Out.”
Arado 196B

1 Like
No objections on my end, I’m learning (again) I might not be smart enough to build a wingy thing, just can’t get the mojo to perculate on this one. ![]()
Cajun ![]()
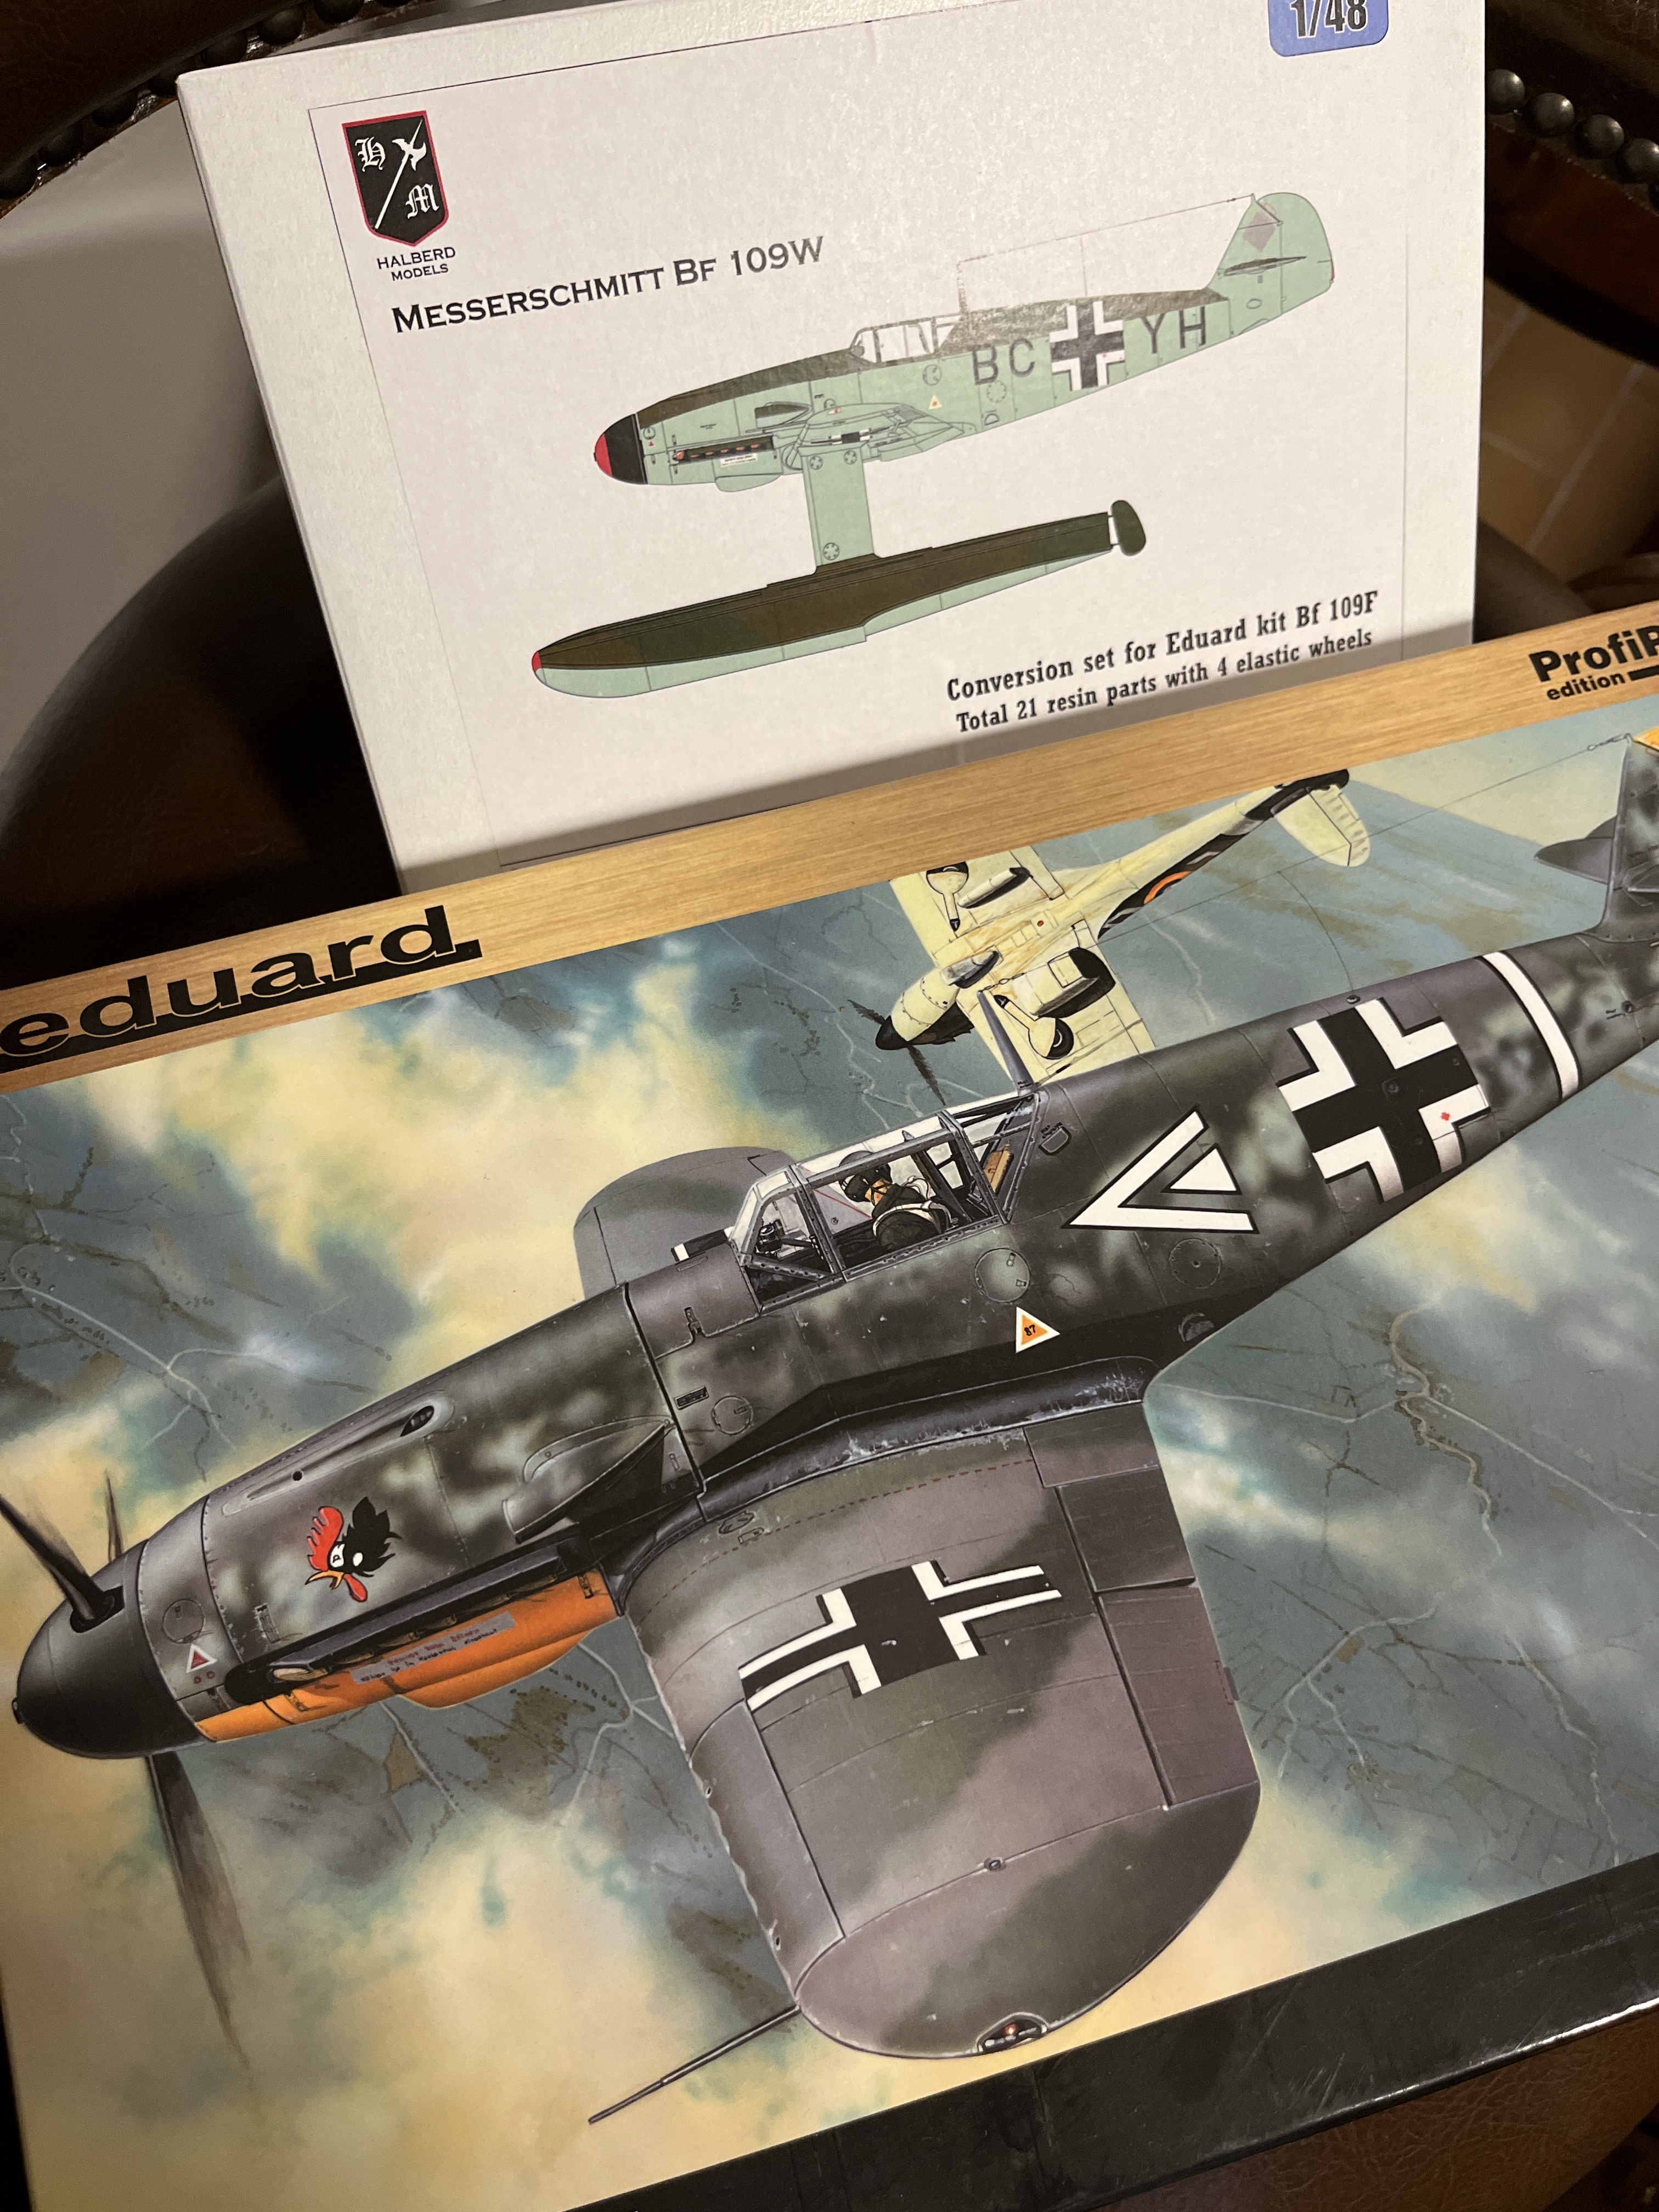
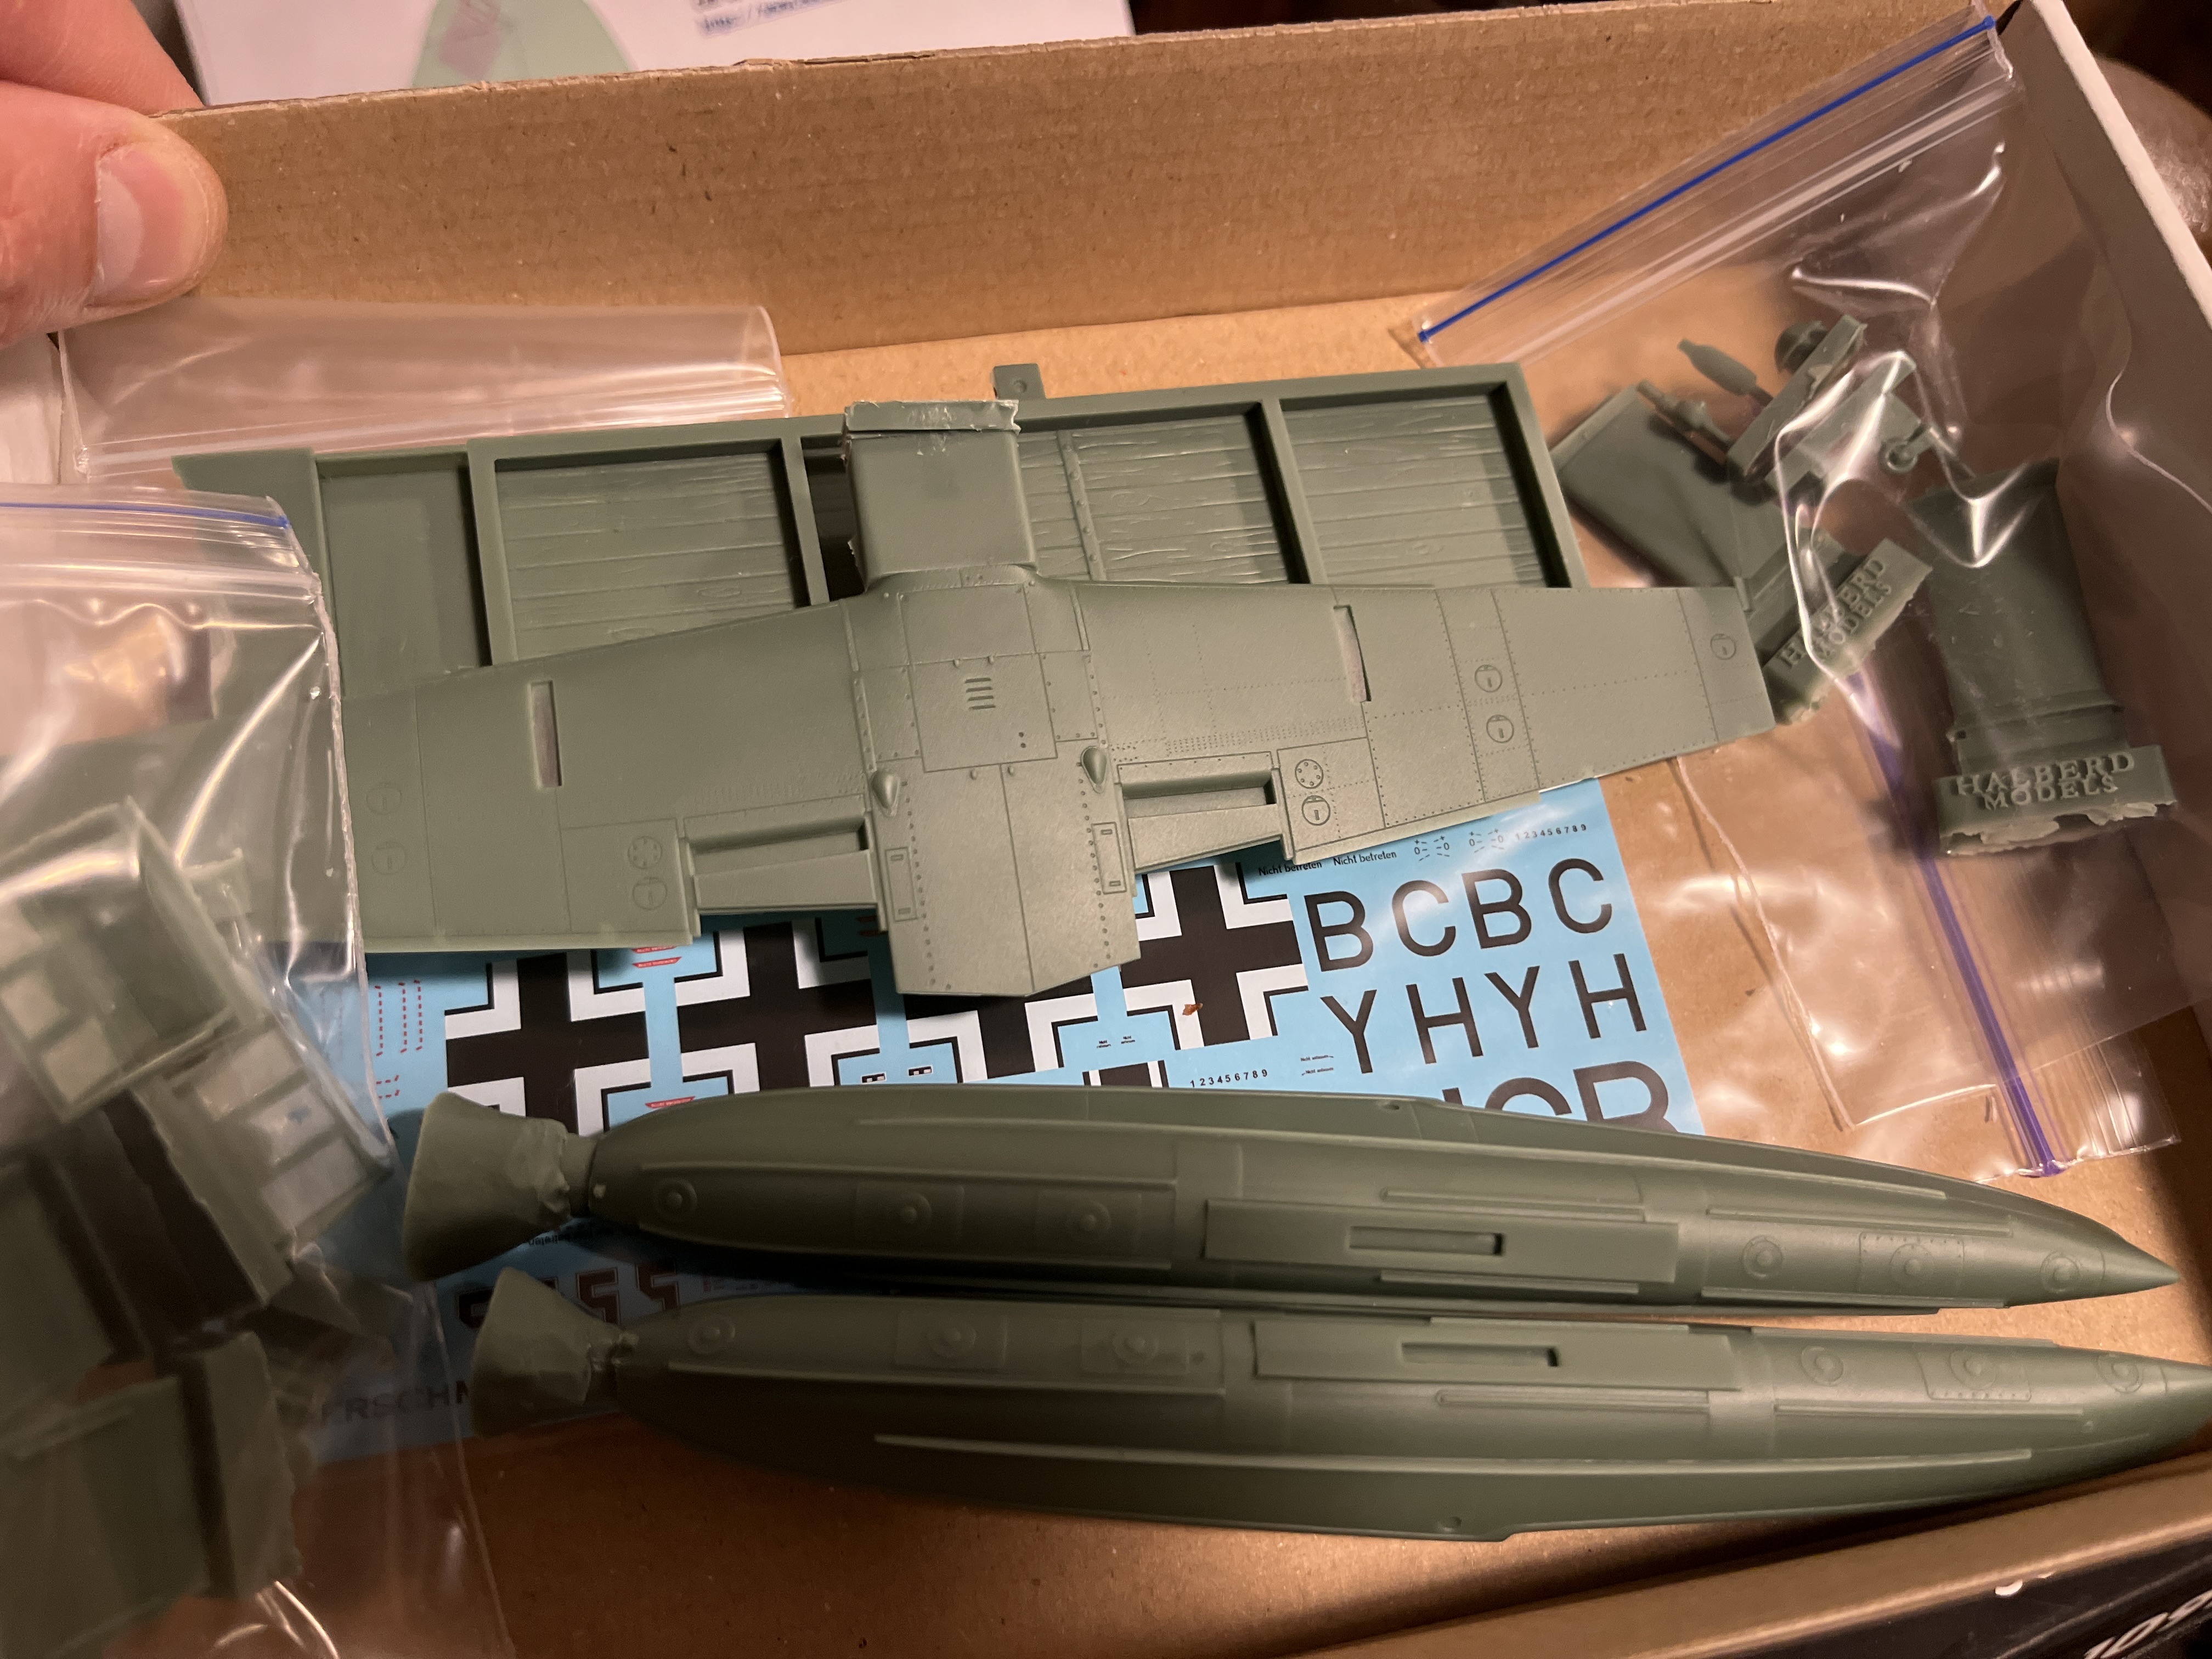
I am getting ready to start my Bf 109W. Crisp and beautifully cast resin parts and an Eduard Bf 109. Should go smooth.
Really looking forward to this one. ![]()
![]()
8 Likes
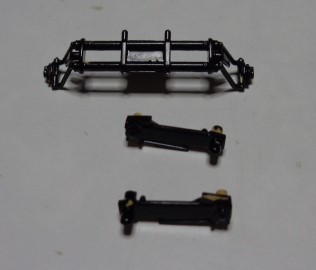
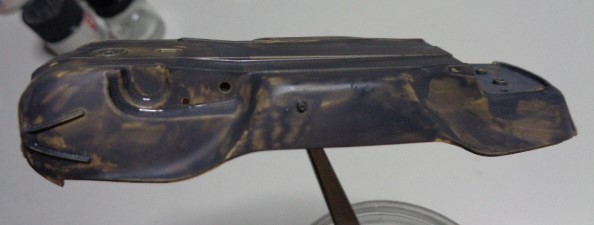
Suspension parts and lower hull partially painted.
======
Second coat of German Grey on the Schwimmwagen bottom. First coat on front suspension protection plate, engine compartment, and cabin interior.
8 Likes
What is about a whatif plane project with skids ?
That would be fine.
It doesn’t look like you have much done? I think it will be fine.
1 Like
So i understand this seems ok for this group build …
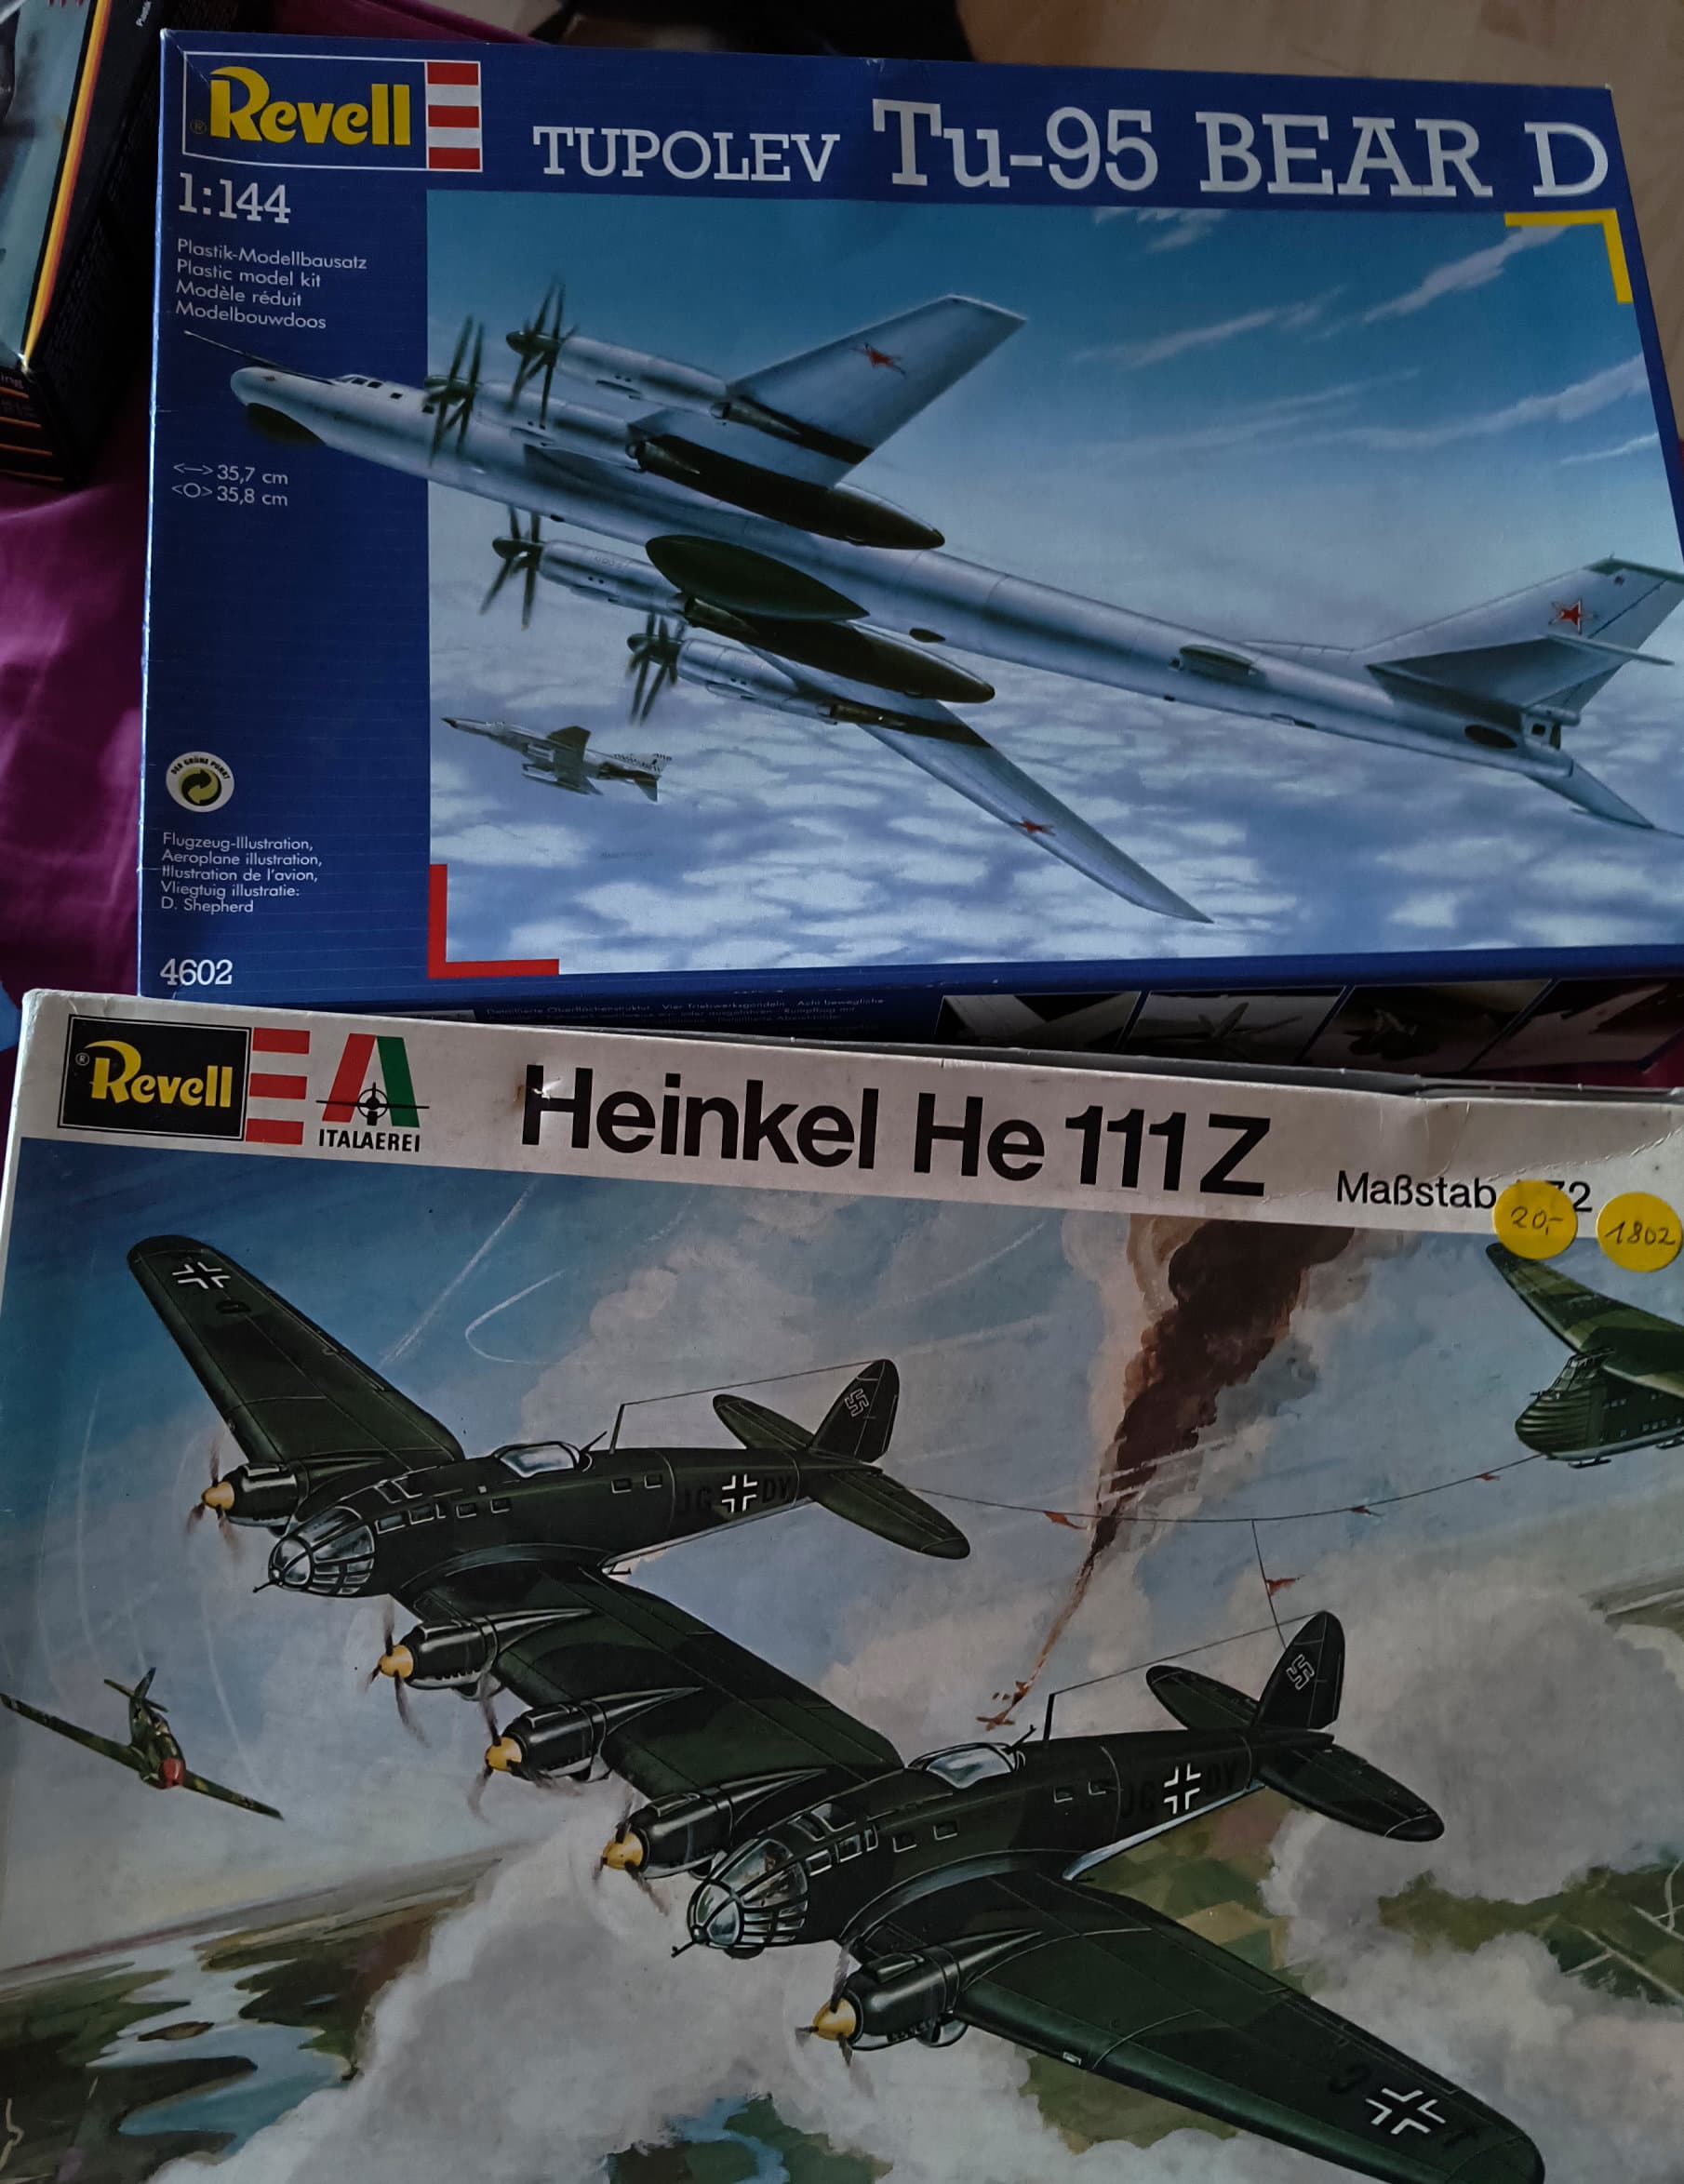
My project is a 4 engined Heinkel 111 , the wings are taken from a Tupolev 95 kit .
I have started the build from the box on 10. March 2024 ![]() .
.
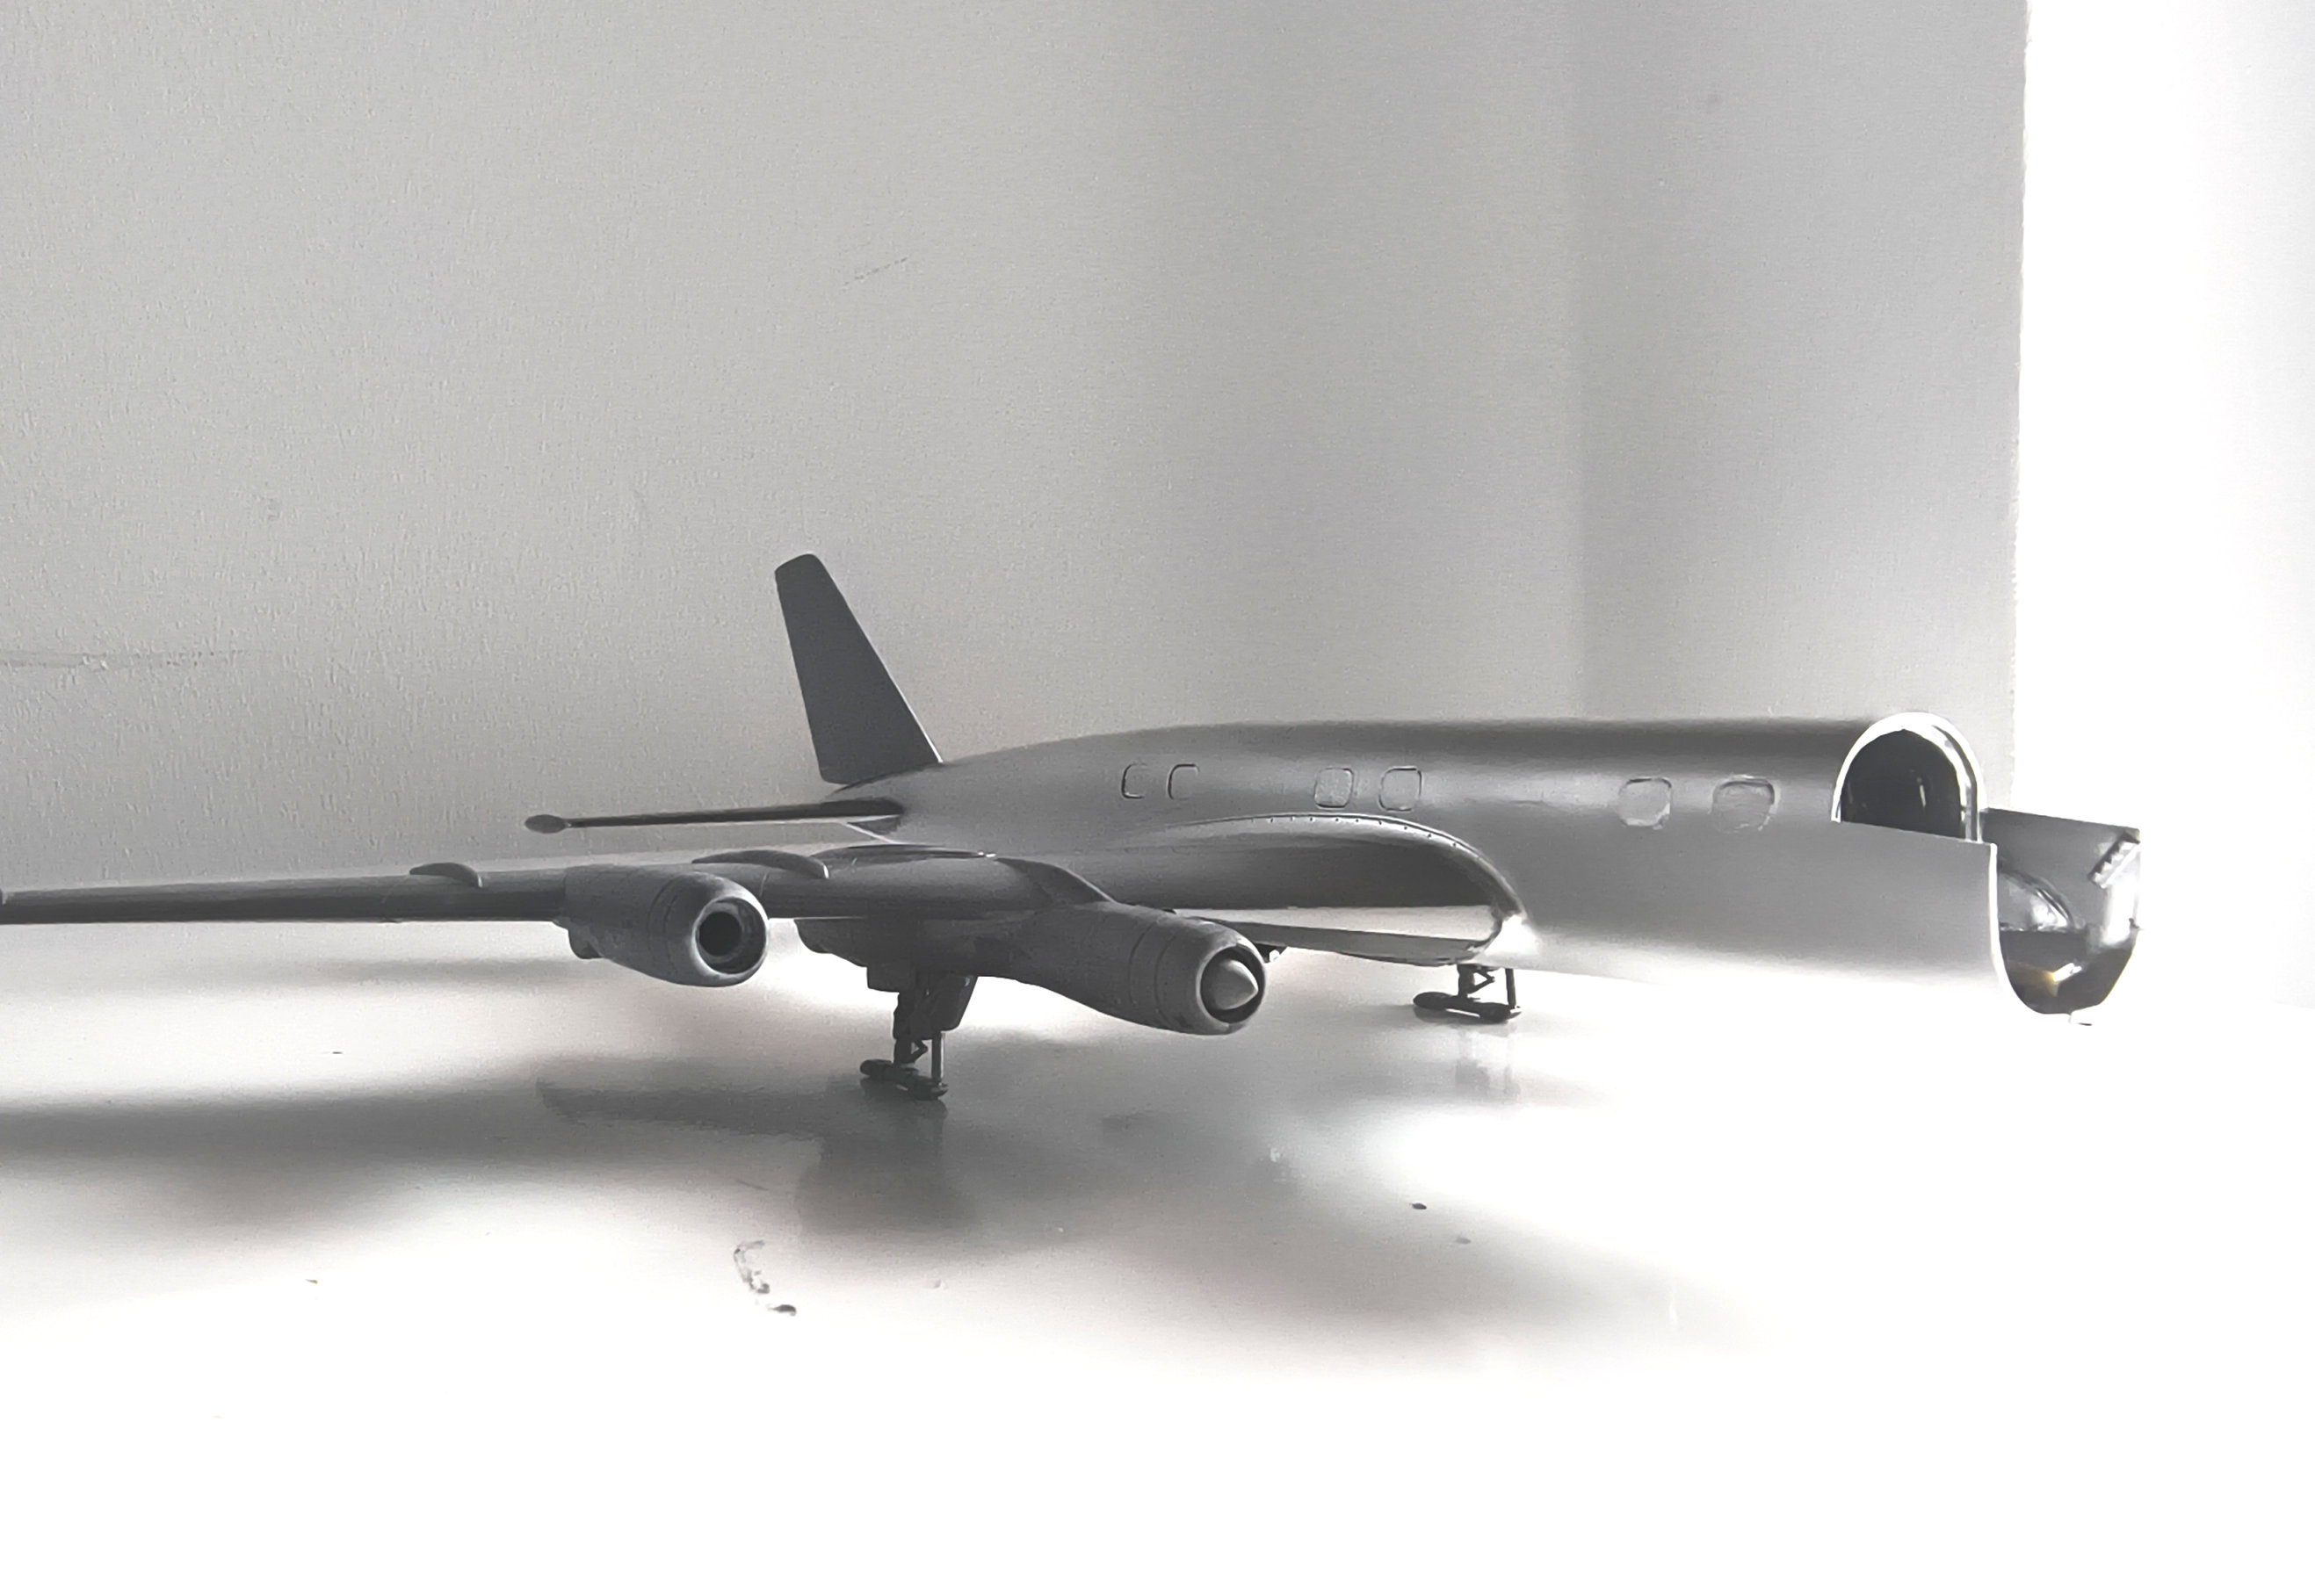
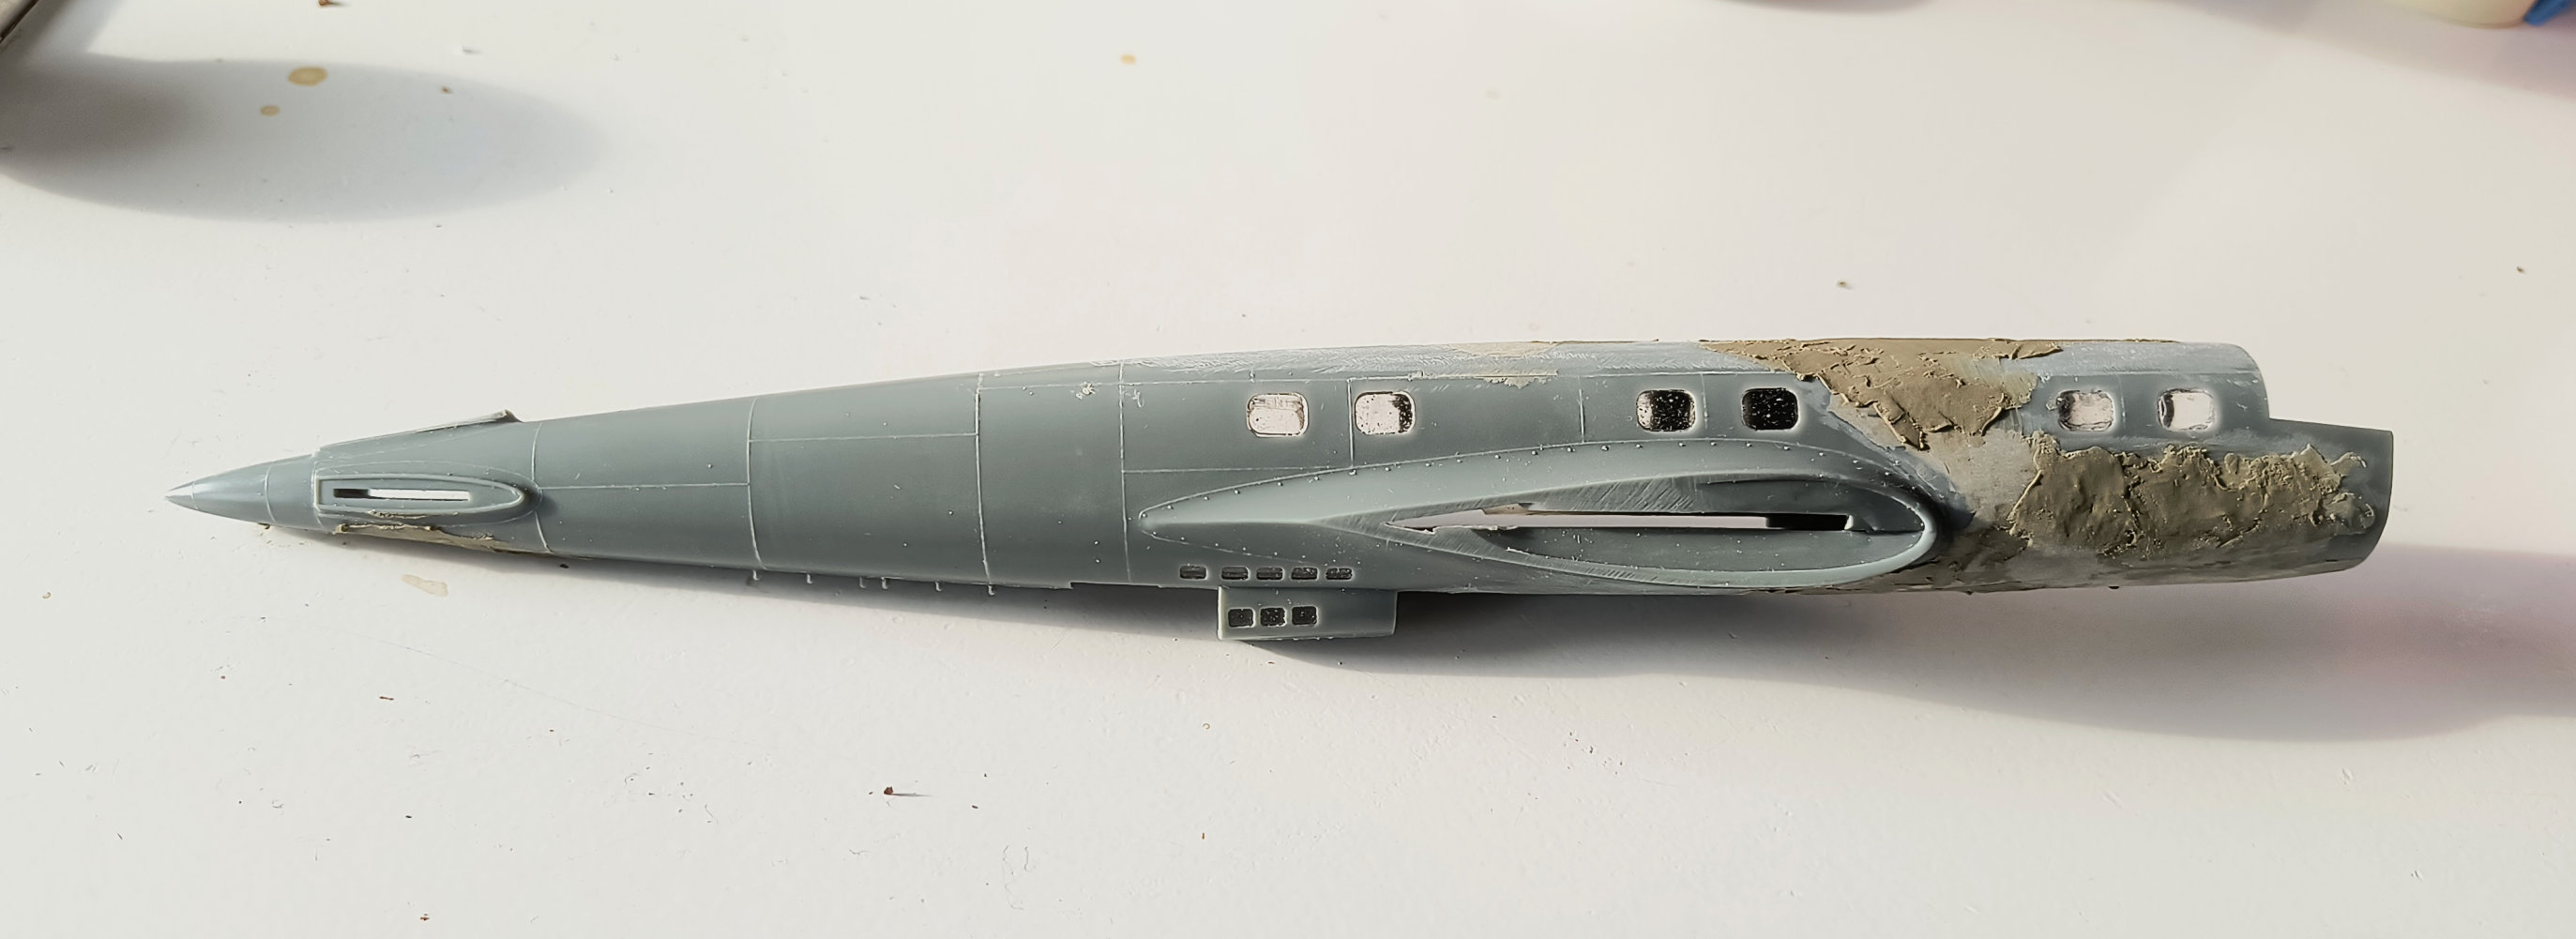
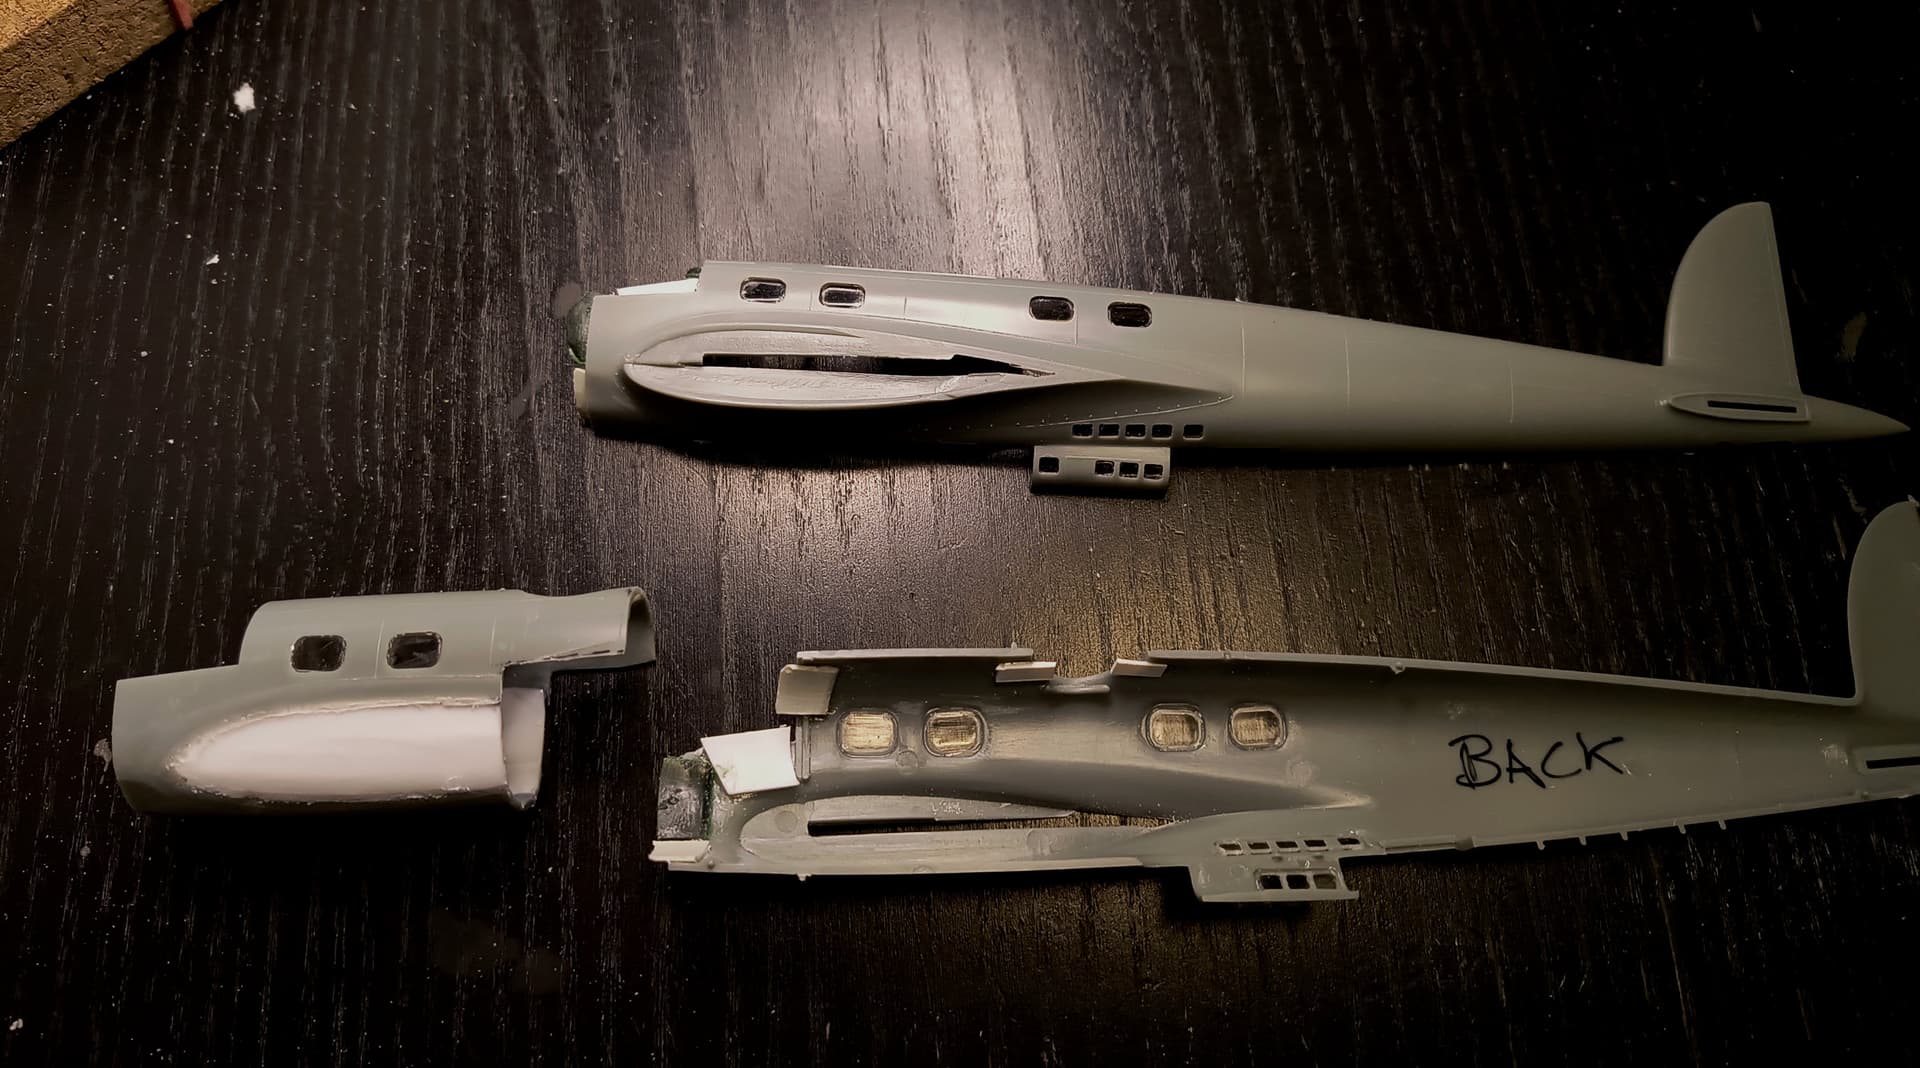
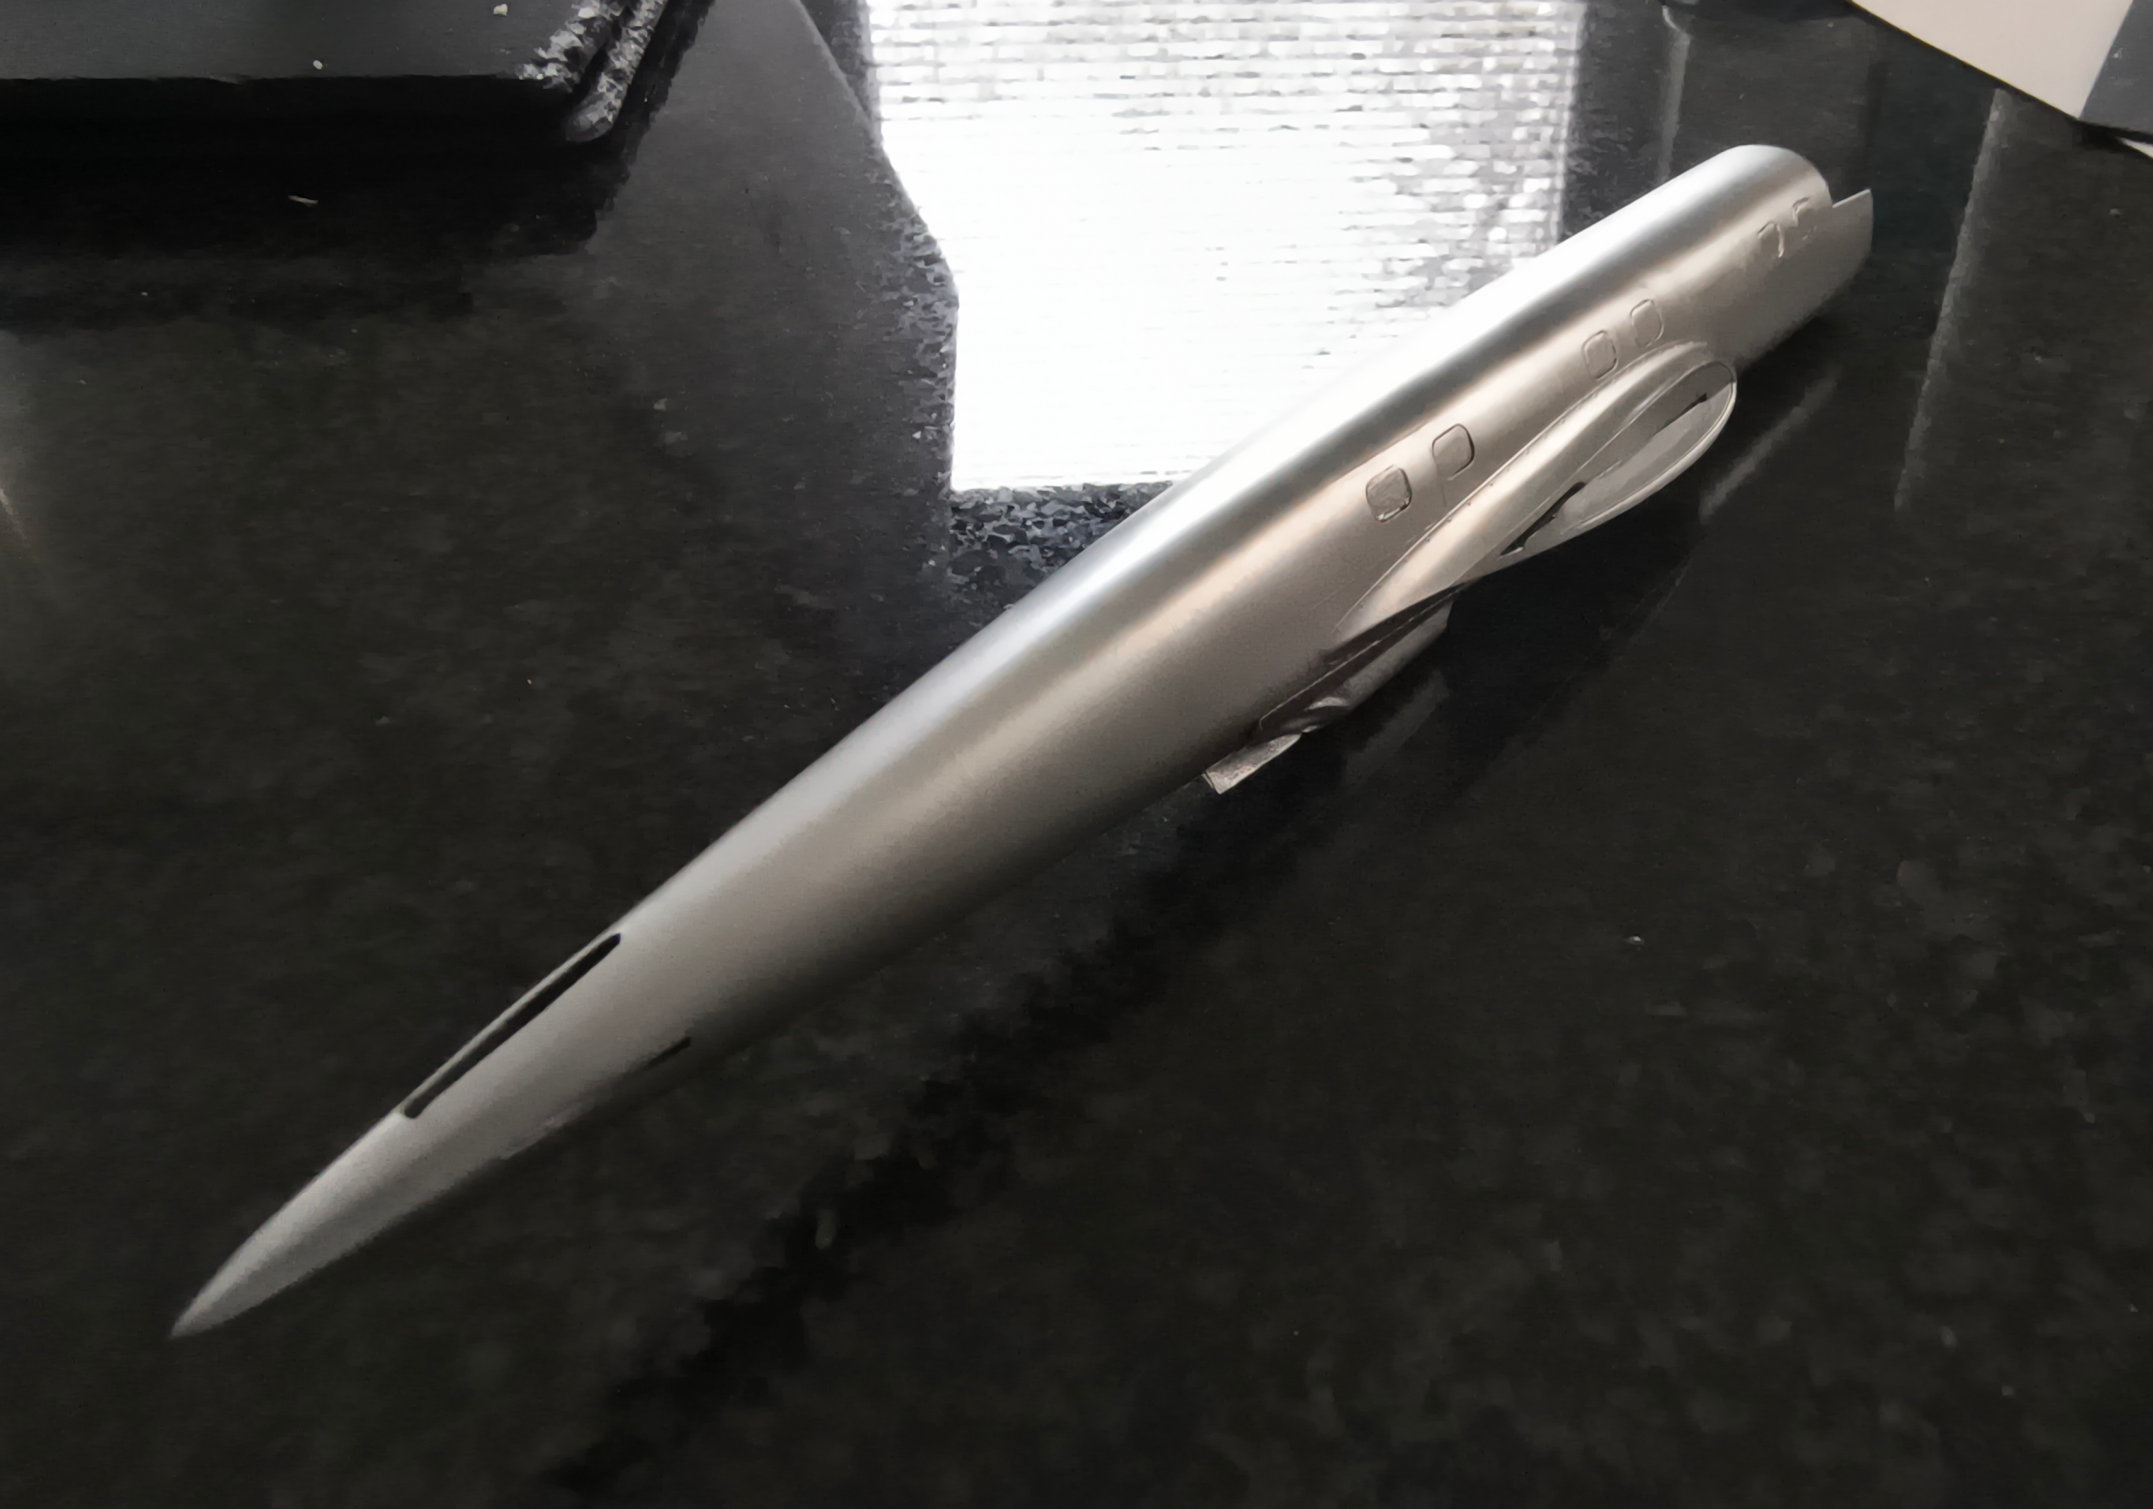
I have used two 111 fuselage to make it 25% longer , that will look much better with the very long wings of the Tu 95 .
The Heinkel is 1:72 , the Tupolew is 1:144 .
Yesterday i put all the main parts together and today i discovered that the plane could stand perfect only with the both main legs …
Now i will take some skids from a old 1:35 Tiger Moth instead of wheels .
5 Likes
Hi Everyone,
Very interesting things going on here! Jesper, I’ve never seen a 109 on floats, looking forward to see what you do with it. Gerrit, that’s pretty ambitious and in 1/144 scale!
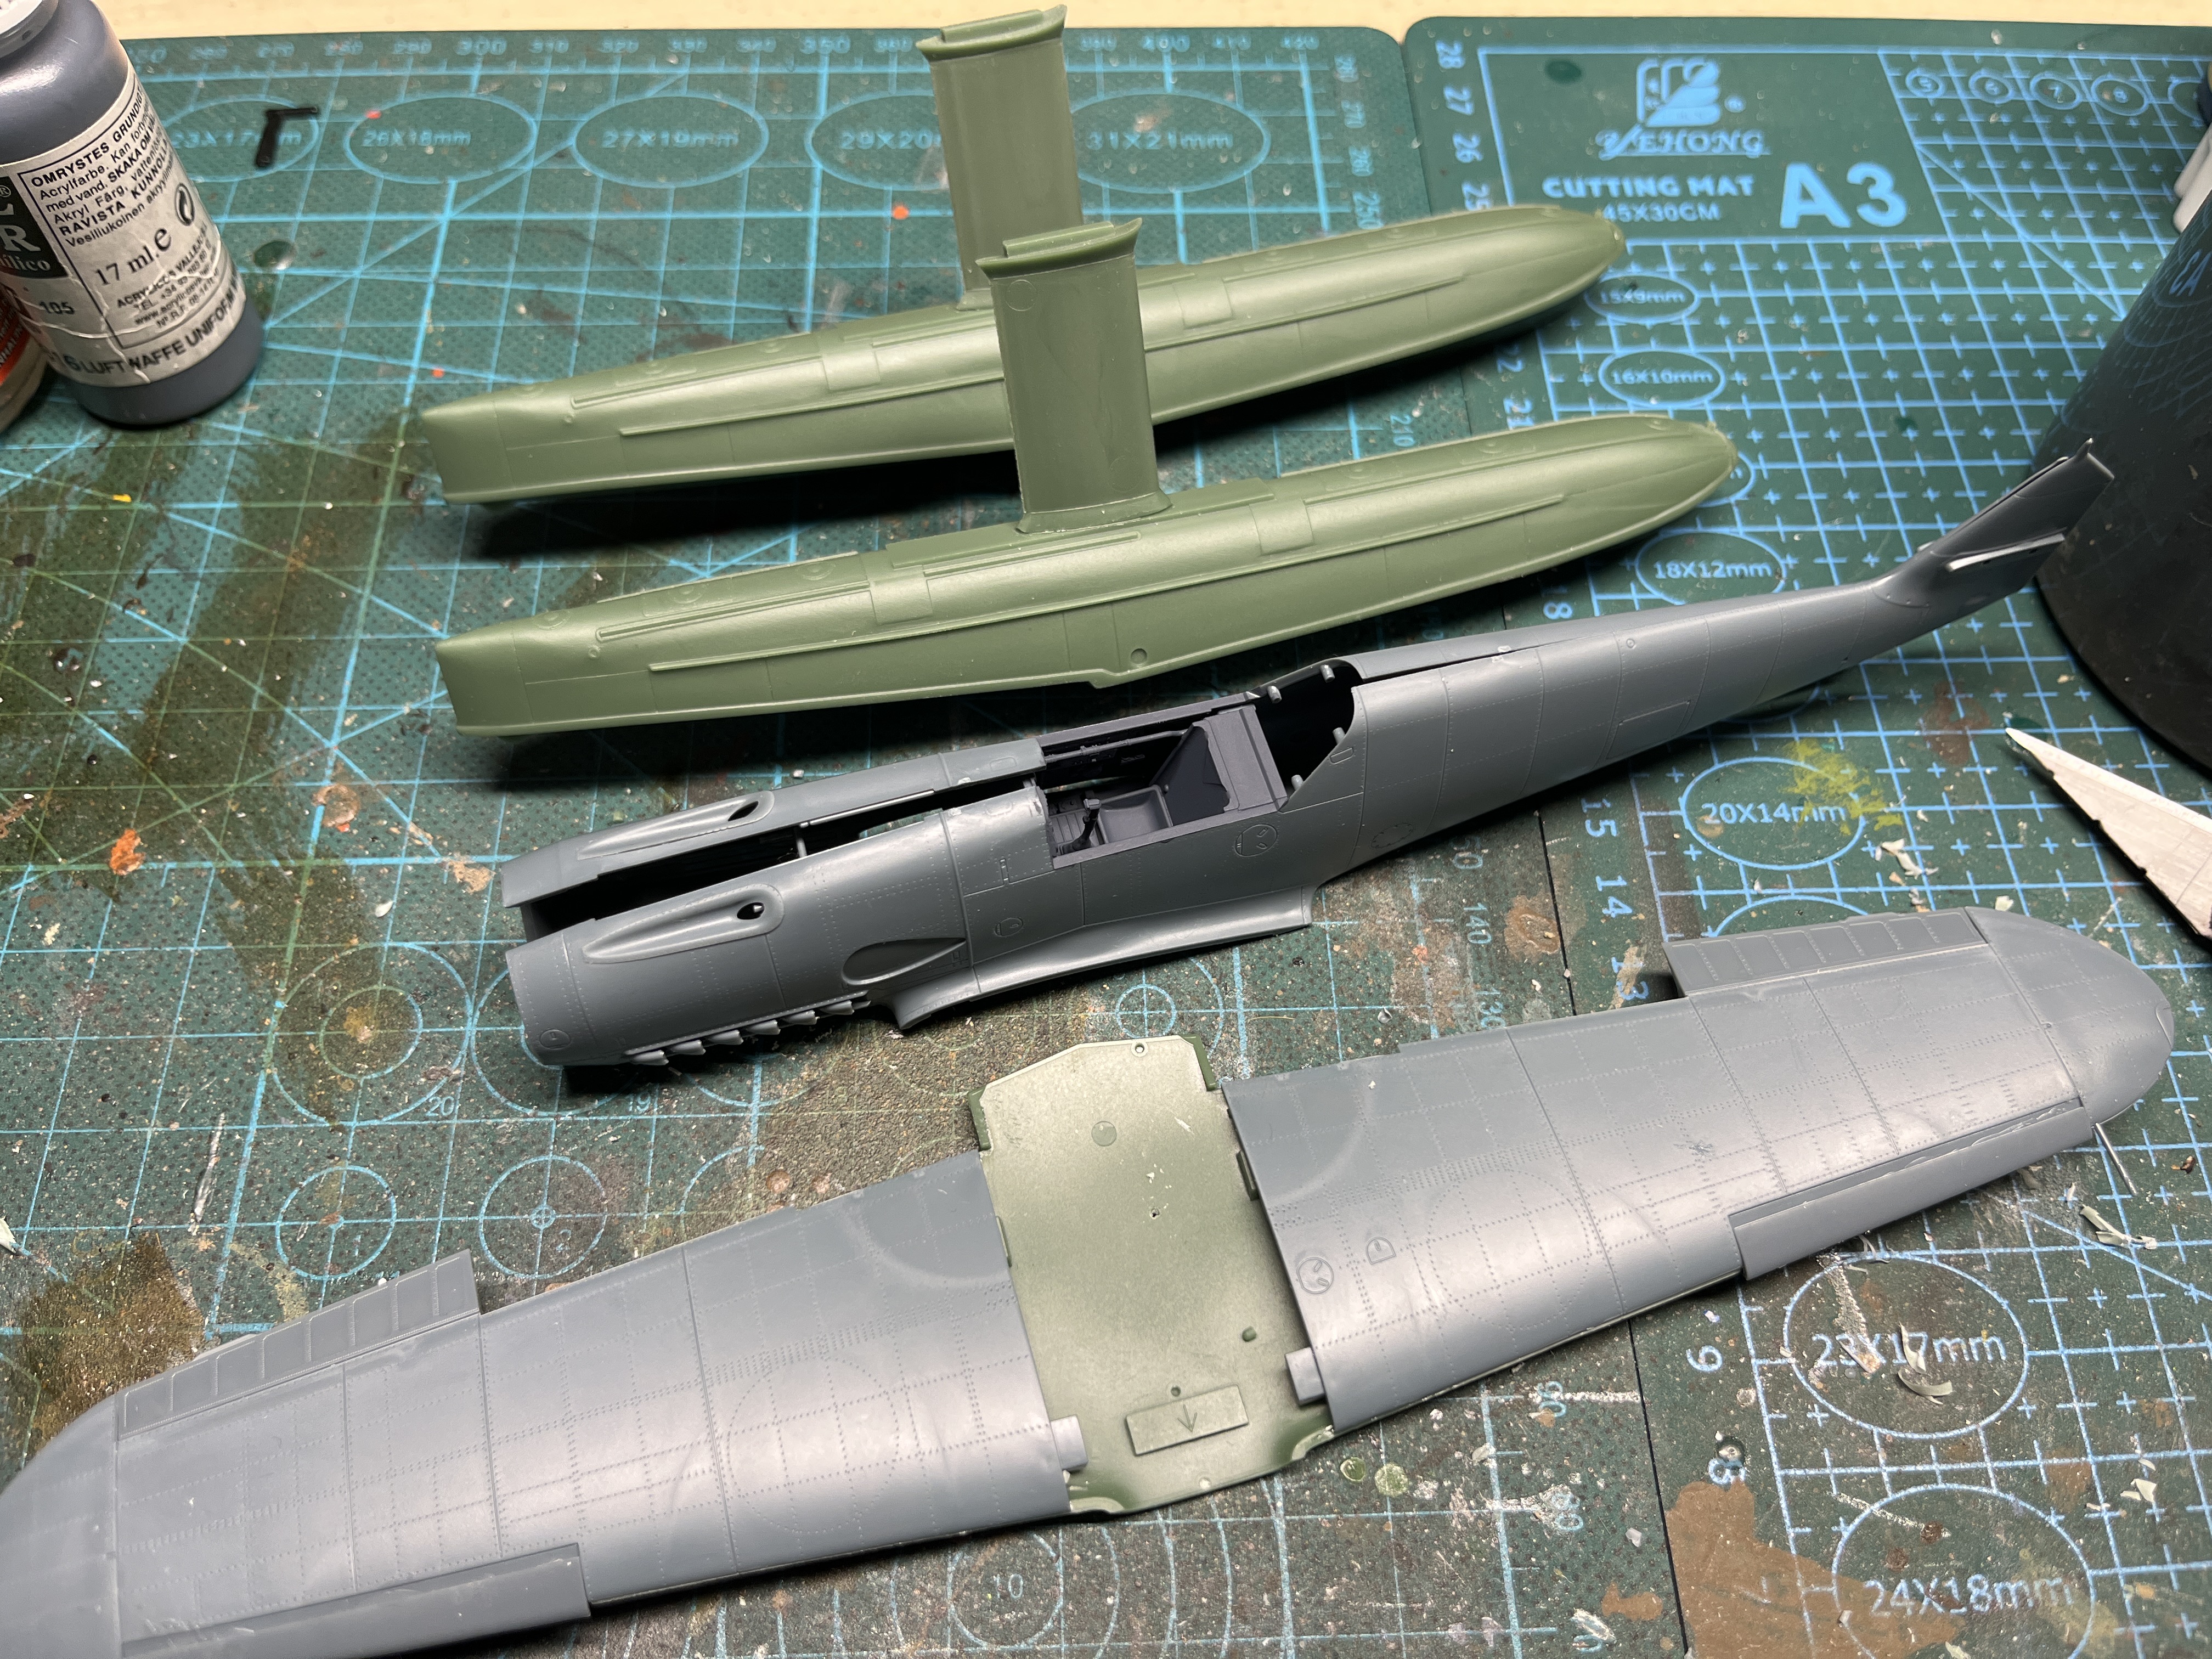
Since I’m on final approach with my B-25D, and looking at the schedule, I figured it was high time to get some work done on the A6M2-N “Rufe”.
When I initially purchased it some ten years ago, I also got a new airbrush. I grabbed some Tamiya cockpit green and painted up the interior parts to see how the airbrush worked, which it worked fine. Sadly, I chose the wrong color. So first order of business was to repaint the interior in a more correct color, Mr. Color 127 Cockpit color Nakajima.
While I’ve not built Hasegawa’s A6M2-N, I have built the Tamiya kit several times. I’ve also built Hasegawa’s A6M2 Zero. These two kits are quite similar with the addition of the float. One thing I discovered is that if one constructs the fuselage minus the cockpit, the upper wings can be installed such that there are no gaps! Which is how I’m proceeding.
Repainted interior, and the fuselage halves mated. Note, there is a tie down on the aft end of the fuselage that is very fagile, so be advised. My subject had one portion broken off from the move.

Using some small paper clips, I was able to hold the upper wing onto the fuselage and make adjustments prior to gluing. Once satisfied, the glue was applied.

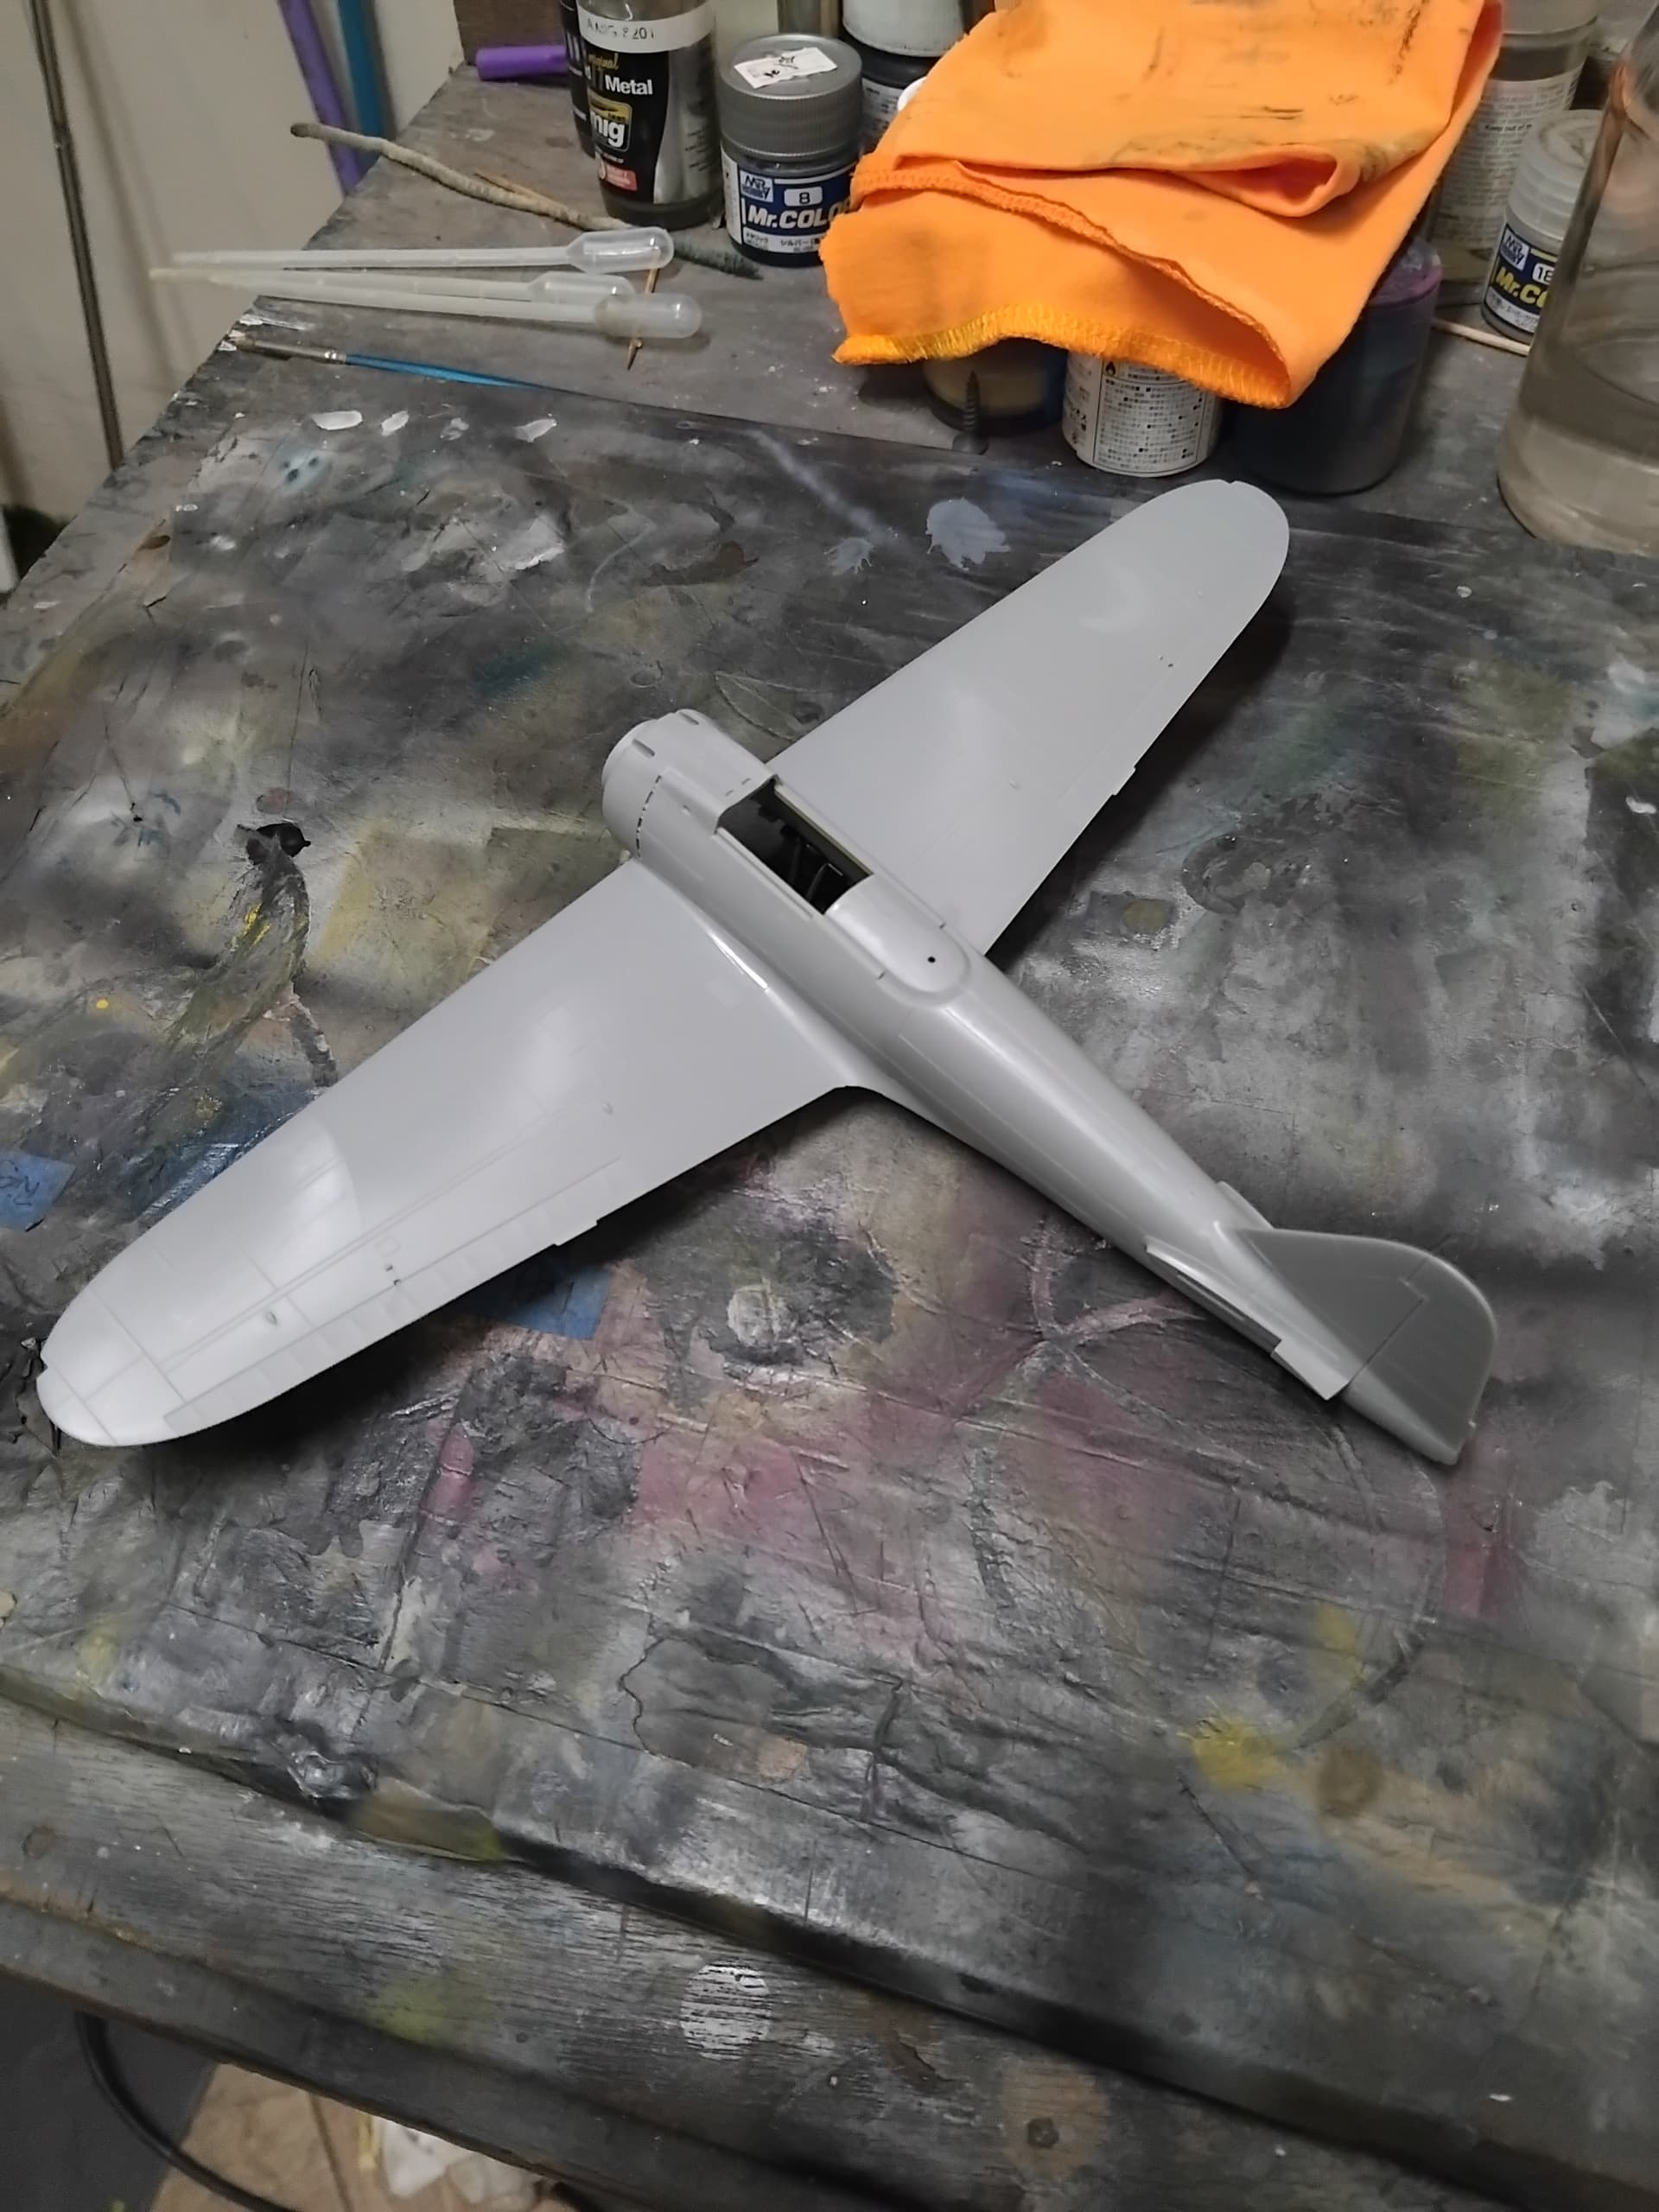
I’m quite pleased with wing/fuselage mating, no work will be needed here! Onto the cockpit and other subassemblies!
Till next time, stay safe, wash your hands and have lots of fun!
6 Likes