Thats looking very nice. Really neat and tidy work Mead.
1 Like
Excellent work on the cockpit so far. Looking forward to see it finished.
1 Like
Really nice brush work!
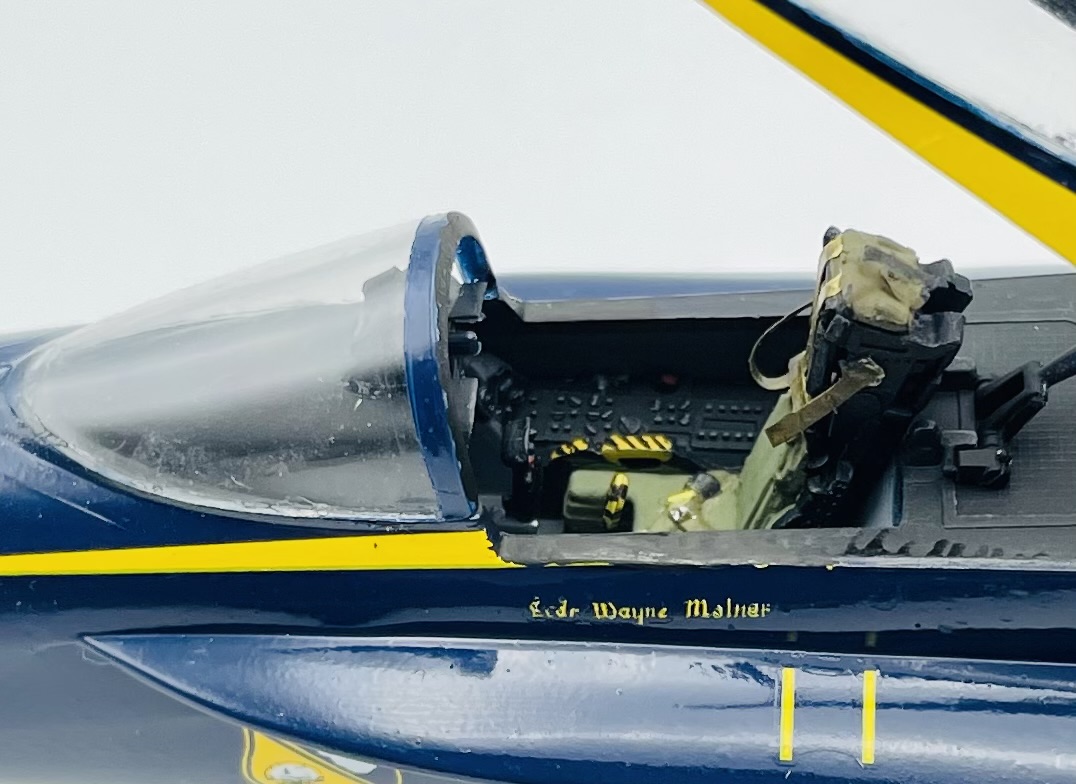
Thank you! The yellow and black handle on the ejection seat side took a while to get correct by hand
2 Likes
Port side of the cockpit done! Went much faster when I remembered I got an optivisior for Christmas ![]()
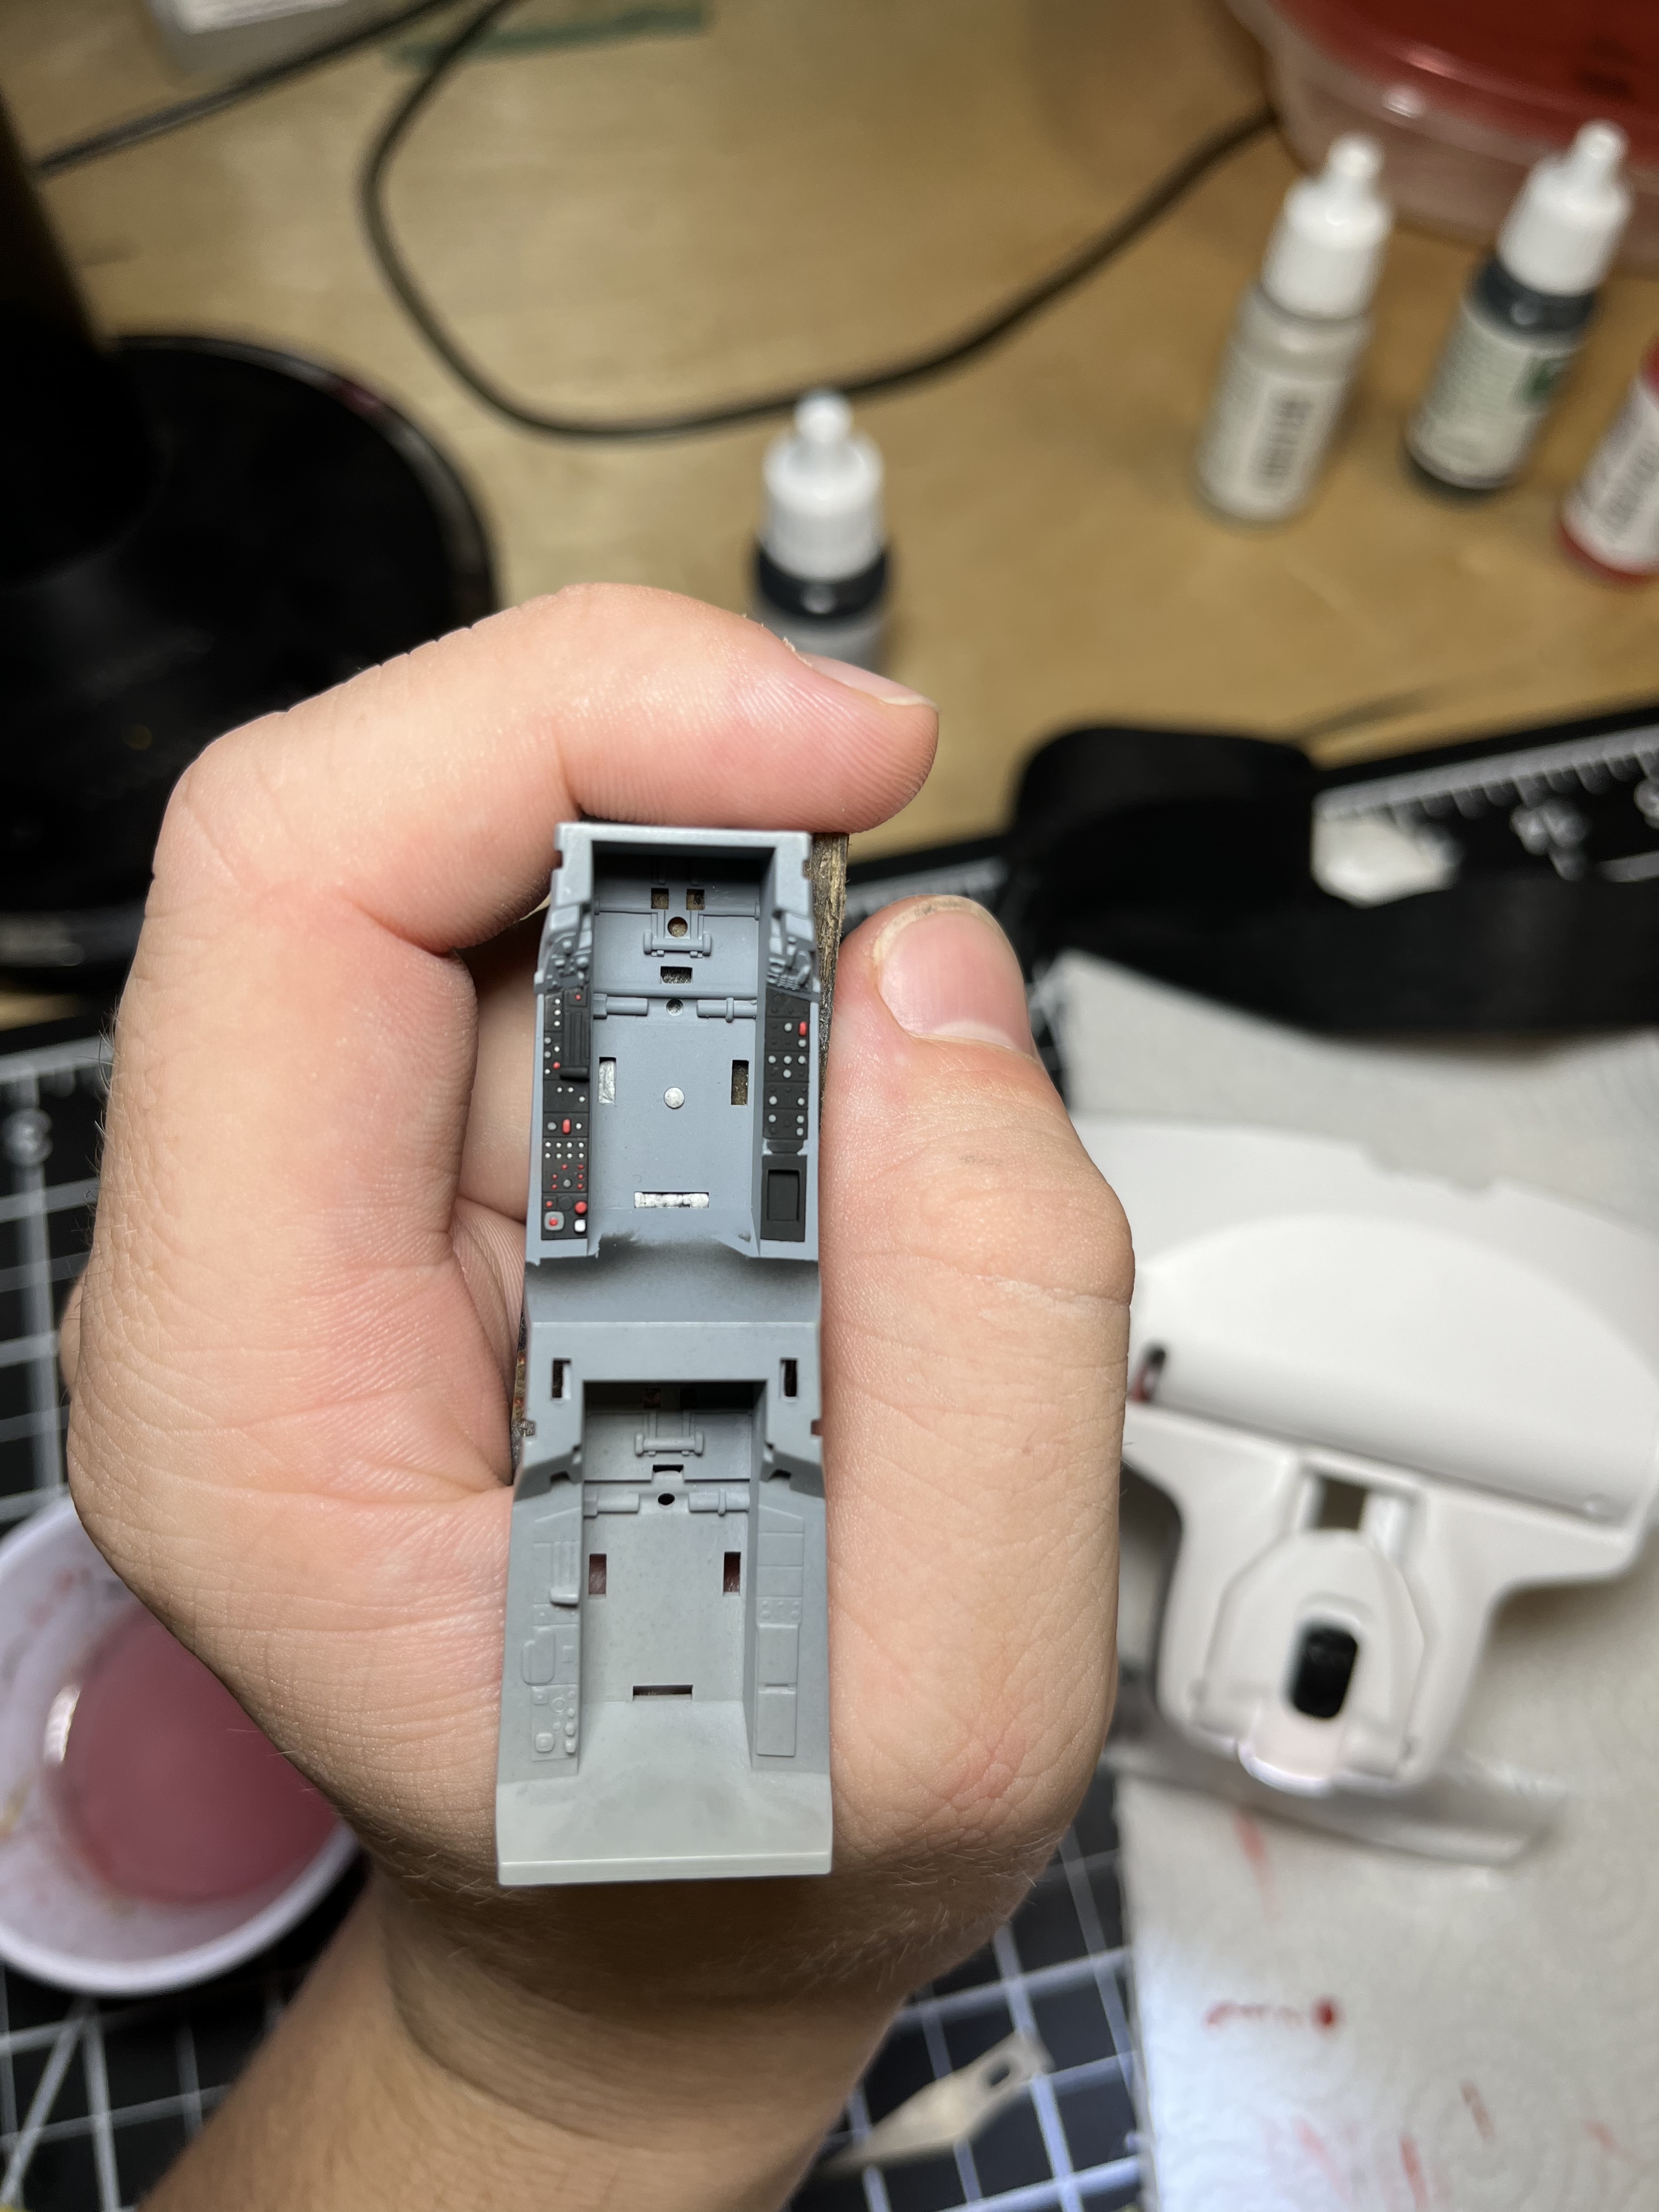

Only made a couple mistakes that need slight touch up. Thankfully the Vallejo black is a dead match for the tamiya
6 Likes
Ultra fine tip paint pens come in real handy for that. I paint the handles yellow, then use a black ultra fine tip paint pen to do the black stripes. Much better precision than with a brush.
2 Likes
Good tip! I will take a look at these. For the actually pull handle between the legs I masked it off and sprayed it, but that was kind of annoying too. The pen sounds like it would have been perfect for the switch on the ejection seat side
it’s what I used on my Hornet’s seat’s central pull ring and the side handles.
6 Likes
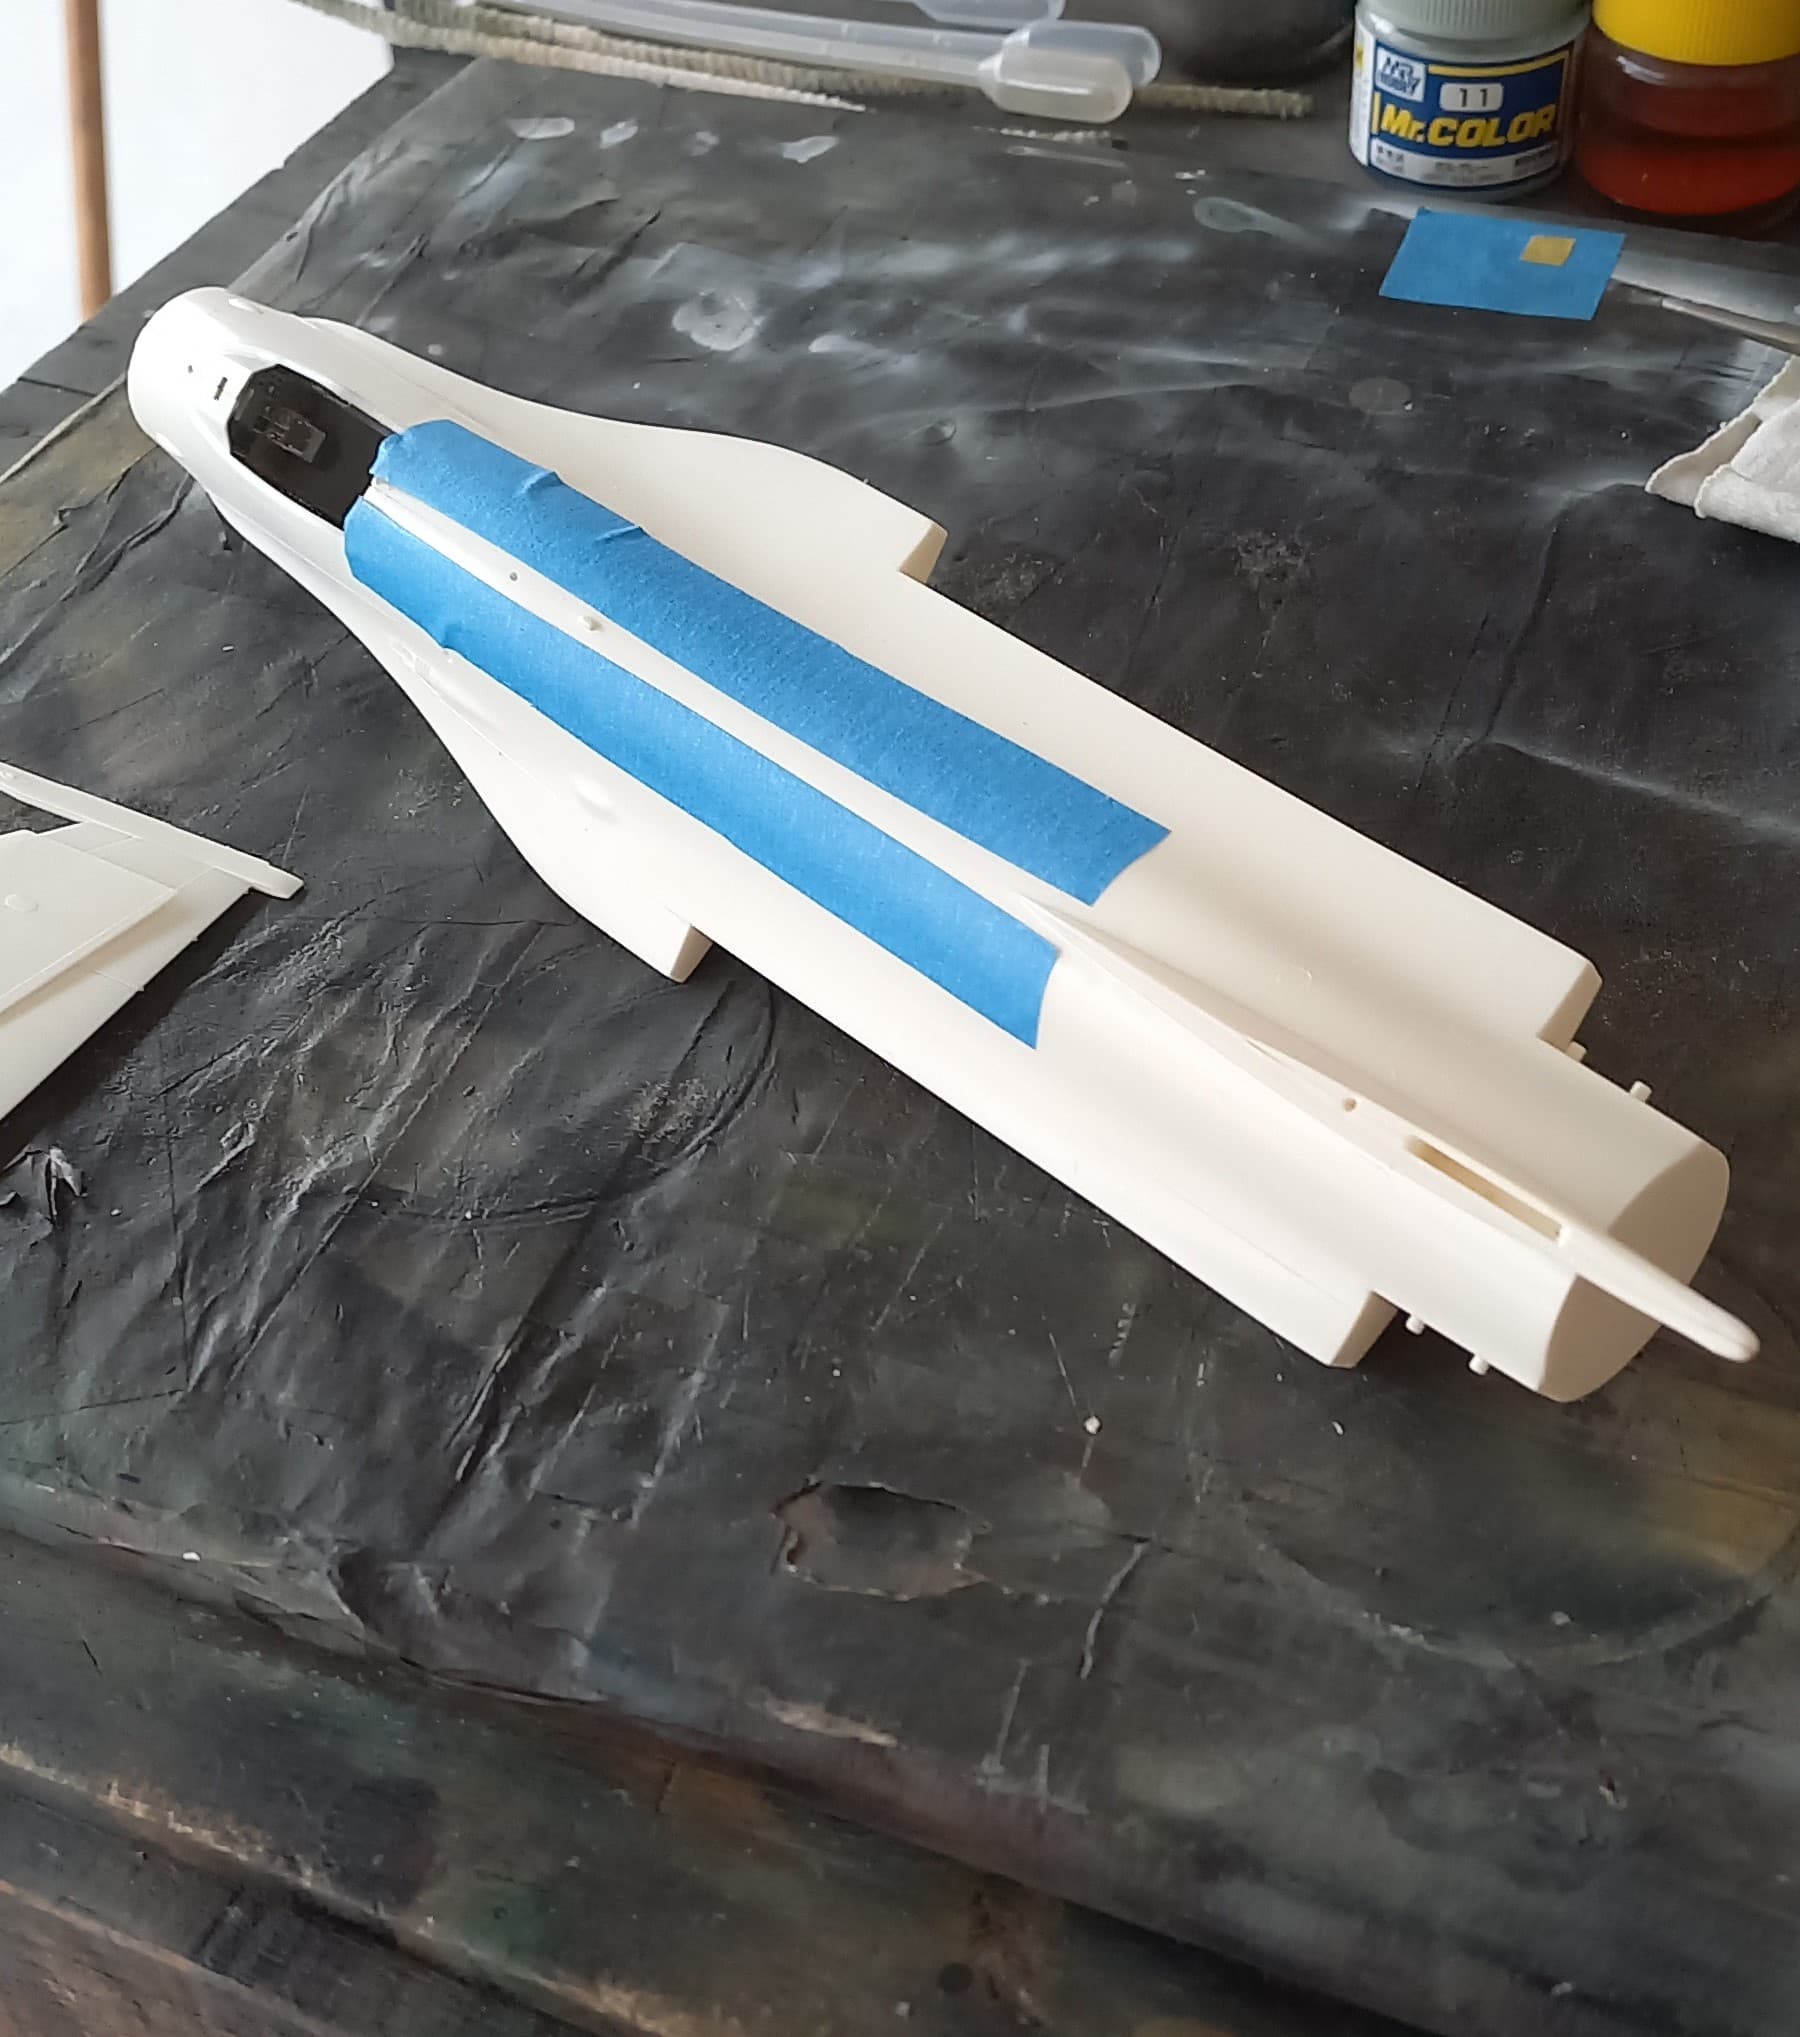
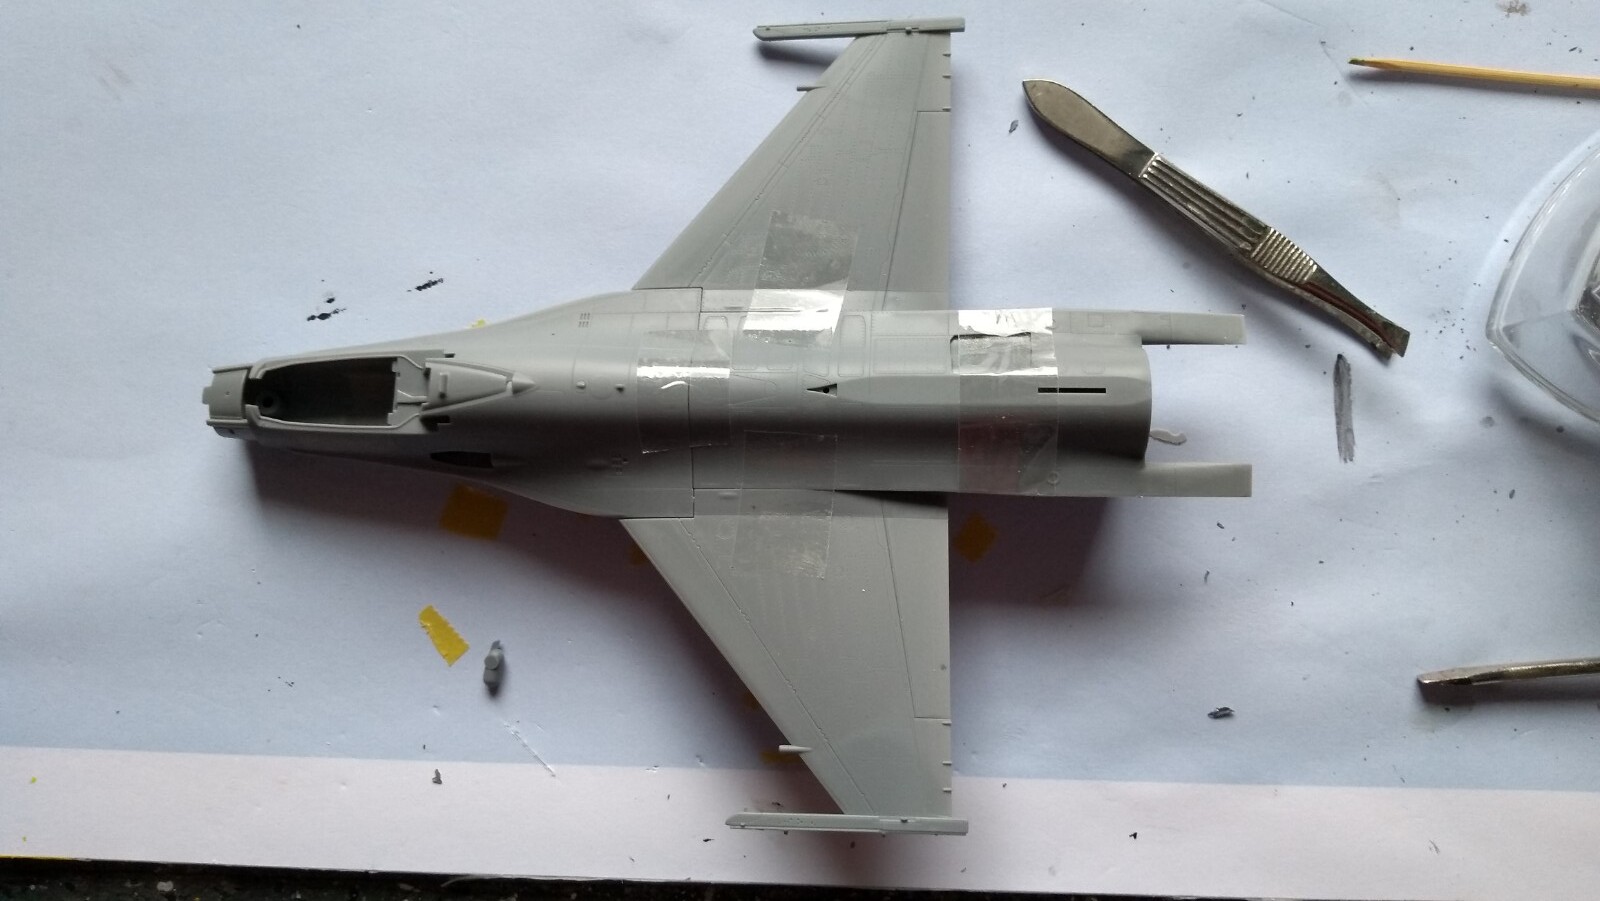
Got colour on the jet, was fine untill I removed the tape…
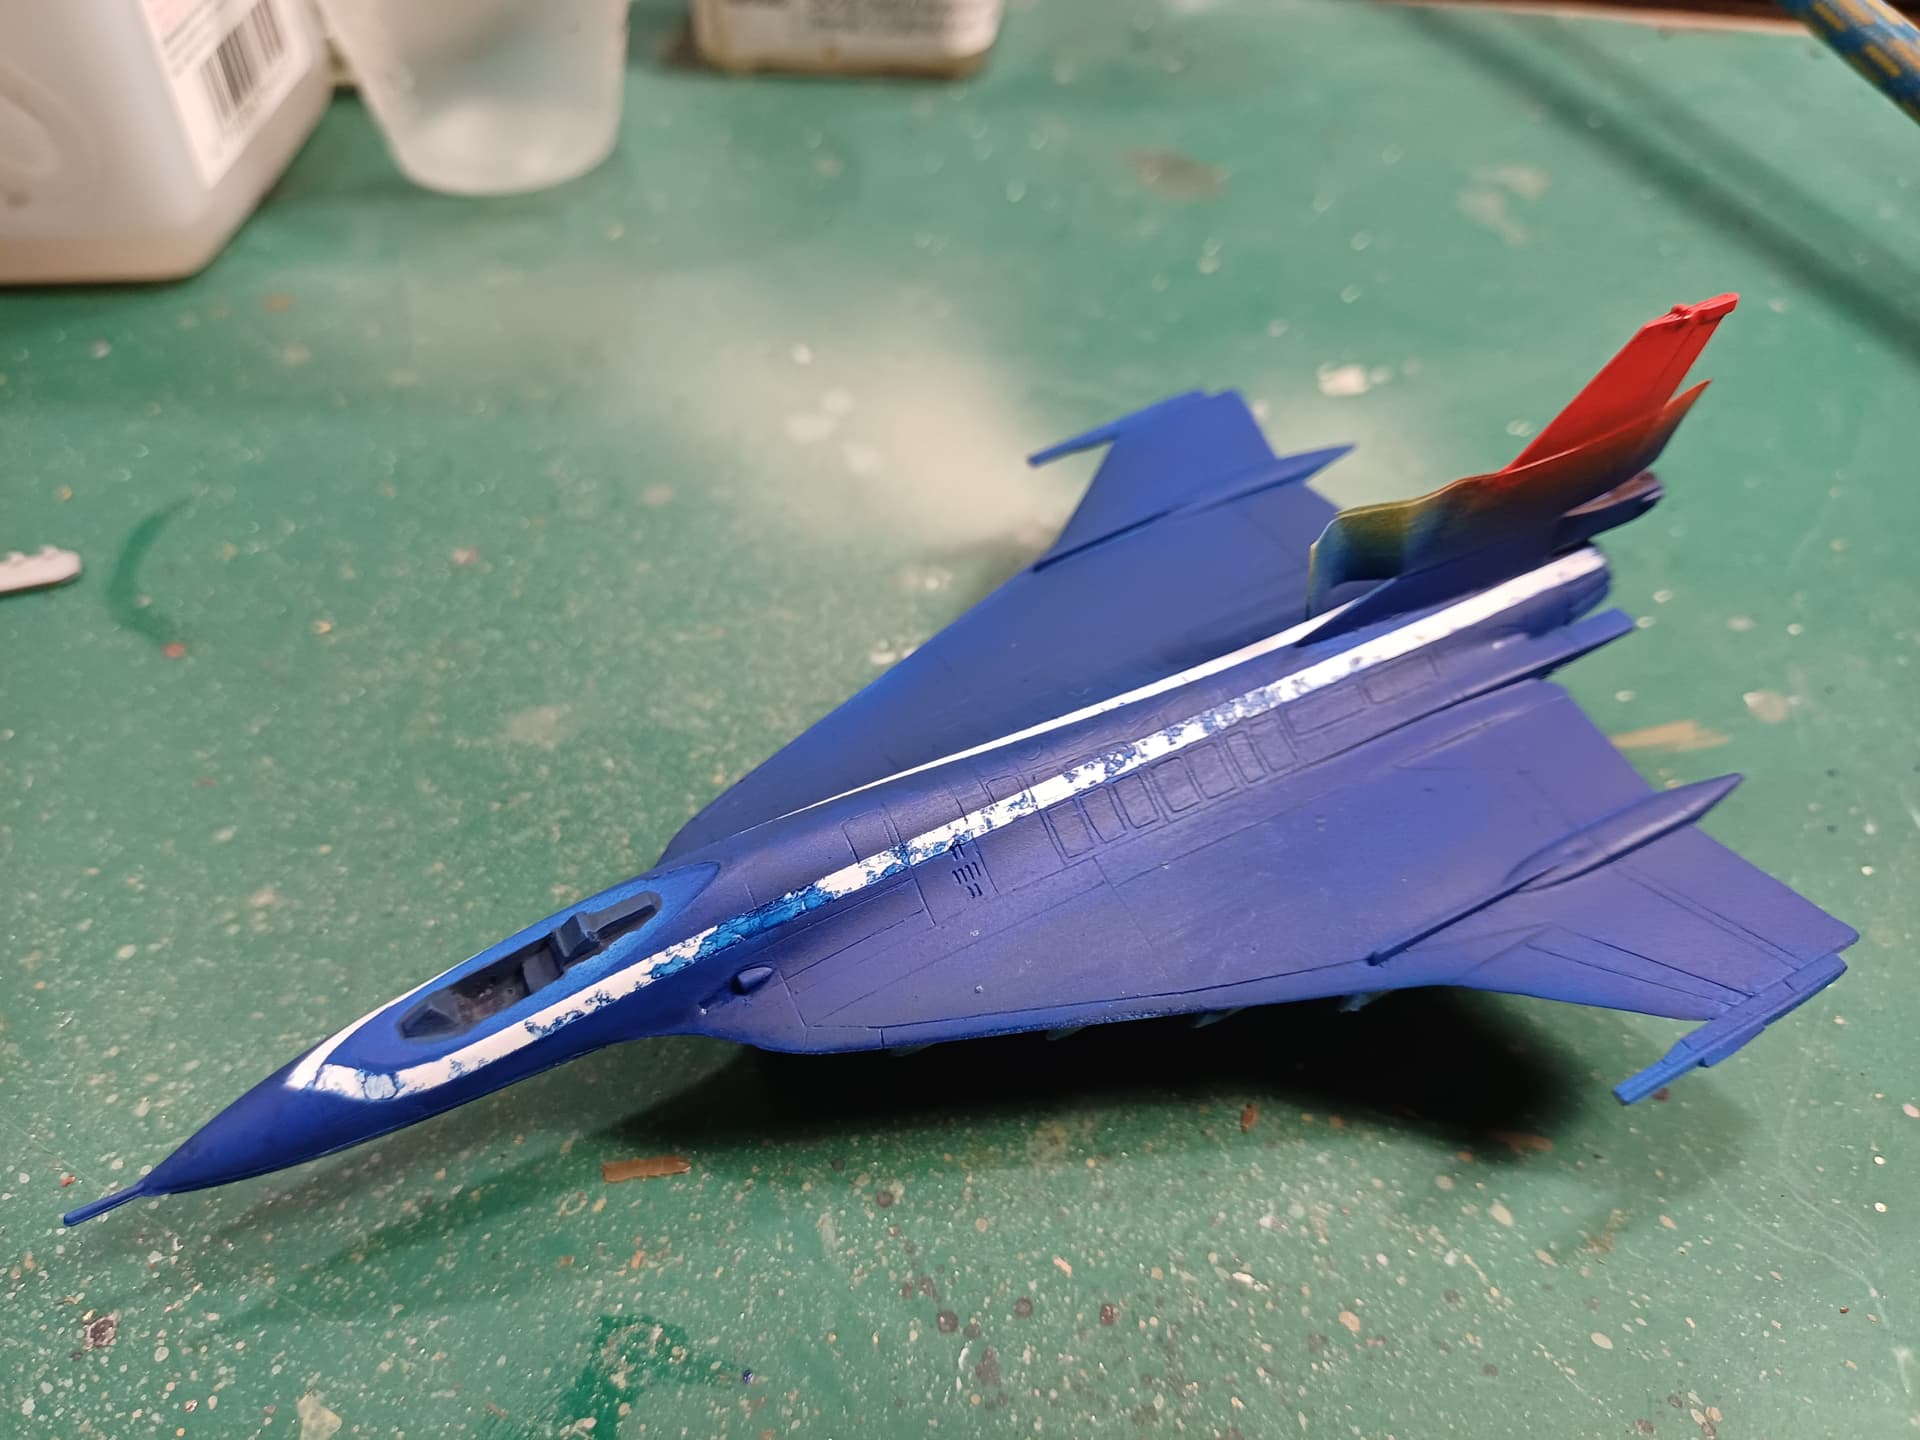
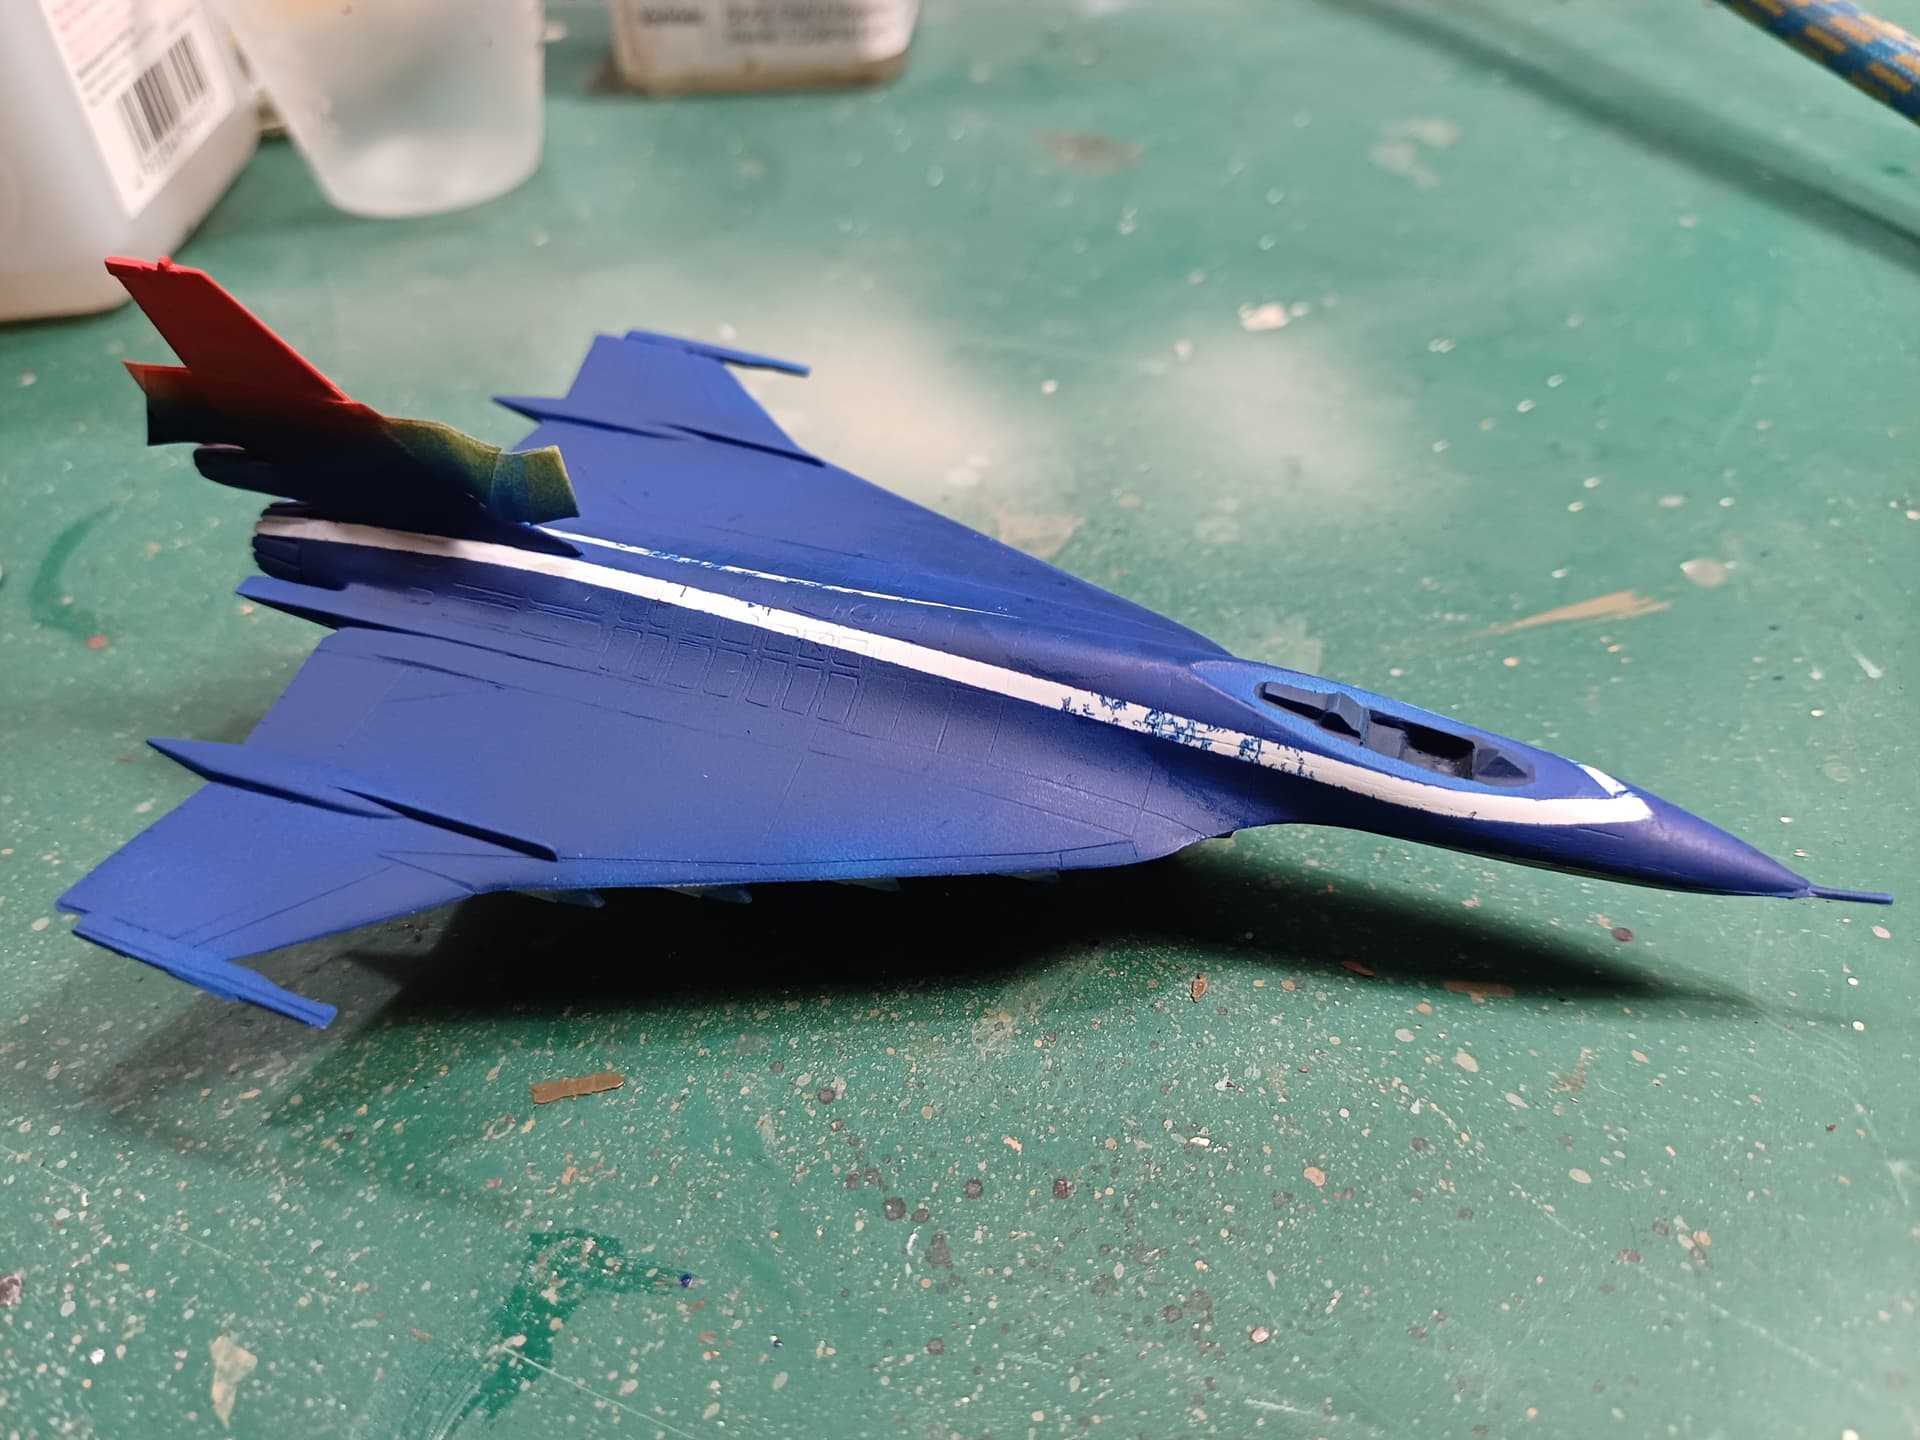
So, remove the paint, do it again…
Yep, that’s better… good thing it is only a tiny thing…
8 Likes
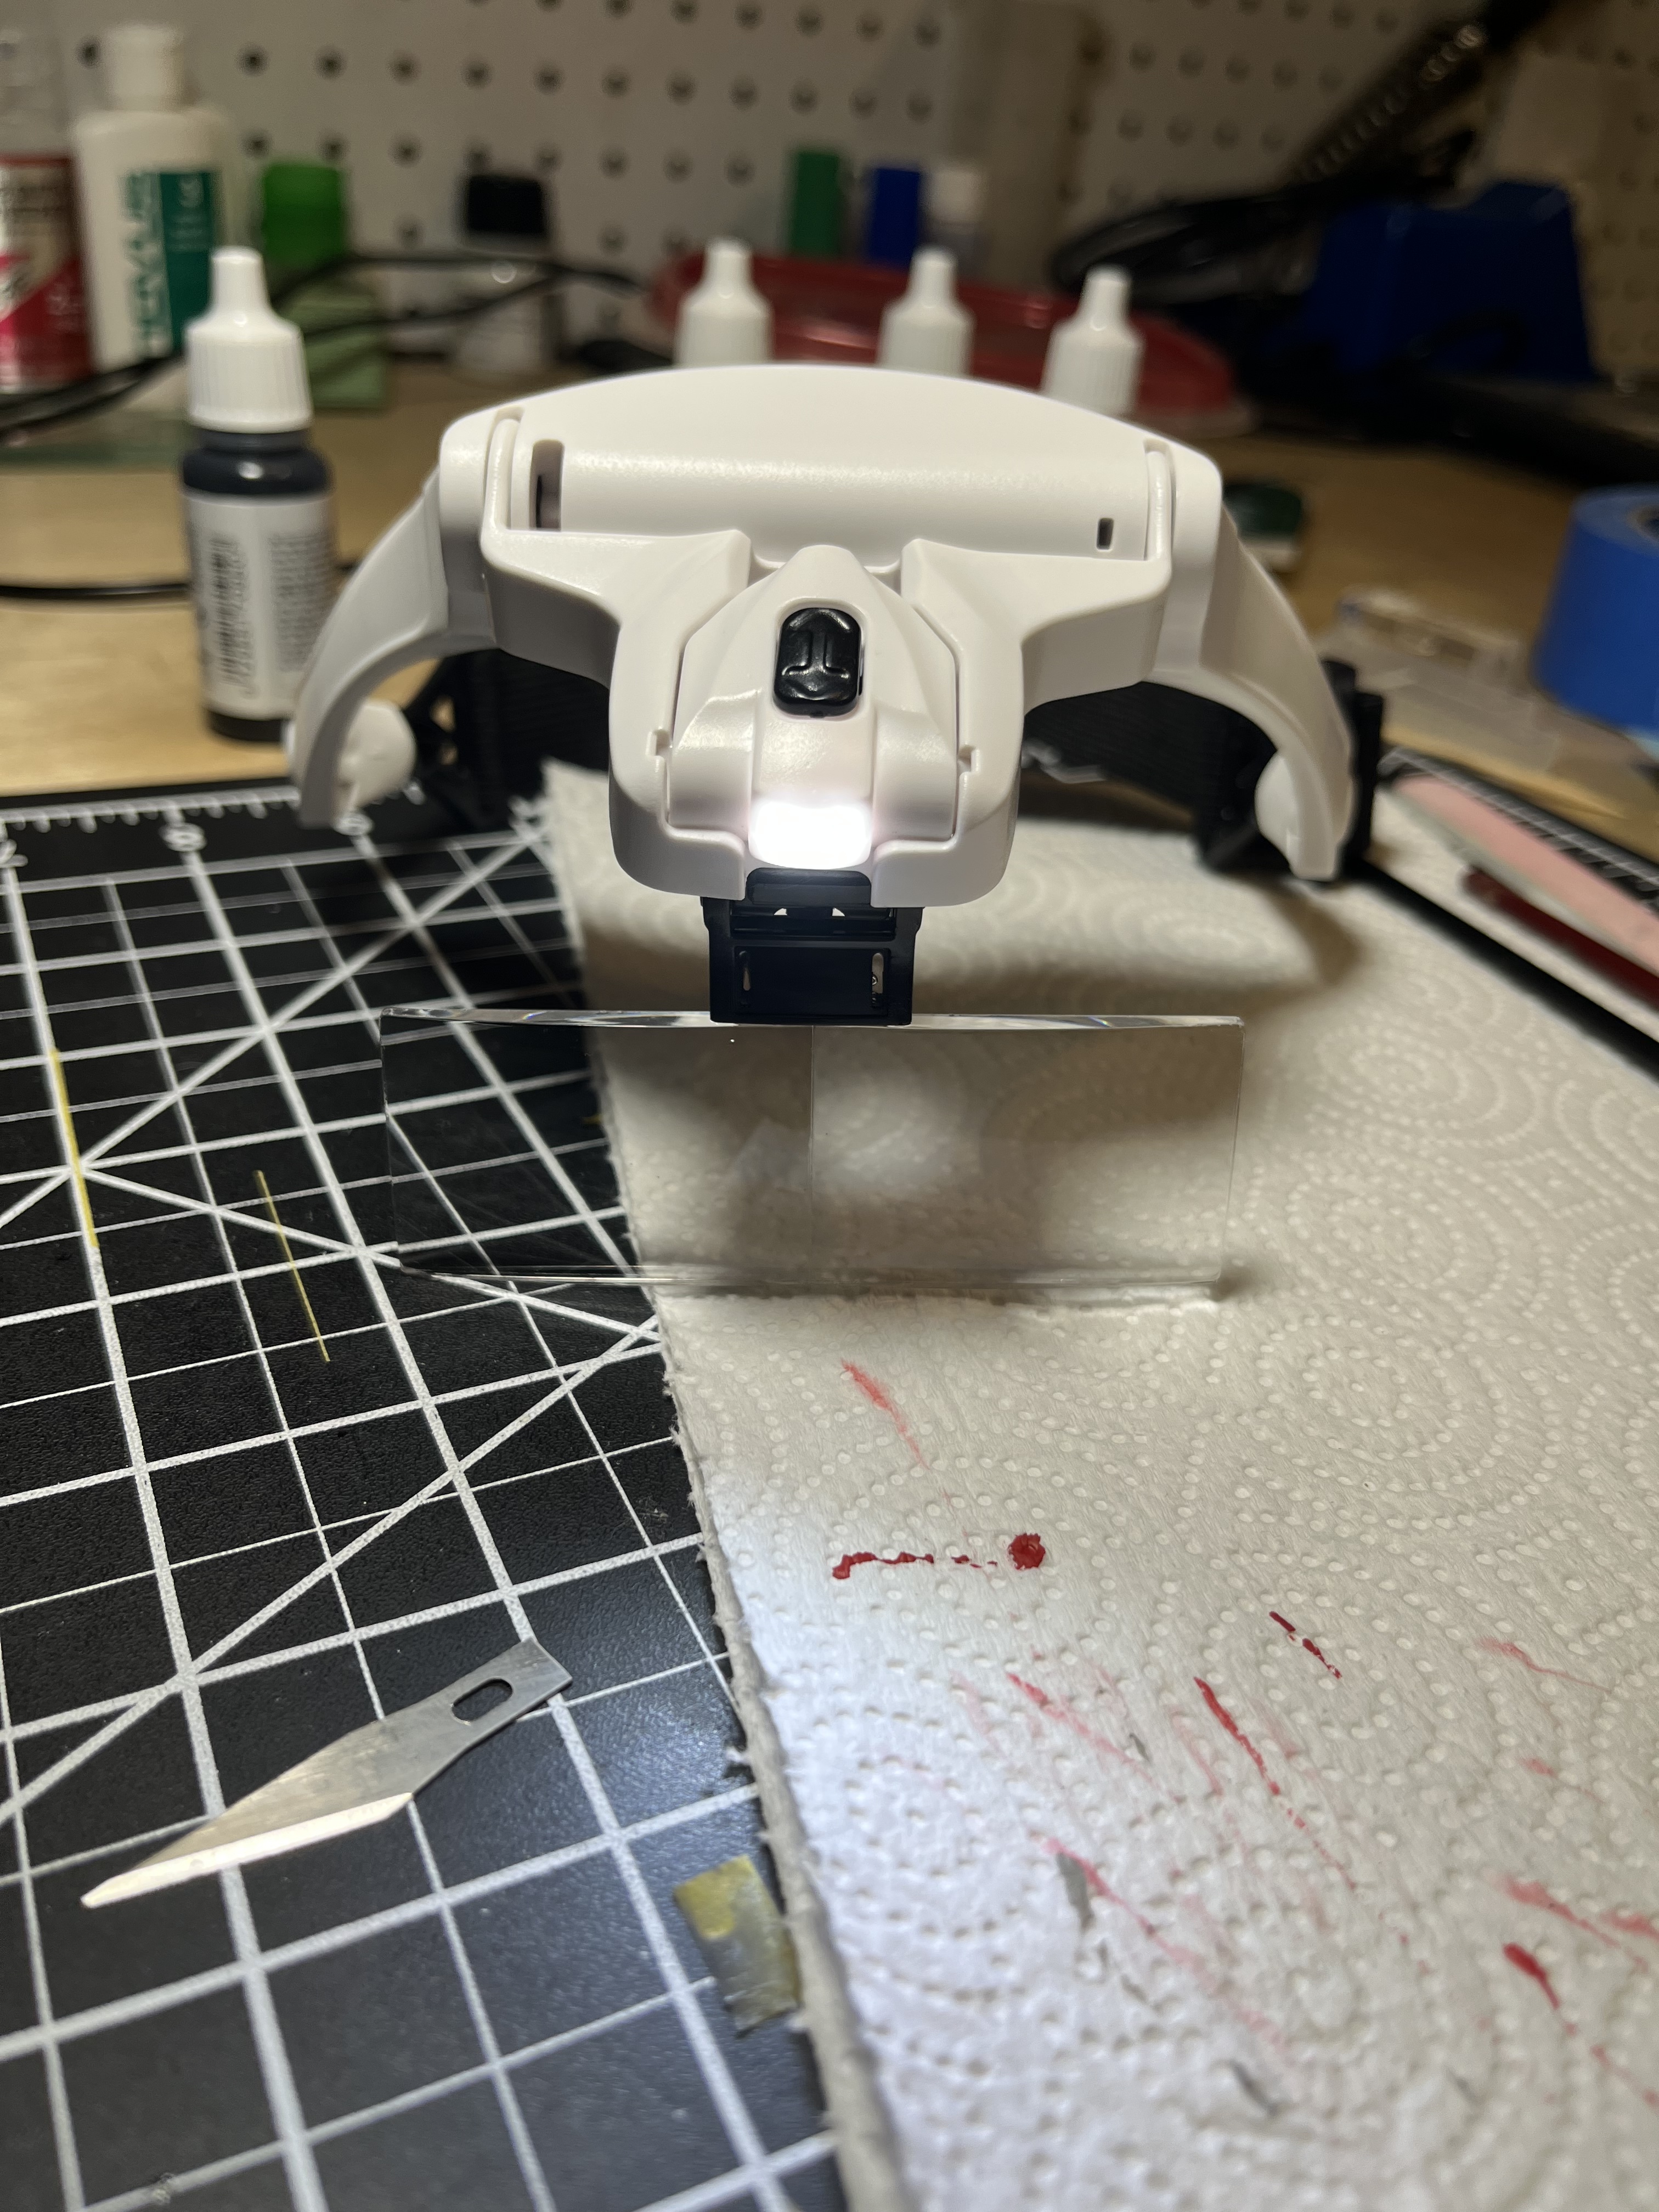
Is that a K’tinga class optivisor?
nice to begin with, but the side arms are very weak, I had the same one, broke within about 5 months … may be a mix of my heavy handed approach and weak pivots on the arms … just be aware ![]()
2 Likes
Not sure if I got he same type, but mine came with a headband as well.
1 Like
Hi Everyone,
Lots of lovely builds going on here! The variety of four different aircraft is certainly interesting.
So, around eight months ago I dived right into the F-15, working on the Aires cockpit. To my chagrin the resin cockpit has turned out to be a challenge and downright an anger evoking accessory. Under normal conditions I’d simply drop the aftermarket and go with the kit provided part, as it looks quite nice unto itself. Unfortunately, I removed the combing from the kit parts, so it committed me to use the resin parts. As a result, the whole thing languished on the bench with not a whole lot happening to it. Still, I did have some fine candidates for this campaign, and really wanting to be a part of it, I opted to switch to a different kit.
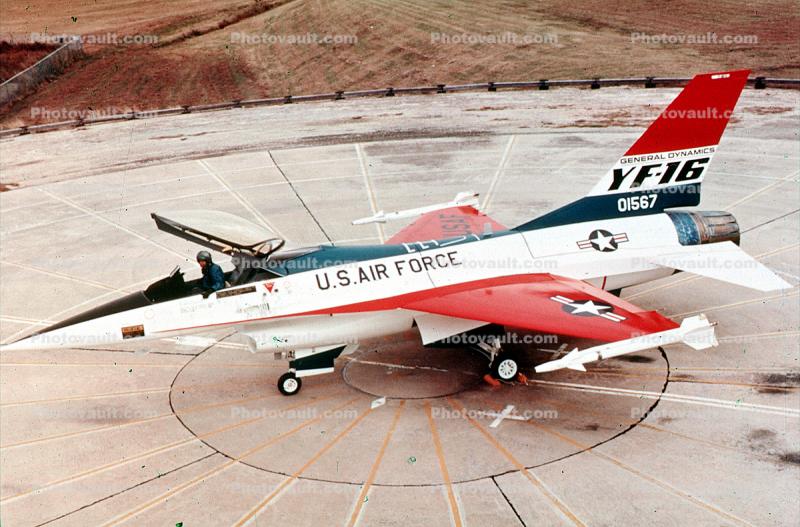
Tamiya released their initial F-16 in 1976 (a good year for me!), with the molding for the YF-16. Armed with this more experienced kit I decided that this was a good time to go ahead and build her up as the YF-16 on a stand. I had purchased some newer decals that would make this one shine!
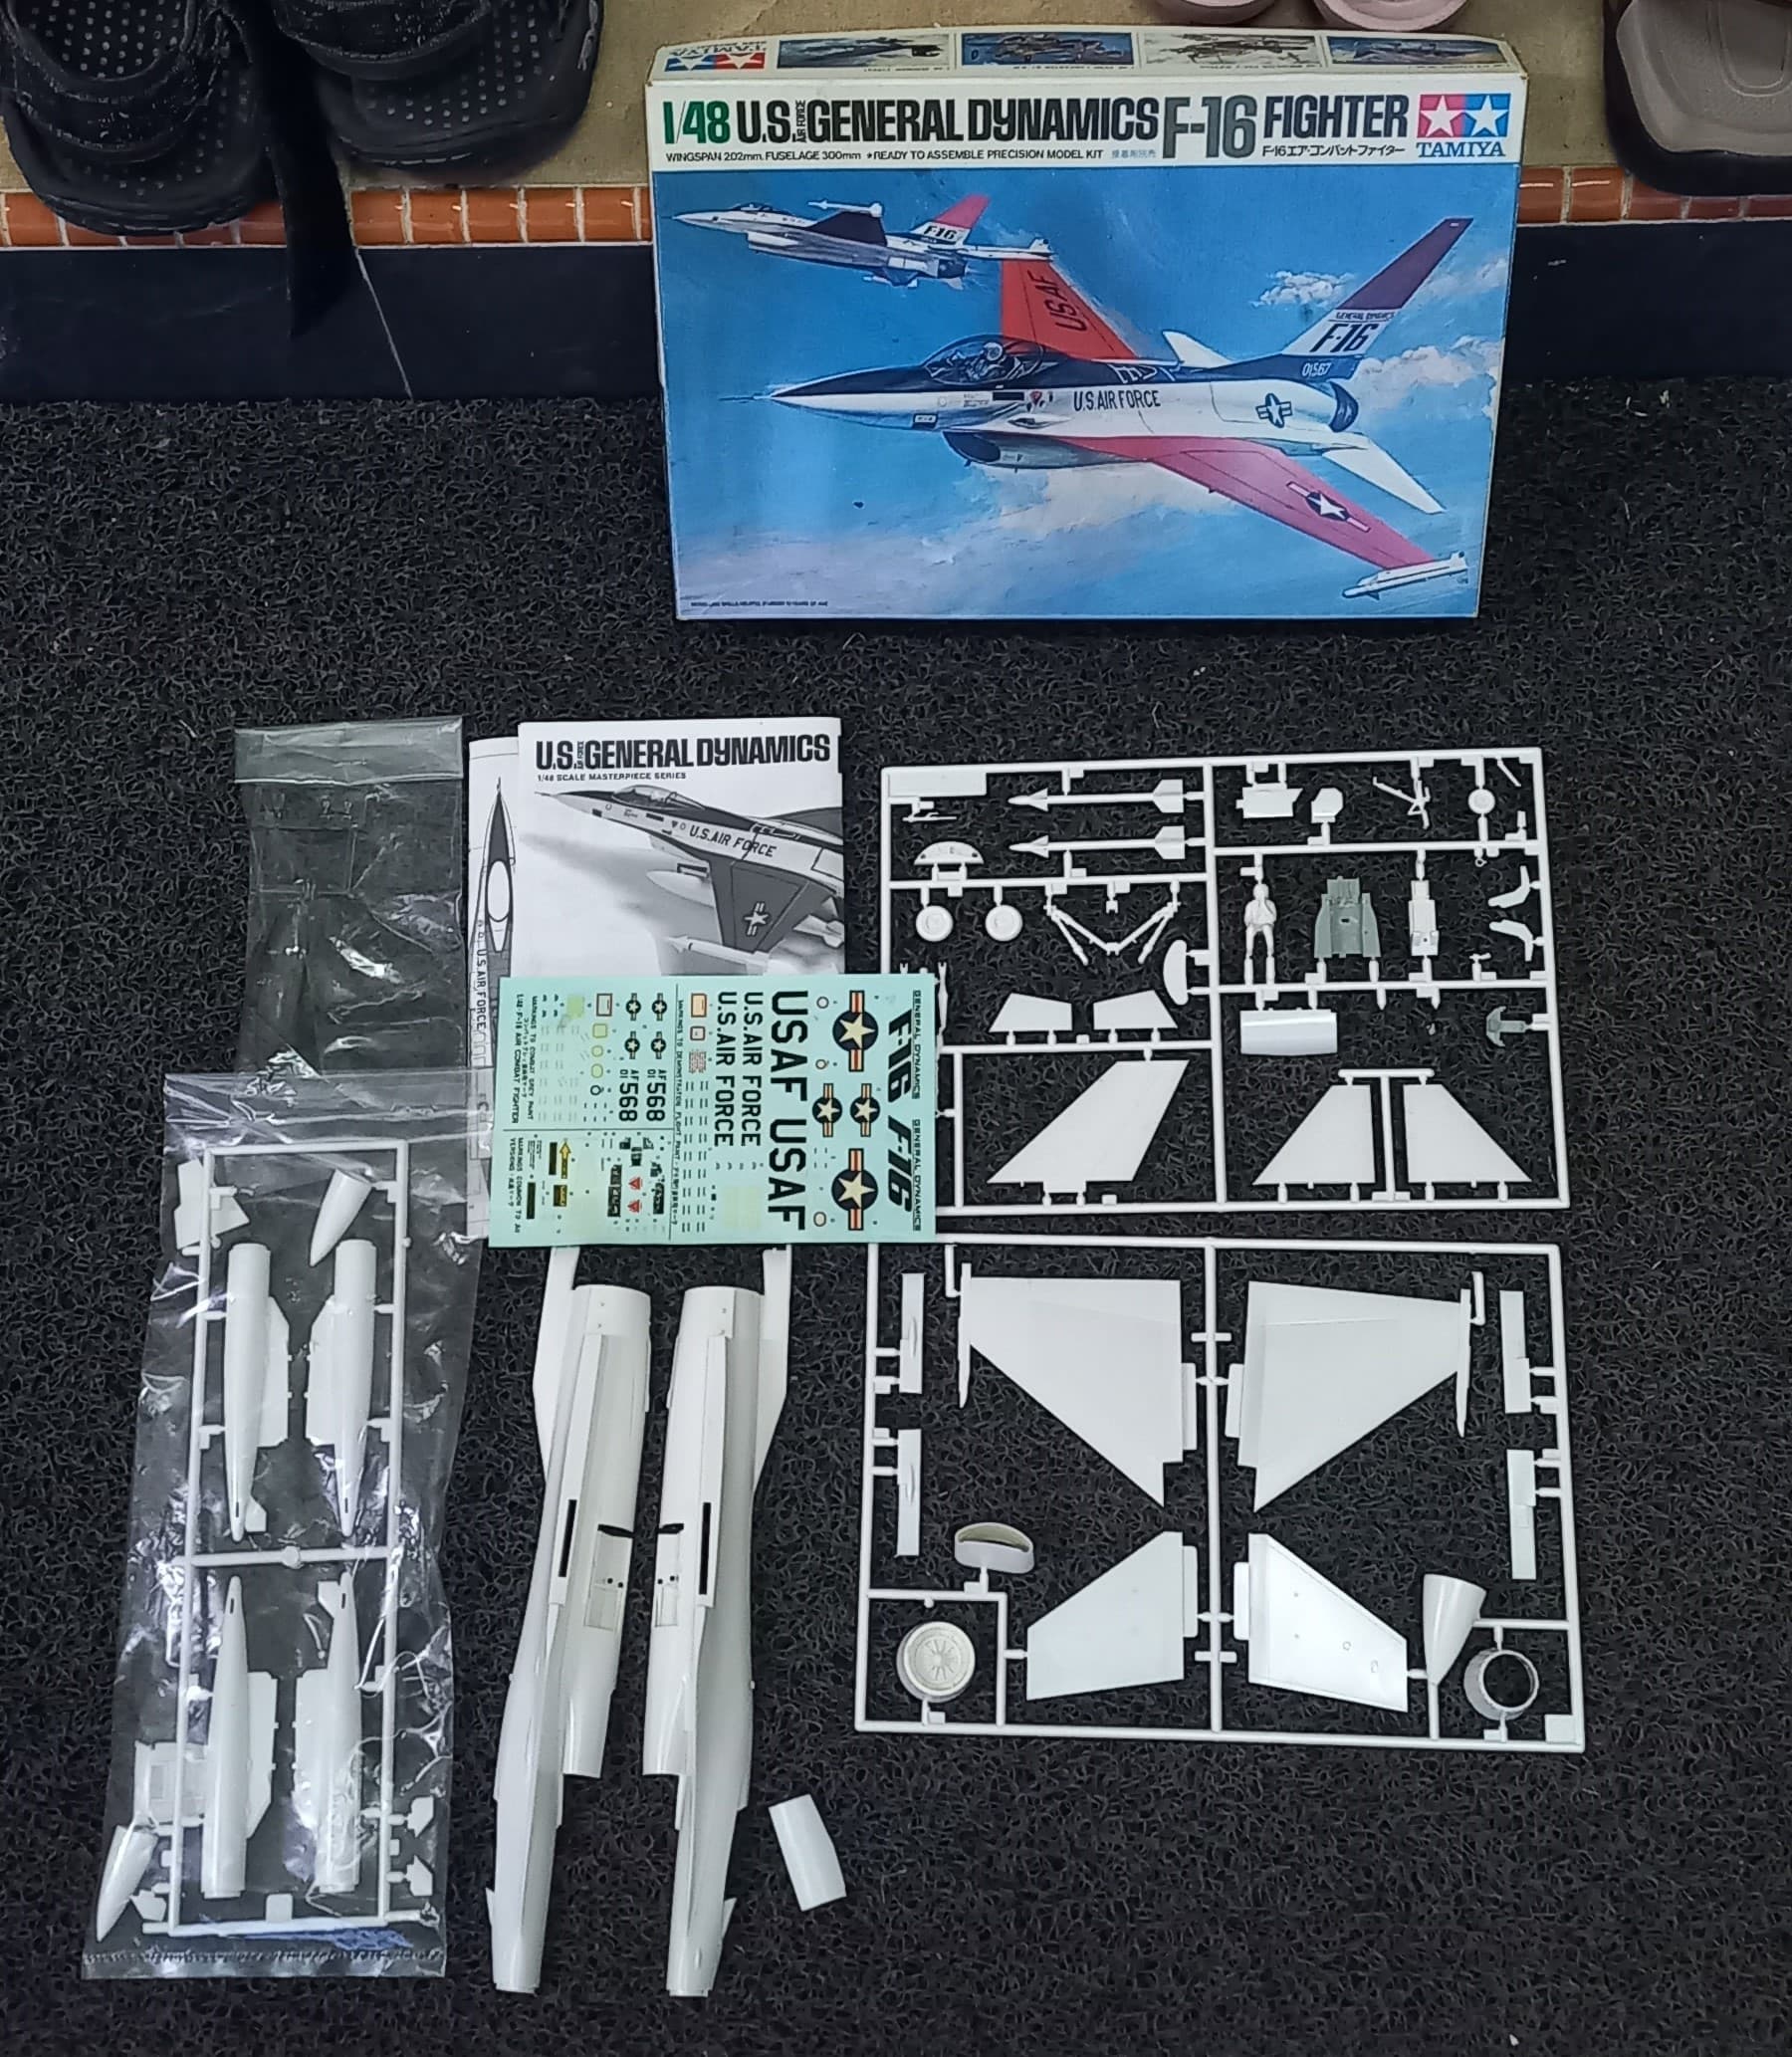
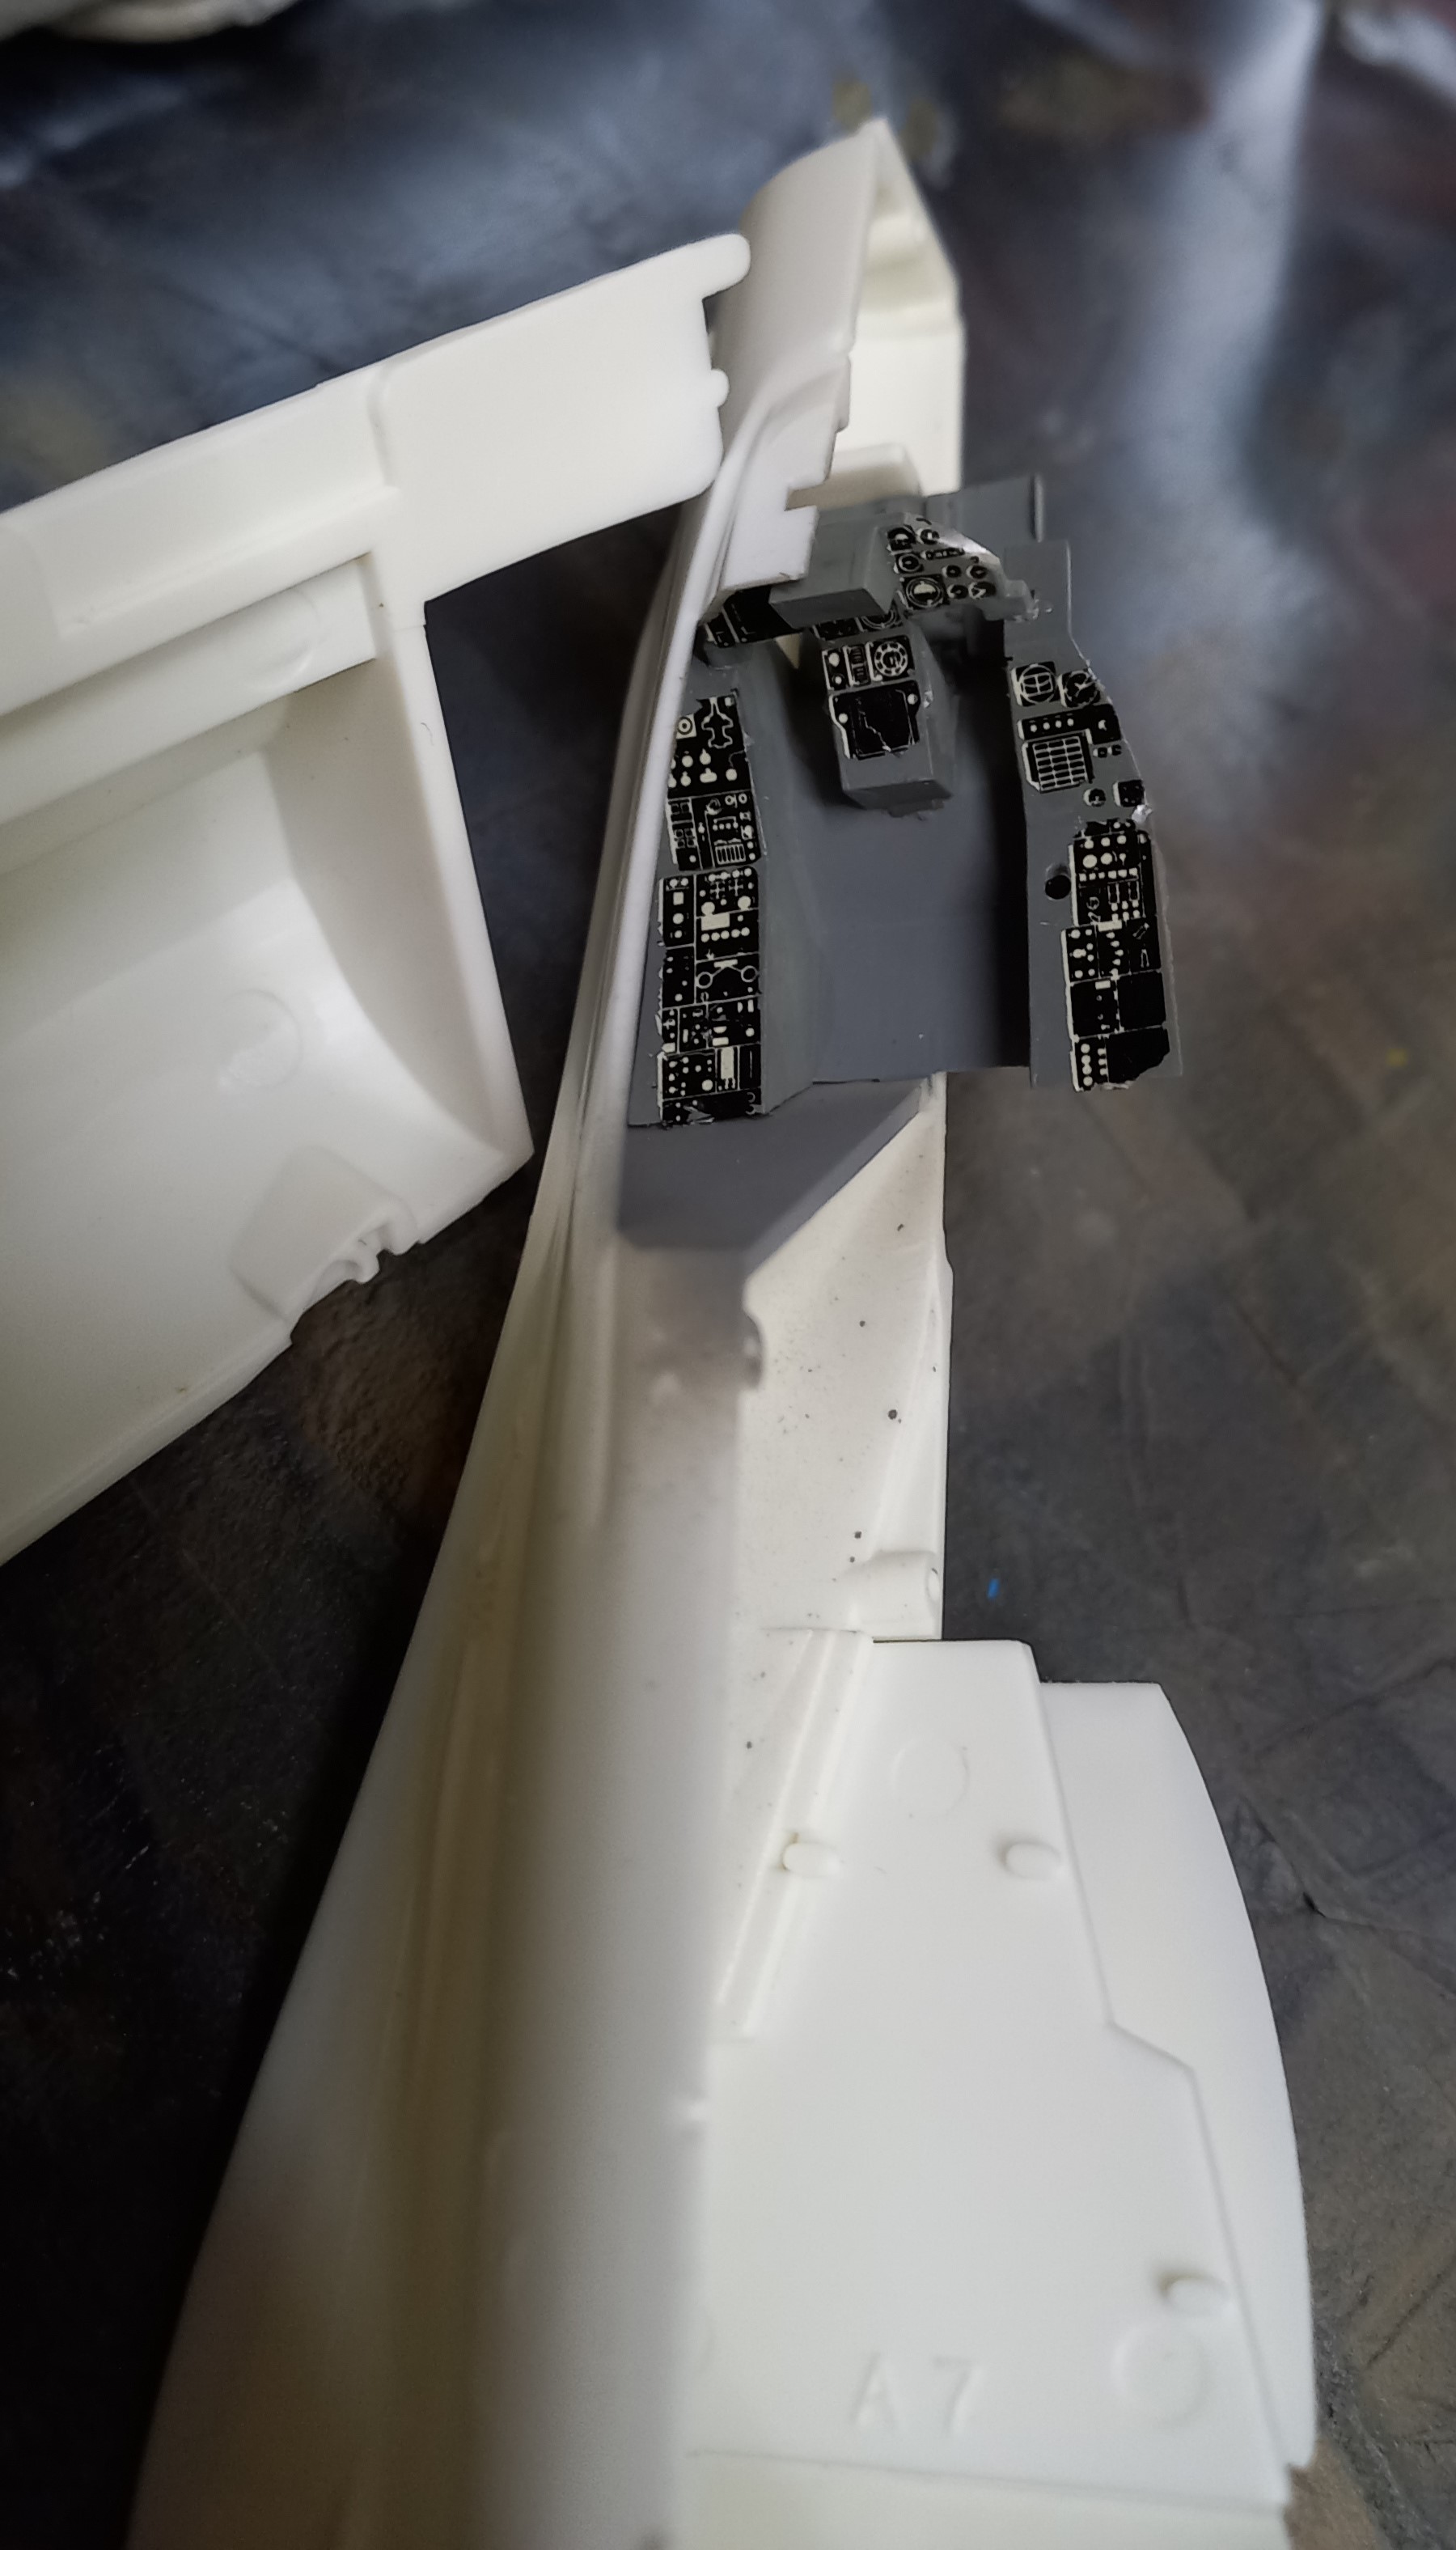
Construction began with the minimal cockpit, with the pilot Neal Anderson sitting up front, my care gene really didn’t express too much. I gave the interior a coat of dark gull grey, and then laid down some Future Floor wax, so that the decals could be applied.
Sadly, the new decal set didn’t include the cockpit instruments, so I resorted to using the kit supplied decals. One nice thing about old Tamiya decals is that they are thick, though, after 47 years they seemed pretty attached to the carrier film. After soaking in water for close to two hours, they finally did come off, and with the addition of some white glue they were placed onto the cockpit parts and sealed. For what I intend to do, I think they look pretty darned good.
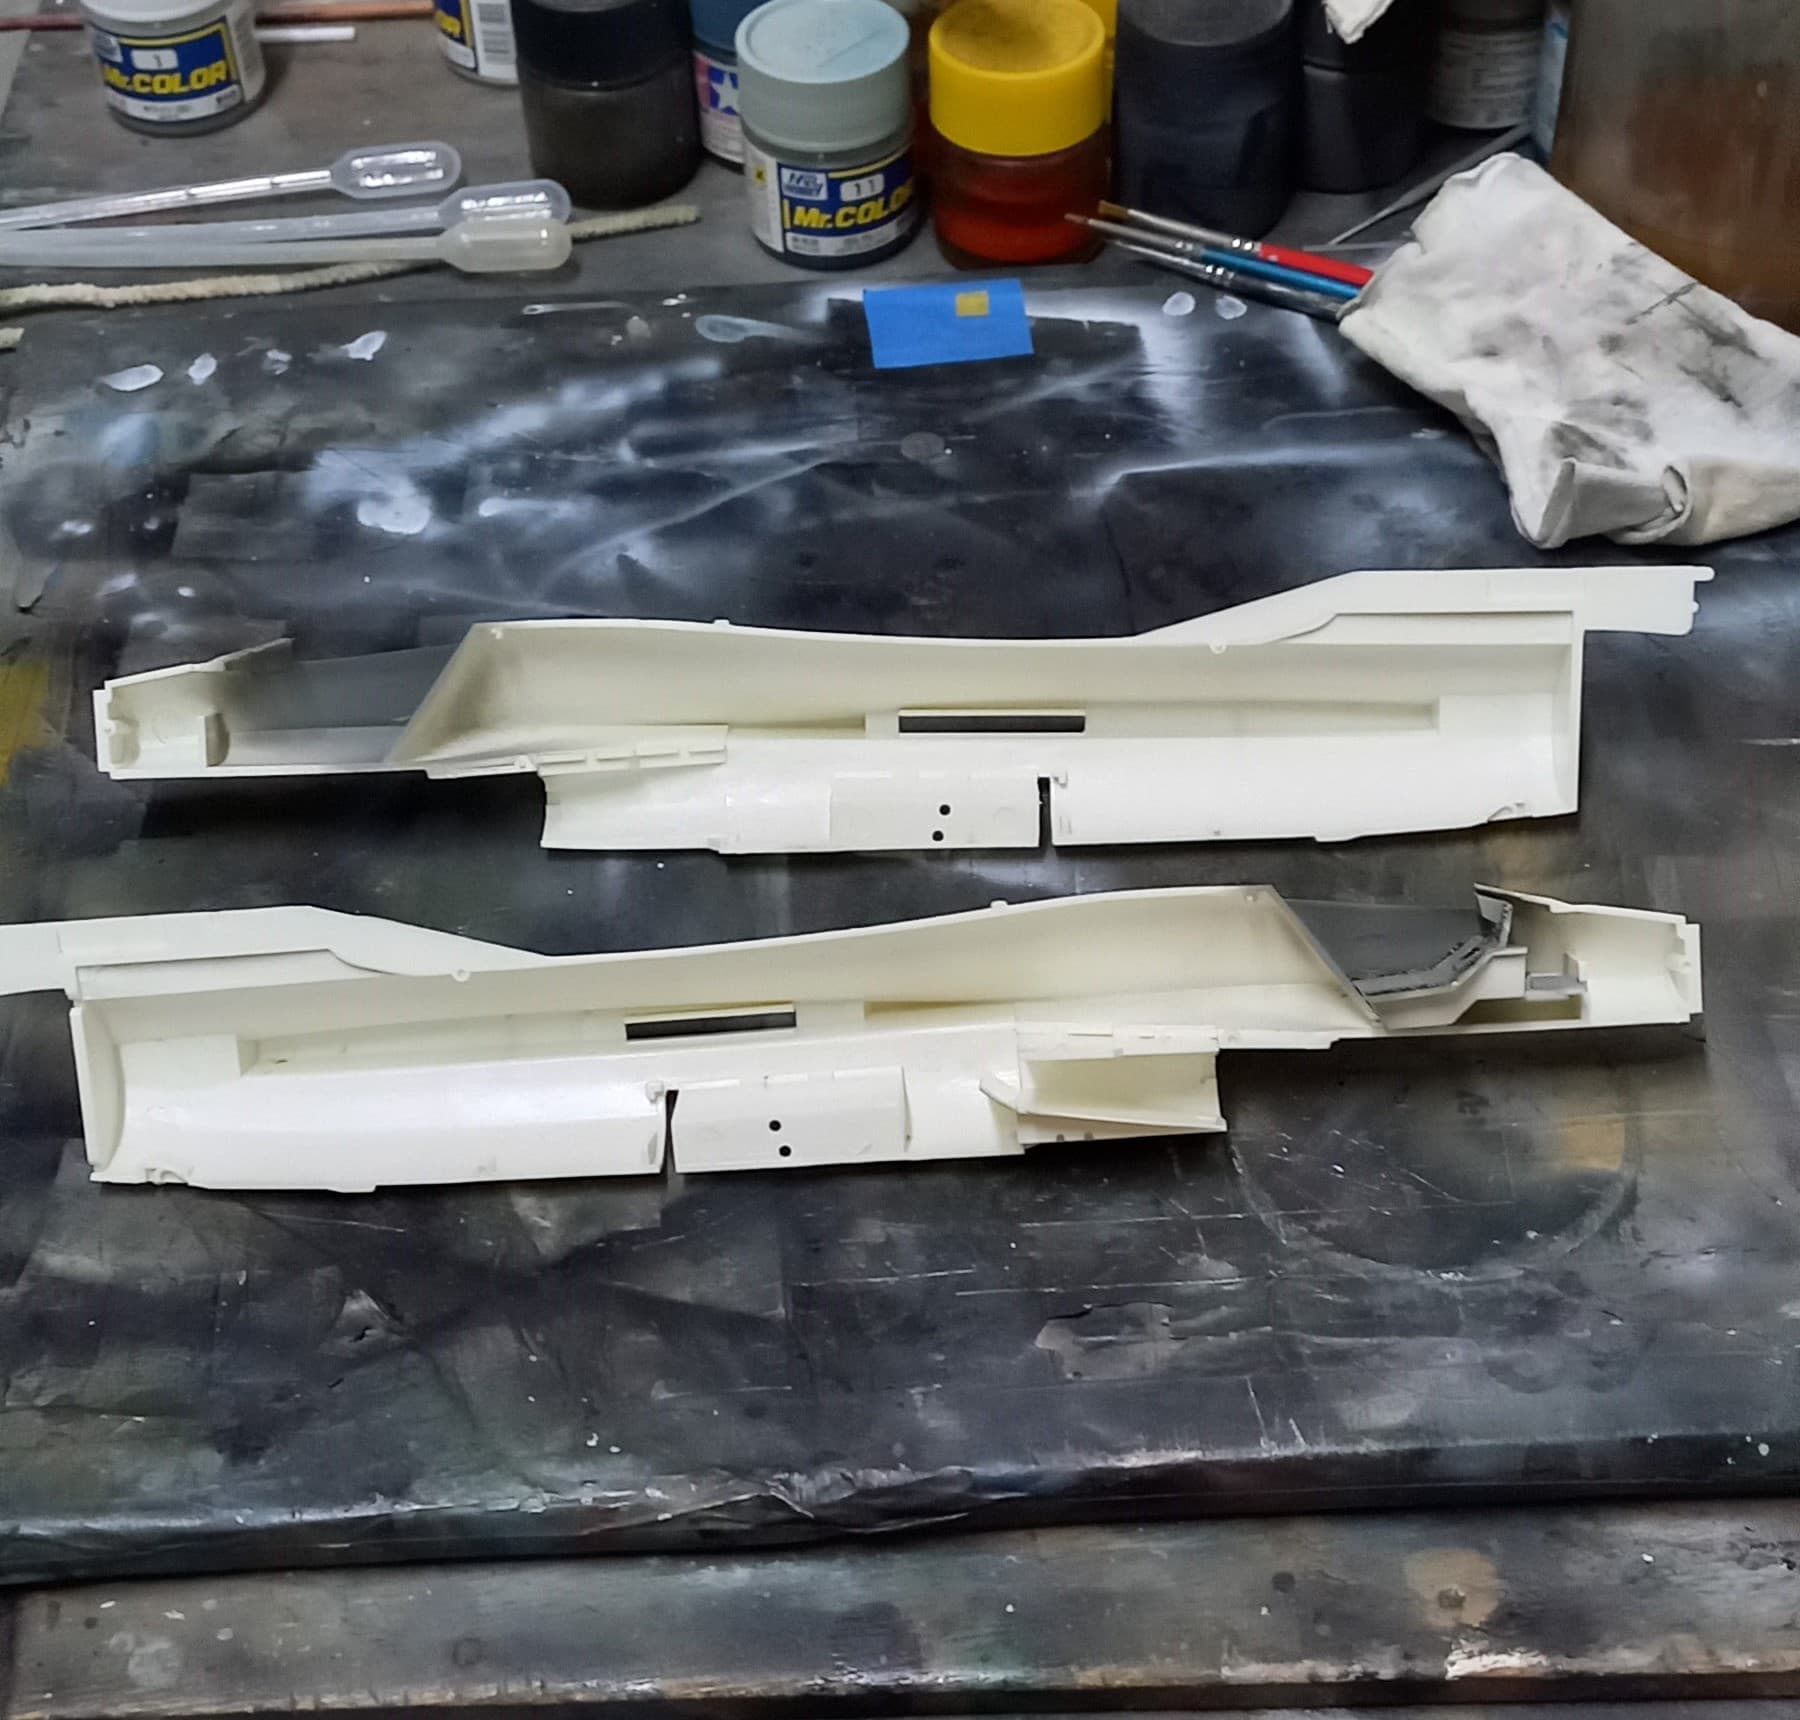
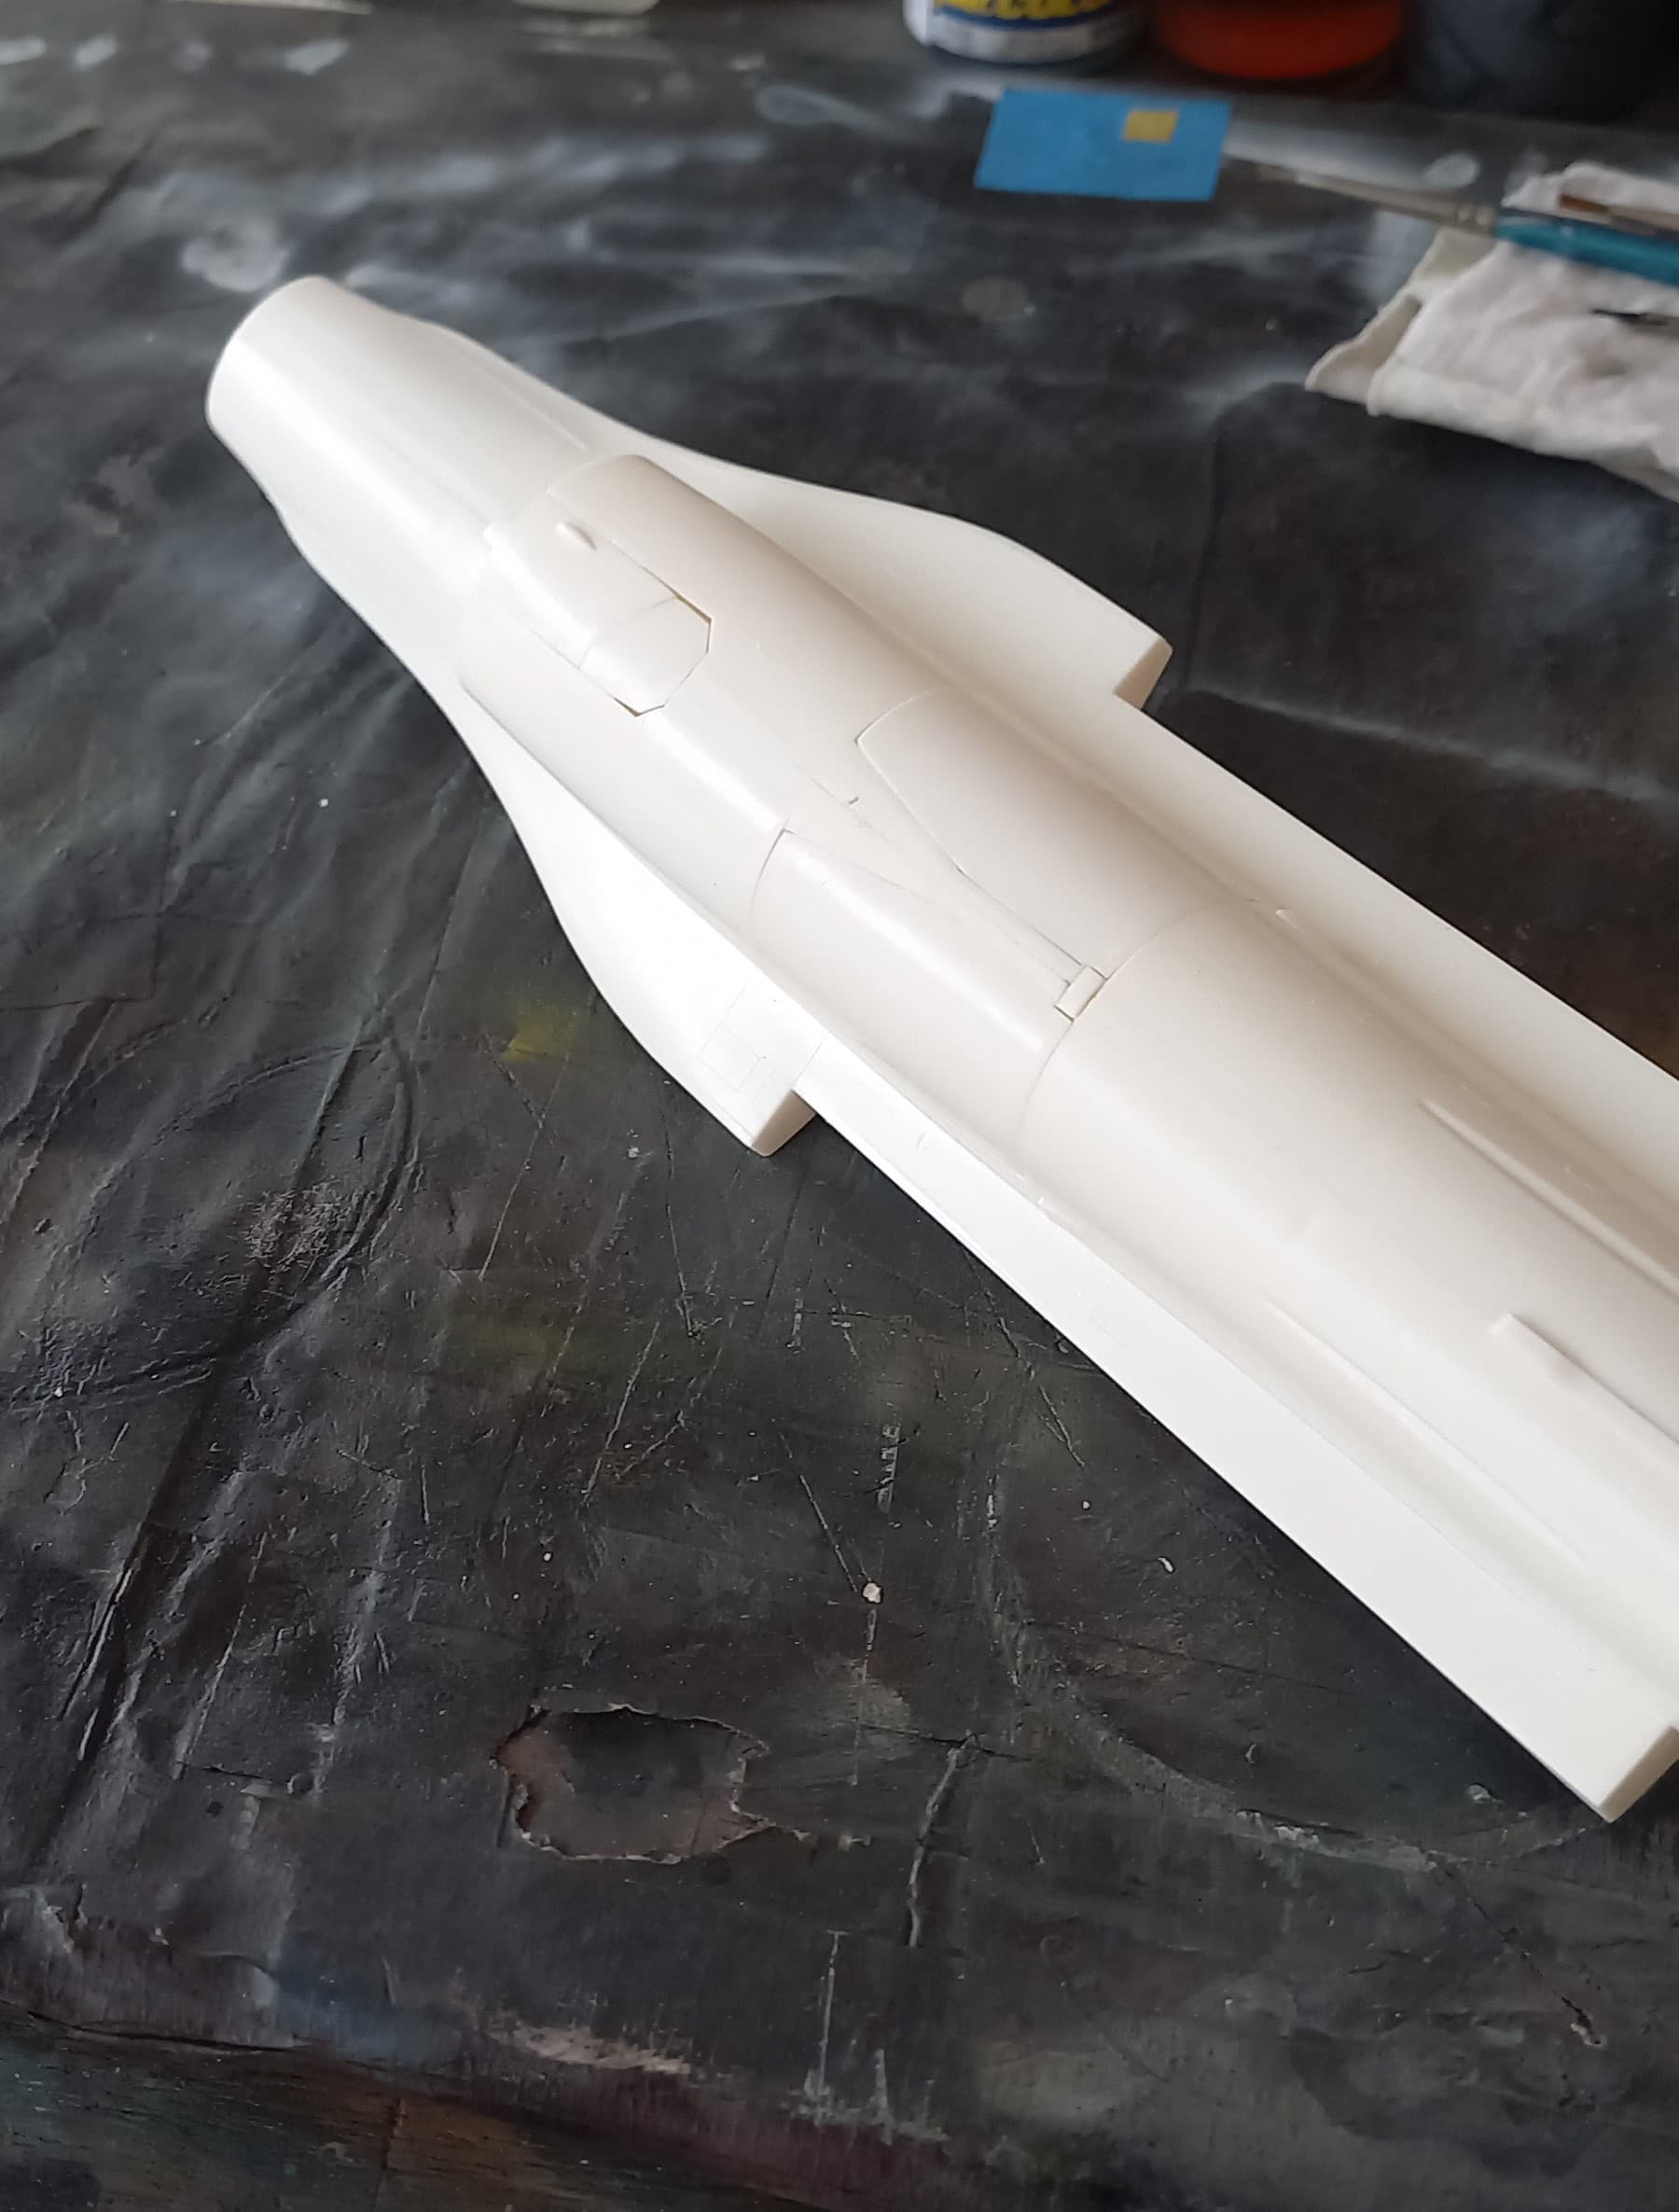
Unlike most F-16 kits, Tamiya chose to mold the fuselage in left/right halves, versus upper and lower. This doesn’t present much of a challenge since it is a Tamiya kit! The fit here was just fine, and using time and care the seam was very slight.
Next up, I sanded off the seam line and fitted the gear doors to the fuselage, Since Tamiya intended the kit to be on its landing gear, the gear doors were not perfect fit, though much nicer than other kits that I’ve closed up.
Once everything was closed up things were sanded flush.
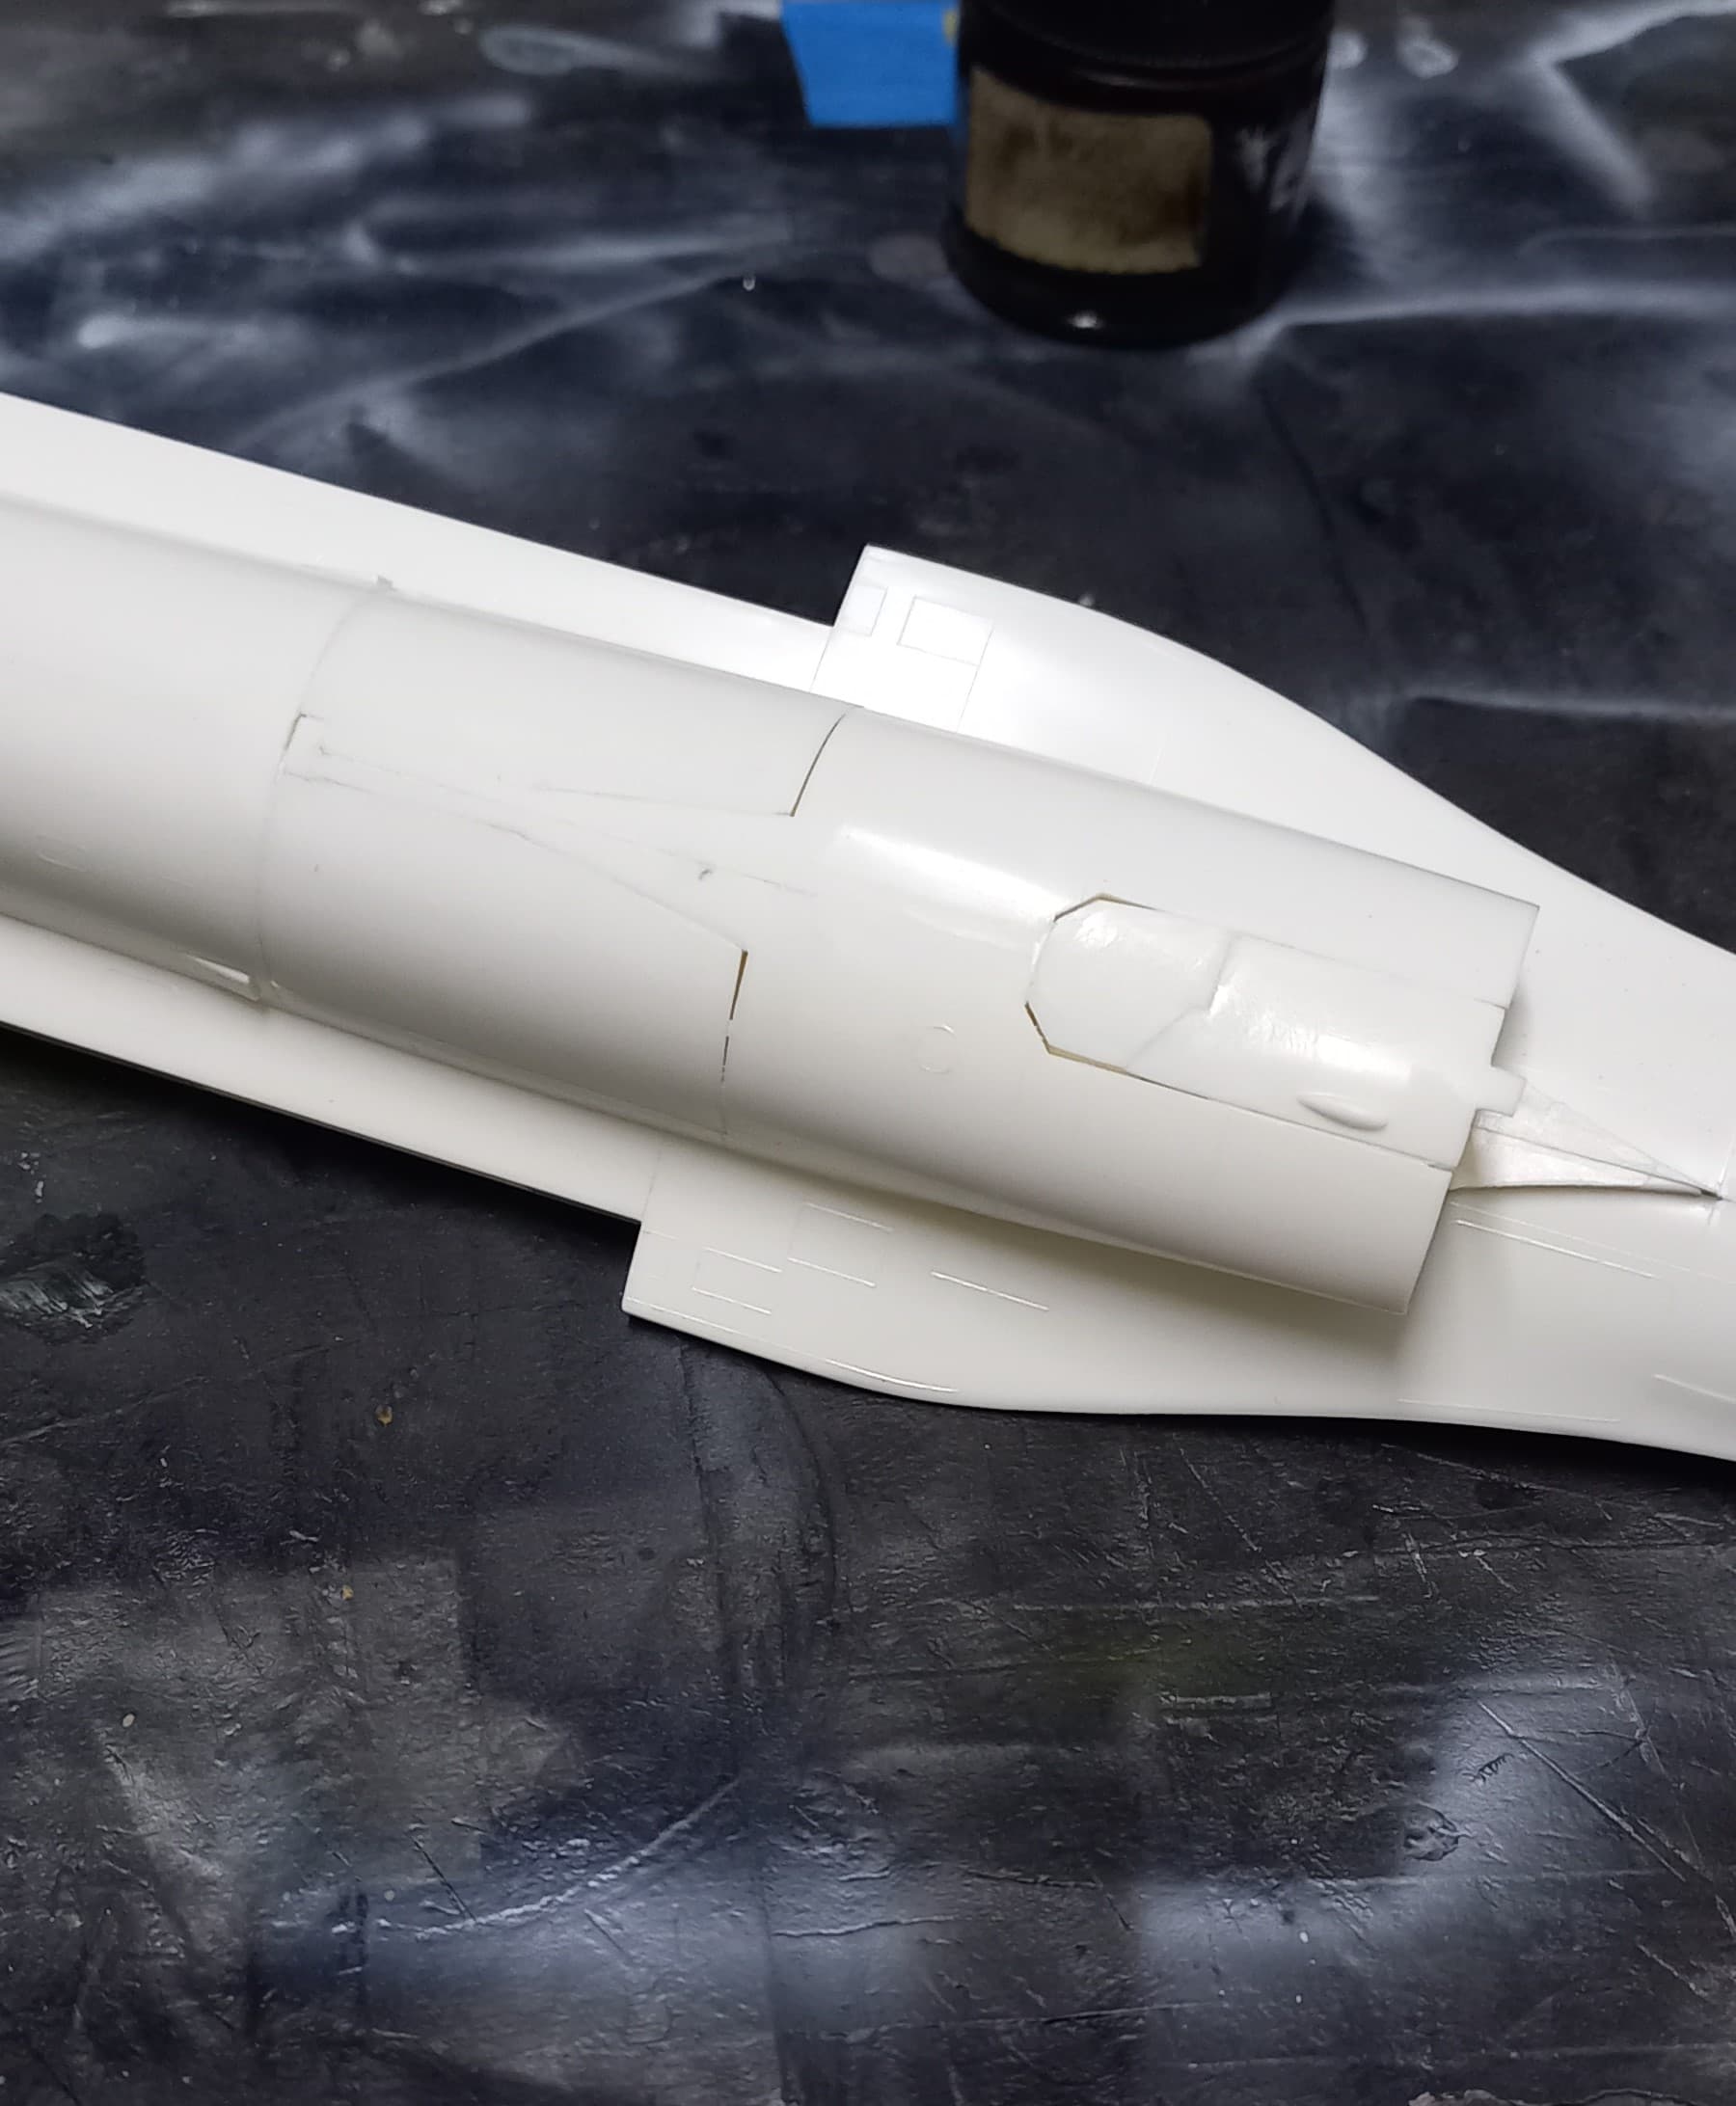
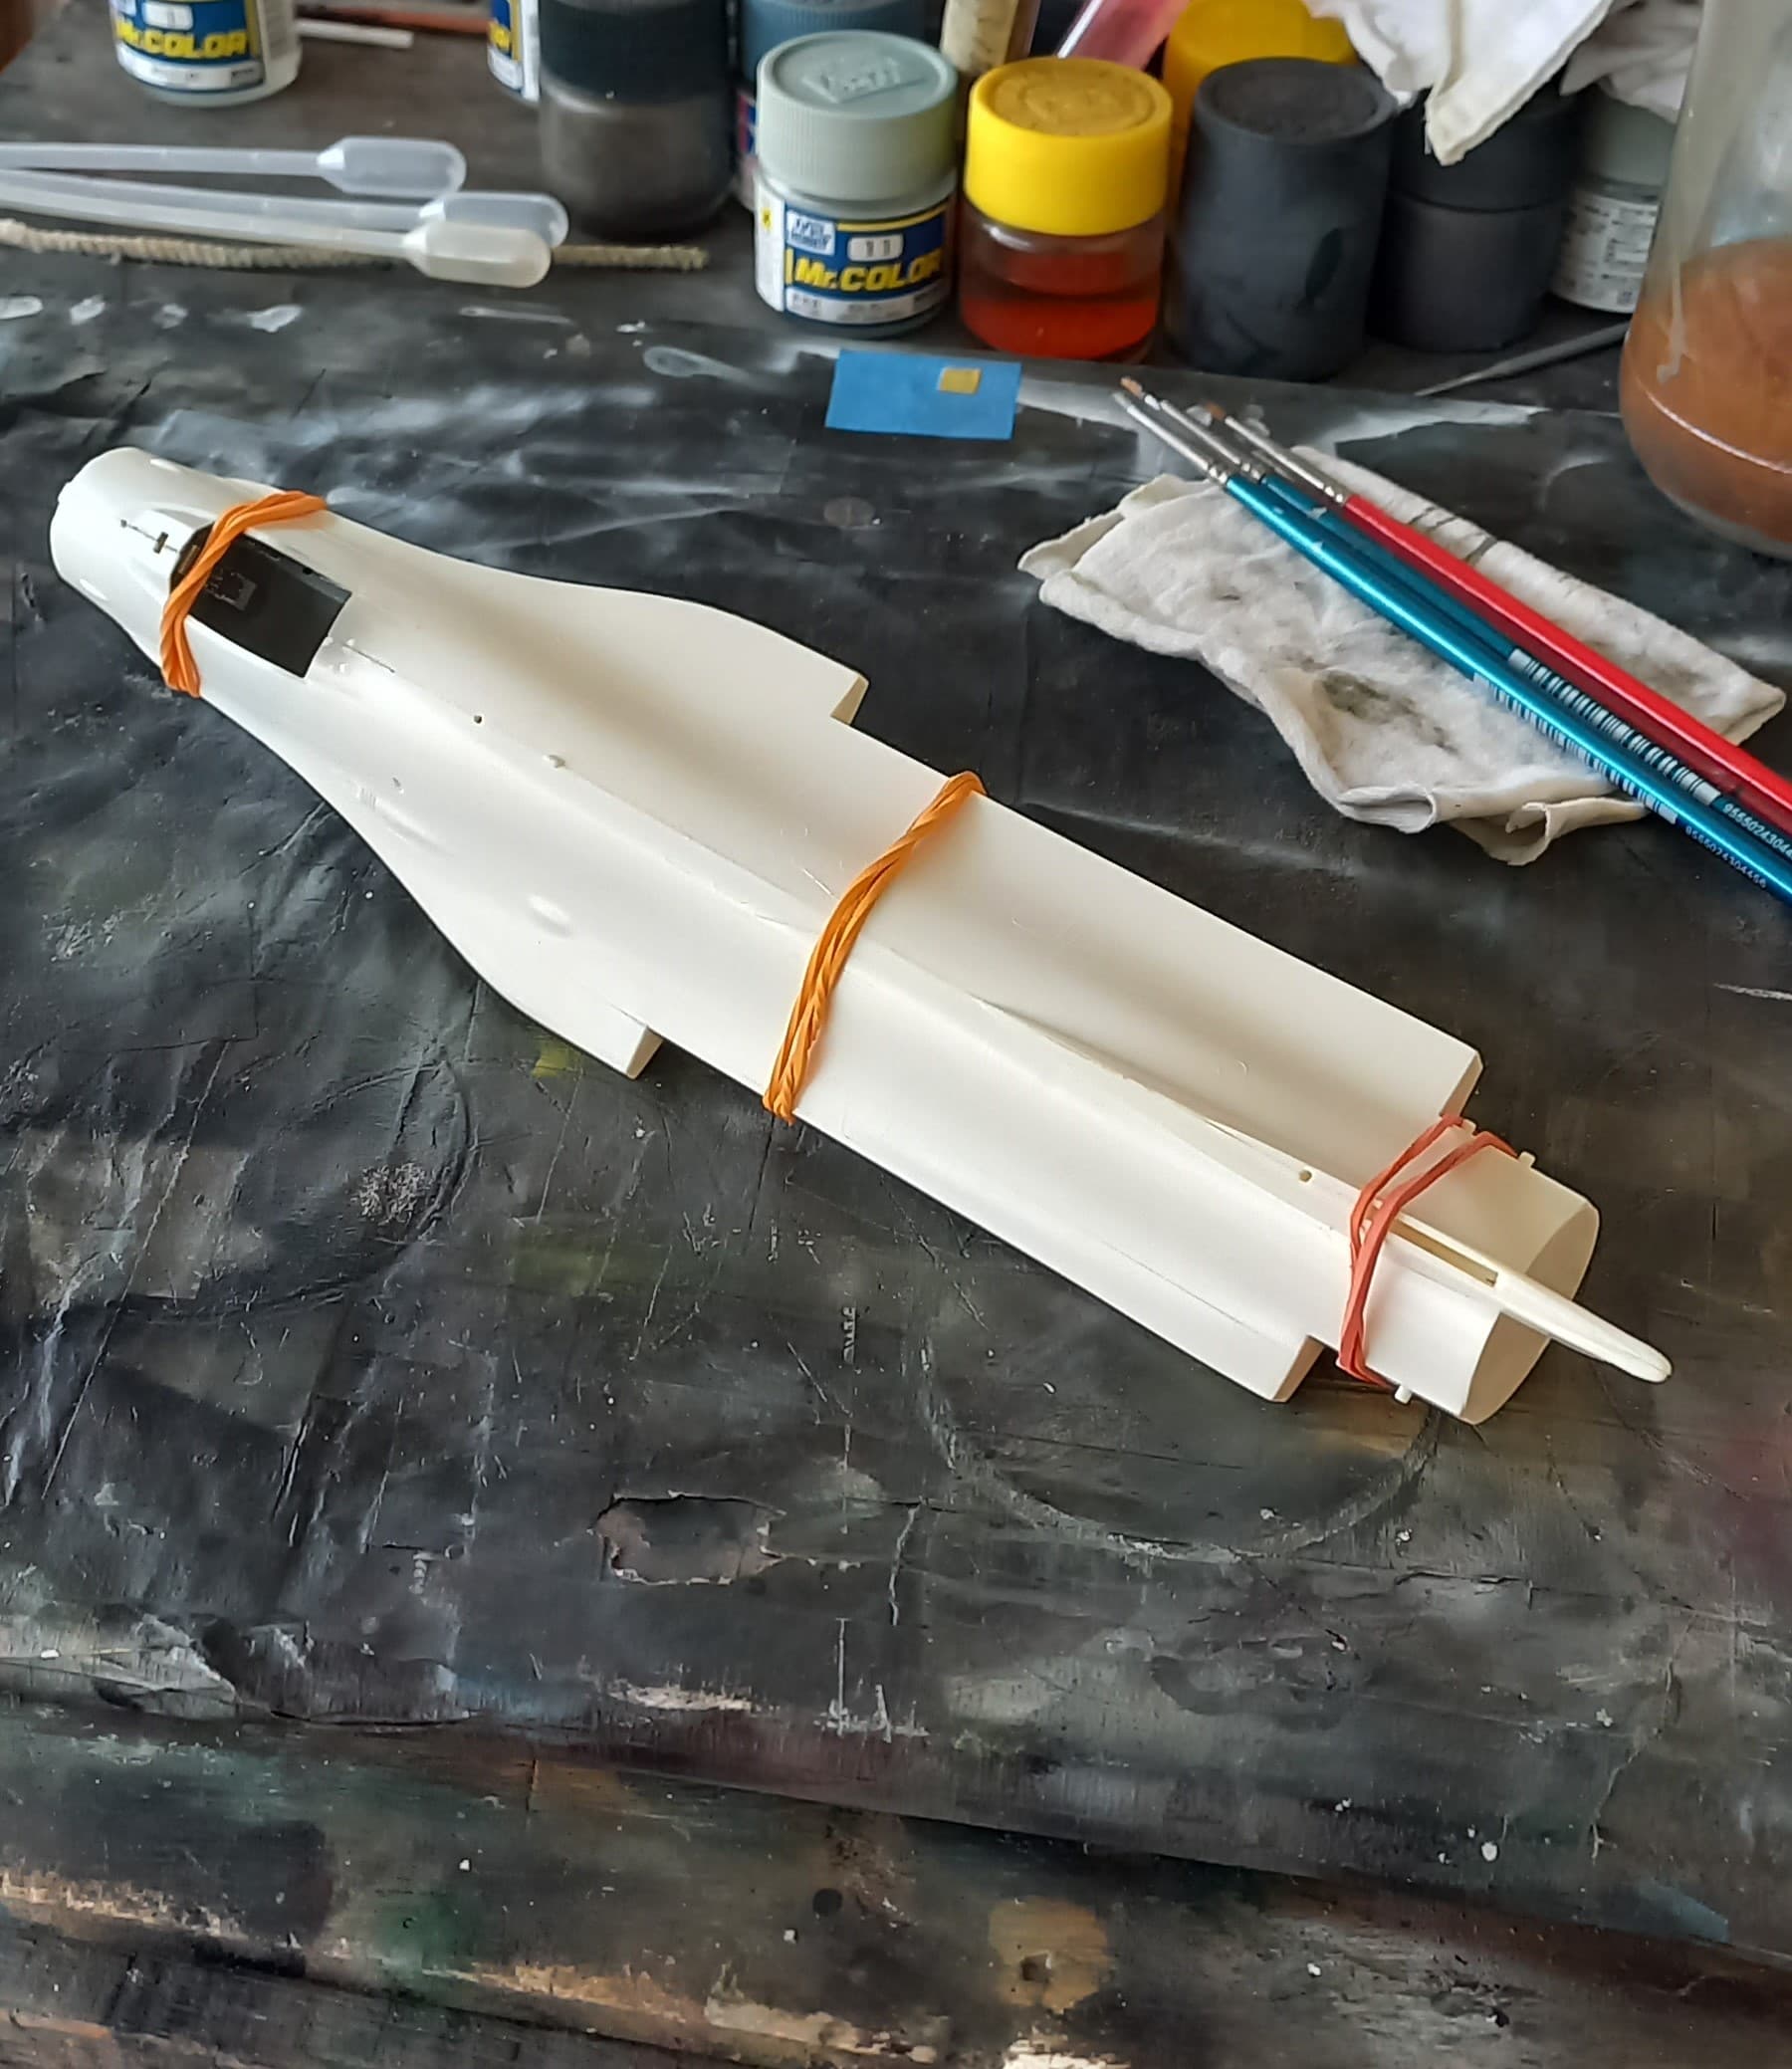
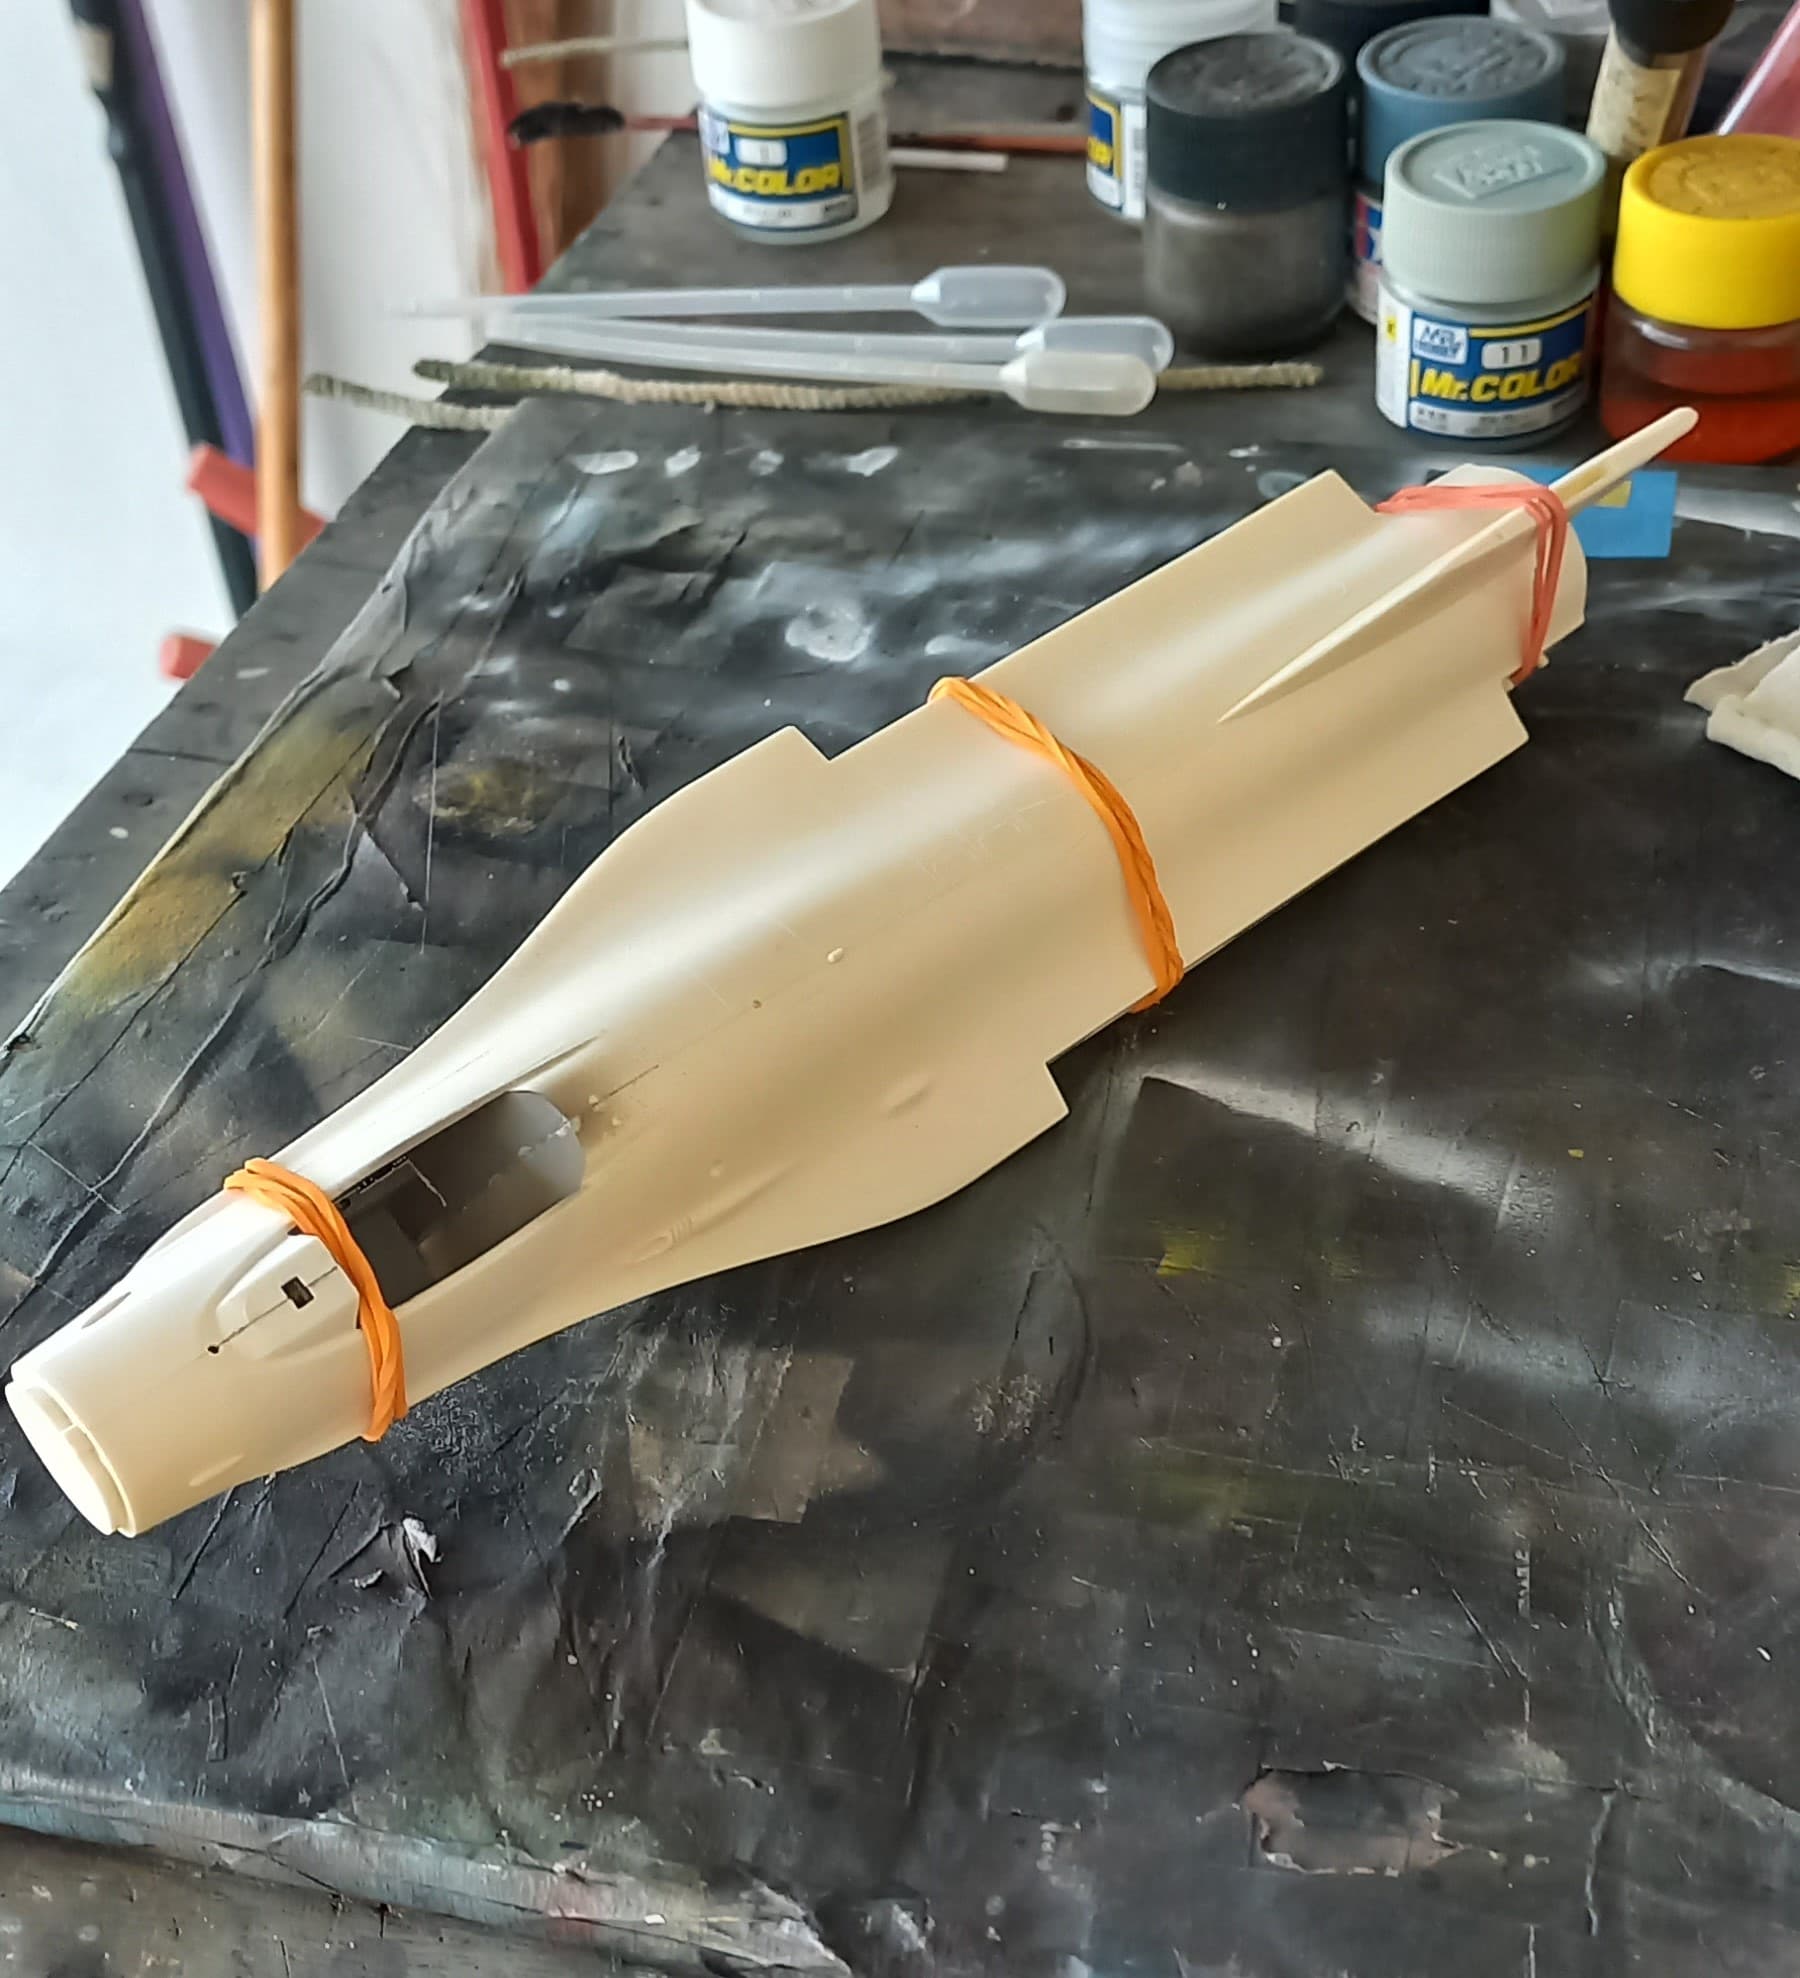
I’m not sure if any F-16 kit has a decent intake that doesn’t require loads of work, but this one was pretty good. I added it and then did some basic filling in preparation for the white paint. It was also at this time that I started to deal with the base for the stand. An oval plaque piece of pine that I brought with me when I moved. It should be noted that I discovered that this base was way too big for this project and found the appropriately sized one (more on that later).

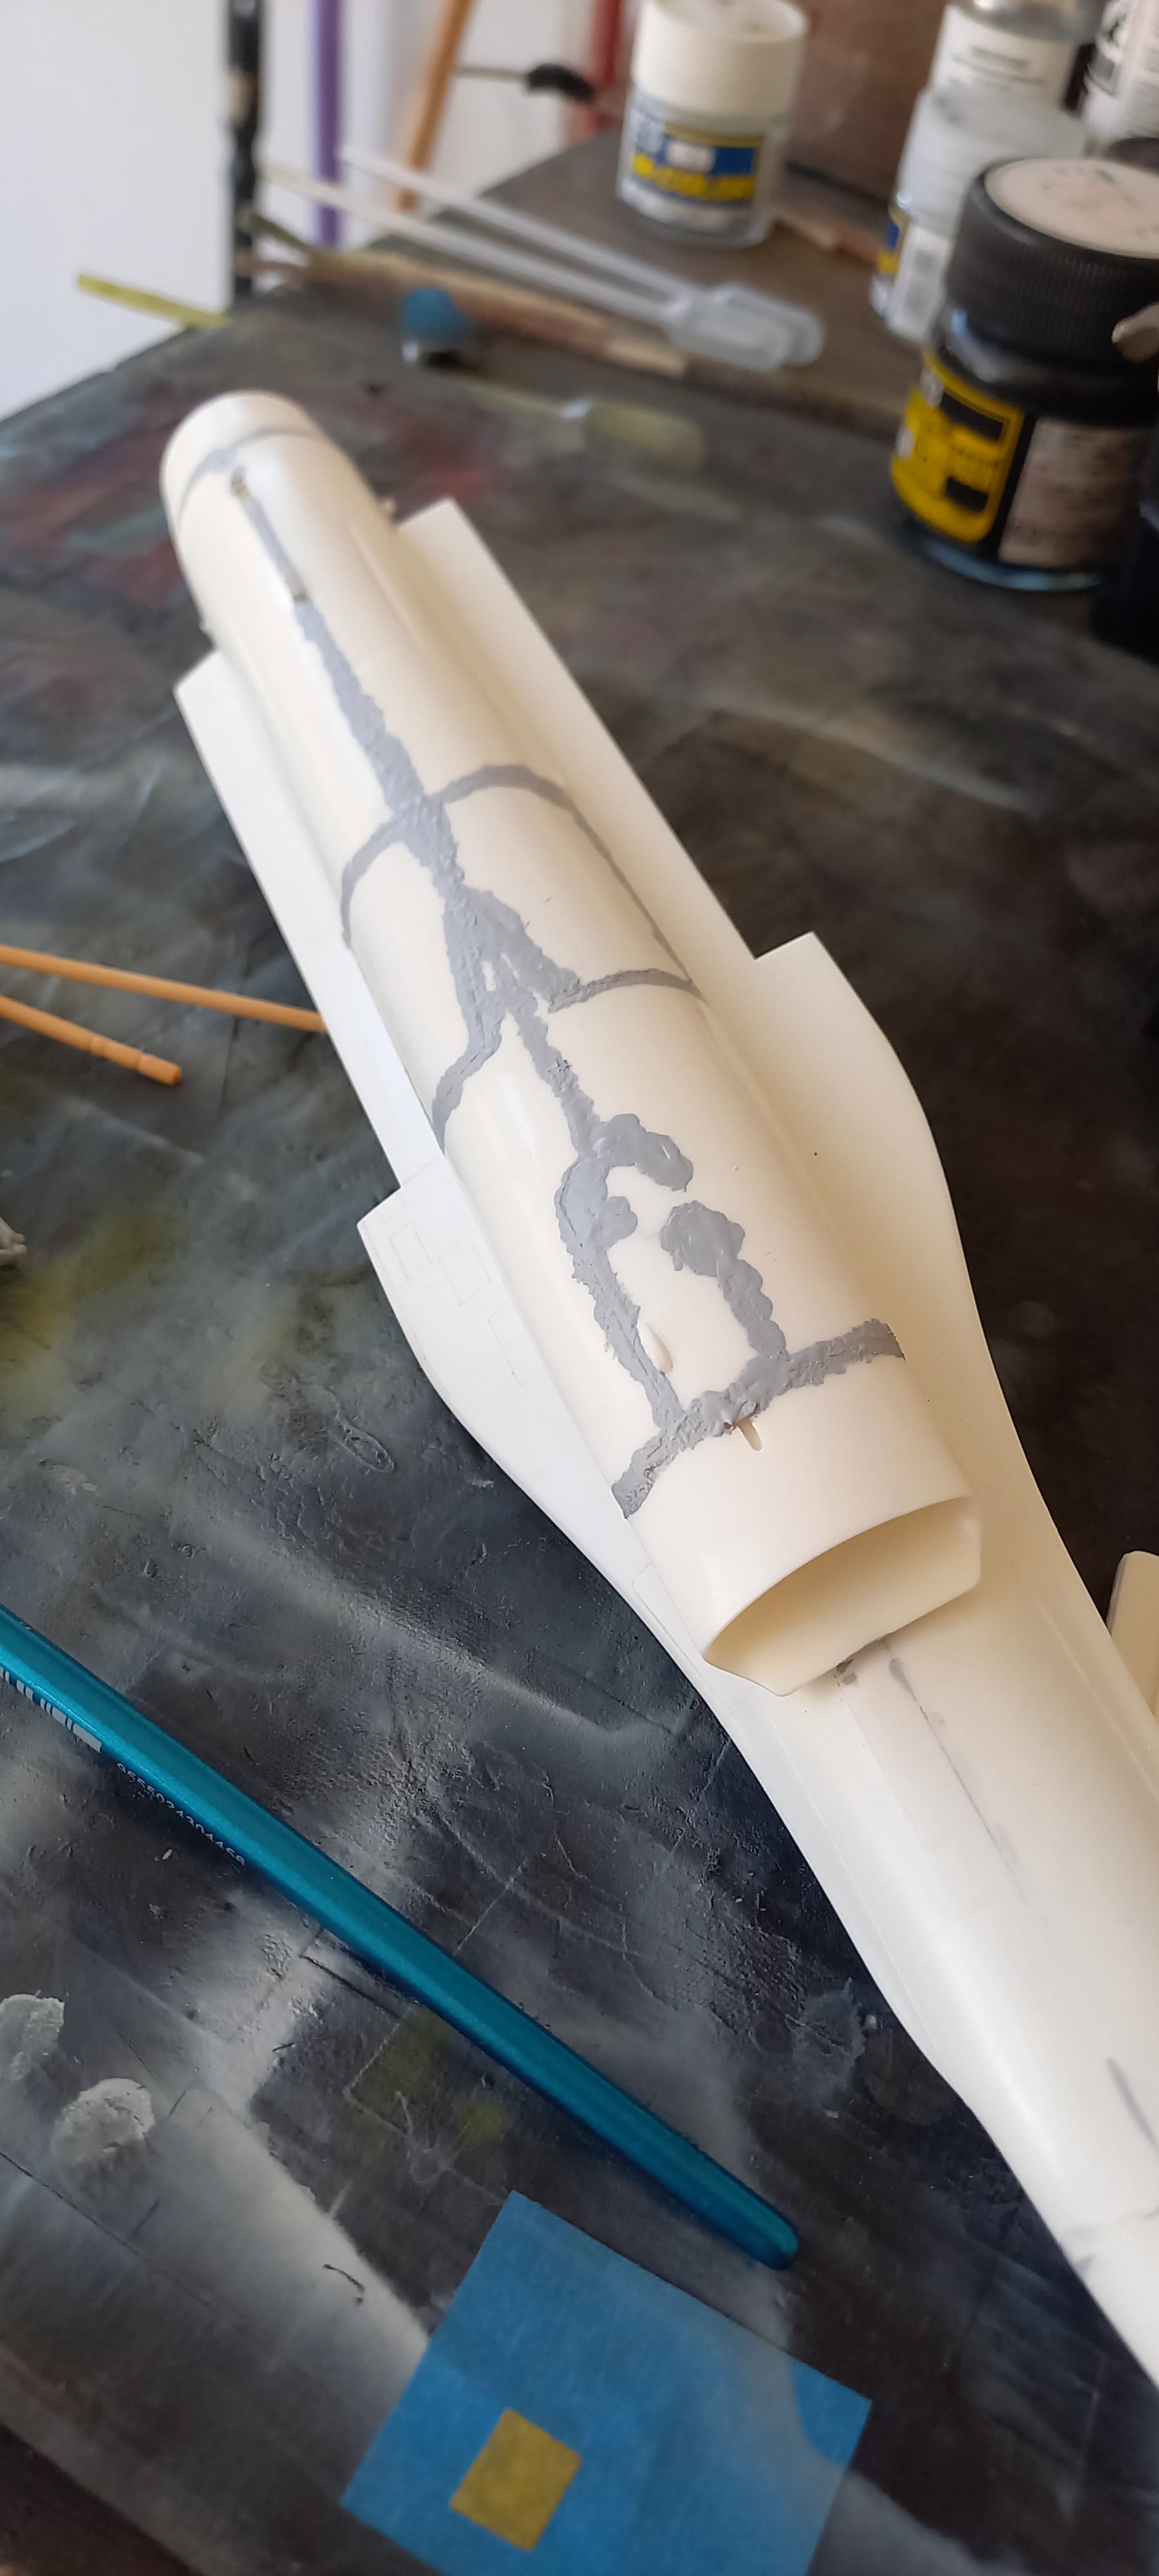
I then set about filling any gaps with Vallejo plastic putty and followed with Mr. Surfacer 500. Following that the few remaining seam marks were delt with using superglue.
Since this time I’ve been working on small assemblies, such as the wings, the base and the pilot. While well on my way in painting “Neal” in green, further research discovered that he actually wore a blue flight suit.
More fun and updates to follow! On a side note, doing this build got me over my anger issue regarding the F-15, and work has kicked in, so more updates on that project are sure to follow.
Till then, be safe and have fun!
10 Likes
Very interesting read, John! And the build seems to run smoothly and according to plan so far. I like it, especially the paint scheme. Good luck and I’m following ![]()
![]()
Peter
Well, finally I got into the right mood to start my own entry
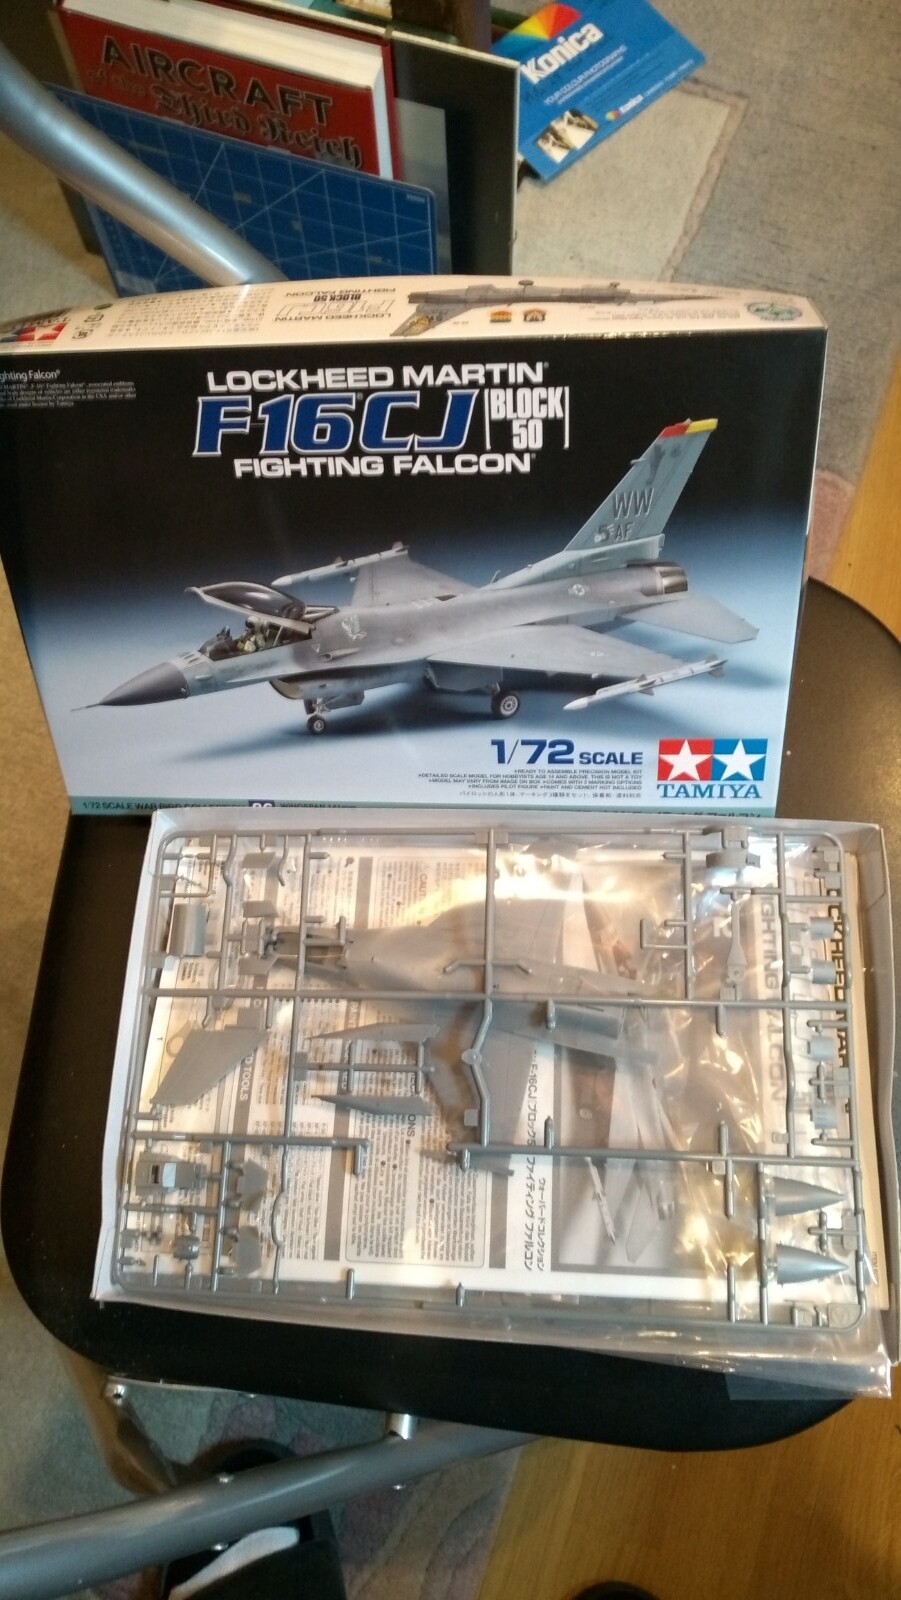
A little dry fitting reveals no obvious problems
I will start in earnest probably next week after the painter is done with our living-room (there are quite a lot of small things to get out of the way and the furniture to put into the middle of the room to cover it…)
BTW, I’m really impressed about all the beautiful builds here
Peter
7 Likes
@B-17-peter I’m building the same kit. Which version are you doing?
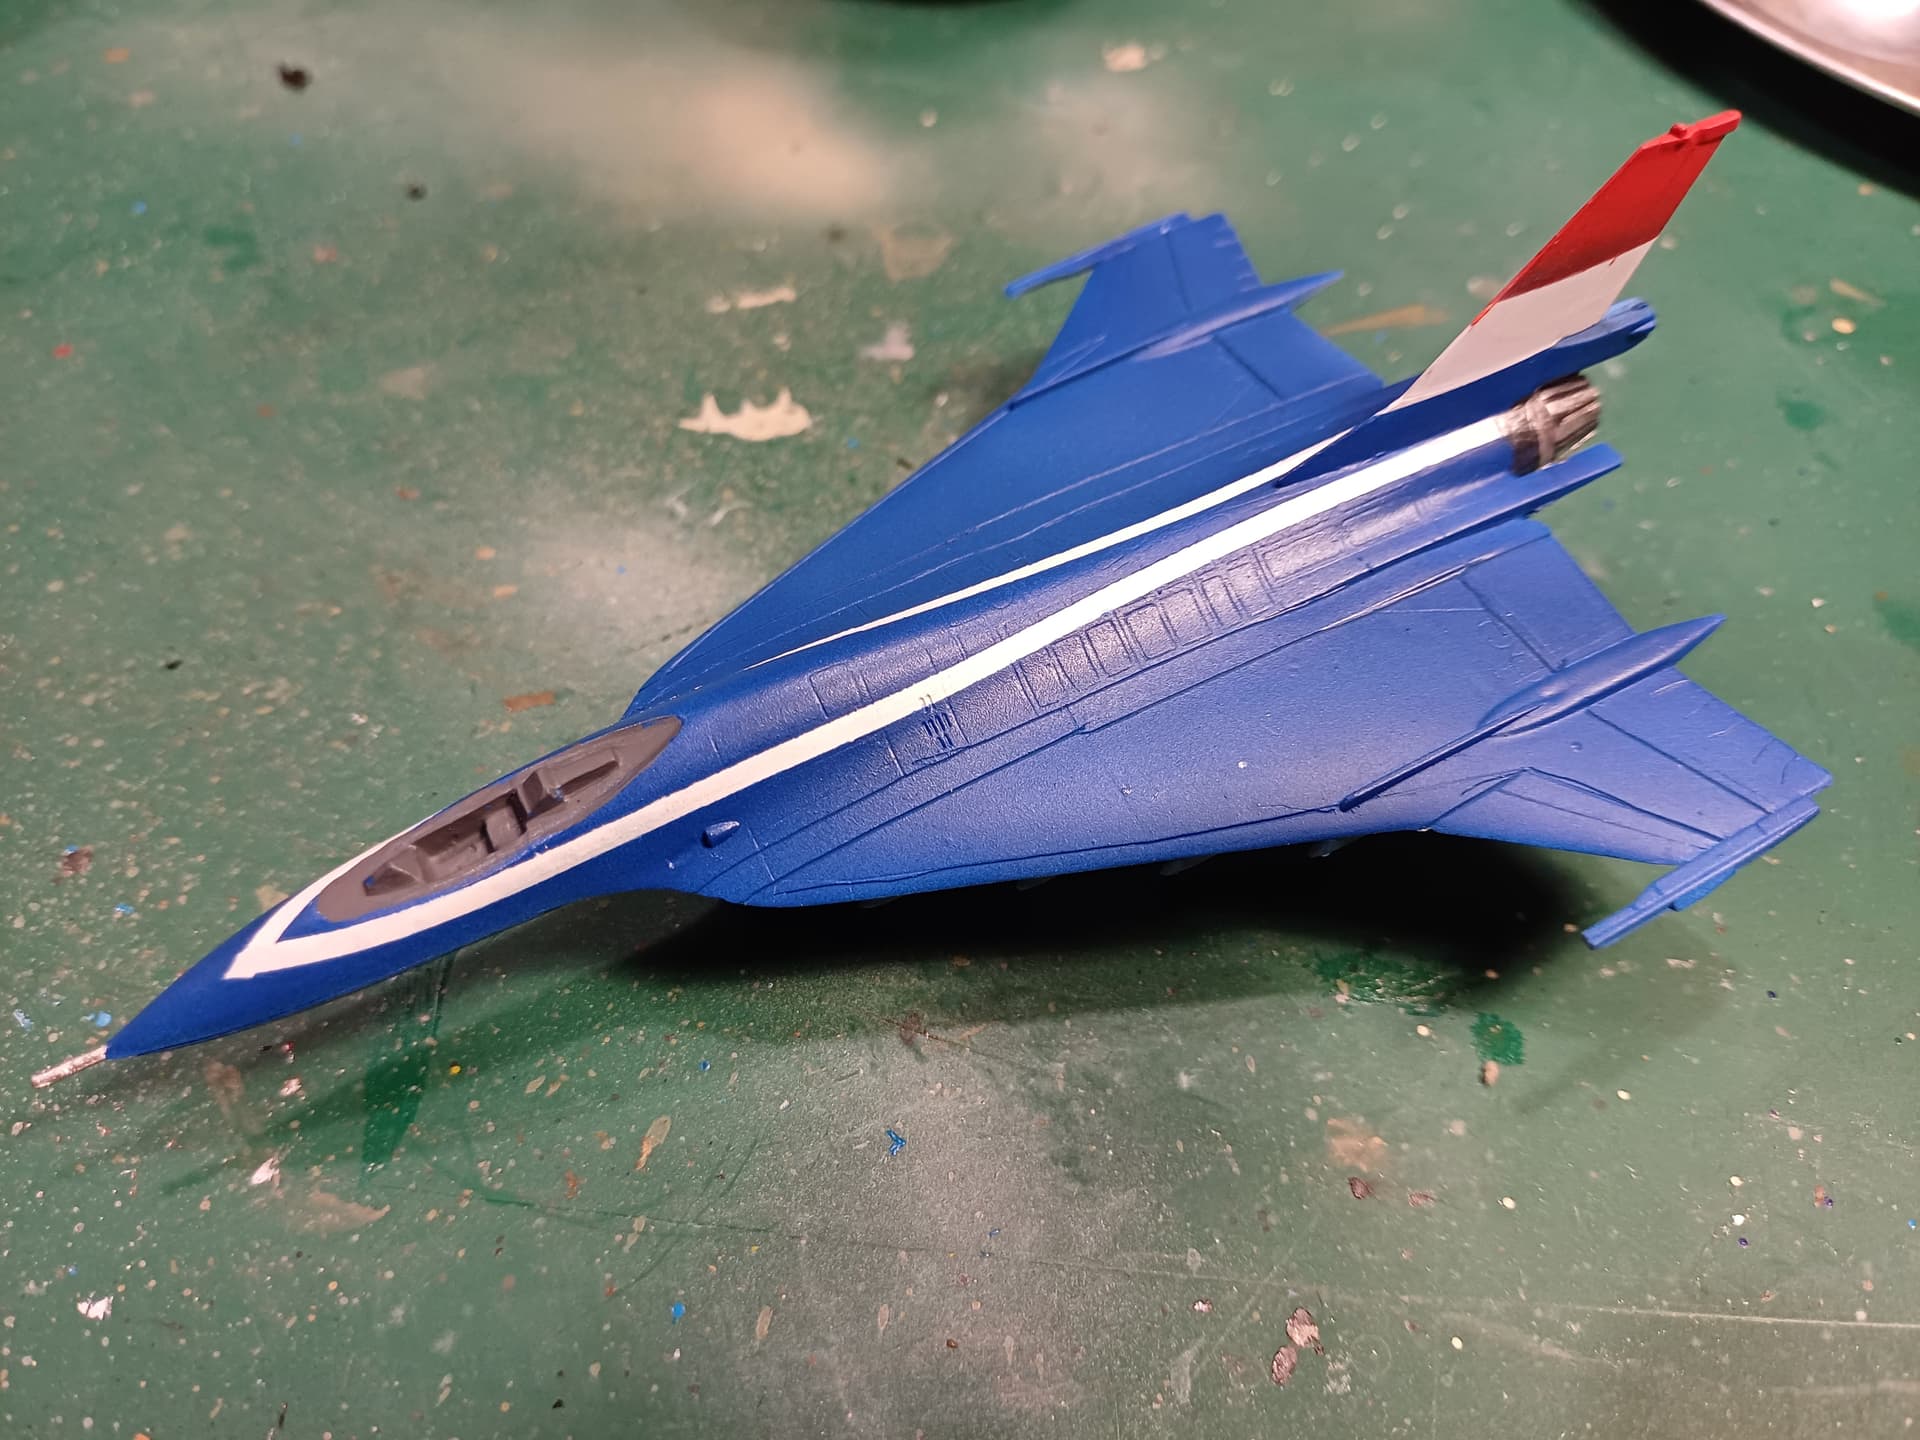
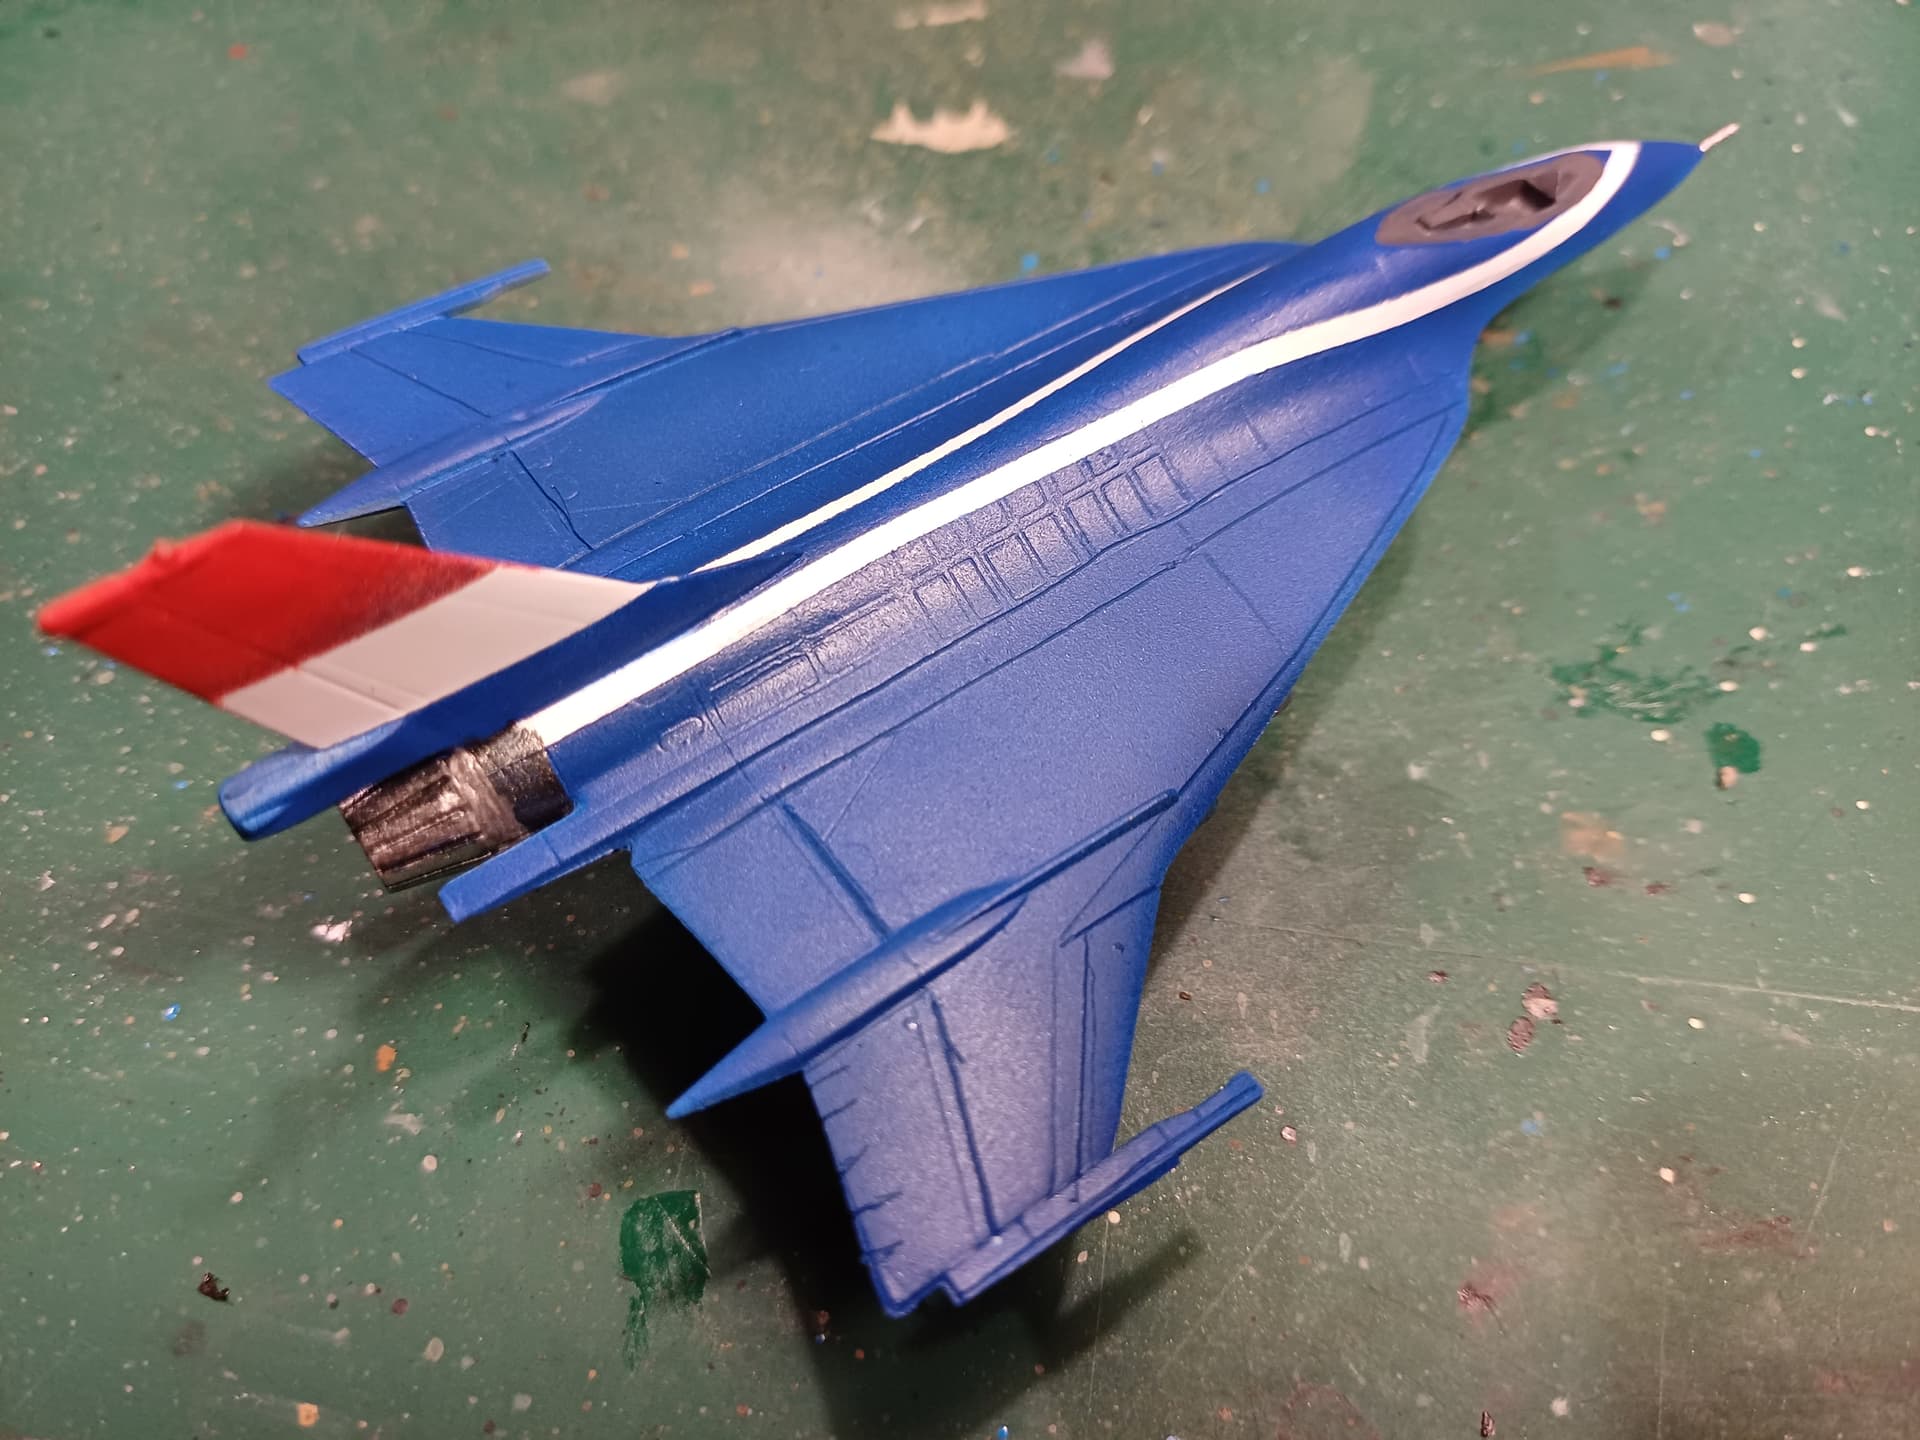
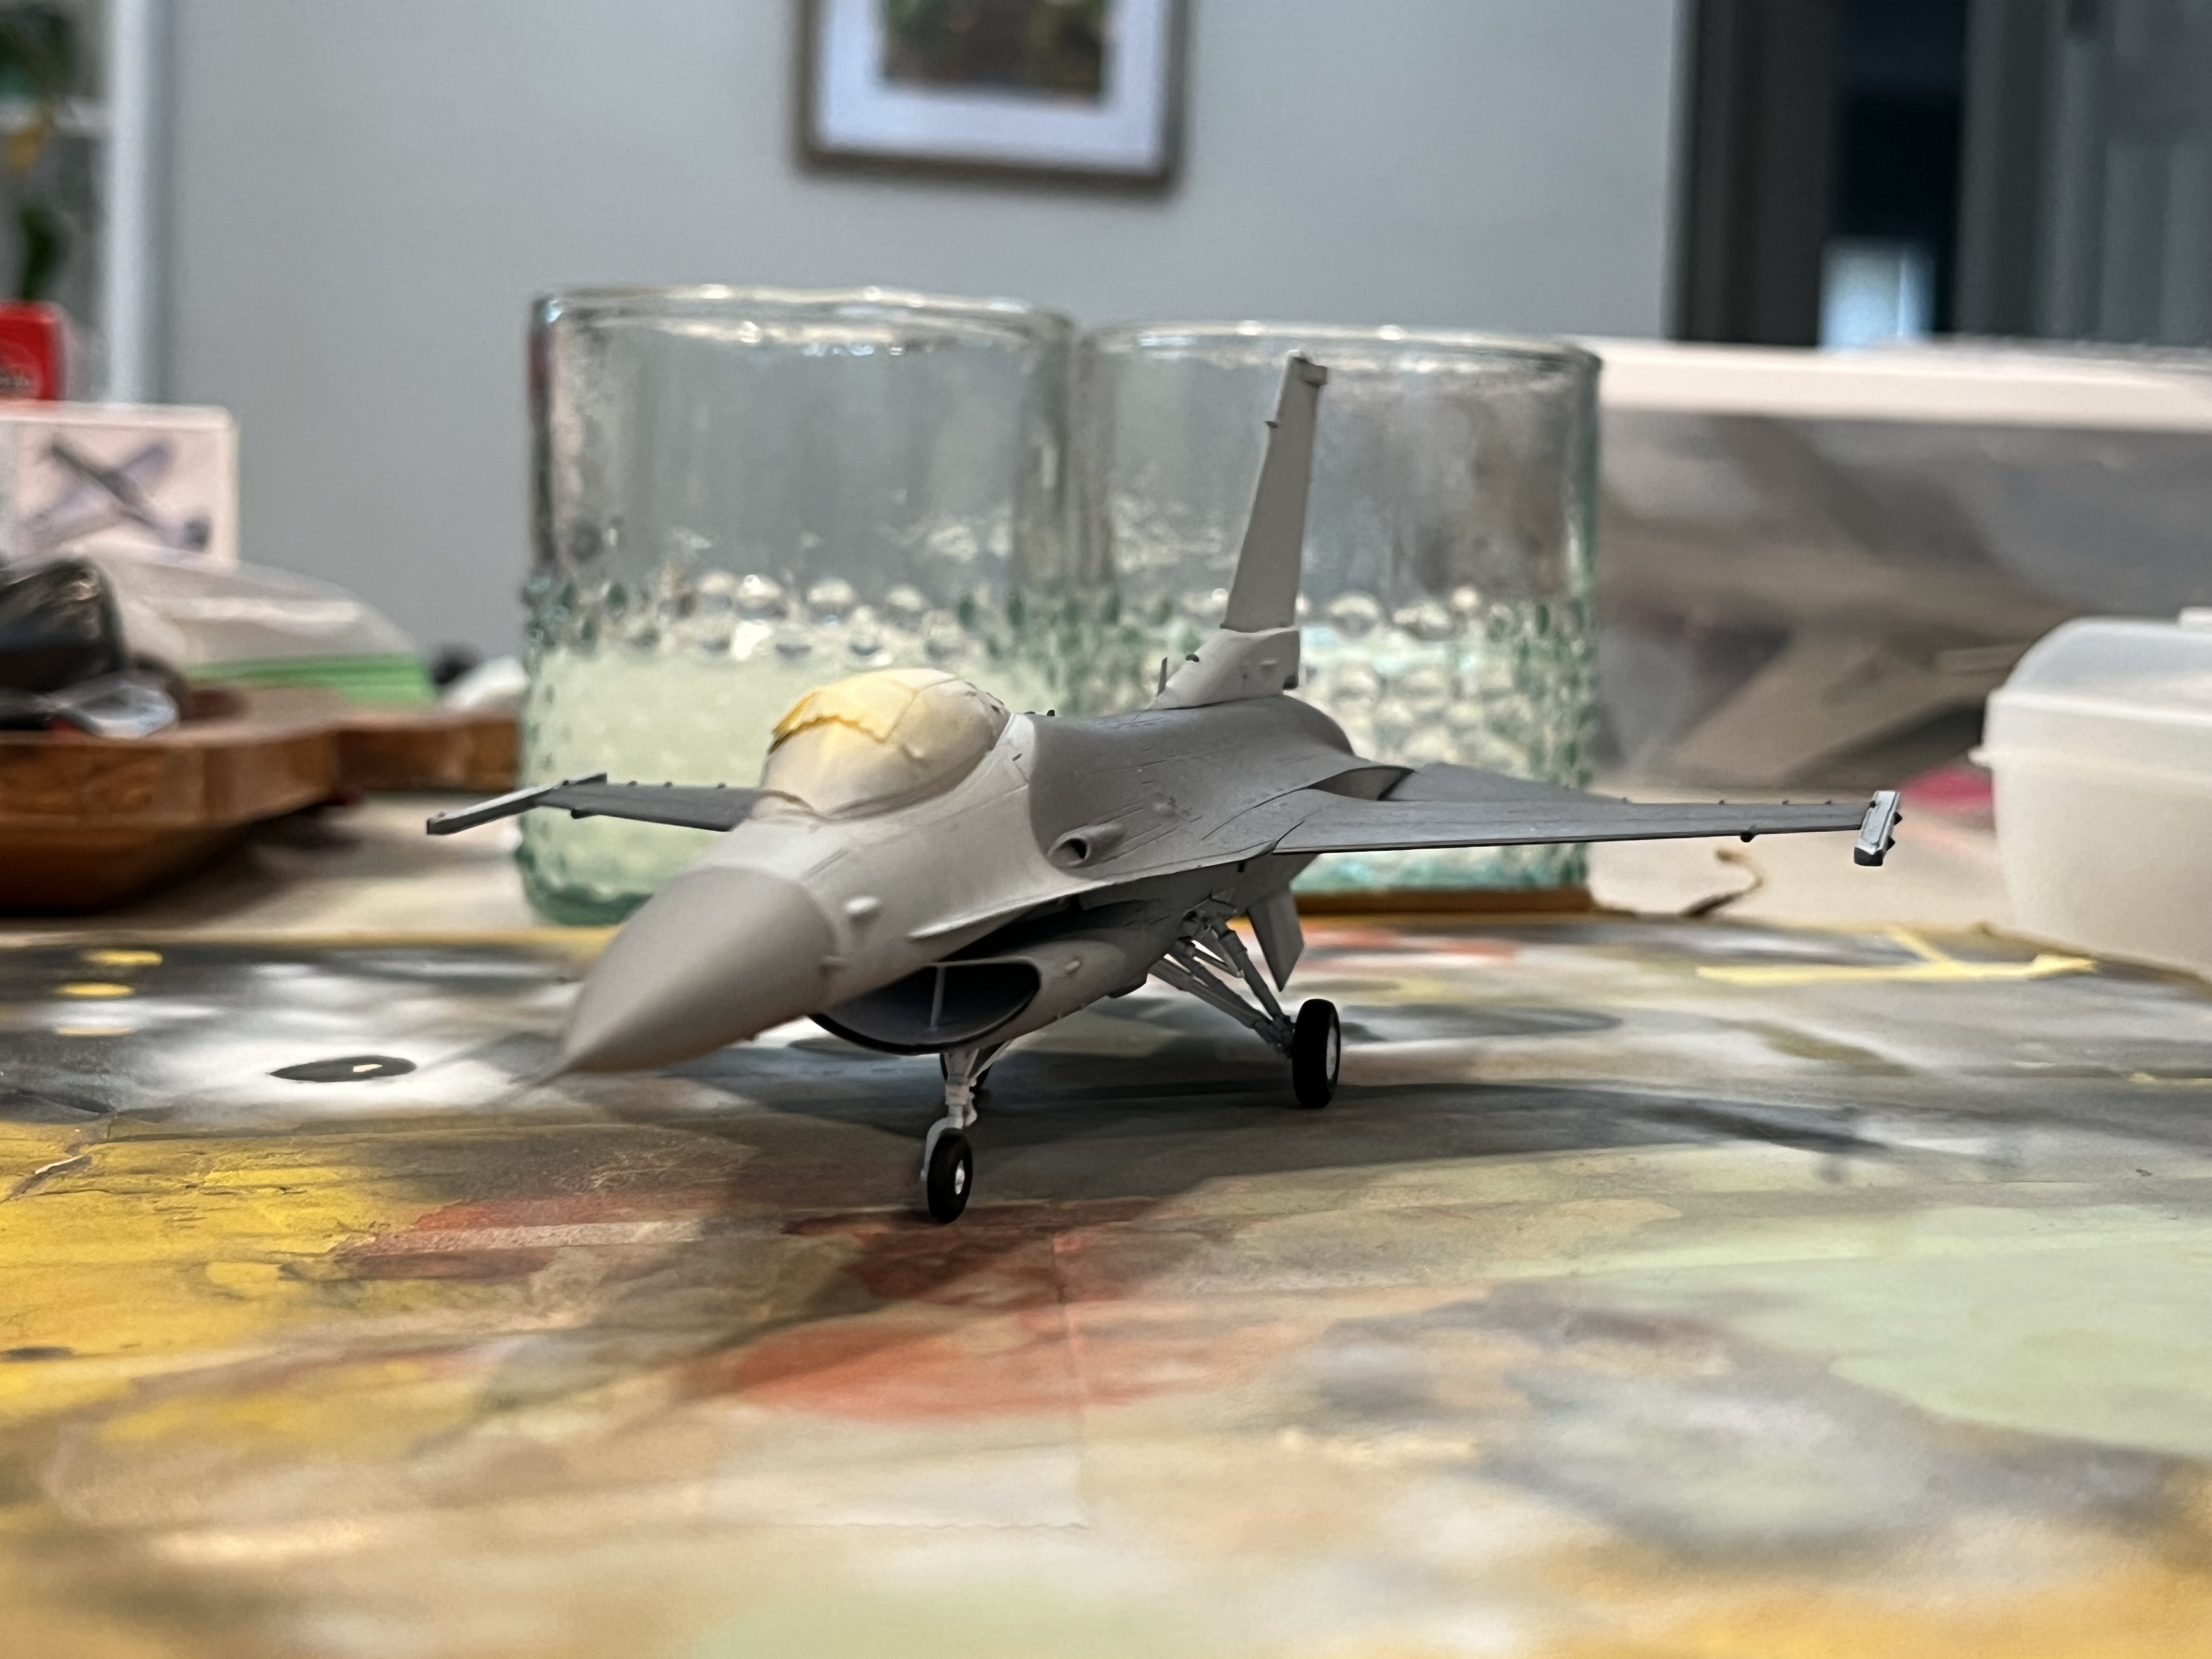
Finally got some bench time. Recoated the nose, added some fiddly bits. Now for clear lacquer and decals.
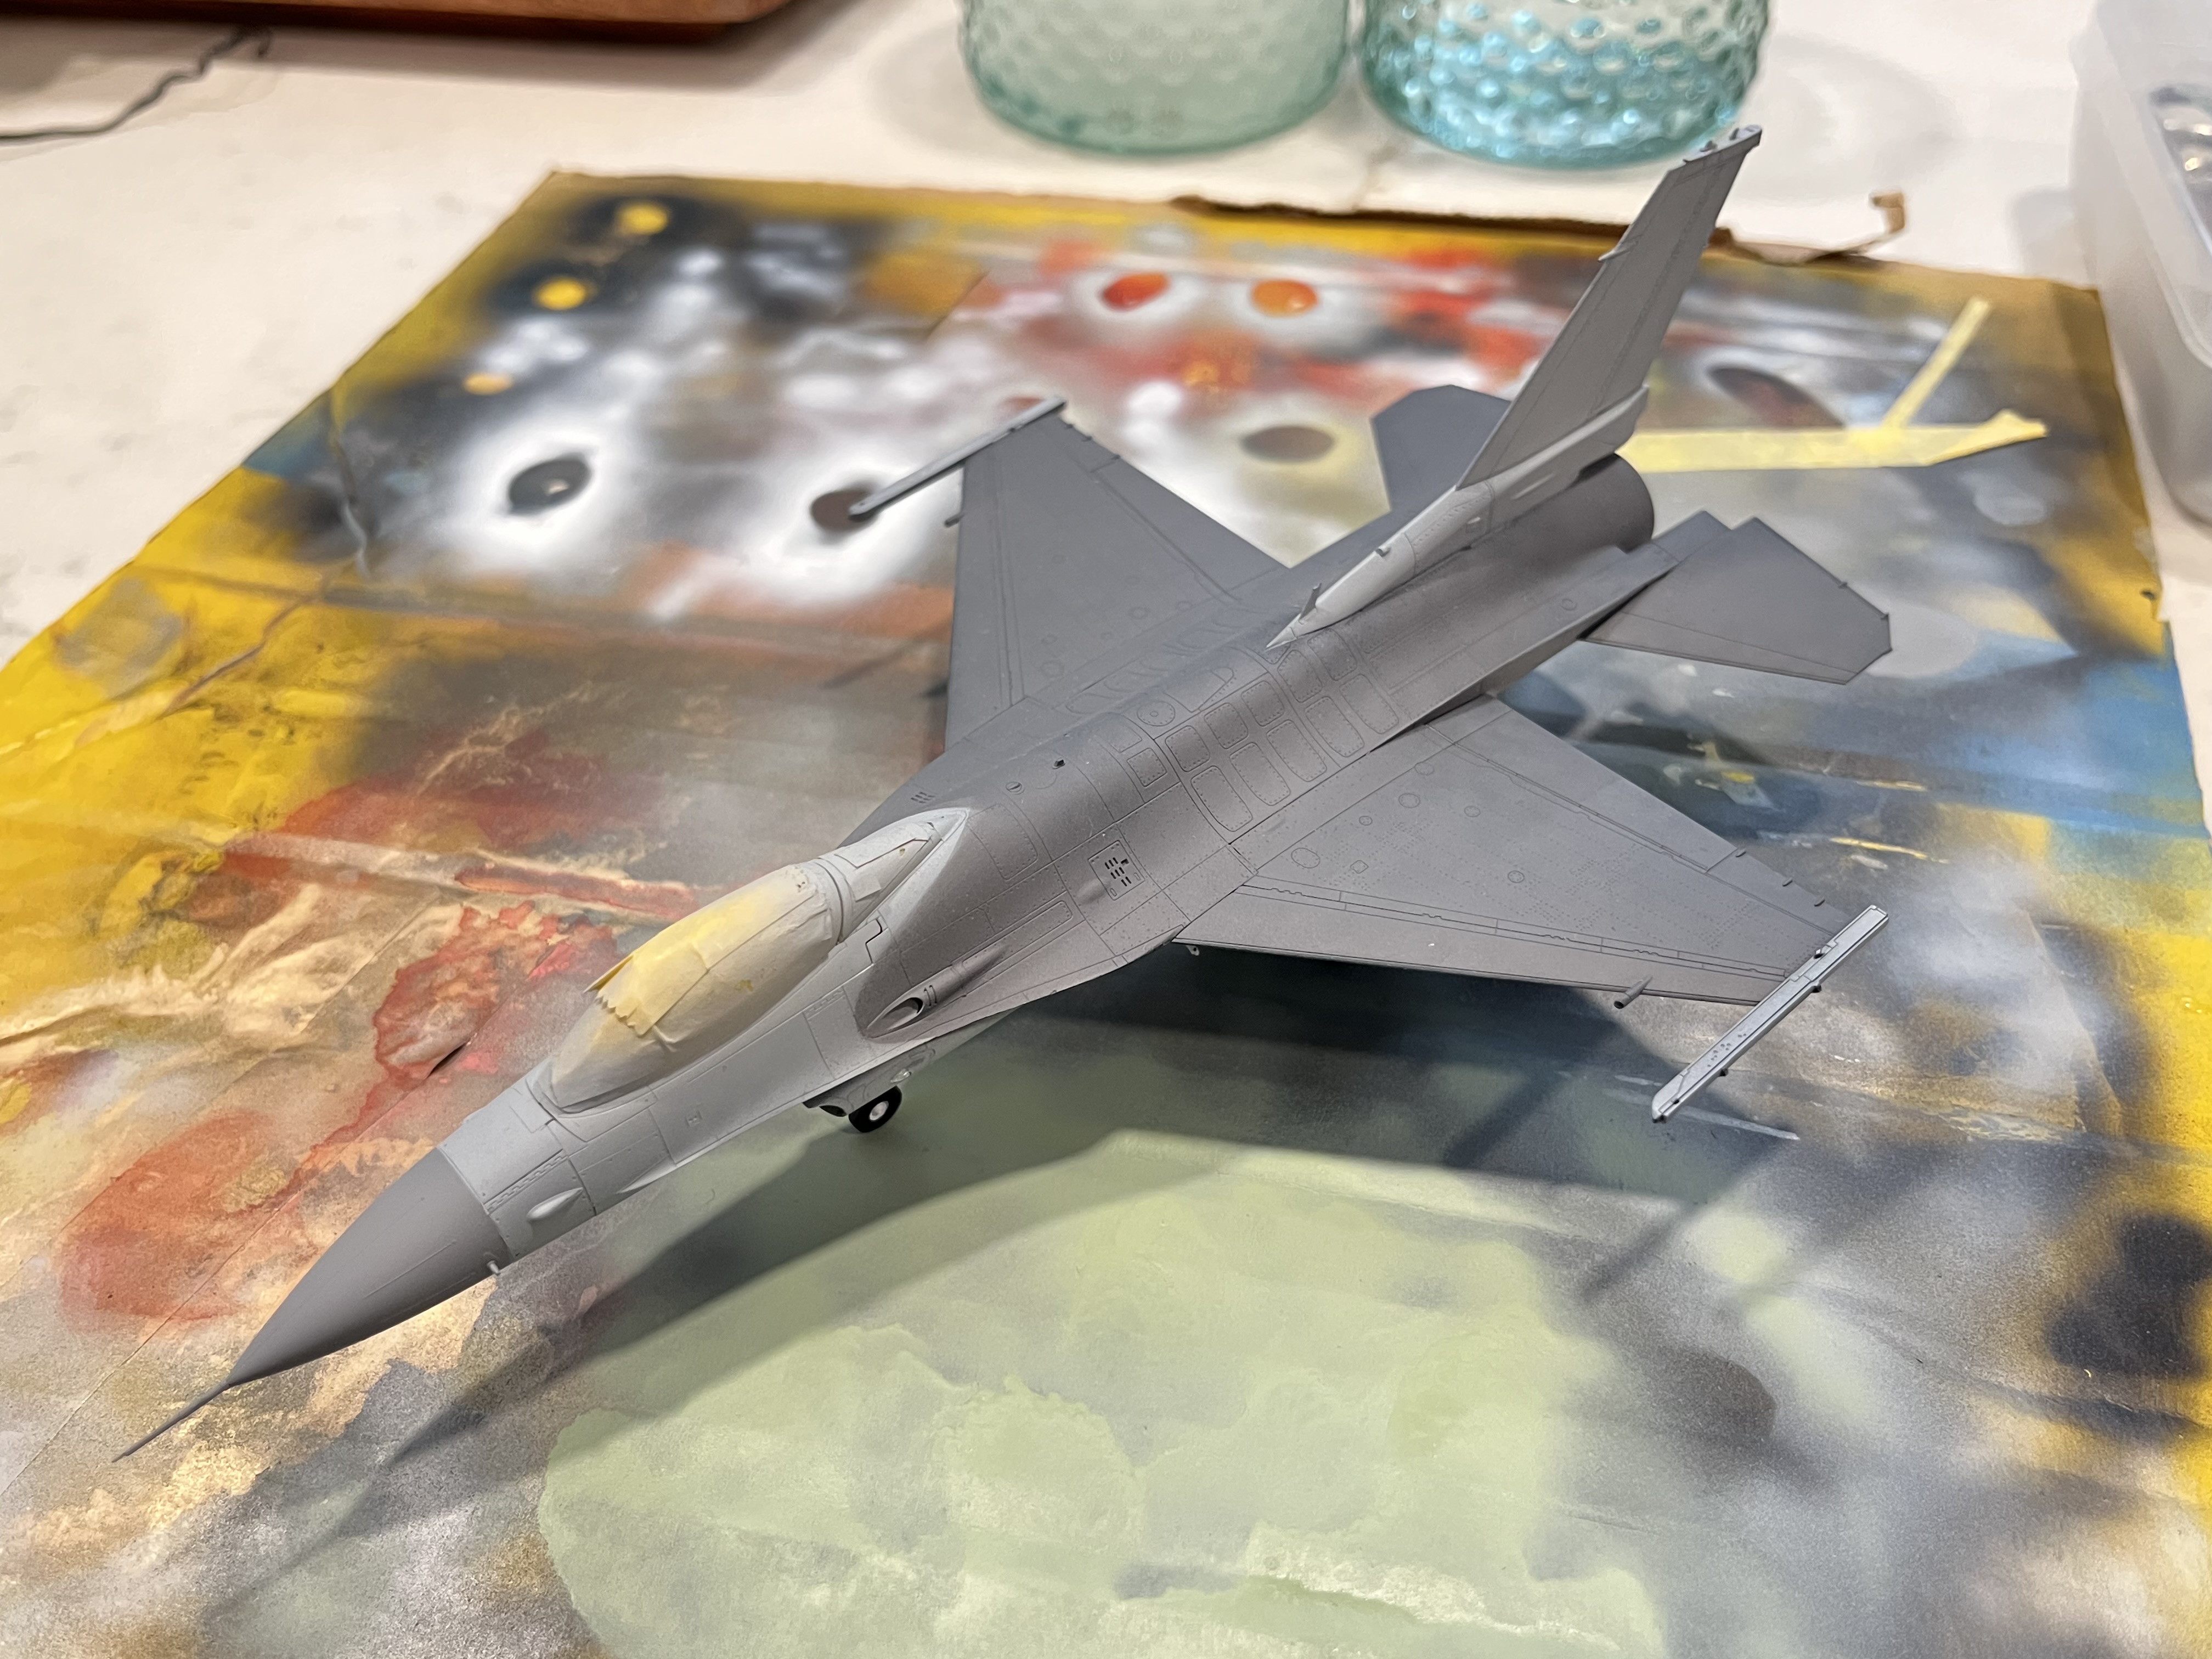
4 Likes
My first one failed on one of the earpieces also. ![]()
1 Like
I’ve got a stalled Academy YF-16 with Neil in his blue flight suit too. ![]()
Looking great!! The paint job is sweet!
1 Like
Thanks! Feels good to be back in the saddle on this.
Gloss coat next, then decals, more gloss, and my first attempt at oil weathering on an aircraft.
1 Like