Need to get back to my F-18 as well! Been frustrating hand painting the cockpit and had family in town last week.
1 Like
I know the feeling for sure. You’ll get there.
Reminds me I need to get back at the Top Gun Super Hornet and use those decals you sent!
Hi, probably the Spangdahlem-stationed bird as I watched the F-16s there last year ![]()
Yours is looking pretty well so far! ![]()
1 Like
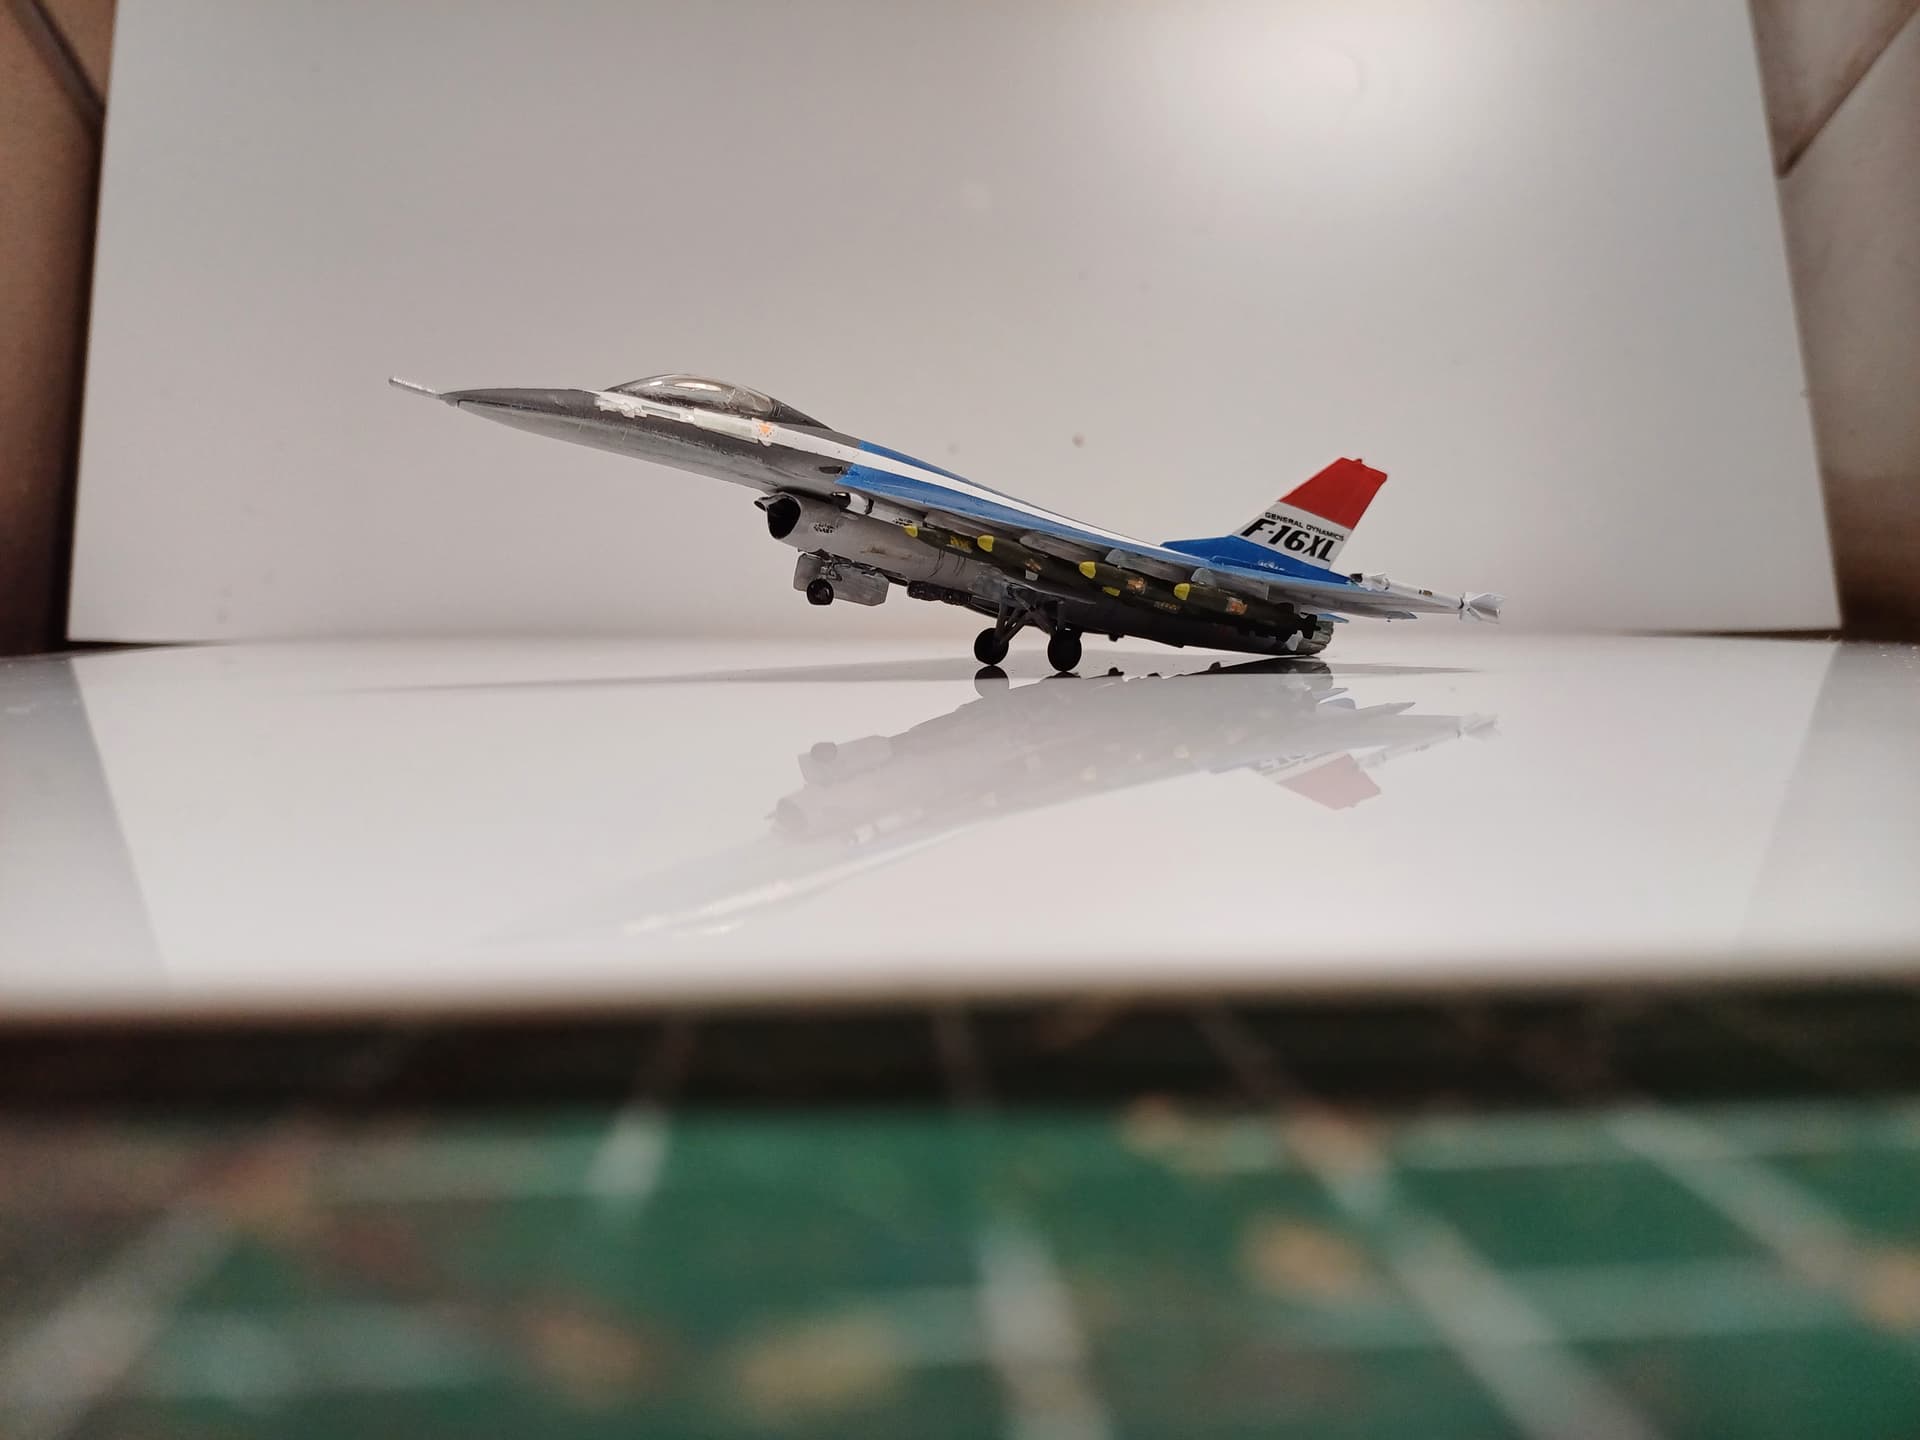
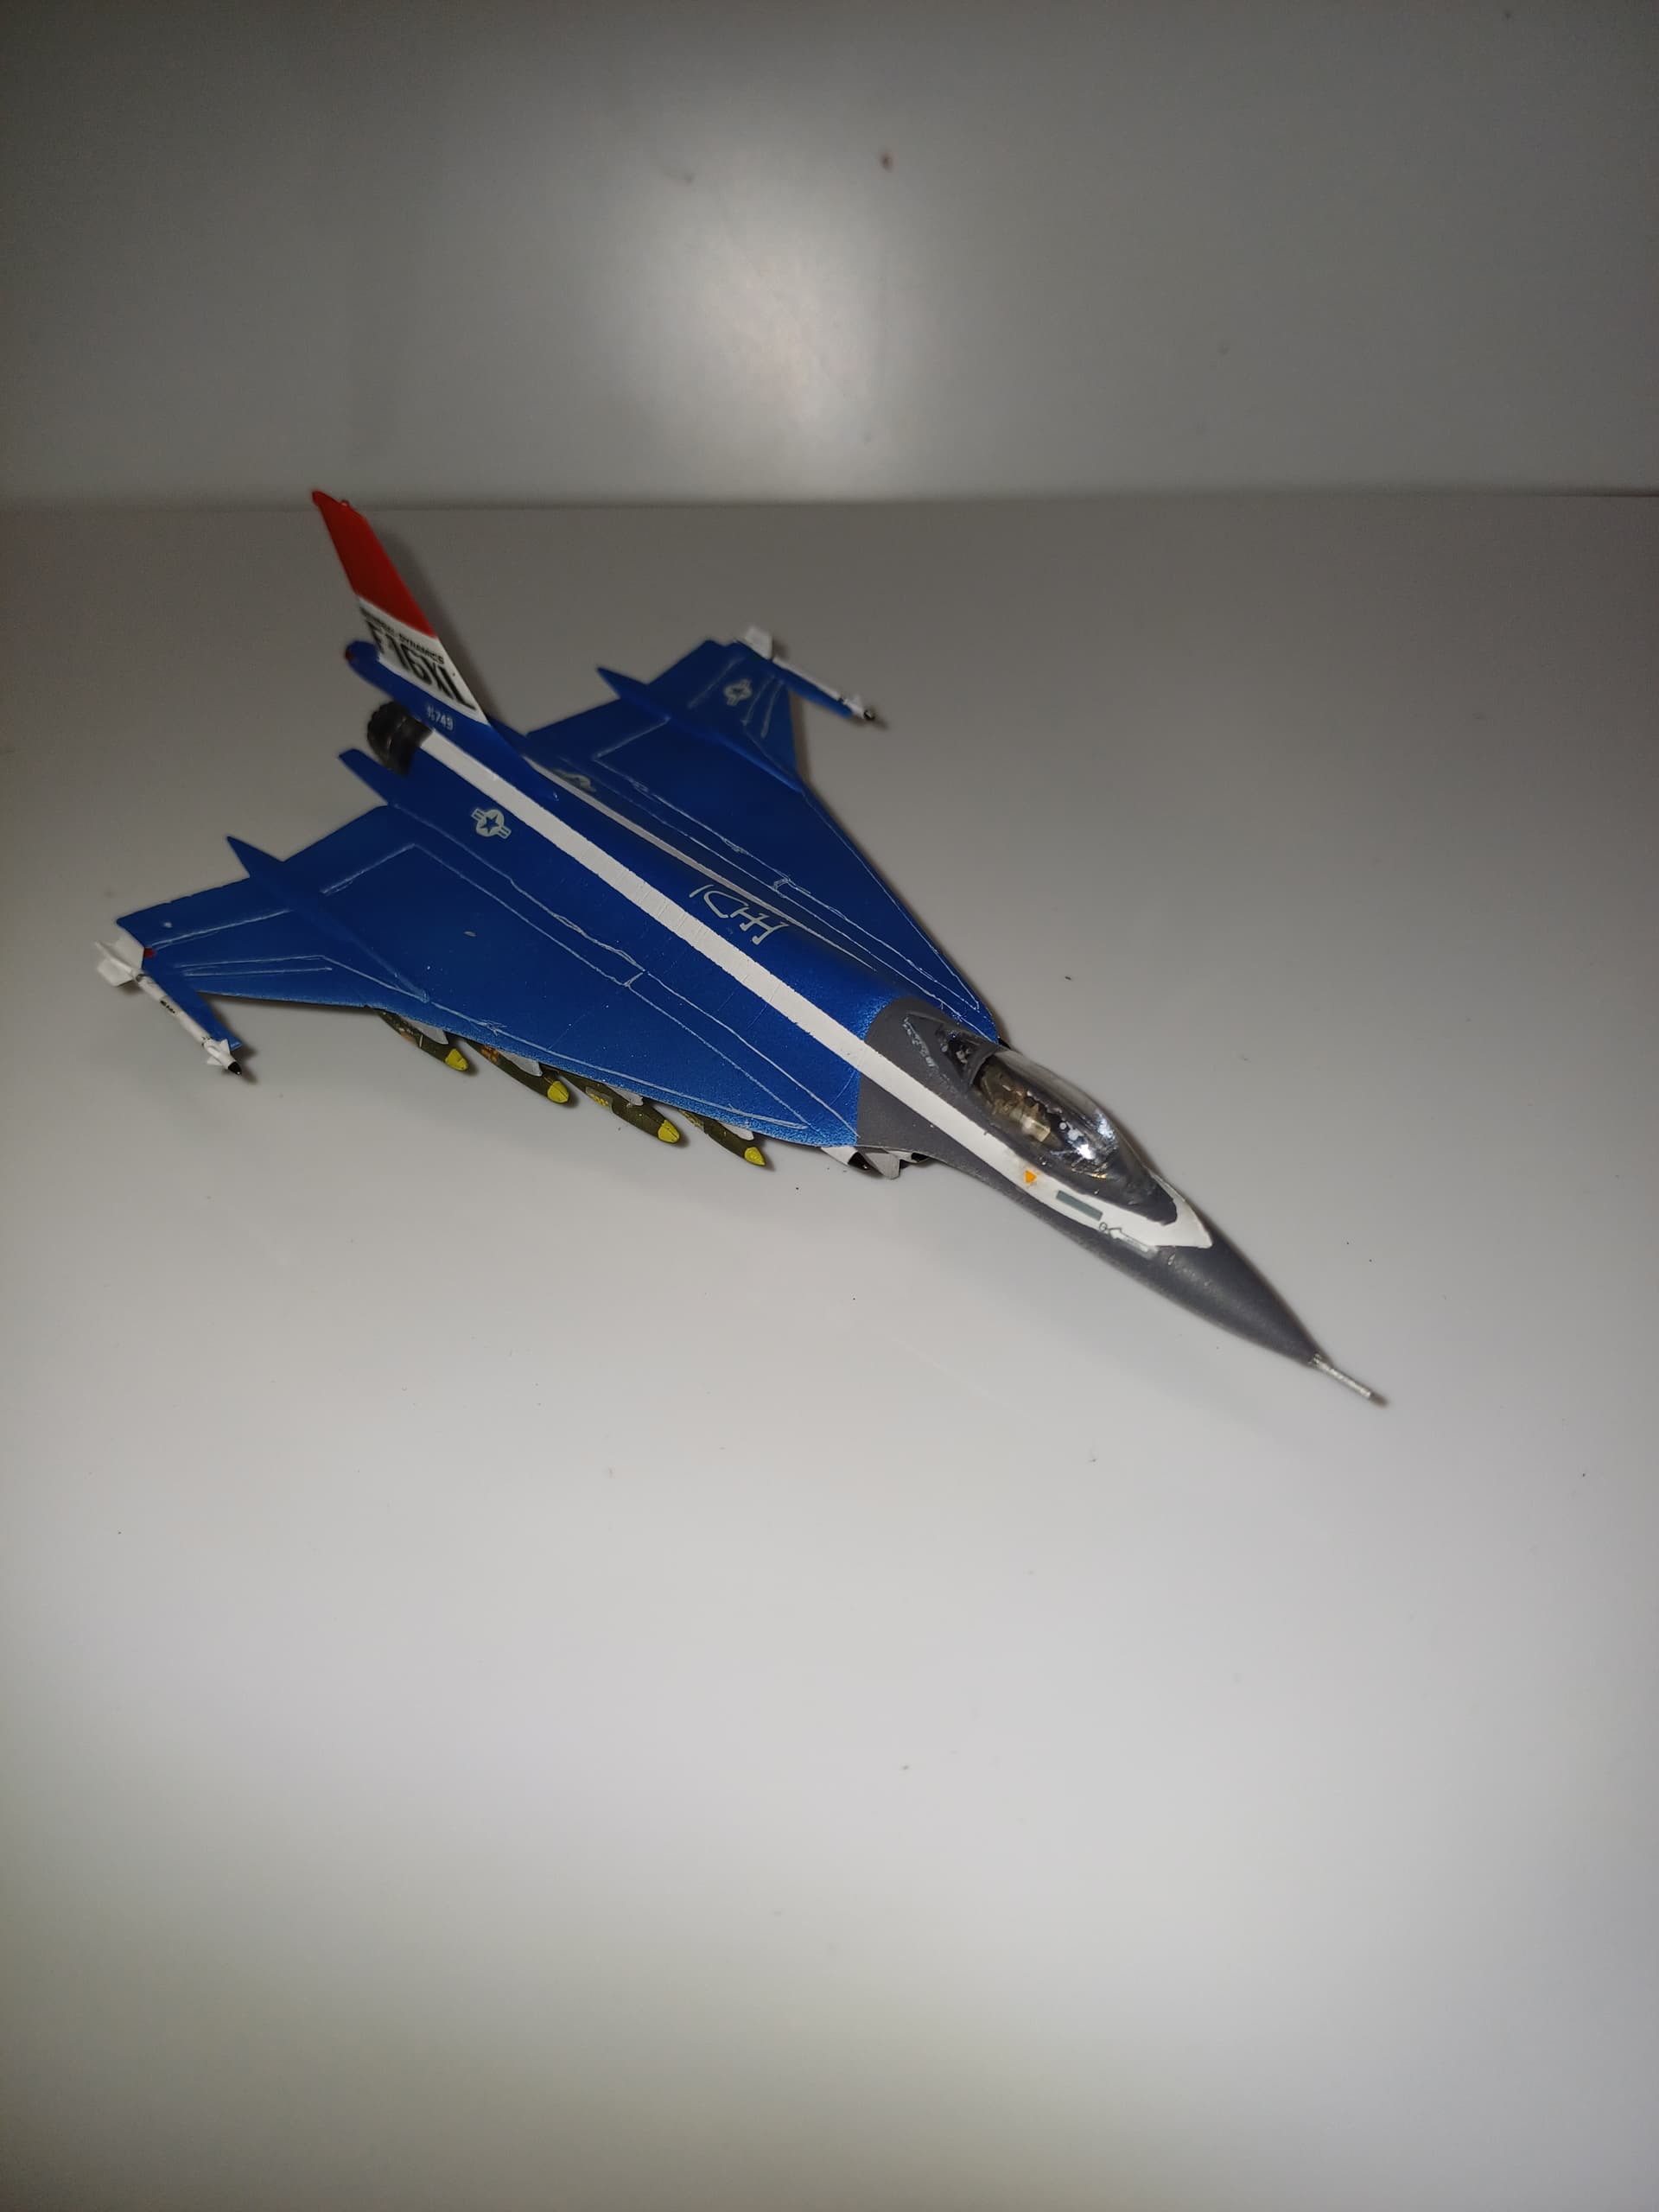
Finaly finished this one, had to strip the paint and start all over… far from perfect, but a nice learning step… tiny decals on the ordnance was a real pain where the sun doesn’ t shine…

9 Likes
Nice finish Bert …looks good ![]()
1 Like
Nice load-out and the finish looks very colorful and lively. Great job on a little model!
![]()
![]()
Peter ![]()
2 Likes
Hi Everyone,
Looks like the F-16 is pretty popular in this campaign! Very nice finish Bert, I like the way that little one turned out! Let’s keep them coming.
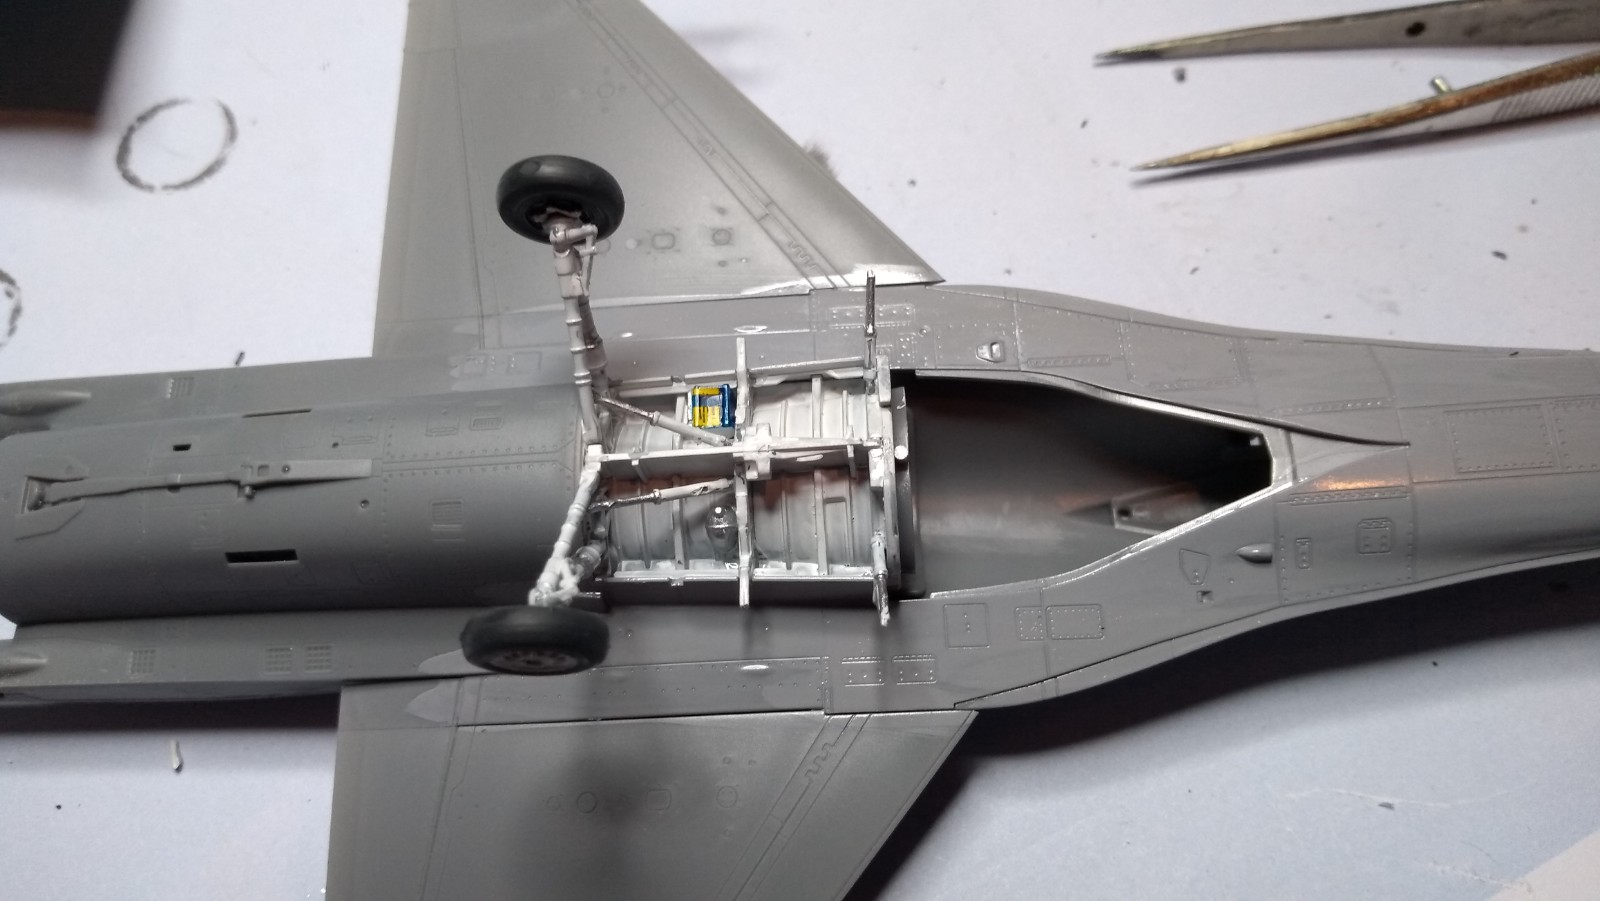
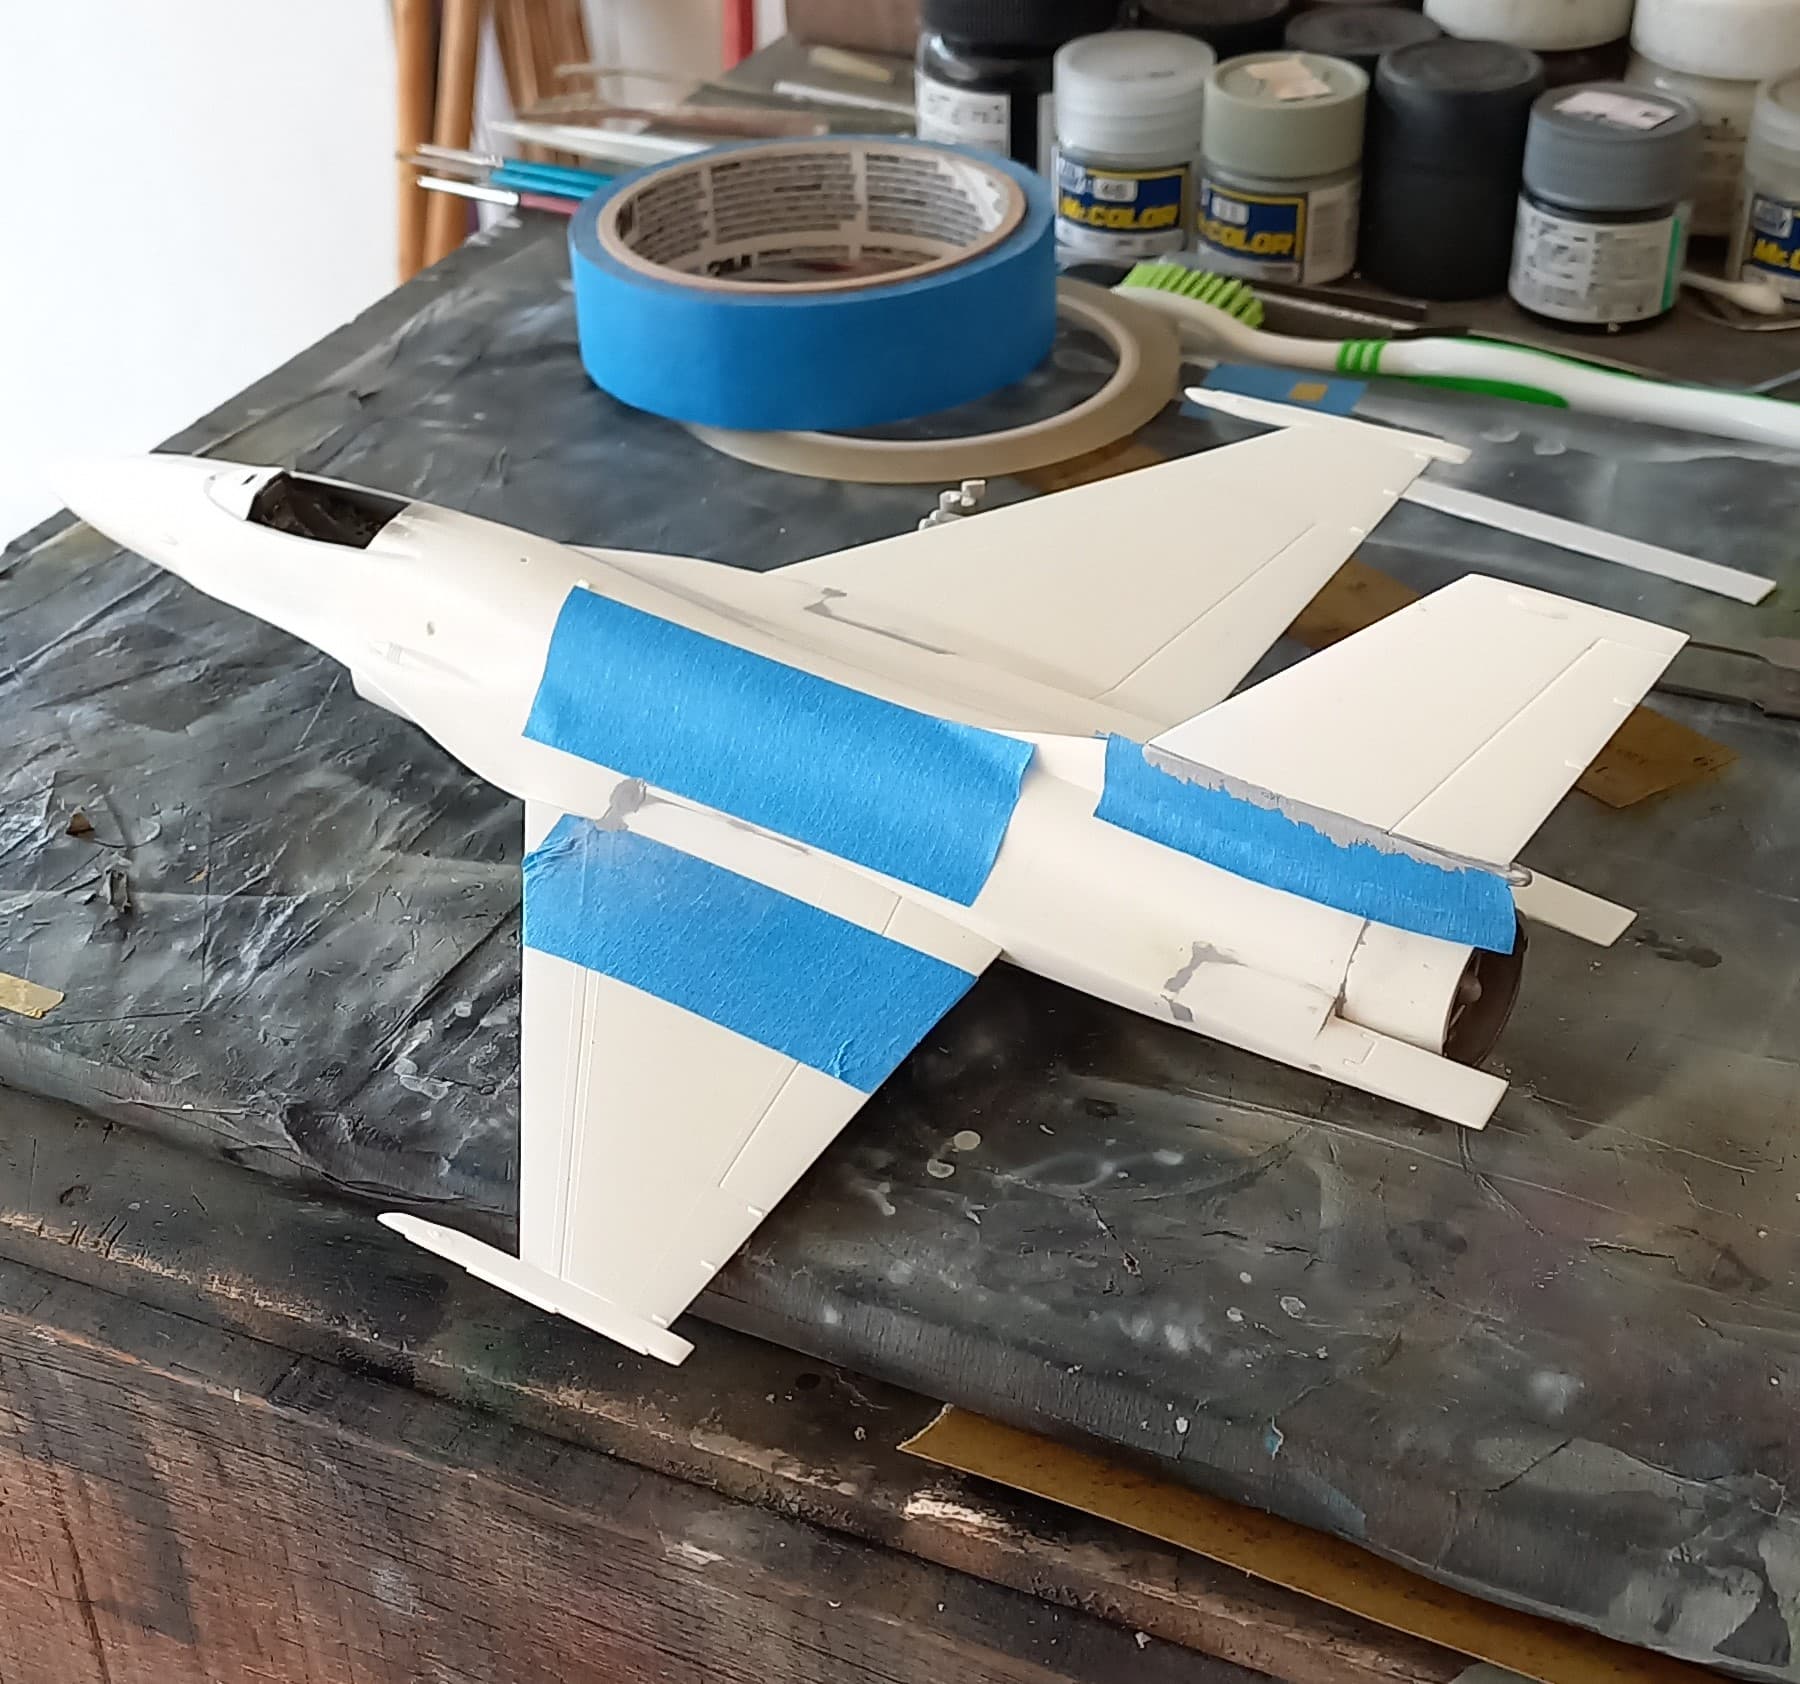
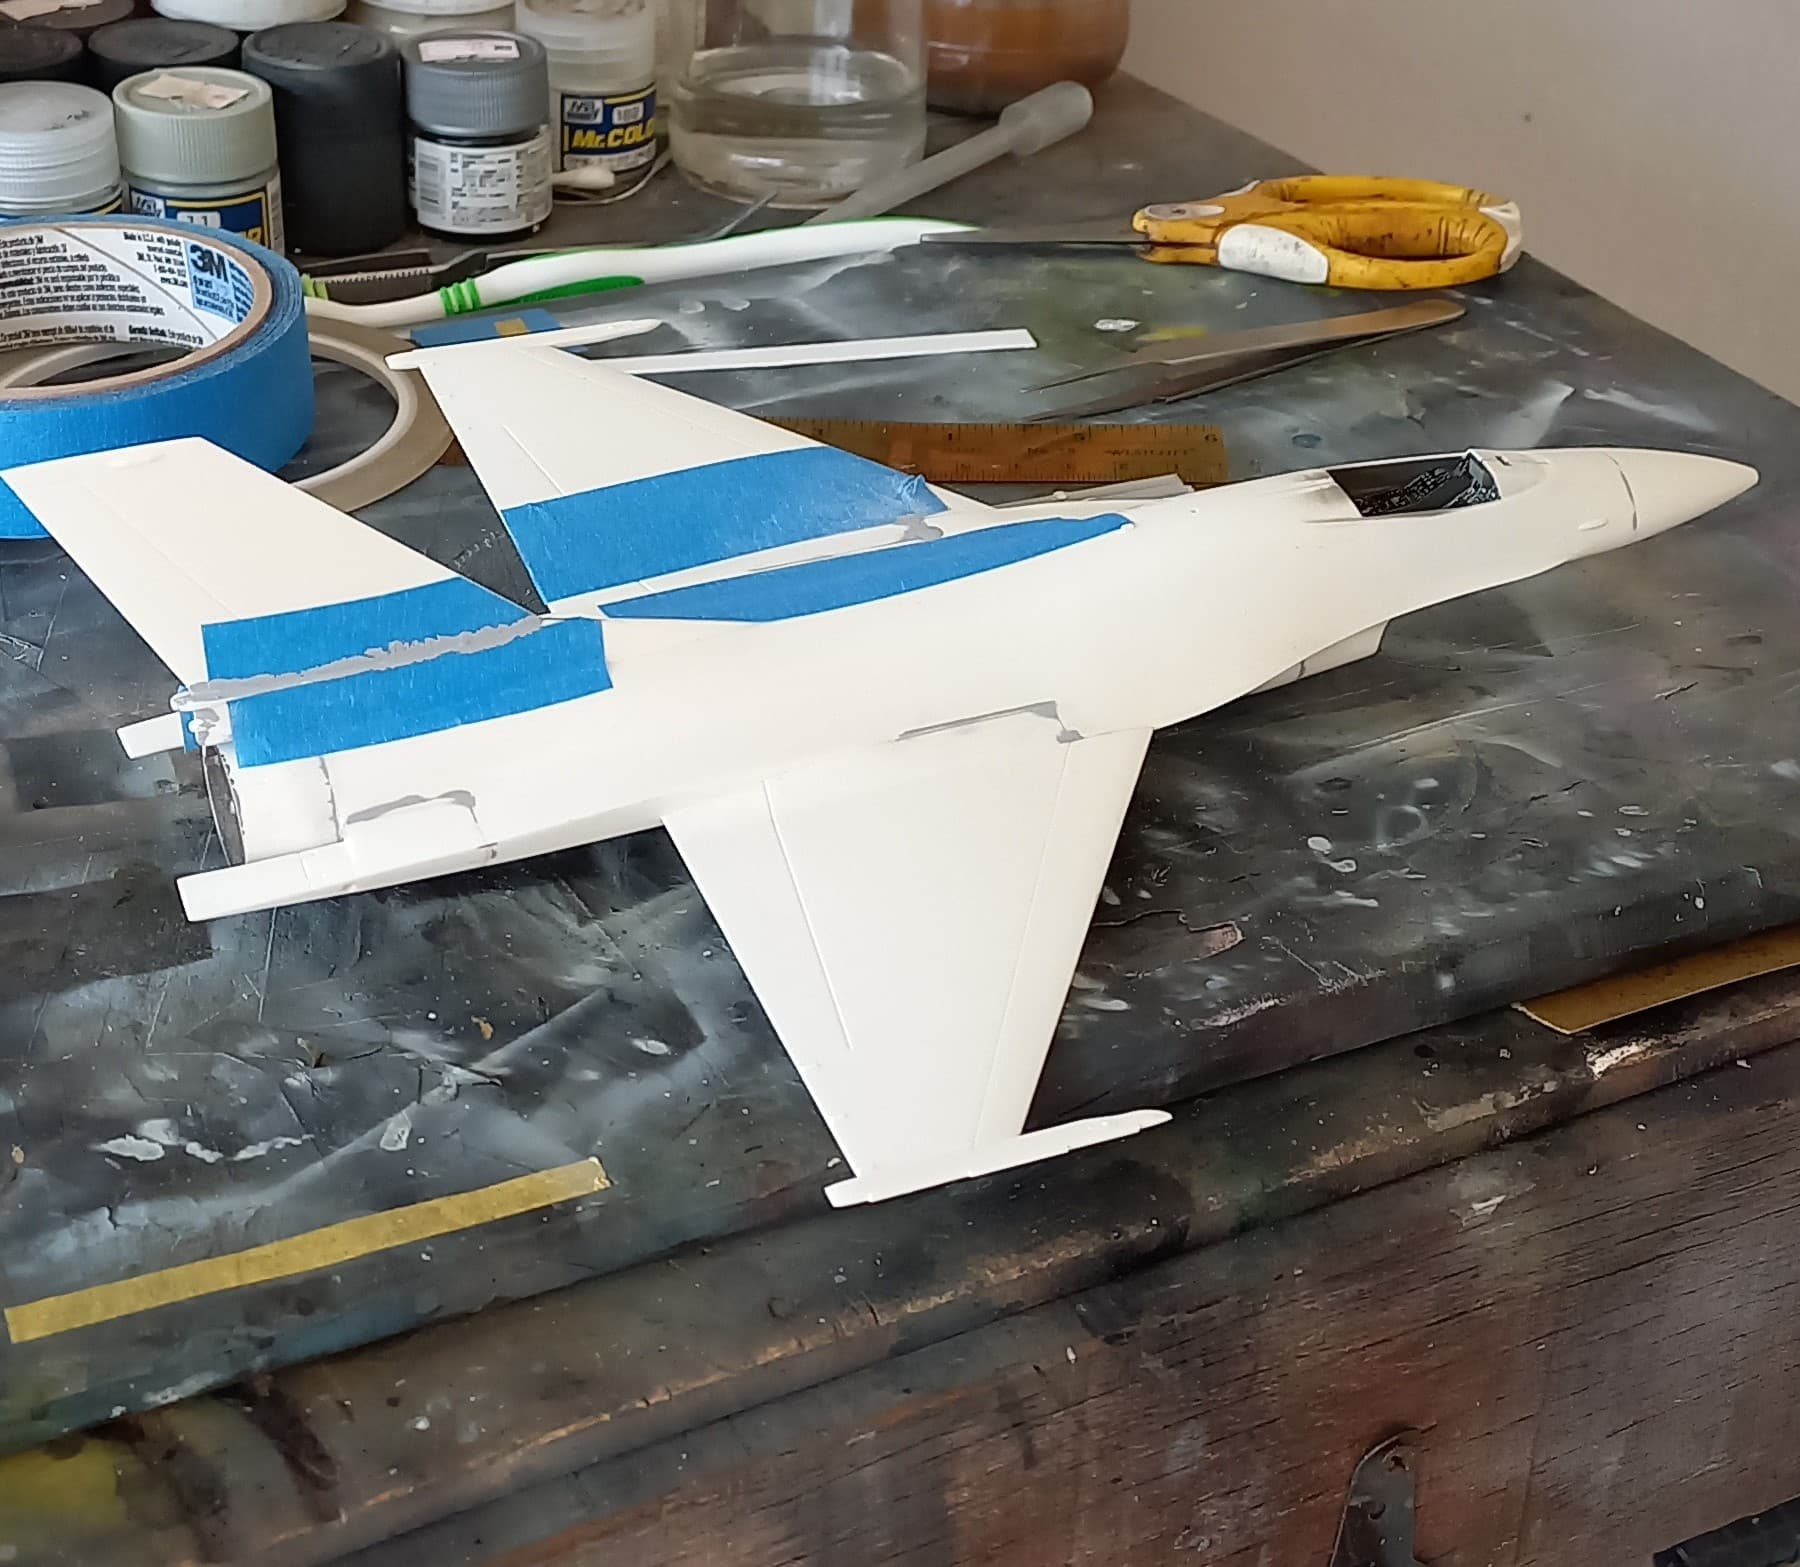
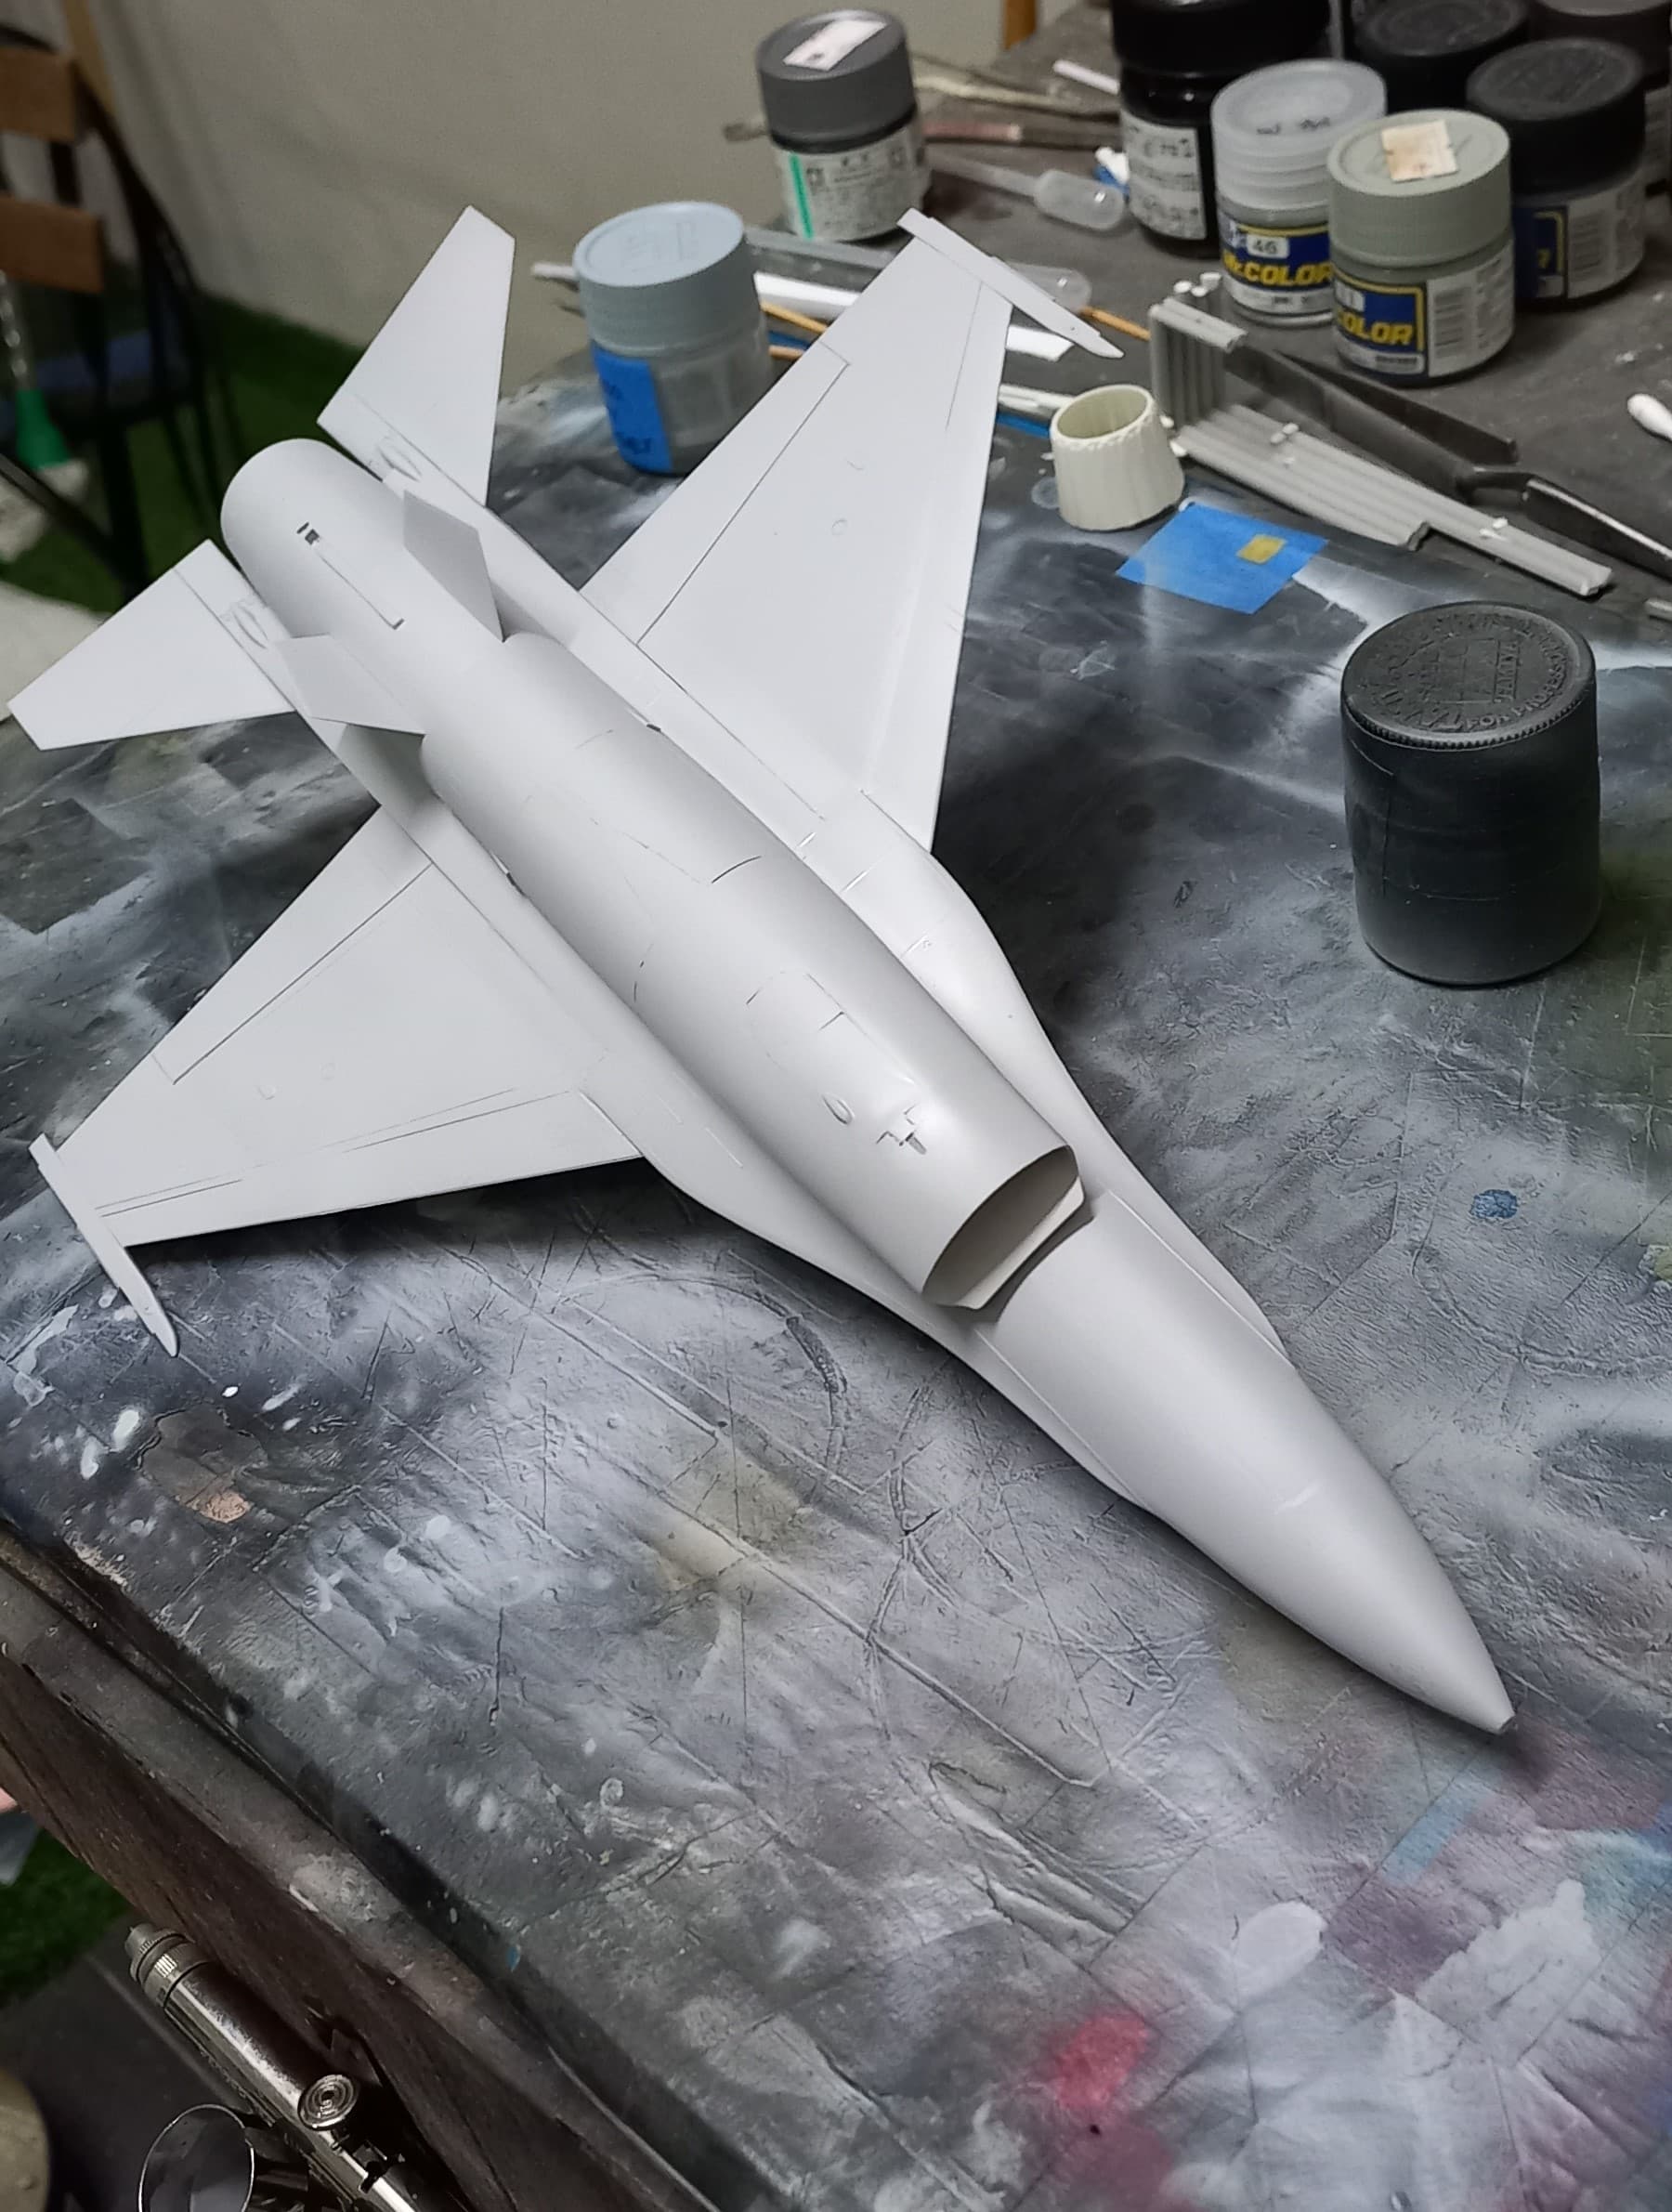
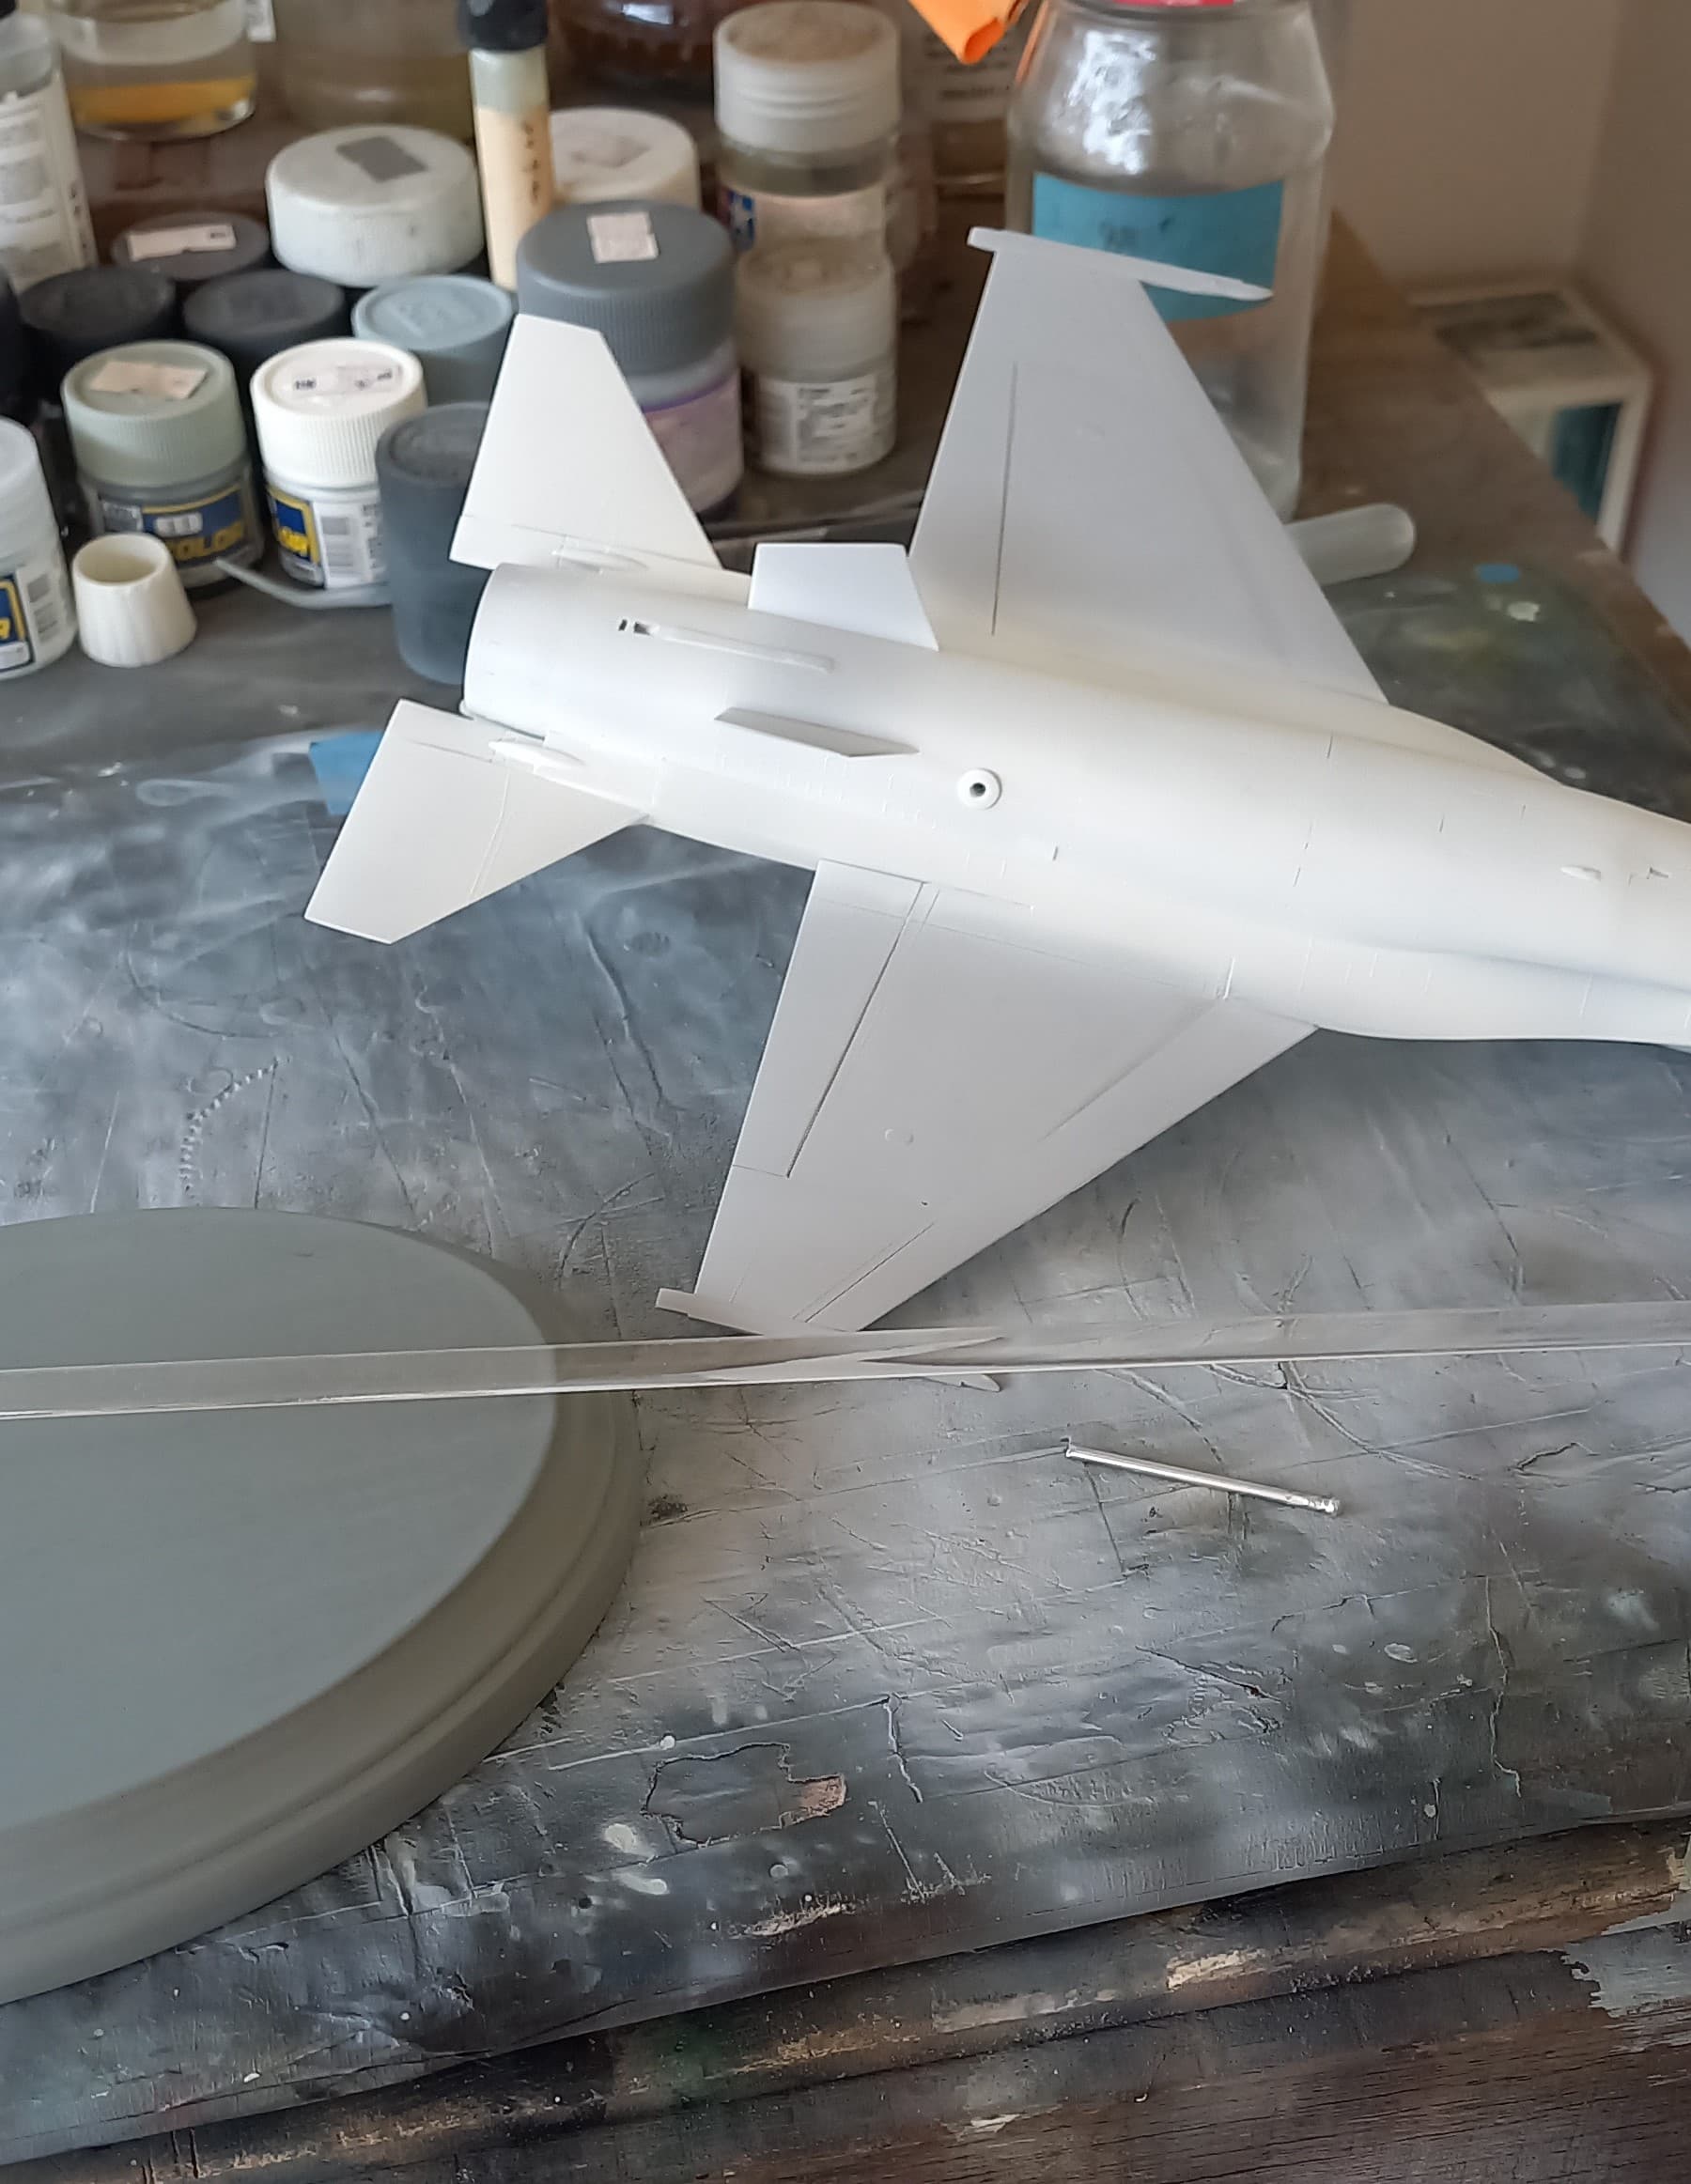
I think I’m finally getting back into the swing of things, I believe that getting an airframe wrapped up is a great way to get over ones slump. After getting the fuselage cleaned up, it was time to move onto the wings! Despite its age the fit of the wings and fuselage are pretty good, taking my time allowed for a very good attachment, the fin/rudder was also added. This fits fair, once aligned it looks the part.
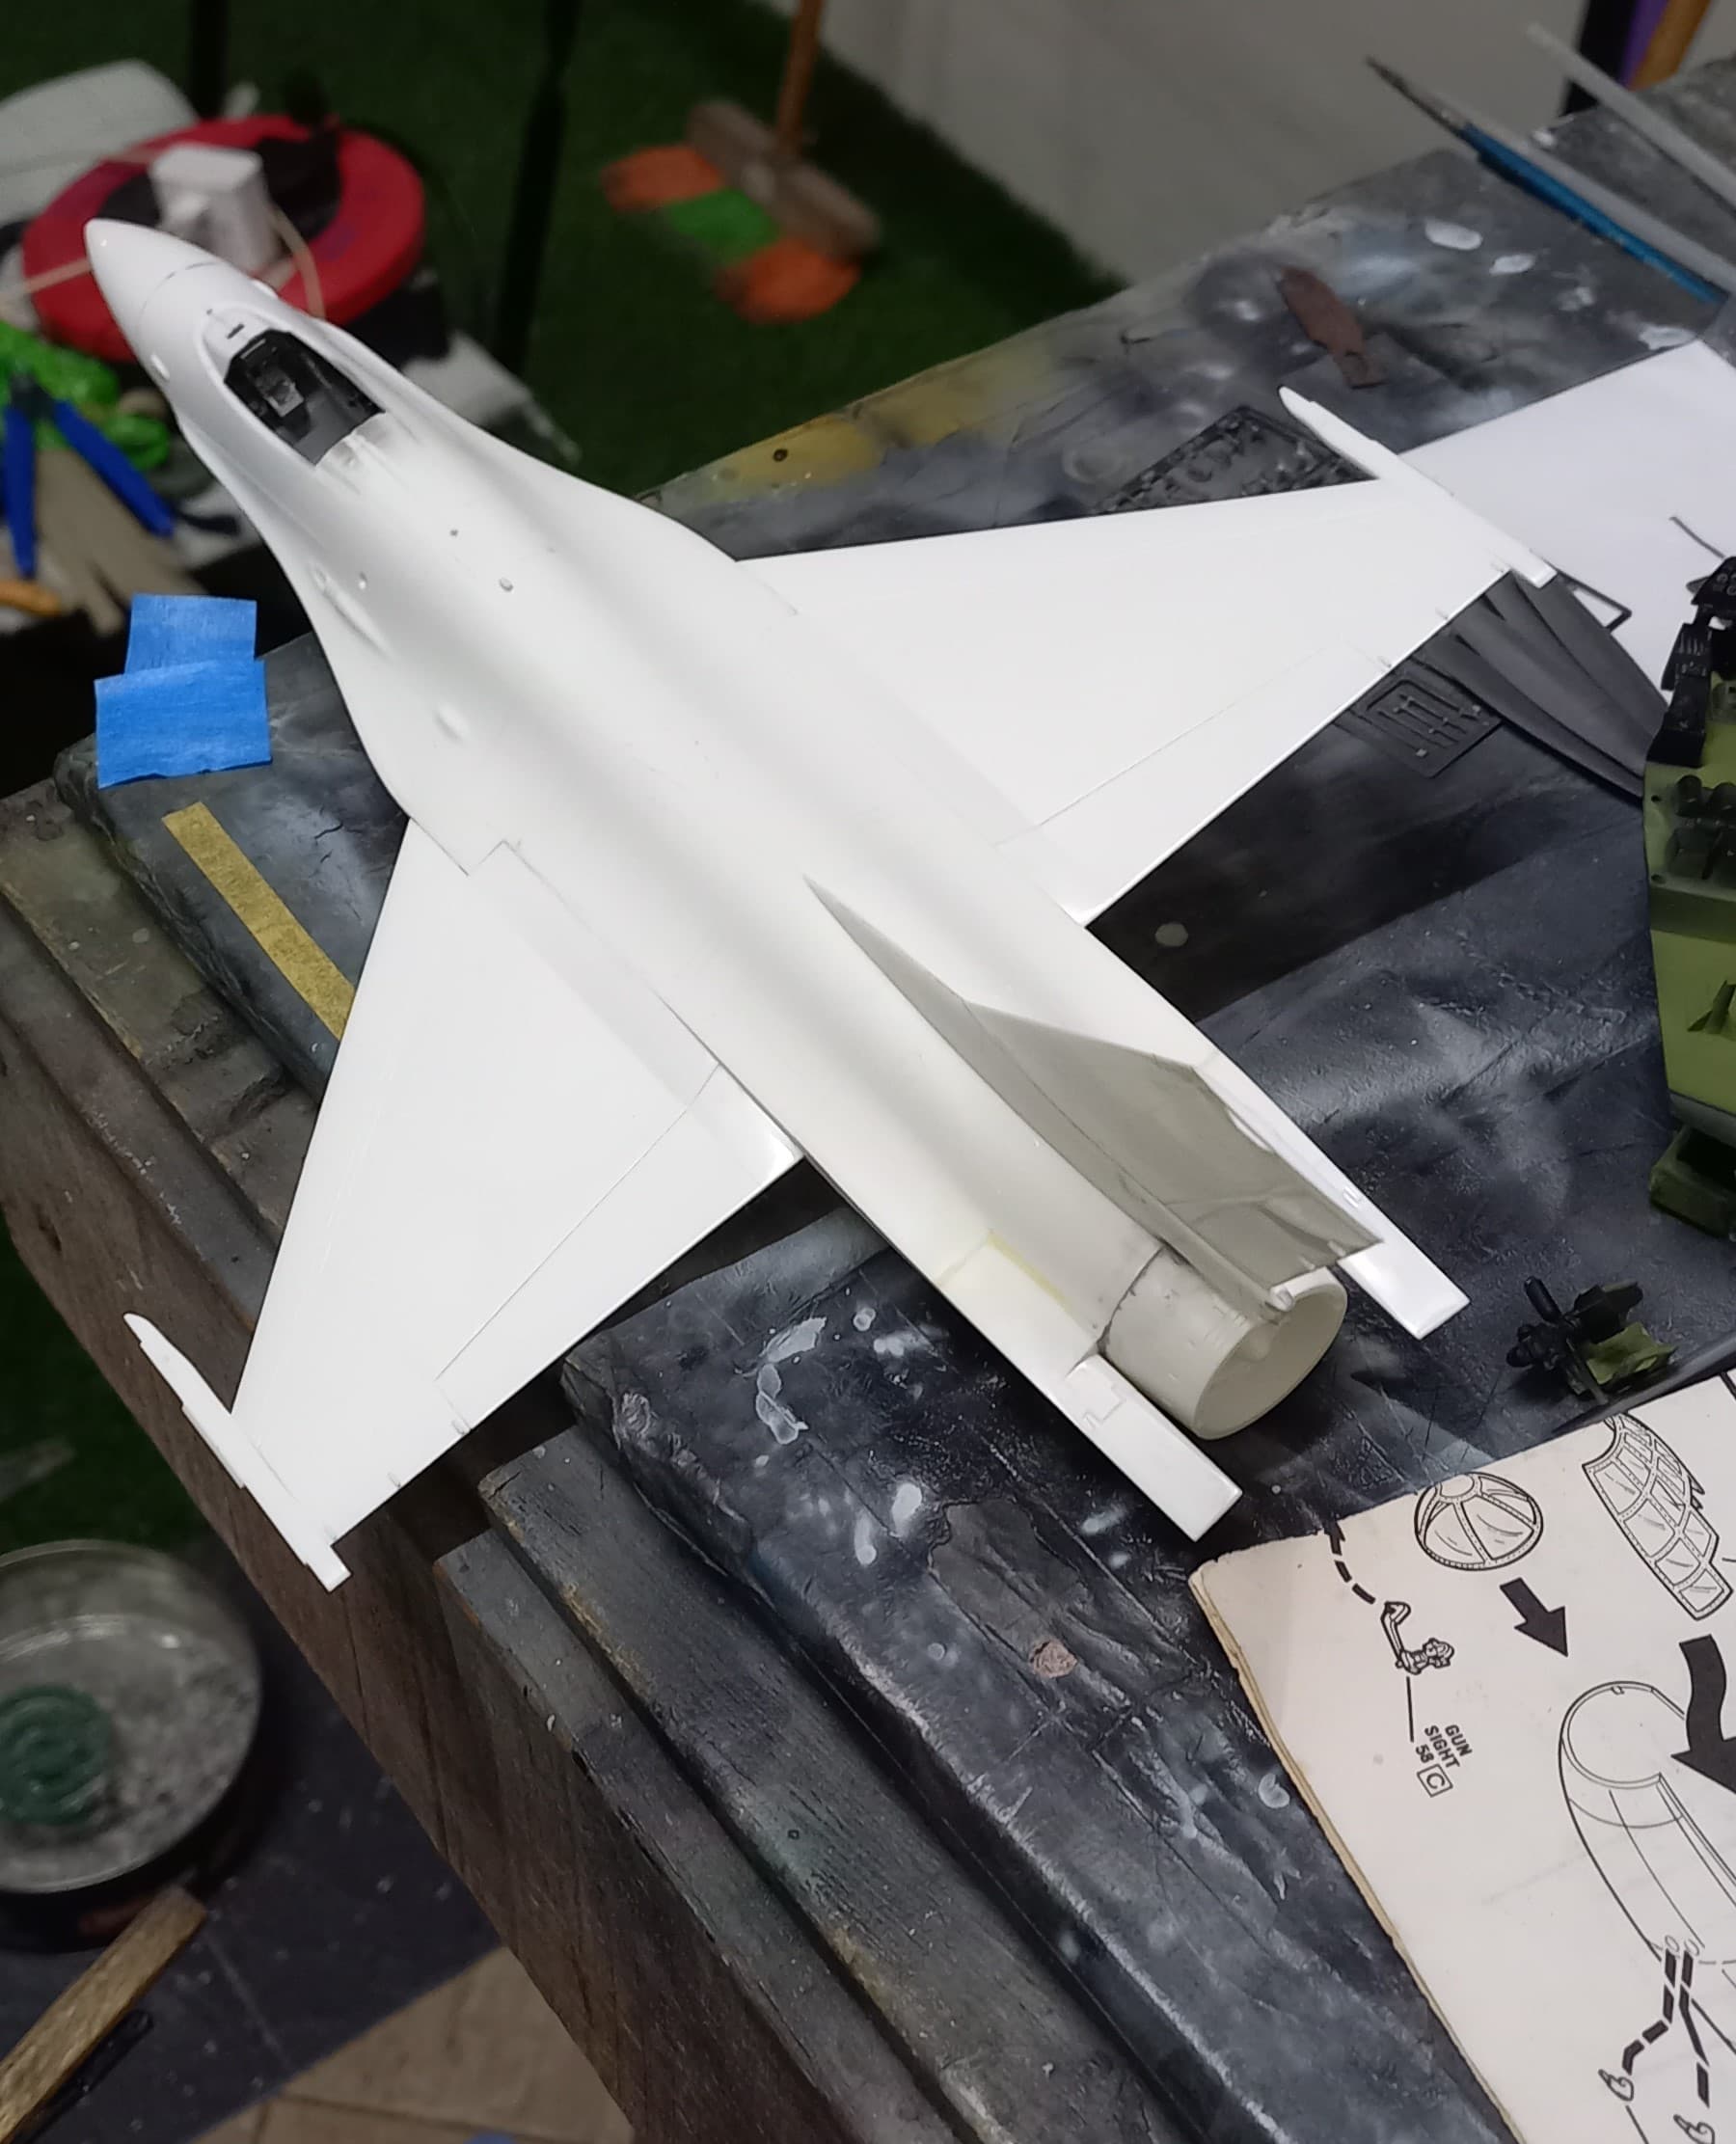
Since this is a Tamiya, there are some that gripe about the fit, yet, for its age this was very much considered cutting edge when it first came out. Not wanting to obliterate the nice and fine raised detail I taped off these areas and proceeded to fill the gaps near the fore wing fuselage join using Mr. White Putty.
Once dried, these areas were made smooth using a combination of strategic sanding and Q-tips (ear buds) wetted with lacquer thinner. Once smoothed out, filling continued using Mr. Surfacer 500, which was applied following another round of taping off the areas (a recurring motif on this build!).
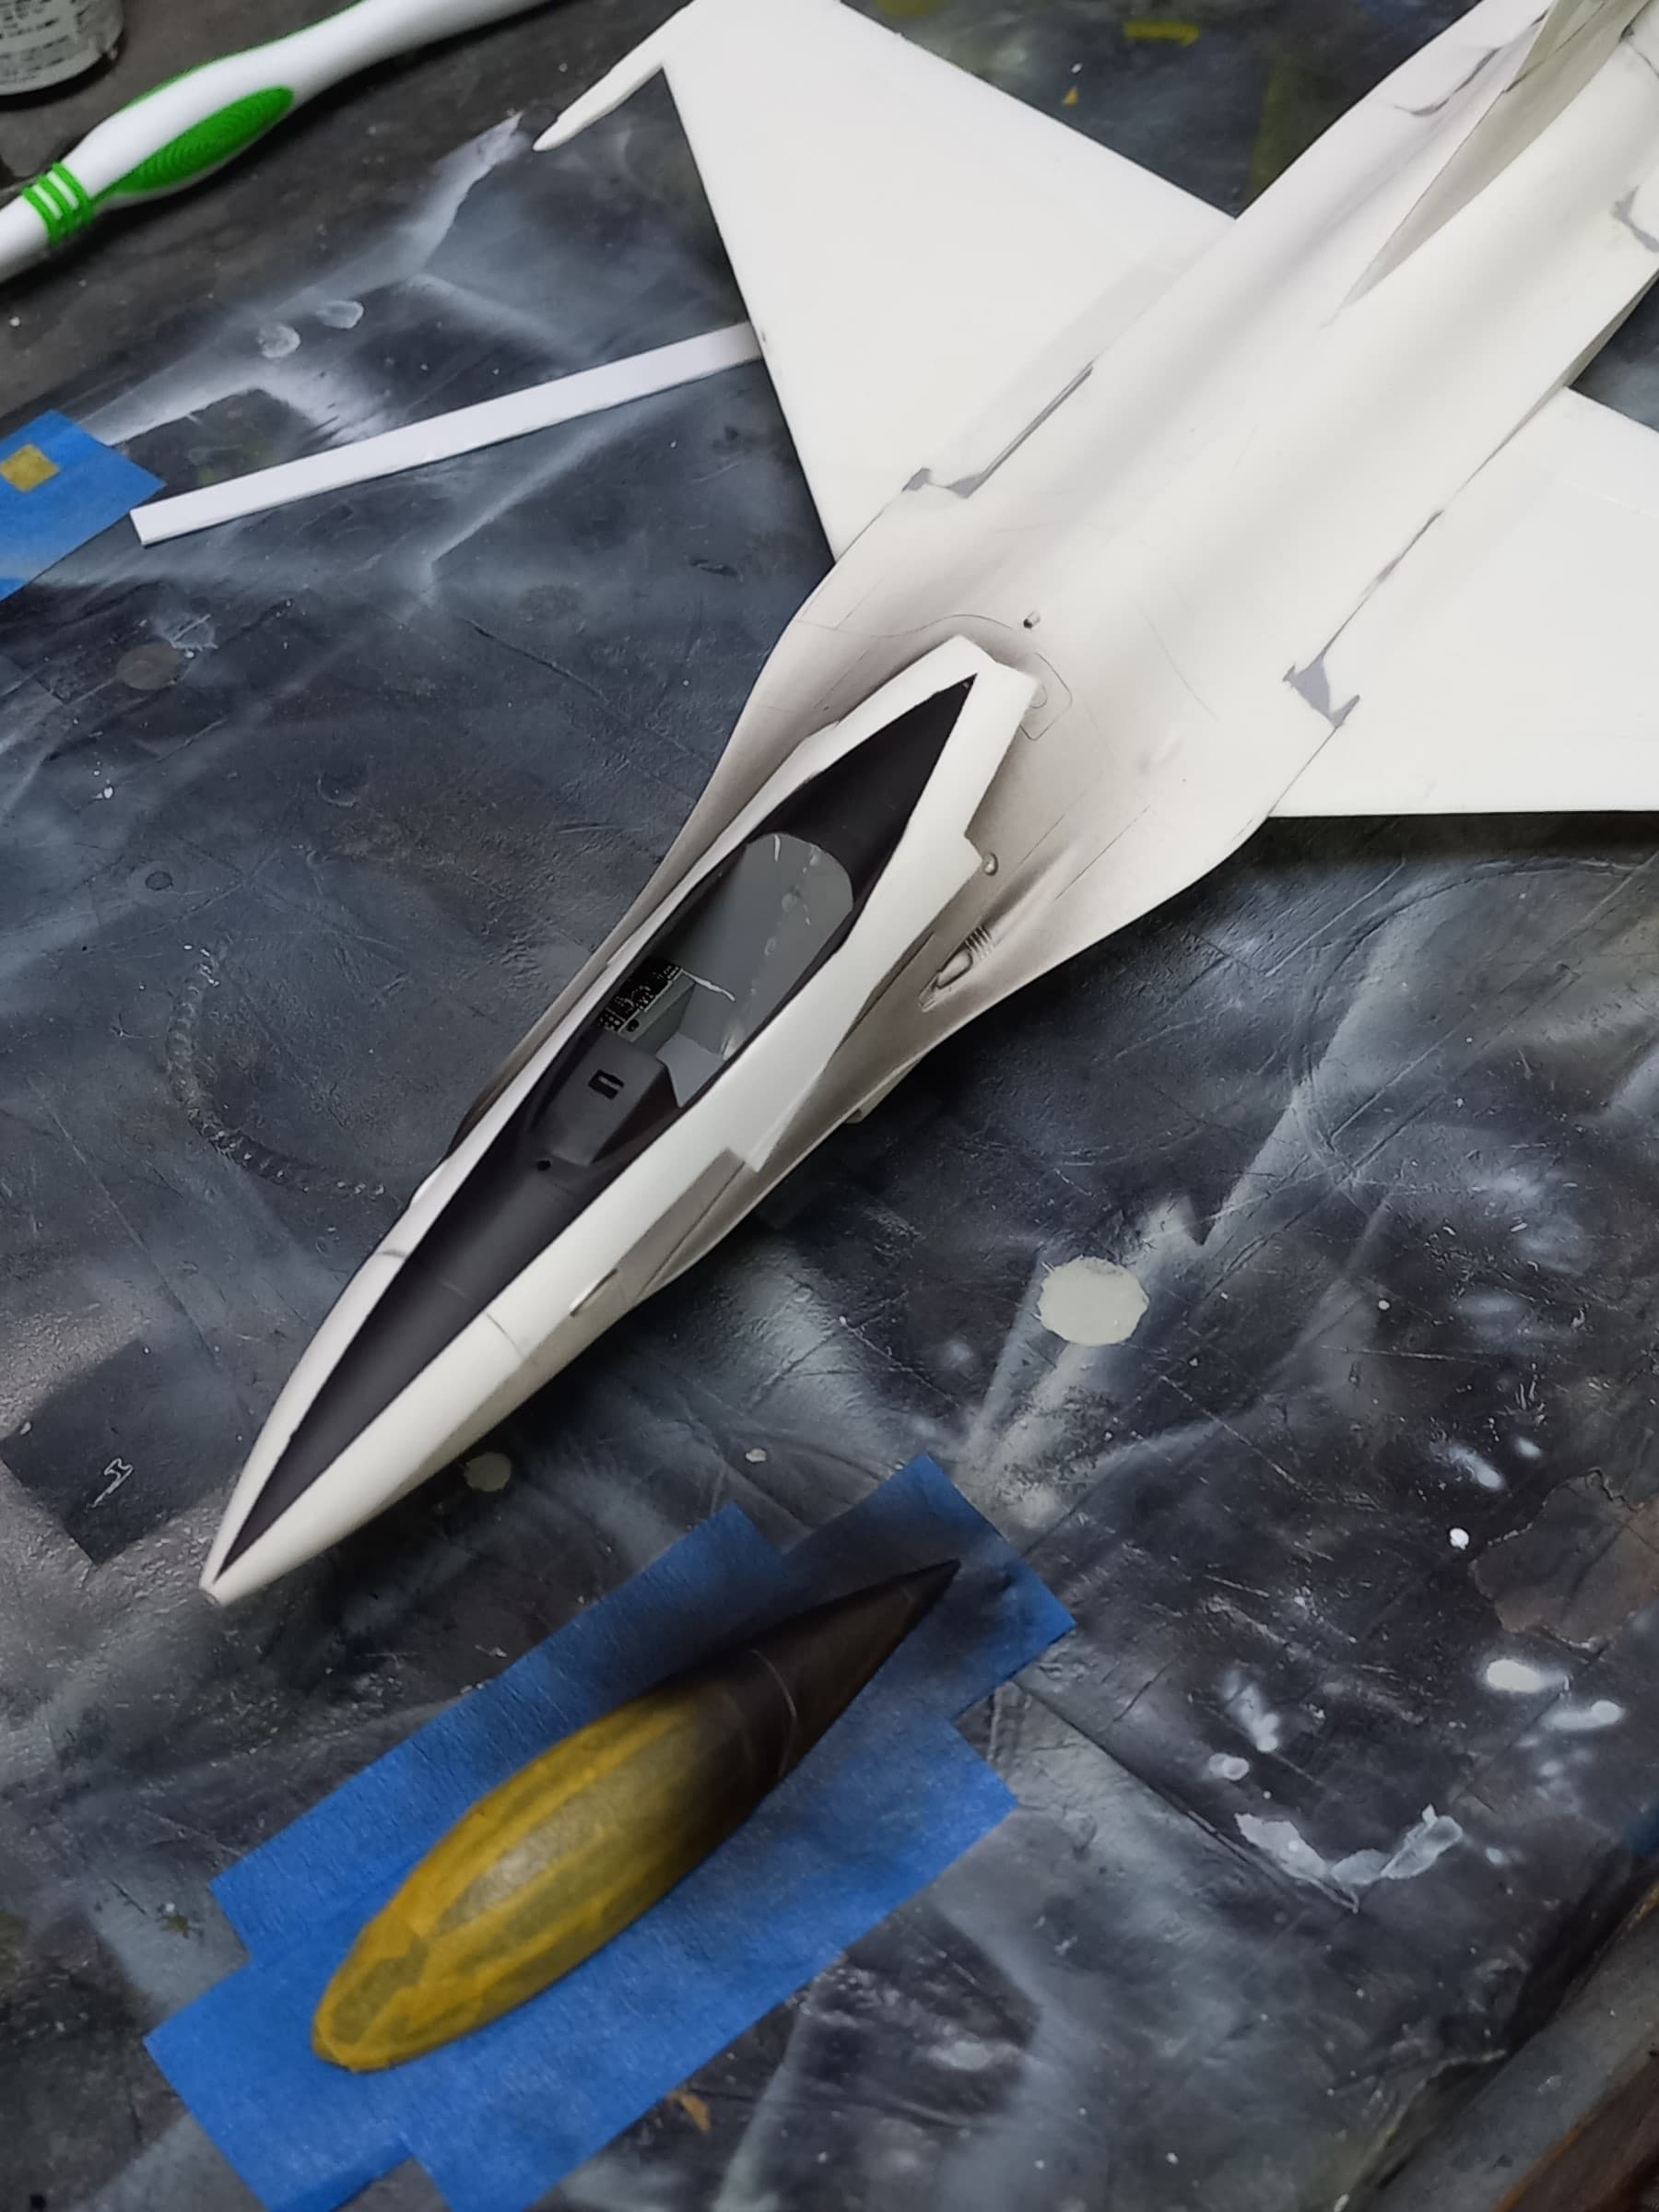
Feeling pretty good about the filling, it was time to get Neil into his seat, but first the area around the cockpit needed to be prepped for the attachment of the canopy. The cockpit was filled with tissue and then the area was taped off in preparation for the antiglare black that would follow.
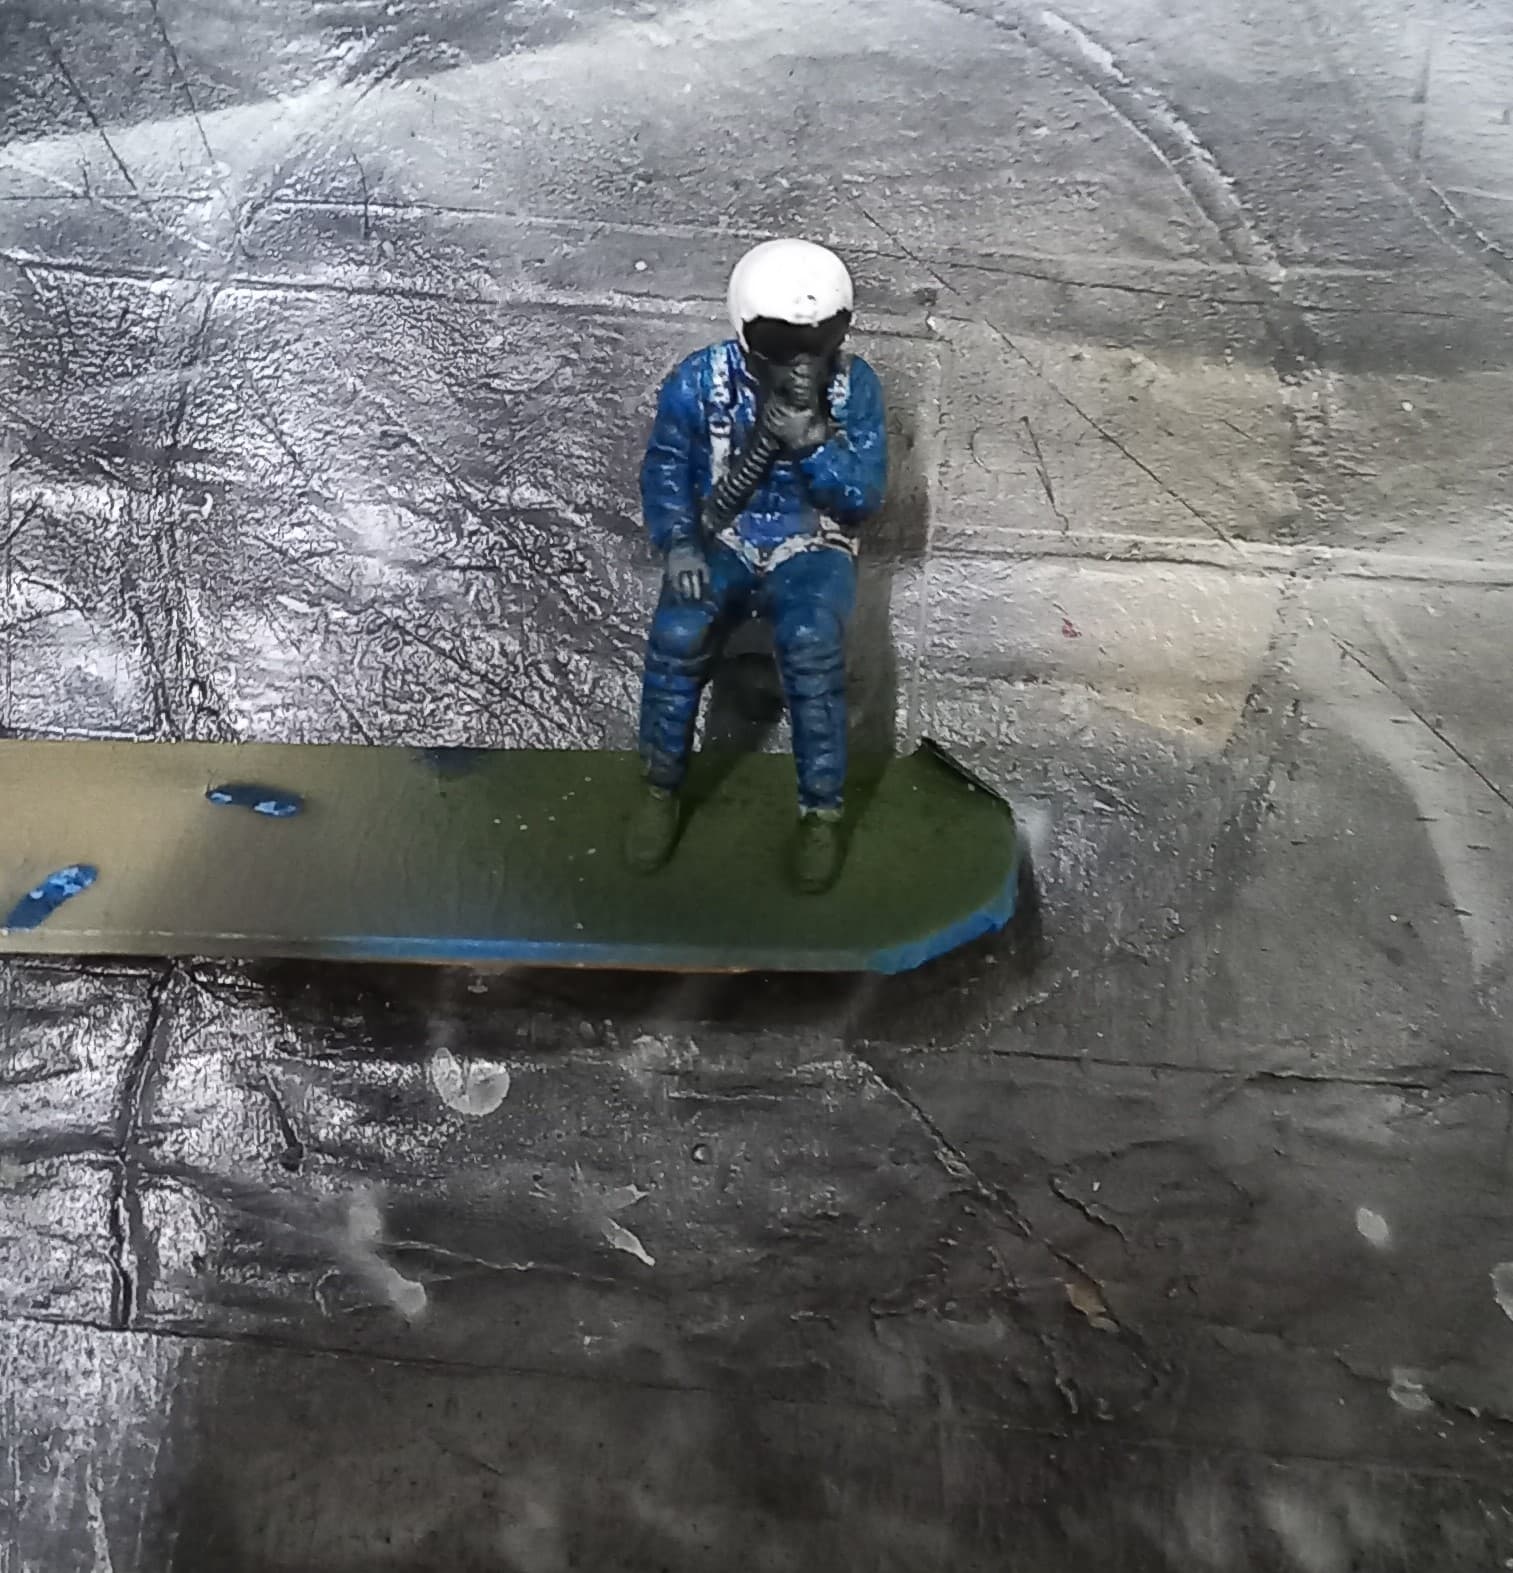
While all this fun was going on, Neil was painted and test fitted to assure no surprises later, as was the canopy. With a bulged canopy (not represented so great on this kit) the molding process leads to a mold seam that runs the length of the canopy. This was delt with in the usual manner of sanding it smooth, and then using finer grits of sanding and polishing sticks, the canopy was rendered blemish free and clear. The canopy was then masked off in preparation for the interior color. It should also be noted that Tamiya molded the canopy as a single piece, so opening this area up would require some extra work. Since this will be a stand model, this did not present a problem.
Following the prep (wiping down with 70% IPA on a soft cotton rag) the cockpit area was painted using Mr. Surfacer 1500 black. I really like using this, as it smooths things out, and with a little rubbing of a cotton rag gives the appearance of matt black.
I didn’t put a whole lot of effort into Neil, as he would be sitting under a smoked canopy. That said, once the base colors were down, he got a wash of black panel liner, and the helmet and visor were given a coat of Future Floor Wax to represent the gloss seen in reference photos.
With Neil chomping at the bit, it was time to get him seated and close things up!
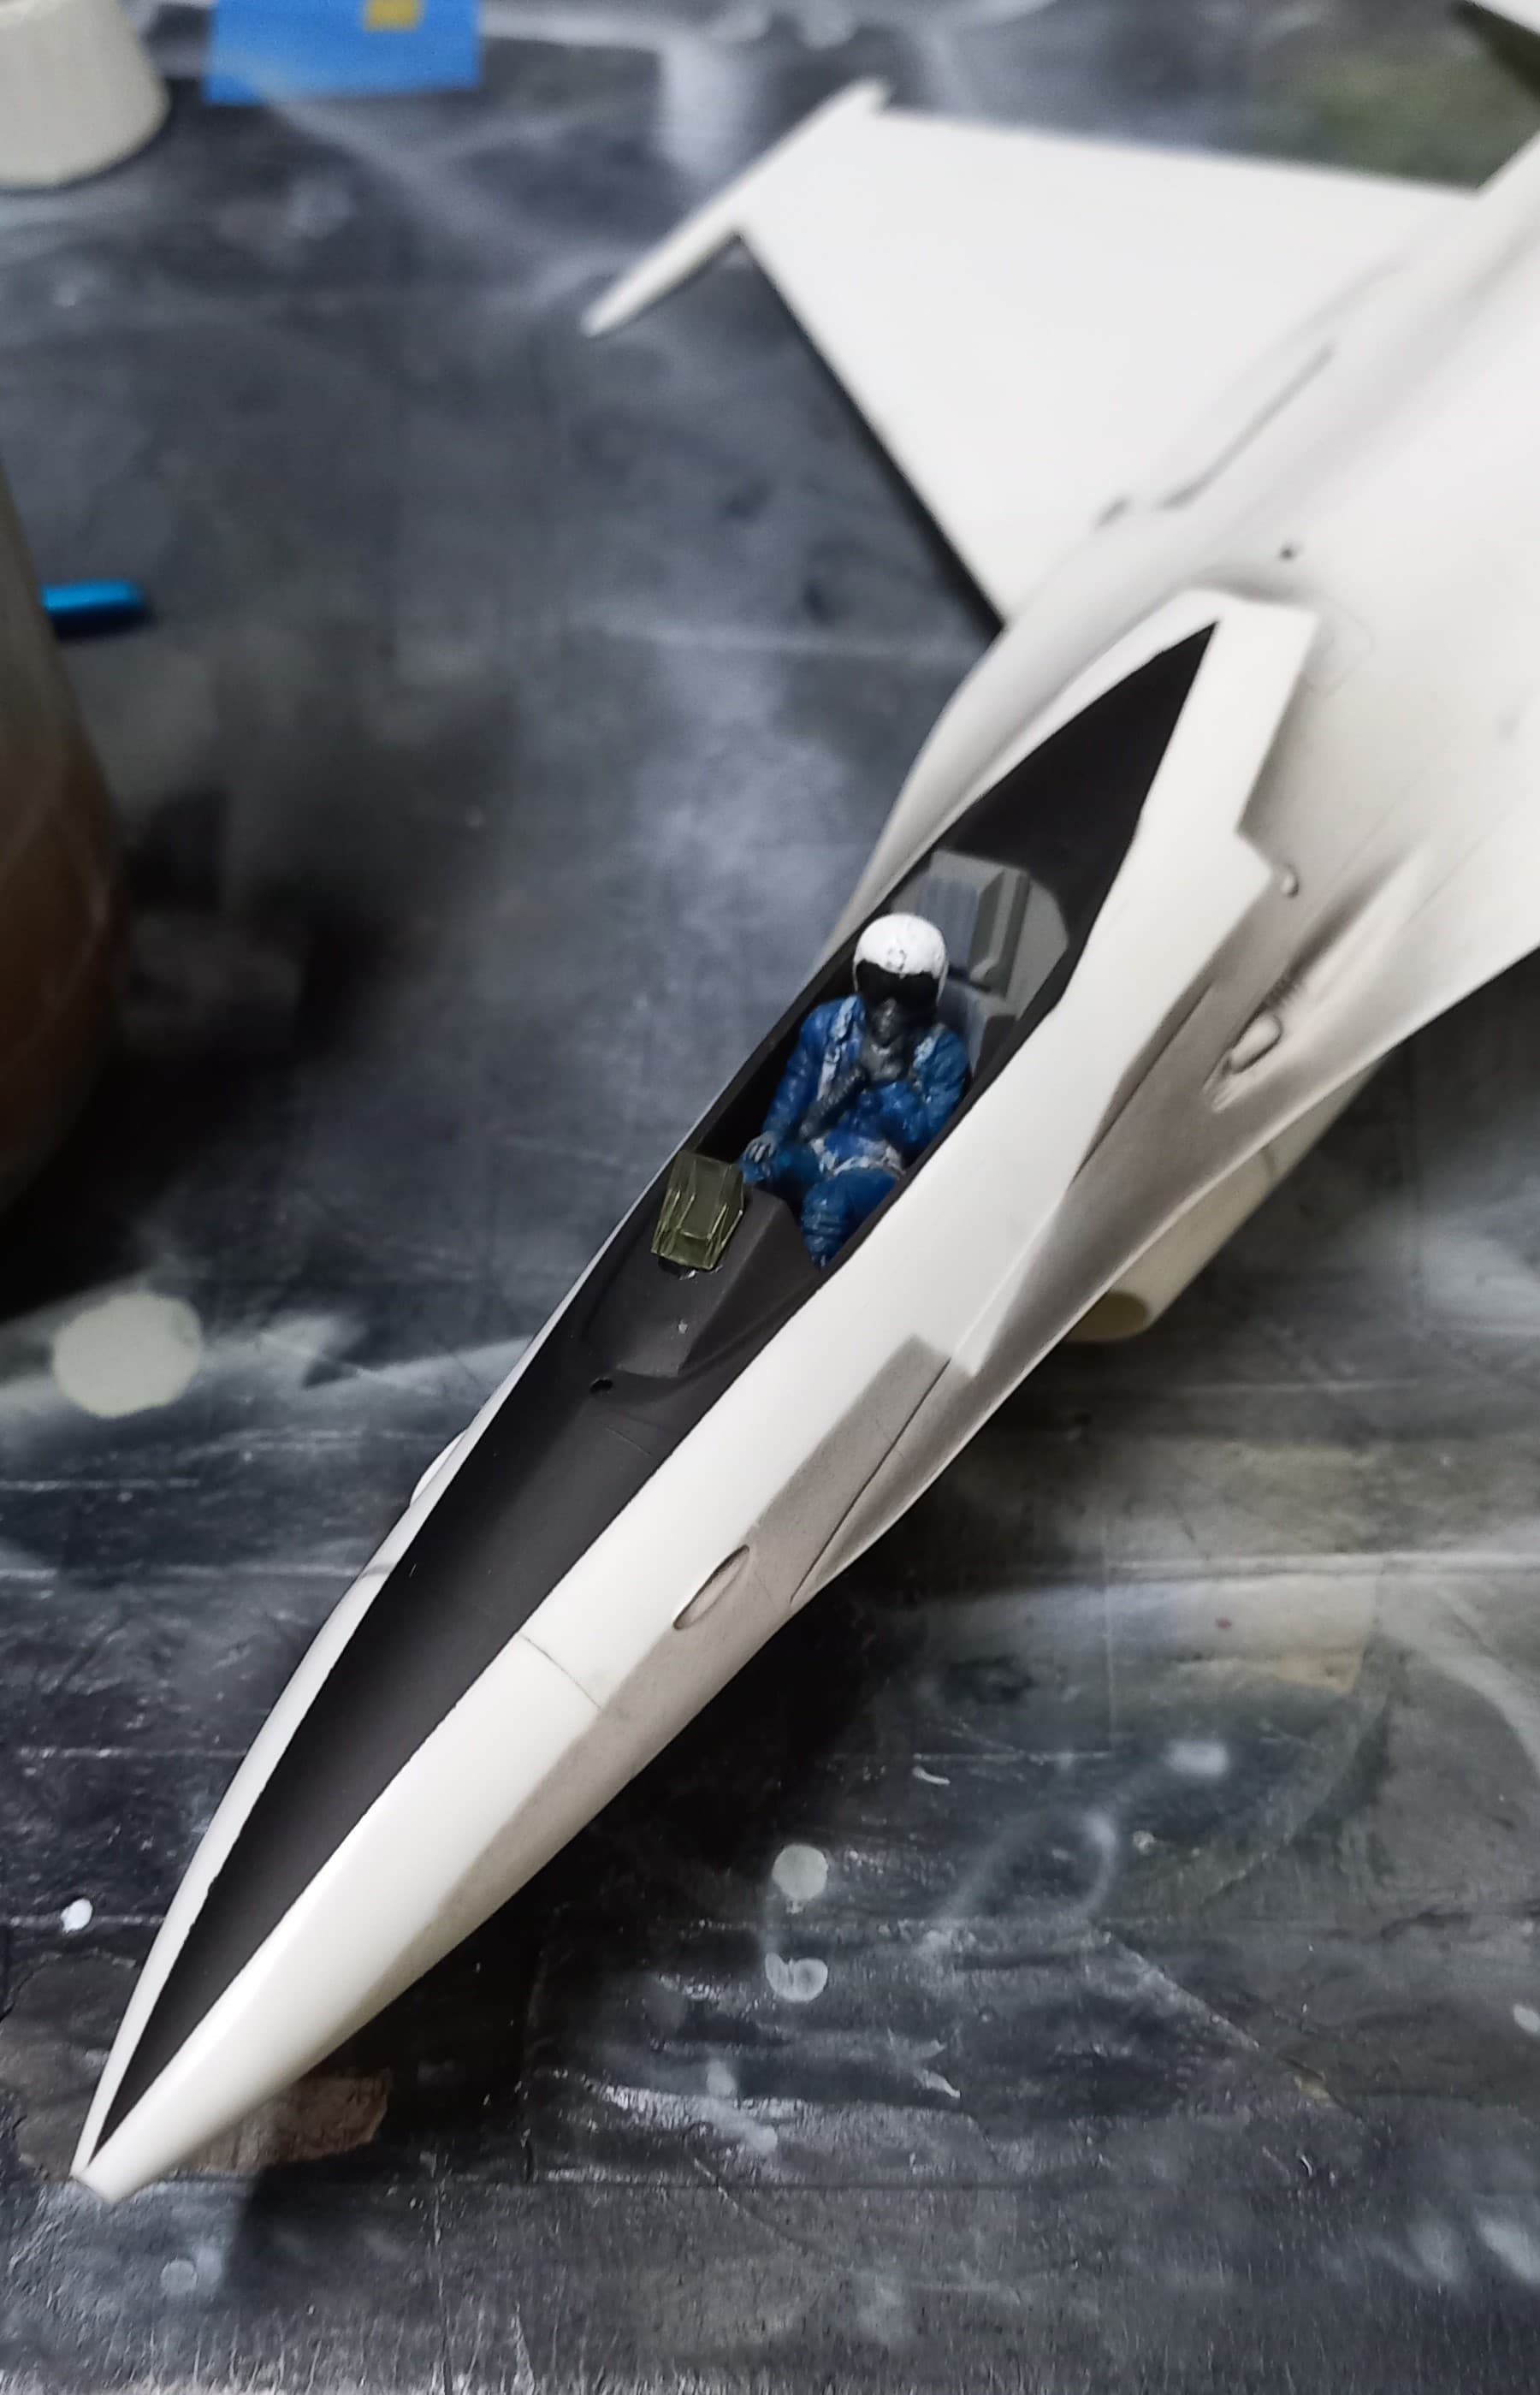
The canopy was attached using white glue. The stabilators and stabilizer fins were also attached at this point, and the fit here was perfect.

Once dry, it was apparent that the antiglare area was too narrow. This was taped off, and the joins that I questioned were given a shot of the Mr. Surfacer black to check for any missed gaps.
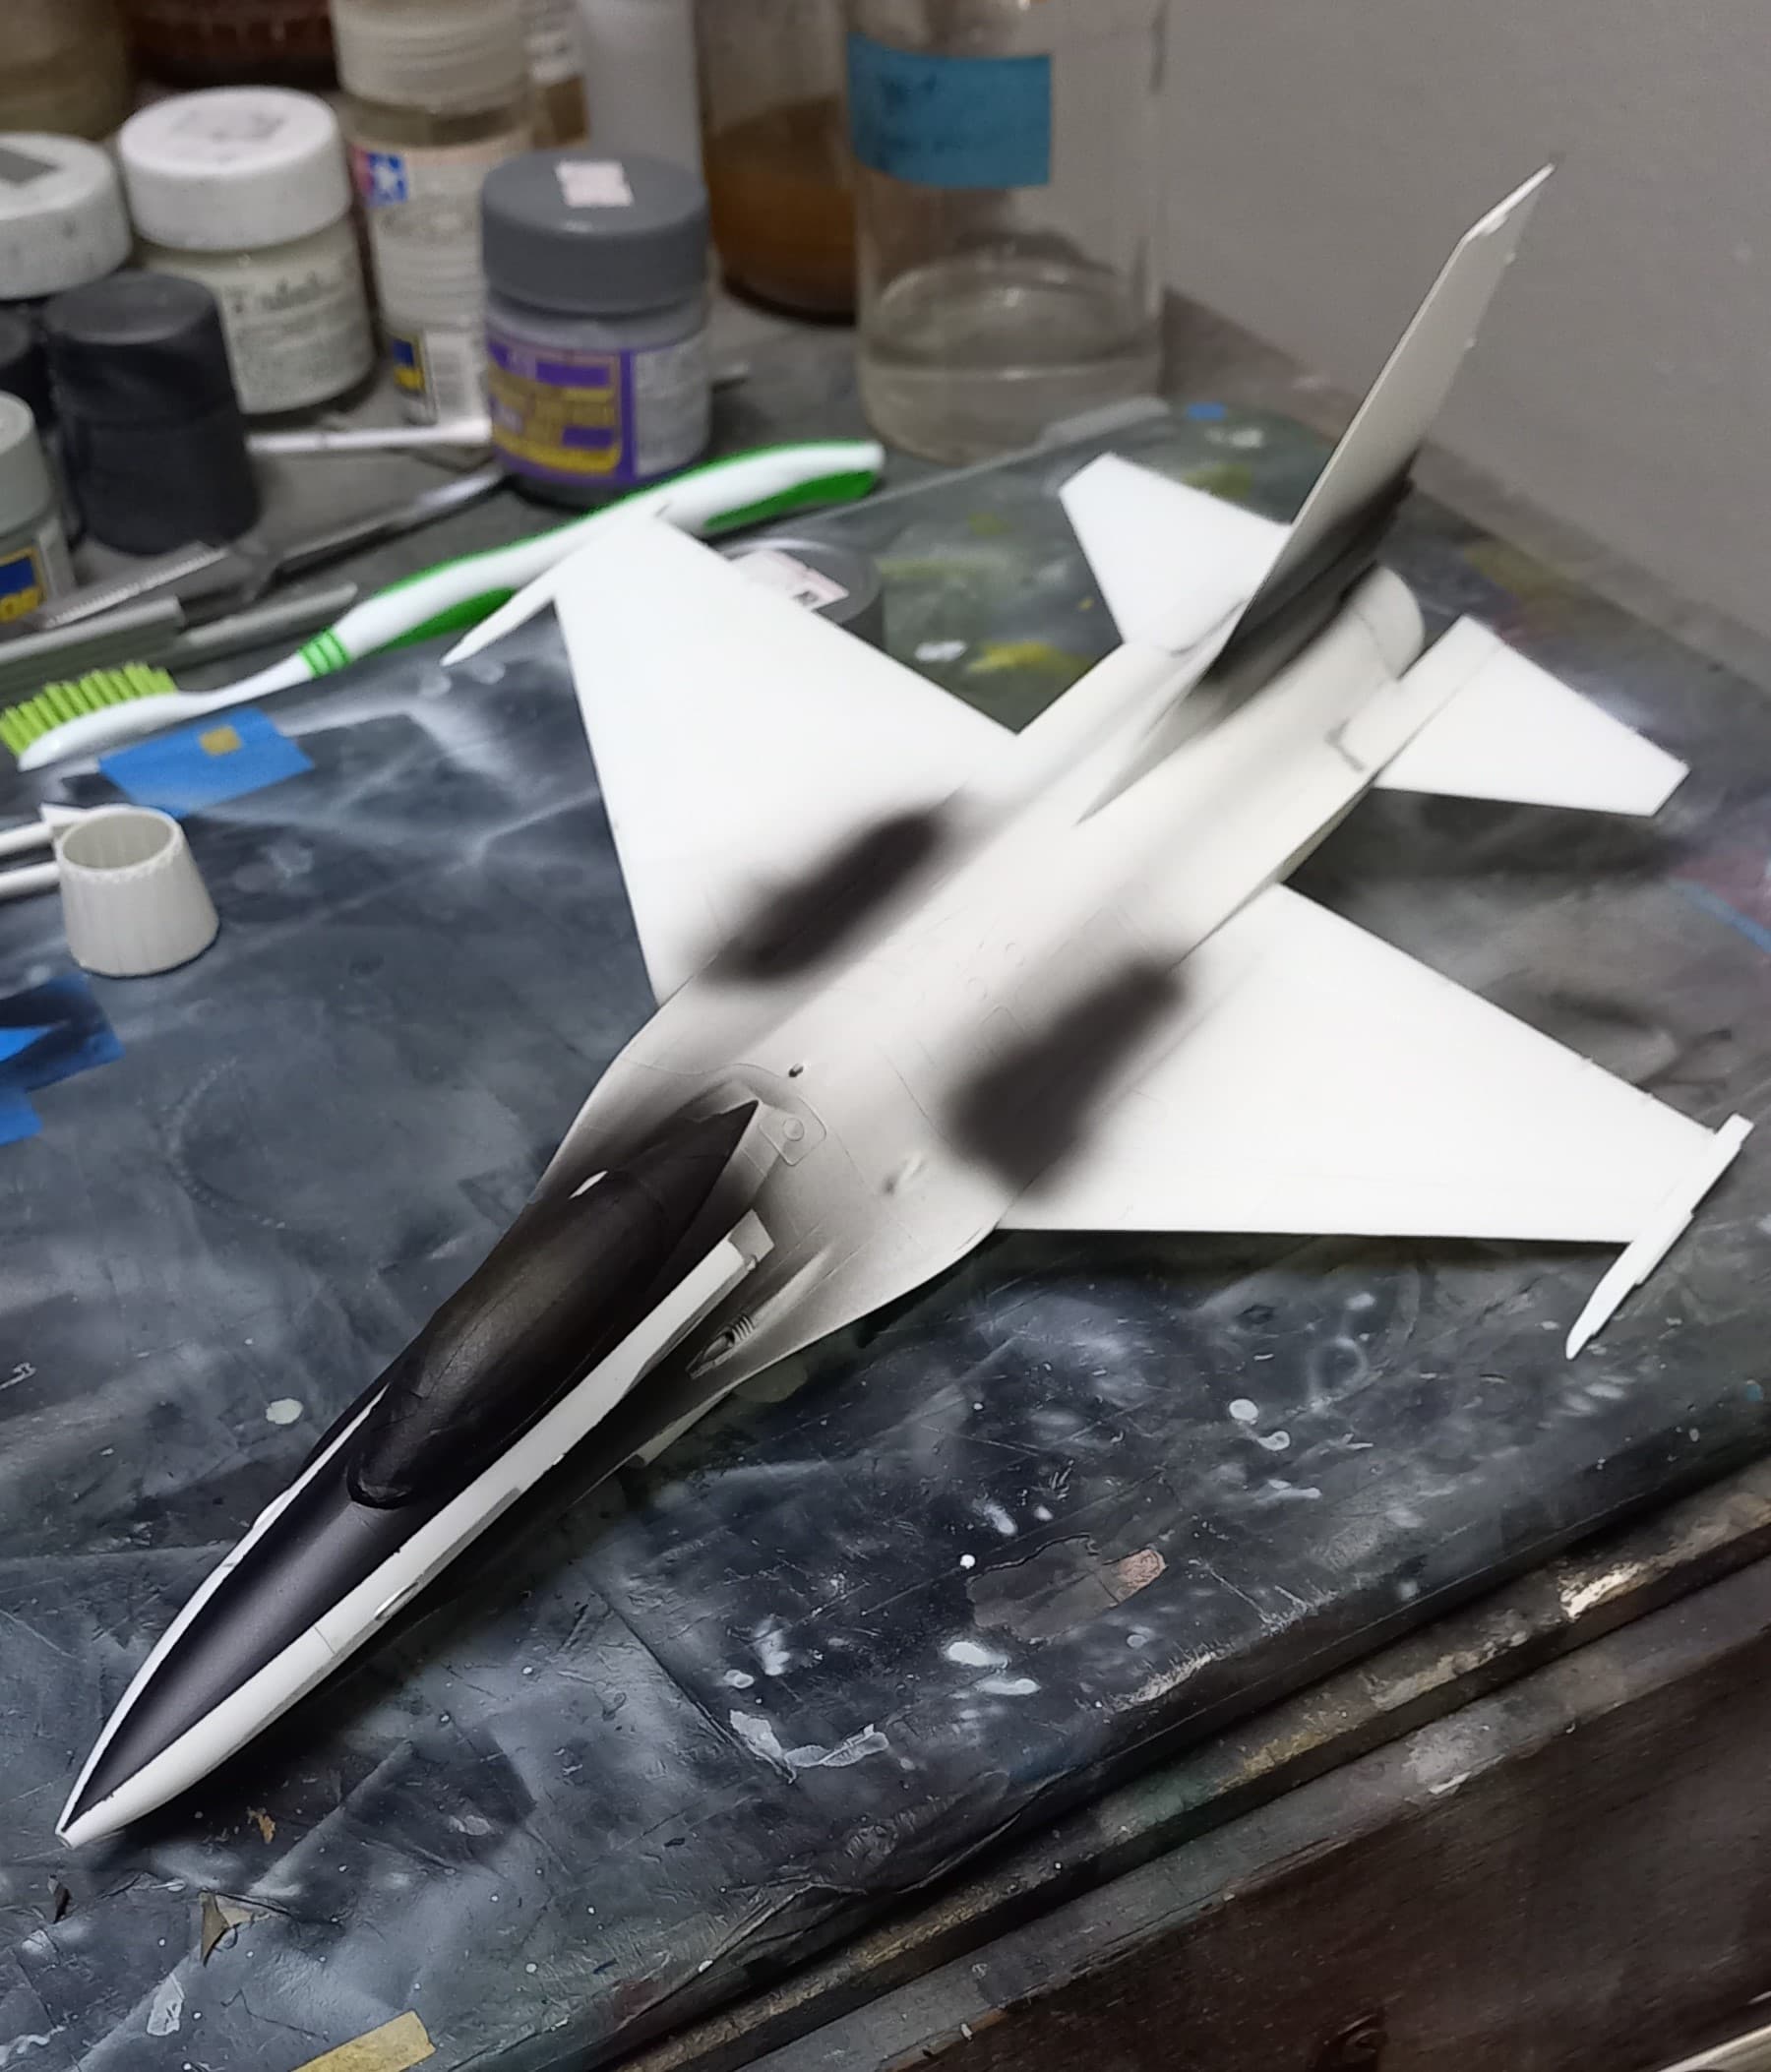
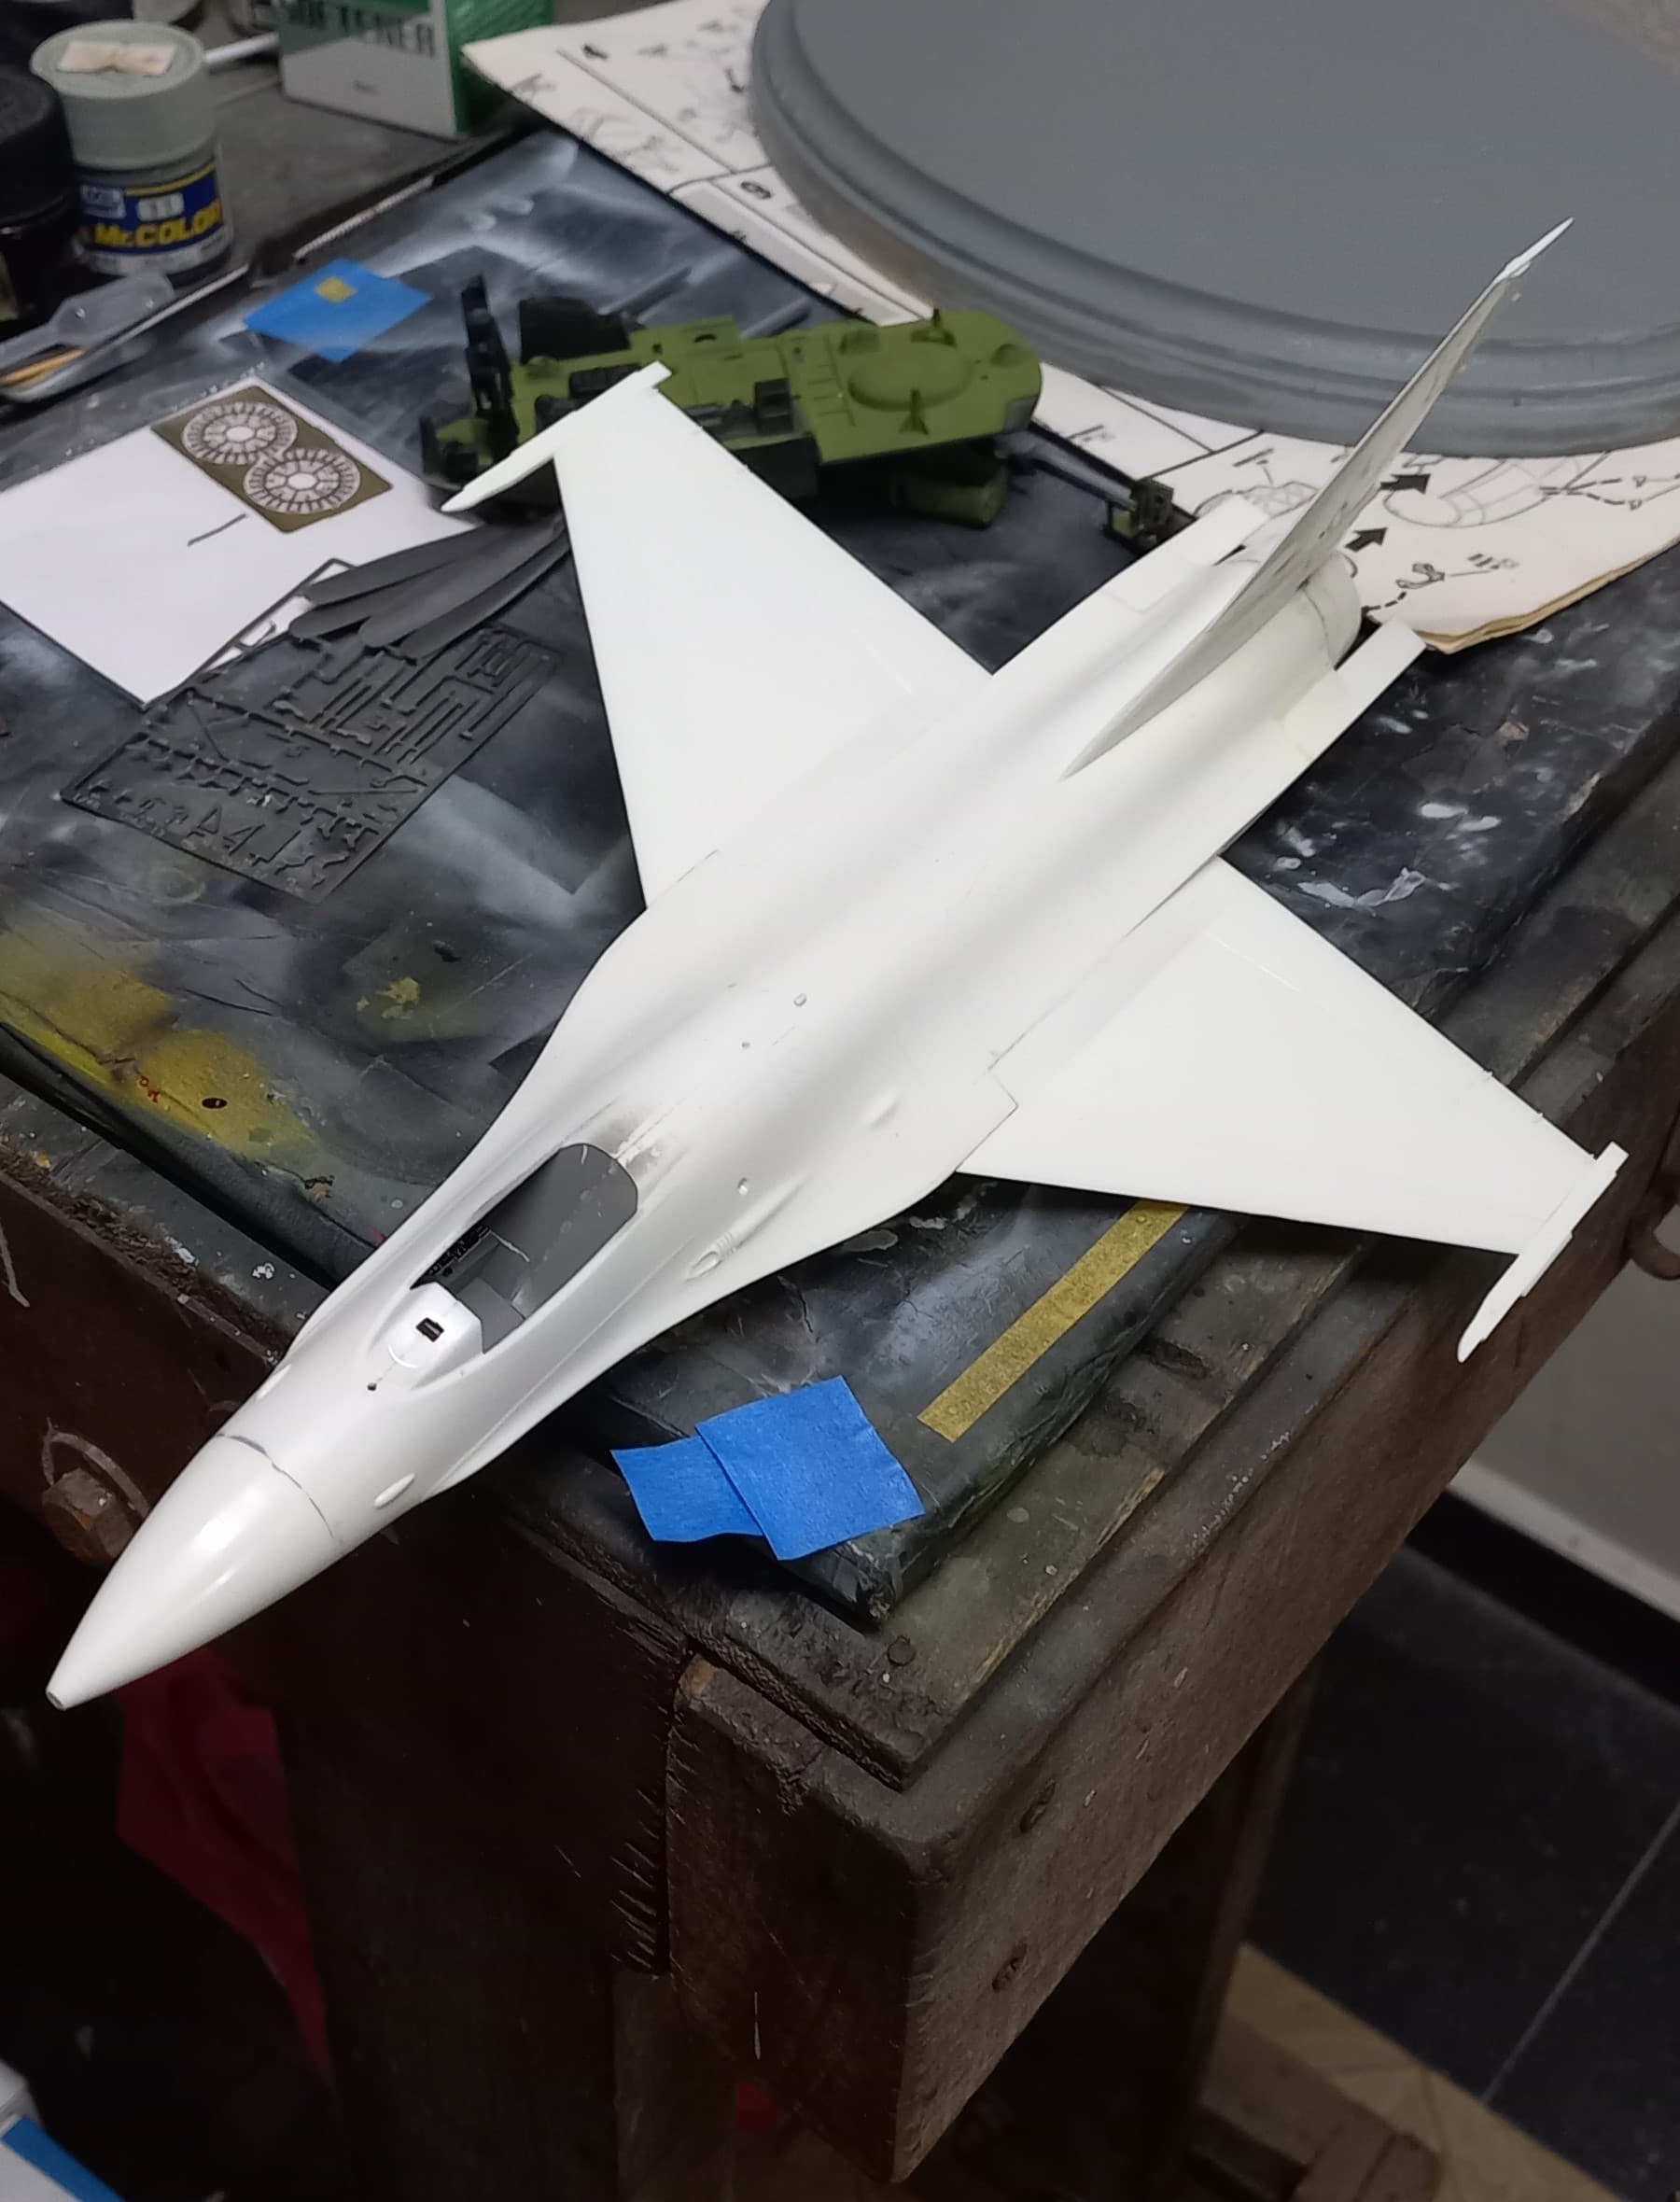
Feeling pretty good about the whole affair, it was time to give the bird a primer coat. I chose to use Mr. Surfacer 1500 grey, as the base color for the paint job would be white.
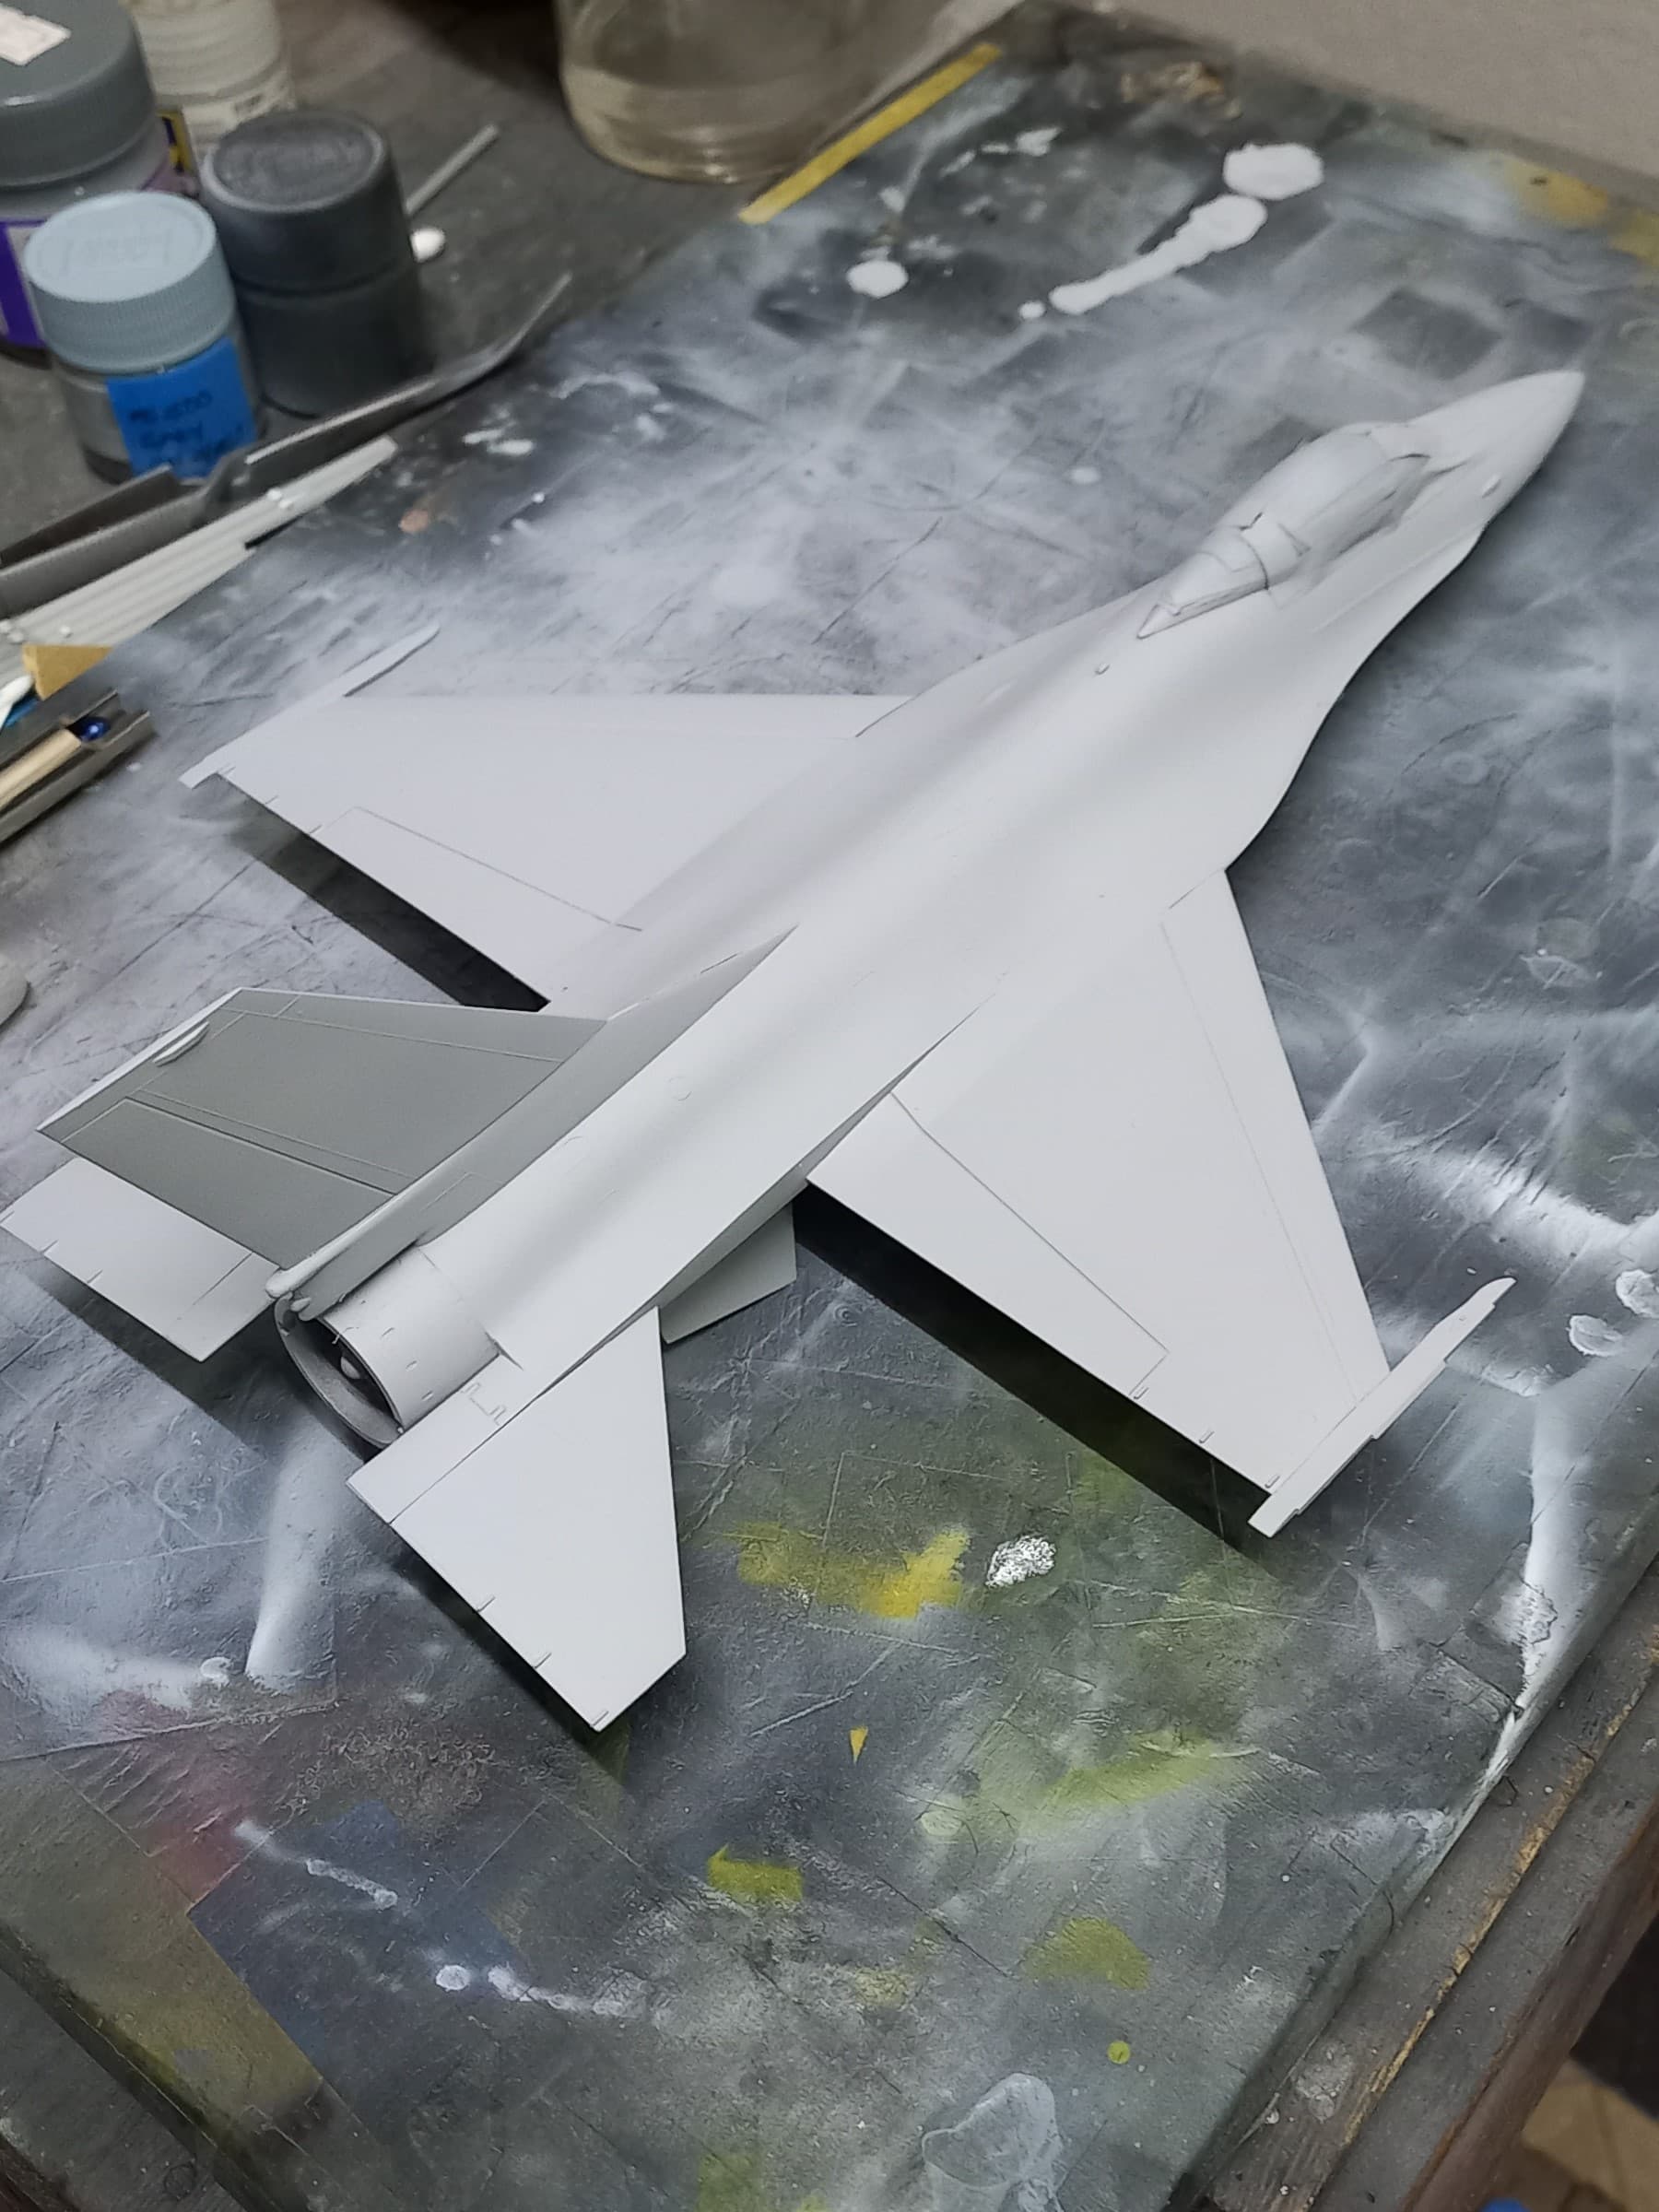

With the primer coat on, another inspection for any gaps and seams were made, and as always there were a couple of areas that would need some minor work. At the end of this it appears that that the paint job can proceed!
Till next time, stay safe and have fun!
8 Likes
Looking good John ![]()
1 Like
Decals down. Hopefully they don’t silver…my technique is lacking and they didn’t all go down easily.
9 Likes
Hi Everyone,
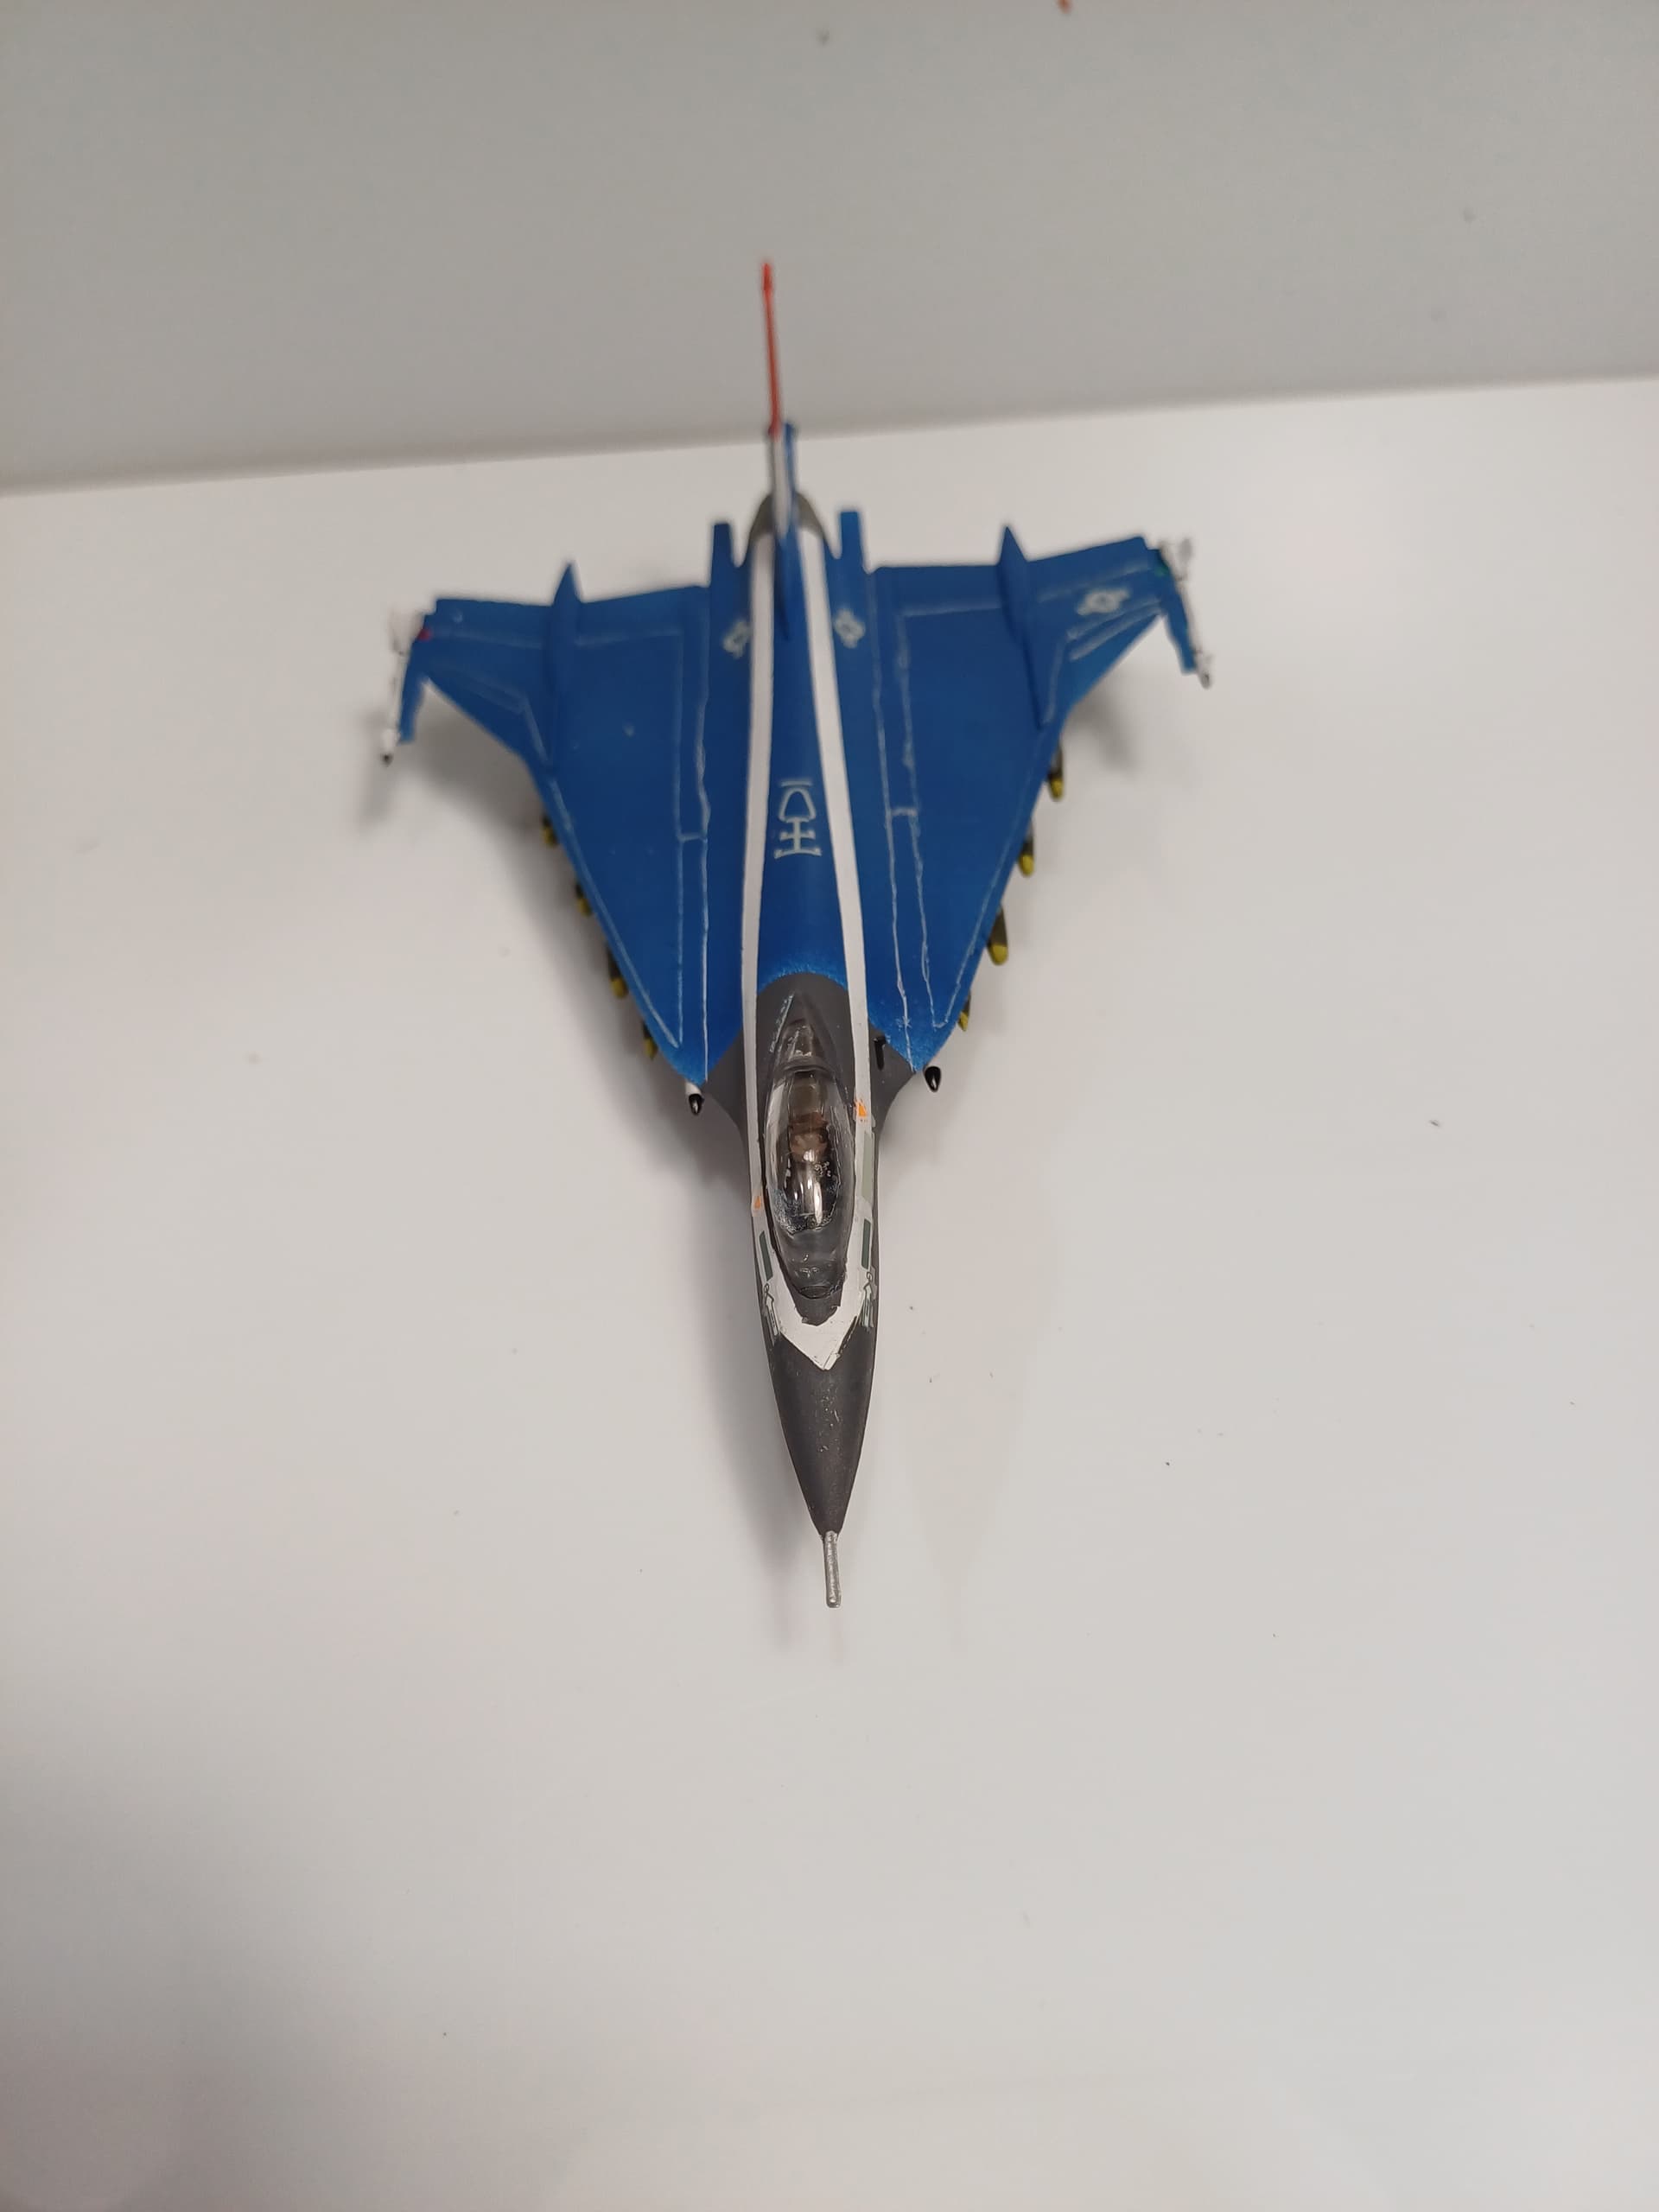
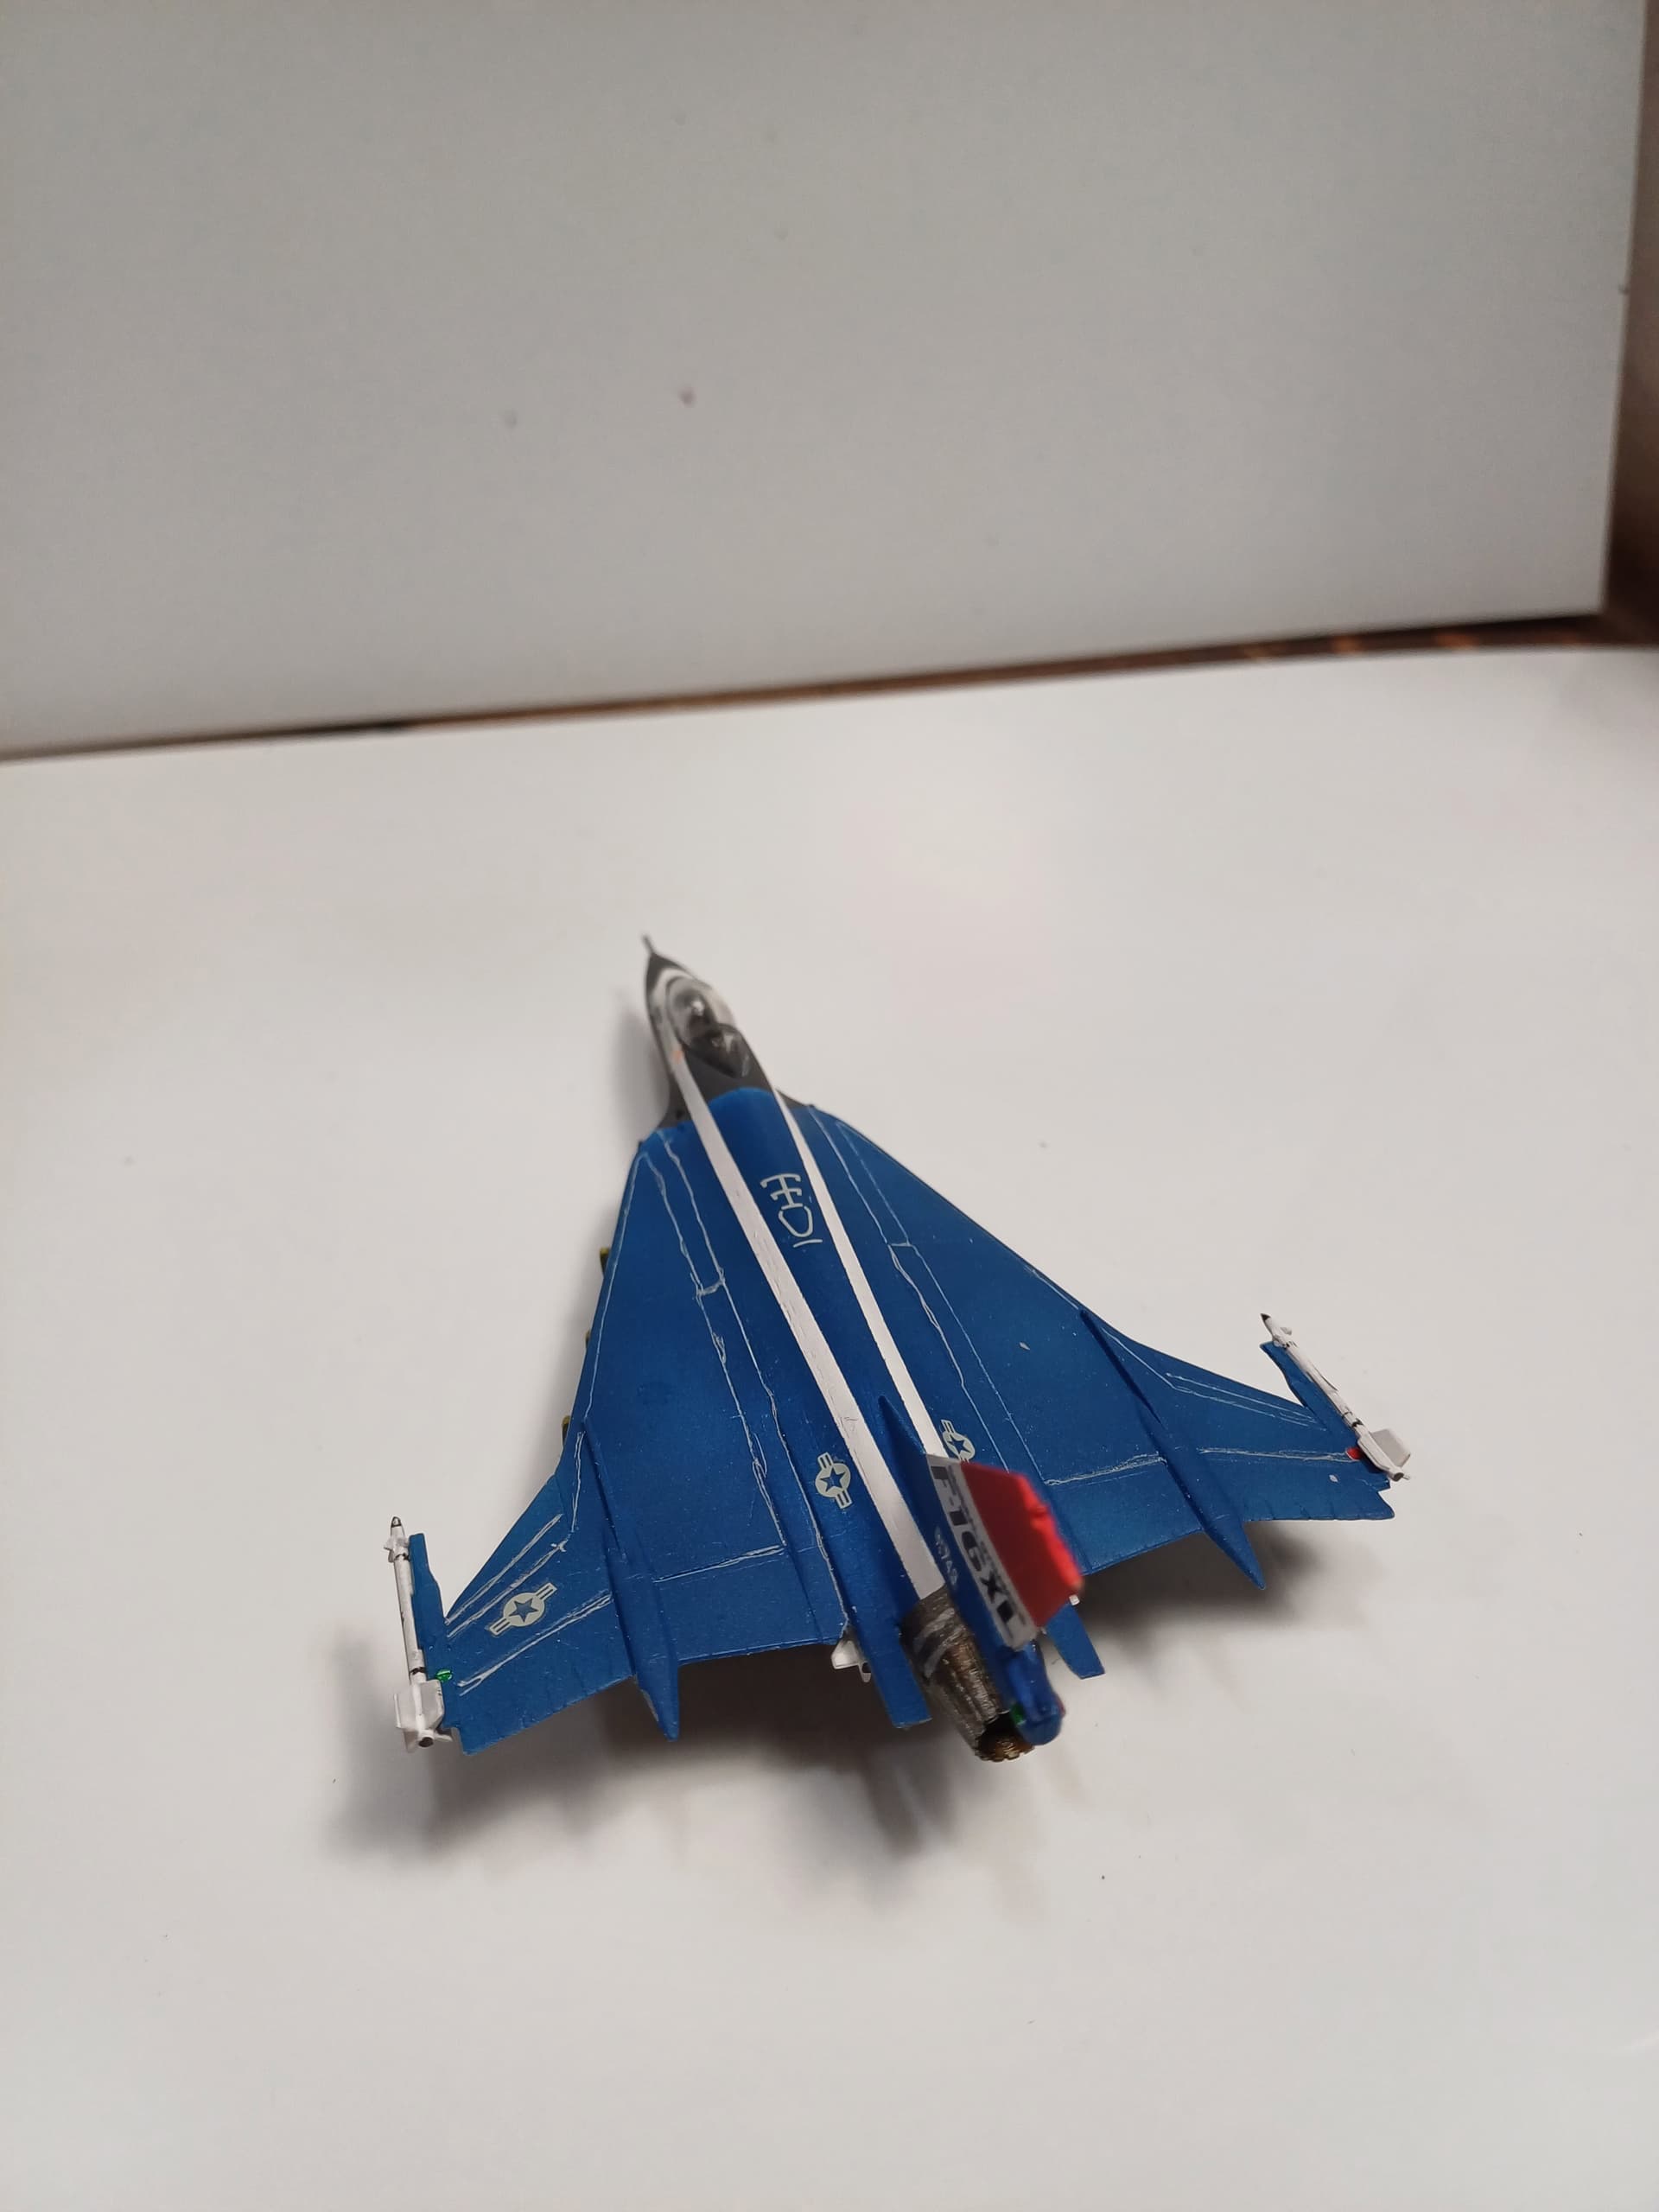
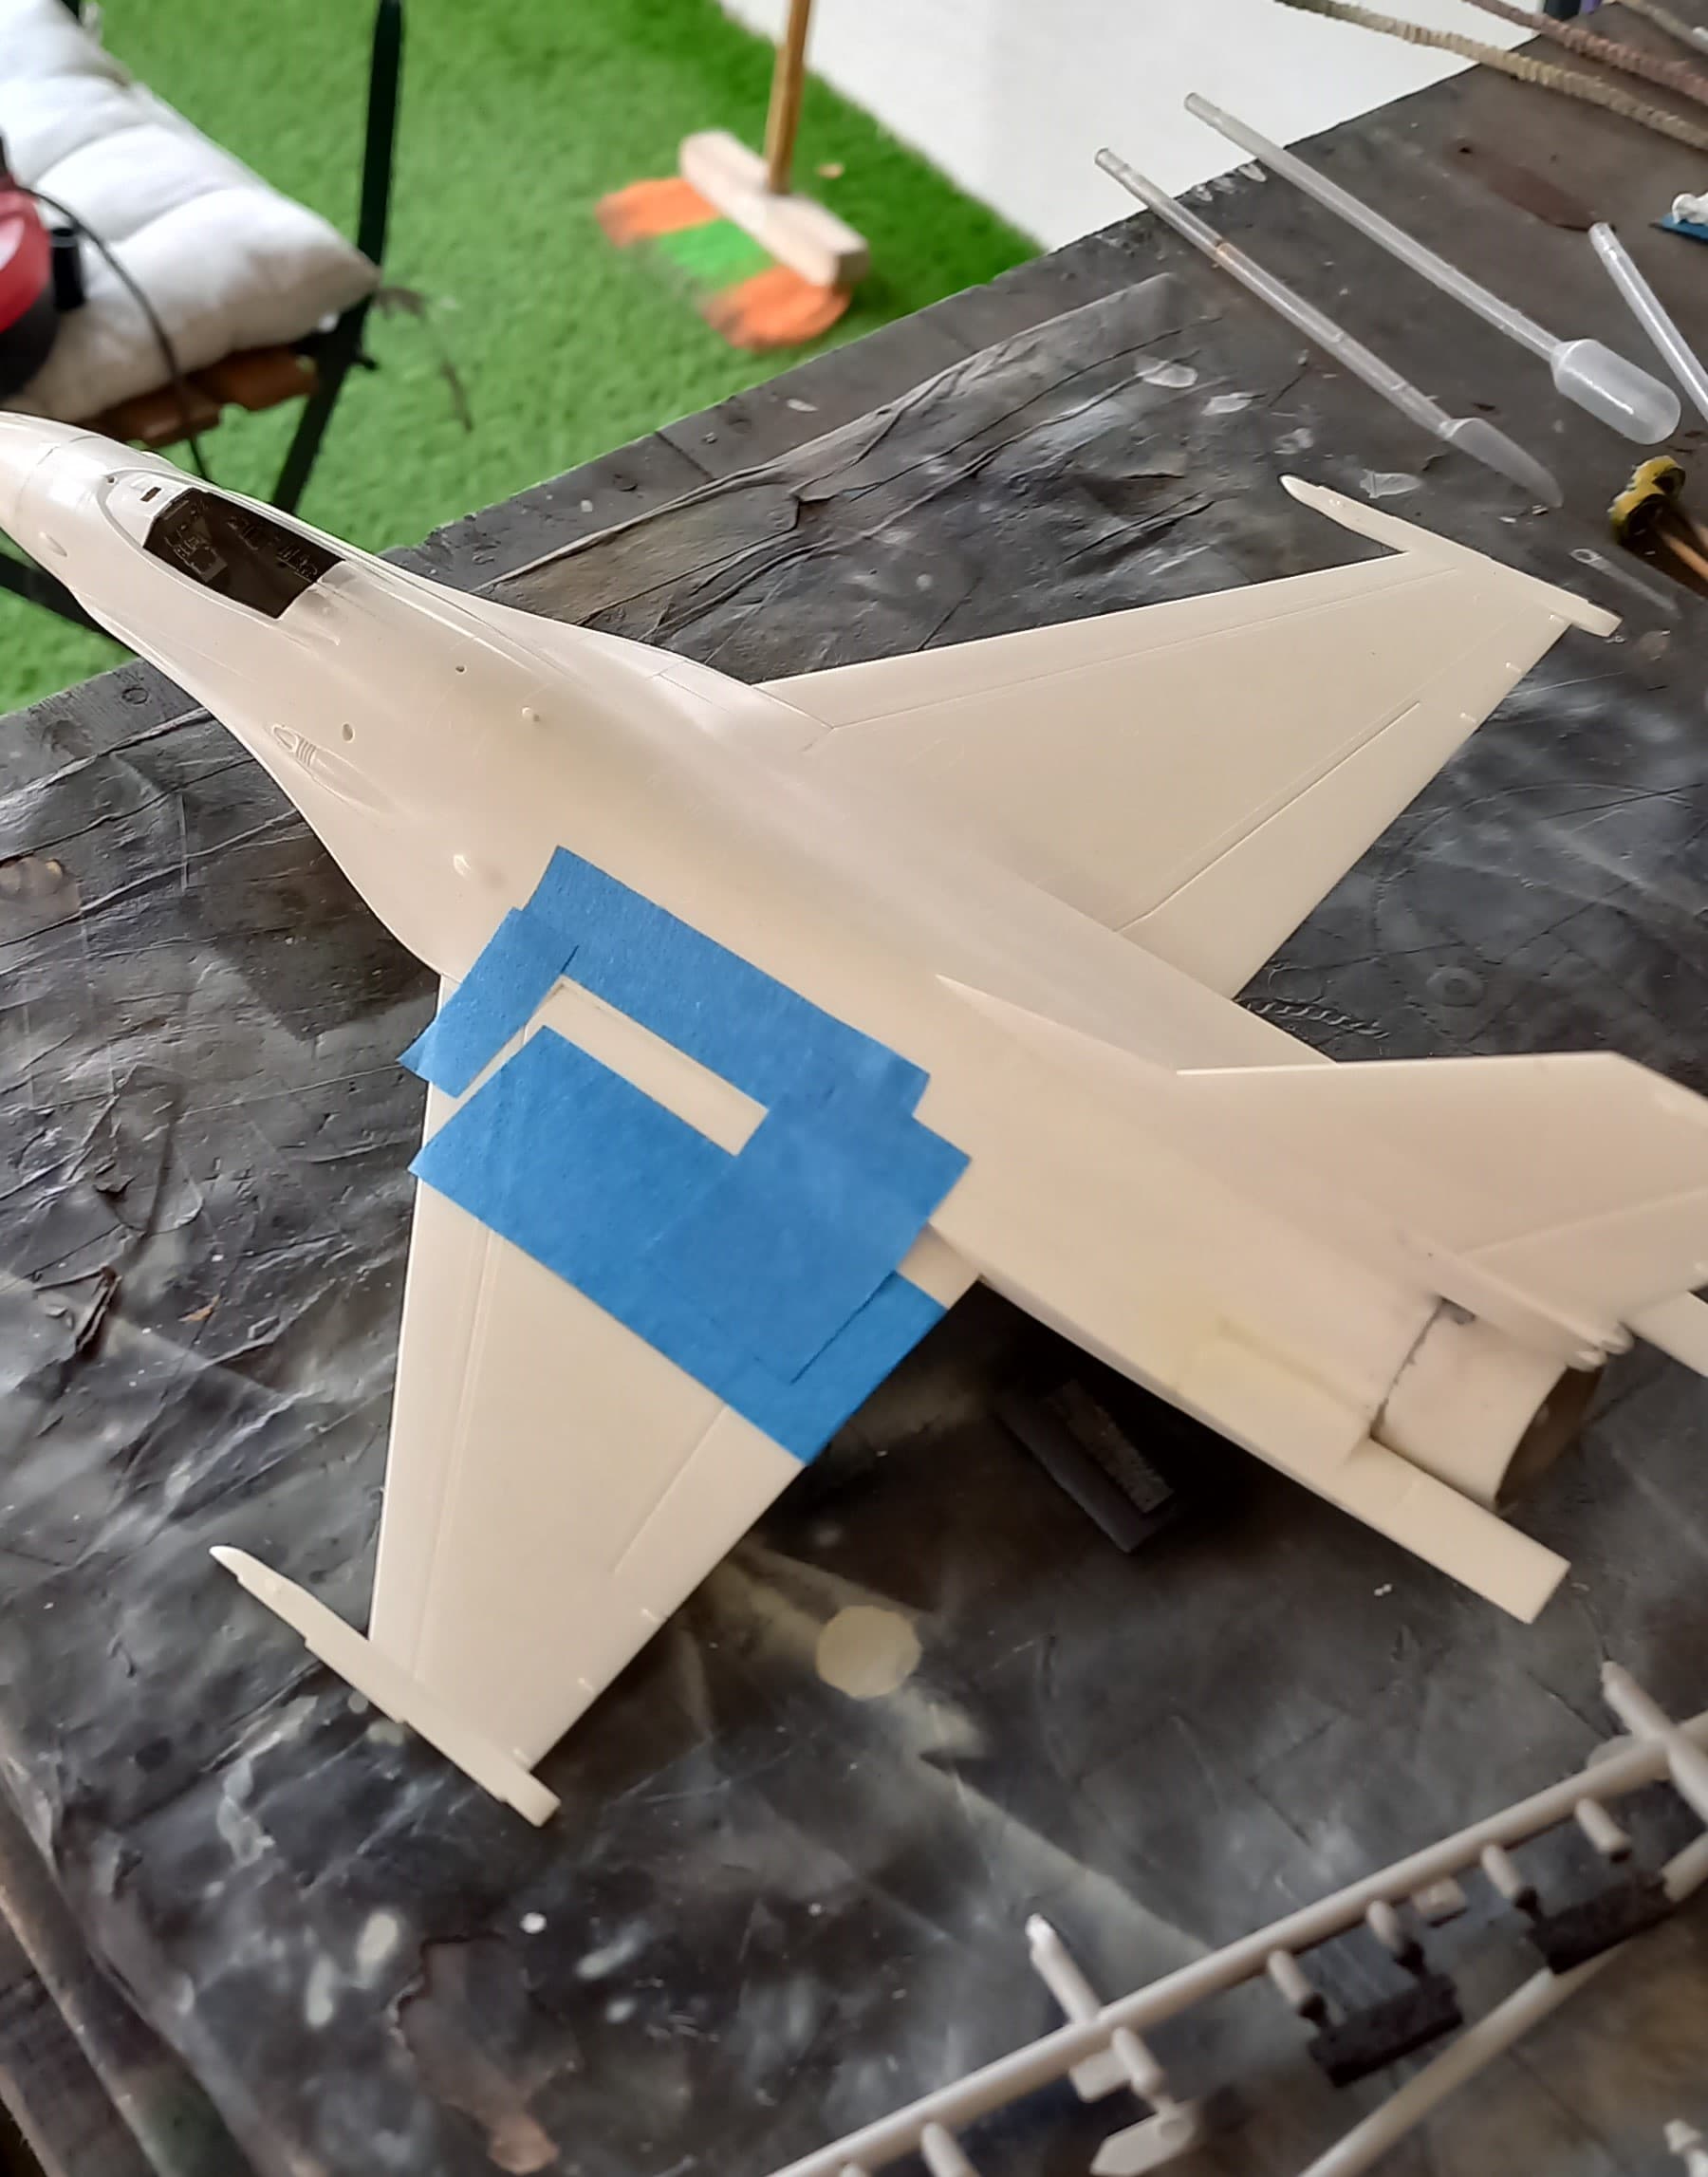
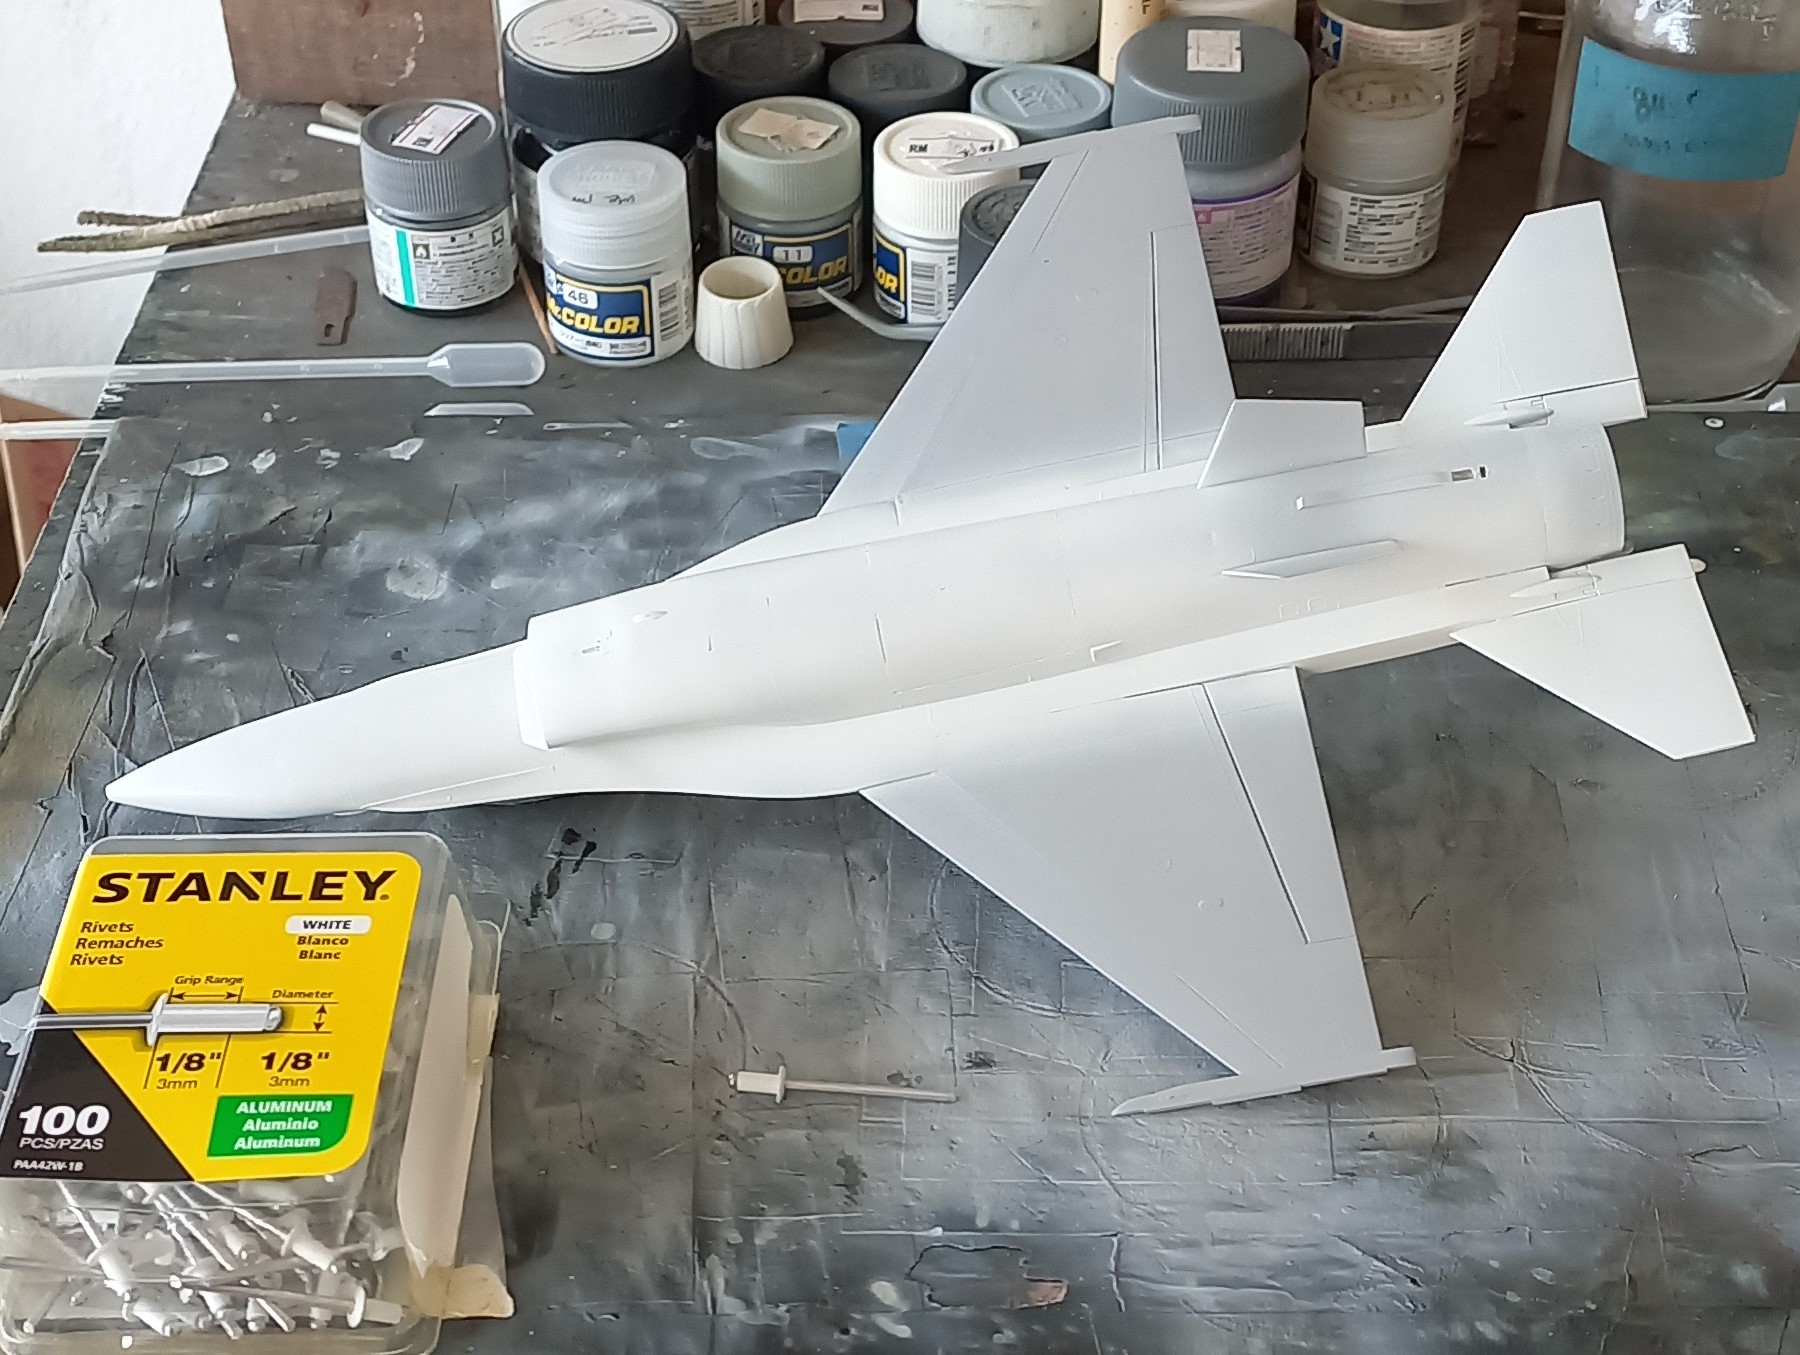
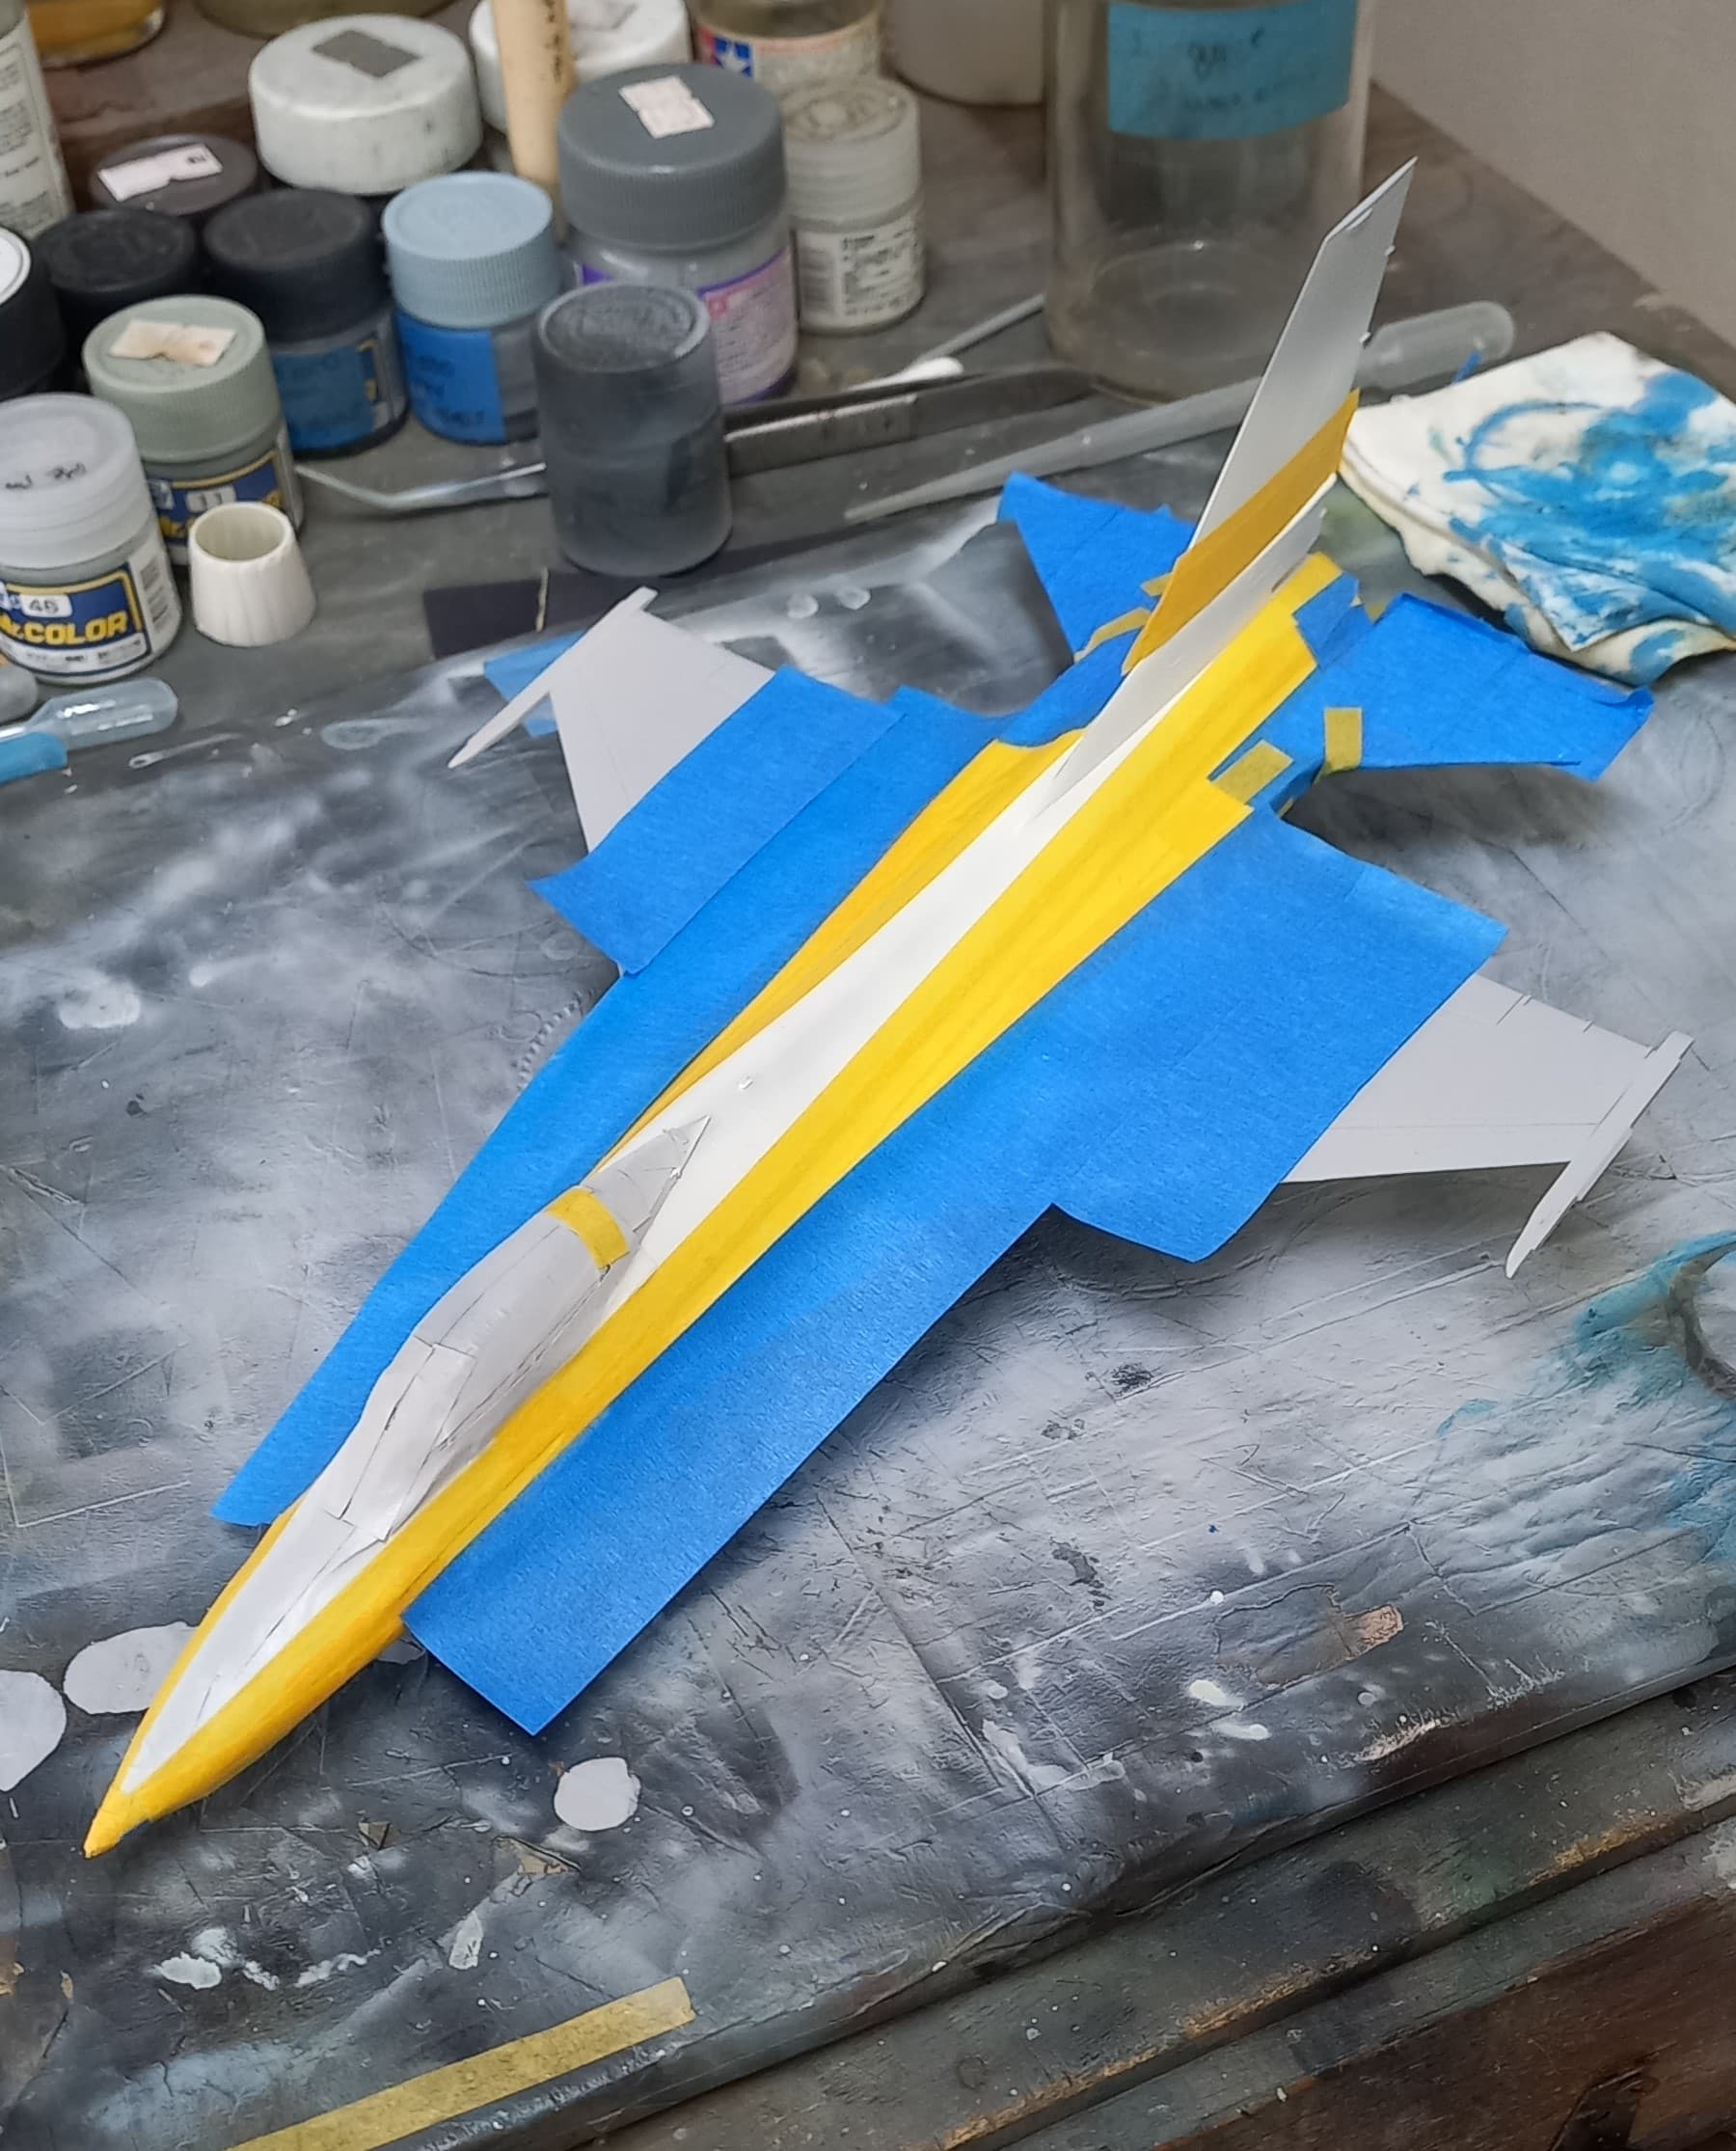
Progress has been made! I layered down the white on the fuselage and tail. Though in hindsight, the colors should not be layered as this plane was straight from the shop and was in pristine condition, therefore a second coat would be in order. Since this is going to be on a stand, I needed to determine where the attachment point would be, this worked well on my self-inflicted painting dilemma. Upon toying with the airframe and the stand I got a general idea of where to place the rivet collar of the rivet that would be used to attach the bird to the stand. It’s a simple process, once the placement is decided, merely drill a hole of appropriate diameter and glue (thick superglue) the collar in place. Then I painted the areas white to even the color out.
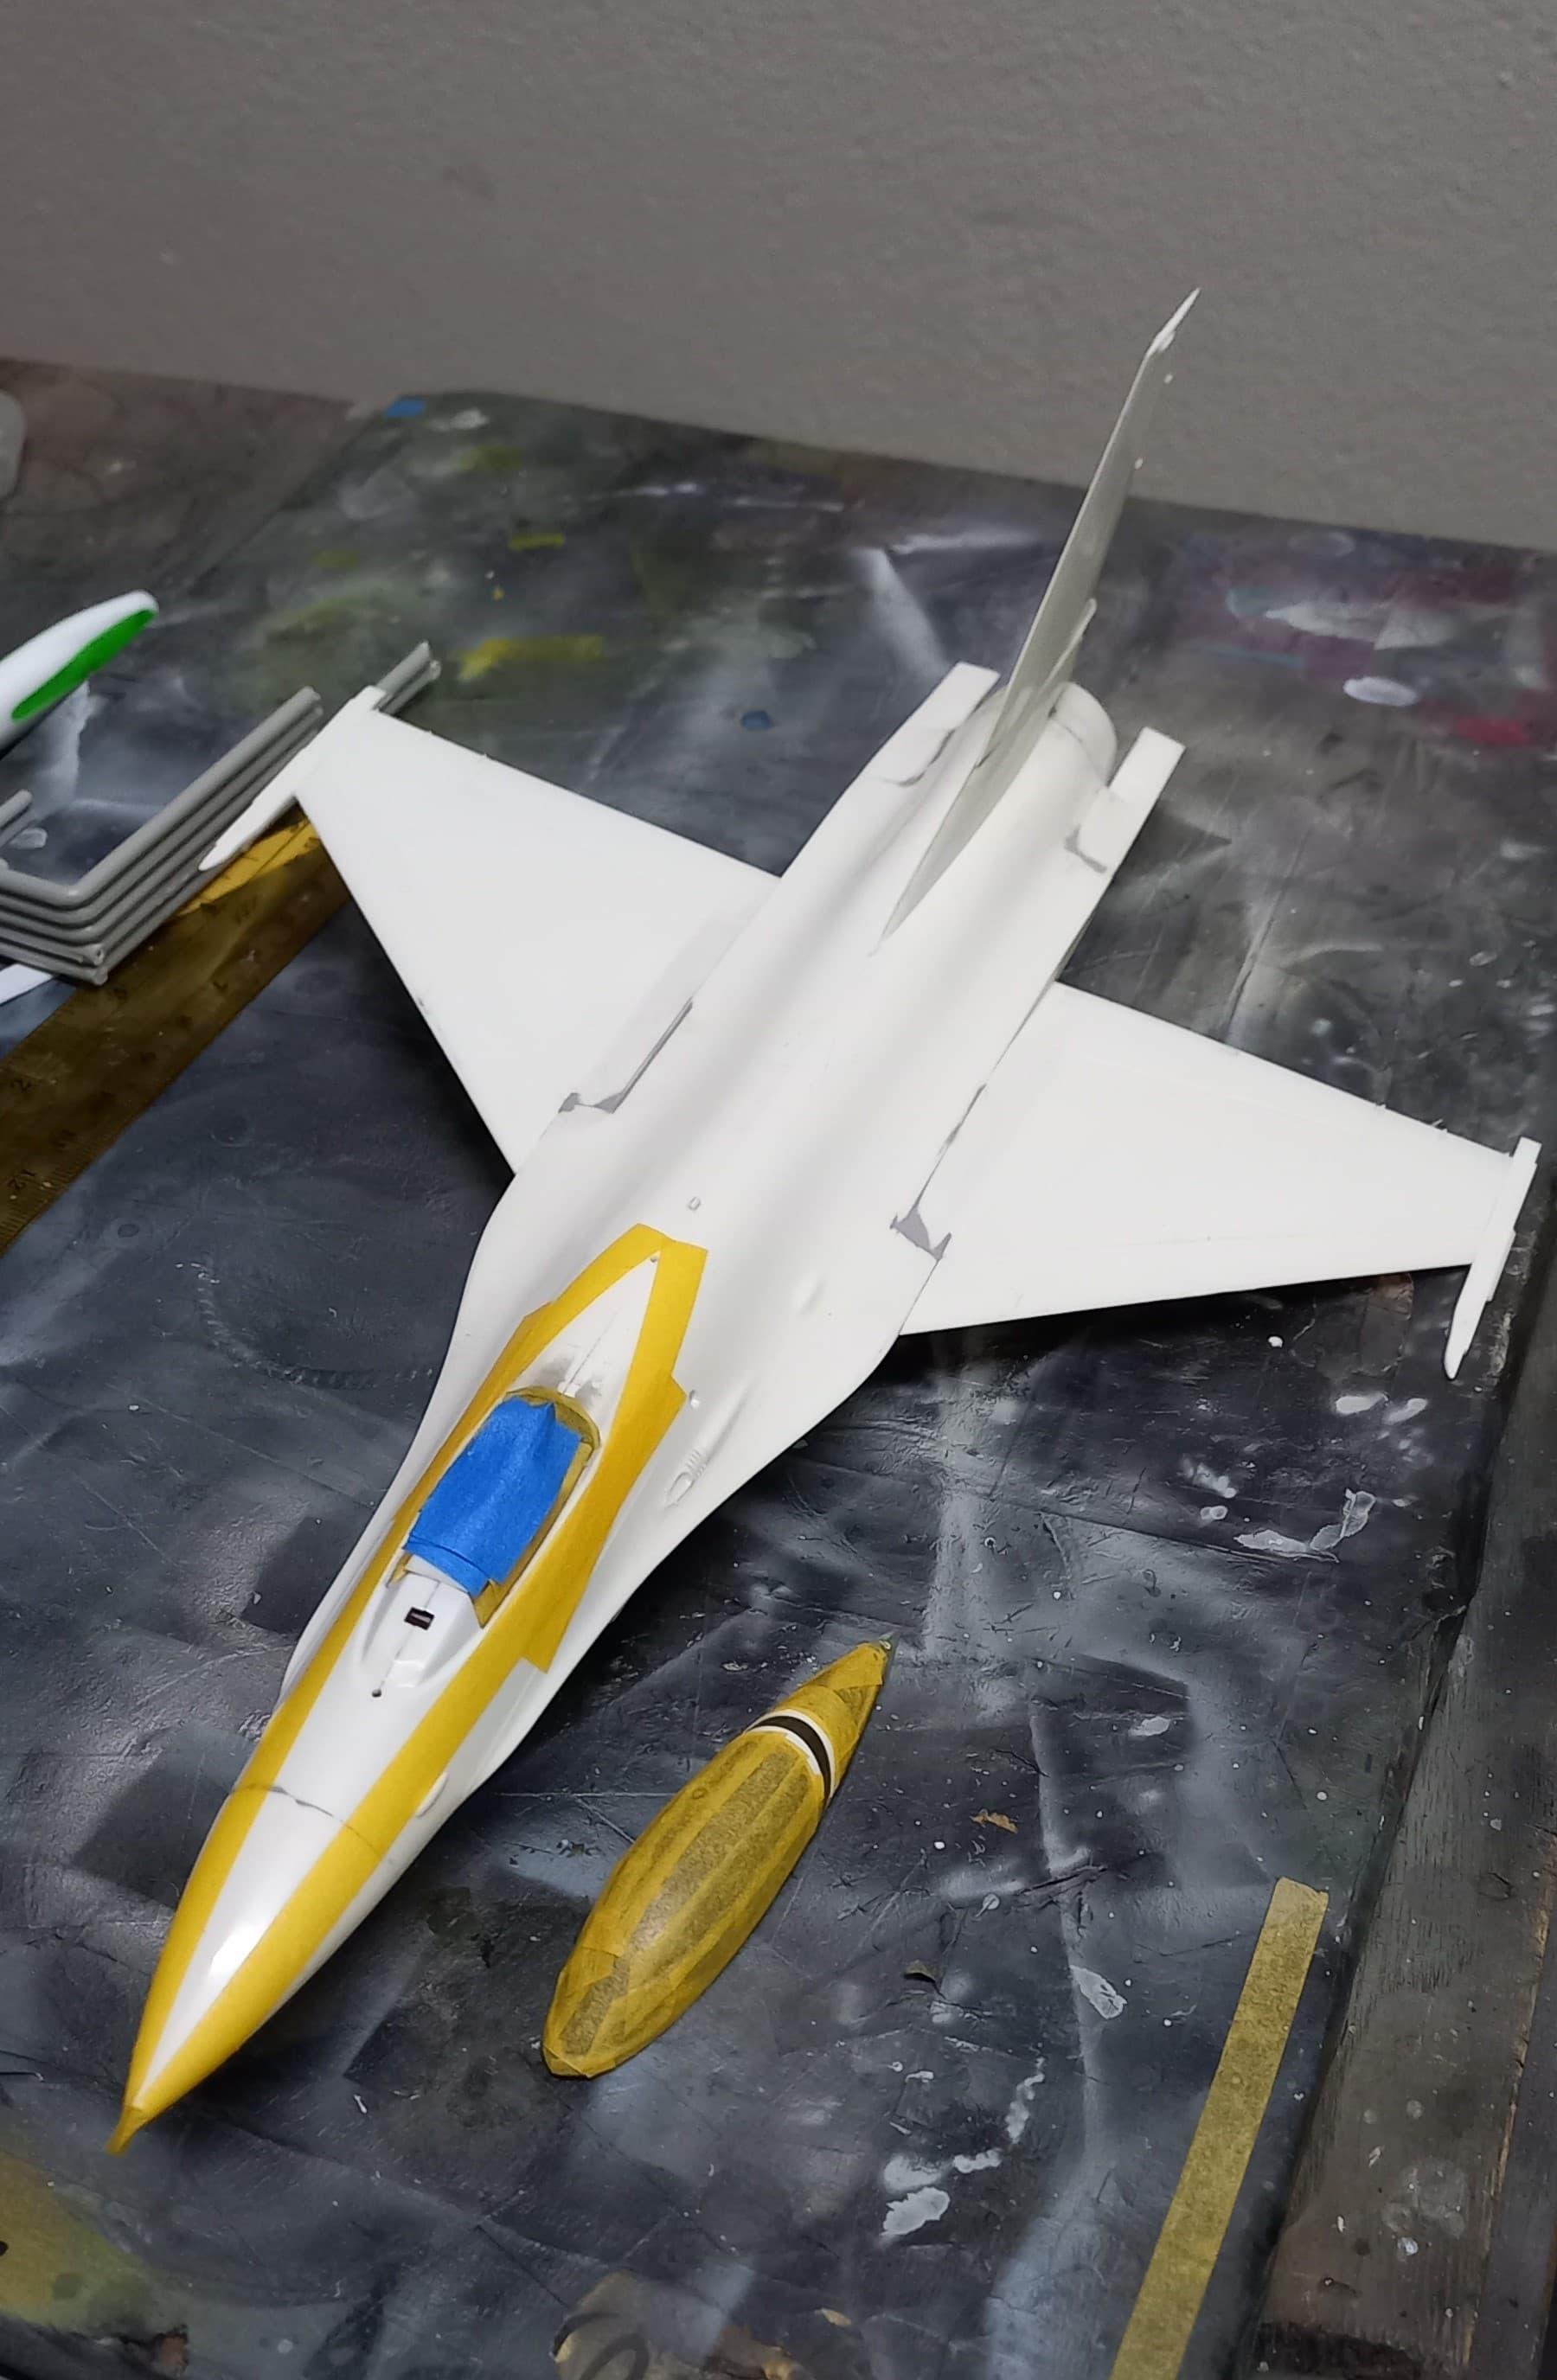
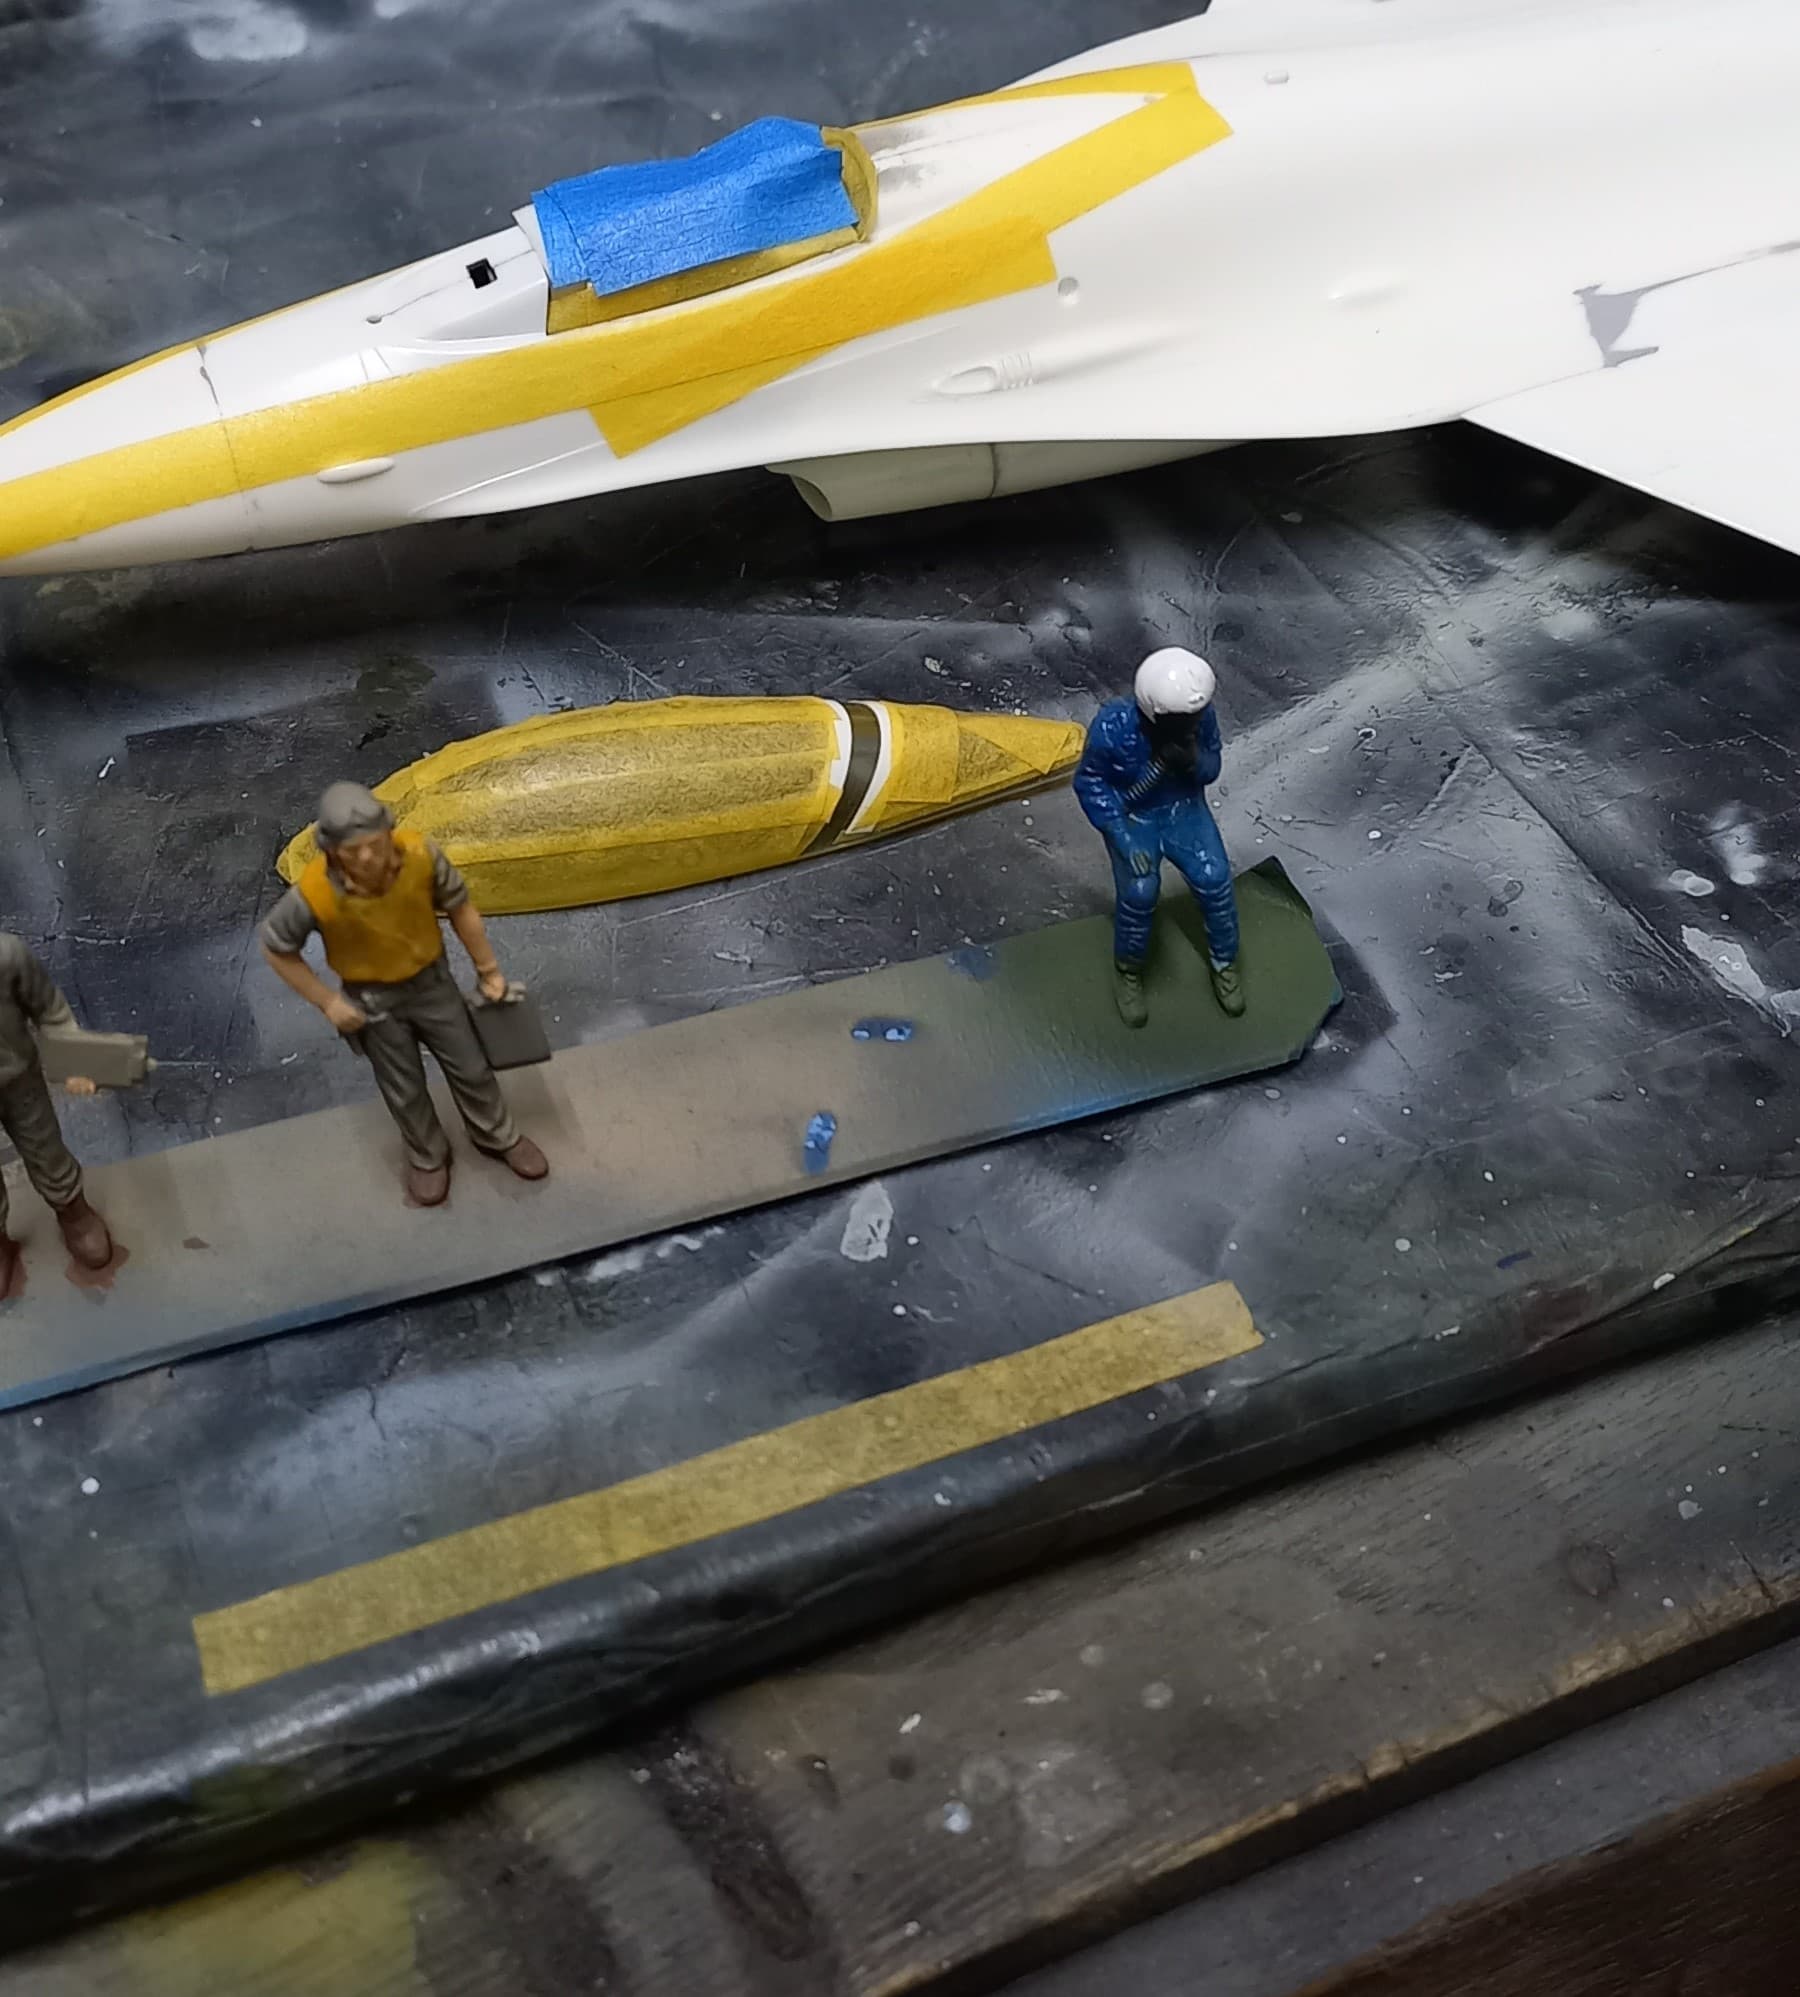
Confident that this would turn out well, it was time to move onto the remaining colors of the paint scheme. After looking at a lot at reference photos and various recommended mixes for the blue color, I made a mix that seems to be darned close. It is written that the blue color is “French Blue”, I found that the recommended mix from the kit instructions seemed dead on. 4 parts of Tamiya blue X-4 mixed with one part white (Mr. Color) and then diluted 1:4 with Mr. Leveling Thinner worked out nicely. After masking the area, the blue was laid.
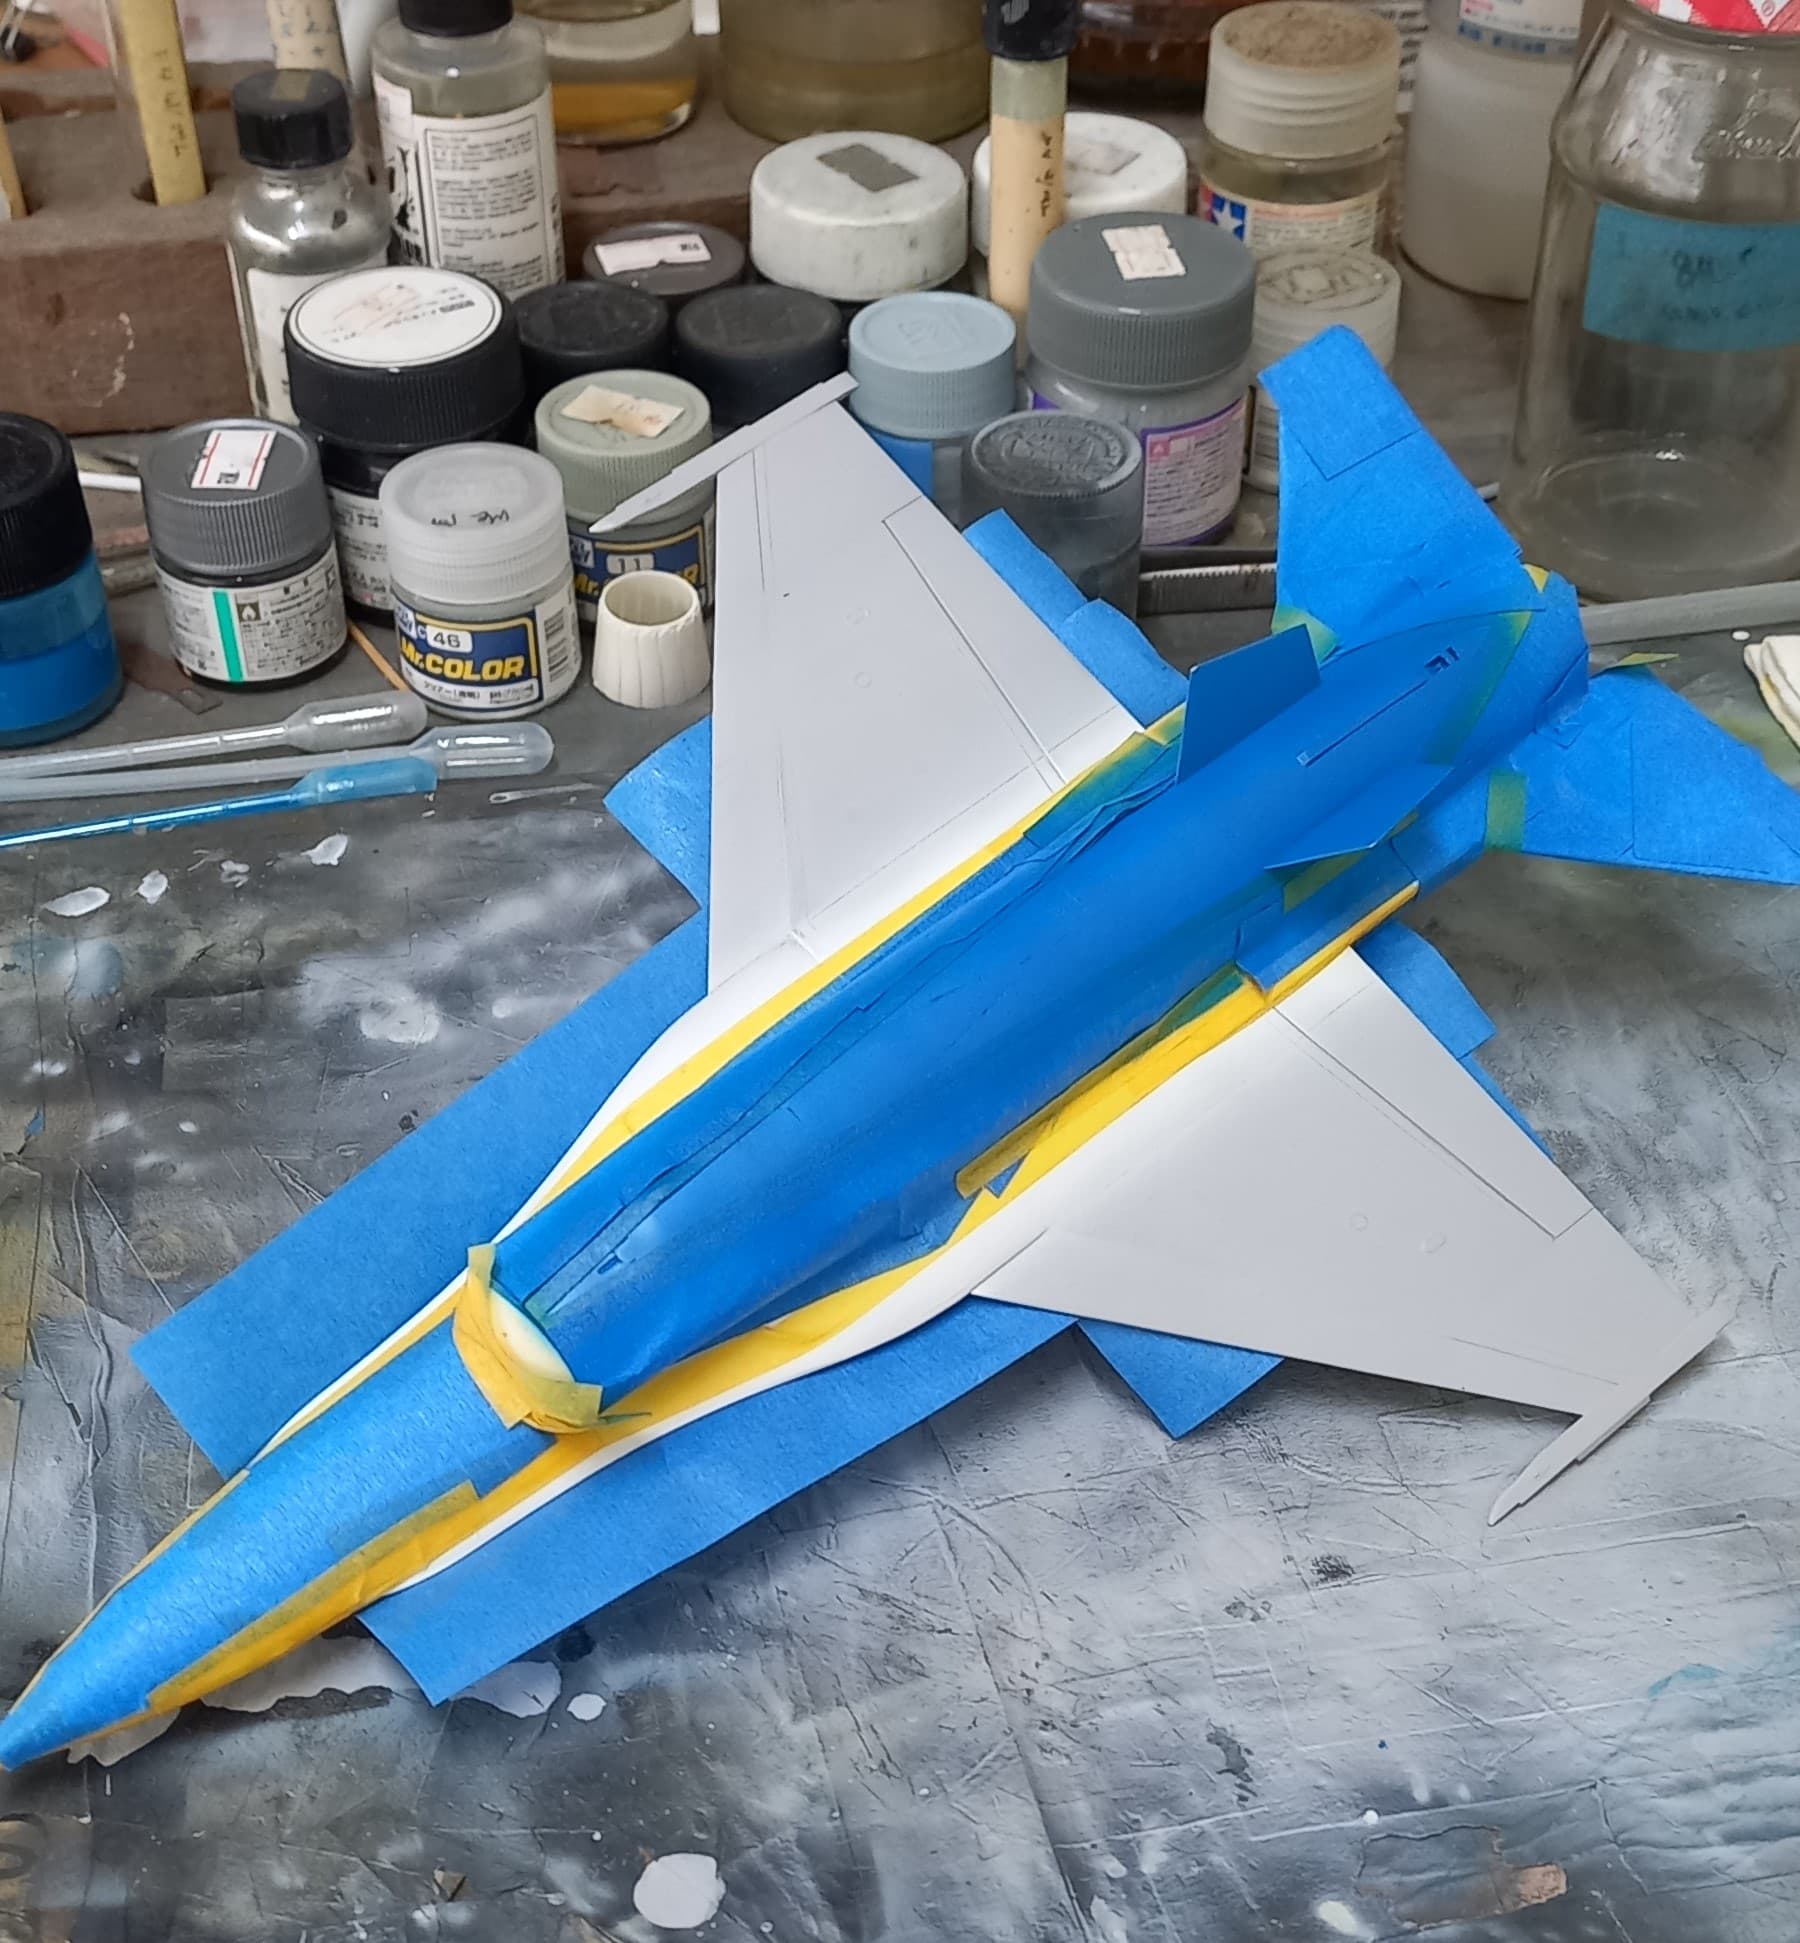
Following up on the masking of the blue, I continued on in preparation for the red. I chose to use Mr, Color 385 as it is a very close match to Insignia Red. Once everything was taped off, things were sprayed! Then came the moment of truth, or as I like to say, “Where didn’t I lay the mask right”.
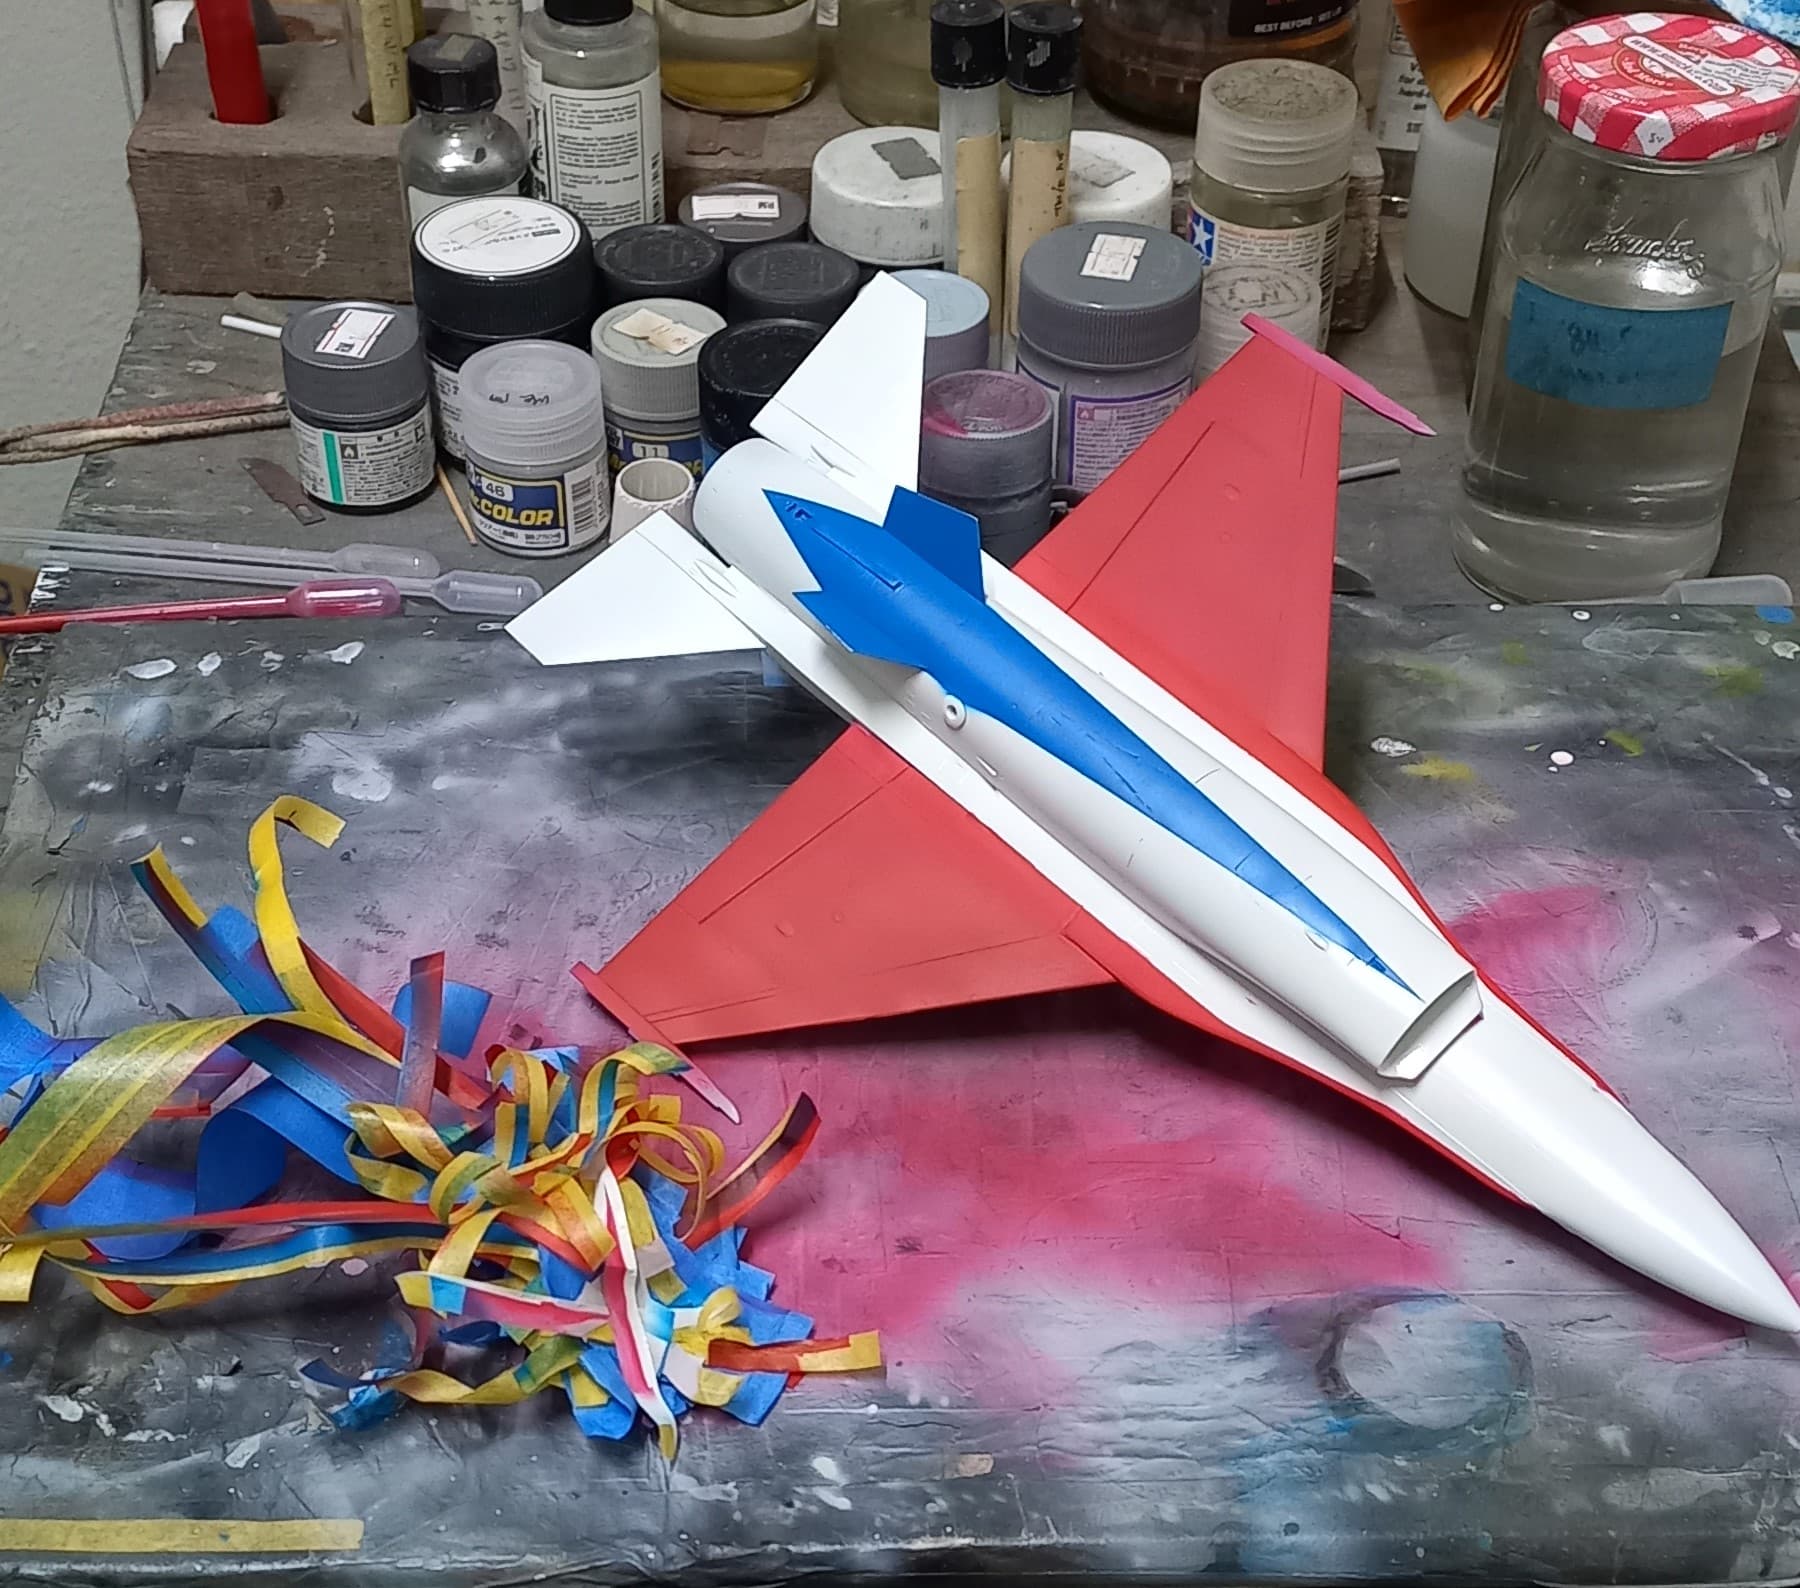
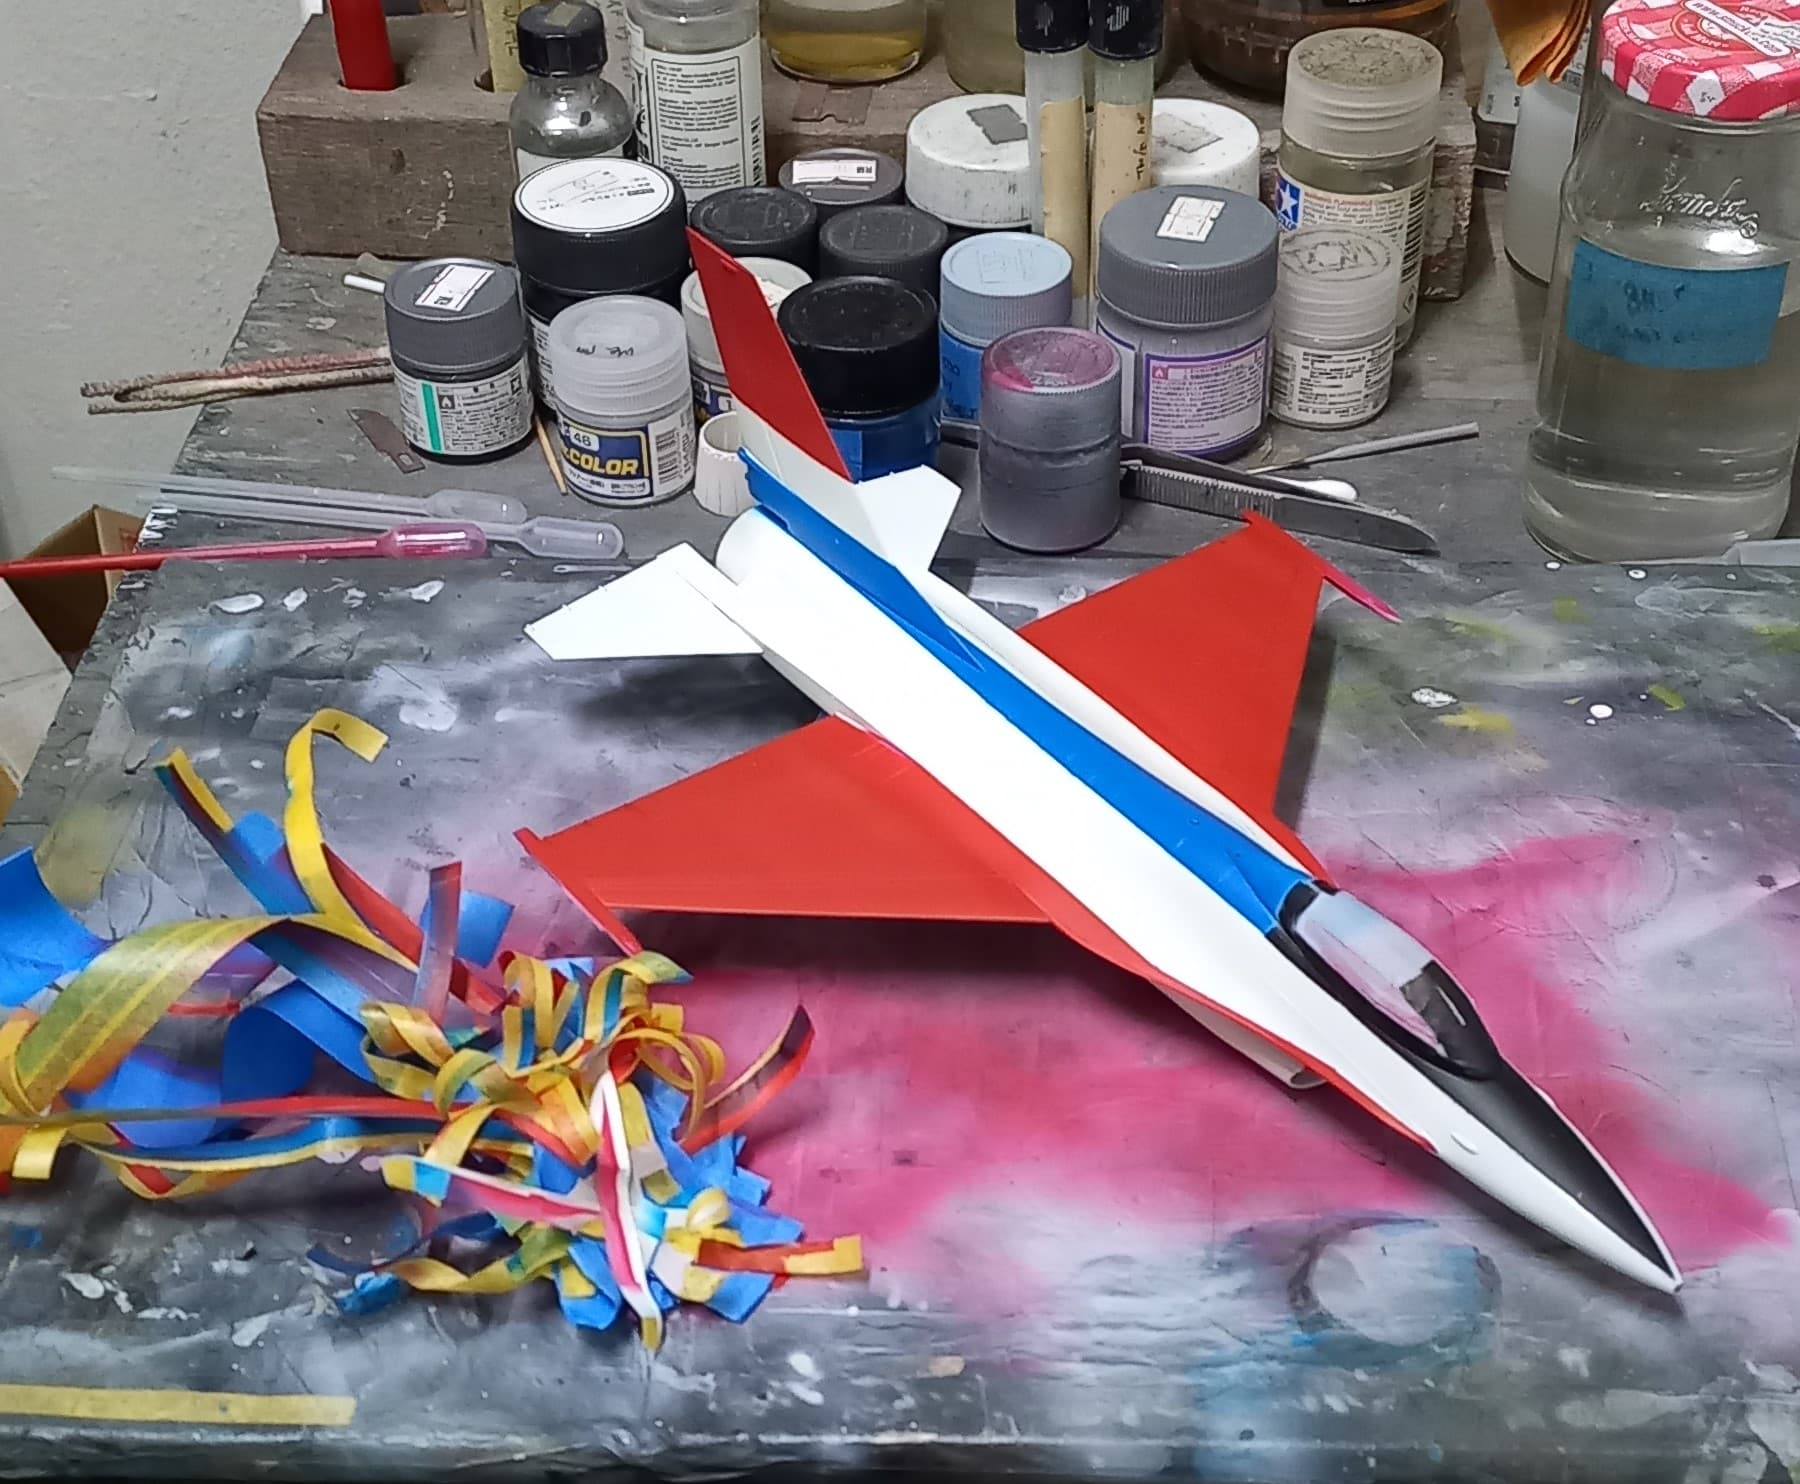
Overall, I’m pleased with the initial paint job. Of course, there are places that somehow, despite my best efforts that got missed, that will require some touch up.
Till next time, stay safe and have fun!
10 Likes
Nice neat colour application… Looks great ![]()
1 Like

Looking good @B-17-peter! I love these little kits.
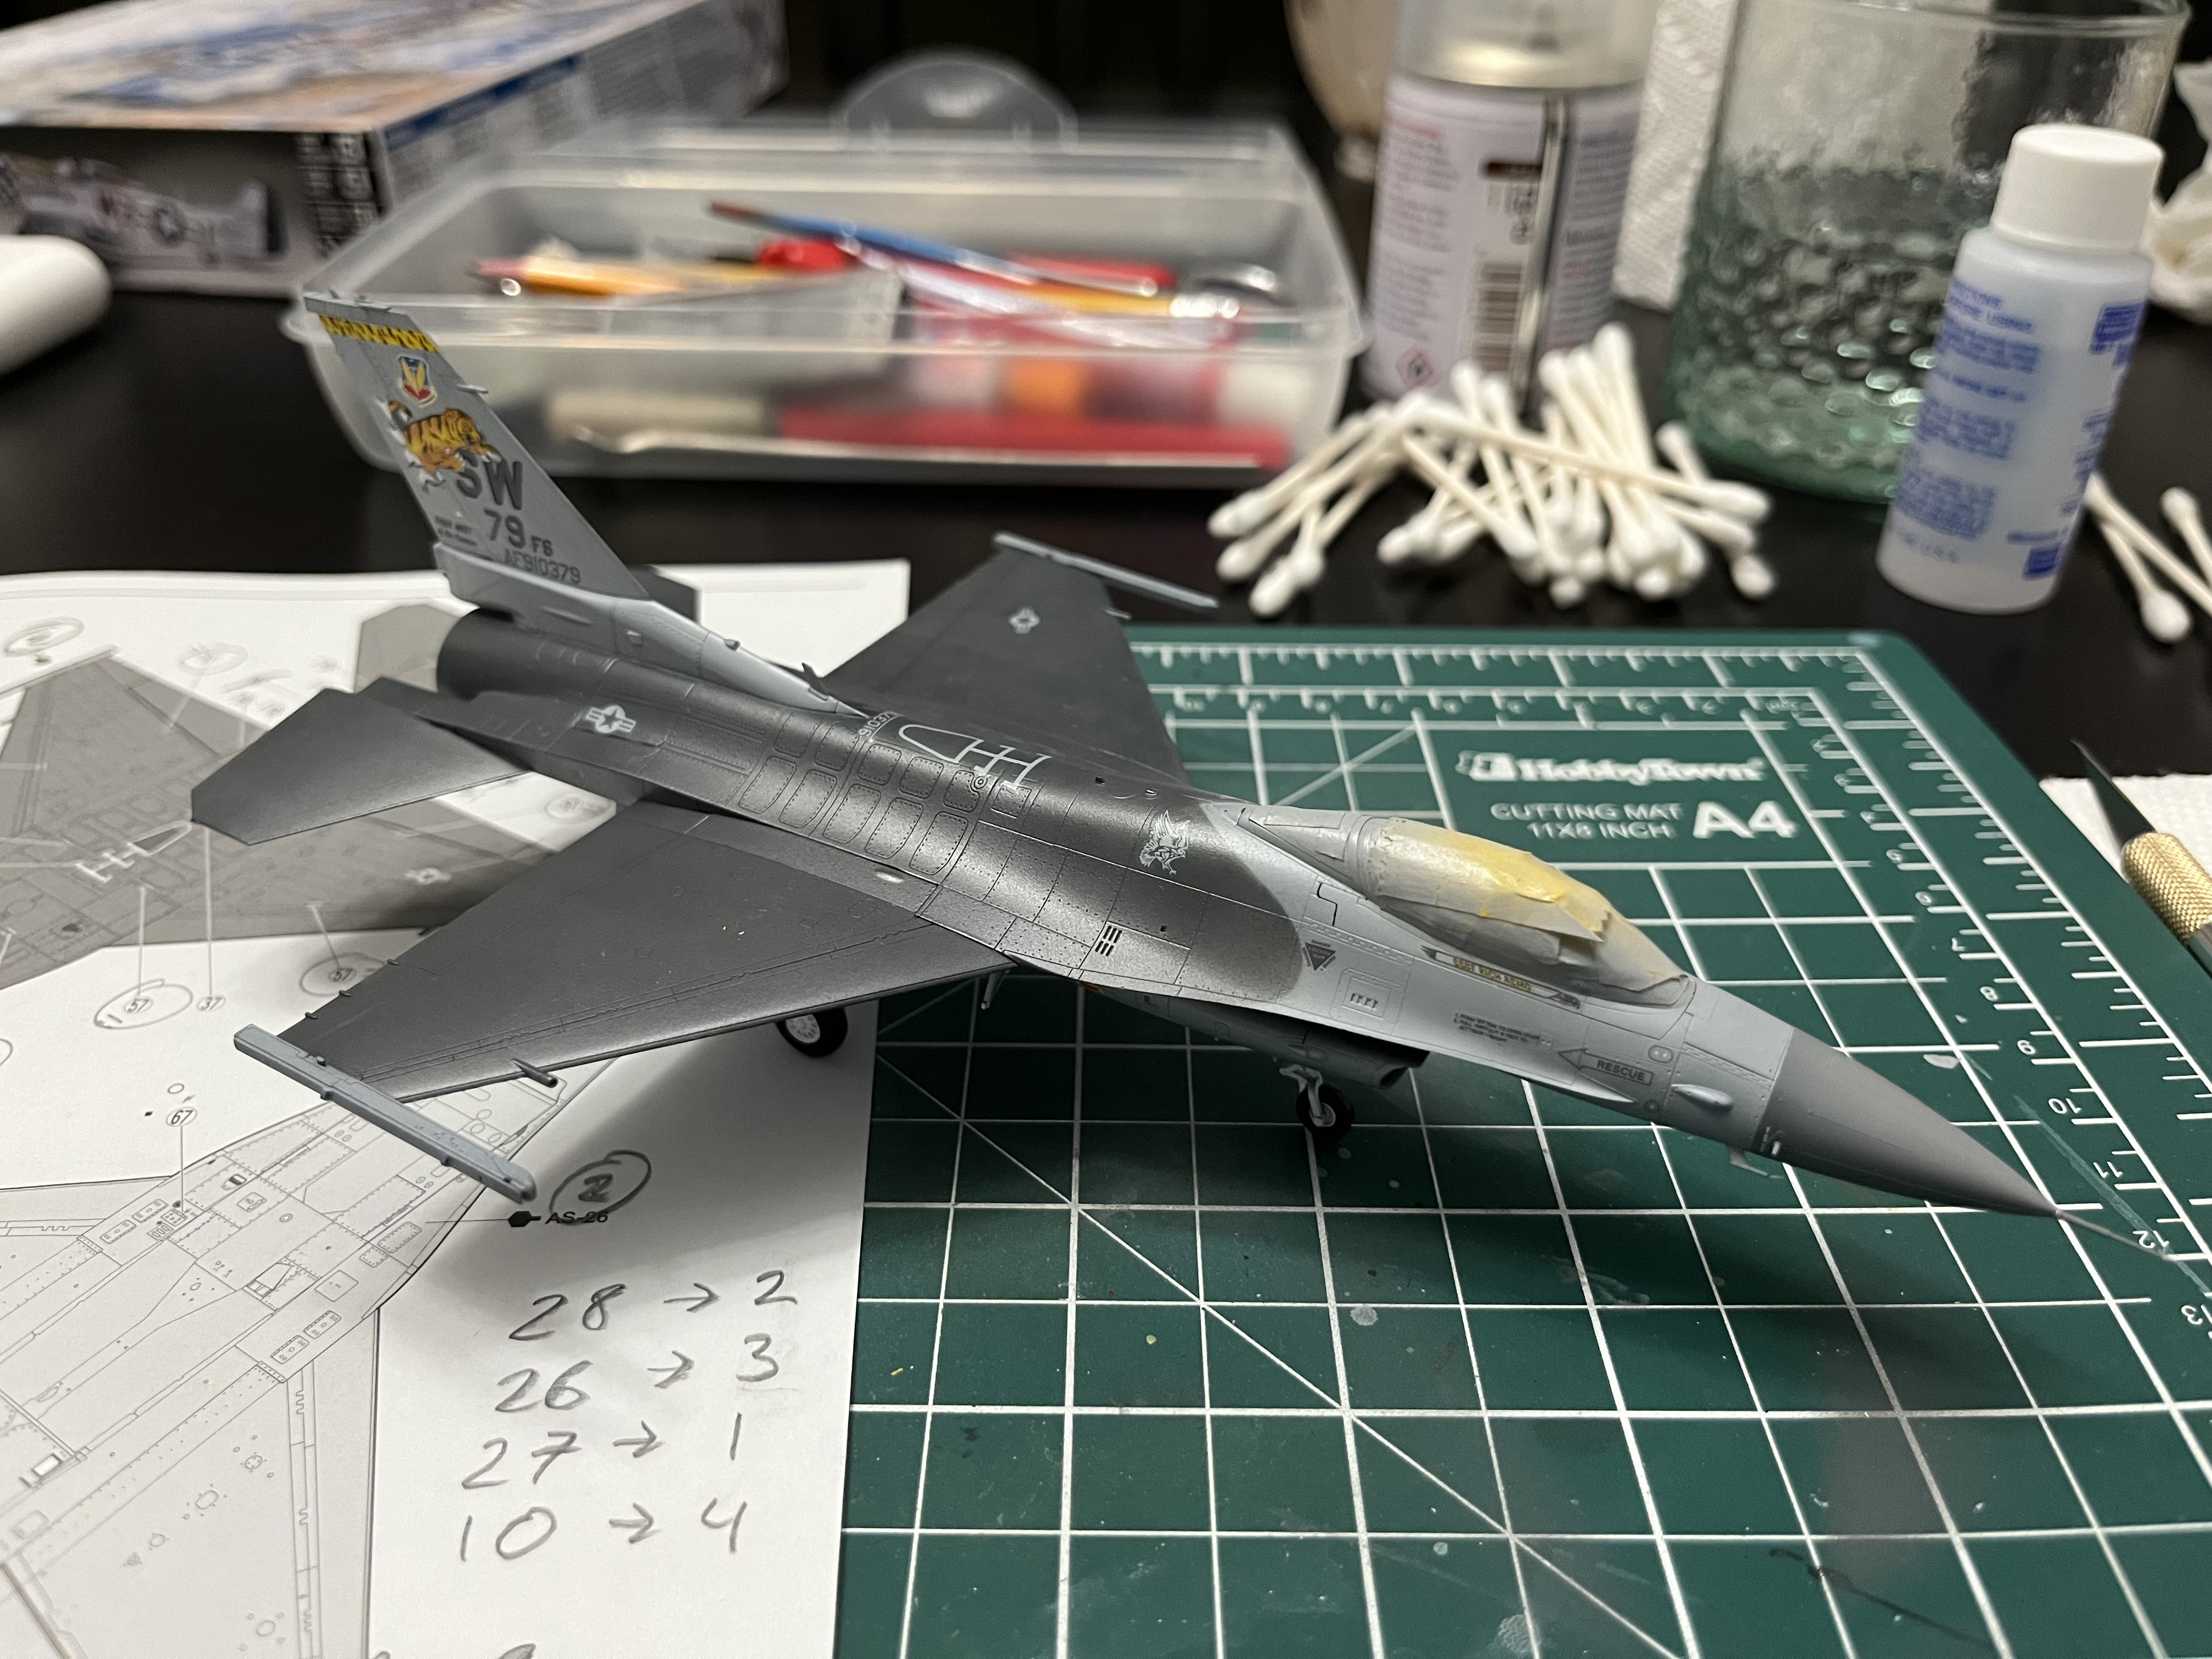
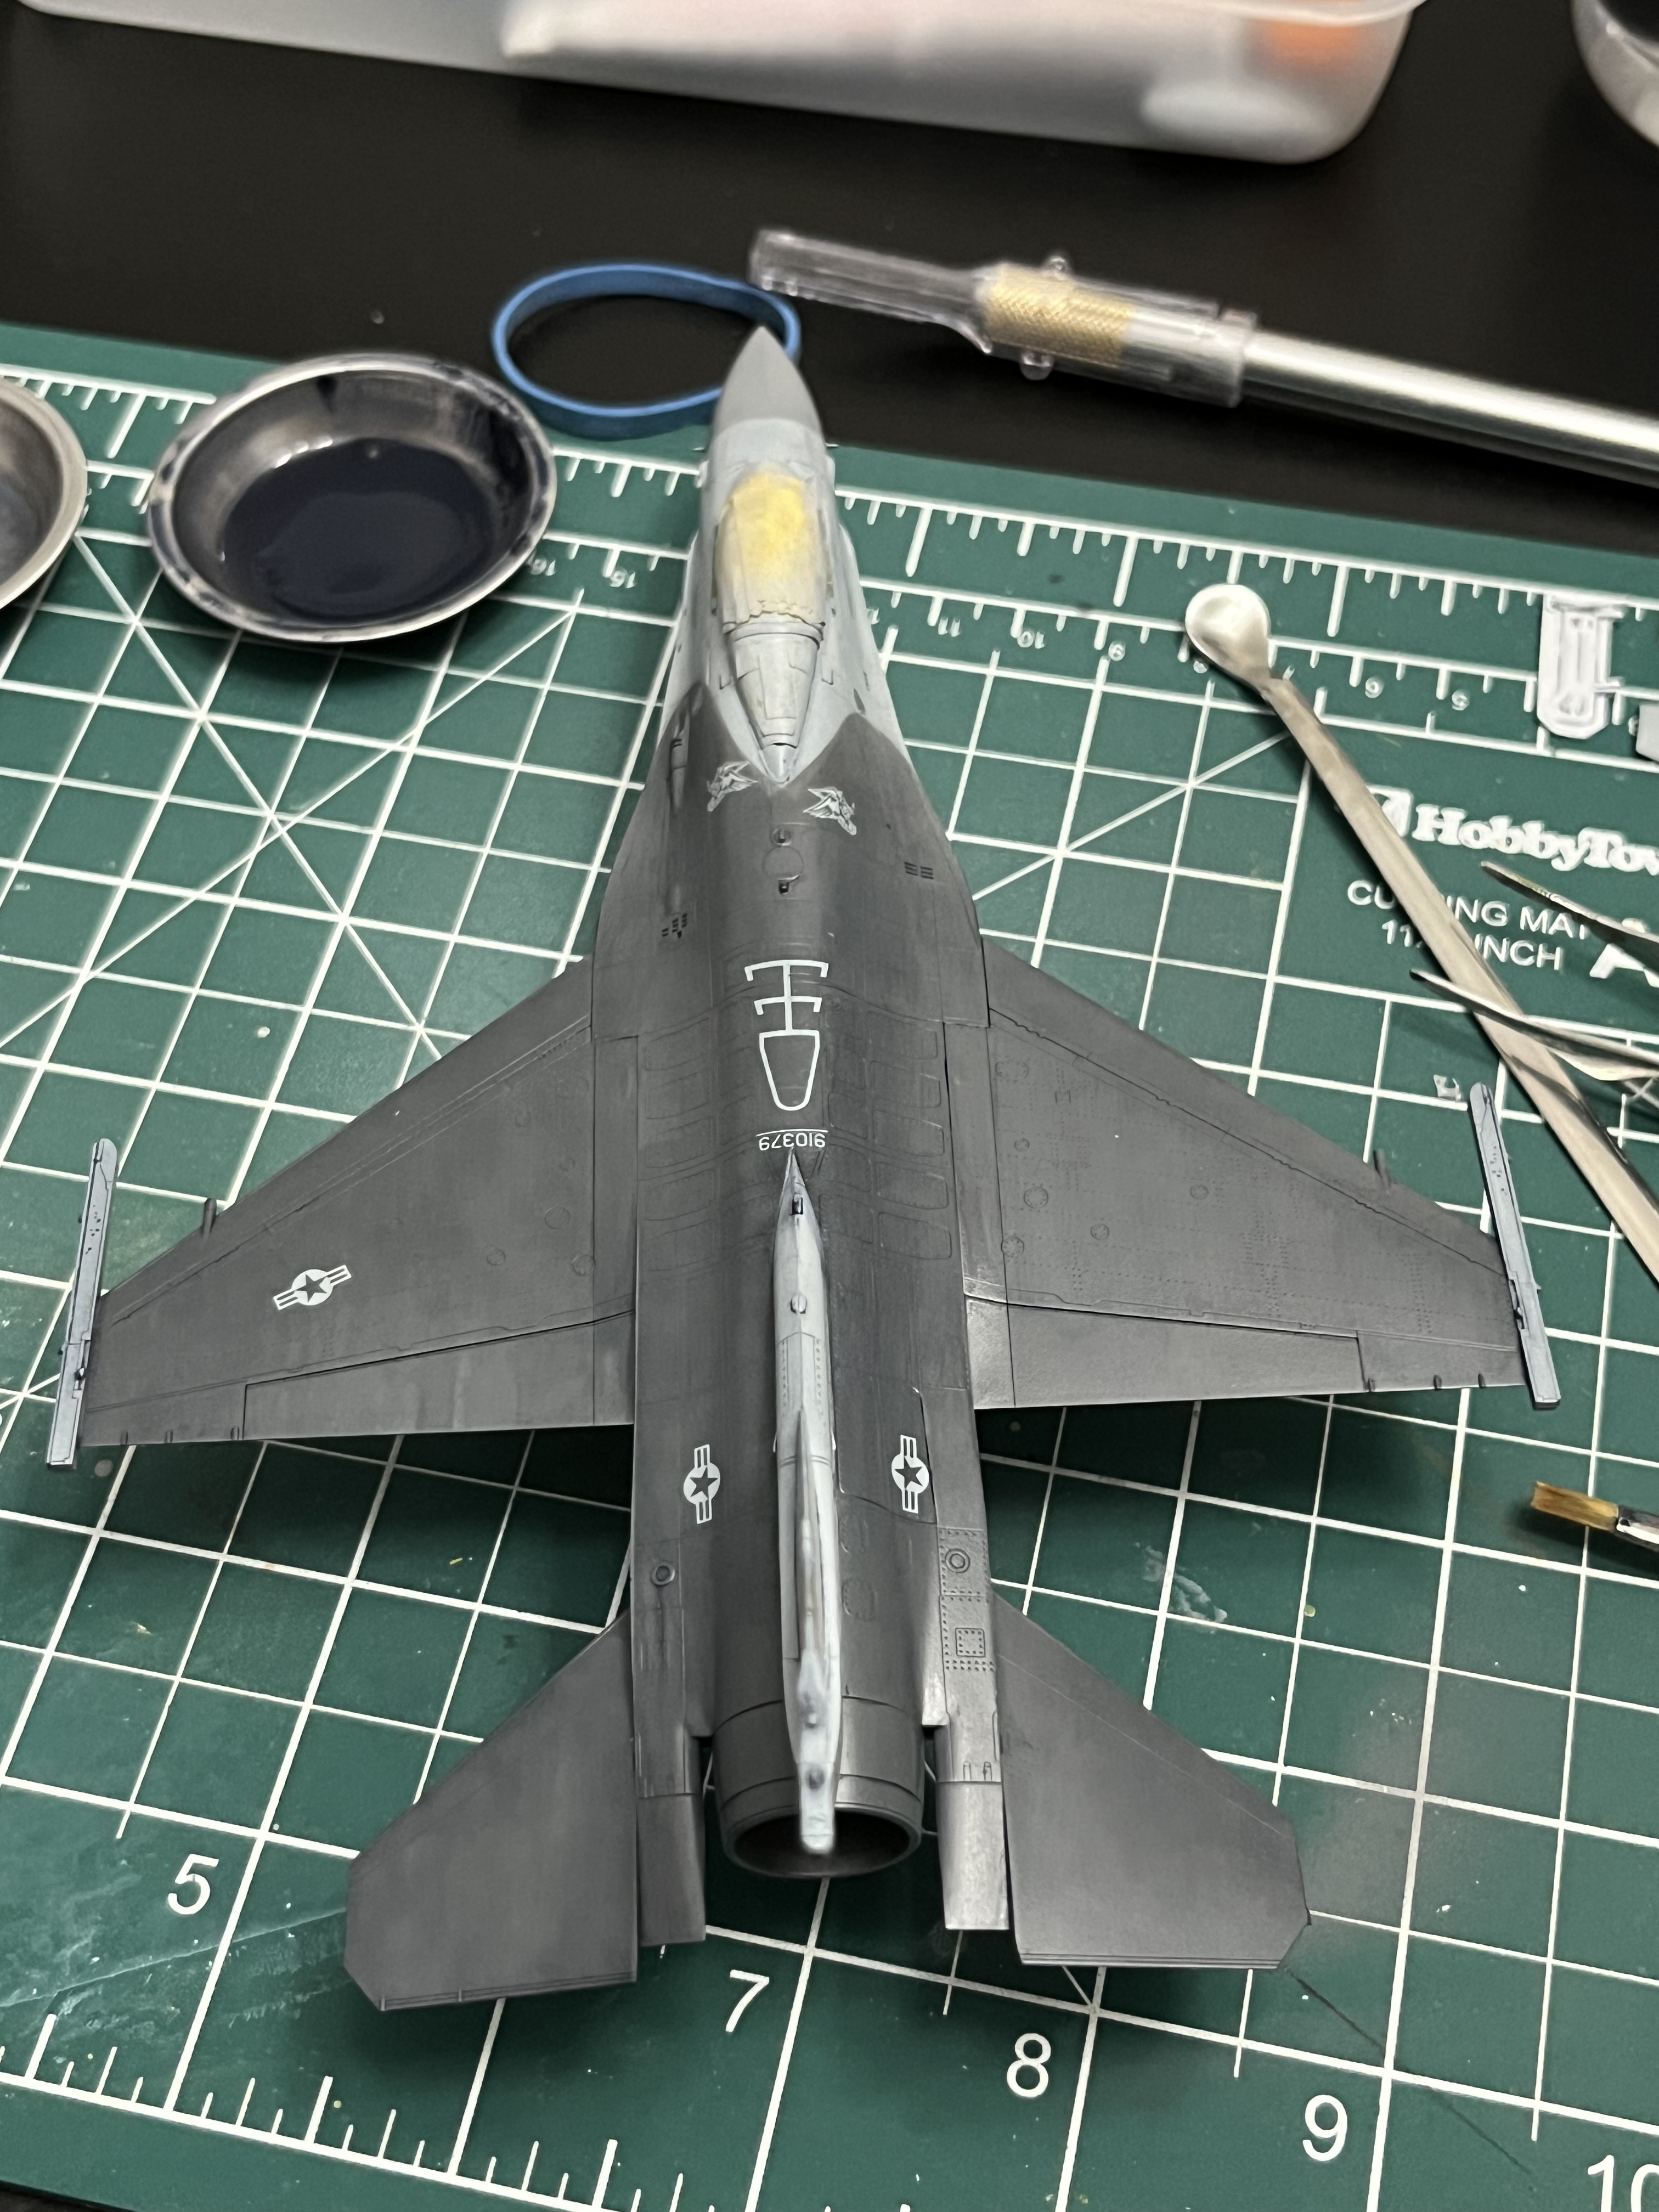
Made some more progress on the Viper tonight. Overall oil wash (?) weathering in Payne’s gray and then some pinwashes and spot work with the same color and some raw umber. Pretty much flying by the seat of my pants here—I’ve seen this done on YouTube but that’s about it.
Oils are so nice to work with.
Not very promising at first…
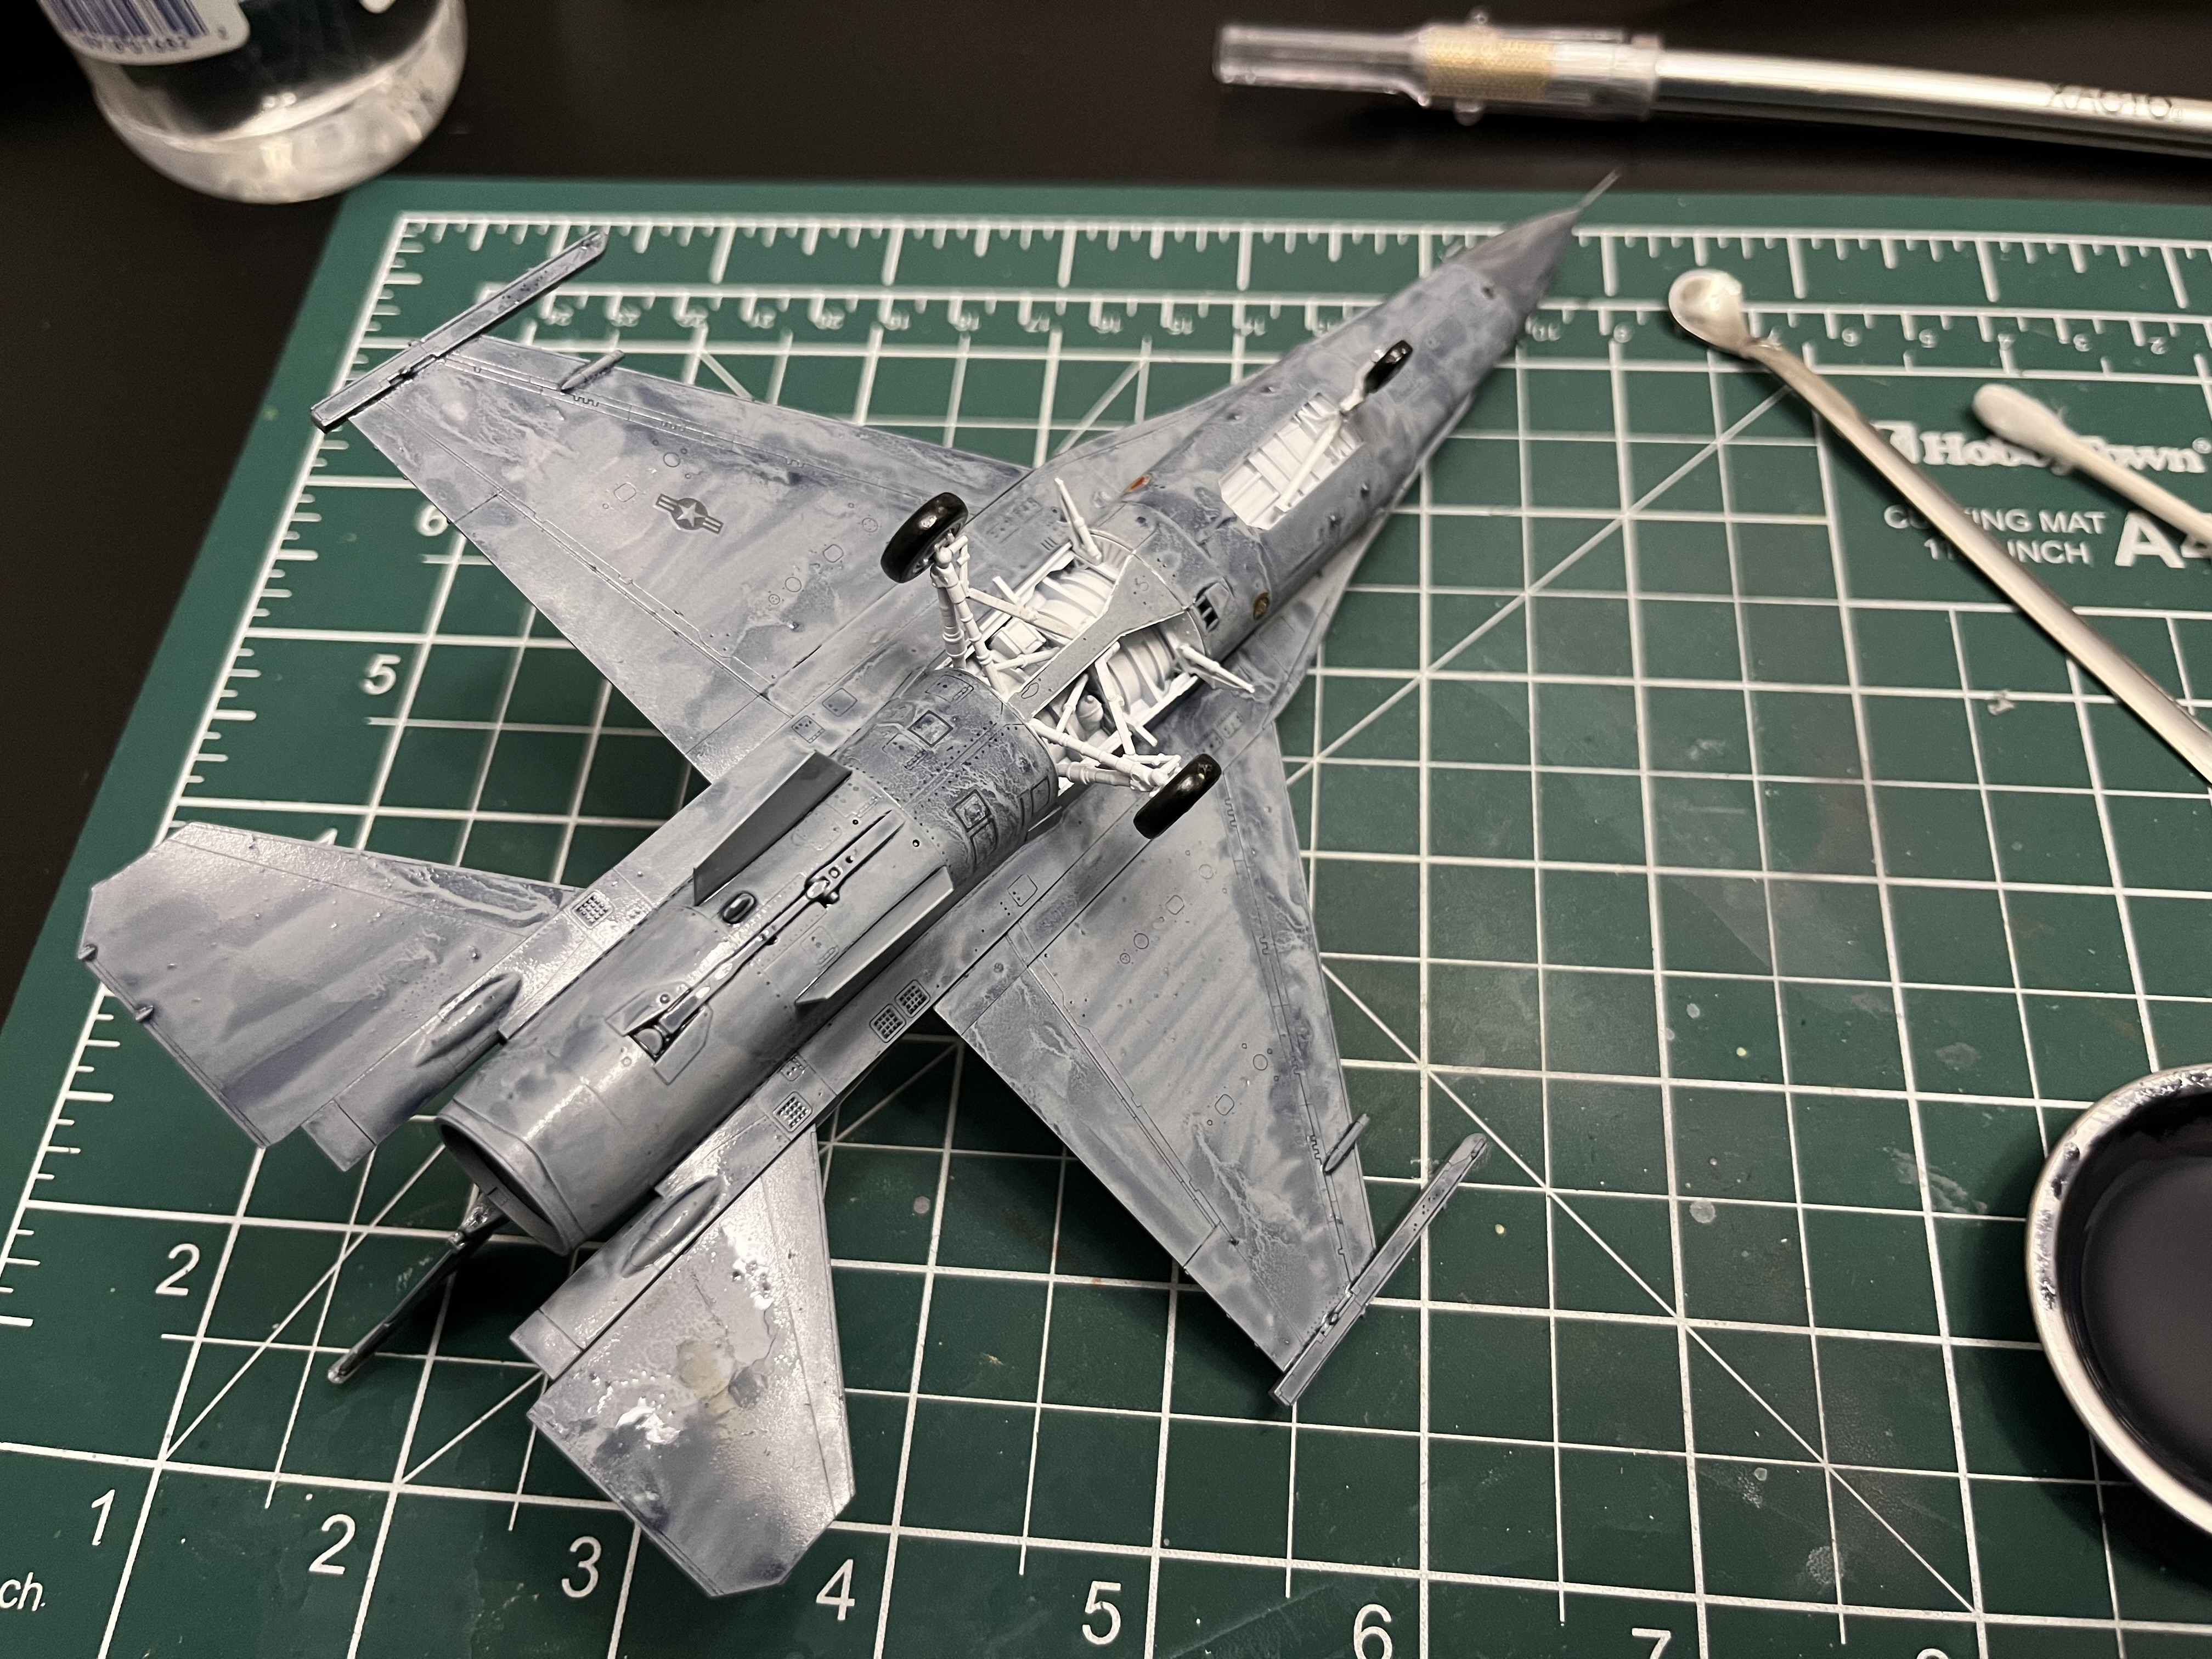
But it’s an enjoyable process.
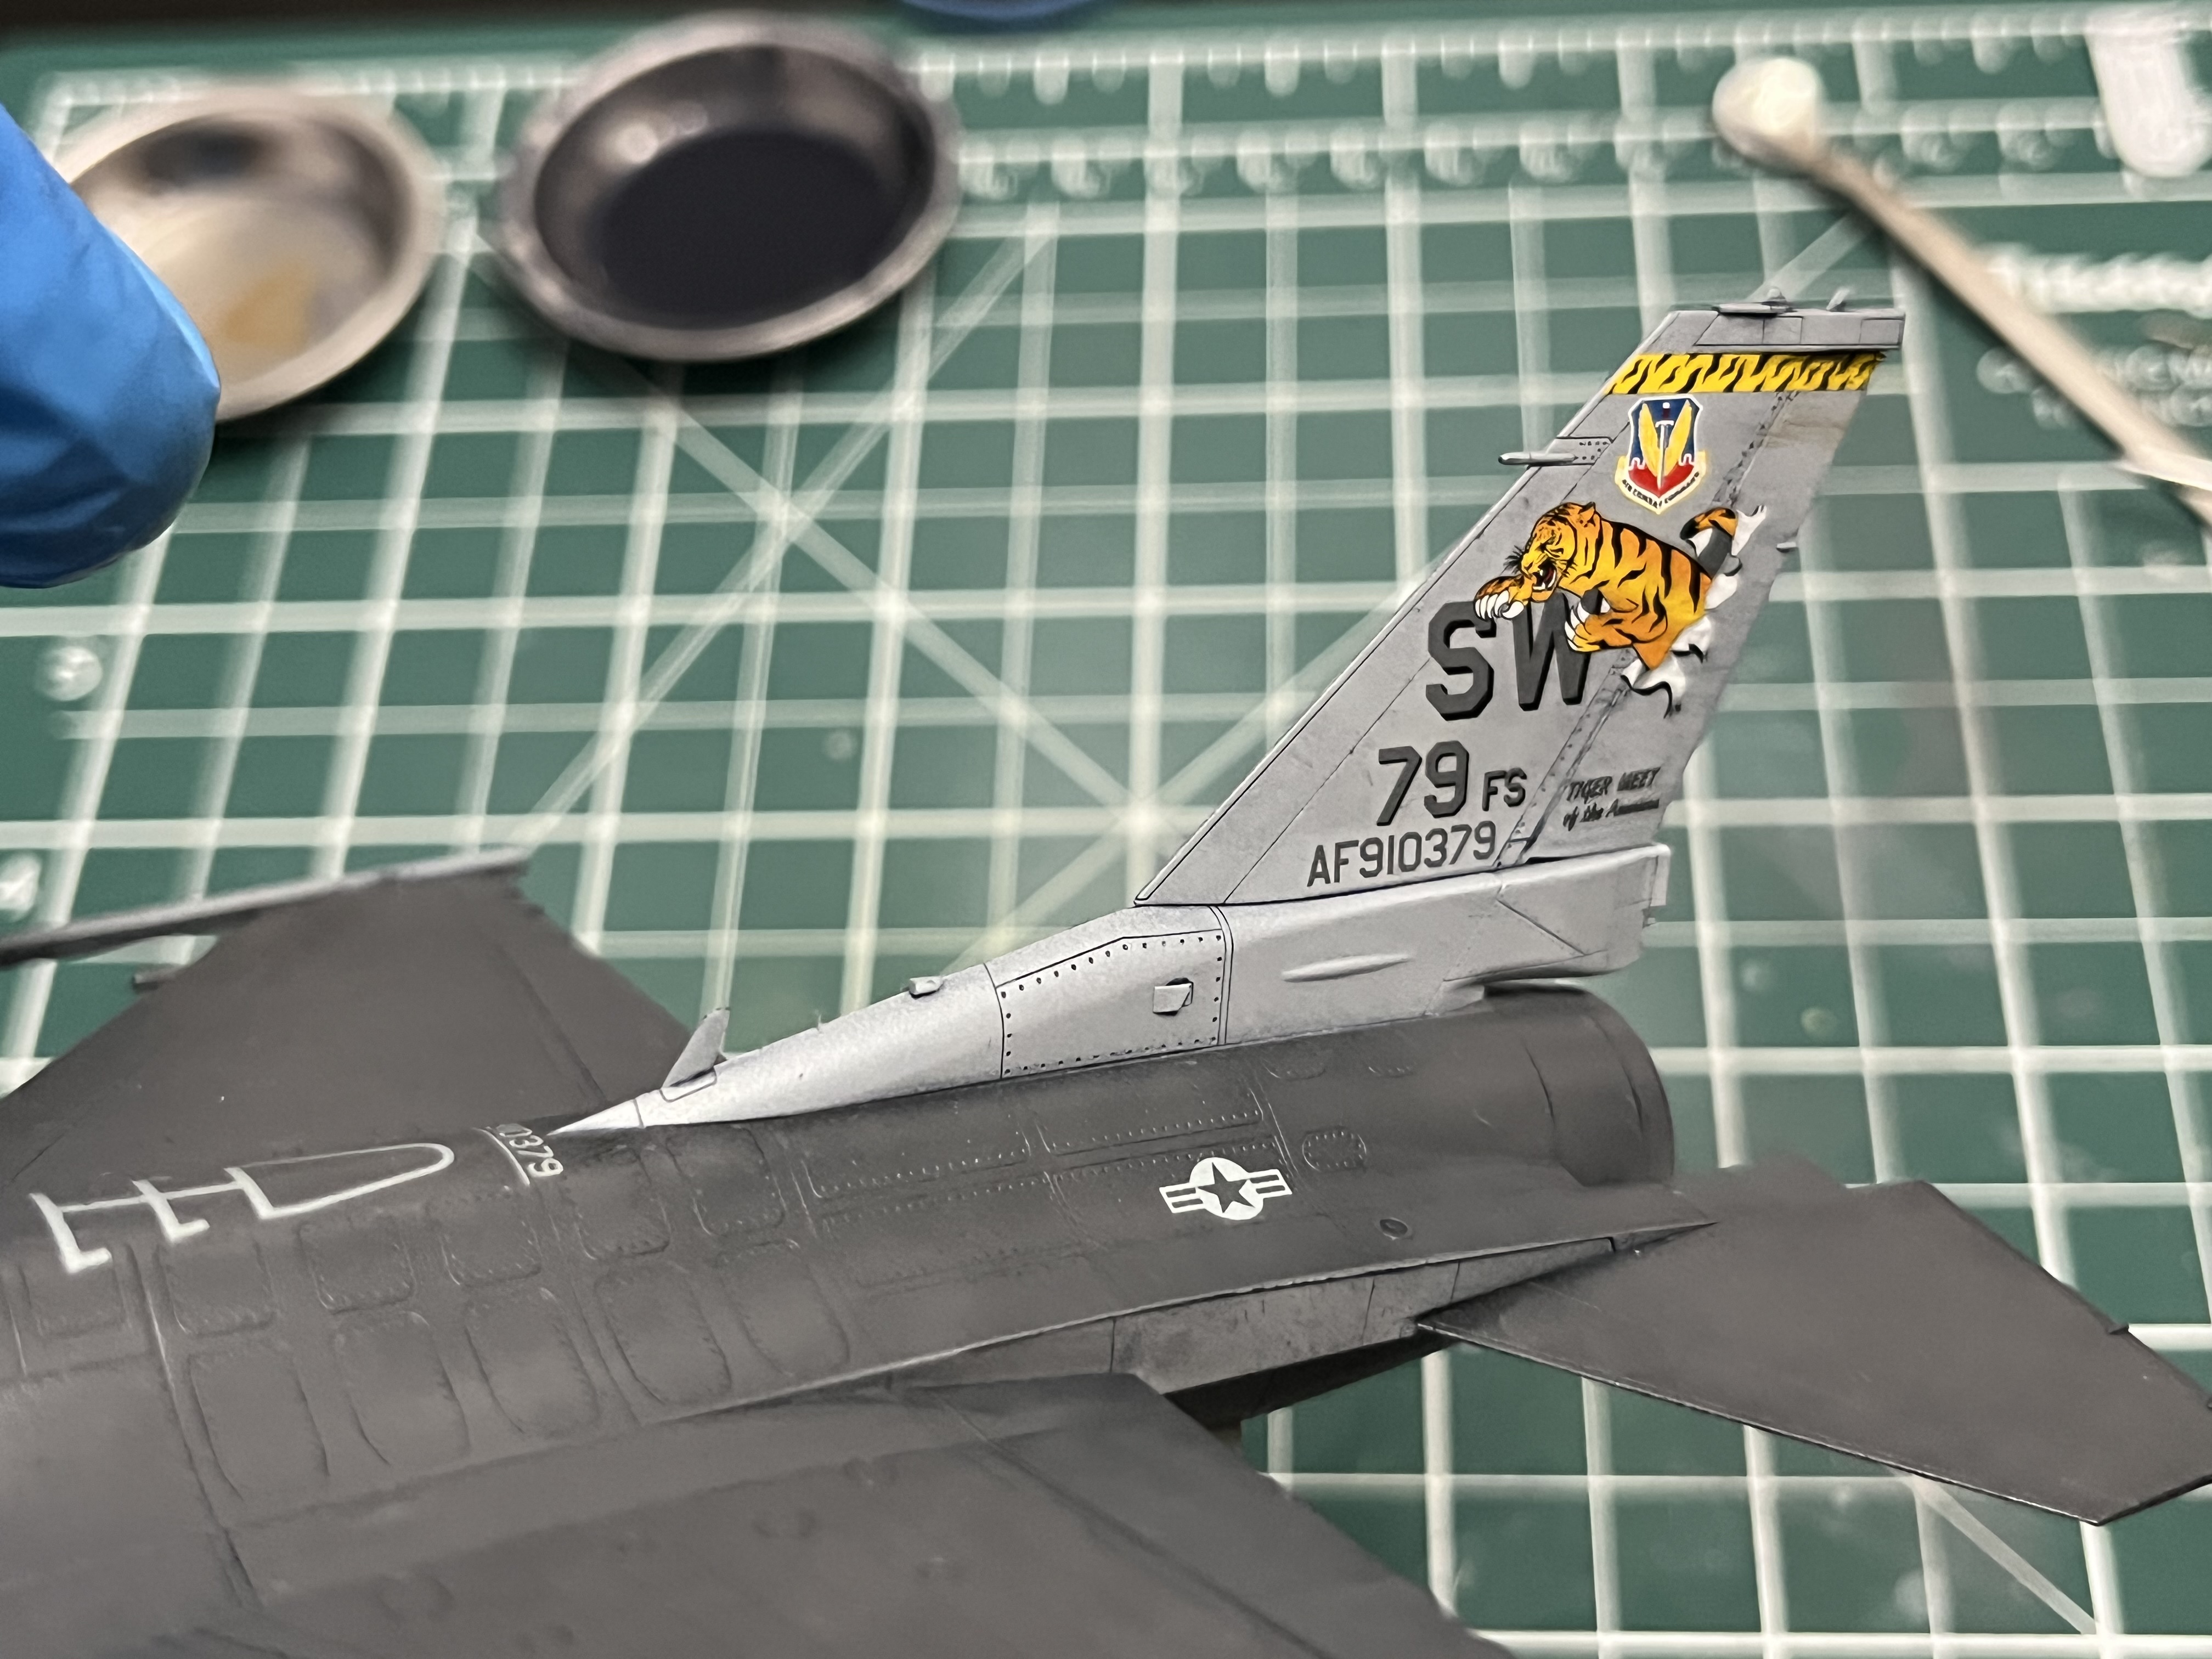
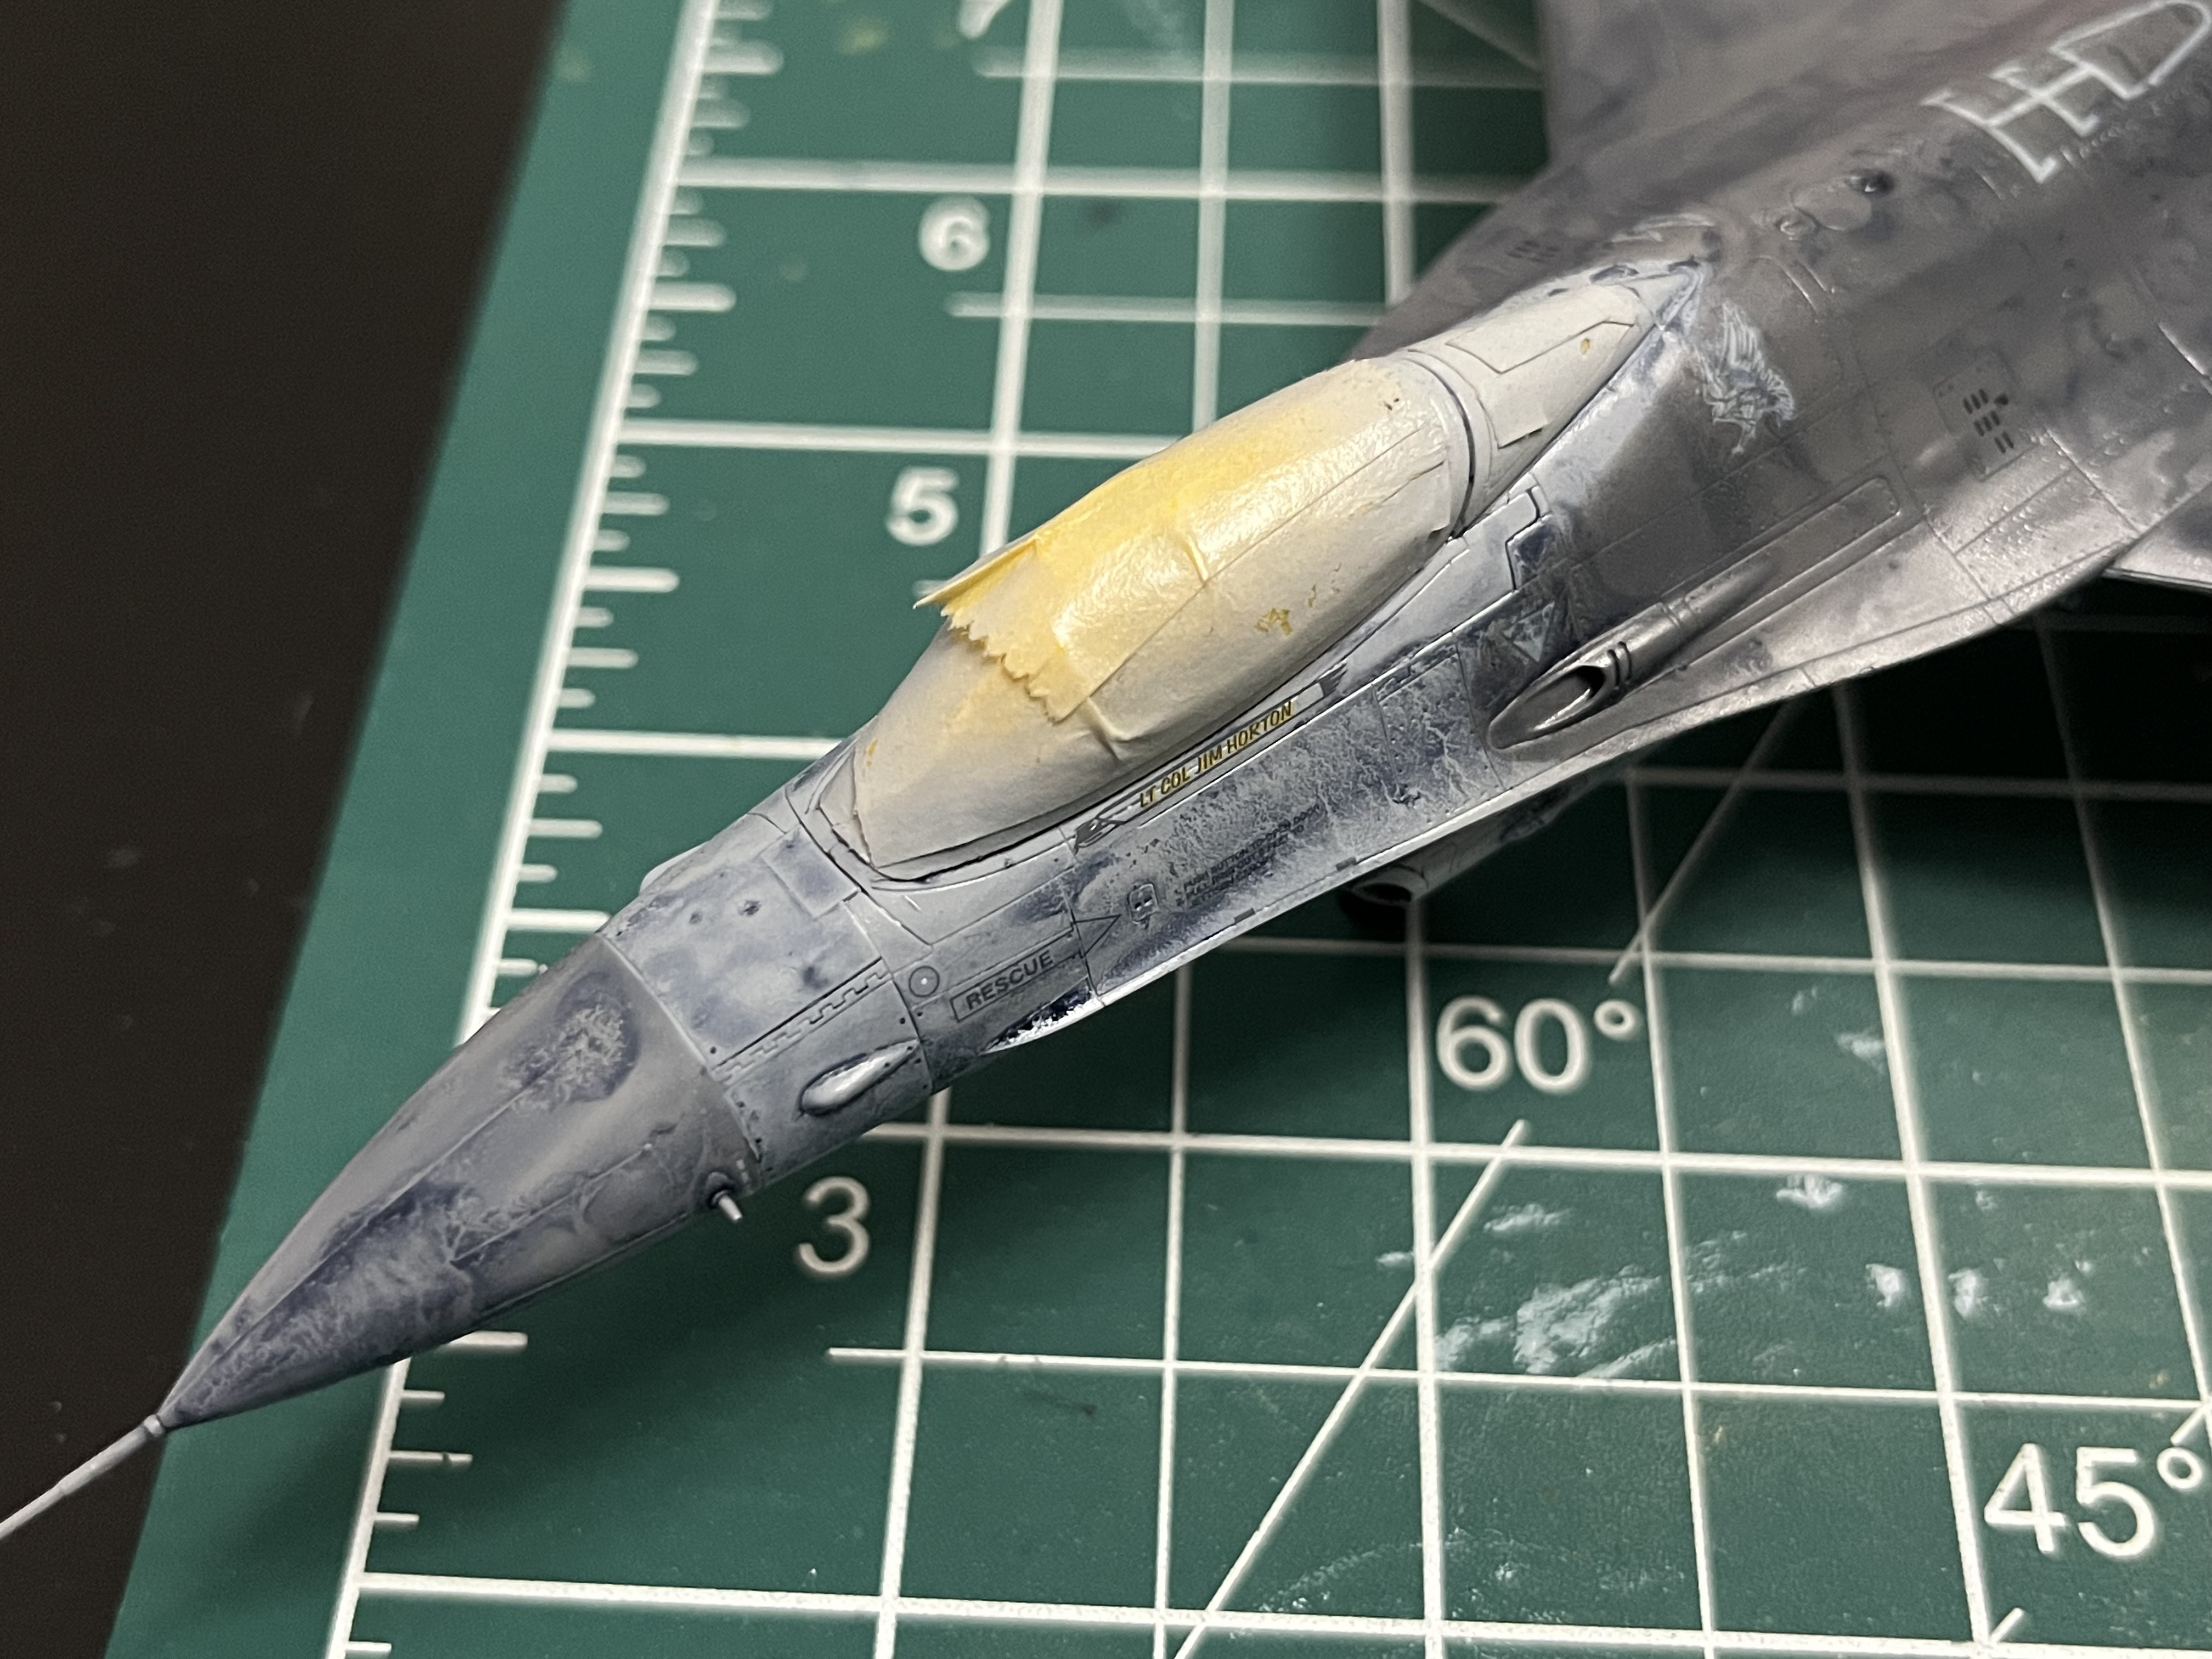
Fixed the tide mark here after the photo…I find cameras useful for catching this kind of thing.
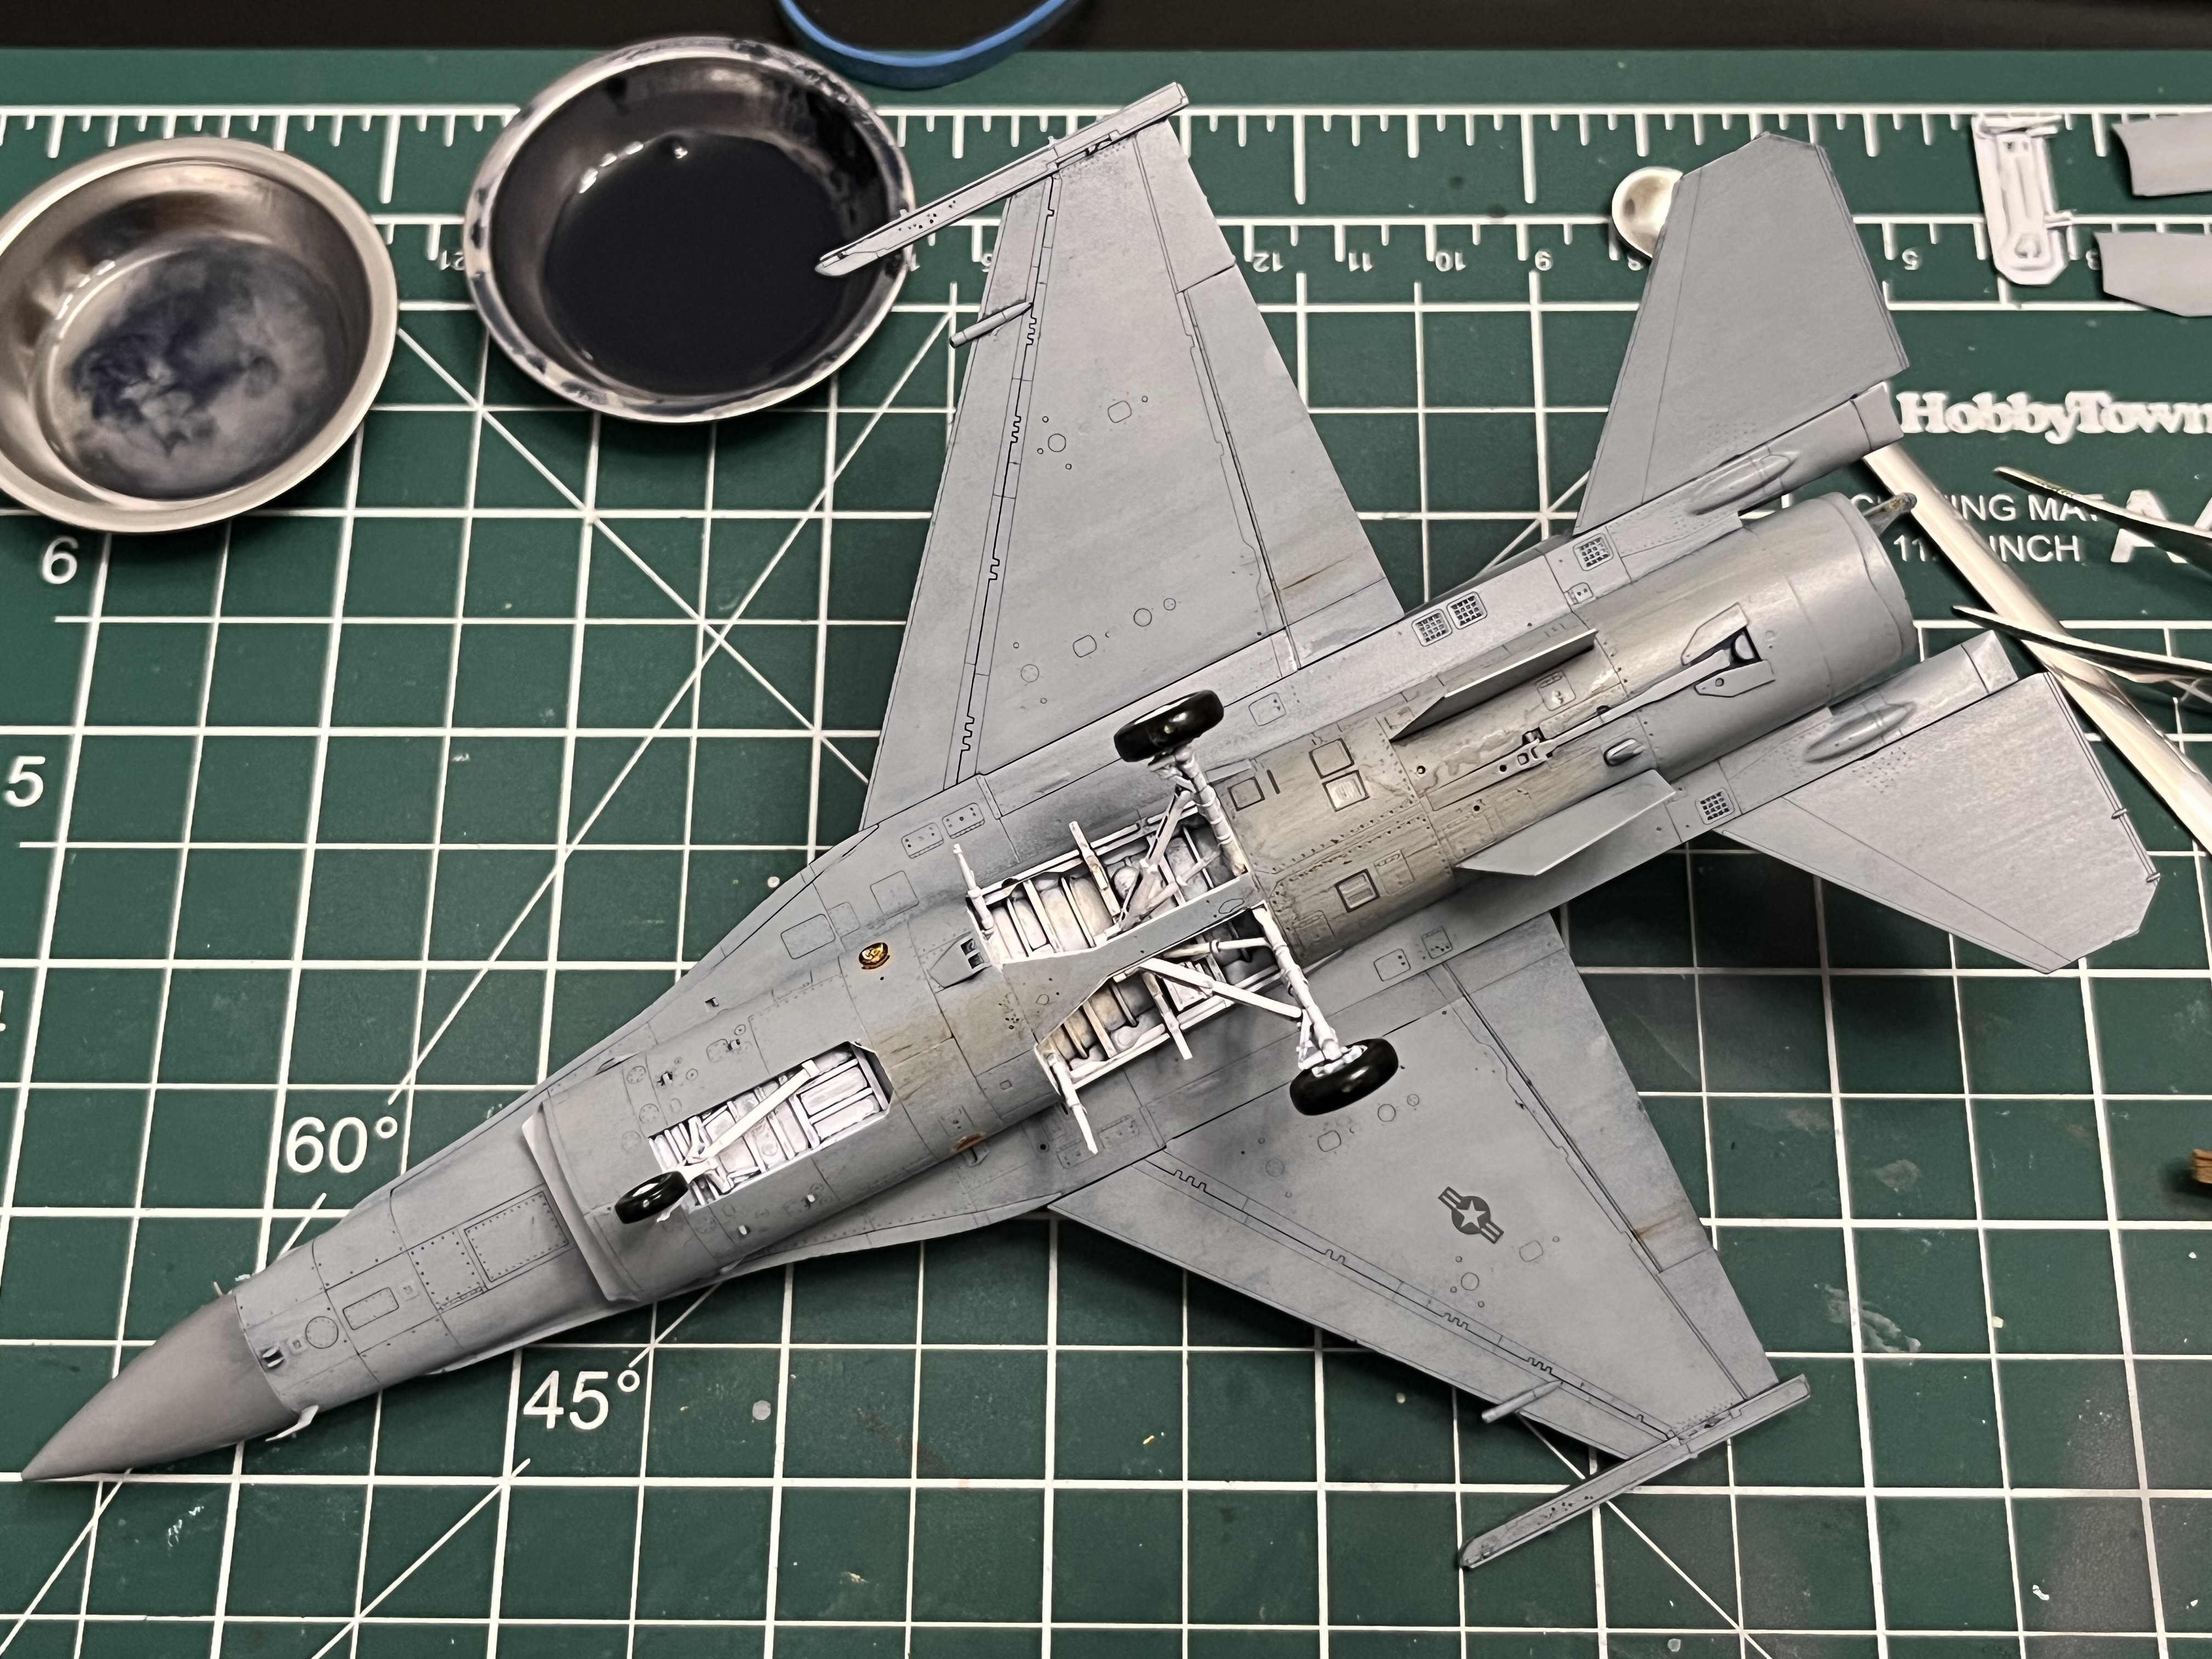

Going to leave it for now and come back later; don’t want to go overboard. The camera exaggerates some effects.
The pitot was a casualty of all the manipulation. ![]()
7 Likes
Fantastic looking viper! Love the weathering!!
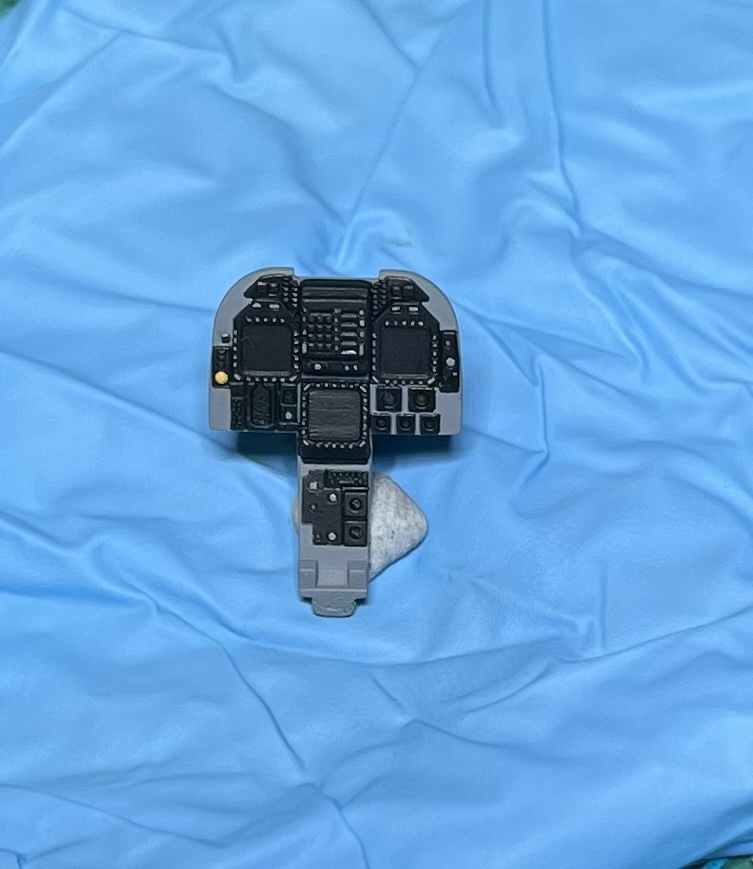
Finally got back to the F-18! Detail painted the cockpit today! Made a couple small boo boos on the right side console. But overall quite happy. The gray switches around the three screens took a lot of patience with a optivisor and 10/0 brush. They are hard to photograph but they turned out really nice
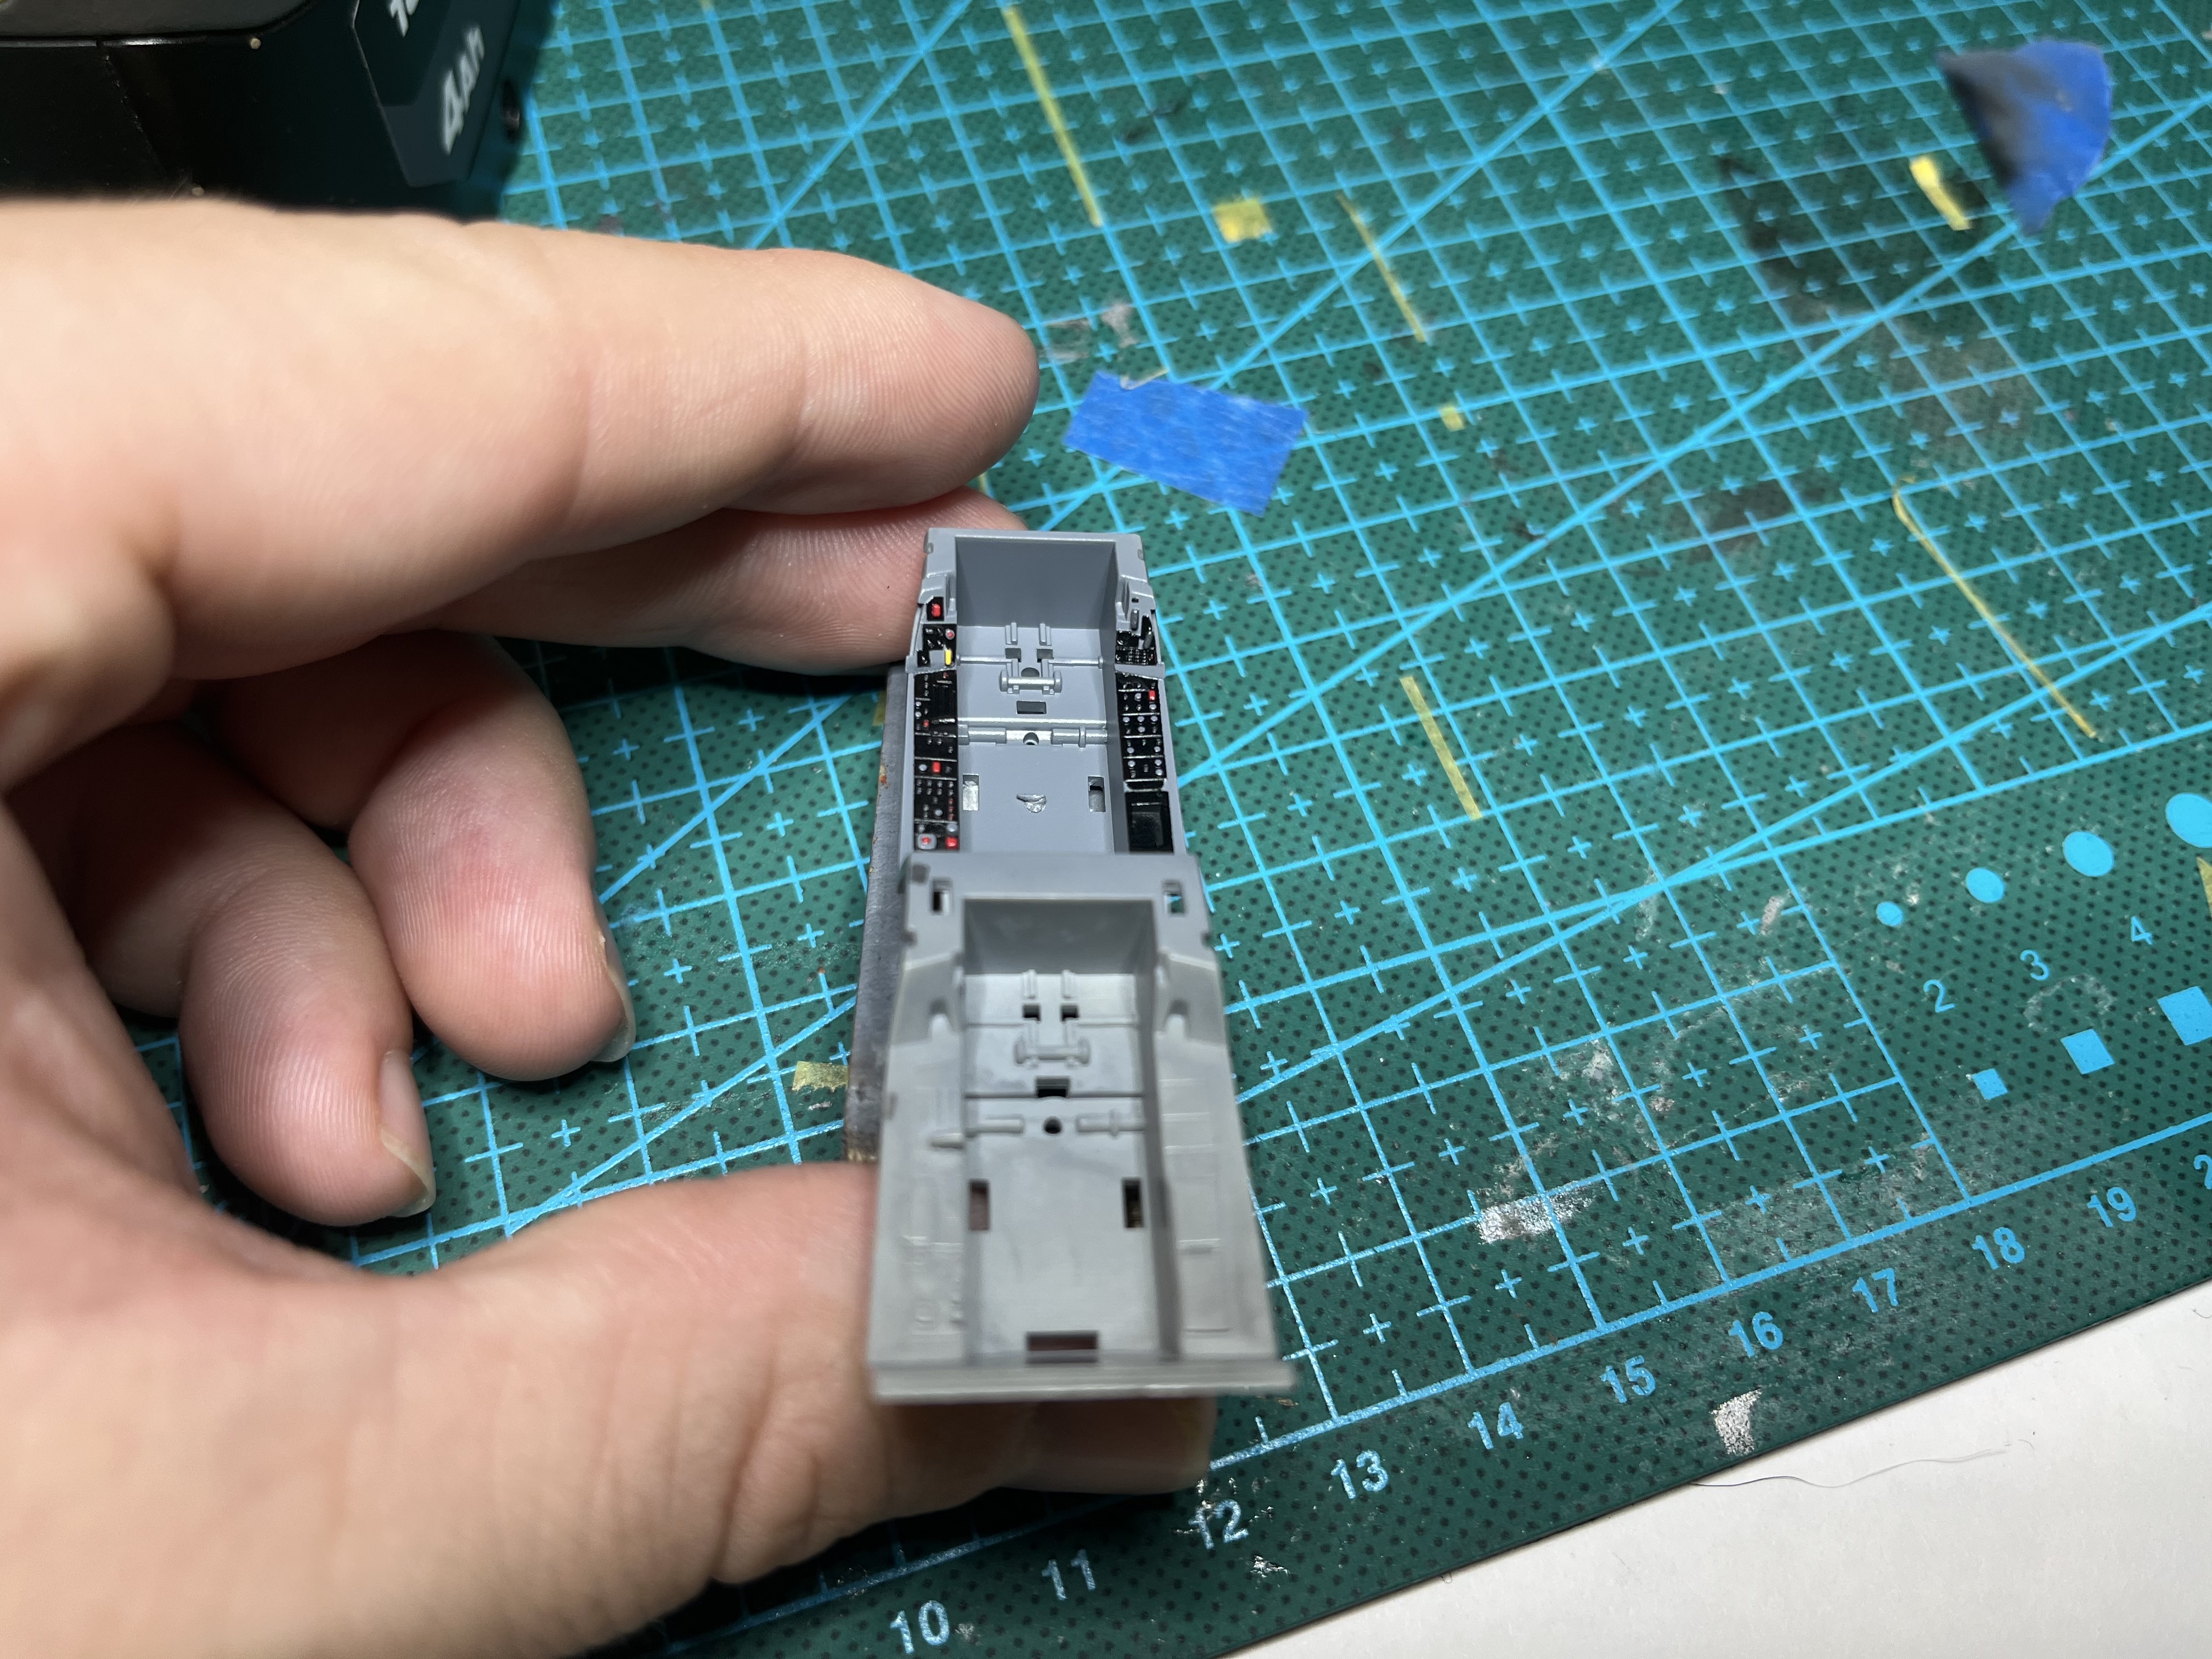
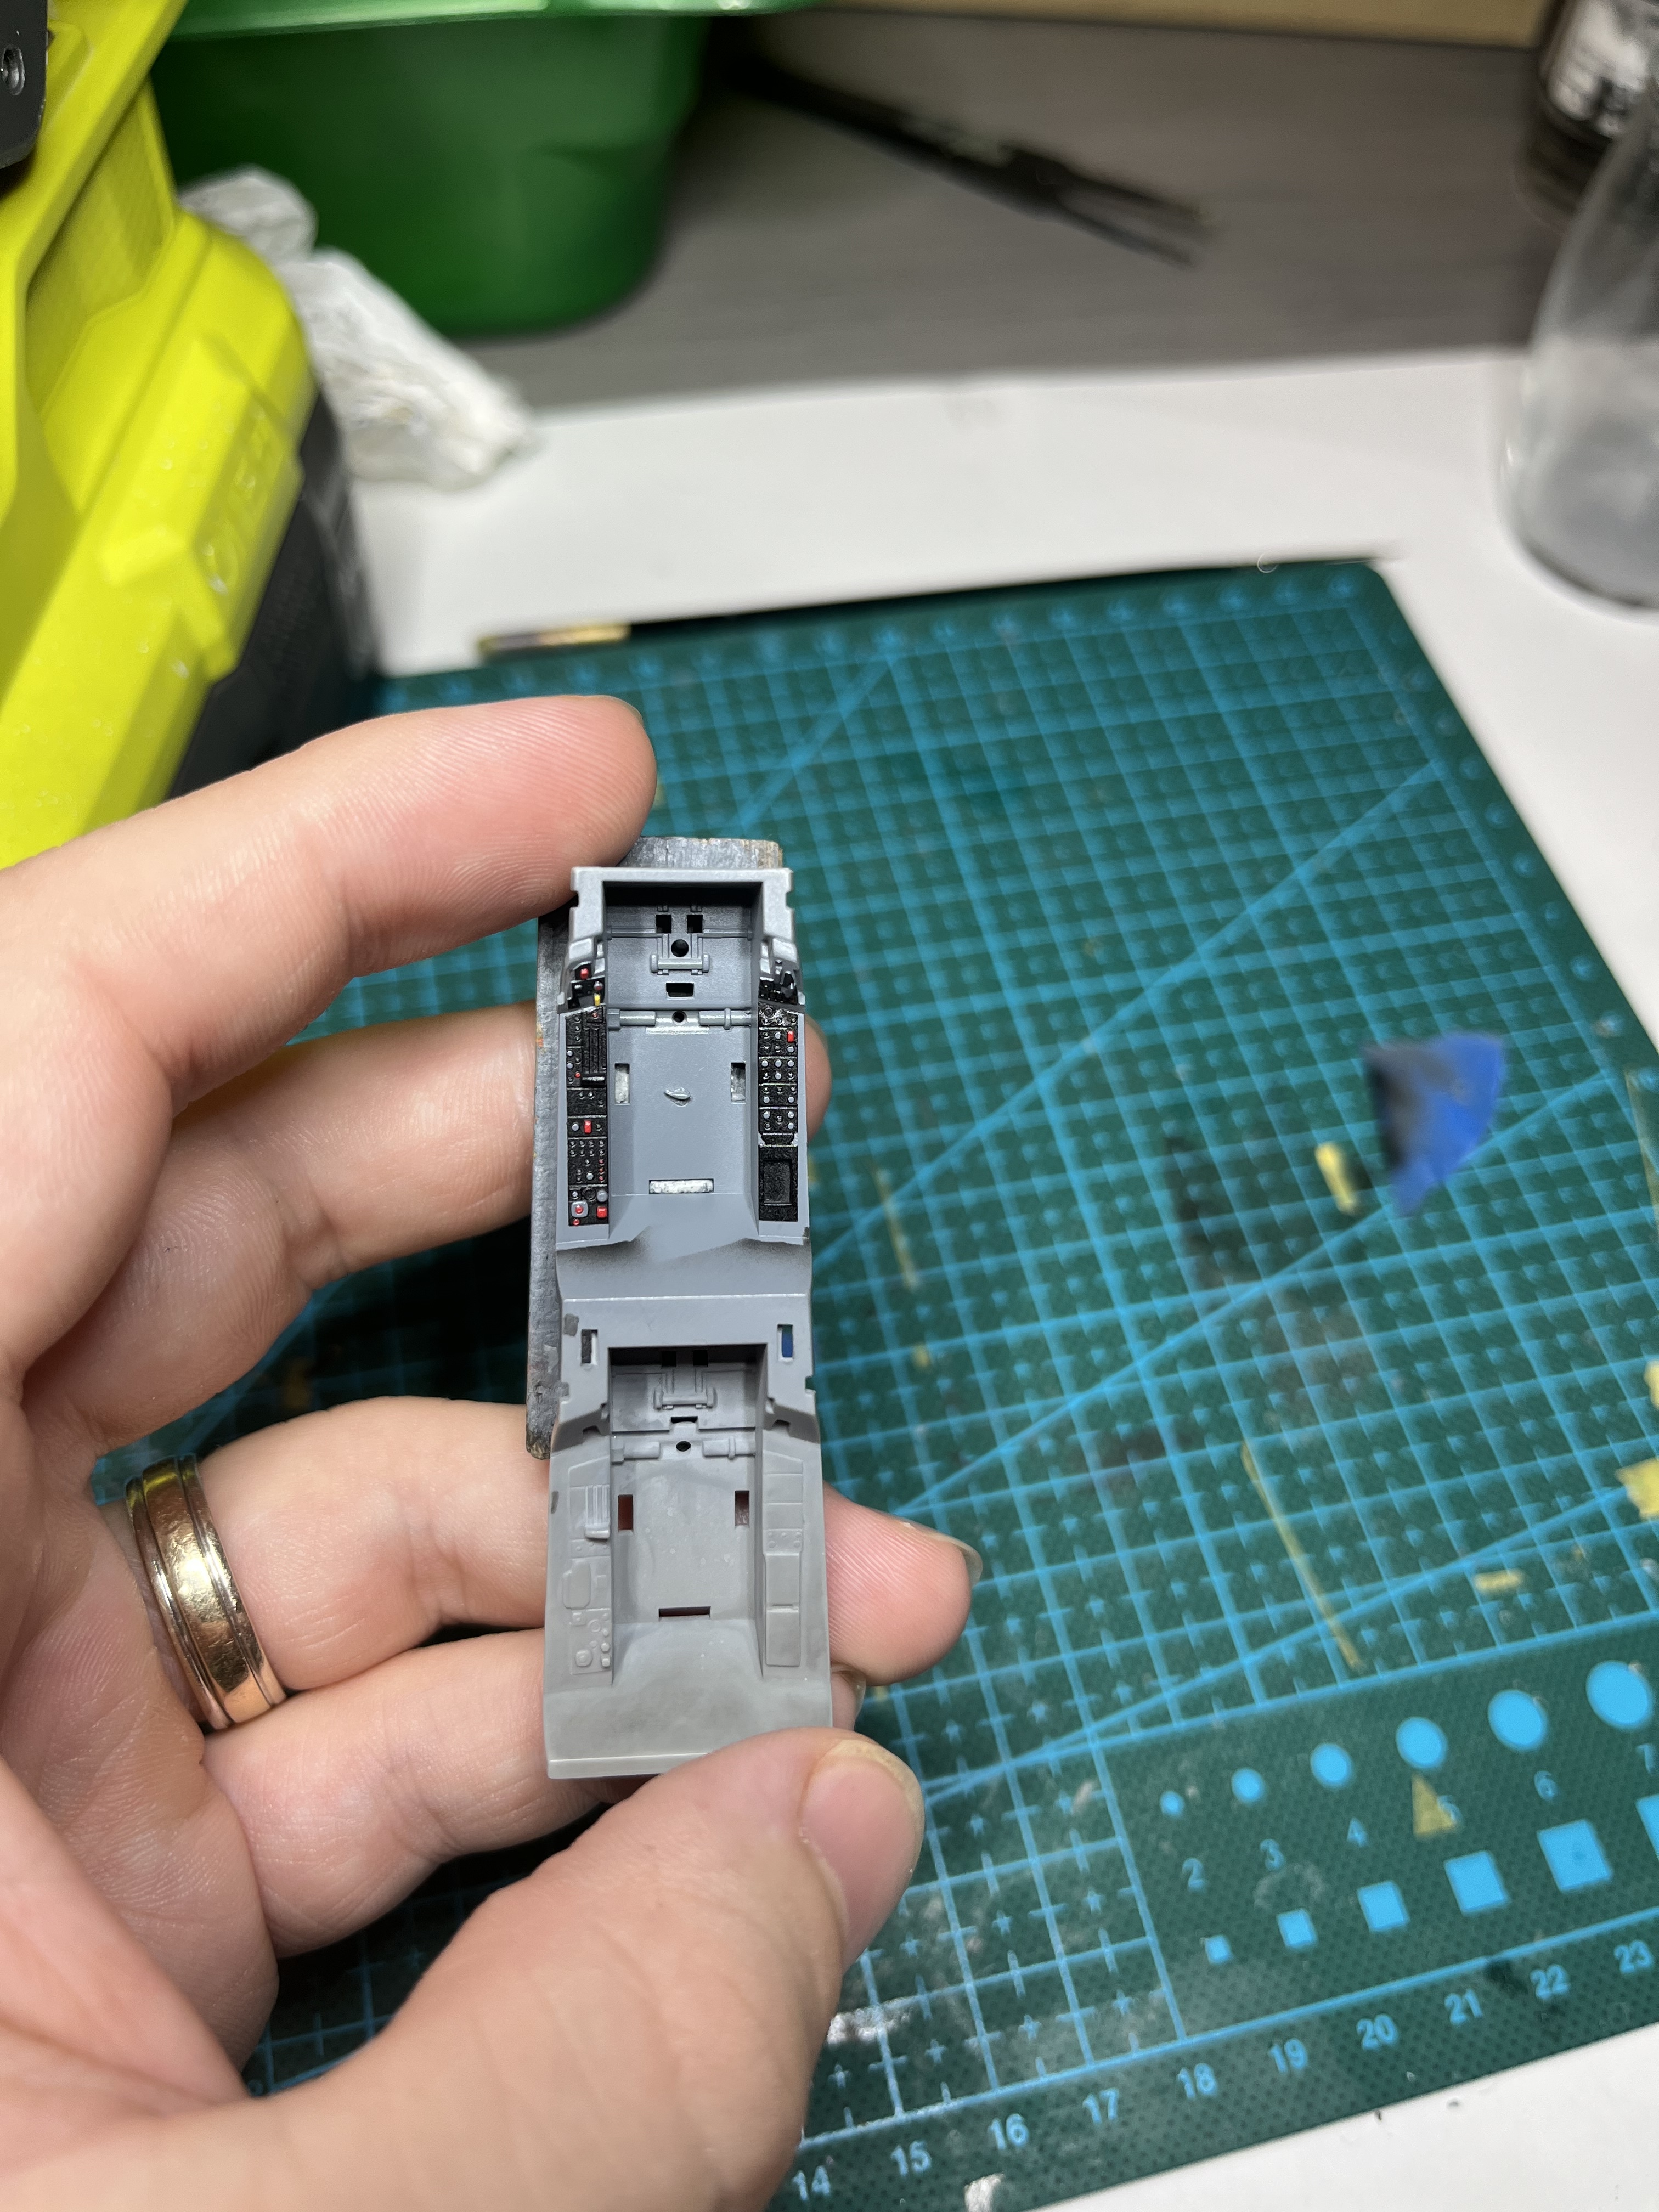
5 Likes
Wow.
That cockpit is quite impressive. You working in 1/72?
Thank you kindly!
It is in 1/48
1 Like
I wish I had had time to participate in this this year…
1 Like
@Spitfire , nice job on the panel lining. Looks great!
1 Like
Excellent paint job! ![]()
![]()
1 Like