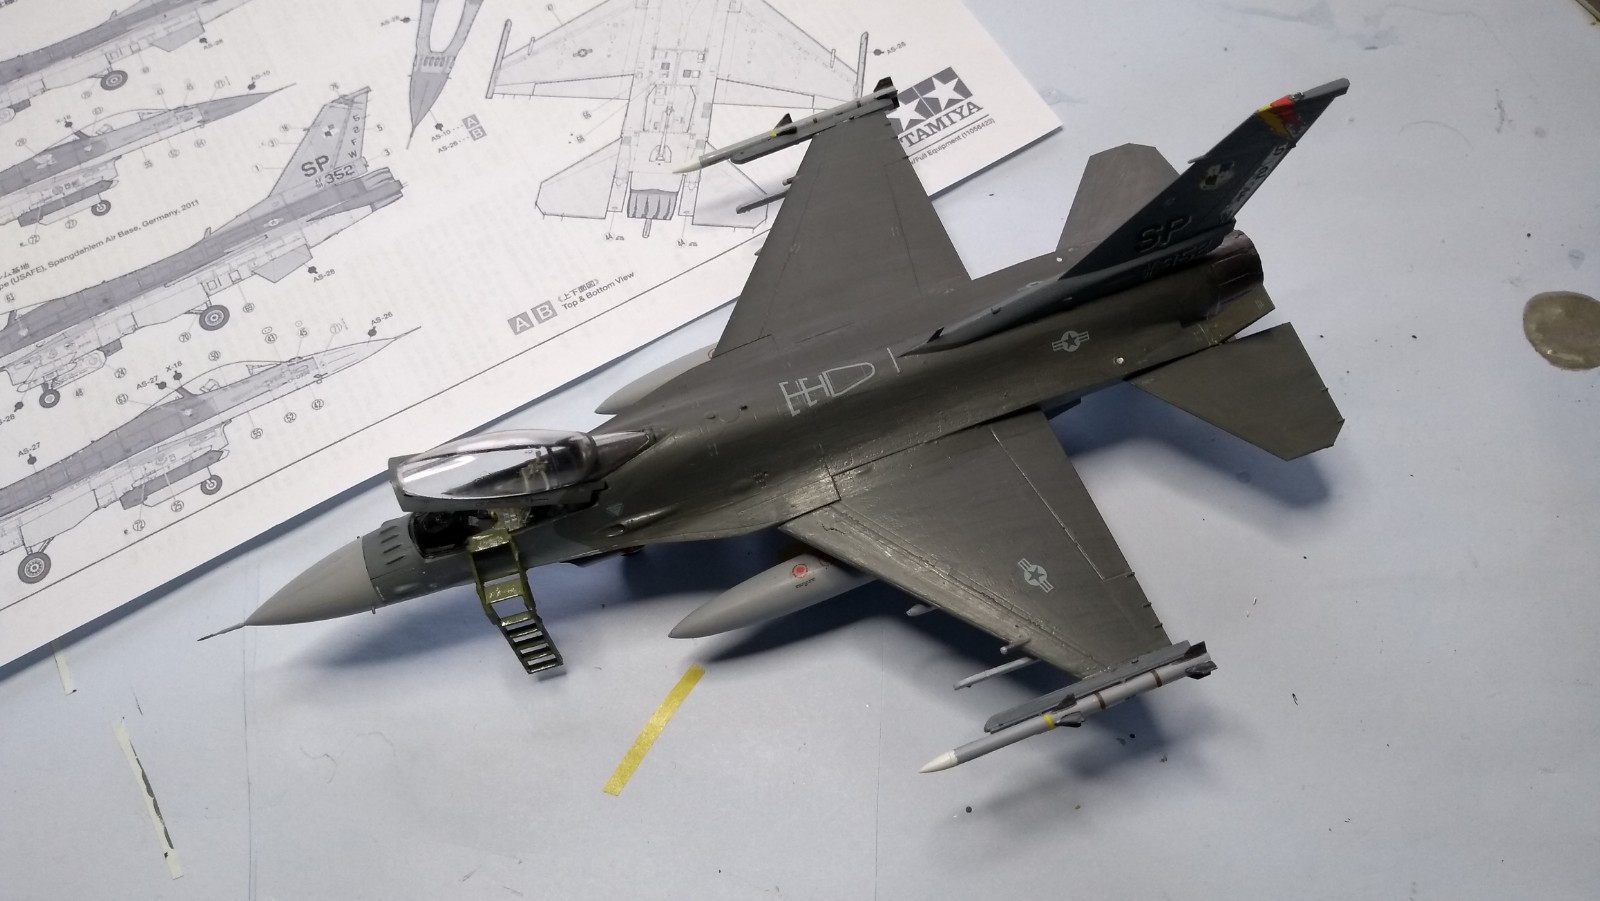
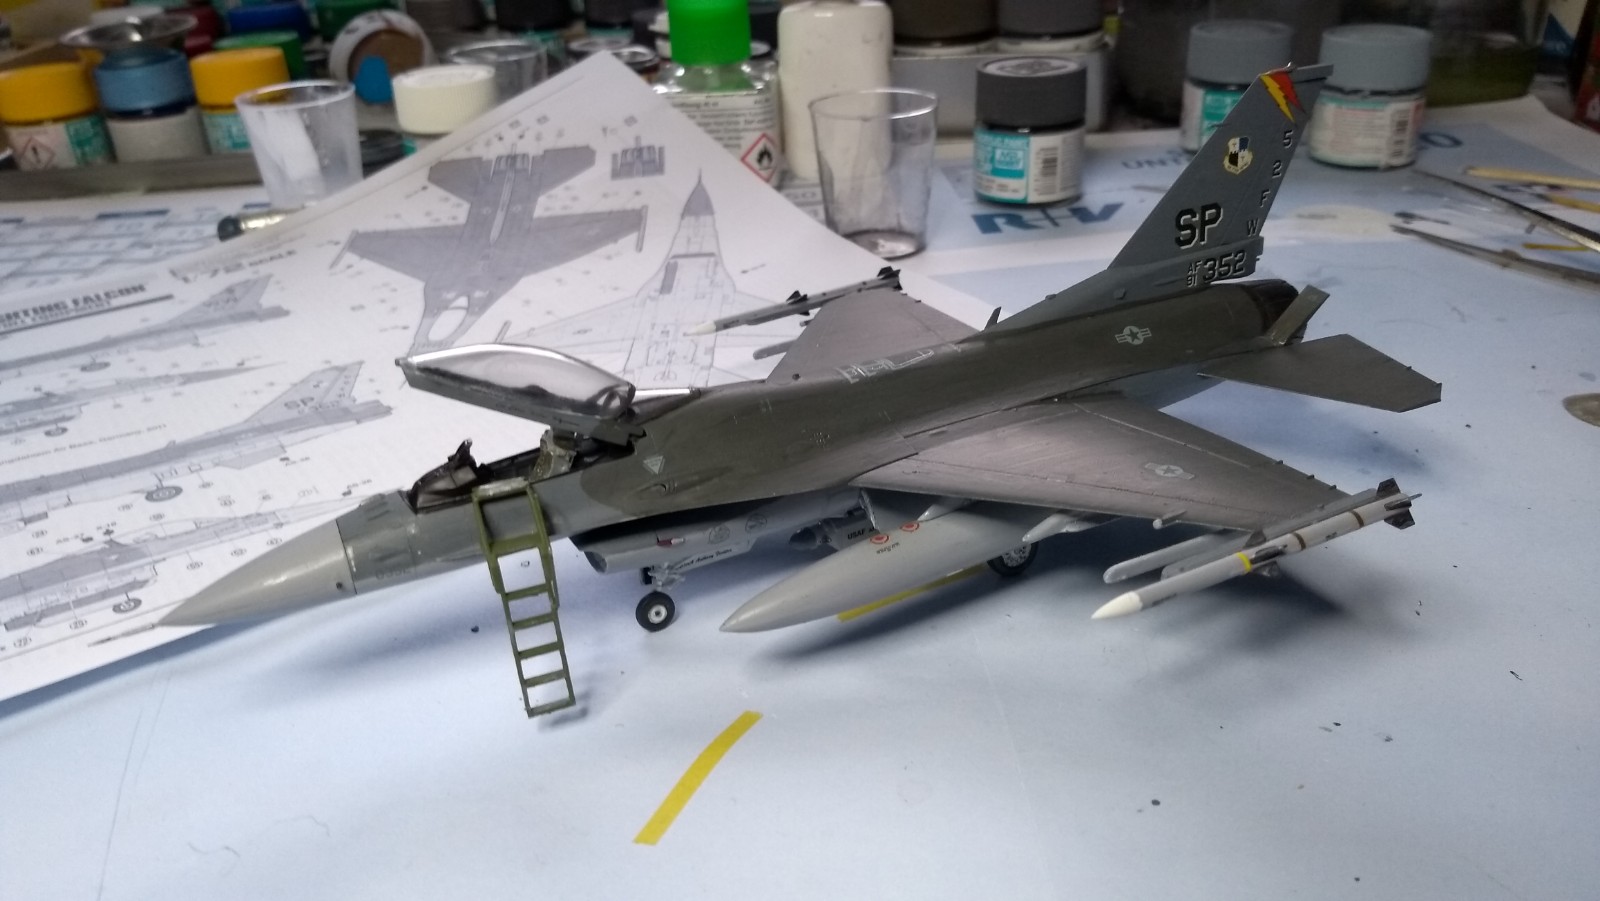
Missiles ready, ALQ-131 pod, fuel tanks, too. The ACMI pod still needs the color bands.
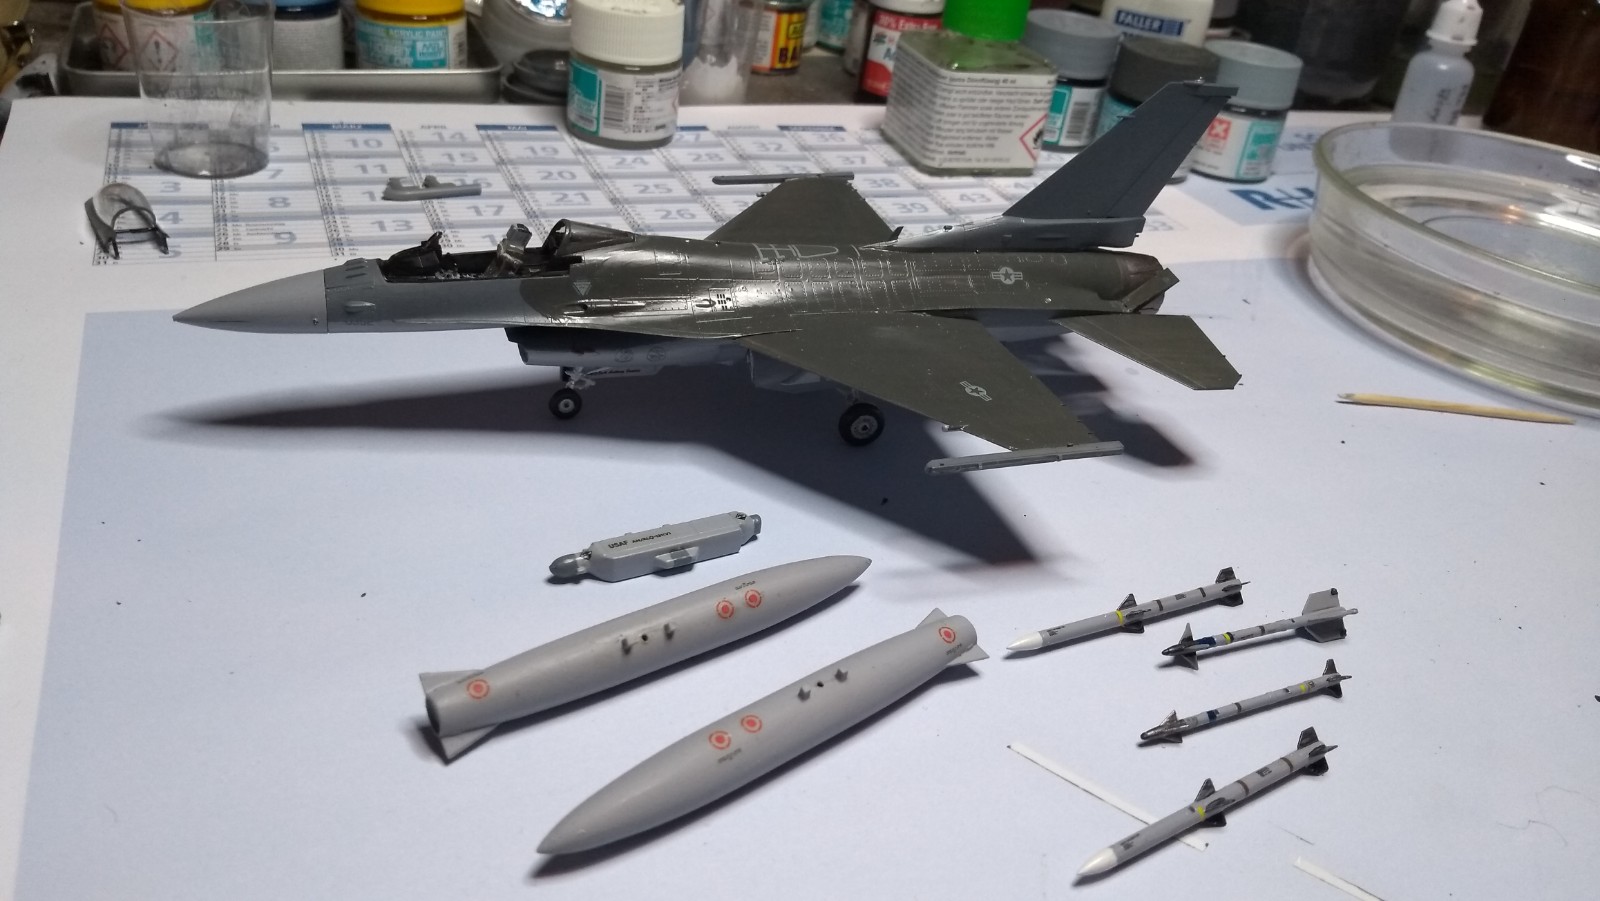
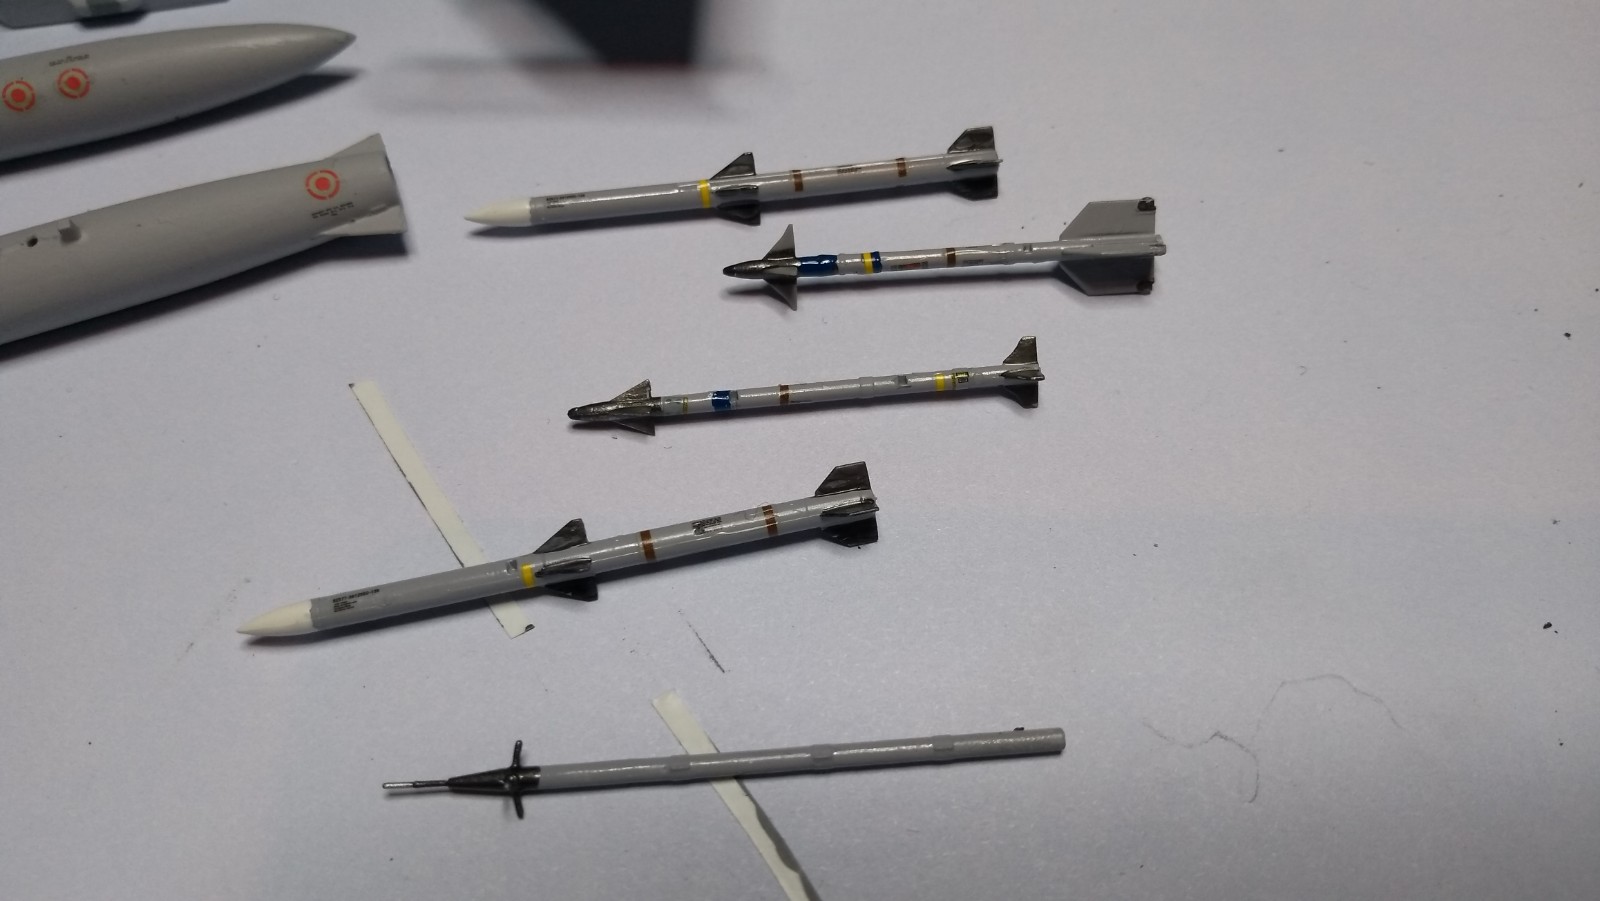
…and four pylons, of course
Cheers Peter
Missiles ready, ALQ-131 pod, fuel tanks, too. The ACMI pod still needs the color bands.
those fuel tanks look huge. it must be a thirsty bird…
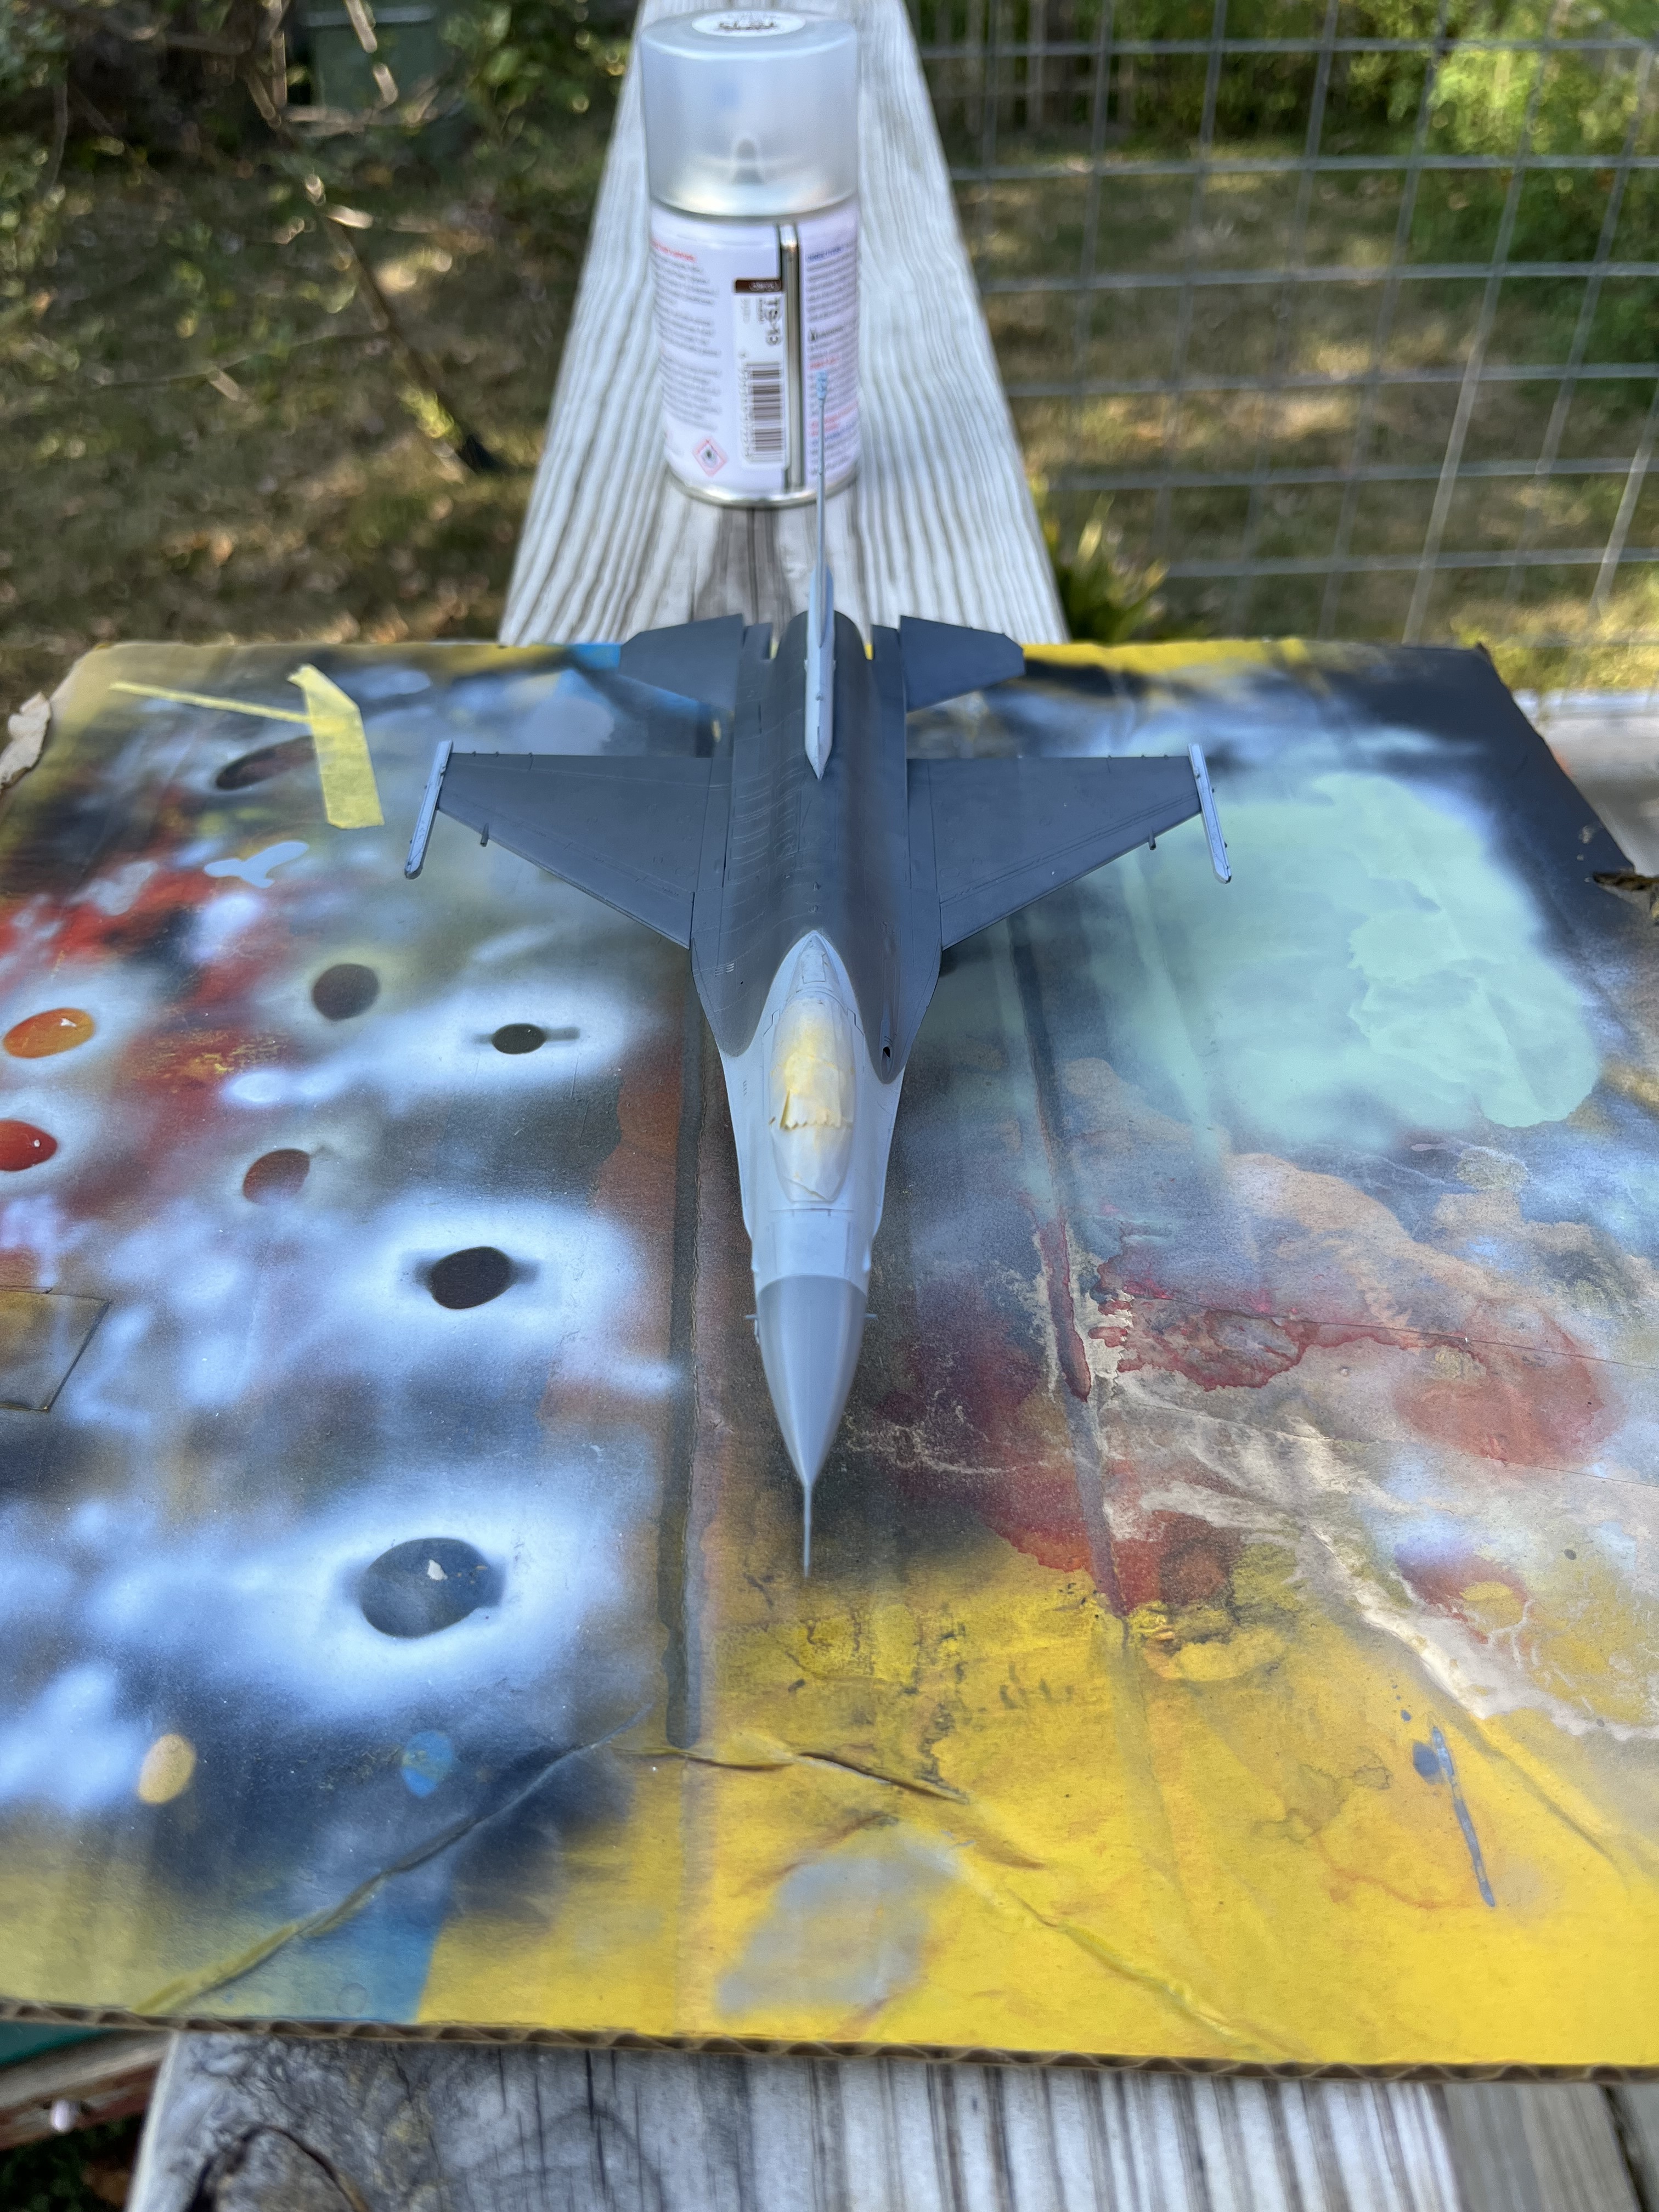
![]() It must be the perspective, the tanks are the normal underwing ones, but they were nearer to the camera than the bird itself…
It must be the perspective, the tanks are the normal underwing ones, but they were nearer to the camera than the bird itself… ![]()
Peter ![]()
Made some good progress.
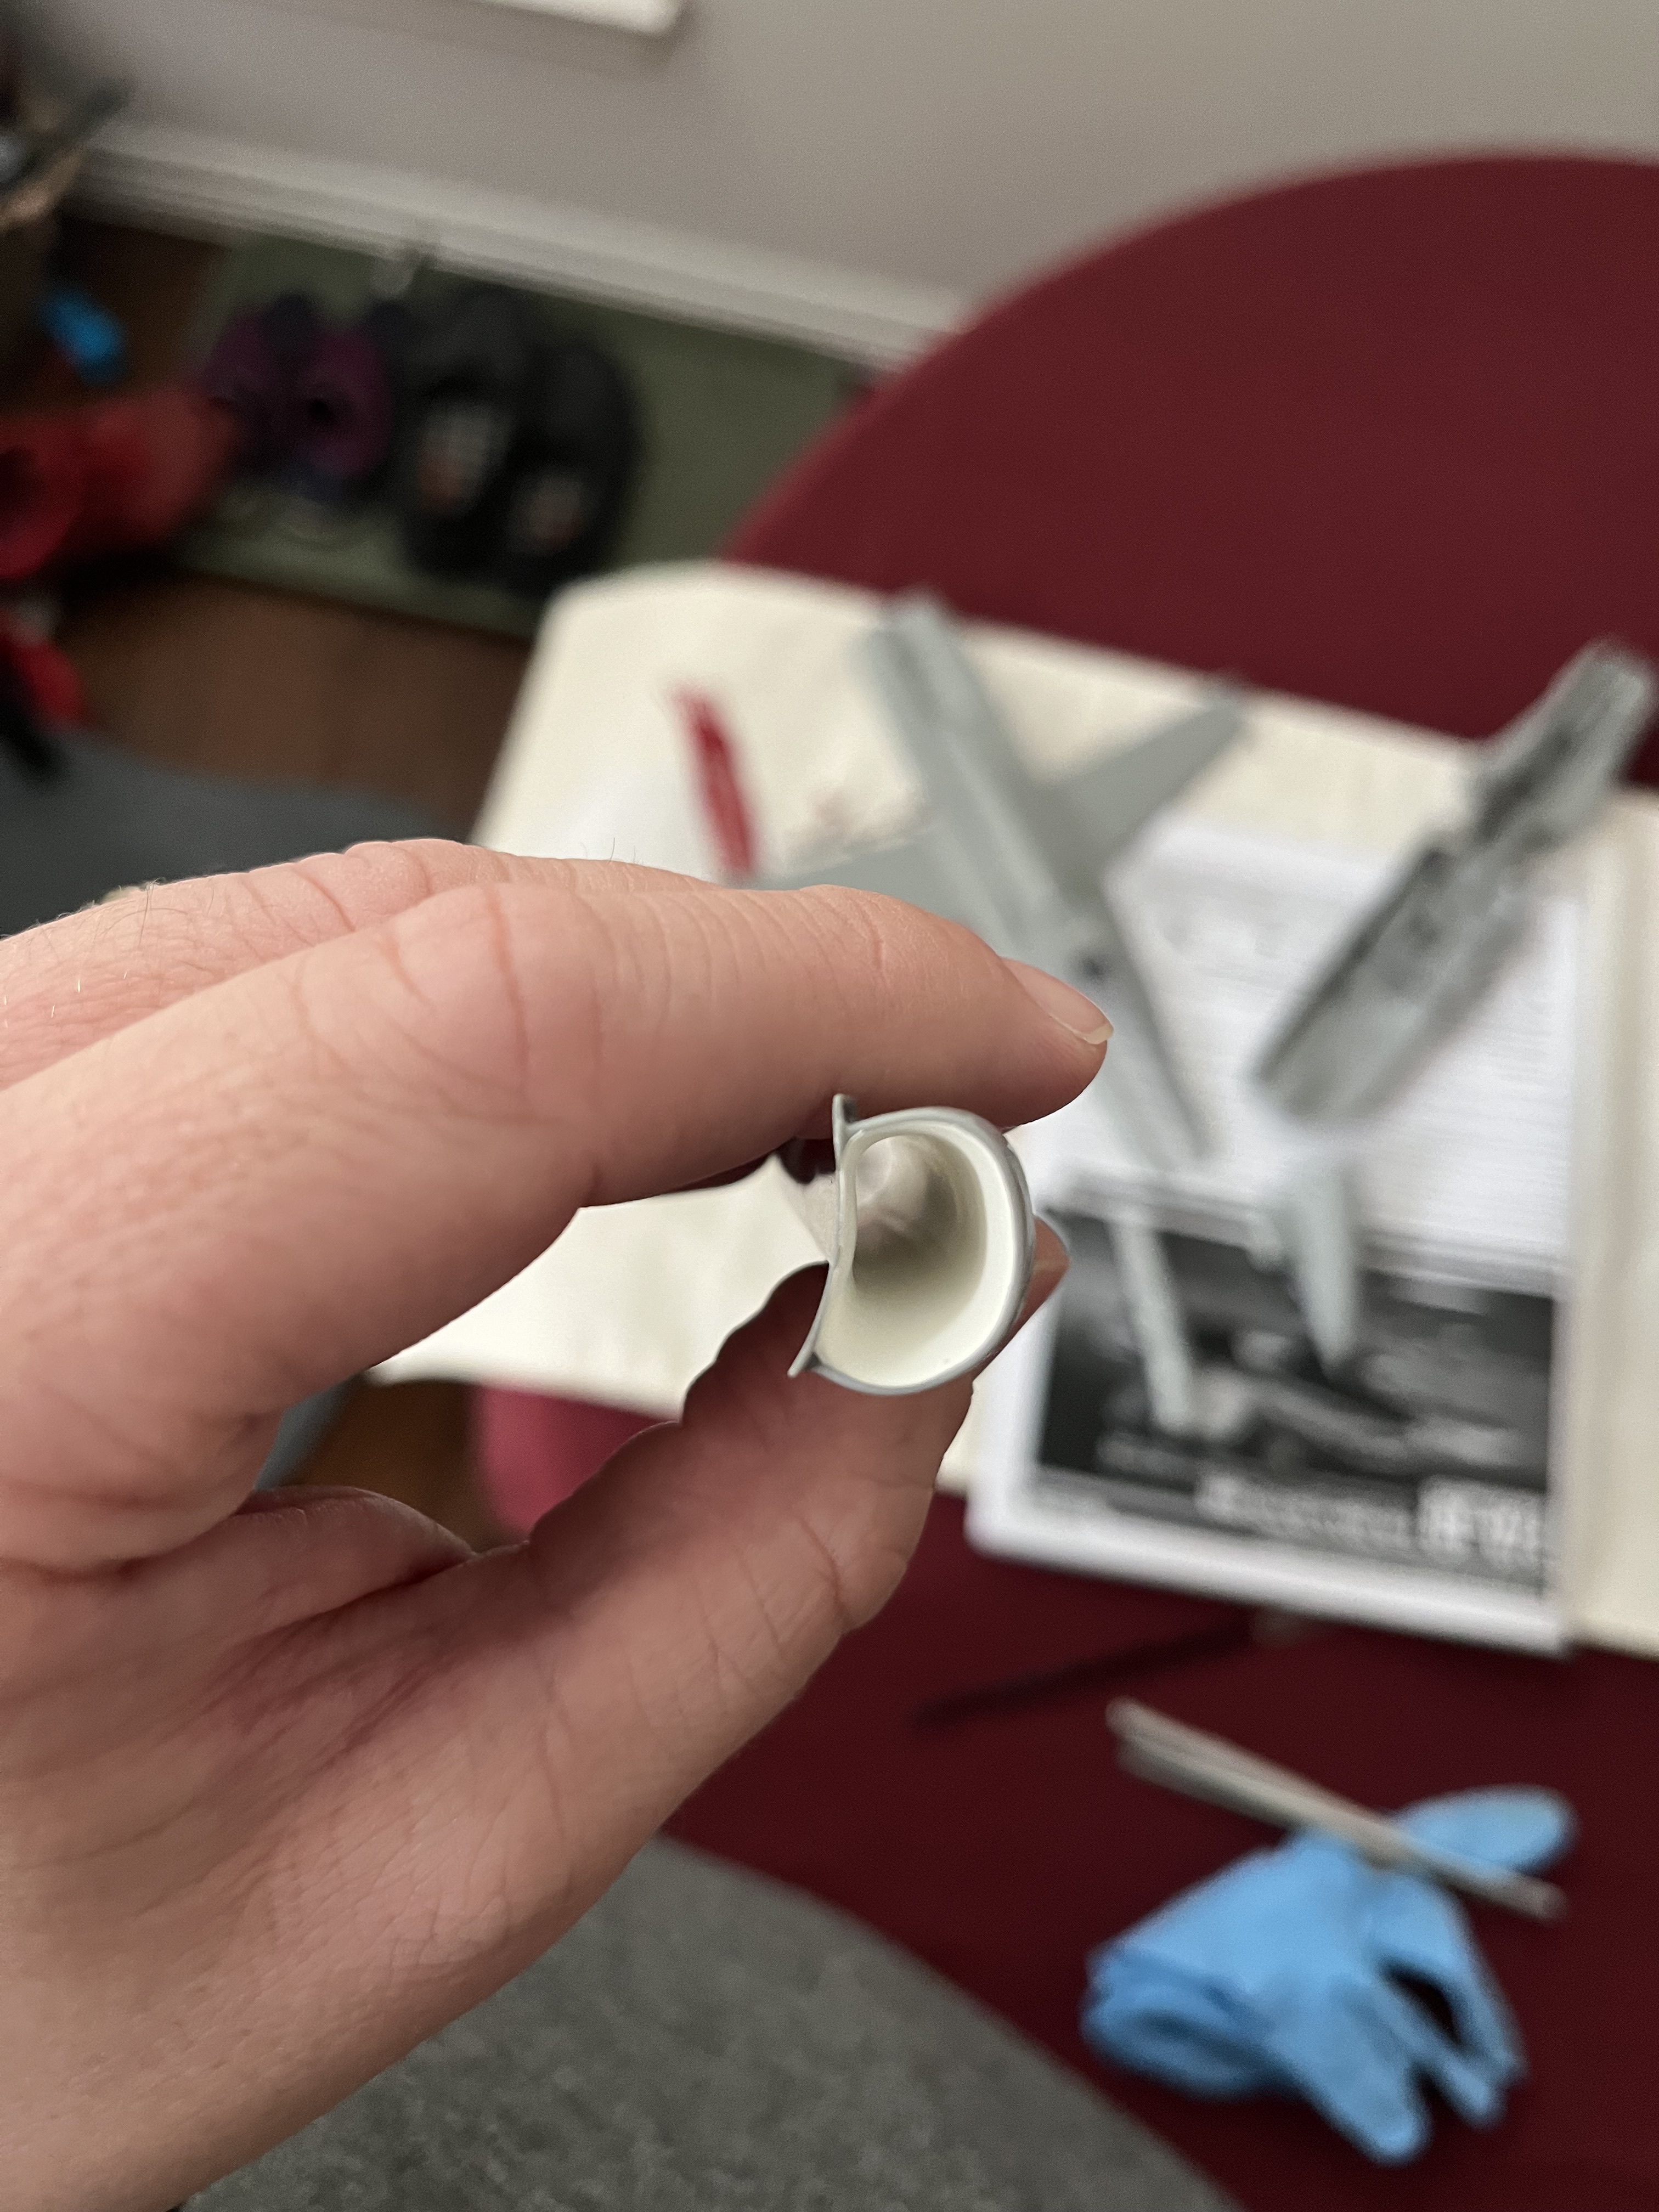
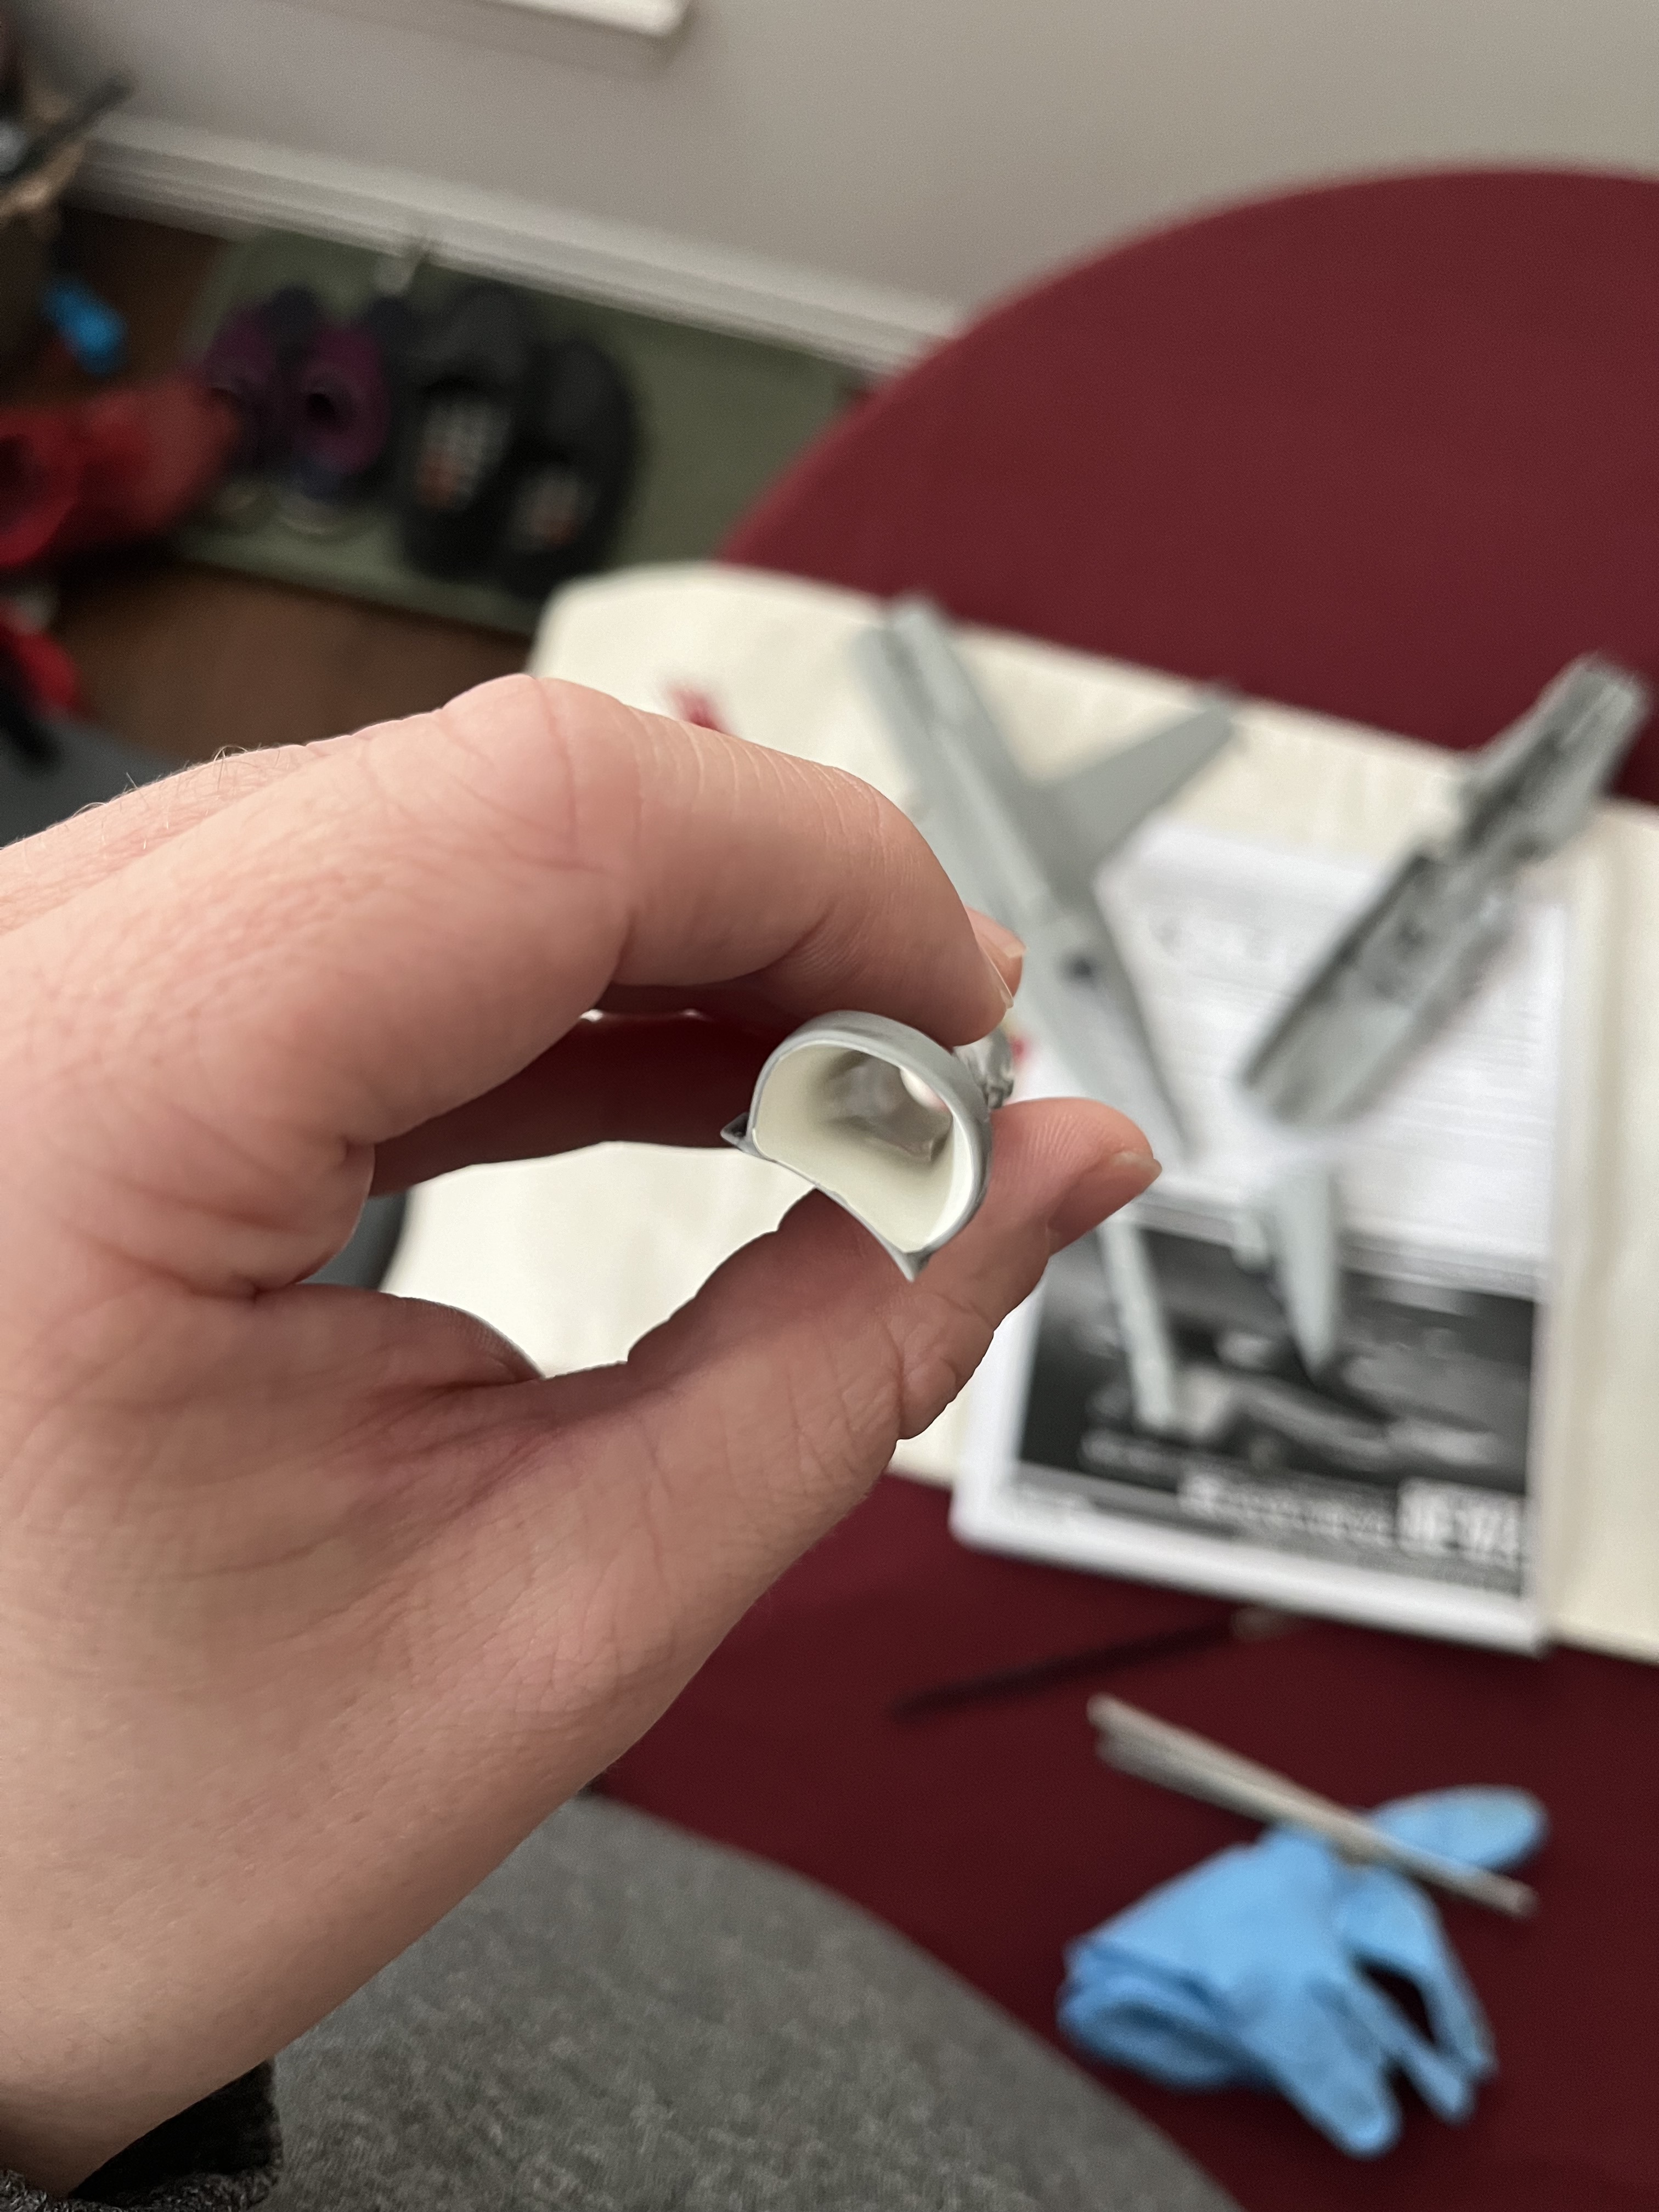
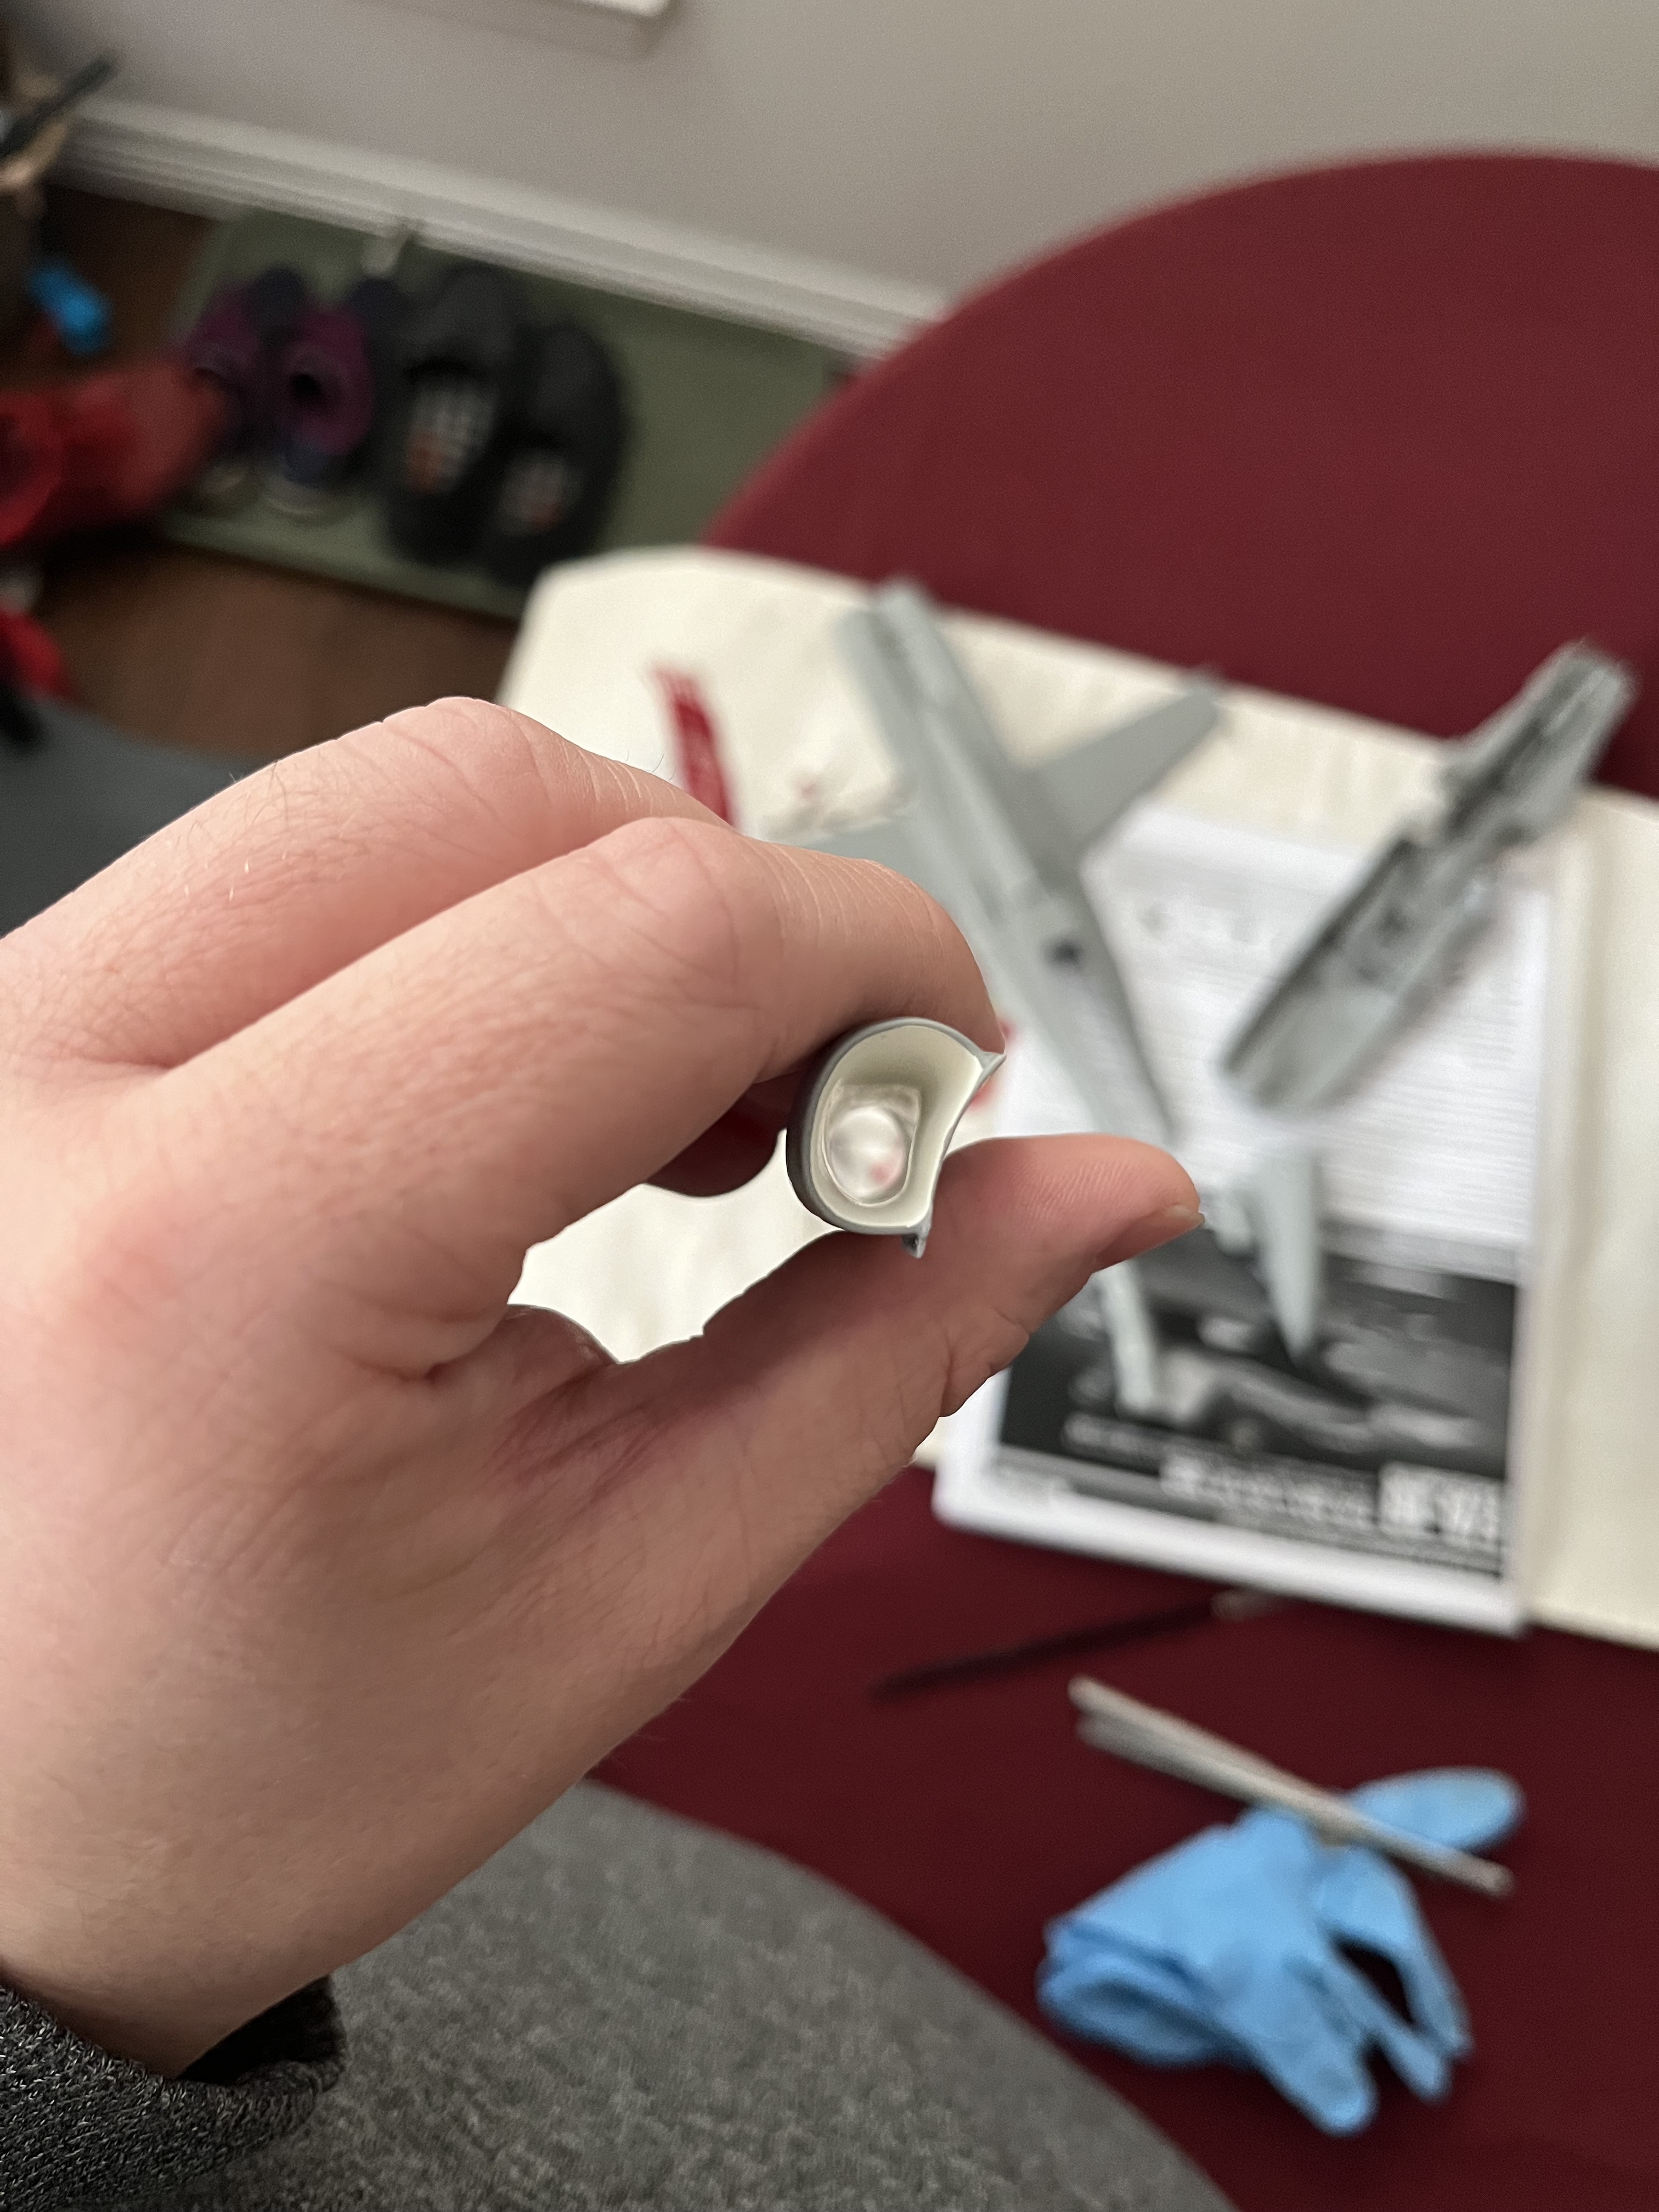
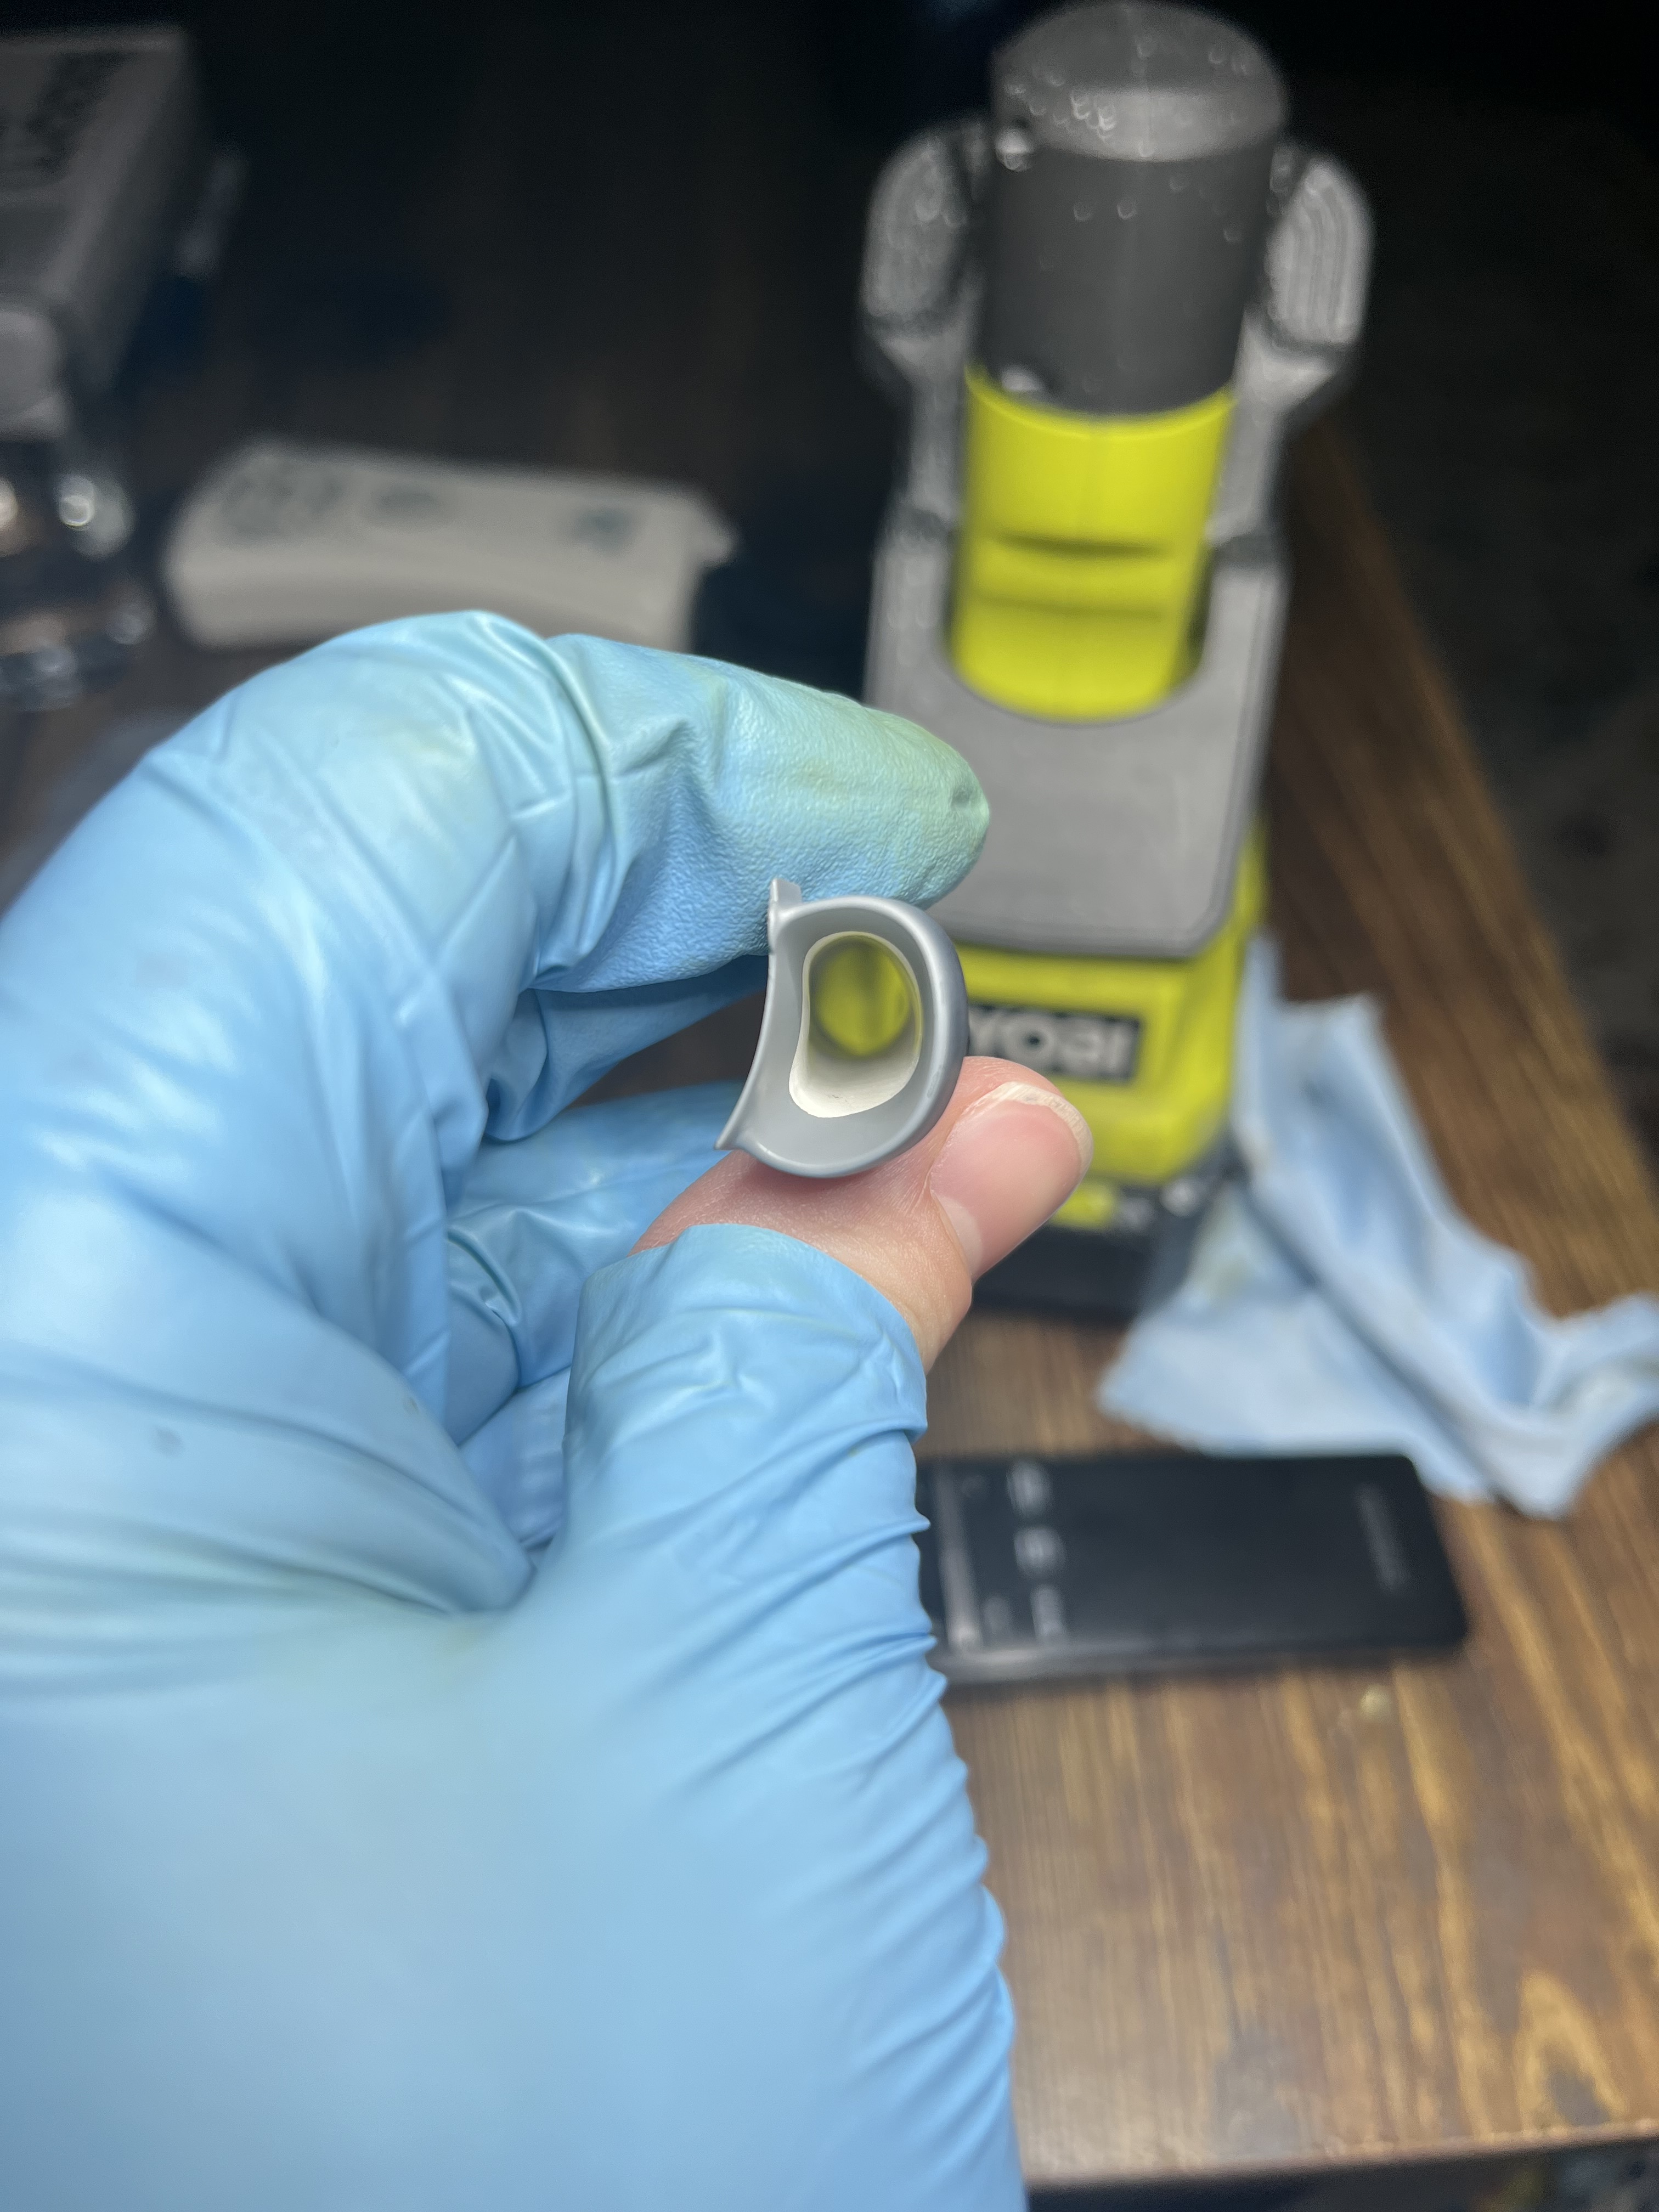
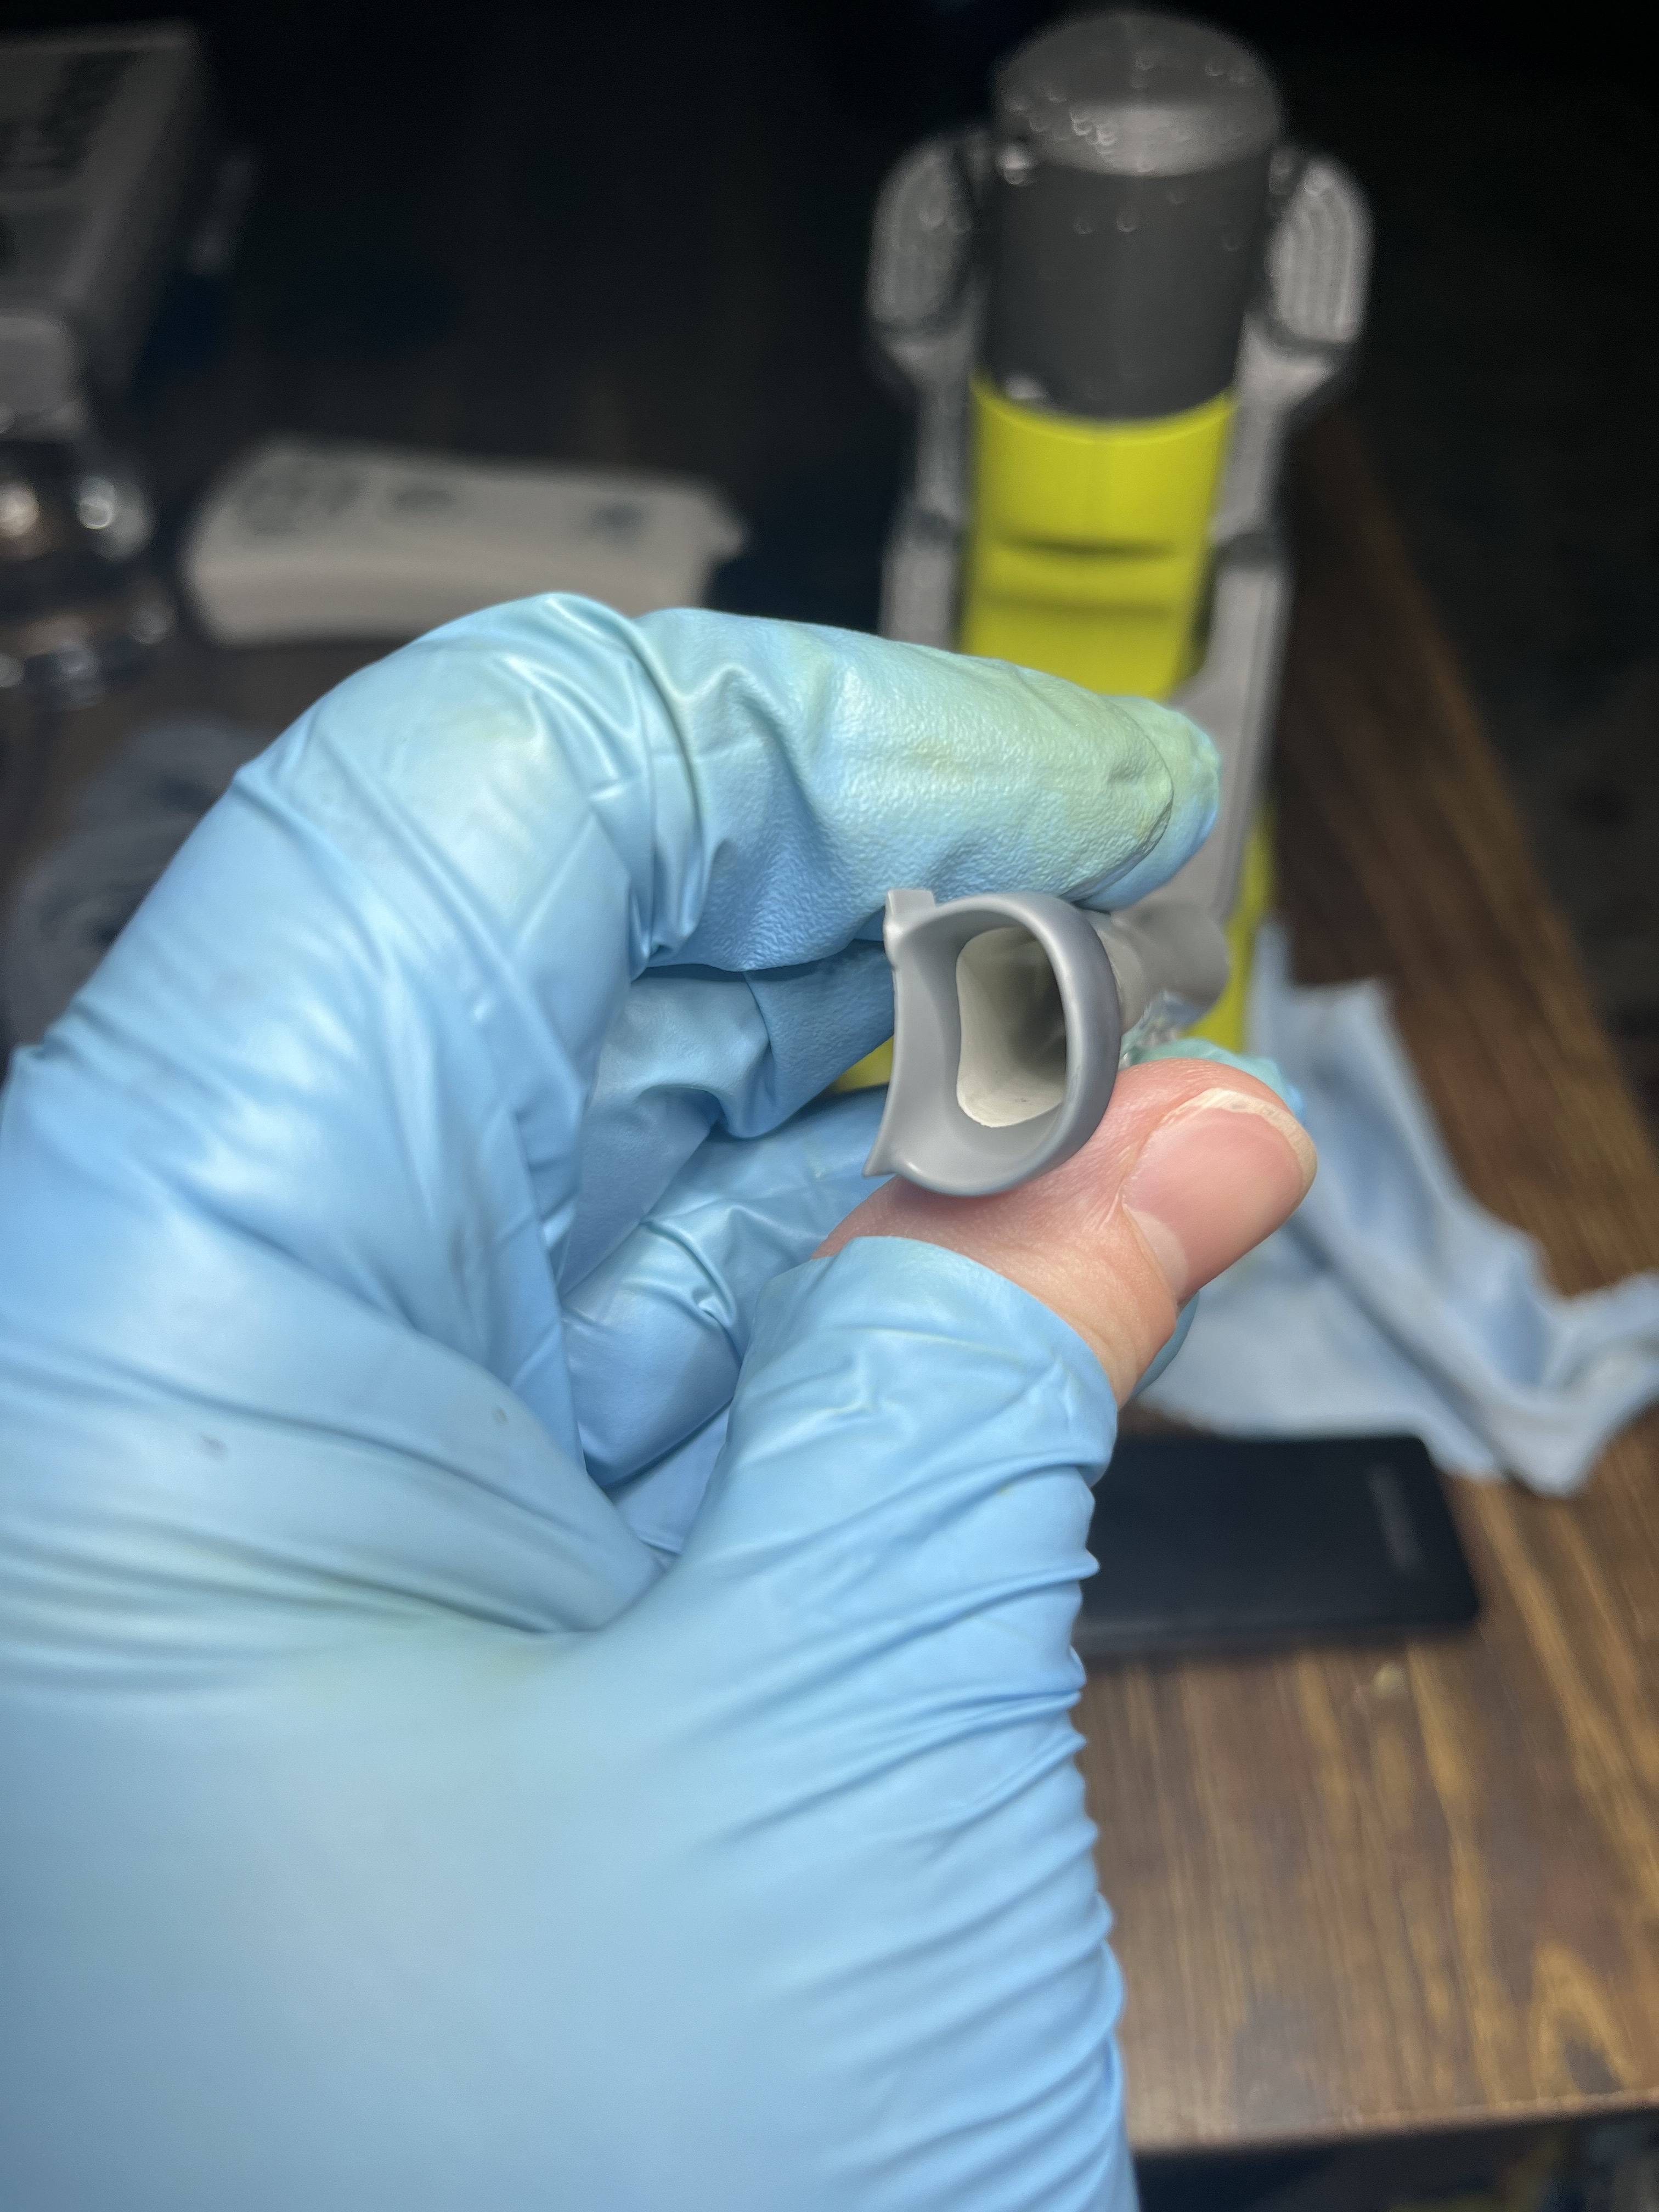
Finally got a good result on the intakes. No matter what I did I got sag marks on the white paint in the pour and dump method. I came to the conclusion the paint was taking too long to dry (days) I think due to poor air circulation in the narrow intake. I put a high speed fan blowing air perpendicularly across the intake faces. This dropped the dry time to 2-3 hours and the intakes now have a silky smooth finish!!
Next step is to lightly sand the faces to make sure there is no step between the latex and virgin plastic. I then need to weather them as reference photos I took show them to be dirty
Then I need to mask off the front section and paint them fueslage color.
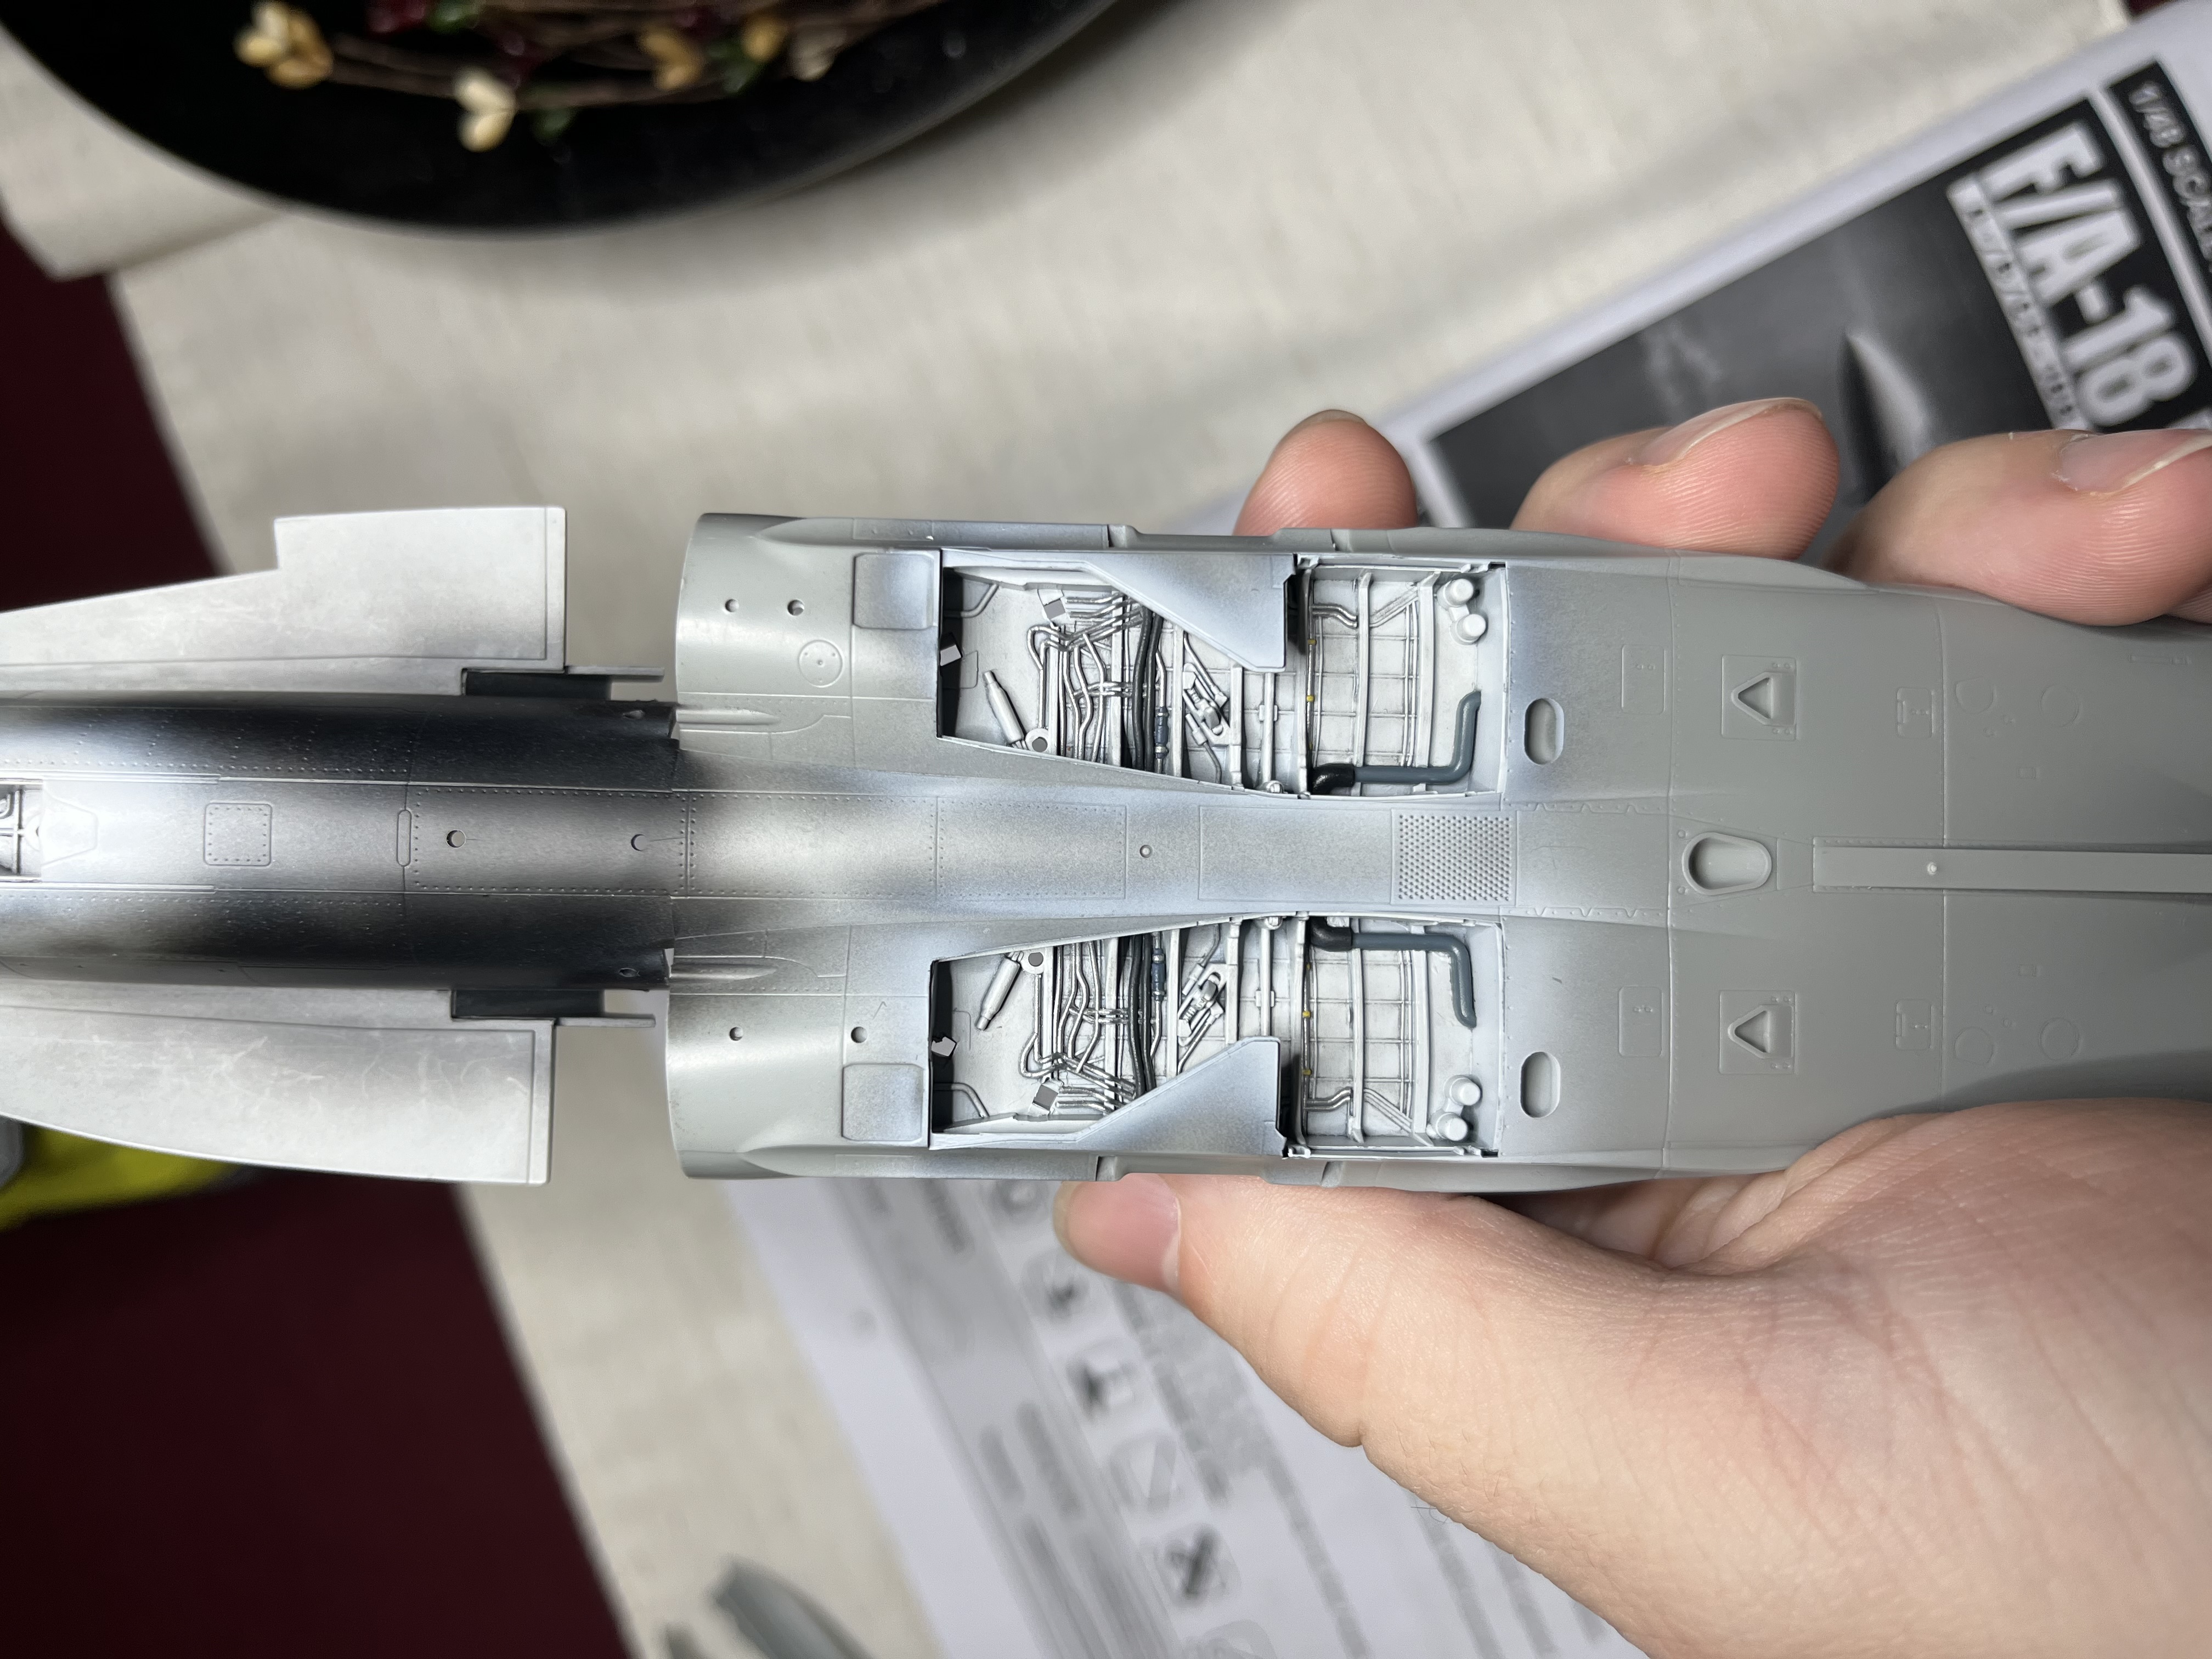
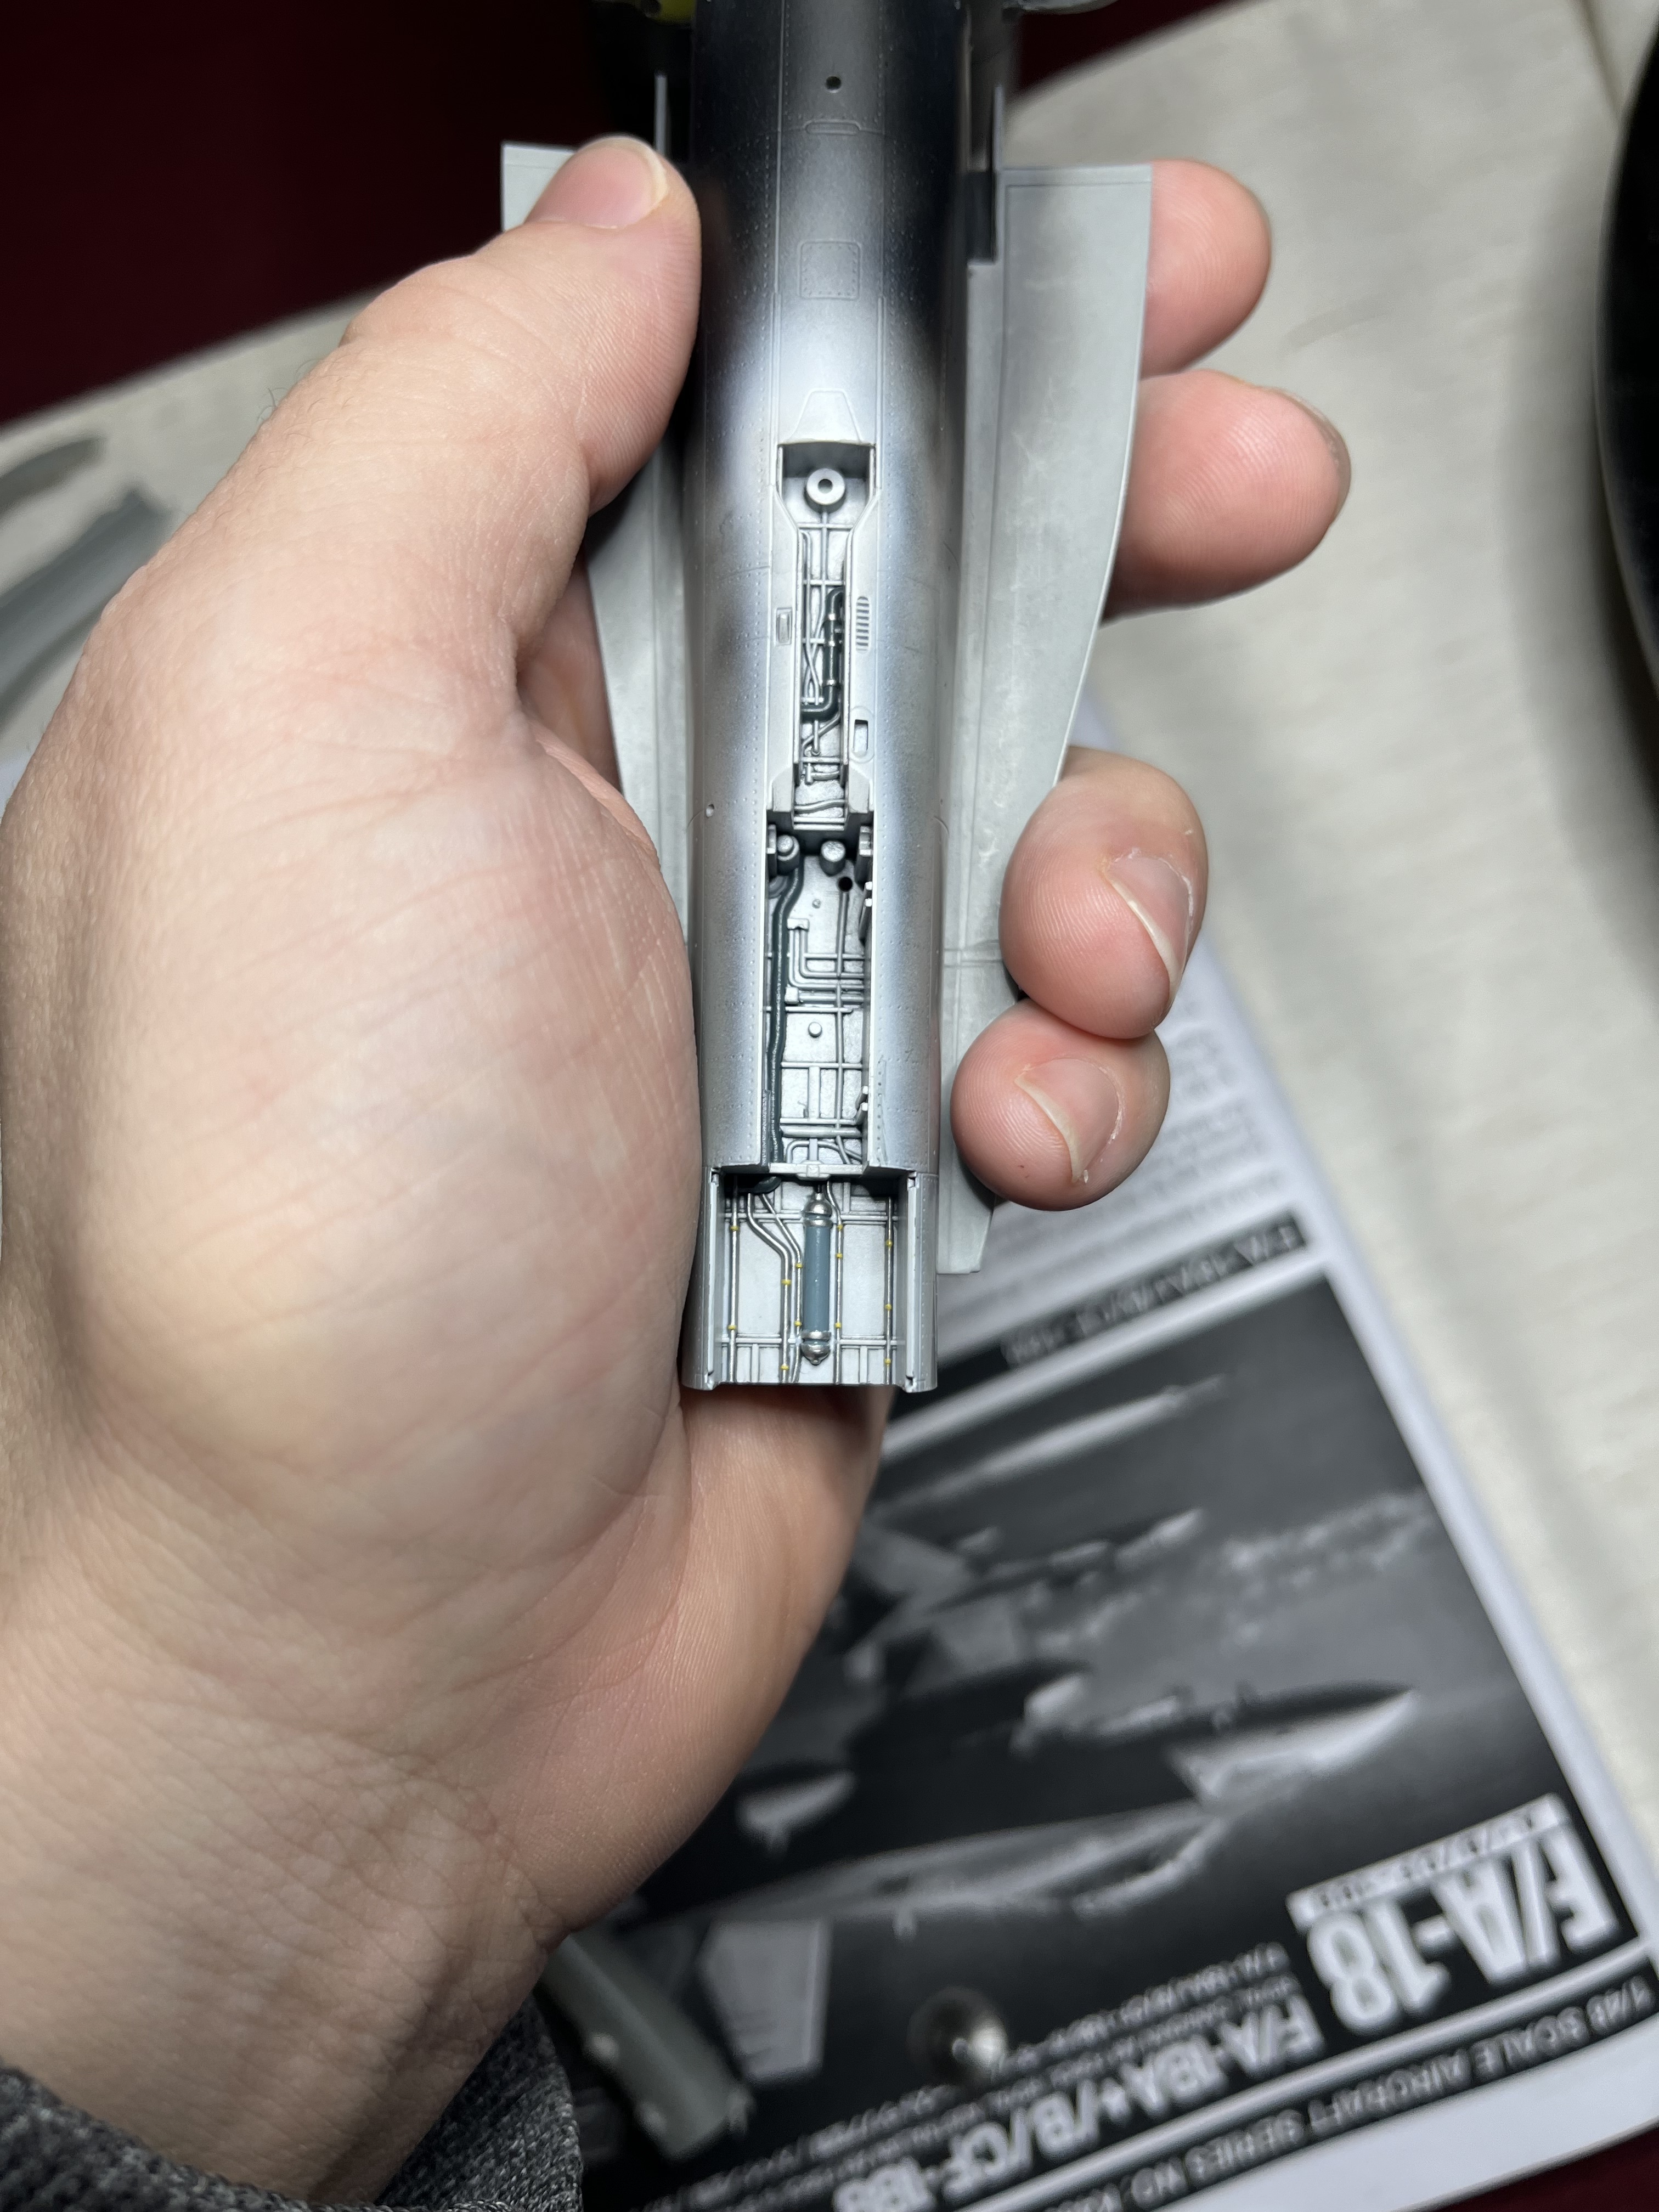
I also painted the two gear bays.
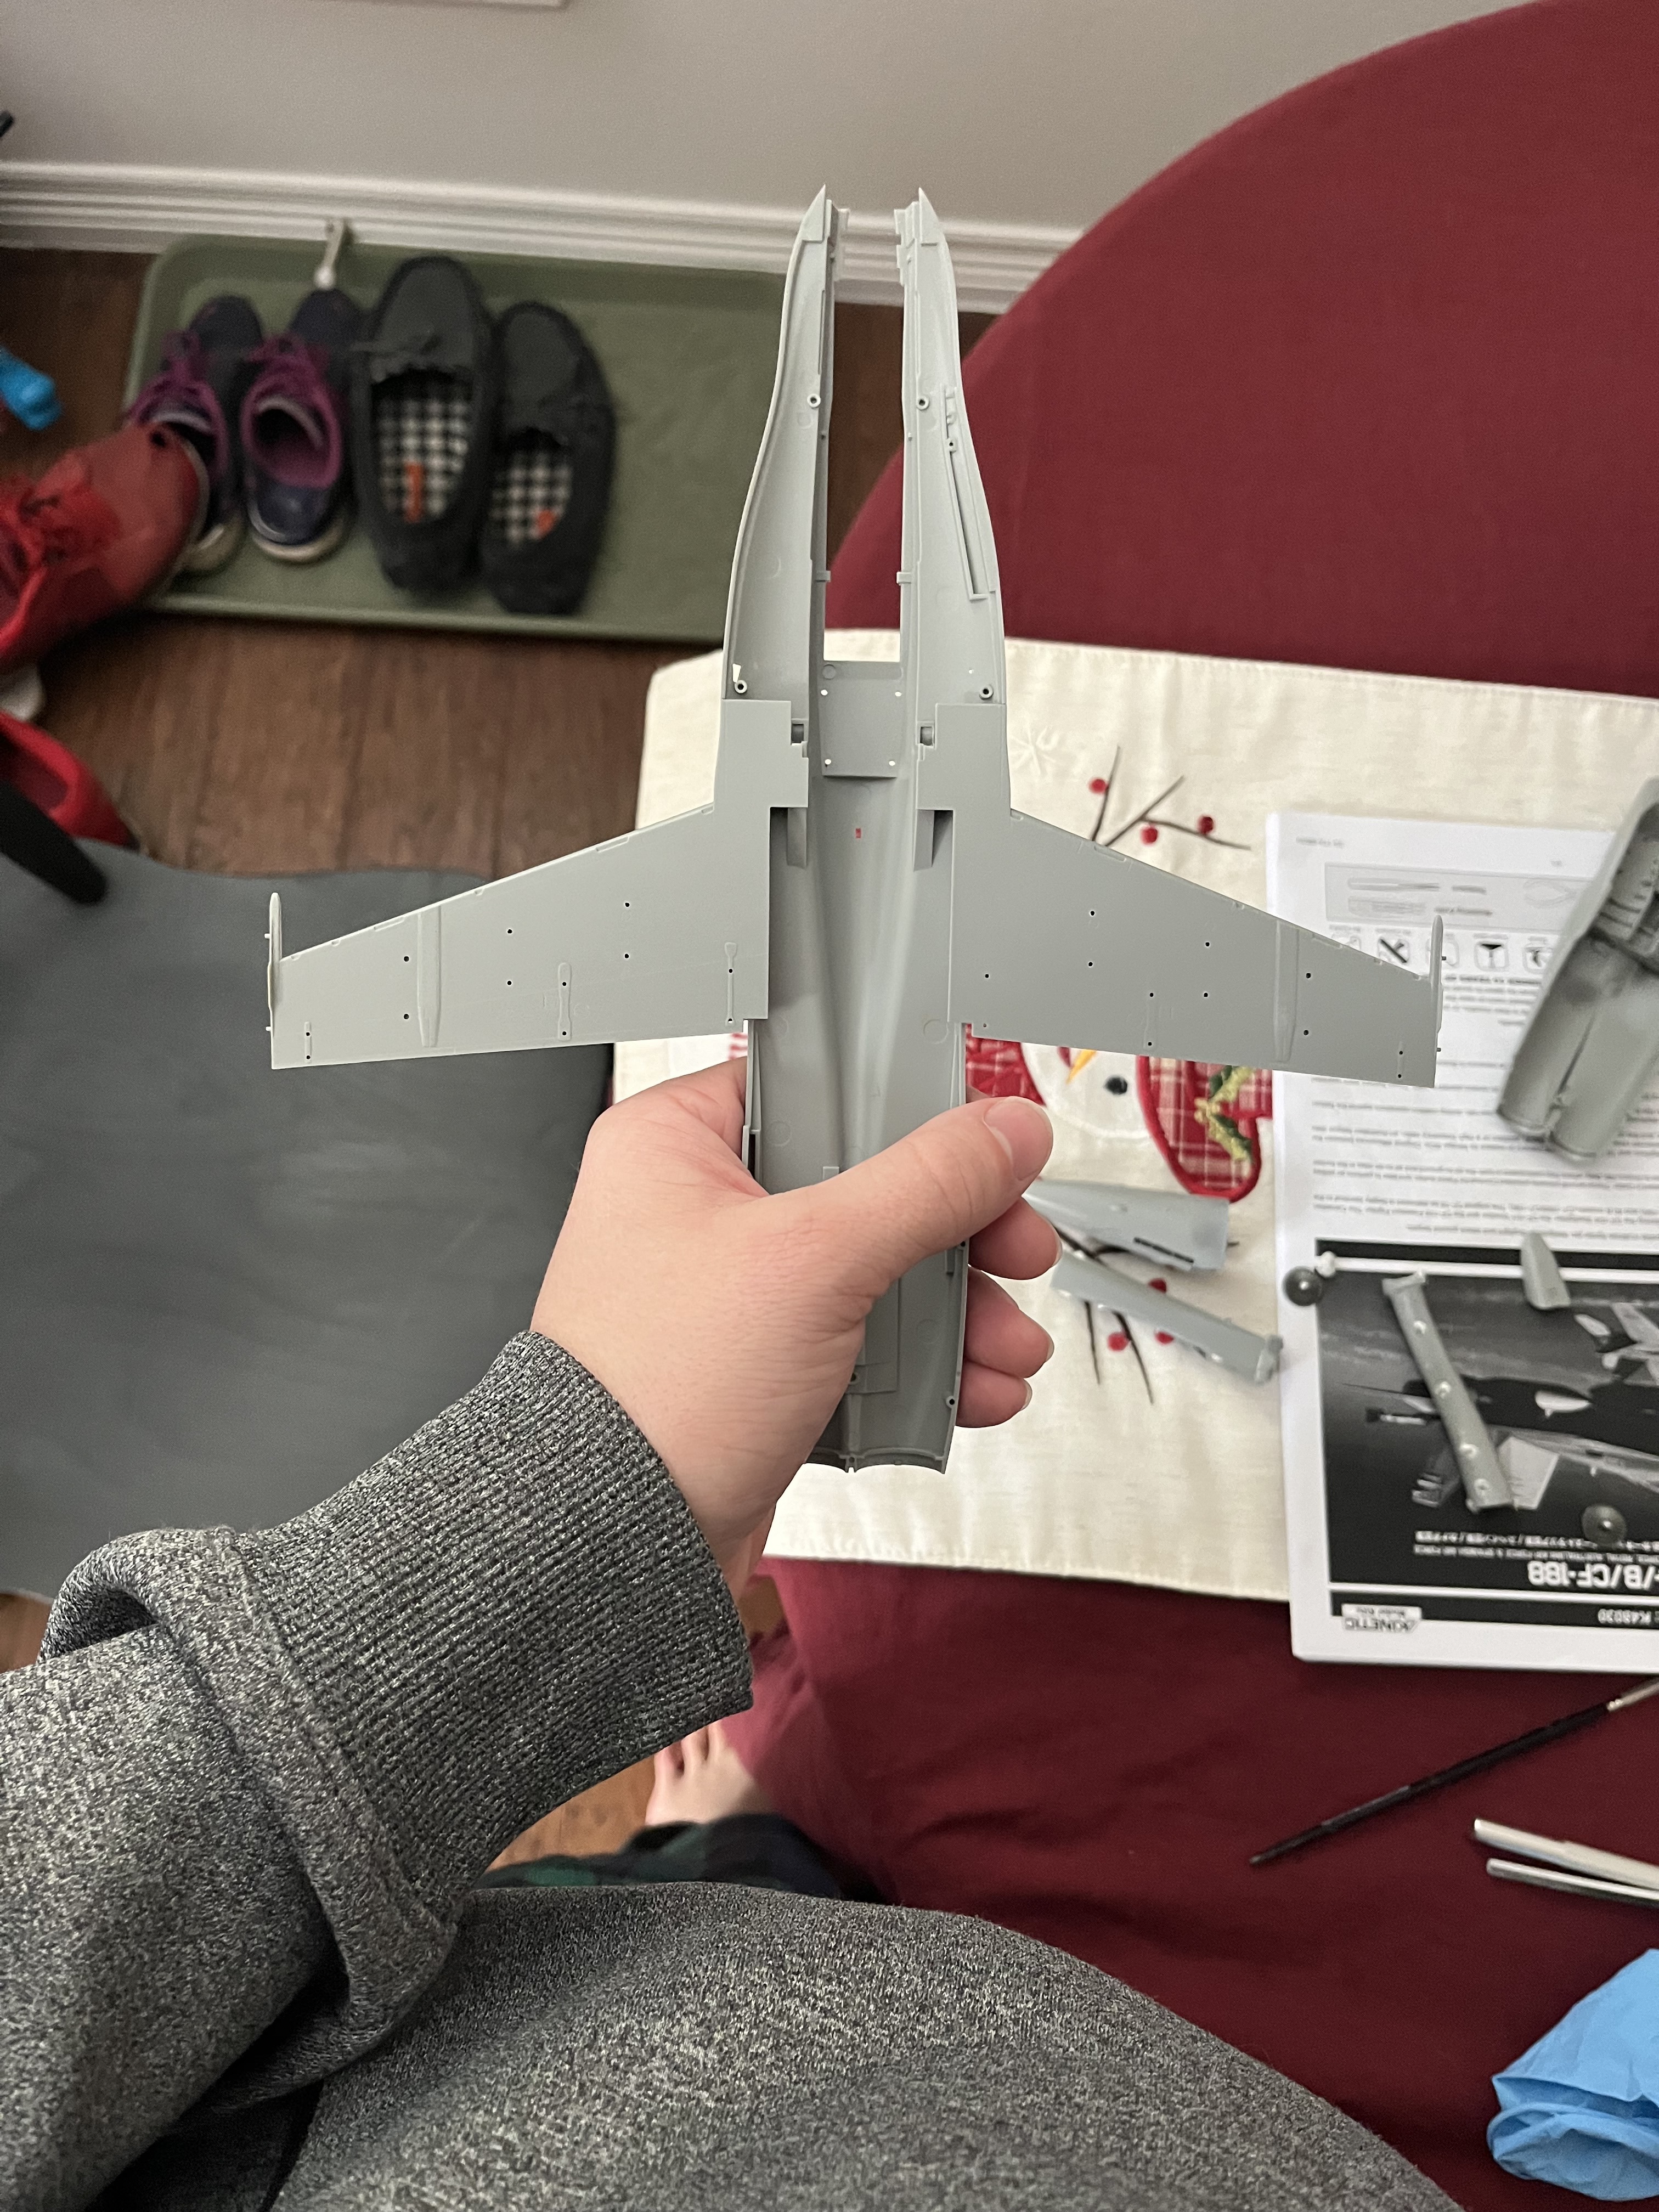
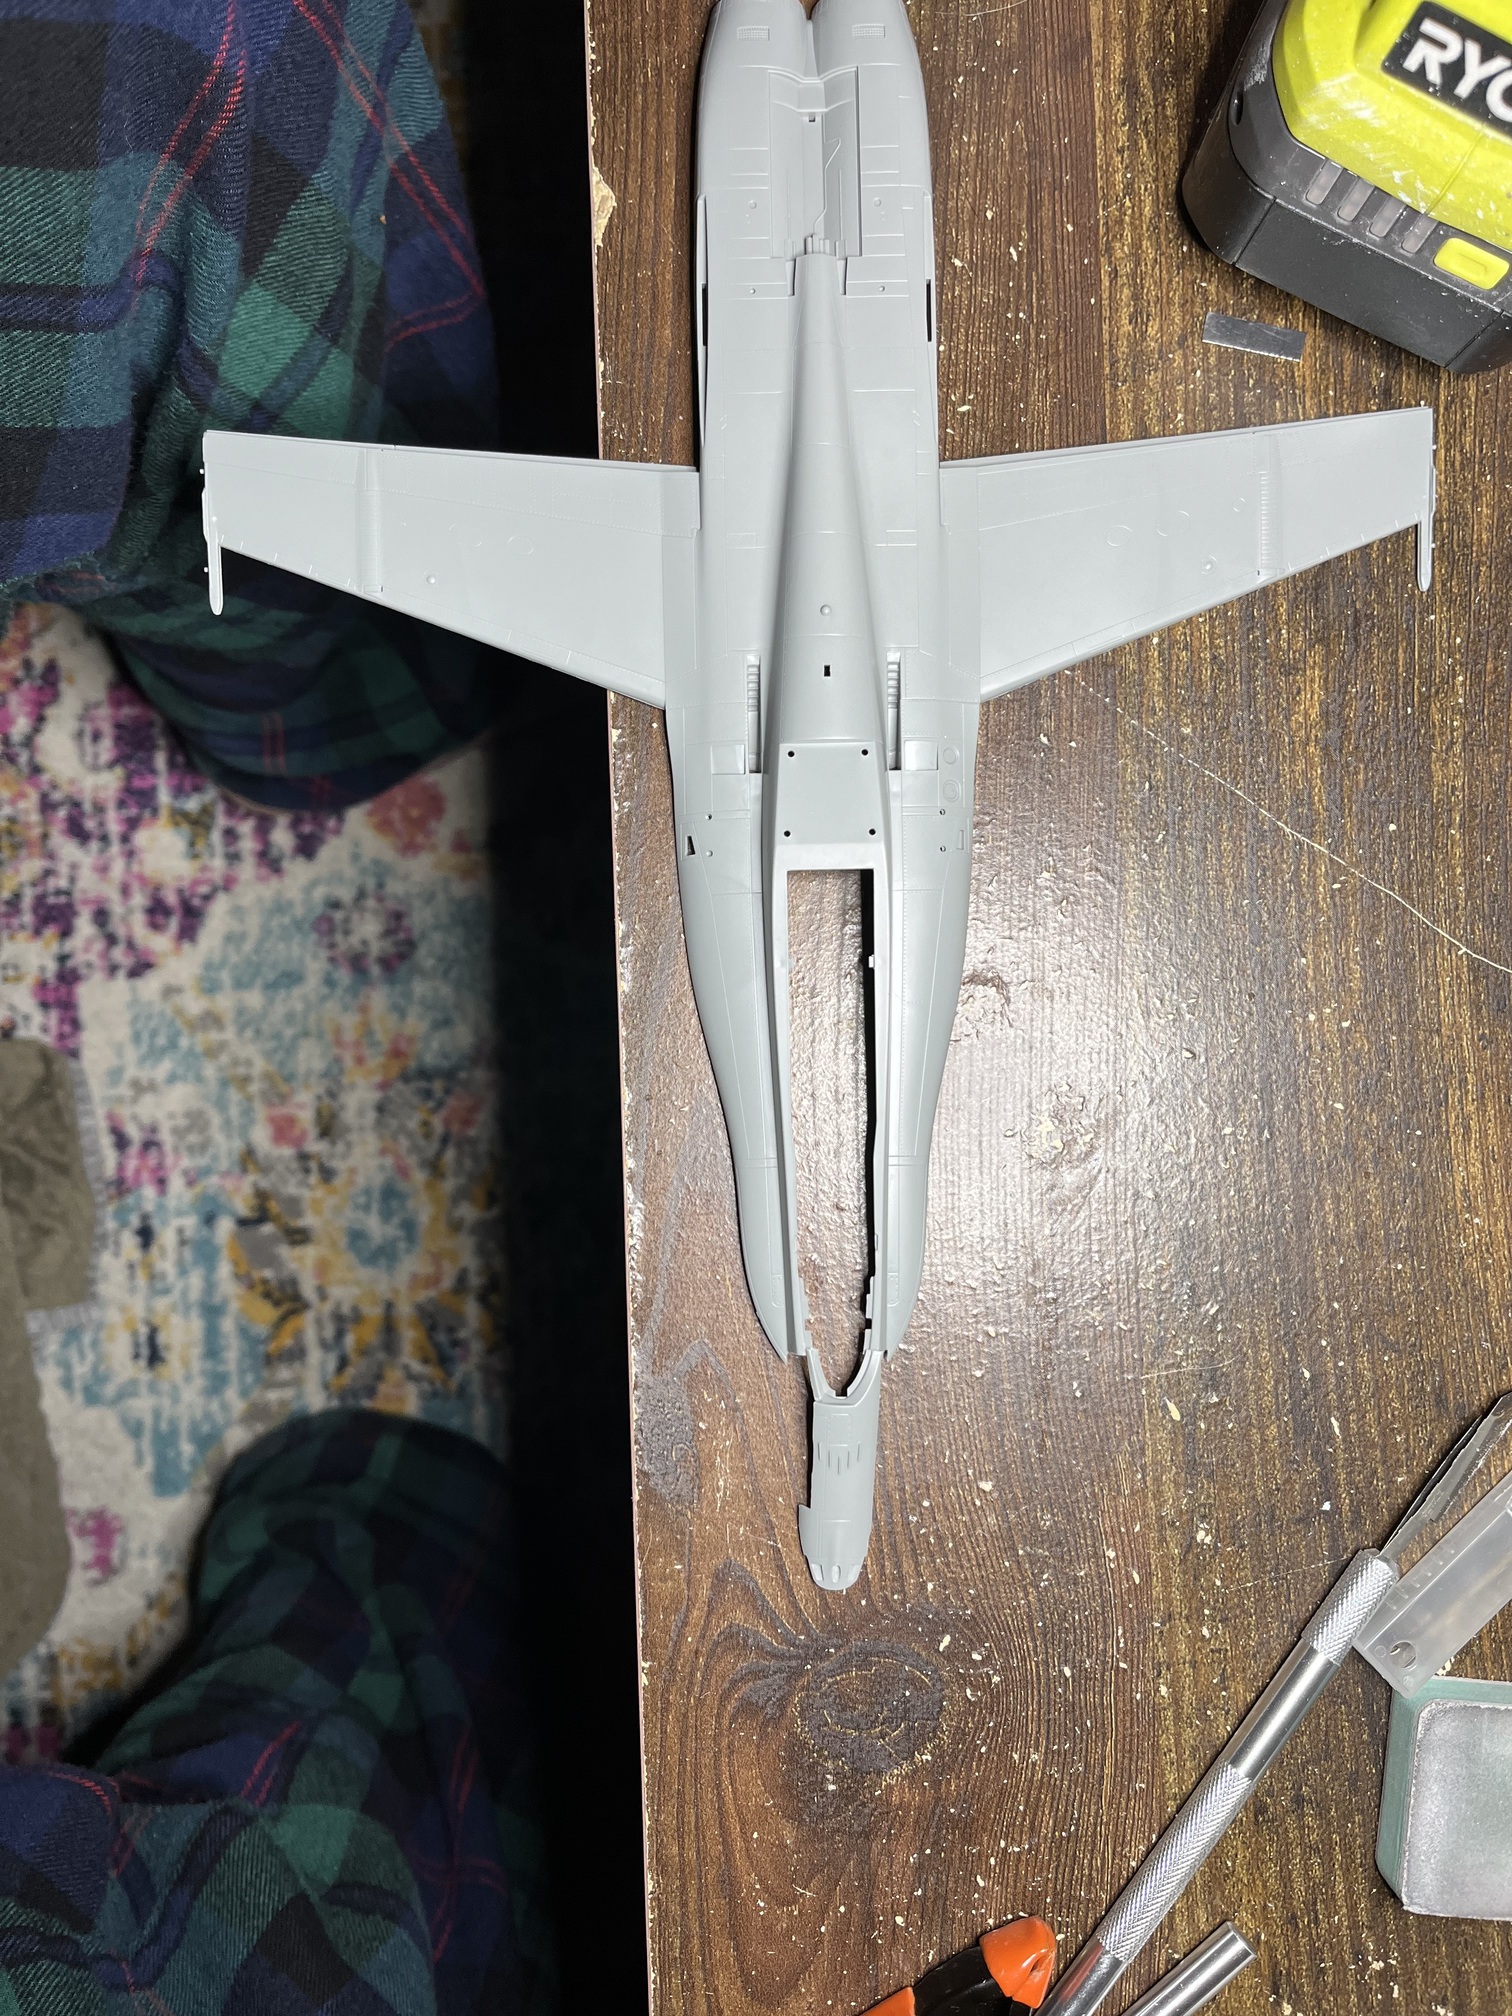
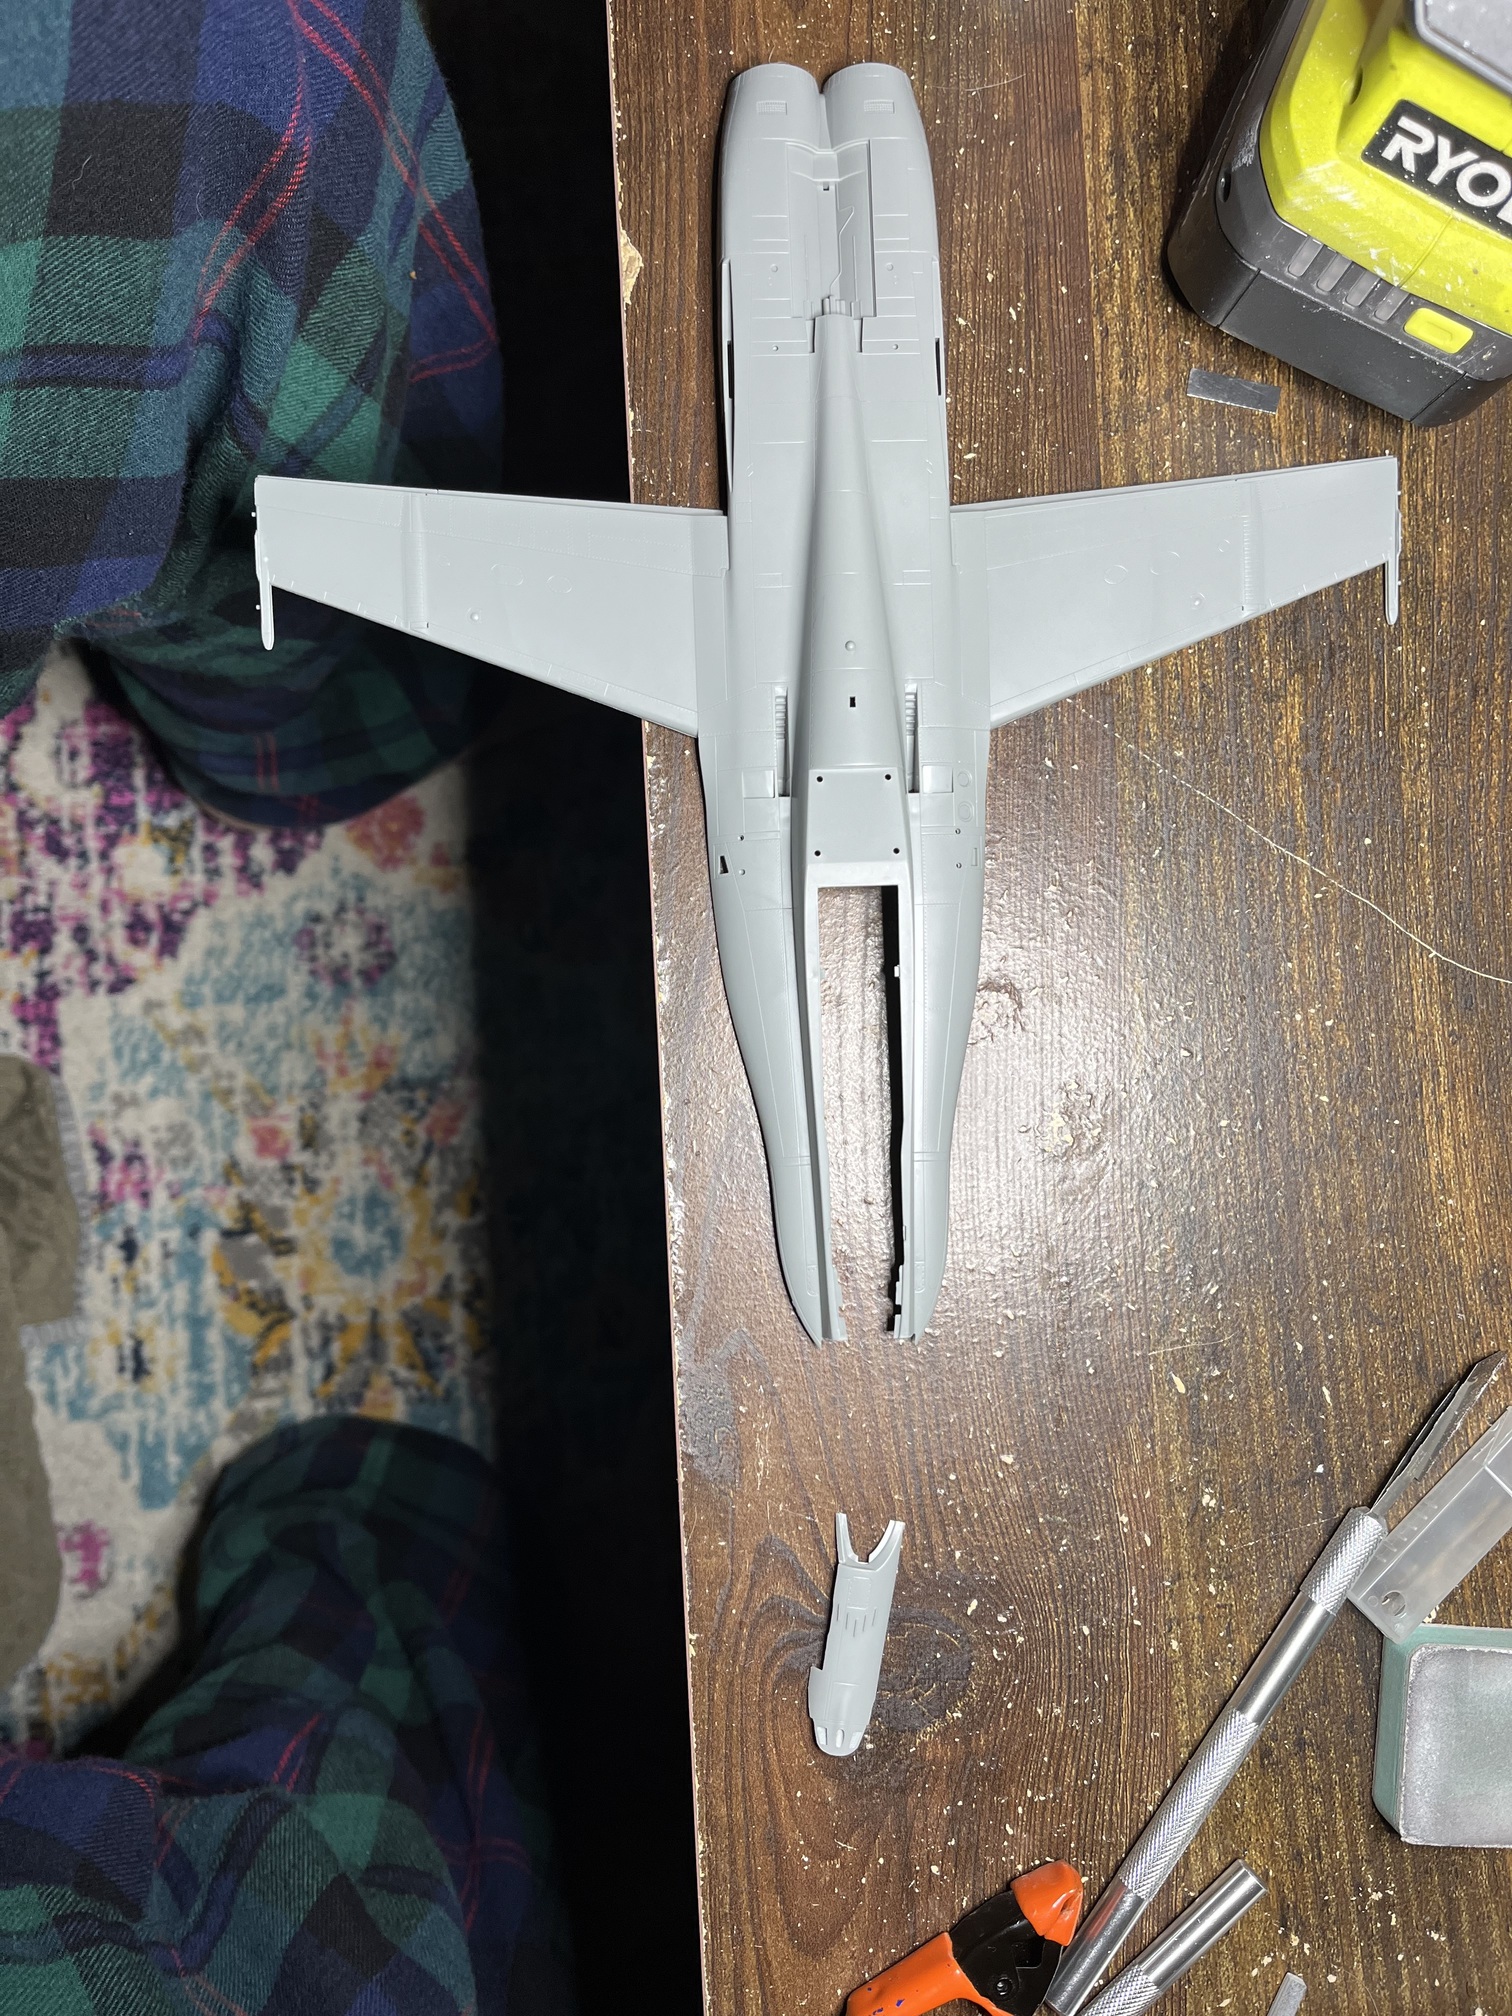
This and the intake was the last step before o could close the fuselage up. I dry fitted and everything looks great! I also added the Lowe wings to the upper fuselage
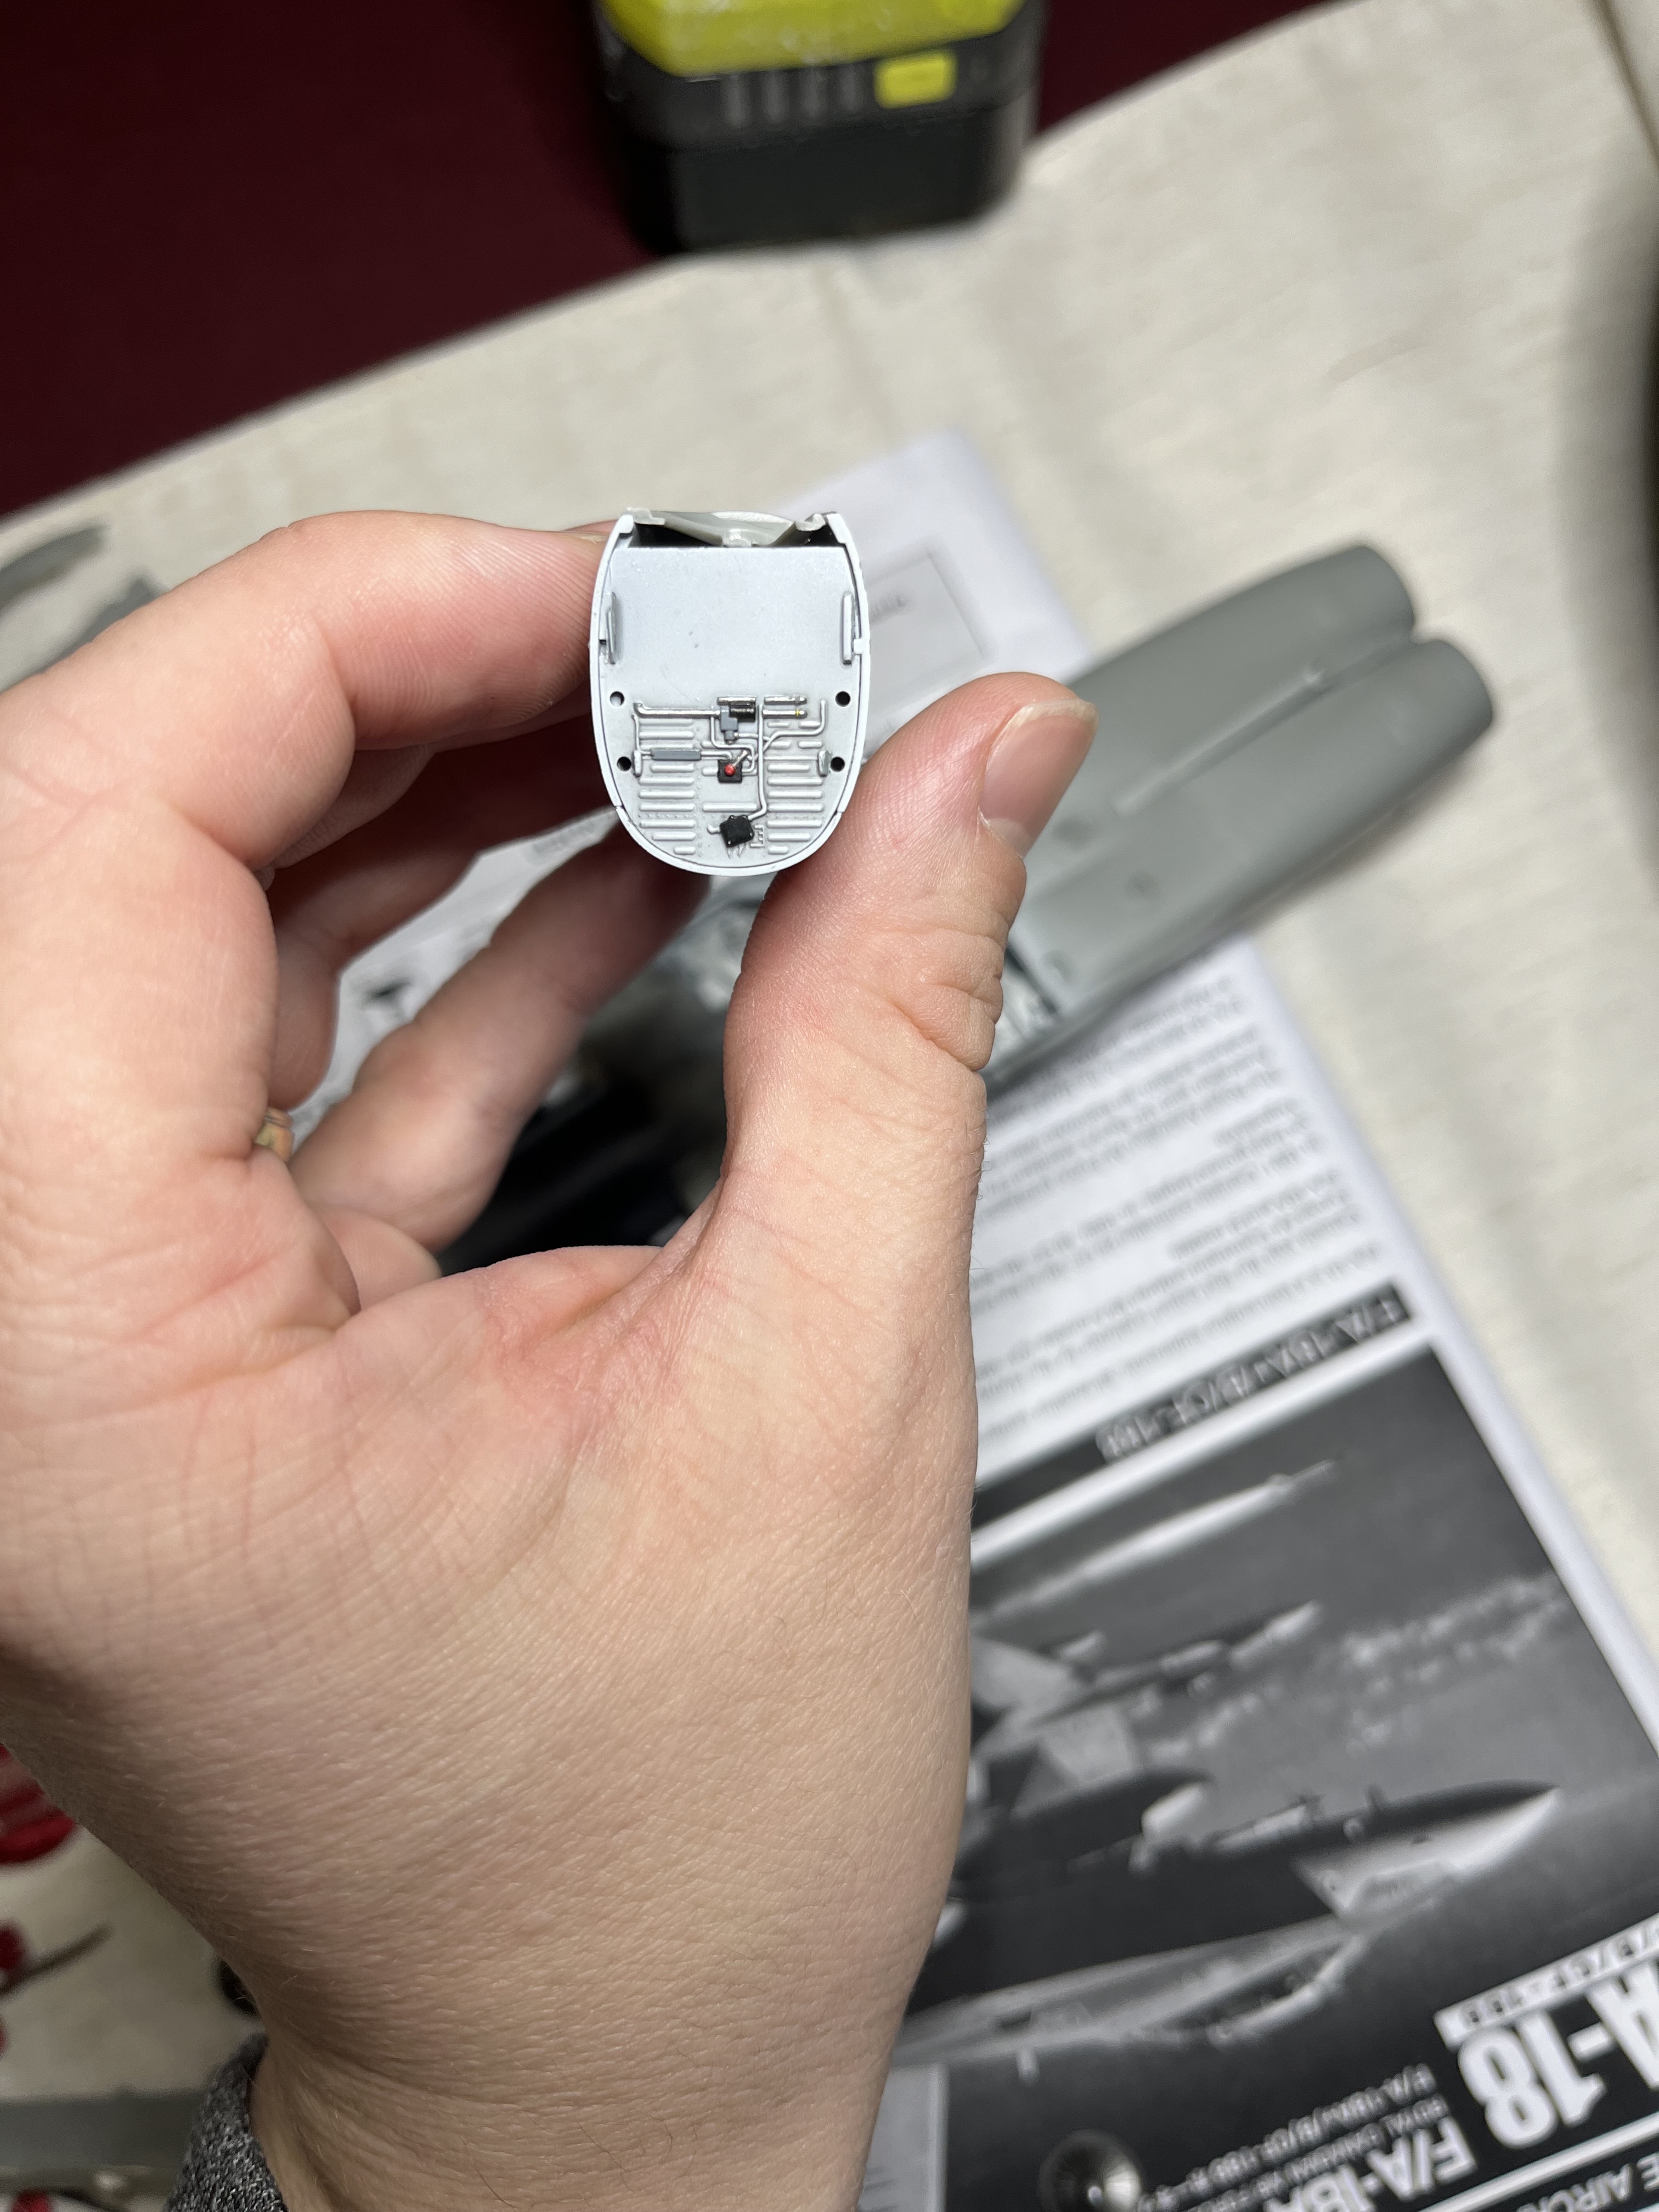
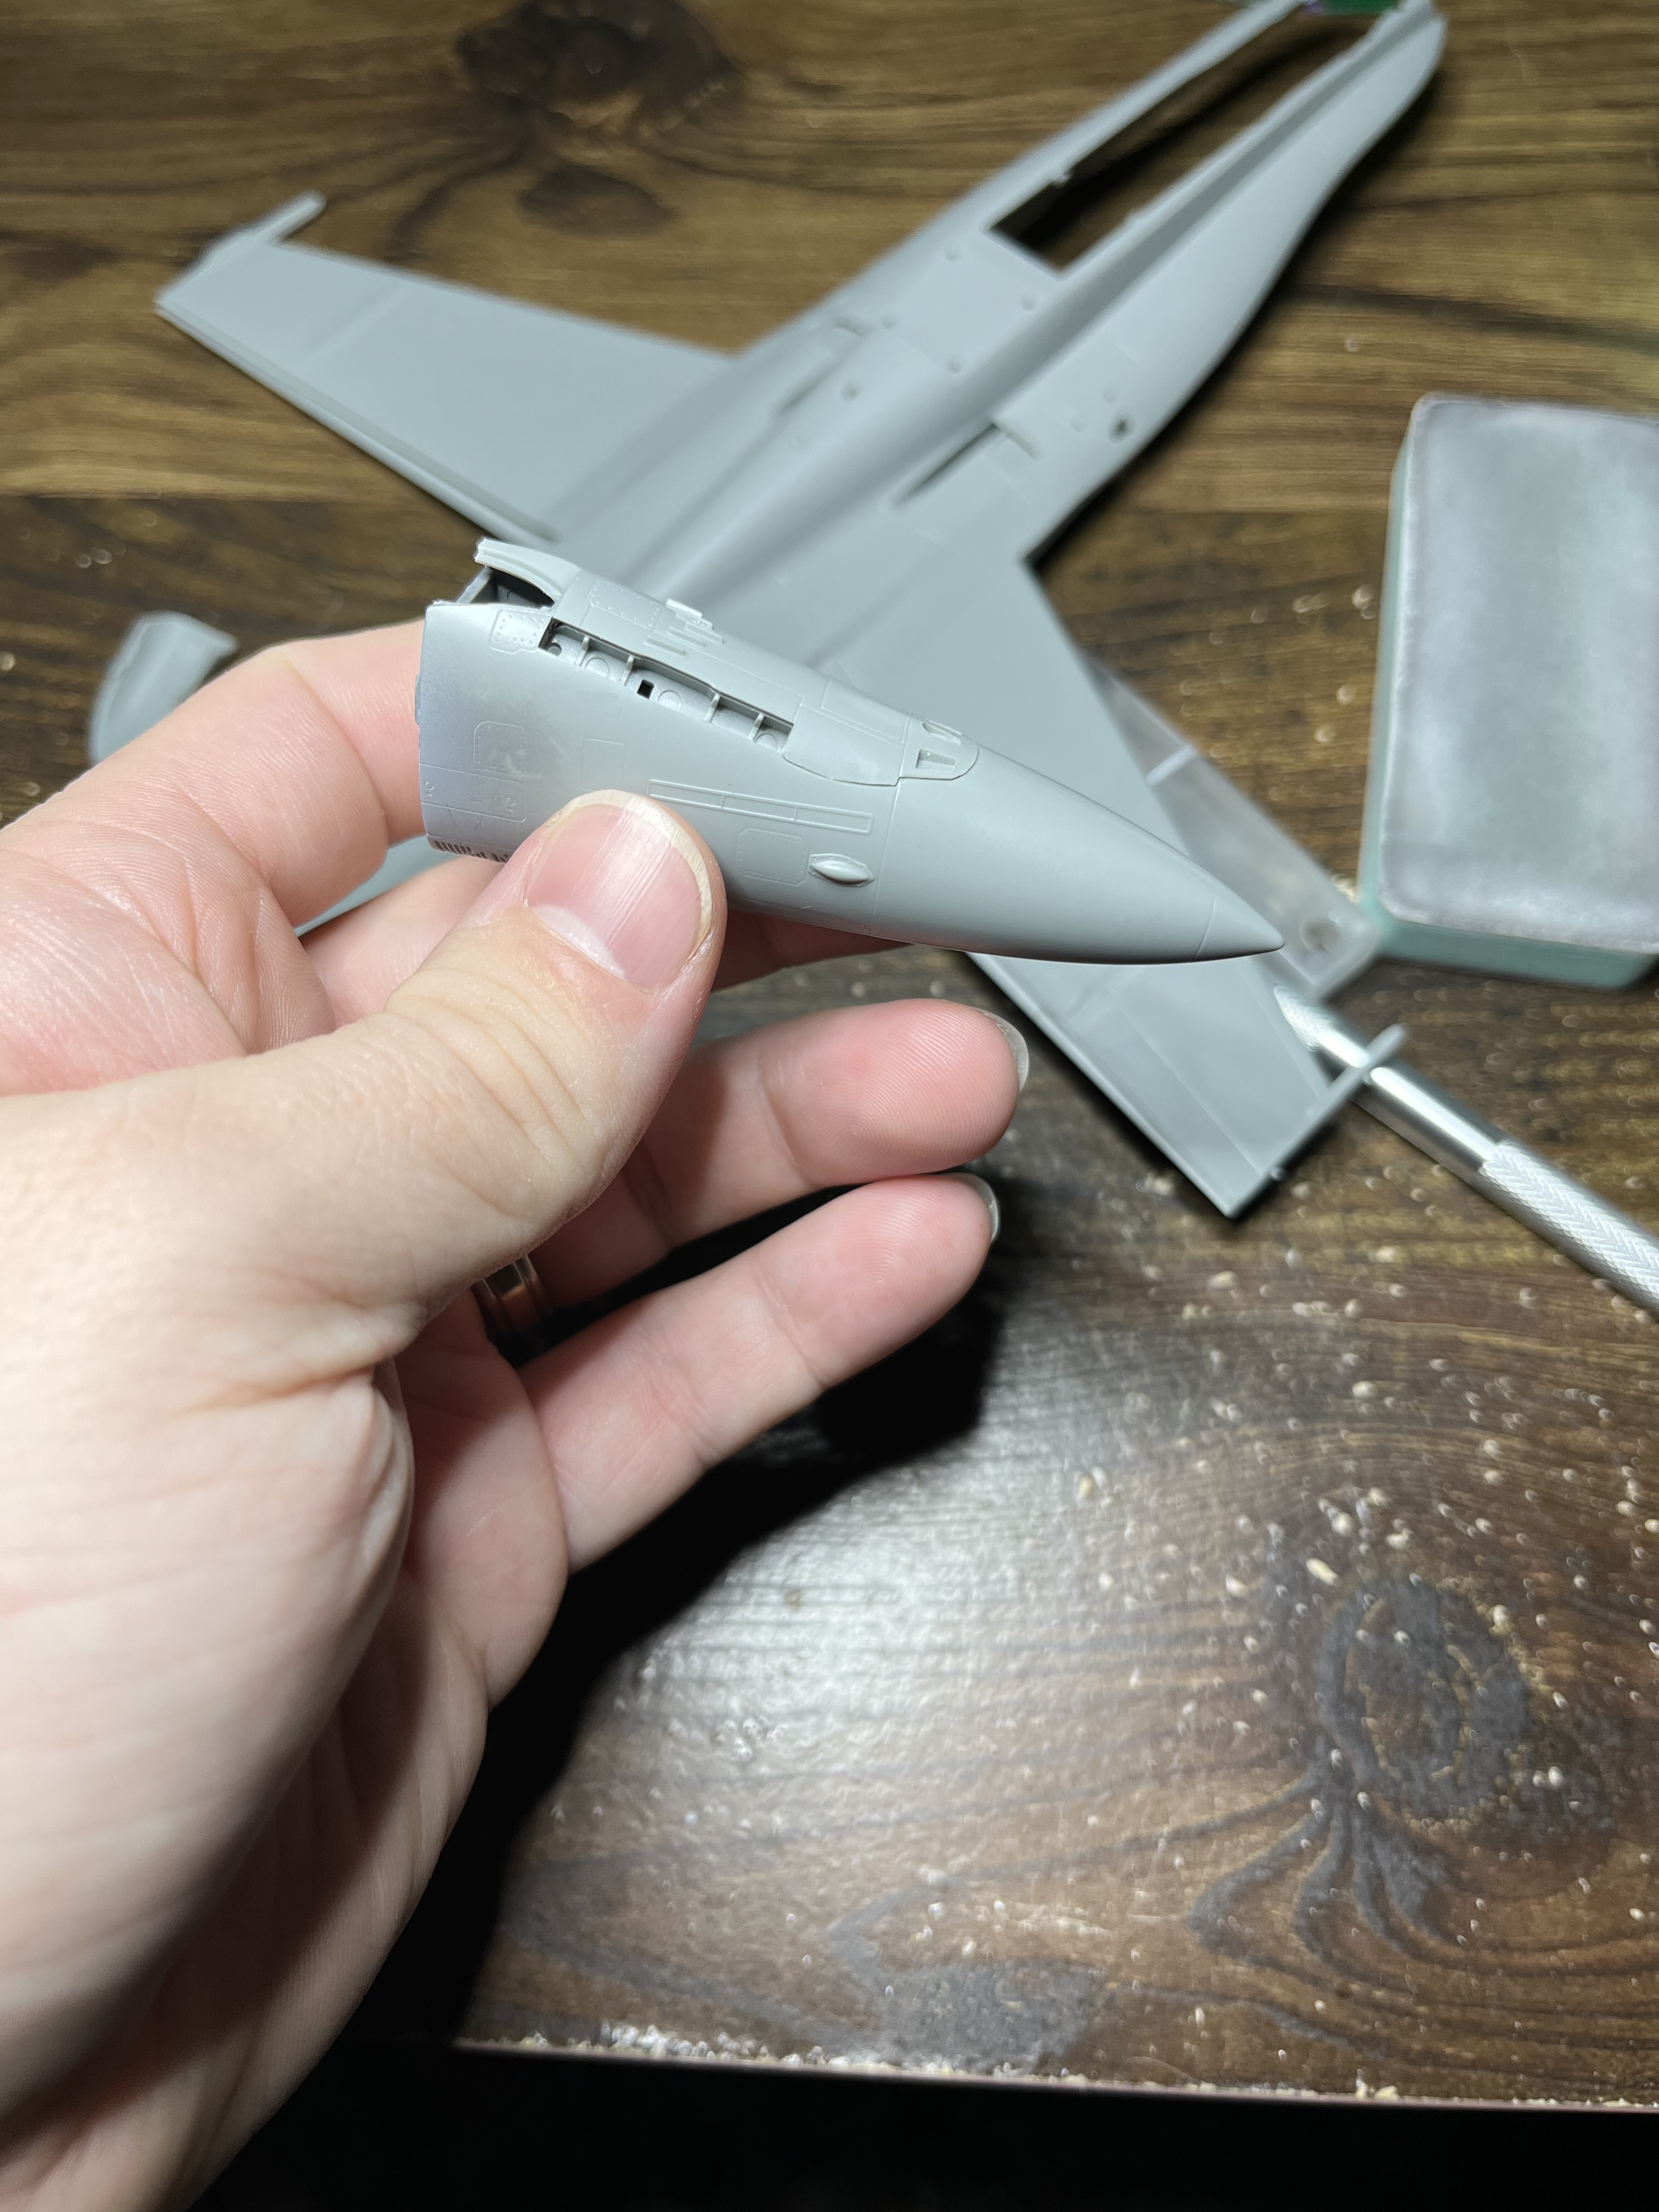
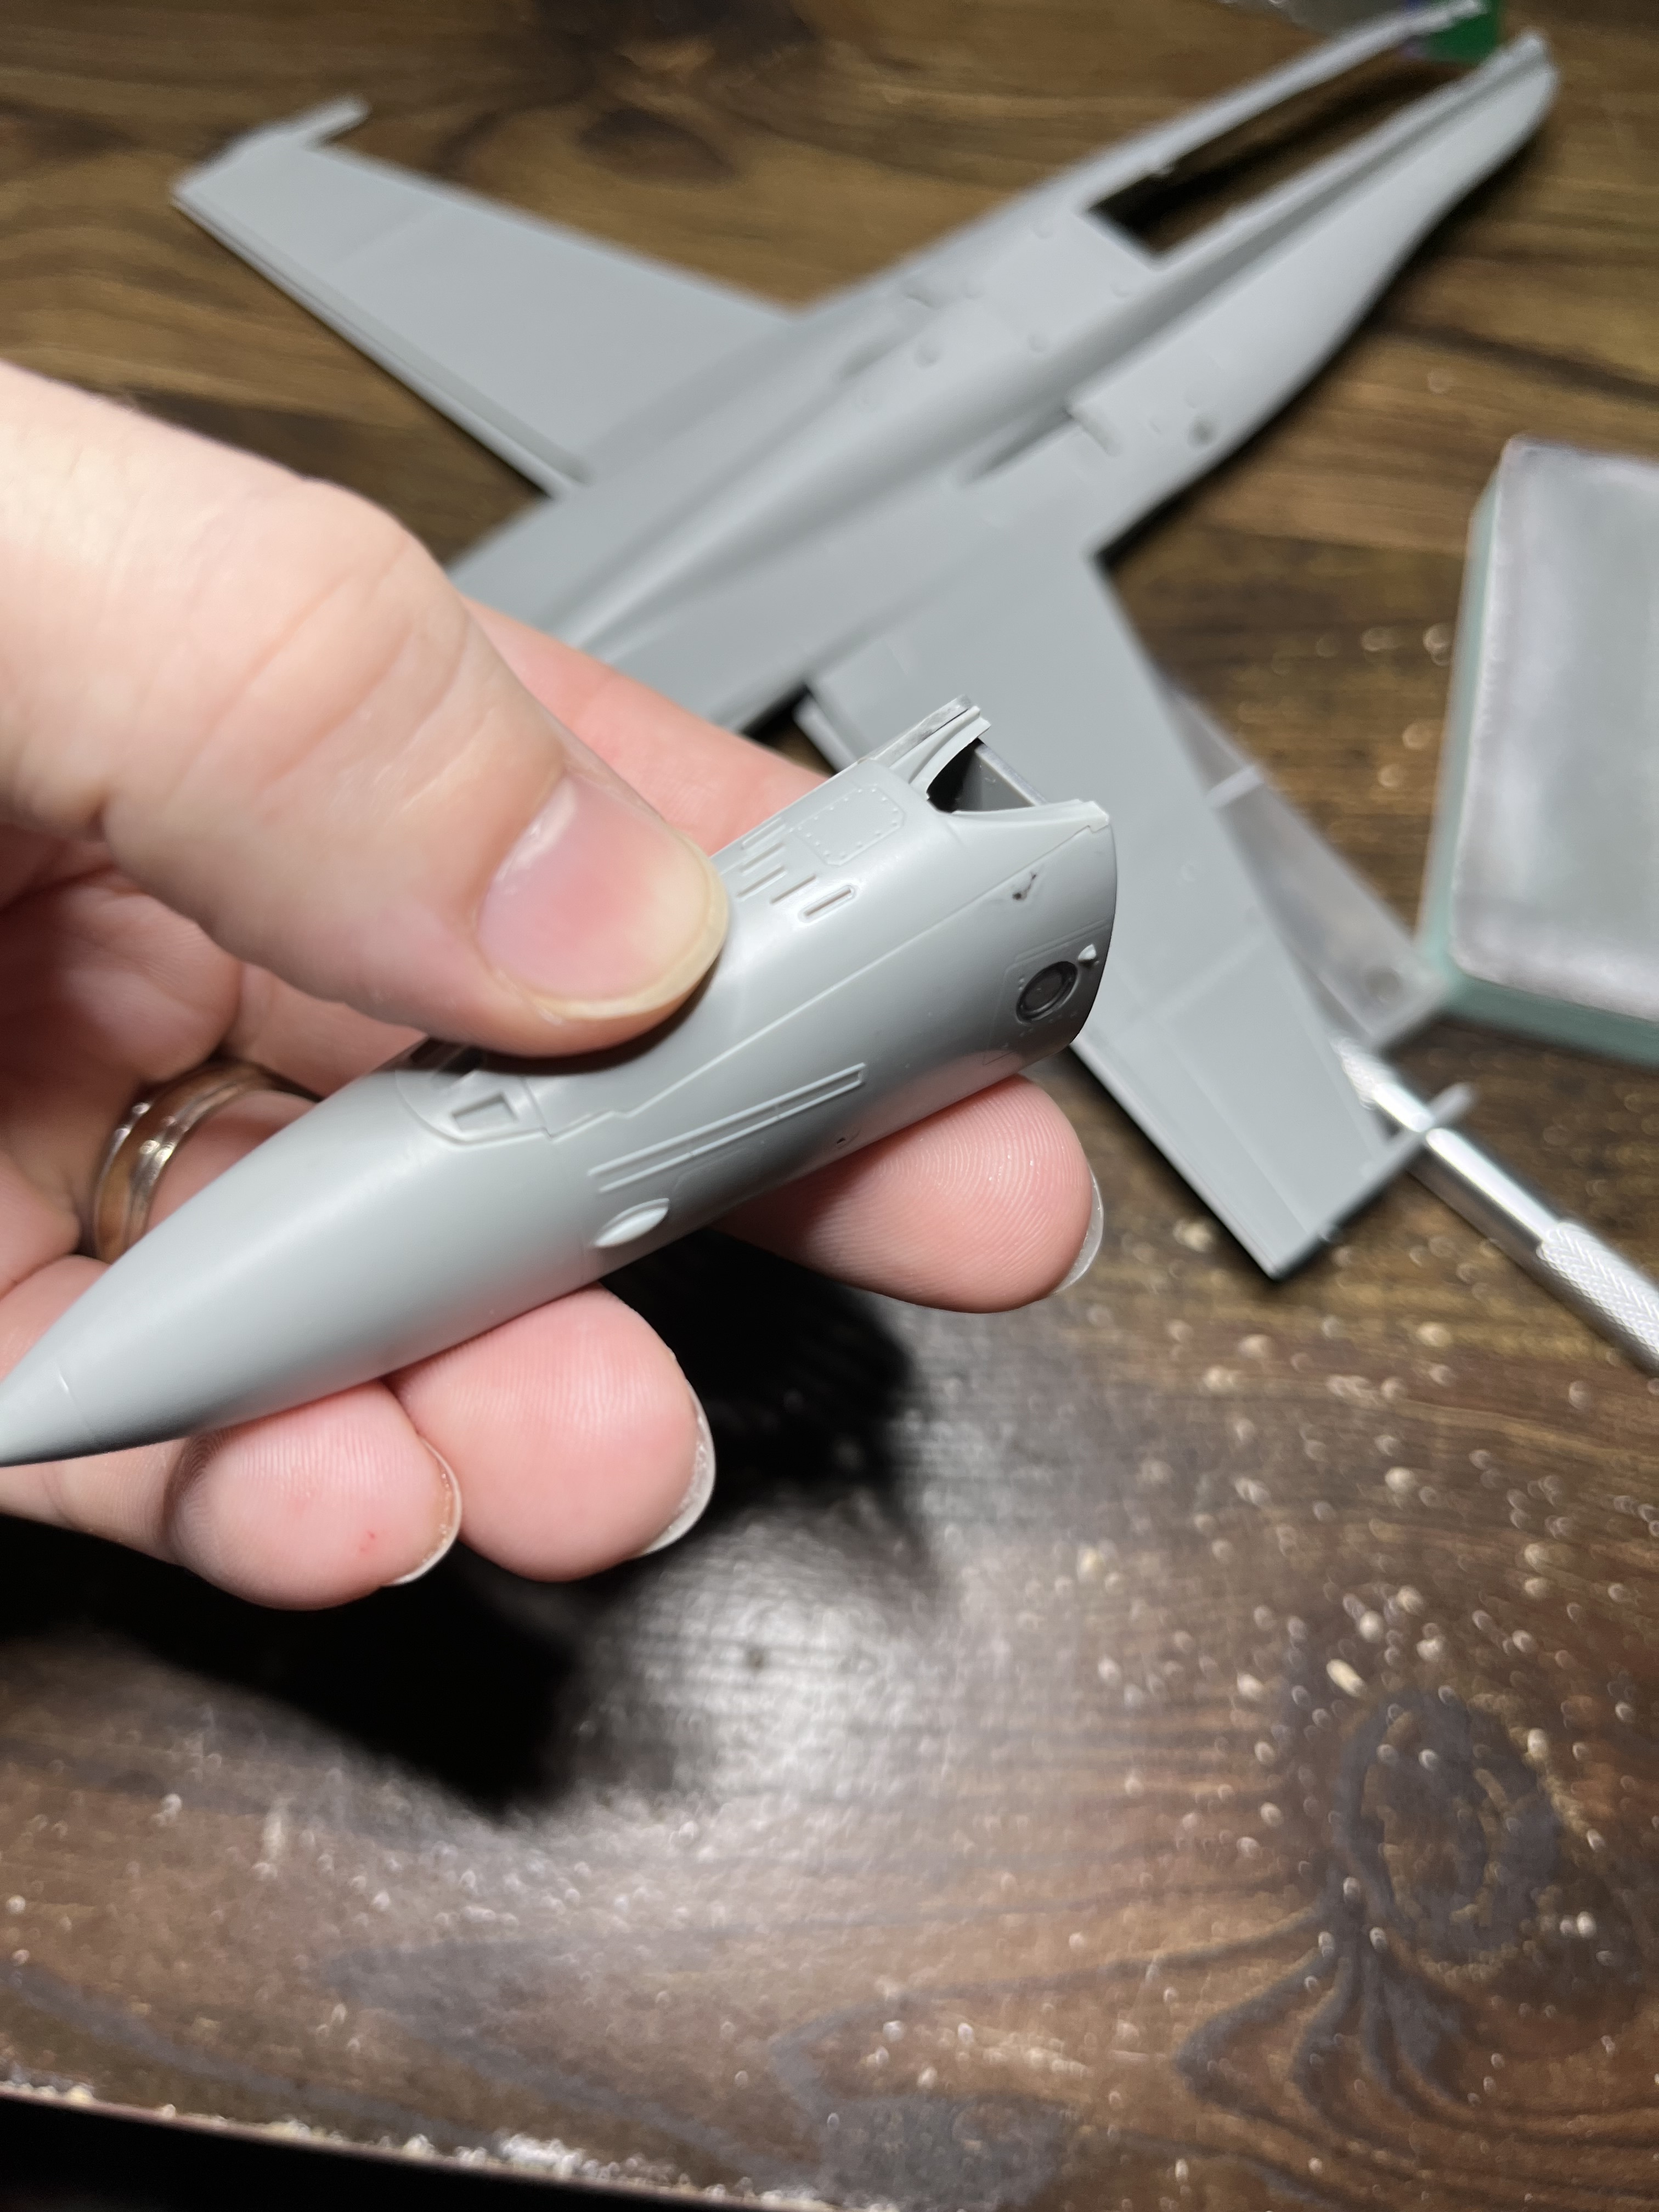
Last update, is on the nose. I got the search light painted, which needs to be painted from the inside. I will mask it off later. The second larger issue with the nose is the top piece. It is attached to the upper fuselage, but is somewhat flimsy and has a poor fit. Reading other posts. A solution is to cut the nose piece off the fuselage, attach it to the nose and then attach the full nose assembly to the fuselage. This is the route I went it makes fitting the fuselage easier, and the seam is mostly hidden by the IP cover. The small part that isn’t hidden is easy to fix with some light filler
The fit of the top nose is not great and will need some filler, but this approach makes the fit of the nose to the fuselage much smoother. Once I weather the intakes, I will put the fuselage together!!
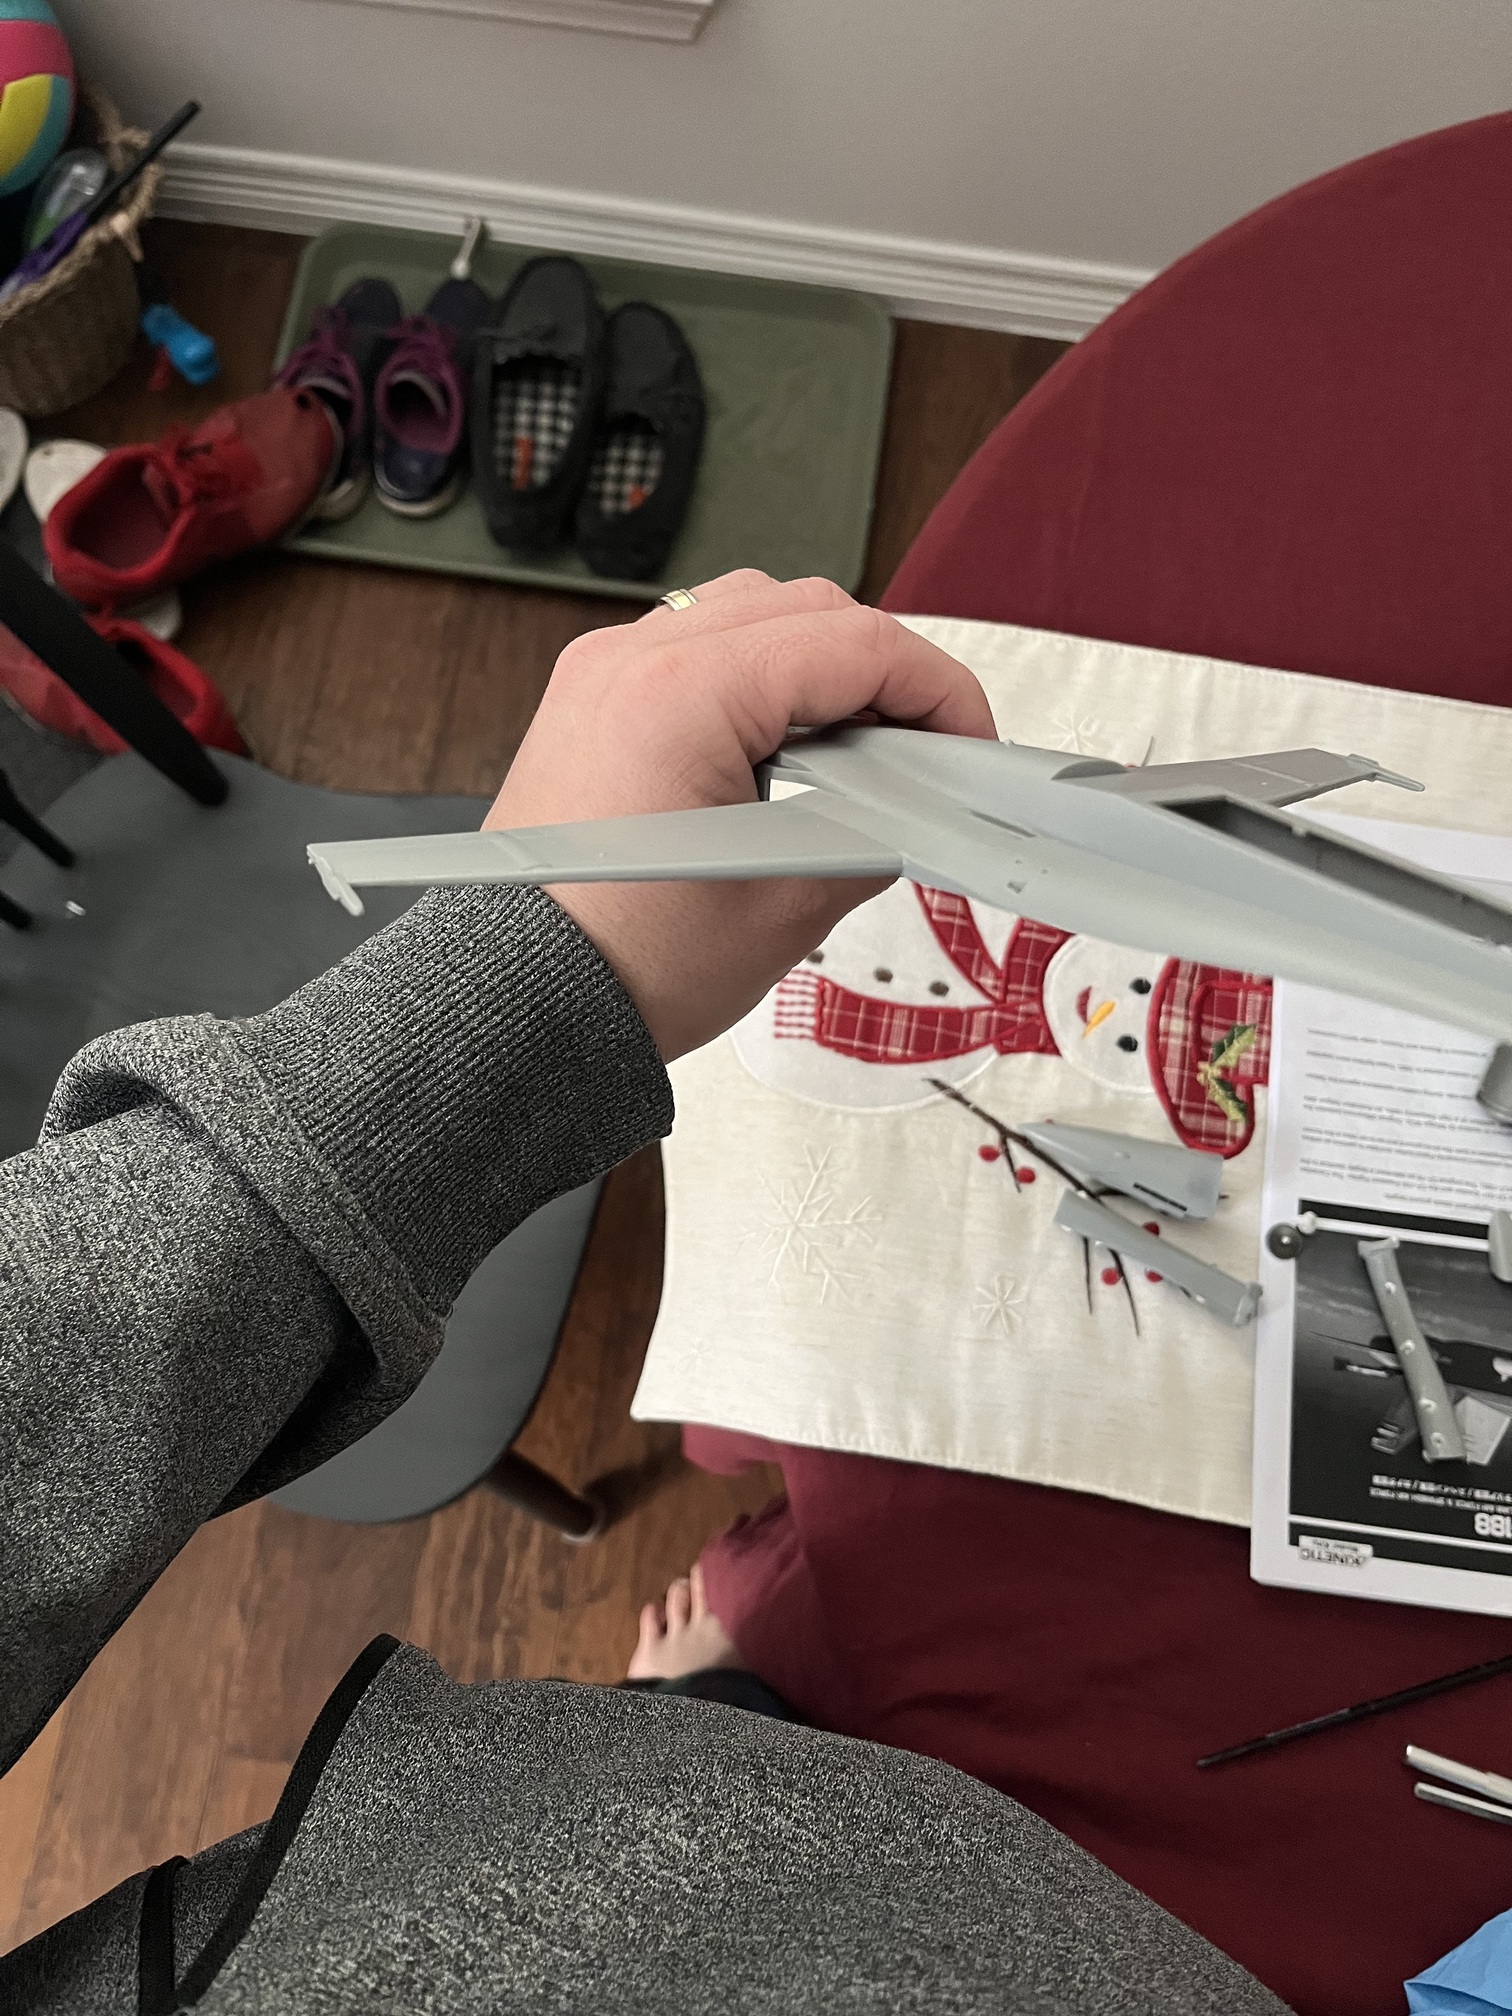
Nice sweater.
![]() should have cropped the pics, didn’t have time as I ran out the house
should have cropped the pics, didn’t have time as I ran out the house
Who is your manicurist, by the way?
Freddy Kruger
Too good! ![]()
![]()
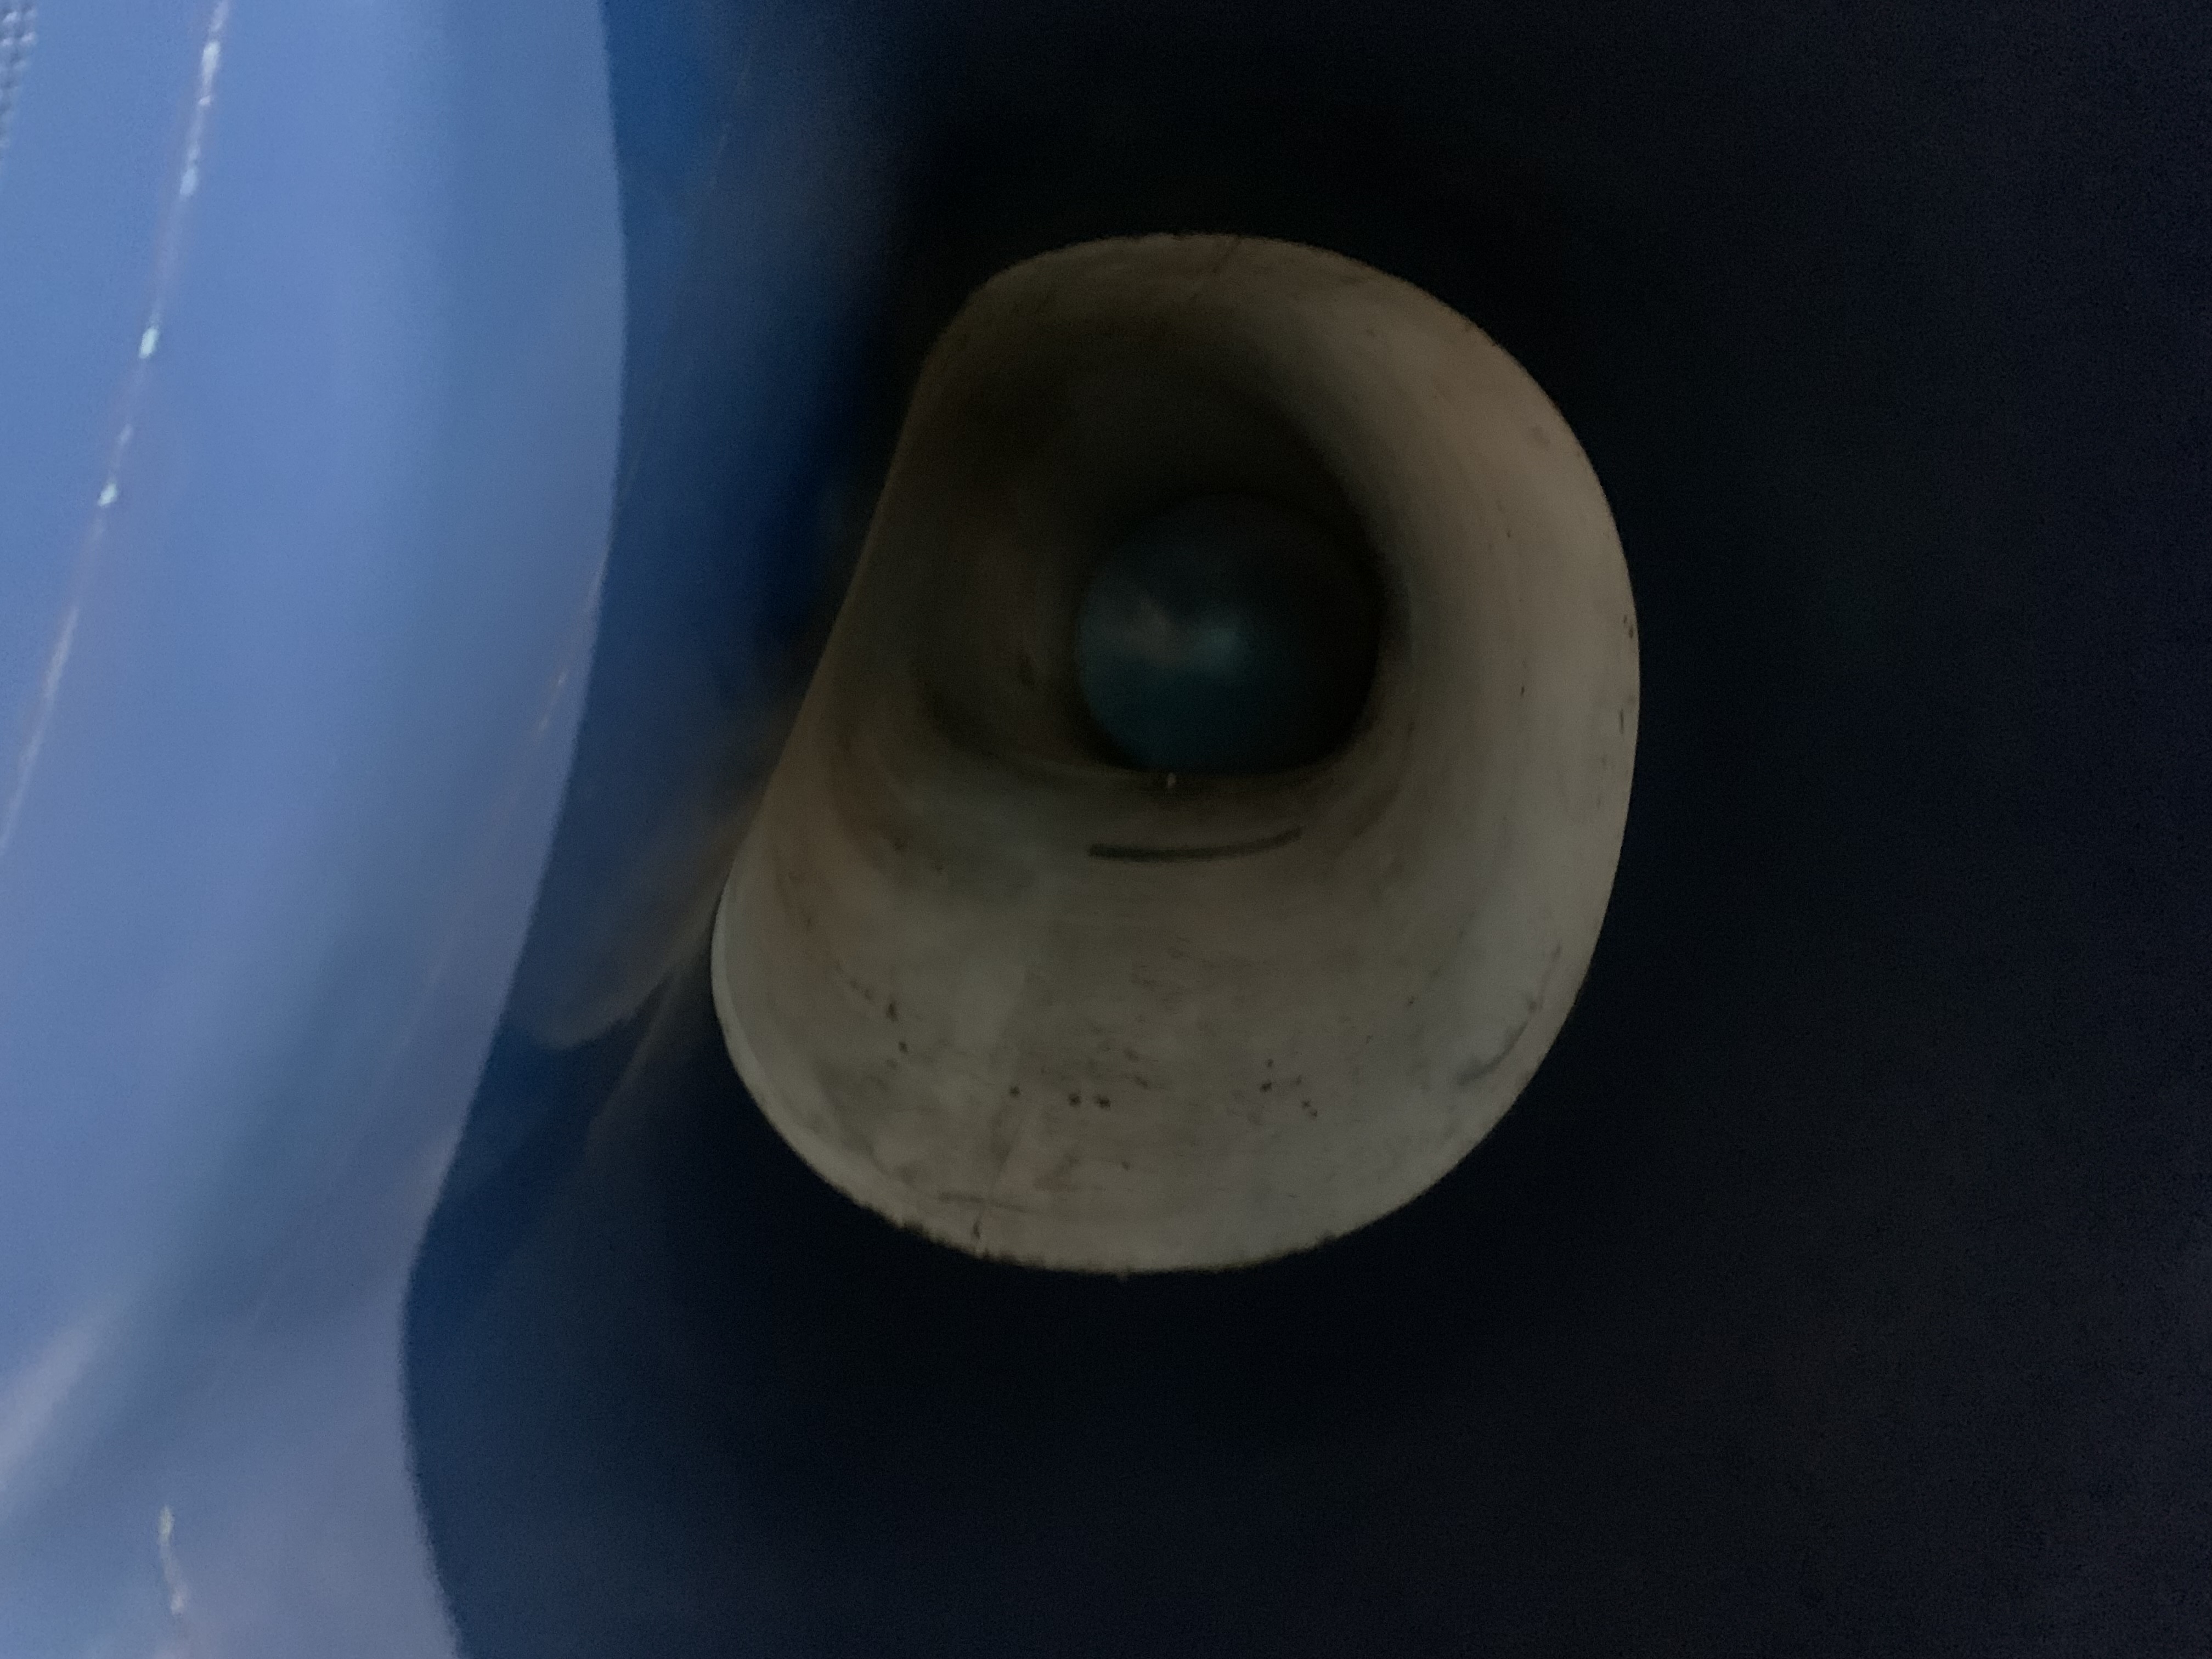
Finally got the intakes done!!
Had a little bleed through, I need to touch up. Pretty happy with how these turned out. Now I can get the fuselage together. Last major assembly is the landing gear and ordinance
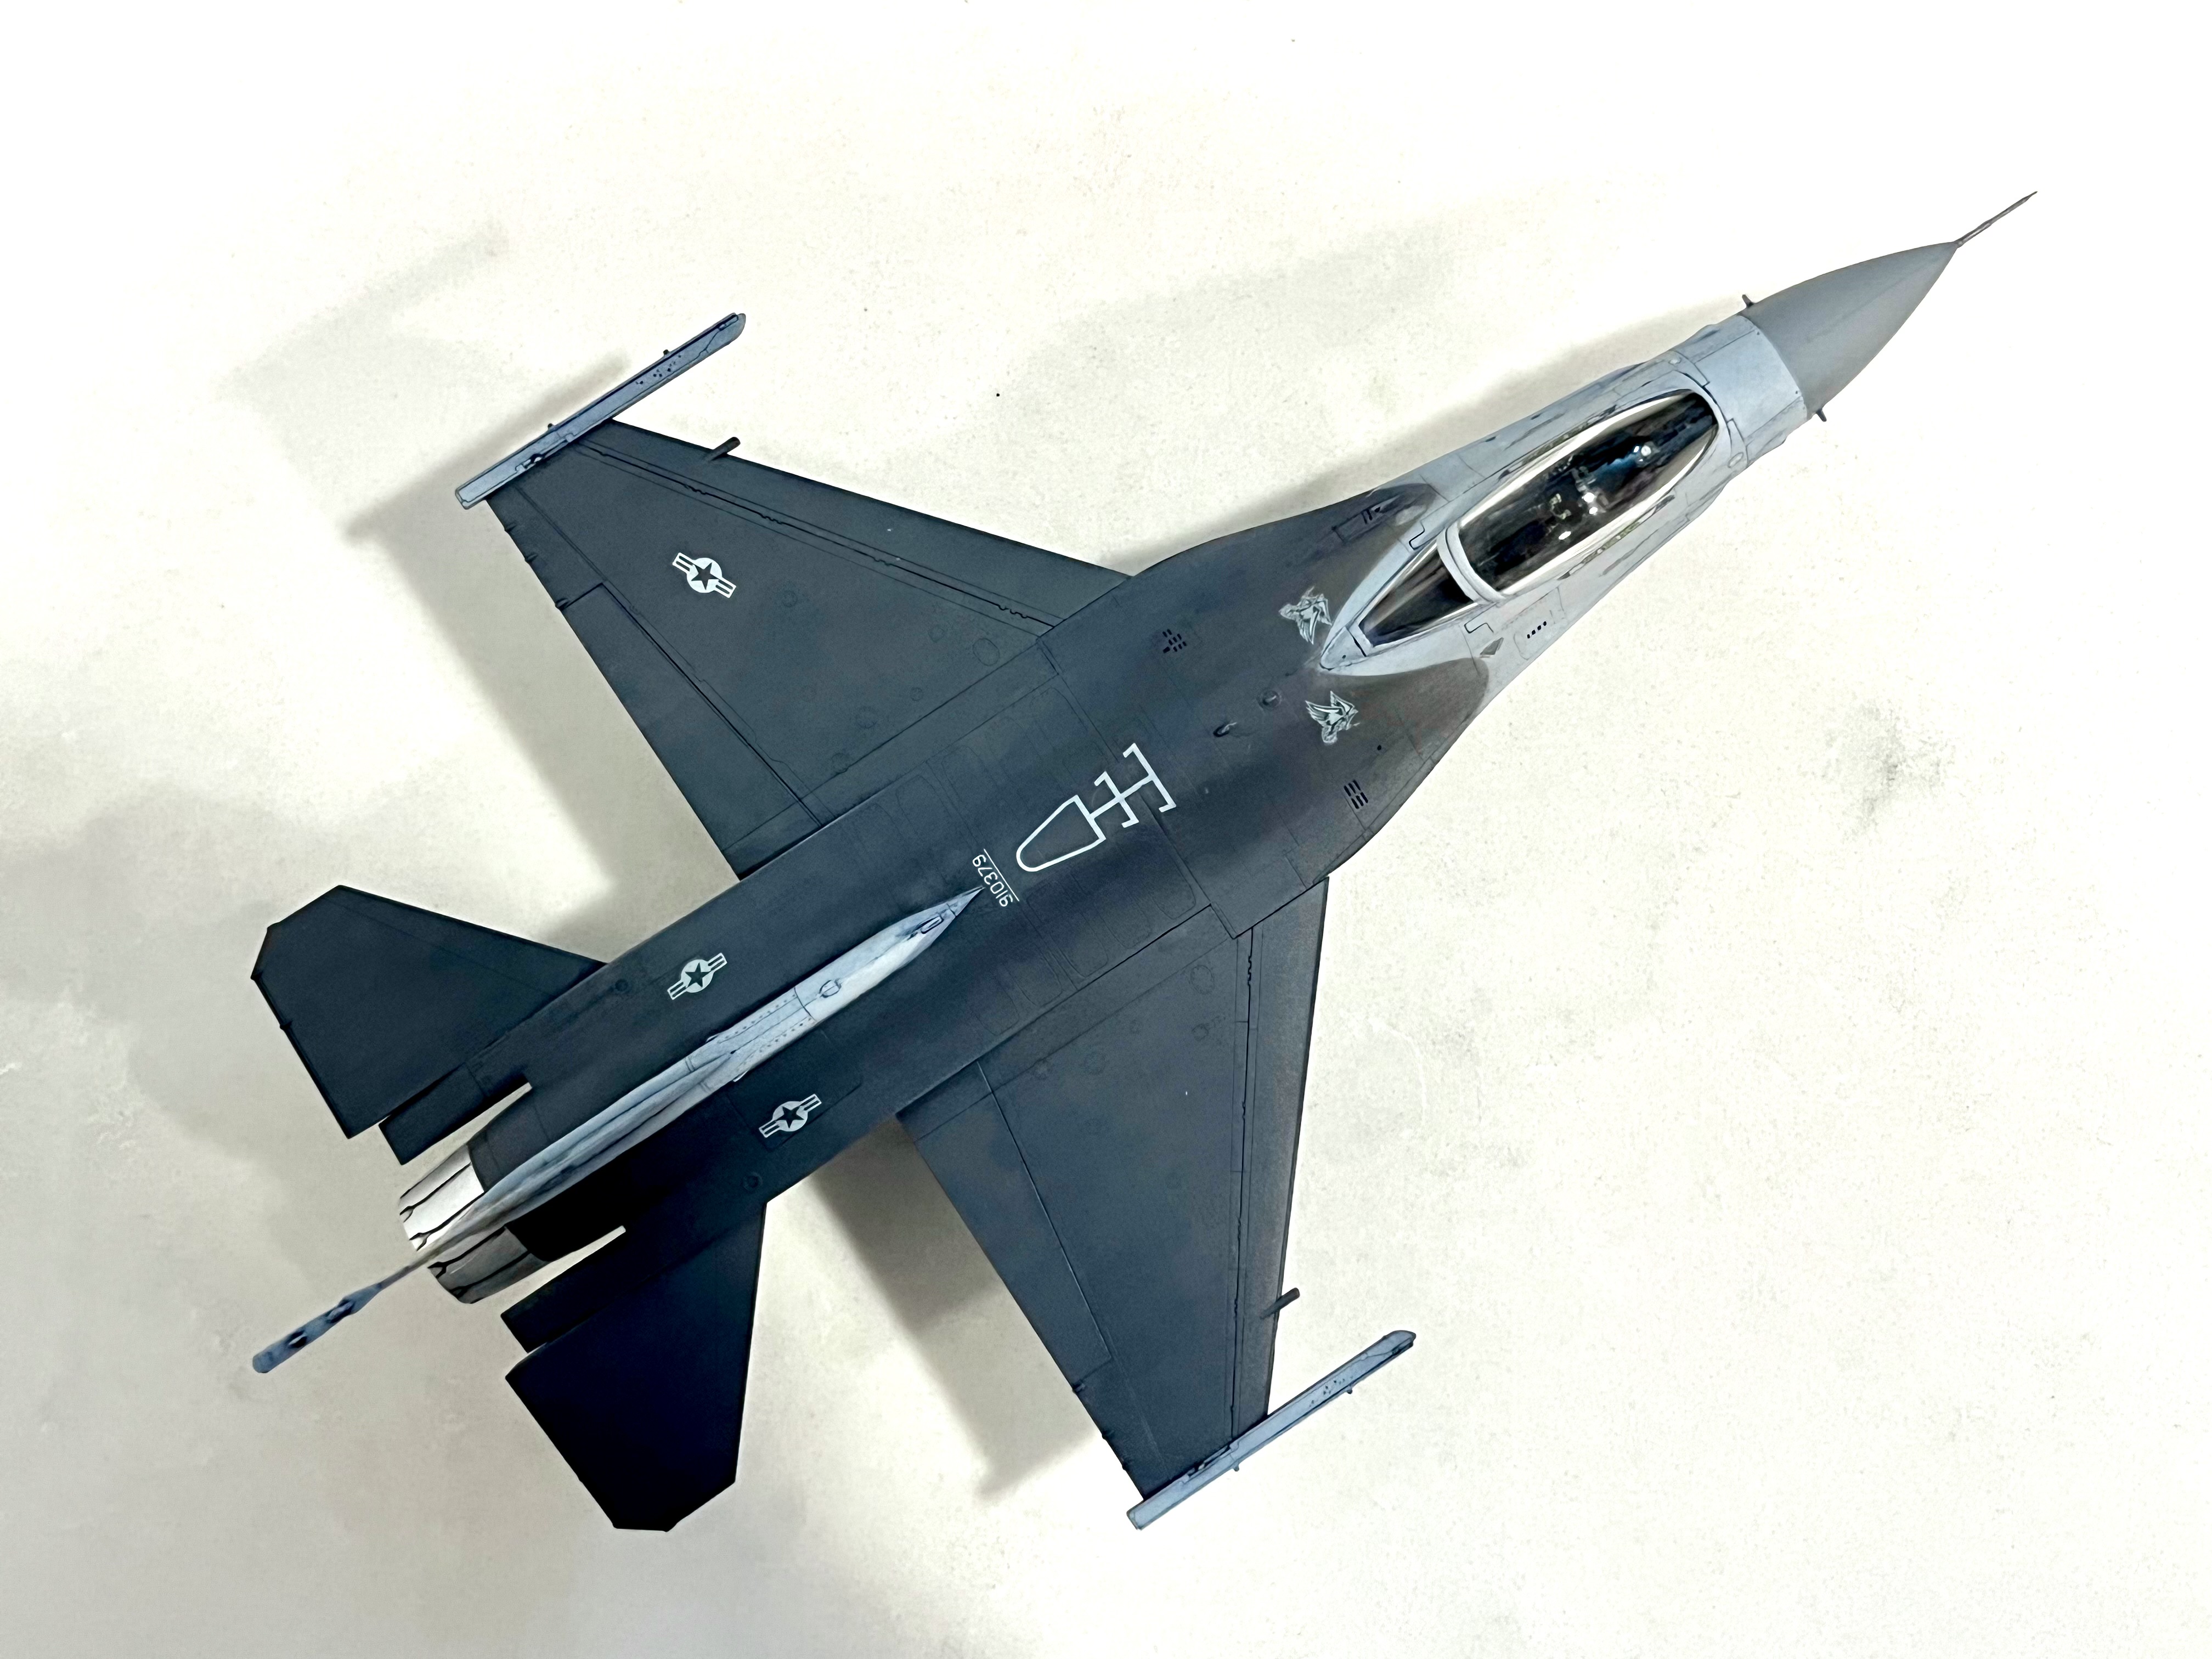
Happy new year fellows! I managed to finish (nearly, because two ordnance parts are still missing…) my F-16CJ Fighting Falcon just after Christmas.
Campaign ended yesterday, sadly I got no where near the finish. Life got in the way too many times. In the next few days I’ll compile a list of those who finished.
Thanks for participating
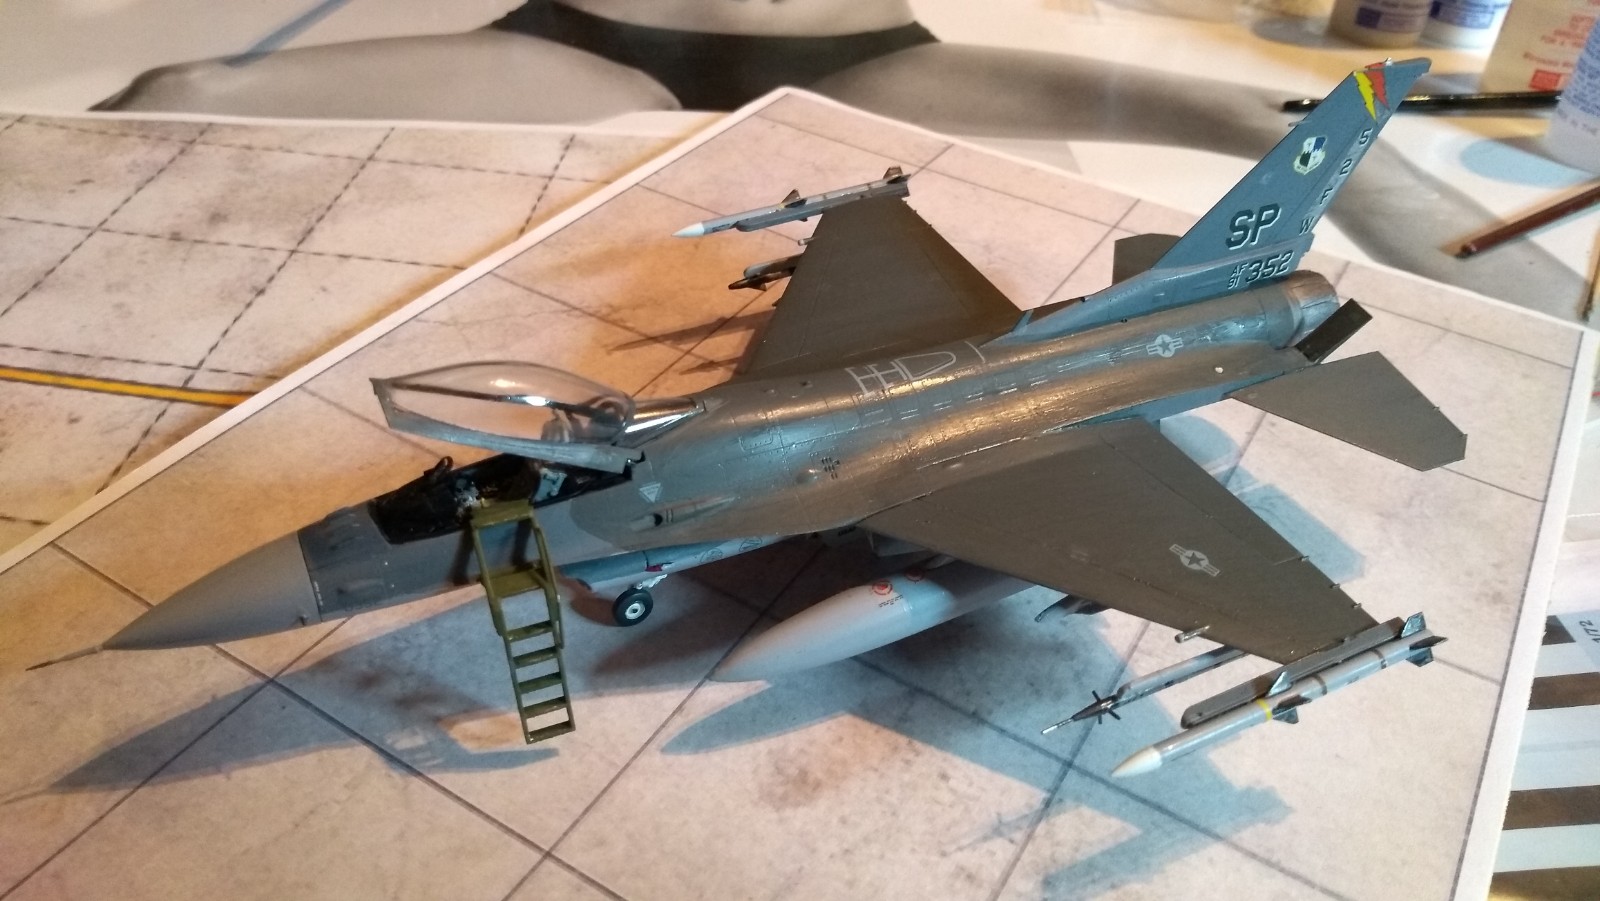
For those of you who did F-16s with the two tone gray on the fuselage - is there a premade mask for the demarcation between the two grays, that curve beneath the cockpit? Or tips on how to make one that looks symmetric on the two sides of the fuselage?
Good question! I’ve had the same questions for a while! I can see myself thinking my masks are aligned and then having an ugly asymmetric camo once done
Depending on the jet, they should be asymmetric. My photos show that they often extended the camo on the left side to cover the gun port on the older jets. I think the current camo is the same on both sides. I built an early-2000s jet IIRC.
No masks that I’m aware of. I just cut an index card to shape and held it off the model to get a feathered edge.
Good to know all 'round!
I did mine free-hand and was happy(or better lucky) with it… ![]()
I suspected you did and admired you for it!
I found some bad ass modeller on YouTube freehanding it with an airbrush. Maybe I’ll work on the F-15 I have instead…