Smells like teen (fighter) spirit

Hi Everyone,

It’s been a bit since my last update, and I just noticed that this campaign ends in 9 days. Time to get my tail feathers in gear! I’m also seeing some really nice builds, it appears that of the teens, the 16 gets the most press. That said, I’d like to update everyone on the build that I’m doing for my niece as a Christmas gift.

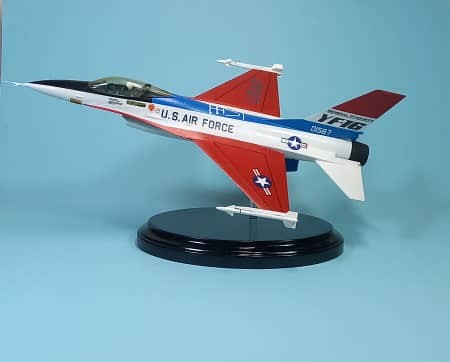
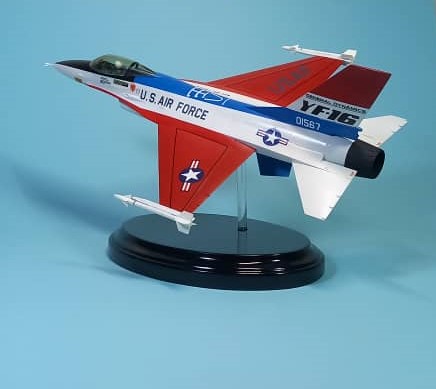
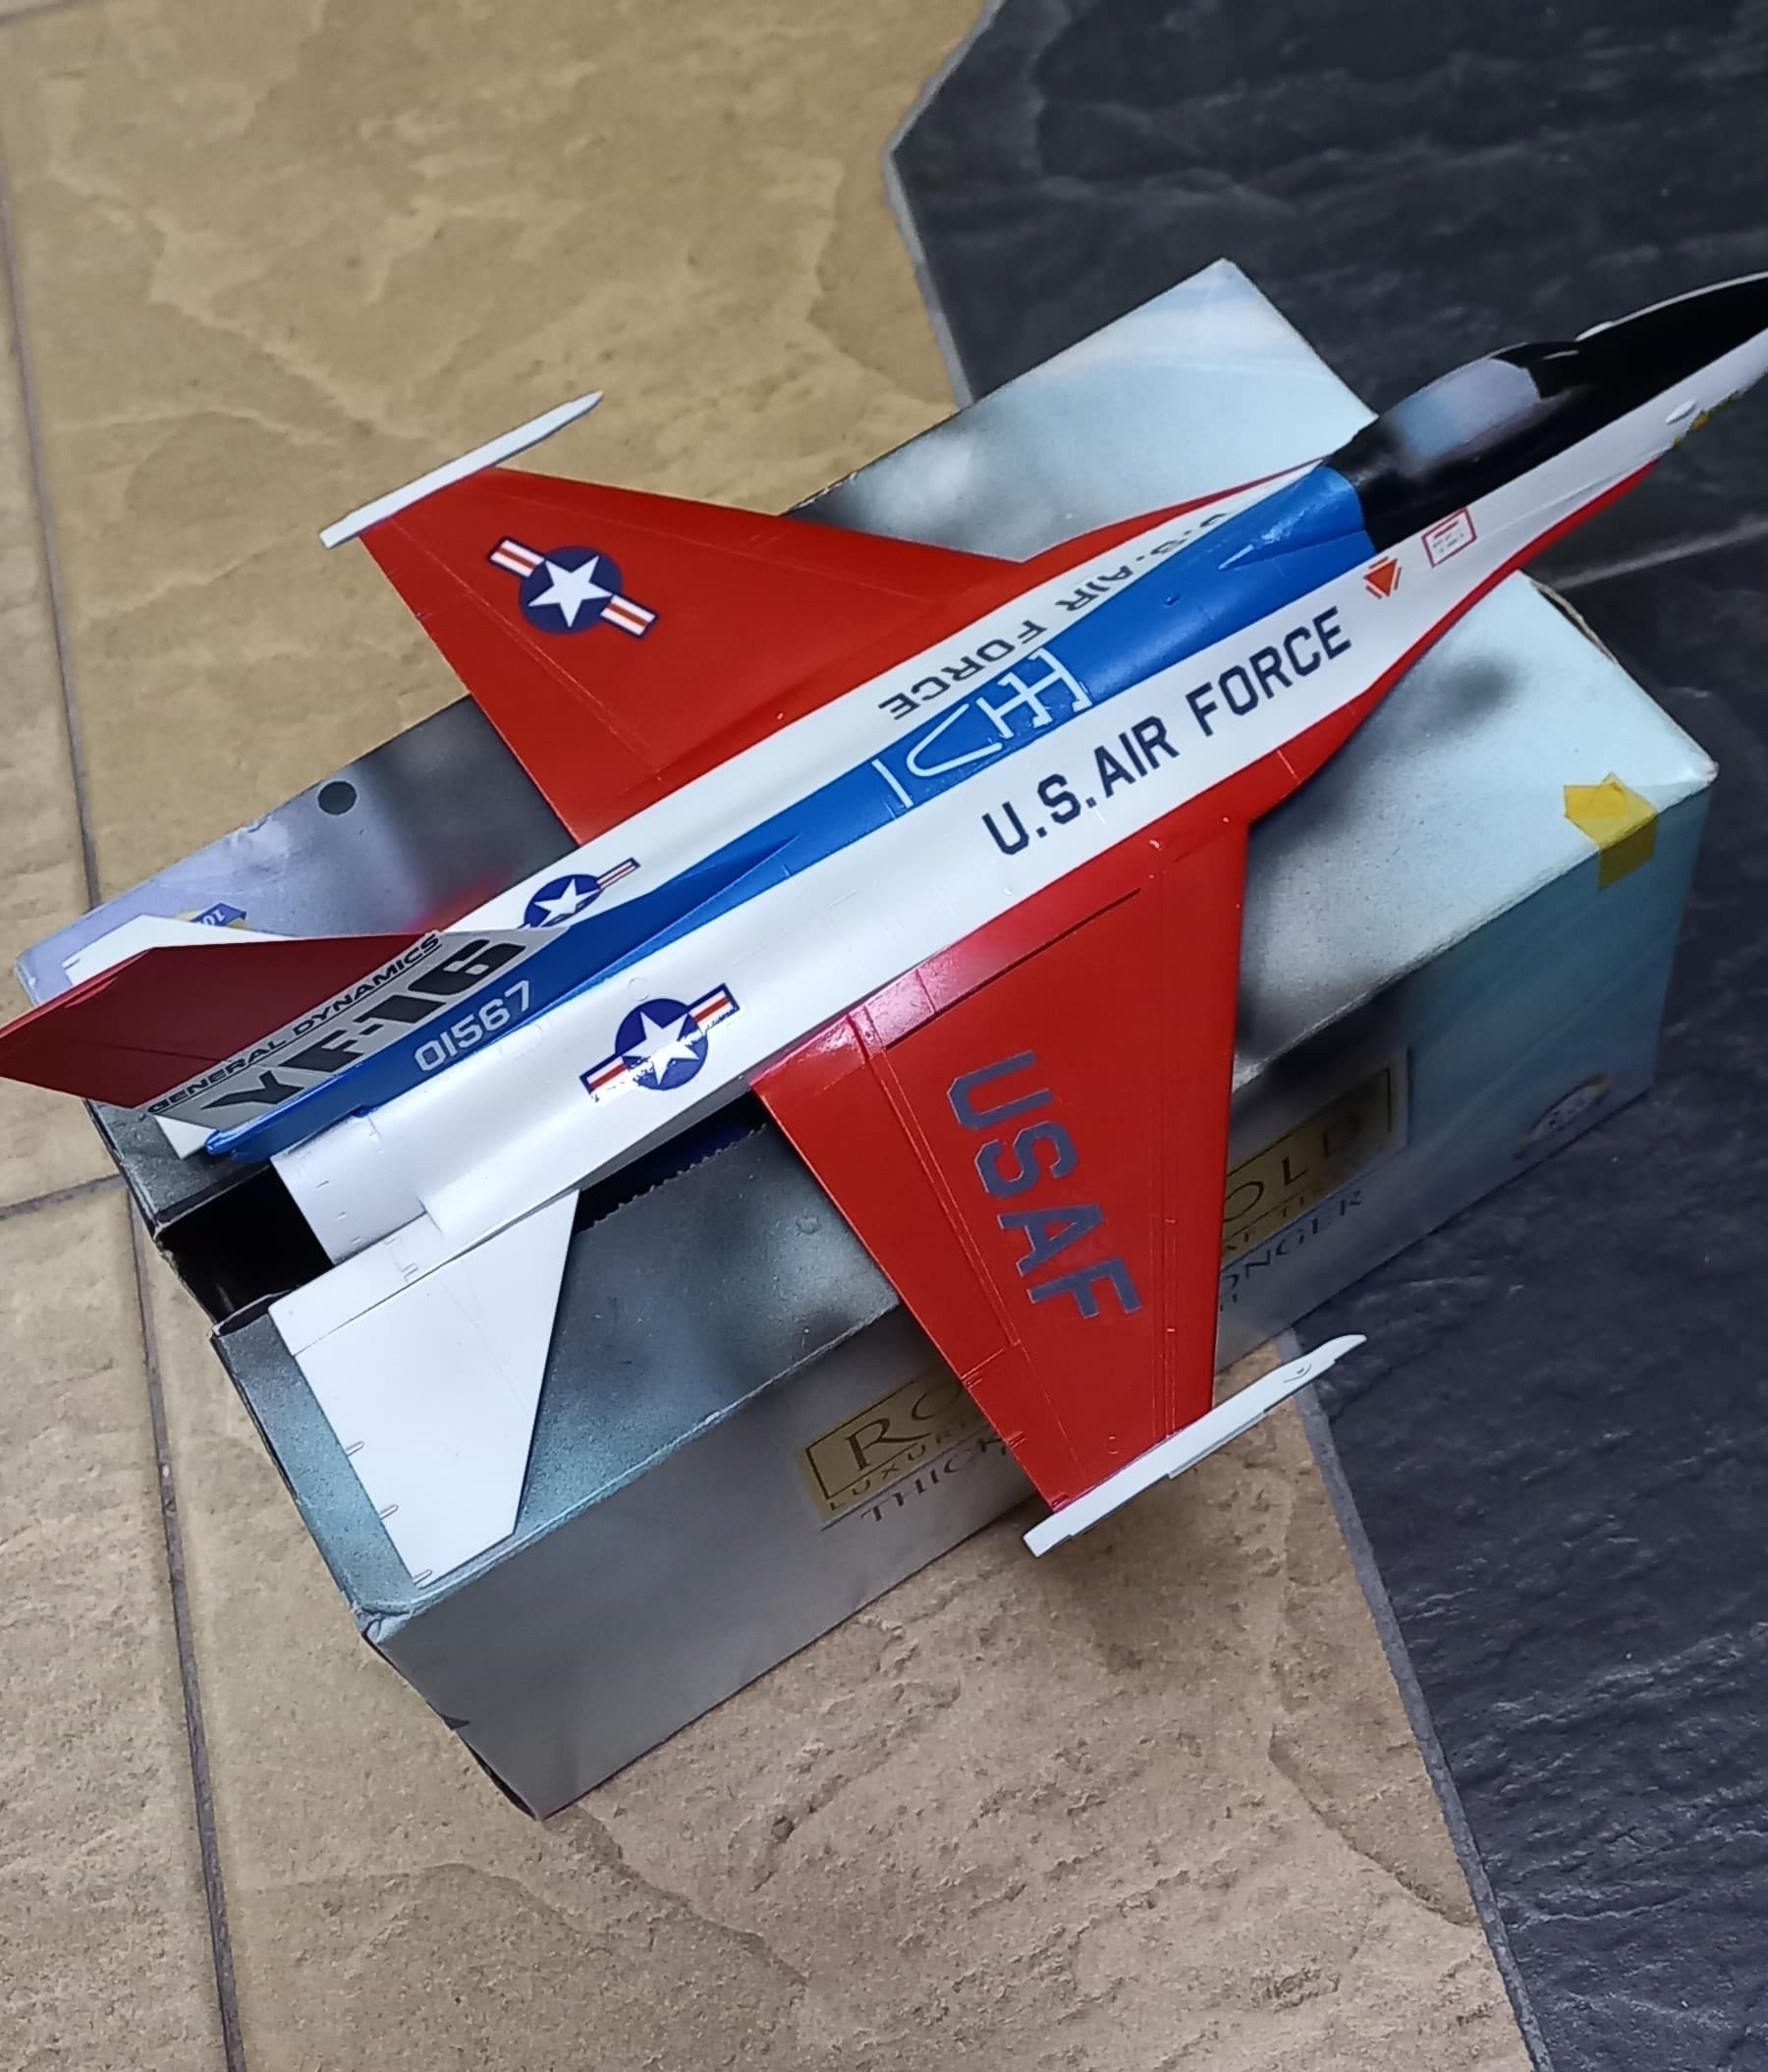
After getting the colors on the bird, it was time to decal. I picked up a set from Easy Decal, not sure where they’re from, though it looks Chinese. Their set has decals for the prototype and production (also prototype) versions of the first F-16’s

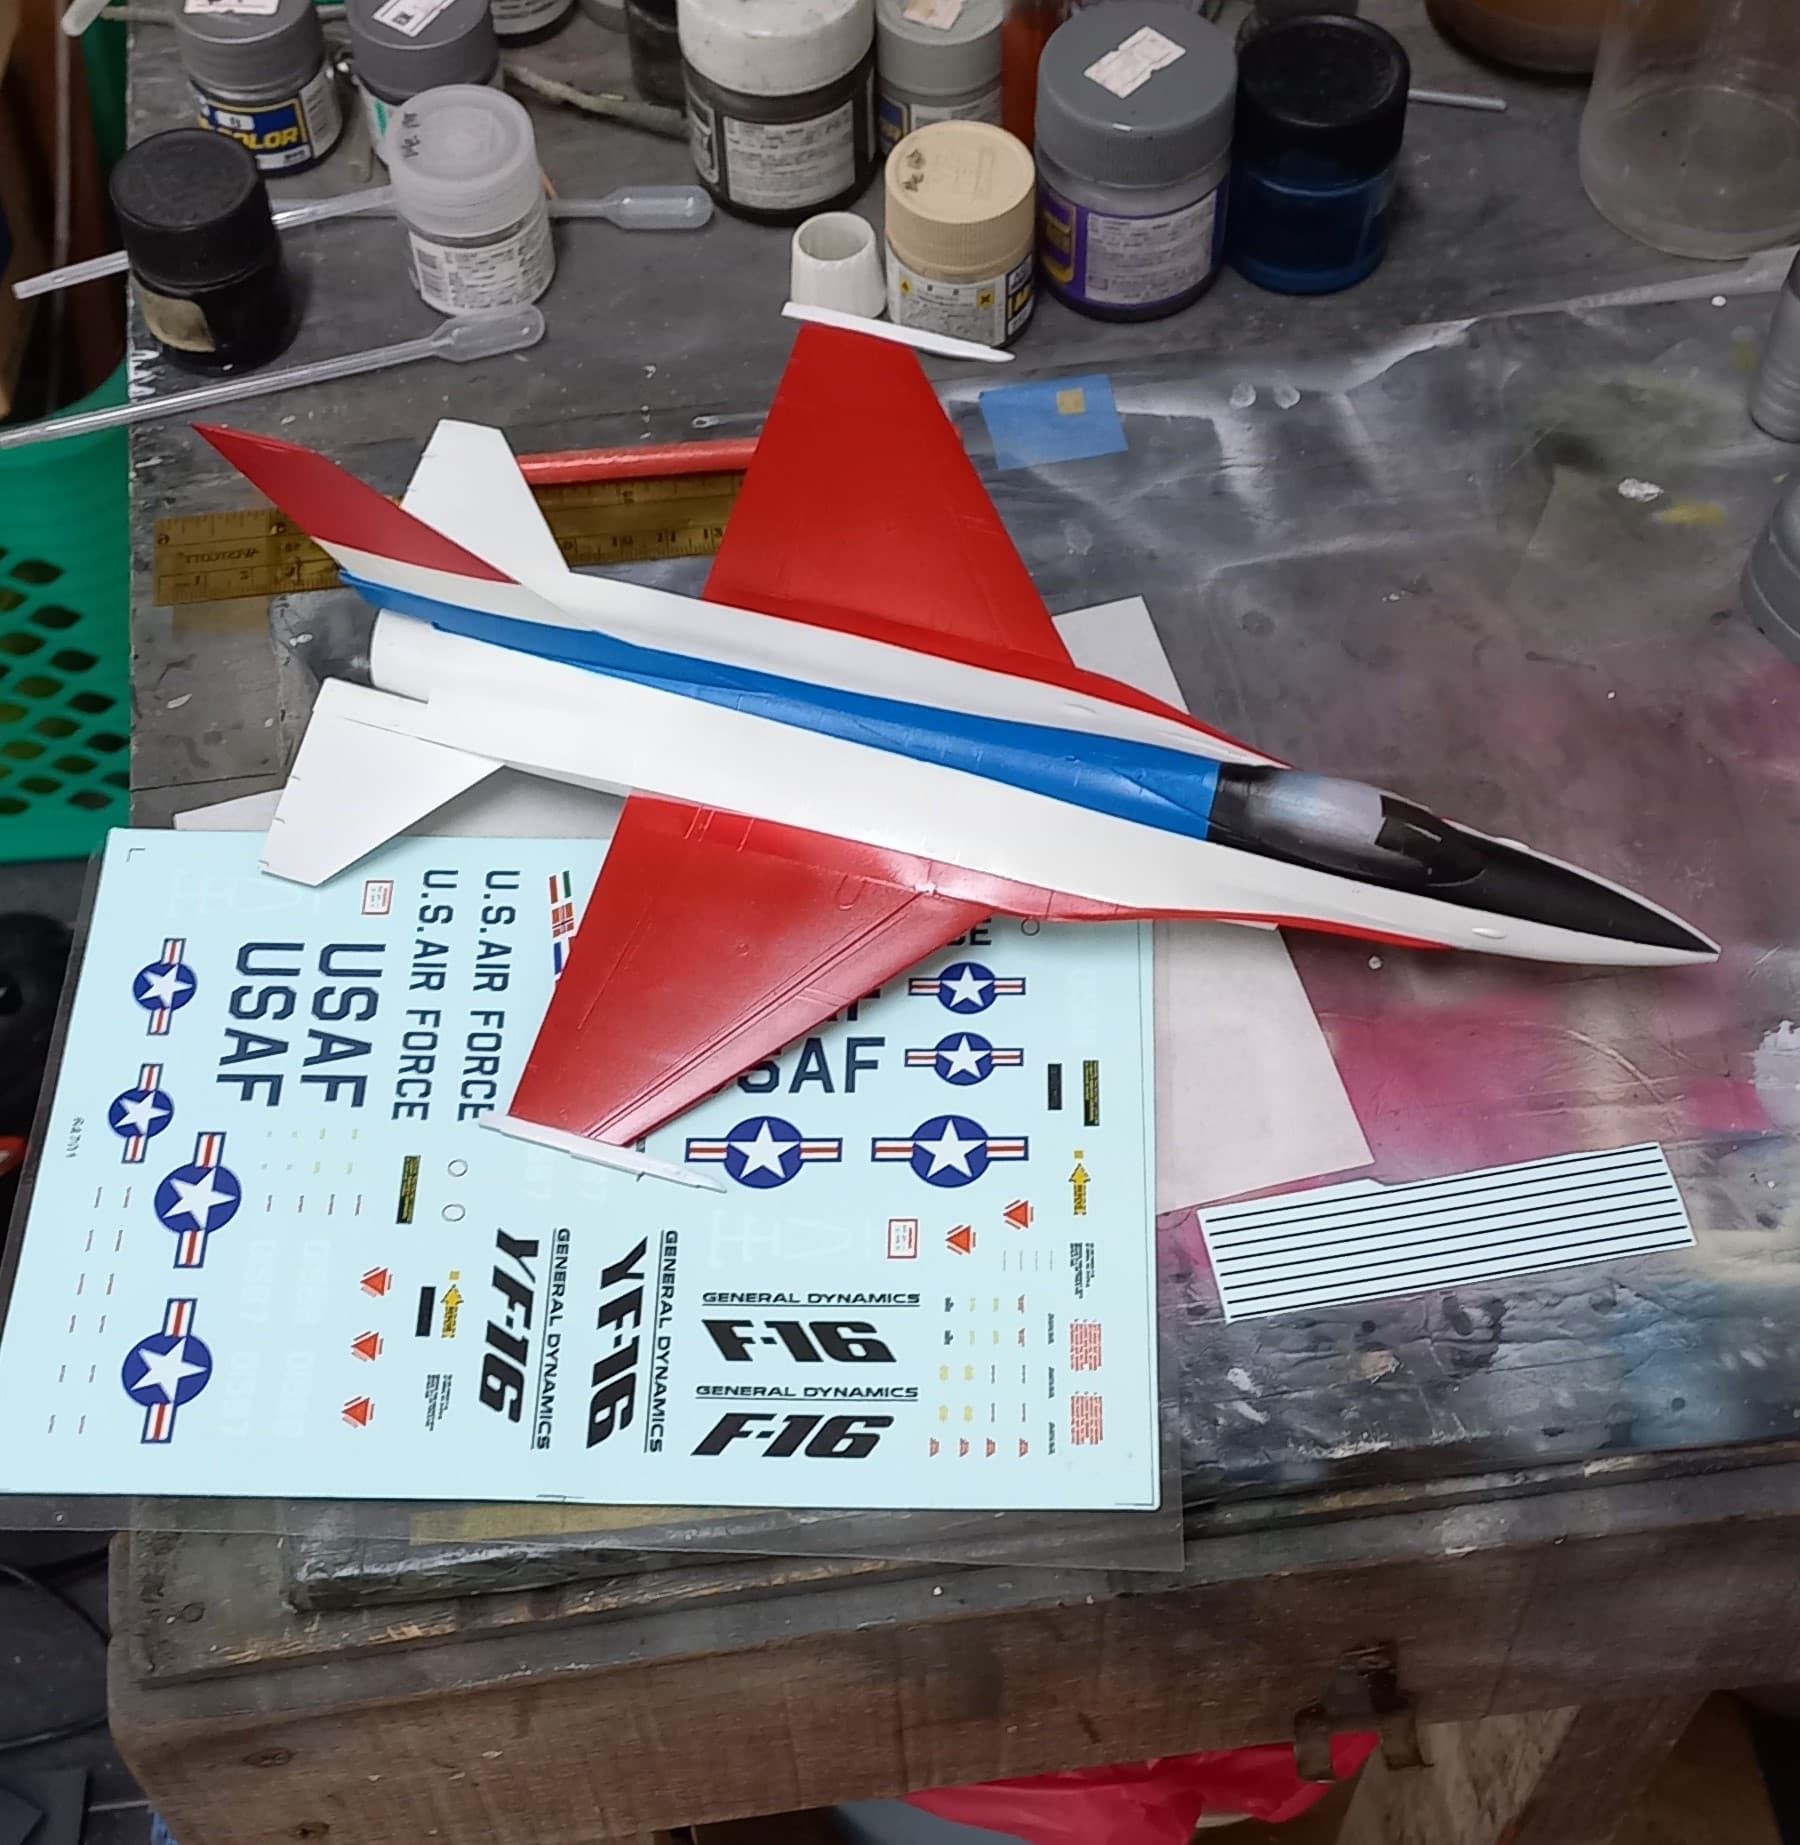
While a good price, they don’t include all the decals needed, so, off to the decal dungeon I went. Some B-17 walkway black lines, F-101 rescue placards and things were looking pretty good.

Sadly, I discovered that the original marking measurements were off by quite a bit. So had to cover red and do some white. Over the years I’ve learned that using grey to cover the red, and then follow up with white makes life much easier.

So, masking once again!

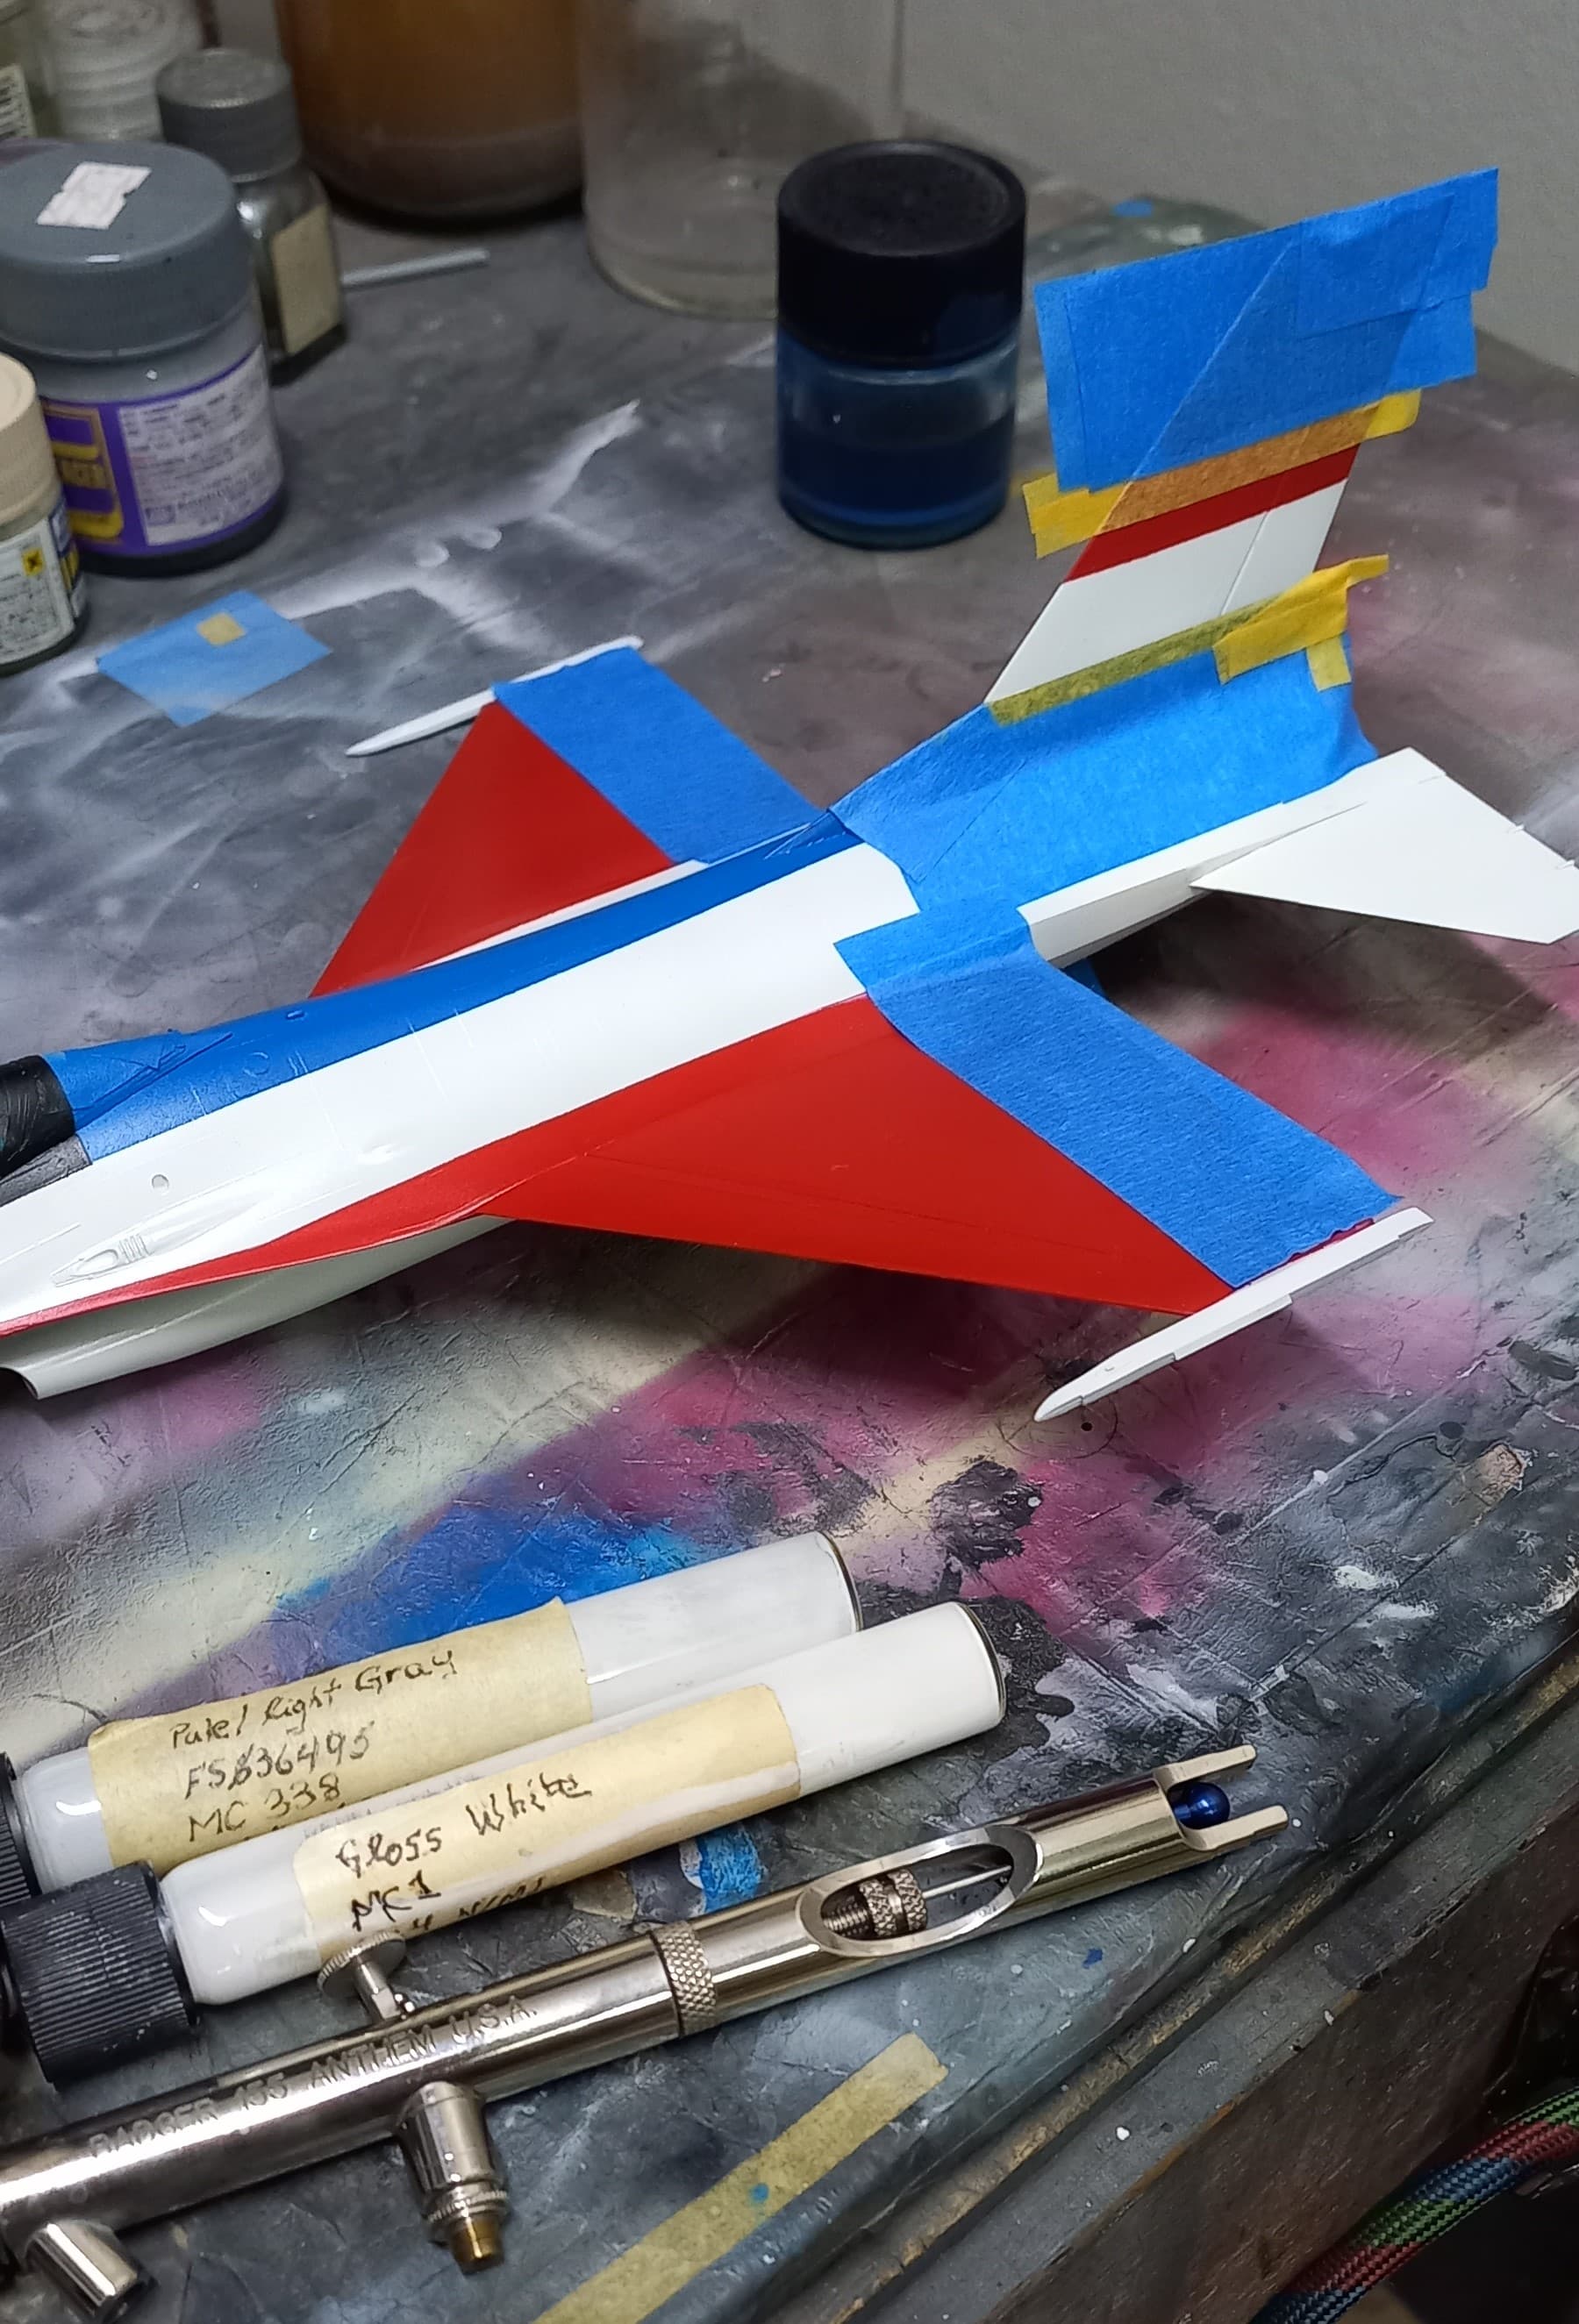
Hit it with some grey (shade doesn’t matter).

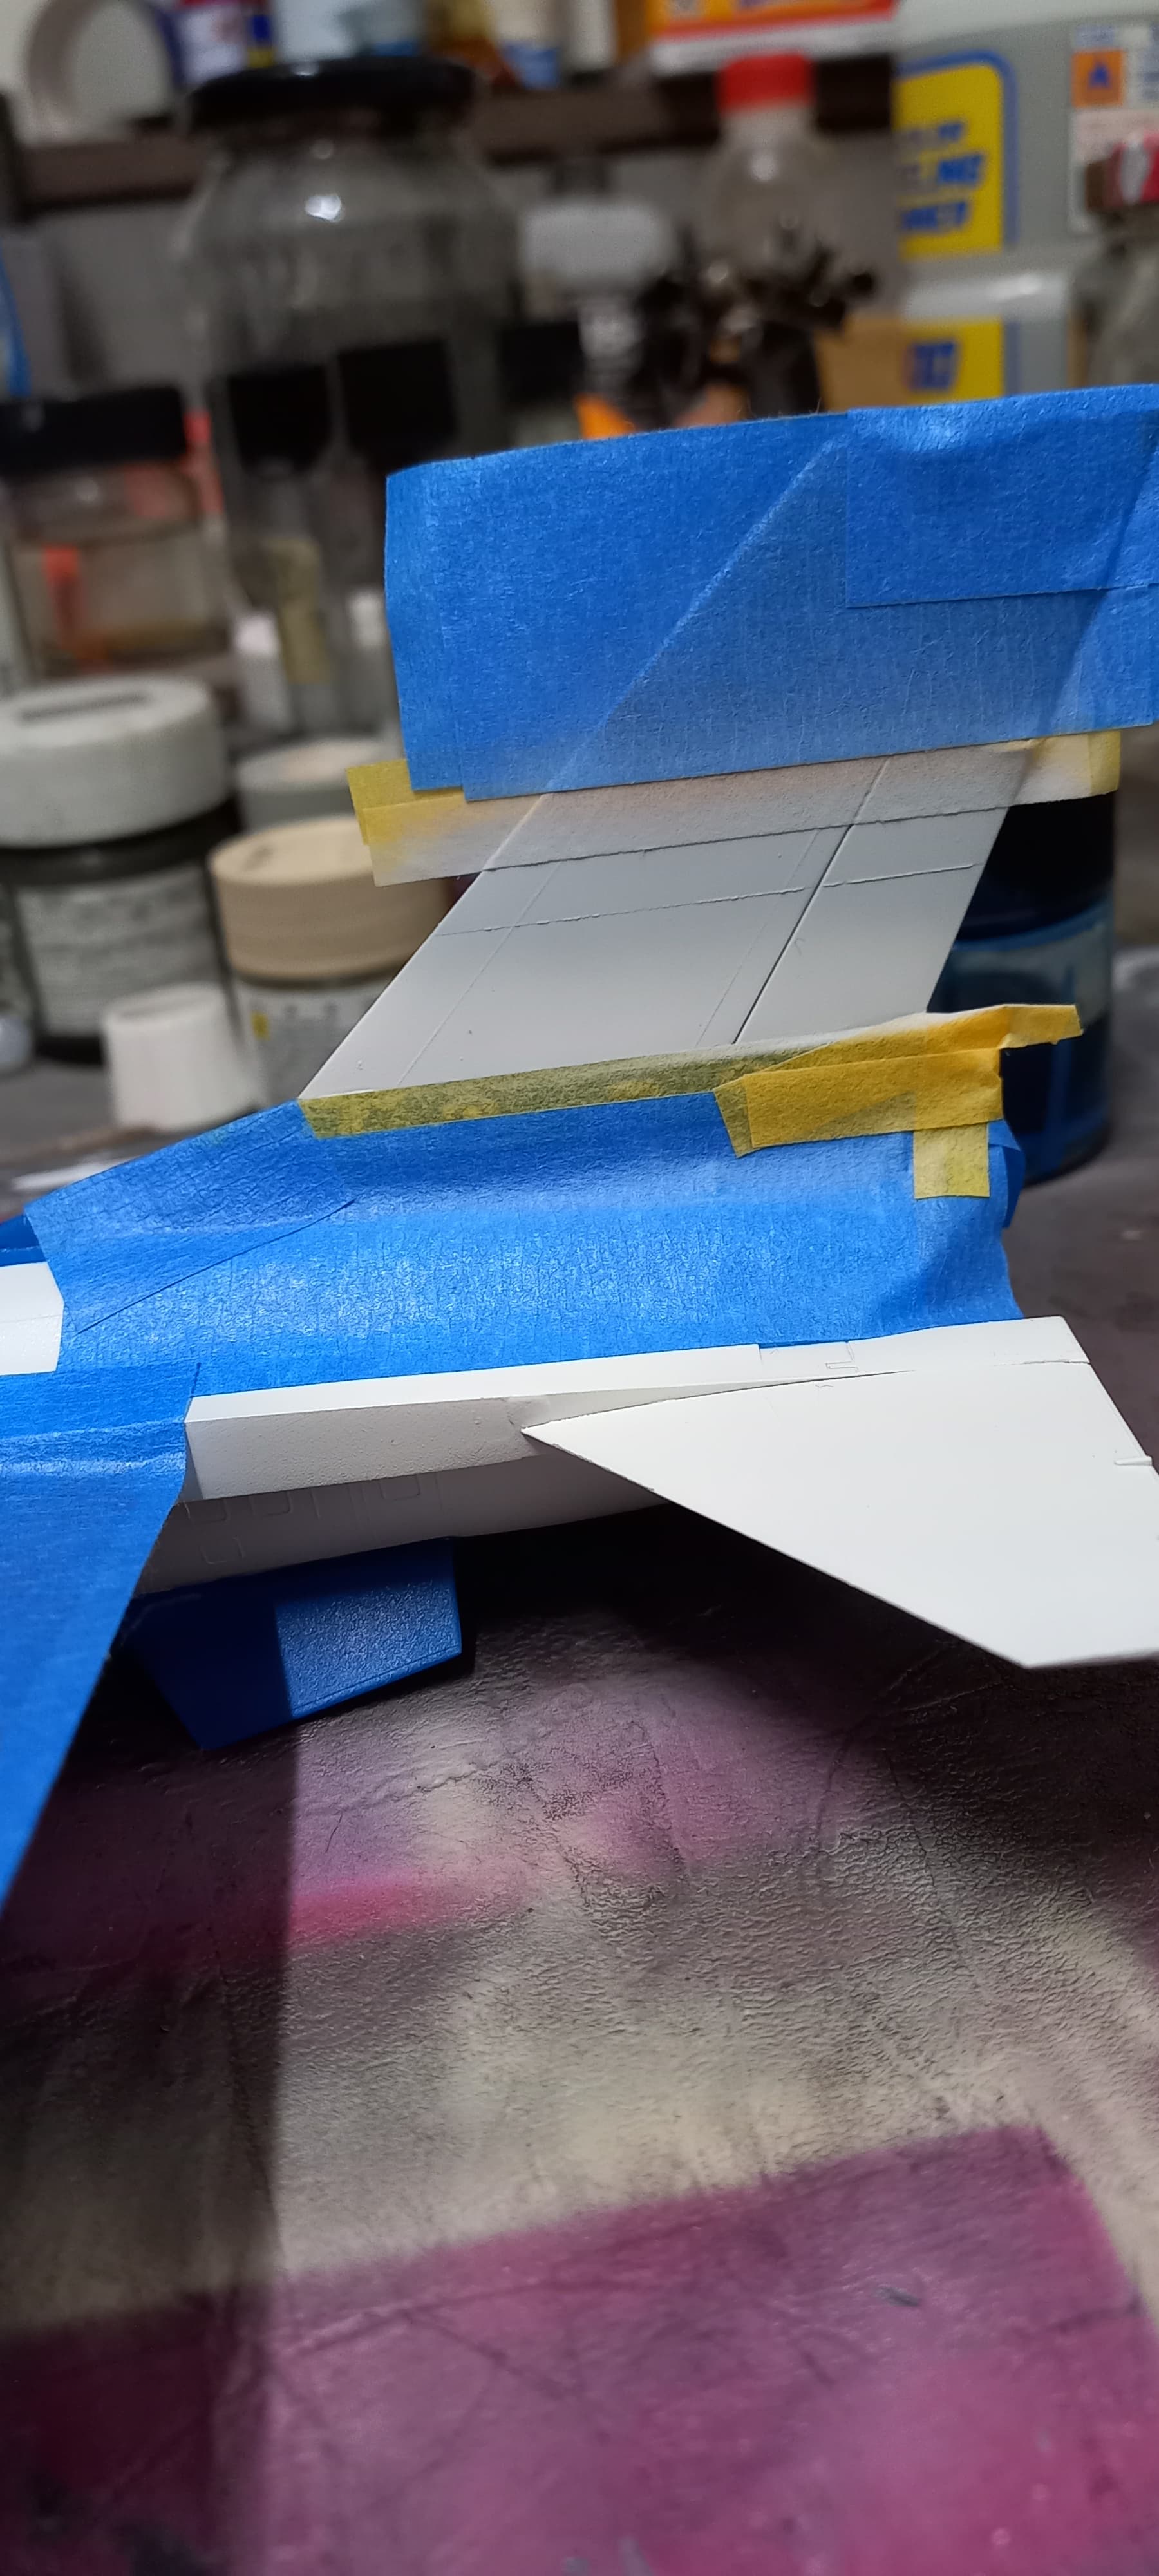
Then cover with the white.

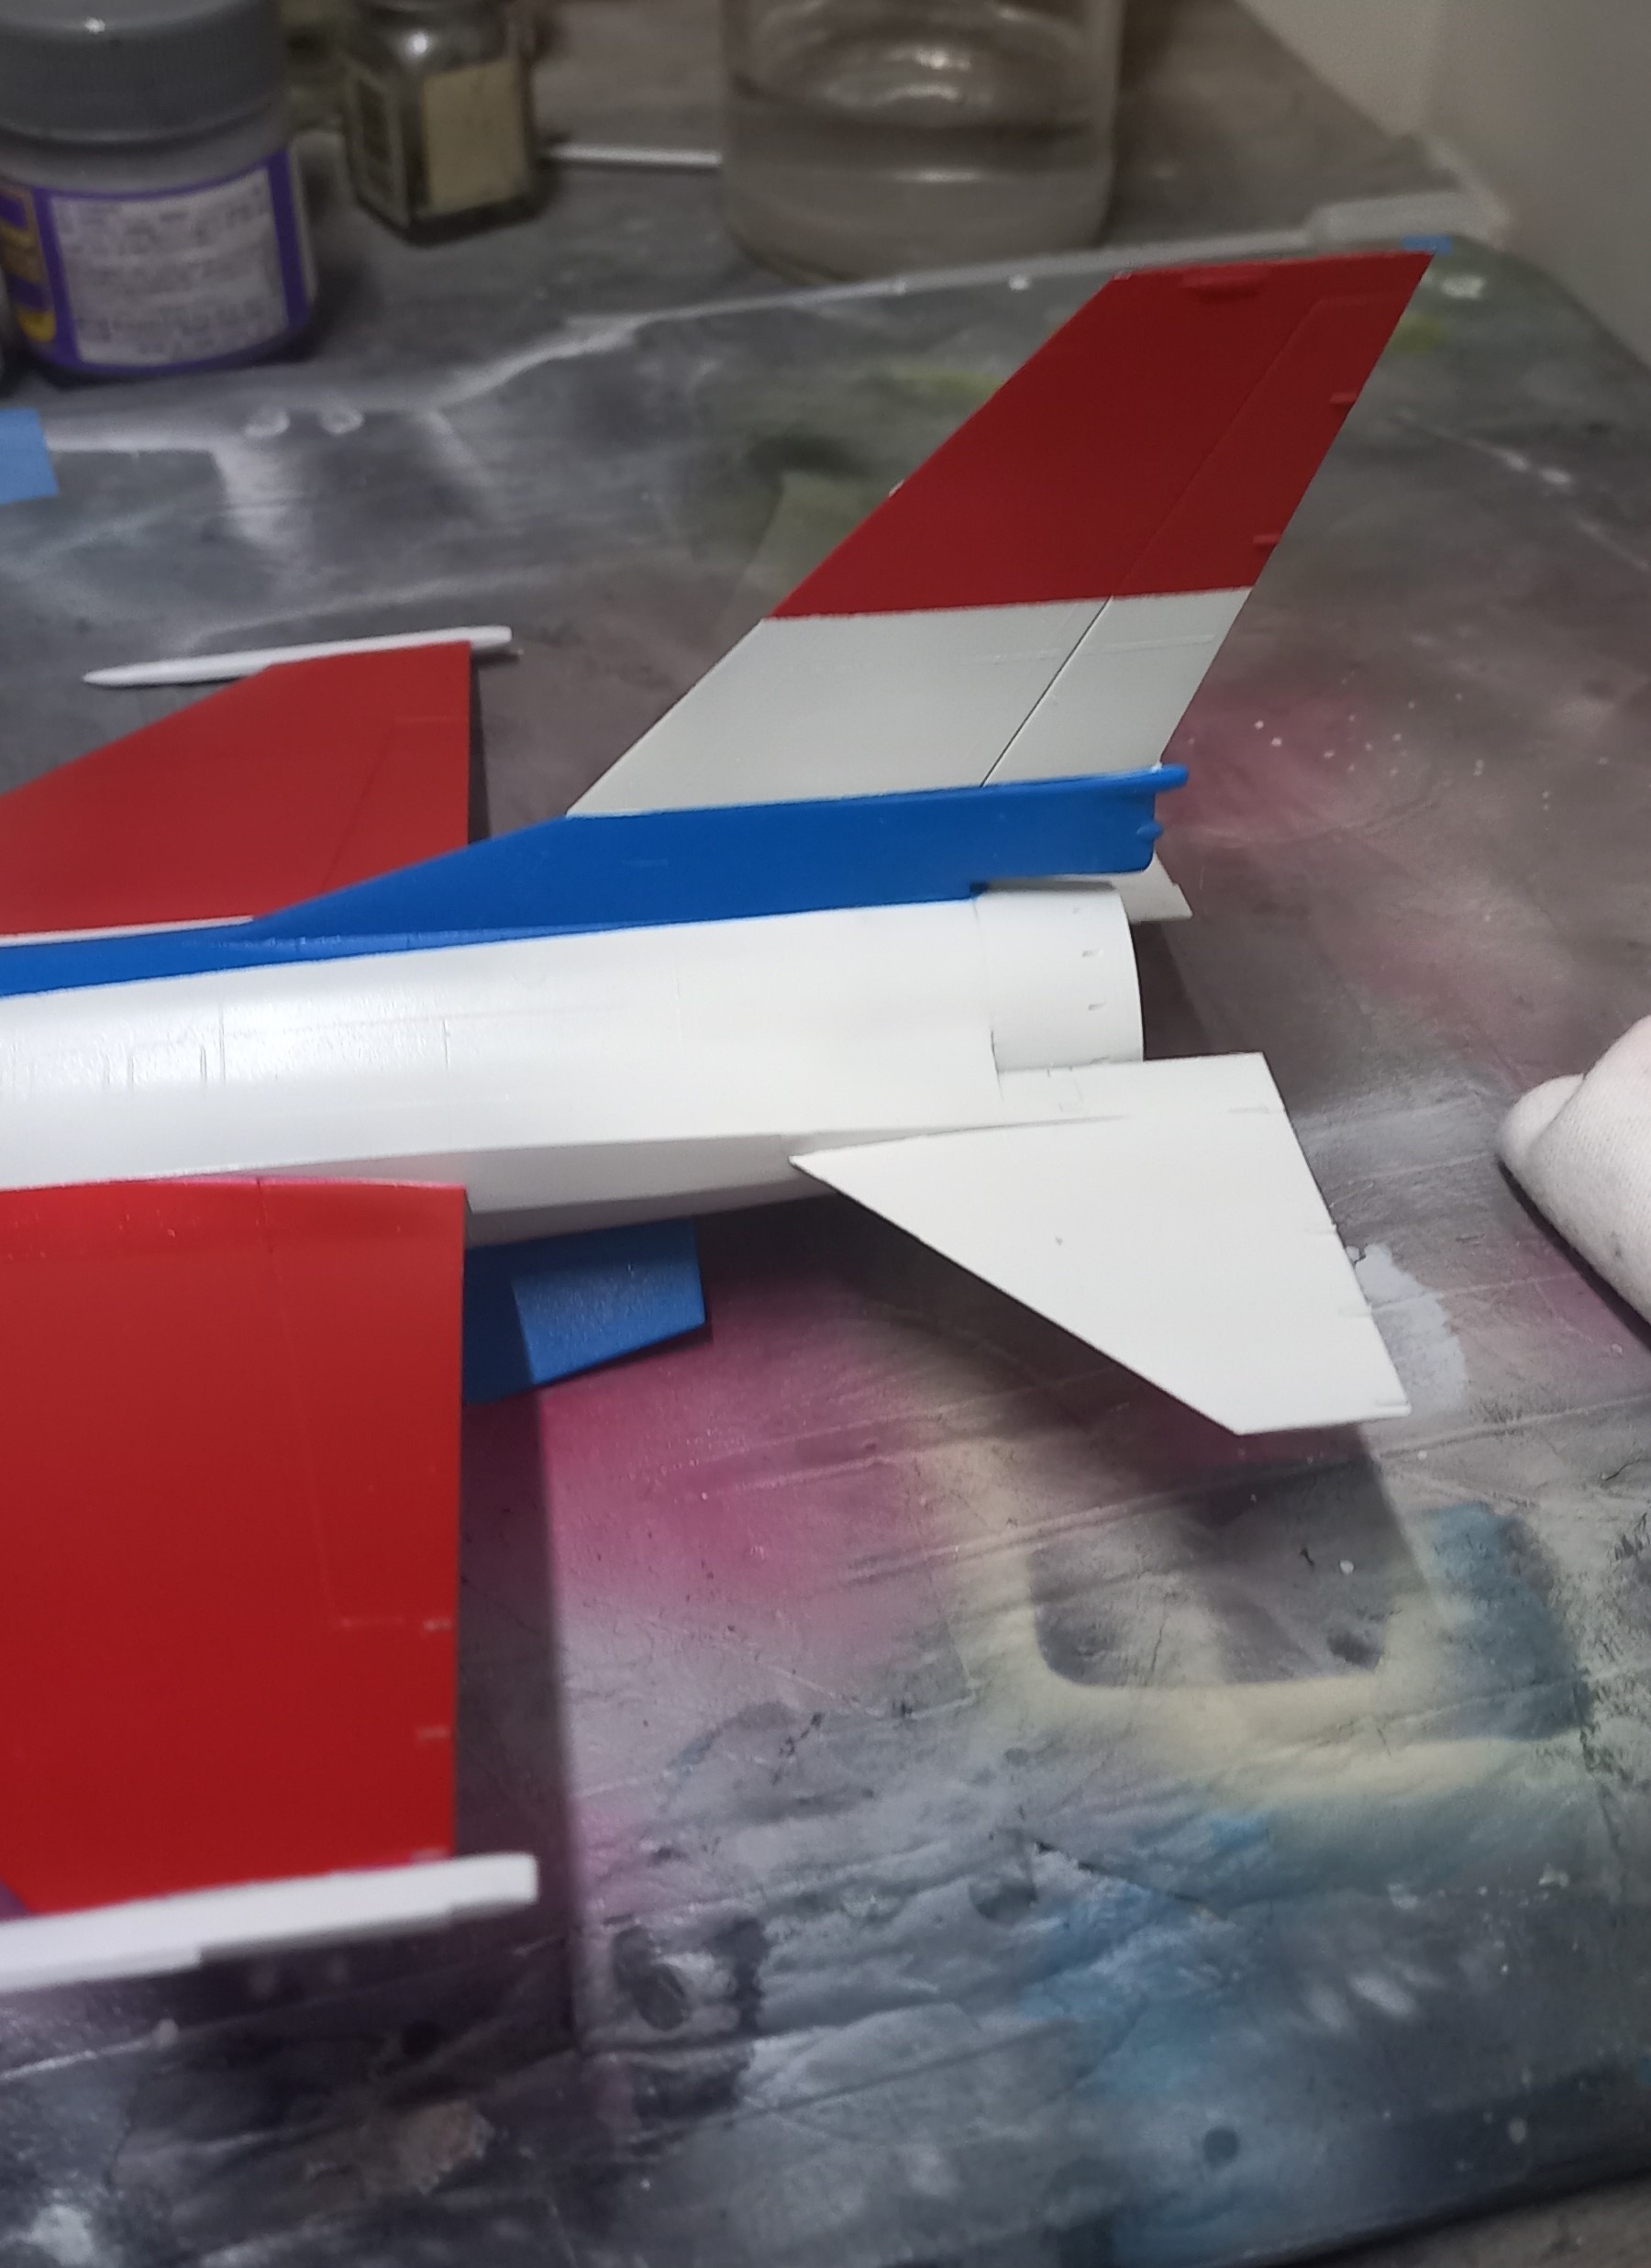
Had to use some strategic sanding with 4000 grit to get rid of the paint line, though things turned out ok.

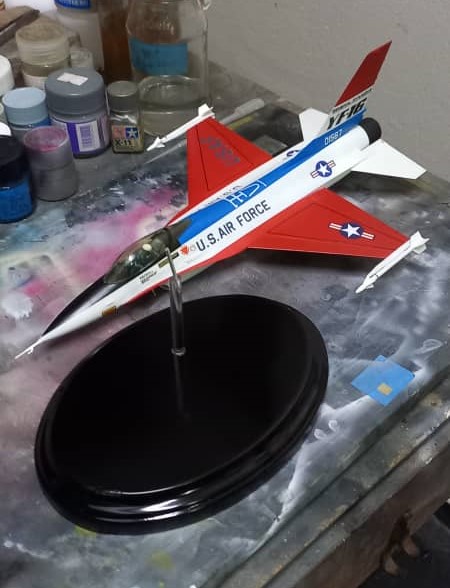
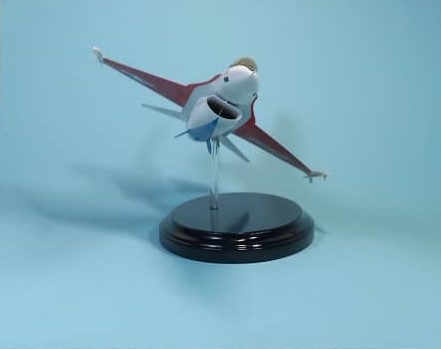
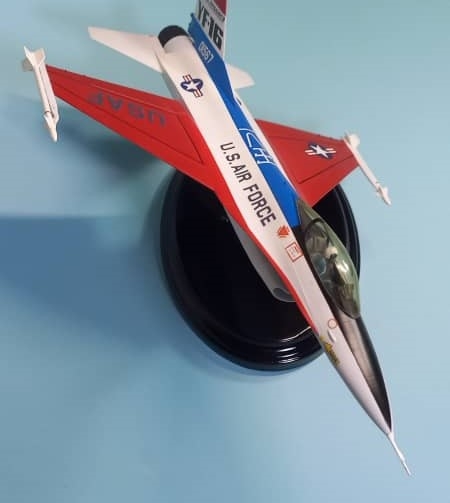
Then the decal process could proceed. After cobbling a lot of
things together, it started to look like the pictures!

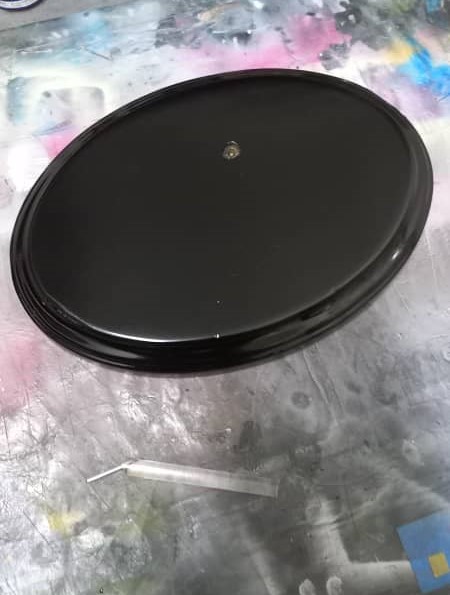
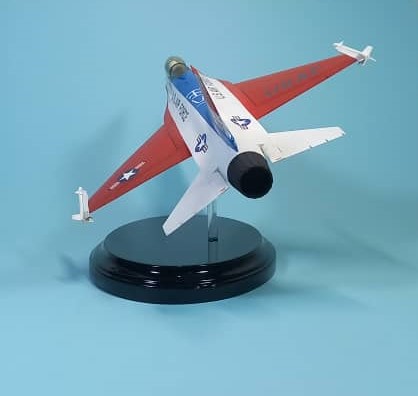
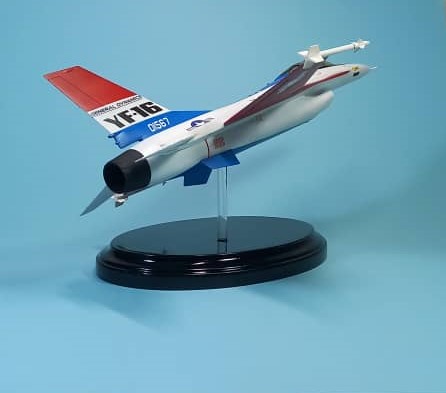
Following a clear coat, it was time to really get to work on the stand. I picked up some trophy things made of pine wood on my last trip home. Thing is, they need a lot of work to look good. Grey primer paint, filler, super glue and a lot of sanding!

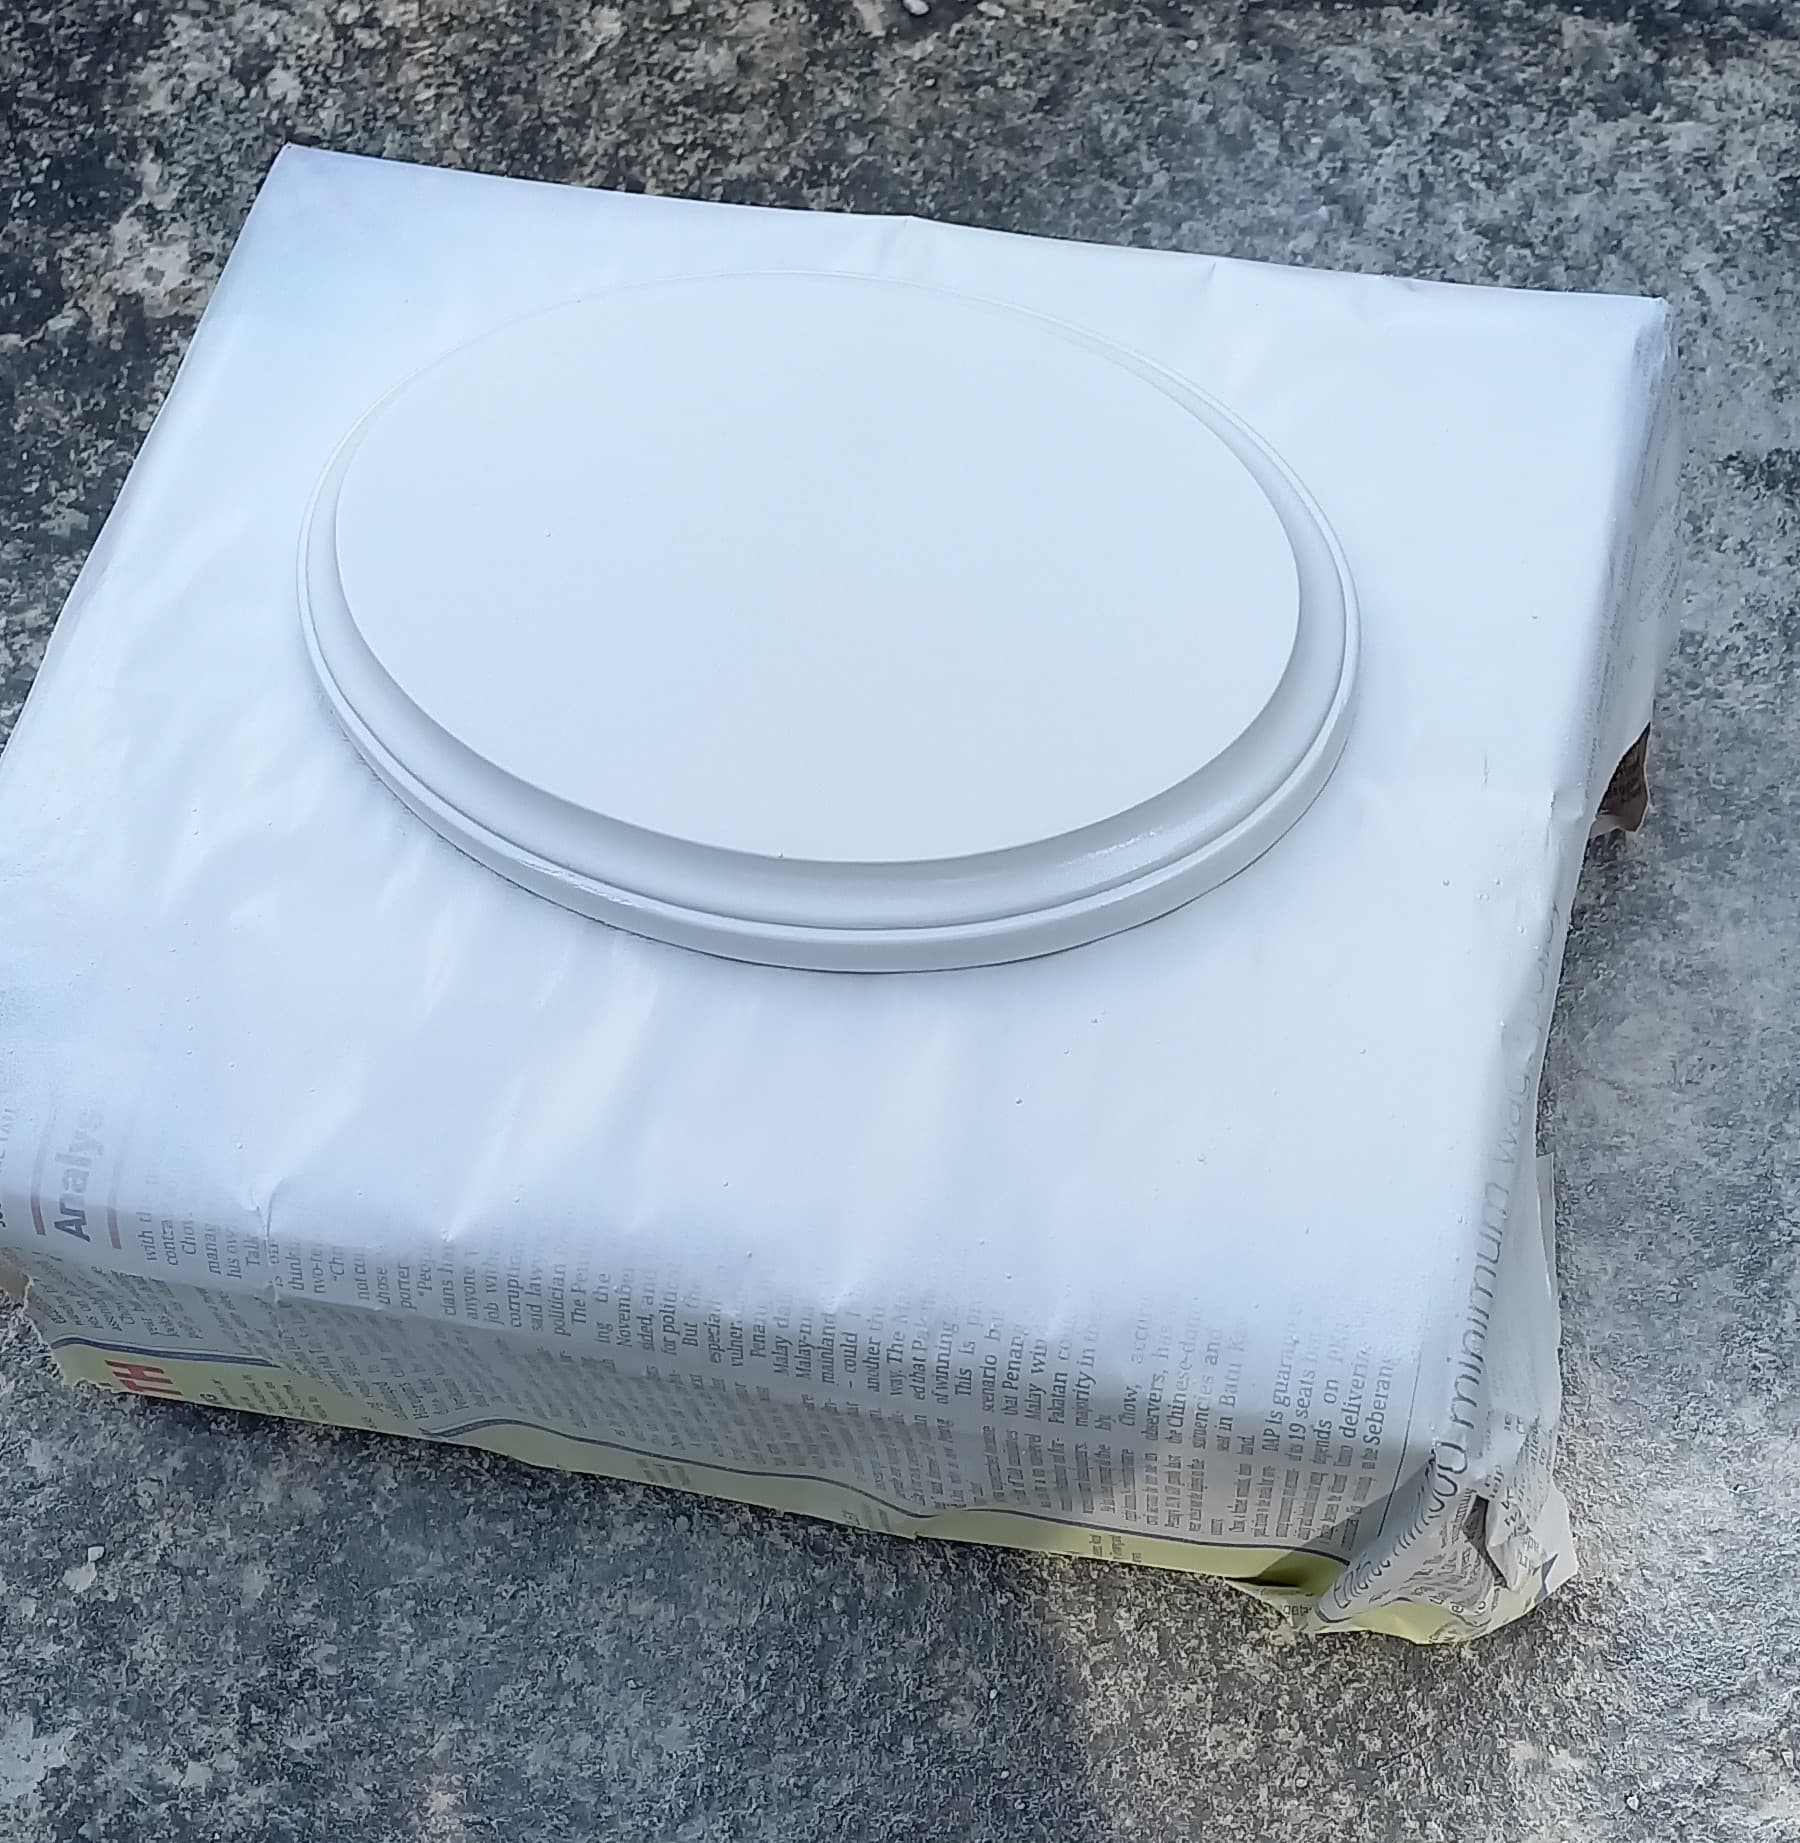
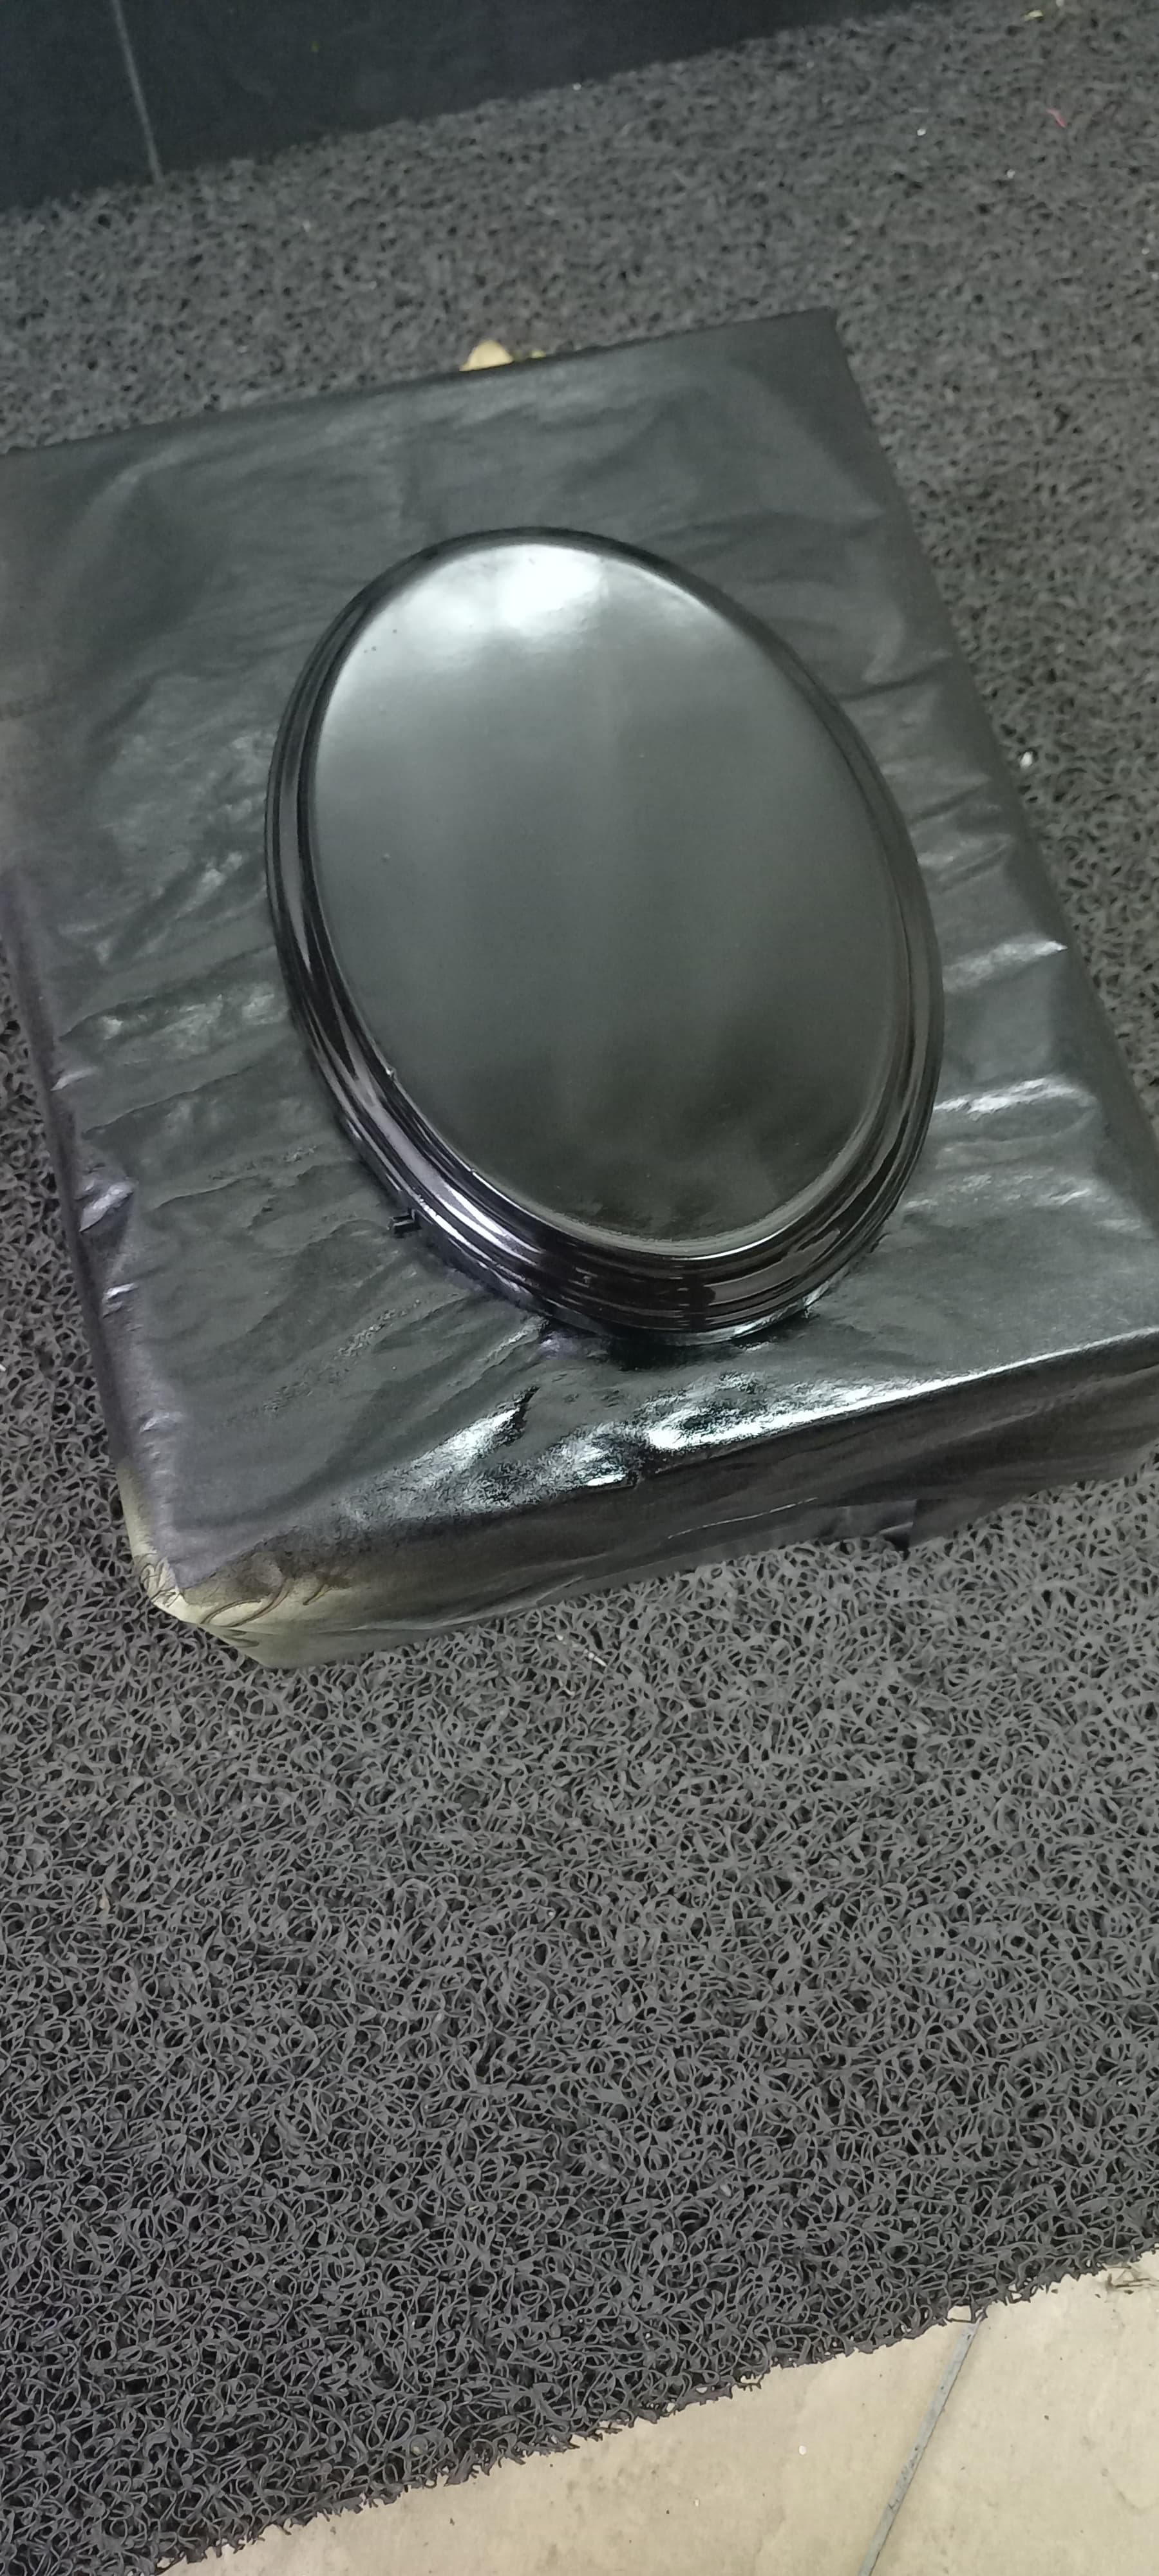
A lot more sanding…and letting go of the dent in the wood, finally a nice coat of gloss black.

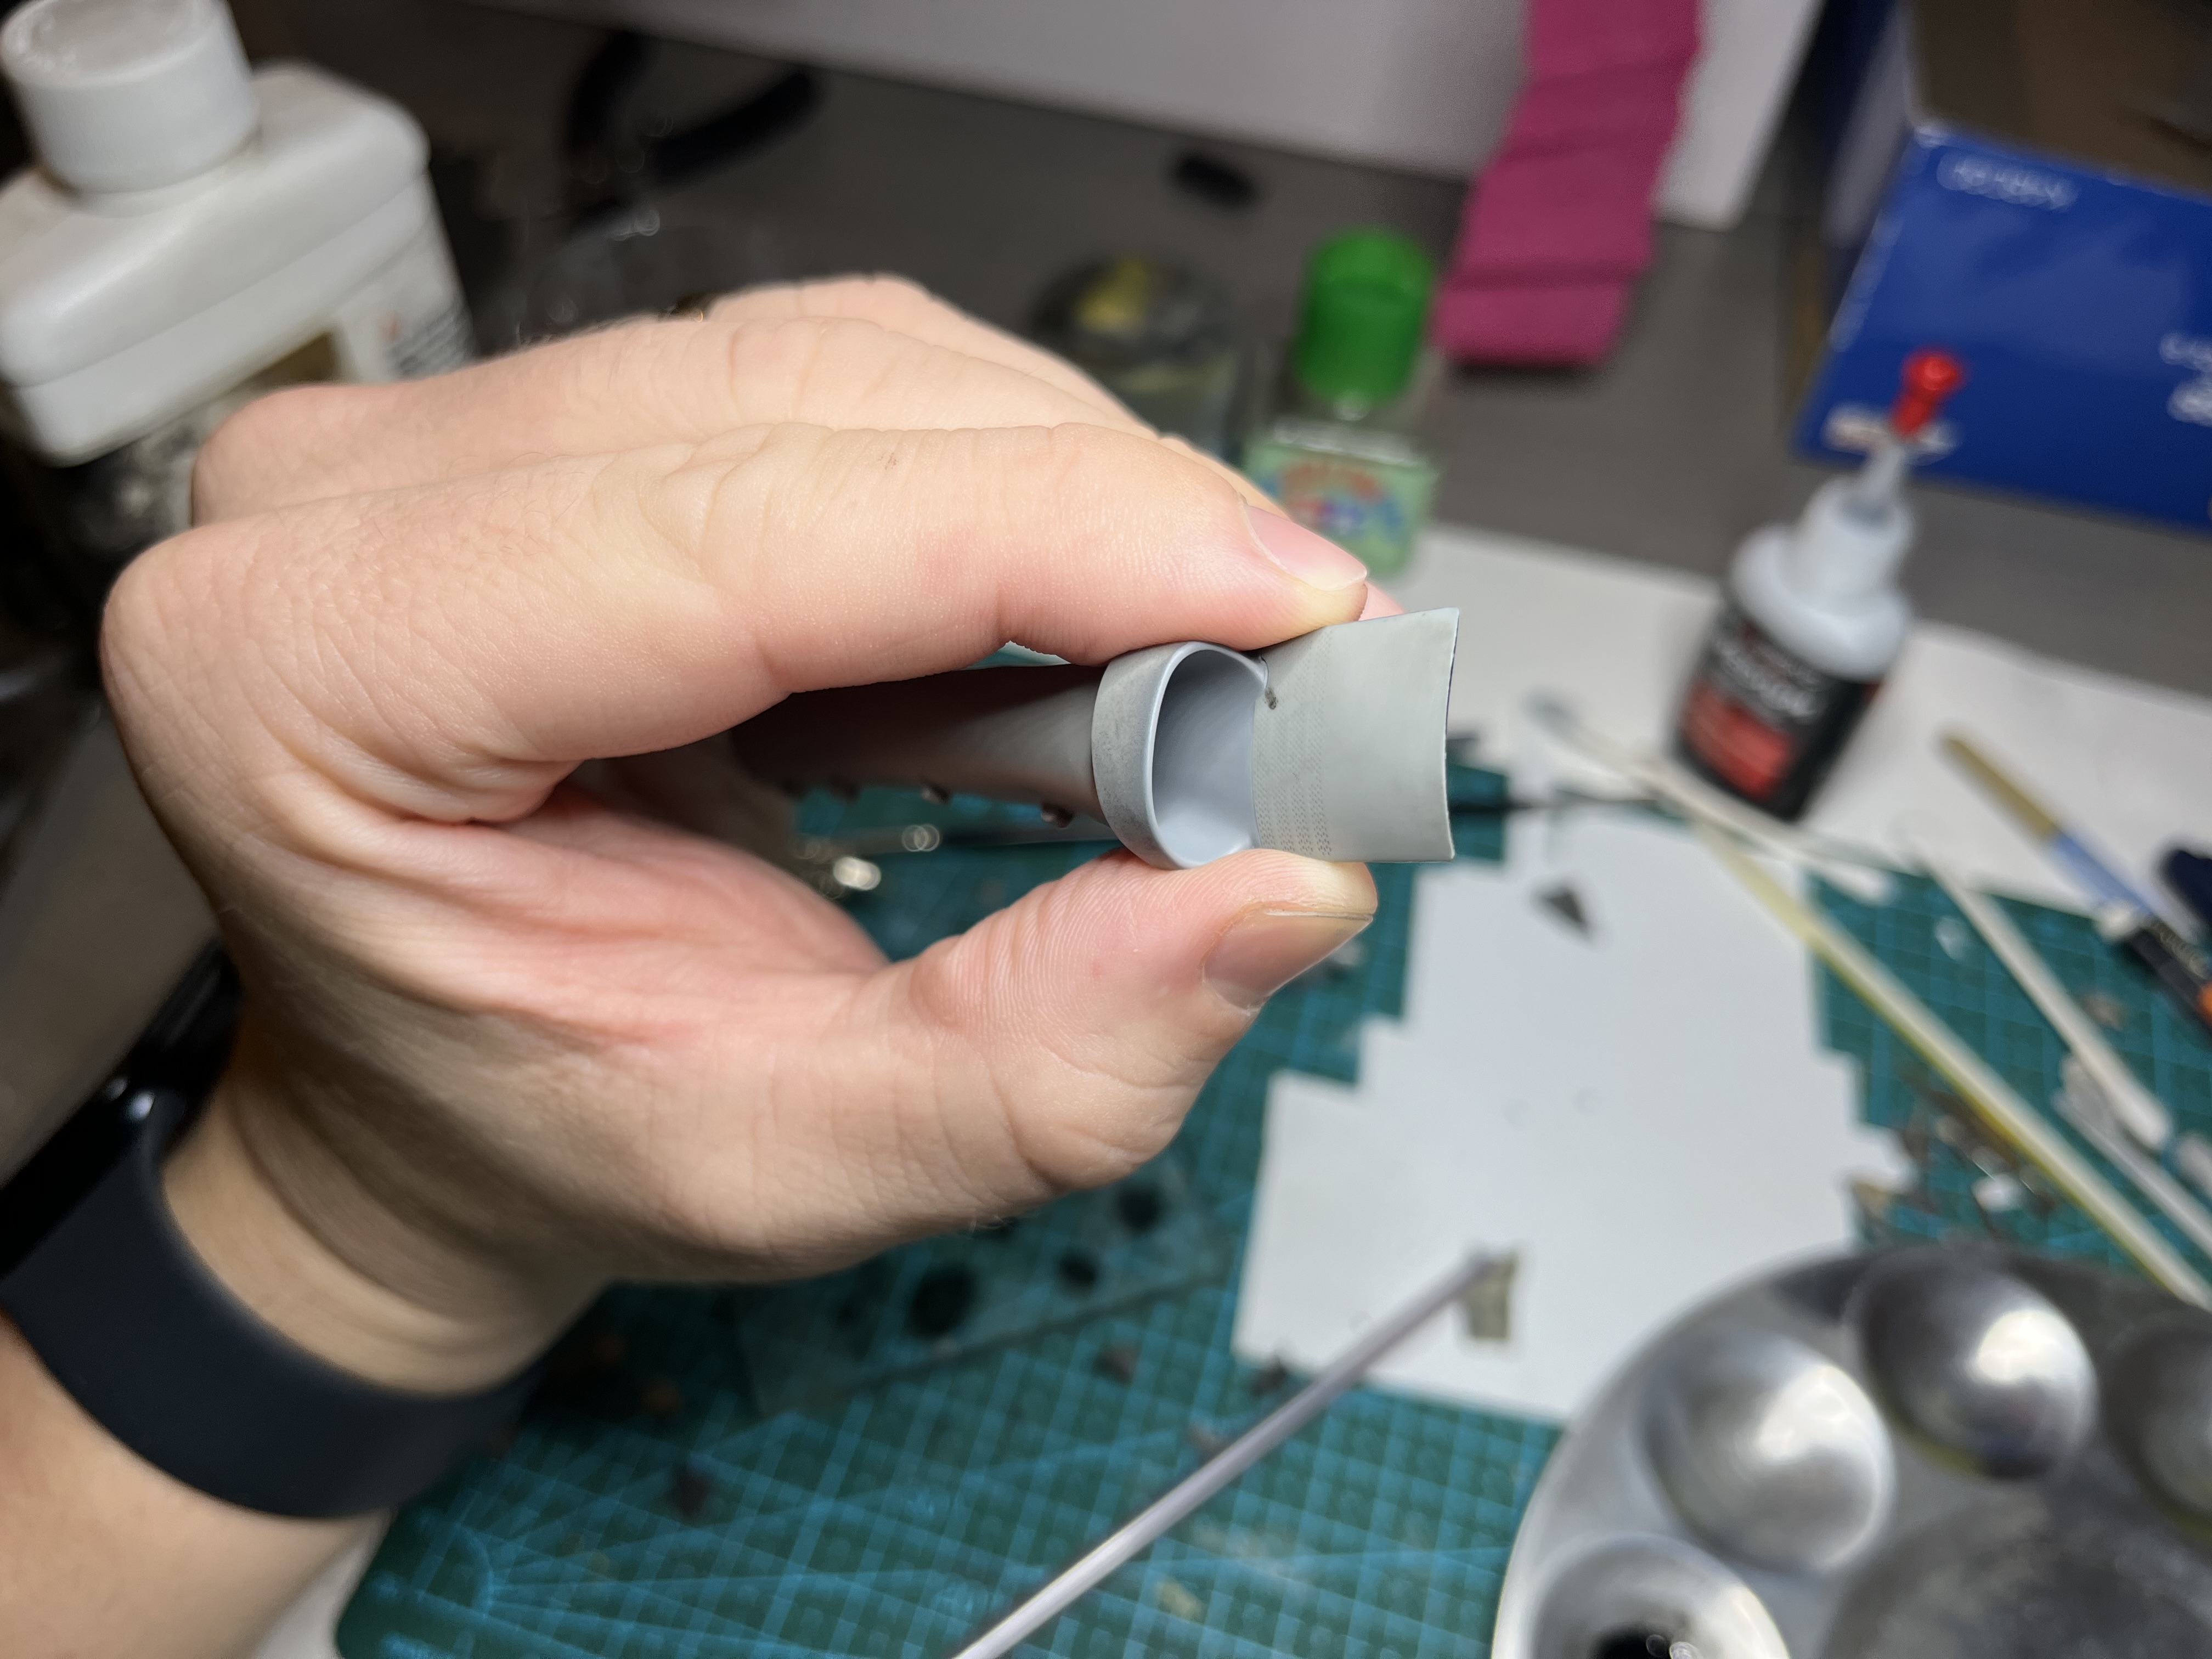
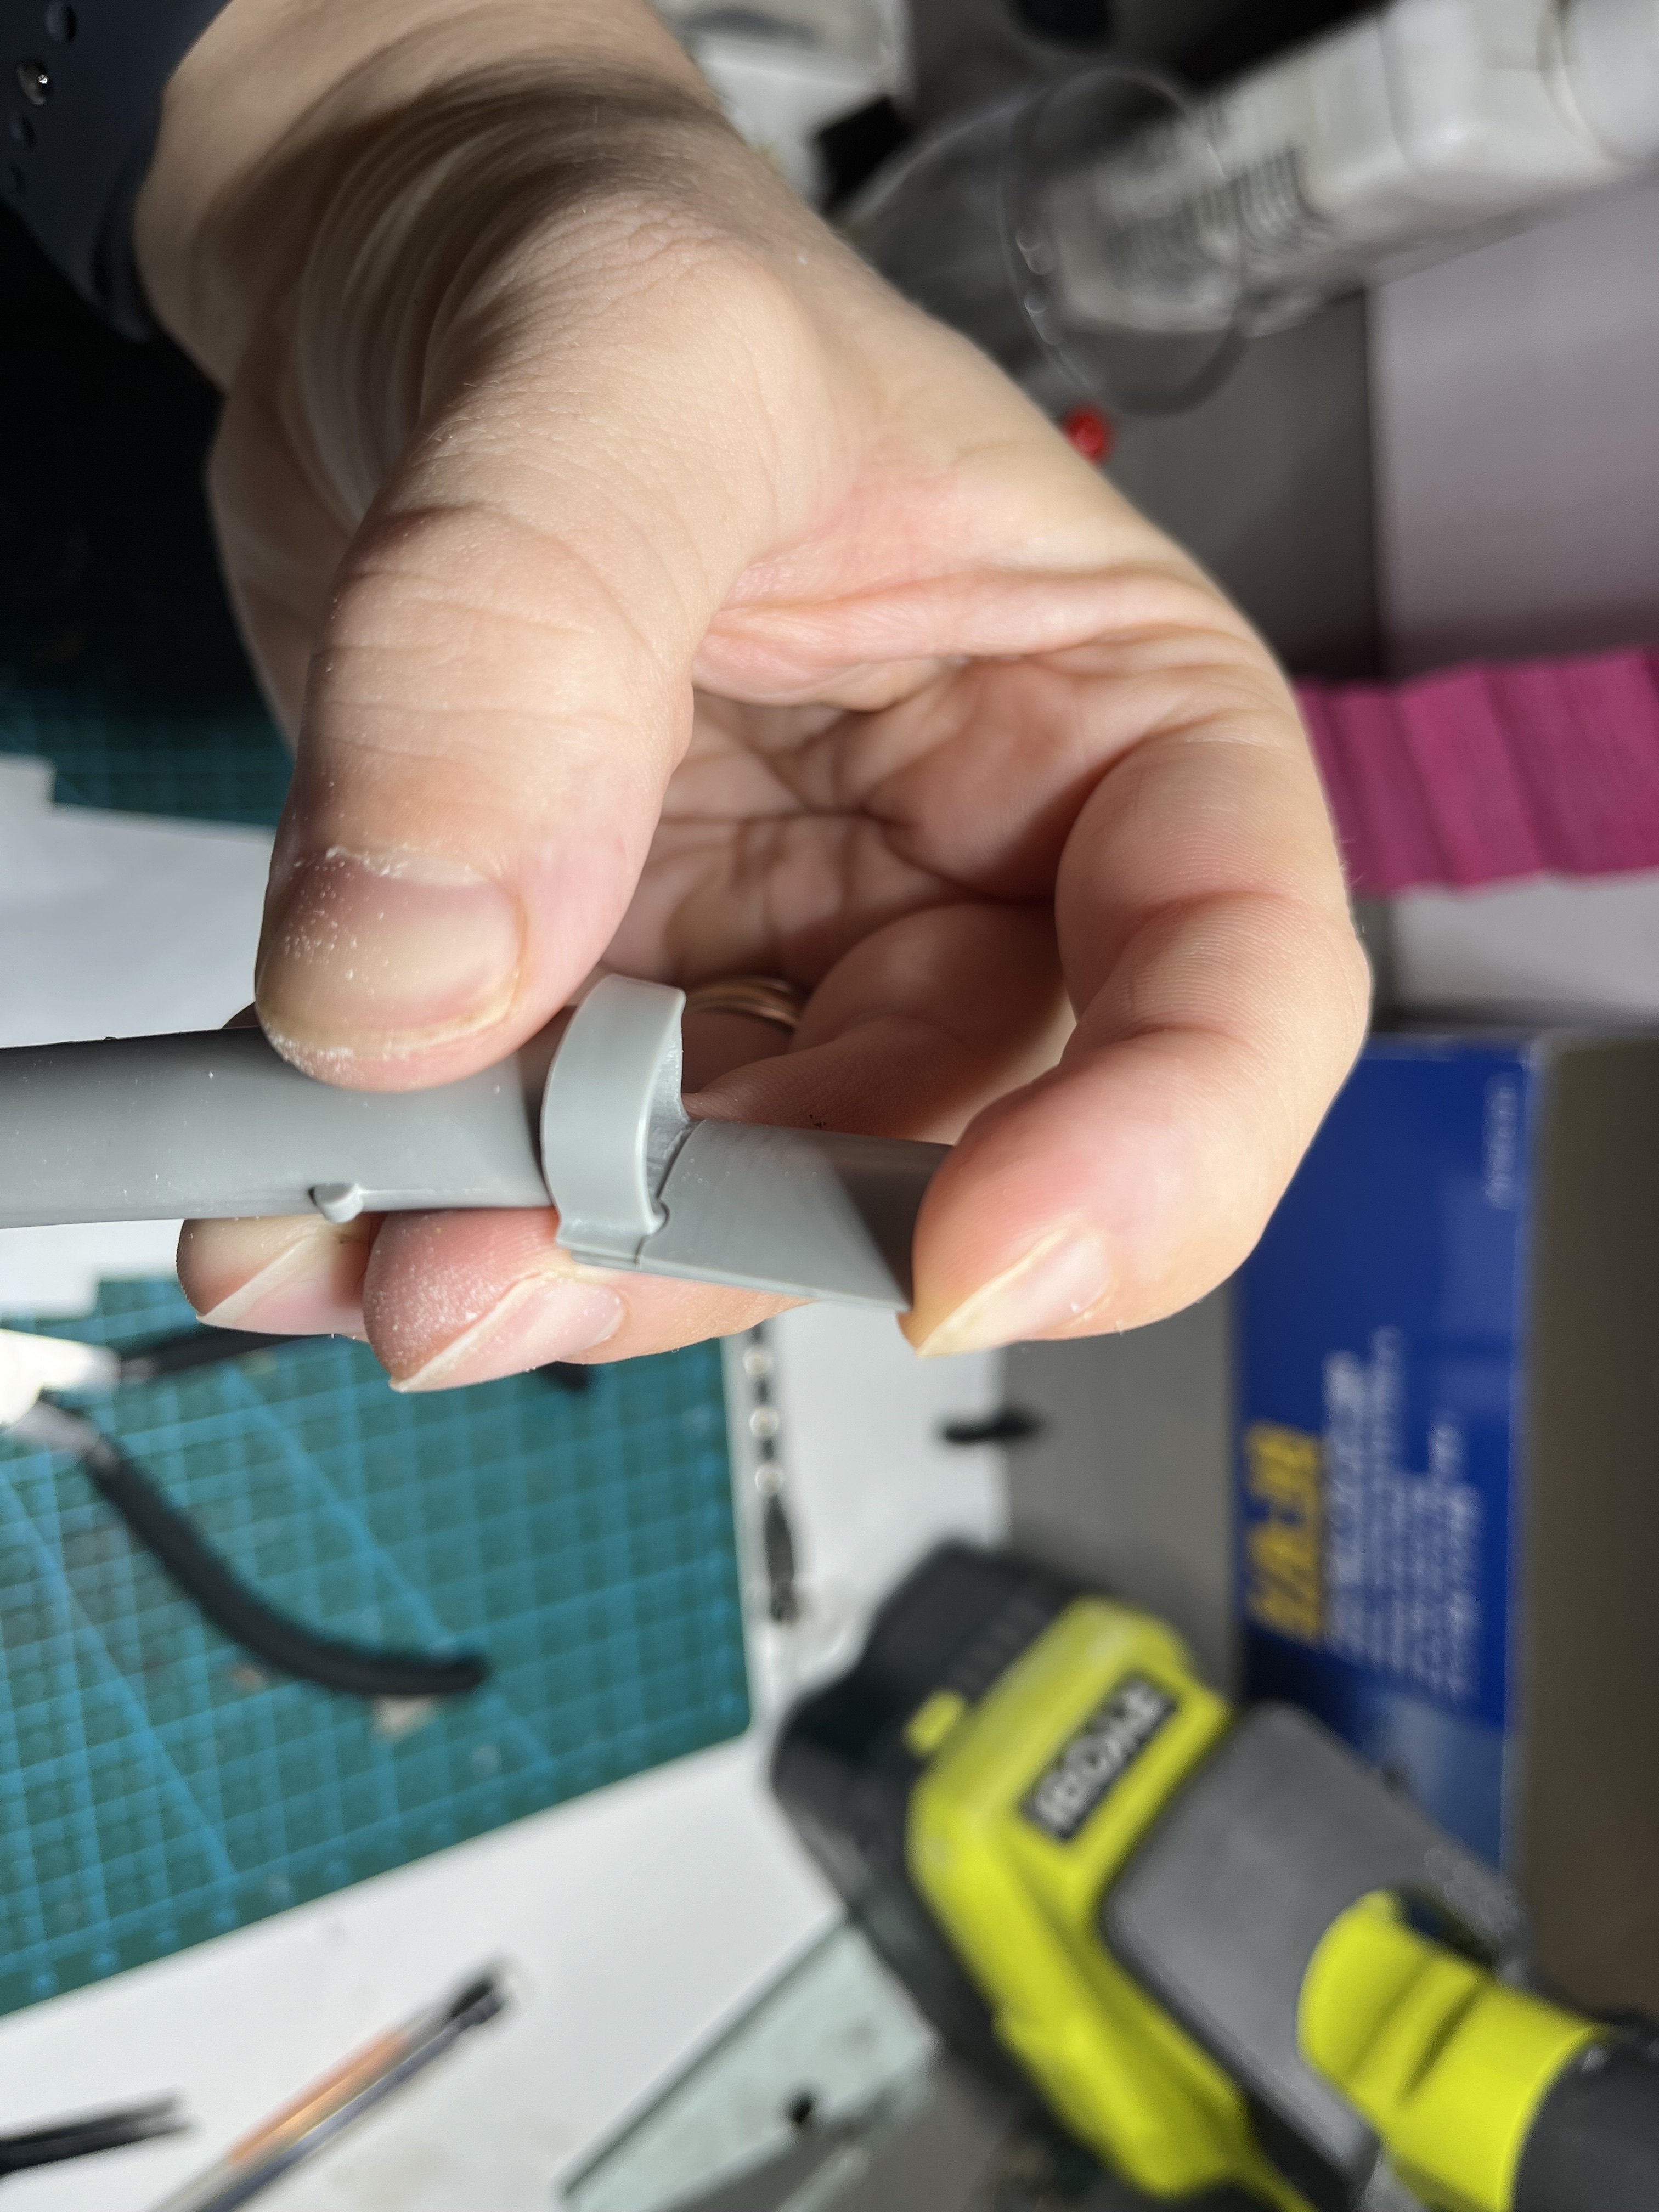
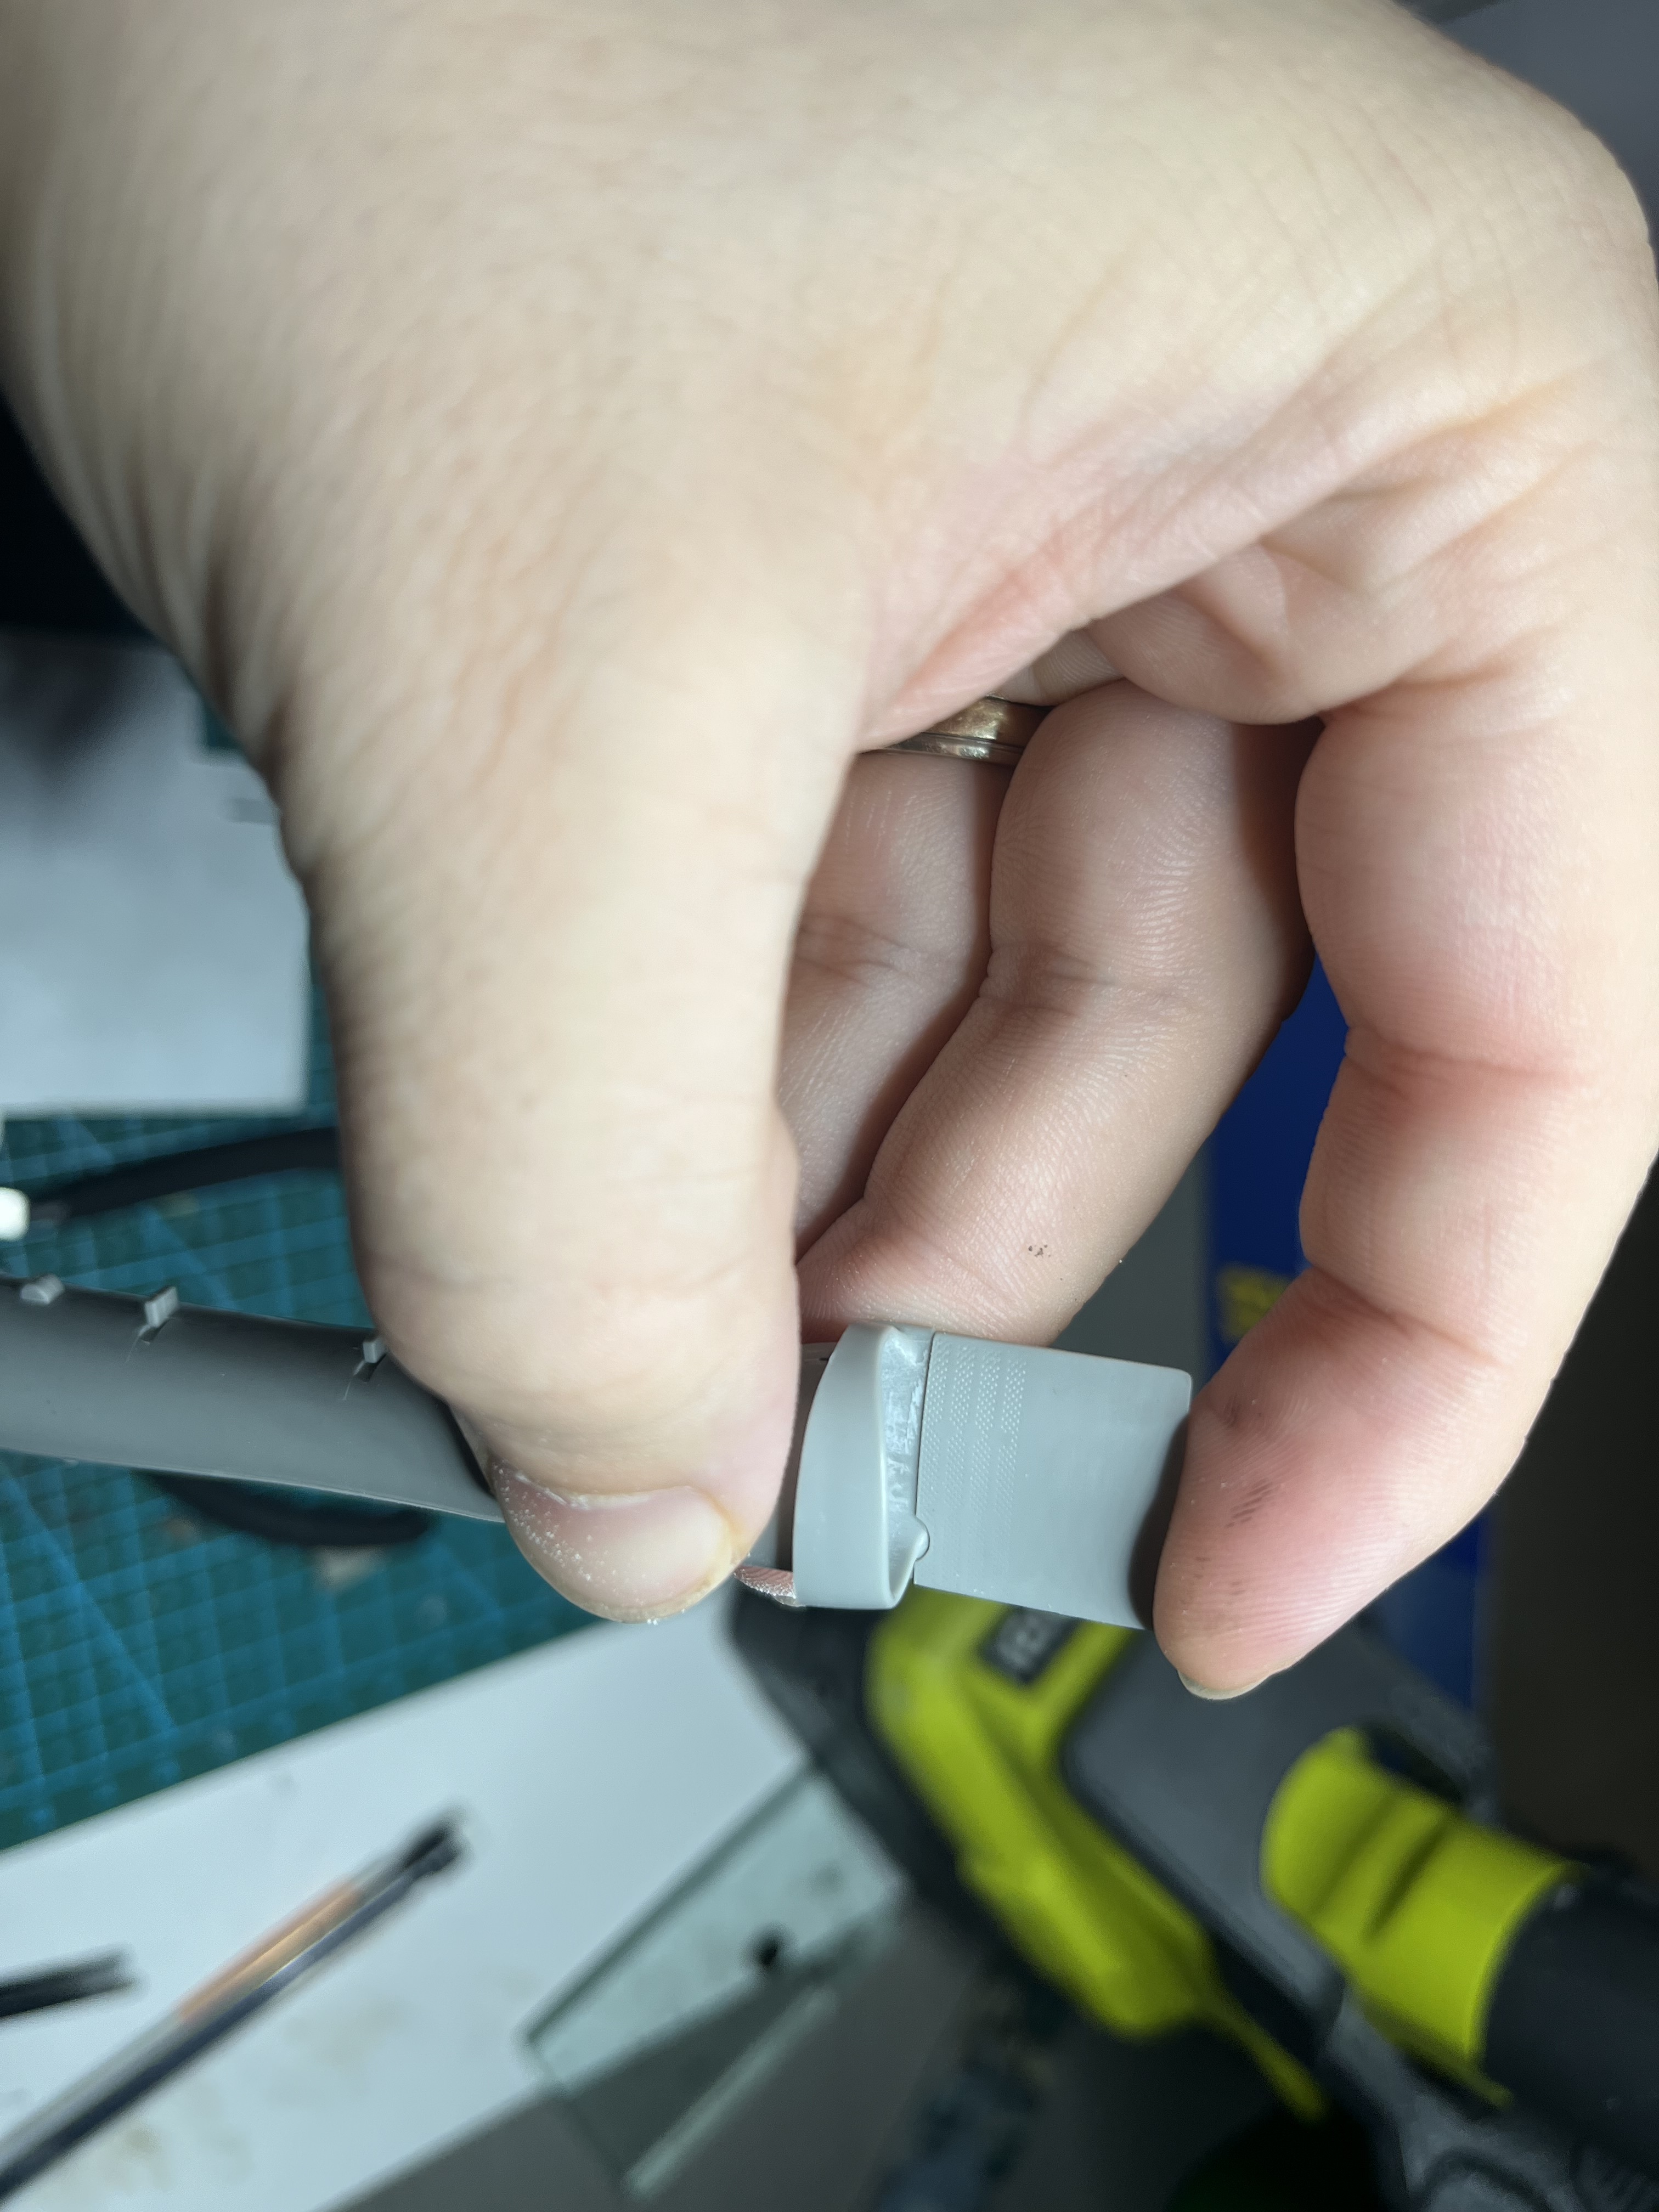
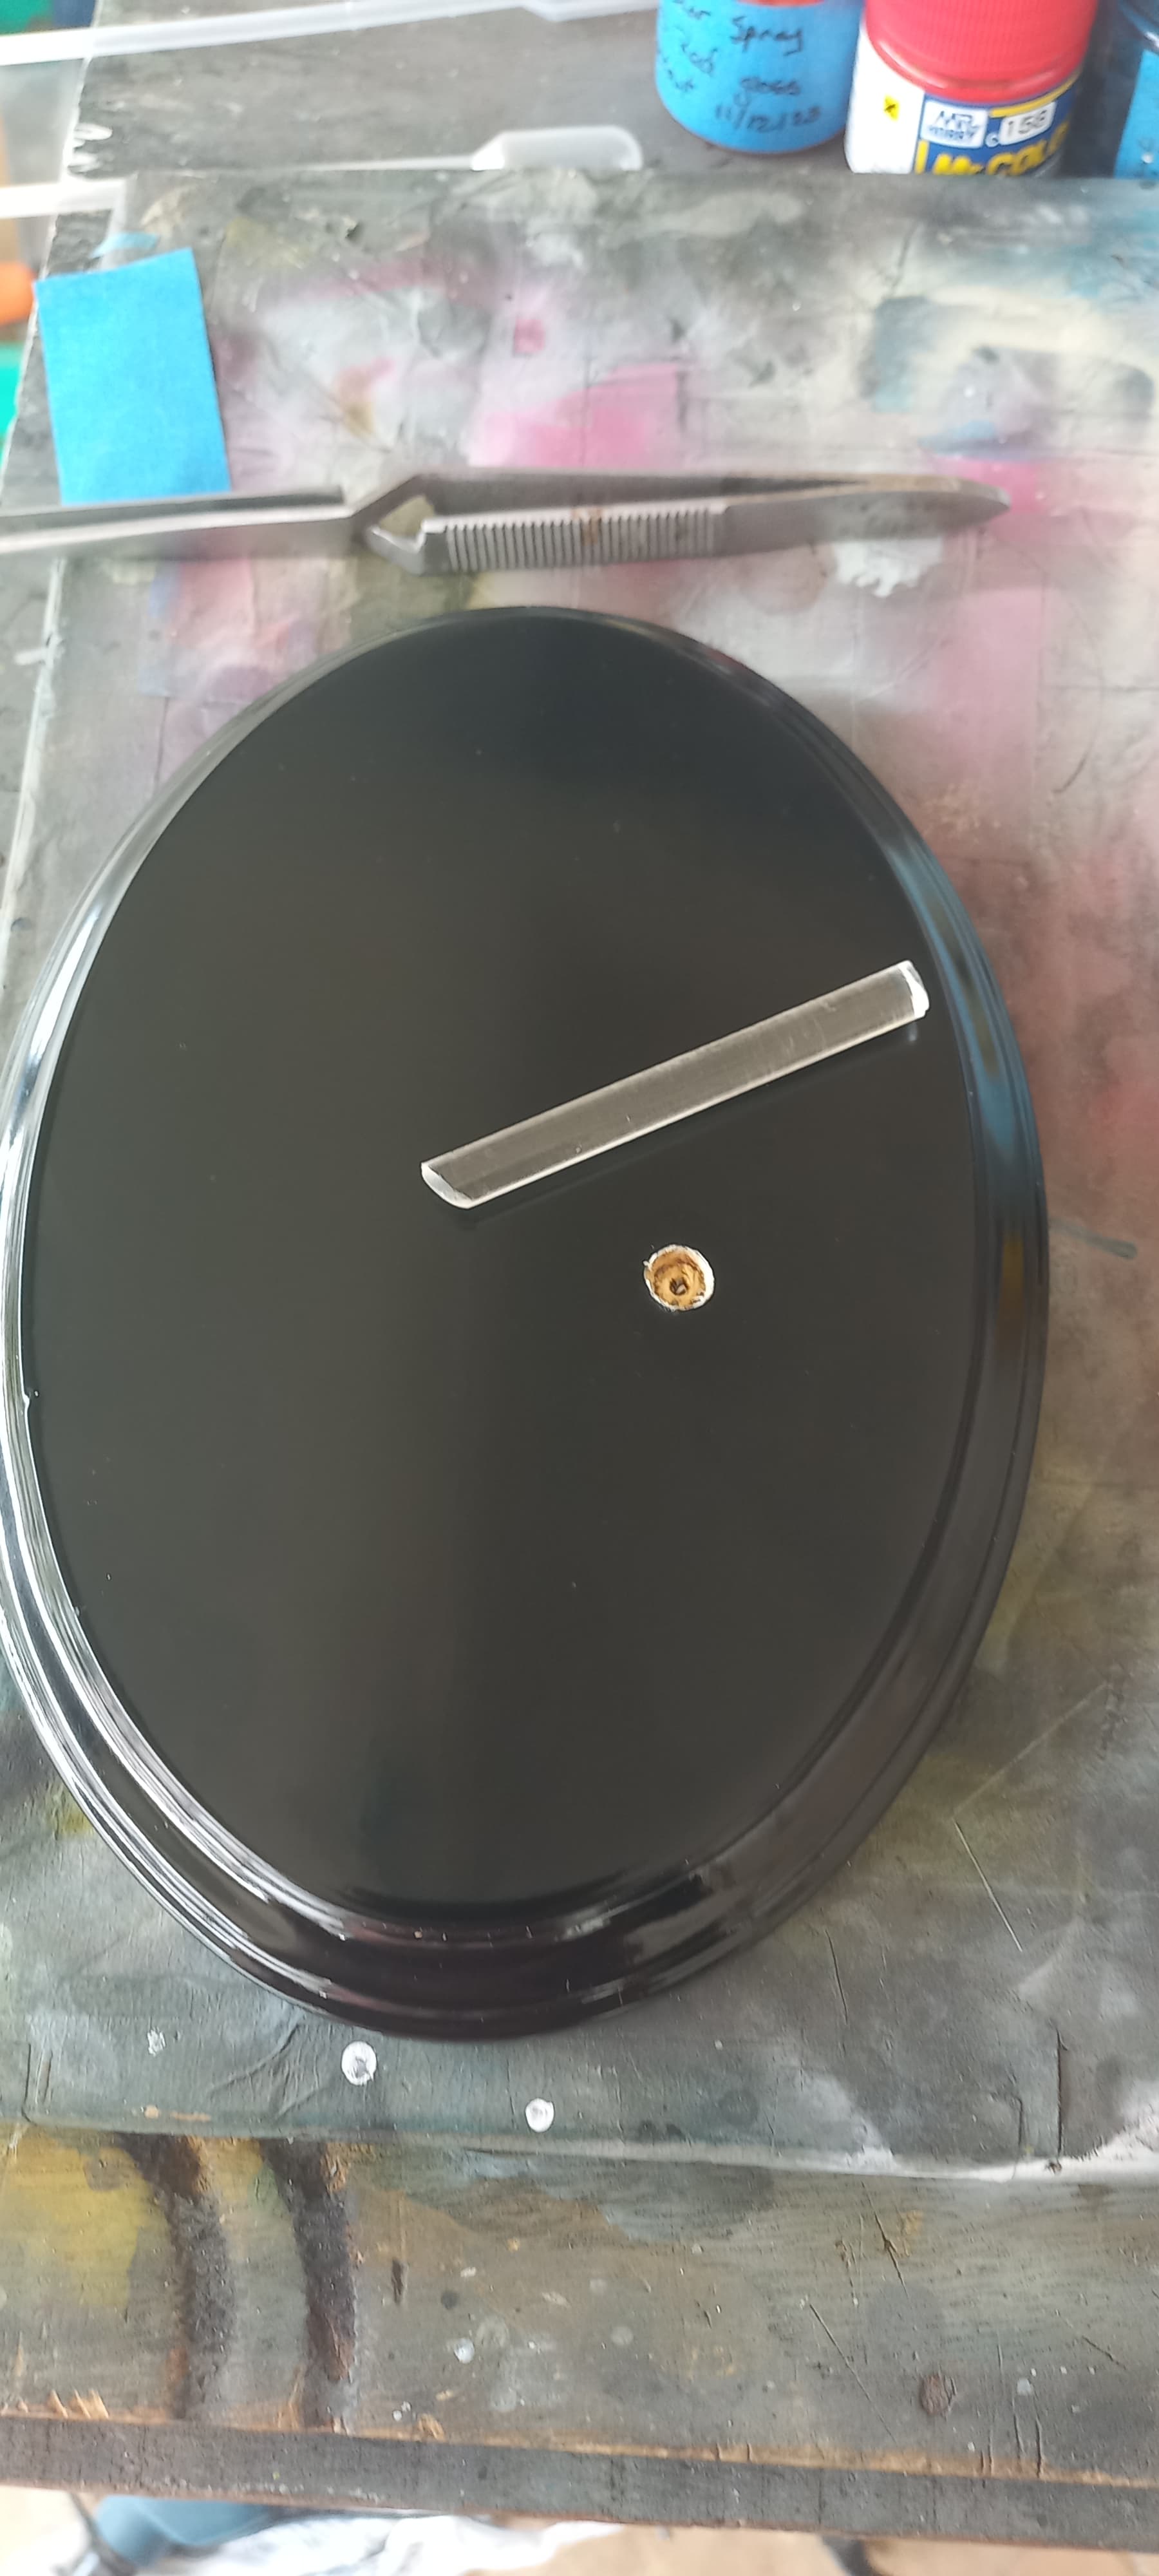
Things are looking up! Time to take some 1/4-inch diameter acrylic rod and set the rivet nail. Easier said than done. Lots of twisting on the pin-vice and some sanding.

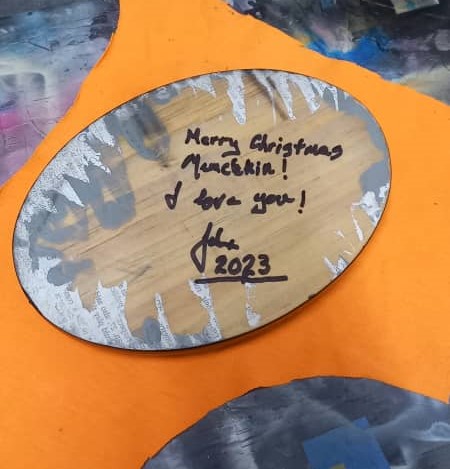
This is where the “art” part of our hobby comes into play. I’ll be wrapping this one up soon, with hopefully a nice review.

Till next time, stay safe, wash your hands and have fun!

8 Likes

Nearly there, looks great!!

1 Like

Beautiful work on the prototype paint colors!

1 Like

Some jump out colours there John. Looks the tops :+1:

1 Like

After finishing the cockpit I have been putting more work into the F-18. Started work on the intakes and engines. The intakes kicked my butt a bit. Took a bout 5 days of filling the seams and sanding with sand paper attached to a paint brush handle to smooth it out. Pretty happy though.

There was also a step between the intake and the splitter plate


Fixed this with a .01” plasticard shim

Still a small step but I can work it now.

I then moved onto painting the engine exhaust and nozzles and intake fans


Darkest color on the burner cans and engines is Alclad magnesium with a bit of tamiya flat black, fan blades are straight magnesium, and the gold is tamiya titanium gold. Used this photo for reference


Still working on the cans, they are just base coat

6 Likes

Looks good. You have more patience than me dealing with those intake interior seams. There are some things I just choose to ignore. :slightly_smiling_face:

2 Likes

Great update Mead and the hours spent are paying off. Really nice colour matches as well on those engine and exhaust areas :+1:

1 Like

Hi Everyone,

Great work Mead, looking very good! Well, as this campaign is coming to a close, I once again find myself on final approach just before the end bell. I really have to work on my time management. Granted, this is going to be a Christmas gift to my youngest niece, which means I had to work on this in a stealth mode.

In my last update I was in the process of getting the stand all set up. Using 1/4" acrylic rod can be tricky for me when it comes to drilling out the hole for the rivet pin without breaking it. In order to do this I used a small drill bit and pin vice and got the starter hole, and followed up with two more larger bits until the pin could fit snuggly into place. After a lengthy process, and a small blister on my thumb, the hole was complete and things looked ready to go. But first! I put a nice little note on the bottom of the stand.

WhatsApp Image 2023-11-30 at 20.21.03_3b88ca09

A final check before commiting things in a permenant manner…

Finally the time to mix the two part epoxy and get the base and bird complete.

After allowing the epoxy adequate time to cure, it was time to set up the photo shop (table, poster board and three lights) and take the completed final pictures!

WhatsApp Image 2023-11-30 at 20.21.37_44895951 (2)

WhatsApp Image 2023-11-30 at 20.21.48_dcb1ad13 (2)

WhatsApp Image 2023-11-30 at 20.21.59_dc7ea501 (2)

WhatsApp Image 2023-11-30 at 20.22.09_8dfce93f (2)

WhatsApp Image 2023-11-30 at 20.22.40_8d987a30 (2)

I believe that this will make a nice homemade gift for the little Munchkin. Despite the decal issue, this kit does build up quite nice. Given that it was molded in 1974, and not a shake-n-bake kit for what it is, presents a very good representation of the prototype F-16. I’ve also noticed that Tamiya kits lend themselves to be wheels up without a lot of filling and sanding. I would recommend this kit to anyone looking to build something a bit nostalgic, fairly simple, and looks the part. I found this a very enjoyable build.

I’d like to thank you all for a very enjoyable campaign. It’s certainly filled with some very impressive builds. Anyone out there not over the line can rest assured that you can complete it on the Hangar Queen campaign, a yearly group build!

Till next time, stay safe, wash your hands, and have fun!

13 Likes

Looks stunning and the way its displayed is perfect. Beautiful finish as well.

1 Like

Thanks John, thank you very much!

1 Like

That sure is a very nice looking teen fighter!!

1 Like

That F-16 is AWESOME

as an aside I will likely bump the end date 2 weeks, I won’t make it in time otherwise

3 Likes

Excellent finish on your F-16 prototype! With the blue background it sure looks a LOT like the original 1/48 Monogram release box art from back then.

3 Likes

Got the intakes painted with the pour and dump method. Turned out great except for one rough spot on the port side intake shown in the picture. It isn’t super noticeable with the fan blade installed and the intake installed on the aircraft


I am debating leaving it, smoothing it out with some gentle sanding using Micromesh wrapped around a paint brush, or more aggressive sanding followed a second coat but thinner this time. I will mask the aft sections and spray the forward sections light ghost gray when I paint the main aircraft.

Also got the nose together! Great fit, no seams to fill :+1: the fit of the nose to the fuselage is more dubious but I found multiple threads online about potential fixes!


Waiting for some metallic paint to arrive so I can paint some of the landing gear piping, then I should be able to get the main body together

7 Likes

Simply phantastic! :ok_hand: :ok_hand: :ok_hand:

Looks like a proper intake to me. Very nicely done!

Hi mates, I won’t make it. It seems to me the campaign ended already, so I won’t finish my F-16 in time. Got a little sidelined because of the loss of my mother, aged 93, in December…and had a lot of other things then at my hands.
If the campaign is still running till this year’s end, let me know, so I could try to finish.
Peter :raising_hand_man:

2 Likes

@B-17-peter I am not done either. I am going to extend it until Jan 14th to give time with the Christmas holidays. Life got in my way too. Sorry for your loss

I could have sworn I set the end date at December 31st. I definitely meant too! So the 14th is a two week extension

2 Likes

@Mead93
Thanks a lot, mate! That’s more than enough time to finish now, at least I hope so :wink:
Wish you a nice Christmas season :four_leaf_clover: :santa: :evergreen_tree:
Peter

3 Likes

Made some steps yesterday and today…decals on the missiles and some of the last parts on the bird’s undercarriage


Now the canopy parts and pylons. Loadout will be like this:

But I still must order the HARM targeting pod and the Sniper pod…
More photos will follow soon.
Peter :raising_hand_man:

5 Likes