Those wheels look very crisp .. great detail on them… And you’re right to question the tanks … you are putting in so much brilliant detailing they need to be as perfect as possible .
1 Like
Thanks John, 
I hope I’ll be successful in the end. 

1 Like
Hello everybody,
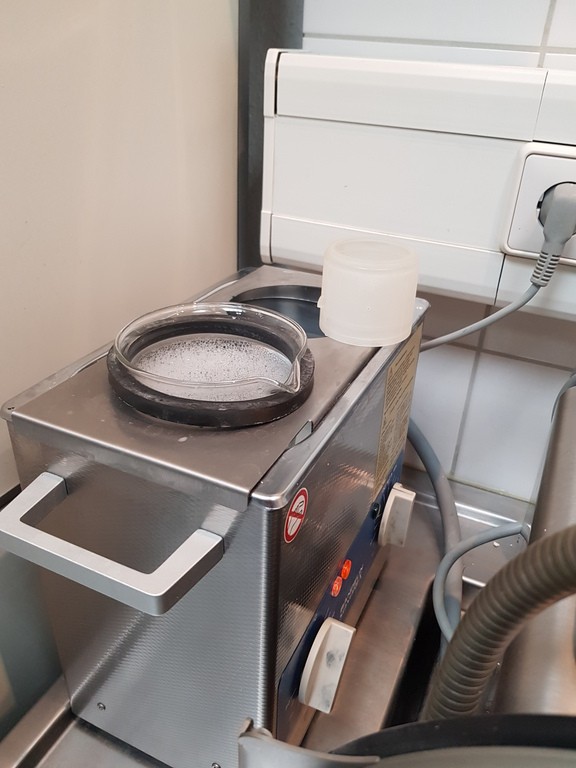
last year I had still registered in the Dental laboratory (ChiliDent) for another ultrasonic cleaning, in order to clean the Early LWT Intertank (FUD) of the support wax. 
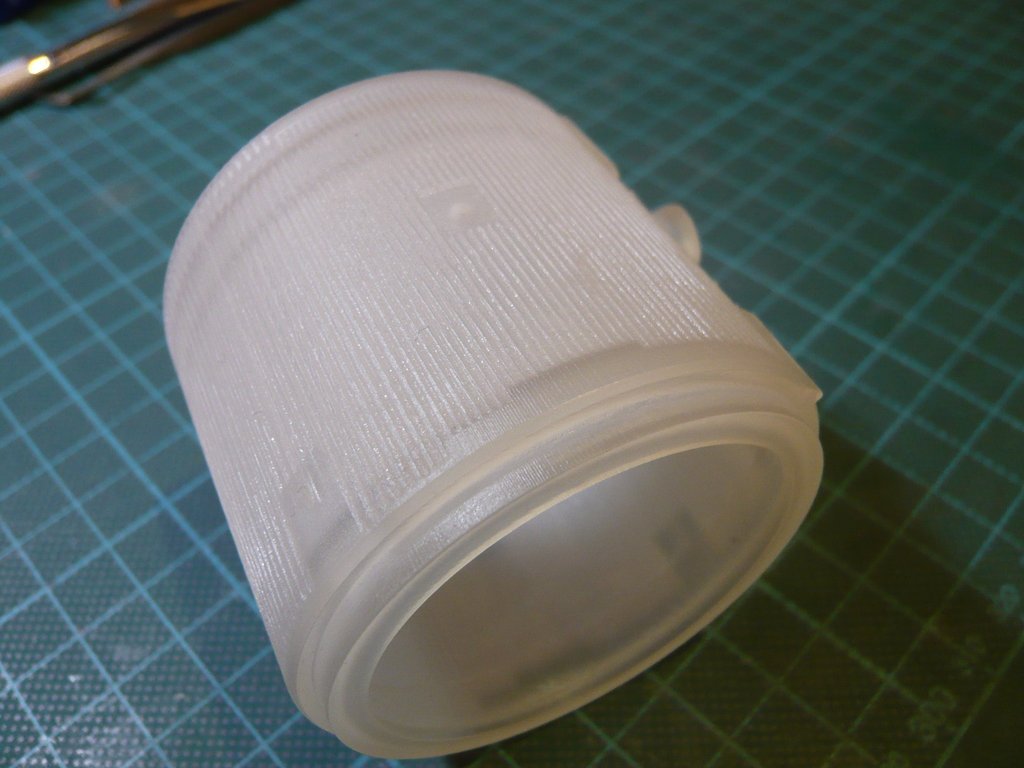
Last week I visited the Dental lab,
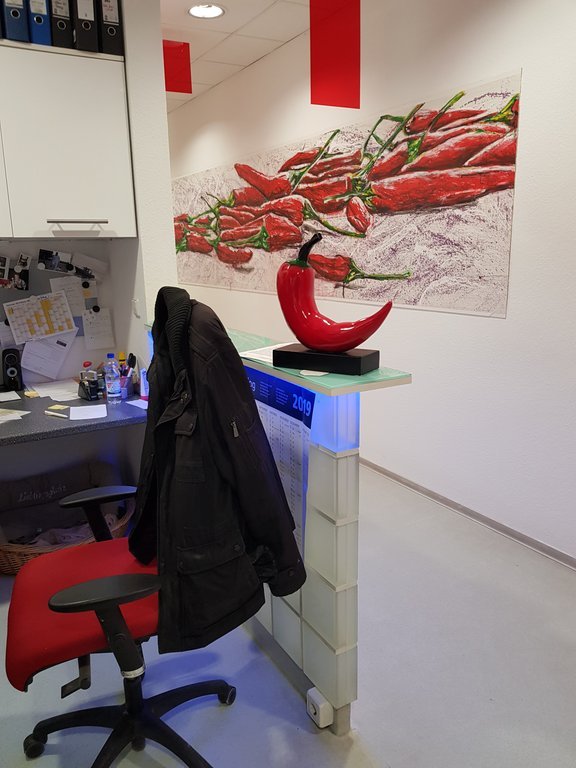
wherefore I packed not only the IT but also all Track Shoes and Main Sprockets, in order to speak about their still pending cleaning. 
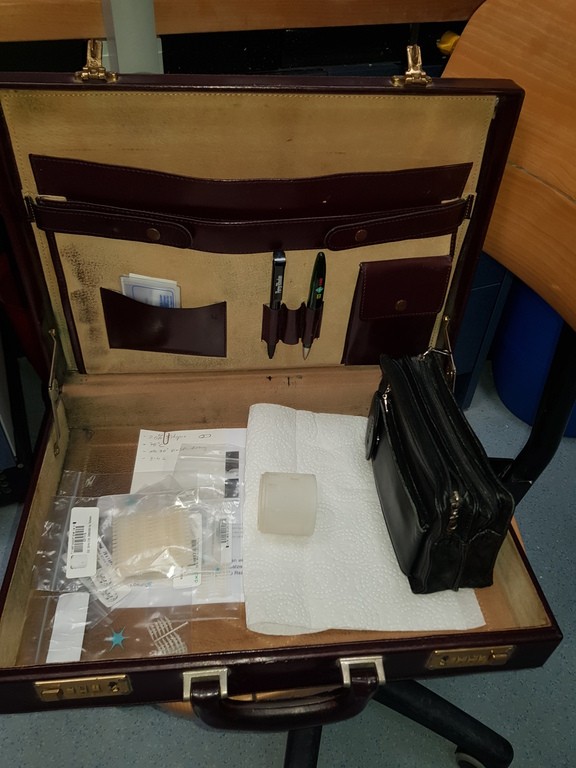
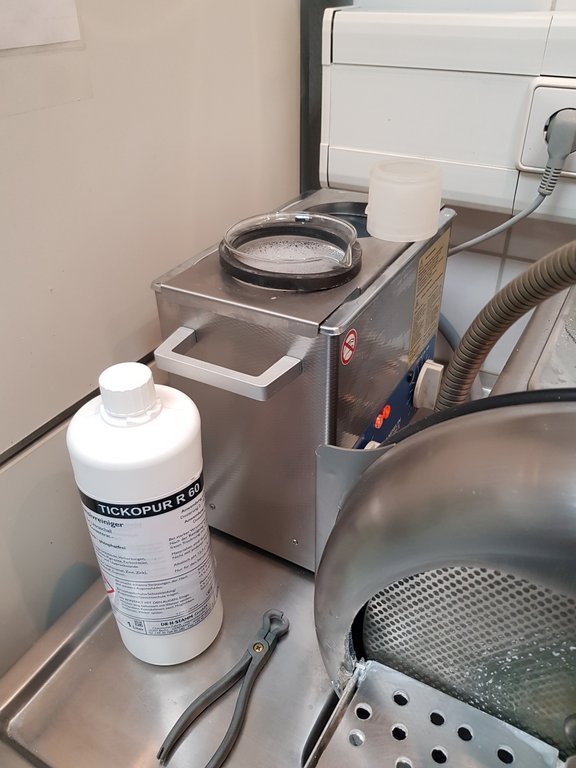
The cleaning in the ultrasonic bath took place again under the same conditions as the first time with TICKOPURR 60 (20%) at approx. 70°C, whereby I turned the flat lying IT every half hour by 180°.
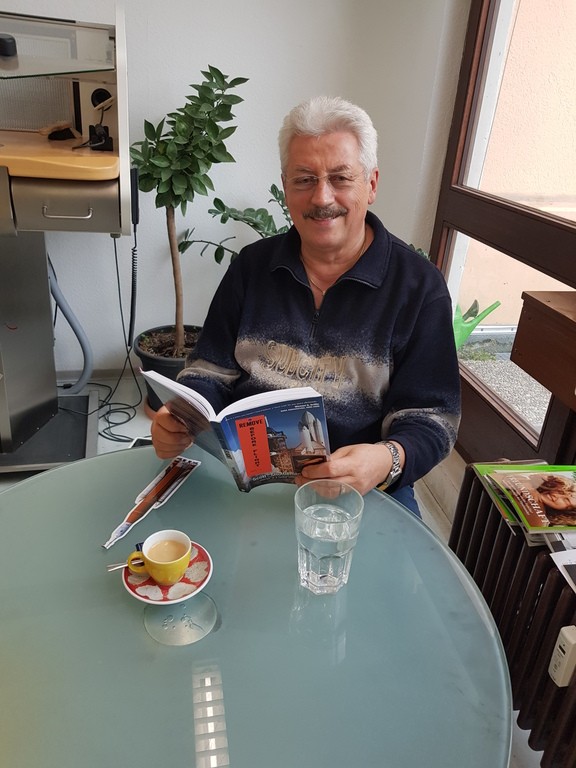
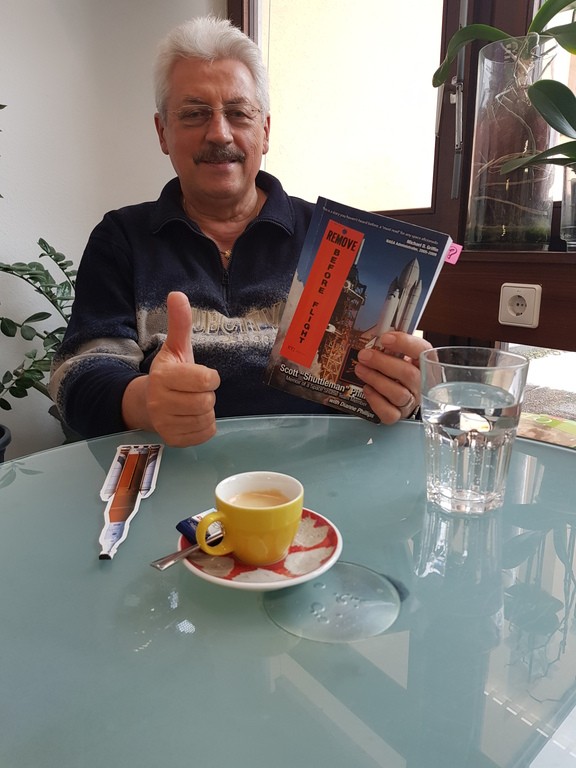
In the interim, I’ve read further in Scott Phillips’s book Remove Before Flight, which I can really recommend because it’s easy  , and was even provided by the nice guys with espresso and fresh soda.
Here is an image of the IT after cleaning (2 h), on which unfortunately one can not see too much,  at least but so much, that still some areas remained with wax residues, so cleaning was continued for a total of 4 h.
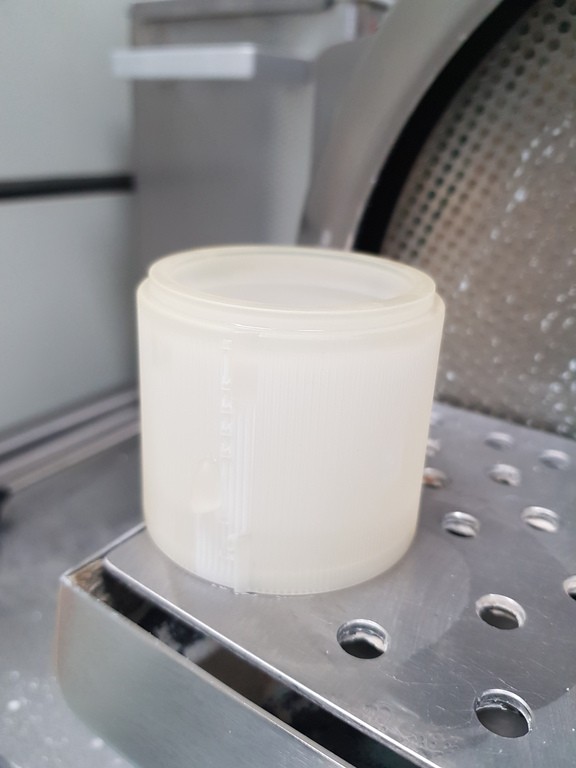
After that, the IT had adopted the familiar white color, which is generally a sign that all wax remains are removed and the IT is completely cleaned, which can be seen very nicely in these images. 

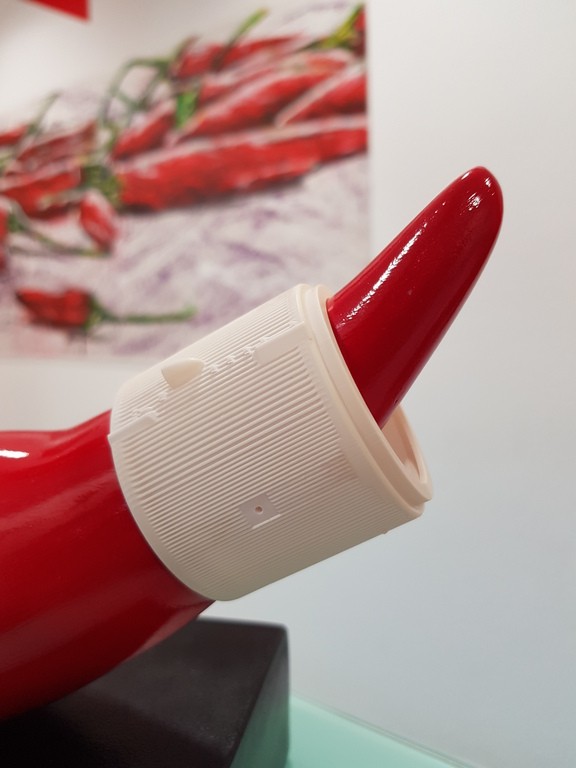
And with this result, I was then more than satisfied and could ride home after appointment for the next cleaning.
And here are a few shots of the clean IT after my return, on which one also can recognize well the details of the Close-outs. 
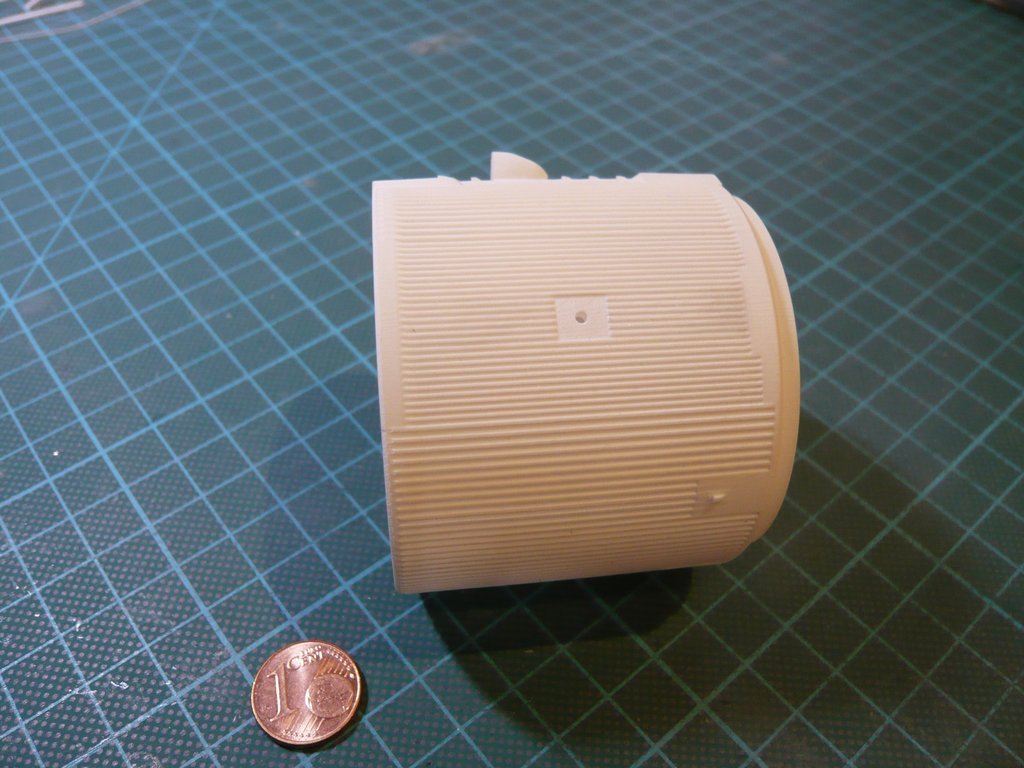
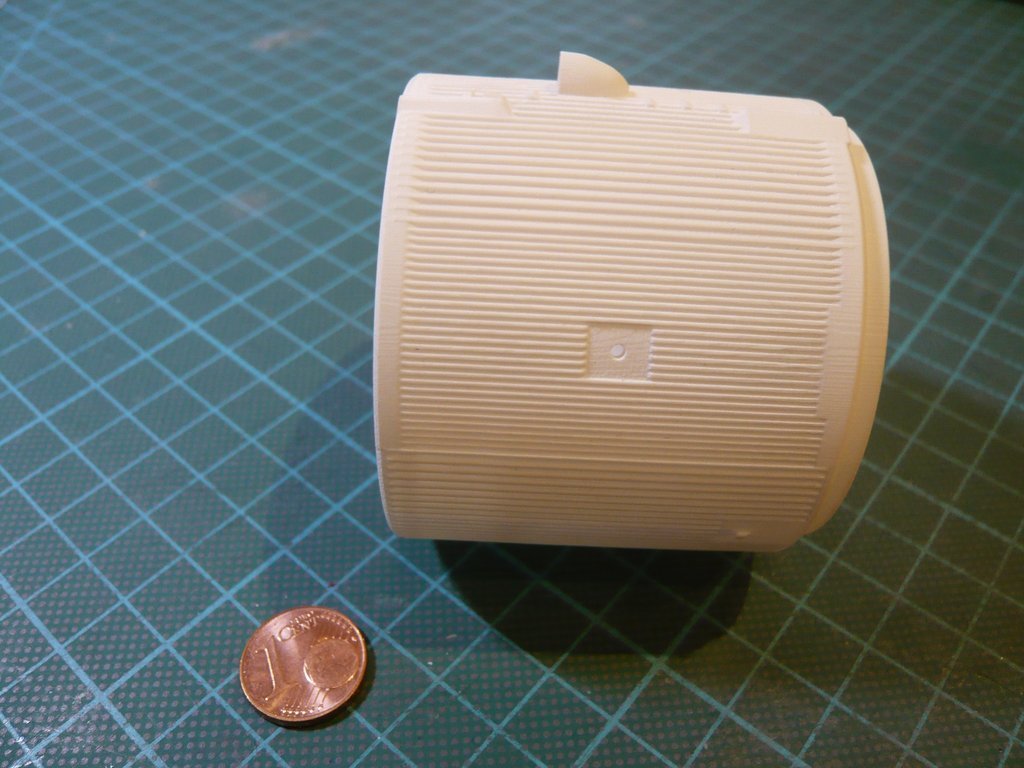
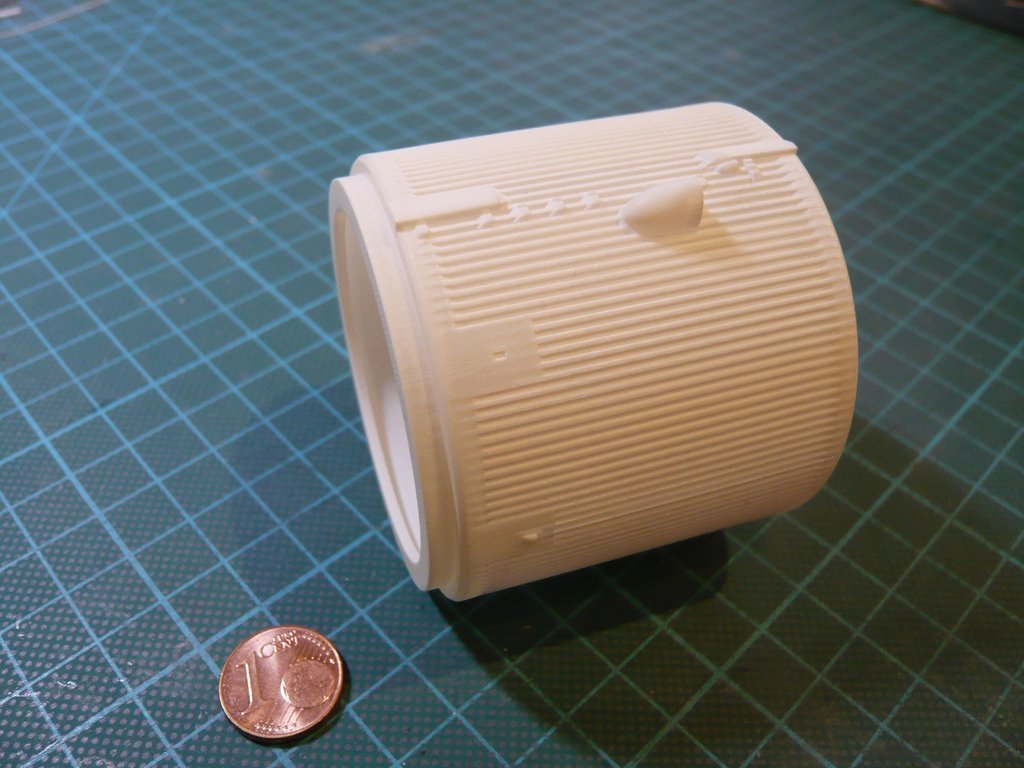
And even in the provisionally installed state, the IT looks really good. 
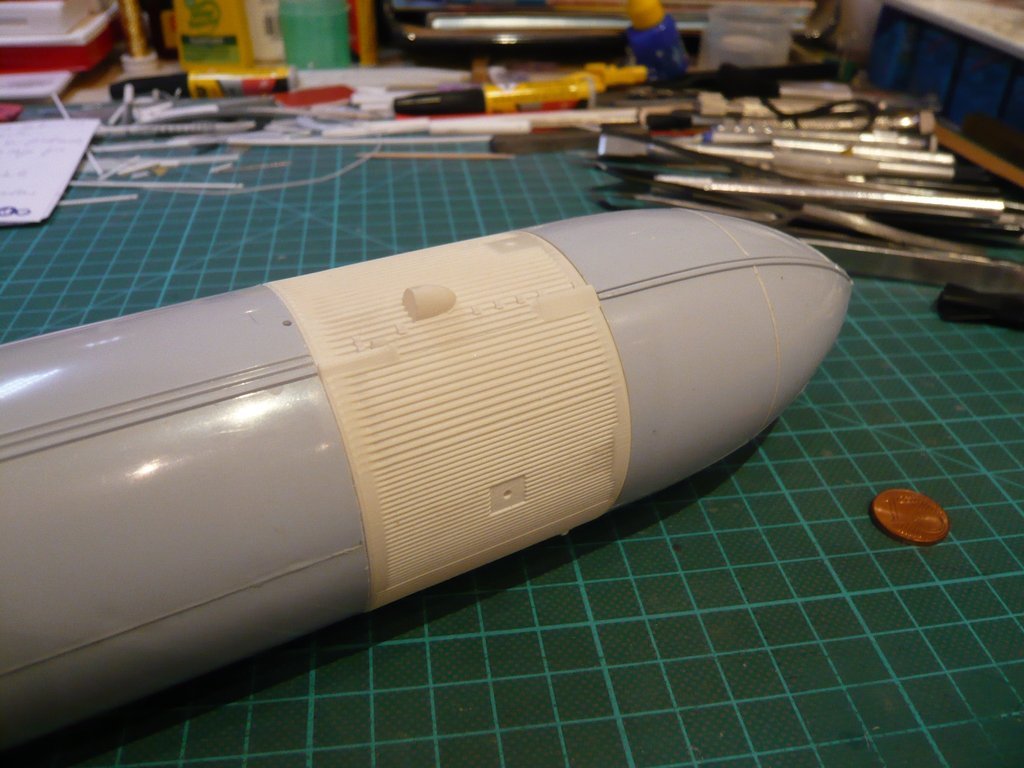
Here again for comparison the uncleaned tank after Shapeways’ delivery, which this time, unlike previous prints, had strangely felt rather oily, which I was wondering about. 
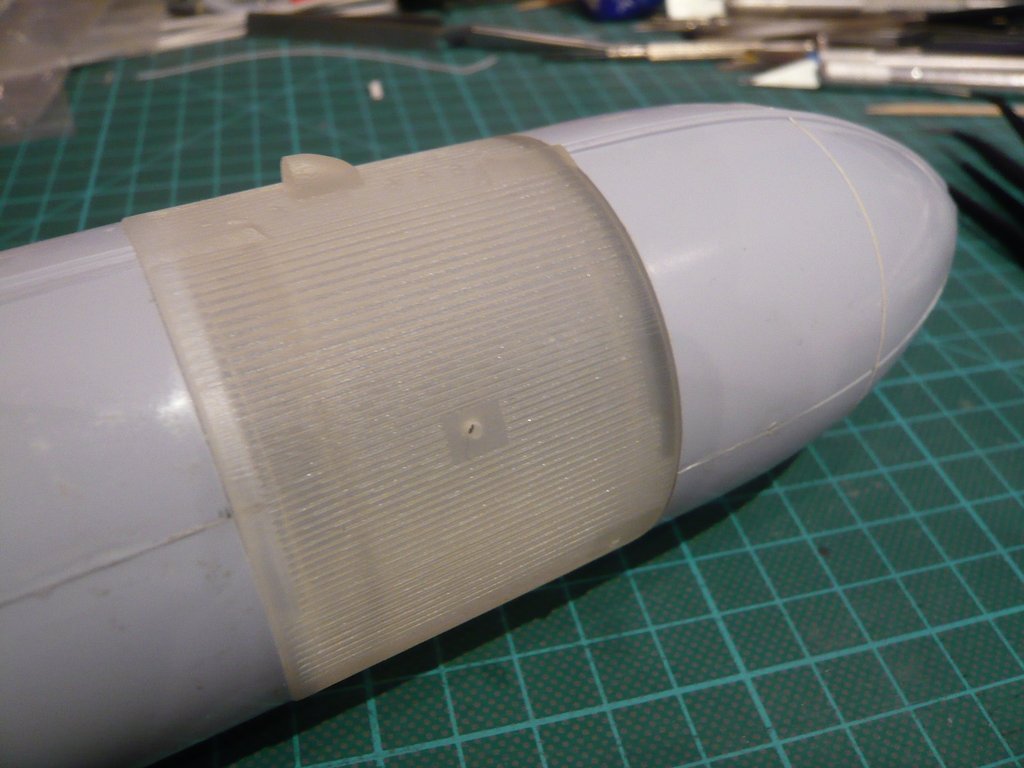
Now this IT really fits to the original Lightweight Tank (LWT) ET-8, as flown for the first time during STS-6, which finally satisfies me absolutely - All’s well that ends well.
7 Likes
Looks good Manfred!
I assume the final ET challenge is the tank surface colors. I recall from my time at Michoud, the discussion of the brown SOFI color compared to the before painted items such as some of the aft mount hardware and LOX feedline supports. Since the as sprayed tan SOFI darkened with sunlight (UV exposure in transient and while waiting for days on the pad in Florida weather) the Michoud factory painted items were an estimate of how brown the SOFI would be at actual launch time. Some hand sprayed close out items done at Florida looked very bright at launch, while others repaired earlier looked dark brown. A good reference is the story of the woodpecker bird damage to one of the LOX tank’s SOFI surface area at the pad prior to a launch. Lots of little spots of clean SOFI illustrate how difficult color matching of a sun bleaching process can be.
Really enjoying following your efforts here! Thank you for sharing. Looking forward to more.
3 Likes
Thanks Stuart,
you’re speaking as an expert with firsthand knowledge. I am familiar with this issue, which is particularly relevant for my mission STS-6, the stack sat on the pad for a long time because one SSME engine had to be replaced, and eventually, the entire stack had to be moved back to the VAB. That is why the ET looked quite dark brown at launch. I will try to make the orange tones a bit lighter.
2 Likes
Hello everybody,
today I want to start with the preparations for the creation of the wavy SOFI Ring Structure, for which I famously wanted to apply a combined Flour&Strip Method.
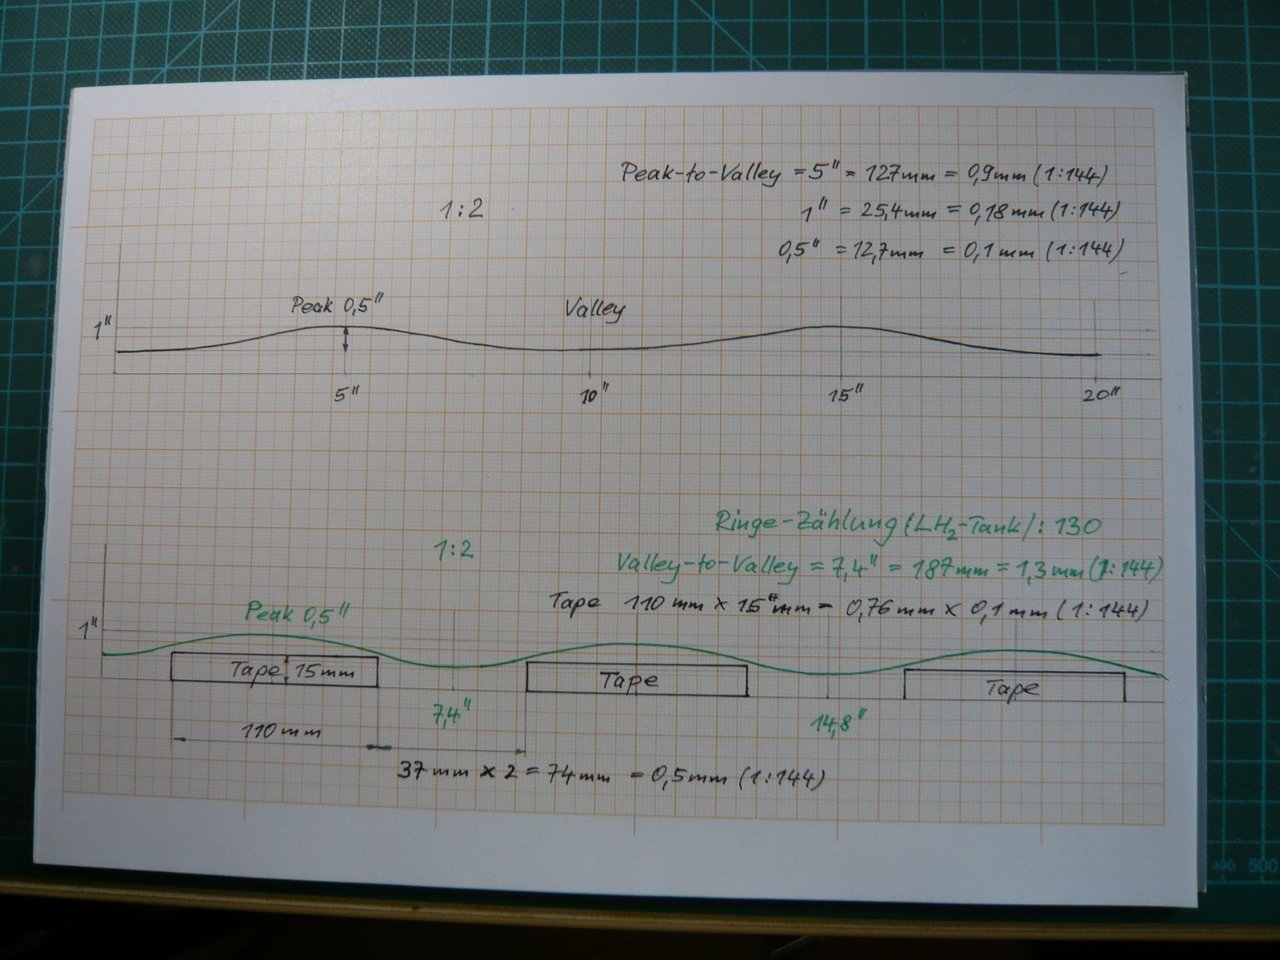
Some time ago I had first determined the shape and then the geometry of the SOFI Texture and started with first preliminary experiments.
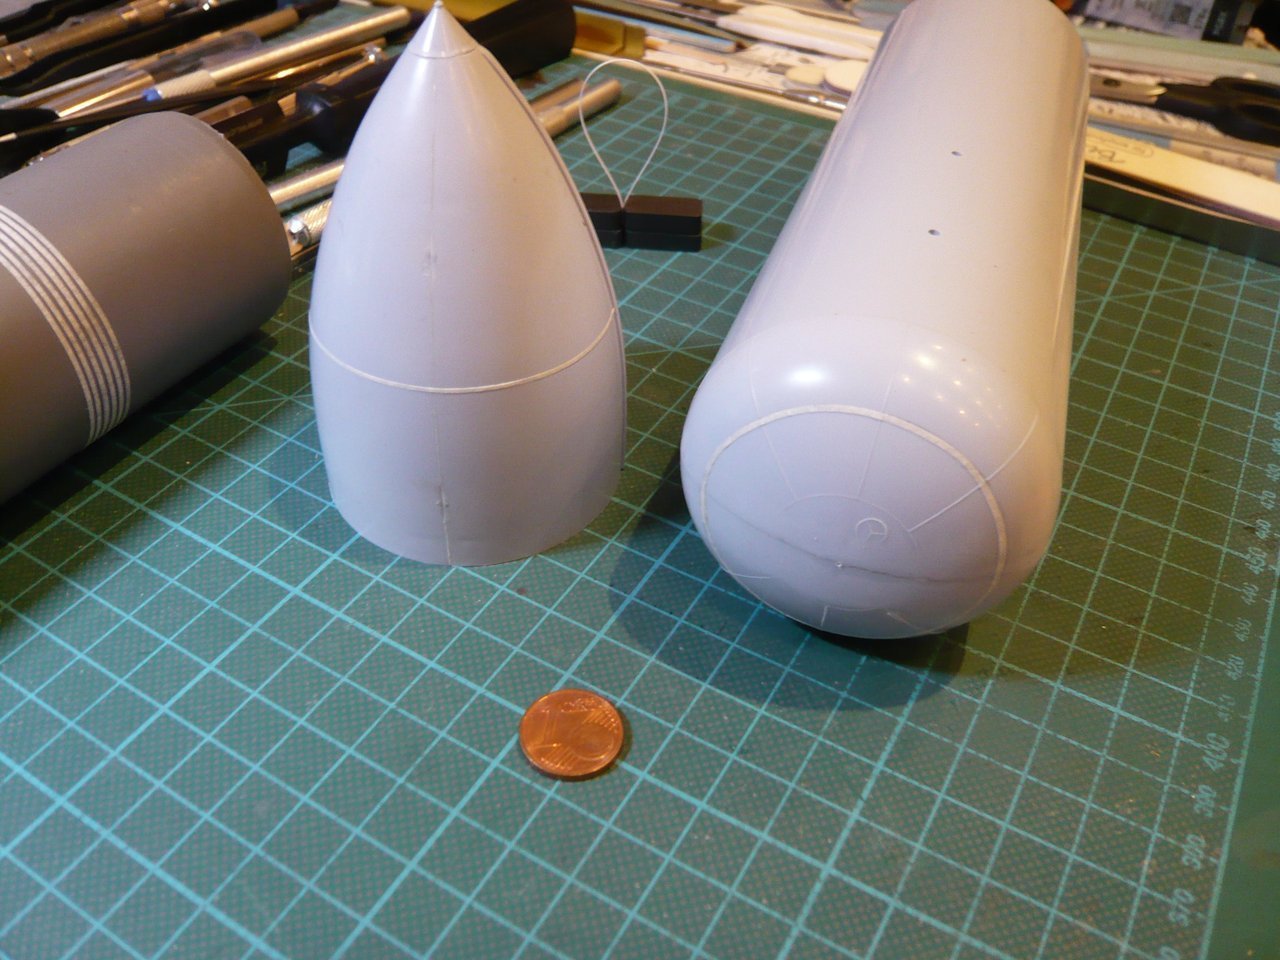
For the starting pattern (left) that time I had glued single rings of 1 mm wide Rai-Ro-Tape next to each other onto my ET dummy and used a magnet strip loop of Evergreen strip 0,25 mm x 0,5 mm as a spacer.
In the meantime, I also got me the required different width masking tapes and thought about some more patterns.
For the 2nd pattern I have successively glued single turns of 0,75 mm tape and in between at the same time as spacer a black 0,5 mm tape as continuous spirals (Barber pole), which was rather tricky, 
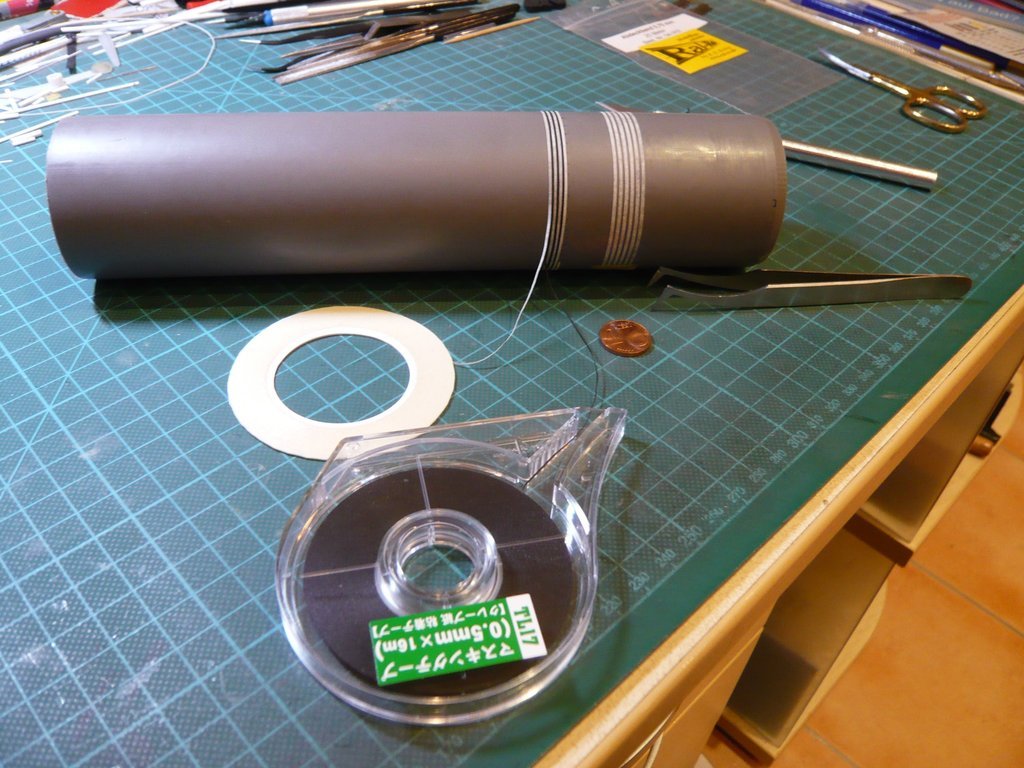
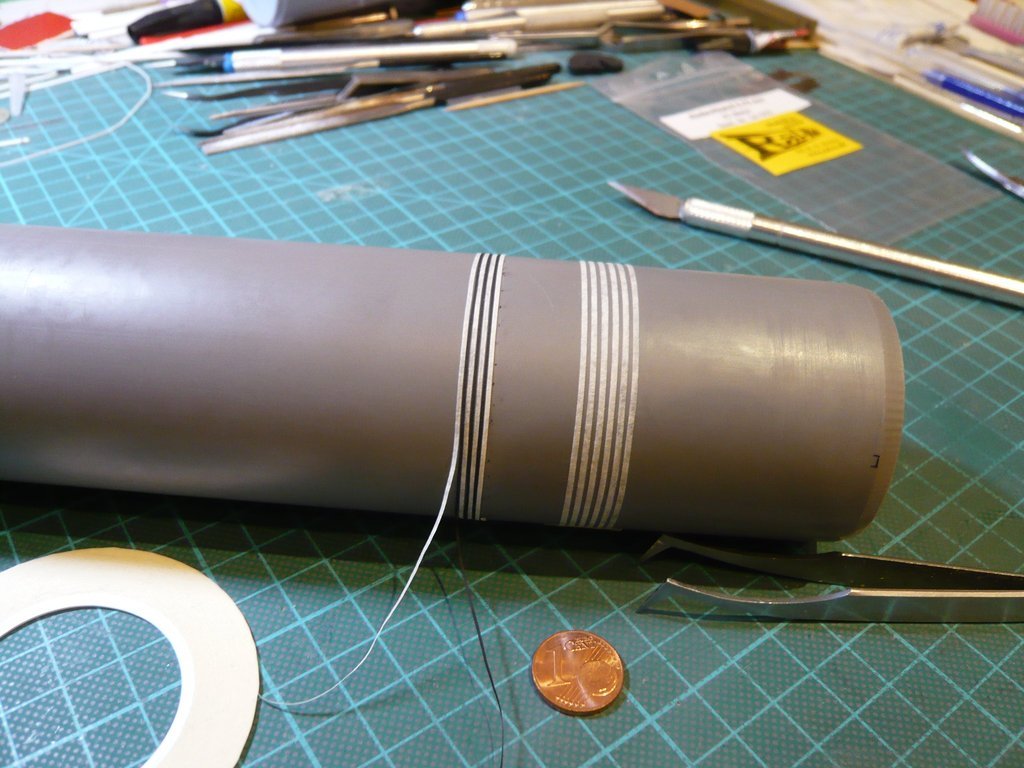
but has worked well nevertheless. 
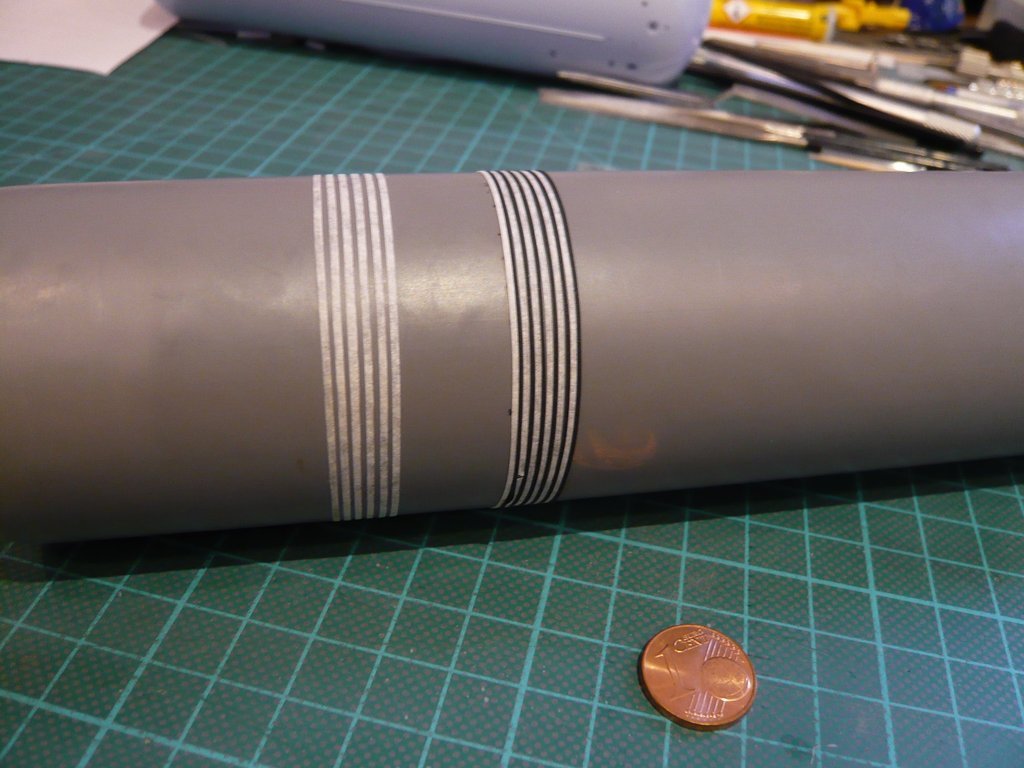
For the 3rd pattern I’ve glued Styrene strips 0,25 mm x 0,75 mm in the same way by using MEK, which are thicker than the used Tape strip (about 0,1 mm).
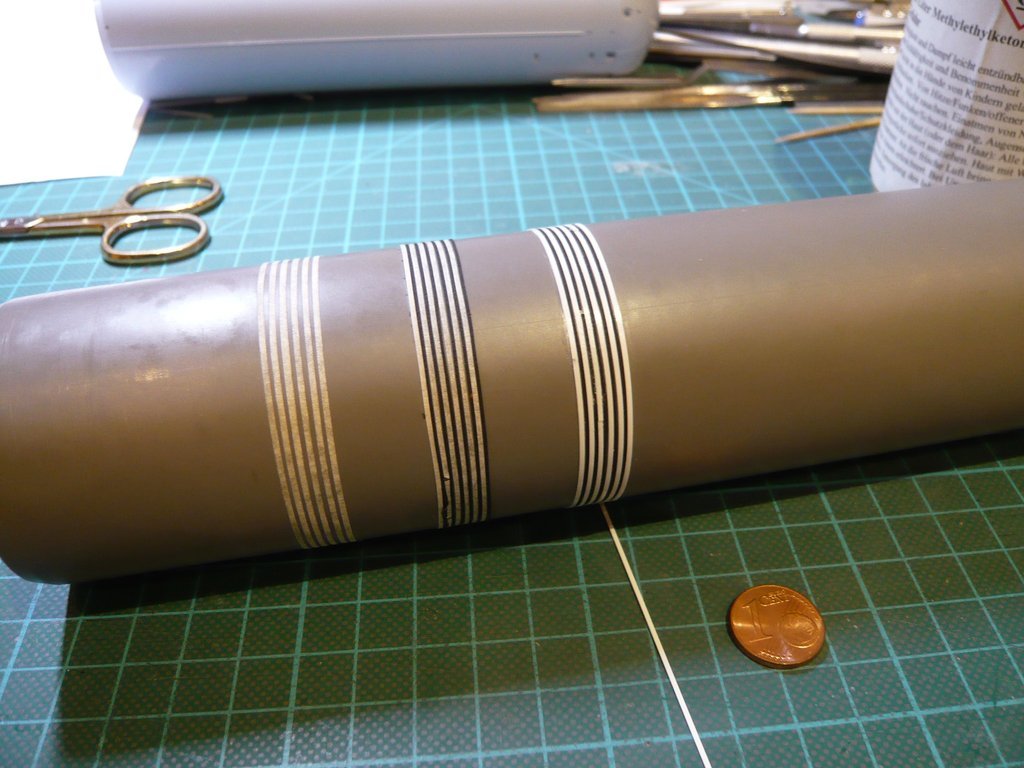
Before the Flour test, the spacer tapes (0,5 mm) are removed again.
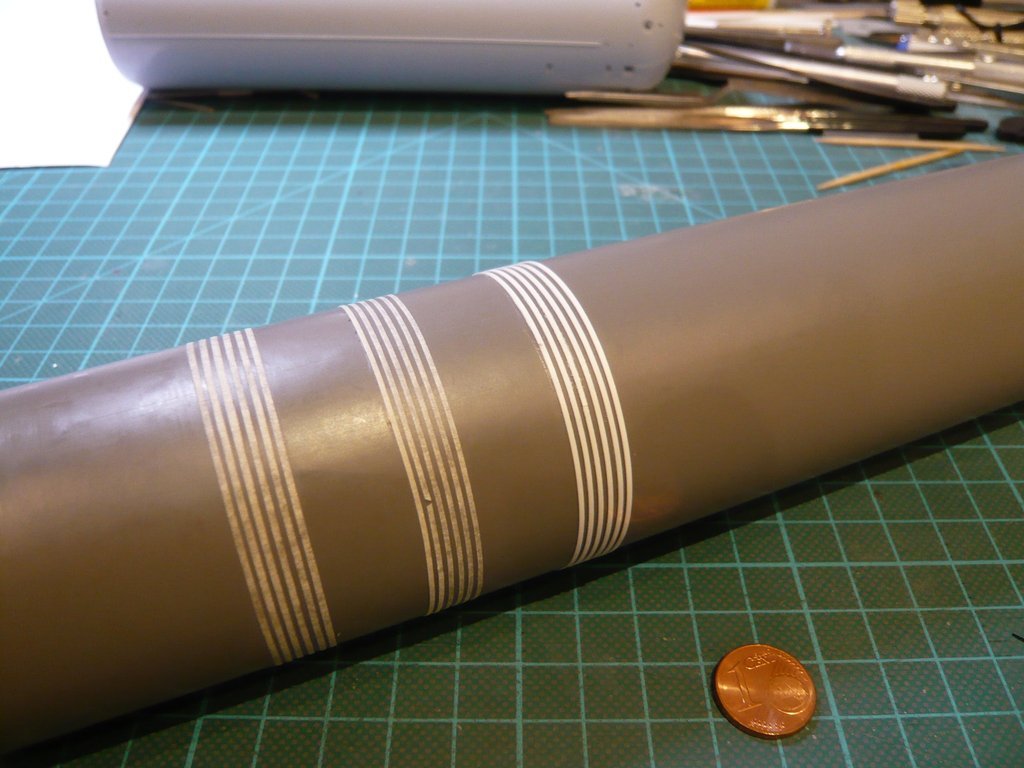
For the 4th pattern I have glued onto the 0,75 mm tape one more layer 0,5 mm tape, to get something more thickness, and for the 5th pattern I have cut some 0,75 mm wide strips of Evergreen Sheet Styrene (0,1 mm) and glued them also by using MEK with 0,5 mm spacing.
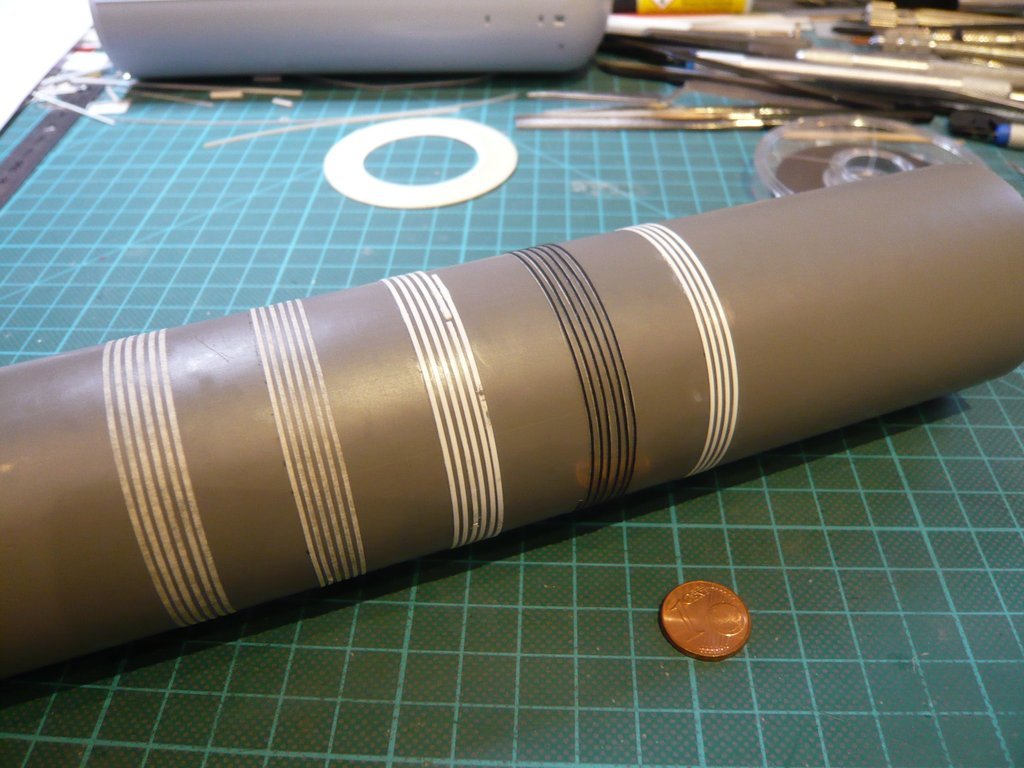
Next up follows the Flour test by using spray glue, which I am very curious about.
6 Likes
You are the expert my friend as you demonstrate above with the STS-6 journey to launch! I am sure your weathering of the final ET product will be a worthy artistic tribute to this NASA history.
1 Like
Thanks Stuart,
I’ll hope so, therefore keep your fingers pressed and stay tuned.
1 Like
Hello everybody,
the ingredients for the Flour orgy are ready and waiting for application.
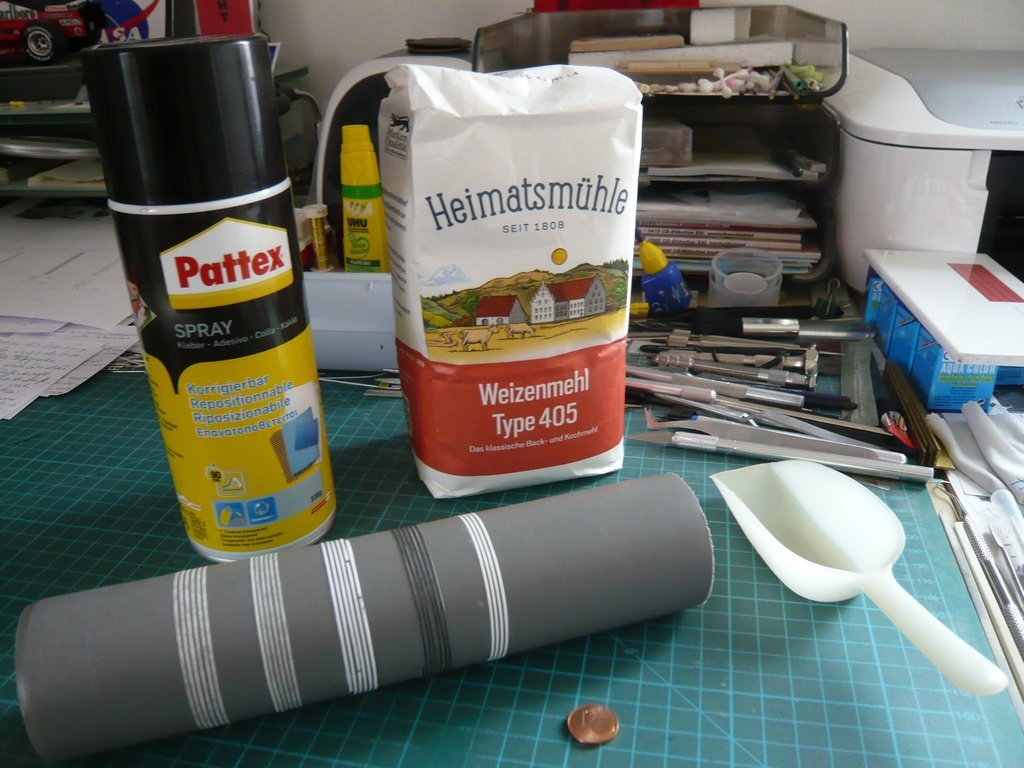
The flour is fresh from the supermarket, and the Pattex spray glue I have precautionally tested once more, because I did not use it for a long time, but it still glues like hell! 
In the meantime, I came up with the following solution for handling the Dummy ET  and imagine a simple small holding jig from cardboard, much like a Rotary spit for suckling pigs, the Dummy being the suckling pig.
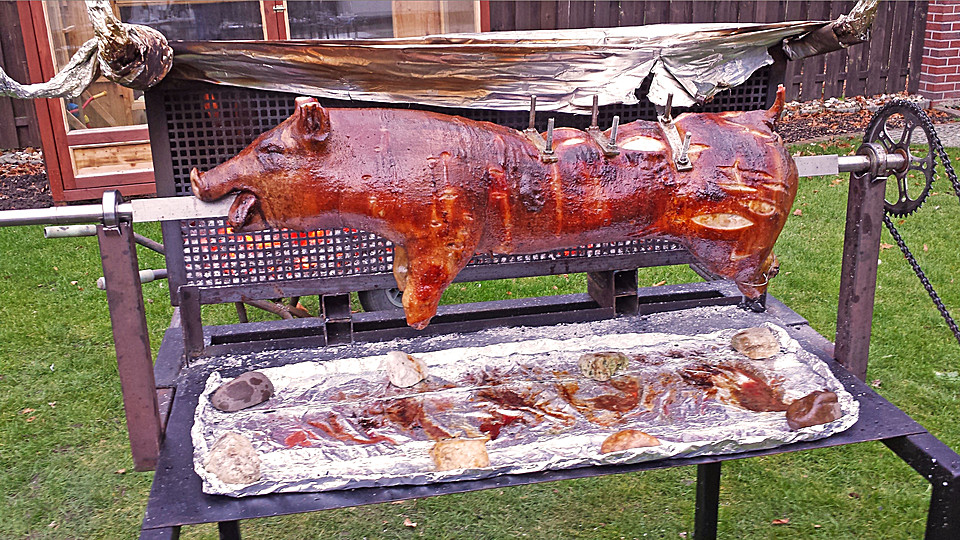
For this I will fill the Dummy tube on both sides with Styrofoam and insert a rod. And then I’ll turn this spit slowly by hand, both when spraying with the Spray adhesive and during the subsequent dusting with flour, that’s all. 
Now I just have to think about how I can hold best the Dummy when spraying and sprinkling with flour …
5 Likes
Hello friends,
and thus from the idea to the practical implementation, this is my Hi-Tech Holding jig for dusting the ET Dummy with flour, which looks cool, right?
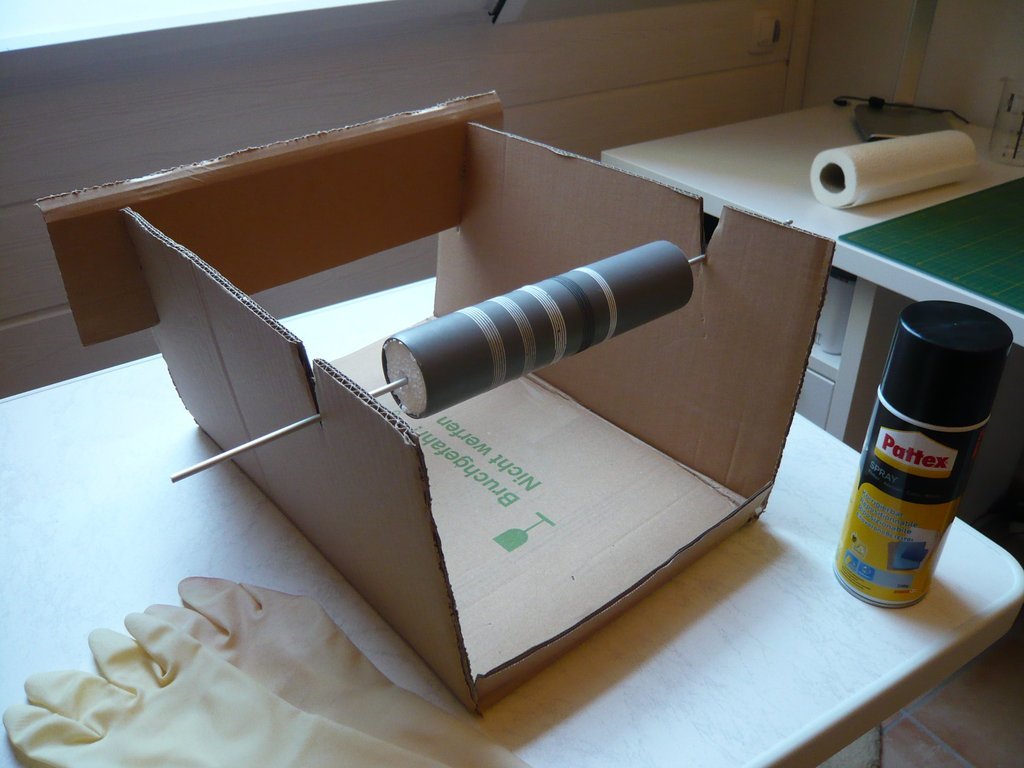
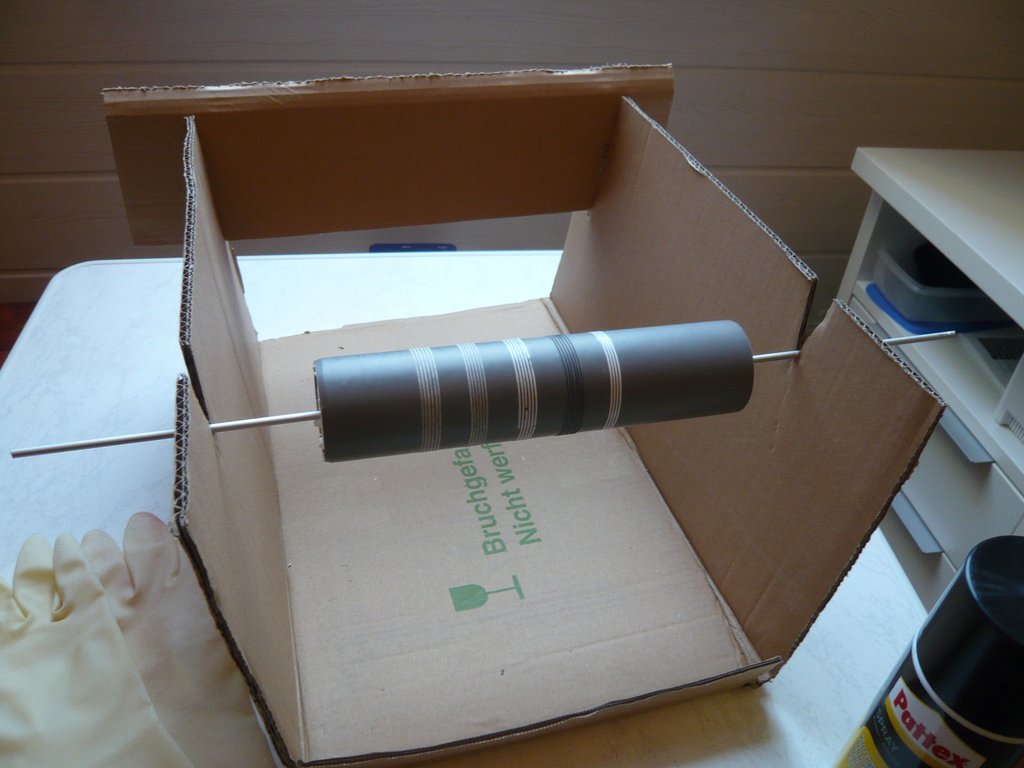
I do not want to win a Designer prize, and so the purpose justifies the means!
Therefore, please keep all available fingers pressed that the test works well. 
6 Likes
Hello everybody,
well then let’s go into the cellar bakery and get to the sticky Flour pleasure. 
So that not everything is made sticky afterwards, I have precautionally covered the environment with foil.
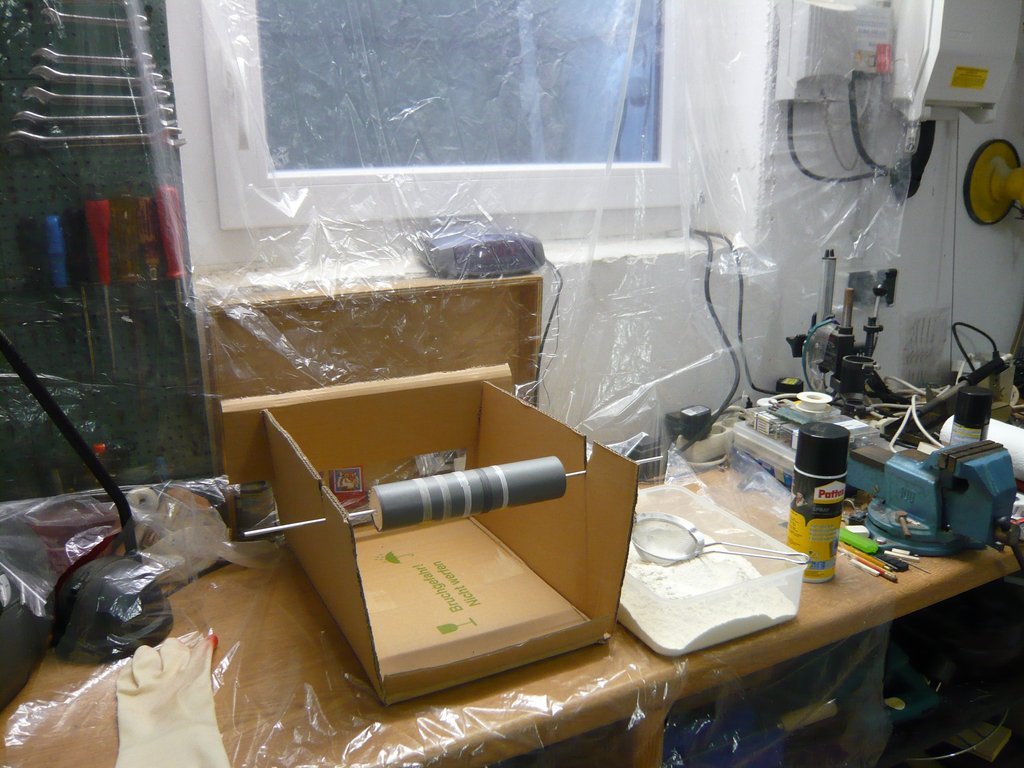
For a more even flour application I used this sieve instead of the small shovel, which is very suitable for this.
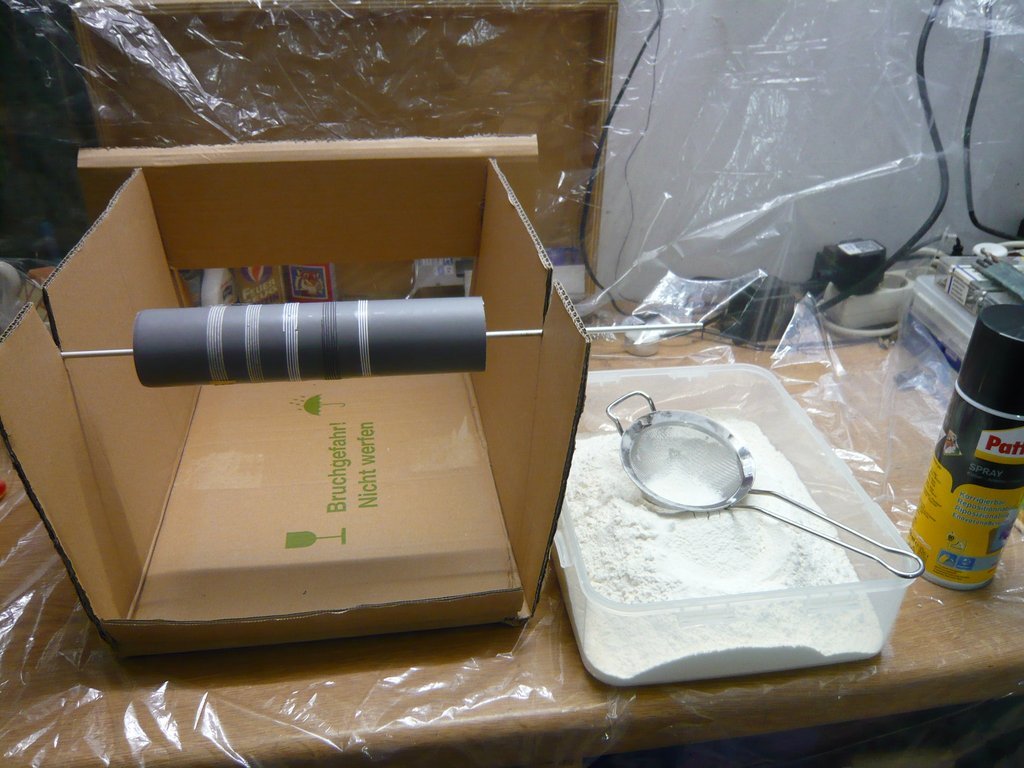
And then the Pattex Adhesive Spray was applicated, whereby I’ve turned the Dummy slowly several times during the spraying process.
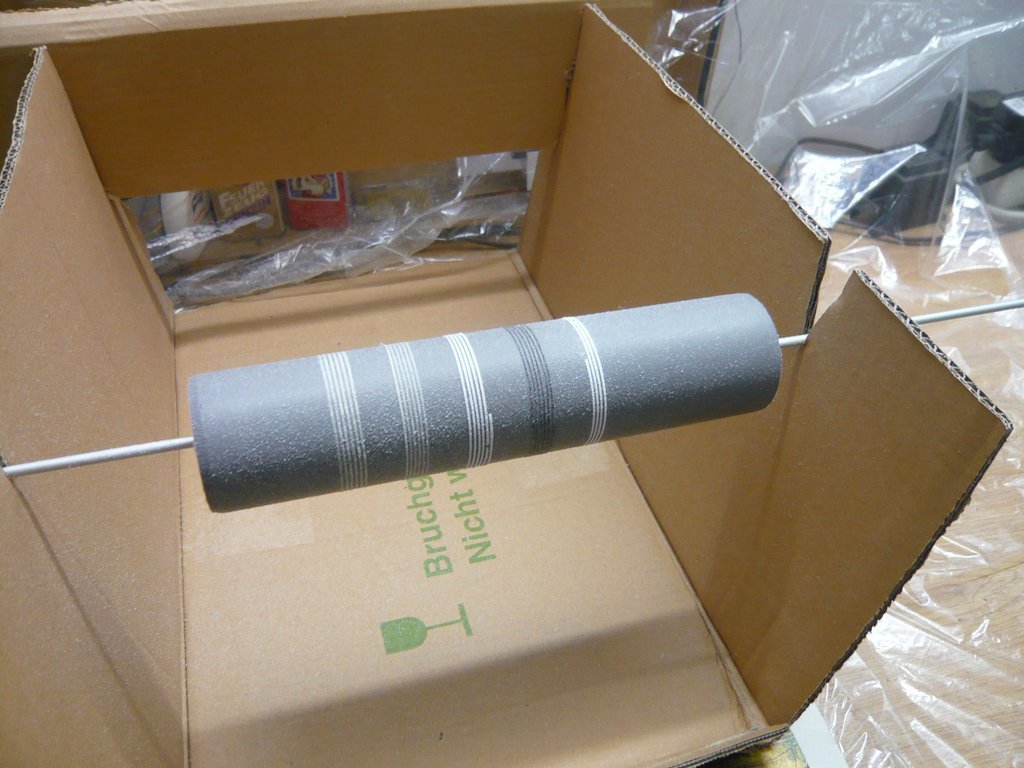
The spray layer looked strangely flaky, whereat I’ve wondered about, especially because I remembered the image of the formerly used UHU Adhesive Spray which looked somehow more fluidly …
After the photo, I’ve immediately taken up the flour sieve. While I was shooting the Dummy, I then sprinkled up a lot of flour and subsequently pressed it lightly with my fingers.
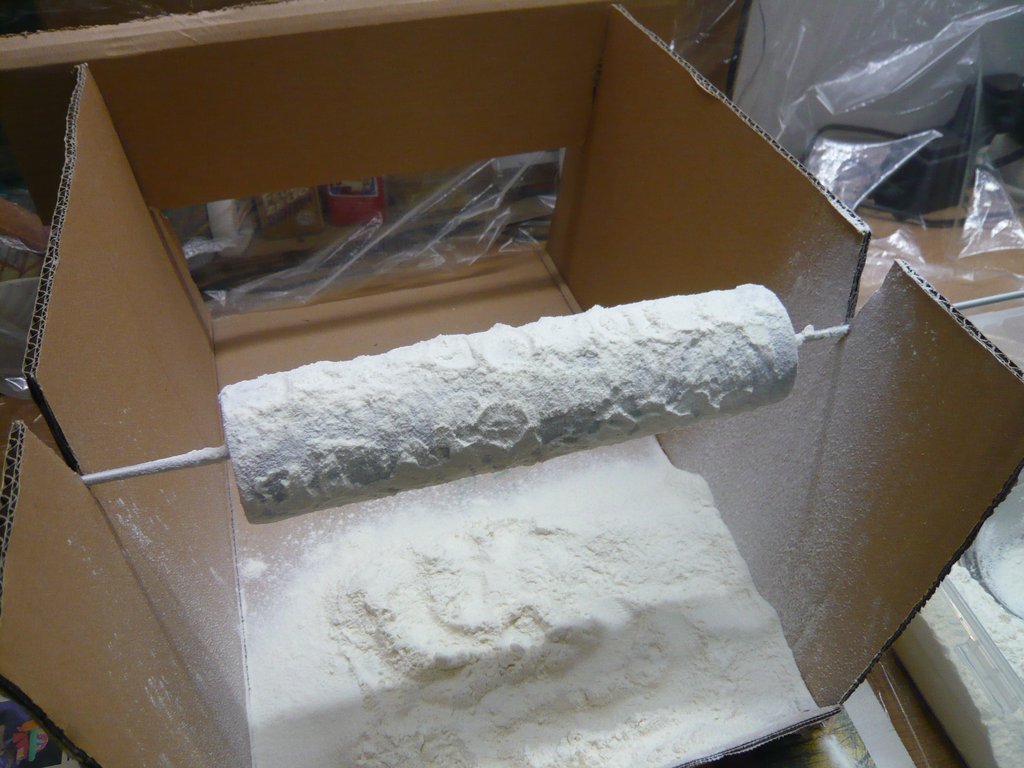
Then I’ve gently tapped the Dummy around with my finger, causing much of the flour to fall off.
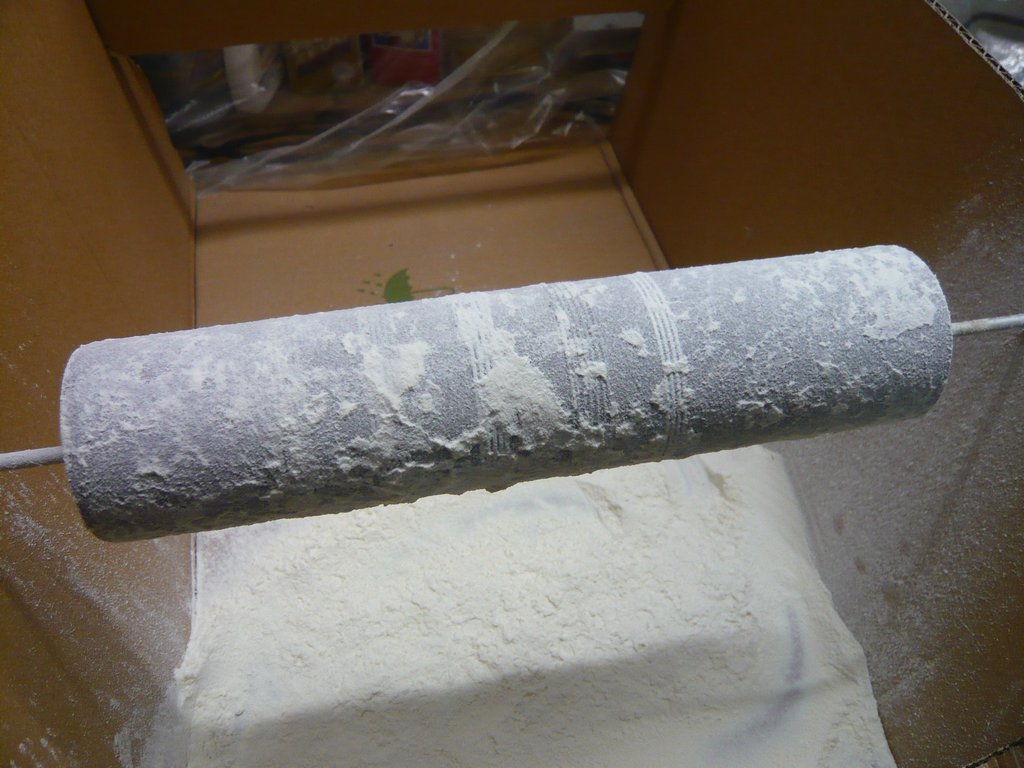
So now I let stand the whole thing once over night, so that the glue can dry through.
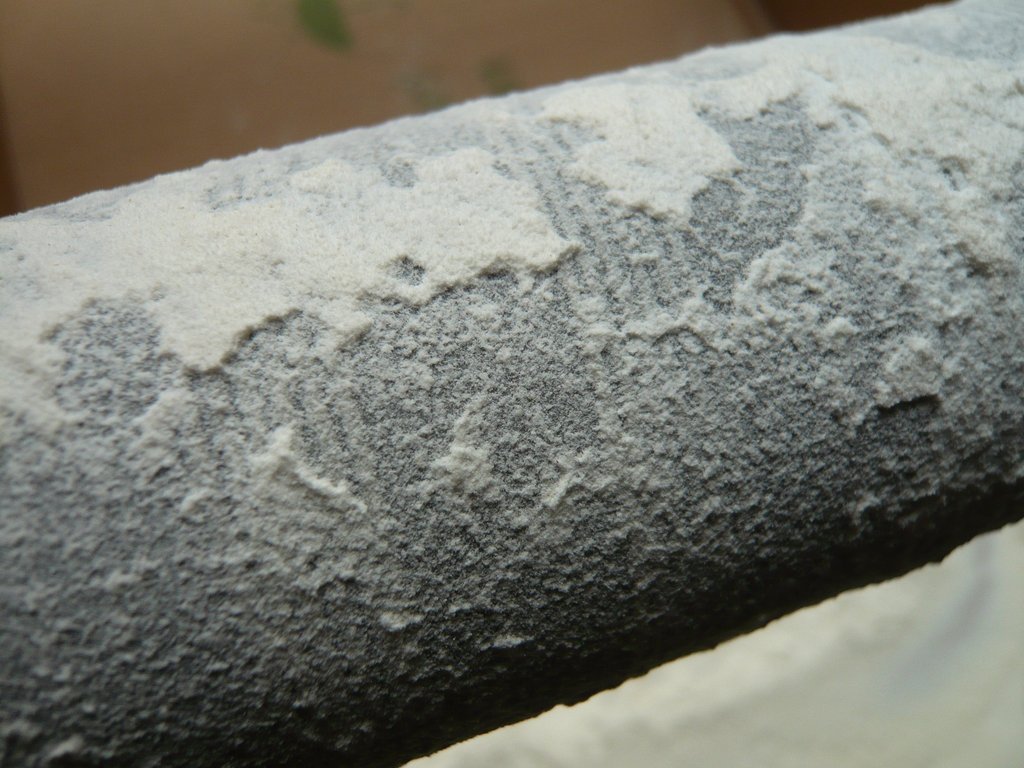
Here is a close-up of the first two patterns, where one can still recognize the stripes of the cover tape.
In the meantime I’ve taken the LH2 Tank and started to remove this Pressurization line, which had not existed on the ET-8 during STS-6. That was pretty good doable with the Chisel cutter,
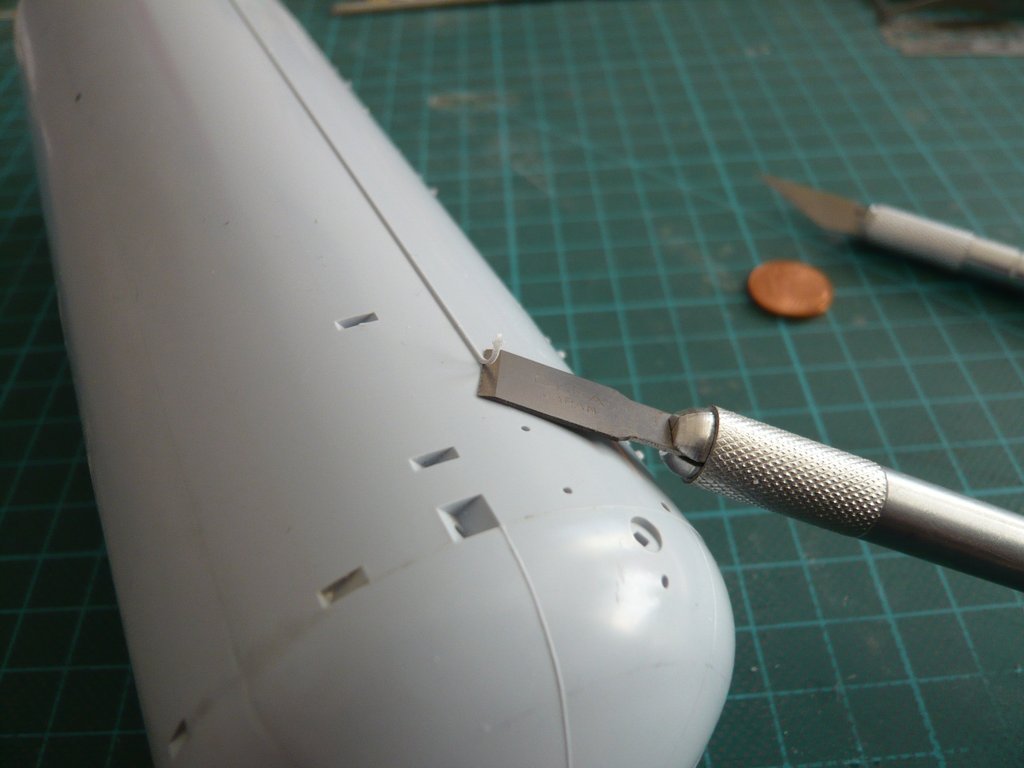
whereby it is advantageous to put the blade with the slope downwards to produce no unsightly nicks.
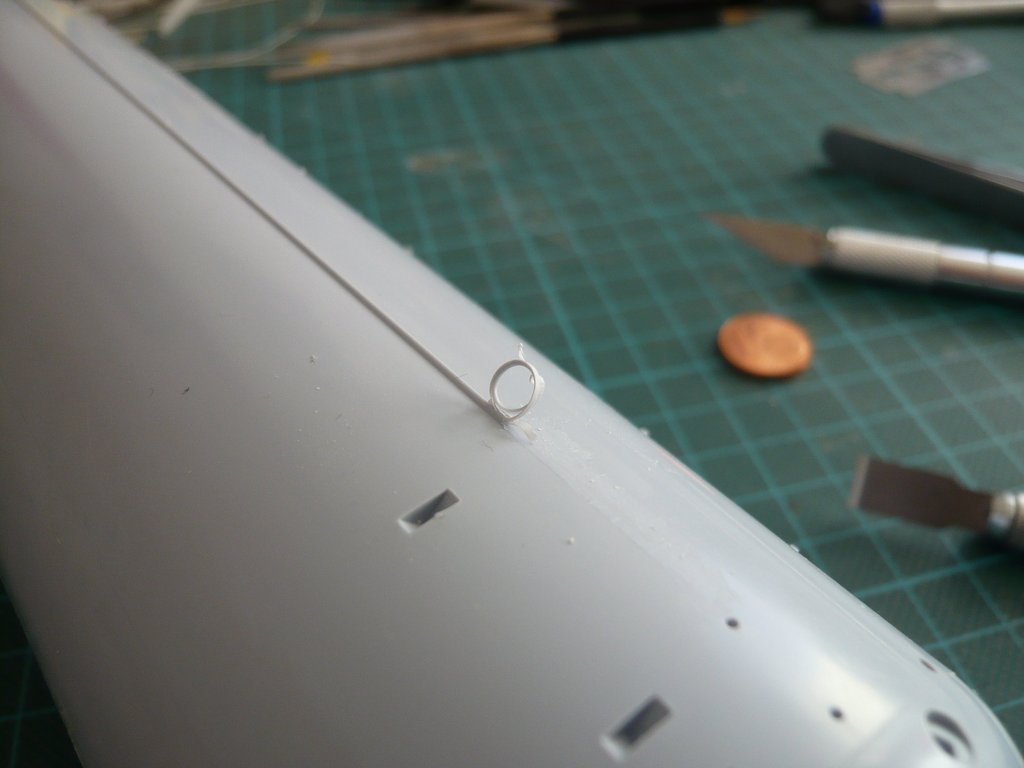
Tomorrow I will then remove the excess flour with a brush and present you the result of this Flour test application, which I myself am very curious.
6 Likes
Hello everybody,
these are some photos from brushing off the excess flour, whereupon the patterns have reappeared. The long-haired soft brush was perfectly suited for it, and I was amazed how easily the flour was removed.
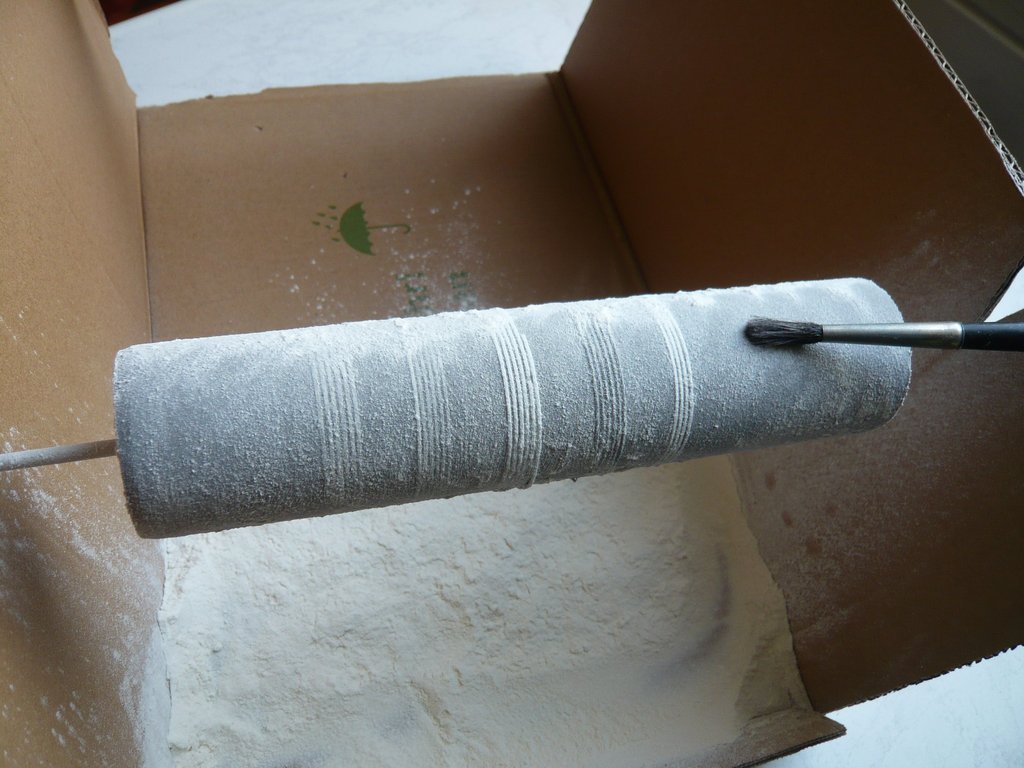
And this is how the cleanly brushed Dummy looks like with the following patterns:
1 - single rings of 1 mm Tape, distance 0,5 mm,
2 - single turns of 0,75 mm Tape, distance 0,5 mm, as a continuous spiral (Barber pole),
3 - single turns of Evergreen Strips 0,25 mm x 0,75 mm, distance 0,5 mm, as a continuous spiral,
4 - single turns of 0,75 mm Tape, distance 0,5 mm, on it one more layer 0,5 mm Tape, as a continuous spiral,
5 - single turns of 0,75 mm Evergreen Sheet Styrene (0,1 mm), distance 0,5 mm, as a continuous spiral.
And now to the evaluation, whereby it is to be noted that all patterns will still be leveled a little bit by the following priming and airbrushing.
After that, I think the Patterns 2 and 4 are most likely to be considered, as well as possibly also Pattern 5, which correspond with the geometry (width, distance, thickness) of the SOFI Texture I had previously estimated on the basis of original photos.
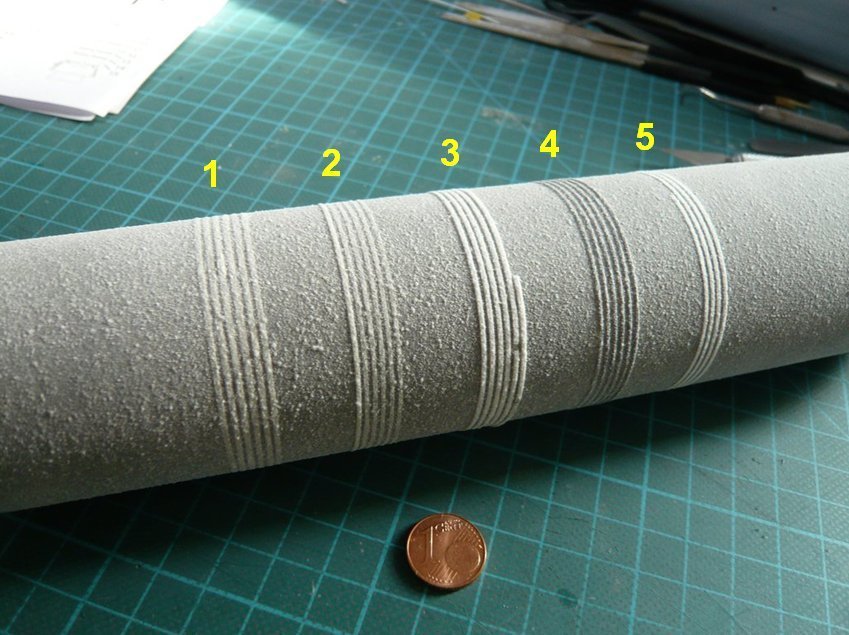
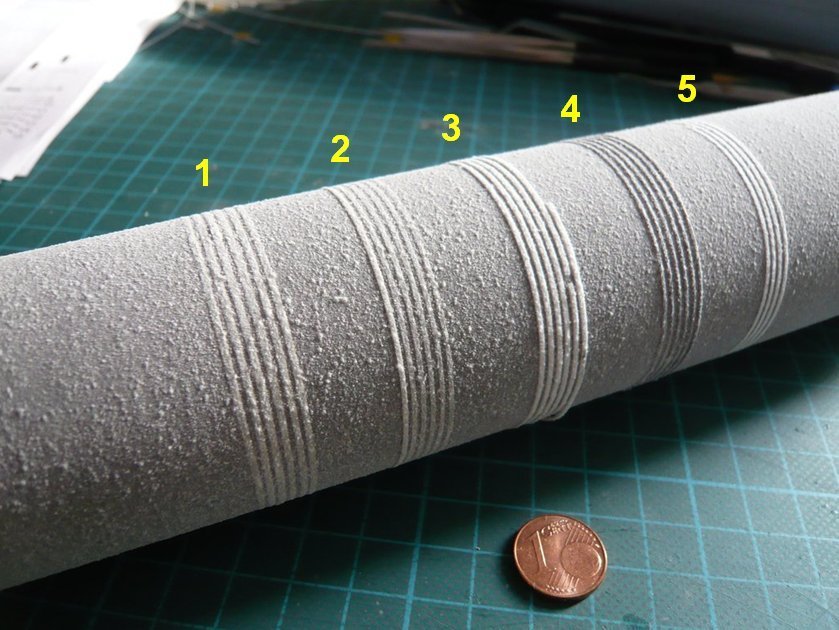
Pattern 3 seems to me to be a little bit too much raised because of the thickness (0,25 mm).
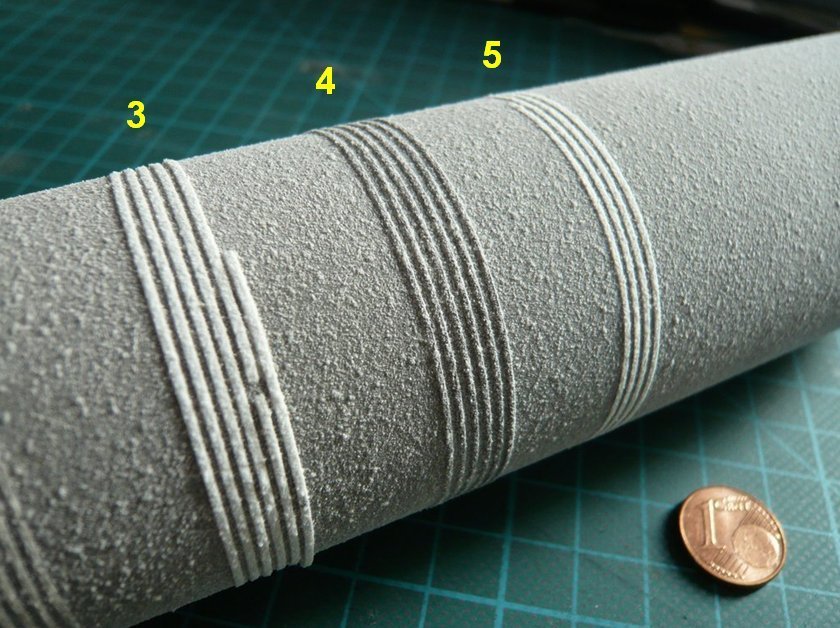
On this image, the thicknesses become a bit clearer.
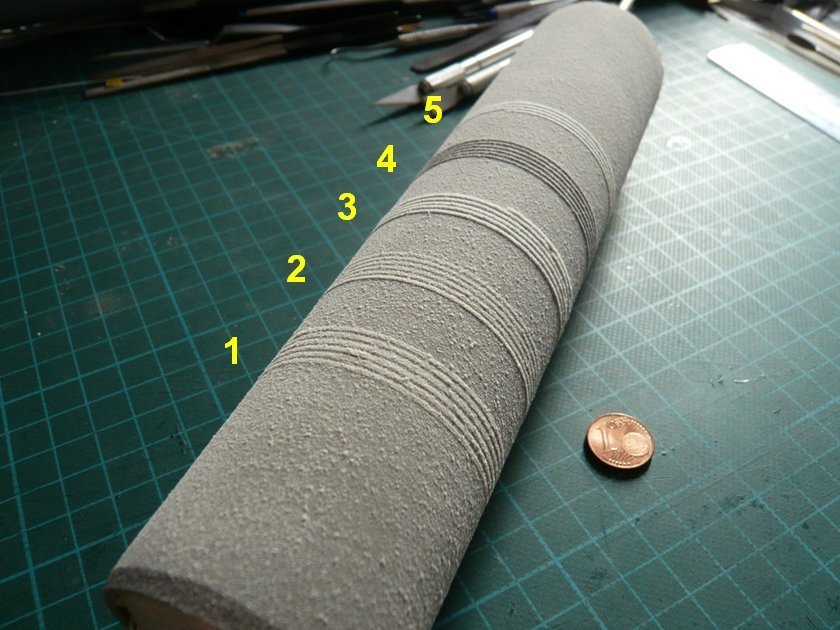
And here is once more a comparison of the Dummy with and without the flour structure, which I also have imagined more or less like this and which I like quite well.
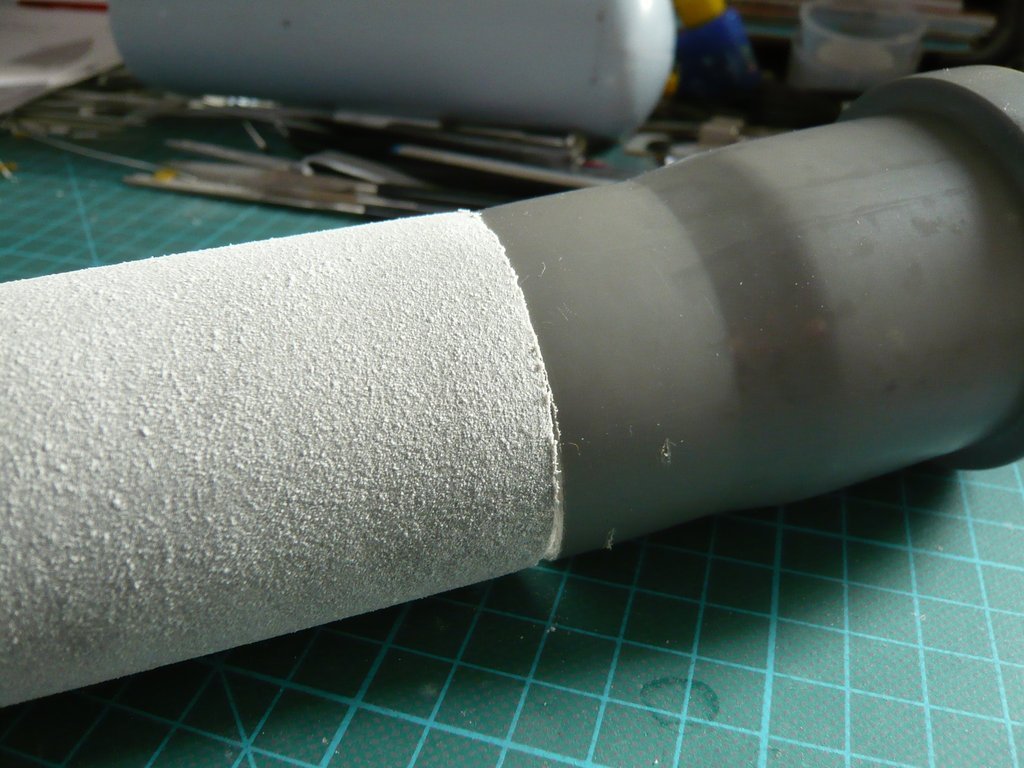
As I said, a better impression one will receive only in the primed and painted state and only then can be made a final choice. 
And now I’m curious about your opinion of how you see it.
6 Likes
I vote for Pattern 5. I also think this entire project is utterly brilliant 
2 Likes
Thanks Tim, and let’s have a look at the next steps.
Hello everybody,
since during my first test the Pattex Adhesive Spray came out of the spray nozzle in a strangely flaky way, today I did another Flour test with the UHU Spray Adhesive,
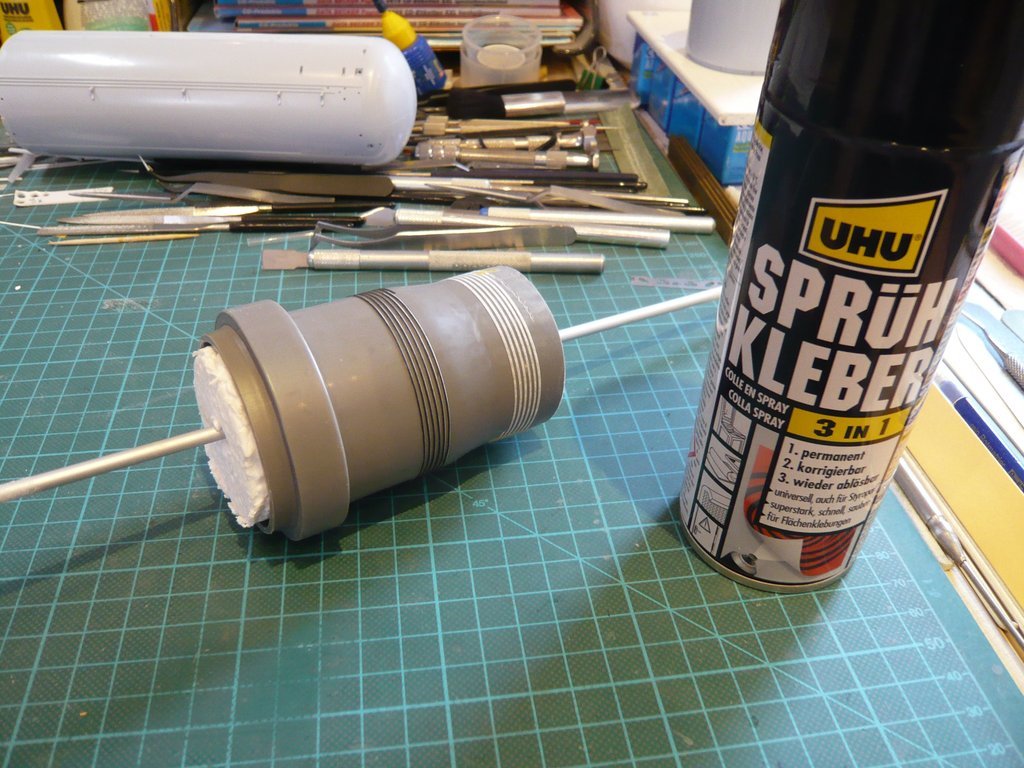
wherefore I’ve applied again the Pattern 2 (right) and Pattern 4 (left) on the rest dummy, which are my favorites so far.
Pattern 2 - single turns of 0,75 mm Tape - distance 0,5 mm, as a continuous spiral (Barber pole)
Pattern 4 - single turns of 0,75 mm Tape - distance 0,5 mm, on it one more layer 0,5 mm Tape, as a continuous spiral.
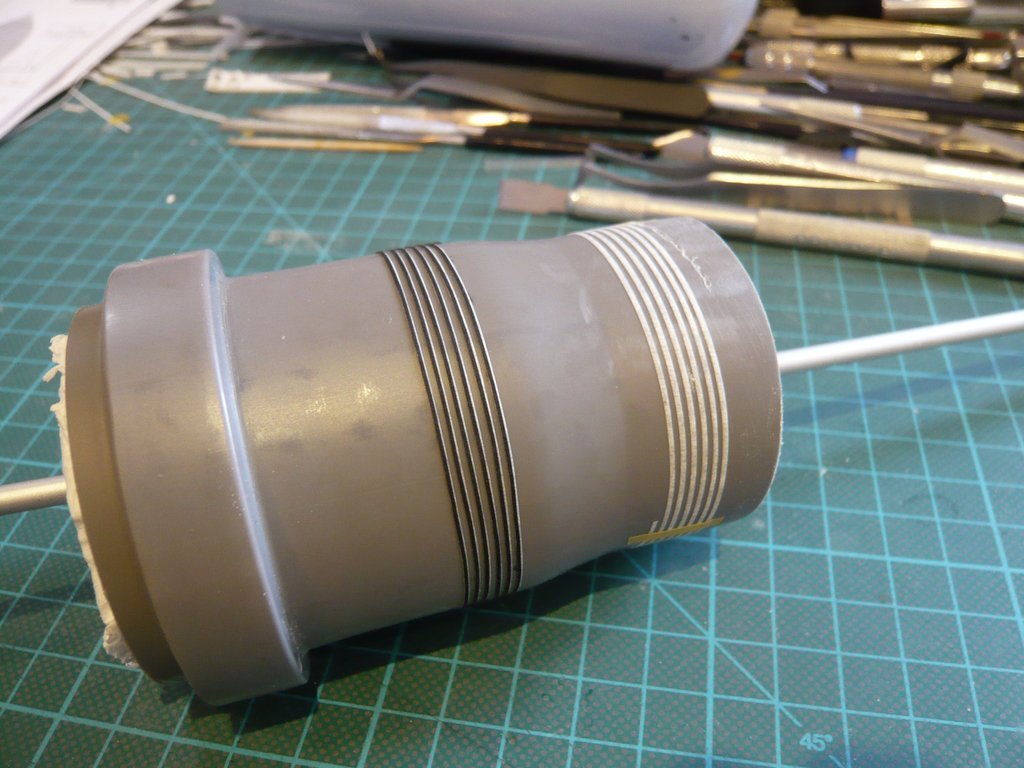
Then it went back to the flour cellar.
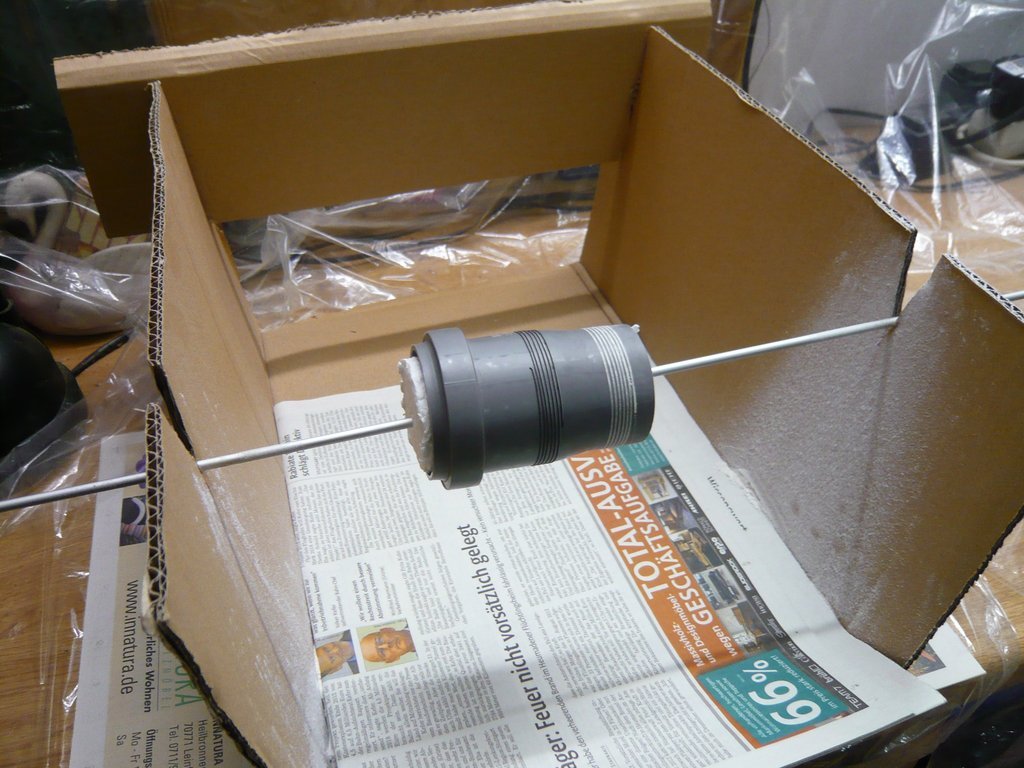
This time around, the application of the spray adhesive looked more regular and smoother than when tested with the Pattex Adhesive Spray and was by no means flaky, but as homogeneous as I remembered it,
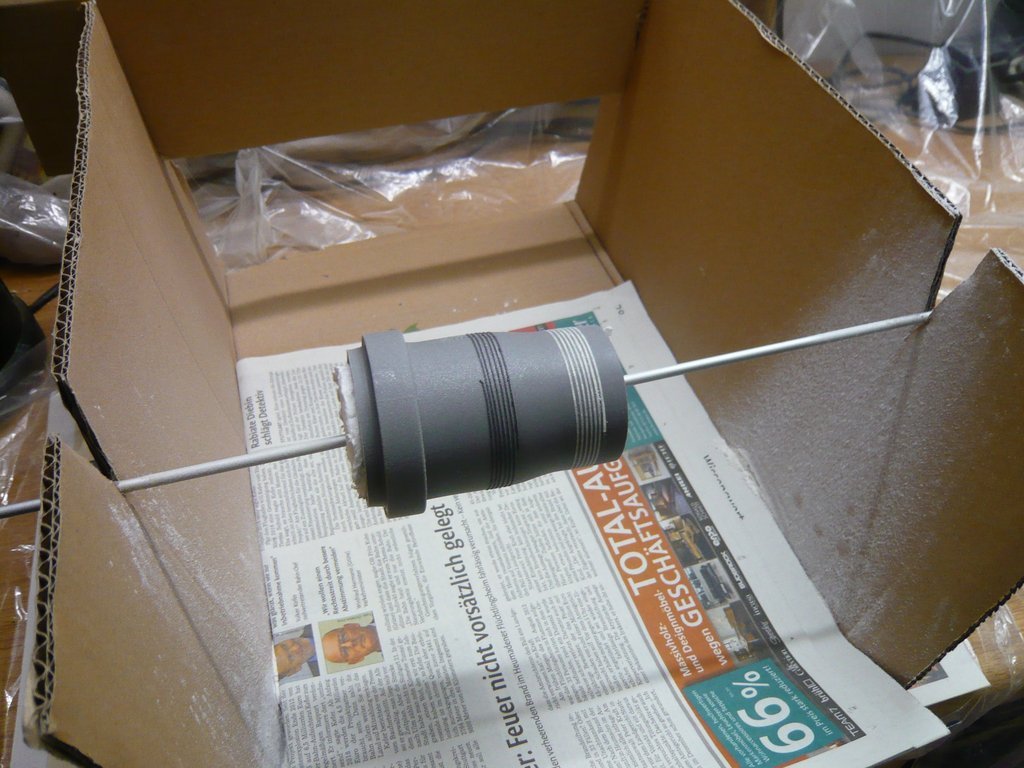
as one can see here again at a slightly higher magnification.
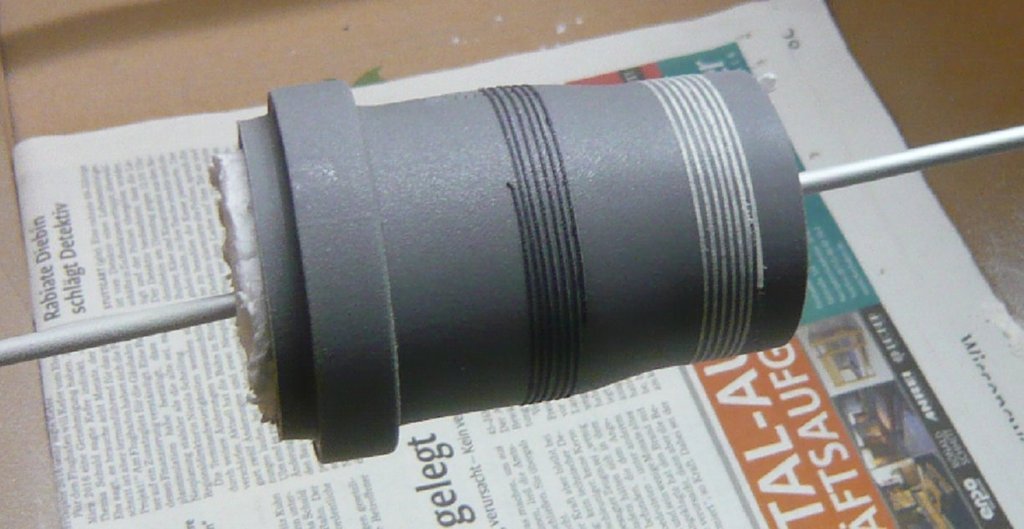
Then I’ve besprinkled the the Dummy again with flour from the sieve, while turning the dummy, and then lightly pressed the flour with my fingers.
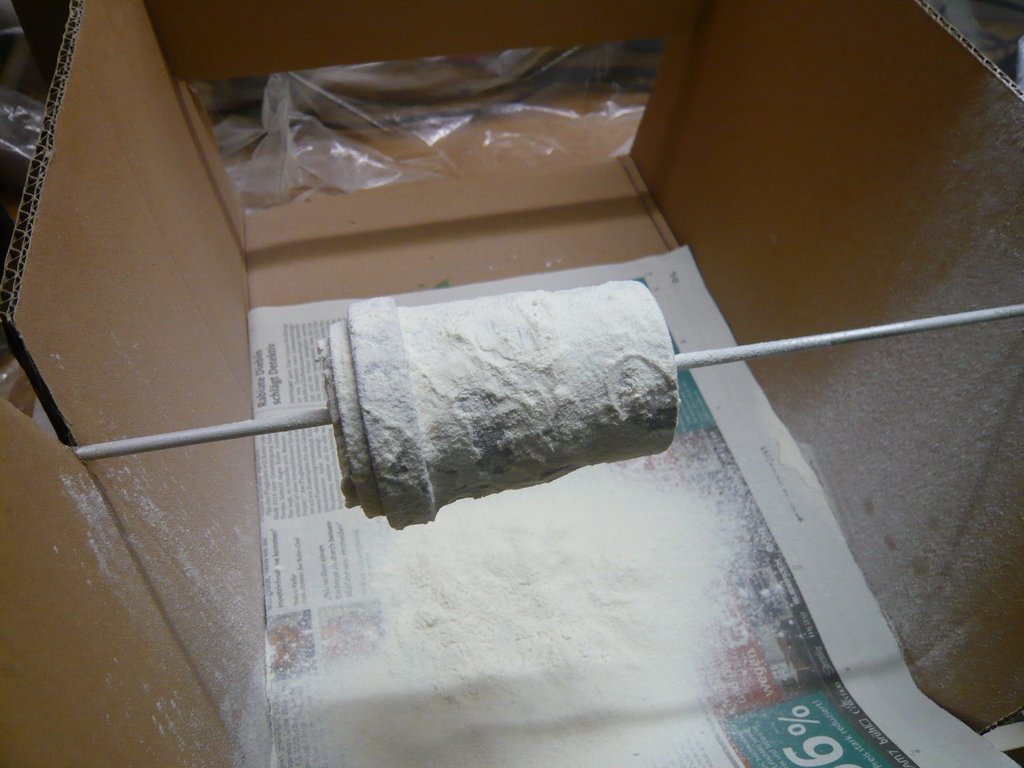
And so the Dummy then looked like after the knocking off the loose flour, and I think the result looks already more even than the first test.
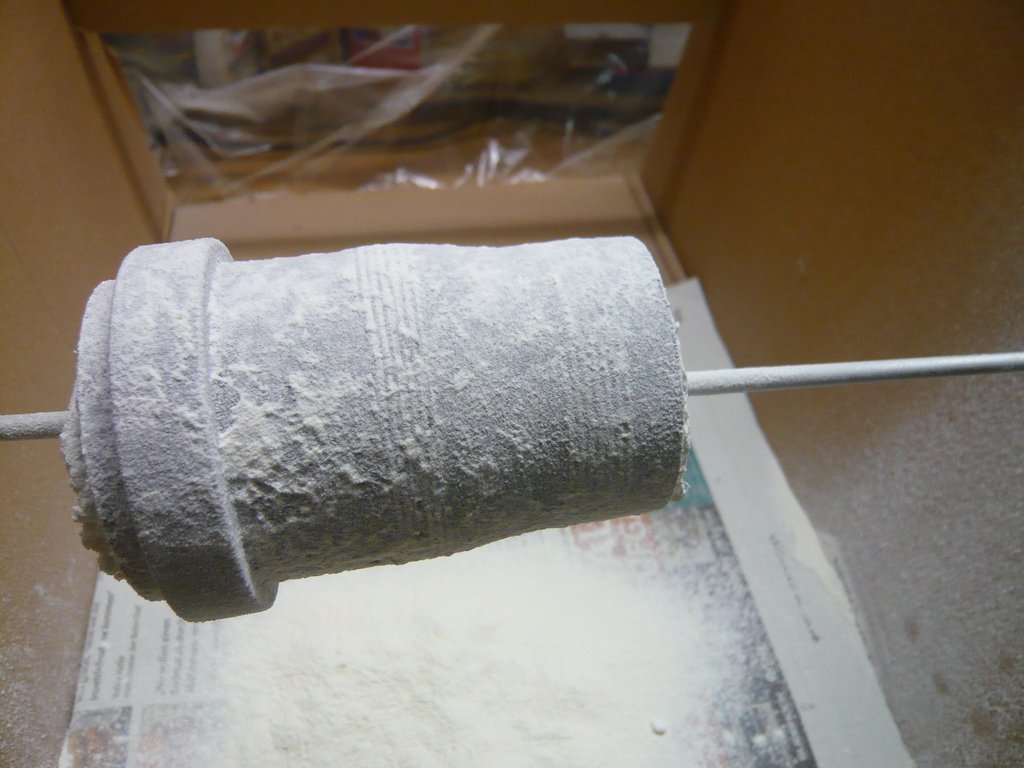
After the glue will has been dried through, the remaining flour is then brushed off tomorrow, and then I can make a comparison.
6 Likes
Hello everyone,
now I can also take a closer look on the result of the 2nd Flour test. 
And my first impression when spraying the UHU Spray Adhesive did not deceive me. The floured surface of the Dummy looks much smoother and more fine-grained after brushing off the loose flour than with 1st Test with the Pattex Adhesive Spray, which I had suspected.
Presumably, the Pattex adhesive was not quite okay and the application worked so flocky.
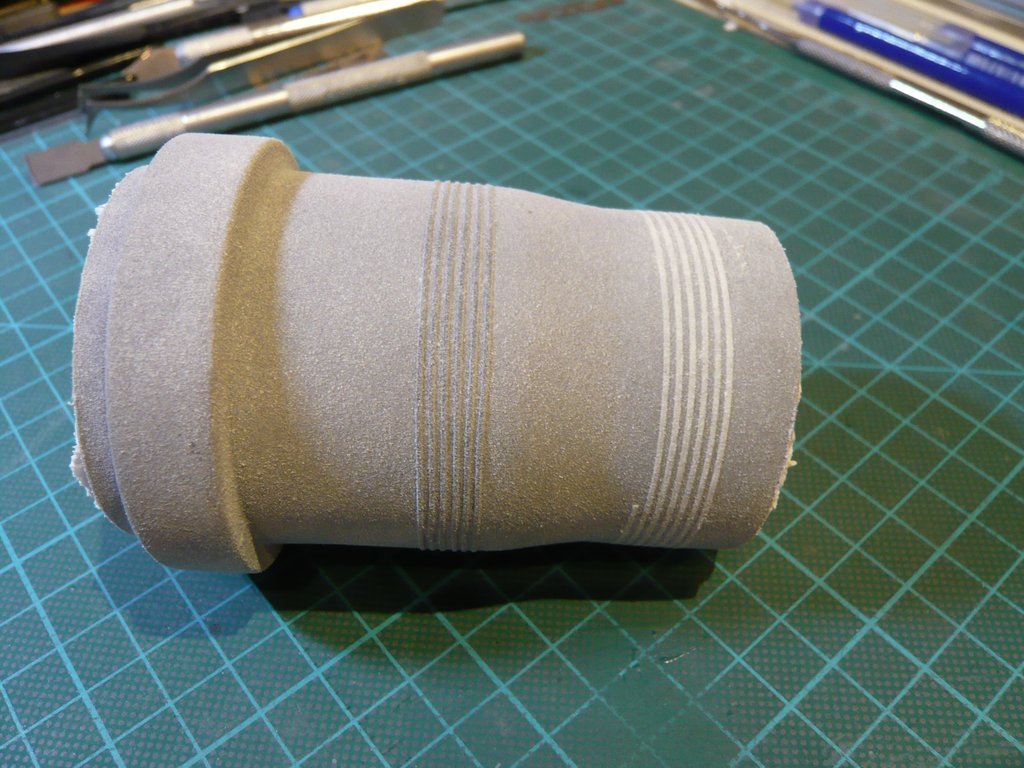
Maybe I should have sprayed a little more glue, so that more flour would have stuck, because the layer is indeed nicely even, but looks relatively thin.
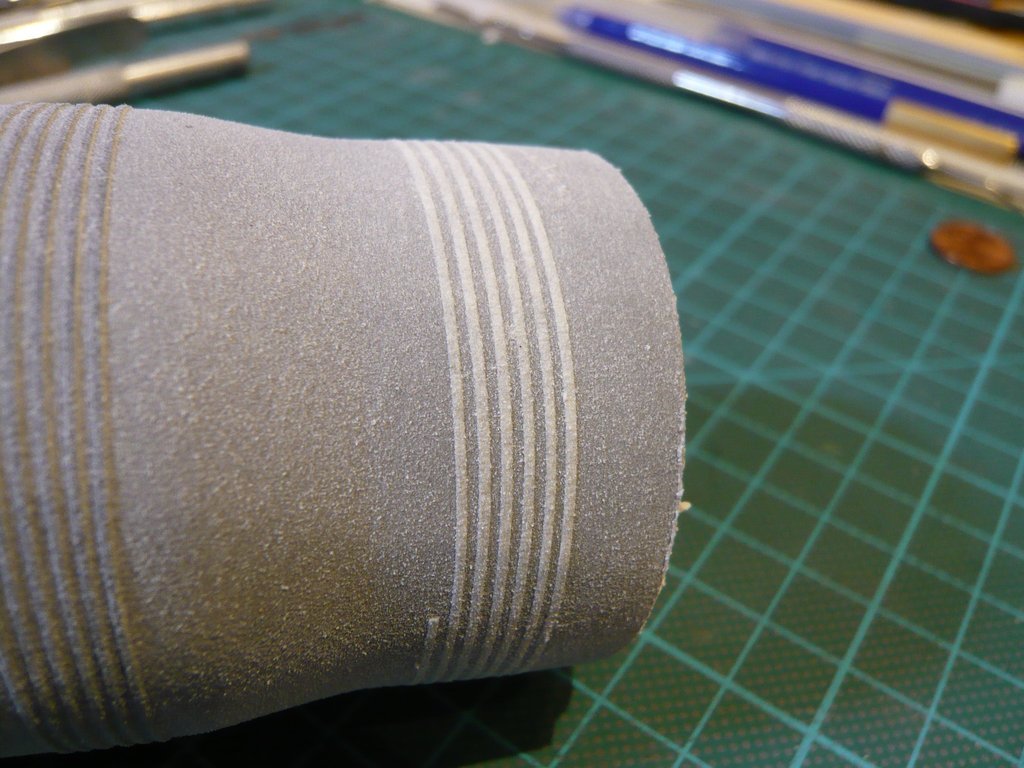
On this image one can see very nicely the different heights of the two patterns, whereby the Pattern 2 rests relatively flat and the doubled Pattern 4 looks more like the half-rounded form of the SOFI Pattern, which might even prove more favorable in terms of the final look after priming/varnishing, depending on how much of the texture is covered by the primer/varnish. 
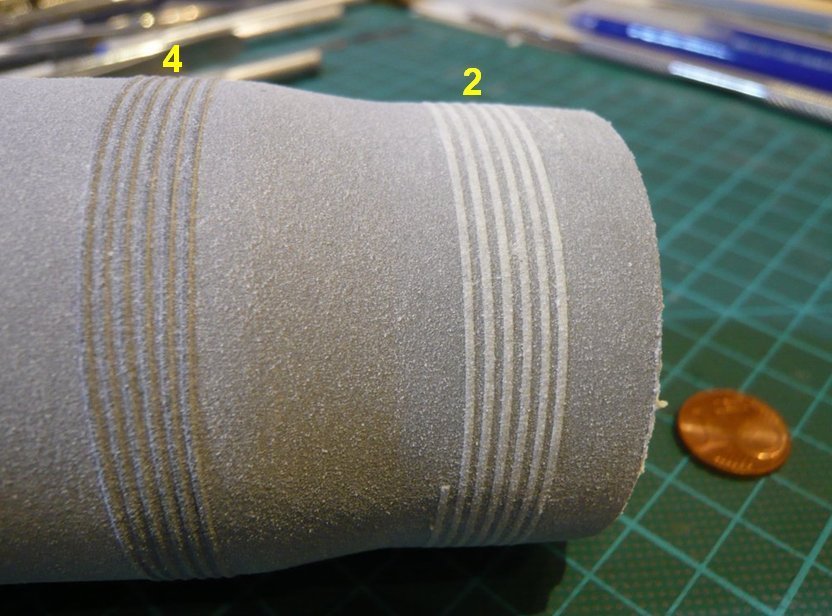
A close comparison of the patterns of both tests is somewhat difficult to accomplish due to the removal of both Dummies and the focusing of the autofocus,
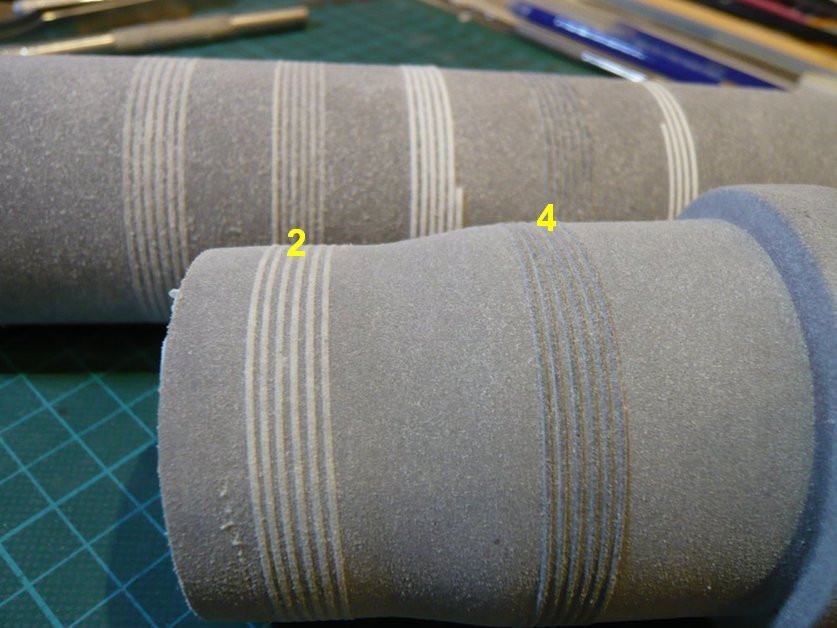
but on this image one can clearly see the finer and more homogeneous coating of the 2nd Test (right).
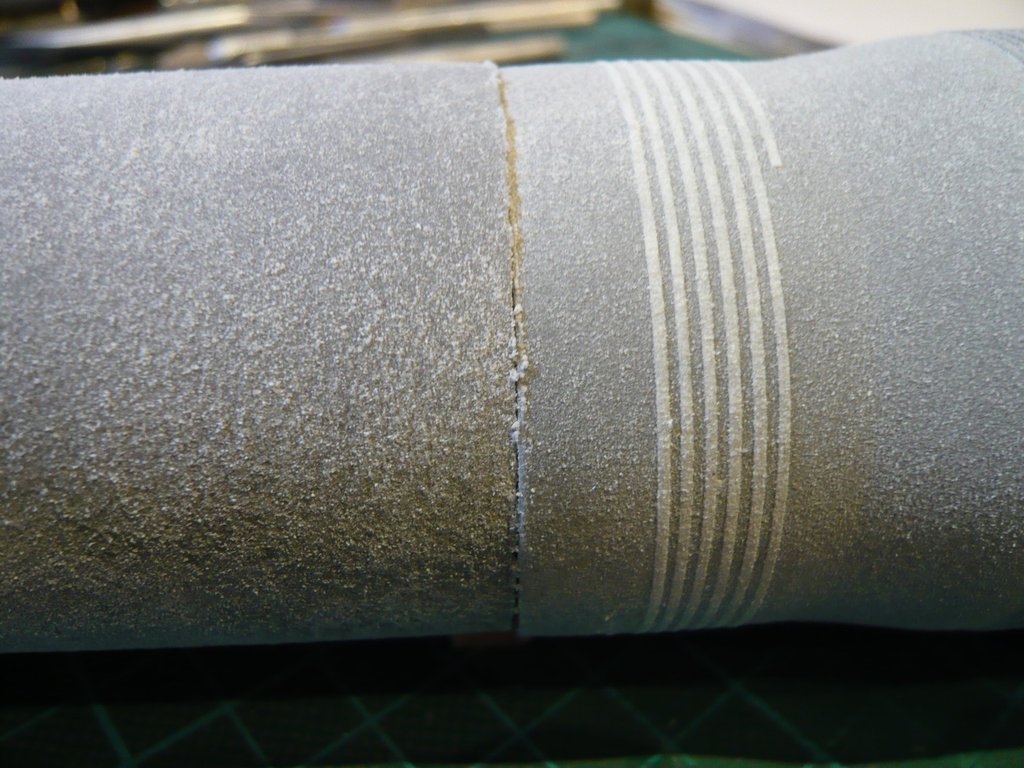
And since today the White Vallejo primer has arrived too, I can now prime both dummies,
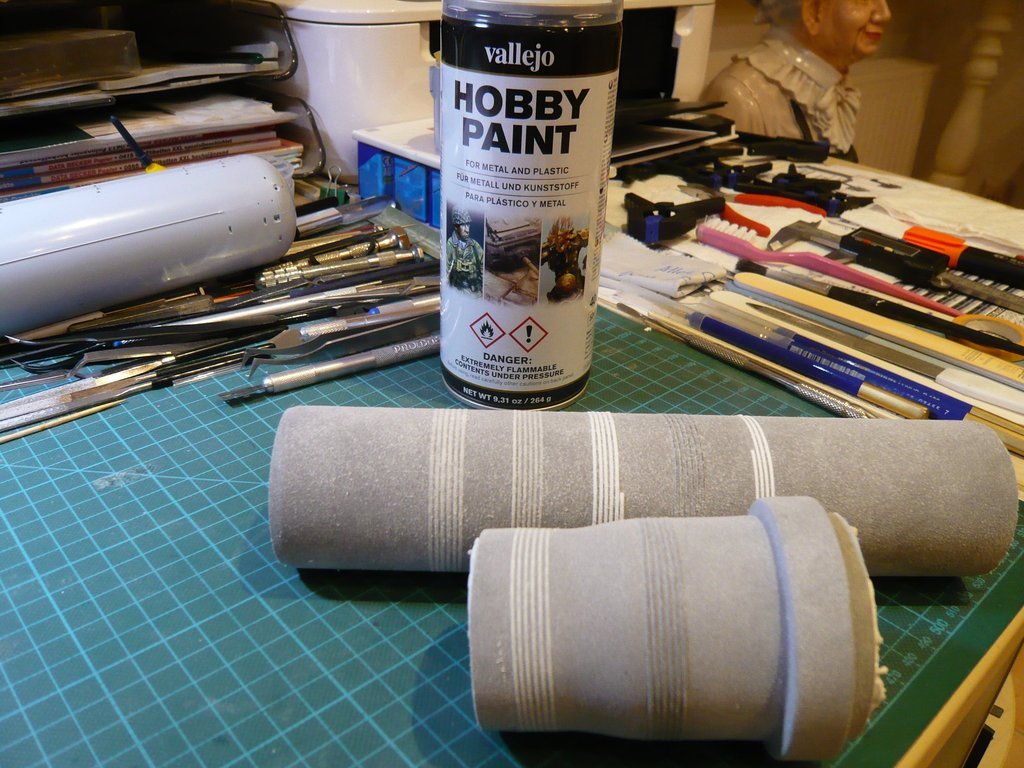
and then one will see, what will be left to see from the patterns under the Flour surface, whereon I am again very curious.
5 Likes
Hello friends,
no sooner said than done! Or - Never put off until tomorrow what you can do today.
After I had masked one half of the Dummy,
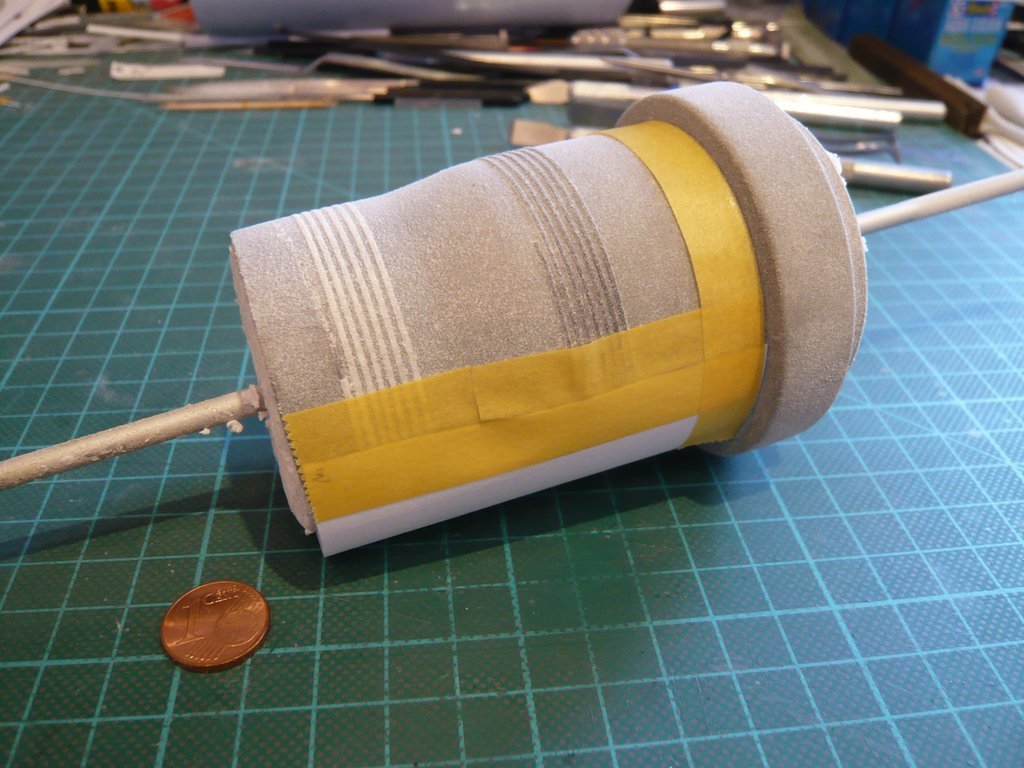
I’ve sprayed the other half full with the UHU Spray Adhesive and then immediately besprinkled it with the flour.
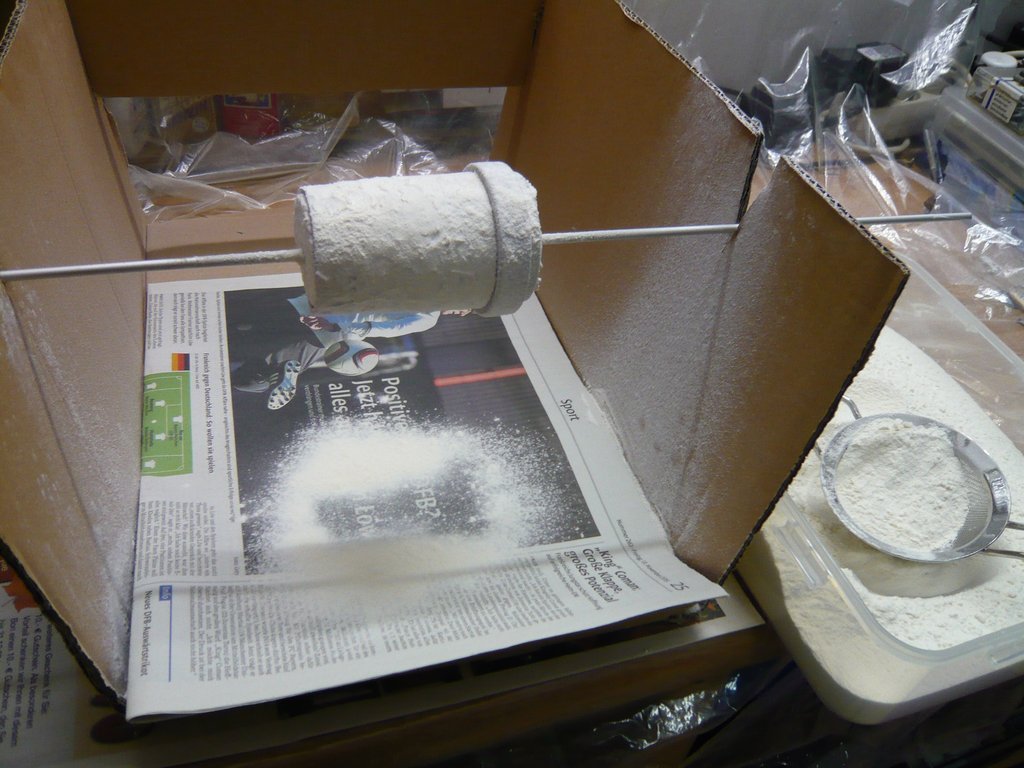
After that, I’ve lightly pressed the flour with my fingers,
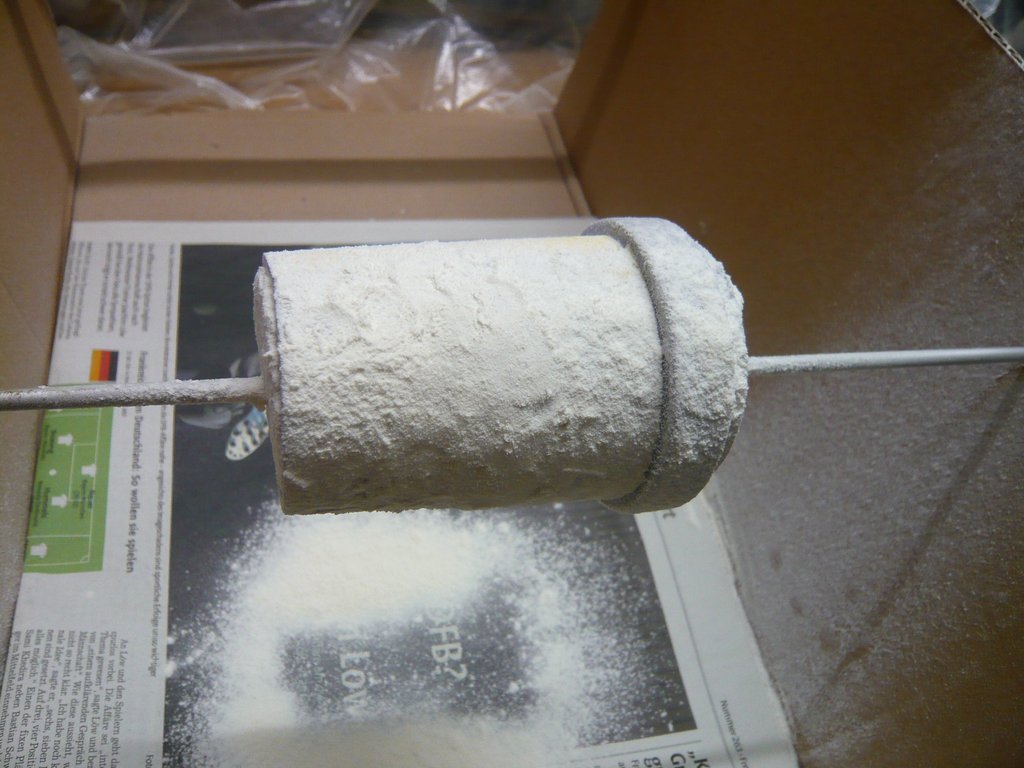
and then shortly after, I’ve carefully removed the loose flour from the Dummy by knocking off.
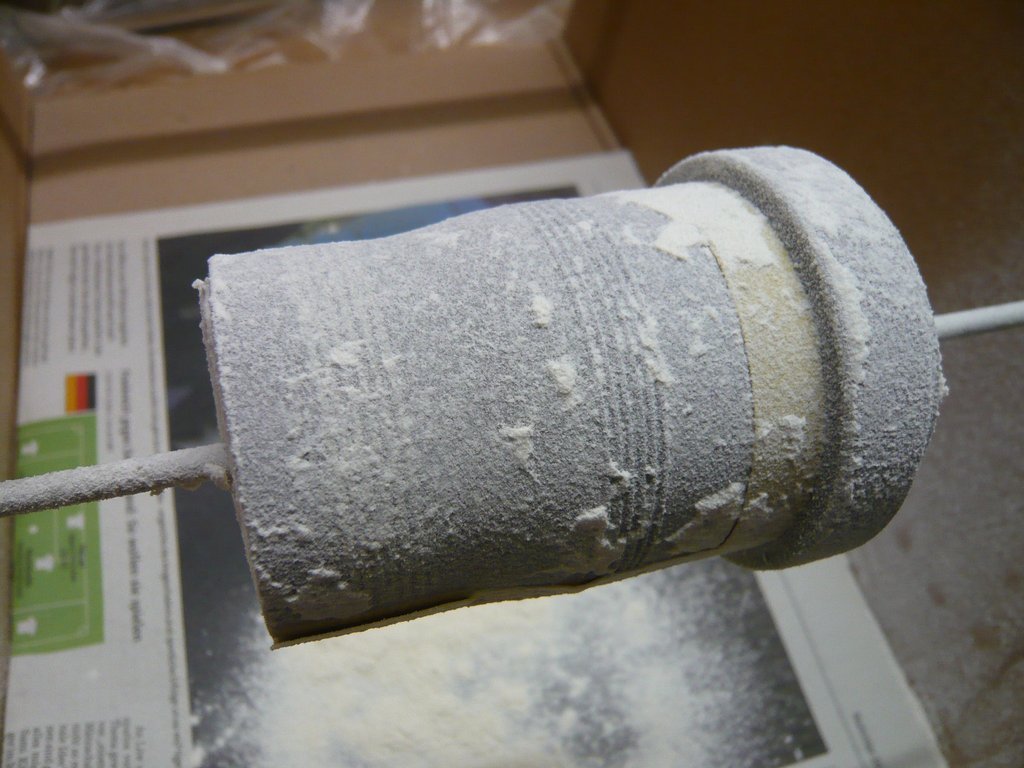
Now it’s time again to await for the glue to dry, and then tomorrow it remains to be seen, whether a more intensive spraying with the spray glue before the flour apply makes sense, I think so … 
4 Likes
Hello everybody,
here’s the result of the “double” Flour test after I’ve brushed off the loose flour.
As one can easily see, the flour layer has become denser after the more intensive application of spray glue, which was to be expected. Consequently, one has to develop a certain sense of time for the duration of the spraying, which is why it is called not for nothing: The proof of the pudding is in the eating!
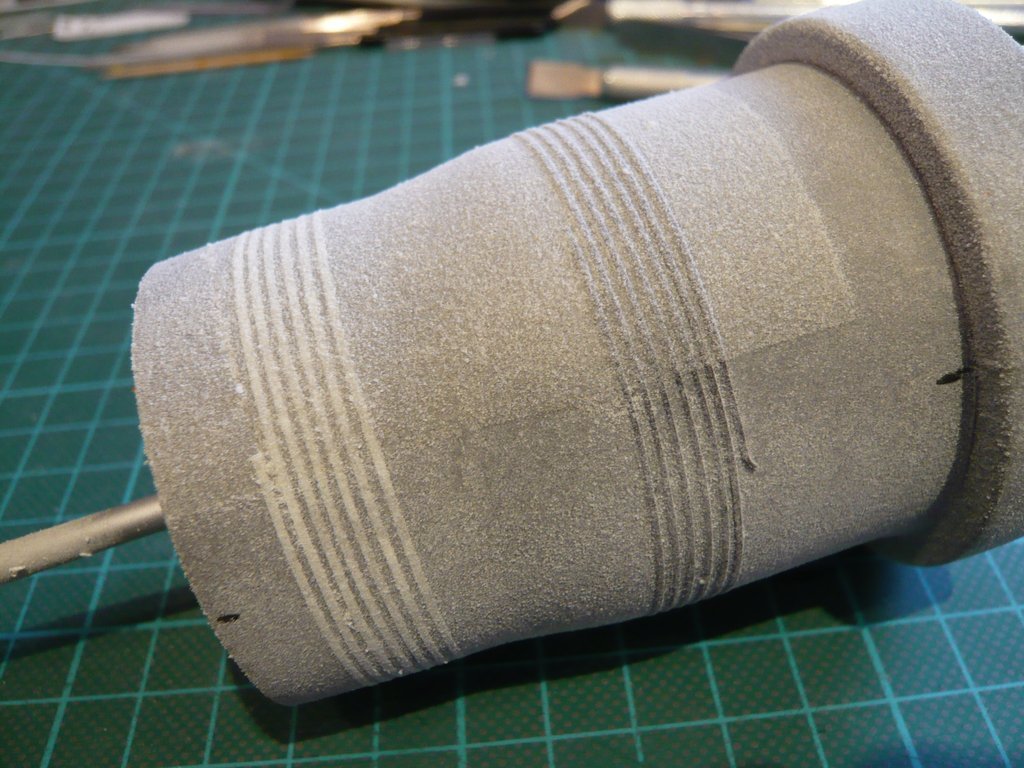
This is the view of the “double” floured half of the Dummy.
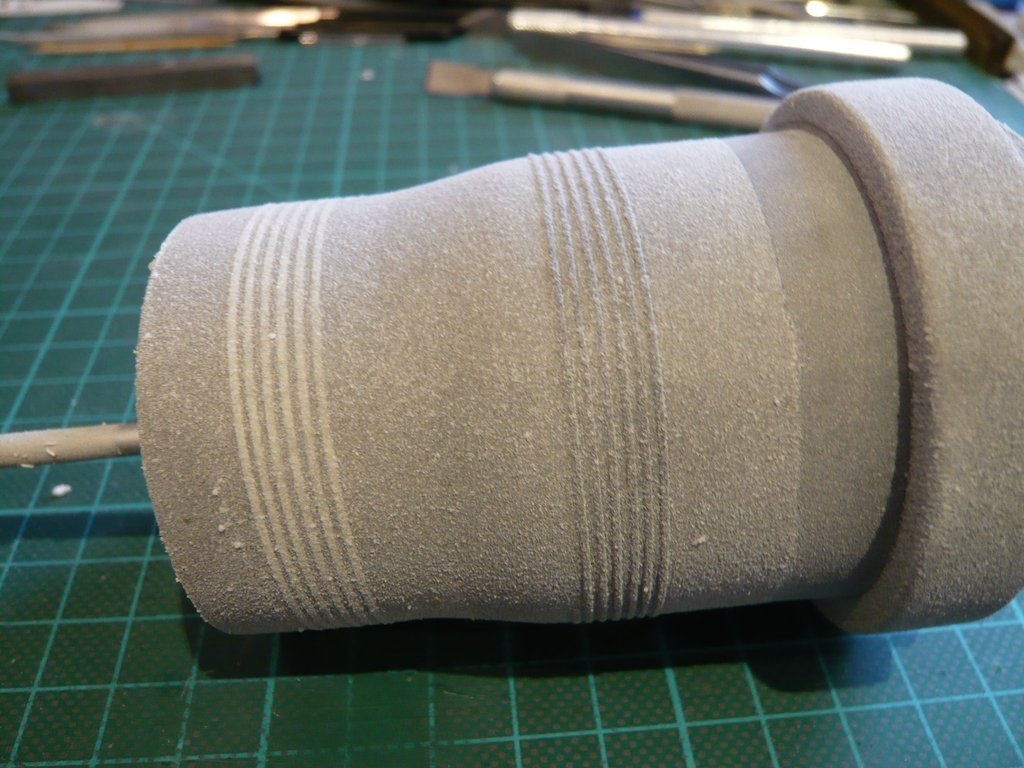
And here is the comparison of the two Flour tests, on the left the flour layer after the first test (in fact it was the second test) after a relatively short spray adhesive application and on the right the flour layer after the more intensive spraying.
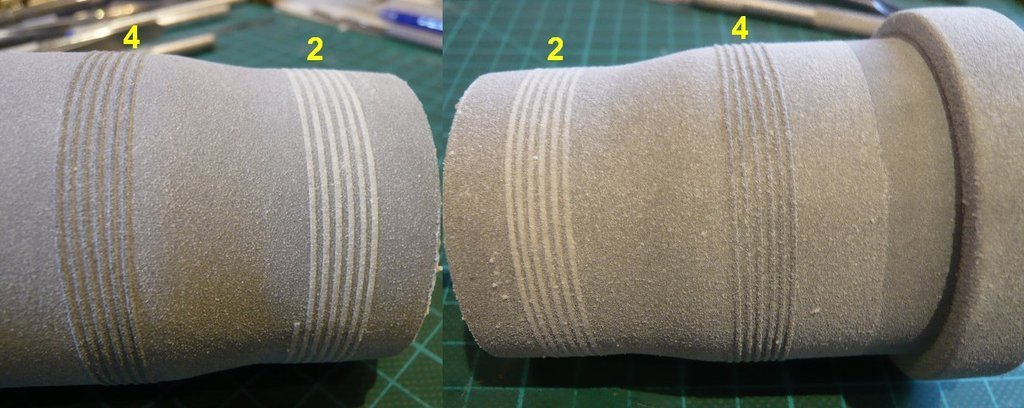
And tomorrow I will then prime both dummies in the hope that one can then recognize more and better evaluate the patterns.
6 Likes
Great update and test procedures to get the best look.,.. I would have gone with 4 or 5 but that’s just a layman’s eye … lovely work 
2 Likes
Thanks John,
in calmness lies strength. Step by step …
3 Likes