Spitfire!

Hi Joe
Done a mock up so hope this helps and you can follow.
1st i cut 4 strips of wine bottle top


I then cut ahort pieces off 2 strips the black ones
Next i glue the 2 silver ones at a slight angle

These make up the back of the harness.


Next the long black ones are the front of the harness that run feom the securing point on the frame behind the seat.

Glue the 2 short black strips to the main straps

Then glue the back and feont [silver and black] together.
Mind you need a fair bit of strap to reach the frame behind the seat

Next i cut really small strips to run across the straps where they join the small bits. Simulating the buckles.

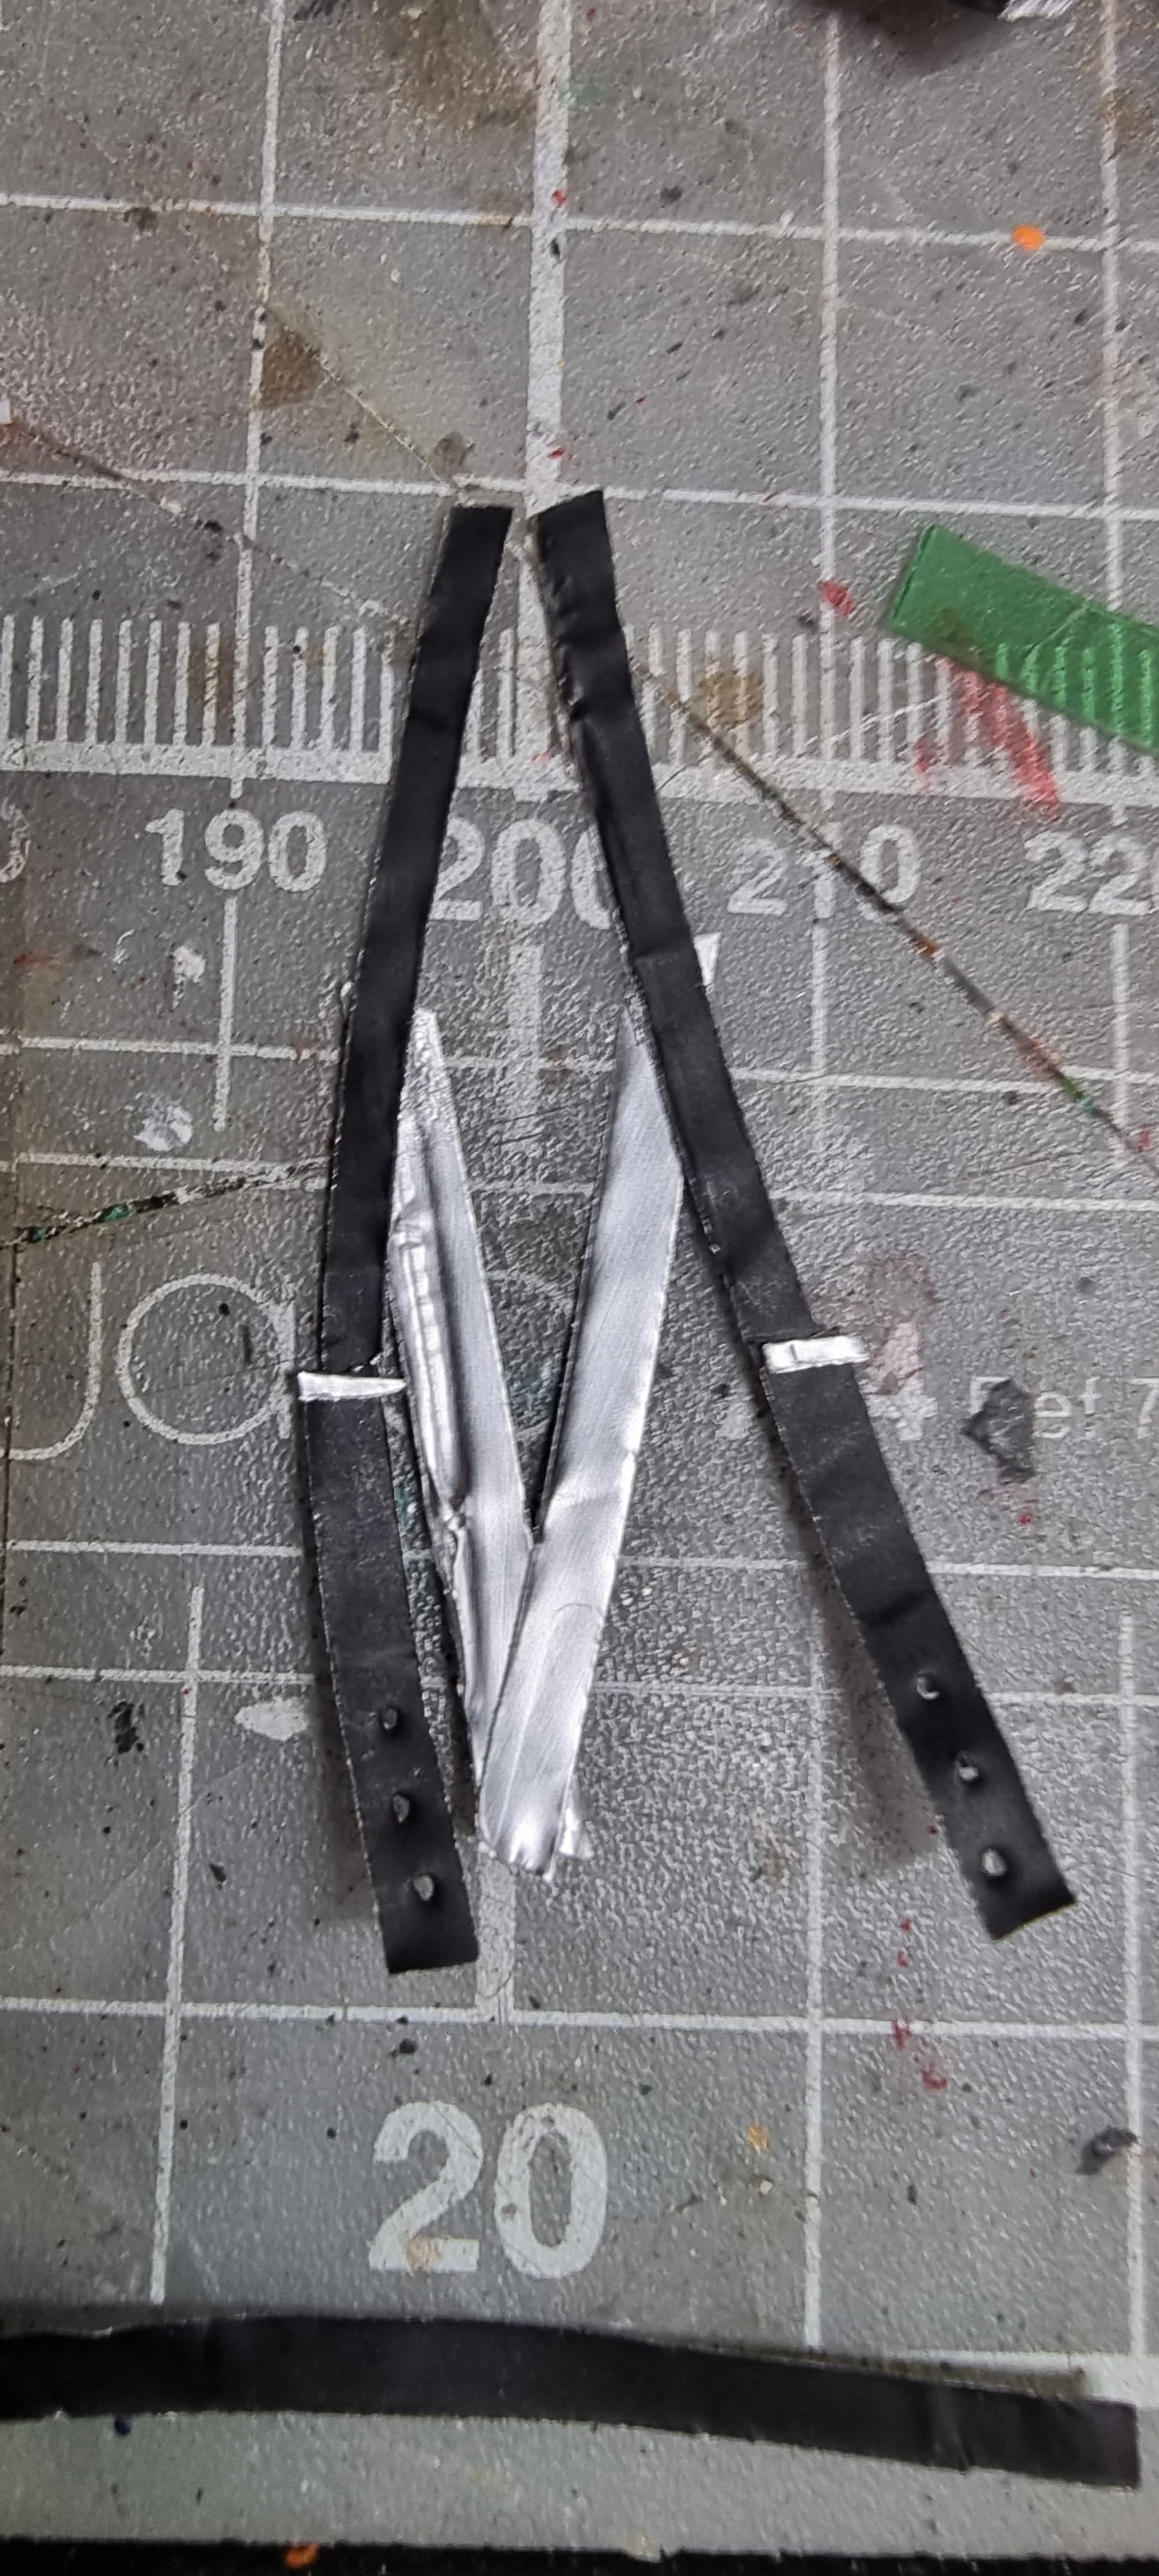
Also poke 3 holes down the bottom of the front straps.
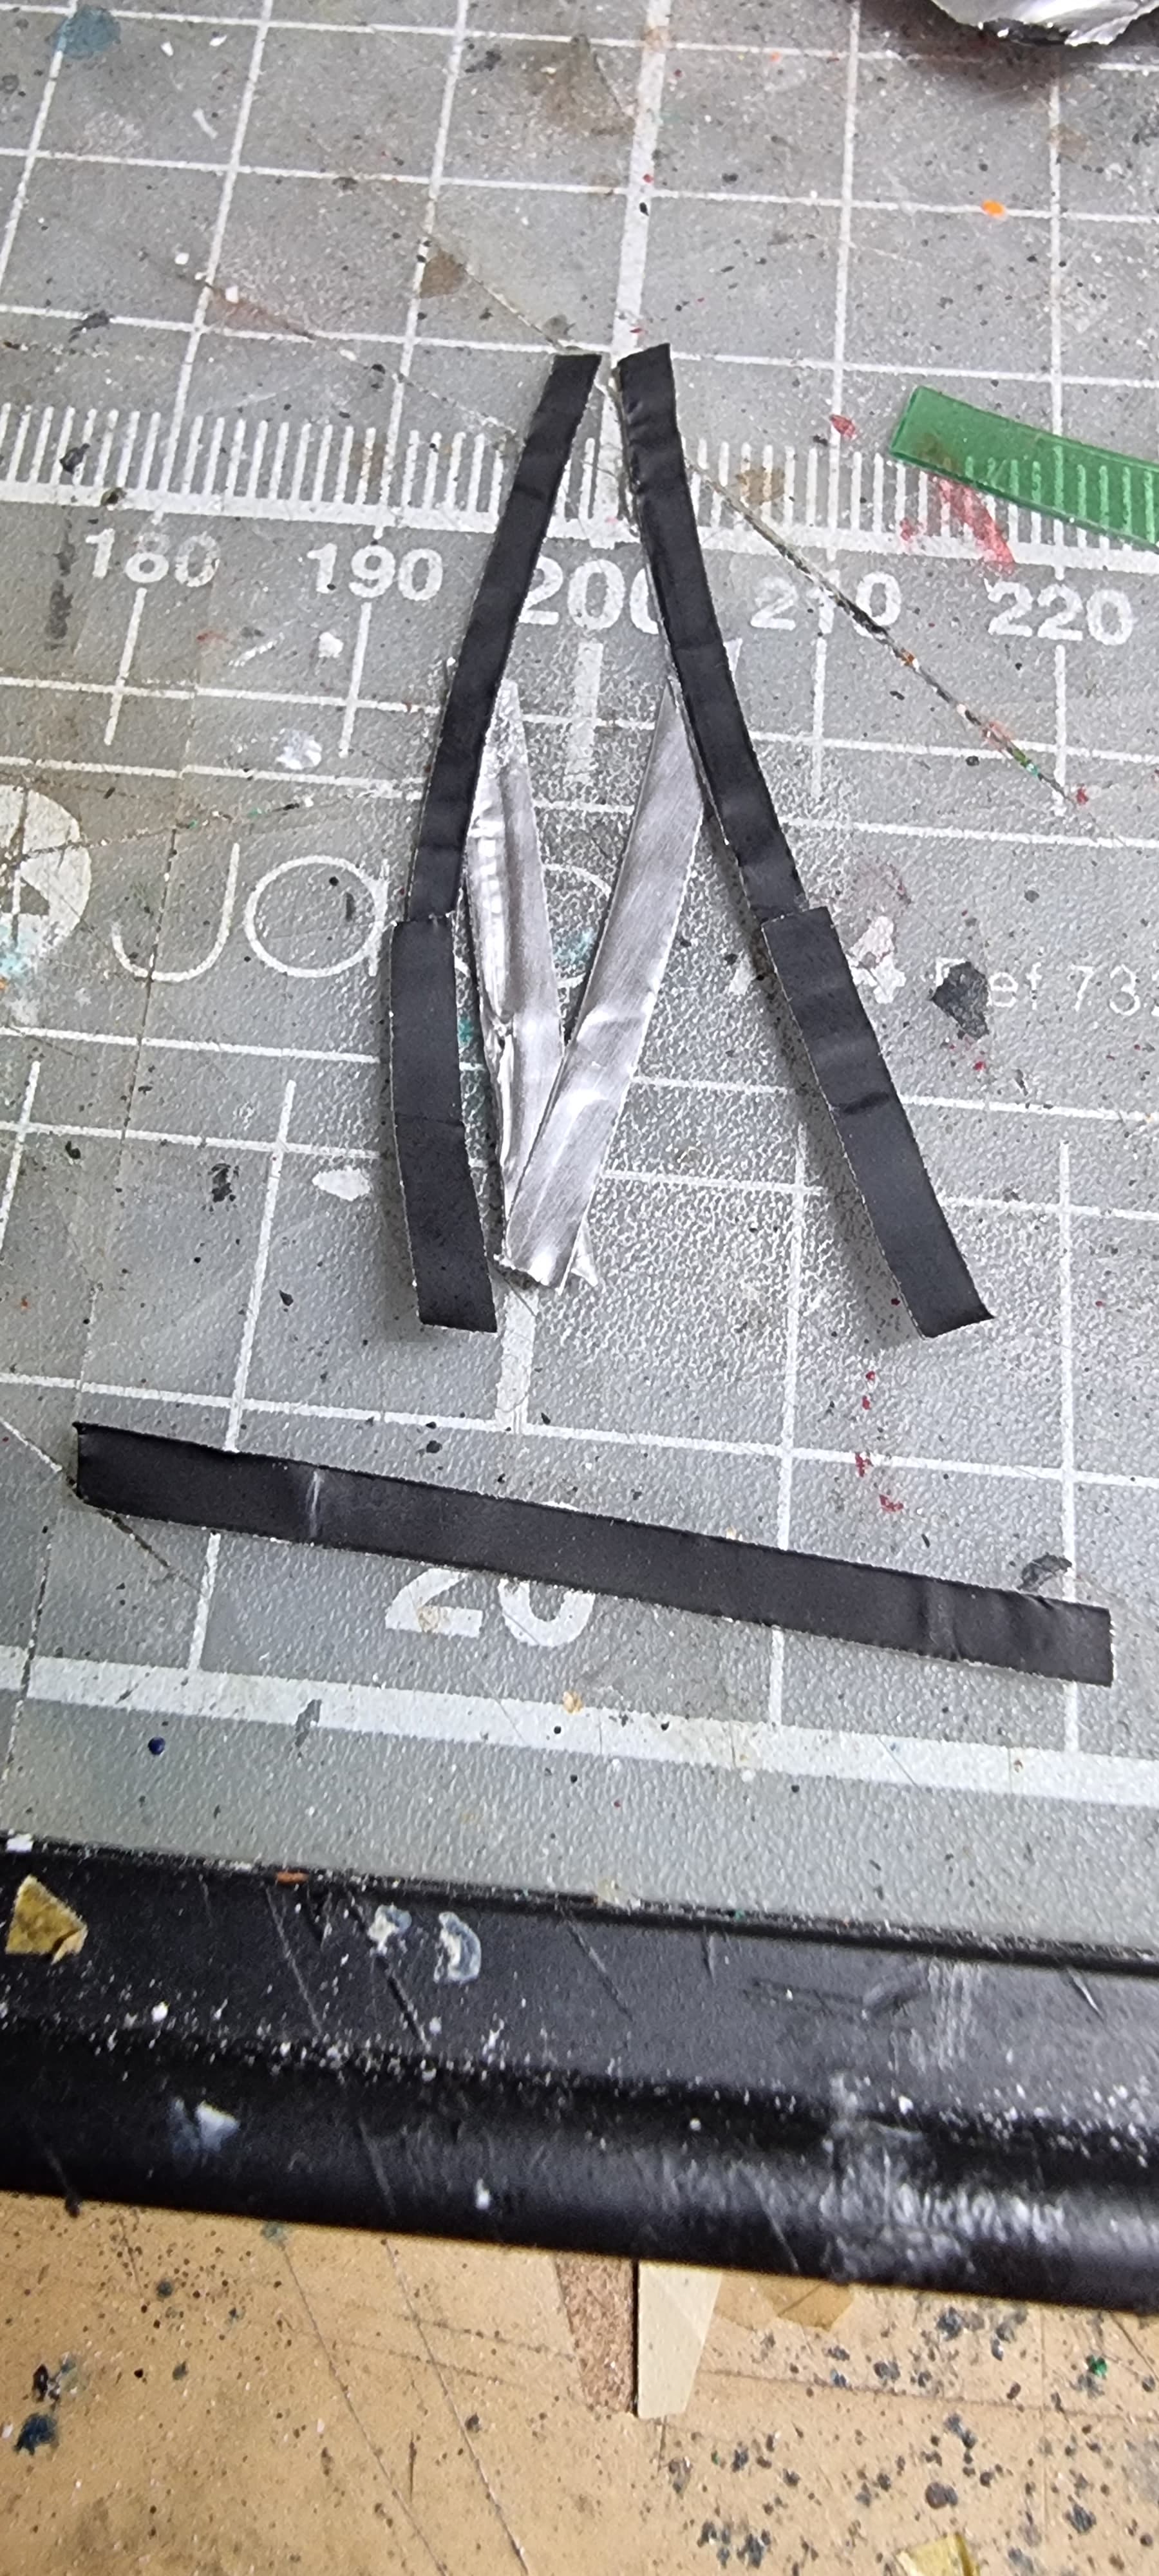
Lastly a small strip for the crotch strap.
Just a simple copy of the harness but looks okay once its in place. I painted mine buff.
If you are building a smaller scale than 1/32 which mine is, you could miss out the back straps and buckles.
Good luck Joe.
Pete

7 Likes

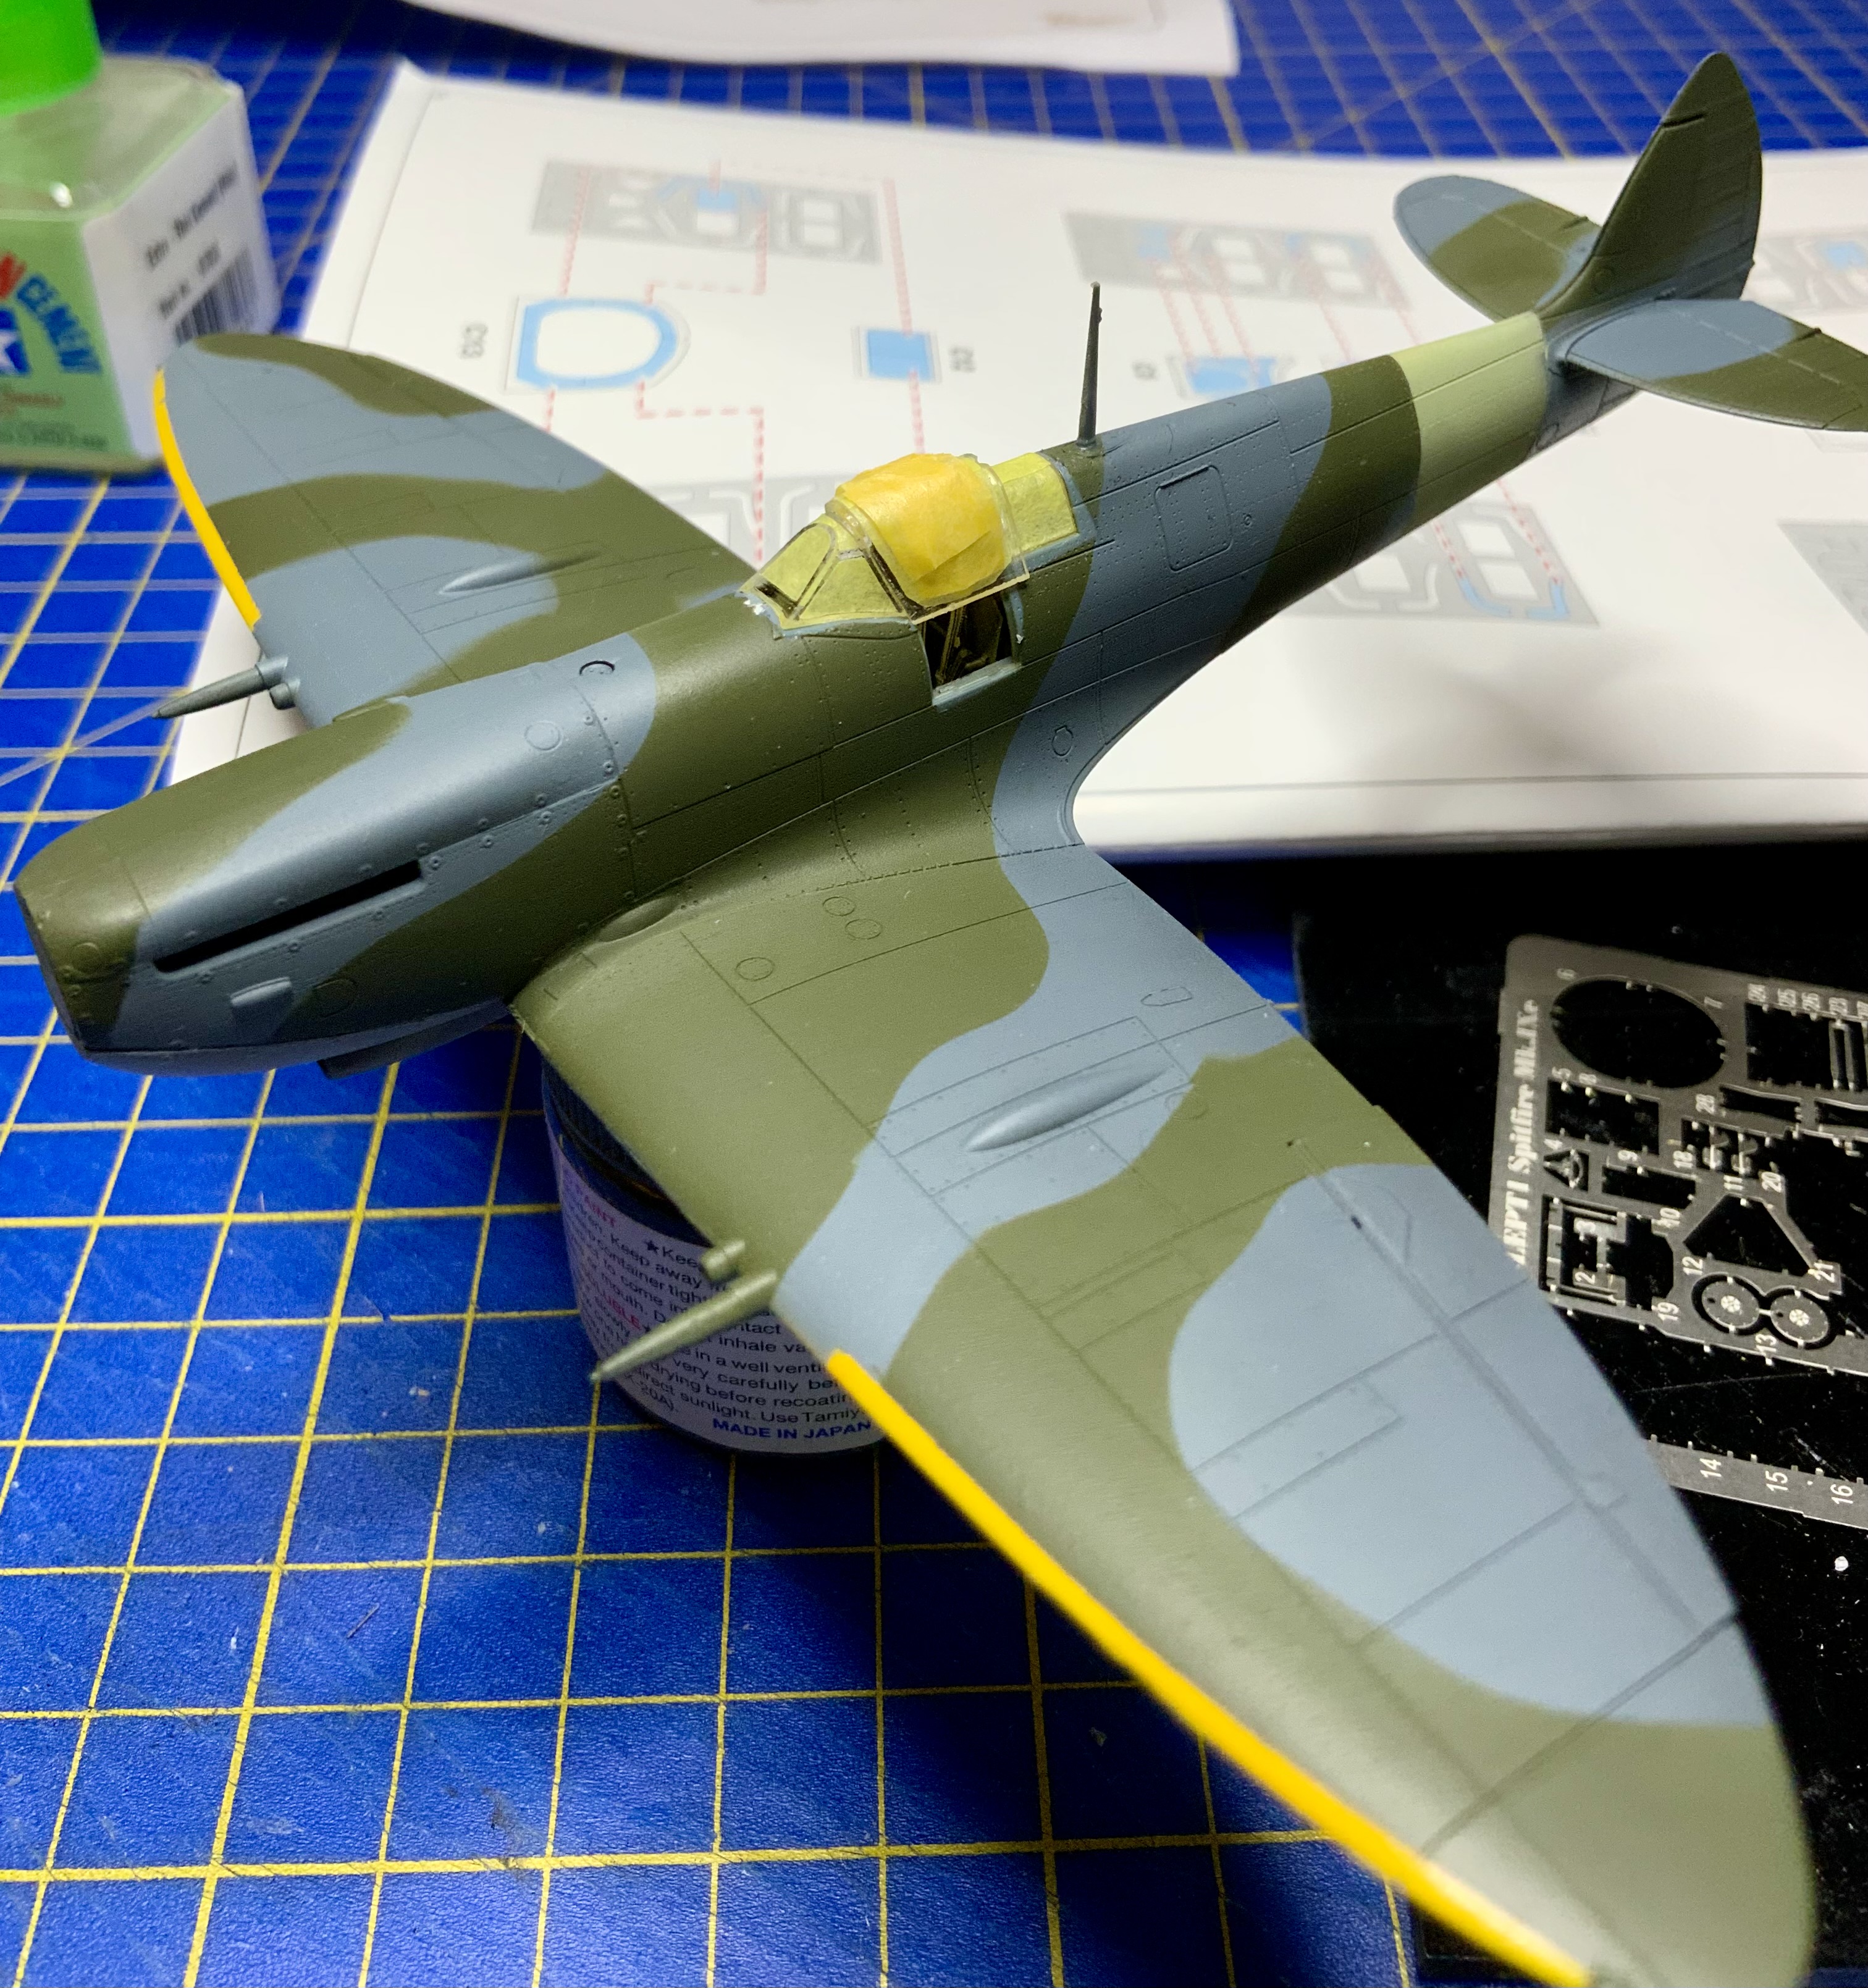
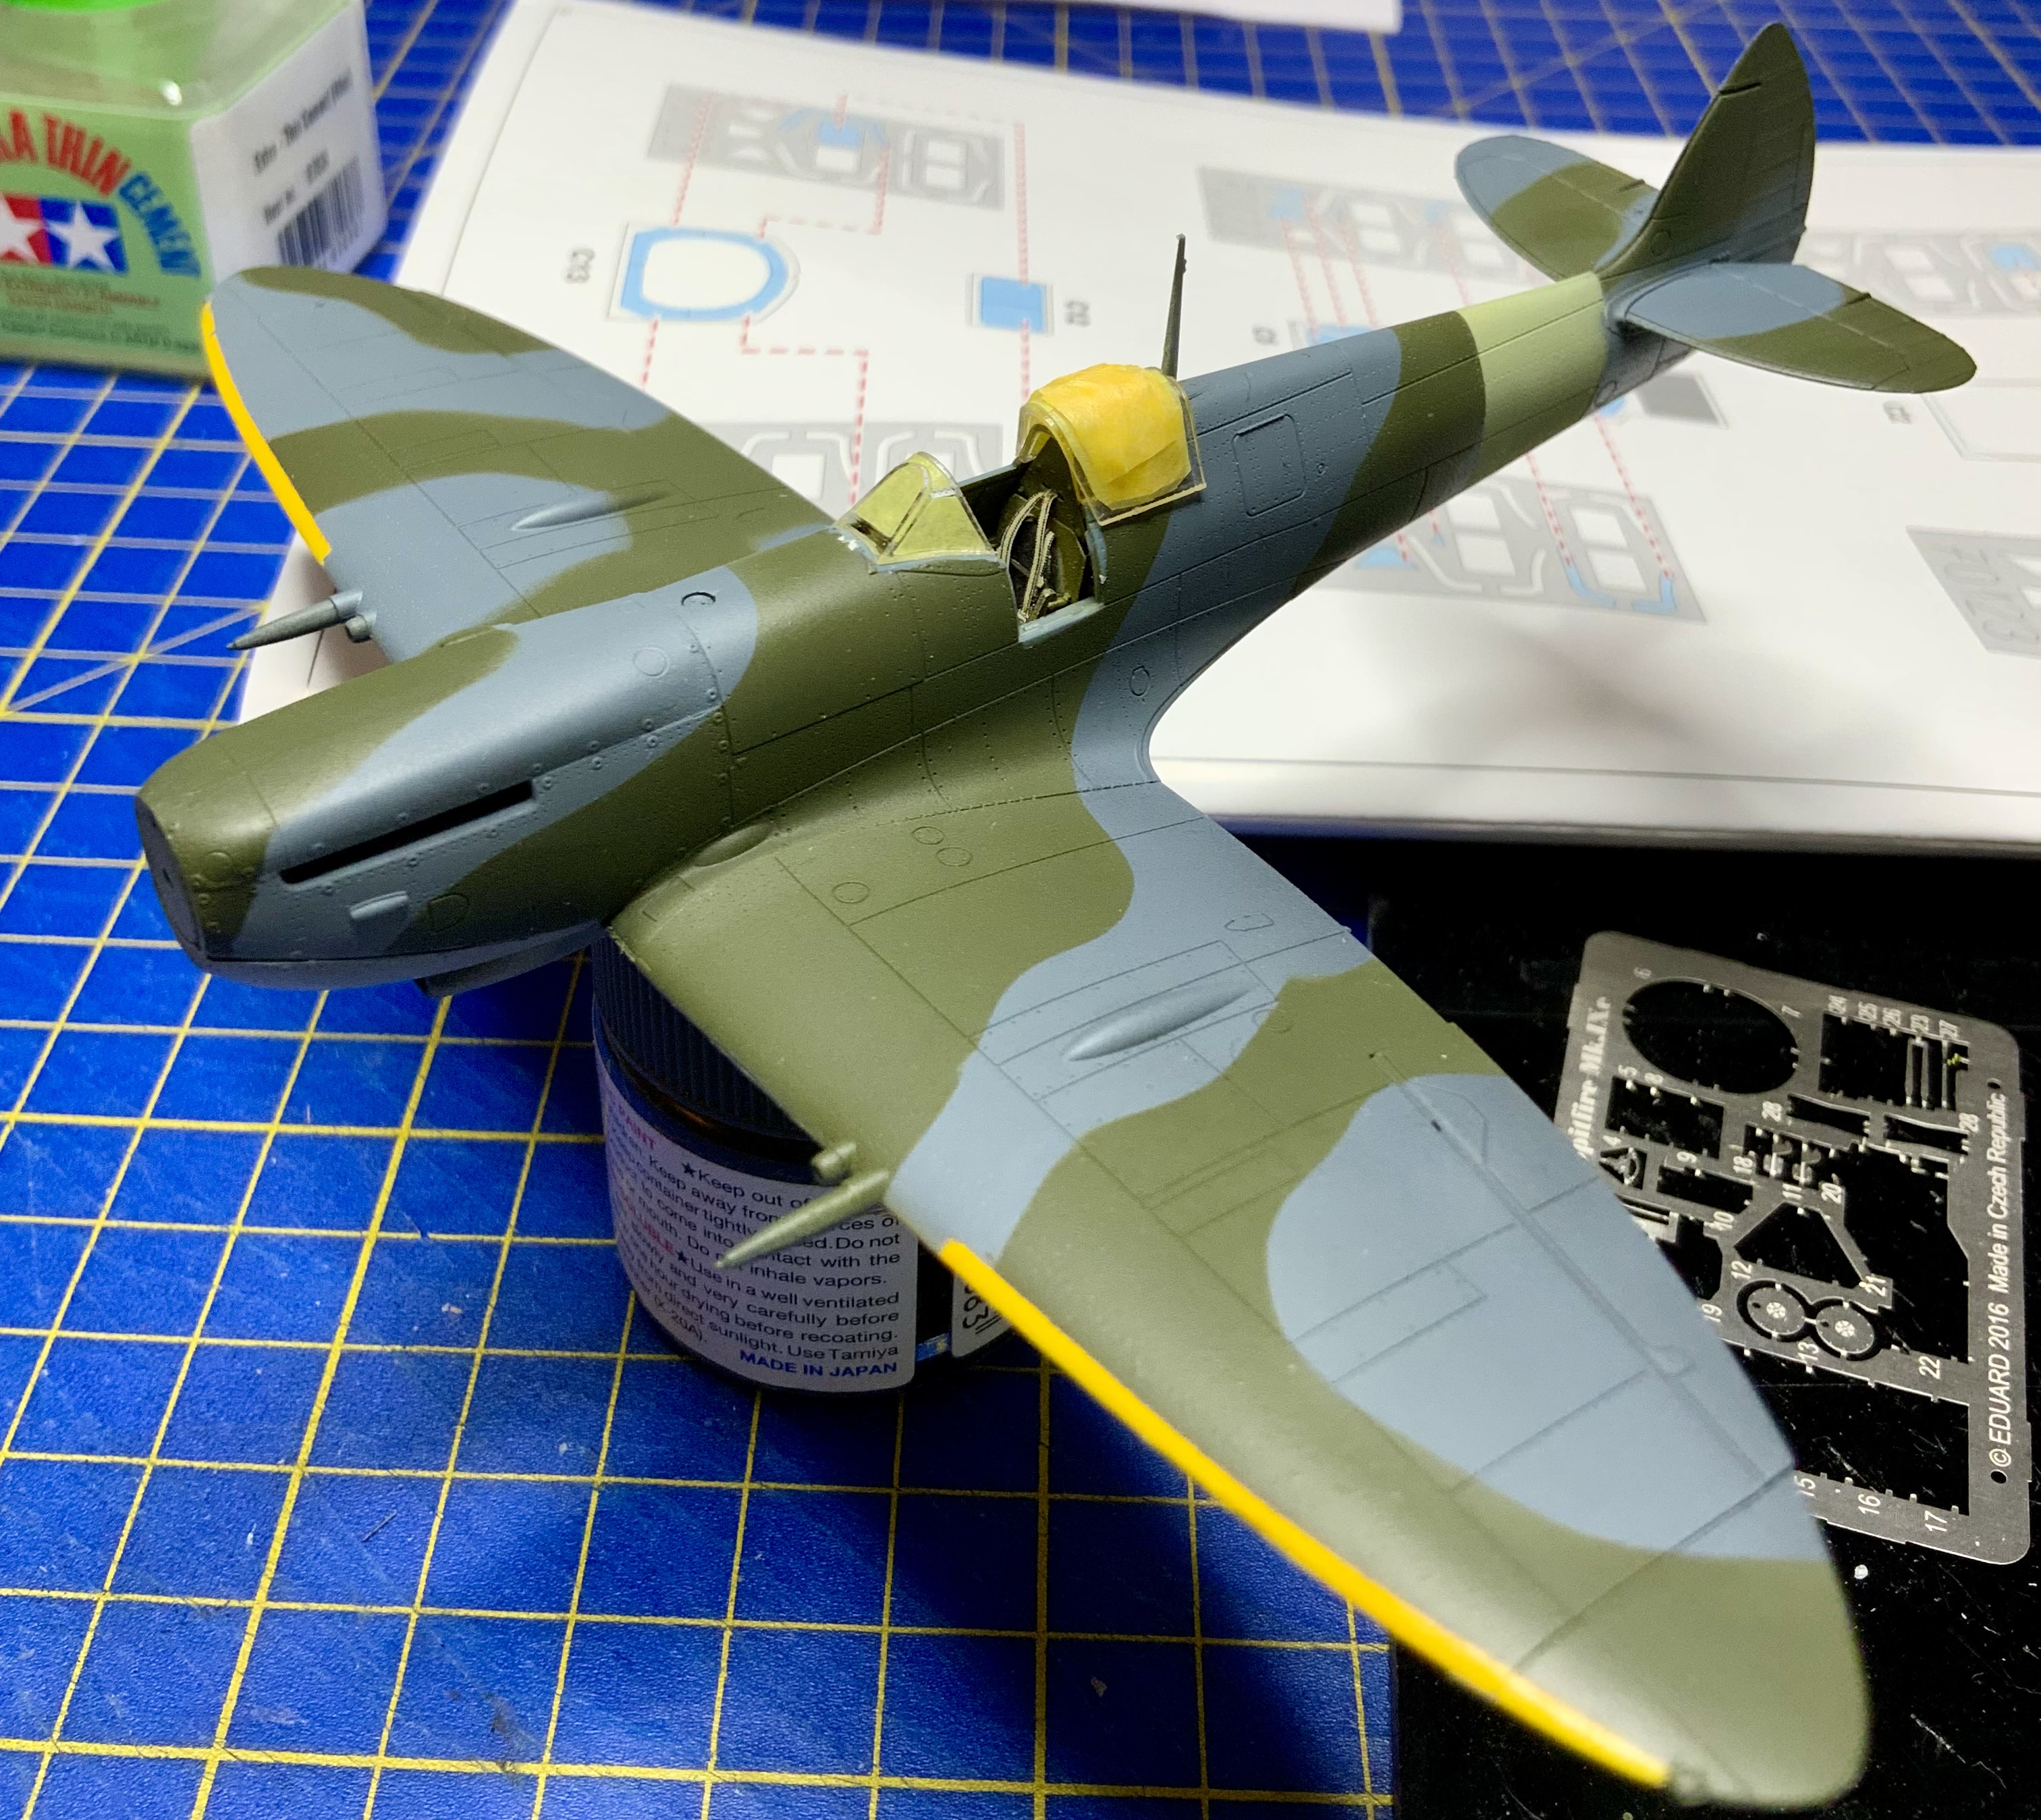
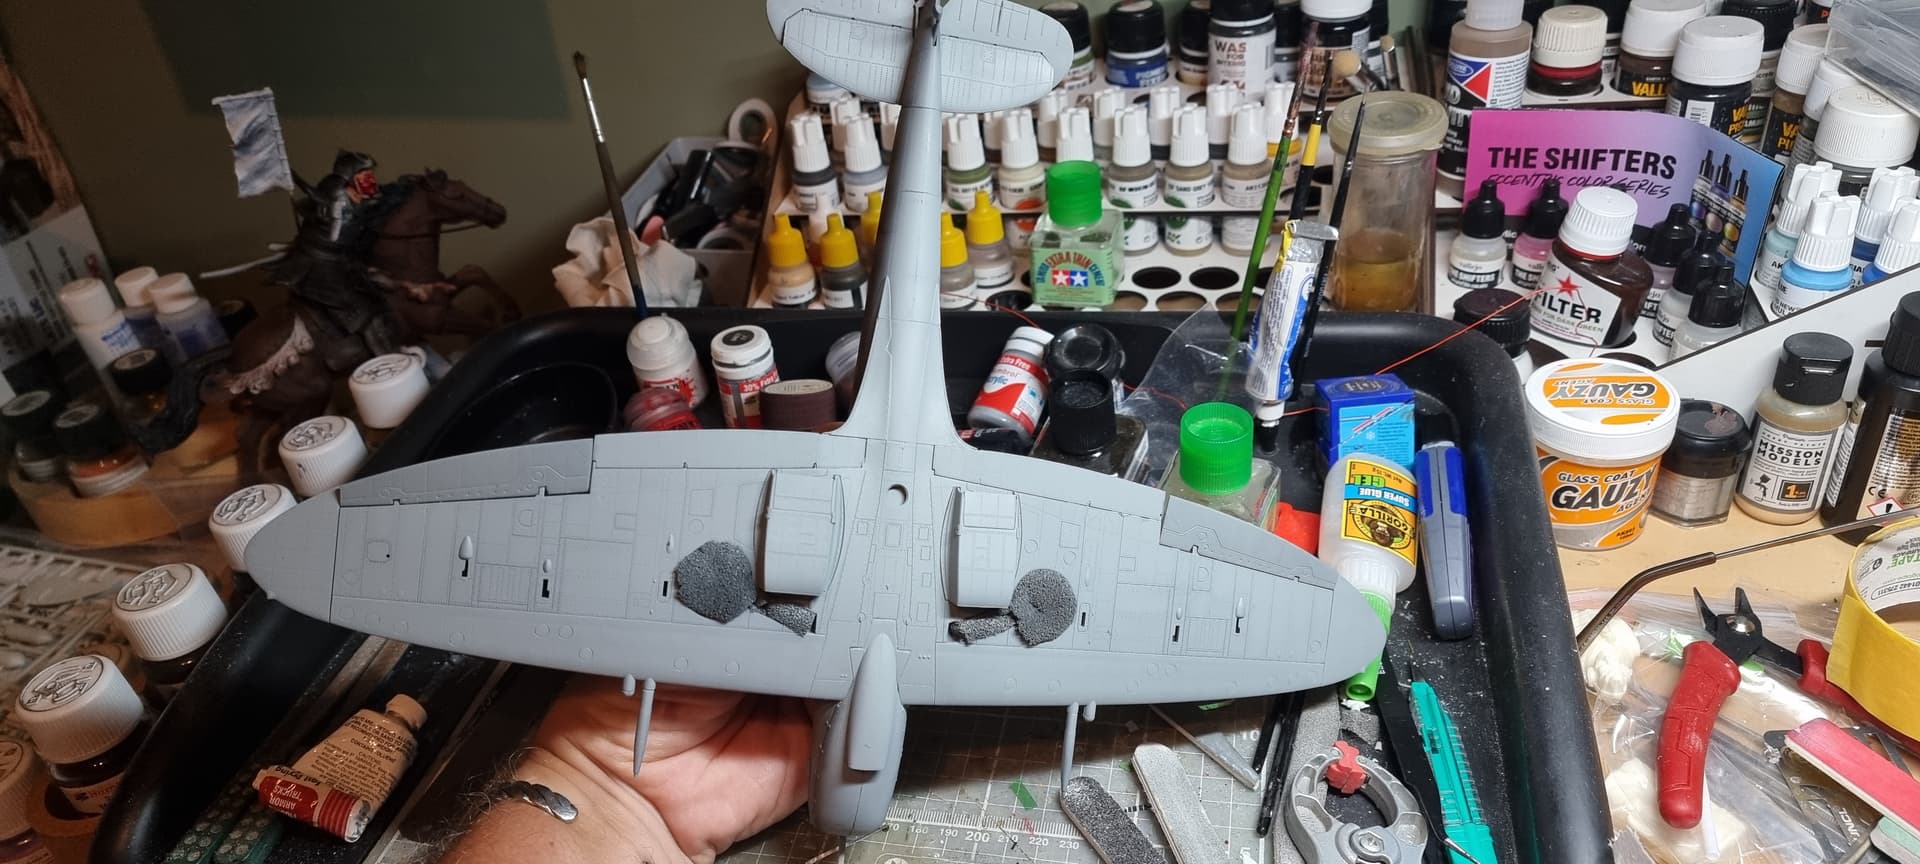
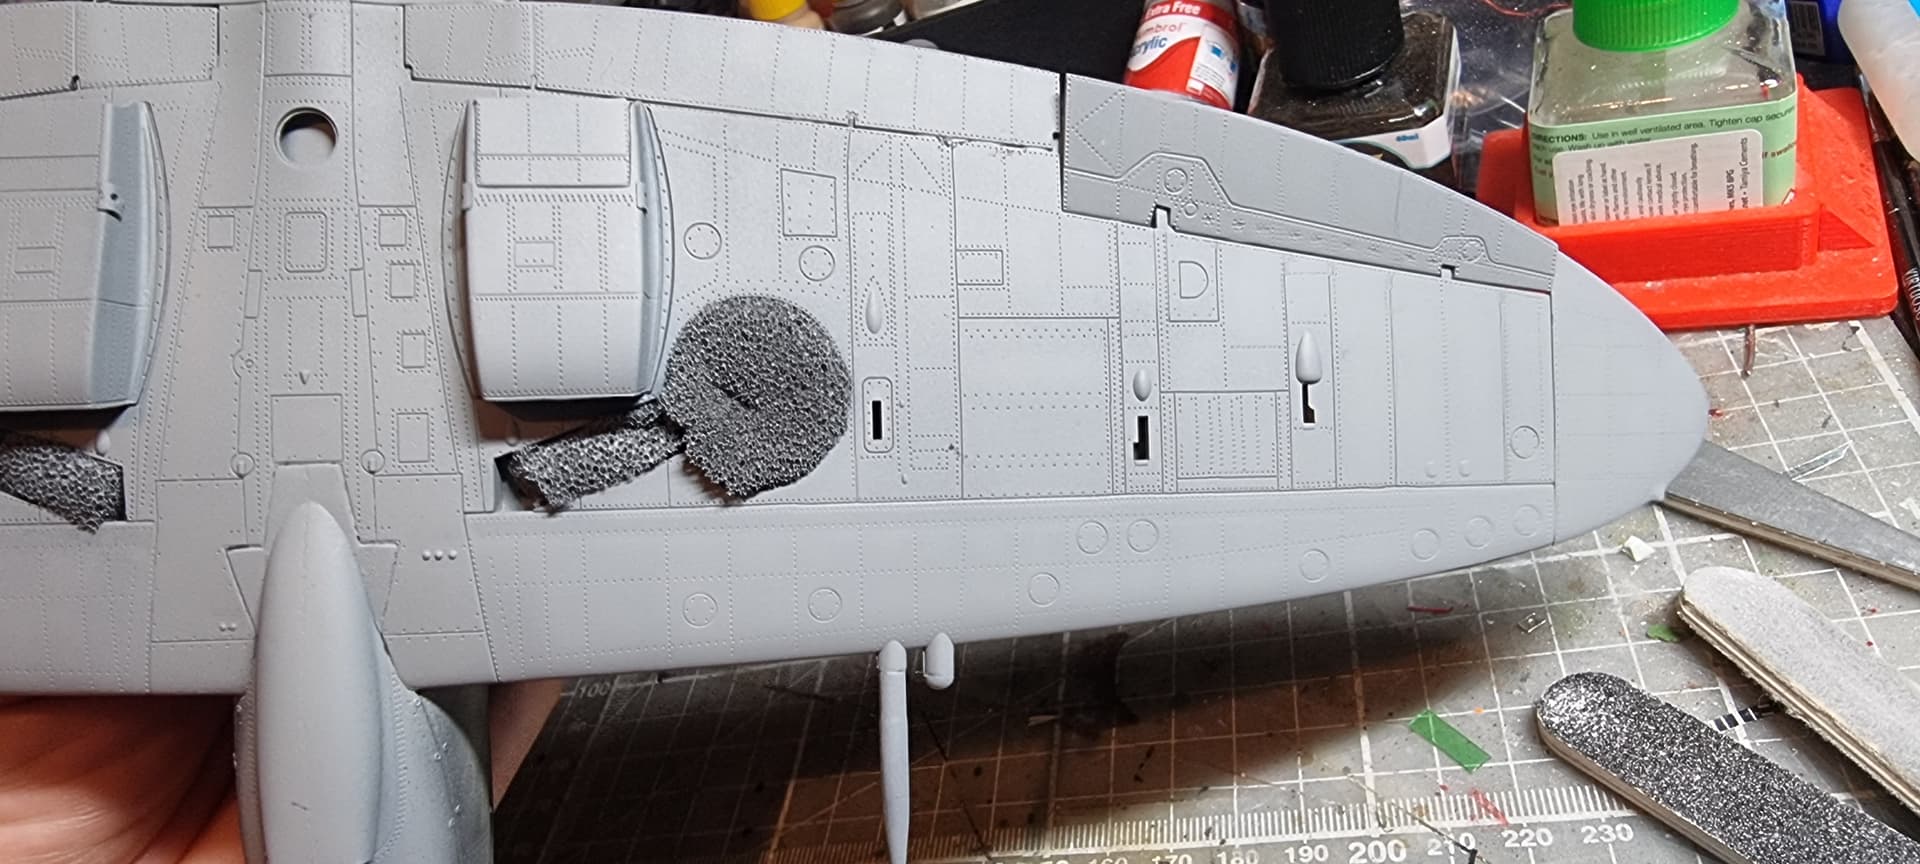
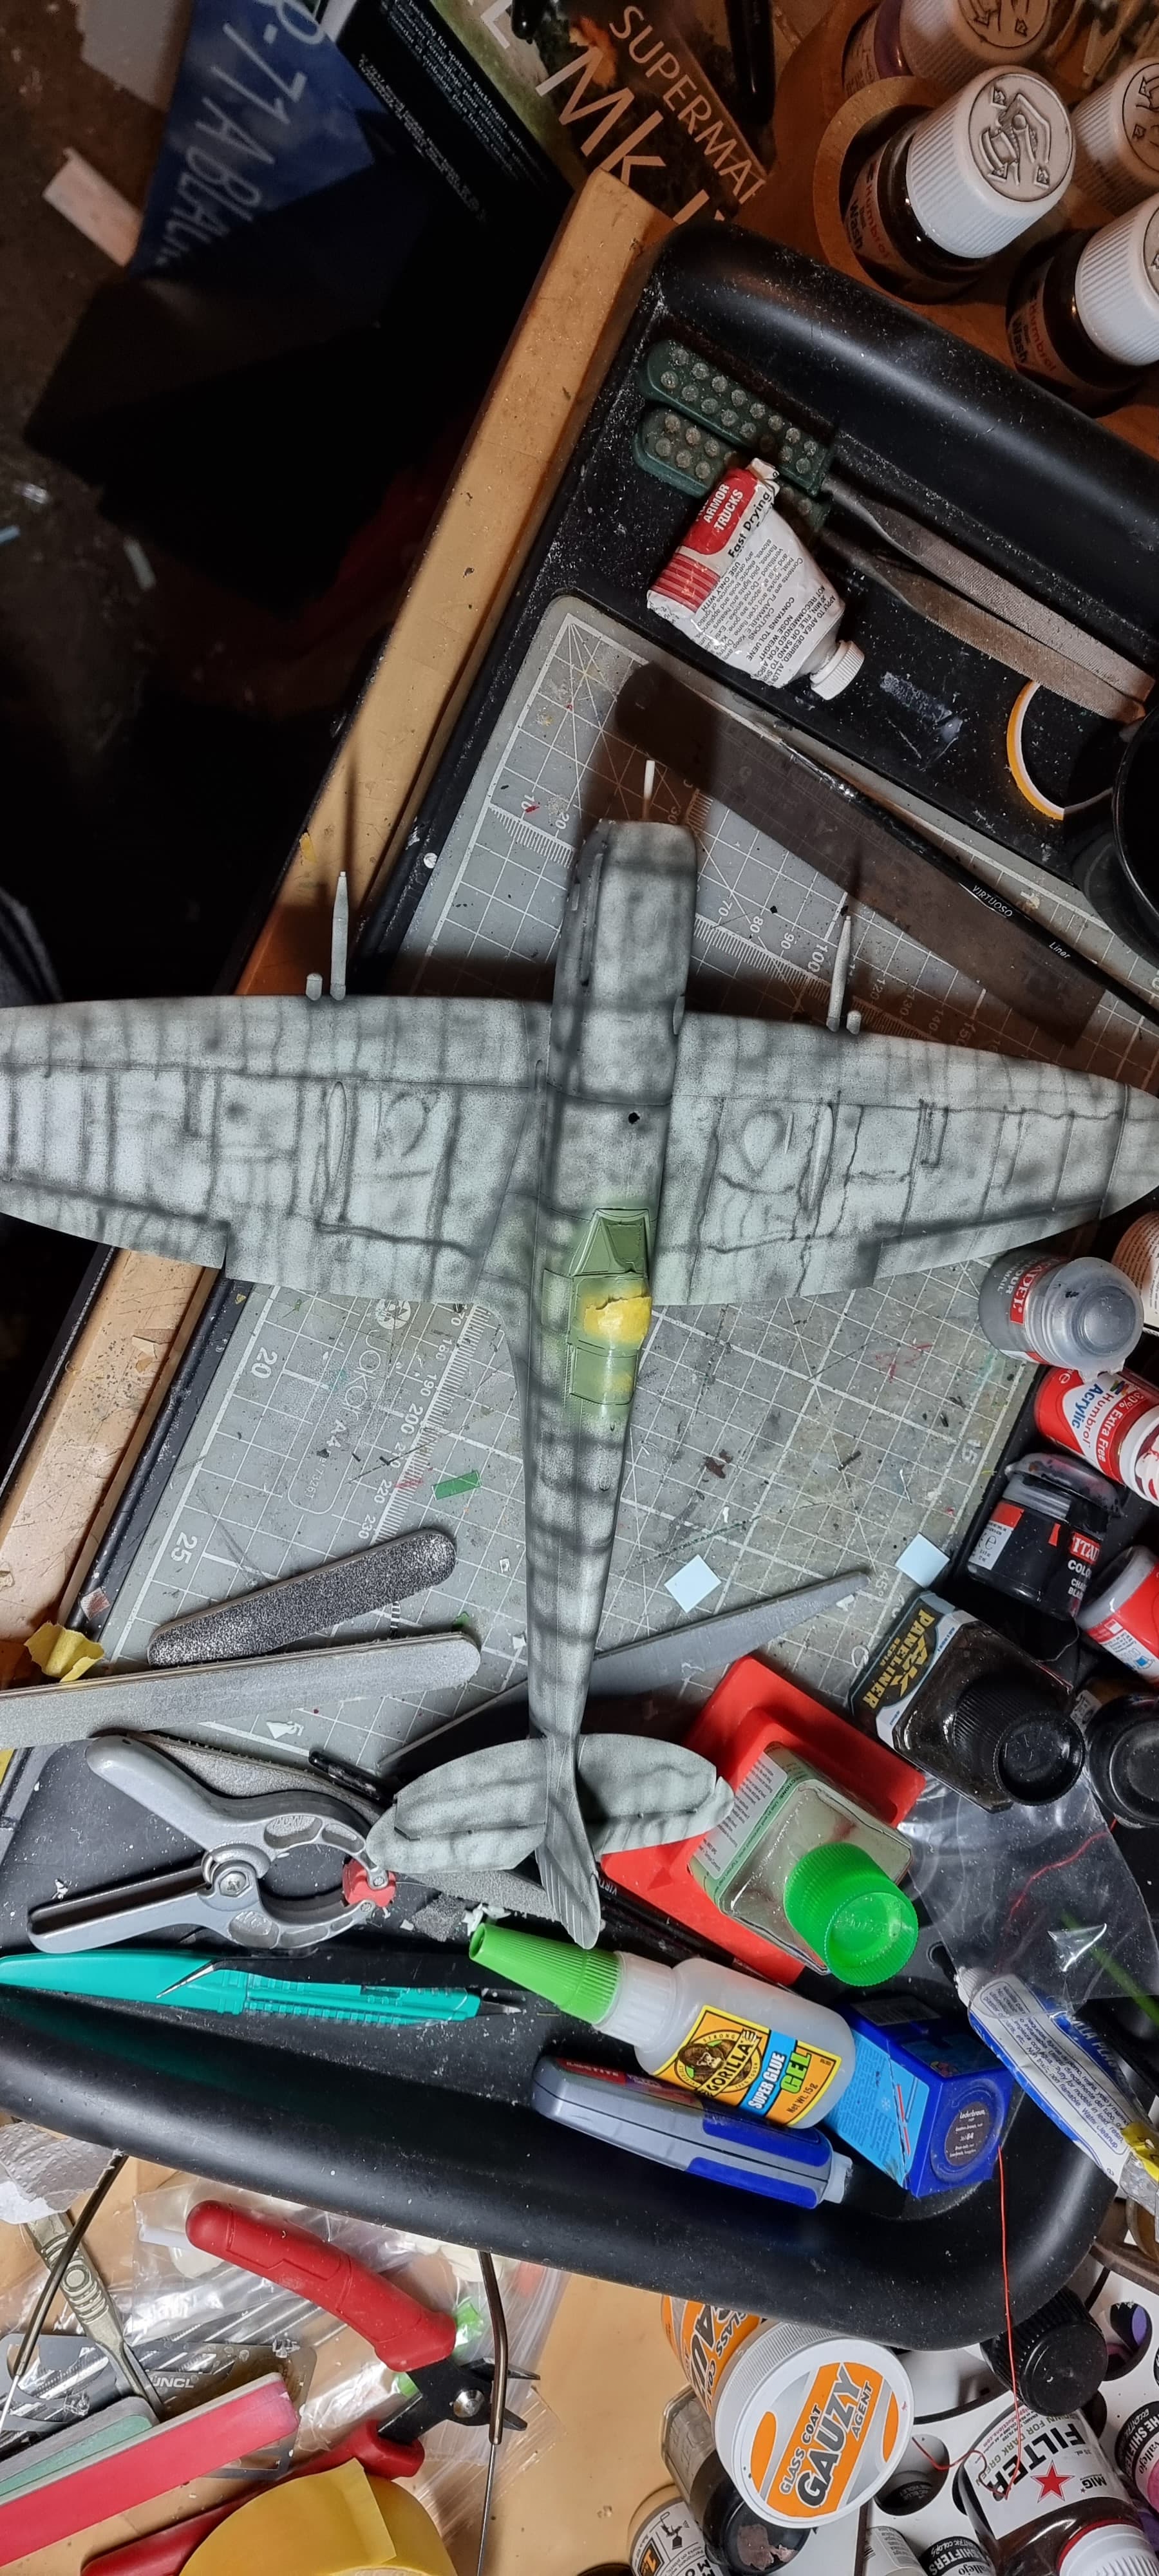
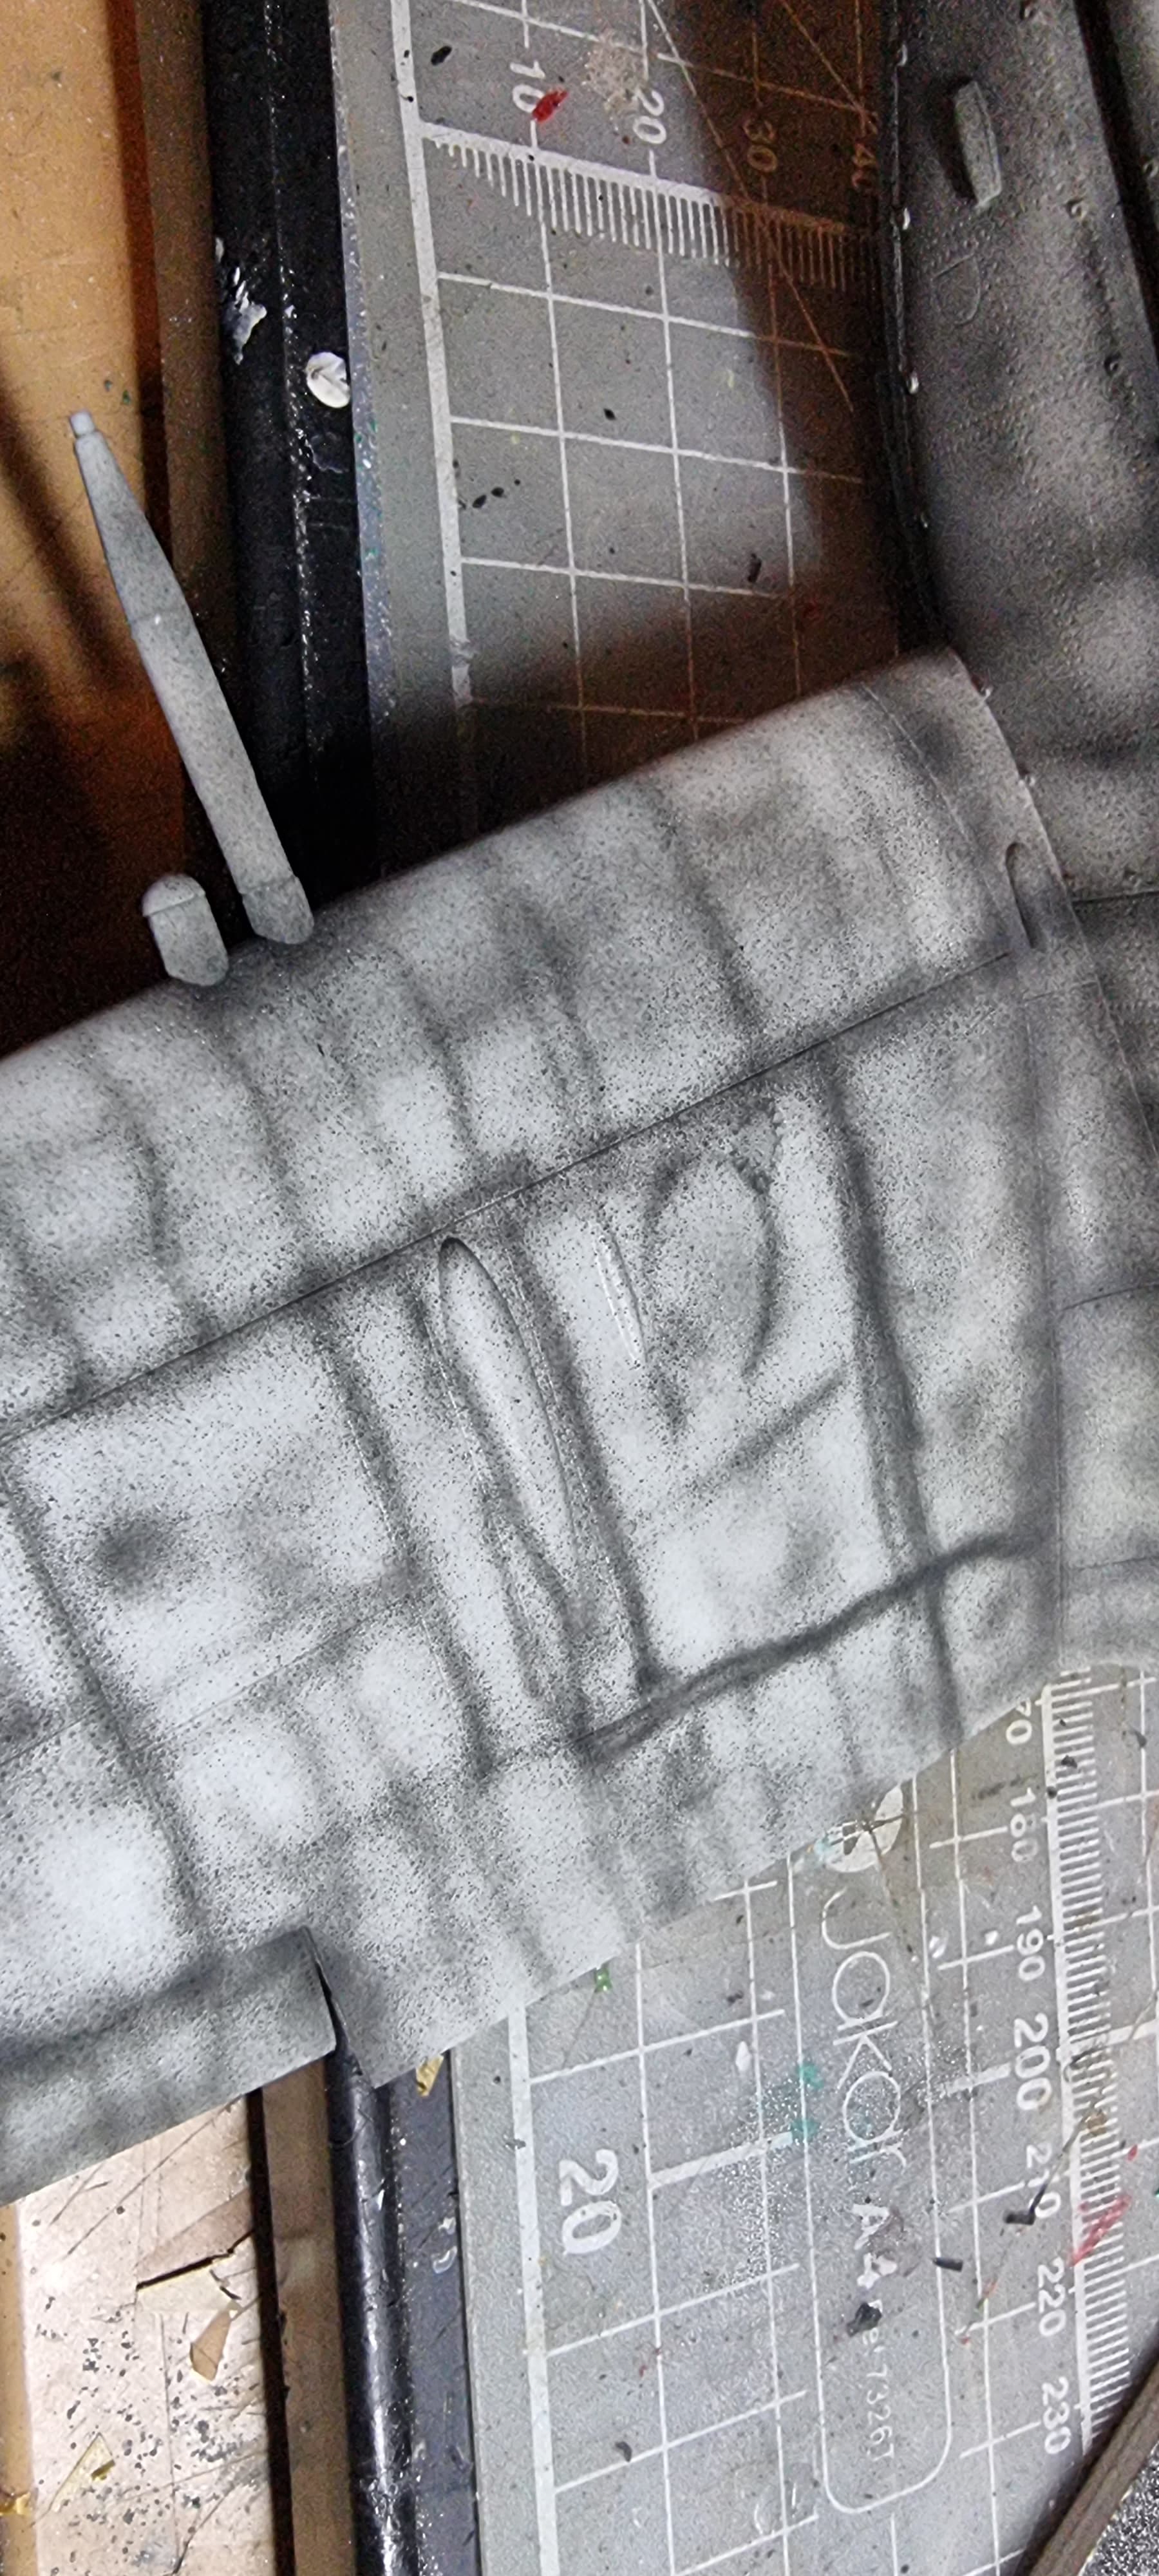
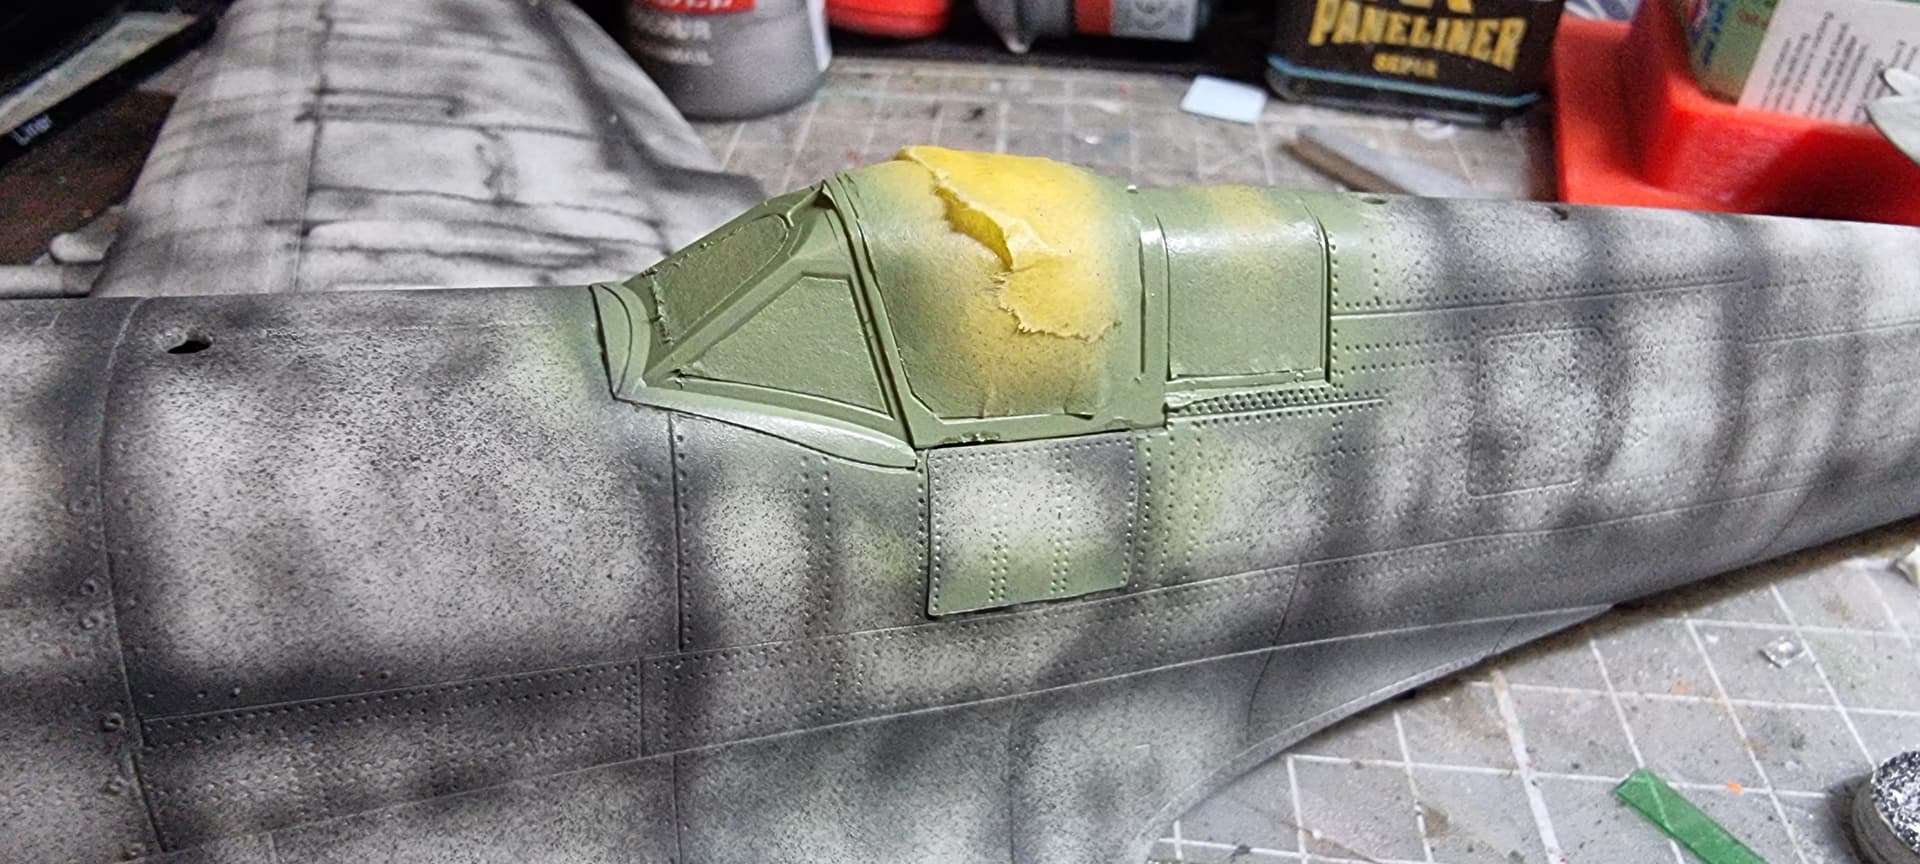
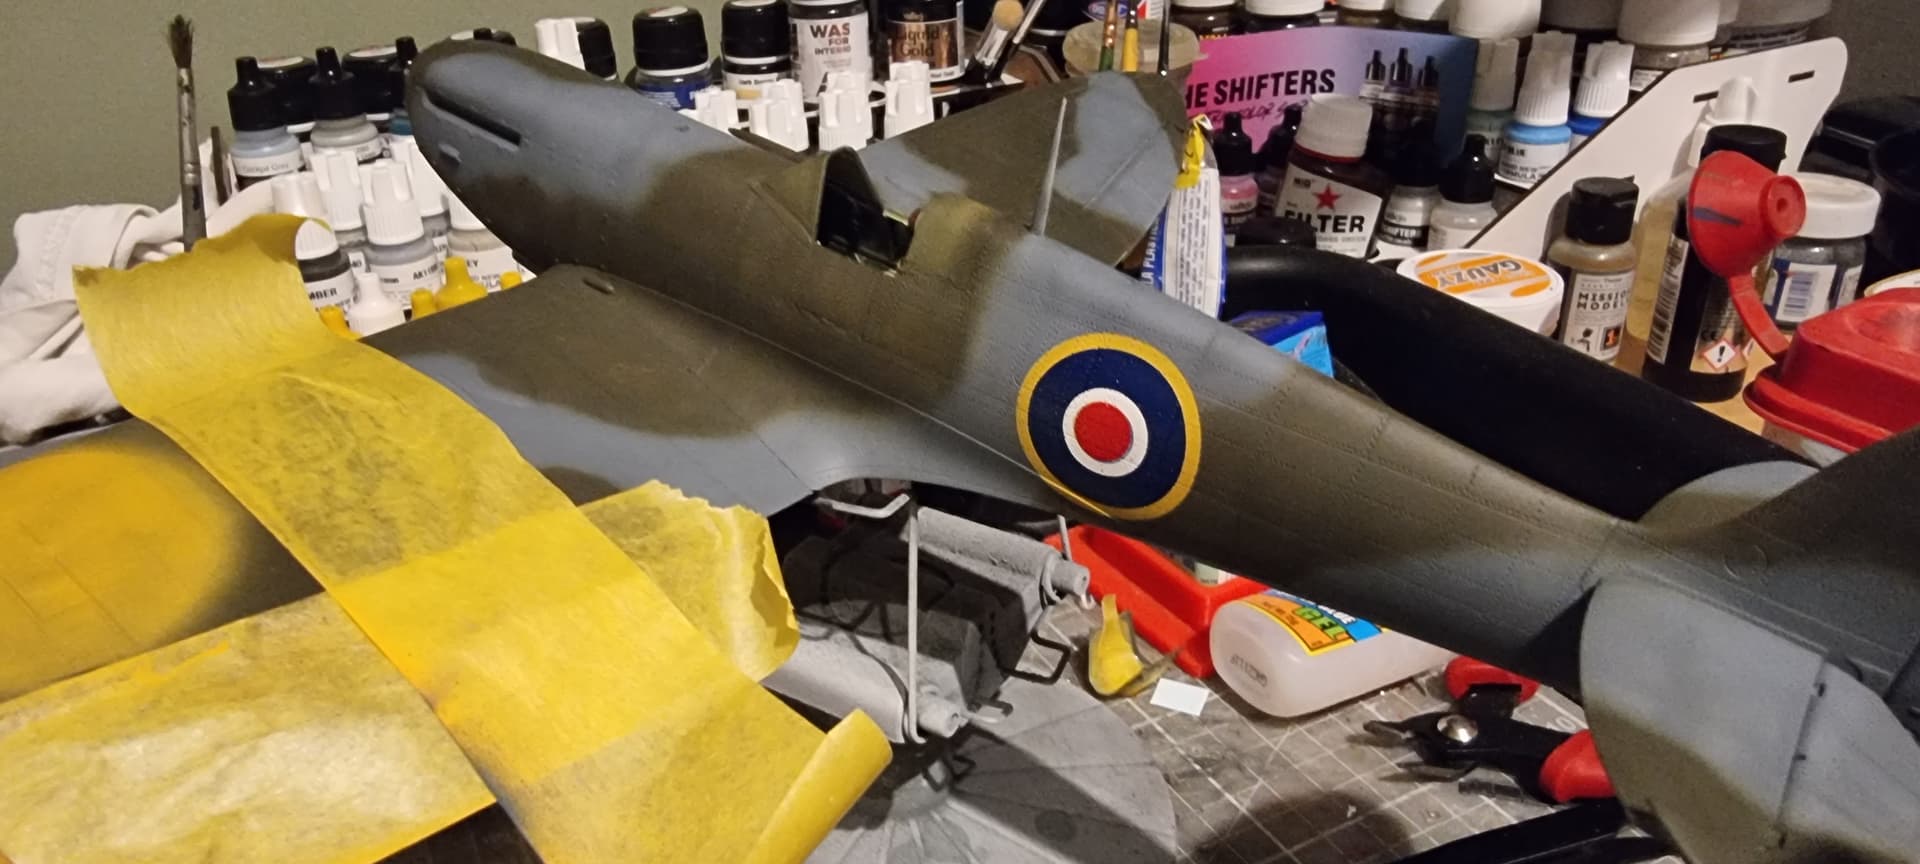
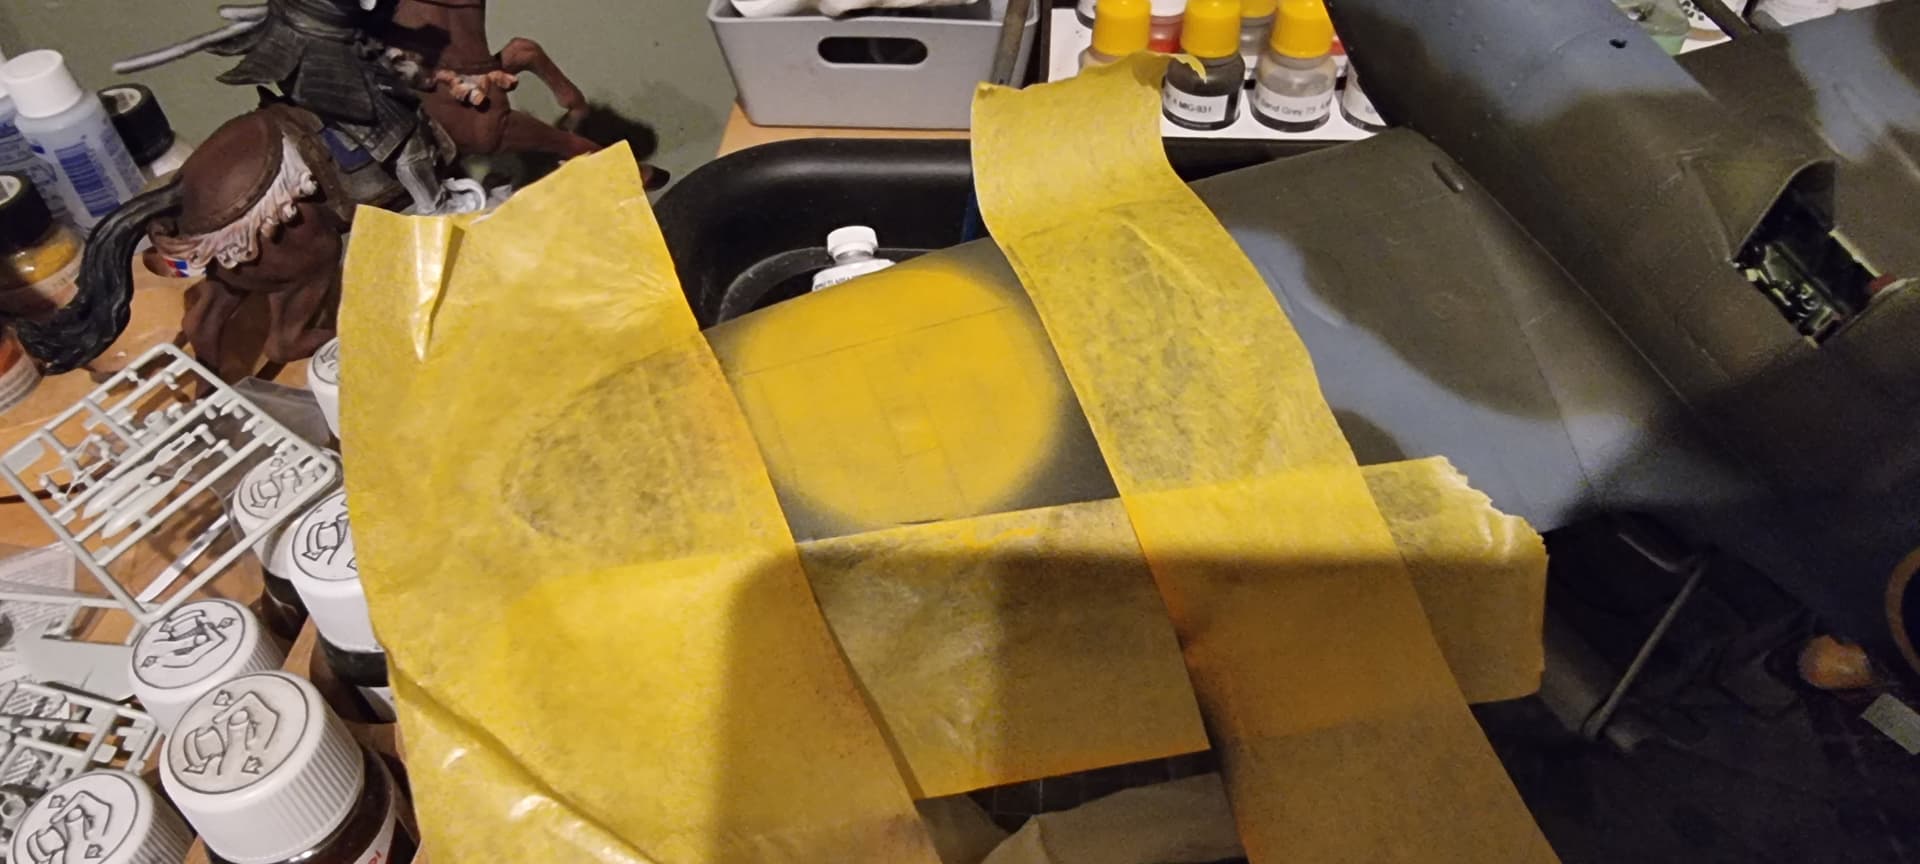
Not much done today. I glued the antenna and glued and masked off the cockpit glass. The fit of the glass is something other modelling companies should copy, it is perfect. With pre-cut masks the masking job was pretty easy. The finished model will be with Open cockpit hood and door.

11 Likes

Looking good Erik. I am surprised how good the fit on the glazing is on mine. For a Revell kit a little surprised to say the least.
You are not far off finished Erik. 1st one over the line
Pete

1 Like

I will try building the Airfix 1/72 Spitfire Mk. 1a.
cover
DSC00283

5 Likes

Good choice Gary

Good choice. I’m doing the same one.

Hi, I’ve started, too


4 Likes

Great, little kit!

So i have got to the spraying stage on my Mk IXc
I have painted the med sea gray lower


And i have done a panel line pre shade with a motley effect ready foe the camo on top.


i have painted the glazing, cockpit green outside ready for the camo to cover and show through inside.

The spinner and exhaust painted

and the undercarriage.

The prop blades i have painted yellow for the tips. I will mask off and paint black tomorrow.
Thats it for now.
Pete

5 Likes

Looking sweet Pete… like the pre shading on the panel lines

Cheers Johnny

The undersides I painted nato black the gradually built up the med sea gray. It will be pretty manky under there once its weathered too.

1 Like

I did the exact same thing on my cockpit glass, even though it is 1/72. I have also painted and glued the exhaust and finished the landing wheels. Next step is weathering and decals. However, this has to wait until next weekend since I have to do a work related trip first.

You will be thinking about that spitfire the whole time you are away Erik.
Have a safe trip bud.
Pete

Okay got the camo done this afternoon.


Next up is the markings which are all masks. Used these masks before so fingers croosed they come out okay.
Pete

7 Likes

Very nice Spit … that’s come out looking the dogs …:+1:

Cheers Johnny

Well… I’m in the Spitfires homeland so you might be more right than you thought…

Its alot slower than decals but much better looking.
This is the fuselage roundels done. Small touch up but nothing major


TThis is the next set to be done. Upper wing

Some more today hopefully
Pete

7 Likes

pete what color did you paint the interior of the wheel wells and inside of gear covers?

Joe