It’s a good basic start to work from…maybe use a semi thick section of balsa wood for one side and build up a thinner canyon side wall on that… Then use the foam block on other side that’ll give you a bit more canyon floor to work with… Imagine doing that in 1/72 …or even 1/144…it’d be huge lol
Plan to try hydrodipping the X-wing, in what I’m calling Imperial Measure #1 Cosmic Camo

Rationalization - Colorful and blends in with a nebula.
5 Likes
Hydrodipping???
That gorge is a very tight fit.
2 Likes
Now I’m looking forward to seeing that Wade… Do we get any clues or will it be a show and reveal ??
I like the ease that these go together with… But that they are also really well detailed…it’s looking good already David 
Yeah, I think they will need a bit more manoeuvring room…they make a very big target for any rebel scum in the area …
1 Like
@Johnnych01 it goes together like a dream but I need to take the batteries out and fix the audio section namely plug the gaps lol.
1 Like
My thought was the area was right sized for the other Imperial equipment and these guys where brought in for reinforcements. There will be scraps along the AT’s from them working the path out.
1 Like
@Johnnych01 John, I will definitely share along the way.
@RonW, yes want to try hydro dip see how that works out.
1 Like
This Ron:

4 Likes
Wade, firstly, that would look super unique, some of the finished items in @petbat vid clip are fantastic… Hope you manage to do it.
Secondly, are you doing it yourself or getting a third party to apply it ? I looked at costs in the UK and something the size of a gaming controller costs from £25… So there is the cost to factor in…
Looks cool though
John, wow a gaming controller costs from £25!
Definitely will be trying to do it myself. The film was pretty reasonable ordered it for ~£8 from eBay. Still waiting on it. I will order the activation solution soon. I need to a bit more research:)
1 Like
I did read a bit into it. I guess it just has a normal varnish once it’s rinsed and set properly … Looking forward to seeing it done now…
You may of started a whole new craze Wade !!
1 Like
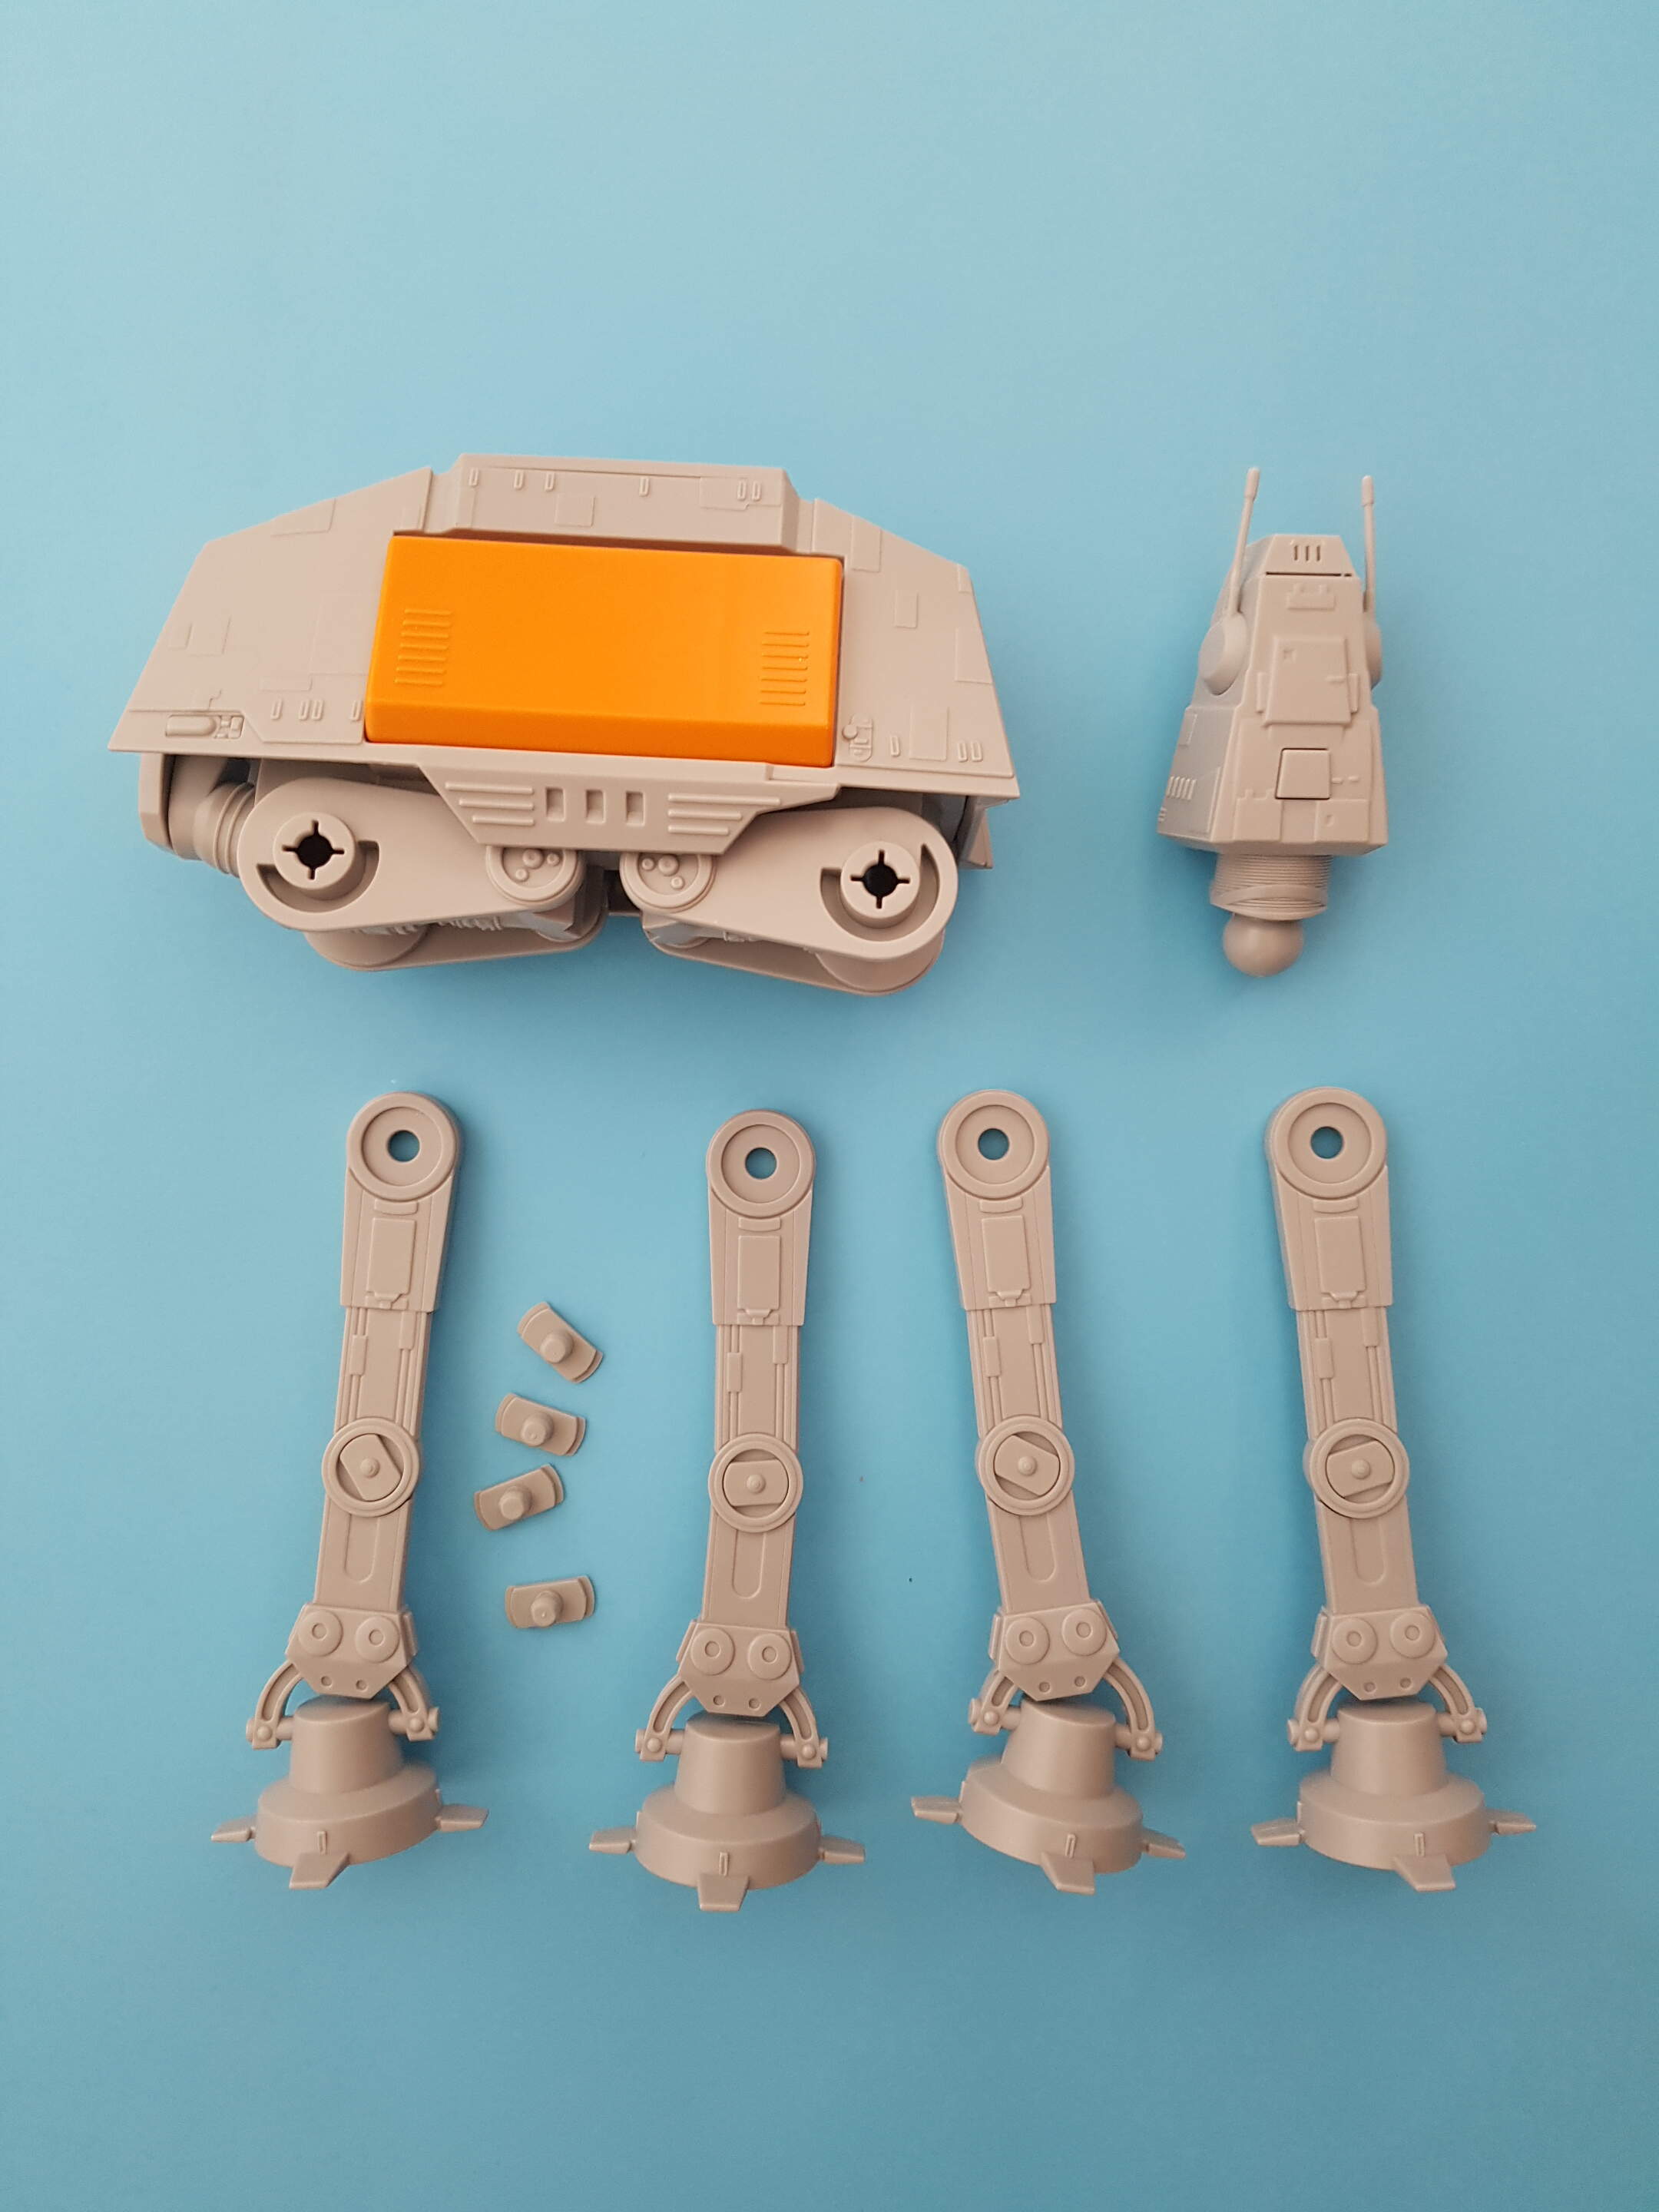
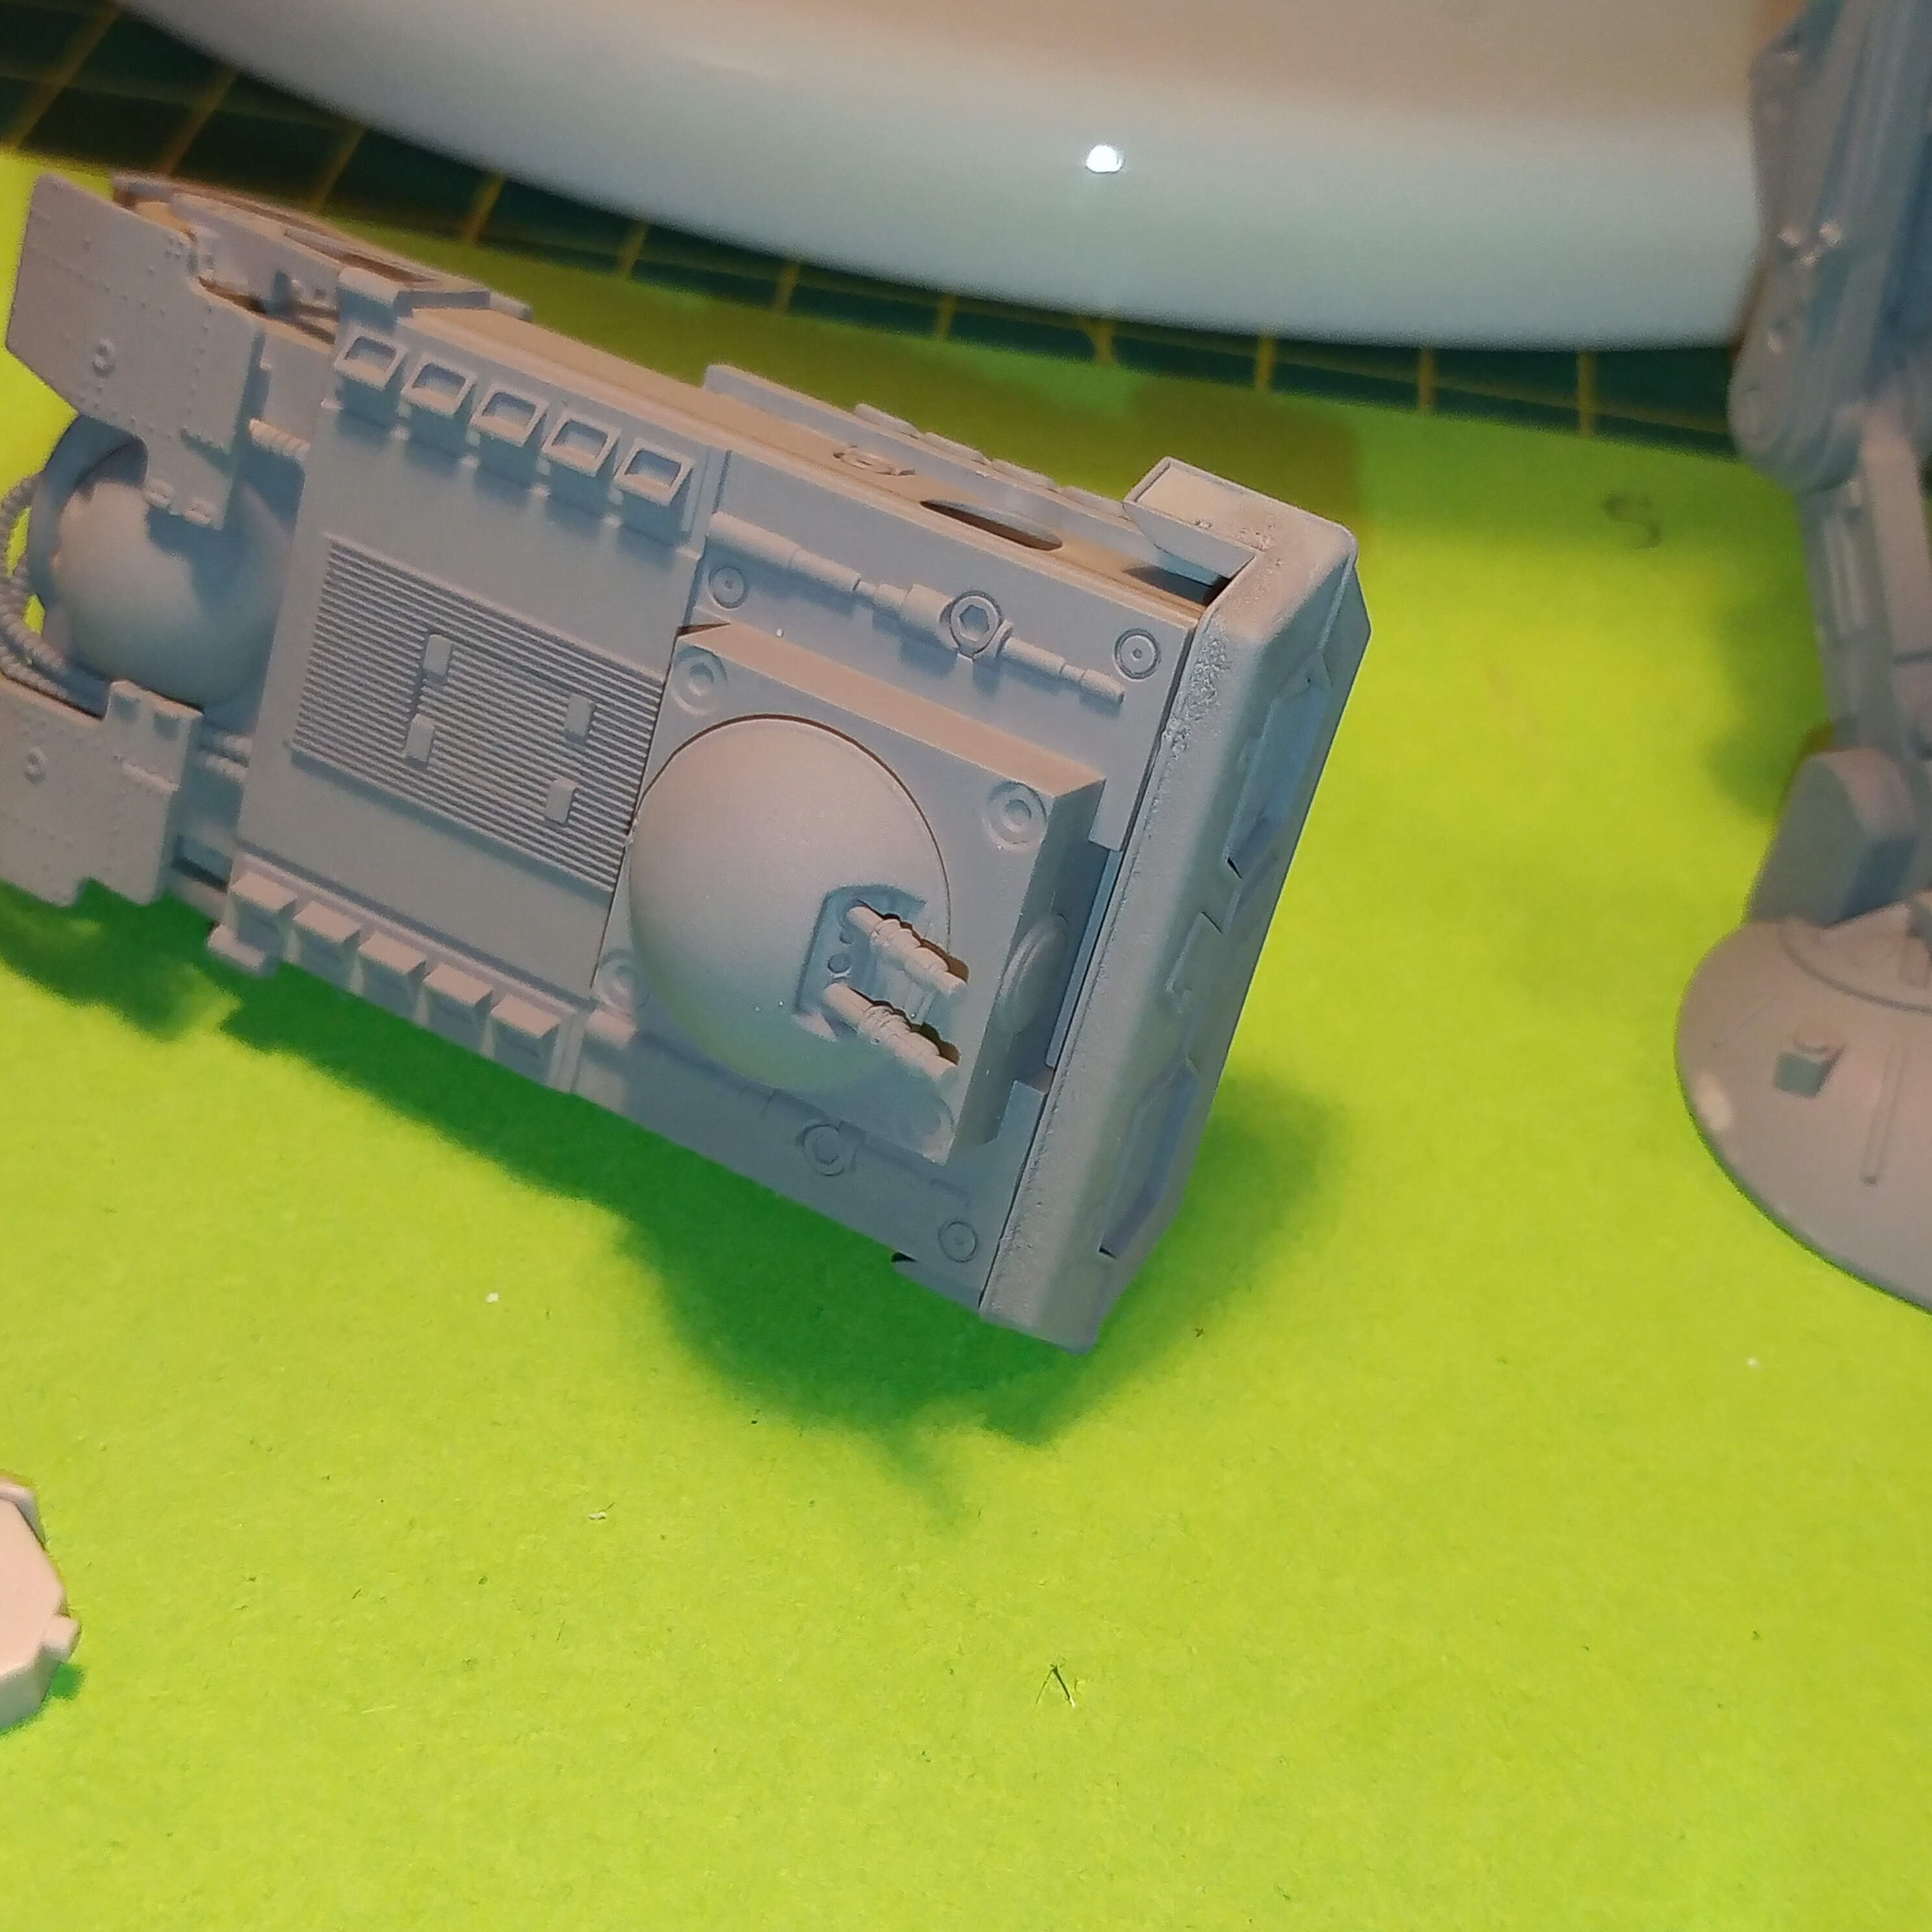
Have got the hull section done and the left and right legs.
Have primed those and the cab insides as I intend on adding some details to the inside although most of it will be hidden once it’s all together. I will also add some transparency in the cab windows and paint those clear red.
Will post some pics later. Made a school boy error when I was doing the first leg… I didn’t read the instructions and stupidly glued the 2 lower leg left hand pieces together… Luckily it didn’t set so pulled them apart and sorted it all out …more to follow …
Forgot to add that I added a small twin remote pulse cannon to the rear underside of the hull section for rear facing cover …
2 Likes
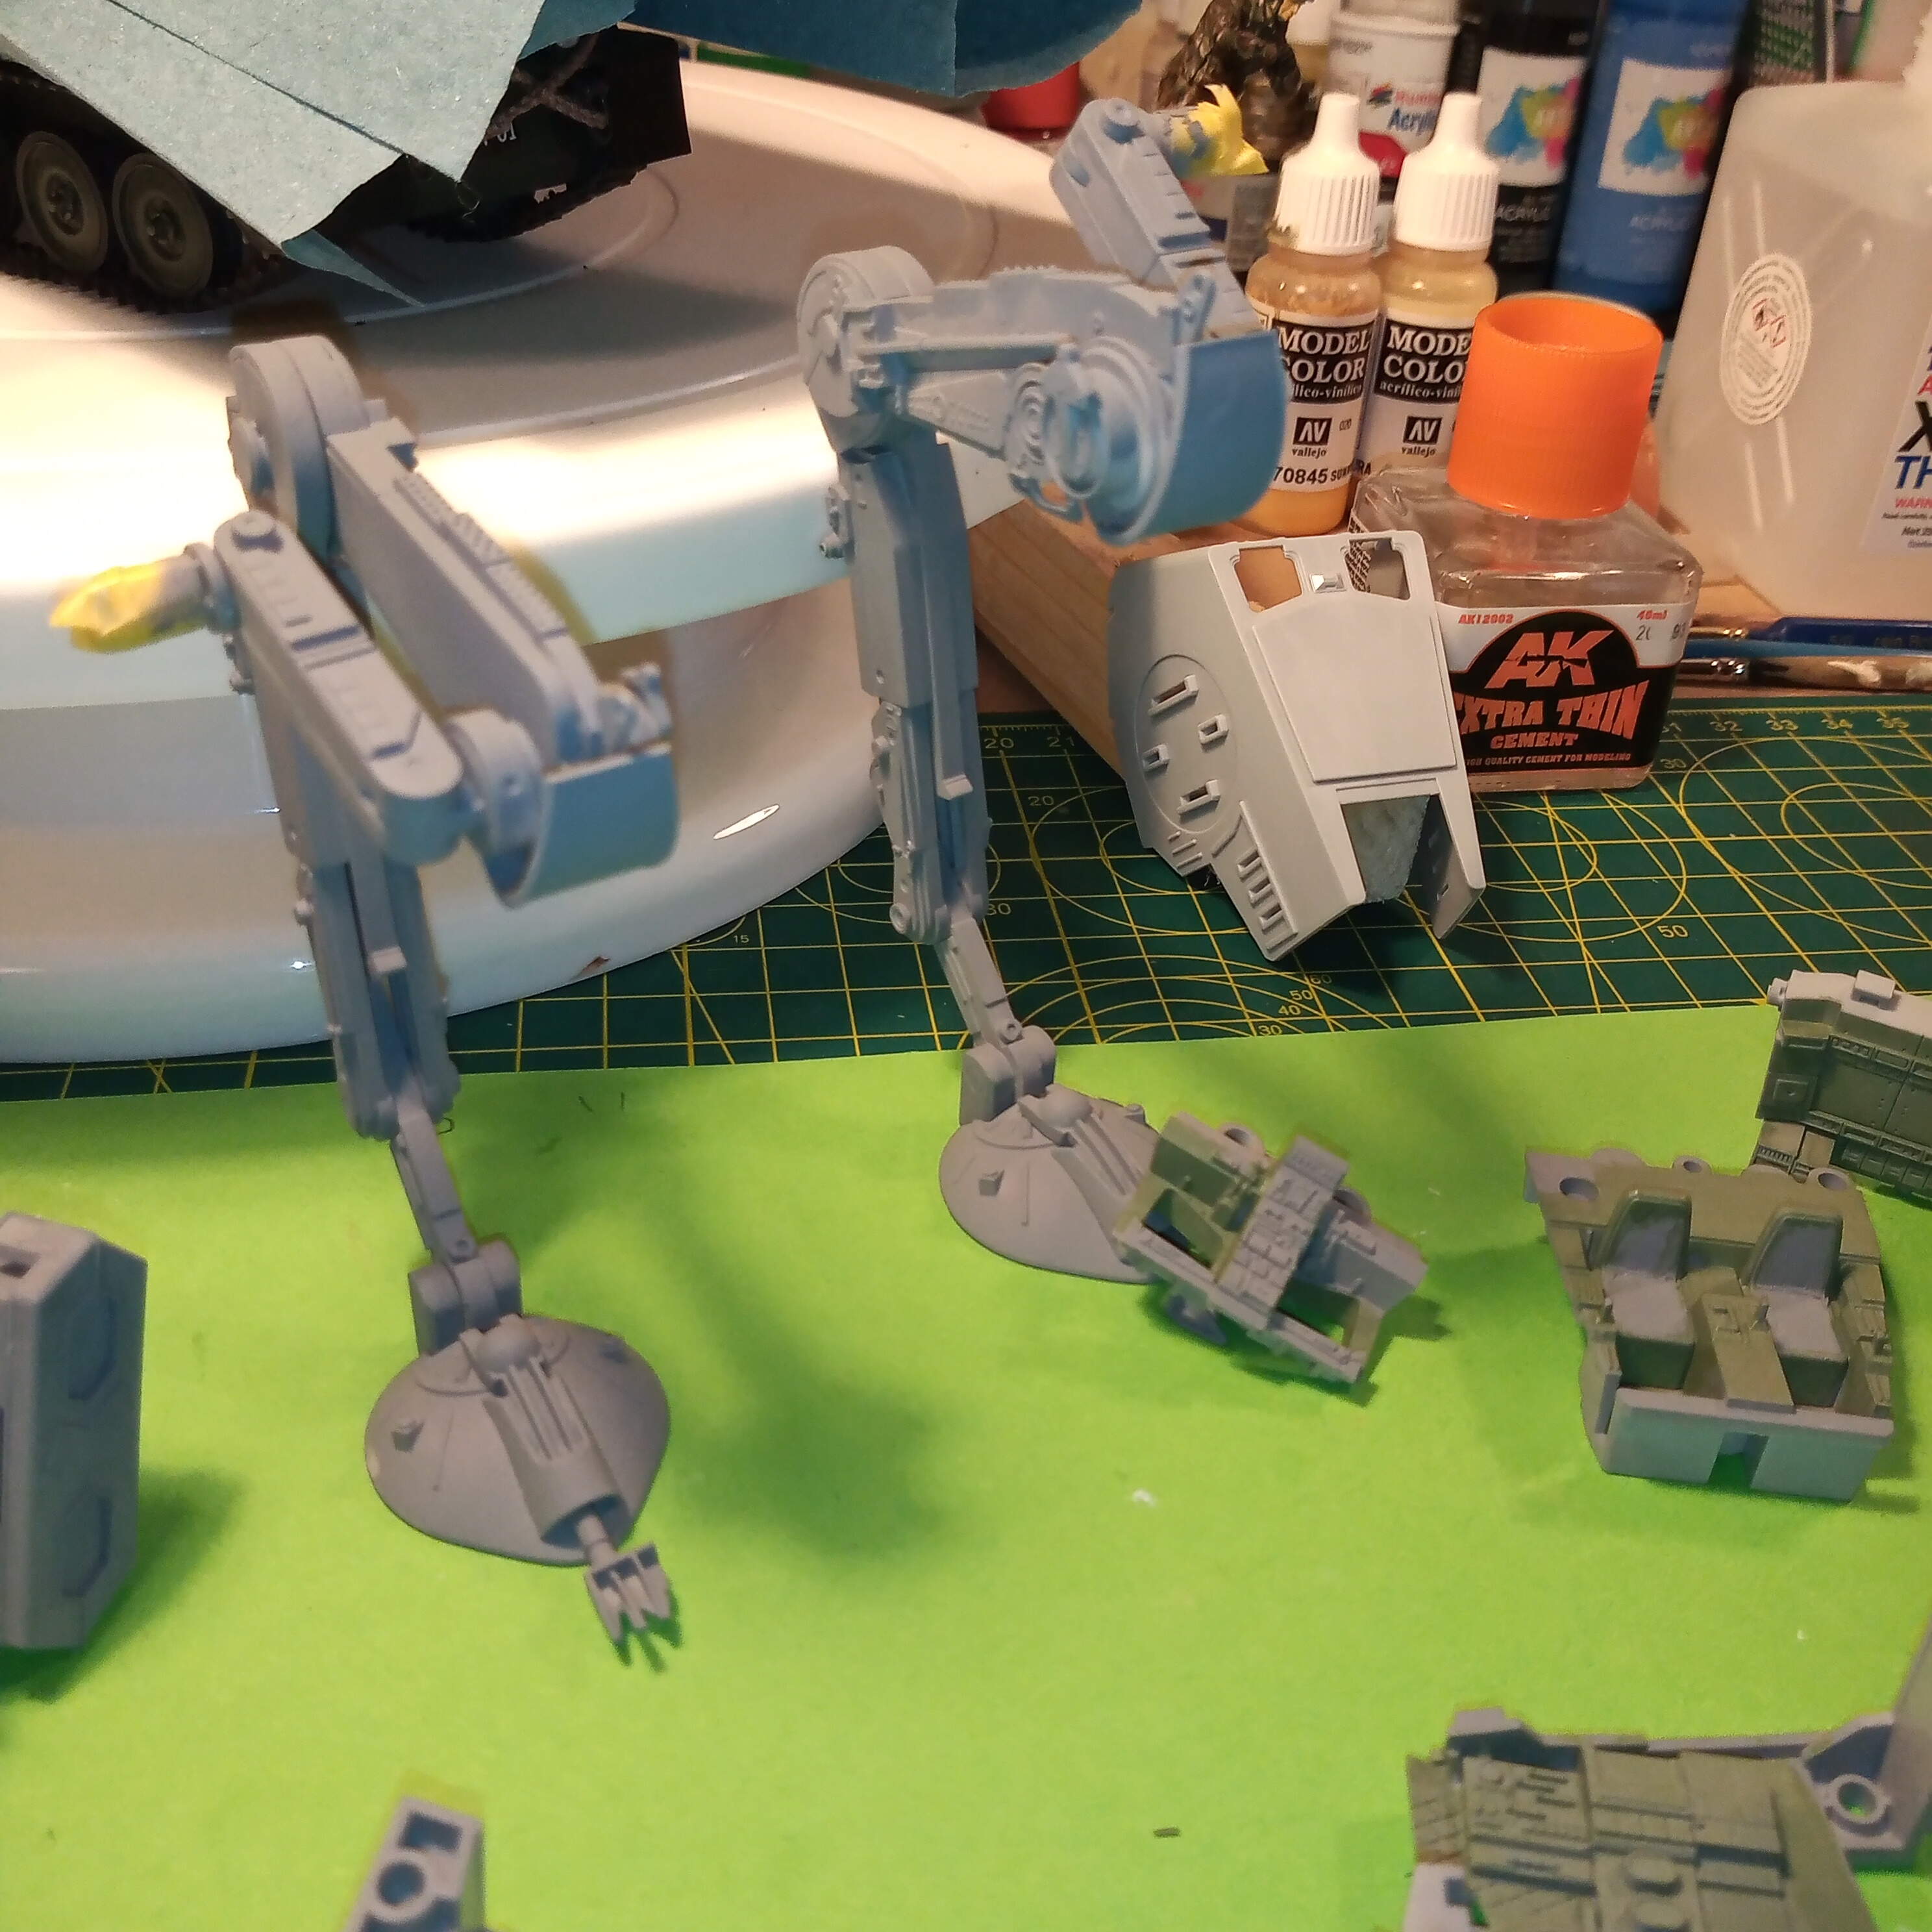
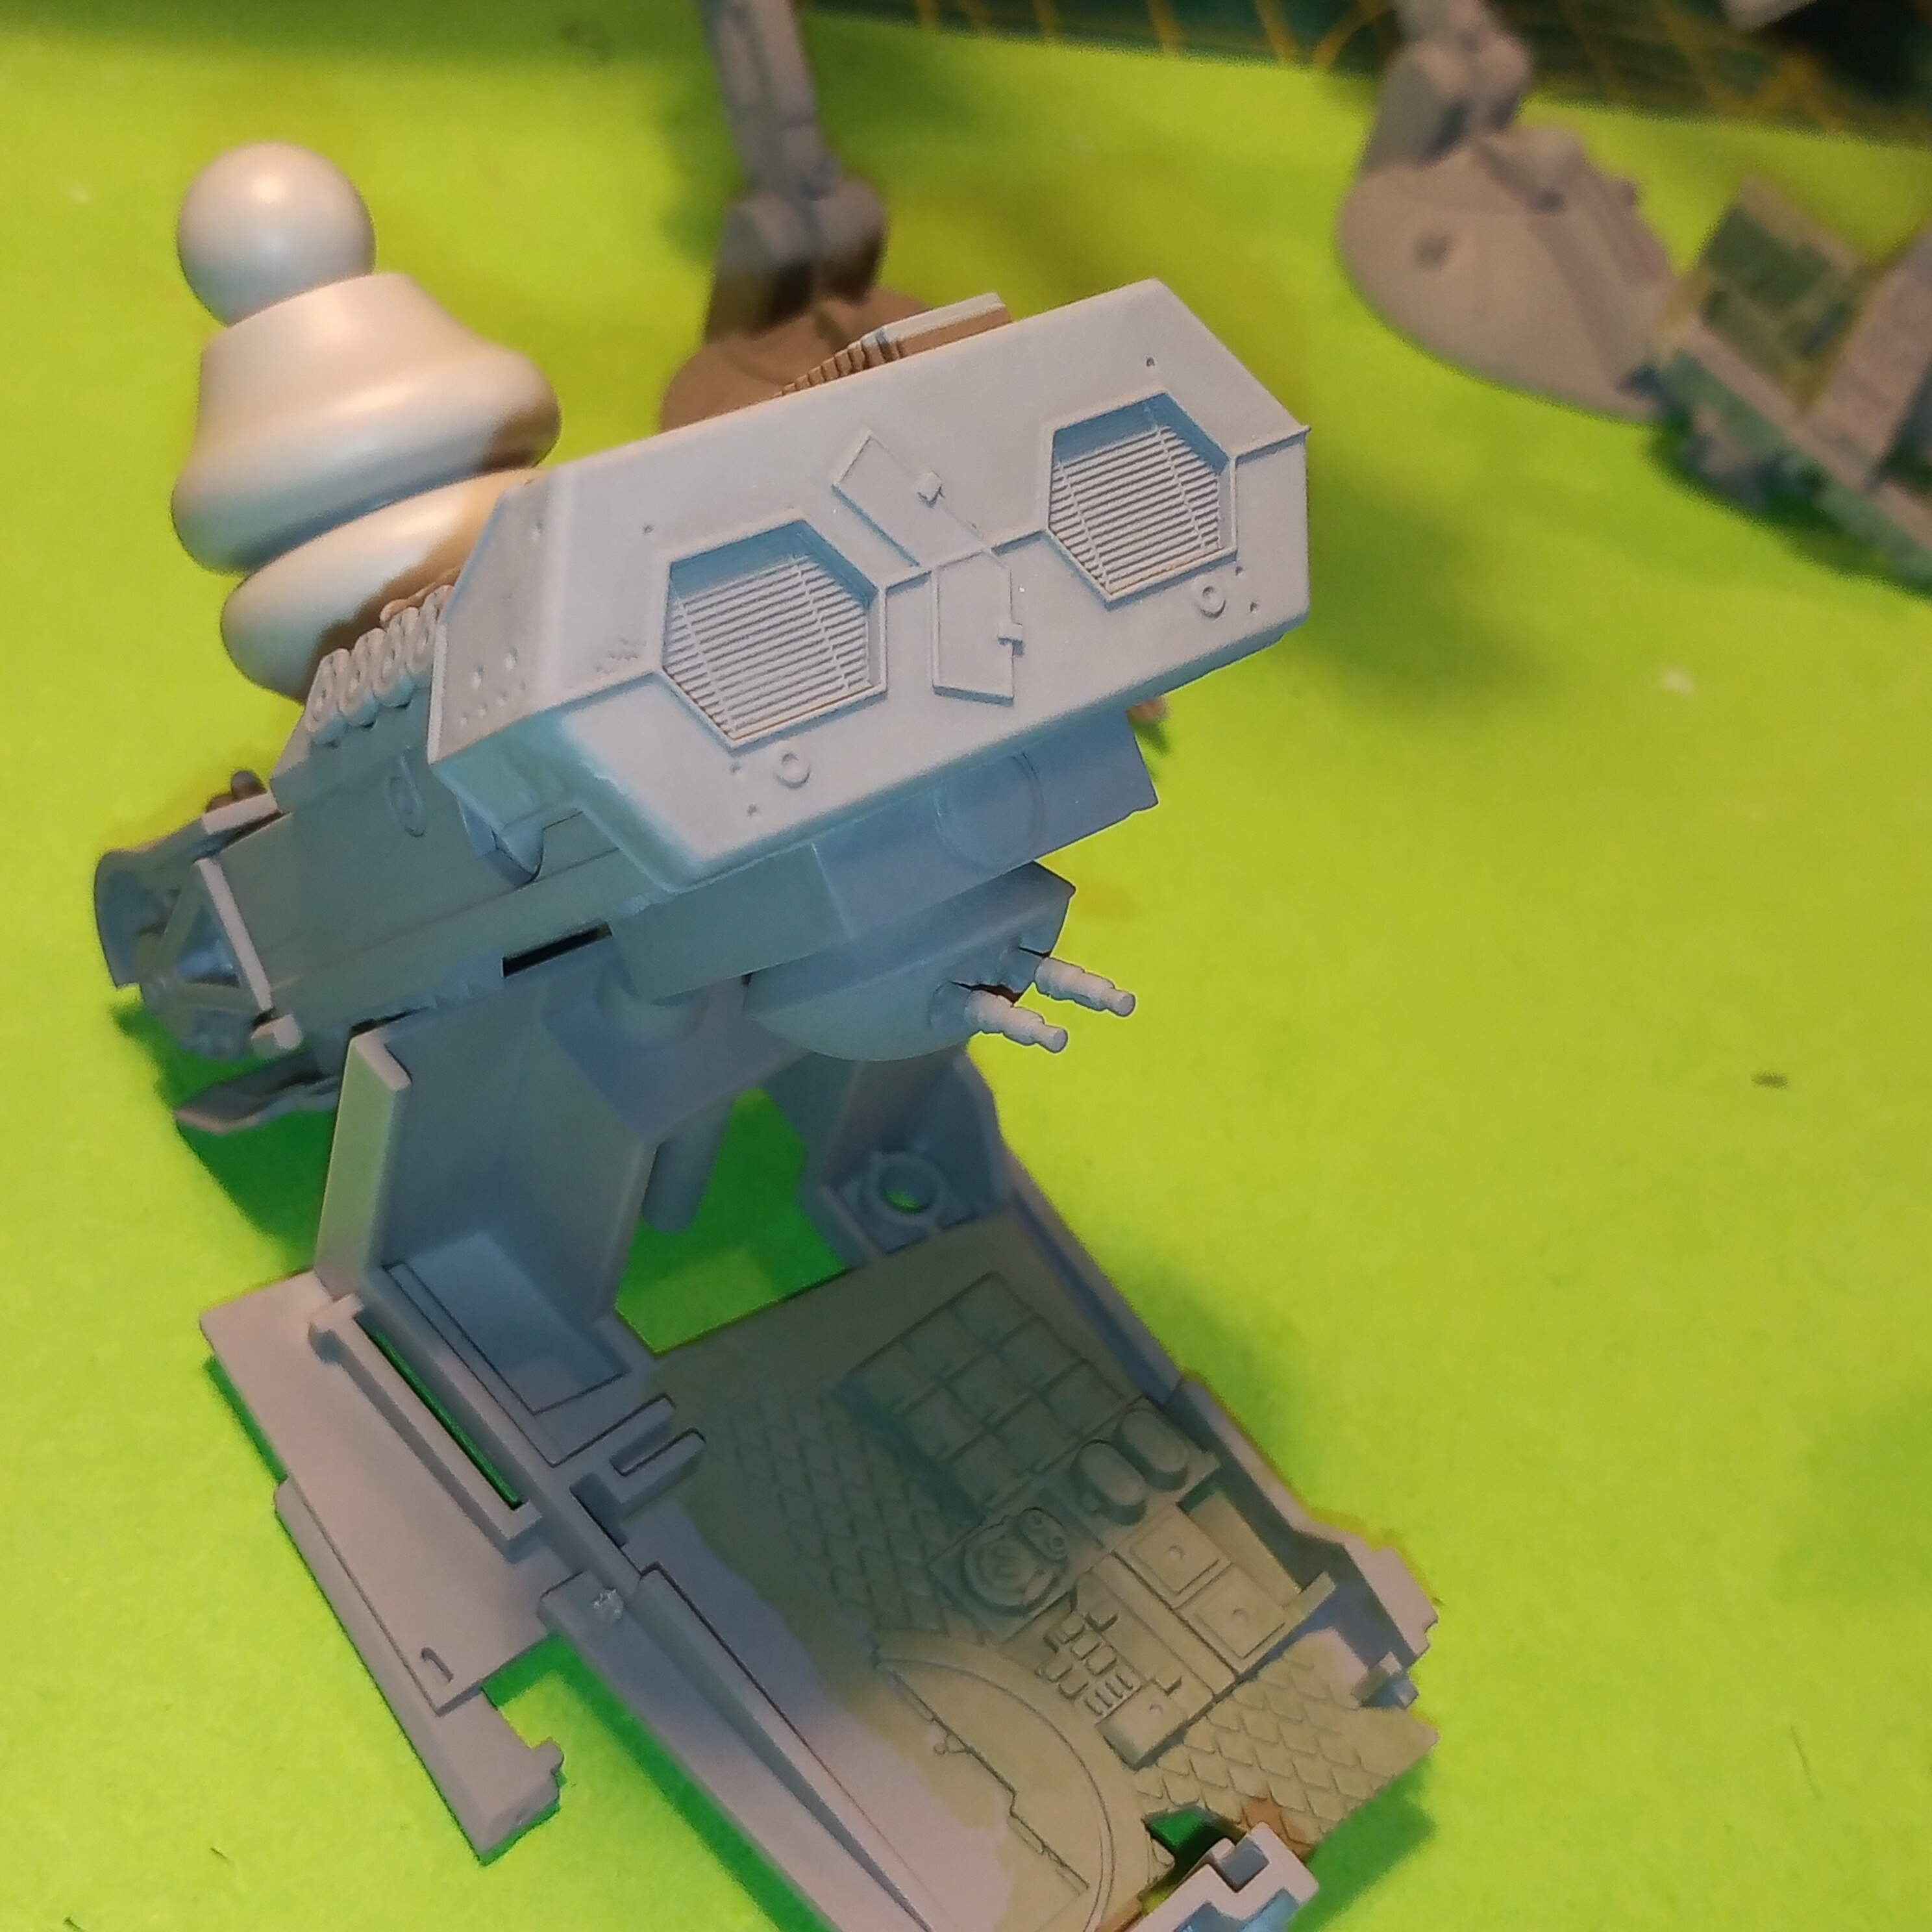
The pics as promised of the WIP ATST…
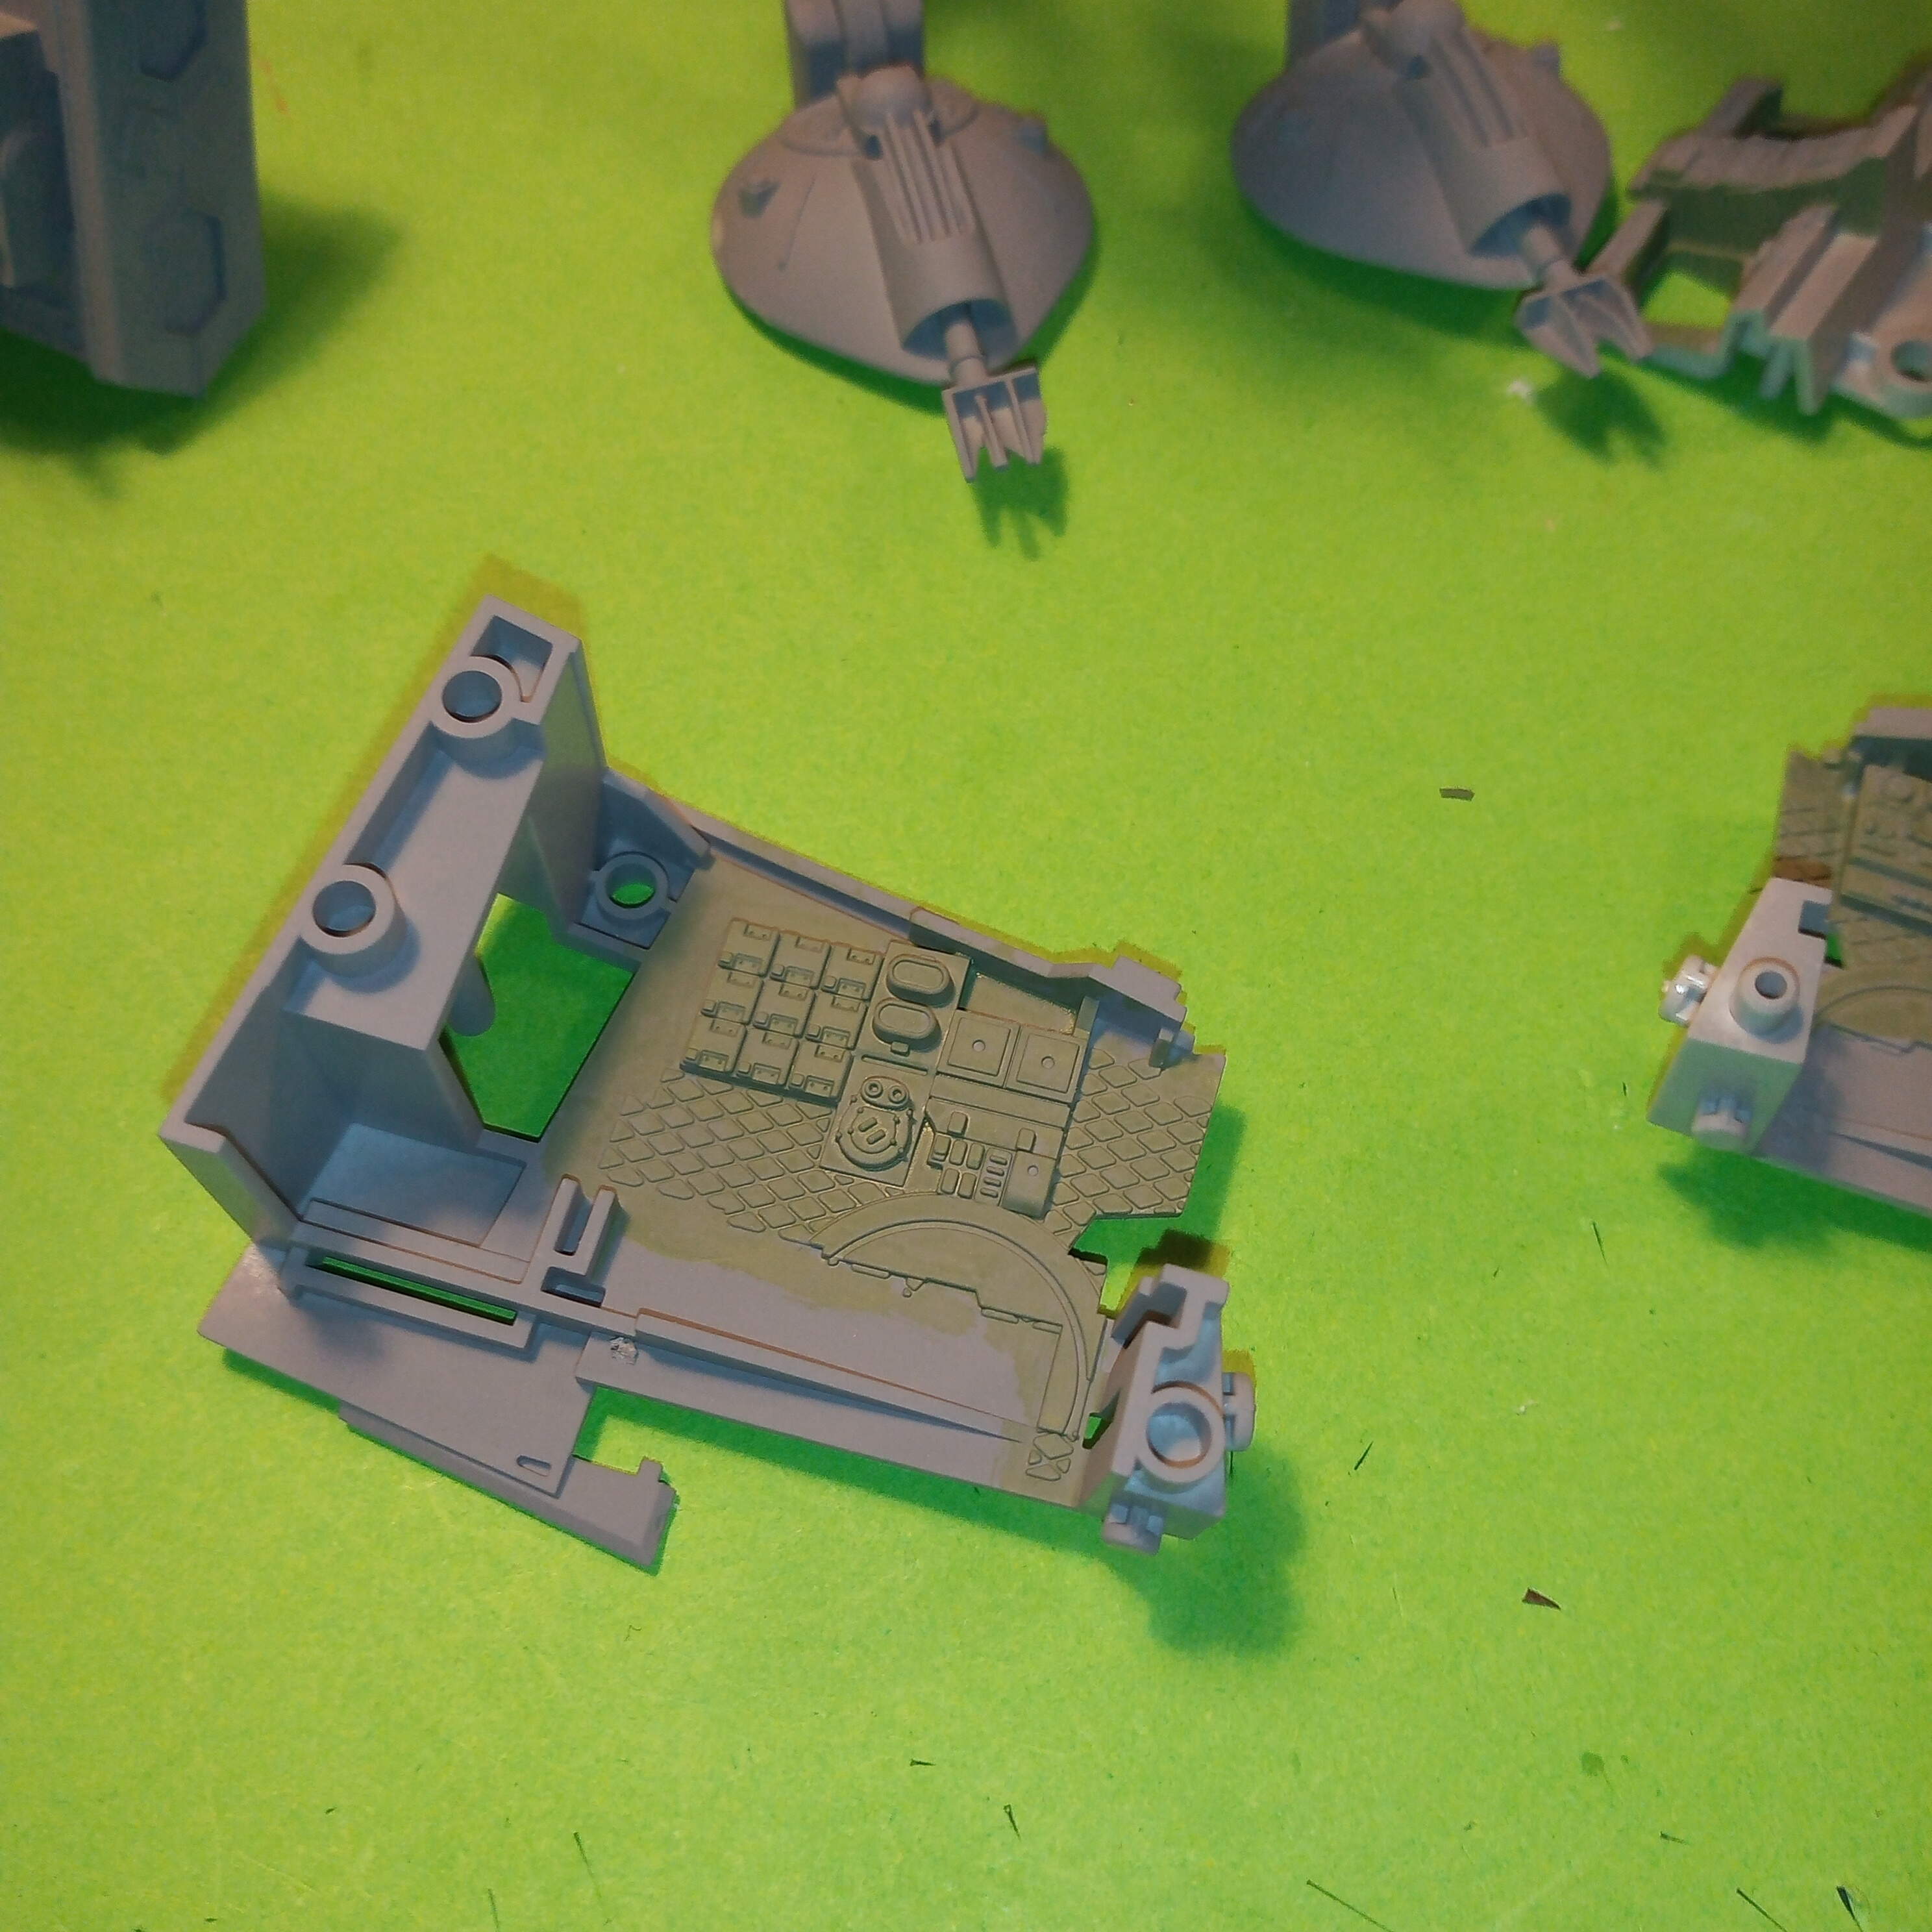
Only painting the areas that would be on show… If you could see them…
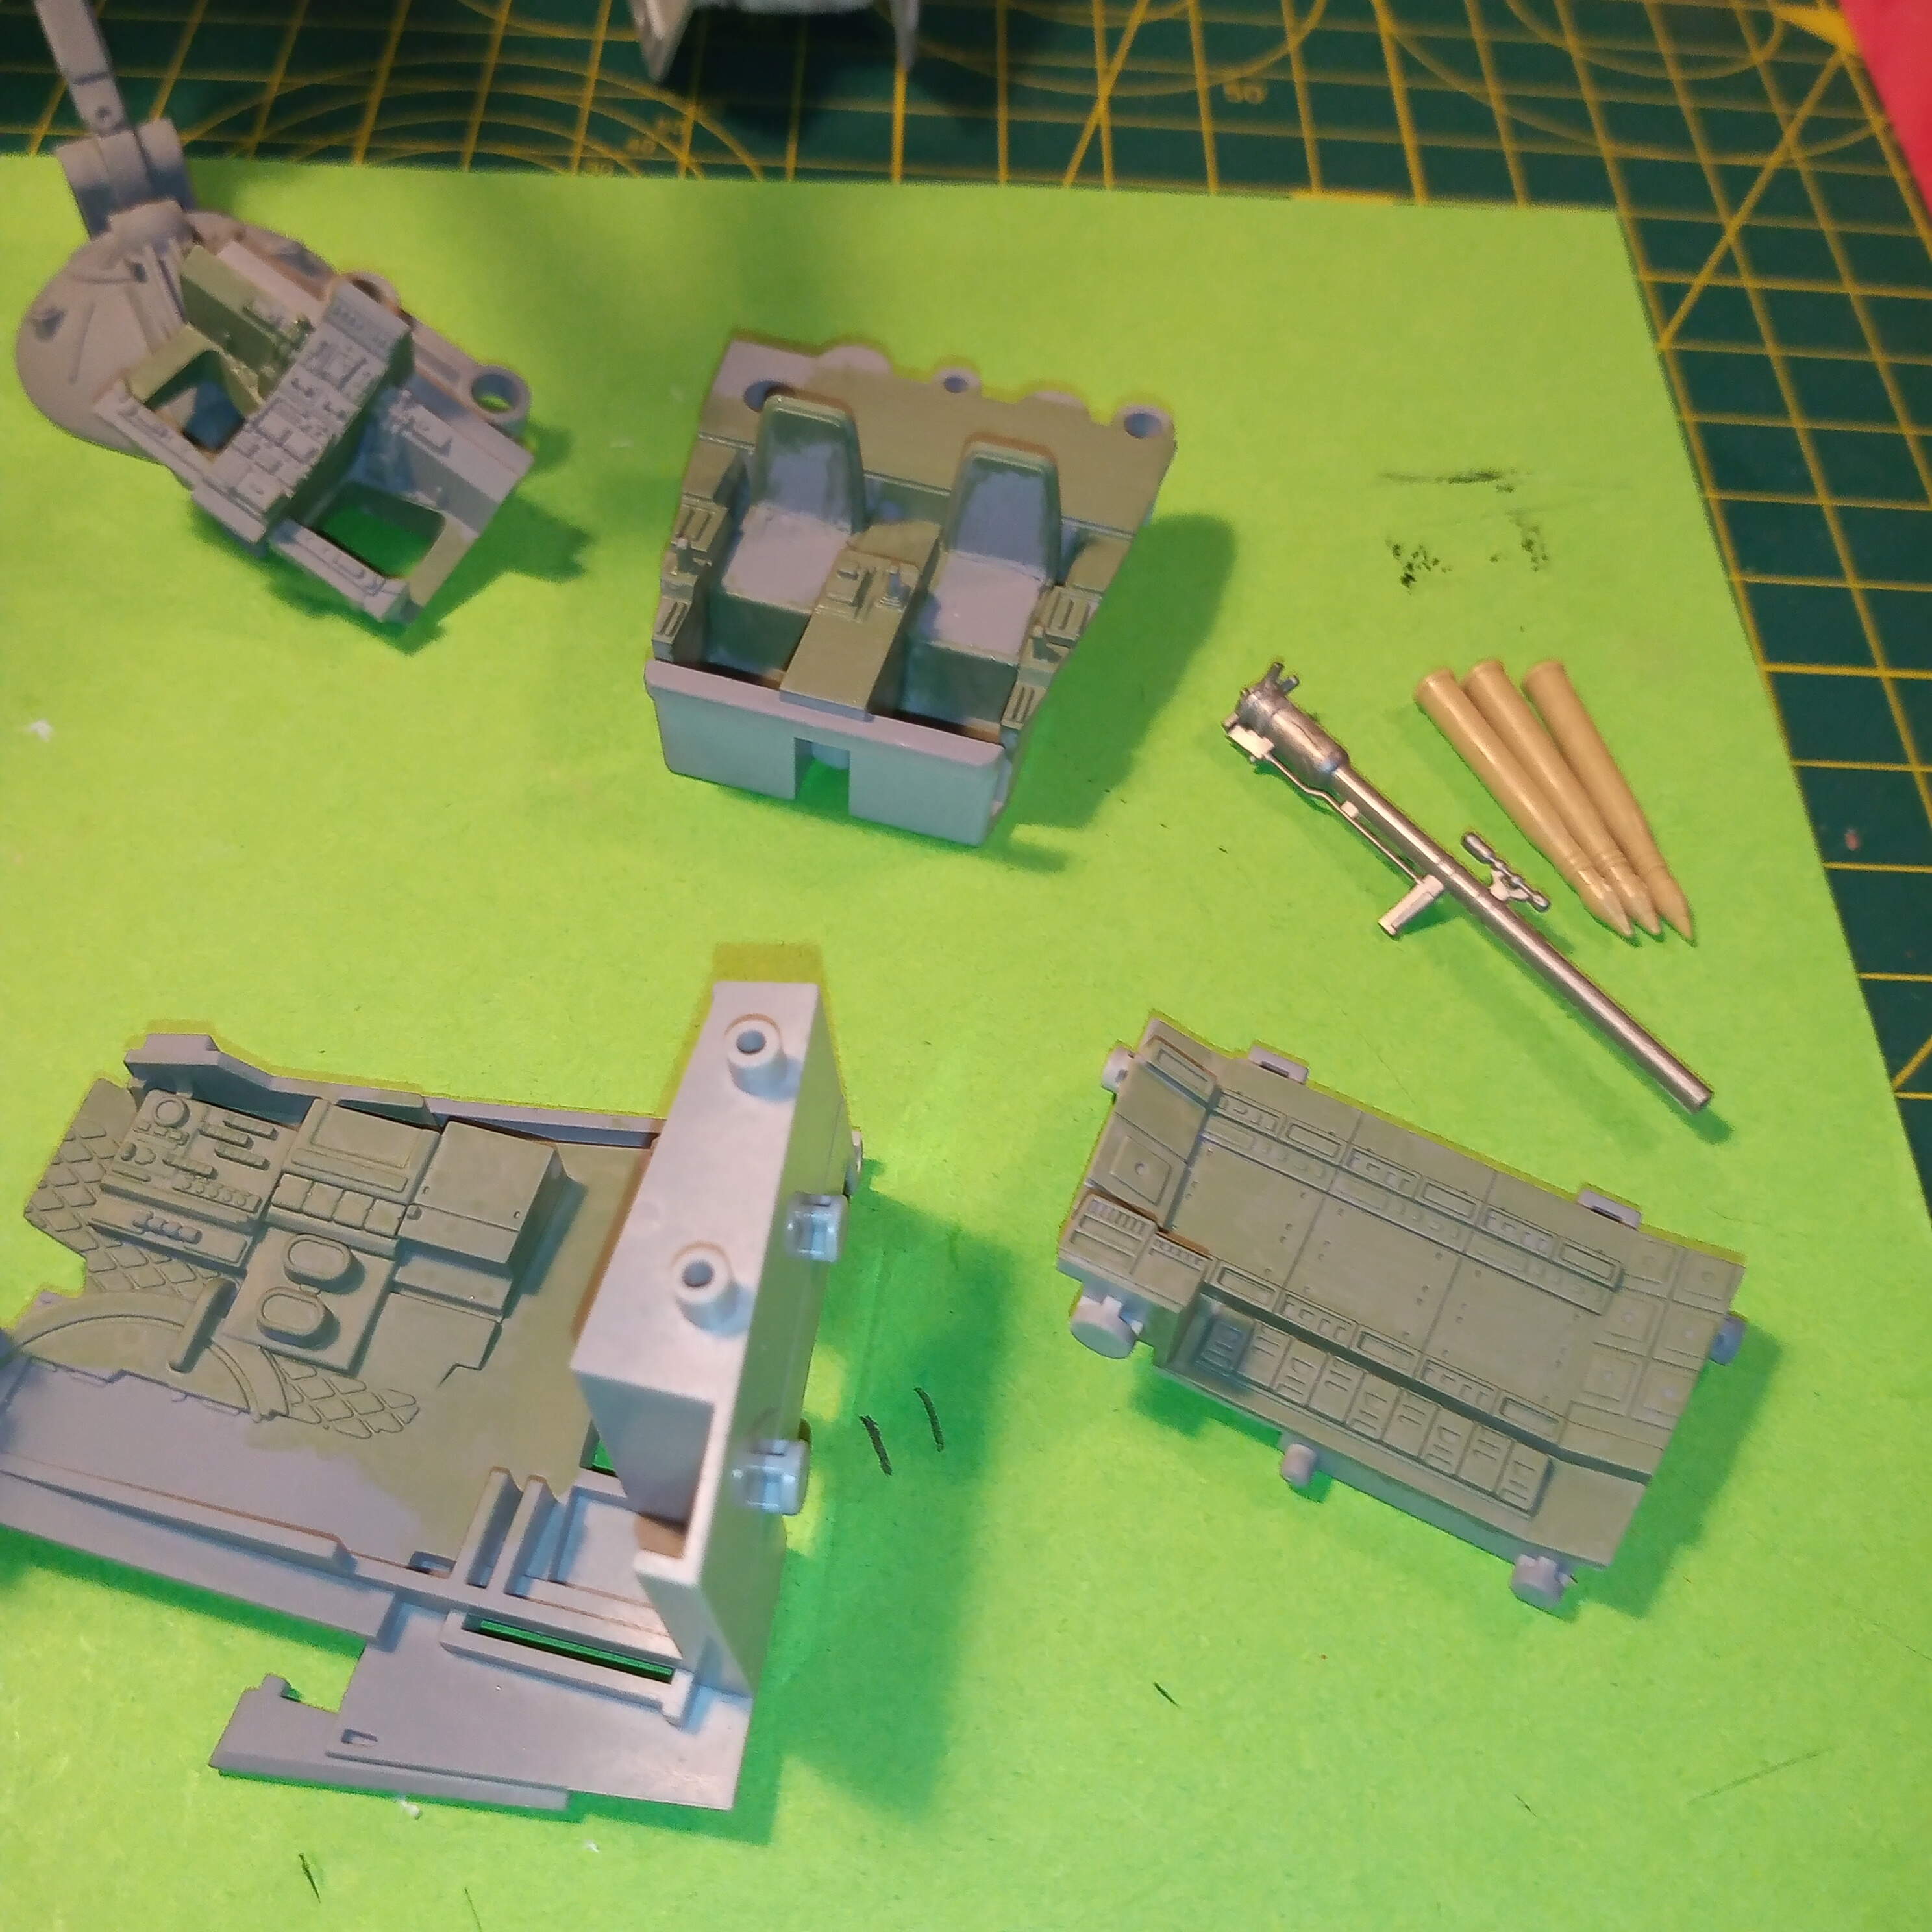
The inside areas are IJN cockpit green from Tamiya and I will detail a few areas with blues reds yellows and blacks. Seats will also be black. Will also do a thin pin wash to show some the depth lines …
Here’s the remote rear facing twin pulse cannon… nothing fancy but I like how it looks. Am also thinking about some additional armaments for the side mounts but not sure yet.
Stay safe
4 Likes
Looks good.
I was spraying my kits with Tamiya primer rattle can and dropped the cardboard carrying one kit  . So now I have to remove some finger prints later.
1 Like
I am joining with some of the new Star Wars Legion kits. Not decided yet. I might try to include some interior red lighting in some of them.
3 Likes
Welcome Jesper … Glad you joined on… Look forward to what you come up with
1 Like