I was wondering where you were… You’re lagging behind, Jesper… 
1 Like
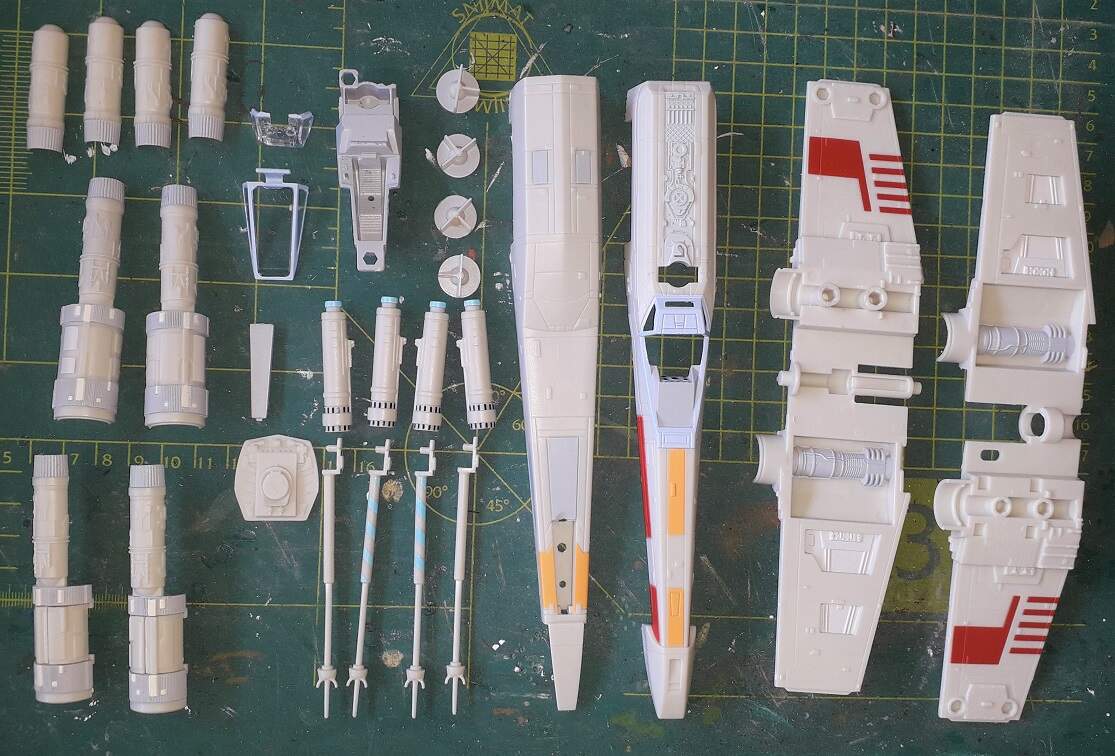
The kits disassembled, cleaned up, filled, sanded and (partially) reassembled. The previous owner, before my son got them, has not been gentle when removing the parts from the sprues…
The kits are different scales and the fit of the bomber is not as good as the X-wing’s, by far.
4 Likes
Great job on the clean up phase Ron… They don’t look too bad so hopefully will be a bit easier now that initial part is done.
I did some very basic internal painting of the STs cab… Just to give it some interest really.
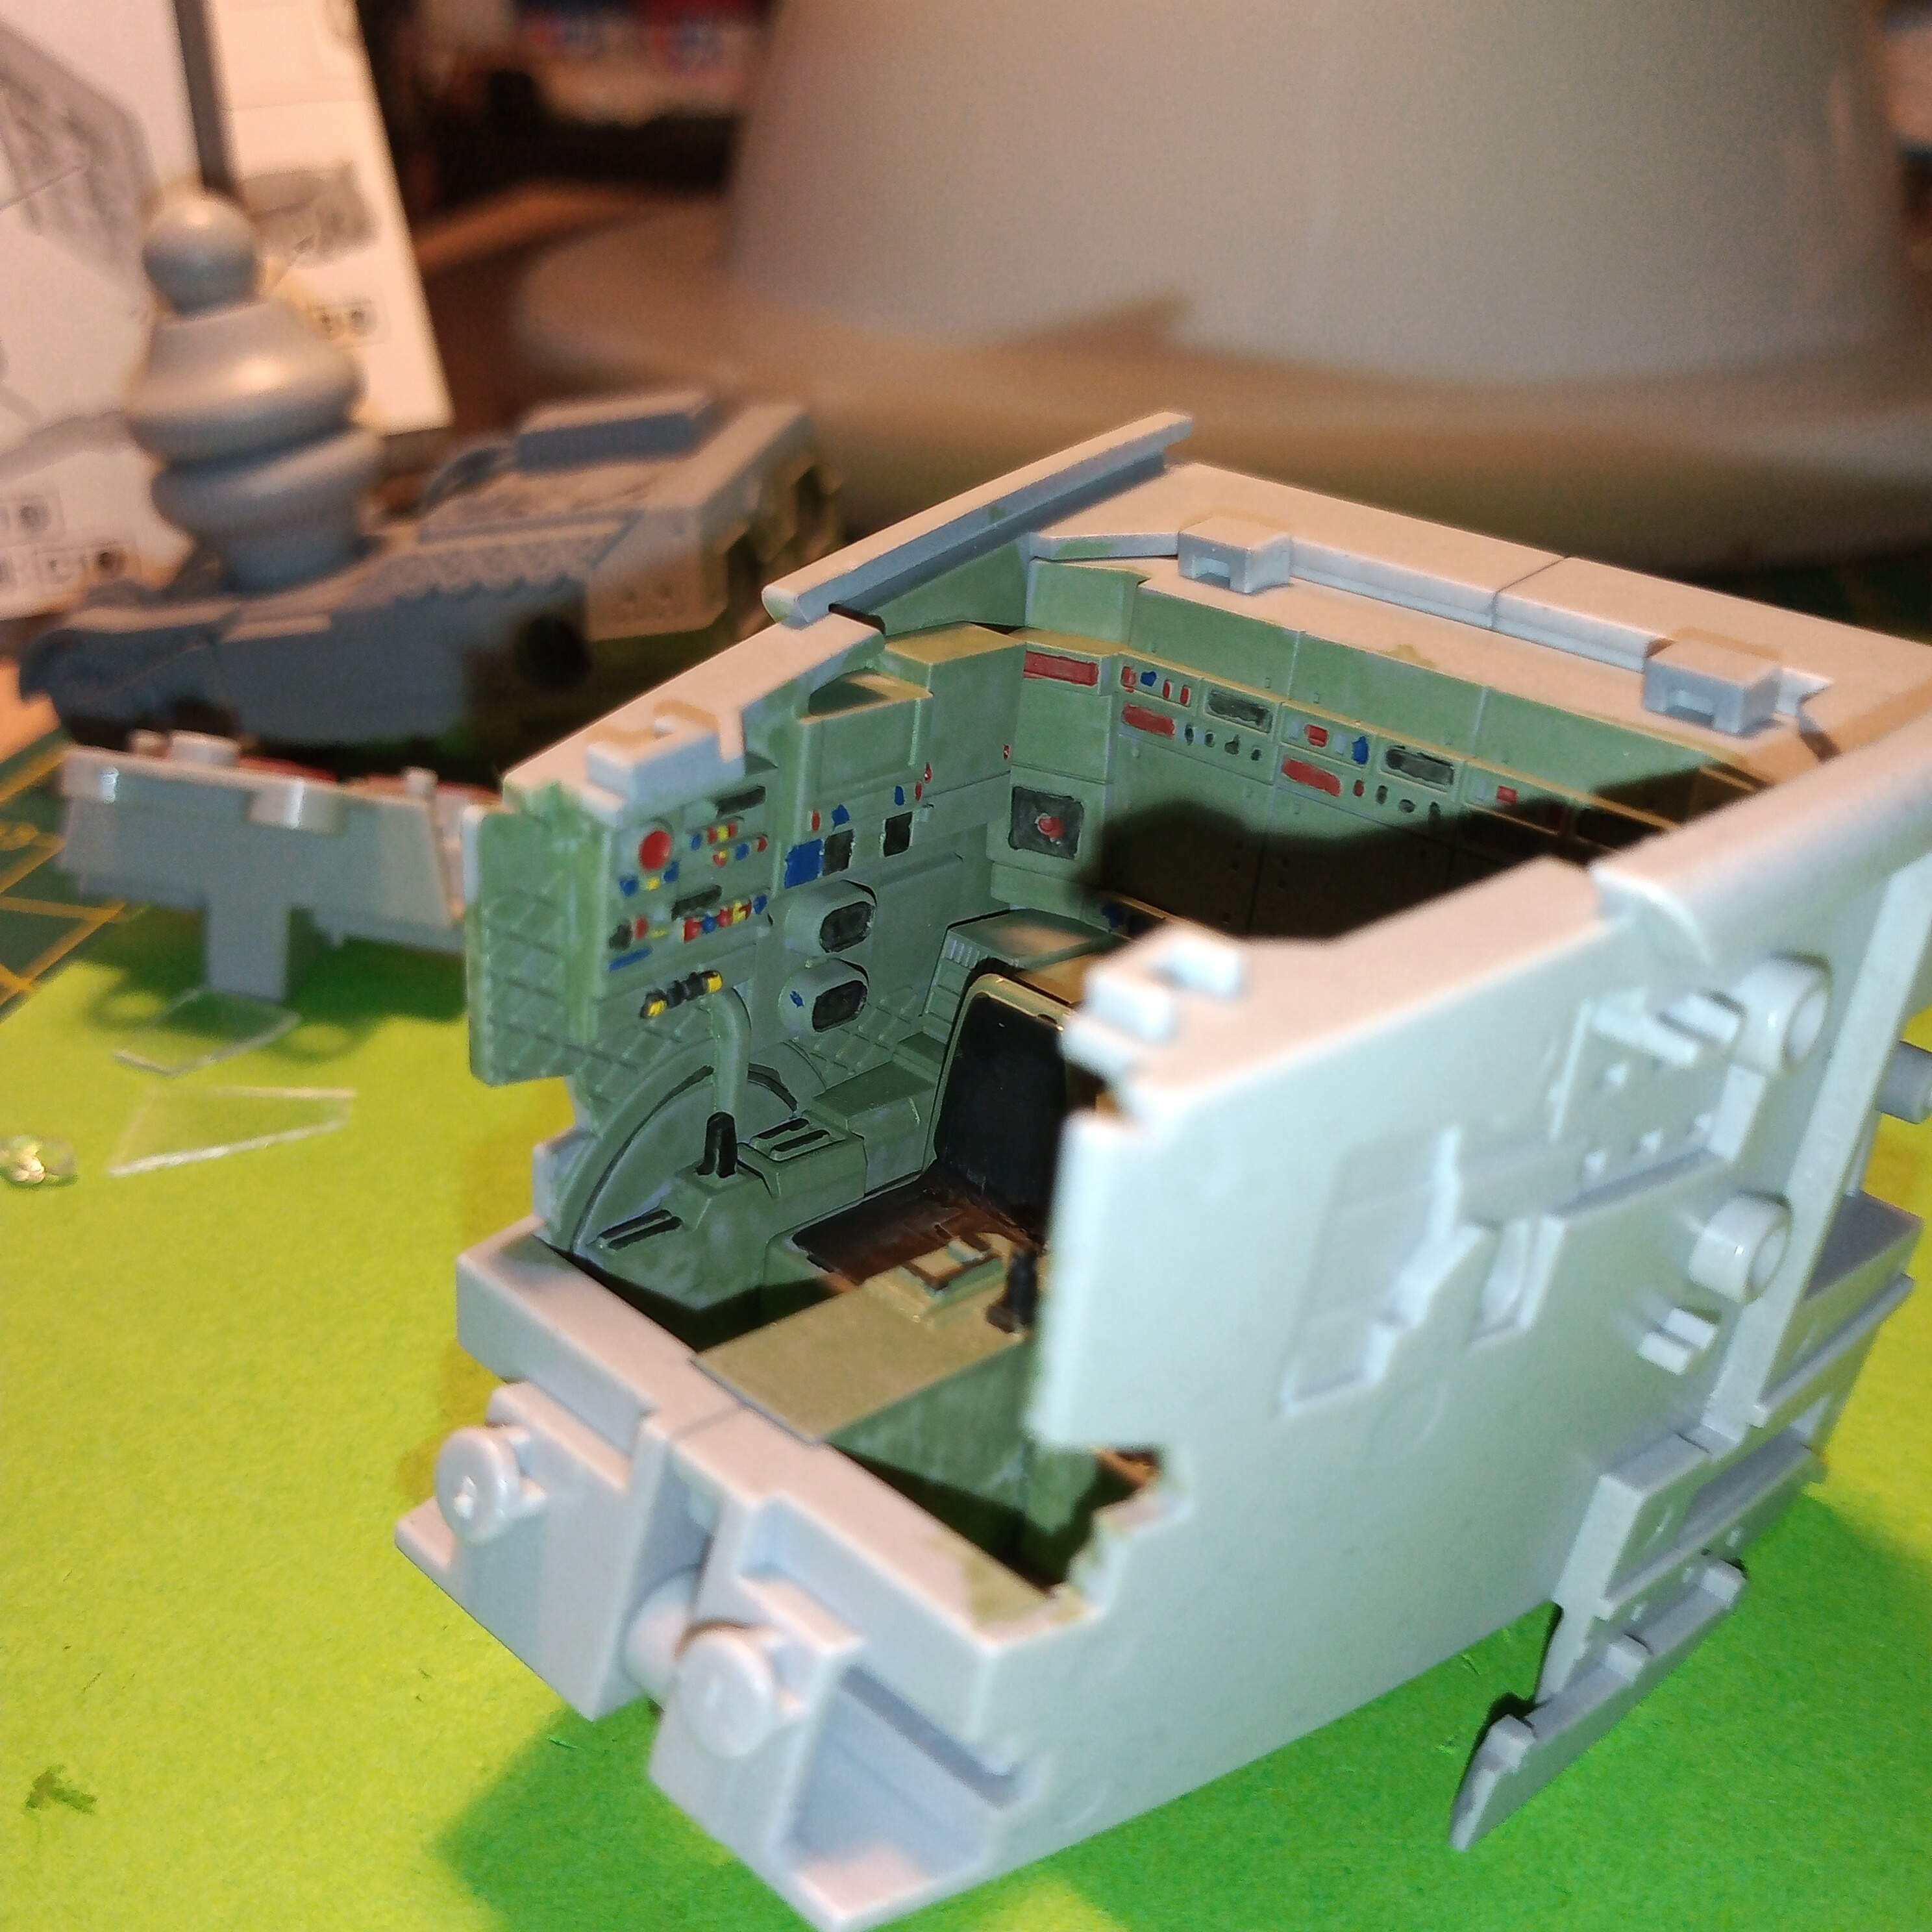
I didn’t see the point of going to overboard with it as once the hatch is on and even if I leave it open it’s really limited what you can see inside.
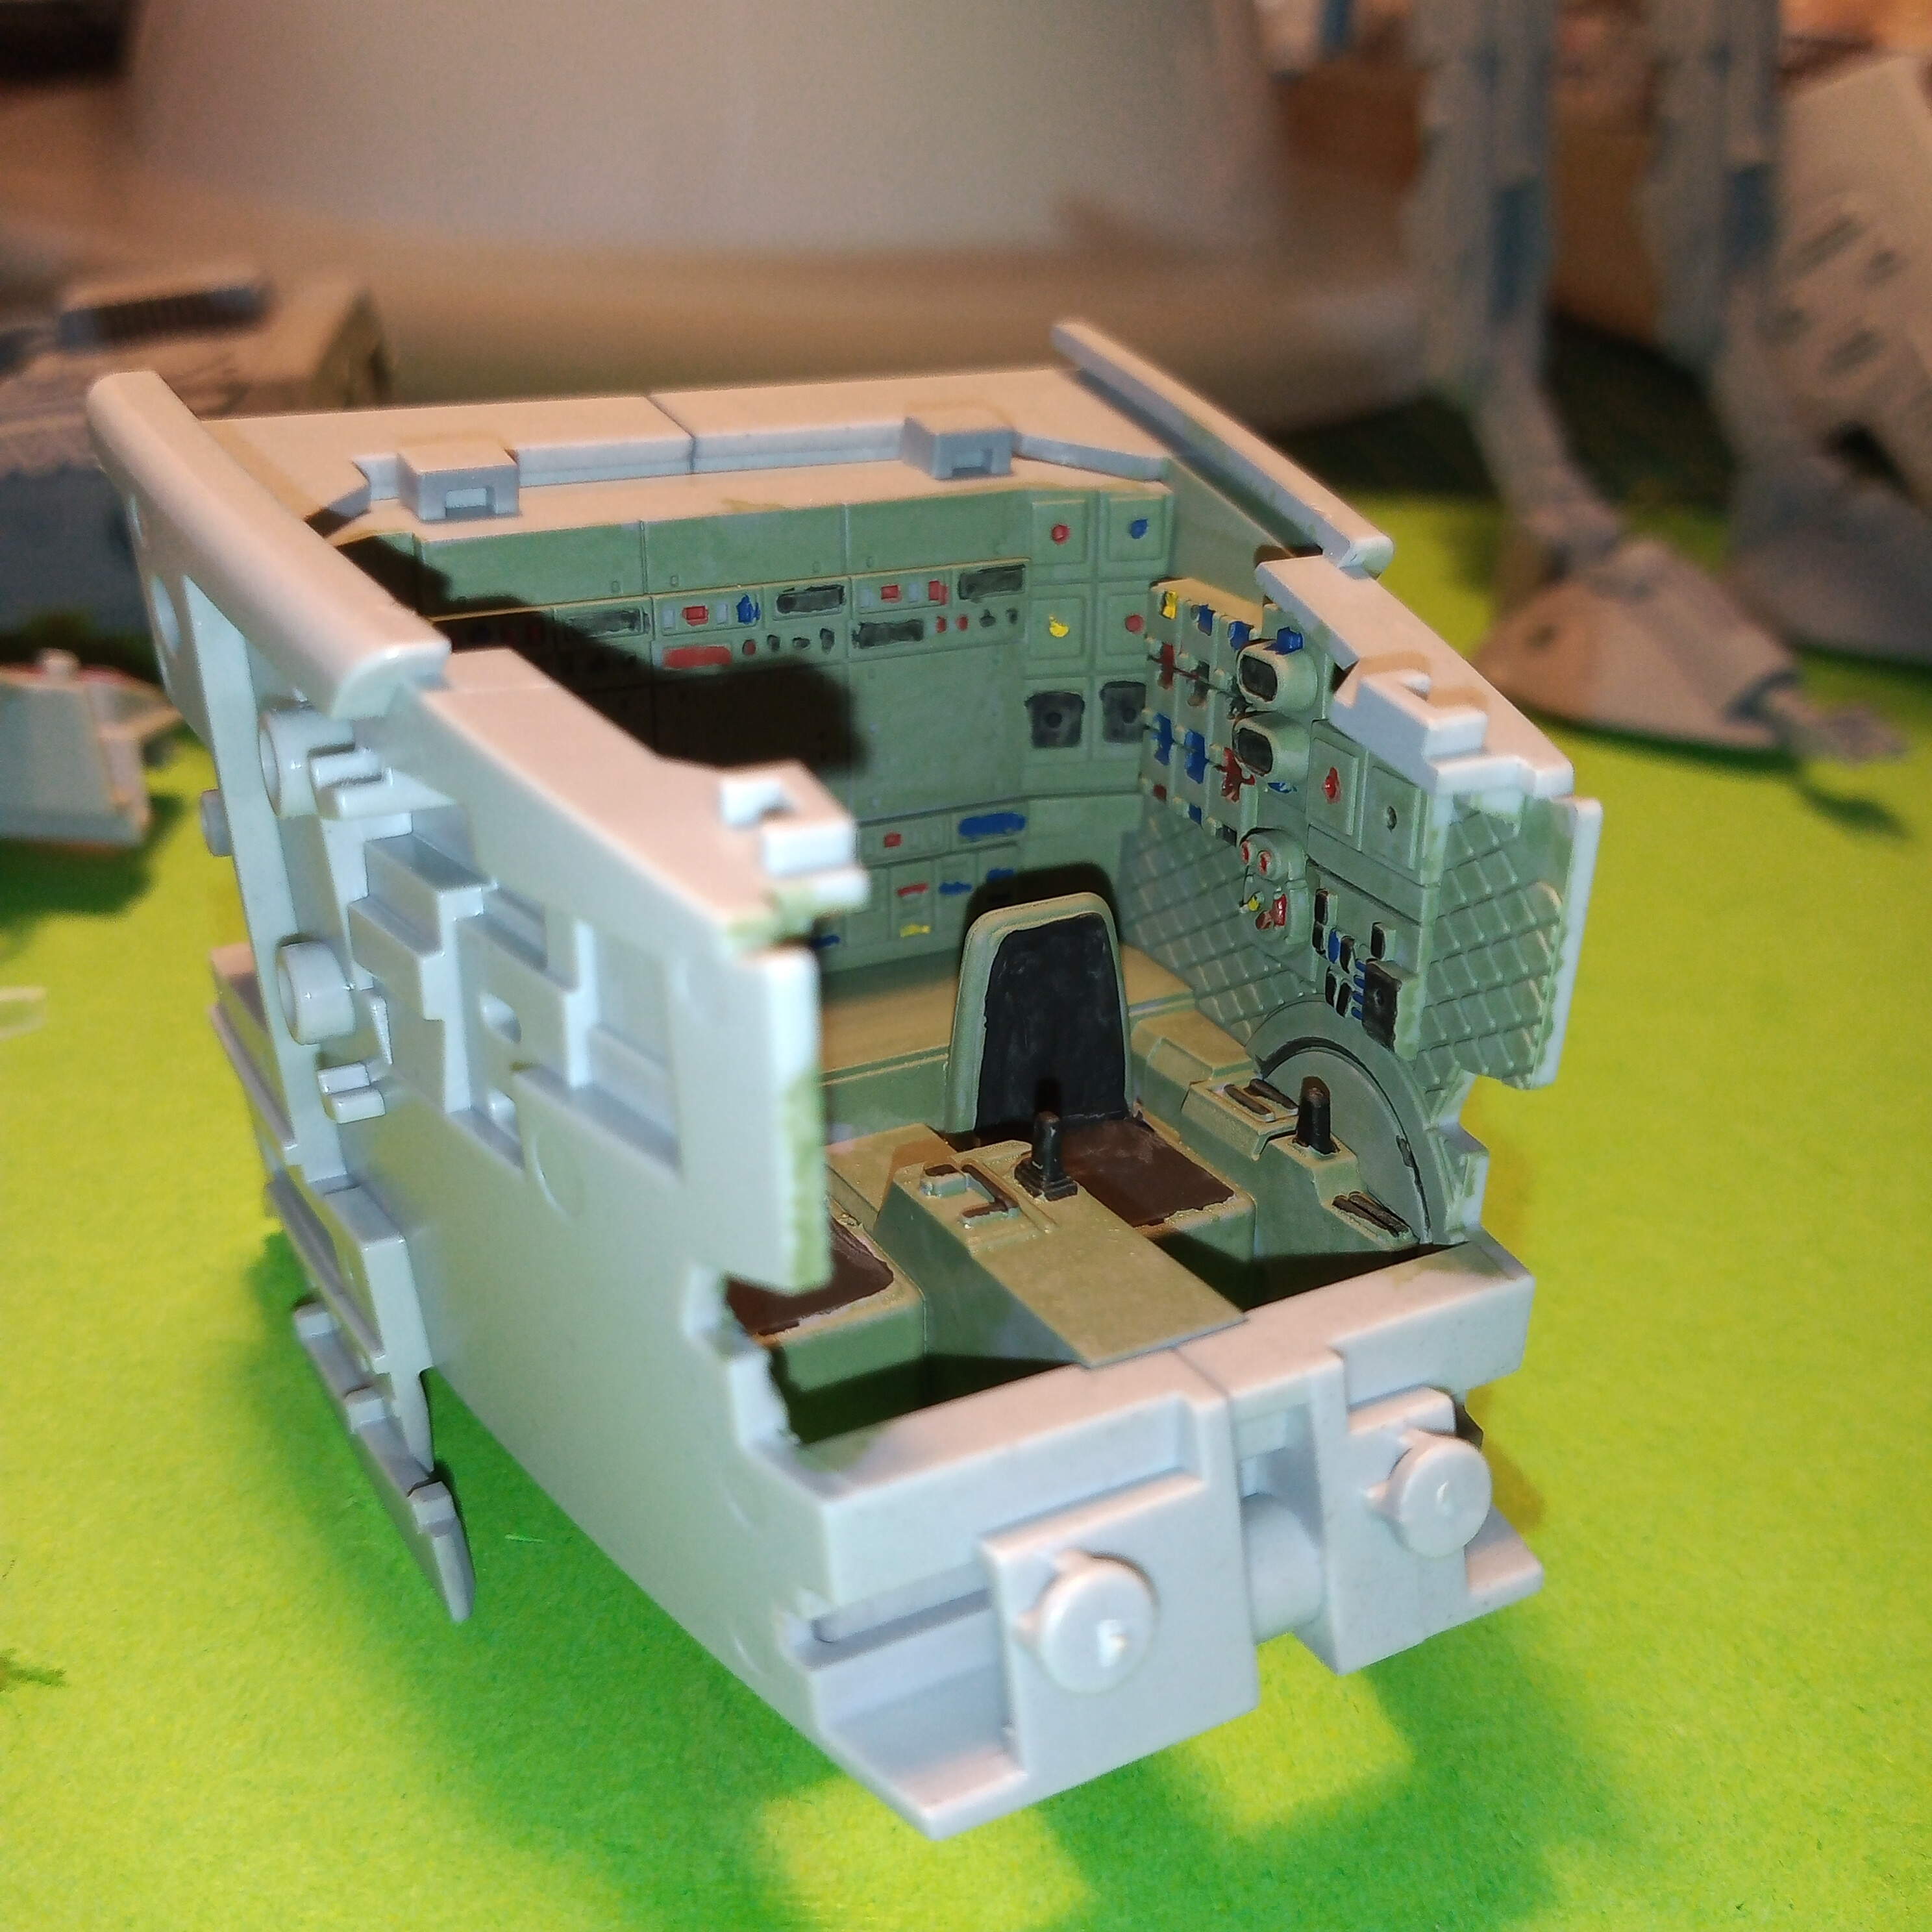
And even more so from the front through red windscreens…
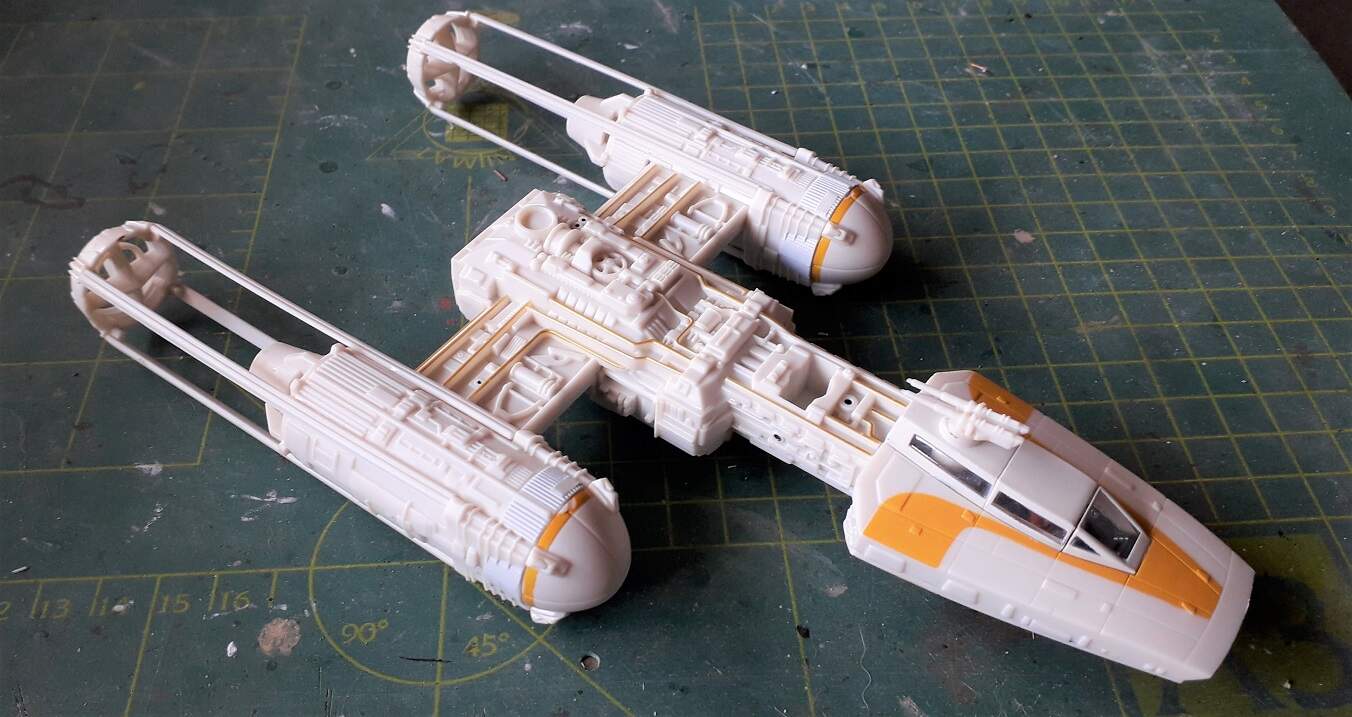
It’s a fun little build though. Will go over the joins in most areas with Mr Surfacer 500 and that will allow for some panel lines at the end.
6 Likes
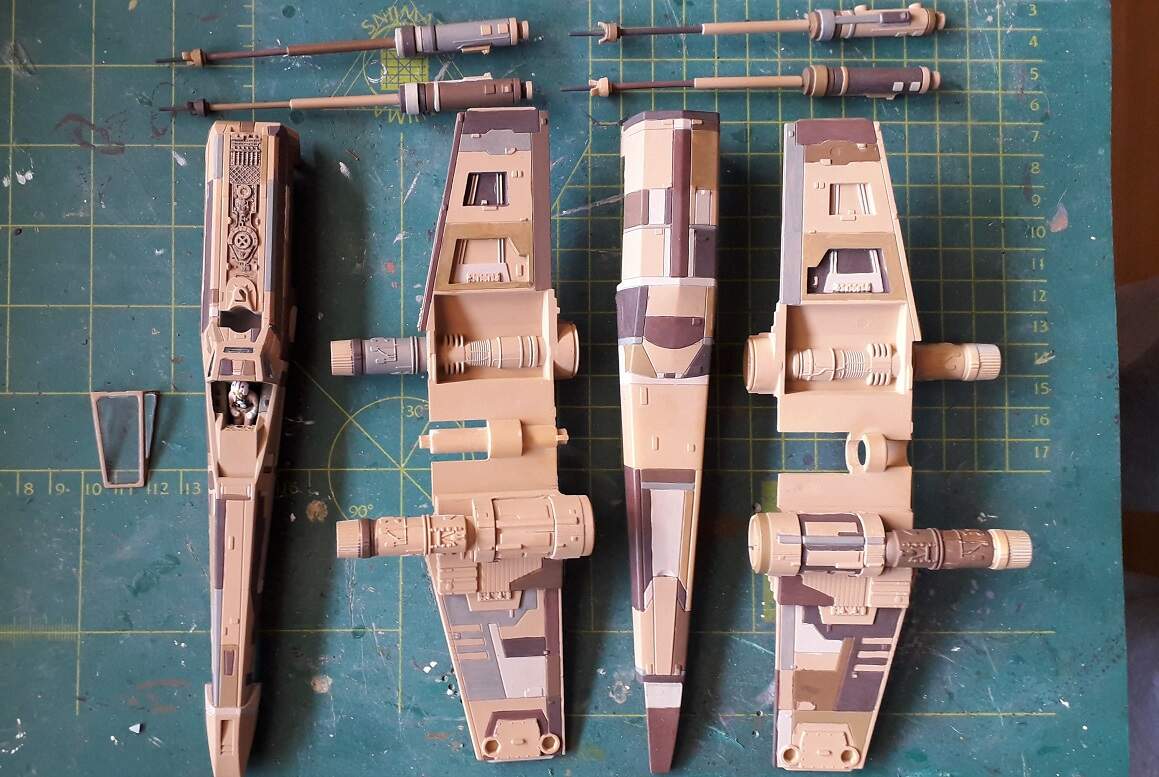
I have started working on the camouflage… and rewatching all the movies. Or at least the first 6. After that it is a no-go for me. Anyway…
The X-wing has so many panels with a lot of panellines. So I started painting each panel in whatever shade of brown or related I have. Could have done that in green too, but wanted sometghing different. And I did not have enough greys, so…
You can see where this is going.
8 Likes
It would fit in nicely for a low level fighter in a desert environment Ron…good idea to follow the actual panels as well 
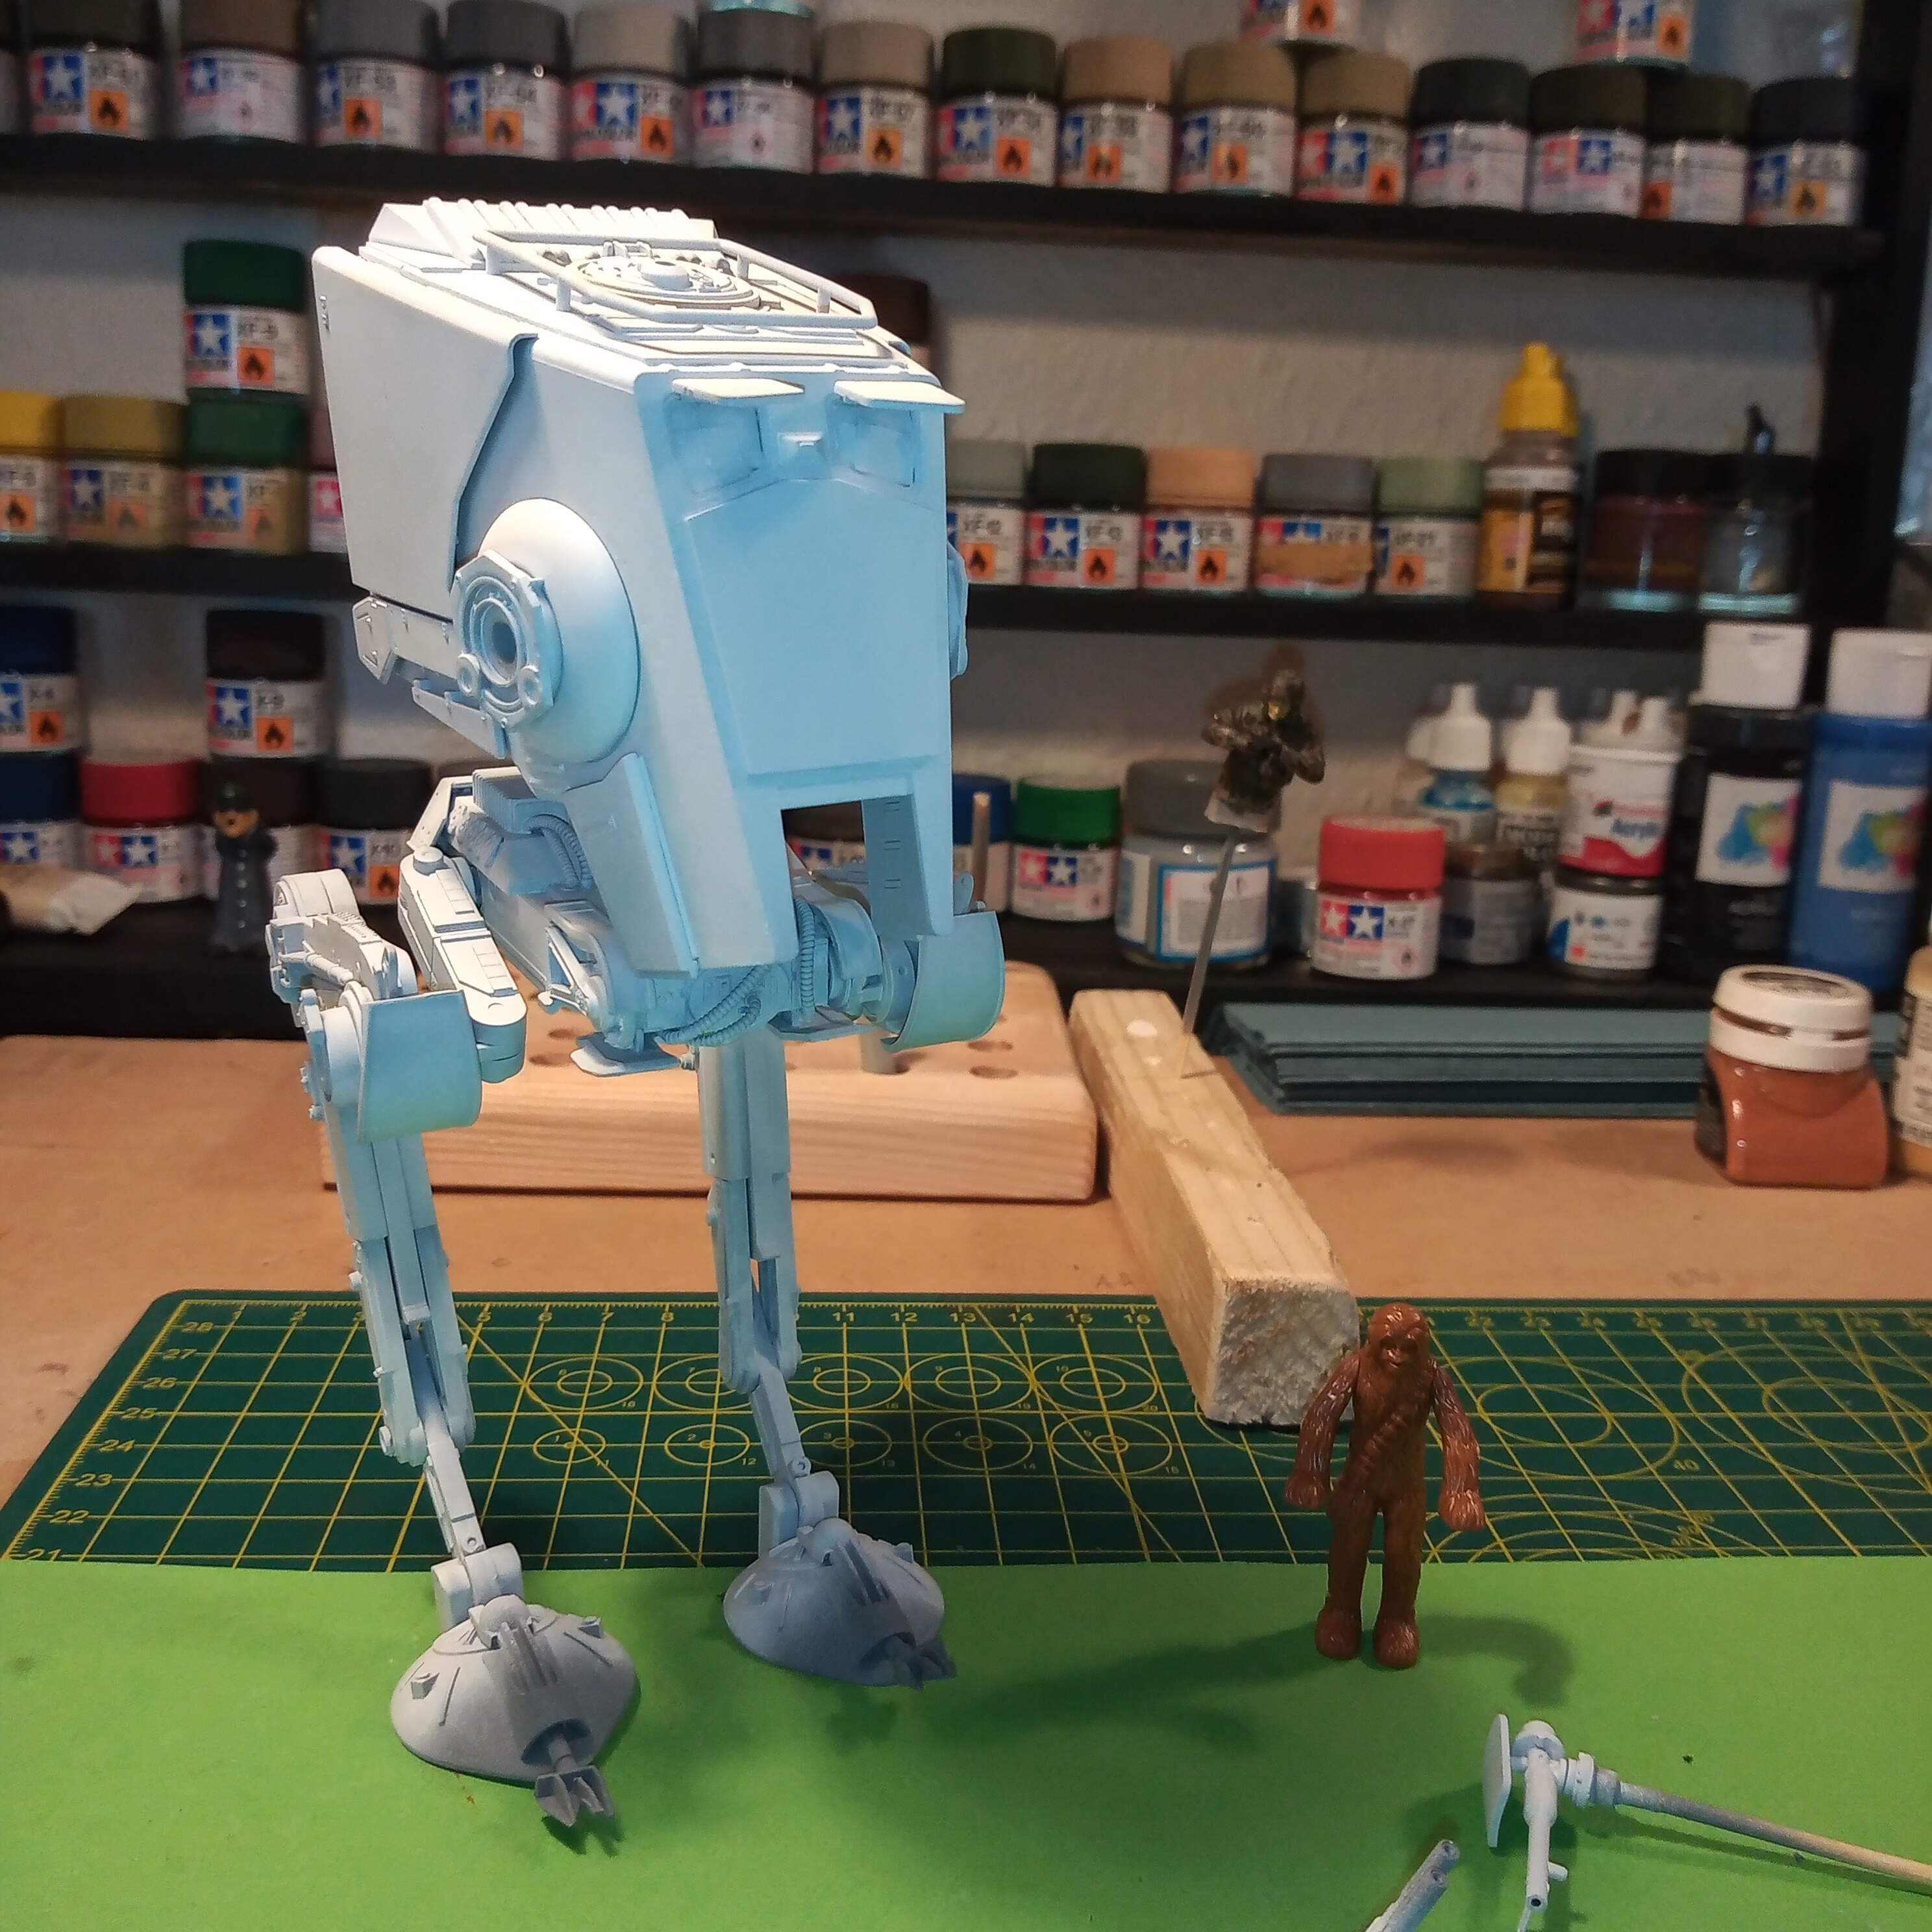
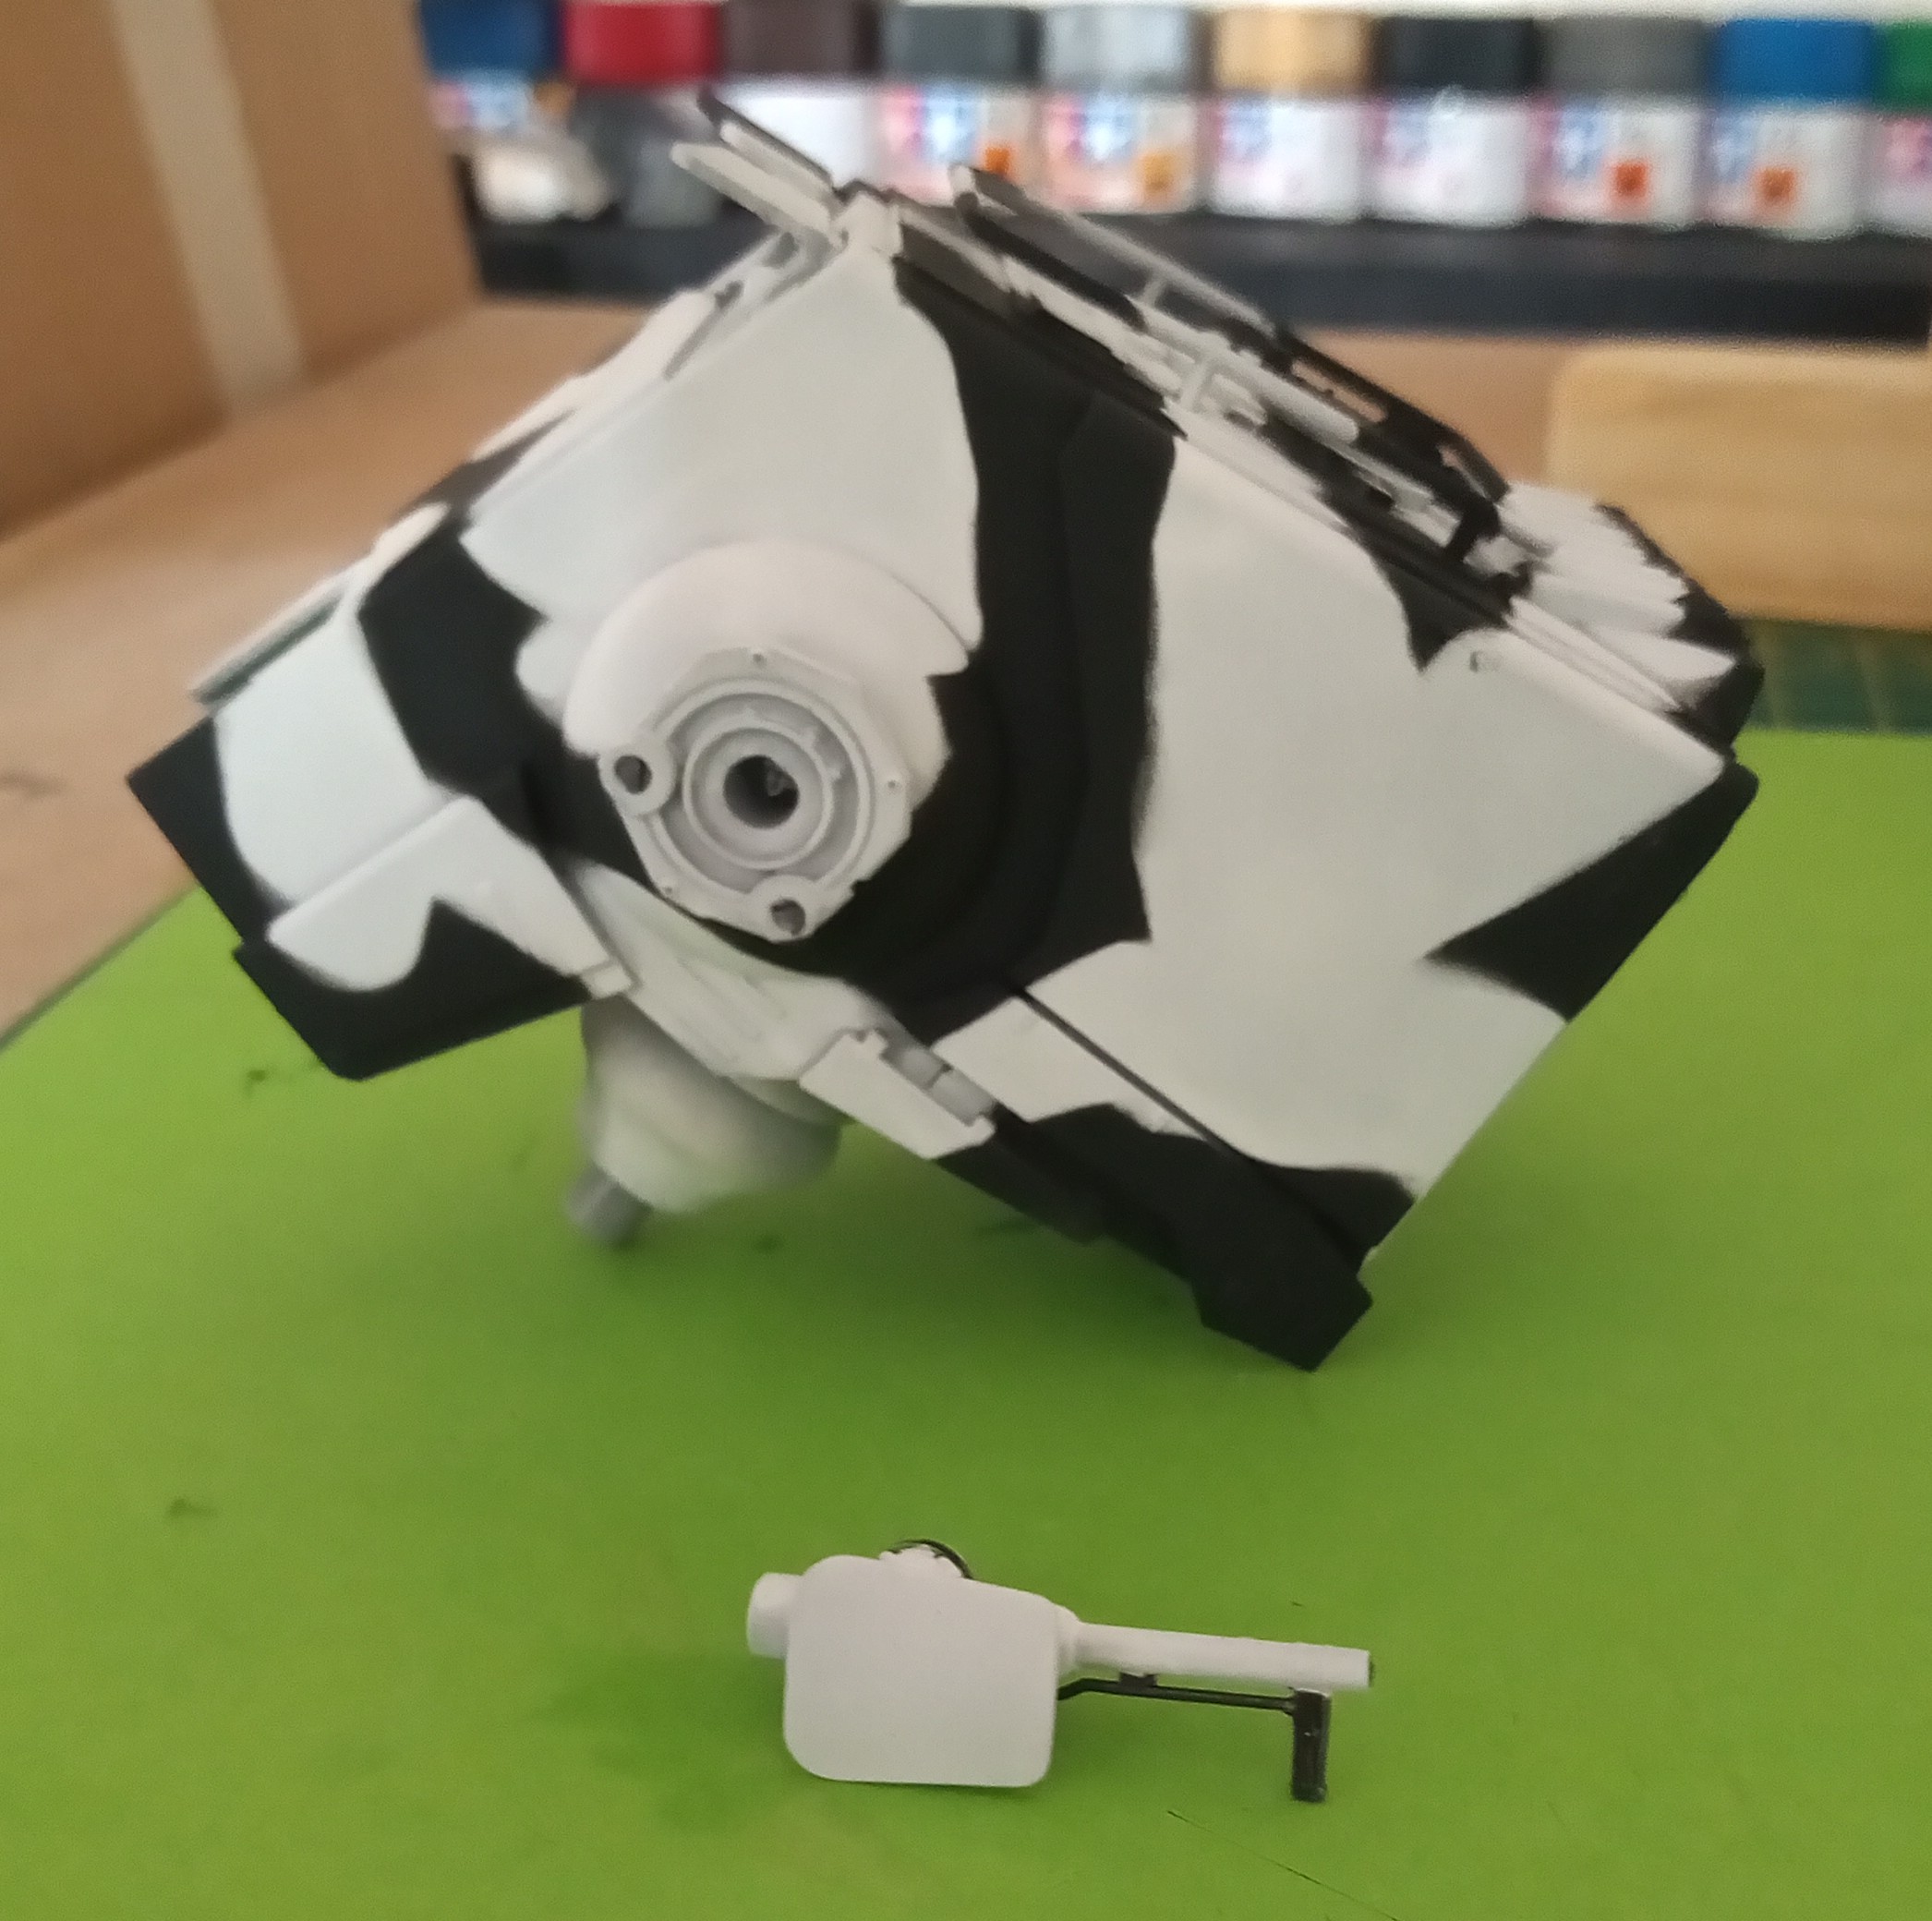
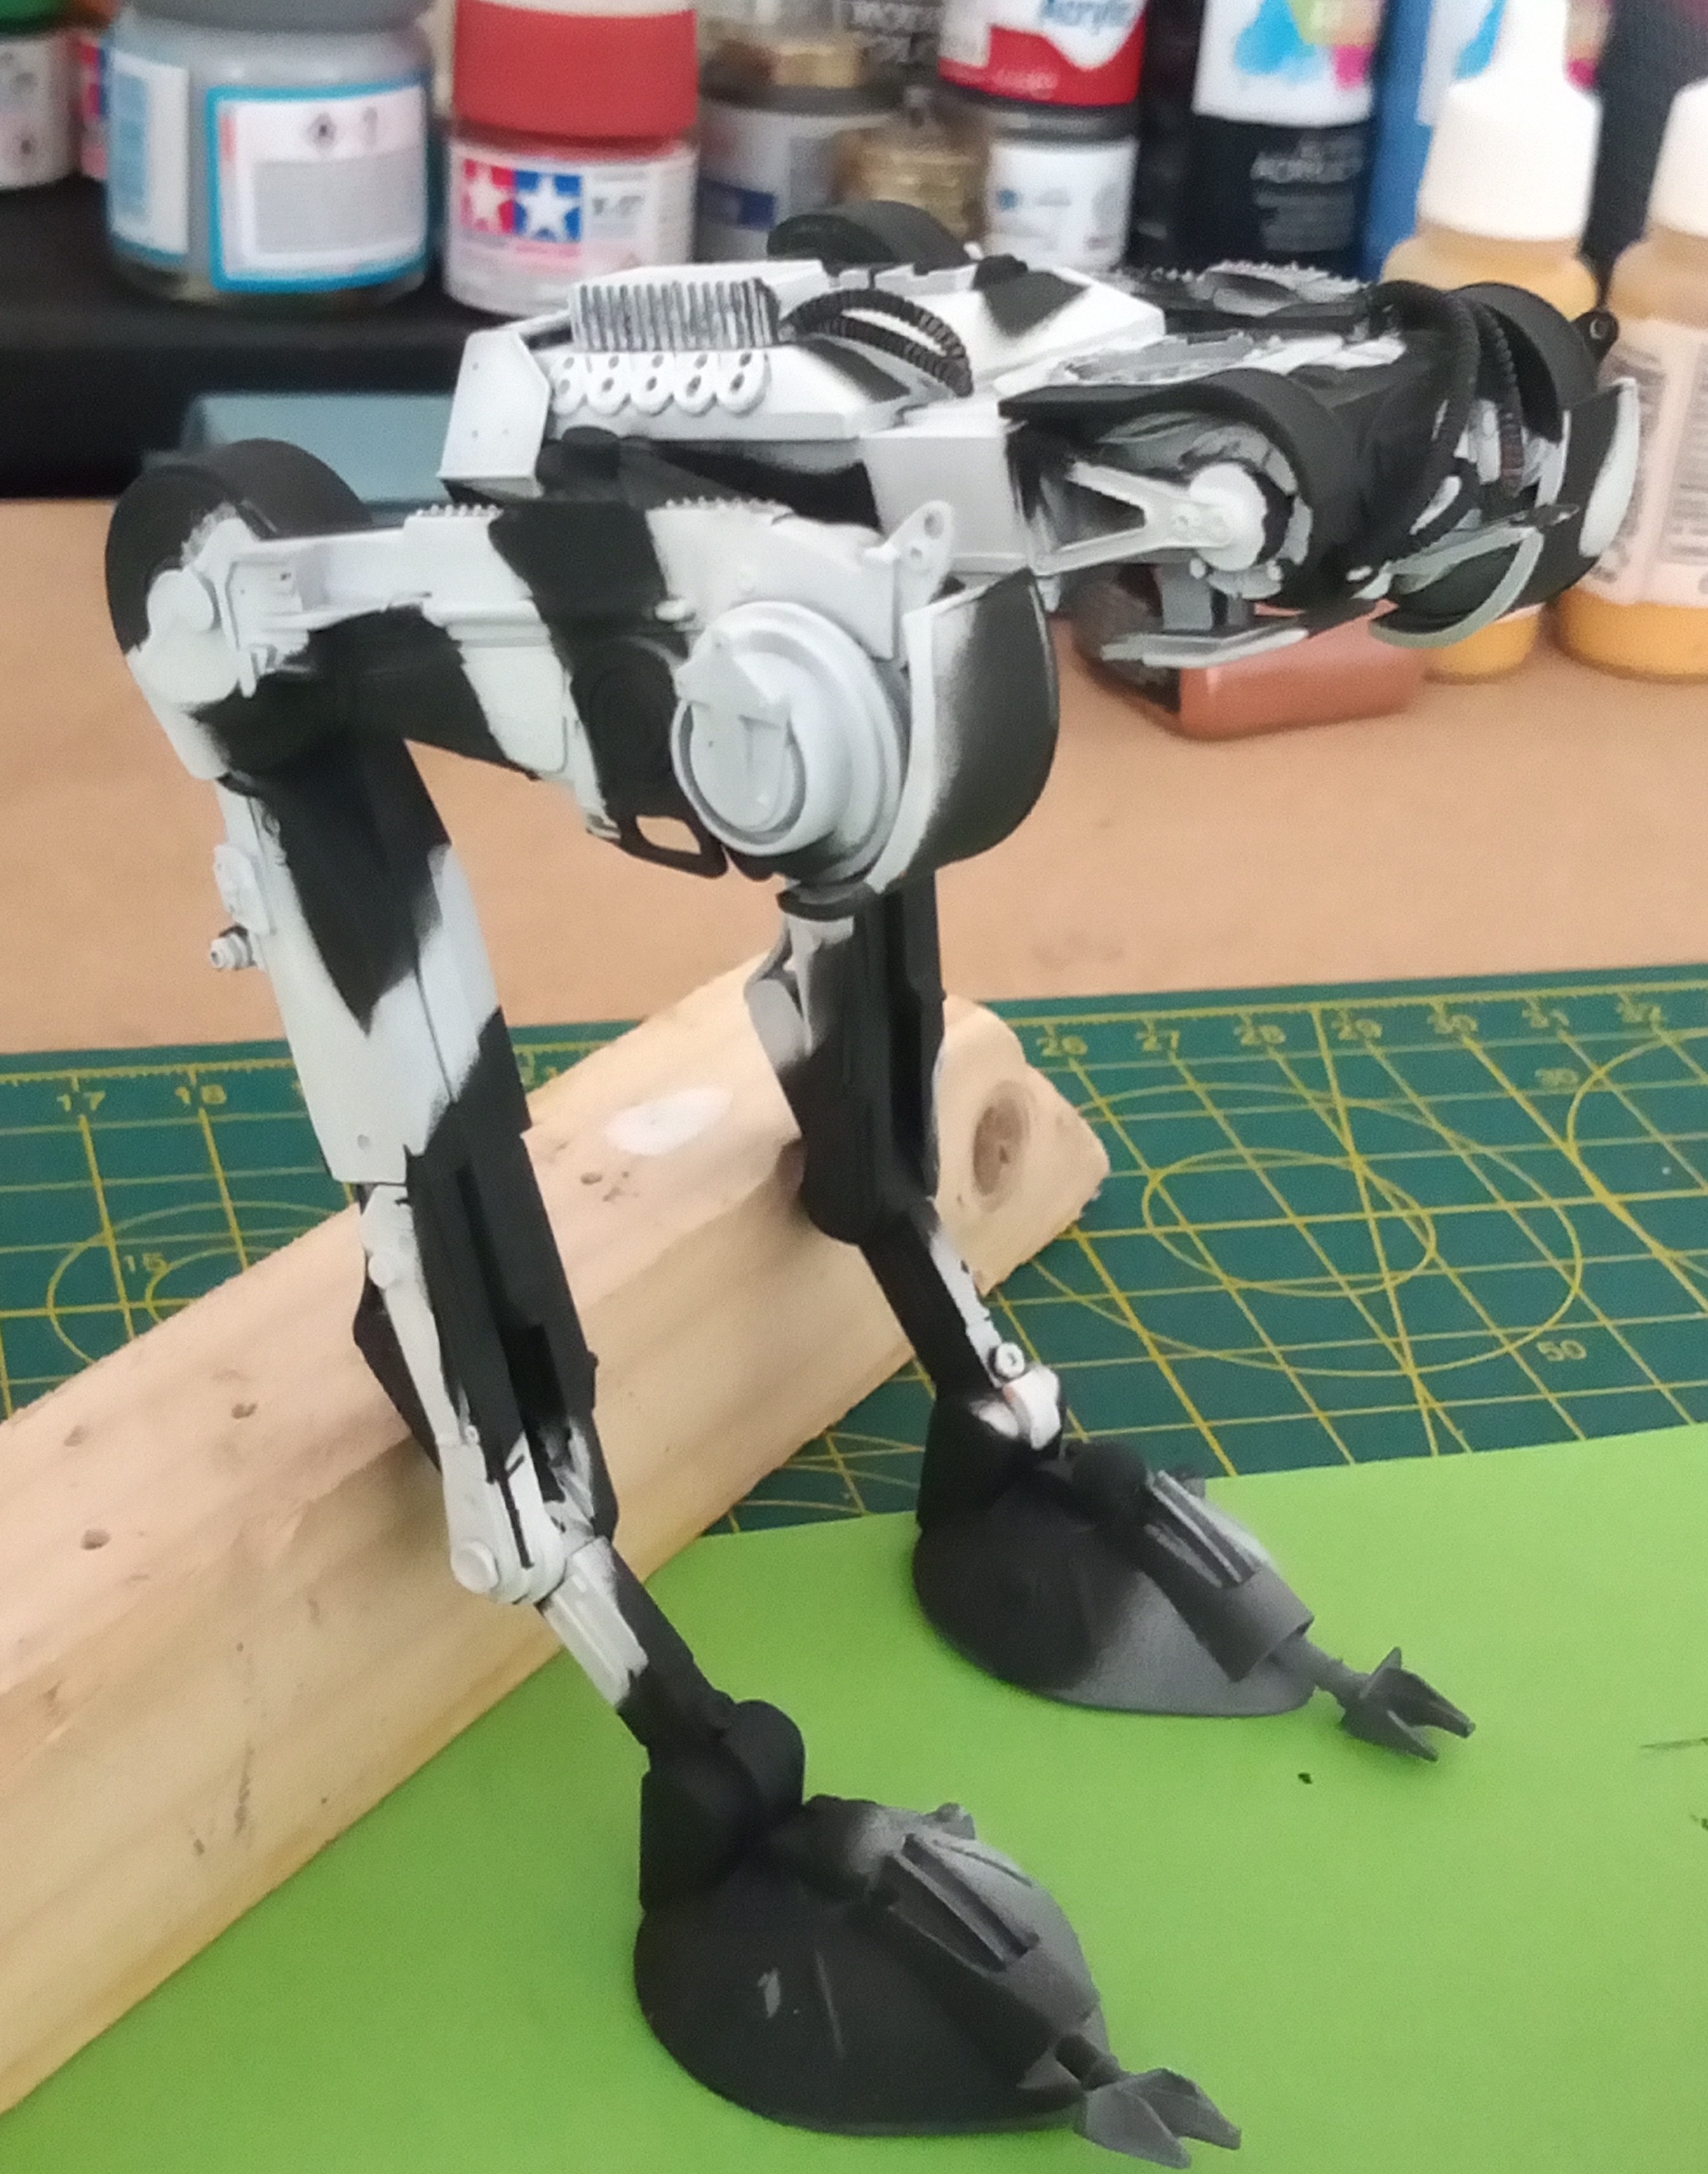
Got the base white coat down on the ATST.
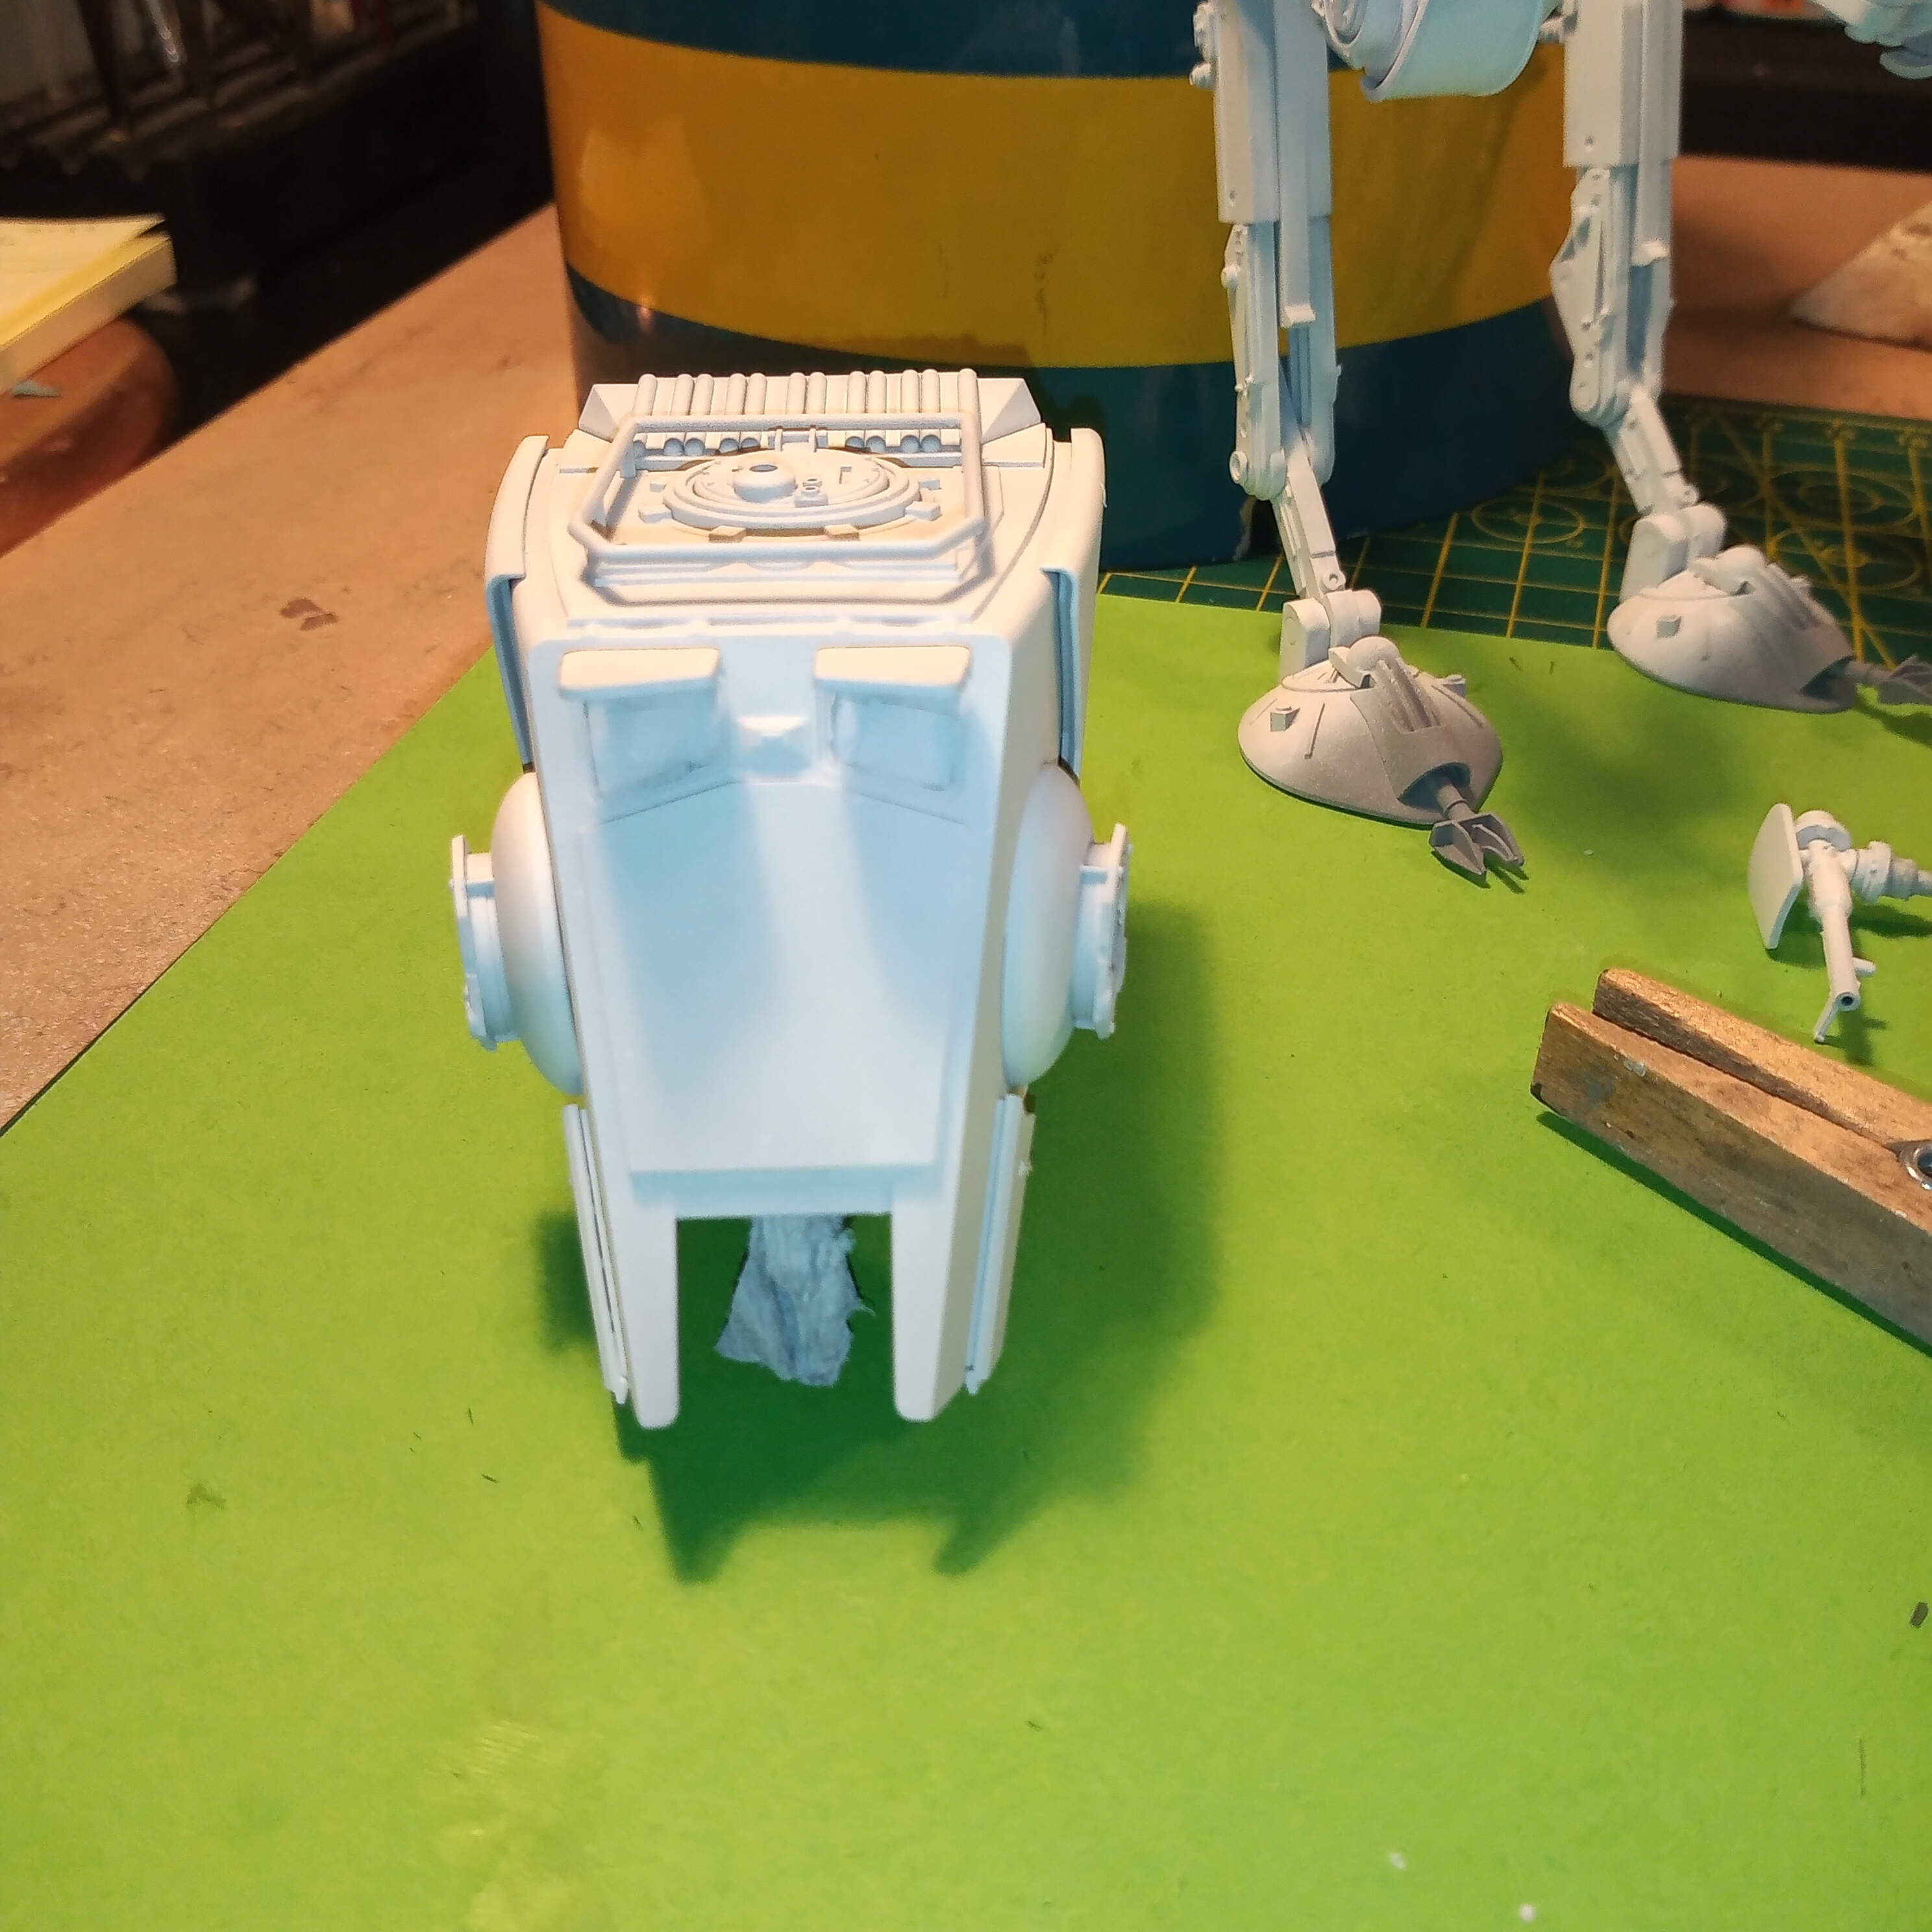
There are a couple of small areas that the white is thin on, but the black and green will over those.

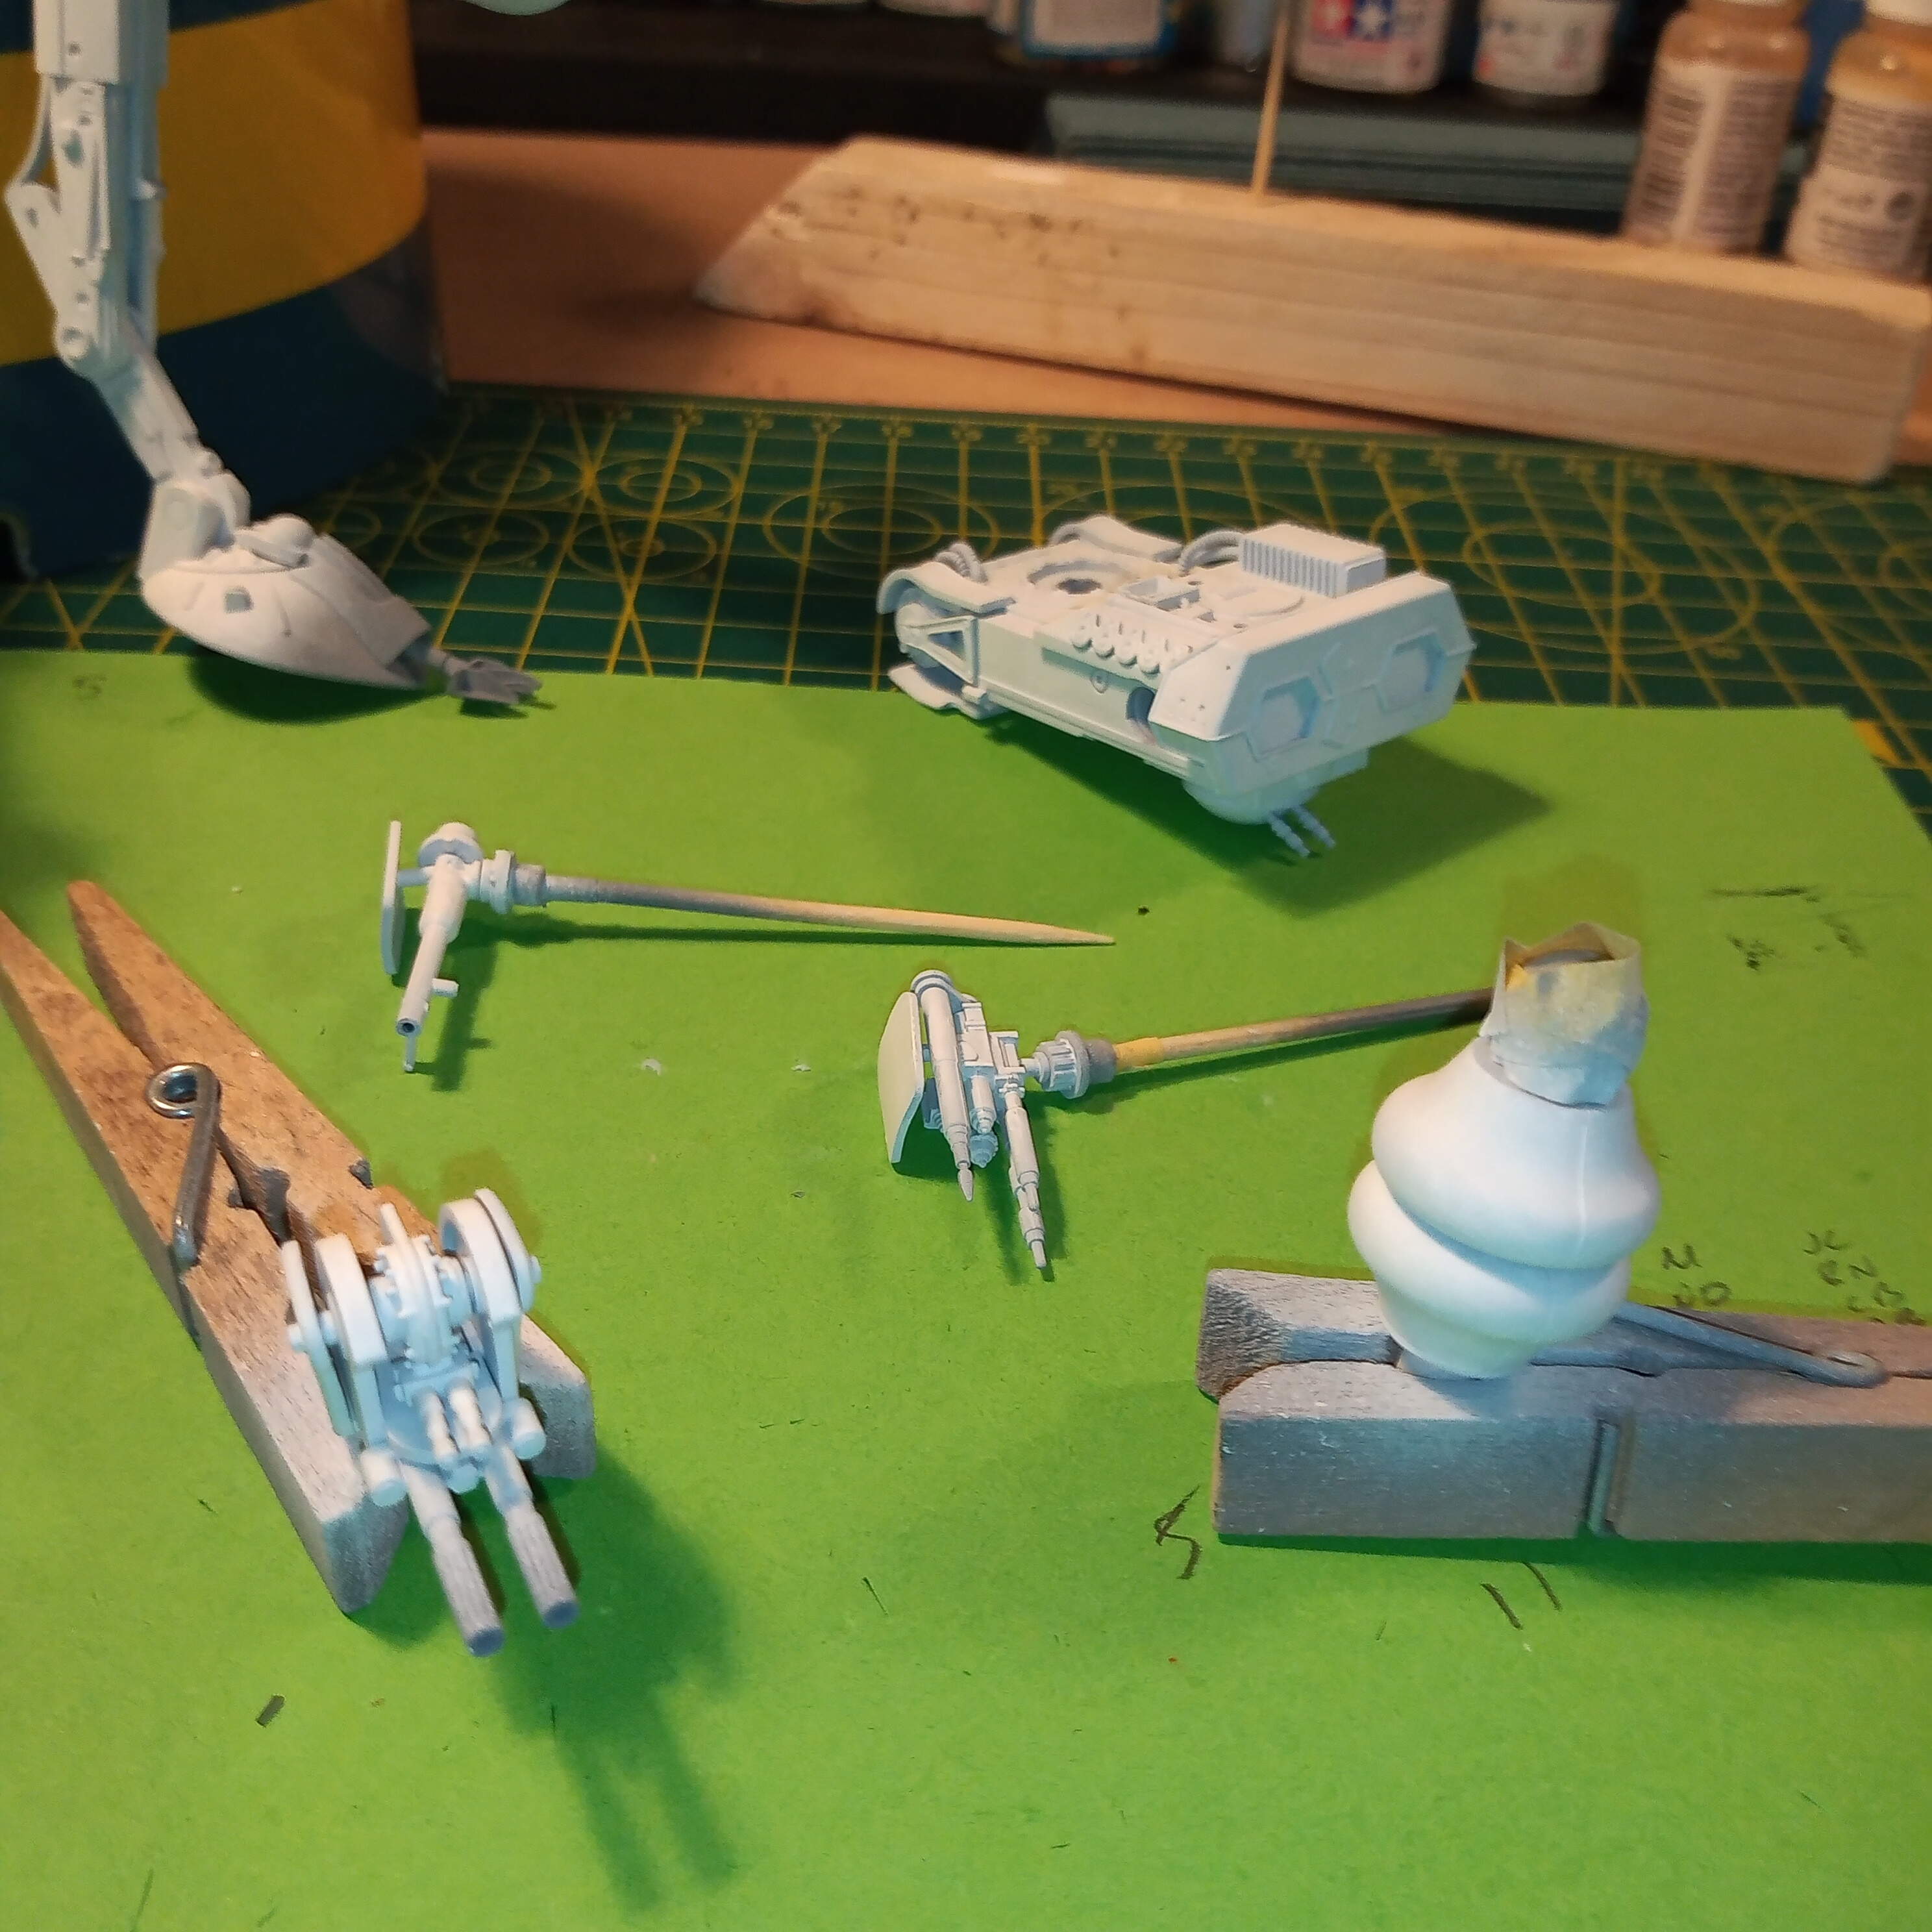
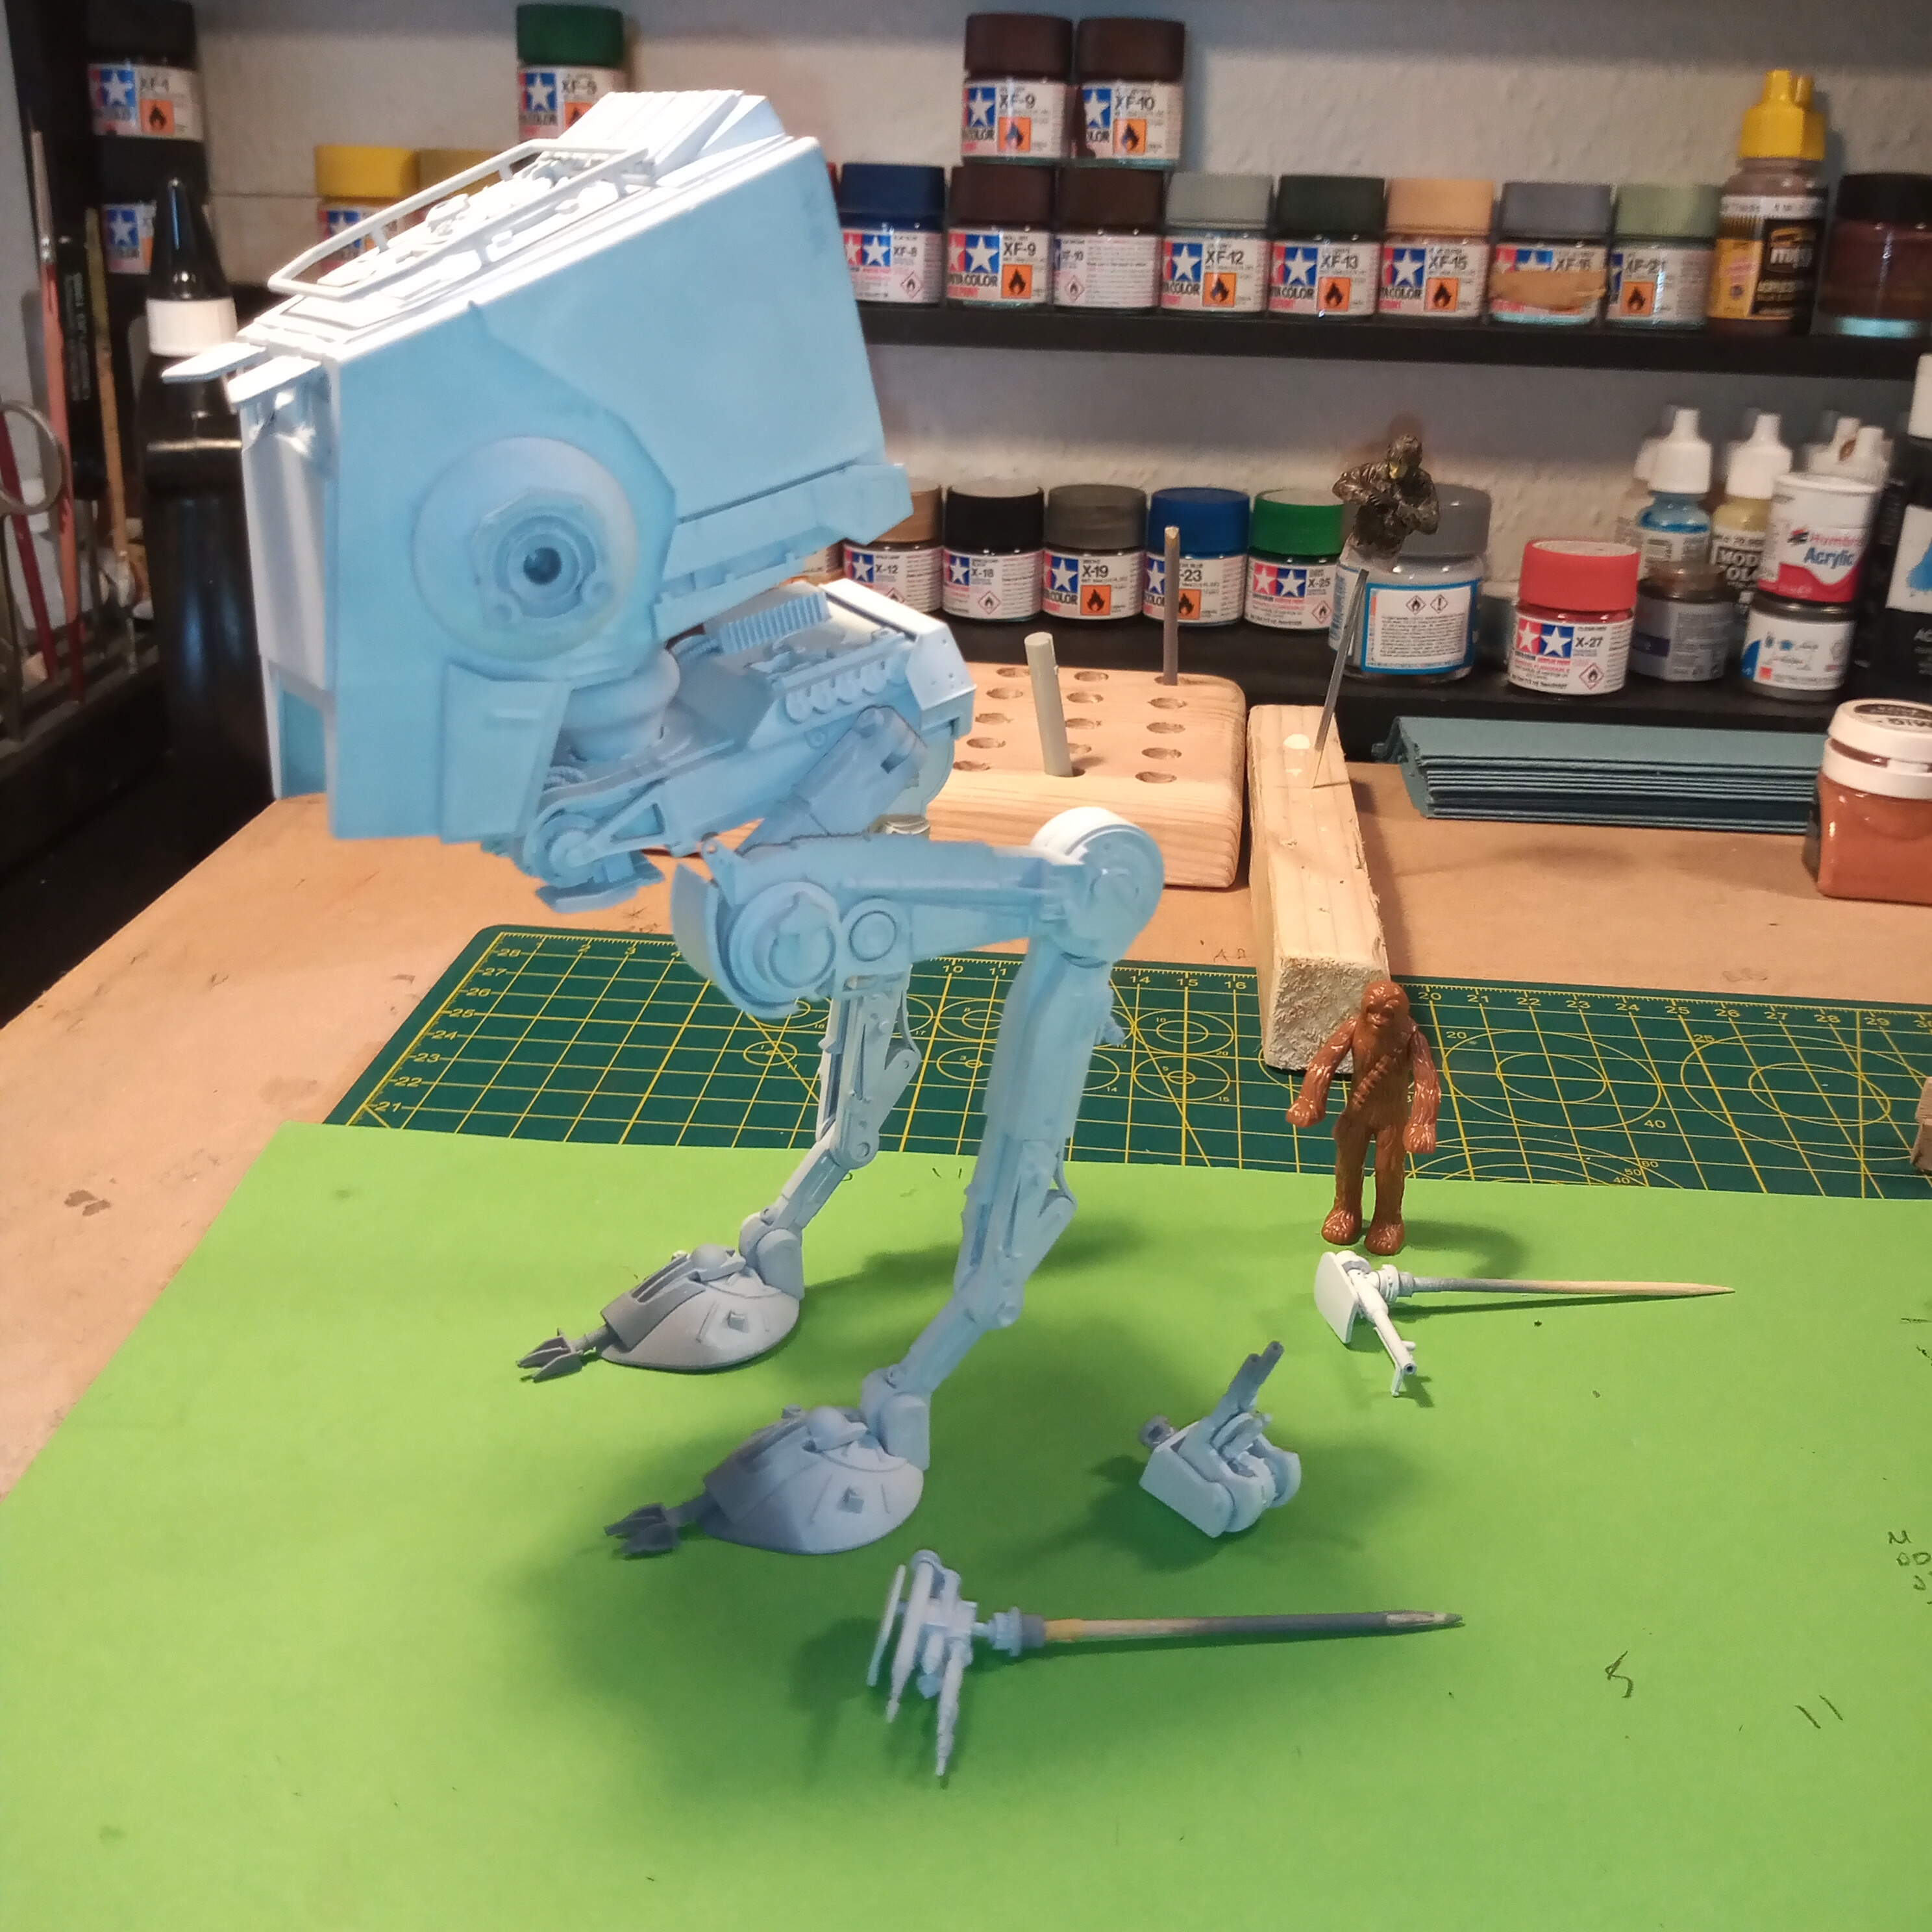
I modified the RH weapon station, and used an old recoilless rifle from the Tamiya US WW2 weapon set. Cut it right down and joined it to the rear of the kit part and added the side armour shield.
The various weapons will be hand brushed with different finishes.
5 Likes
Love that camo Ron. The tones really do go together nicely.
Nice John.
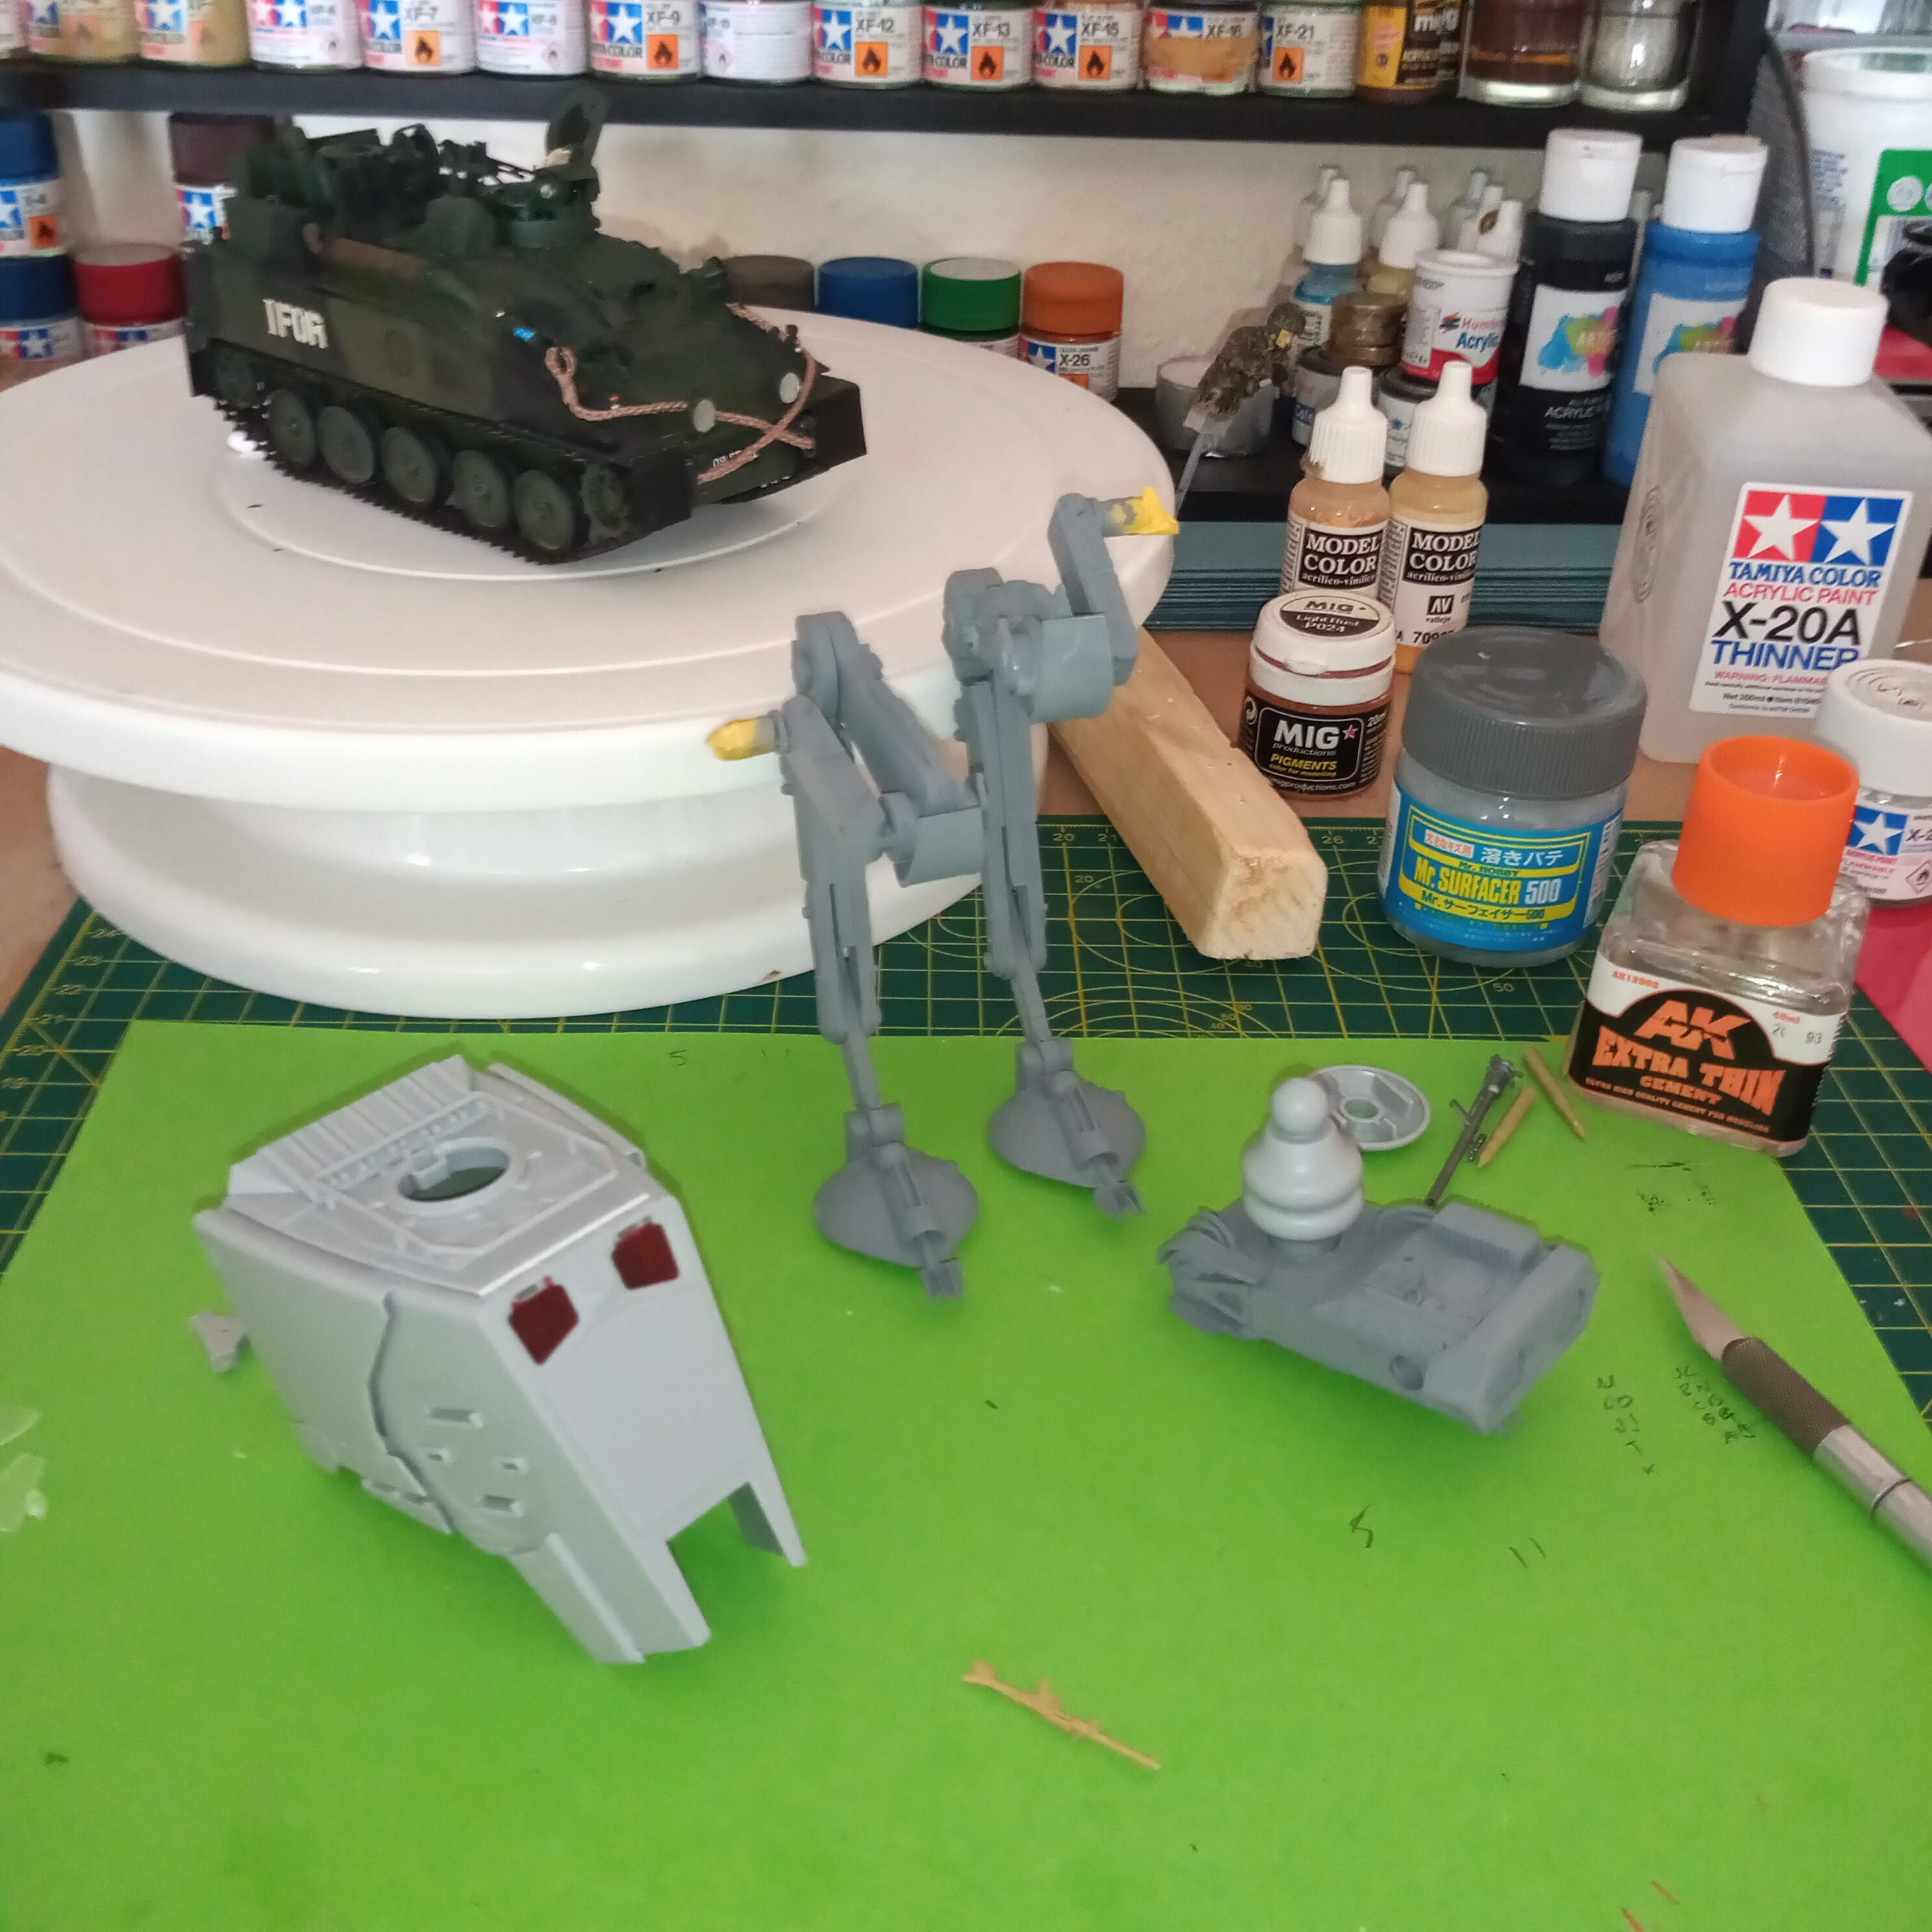
I am still here cleaning parts and sanding down putty. This MPC AT-AT kit has more flash than a paparazzi convention…
1 Like
Hi again … Decided to put the main body parts together to see what it looks like …
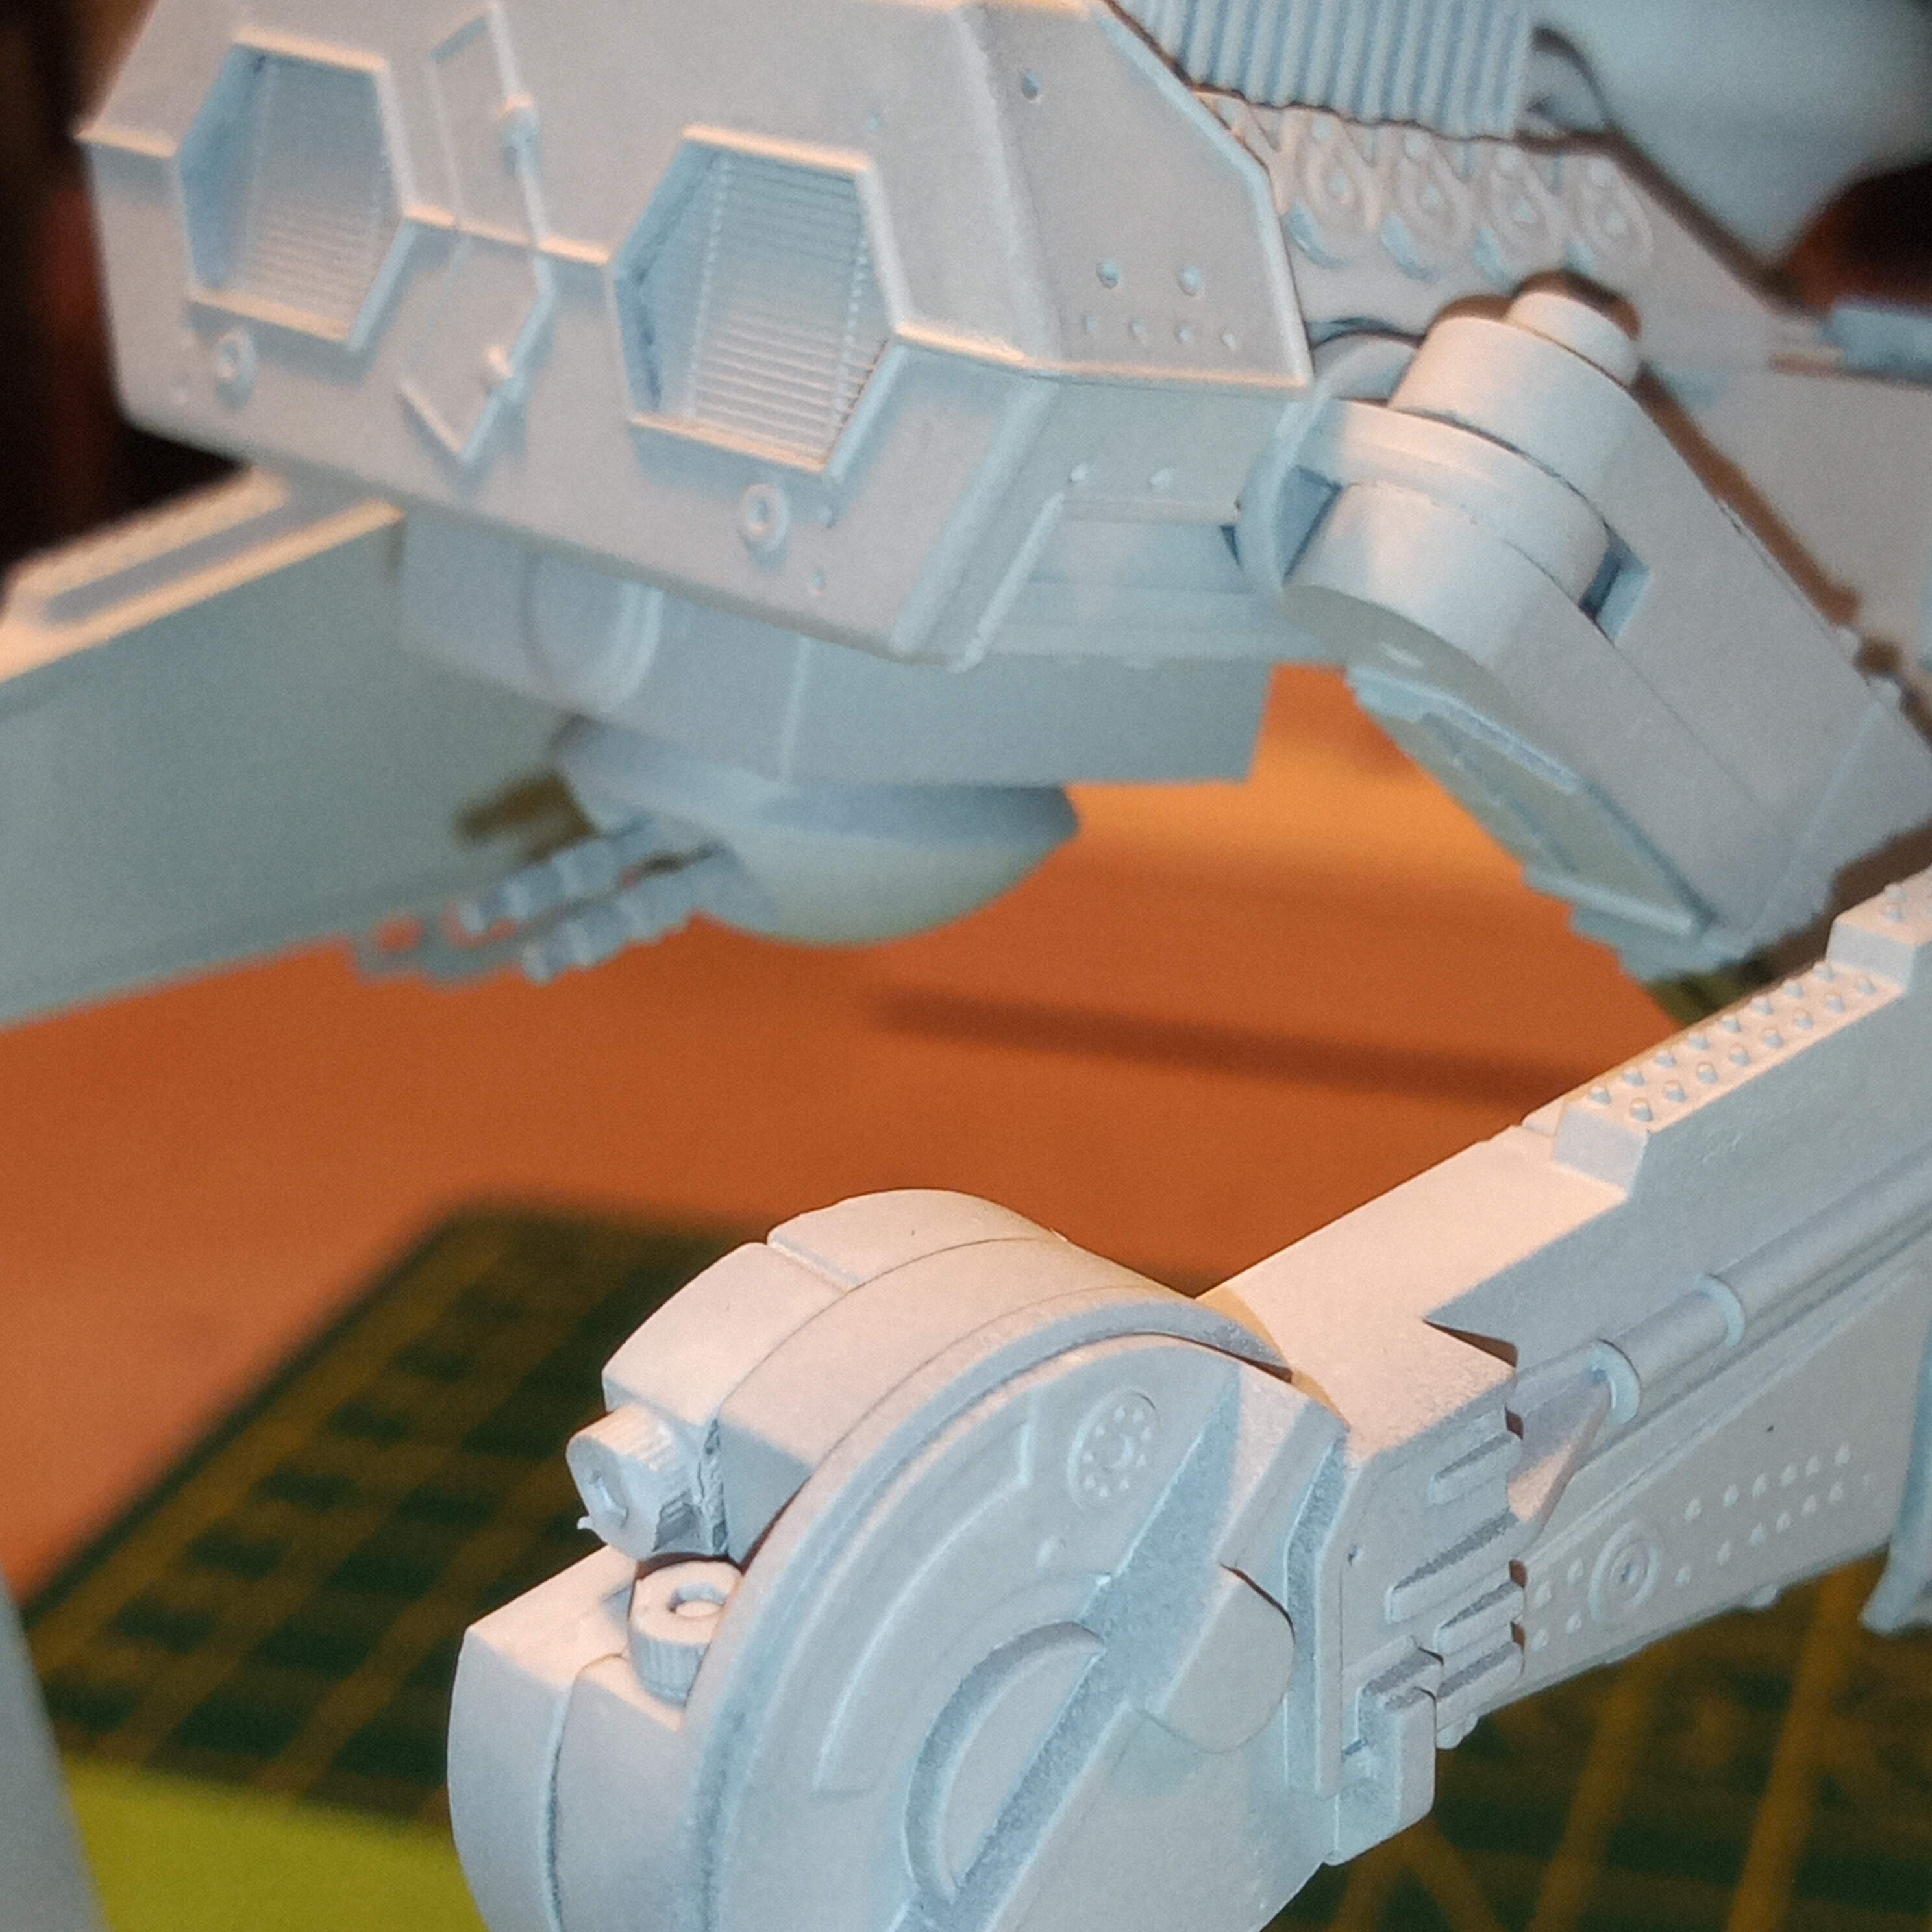
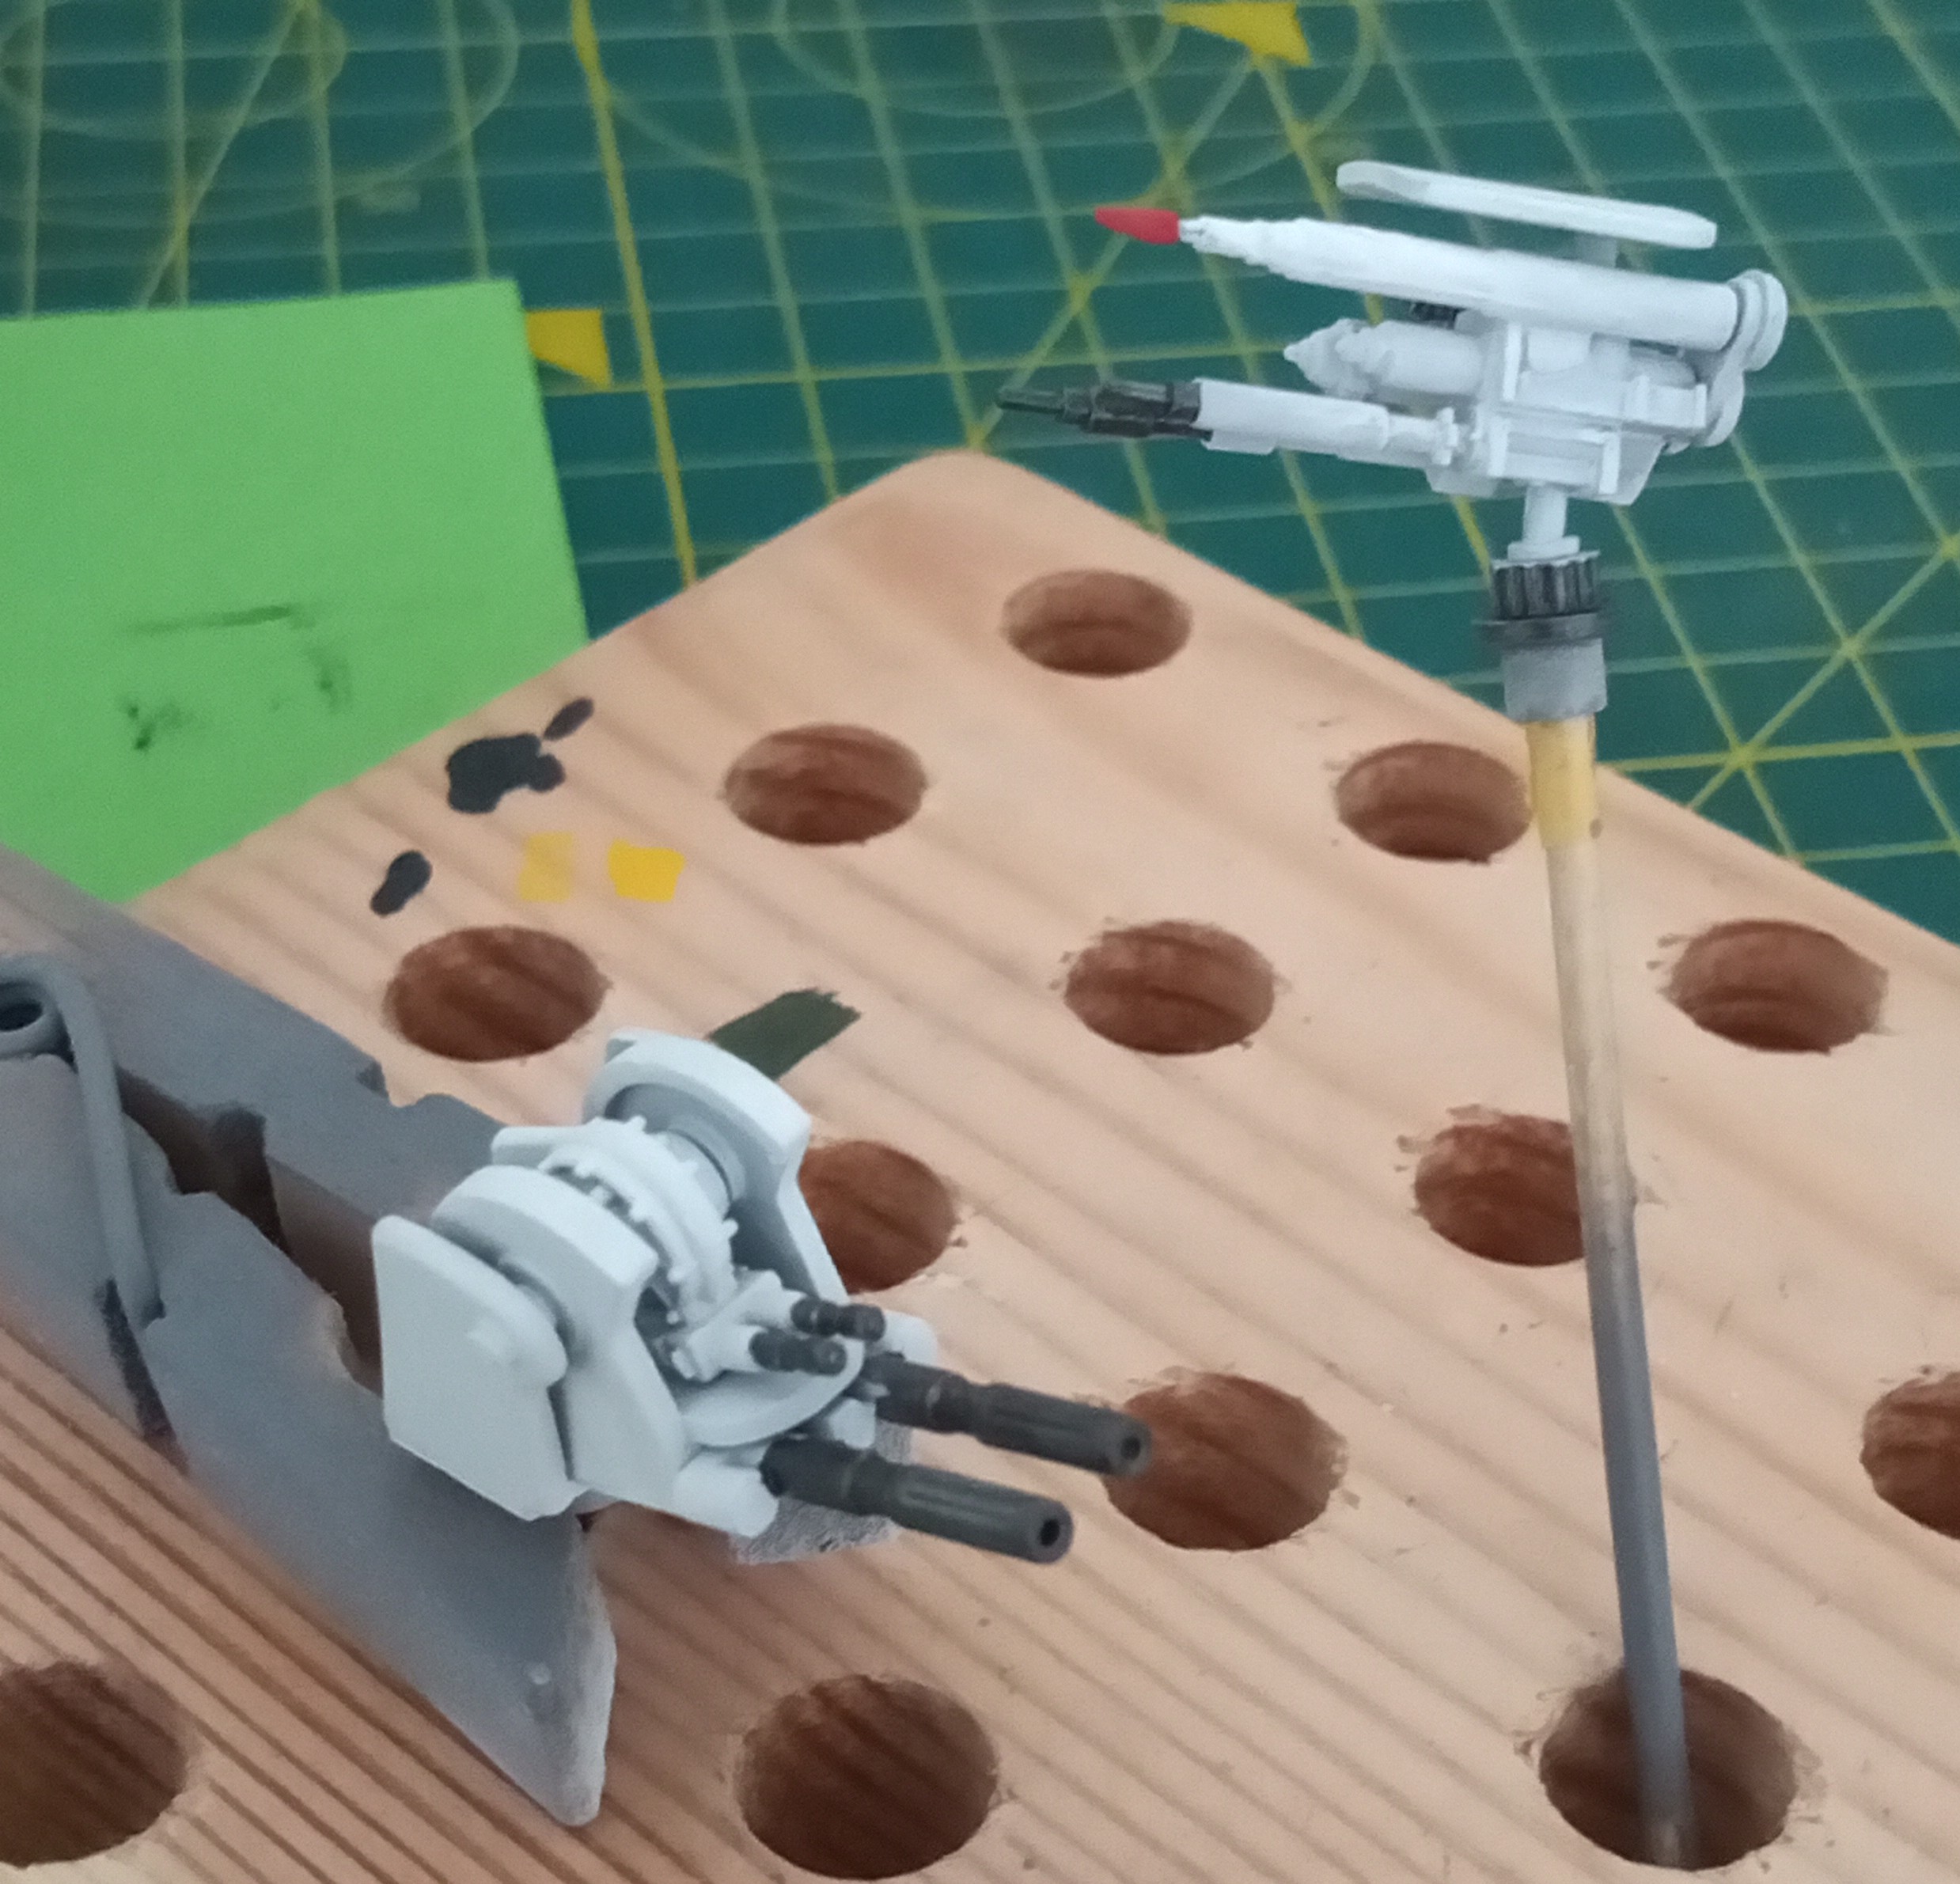
Additional close protection pulse cannon…you can see what they came from 
Will do the NATO black next…
6 Likes
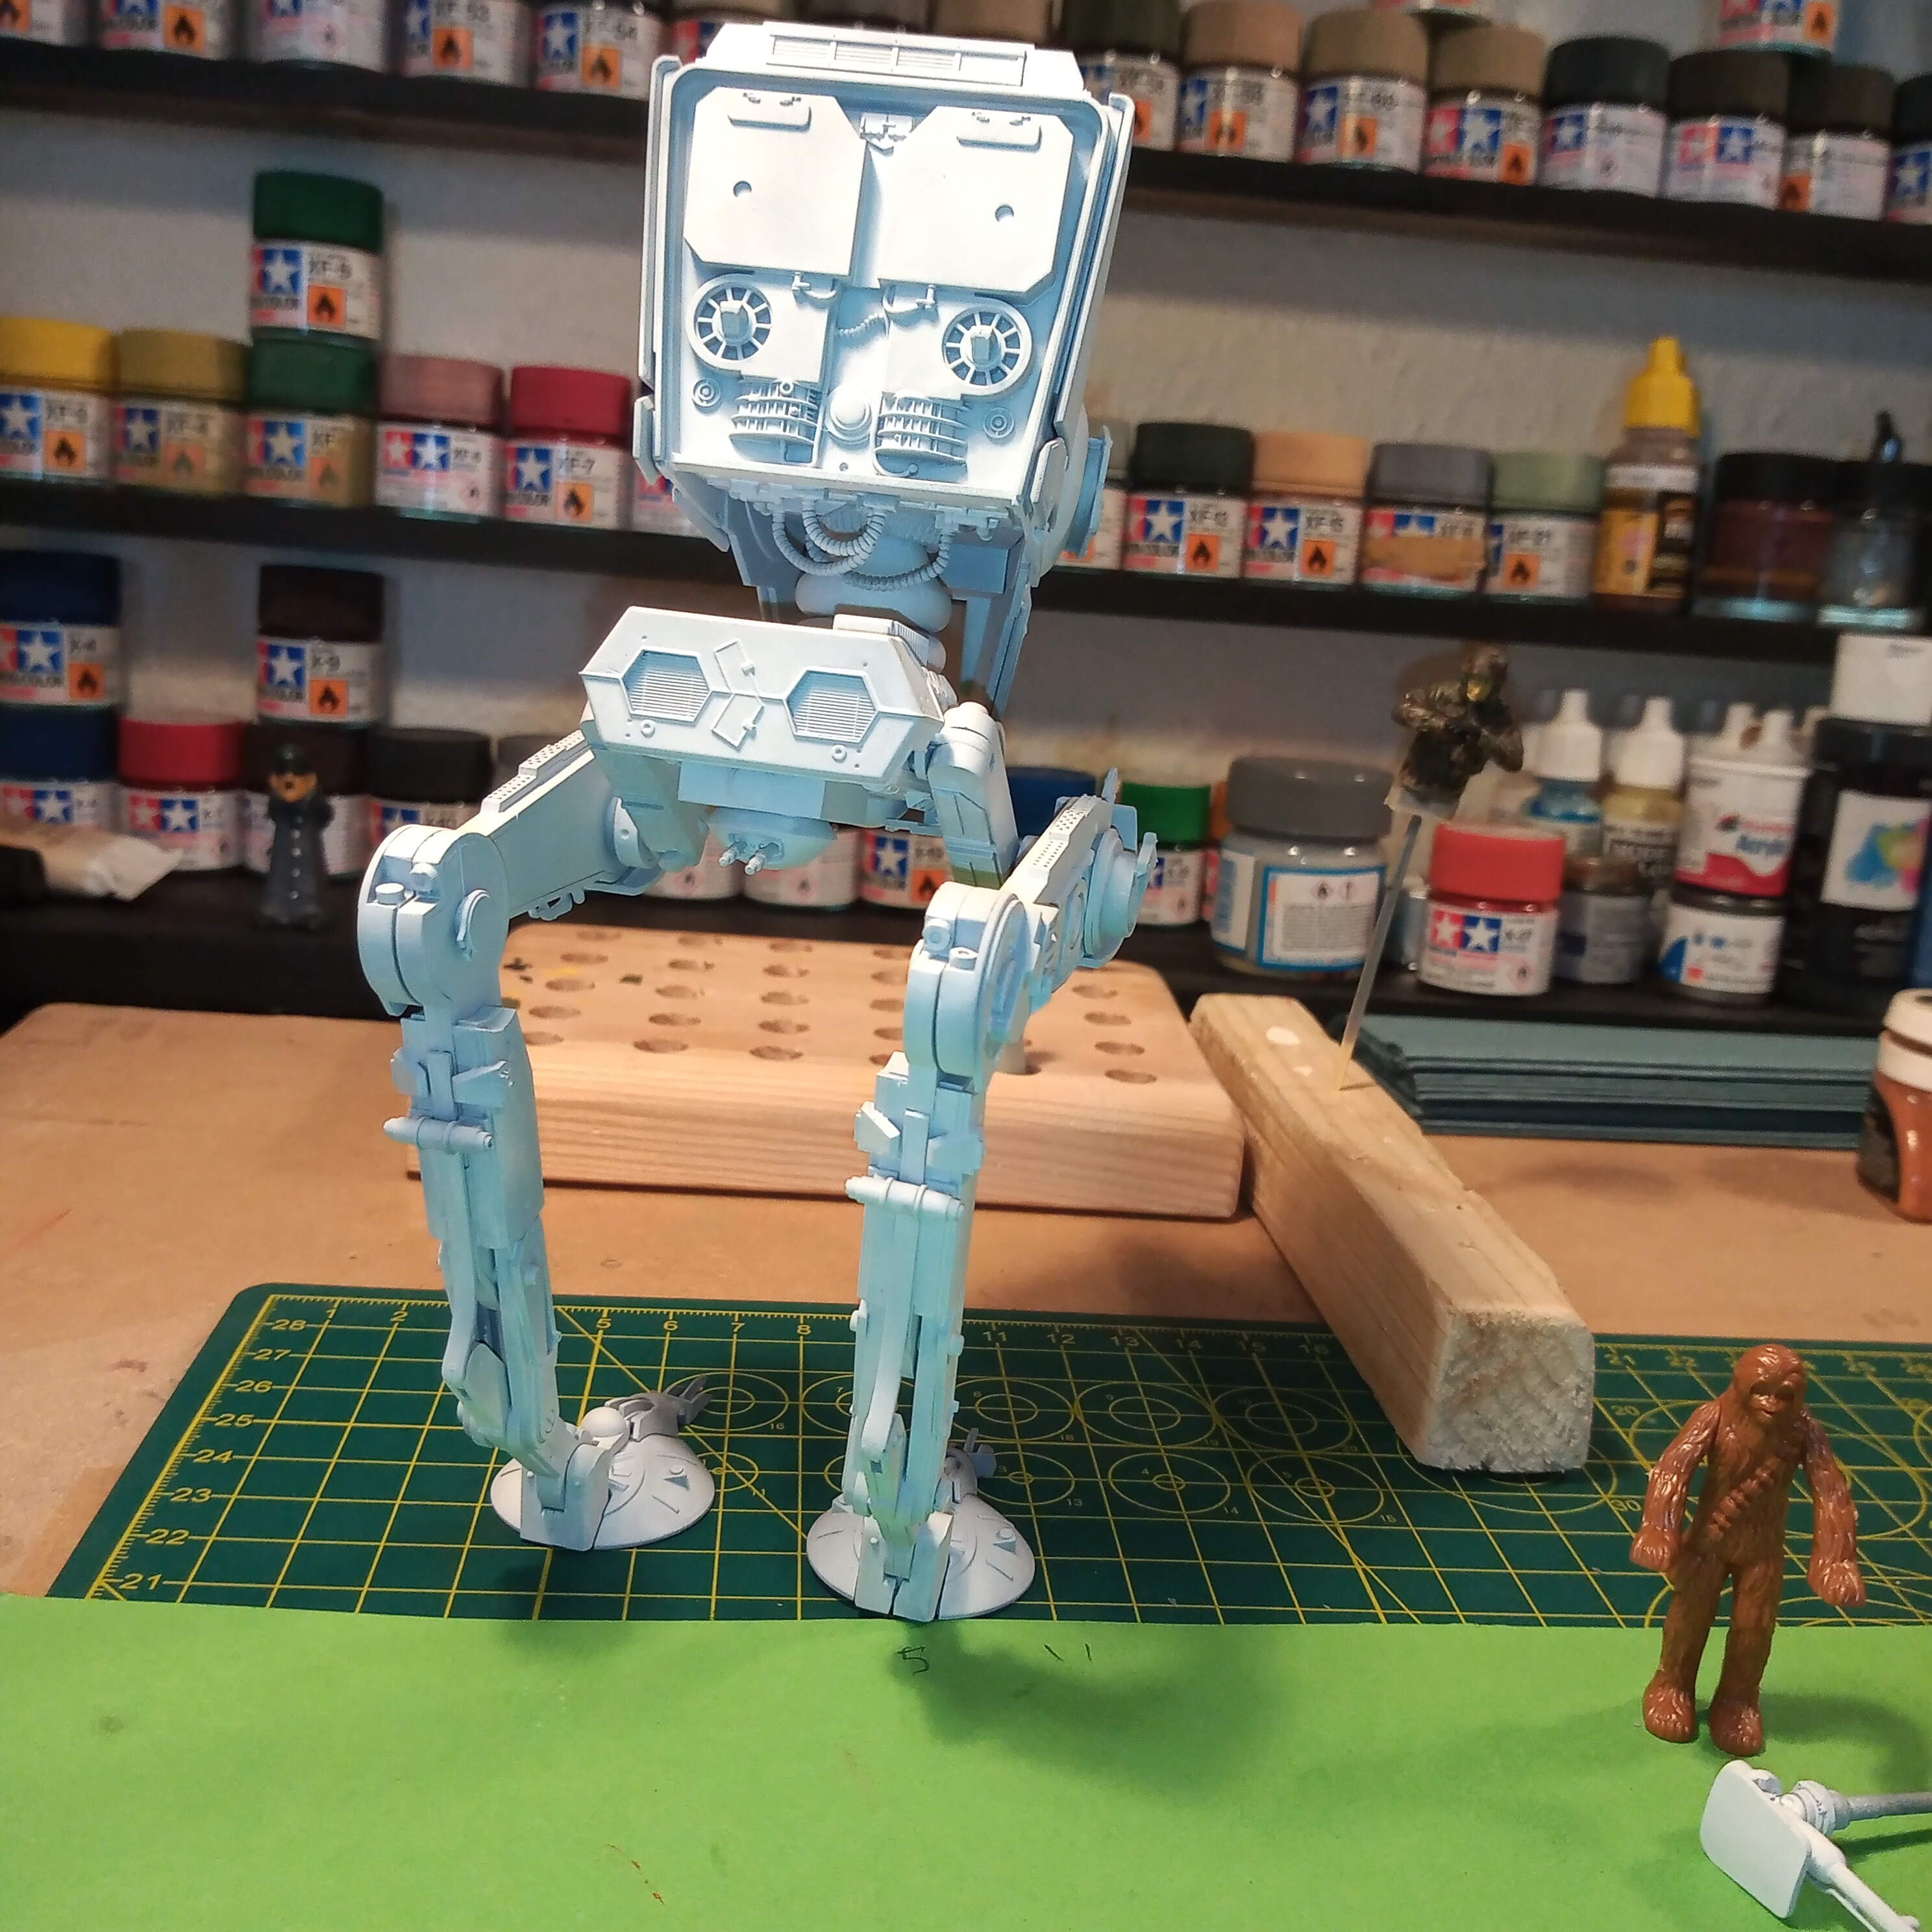
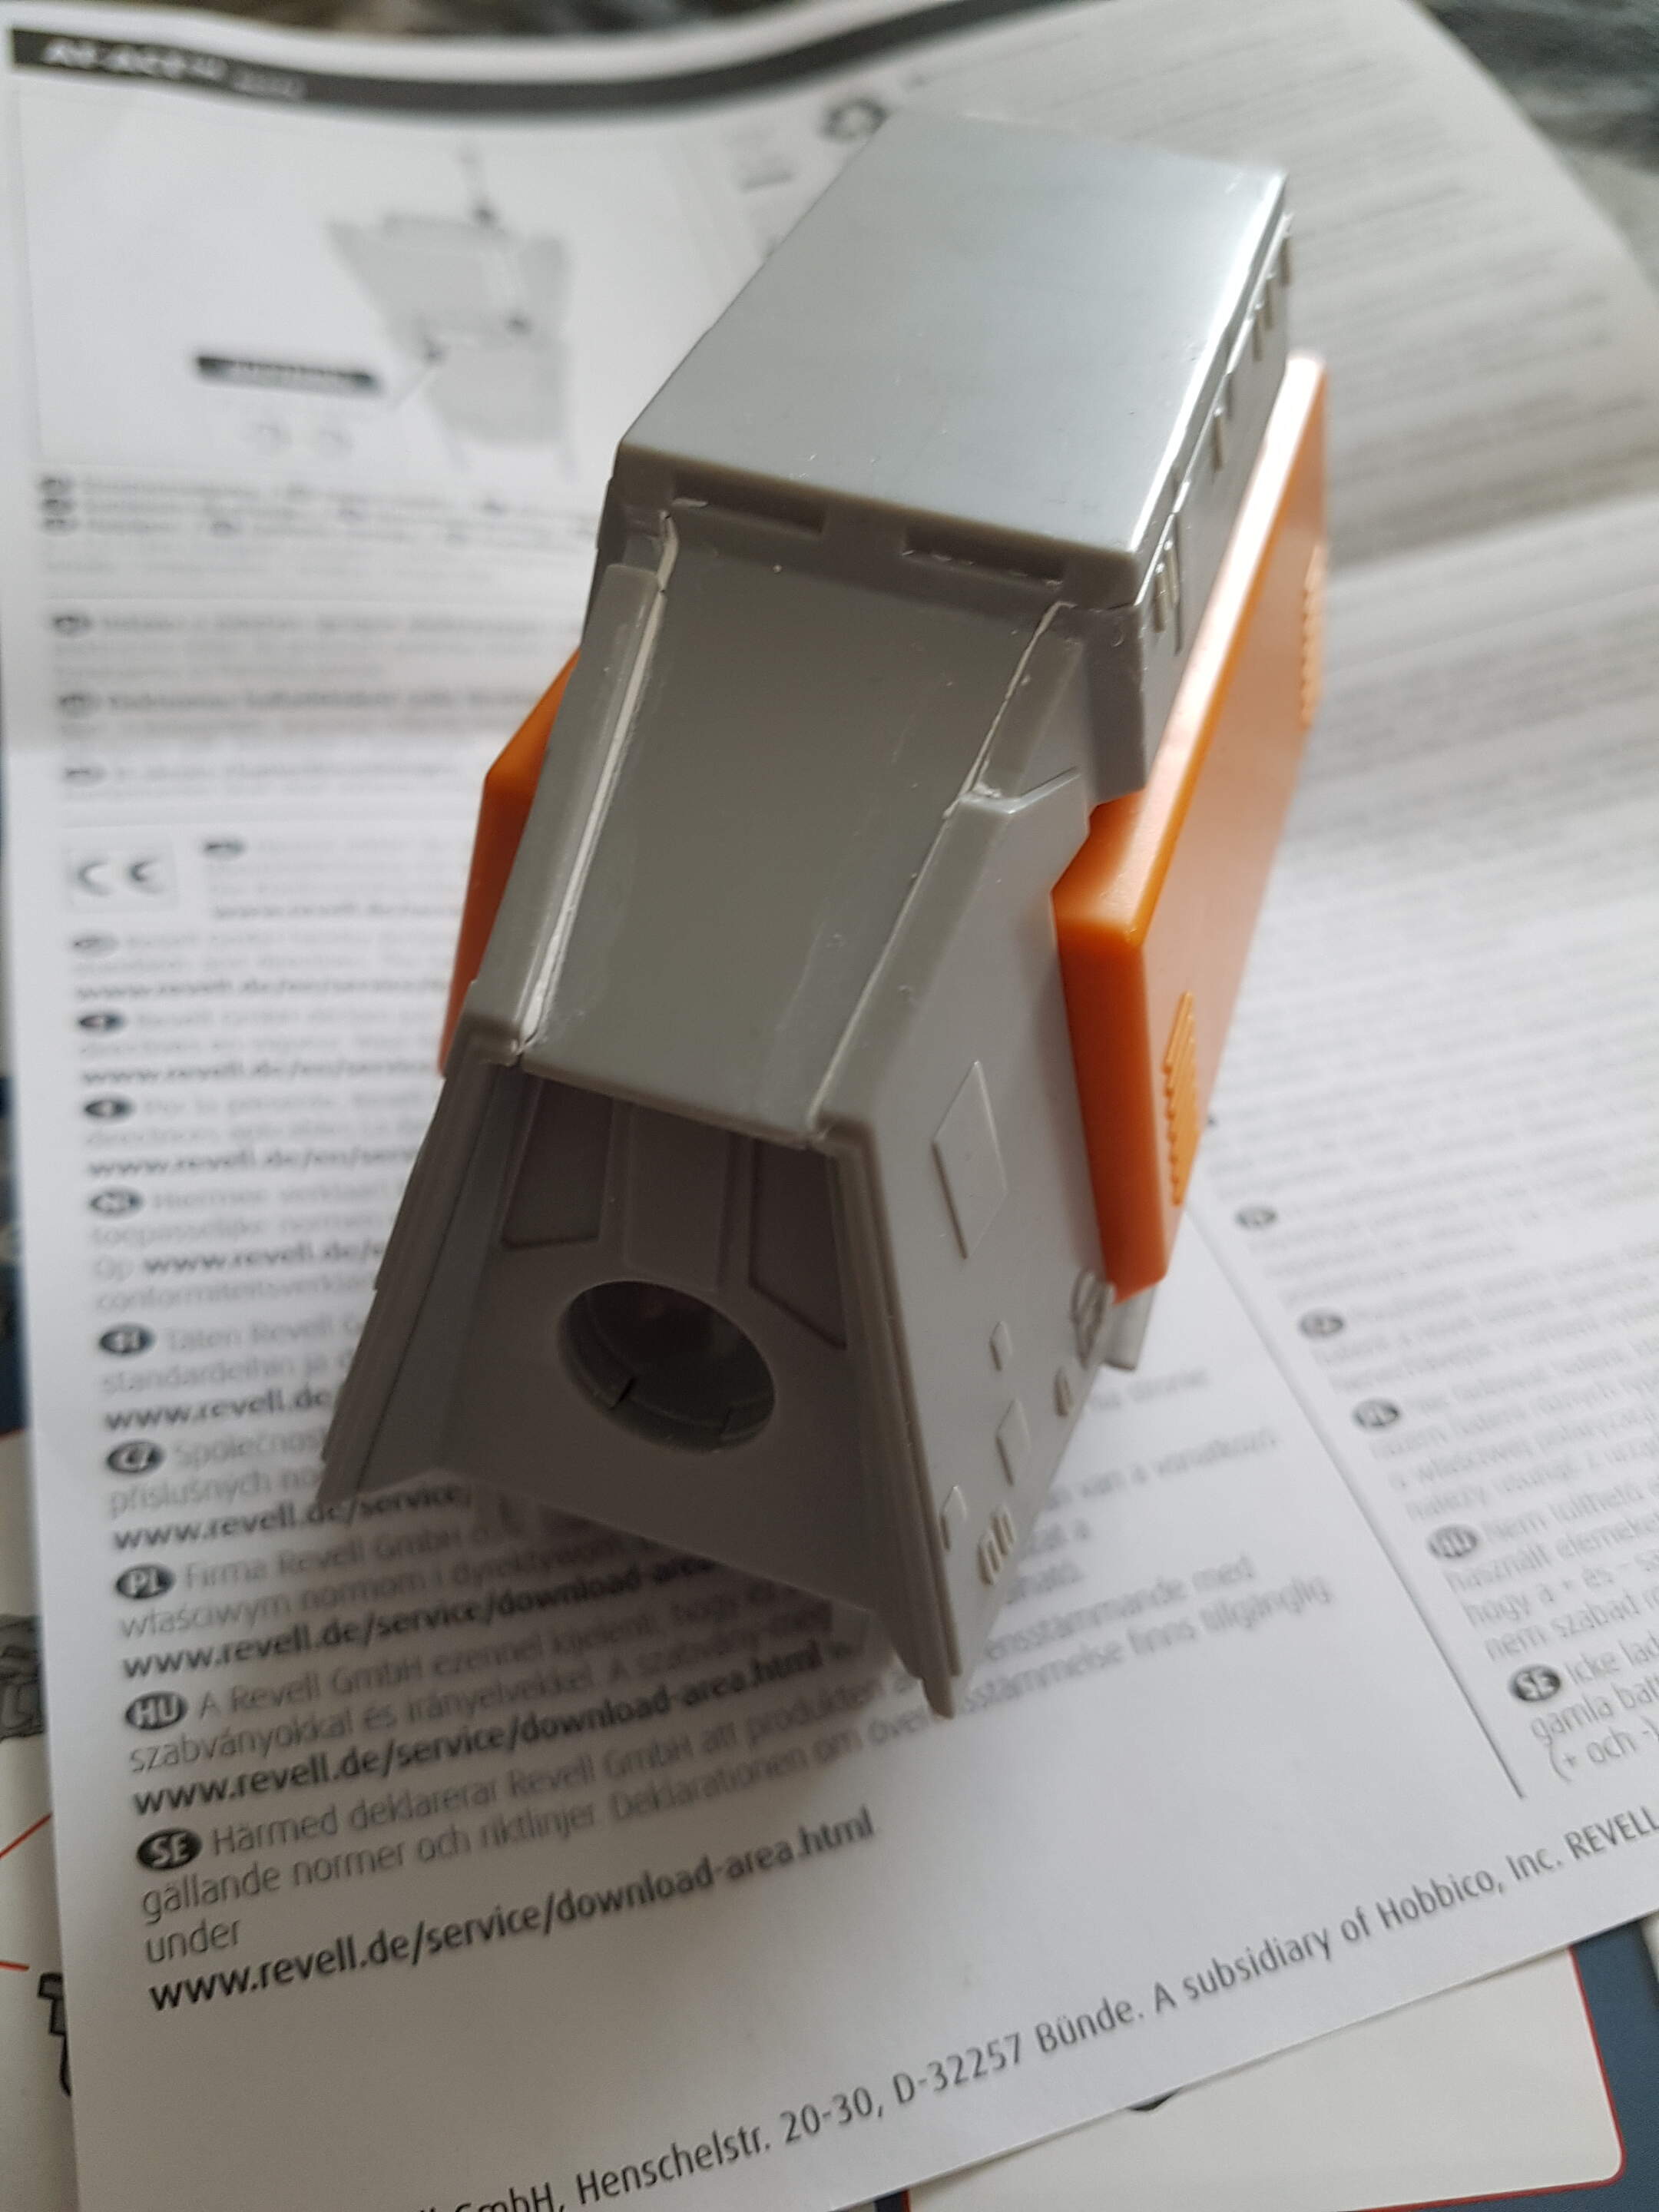
Now that I have found my micro screw drivers I was able to remove the battery panel in the head section and then add some super glue before closing it up for good.
Next it was putty time using “Perfect Putty” which is my favourite as it is water based and easy to clean up with some cotton swabs dipped in water.
5 Likes
John. Your AT-ST seems to be having problems passing MG 34 barrels, either that or it is giving birth to a Panzer… 
I hope they have a mechanism to avoid shooting off their own legs …
Peter… I’m saddened you think I wouldn’t of factored that in lol…
Of course, there is a very precise left and right of arc sensor built into the fire control and turret… Roughly 45 degrees from the centre line depending where the legs are…![]()

1 Like
Managed to get the NATO black down.
Quite like the look of it and how it turned out so far.

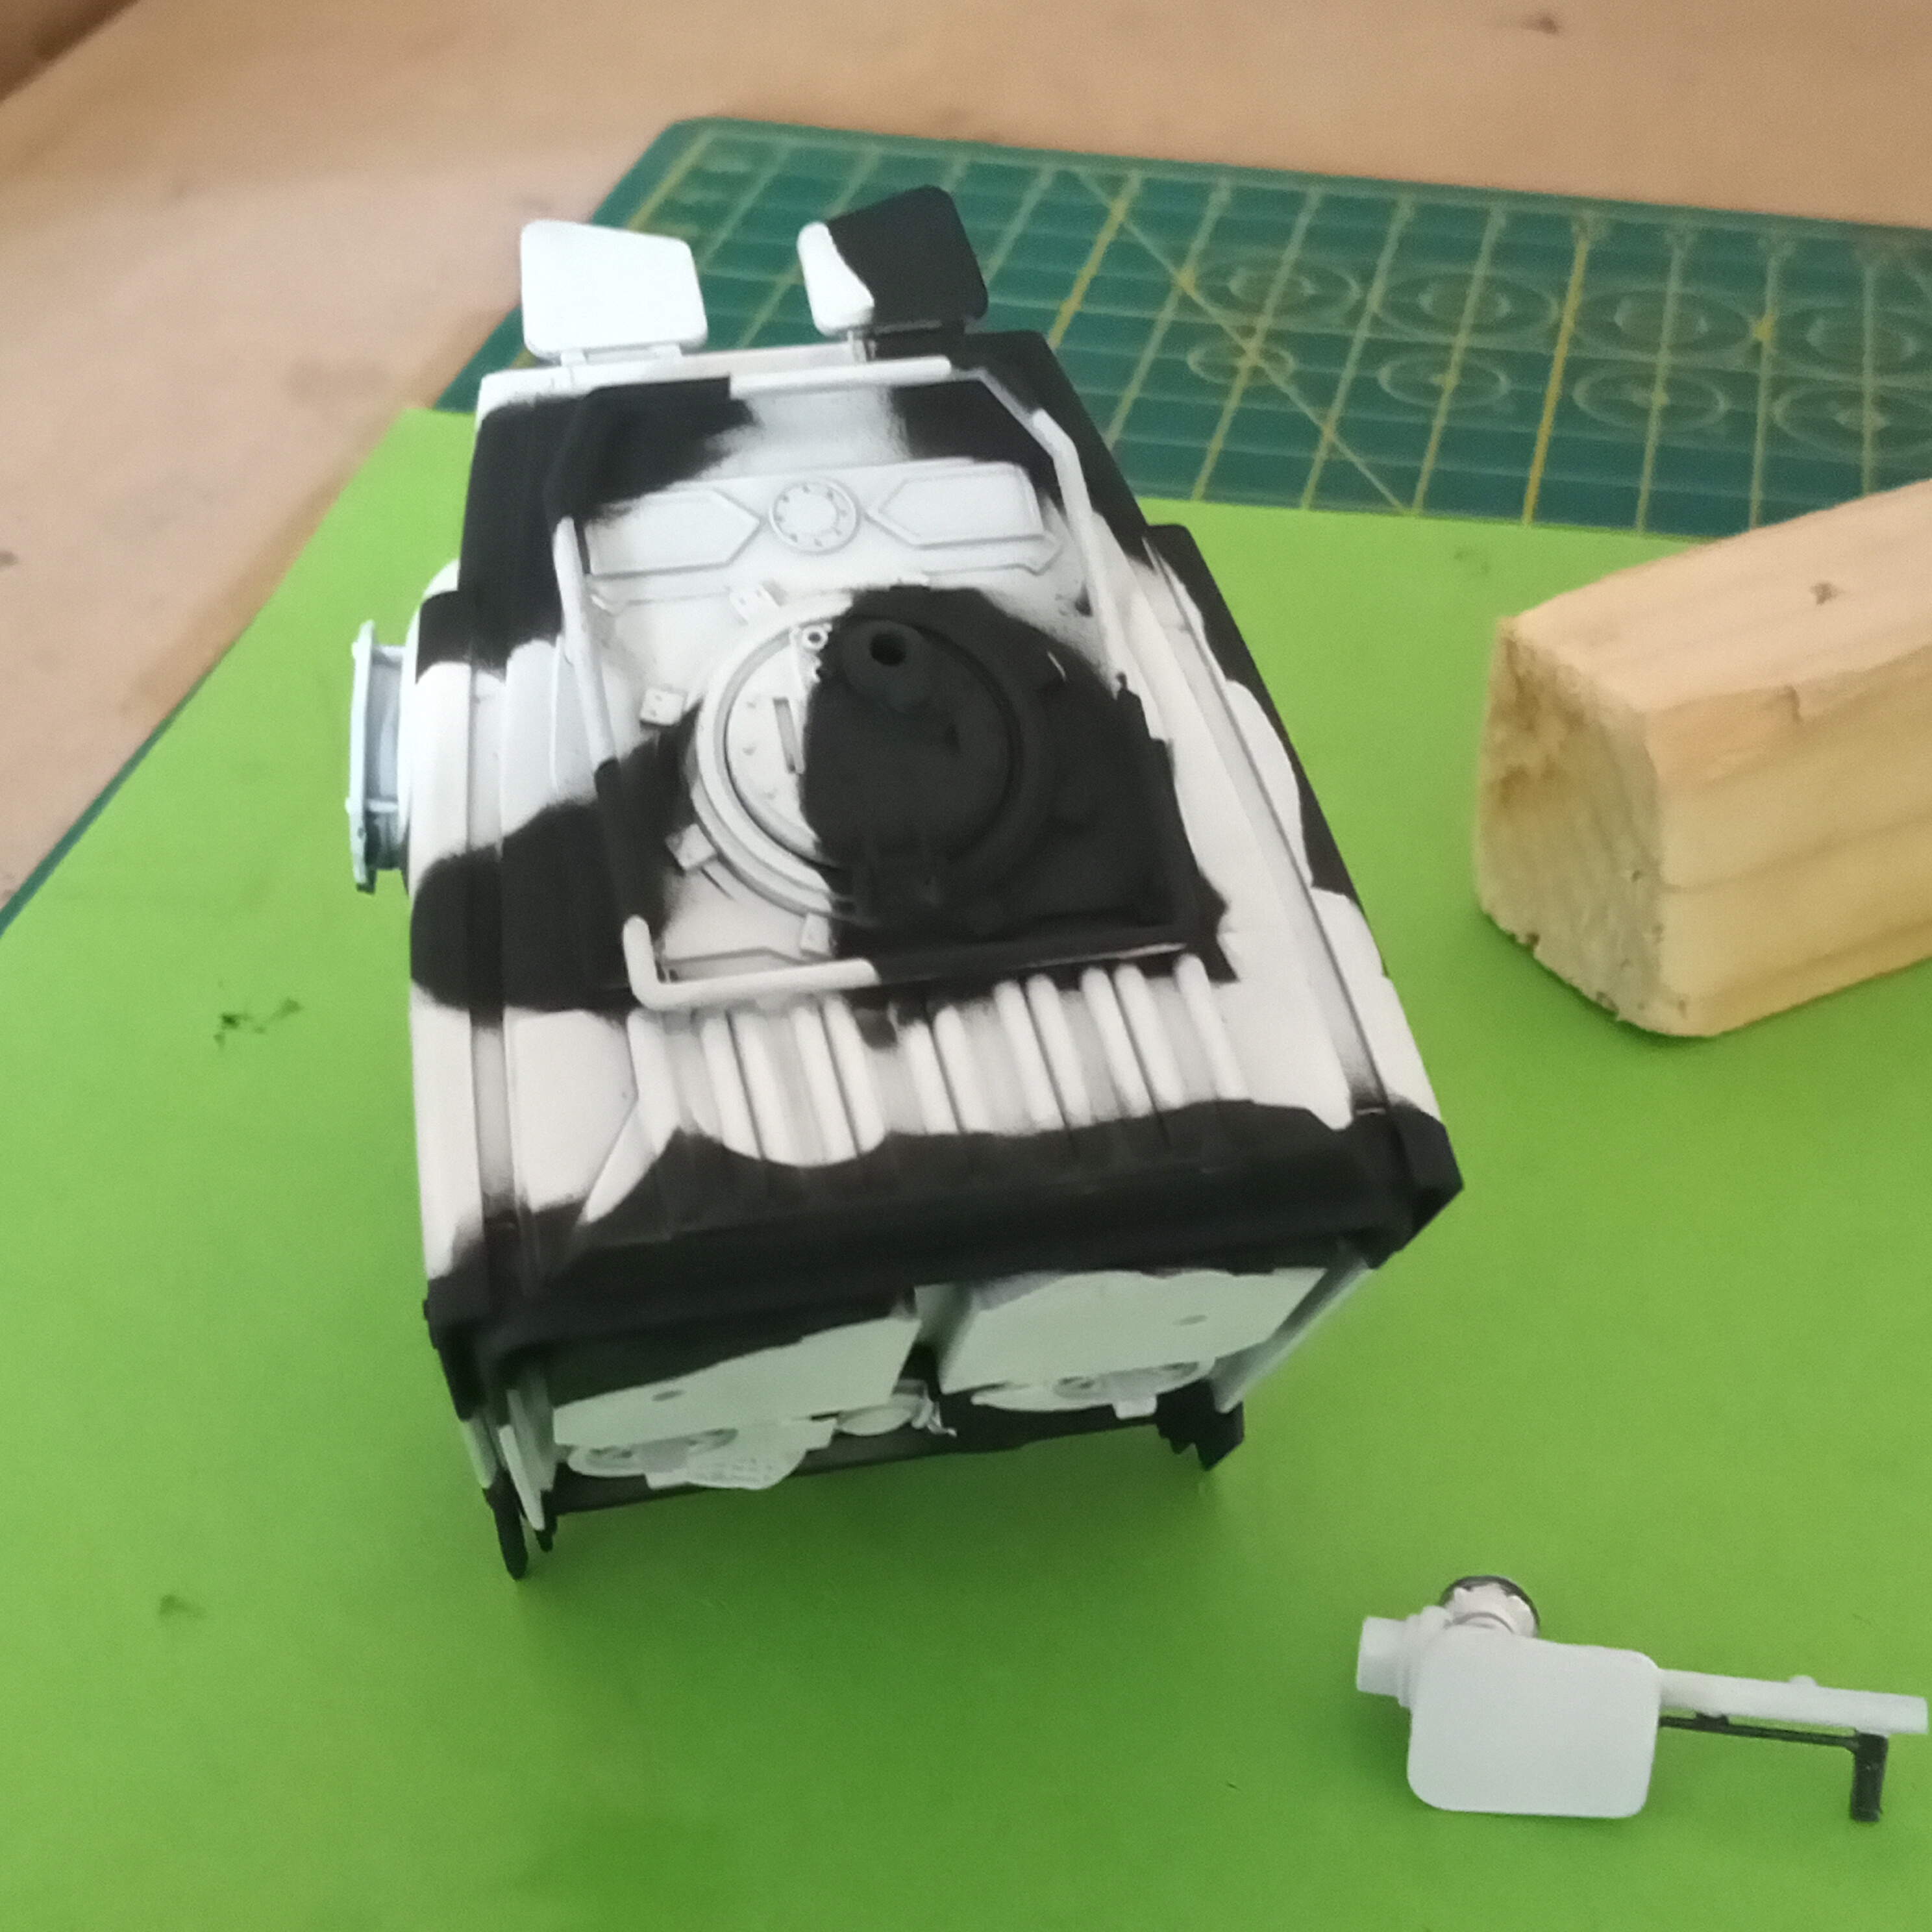
There are a few bleeds and some over spray where the masking tape lifted, but I will sort this out when the green gets put on… Not sure which green yet.
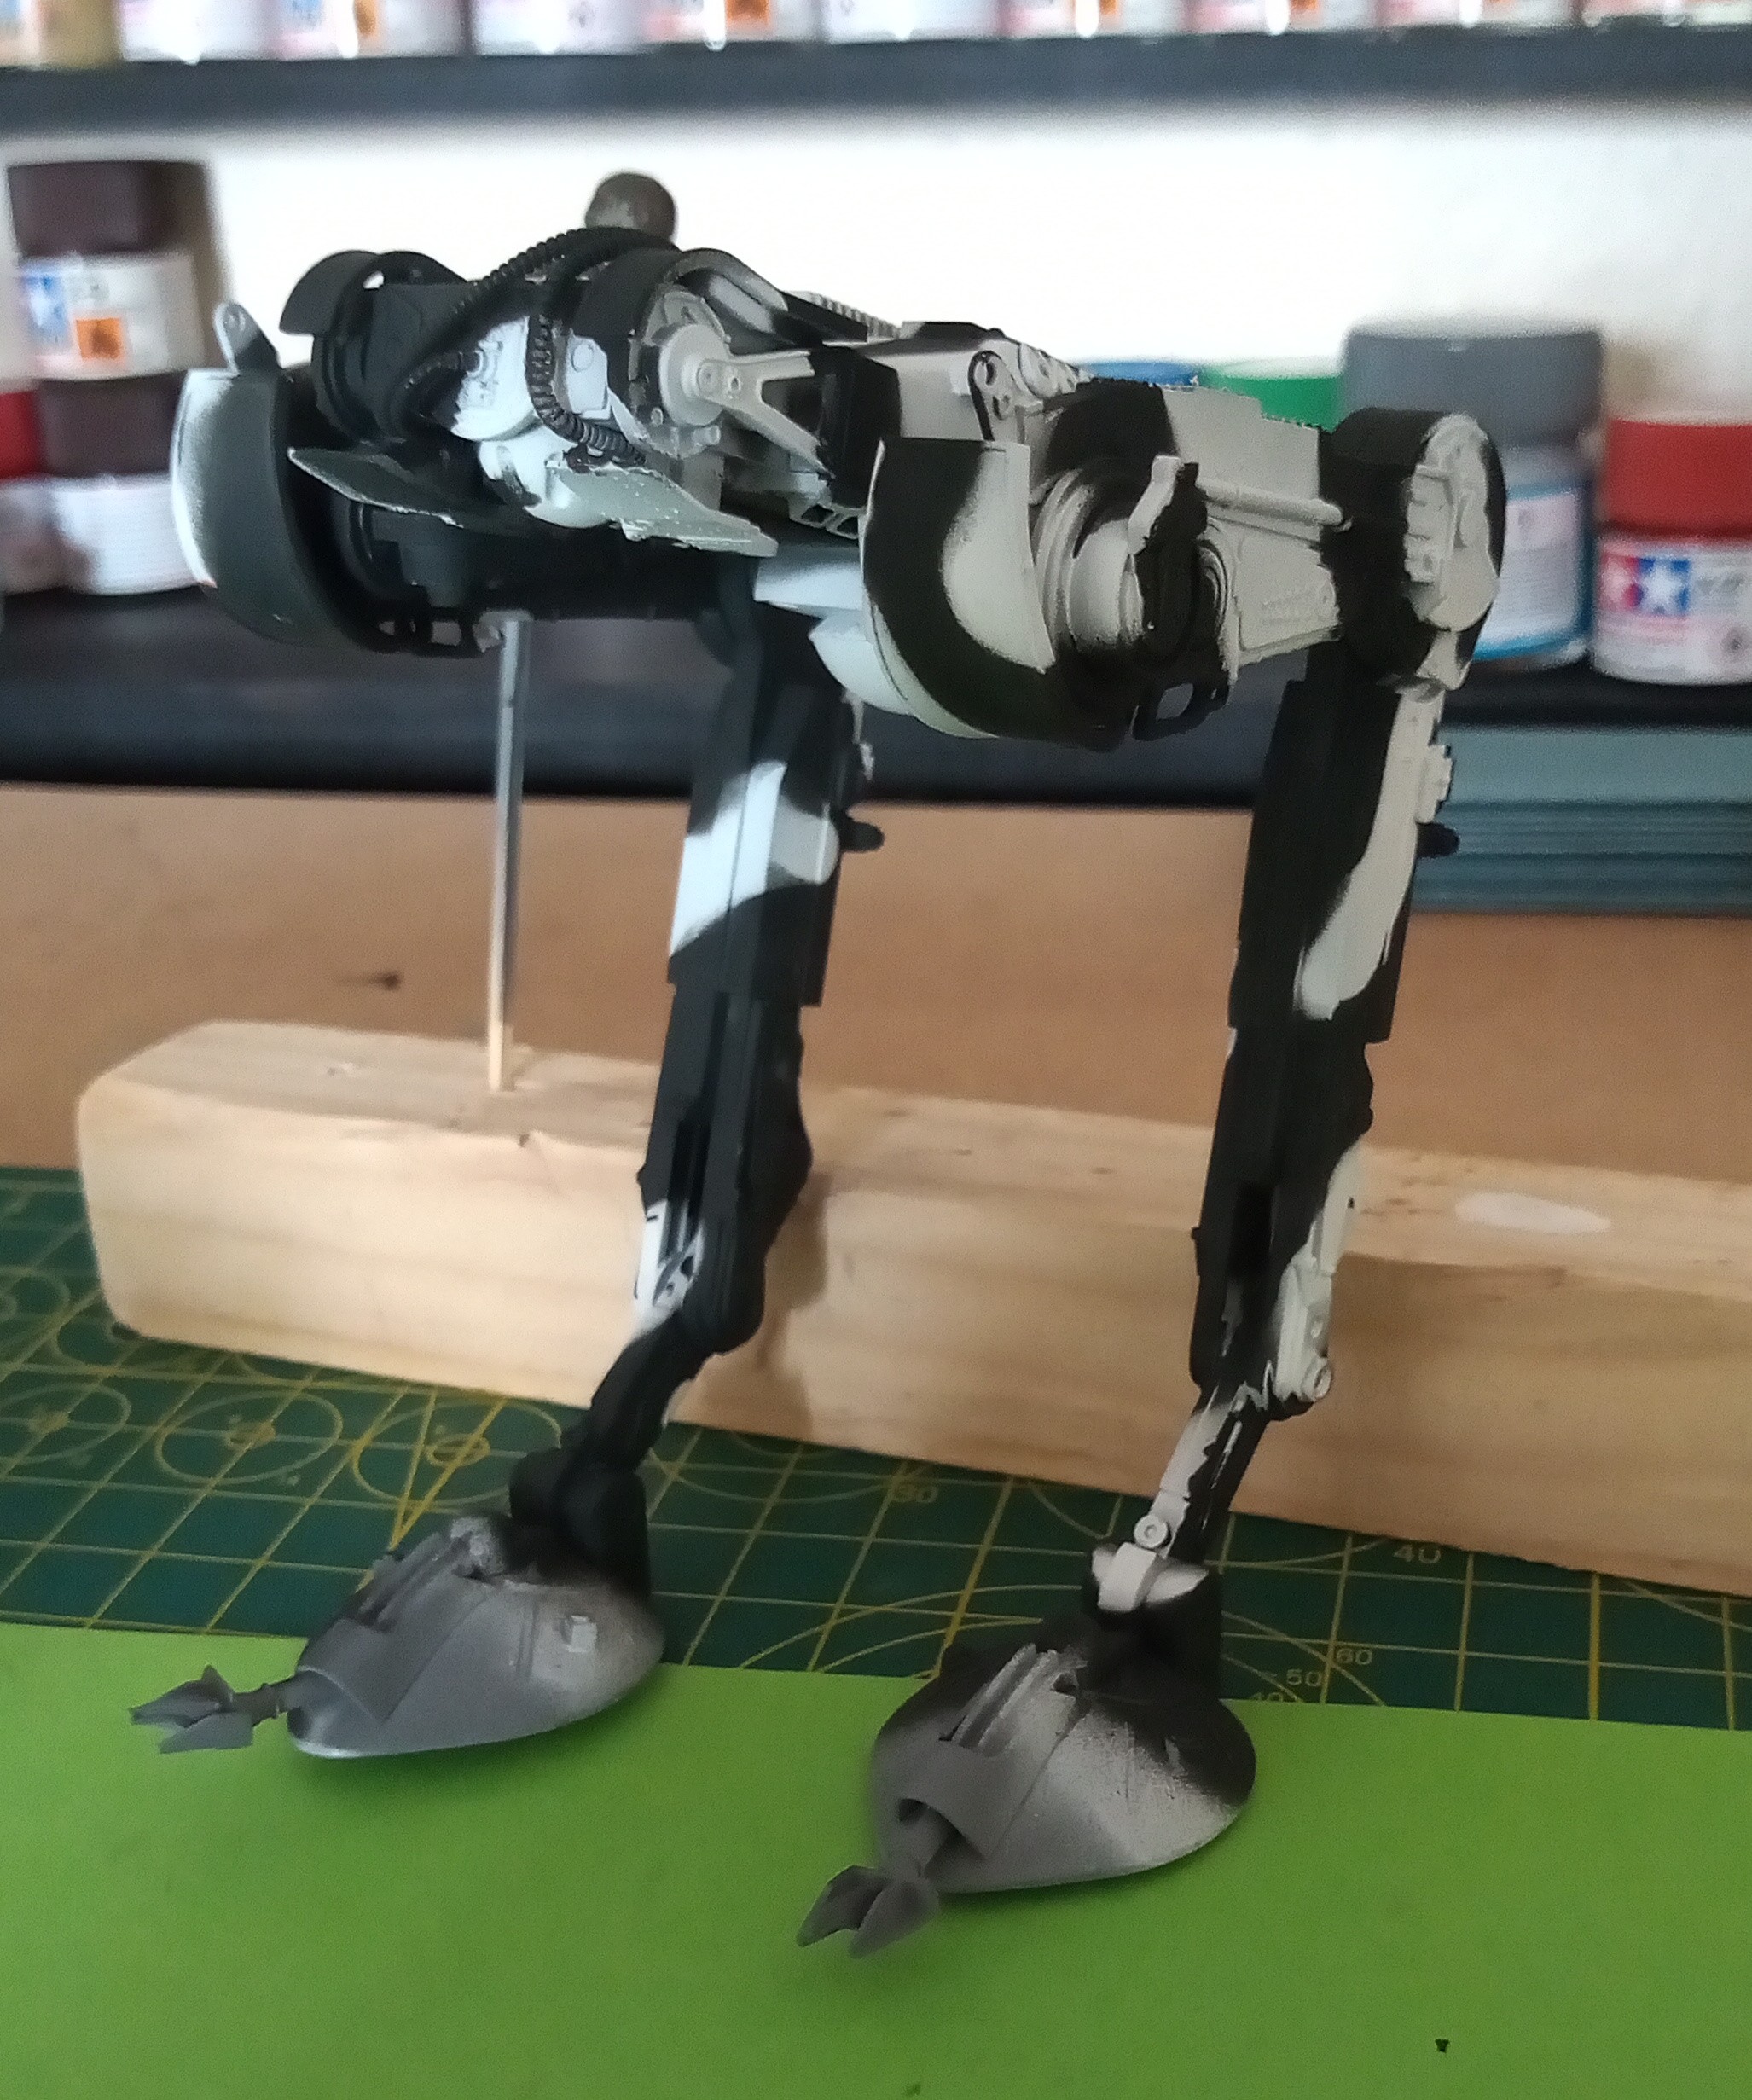
Both feet will be finished in green and roughed up a fair bit.
When the green eventually gets to go on … I will be doing it as a speckled scheme…
5 Likes
Looking good.
1 Like
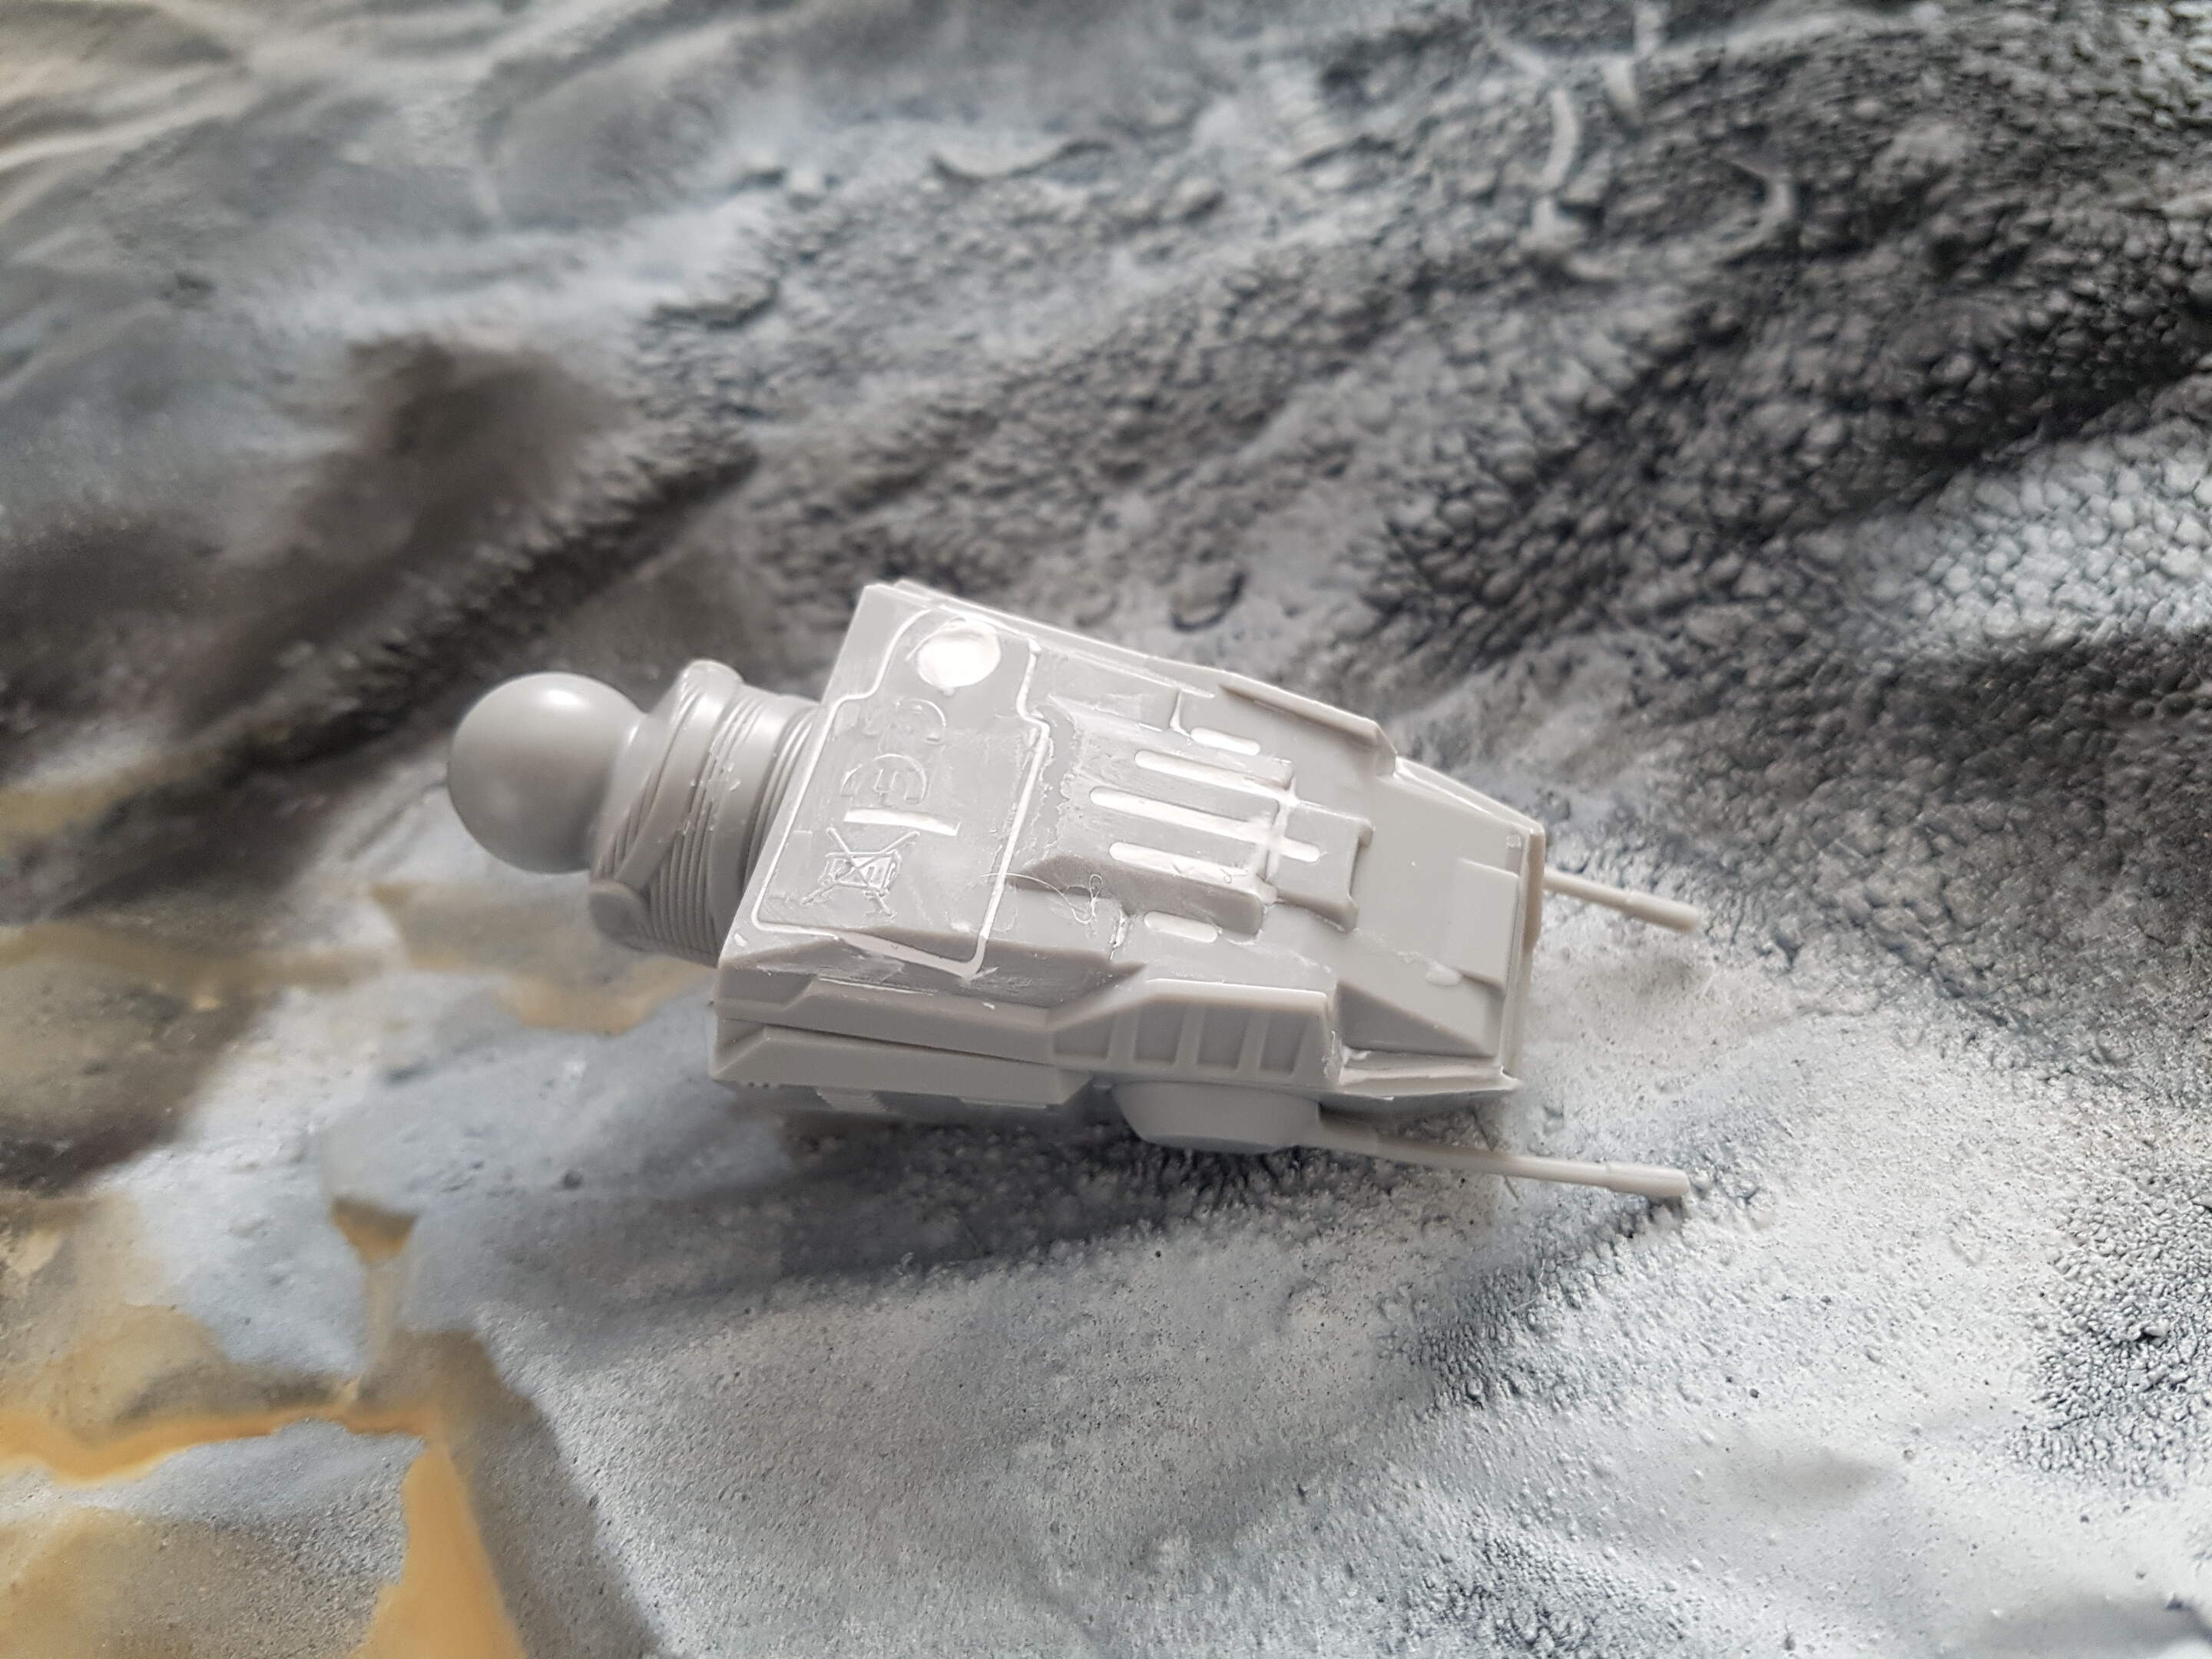
well I have finished the head and filled most of the gaps except for the front vision section. I have sanded off the “safety dispose of the battery” raised logo on the underside of the head.
I have started to work on the main body filling the gaps and removing the “Revell” logo as well as the “made in china” raised lettering where the head connects the main body.
The upper two surfaces are devoid of any detail so I feel I need to add some as you can see in the picture below.
4 Likes
I see what you mean David… A few little additional bits won’t go amiss and wil only add to it.
After a very busy but enjoyable day training on the Range doing some CQB shoots… It was back to galaxy far far away …
Did the speckled green … Ended up using Tamiya xf 89 dark green 2 … Which I don’t think is particularly dark green if I’m honest… But I like it nonetheless…
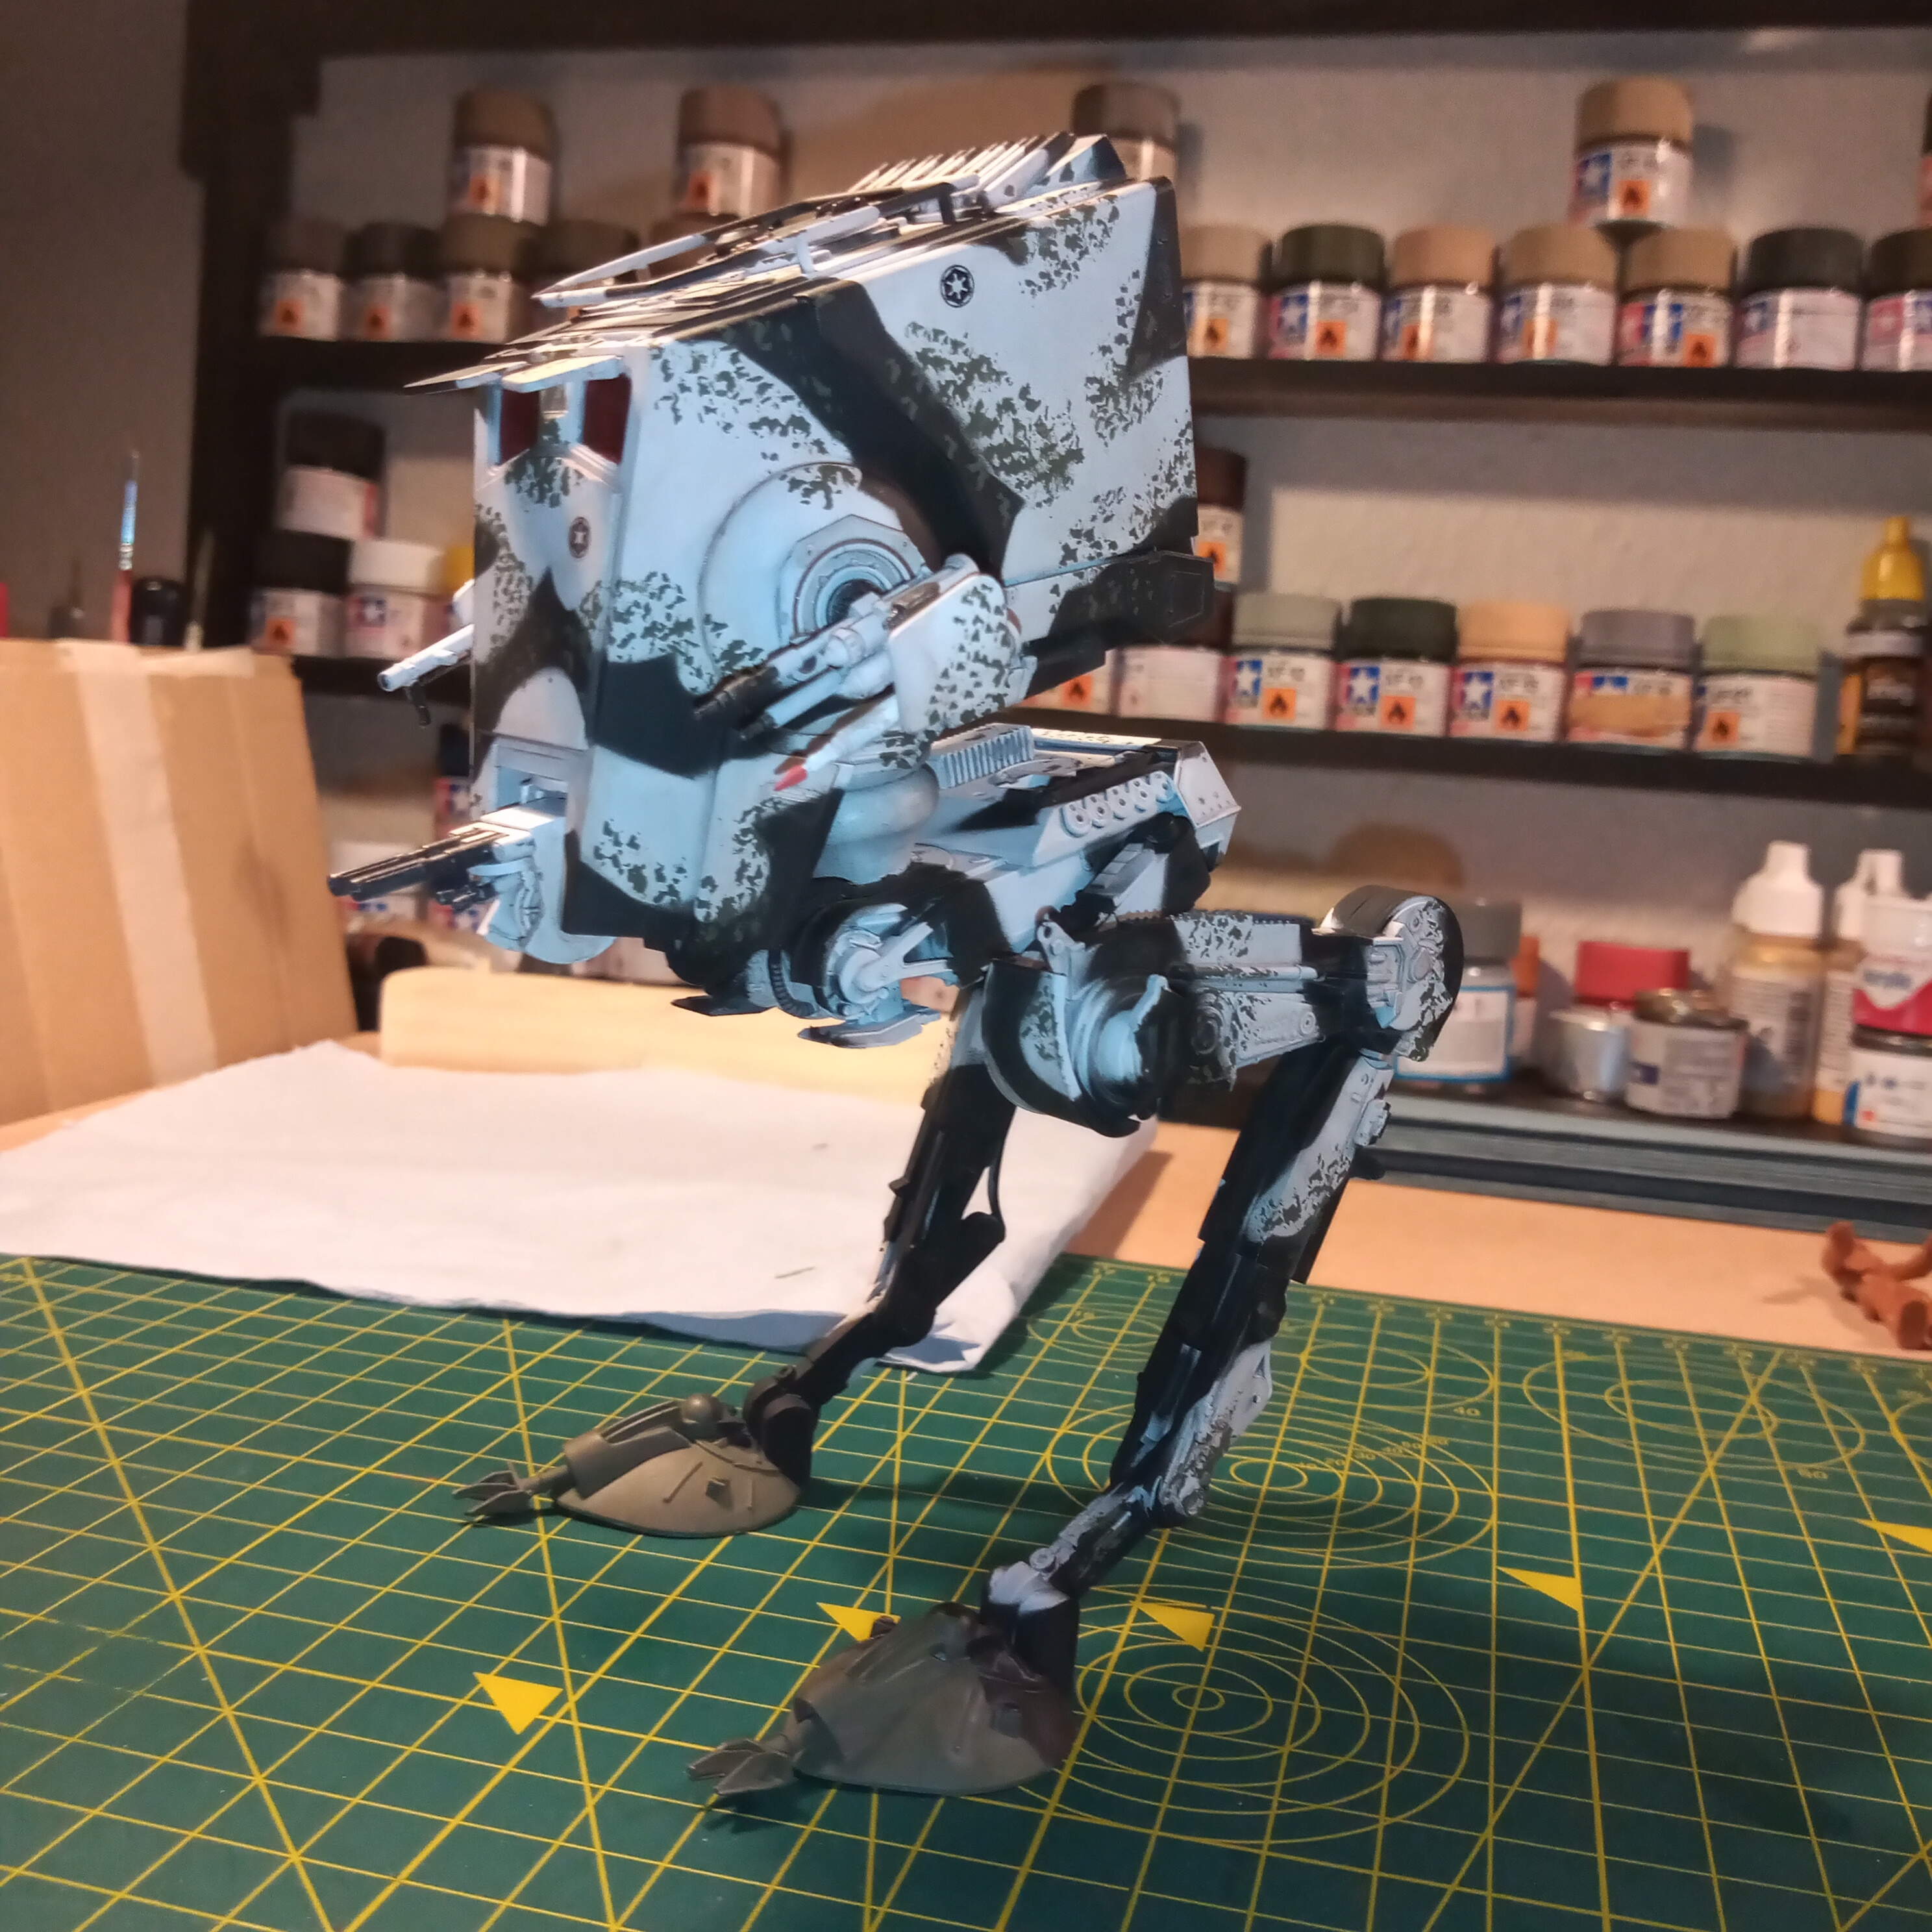
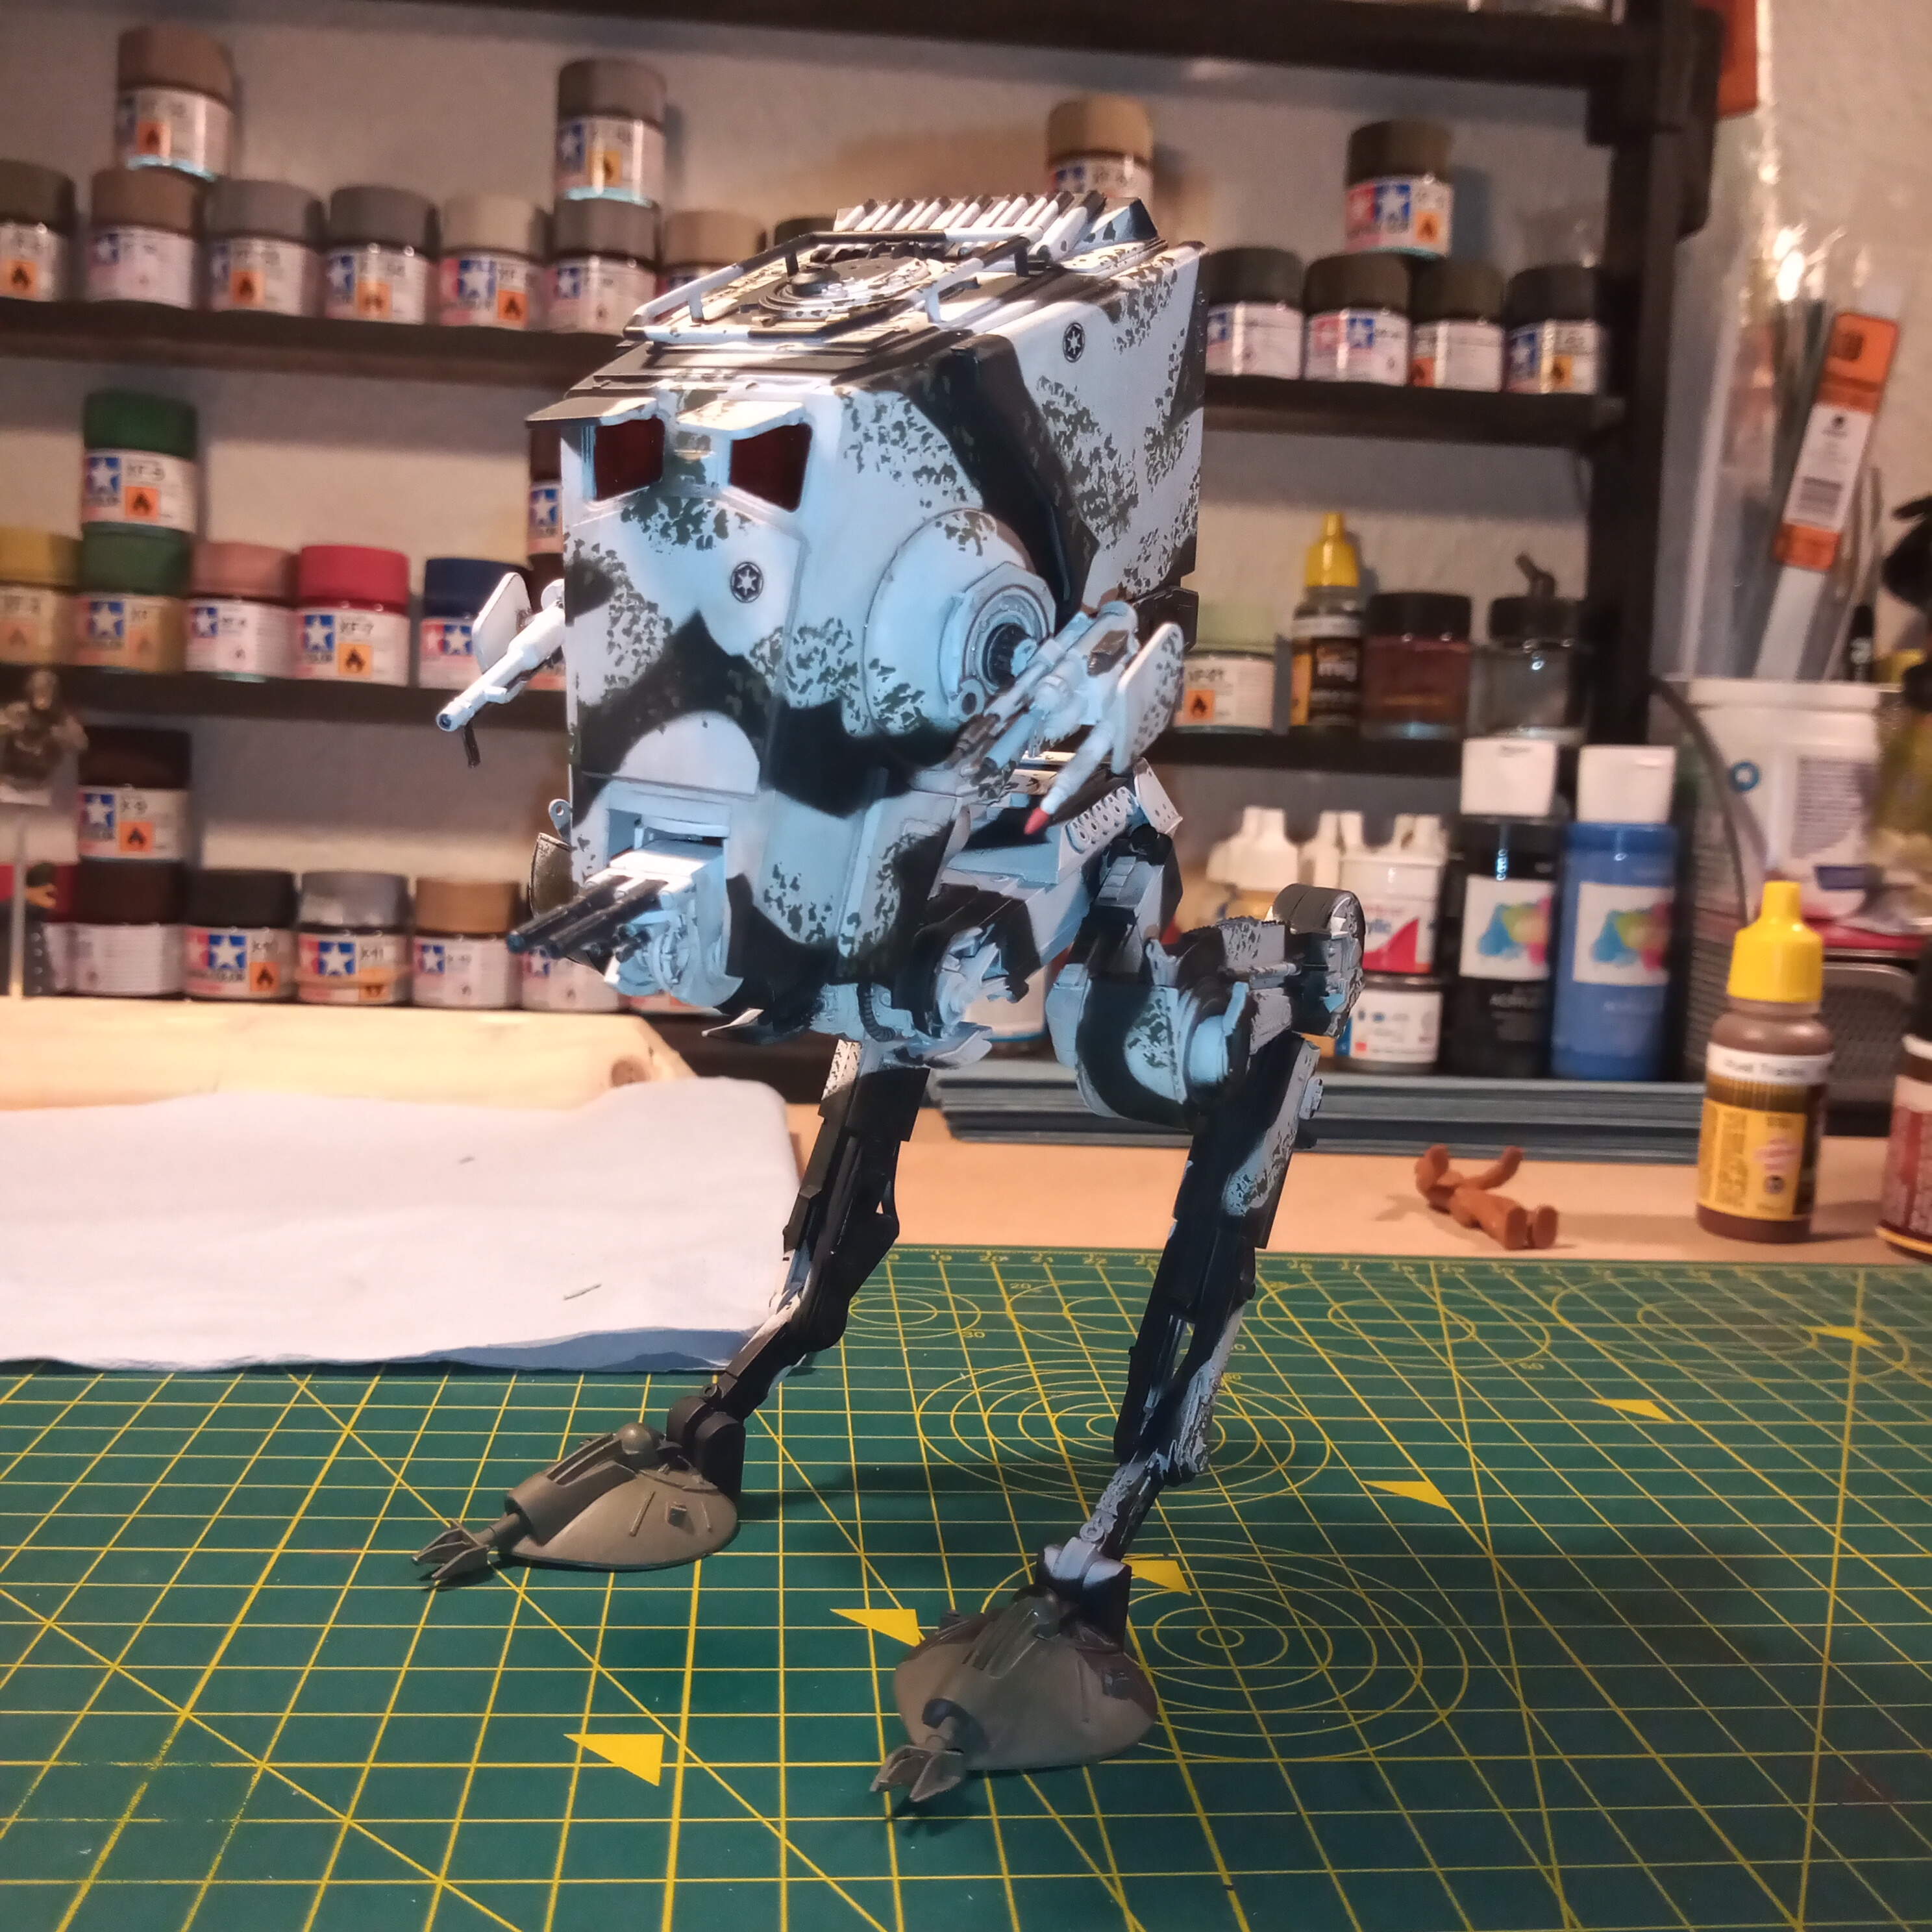
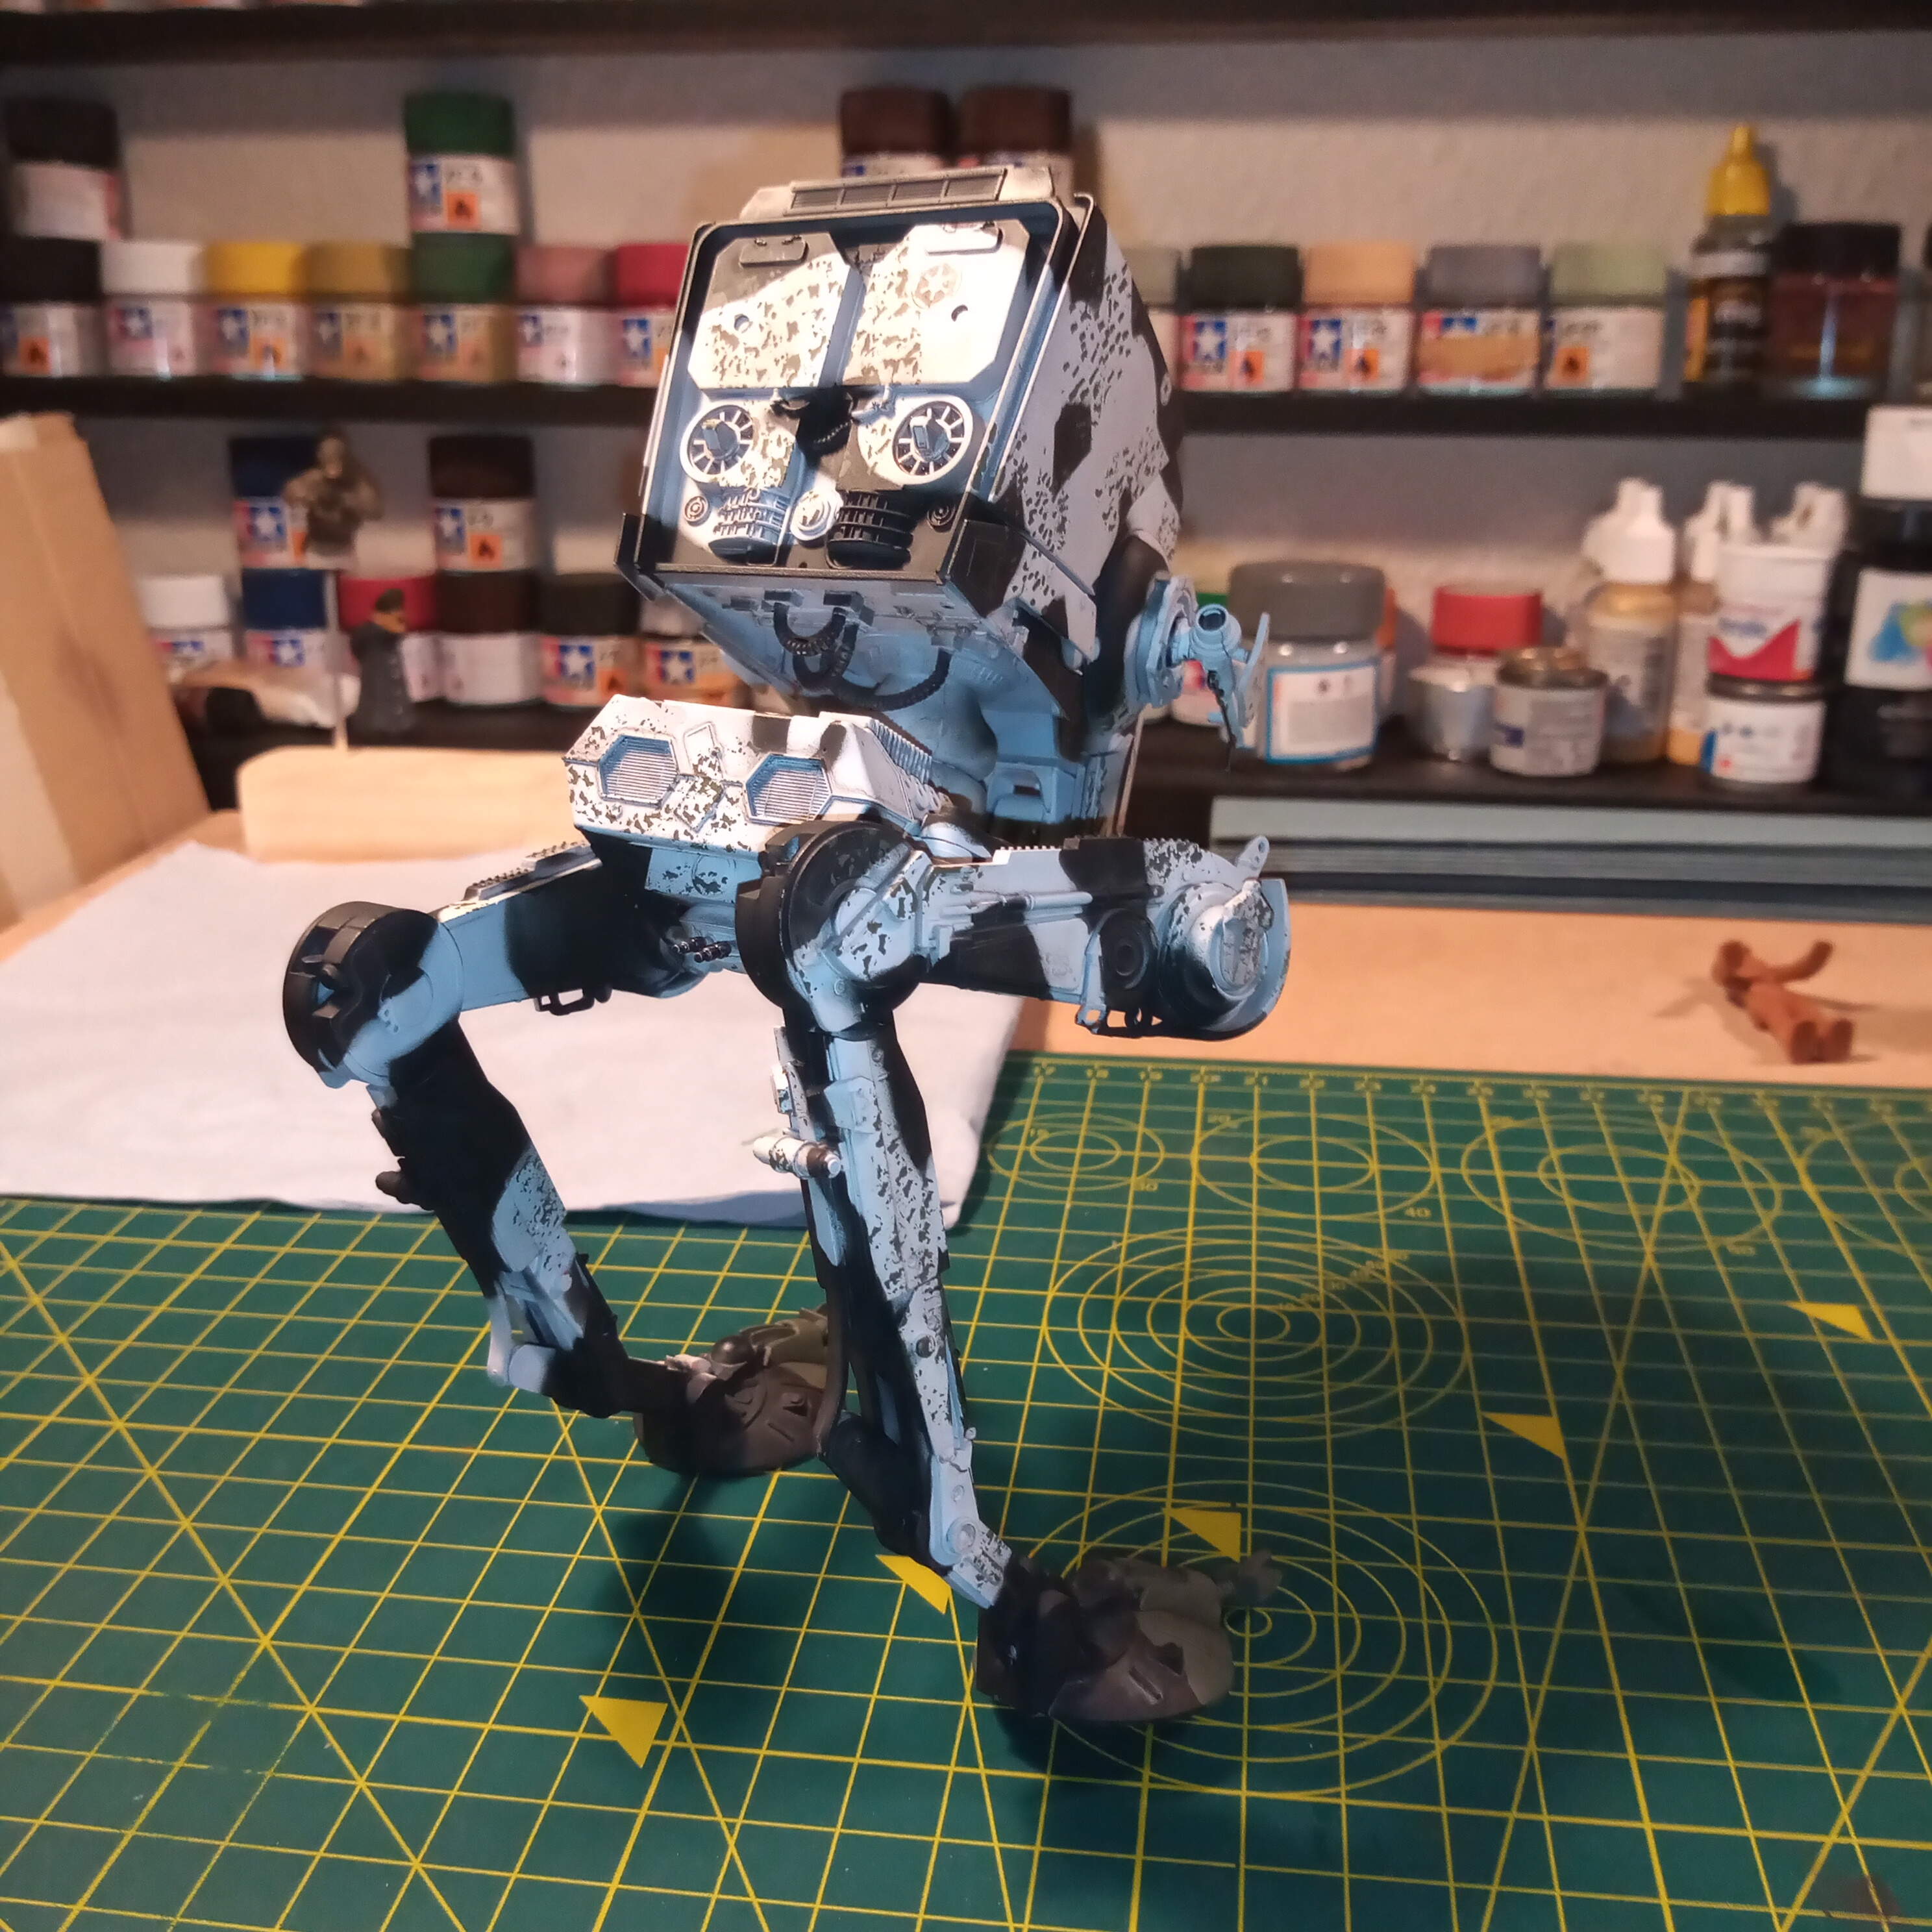
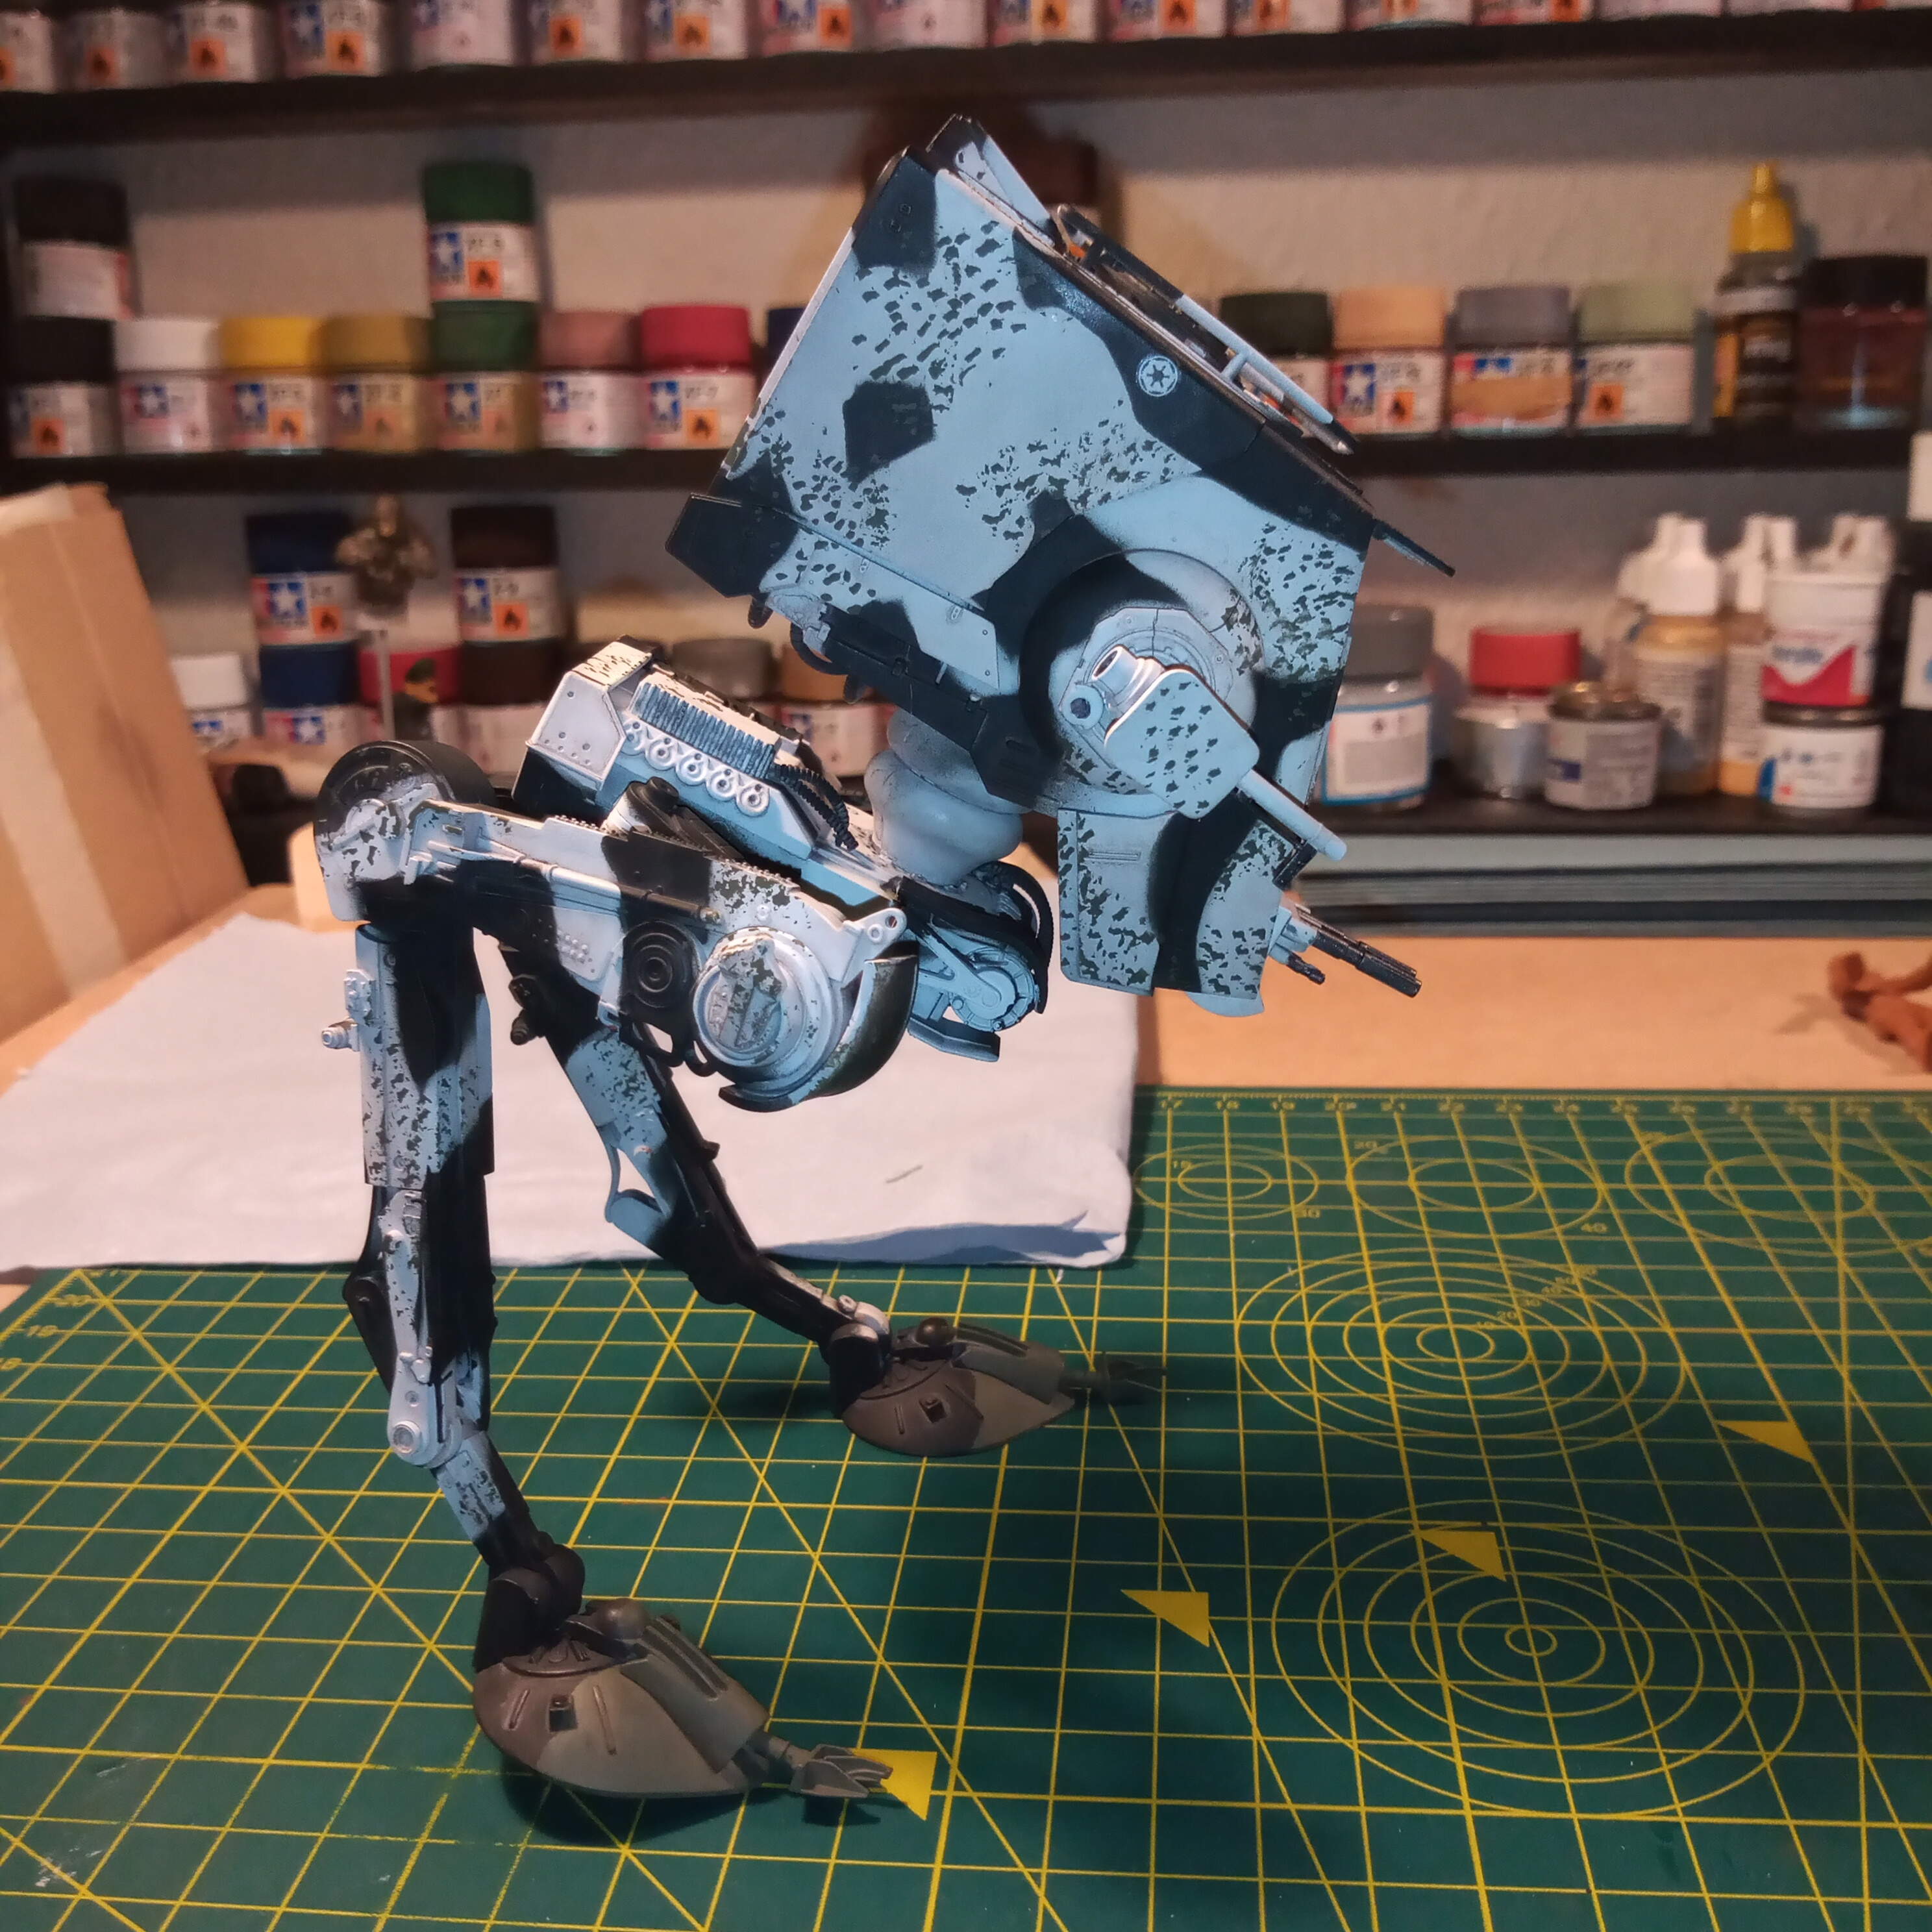
Have given it a very thinned down wash of the AK OIF & OEF wash to tone down the white… A few more detailed areas to paint and weather then that’s it…
9 Likes
Your chicken is looking great.
1 Like
Your chicken is looking great.
Why did you have to say that? Now there’s more schemes to consider:
Cheers,
M
2 Likes
The camo is very effective!
Well done. I really like the small, darker spots. Adds an element of airiness to the pattern. Not as solid.