However if someone want to practice more advanced modeling skills, this kit is the perfect canvas. It have been one of cheapest decent model kit for a very long time. When I started my build I didn’t know what I was doing and a lot of the fixes are easy to try.
Fantastic! Definitely don’t want to get bogged down! Definitely agree it should be a fun quick build of an old kit. I’ve decided to nix the idea of the the Aries cockpit. May just add the RAF style drop tanks and scratch the vent louvres and call it a day
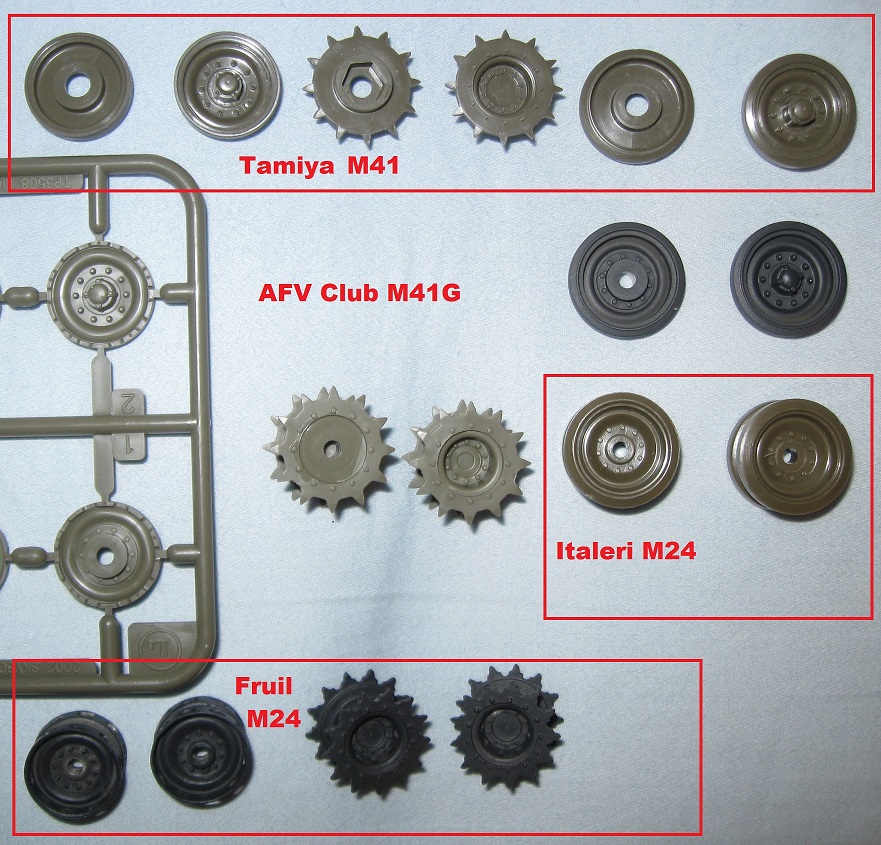
My understanding is that the Skybow M41A3 / AFV Club M41G offer the best plastic representations of M41 road wheels. In my opinion, the road wheels in the Tamiya kit look pretty good.
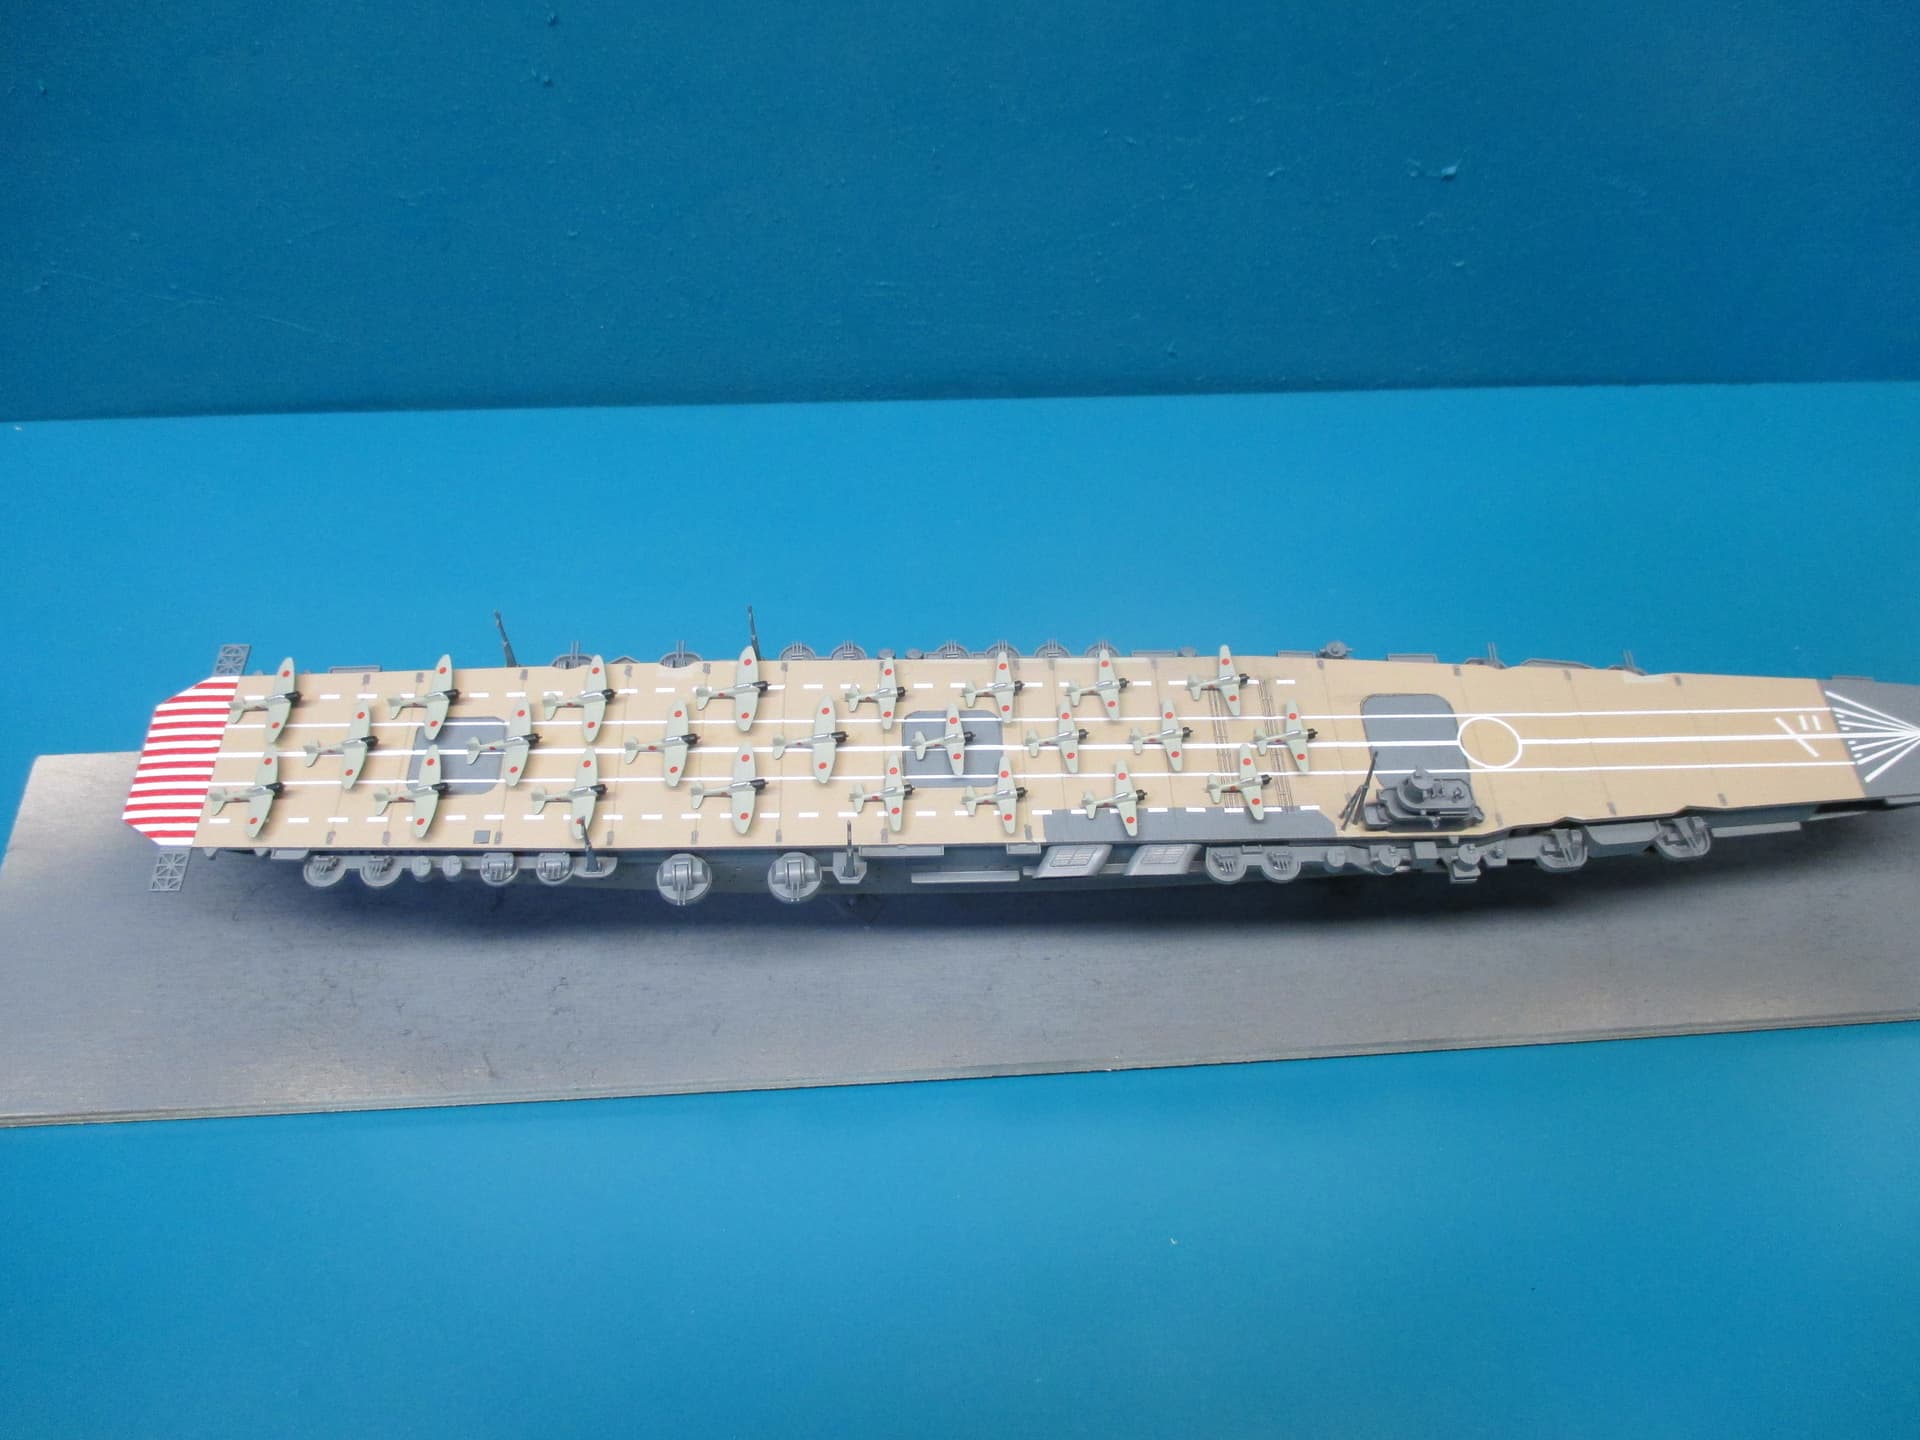
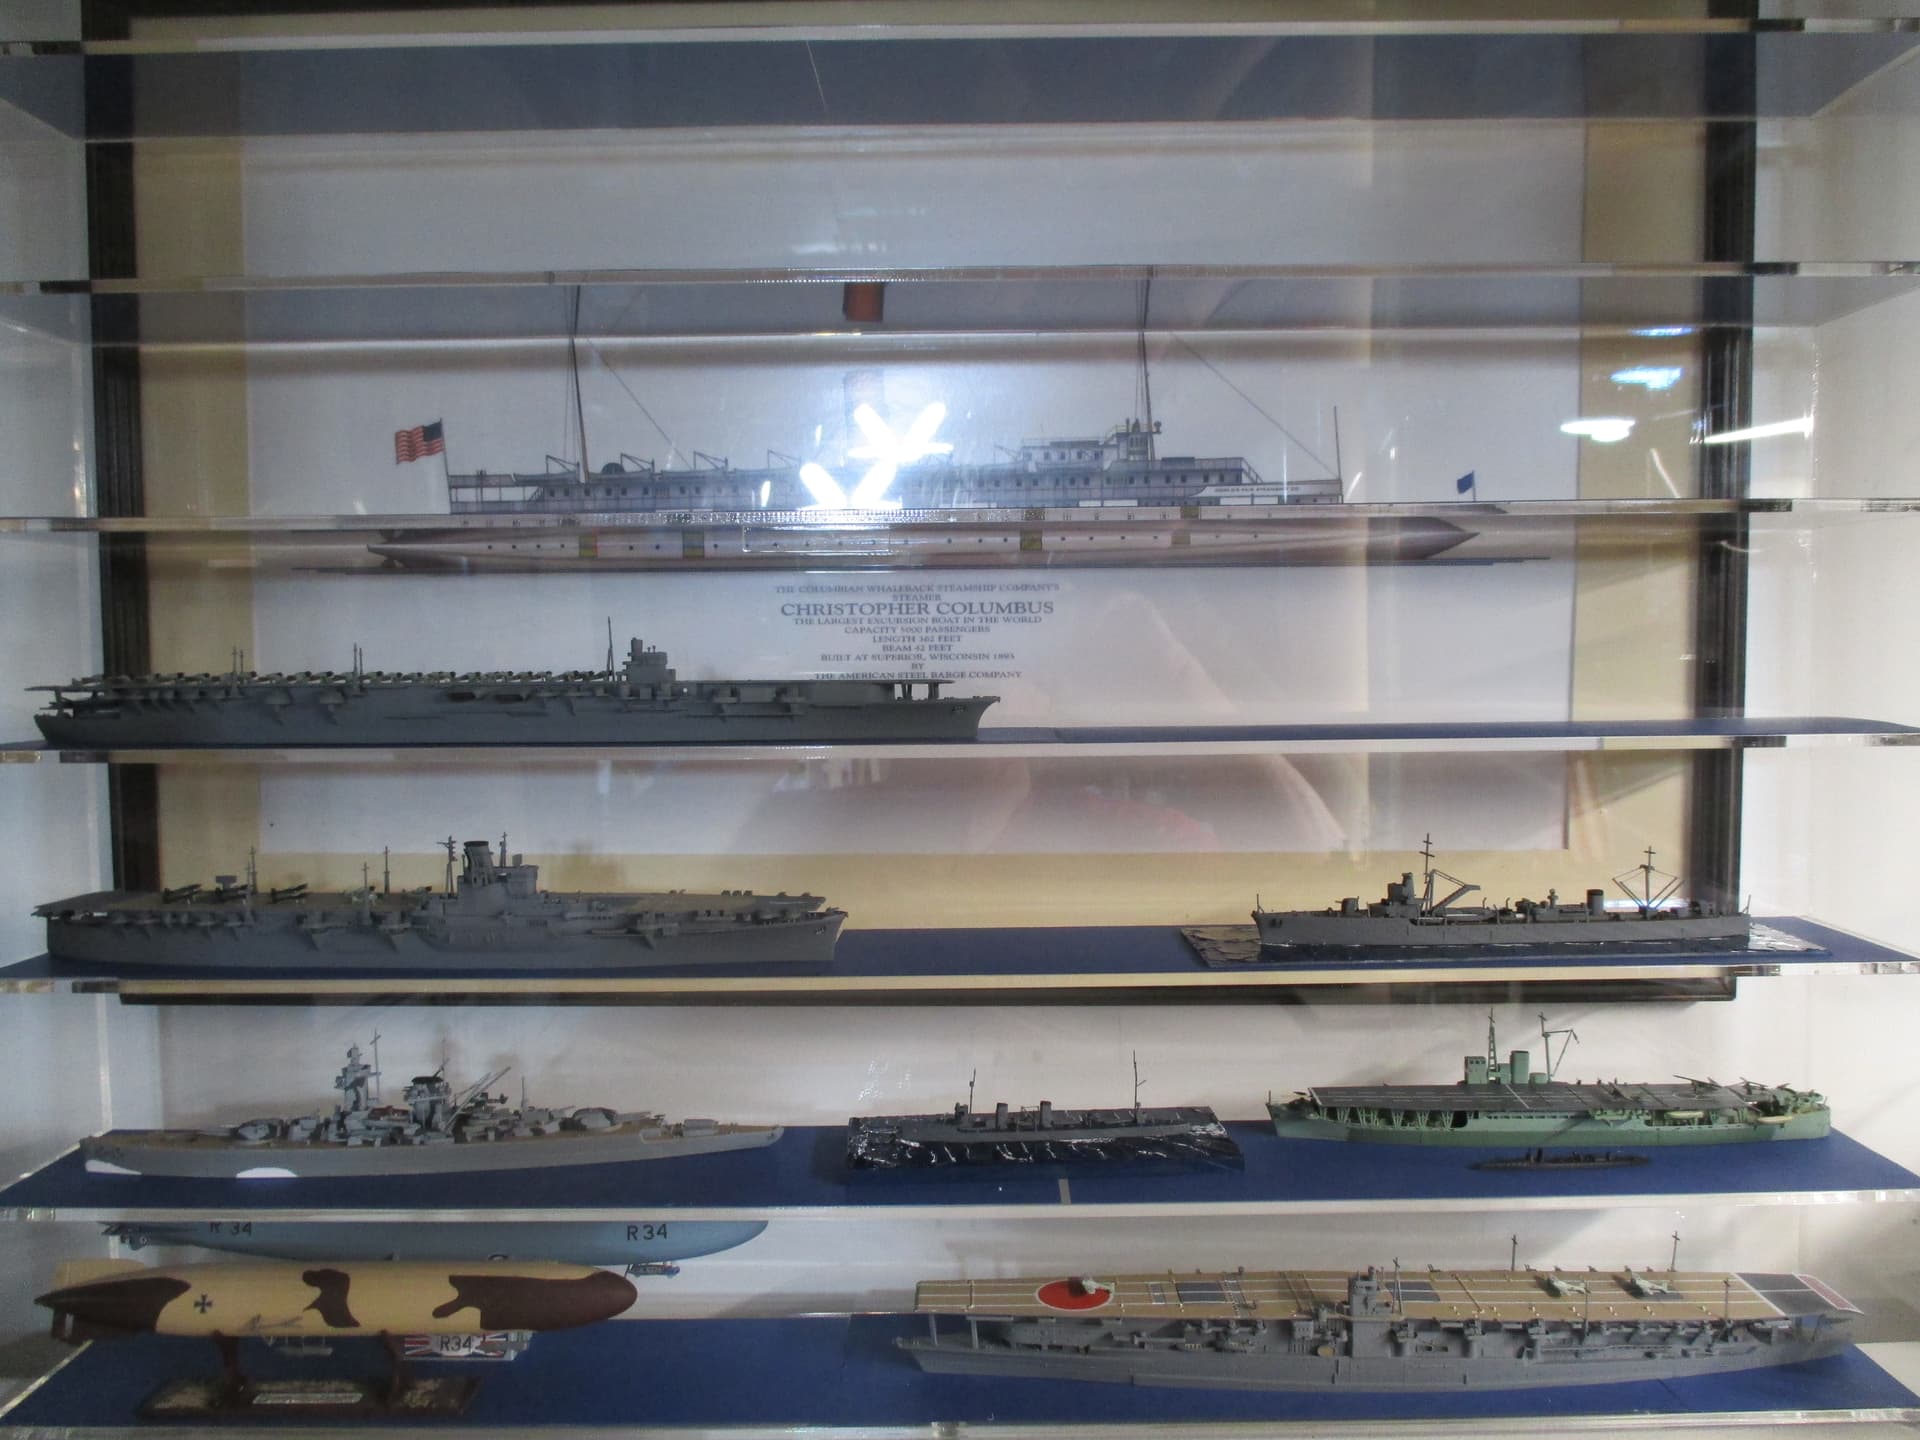
Over the last few weeks, I’ve been watching all back episodes of The Drydock on YouTube while working on various projects. Battles of the World War II Pacific theater are often discussed, causing me to start looking at ship models. They take up a lot of room but I could see myself building Dreadnought, Warspite, or perhaps a destroyer in the not too distant future.
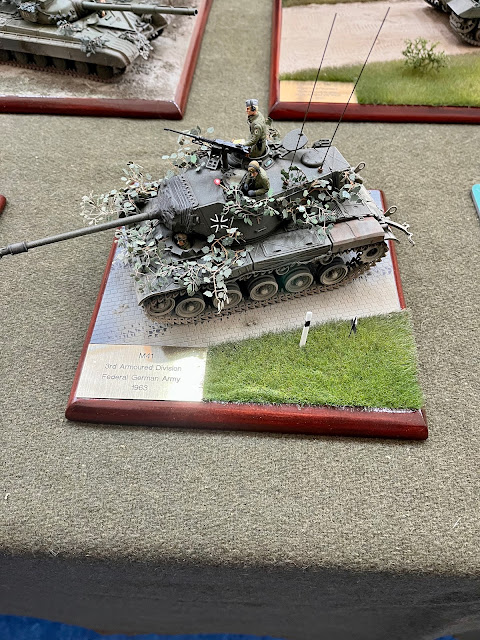
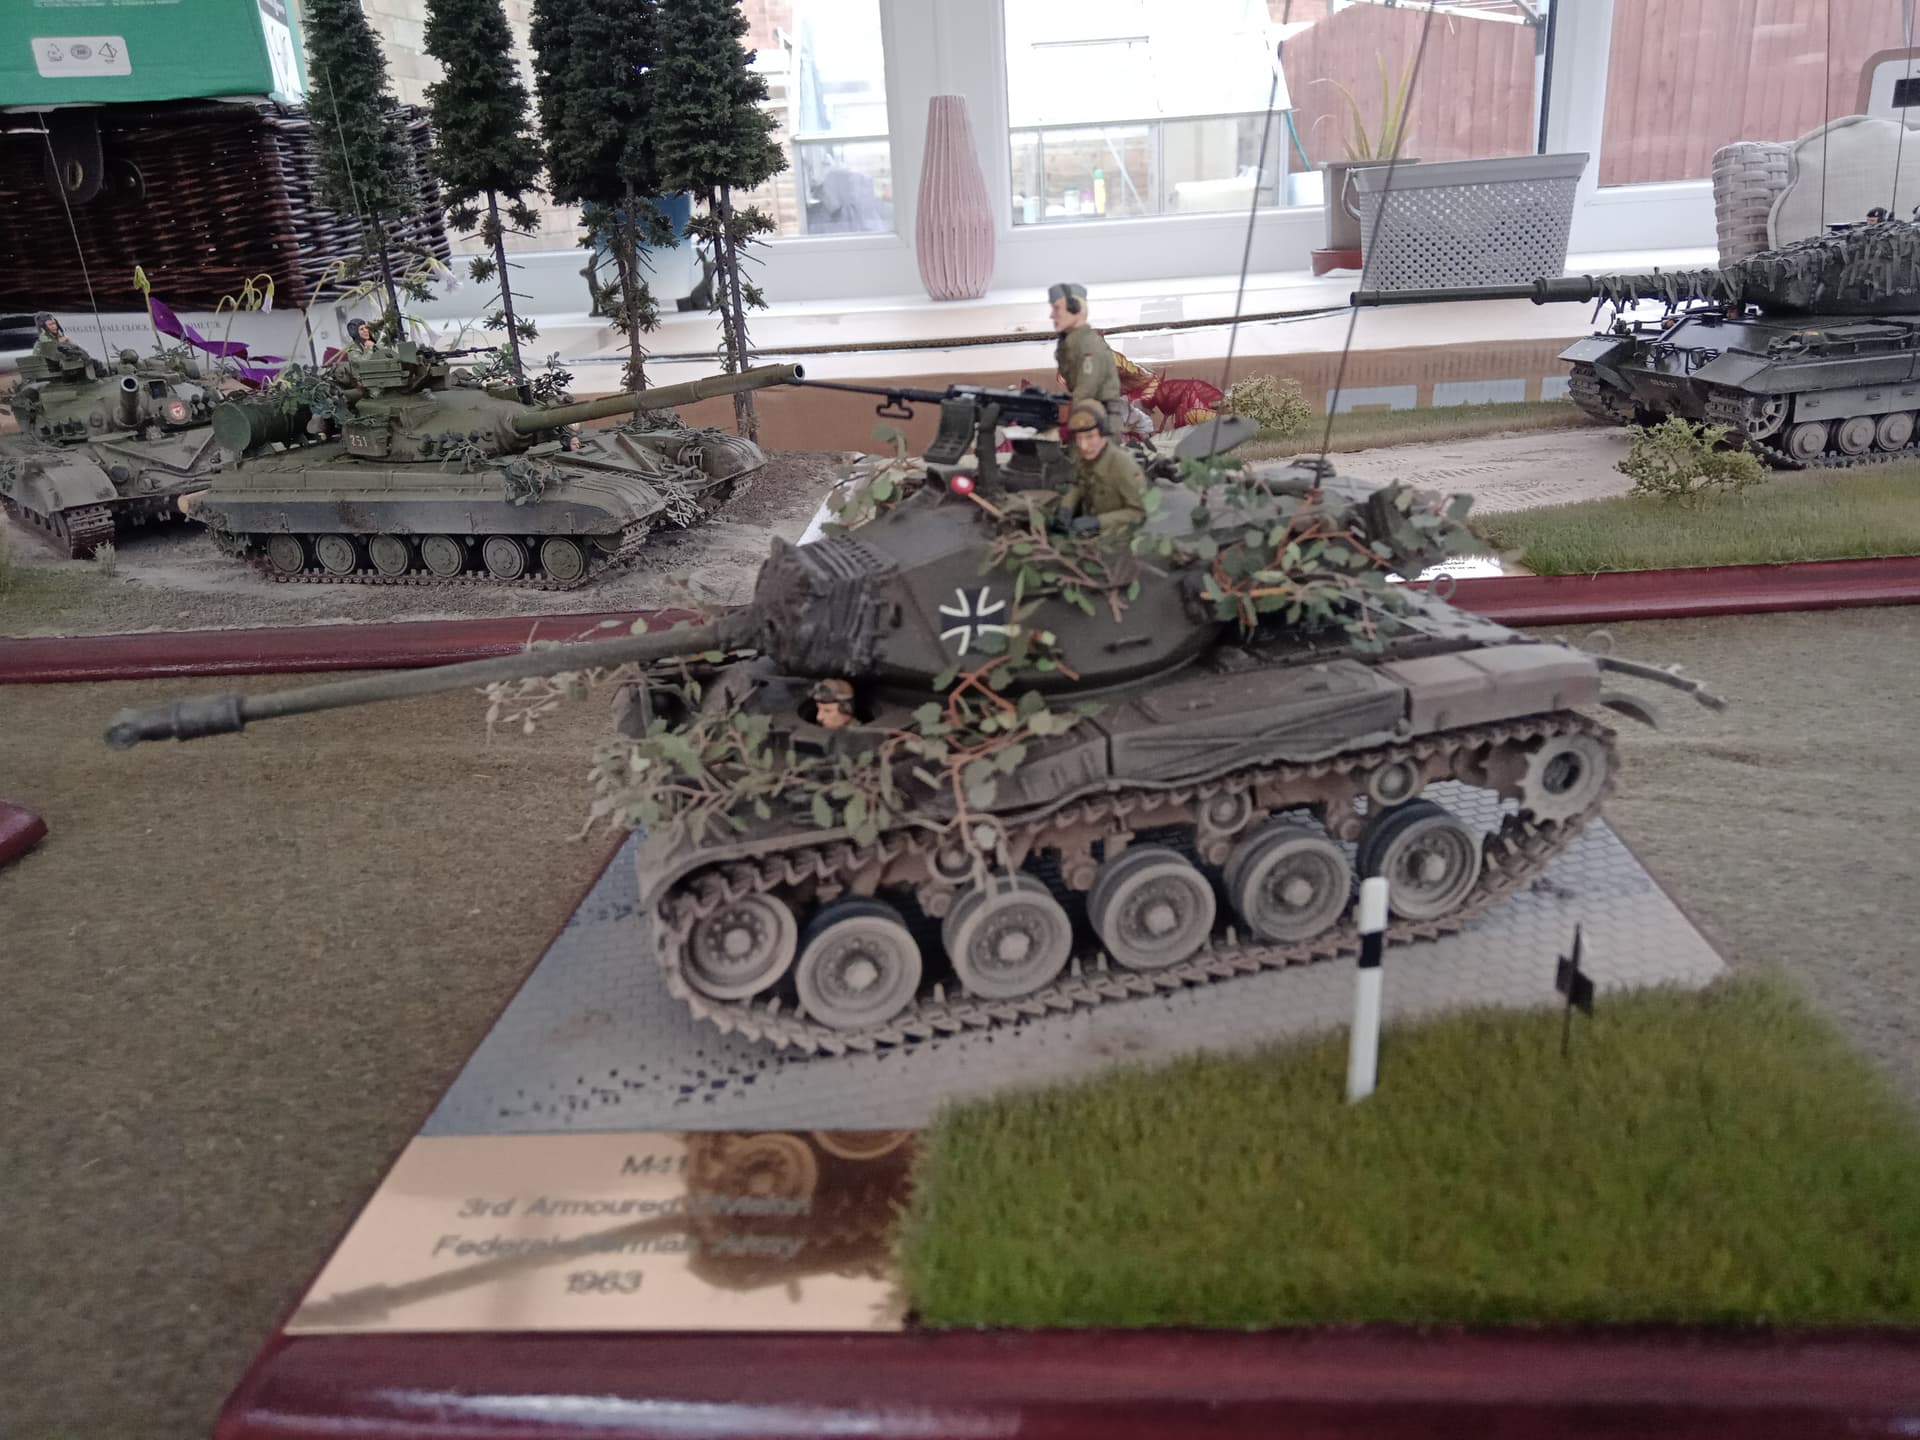
I tackled the Tamiya M41 way back when to try and model a Bundeswehr version; I wasn’t quite aware of how much needed doing back then, (this thread has been very informative) but I recall using the AFV Club suspension and their rendition of rubber-band tracks. Other mods were the ribbing on the stowage bin sides (an easy enough fix with plastic rod), the auxiliary exhaust (or whatever it’s called) - from solder and scrap), the hatch stops on the glacis, and a few other mods which I can’t quite remember.
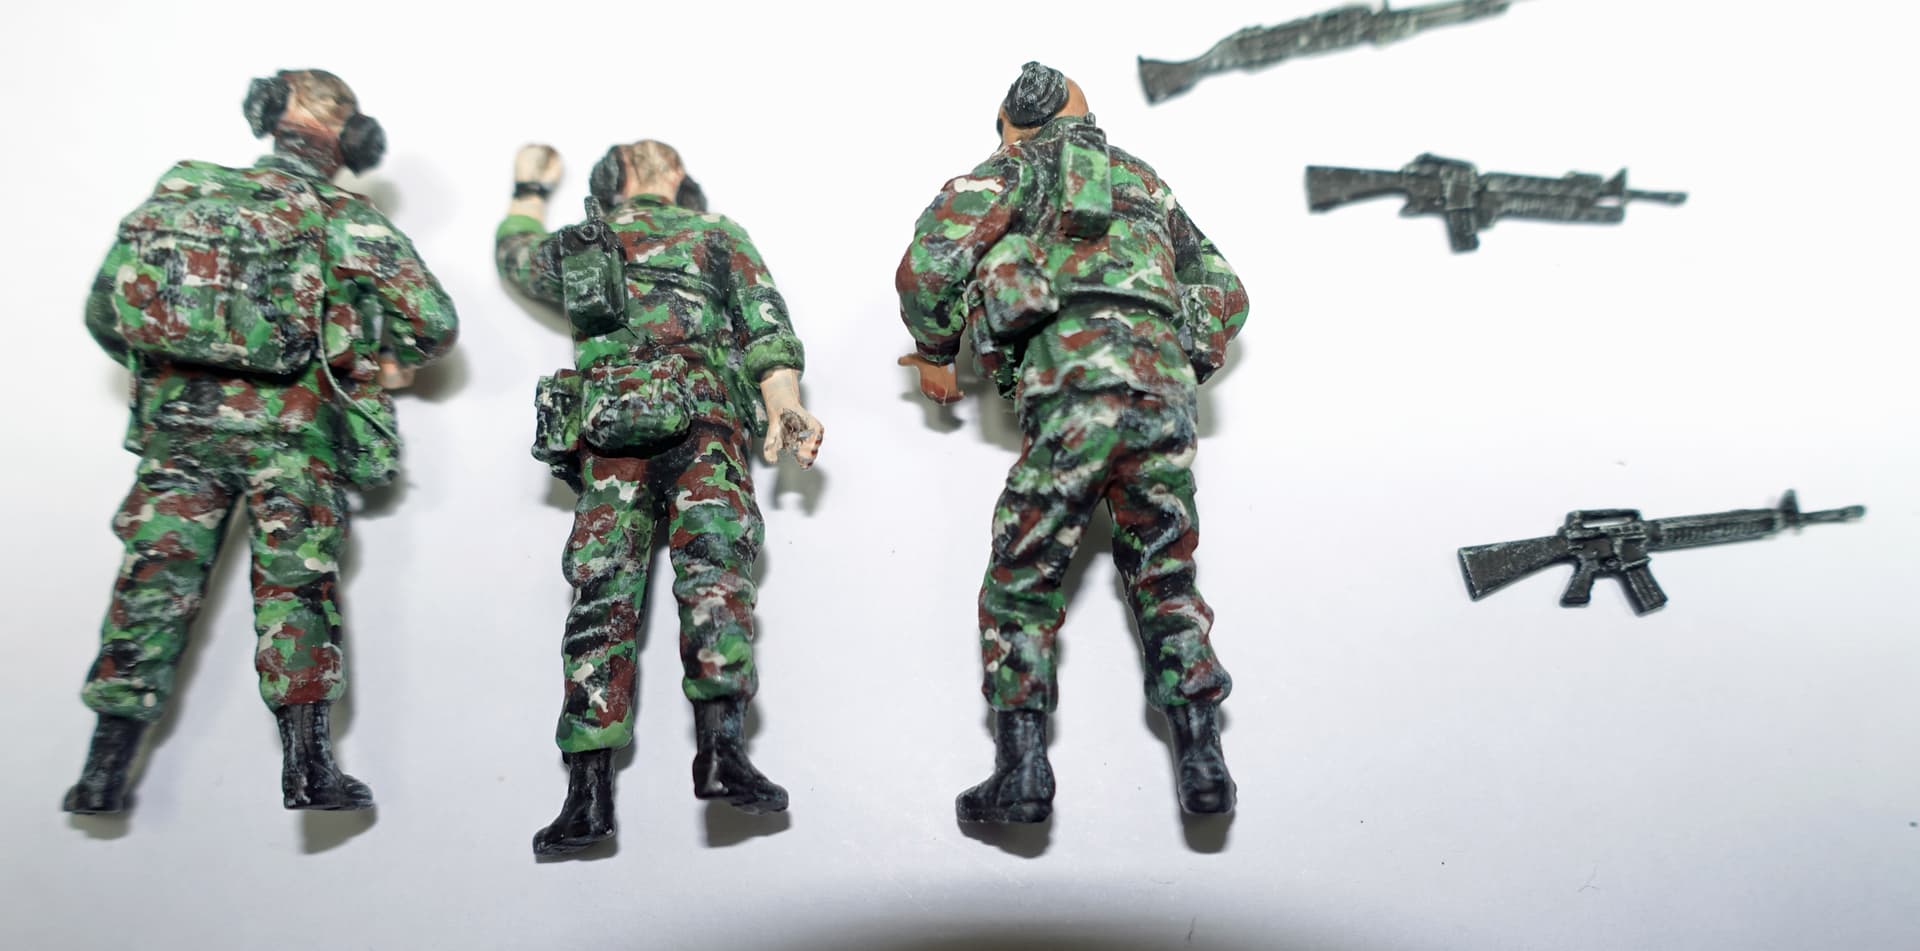
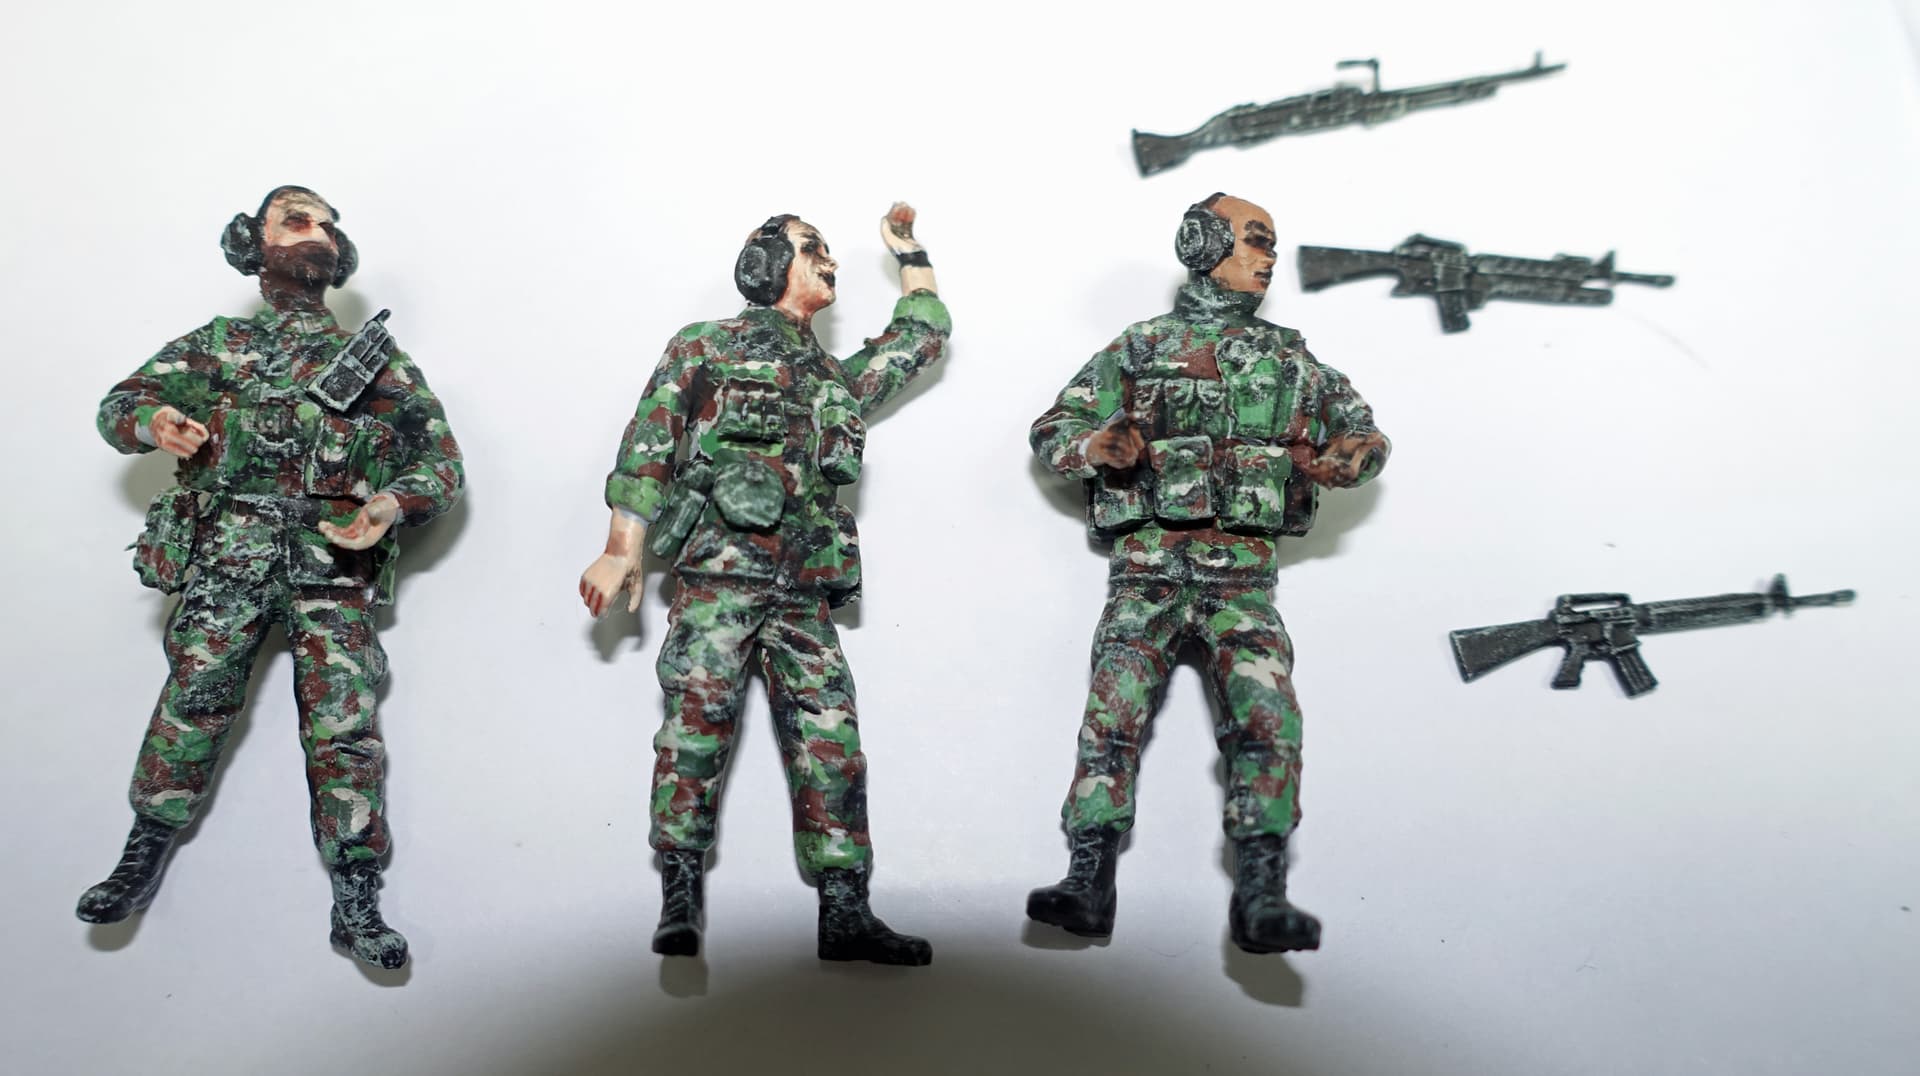
The mantlet cover was relatively easy and at the time was one of my earlier forays into making them; I used Milliput mainly, with plastic rod to get the corrugated effect at the top; this gave me confidence to tackle other mantlet covers over the years. I replaced the MG with a version from an excellent Academy accessory set, and installed a Valkyrie crew. There were, I’m now sure, many other shortcomings.
As it happened, I planned to camouflage it - which in a way did what it was meant to do in that it obscured said shortcomings - using I think, an Aber etch set to represent foliage.
I only offer this up as I fully concur it’s an excellent kit to practice upgrading skills on; I certainly don’t claim it’s perfect, but it was great fun getting a result - of sorts(!)
Your Tamiya M41 looks great! You also added a tow cable along the left fender and the foliage, which are both good additions. The base with the brass name plaque is also really nice. I should probably start doing something like that for my tanks. Adding the Academy M2 was a good call and something I already planned on doing.
I am almost finished filling the various holes and open fenders on my model and hope to get to building and detailing soon. I have not decided how to add the mud relieve holes or make 160 track pads.
Thanks Doug; I have to say that the holes in the drive sprockets are less visible than one might think. For me, the “rubber band” AFV Club version of track suited, but then I’d baulked at assembling individual track links. The tautness, to me, was all important at the time, and so often individual links don’t always deliver.
Thanks for the comments re my bases; I decided quite early on when I managed to revisit my modelling career, on a sort of standard eg a standardised base with informative details on a brass plate. I also decided on certain sizes such as (using the European paper-sized strictures) bases of A3 (for my larger models) and A4 say, for a standard MBT-sized model. I utilise 12mm MDF chamfered bases (albeit sanded and varnished to within an inch of their lives). However, for smaller vehicles I use 8" squares or even a 5" squared based depending on what I was building. The result was a certain type of uniformity. However, that’s just me!
I hasten to add this was not meant to be a thread hijack by any means, and just really extolled the ancient Tamiya kit. Dare I say it, but my focus on the bases of my models does help in a certain (hopefully) professional look when I display.
Thanks SGTJKJ.Petbat and Damraska. I put at least some of my ships in this cabinet which doesn’t take up much space, I like this cabinet so much I plan on ordering another (or two)
With regards the M41 idlers and sprockets, I agree the holes add little to the overall appearance of the model. Most people would never notice. However, having taken a bit of the apple, I must attempt to correct them by modifying the parts. If that fails, I can purchase some replacements.
In another current thread, a fellow built a very convincing tank factory diorama. I am considering combining that idea with your modular plaque bases to create a sort of modular display case backdrop system. This would have the added benefit of allowing removal of models from display cases without reaching in. On the disadvantage side, fewer models would fit in each case. A sign board at the front of each backdrop module would display information about the model. I need to think about this concept some more.
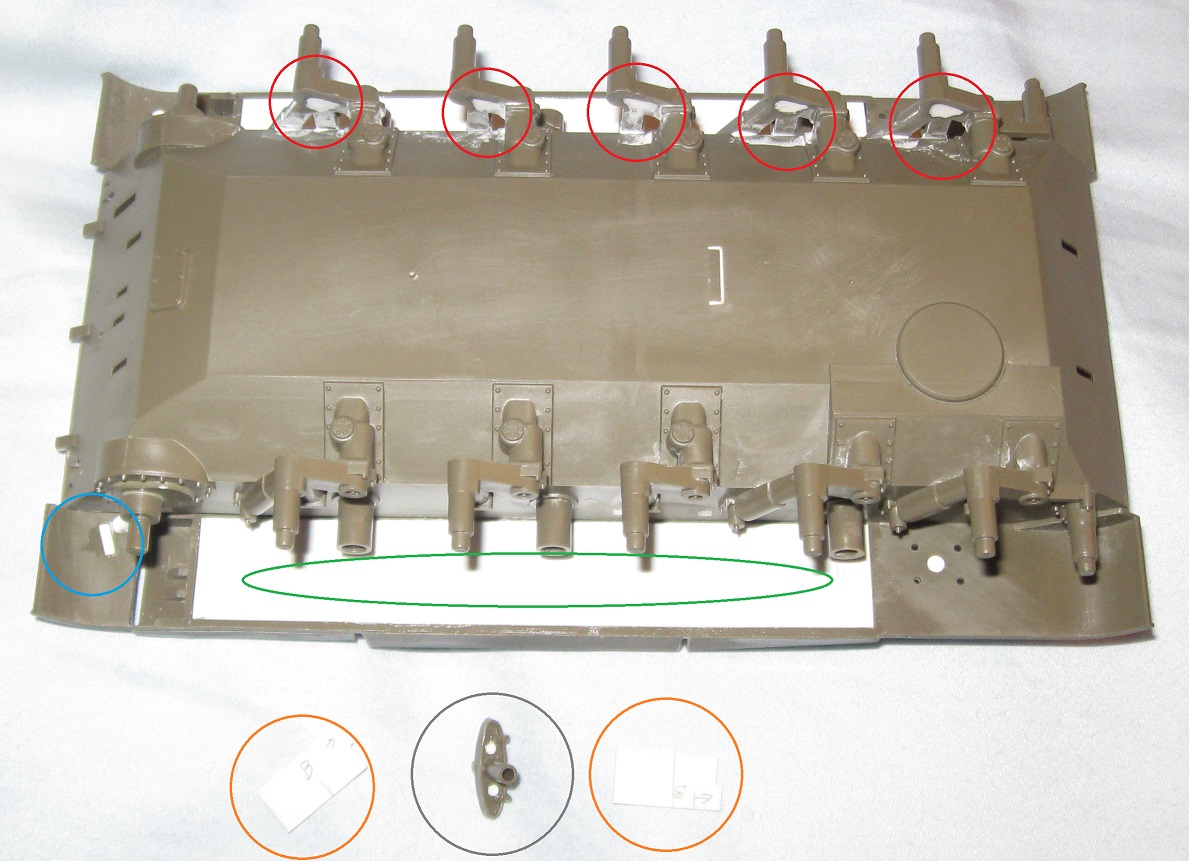
Red: Sink holes on the back of every road wheel swing arm require filling.
Blue: A hole at the bottom of the barrel clamp requires filling.
Green: A large area of fender requires filling on each side of the model. This was done with heavy card.
Orange: A smaller hole beneath each muffler requires filling. The card inserts shown will serve this purpose.
Gray: Mufflers are represented by a single piece that inserts into the back of each fender. The face of each muffler has two really difficult to reach knock out pin marks. These were filled with small disks of card.
The model represents each sheet metal muffler cover as integral to the corresponding fender. This is not correct. Four brackets that connect the muffler covers to the fenders on the real vehicle were shaved away. Using the back side of a #11 knife blade, lines were cut into the upper hull to define the border between the muffler cover and the fender. Note that one of my cuts went too long and will require some minor filling.
The only remaining structural upgrade requires filling a small gap between the upper and lower hull pieces. Unfortunately, the gap forms two triangles, one long and one short, so cutting pieces to exactly the correct shapes will take some trial and error.
Well, by the sound of it yours will be the de-luxe fix - which of course is how it should be. I must admit I 'm sure I have a perverse streak in me, in that even when a new, all-singing, all-dancing kit comes out, if there’s an older version, I’ll often go to that model and enjoy wrangling to get the best out of it.
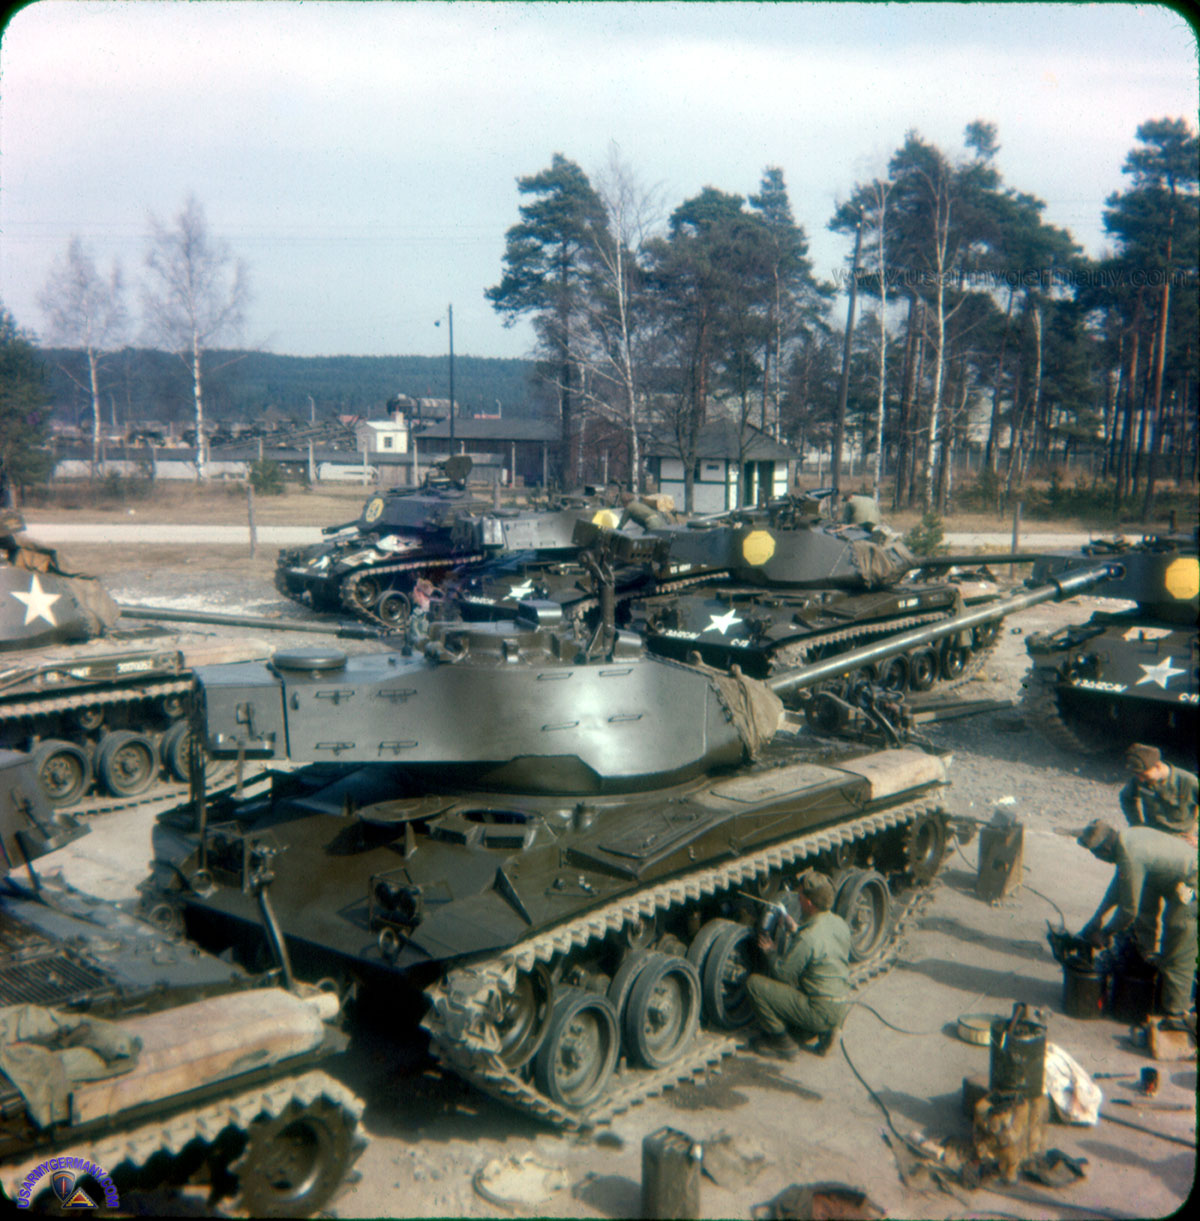
Just a thought: as opposed to a tank factory, how about the tank park:
I may have posted this earlier, if so forgive me; I can’t be arsed to check back(!) - however, whilst it means a duplicate model, in a way, it would be quite interesting with say the AFV Club version as one of them and a challenge of say, “Spot the Tamiya one”.
Sorry - just a spot of whimsy; 'looking forward to the detailing you’ll add and the final result Doug.
Your ship collection is really neat. The zeppelin makes a great addition to the collection. If I may make a small suggestion, some in scale flying boats, scattered around on the shelves next to the ships, would add color and contrast to the collection. Sadly, my pathetic little ship collection consists of 4 incomplete submarines. They have waited thirteen years for screws and display stands.
I would love to have a few display cases of that size and should probably budget for one or two in the near future.
Many years ago, I had the idea to build a used spaceship lot. It would look like a used car lot but feature 1/35 scale spacecraft, with aliens roaming around, browsing the inventory. The tank park picture you posted reminded me of that old idea. Maybe the tanks and spacecraft could live together in a museum with alien tourists roaming through the halls. Haha! I could even add classical statues and things of that nature in apse shaped alcoves. Of all the physical creations of human industry, what would aliens consider worth preserving? That would be right up my ally.