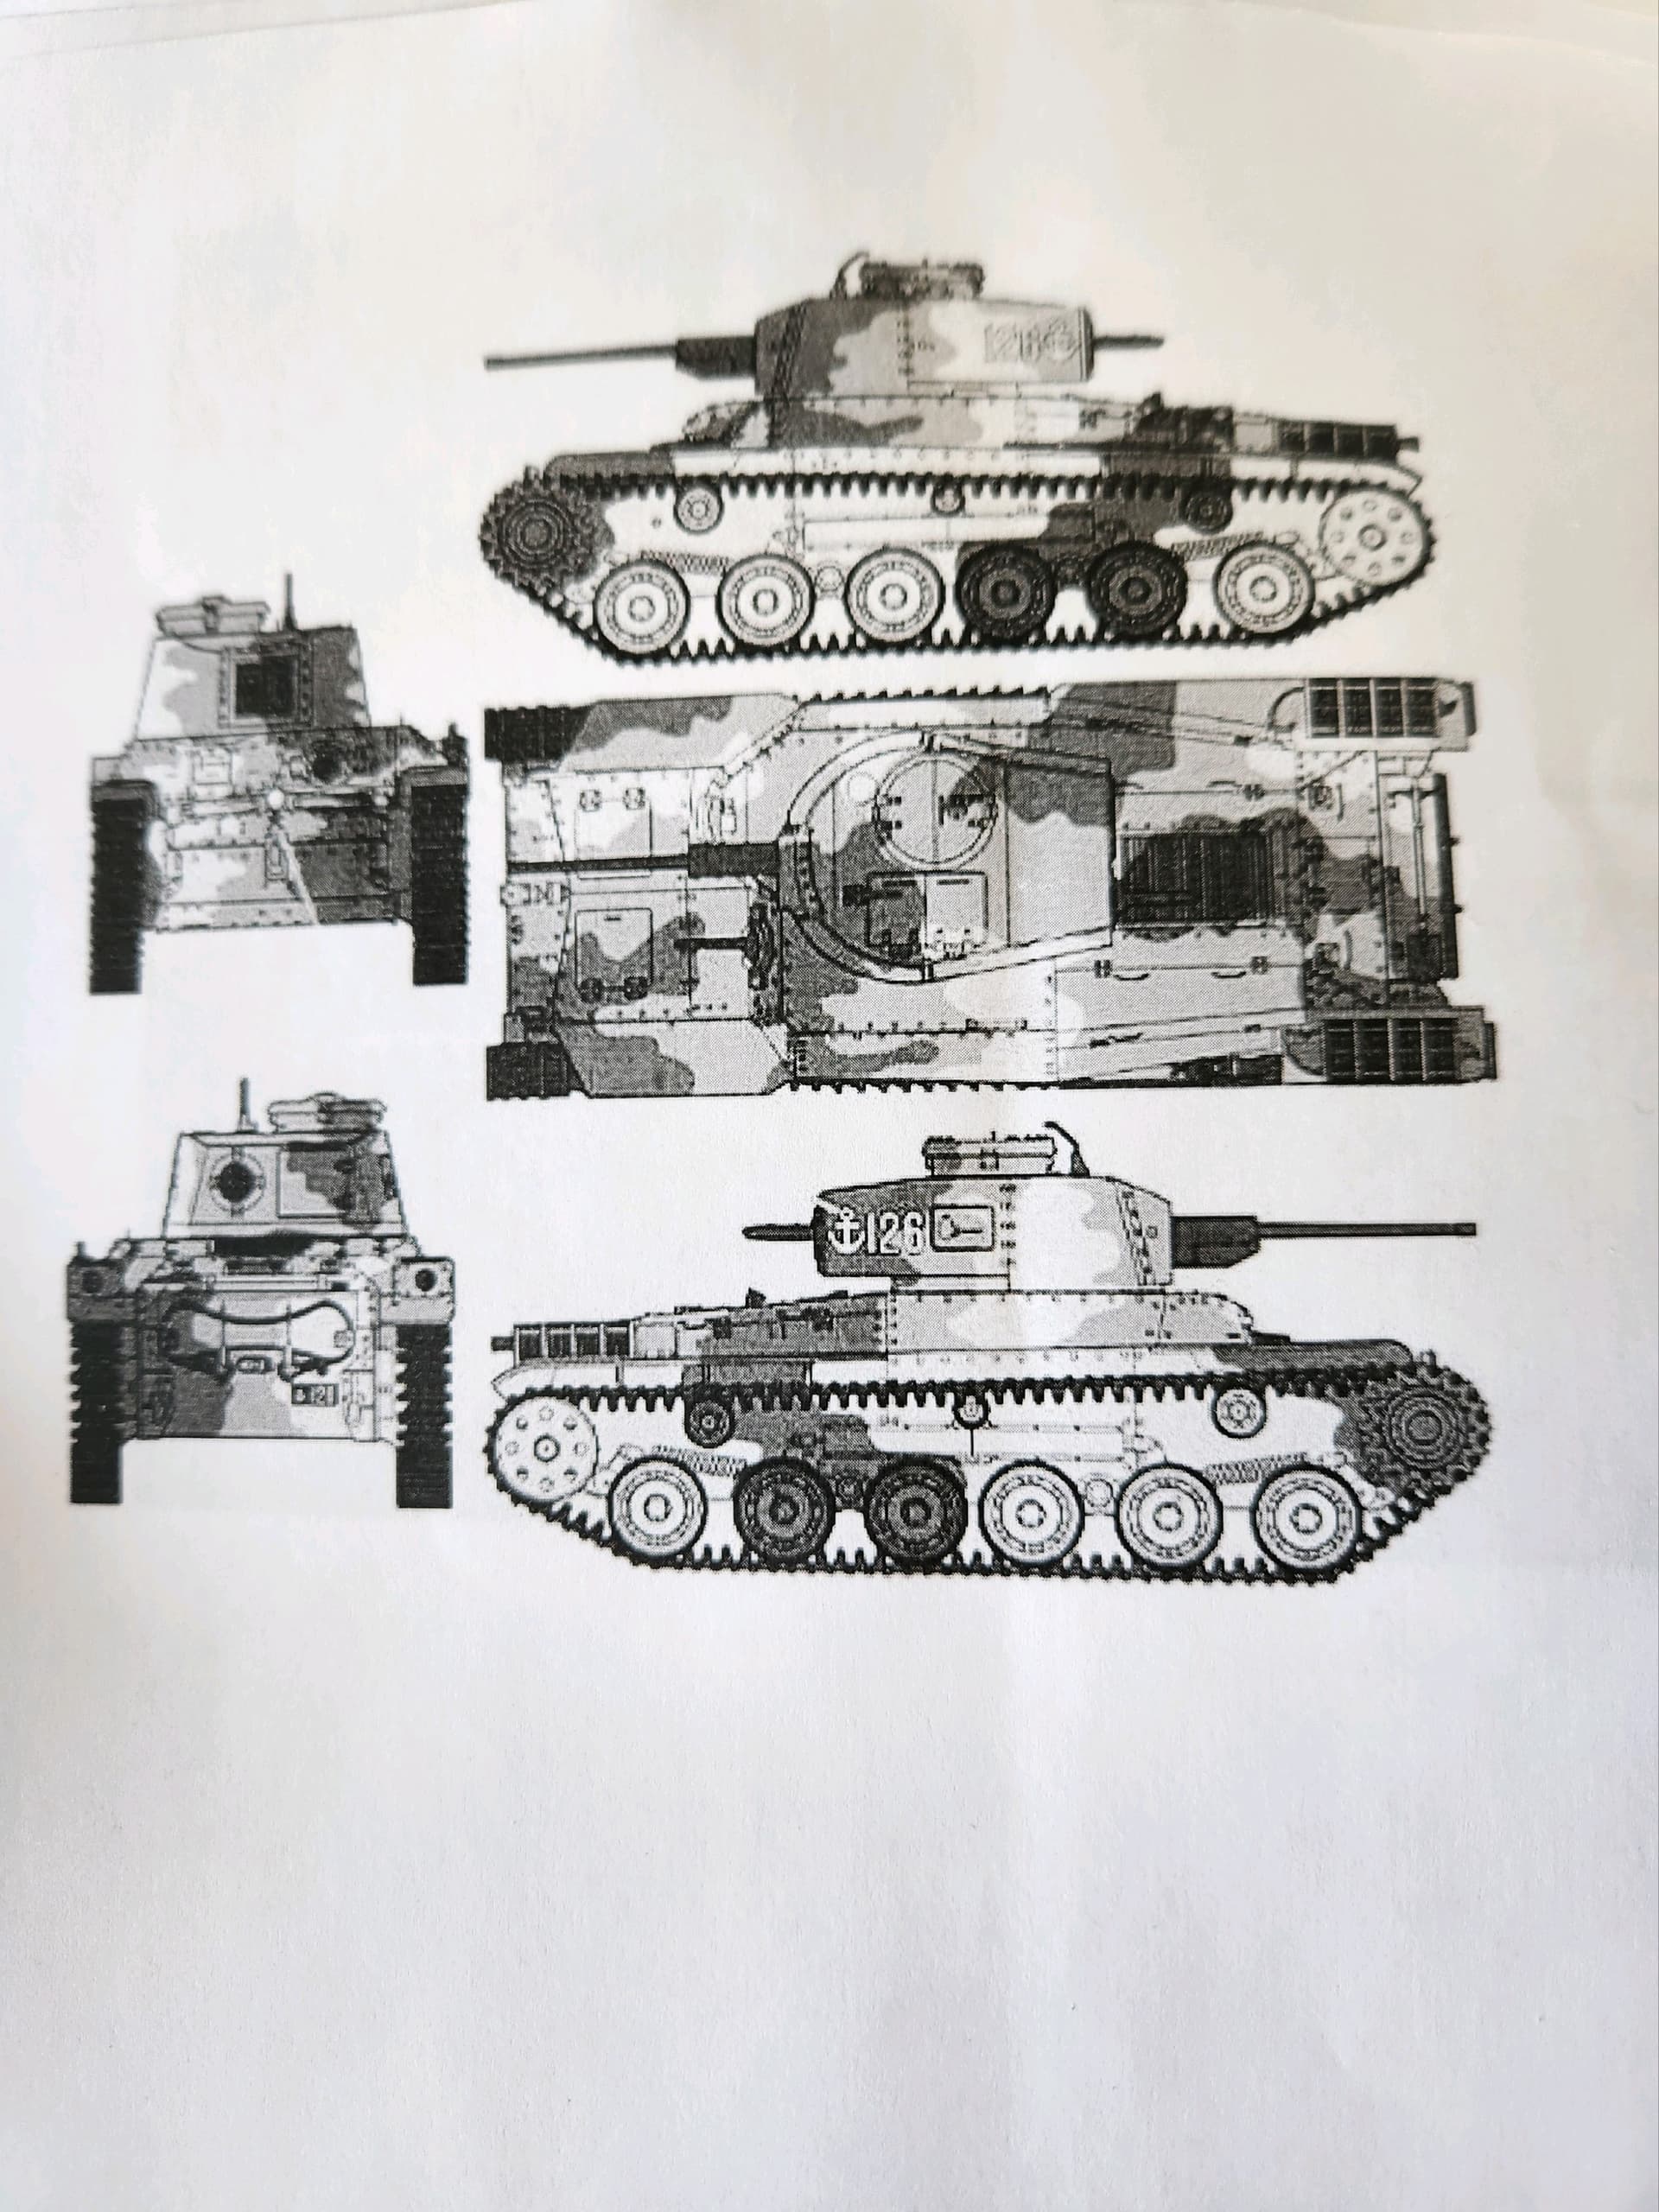
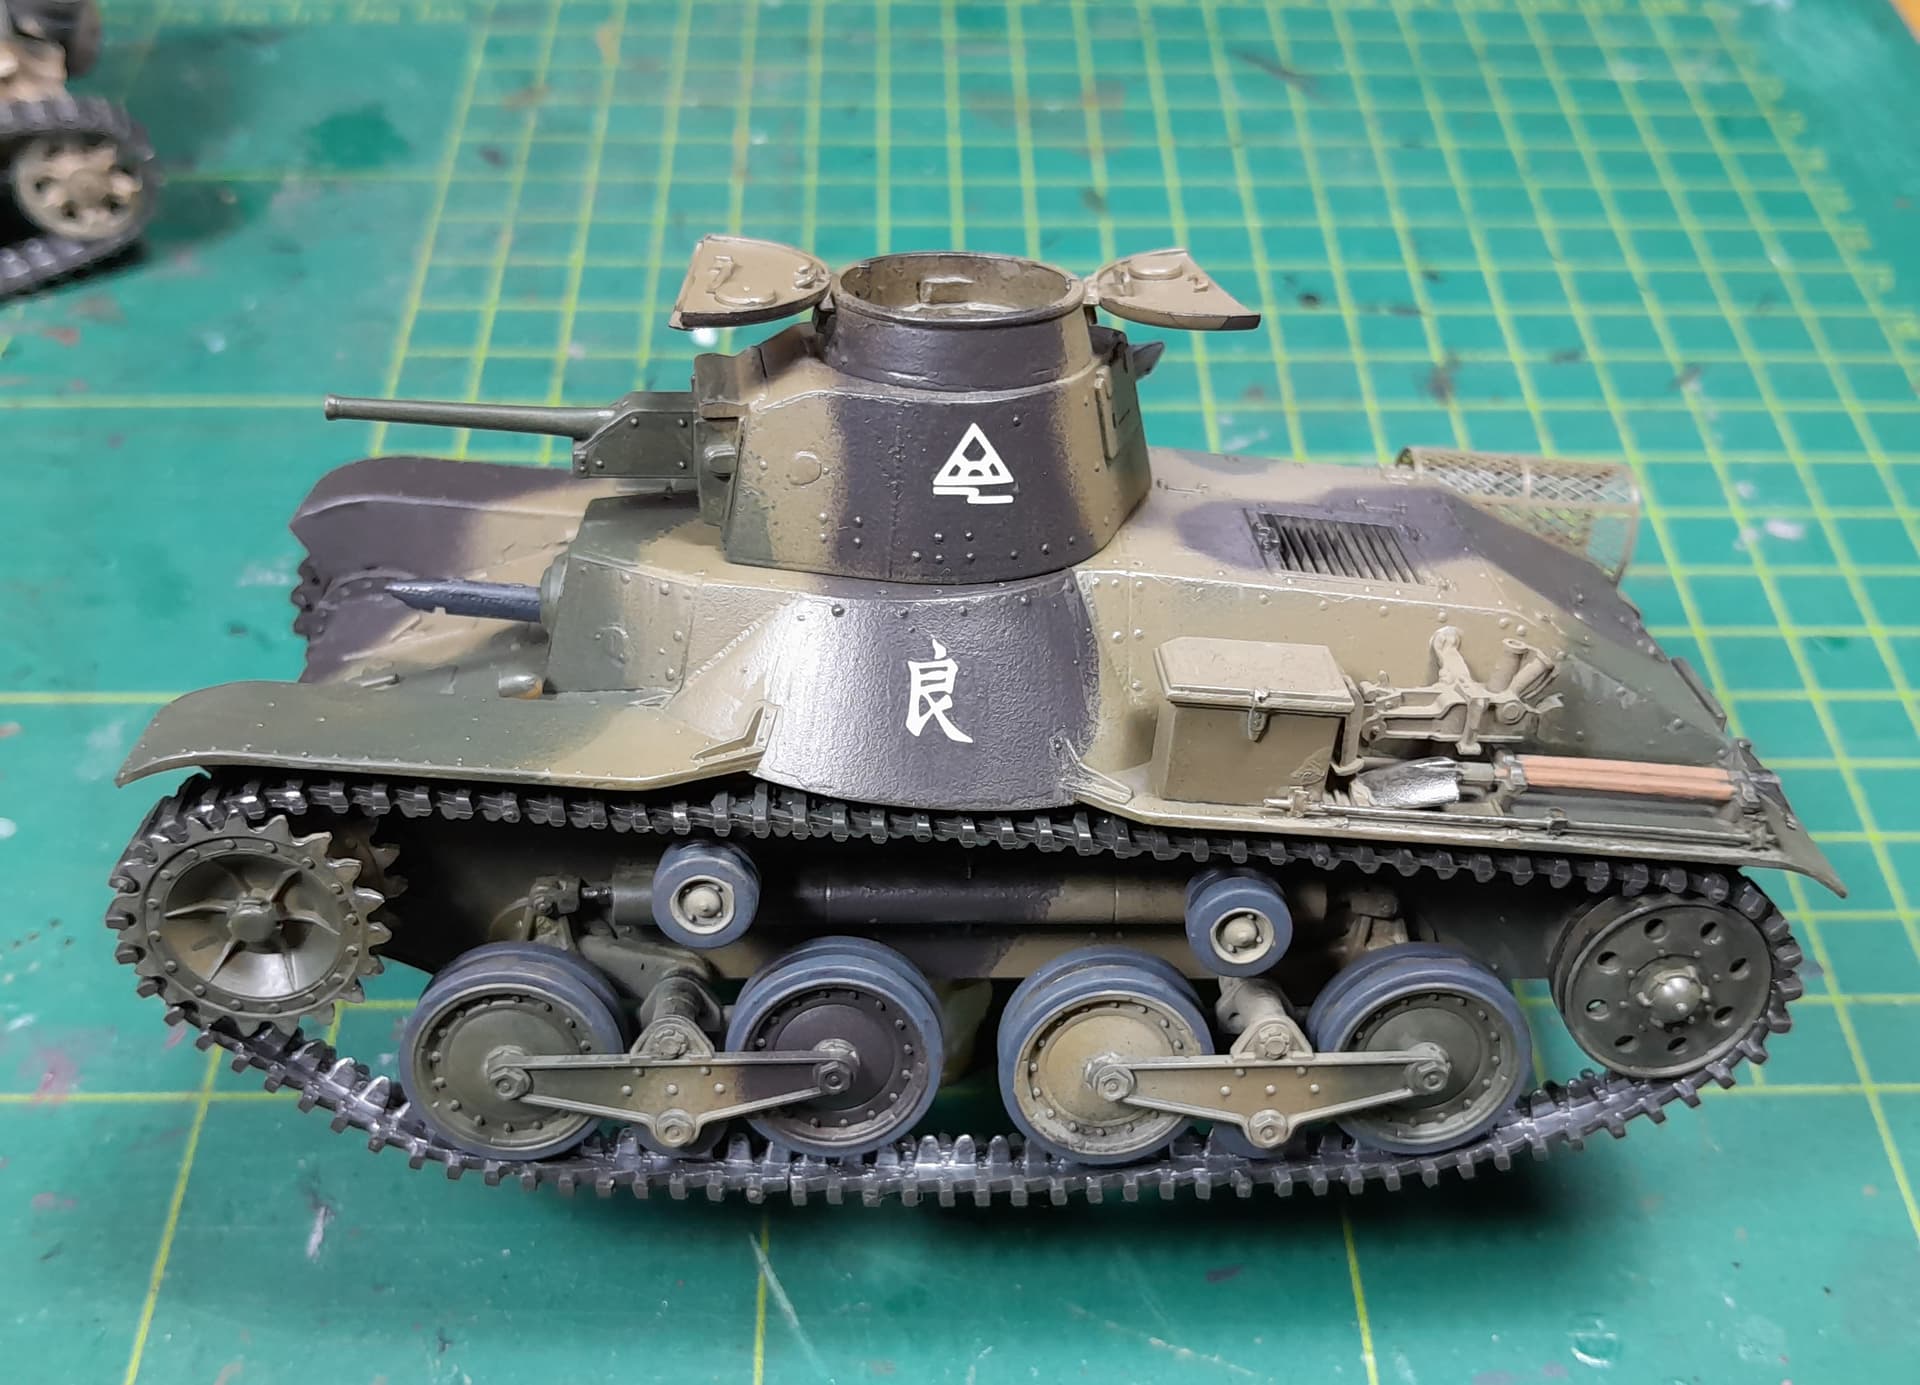
I got slighjtly distracted, so I am calling this a second summer project: Finemolds 1992 Type 95 Ha-Go.
It came to me last friday along with a bunch of other semi-finished builds and spareparts and I just had to have a go at it.
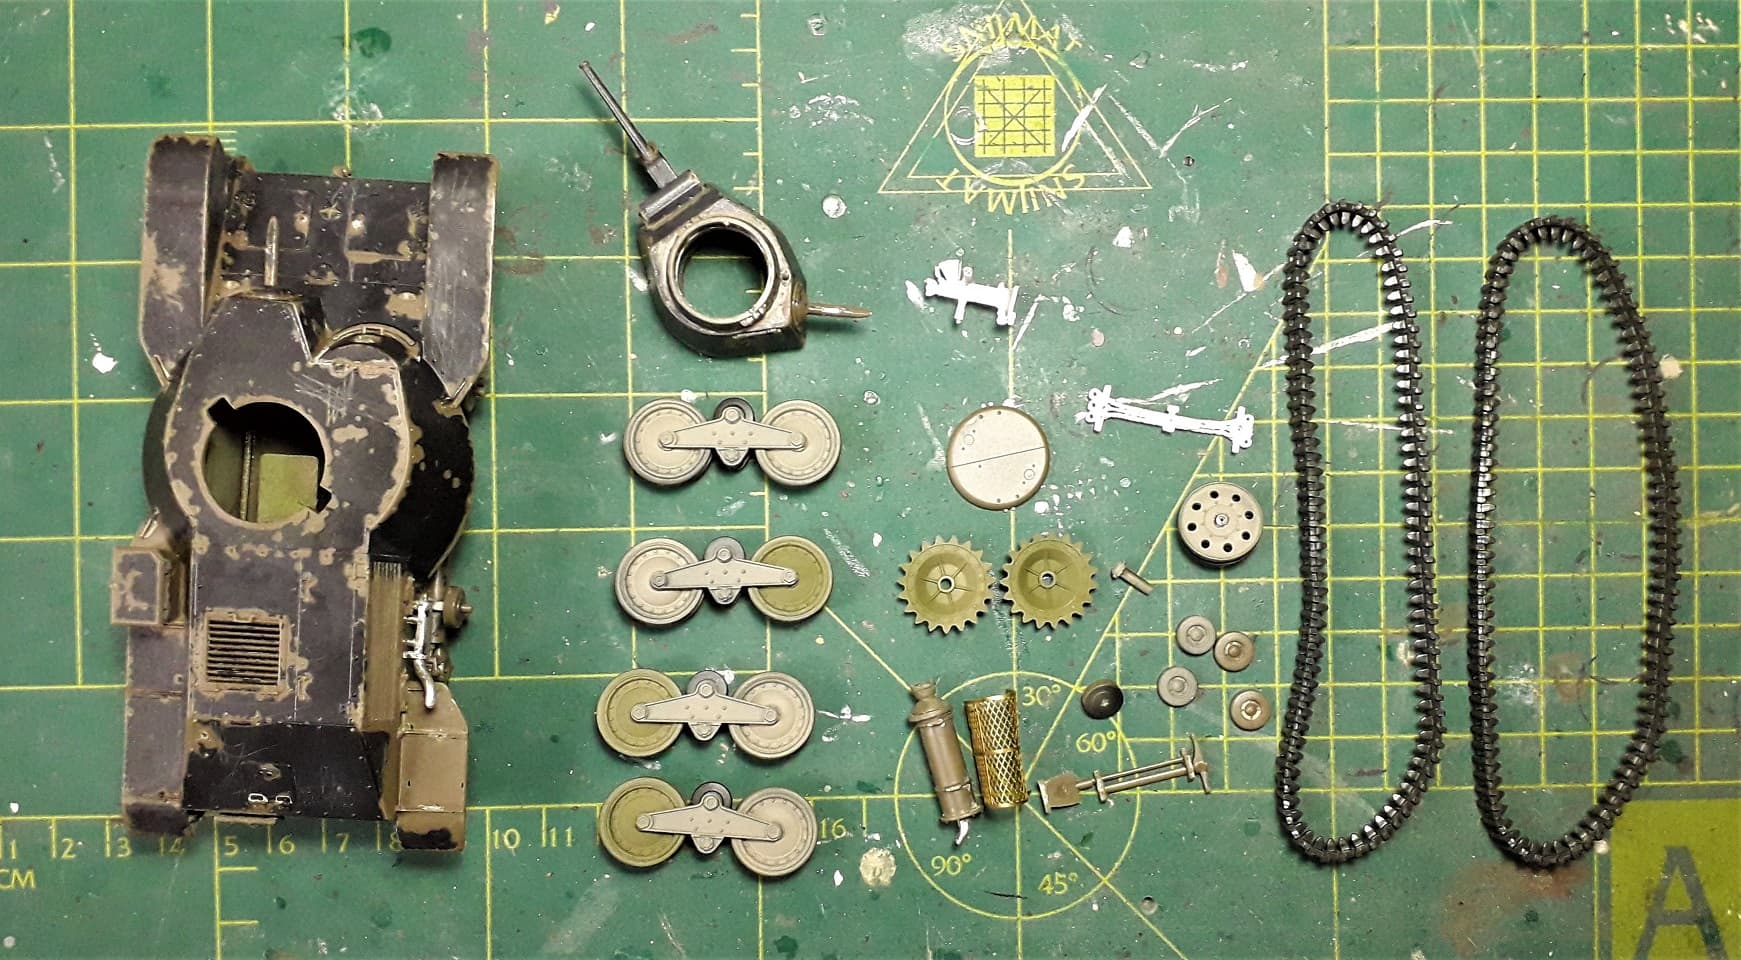
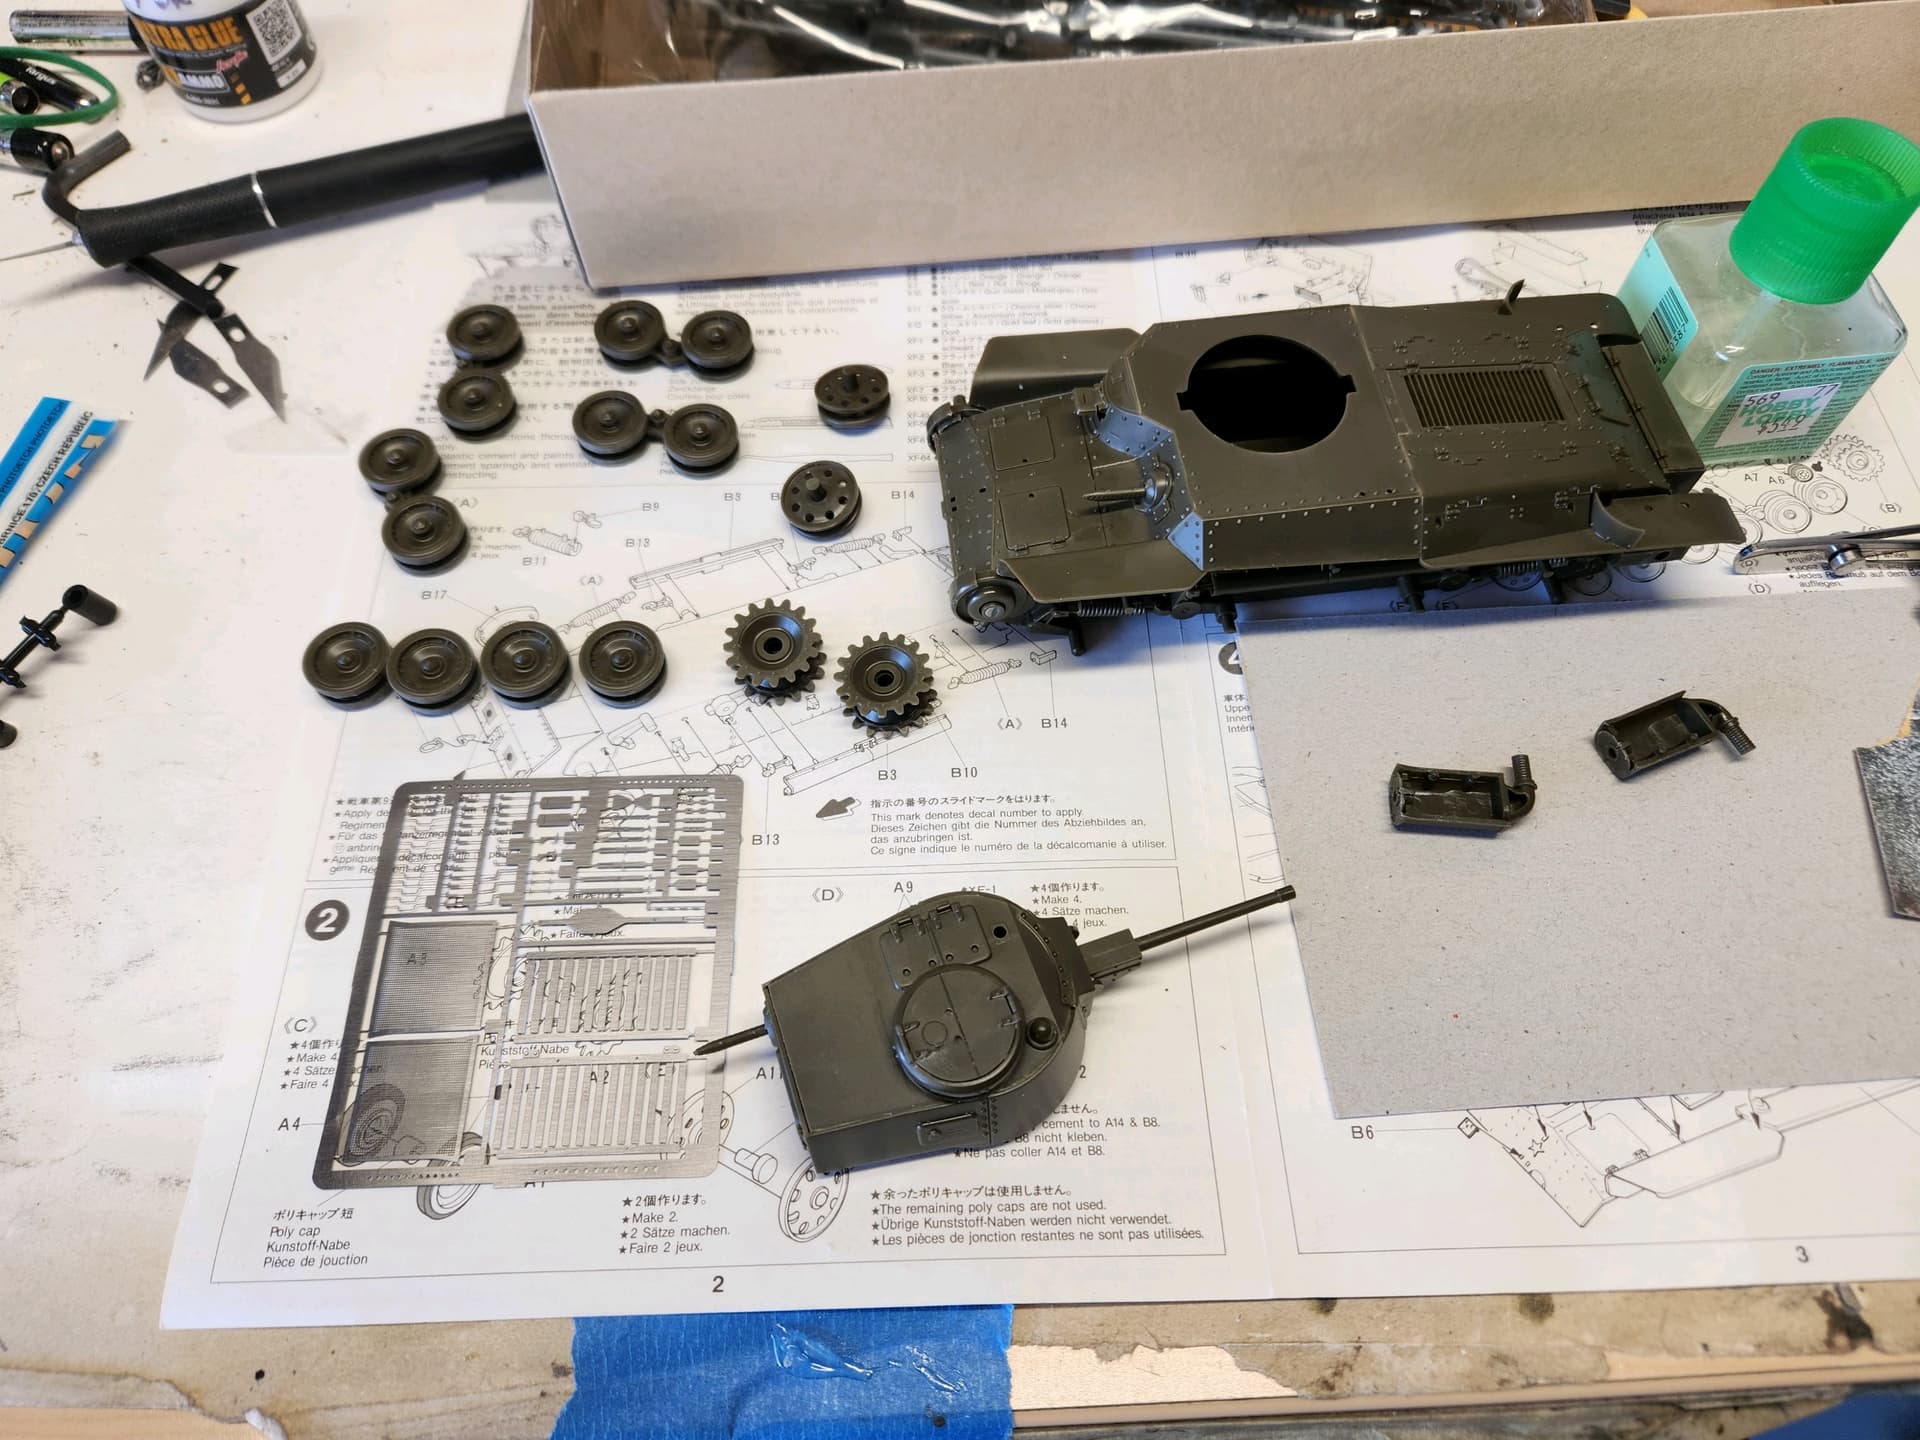
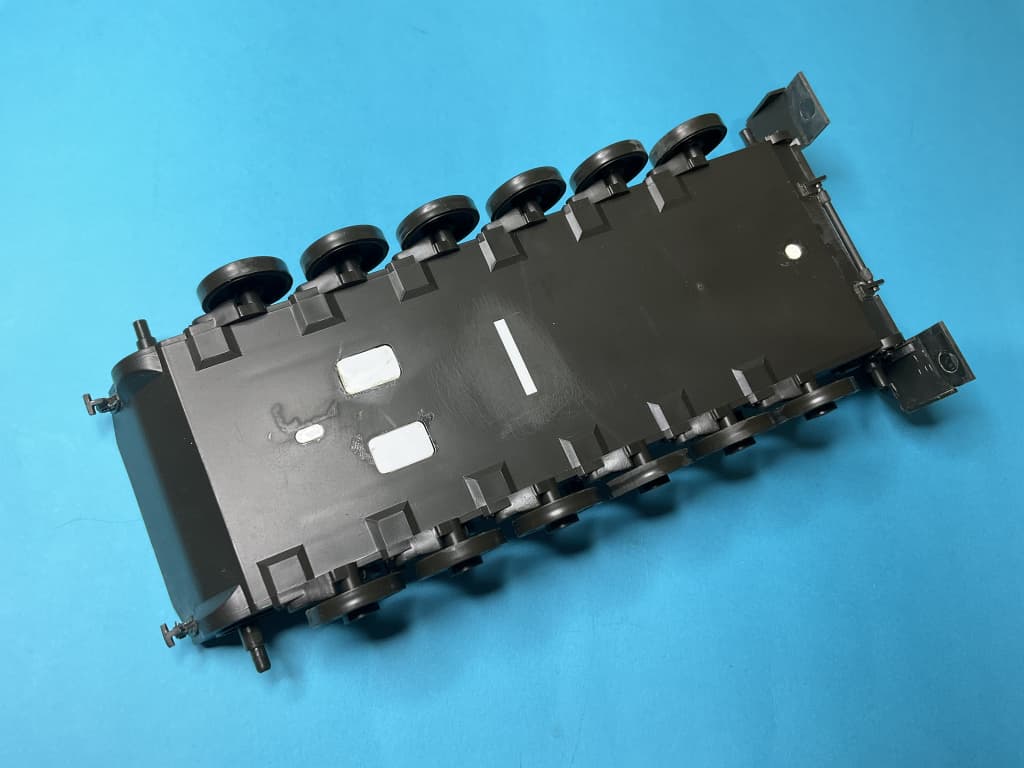
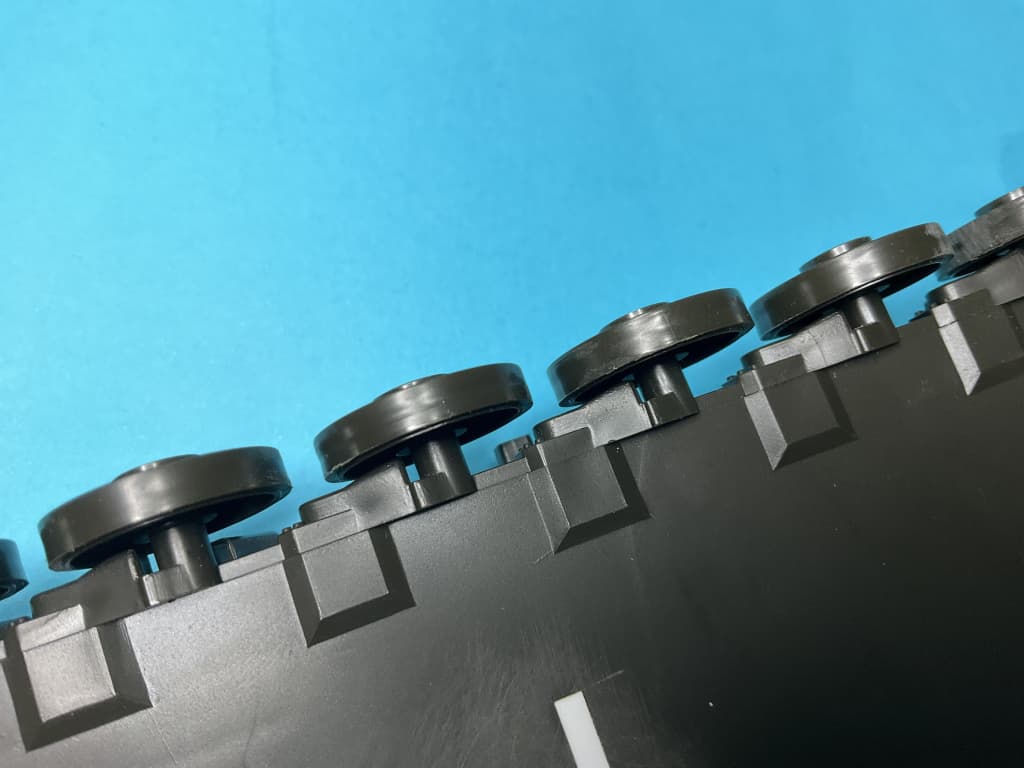
First I had to strip away 4 layers of paint and while that was soaking I went over the parts that were present.
A number of small pieces were missing, axles had broken off, but all in all not too bad.
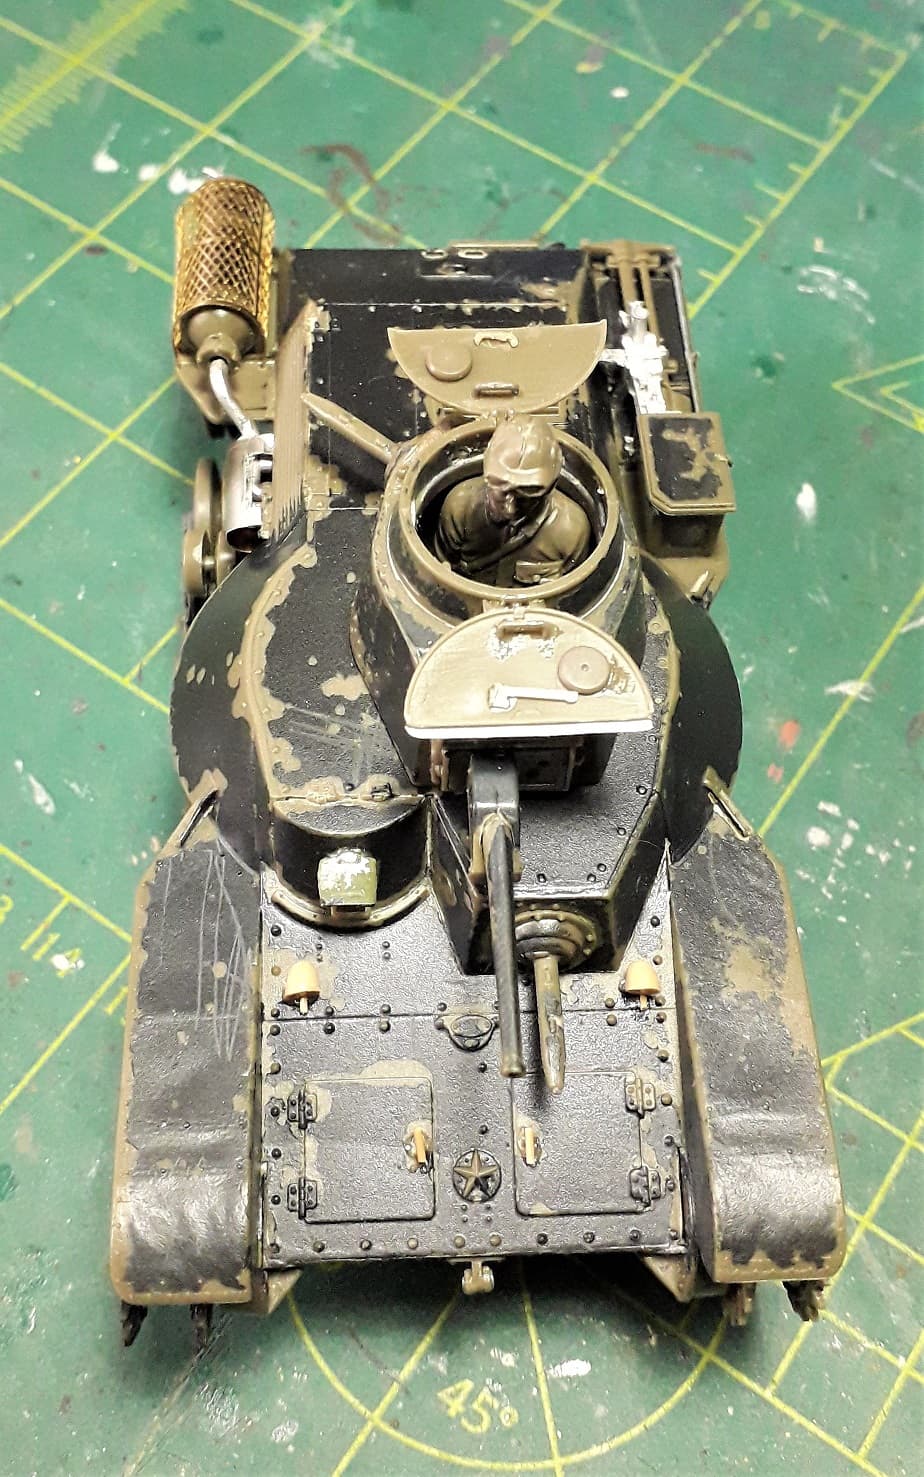
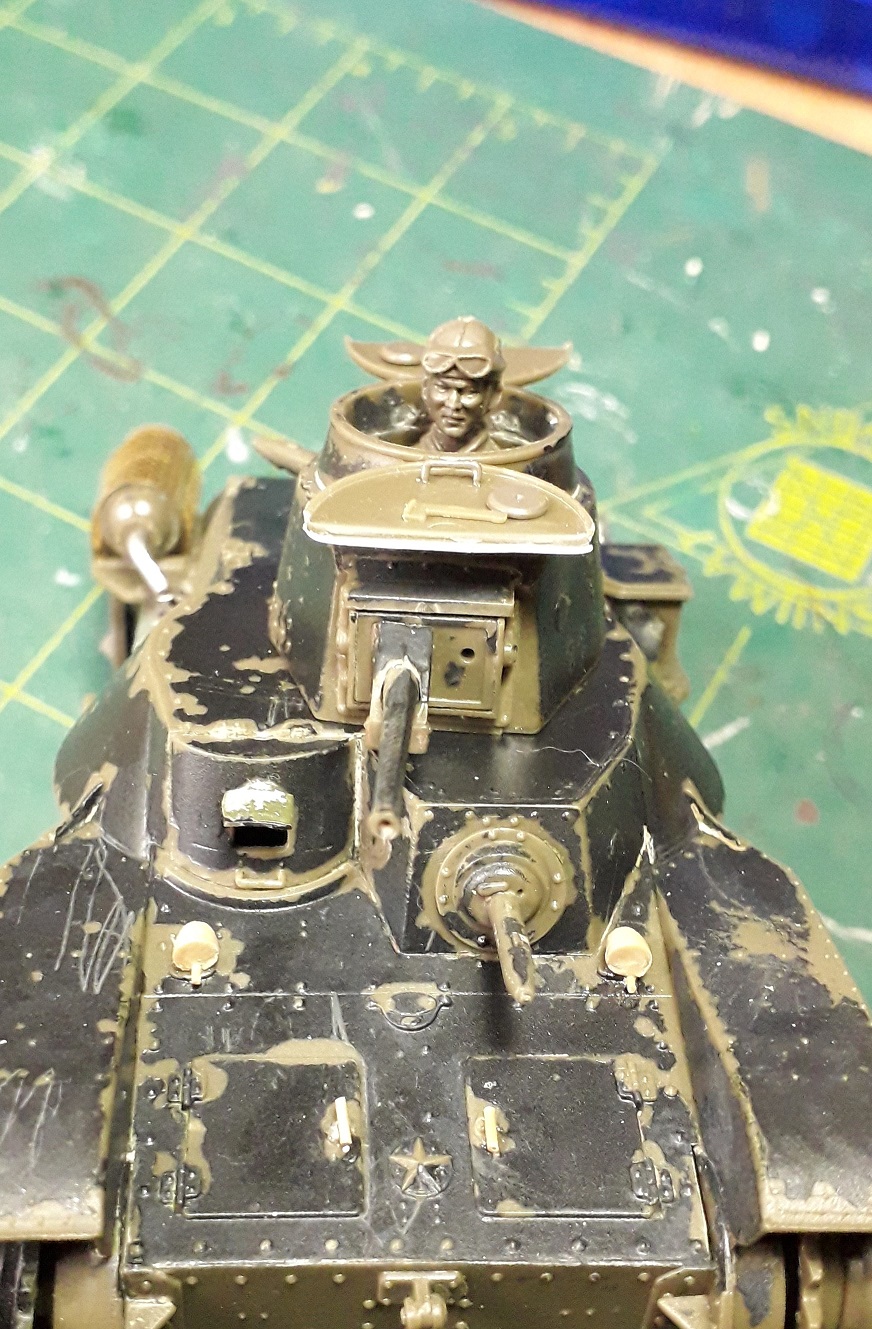
After 24 hrs in the battalion workshop it looks like this; I added details to the cupolahatches.
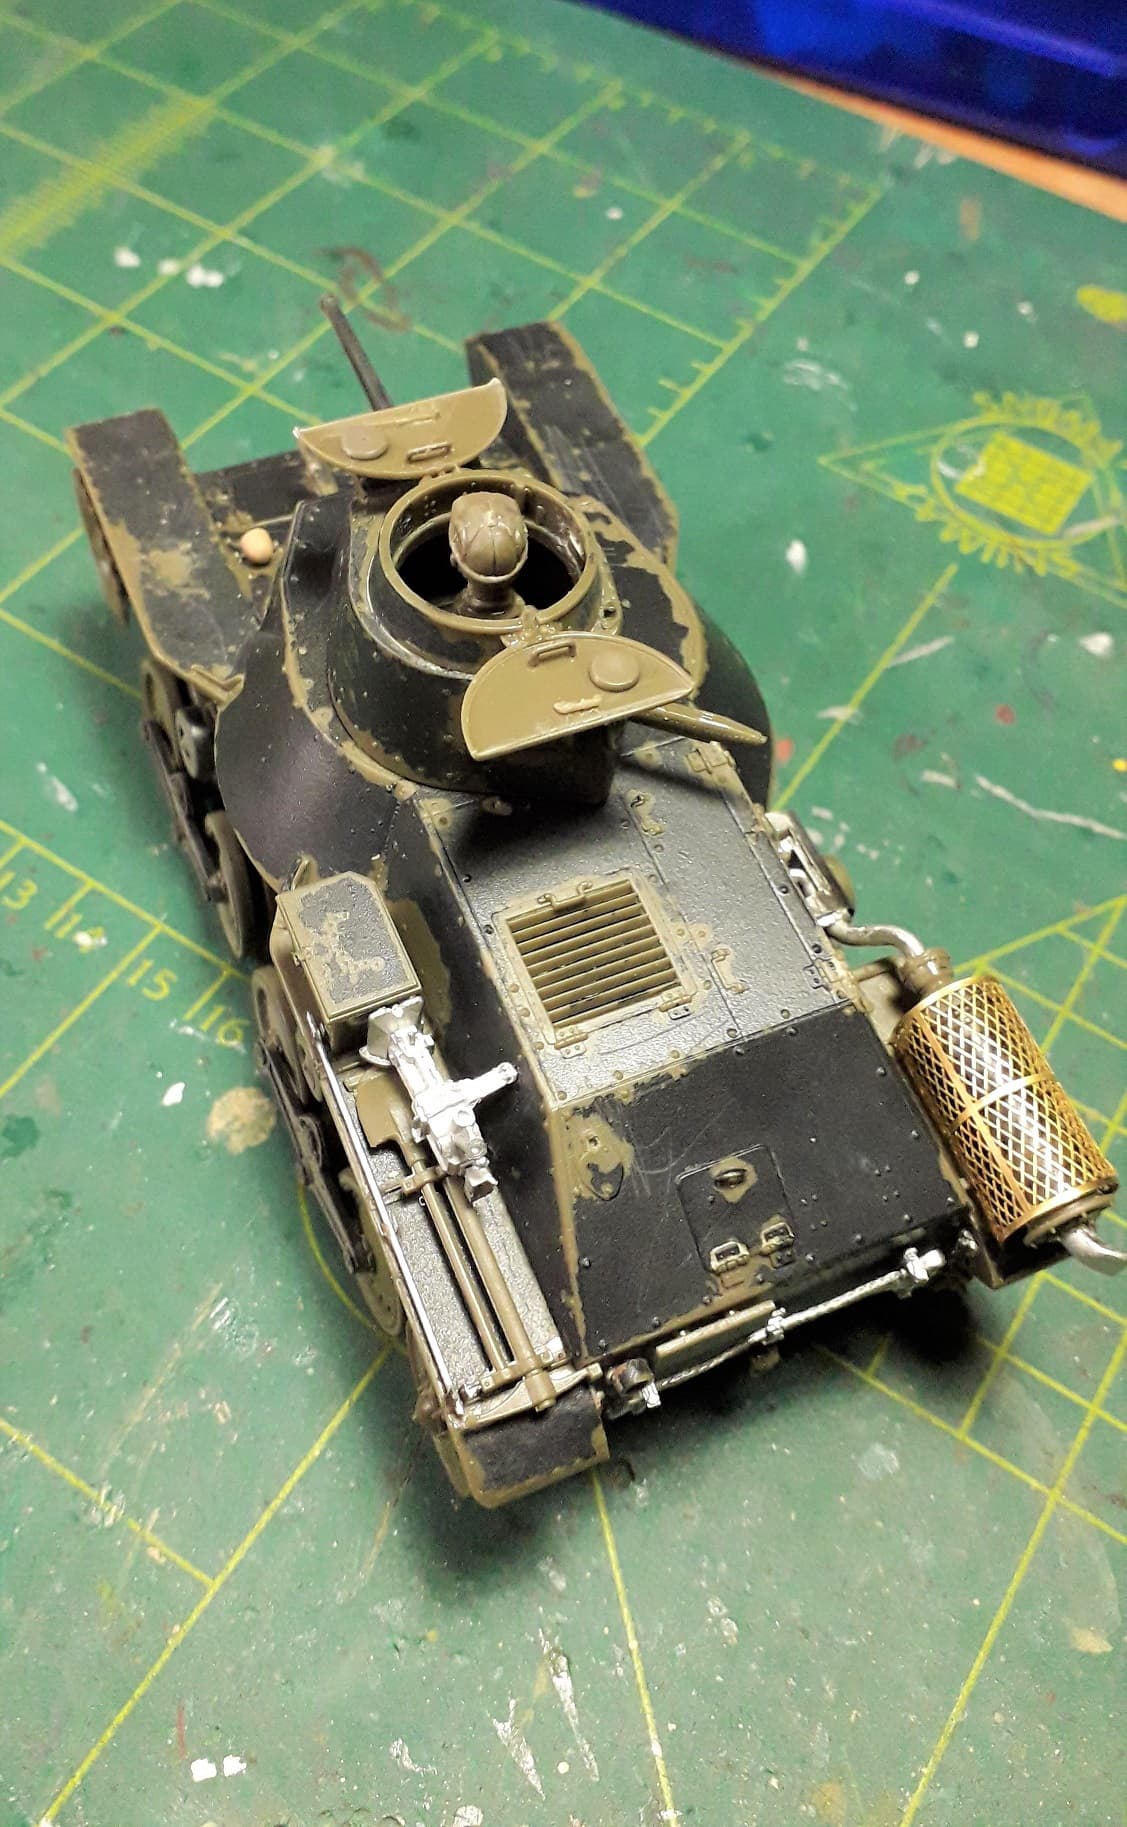
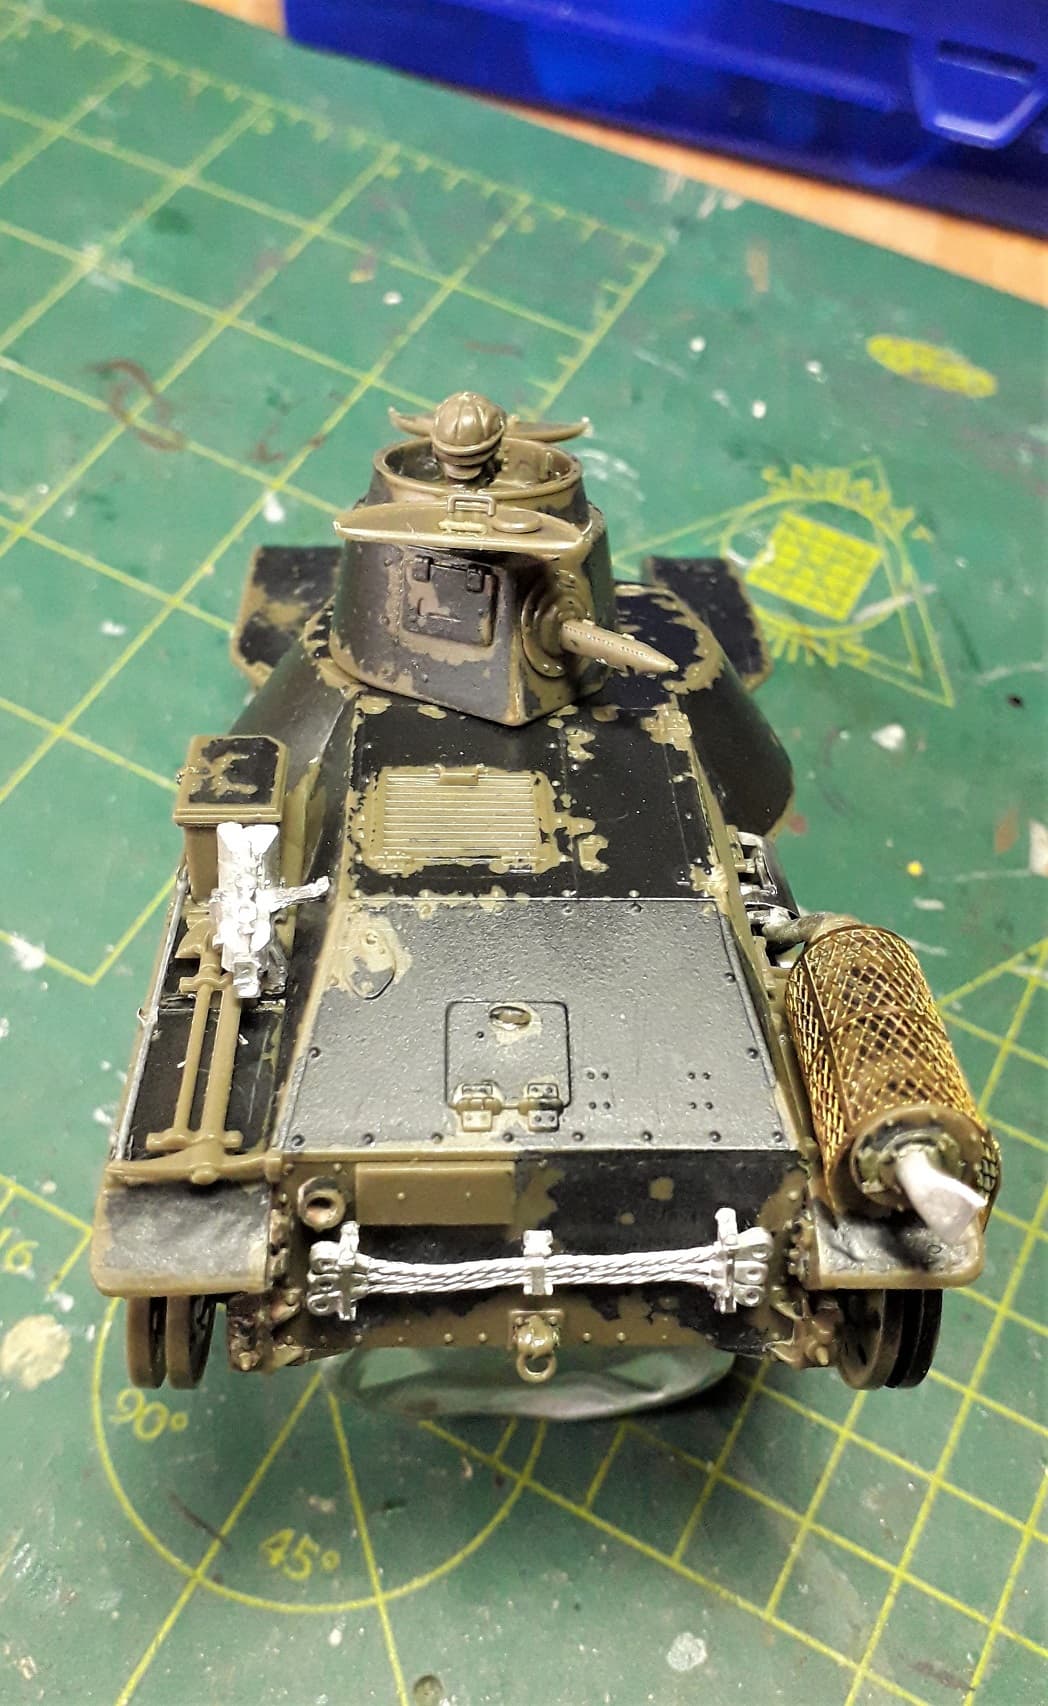
Finished up and ready to paint.
While mixing my paint, I dropped the stirring stick, with paint, onto my lap…
Never done that before.
The paint removal and washing did not produce the desired effect.
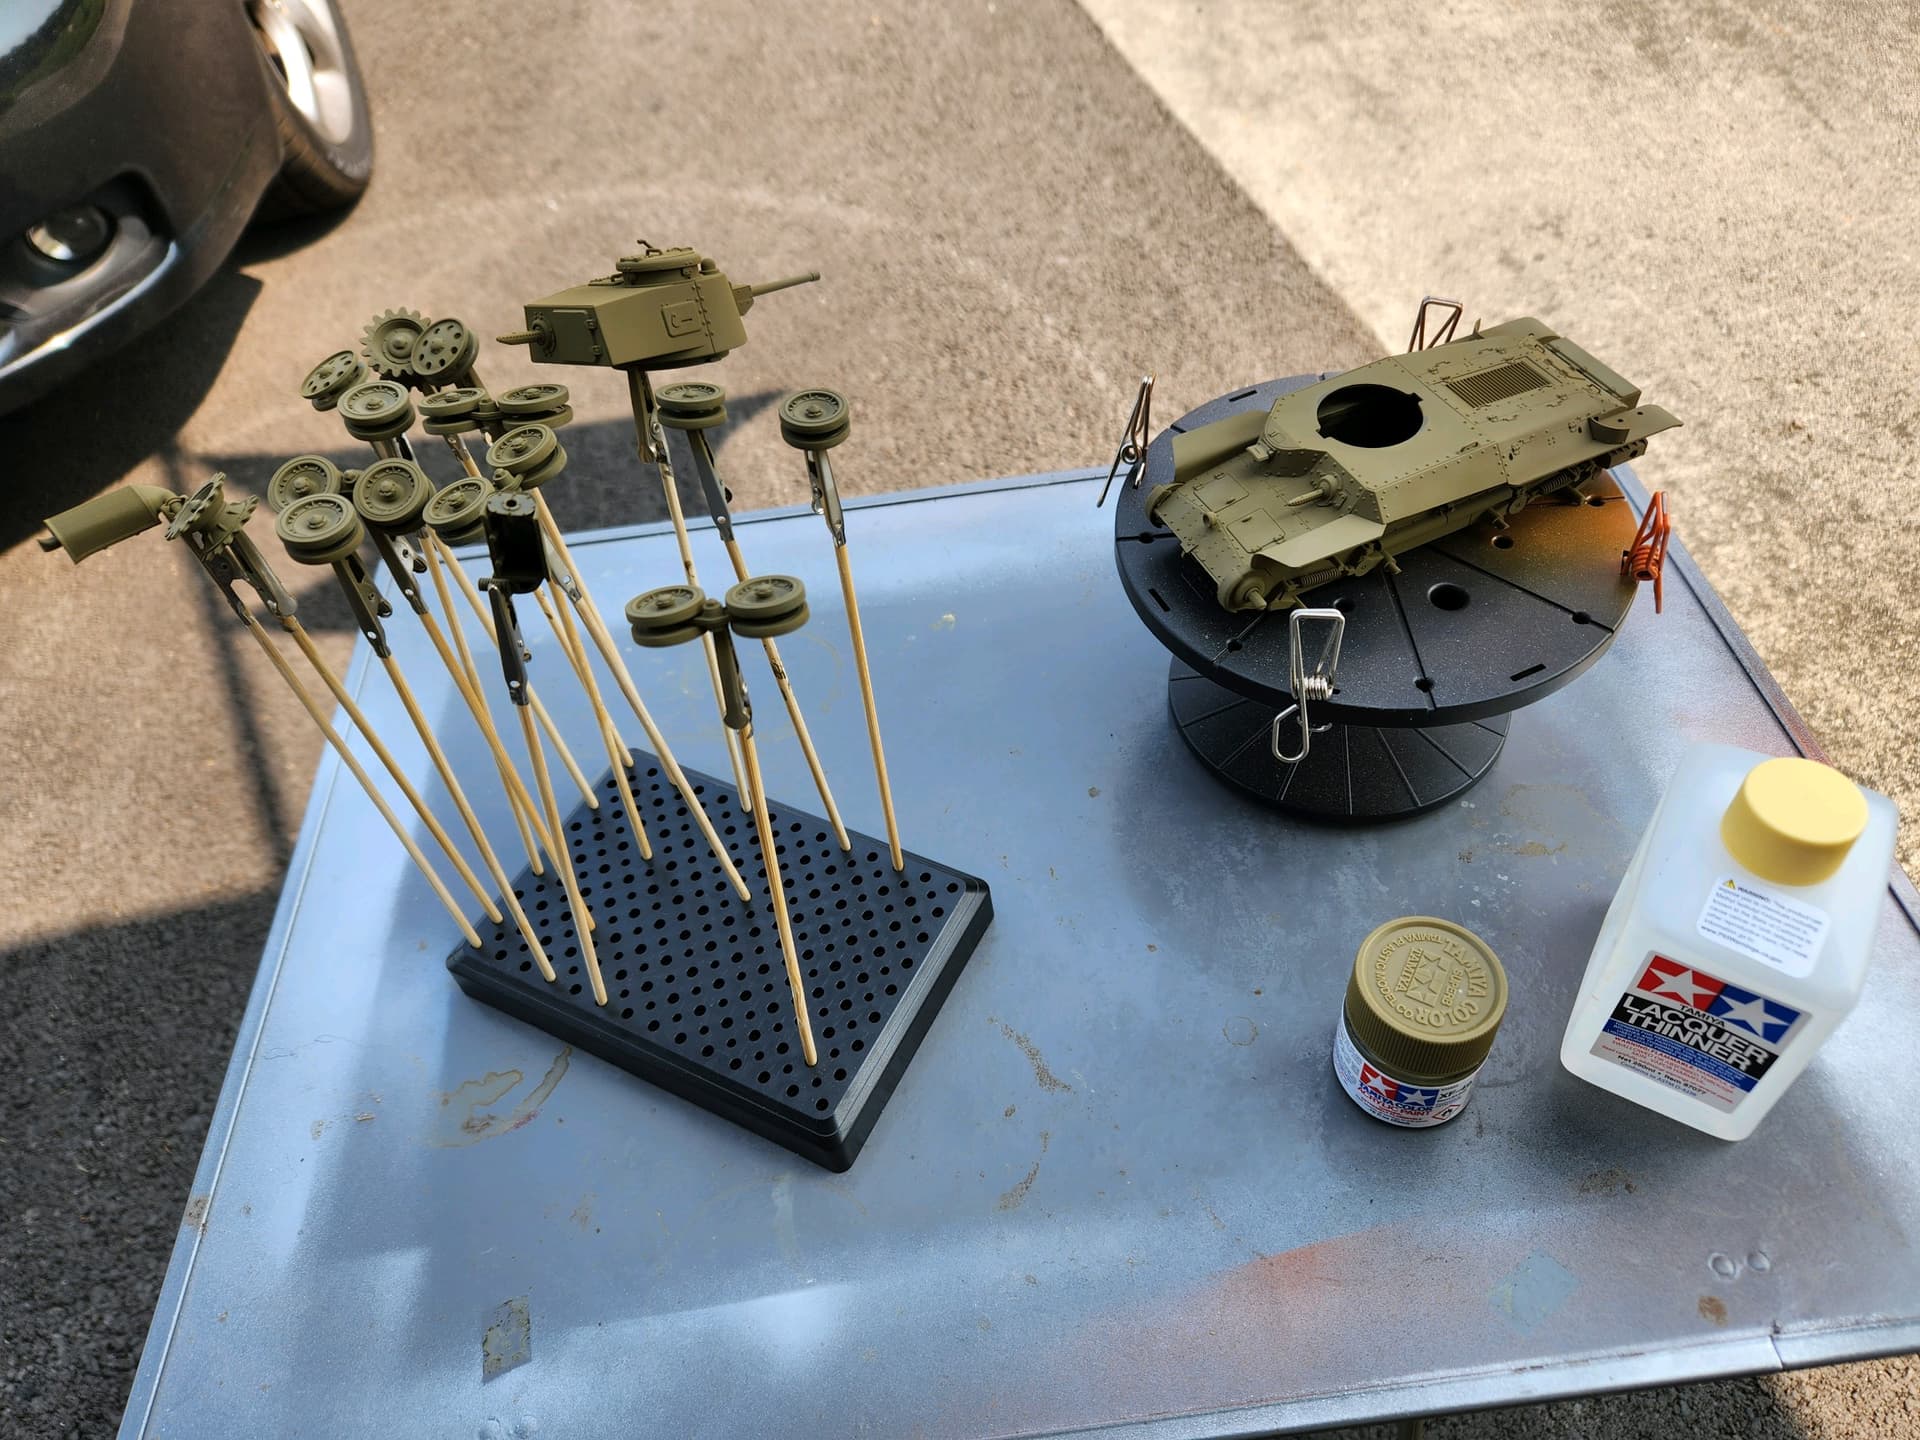
Back to painting. I put the parts on a TV tray and set them outside to paint. I put on a latex glove to paint with and loaded paint in the brush. I have a long hose but ended up short. I had to move a couple of items in the way. They ended up falling t the floor… I will just pick the stuff up later. i grab the hull to start and notice I have the glove on the wrong hand…
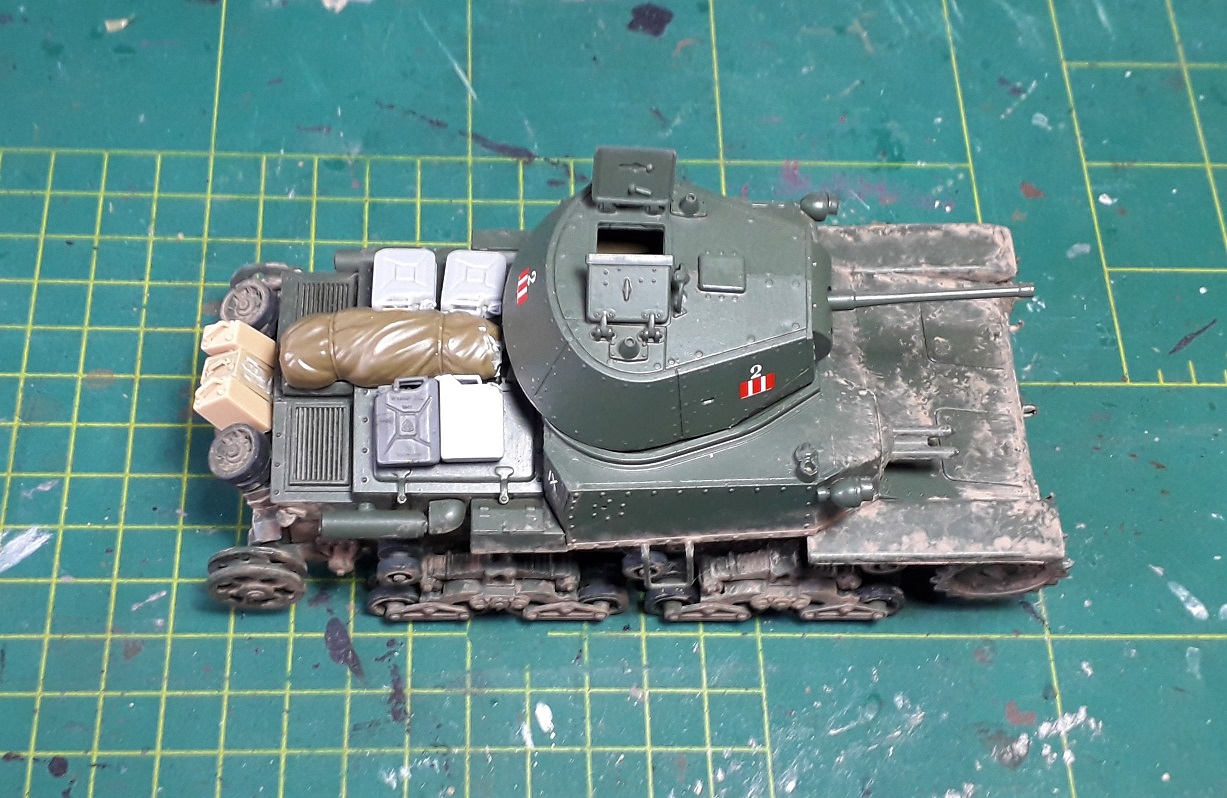
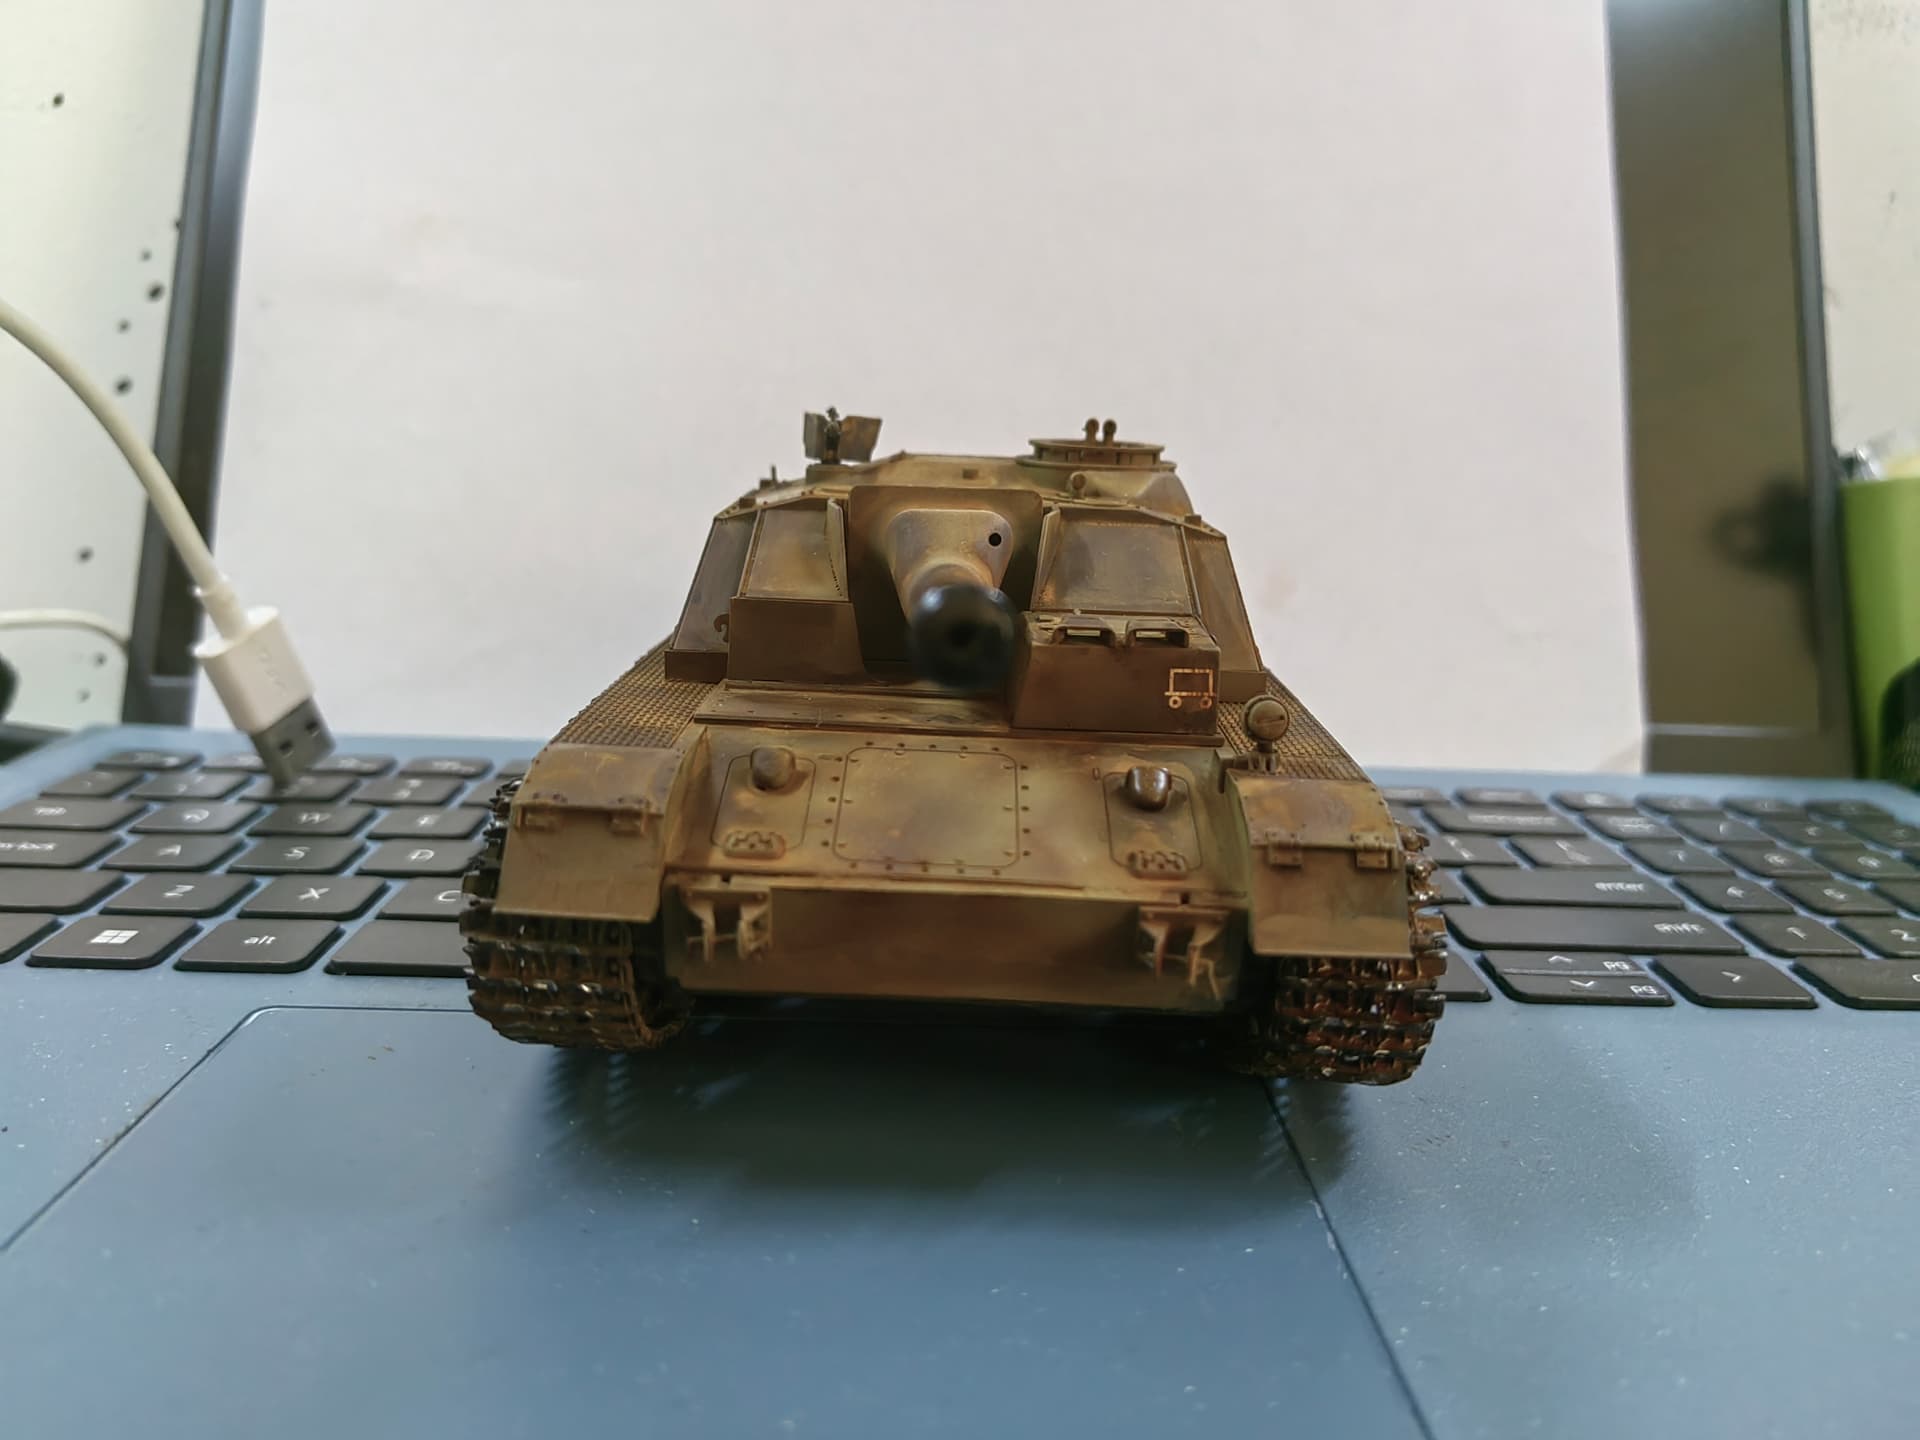
In spite of the gremlins, The paint sprayed perfectly.
I see two ways to do this. First draw the pattern on with a pencil, spray the field and brush the edge.
The second is to cut a sencil from Tamiya’s masking tape.
But the paint came out nice! I’d definitely go for masking tape. Brushpainting will always show on a sprayed surface.
Tape nice and tight and a tip I got was to seal the tape edge with some mat varnish. That way the new layer can not leak in under the tape.
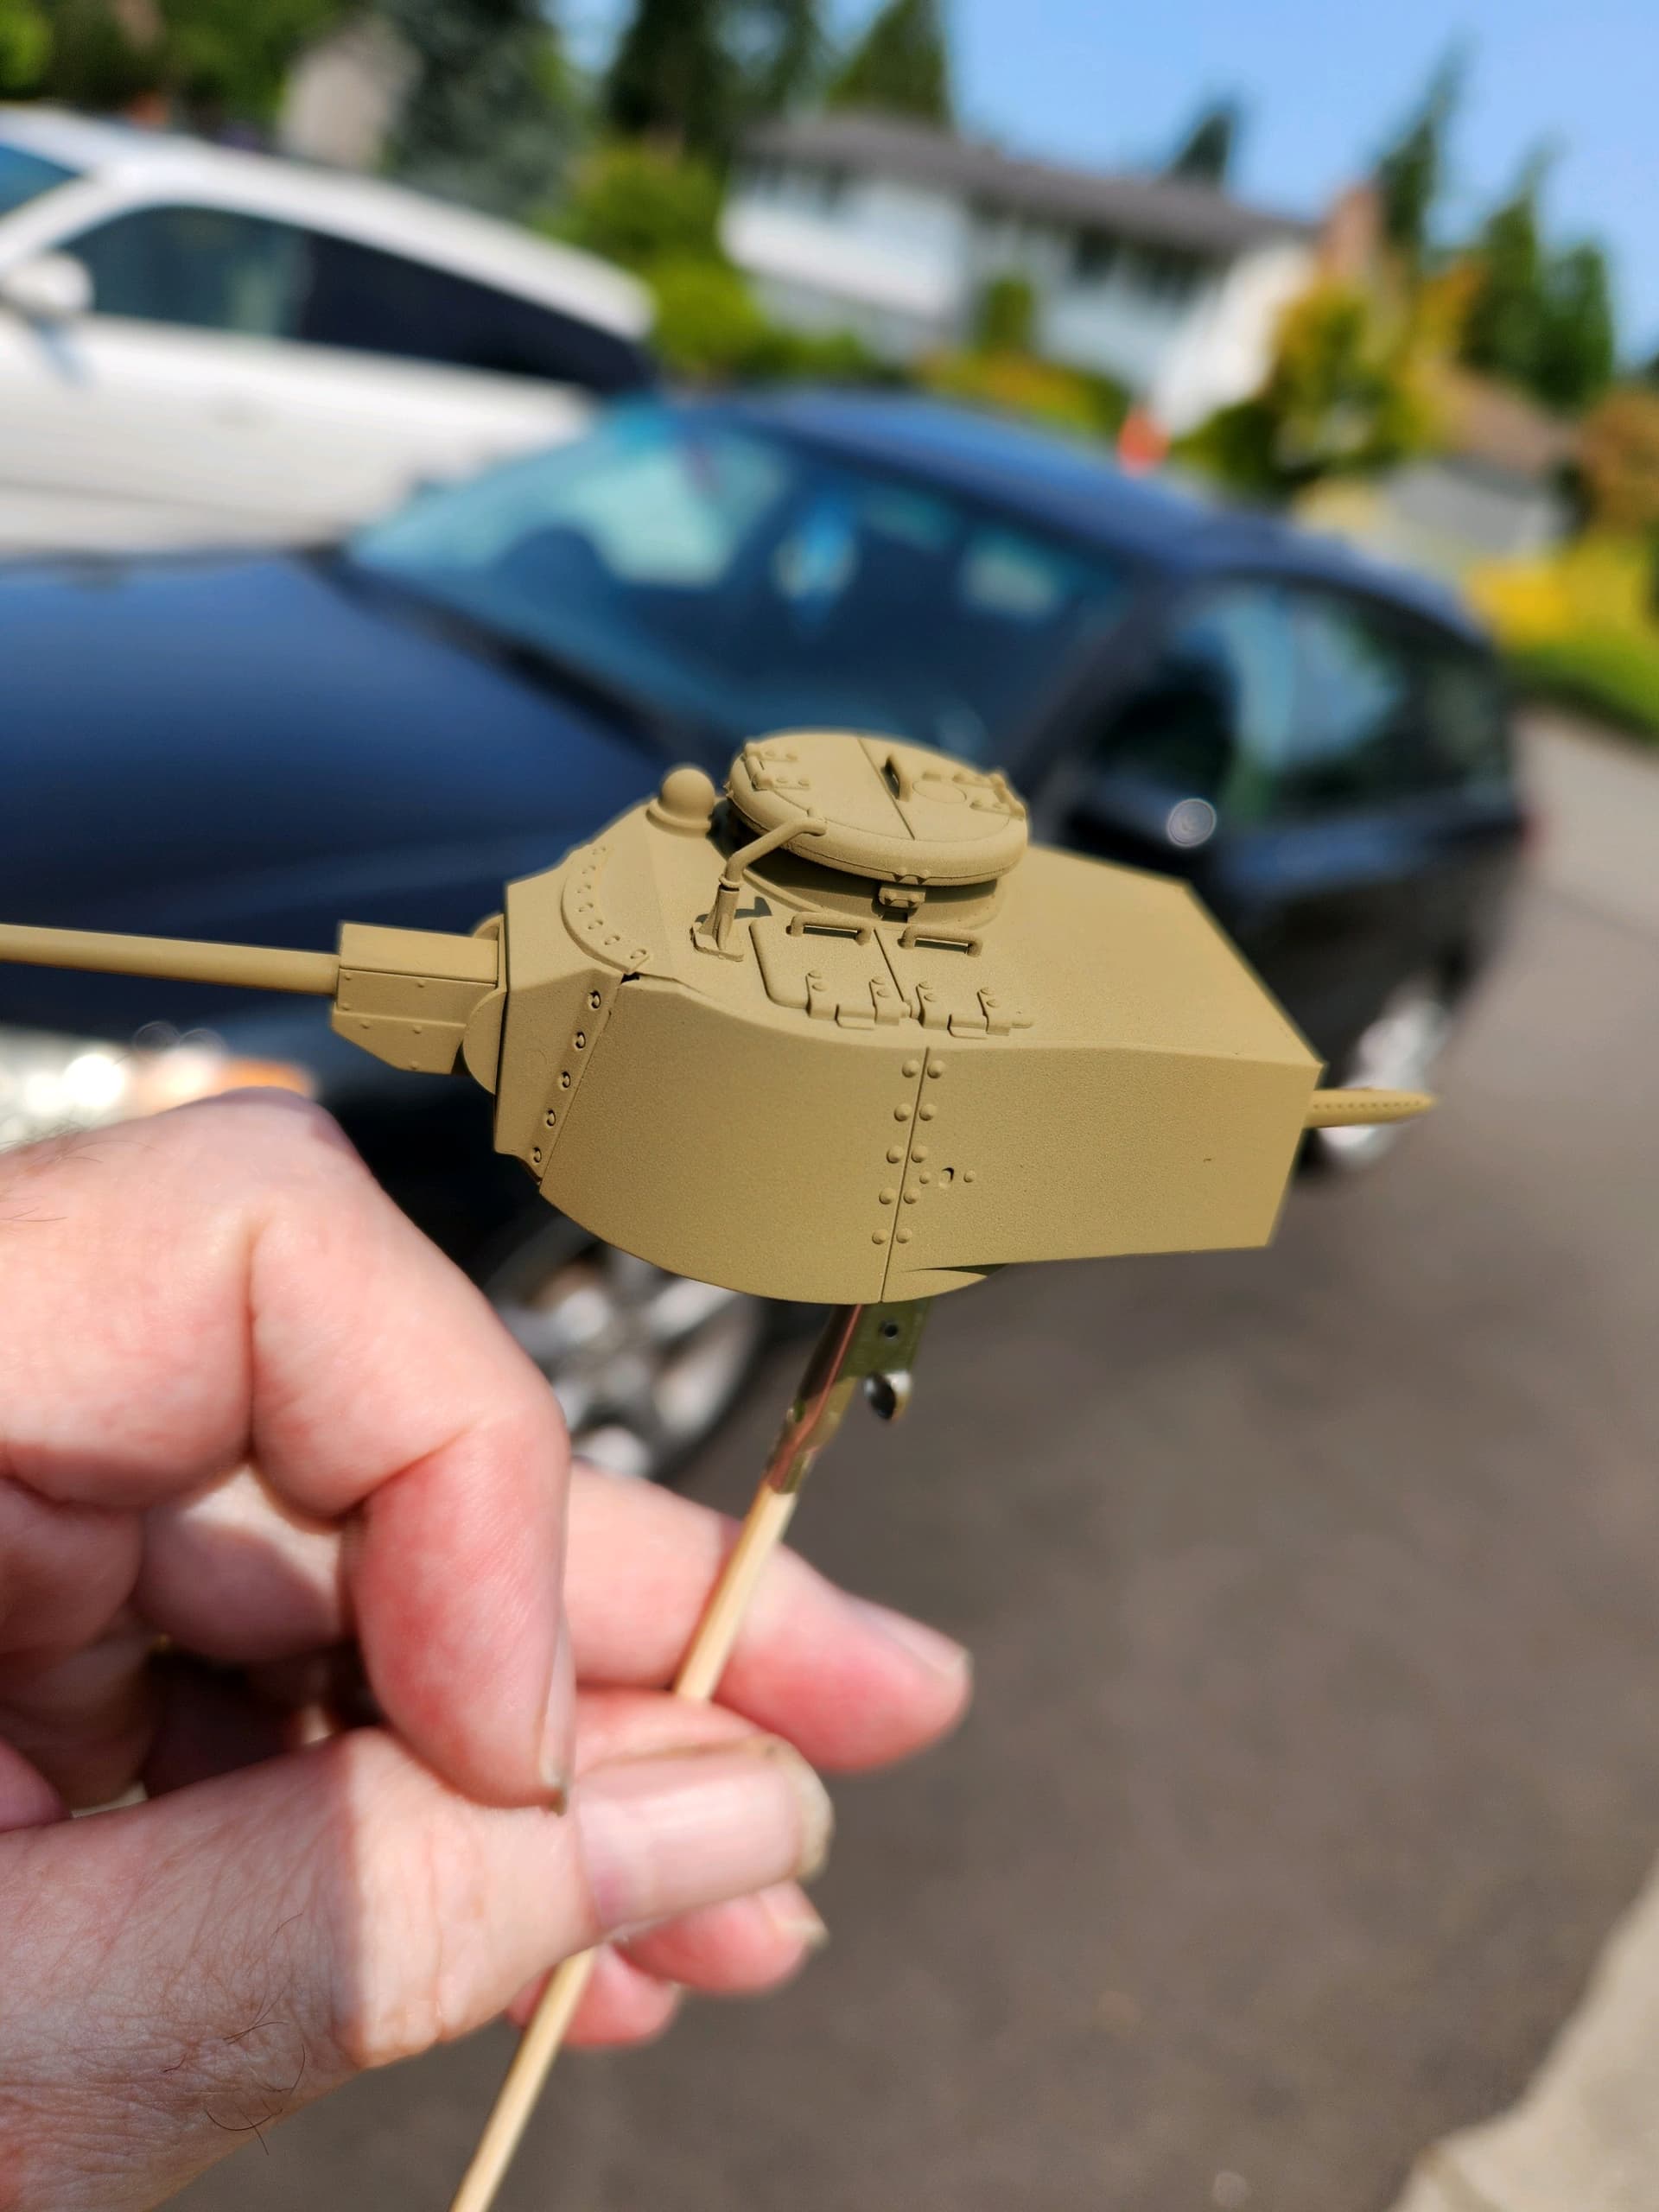
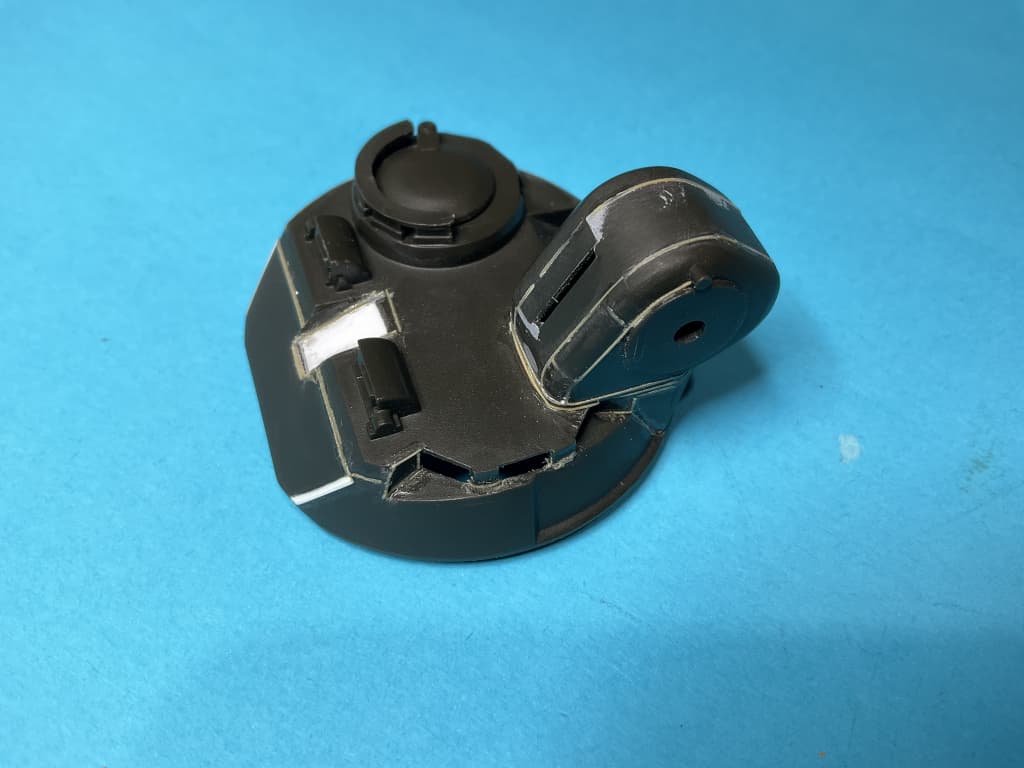
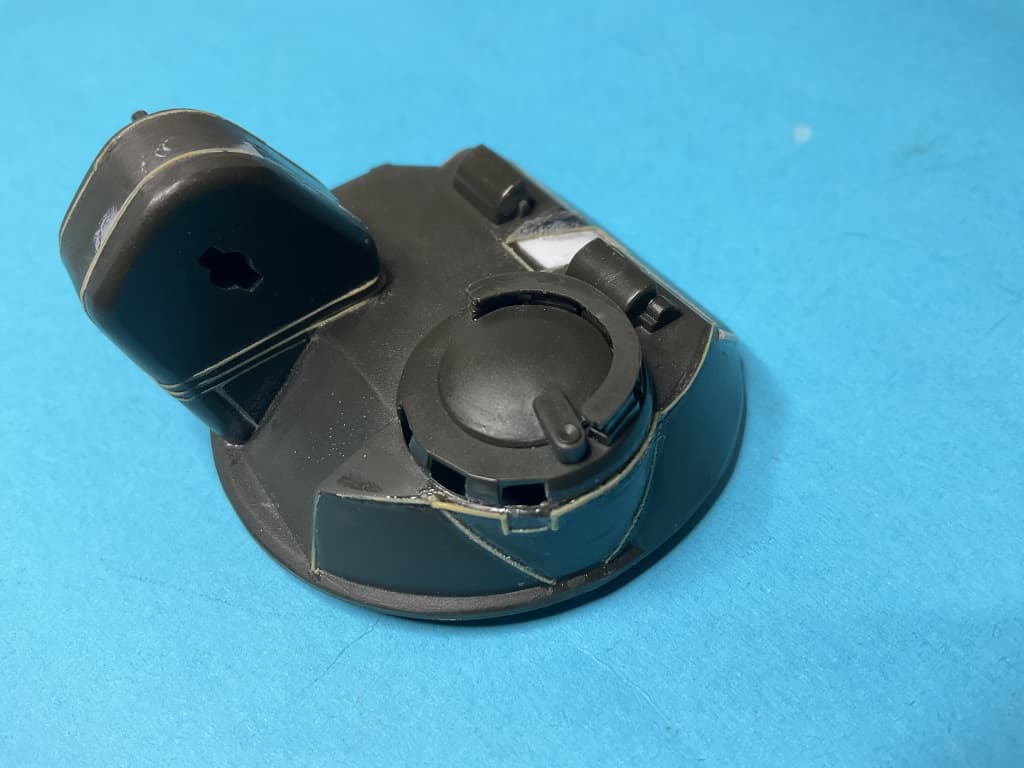
Also made a start on the turret. A few shortcuts taken on this kit, to enable the ease of removing the sprues from the mould and this is to the detriment of shape and accuracy. So the cut out in the face needed to be removed and made deeper, the extended armour on the face needed sides added and weld beads need to be done. Still a way to go here:
They are stretched sprue. Hold a piece of sprue so the centre is over a candle flame until the end droops down. Take it away from the flame and gently pull the ends apart. You can regulate the thickness by the amount you pull them apart with. Cut a section to the required length and use liquid cement to glue it into place. Push down on it to flatten the bottom a bit.
Once it has set, run a sanding stick over the weld to flatten the top a bit and thin the weld if they are really shallow ones. Then brush more liquid cement on the sprue and use the back of the scalpel to gently press into the sprue to make small, shallow indents. Then add more cement and use the flat of the blade to press down and slide sideways a bit. This way you get the look of ‘flow’ type welds.
I use sprue a different colour to the vehicle so you can see what you are doing.
I find if you light one end and stick it something solid/plastic mat and pull from only one end you can get a longer more consistent diameter then pulling both ends where it can look like a row of sausage. I have seen hair like thickness pulled across a room this way.
Interesting Ryan. I have never had an occasion where I did not get a consistent smooth flow.
One of my club guys once told me that he clamps the ends of a section of stretched sprue and uses a hair dyer on low temp from a distance to get it to pull taught and straighten. I have never had a need to try it myself.
For straight stretched sprue, I pull it apart and hold it taunt for about 60 seconds. That usually gives all the styrene molecules enough time to return from liquid to solid state. Another method I have used is to plunge the stretched sprue into cold water while keeping it taunt. This forces the molecules to rapidly transition from liquid back to solid state. I am not a chemist and do not know if styrene behaves like metals and reorganizes into a crystalline structure when rapidly going through the state transition.