Very Nicely done John. The instrument panel looks fantastic.
1 Like
That’s clever. The inst panel looks terrific ![]()
2 Likes
Your instrument panel alone is more work than my entire kit… ![]()
2 Likes
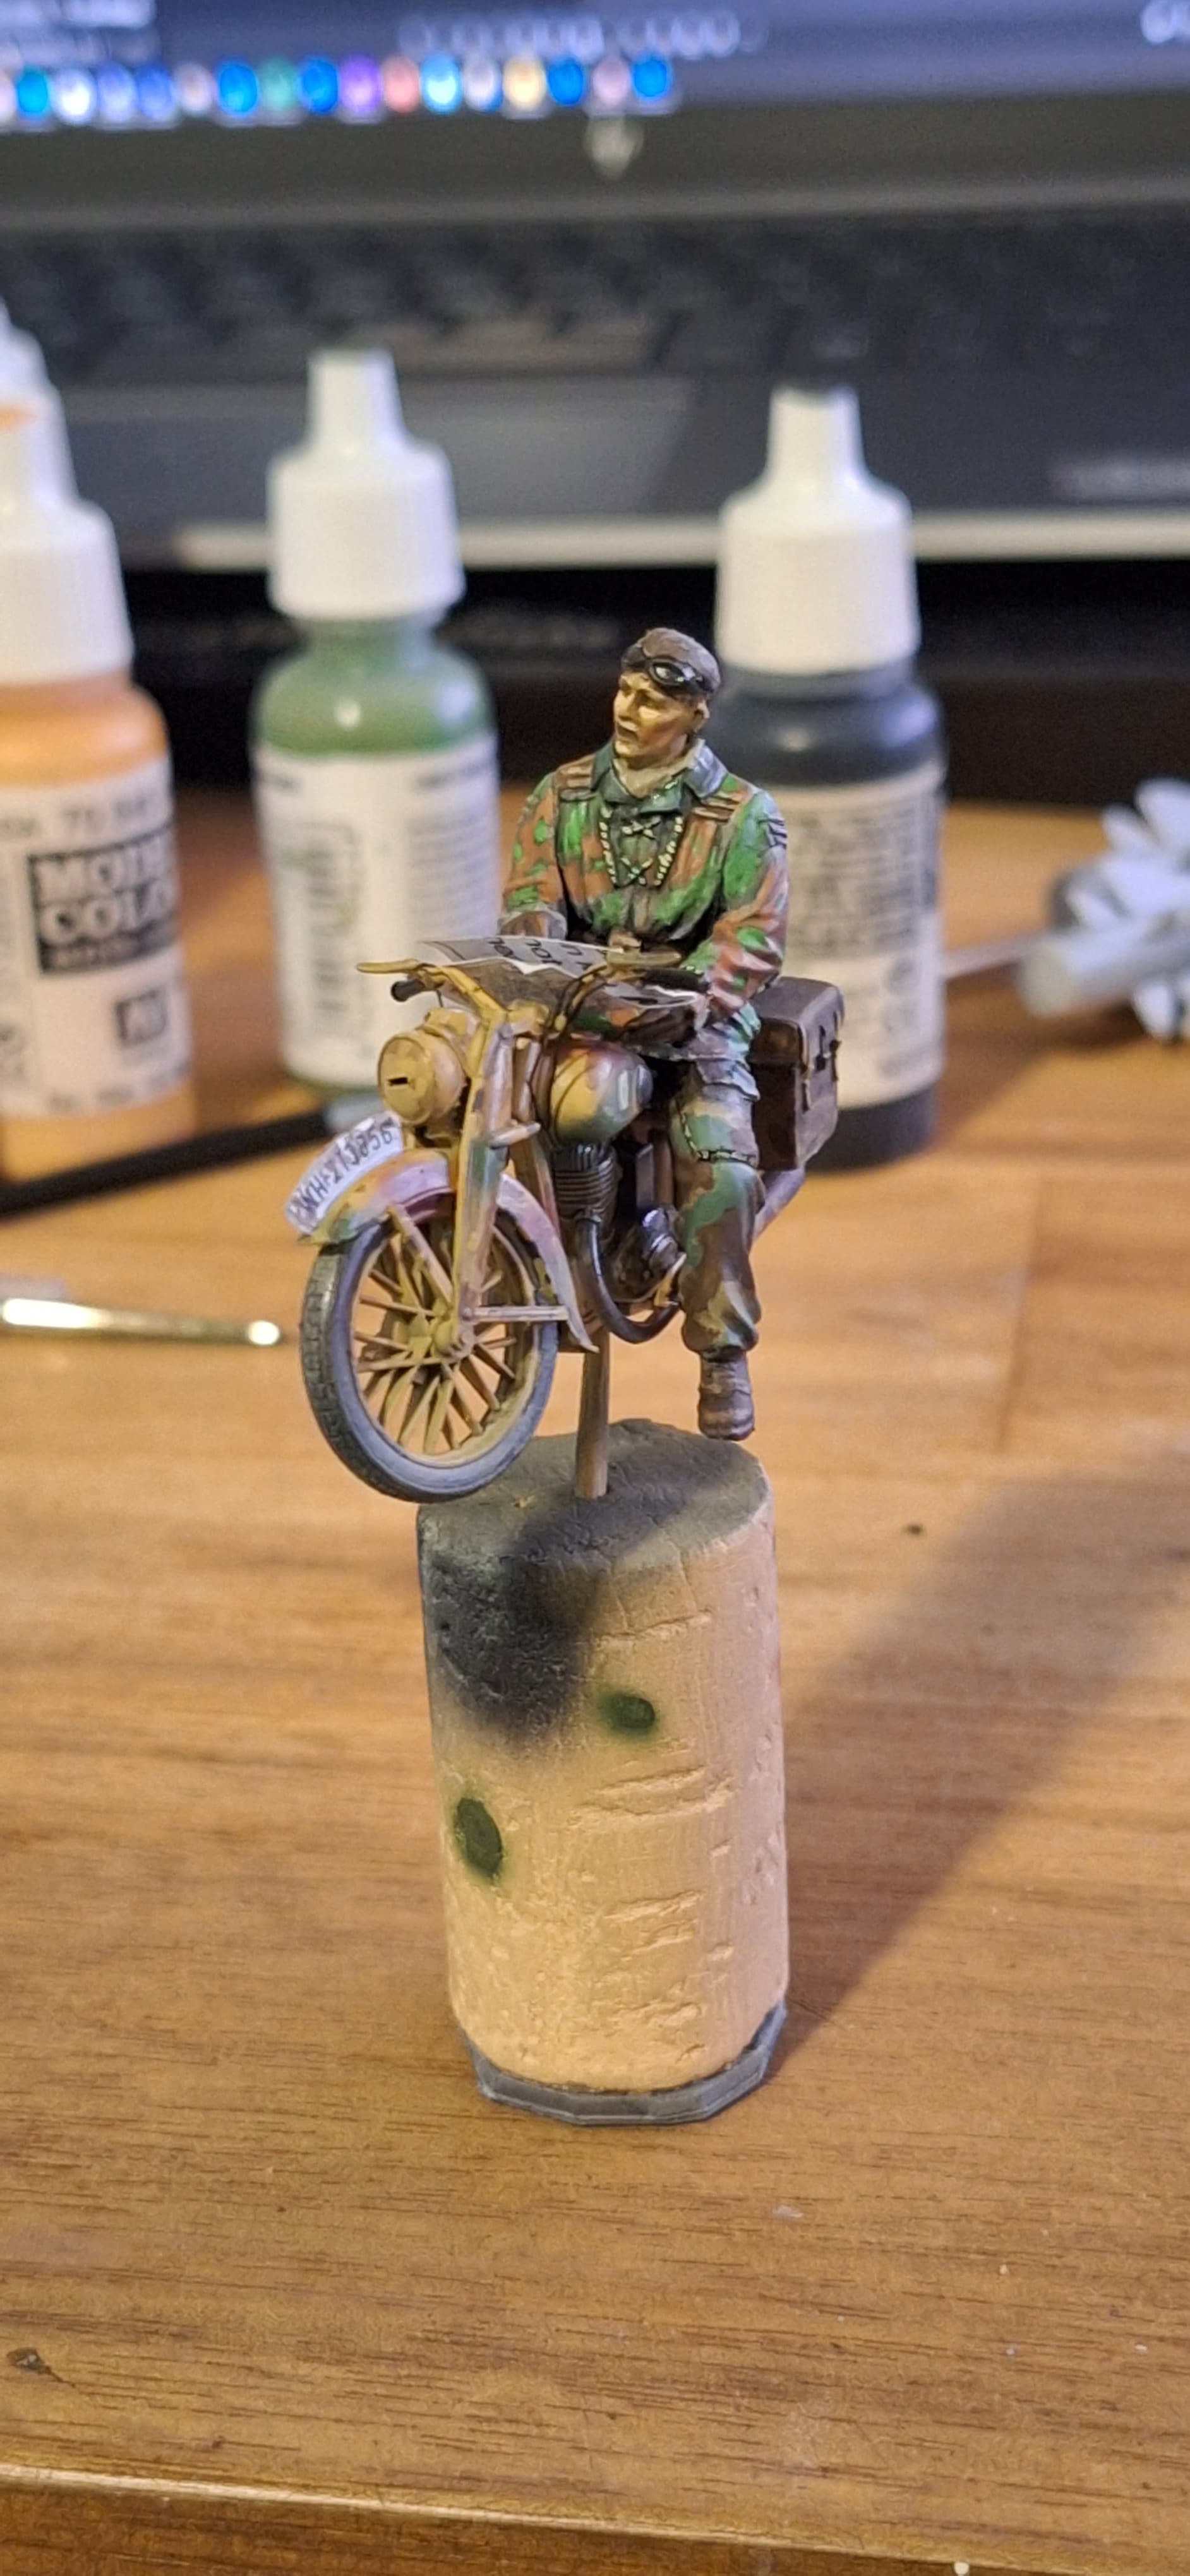
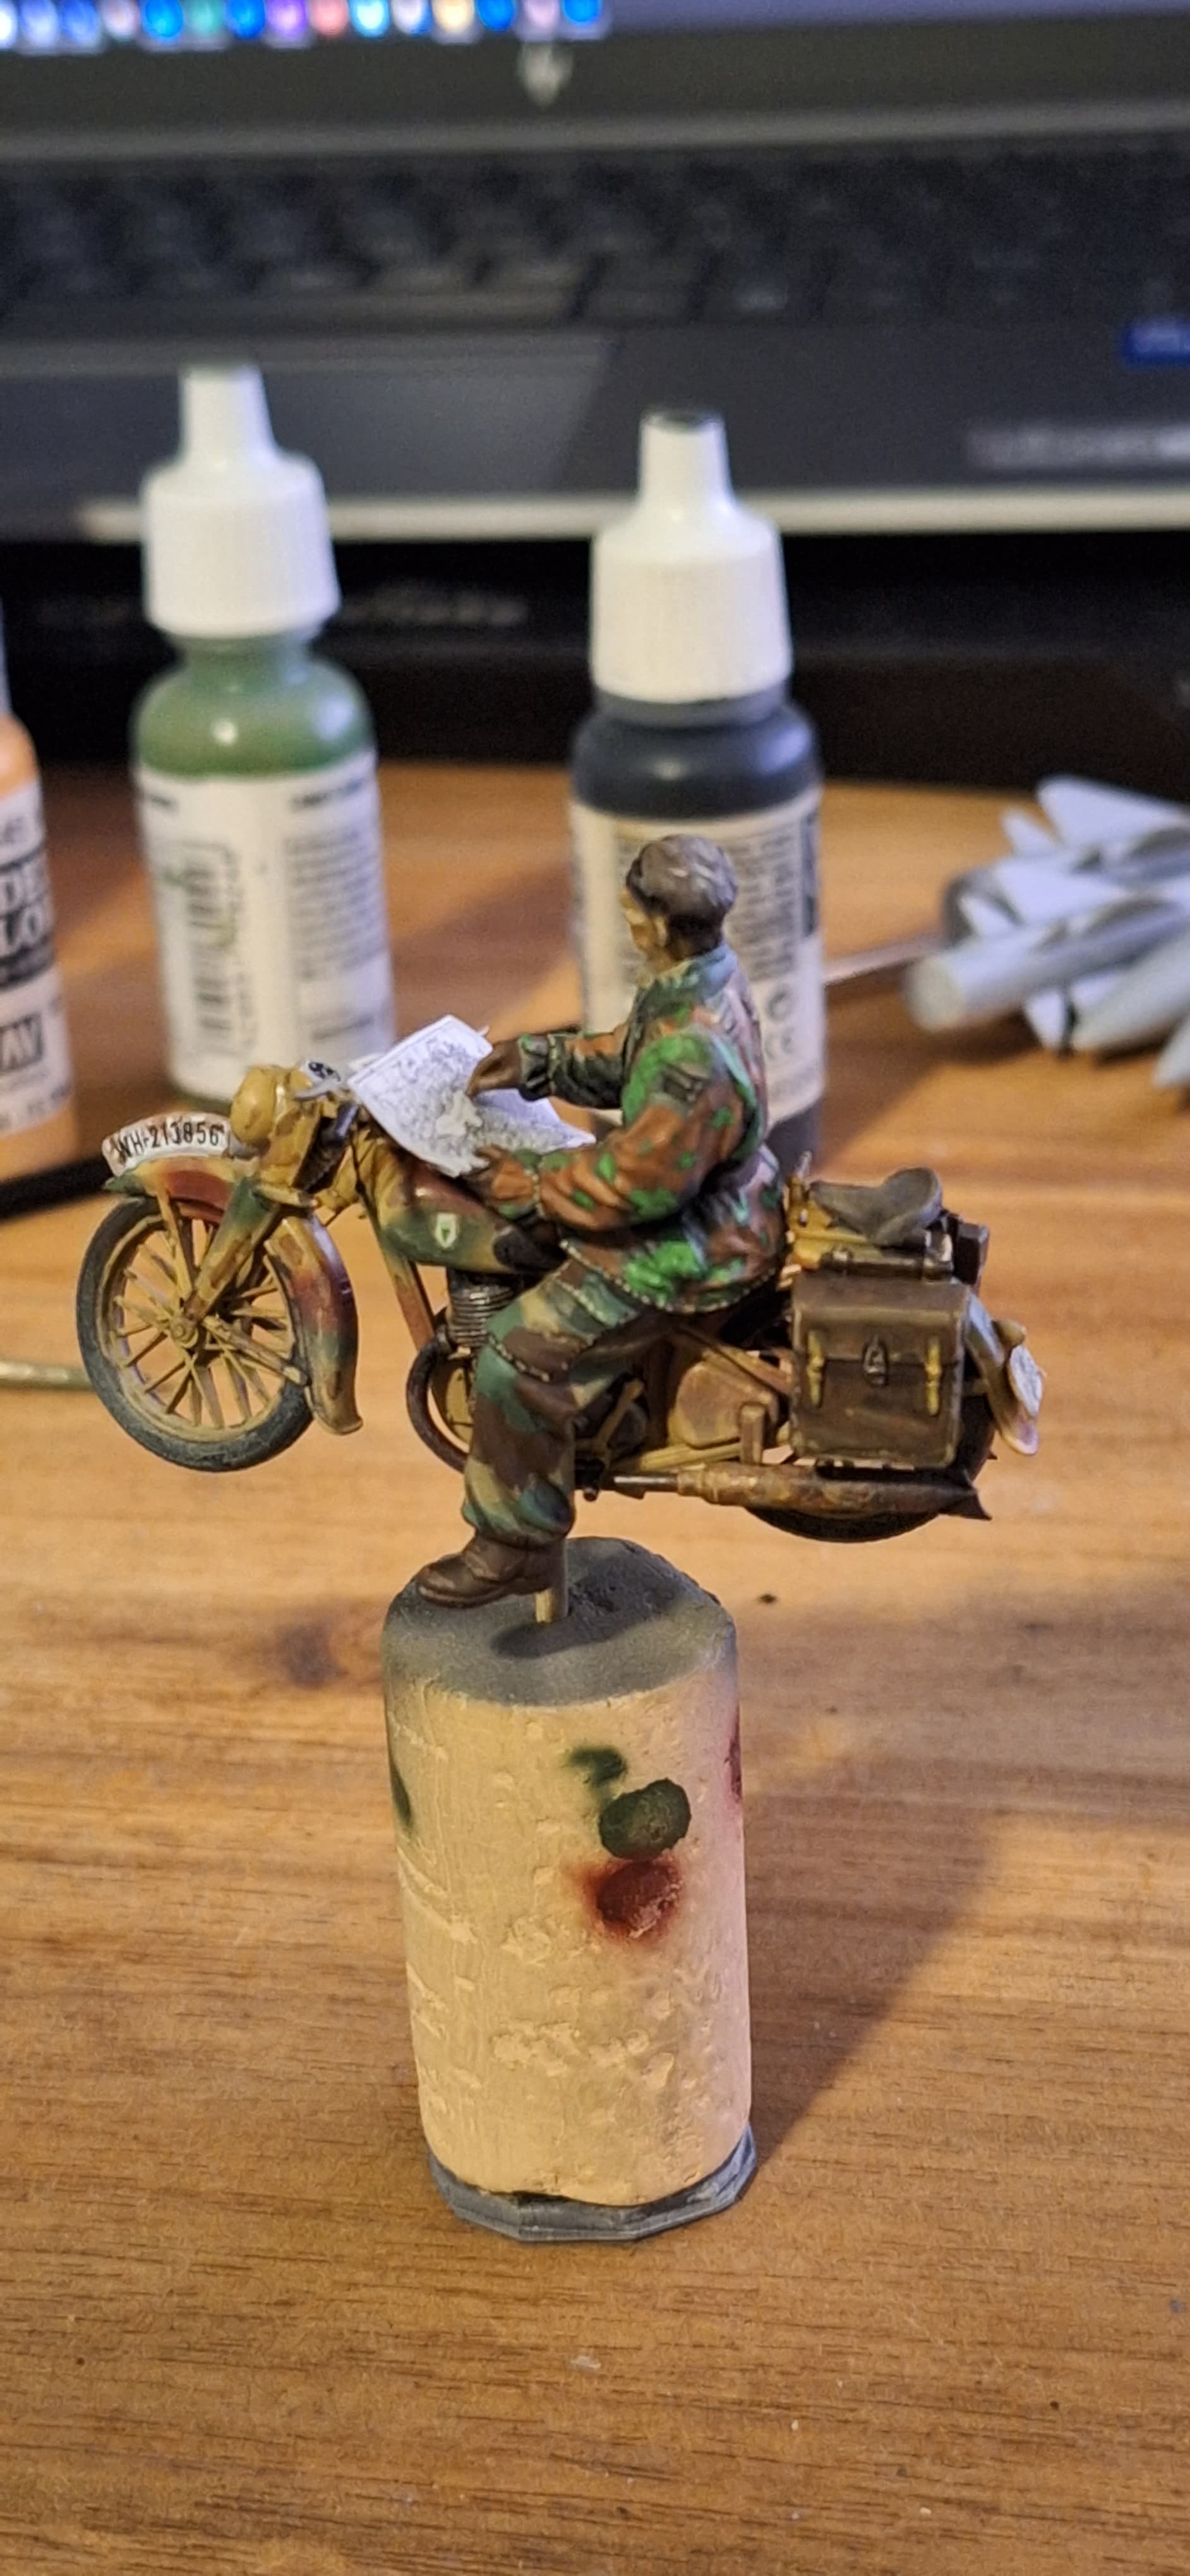
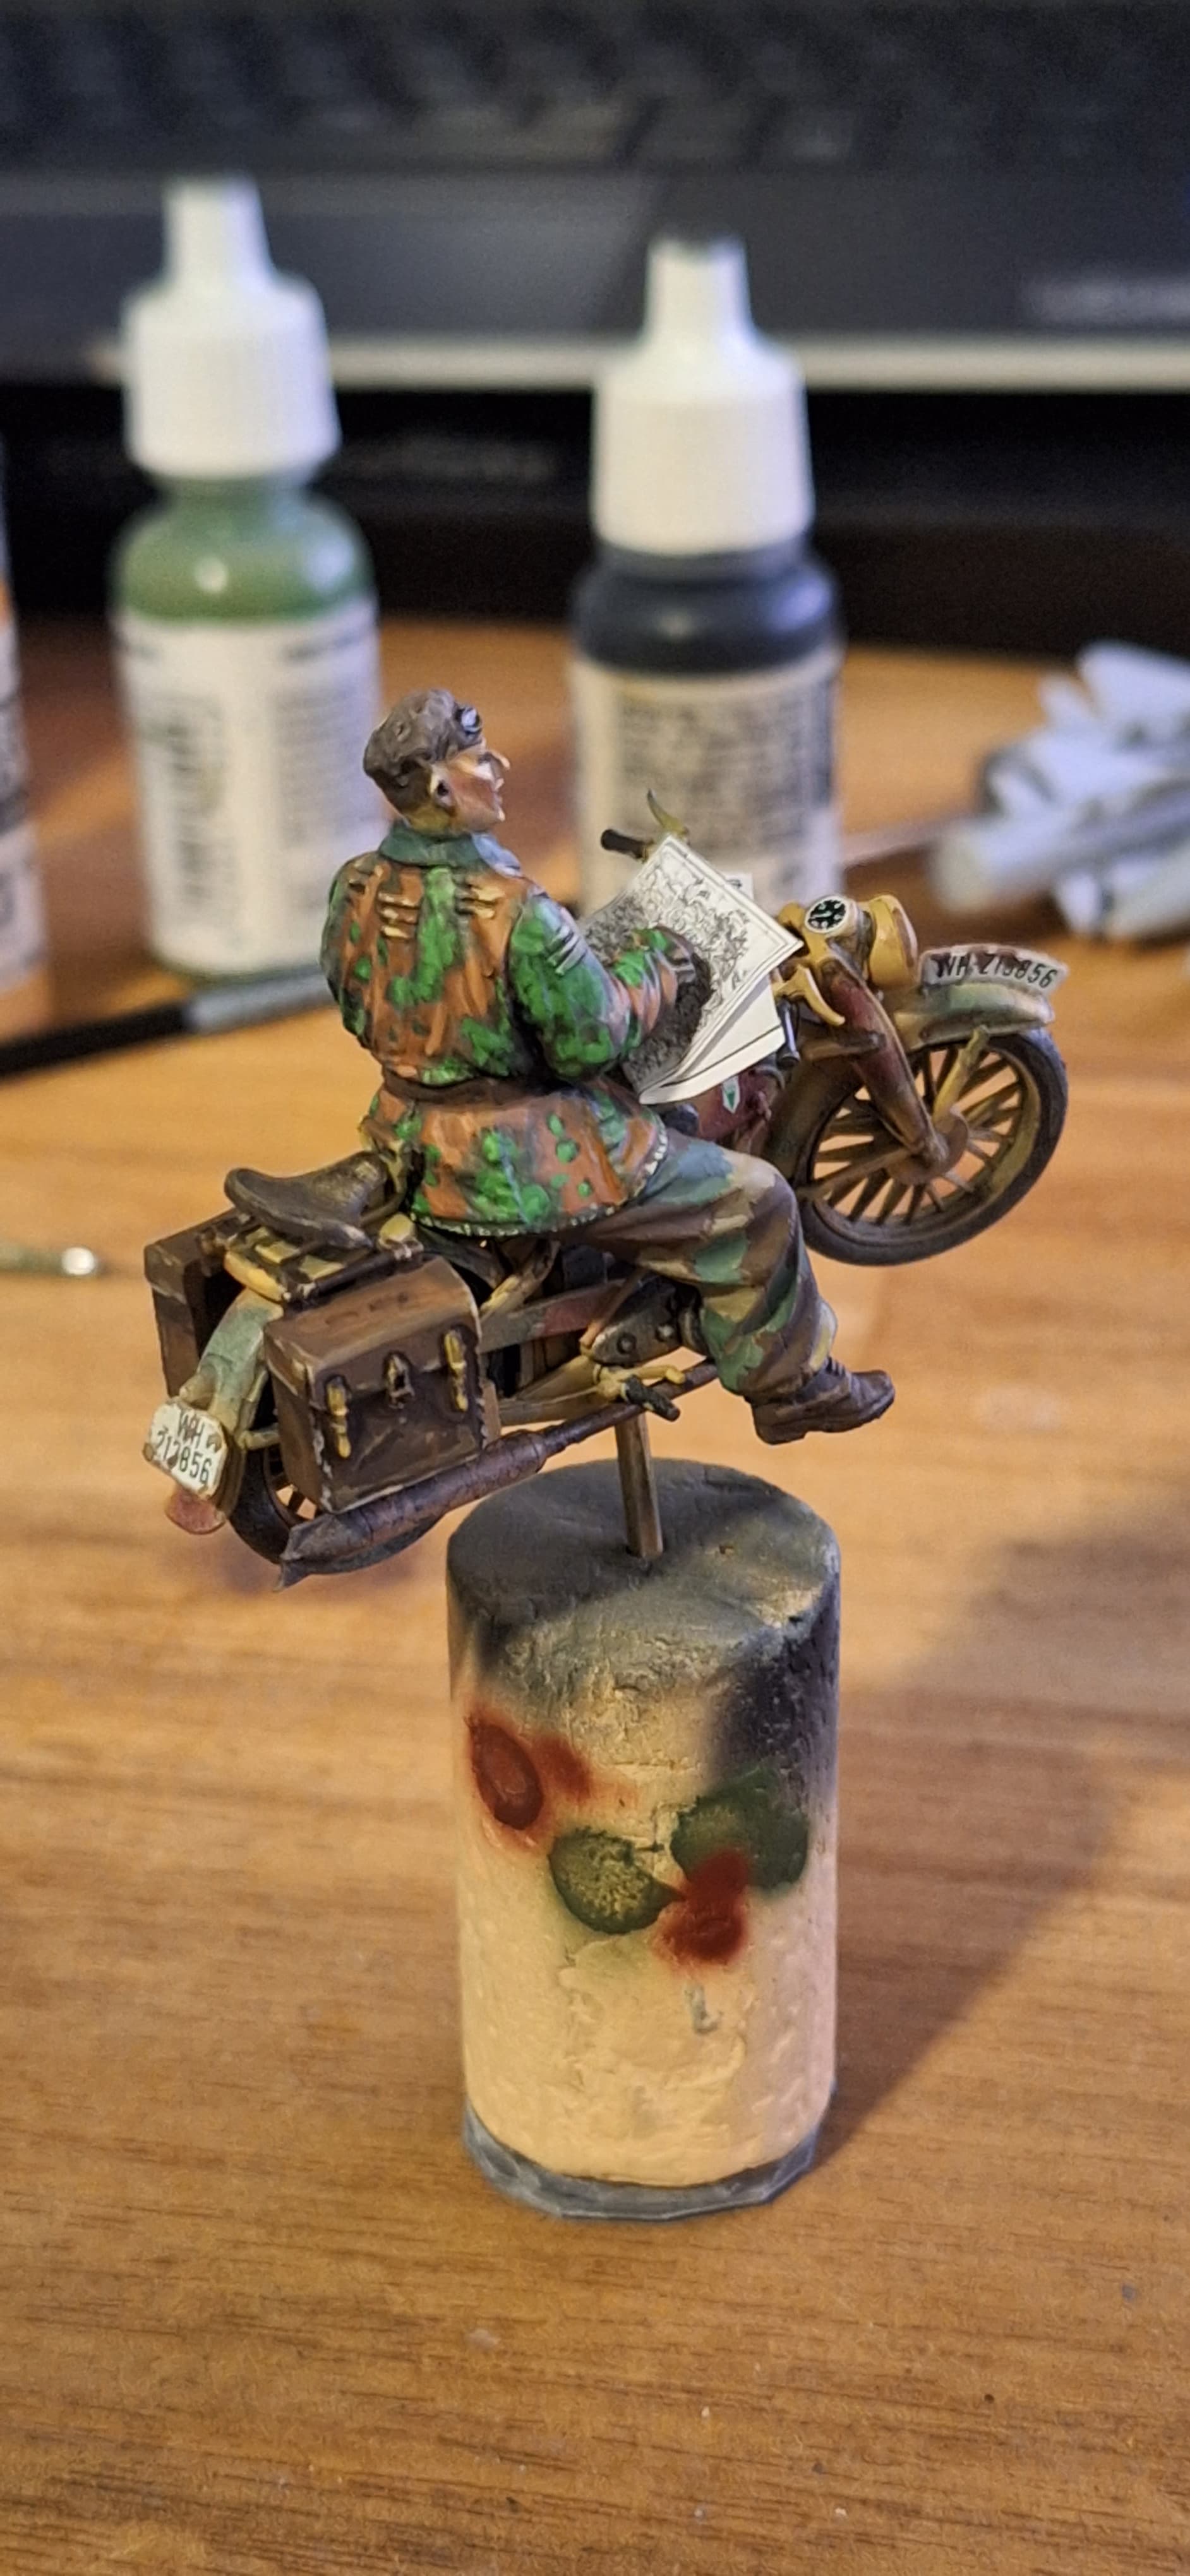
Calling this finished. Not the best figure painter but it will do for me and the myriad other figures it will be going with

12 Likes
I’d say well done!
Figurepainting is a science and art on its own!
1 Like
more dark magic i’d say ![]()
1 Like
Lovely finish and the painting gets my vote … Like Ron said and you confirmed … Only dark wizards ever master it …
3 Likes
The figure looks great to me. Bikes nicely done too.
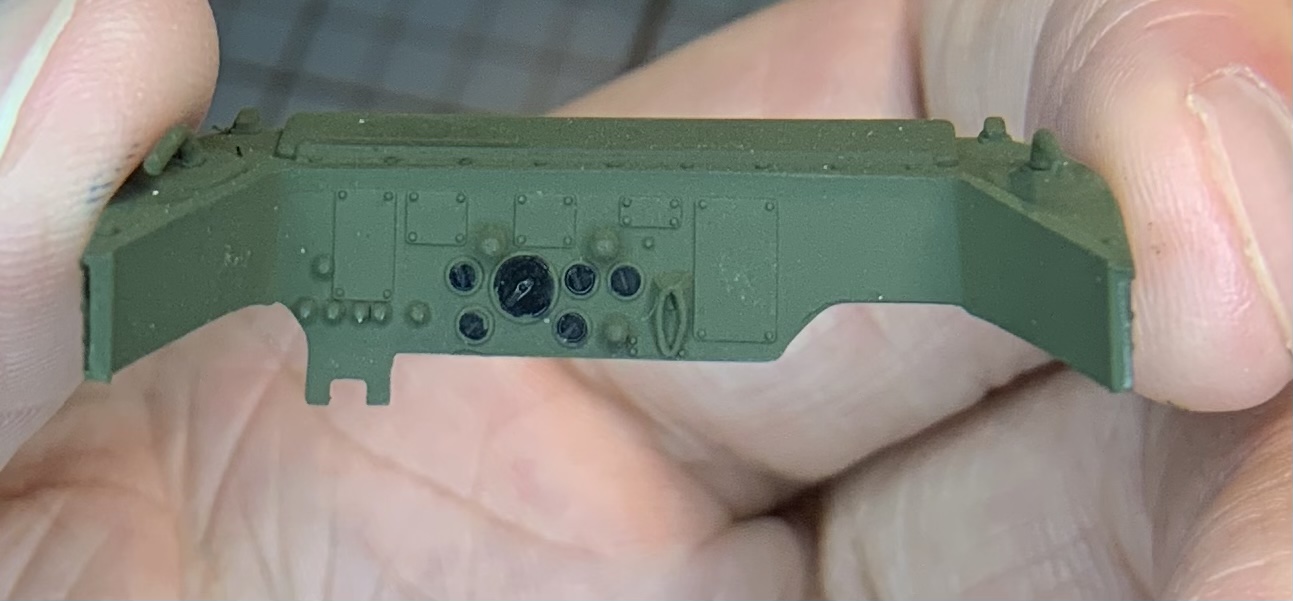
Managed a little work today.
Had to remove some plastic under the instrument panel cover to get it to fit. Plastic was quite thick here and the panel wouldn’t go under it.
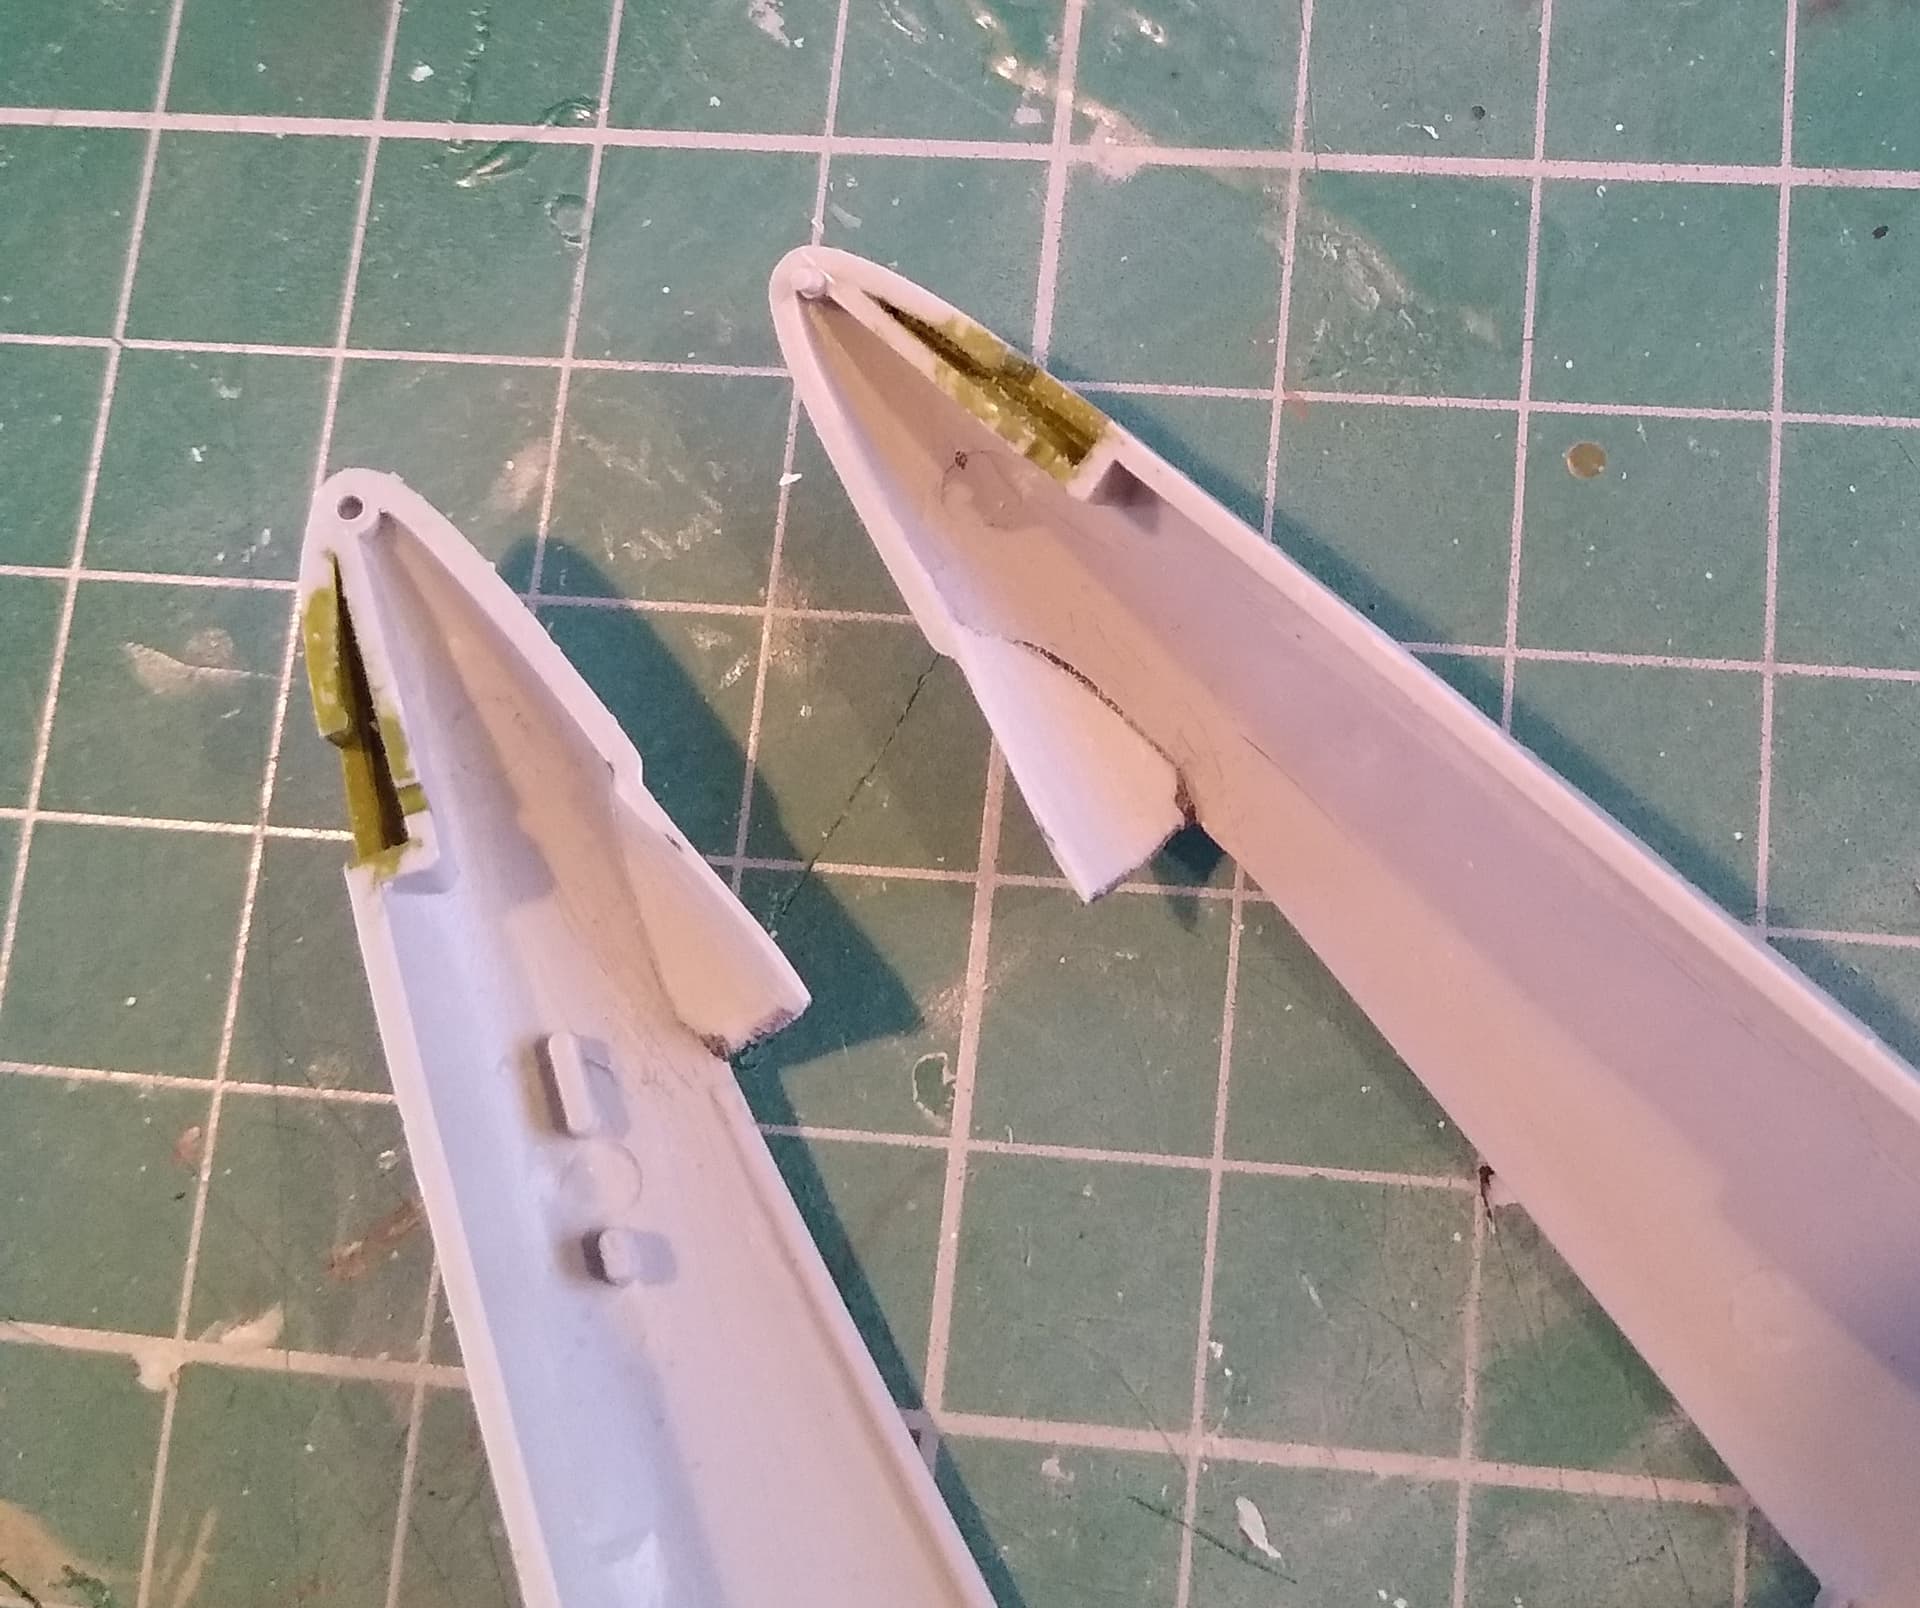
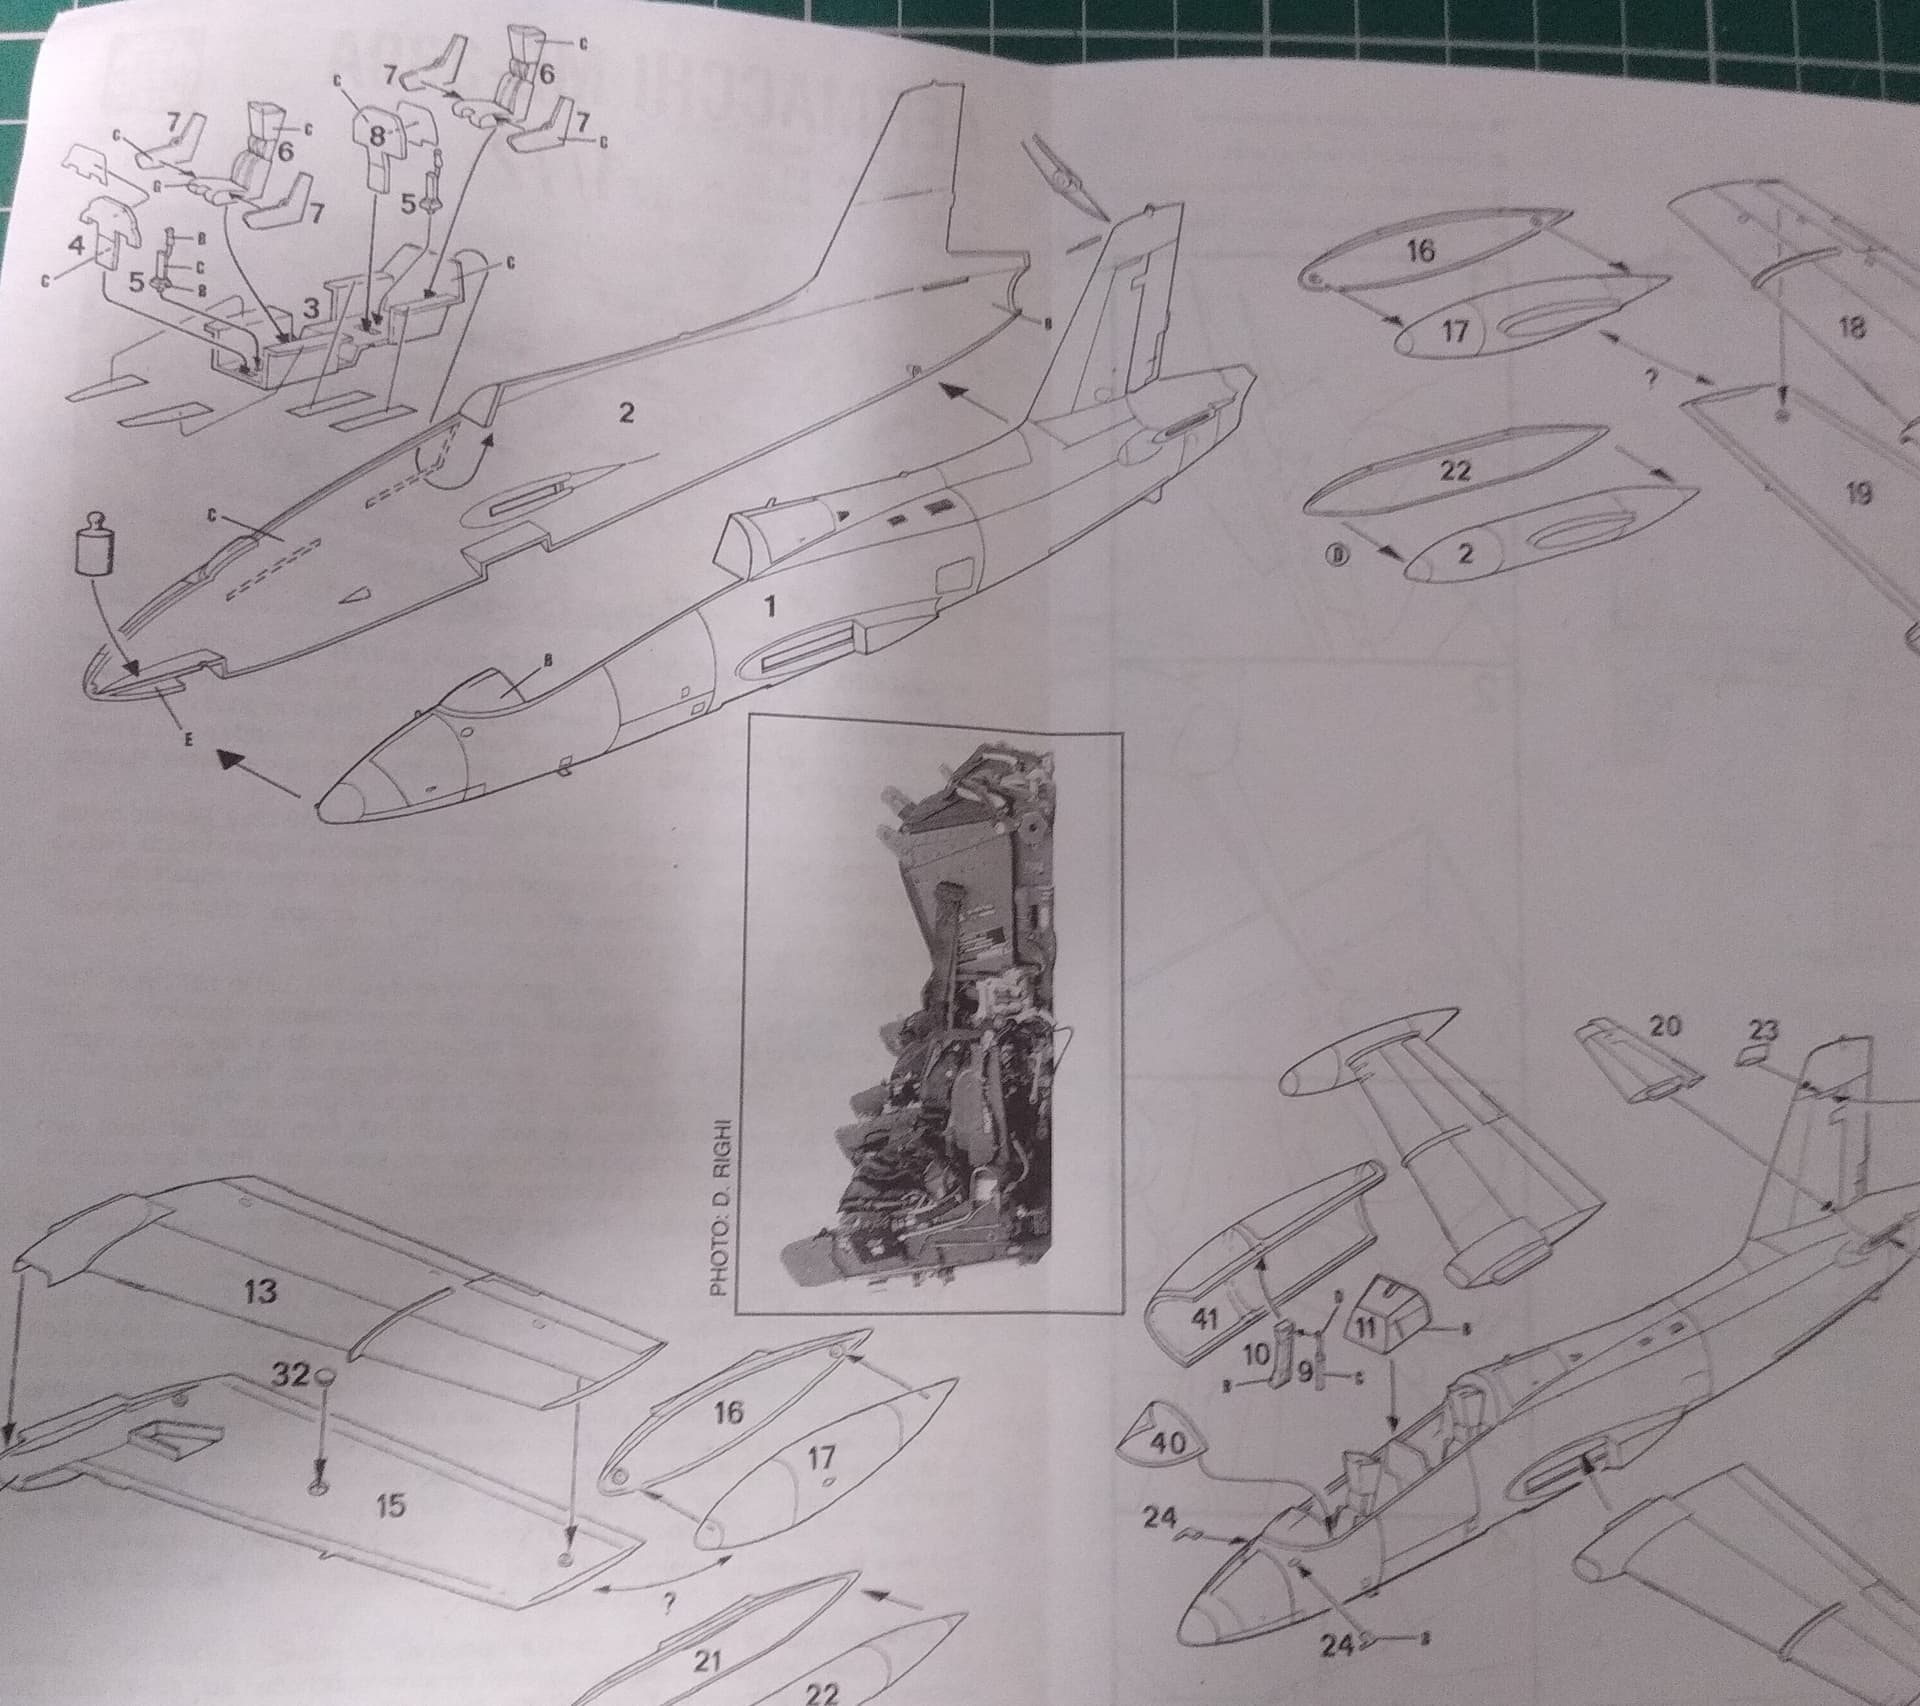
And I just about ready to assemble the wing halves when I realised I needed to drill out the holes for the gunpods and pylons. Slight problem, there are no location points for the holes. Luckily, the current issue of this kit does. So I pulled out my Frecce Tricolori boxing and used the wings to measure out the locations and drilled them out. I did to adjust one to straighten out the pod, but all went well.
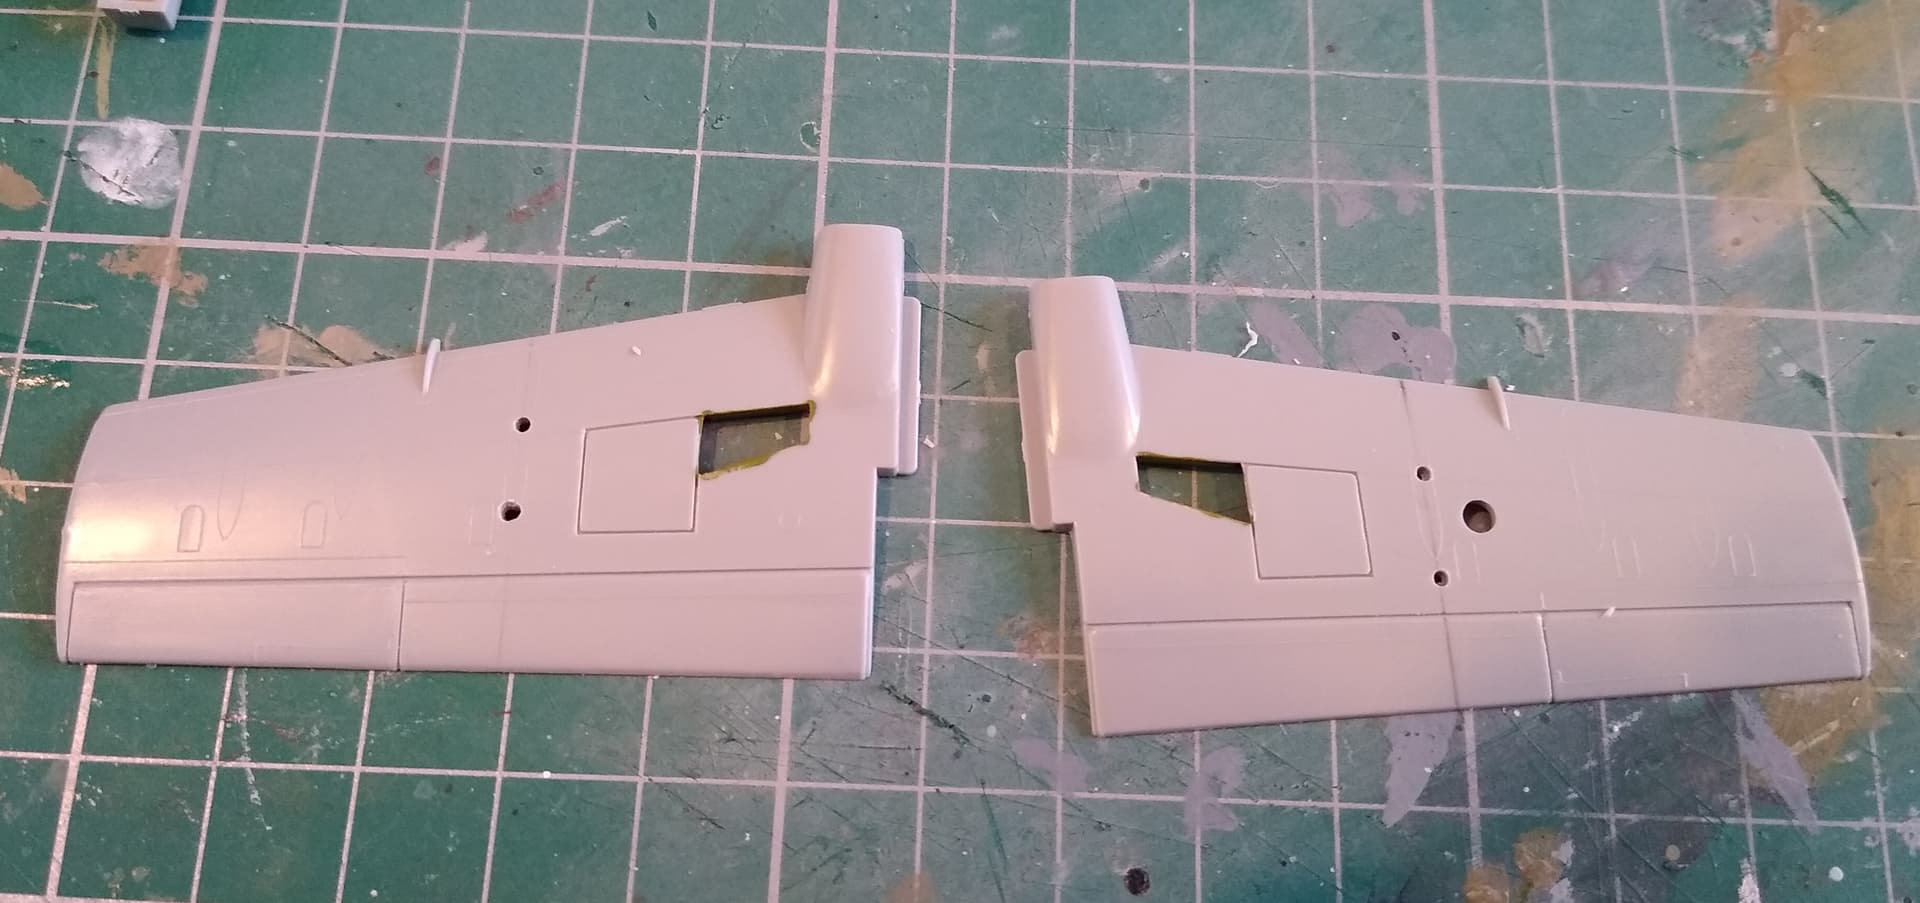
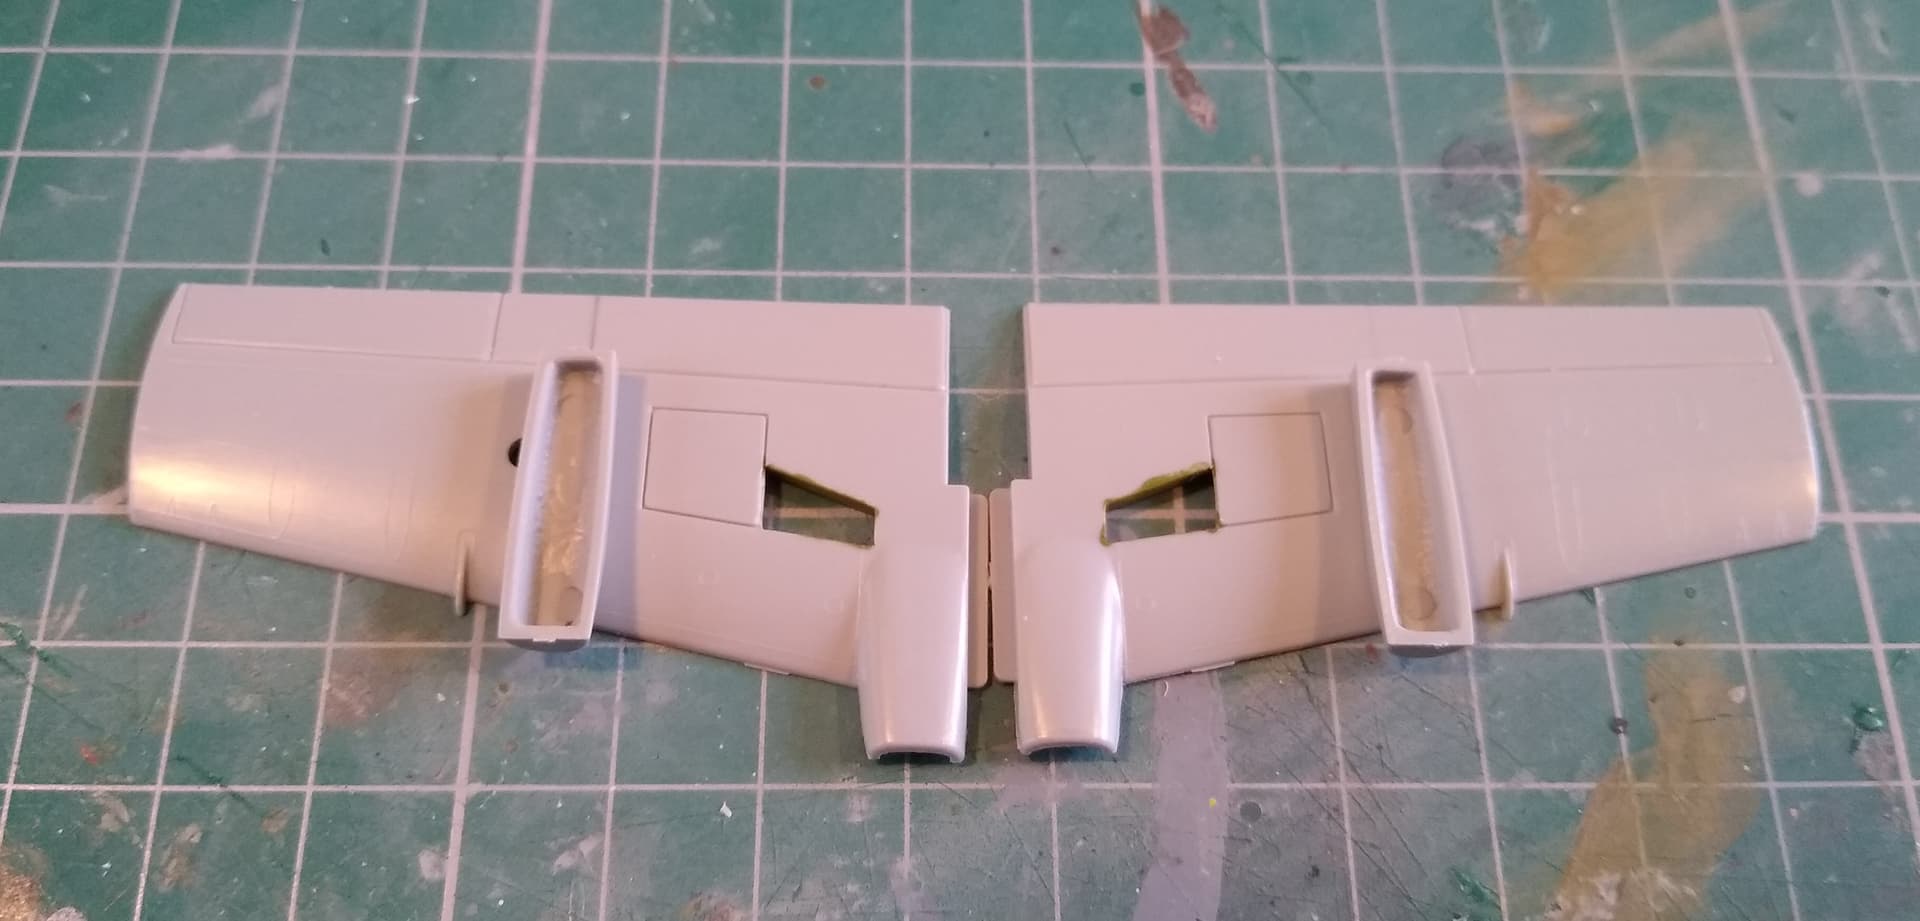
It’s only now that I realise I could’ve saved myself a lot of work by just swapping the lower wings. But where would the fun have been in that? I also would’ve had dark blue plastic wings that would’ve needed a lot of primer before I painted.
5 Likes
Well done dude … One tick in a box at a time ![]()
3 Likes
Good to see your bench is back together and you’re back at it Ryan. Nice progress!
3 Likes
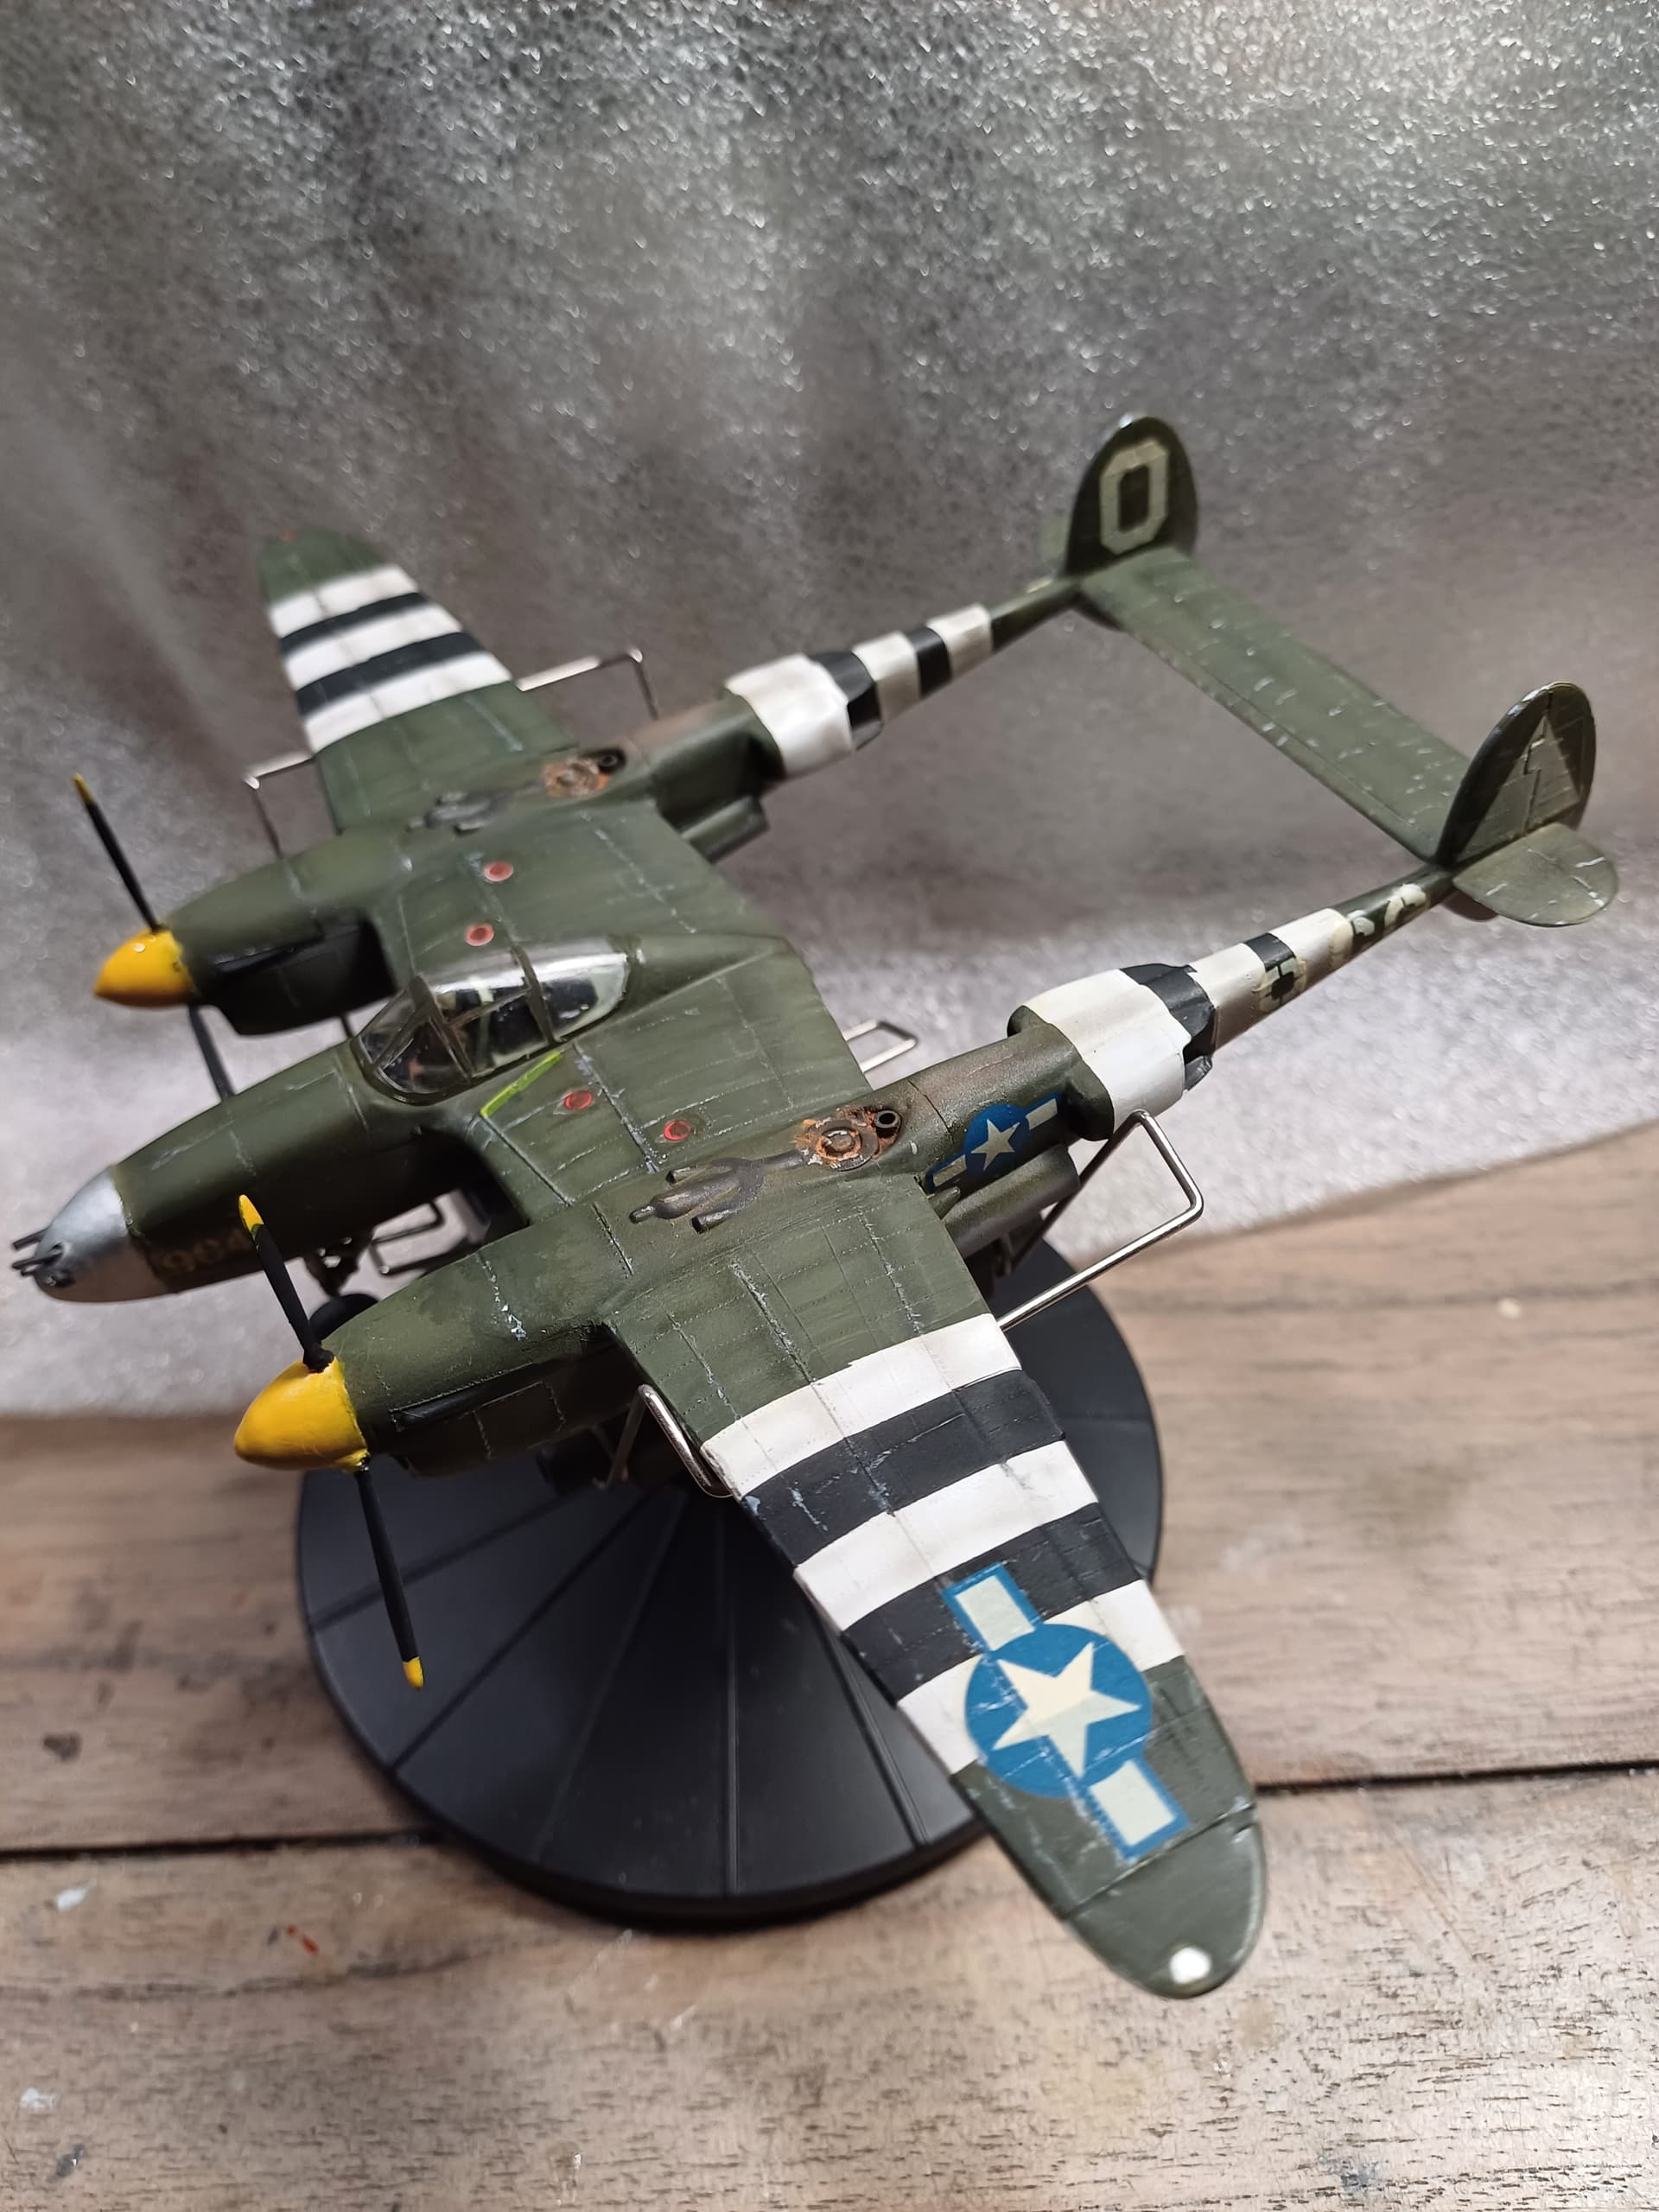
As the summer is practically finished out here… rain… got a cold… I have extra time to work on the P38.
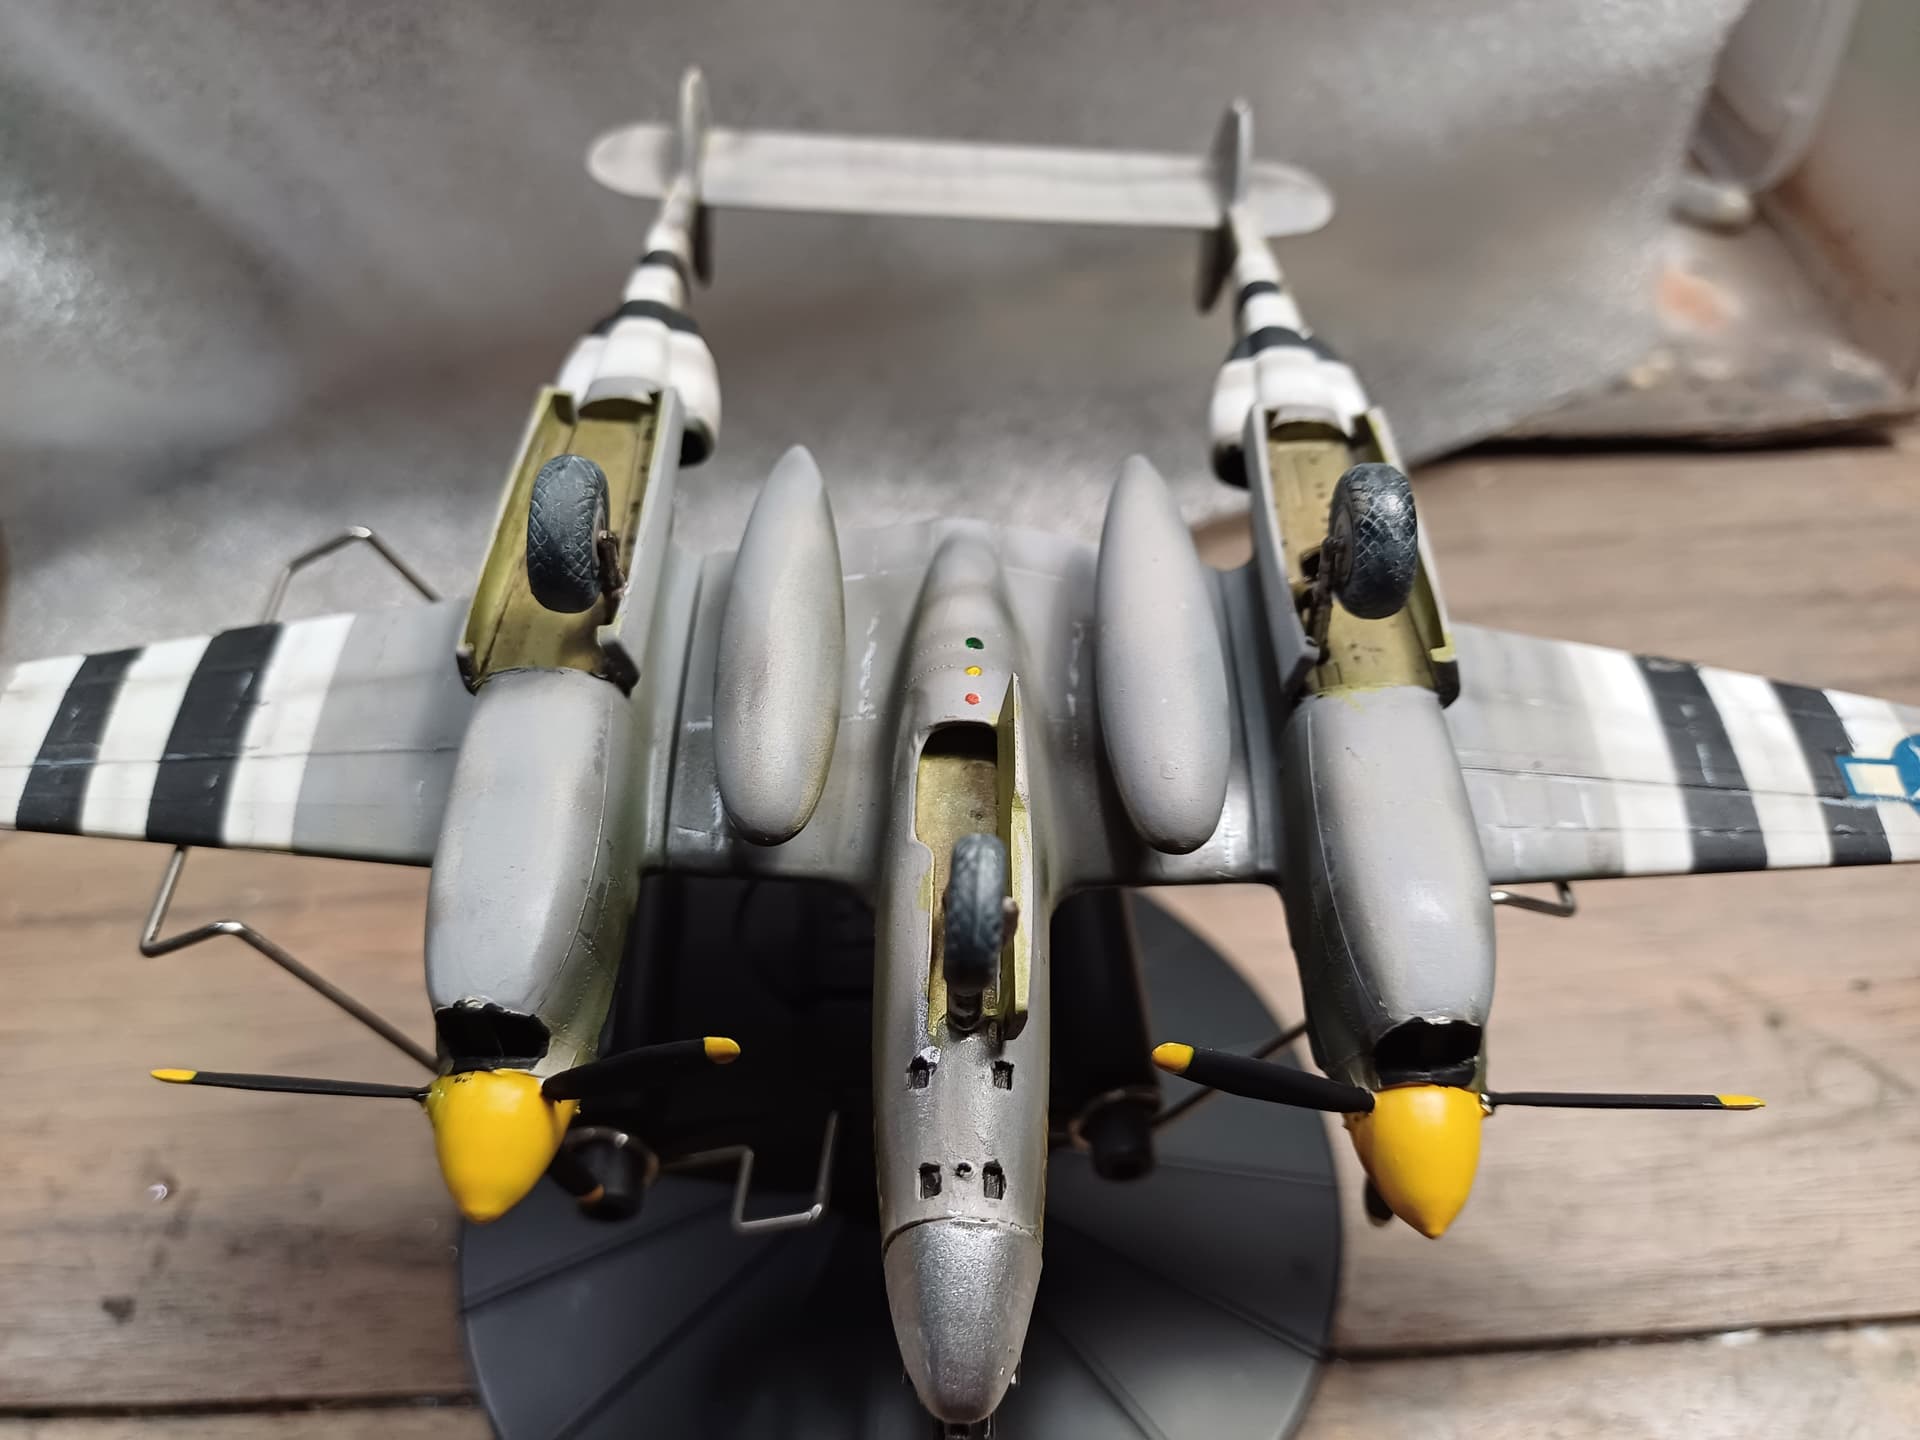
Found a video of an even older version of it, still in a bag… also found a great video of the new Tamiya version with guns, opened nose, etc… based on that one I added some visual interest to mine…
lights at the back of the nose wheelbay…

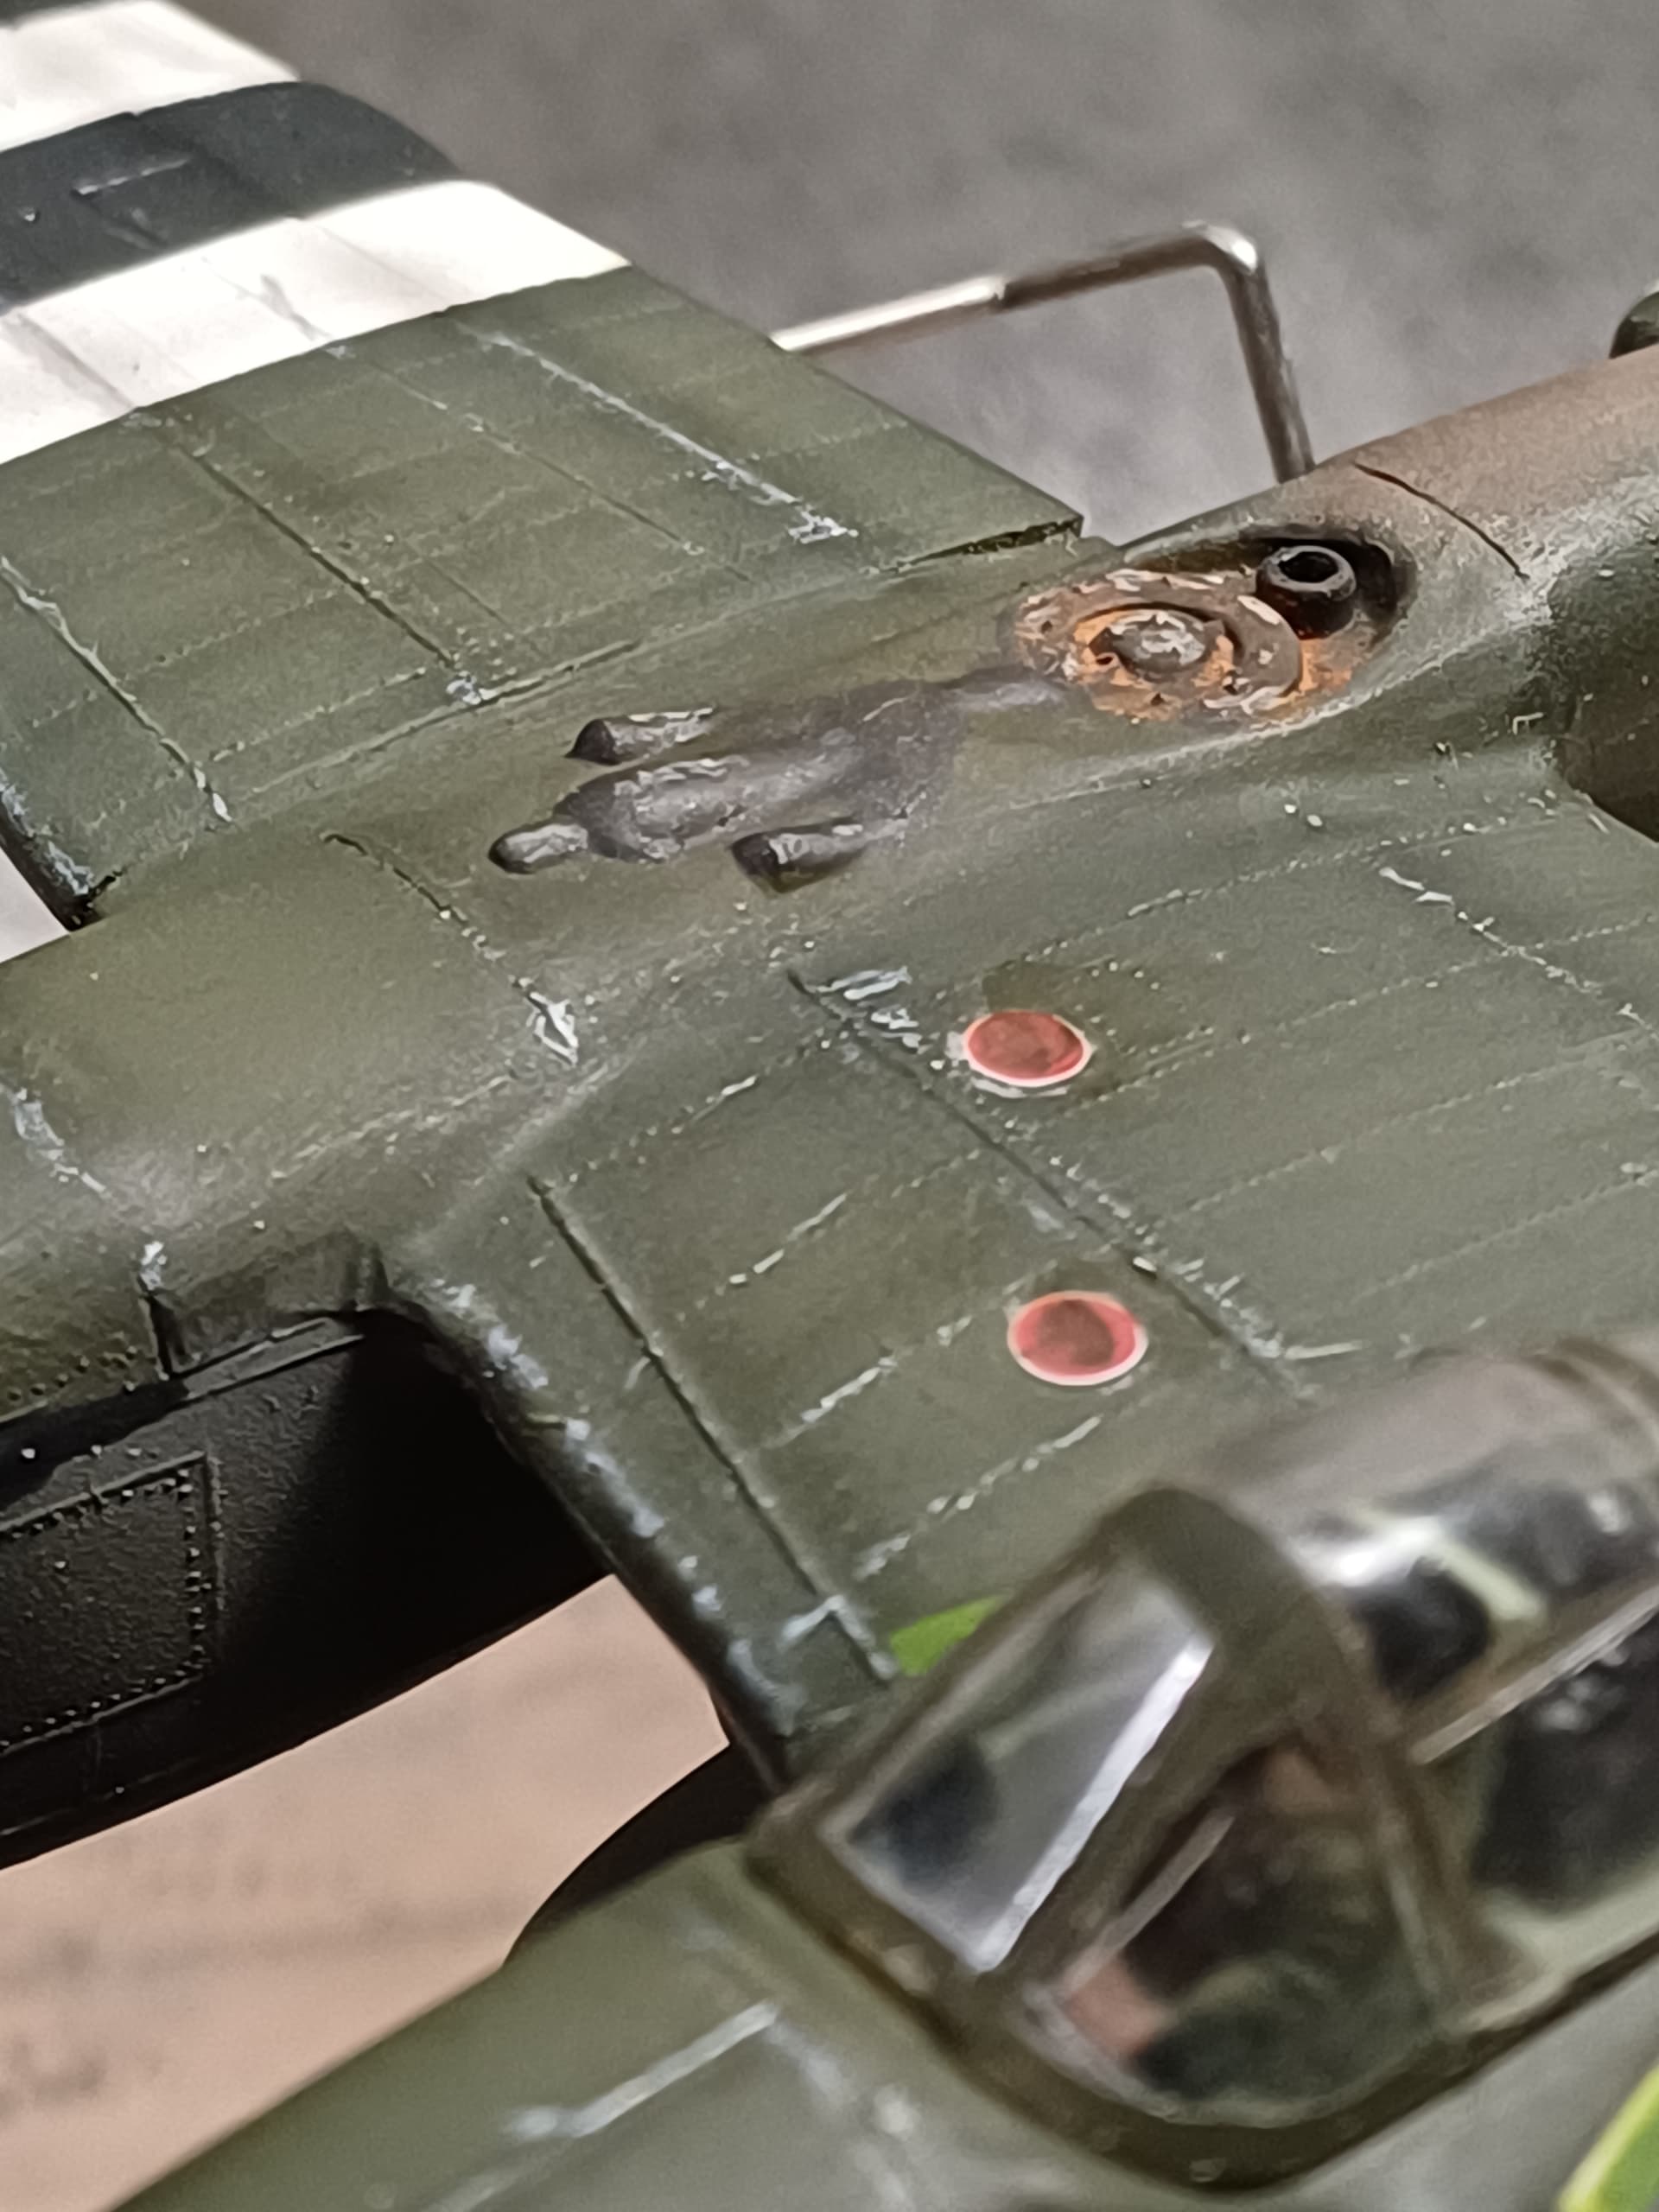
rust and exhaust stains…
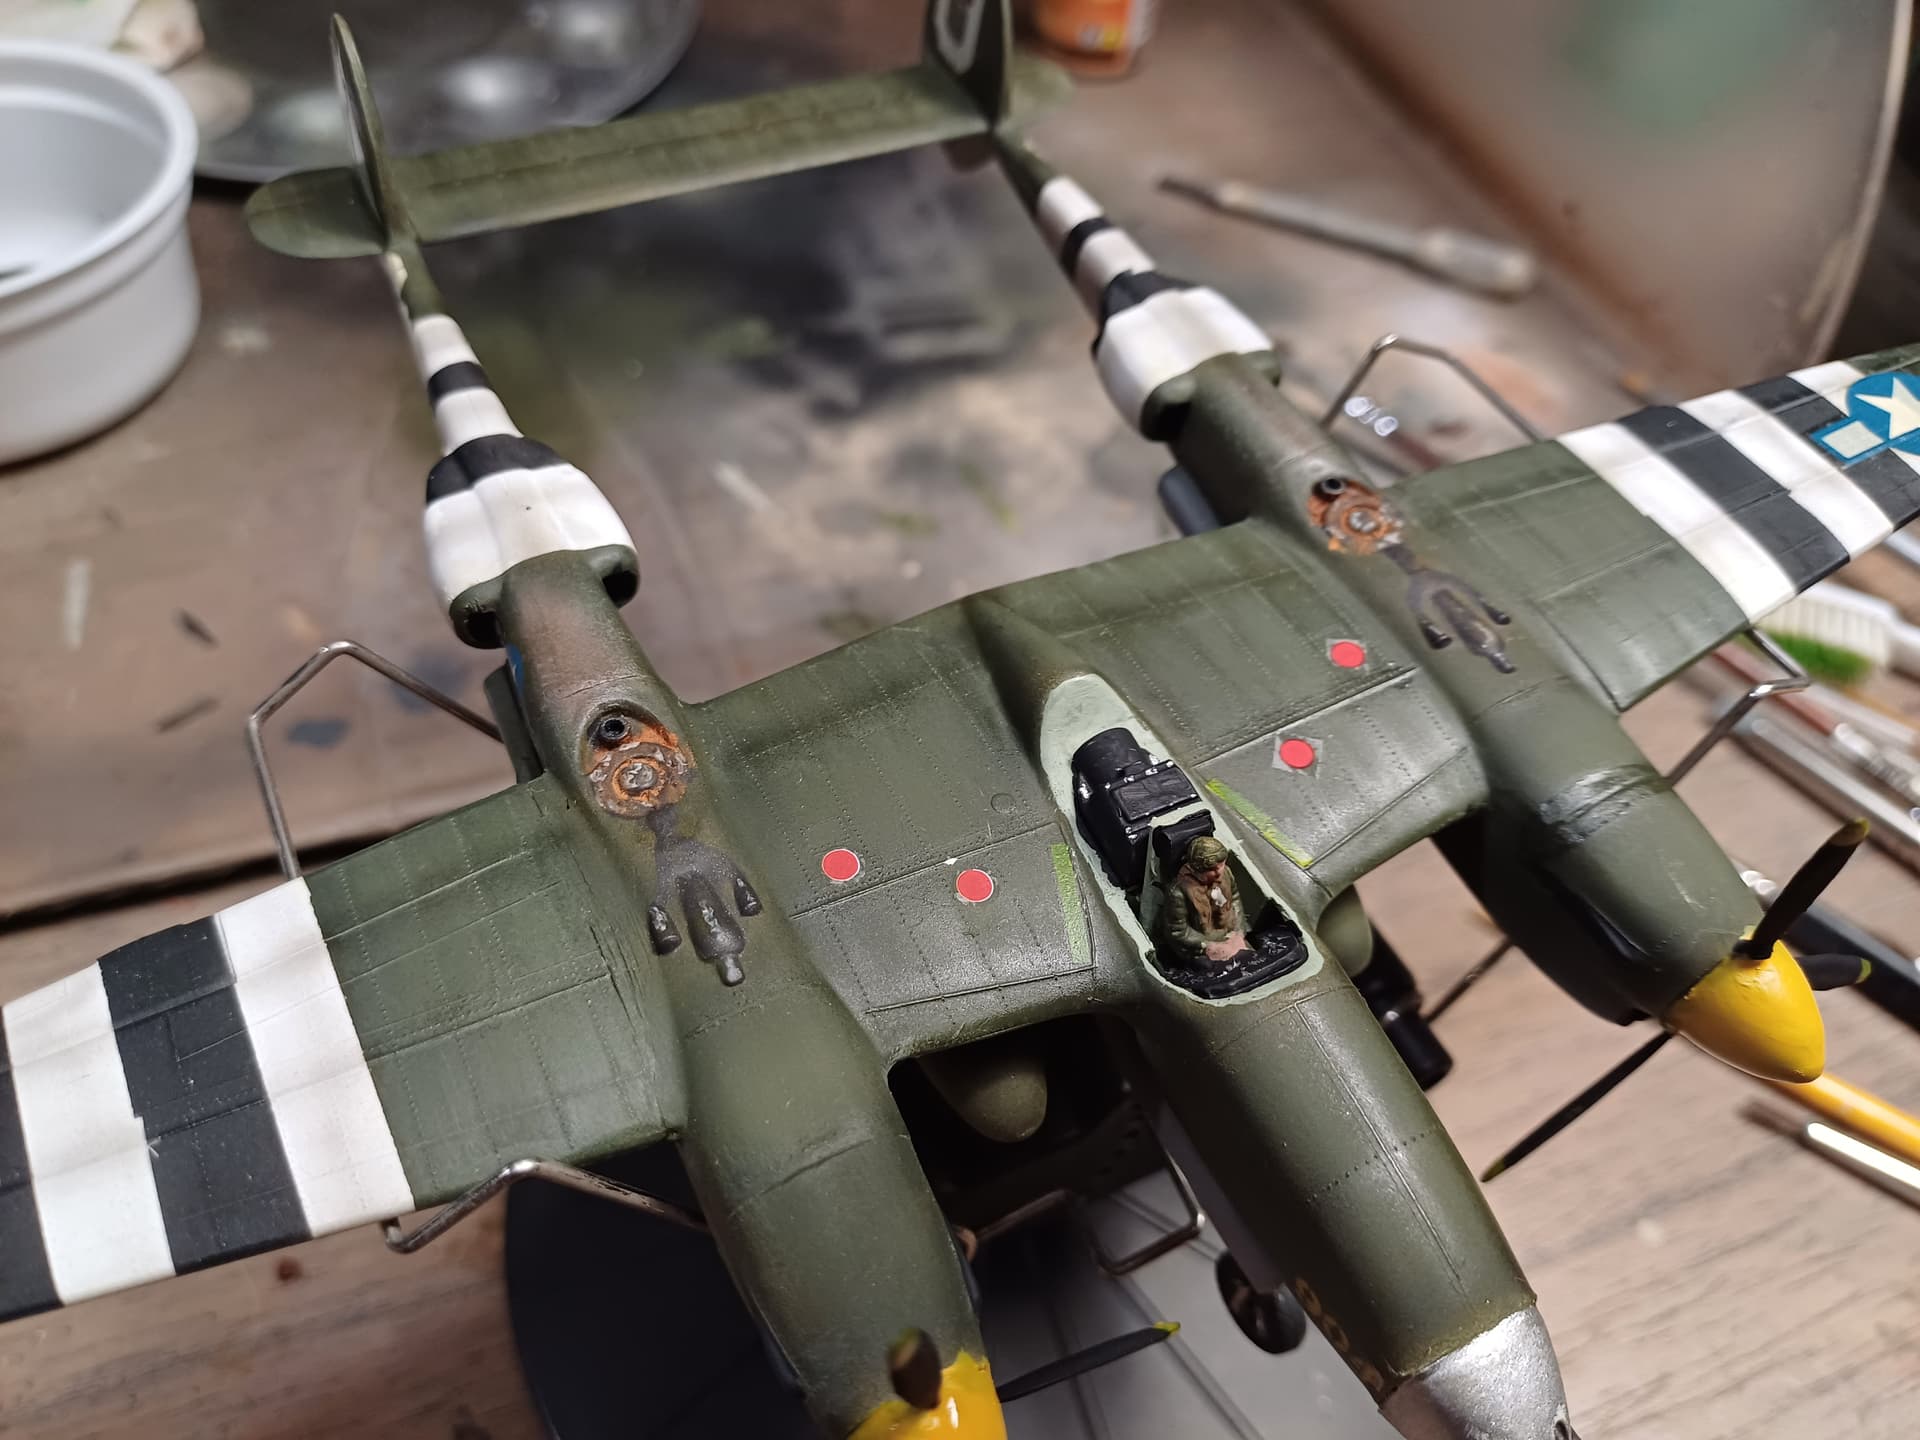
the red dots are acting as fuel filler caps and are decals from the spares…
the original decals went on fine, good old Airfix quality, just slightly discolored… but almost better quality than those reddots…

6 Likes
I actually got this one finished today…
changed the color of the wheelbays as I came across a video of someone doing it in zinc-chromate… so made up a yellow/metallic mixture…
added some chipping …
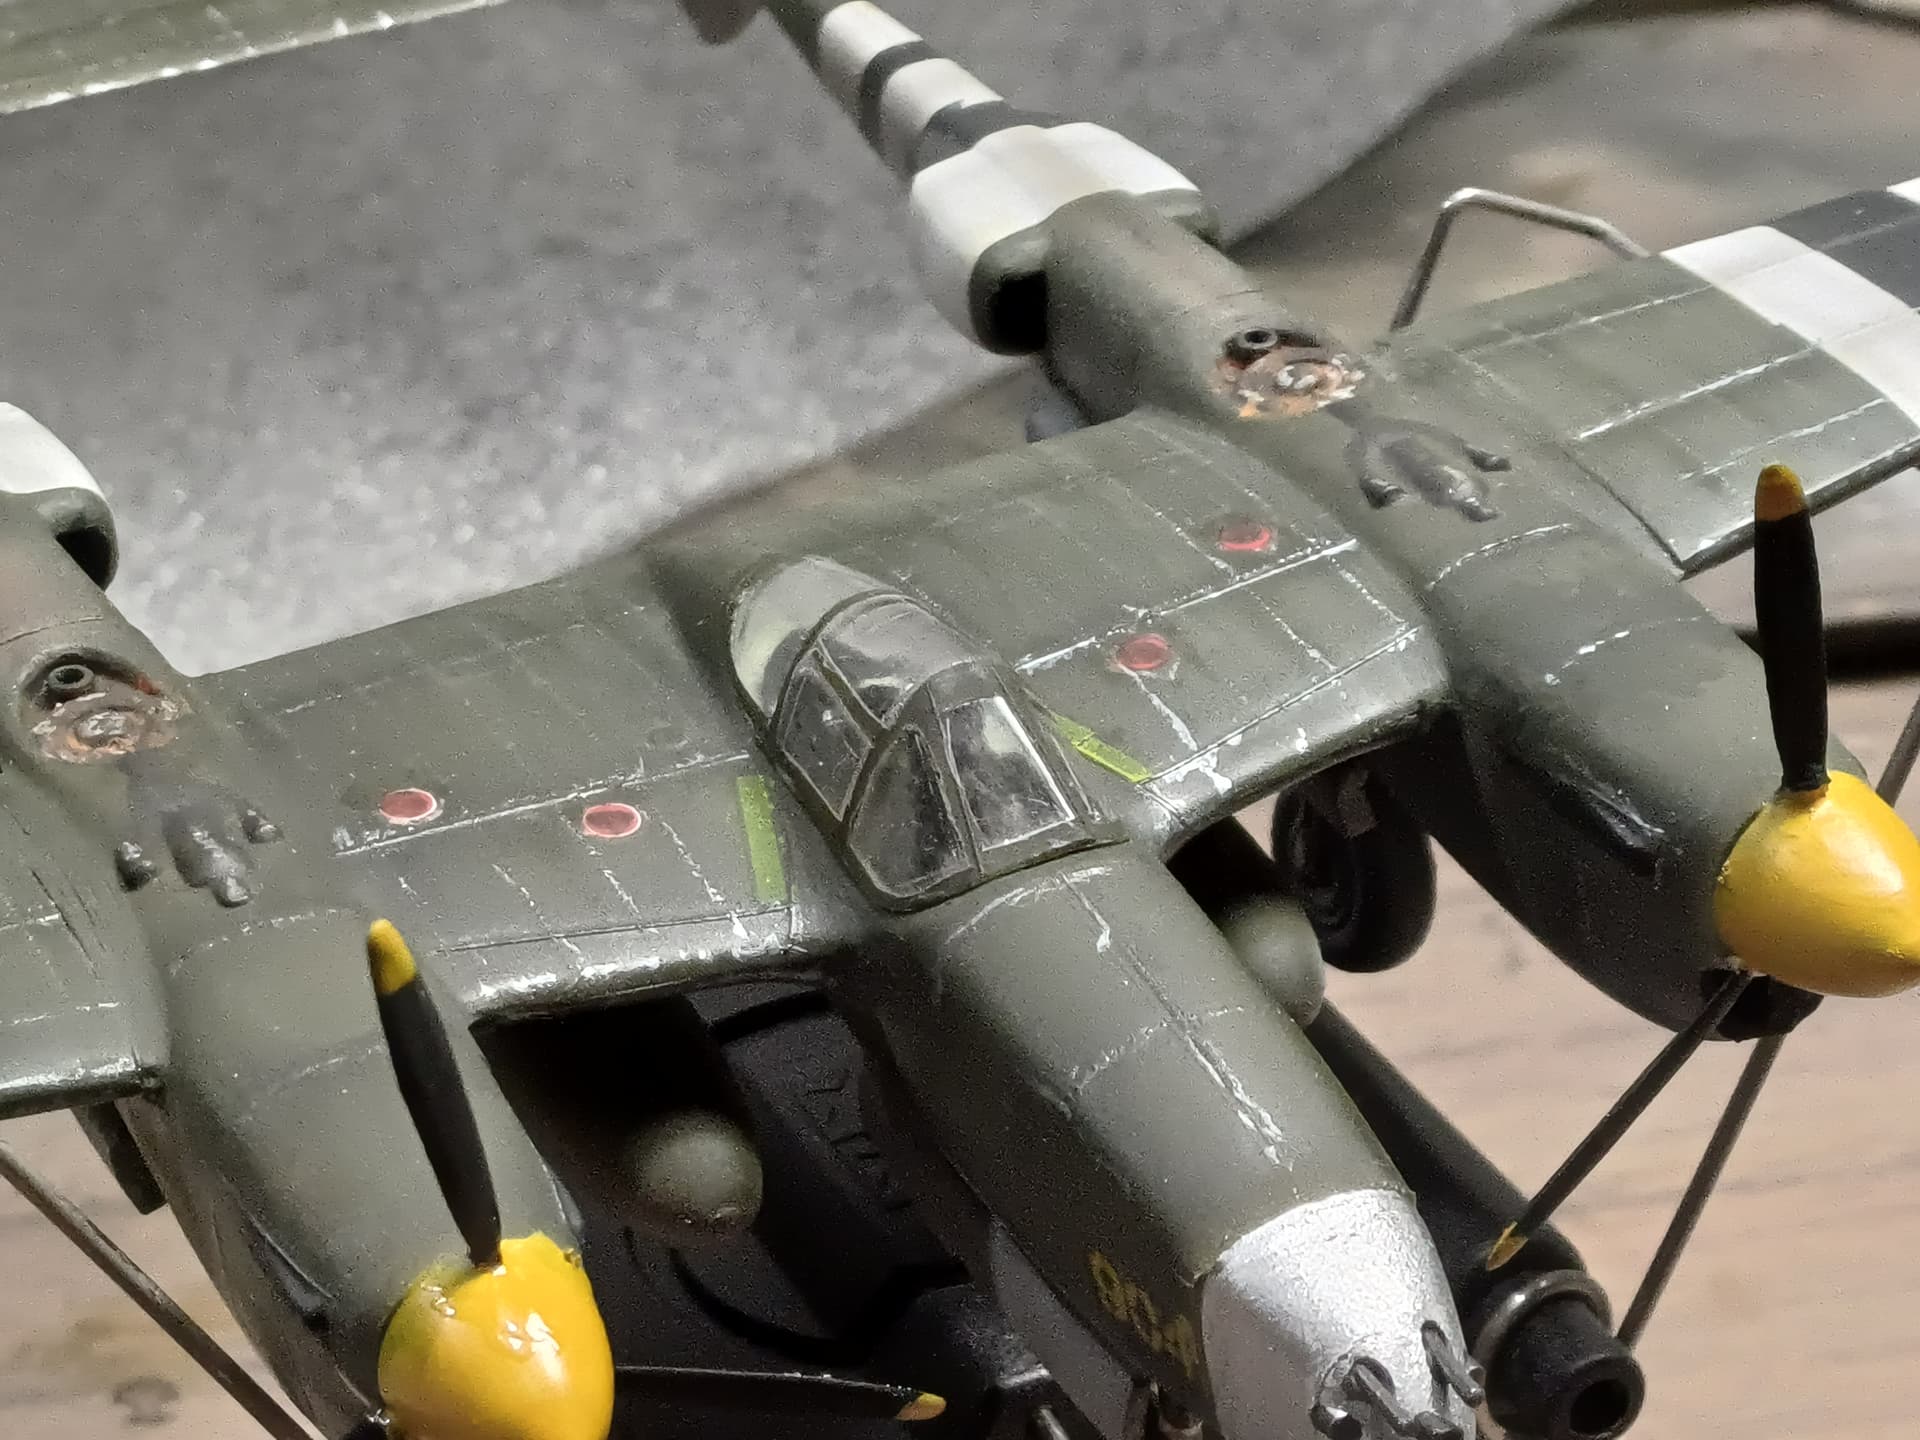

and slightly redid those red dots…
added dust to the wheels…

yep, I am calling this old lady finished…
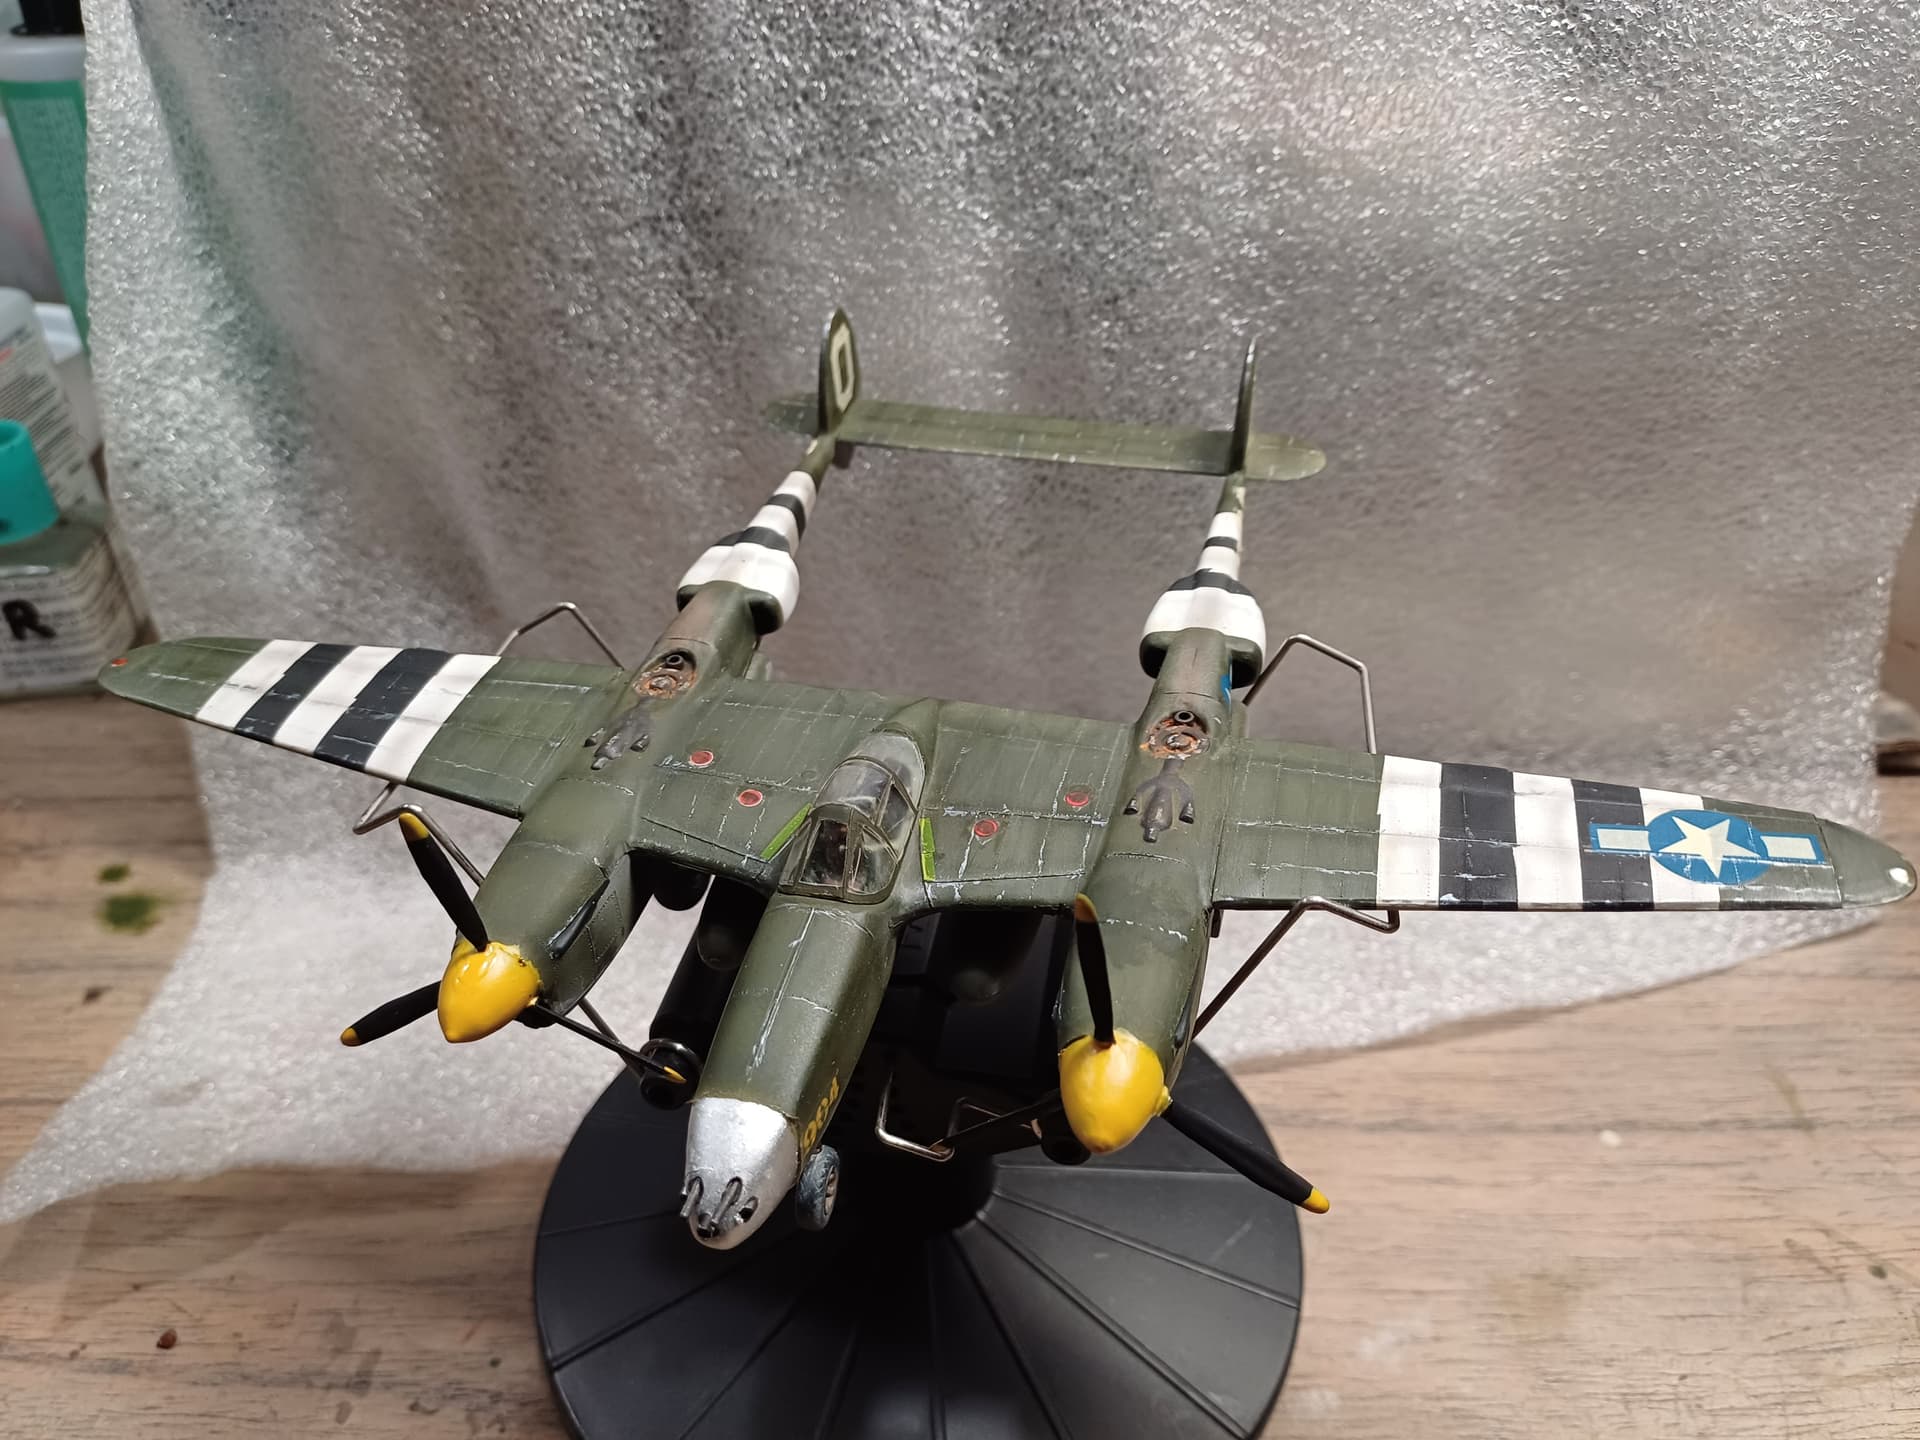

added enough lead to the nose…
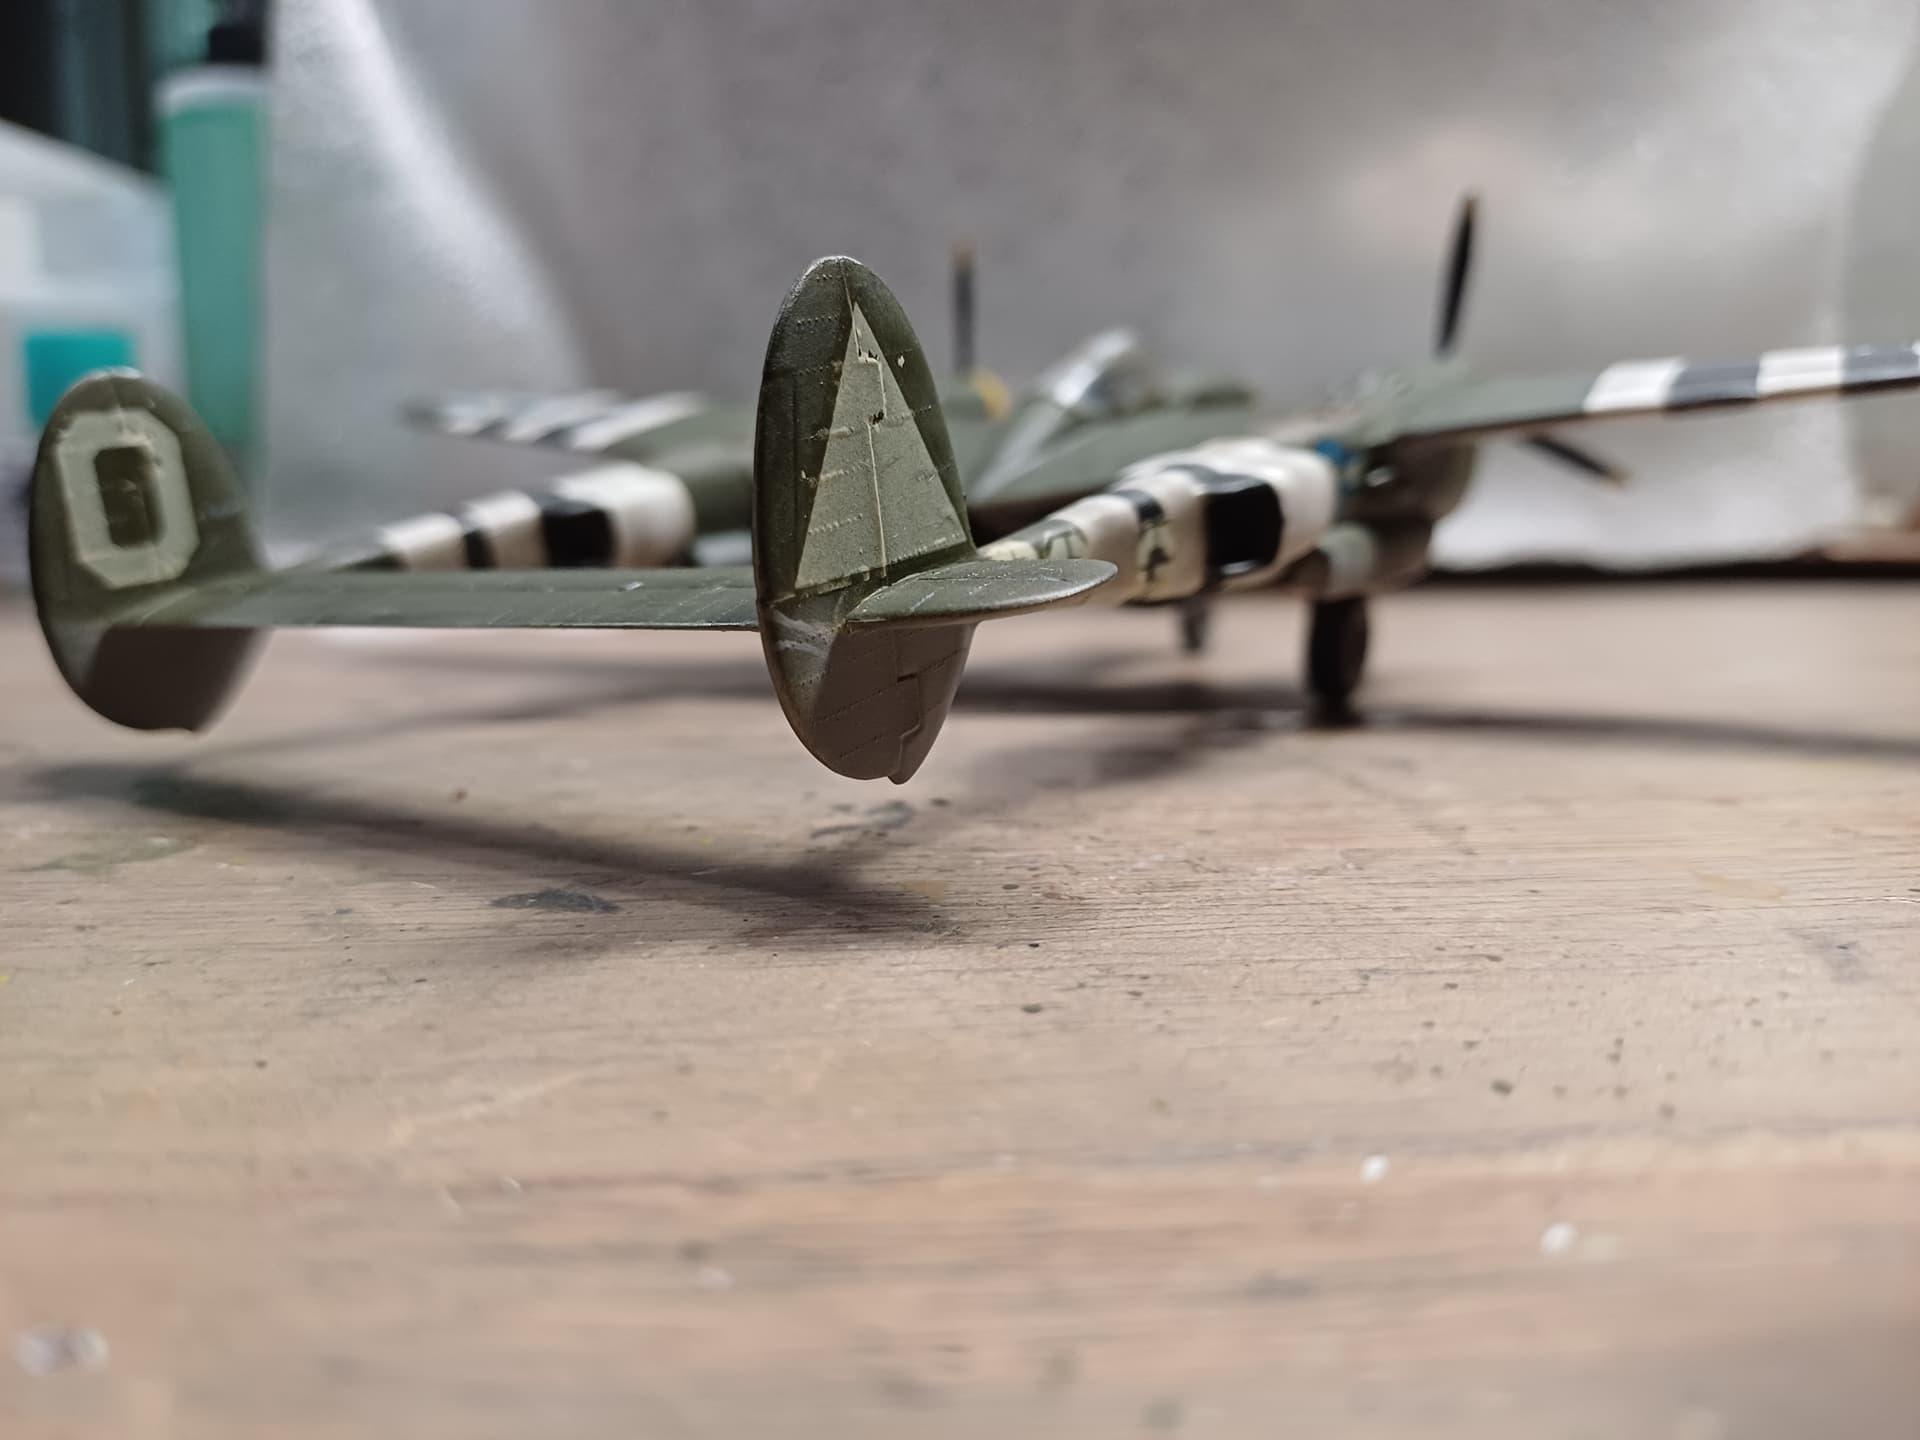
Not bad for a kit that was only € 7 and is about 50 years old…
Thanks for this fun build Ron!
11 Likes
Great to see another great build cross the finishline!
Glad you enjoyed it!
2 Likes
That’s fantastic work! Wouldn’t have guessed it was a kit of that vintage looking at the finished build.
Haven’t built a Lightning for years. The last I did was the Airfix F boxing.
2 Likes
Great work, Bert! Stunningly nice and fine details!
Thanks for sharing ![]()
2 Likes
Spent today finishing up the cockpit.
The instructions were a little vague on how the rear instrument panel, shroud and piece between the canopy (part 10) should all fit together.
With a bit of test fitting, I found it worked best if I attached the panel right to the back of the shroud and then part 10 to the front of that.

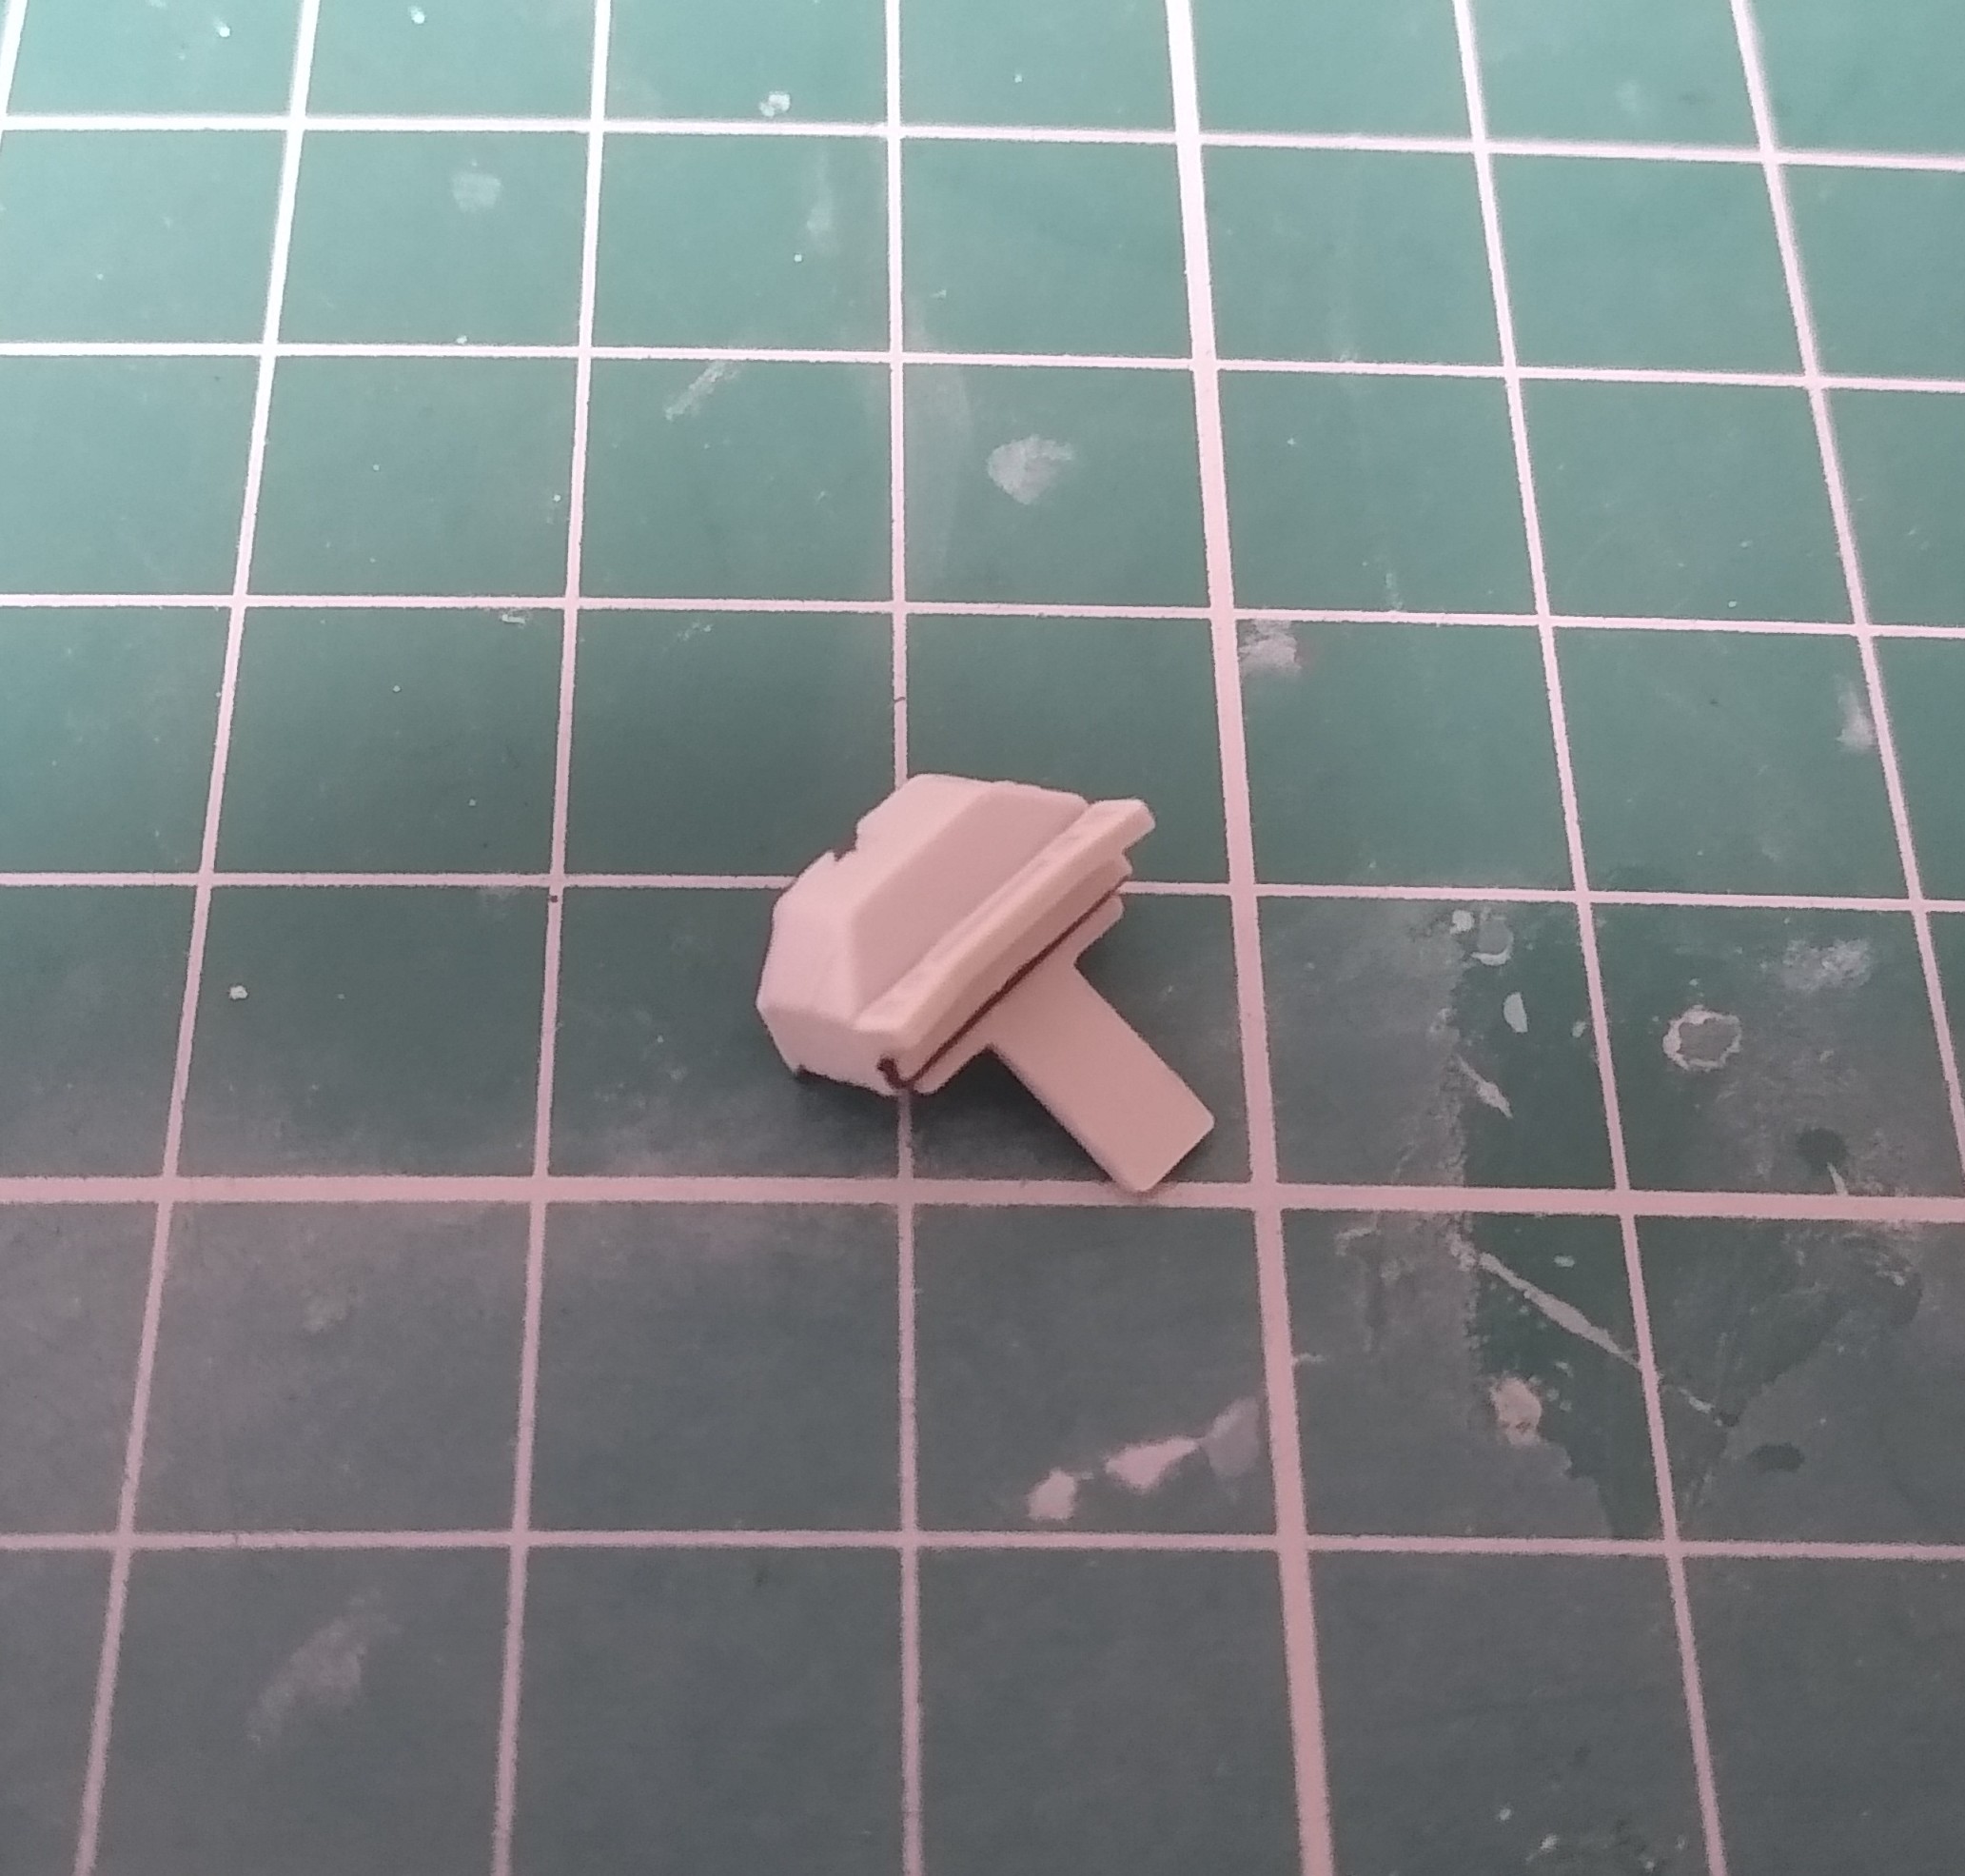
That way it all fits snugly behind the pilots seat.

7 Likes
You’re getting there!
One more month to go!
2 Likes
The rest of it should fall together. There are no serious issues test fitting the fuselage and wing joins. Hopefully should be ready for painting by next weekend. I’ve also got to find my Hasegawa weapon sets for the Zuni pods.
My big concern is the decals. I’m going to give them a coat of Microscale Liquid Decal Film and hope that it holds them together. If they still break apart, I might be stuck as I haven’t found an aftermarket sheet anywhere for the 339.