Hi Everyone,
This is a really fun campaign! Getting to see the kits that I vied for when younger, and getting to see them getting built is a blast! Here’s to keeping up the fun.
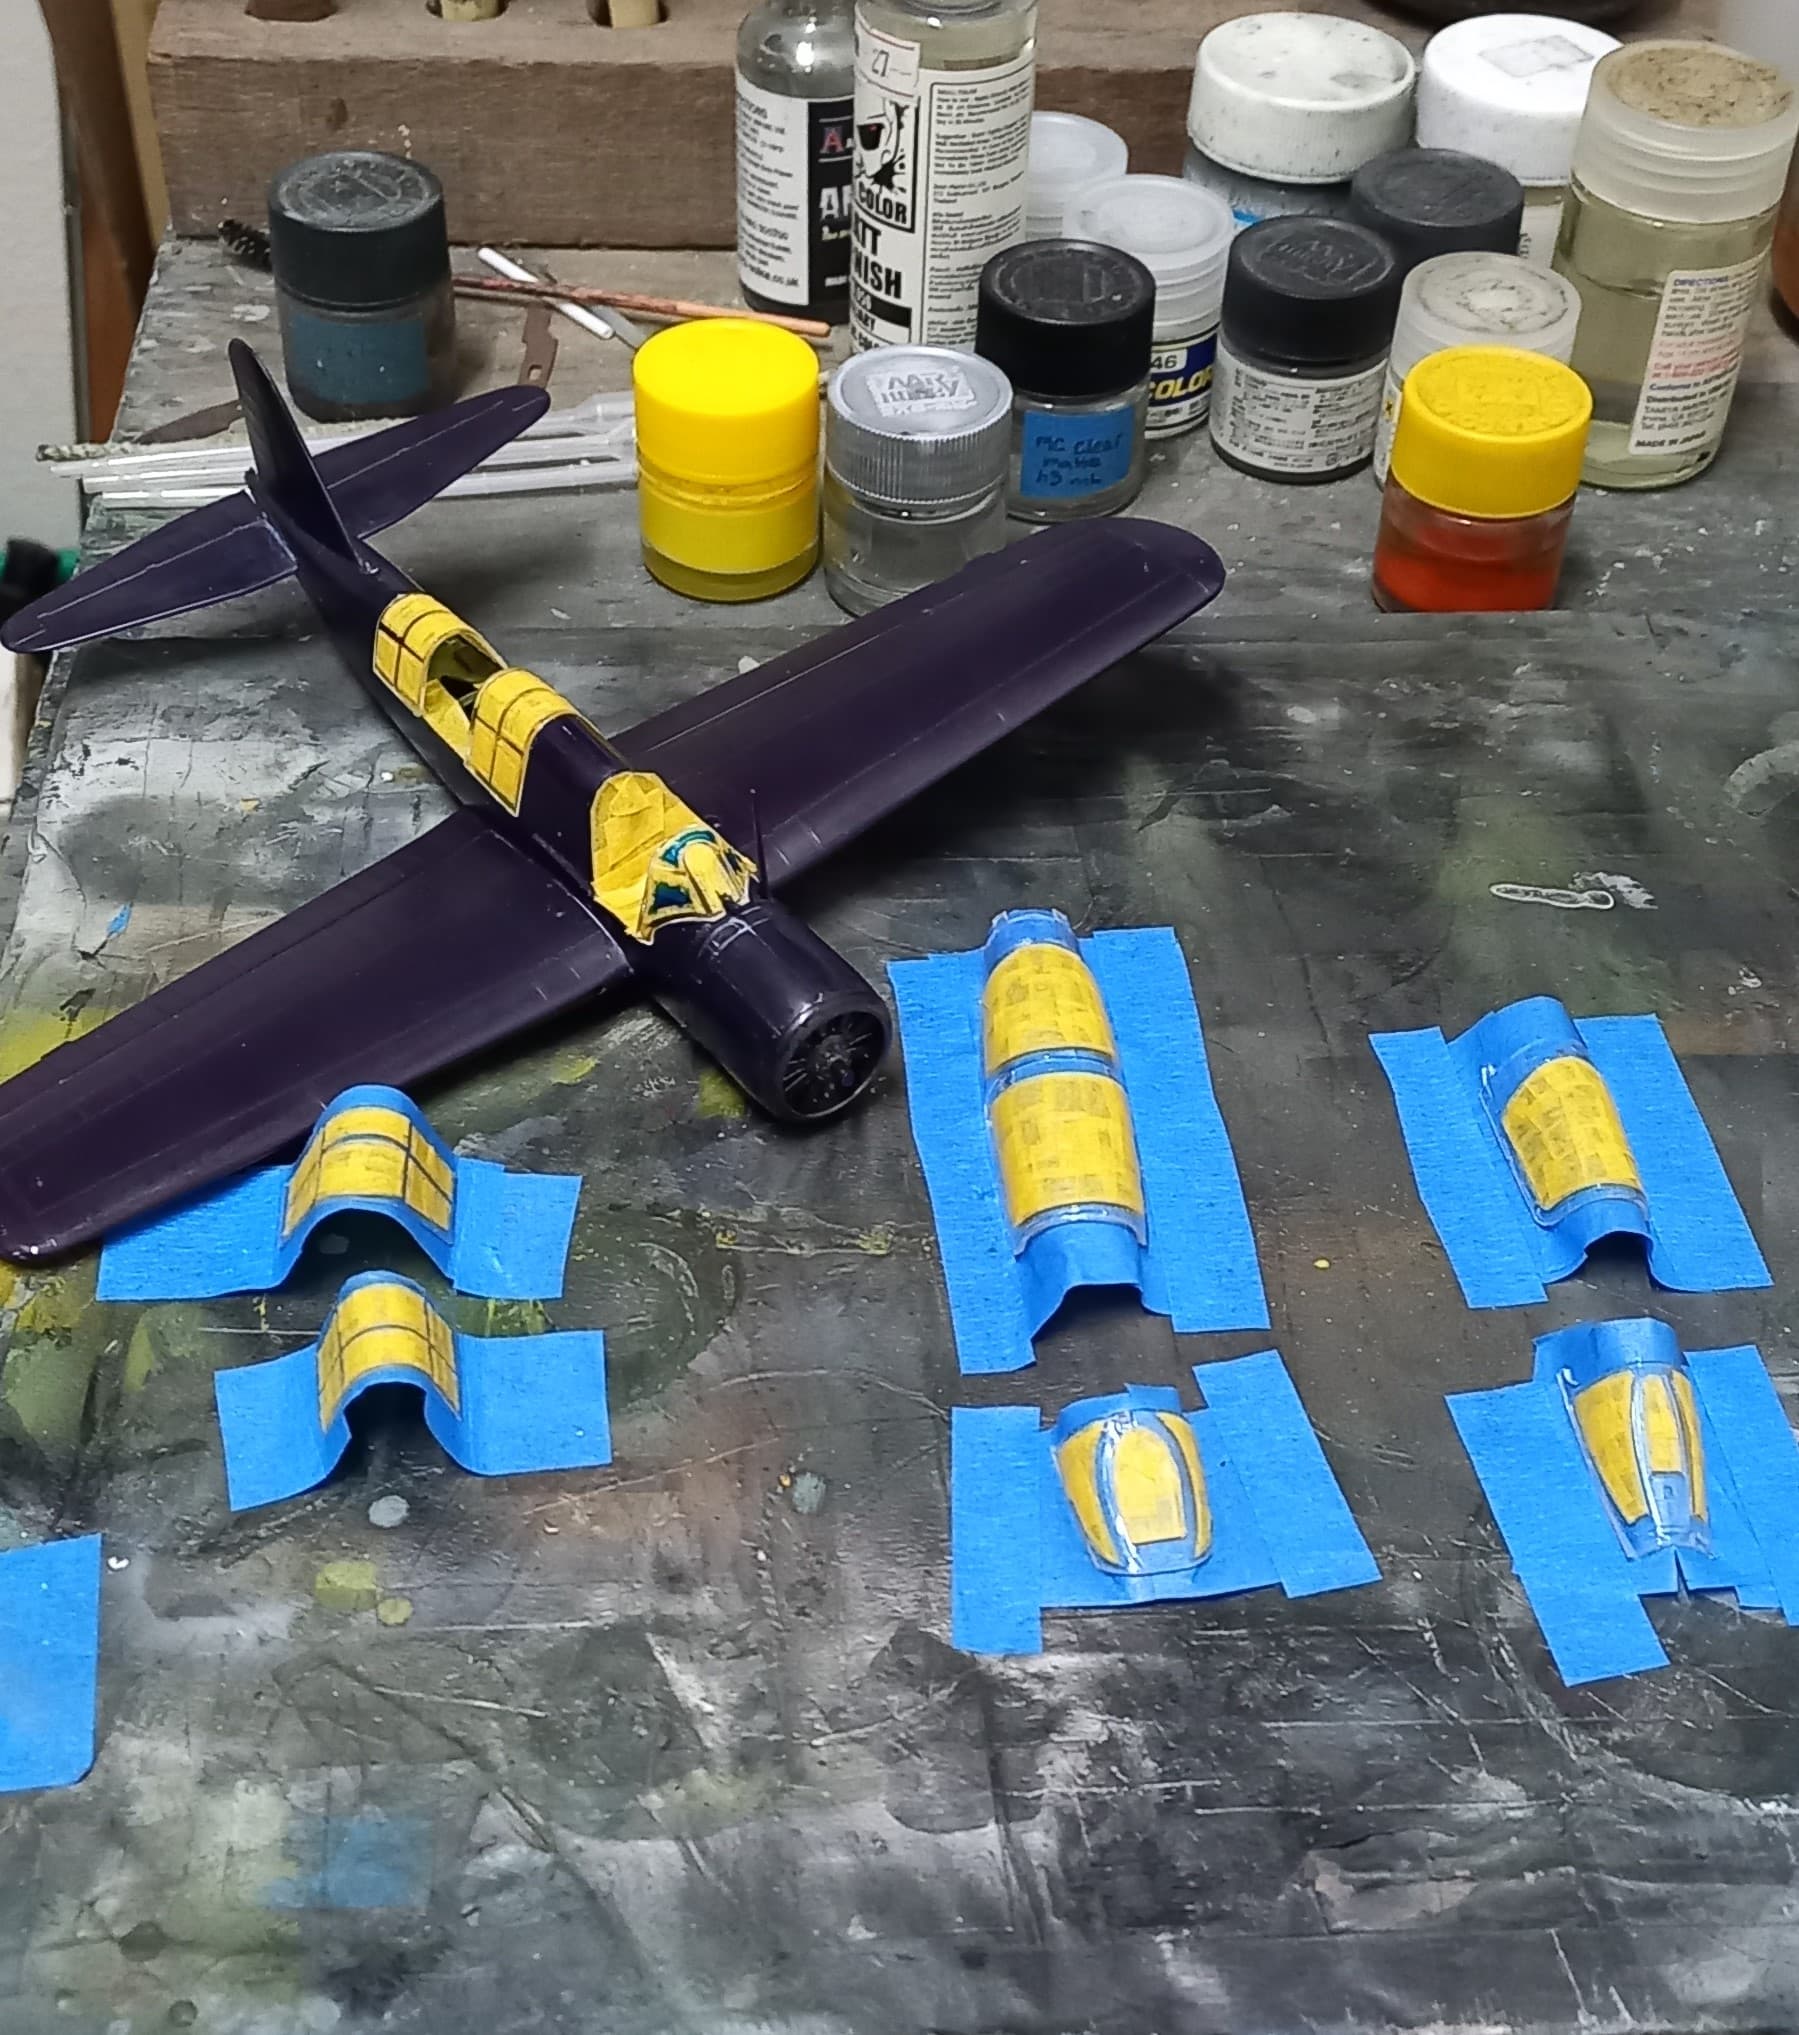
Time for a quick update on the Kingfisher. Since the last update, I’ve been doing some basic filling. This is made a little more difficult as the kit was molded in a dark blue. While great for the beginner, no need to fret over painting (I did it this way my first go around in the mid seventies), it does make it hard to see where the gaps and seams are. So, I did as good as I could see, and then held off until the canopy could be fitted and primer coat laid down to aid in seeing the gaps and seams.
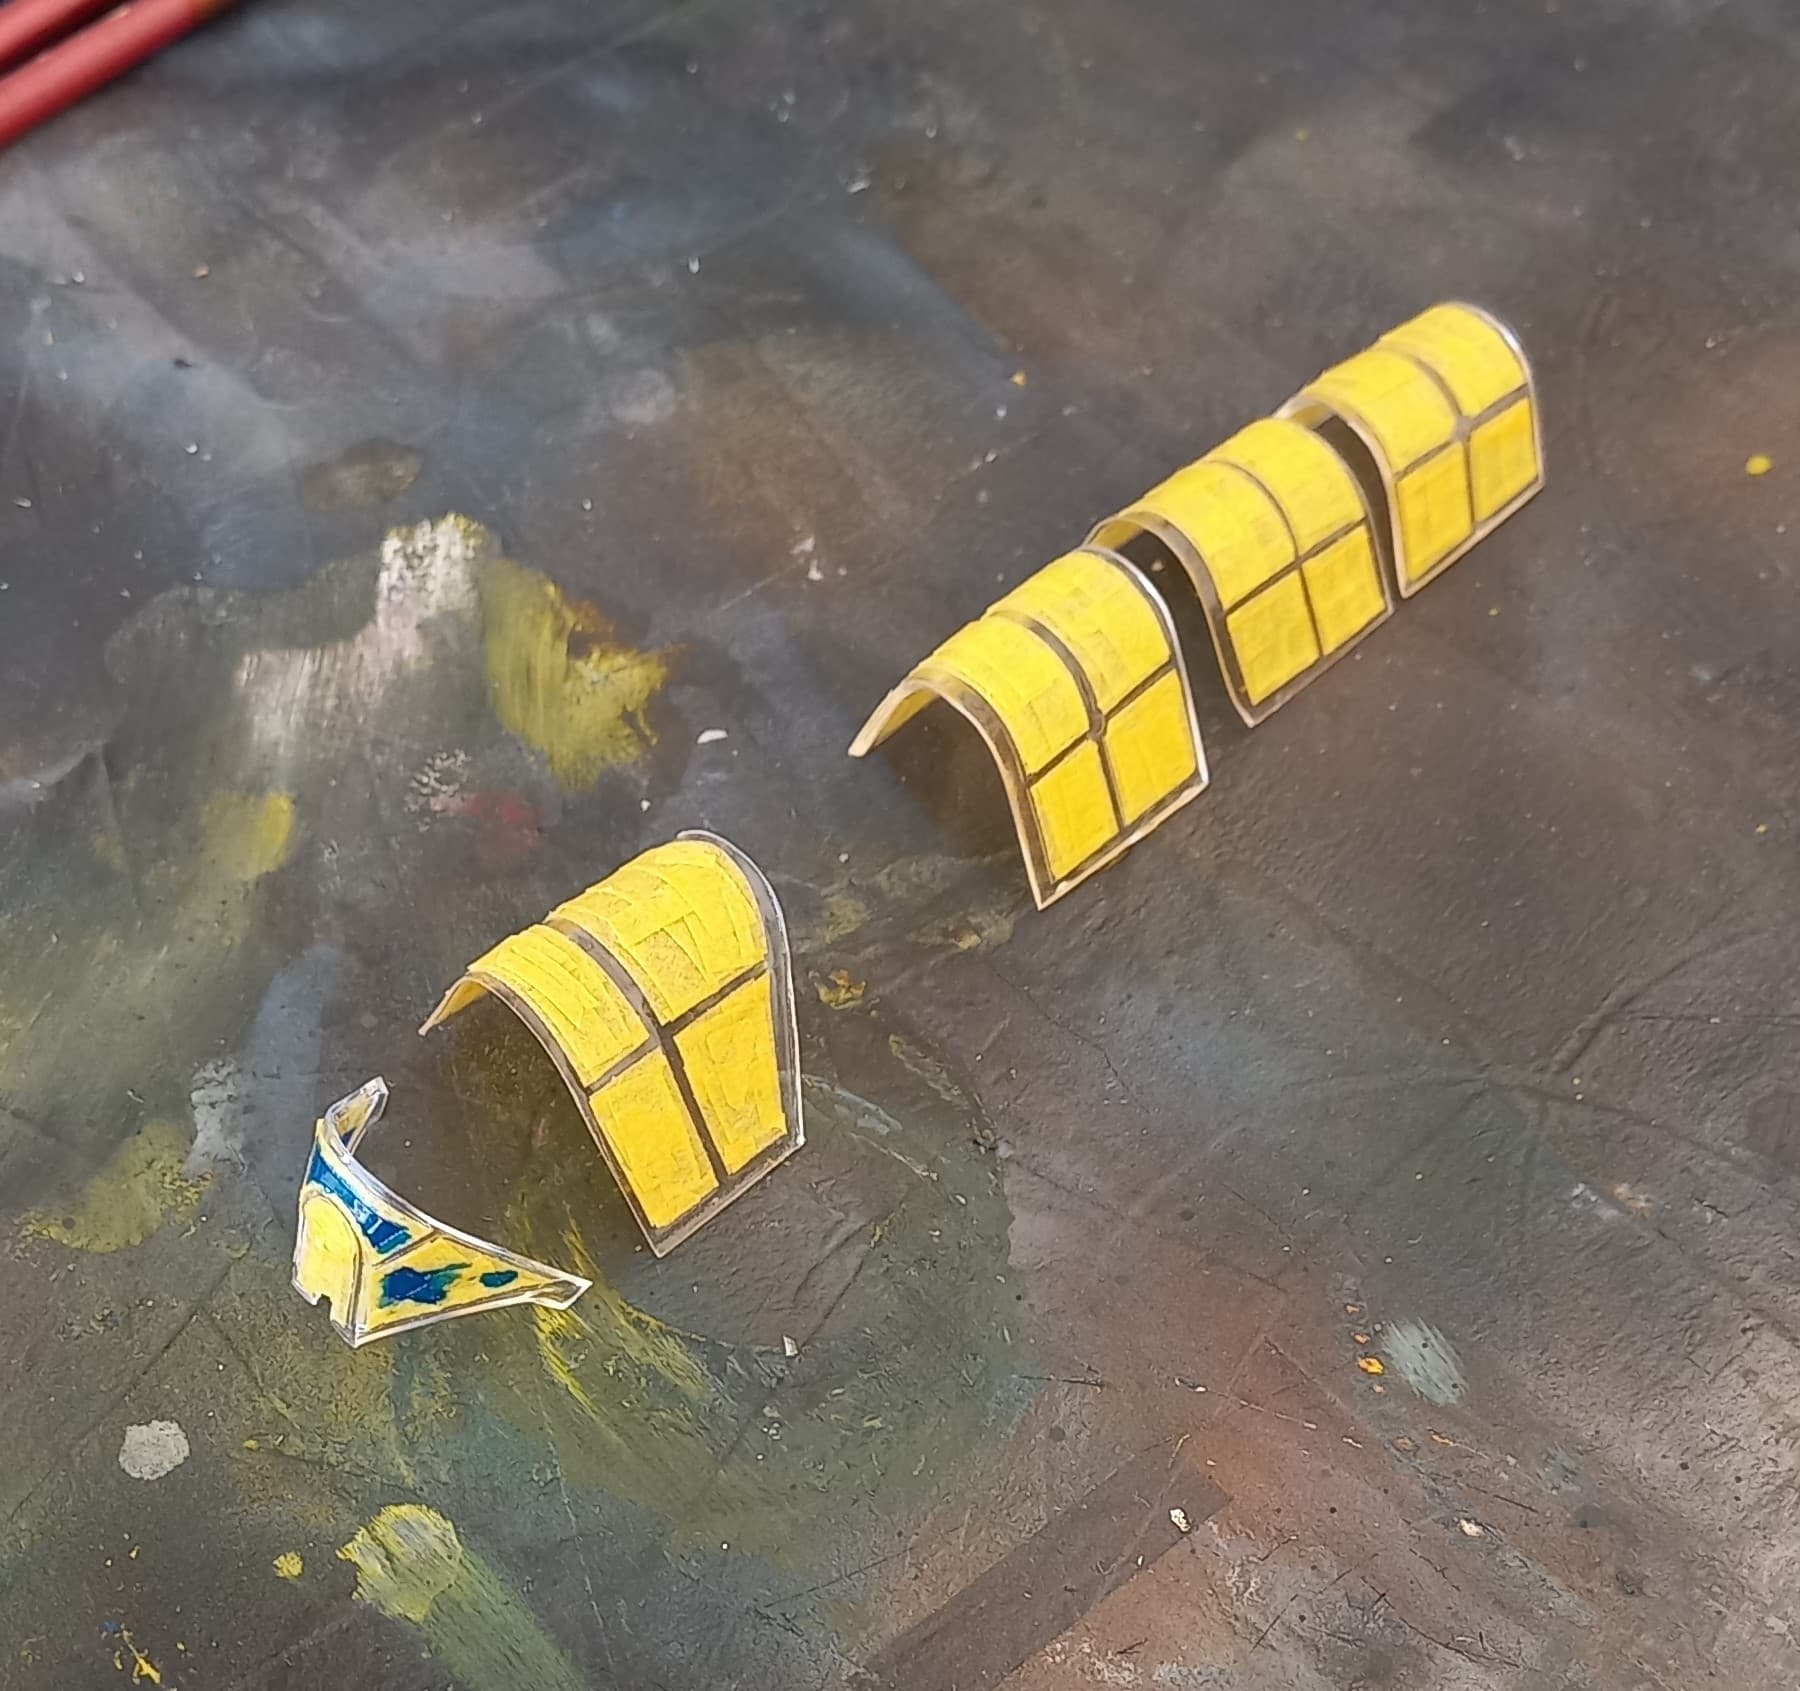
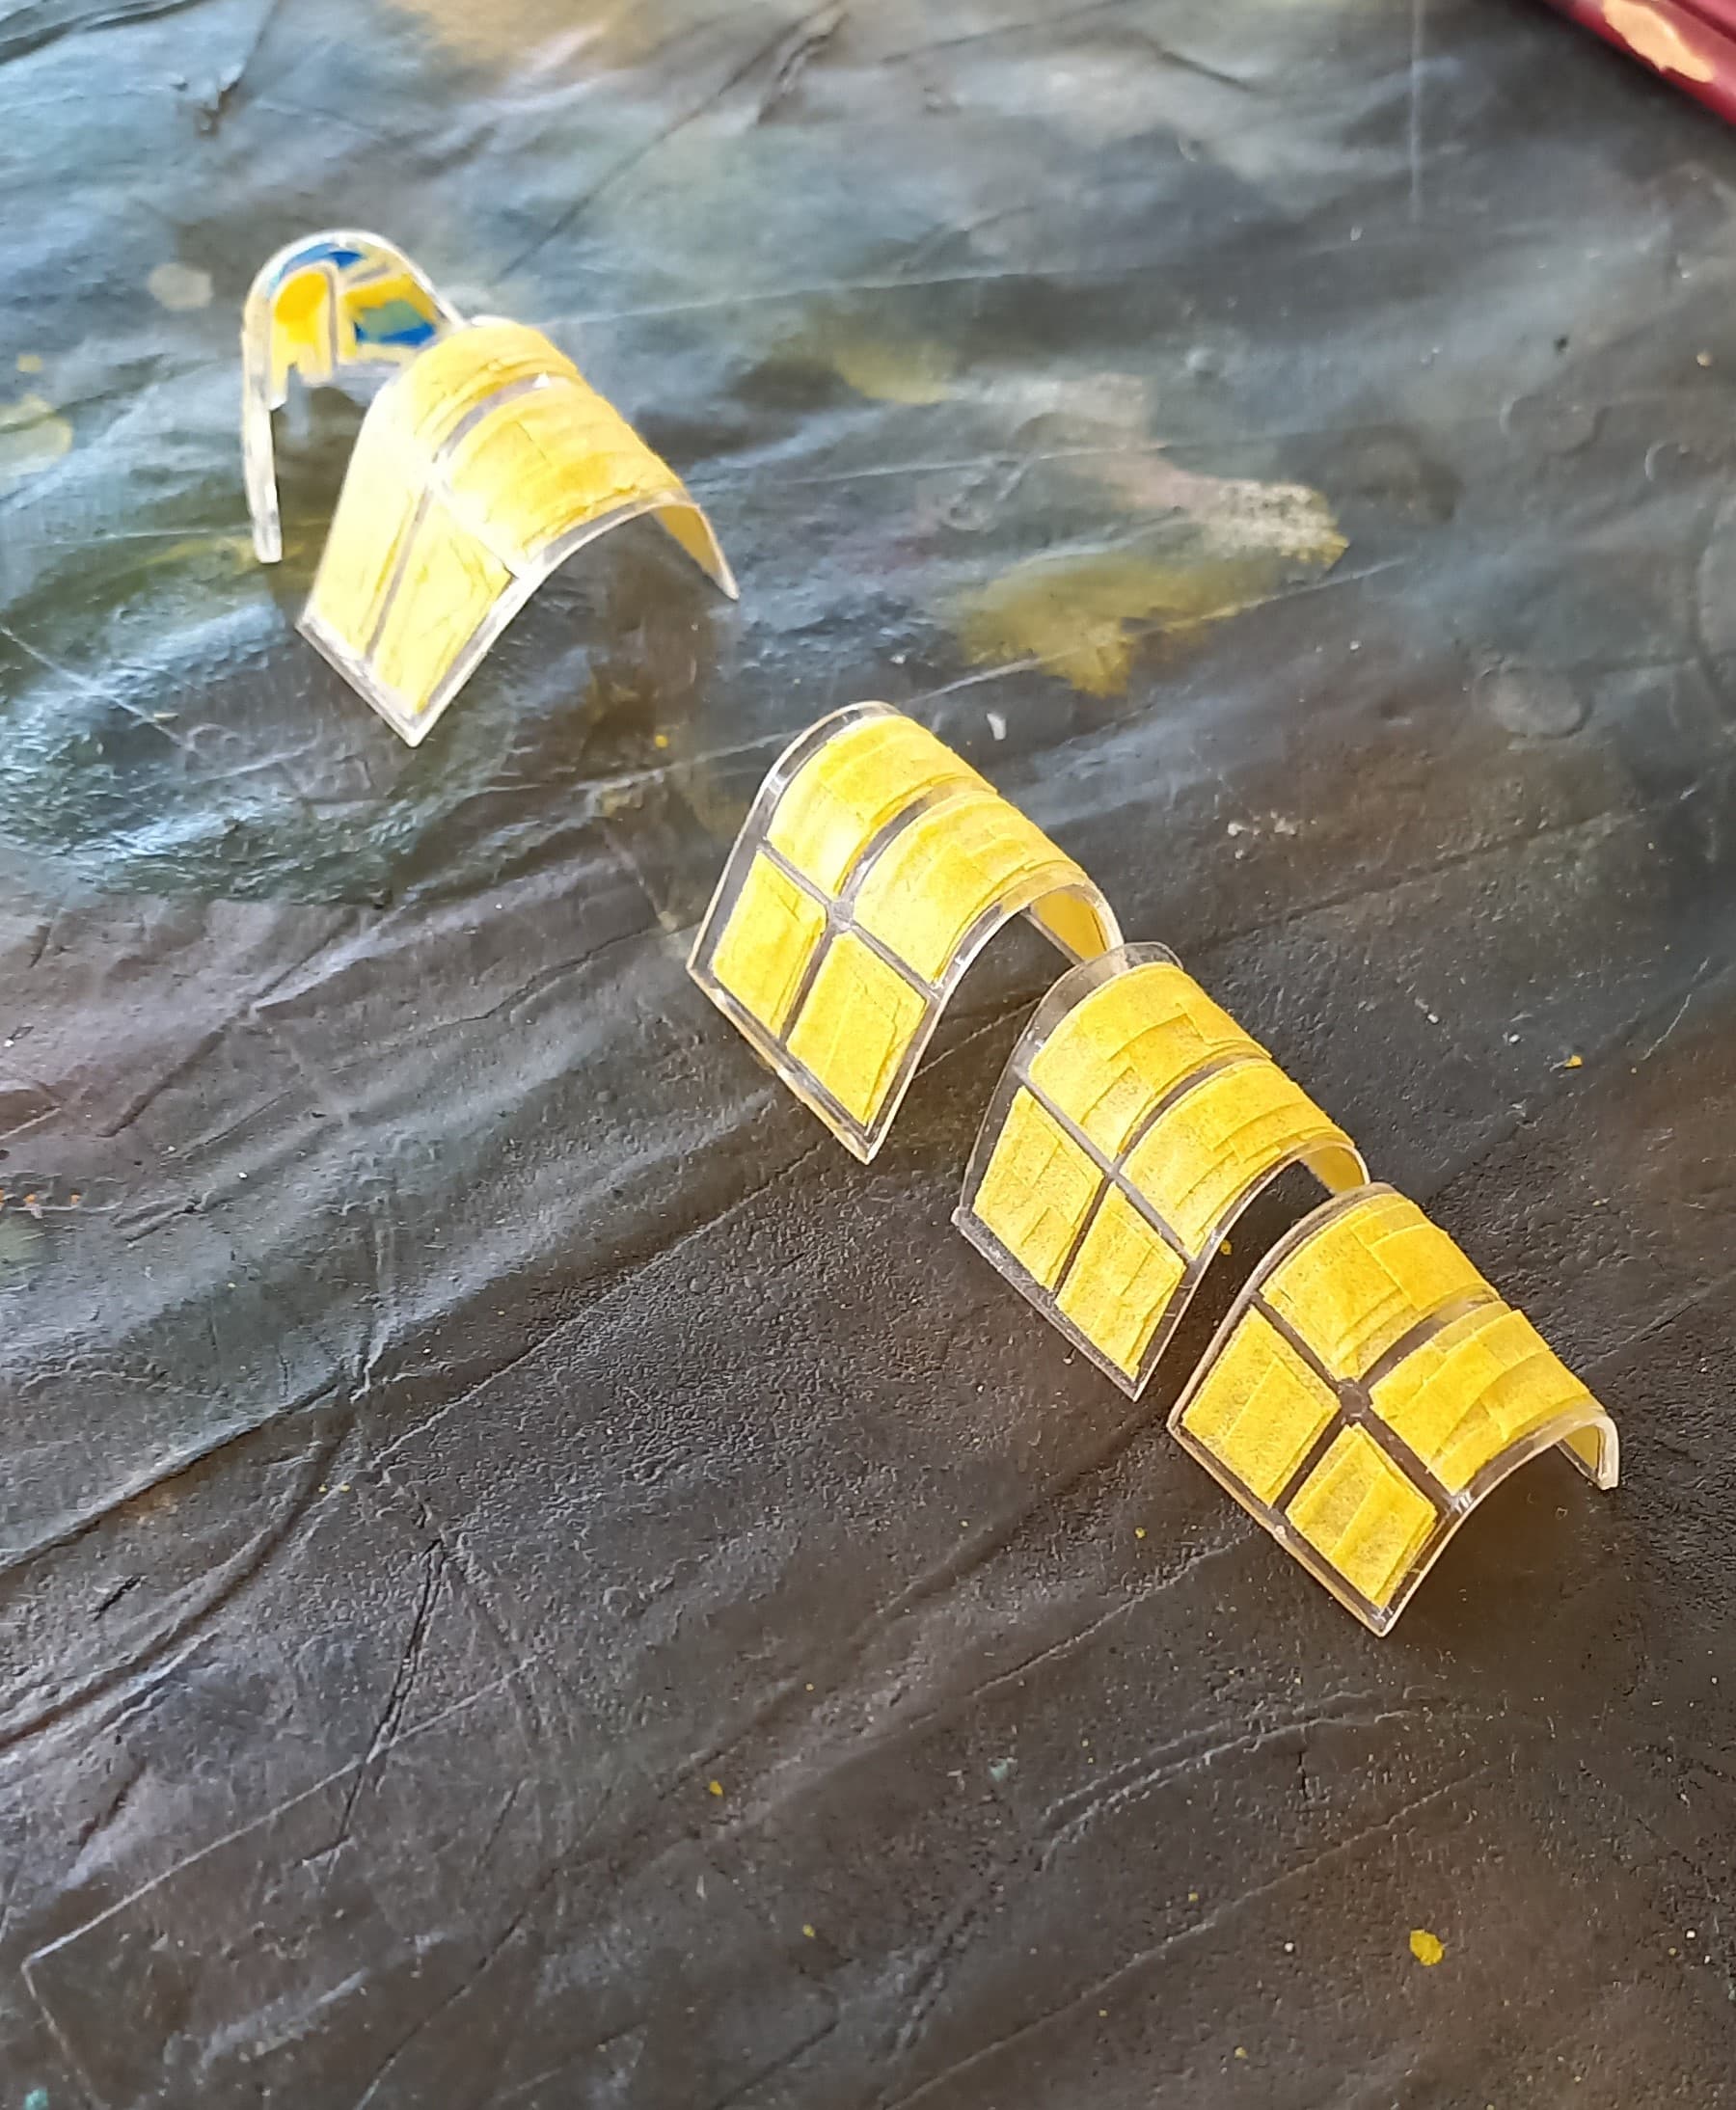
So, I began a canopy masking journey without pre-cut masks, this works fine though the time it takes can be astounding when one has gotten used to using the pre-cut masks. For the Kingfisher, I was also fortunate enough to get a Falcon vac-u-formed canopy included for the low price of the kit! For this build I figured that using a mix of the kit and vac canopy. Planning to use the vac canopy parts to represent the sliding/open portions of the canopy. Once cut out, all the canopy parts were dipped in Future floor wax and dried on a paper towel covered with a bowl to avoid any dust getting onto the canopy parts. Once dried, I proceeded to mask up the huge greenhouse canopy. I also took this time to do two additional canopy’s for two jets I’m working on. This process took a total of four days, two for the Kingfisher, one each for the jets. Whew!
The difference between the kit canopy vs. the vac canopy can be seen here via their thickness.
I then attached the canopy parts using white glue, though due to uplift I did use superglue on the rear most canopy.
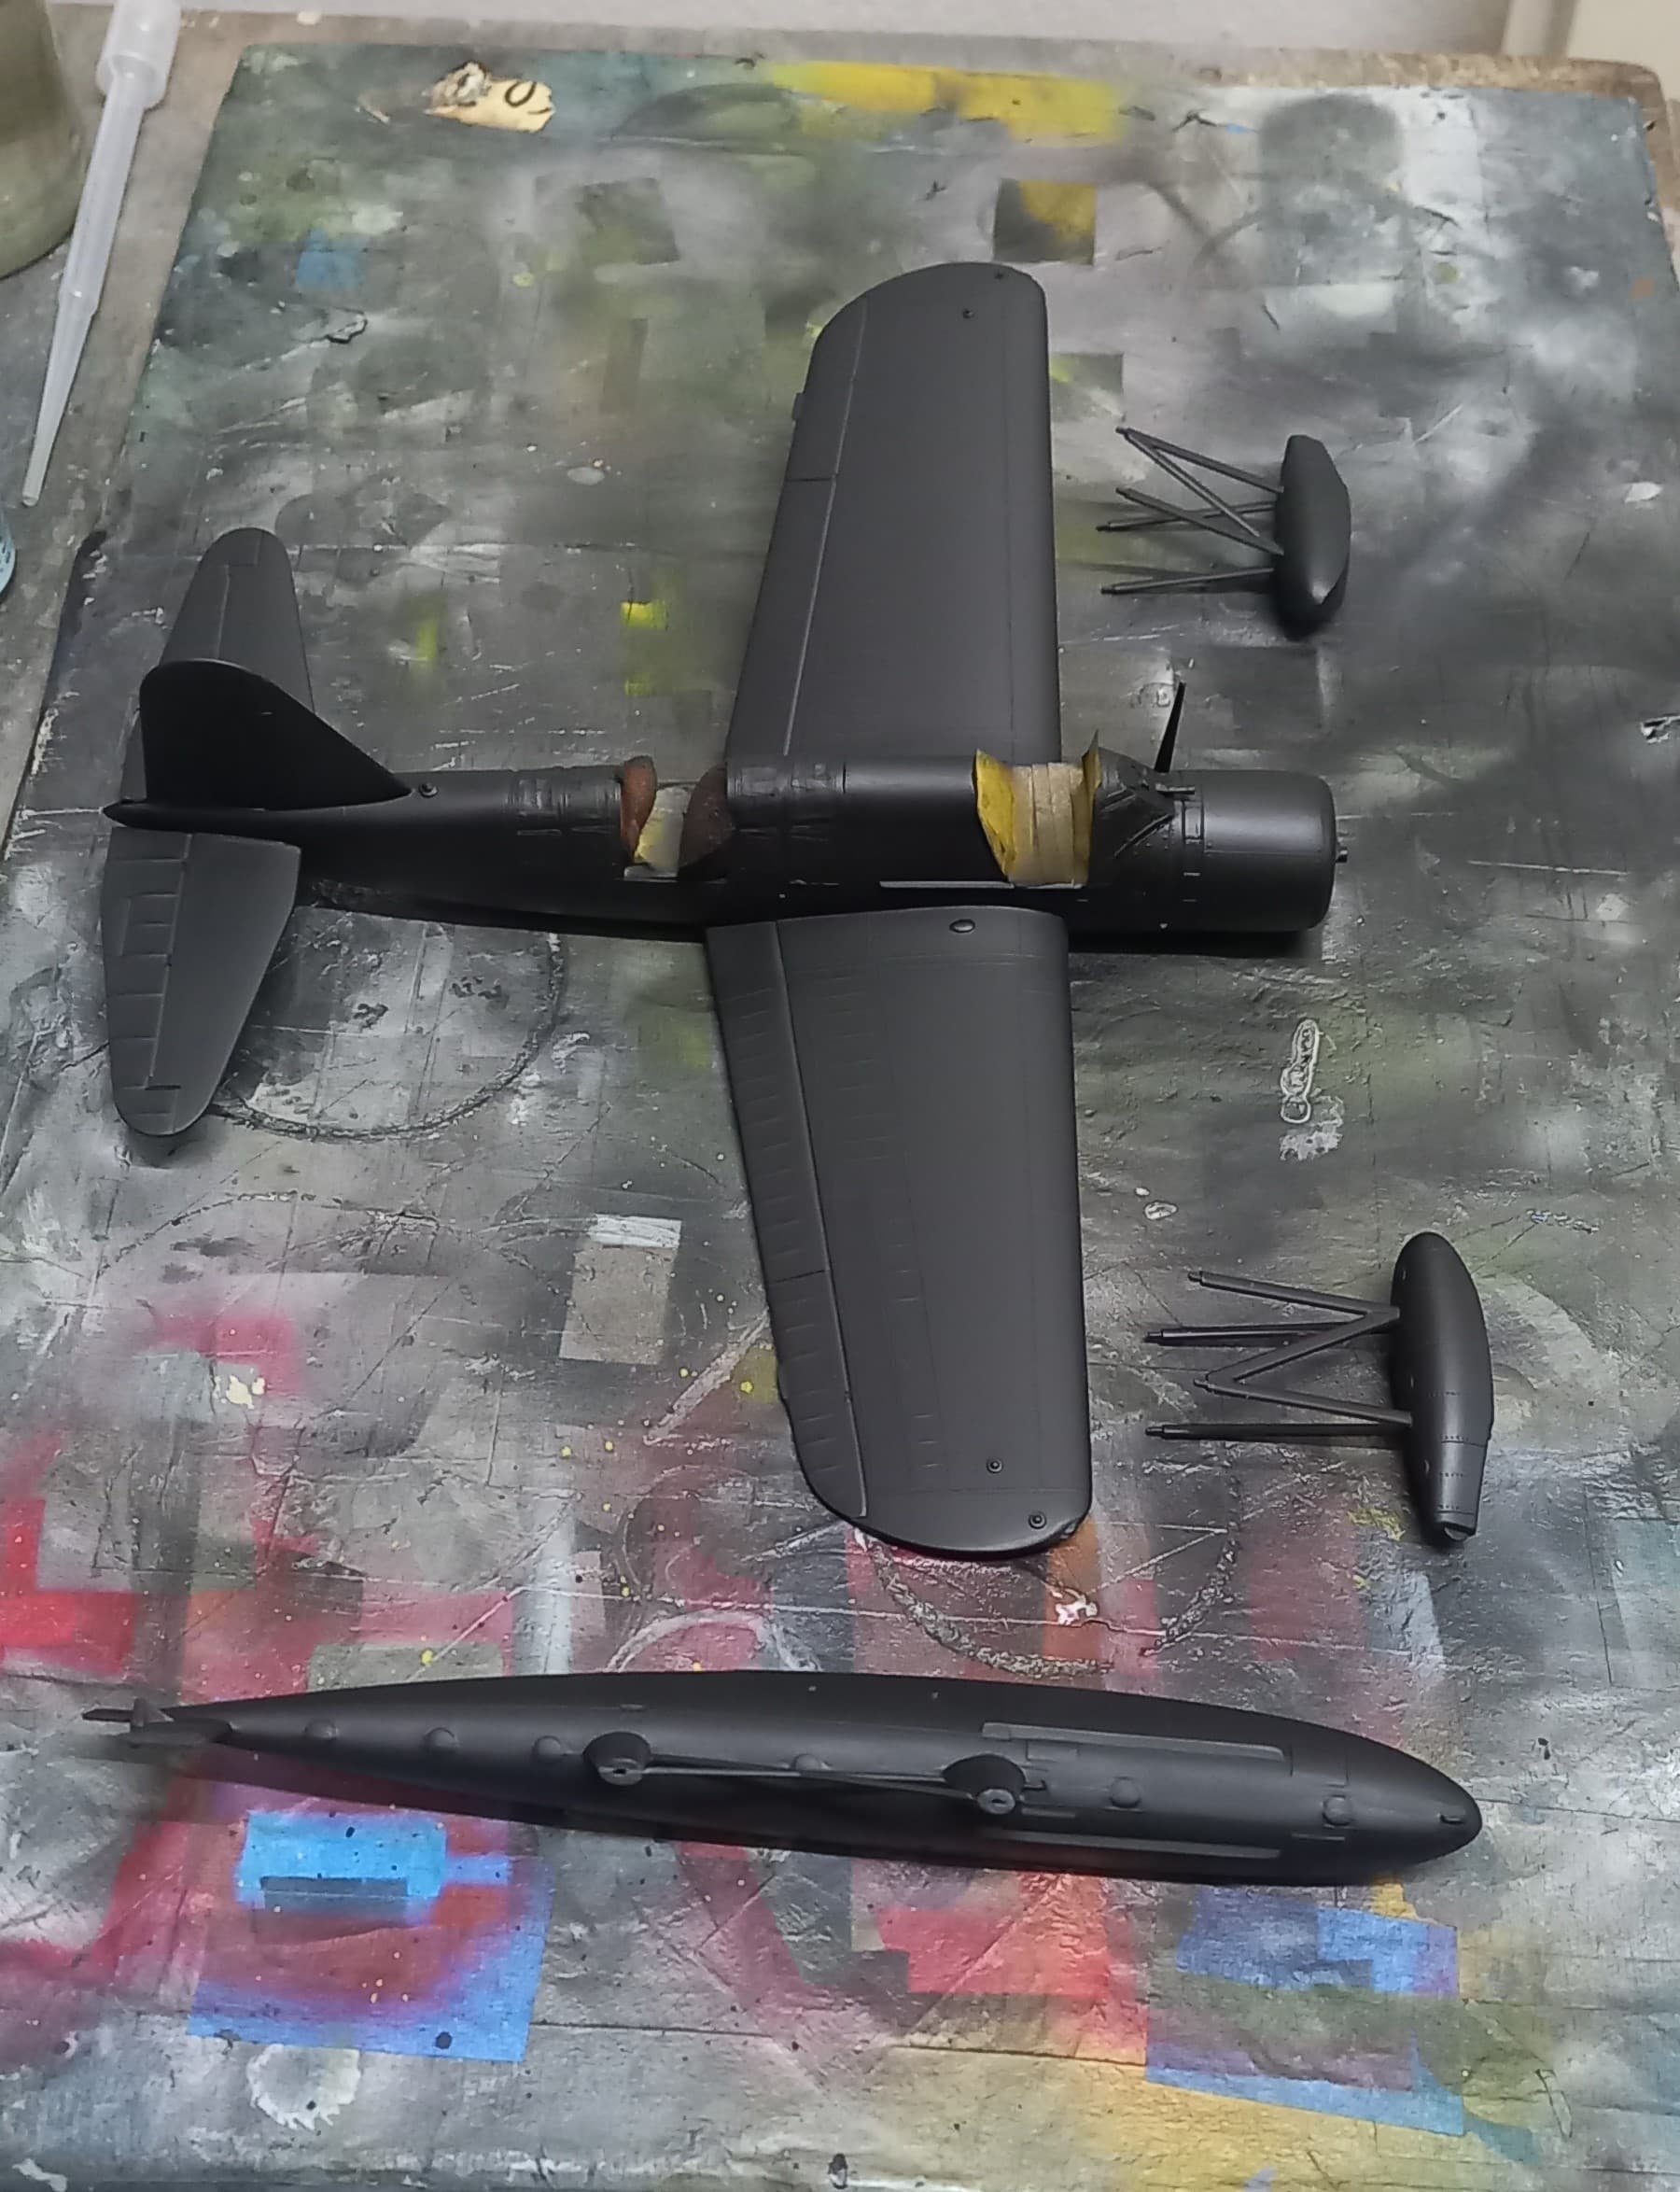
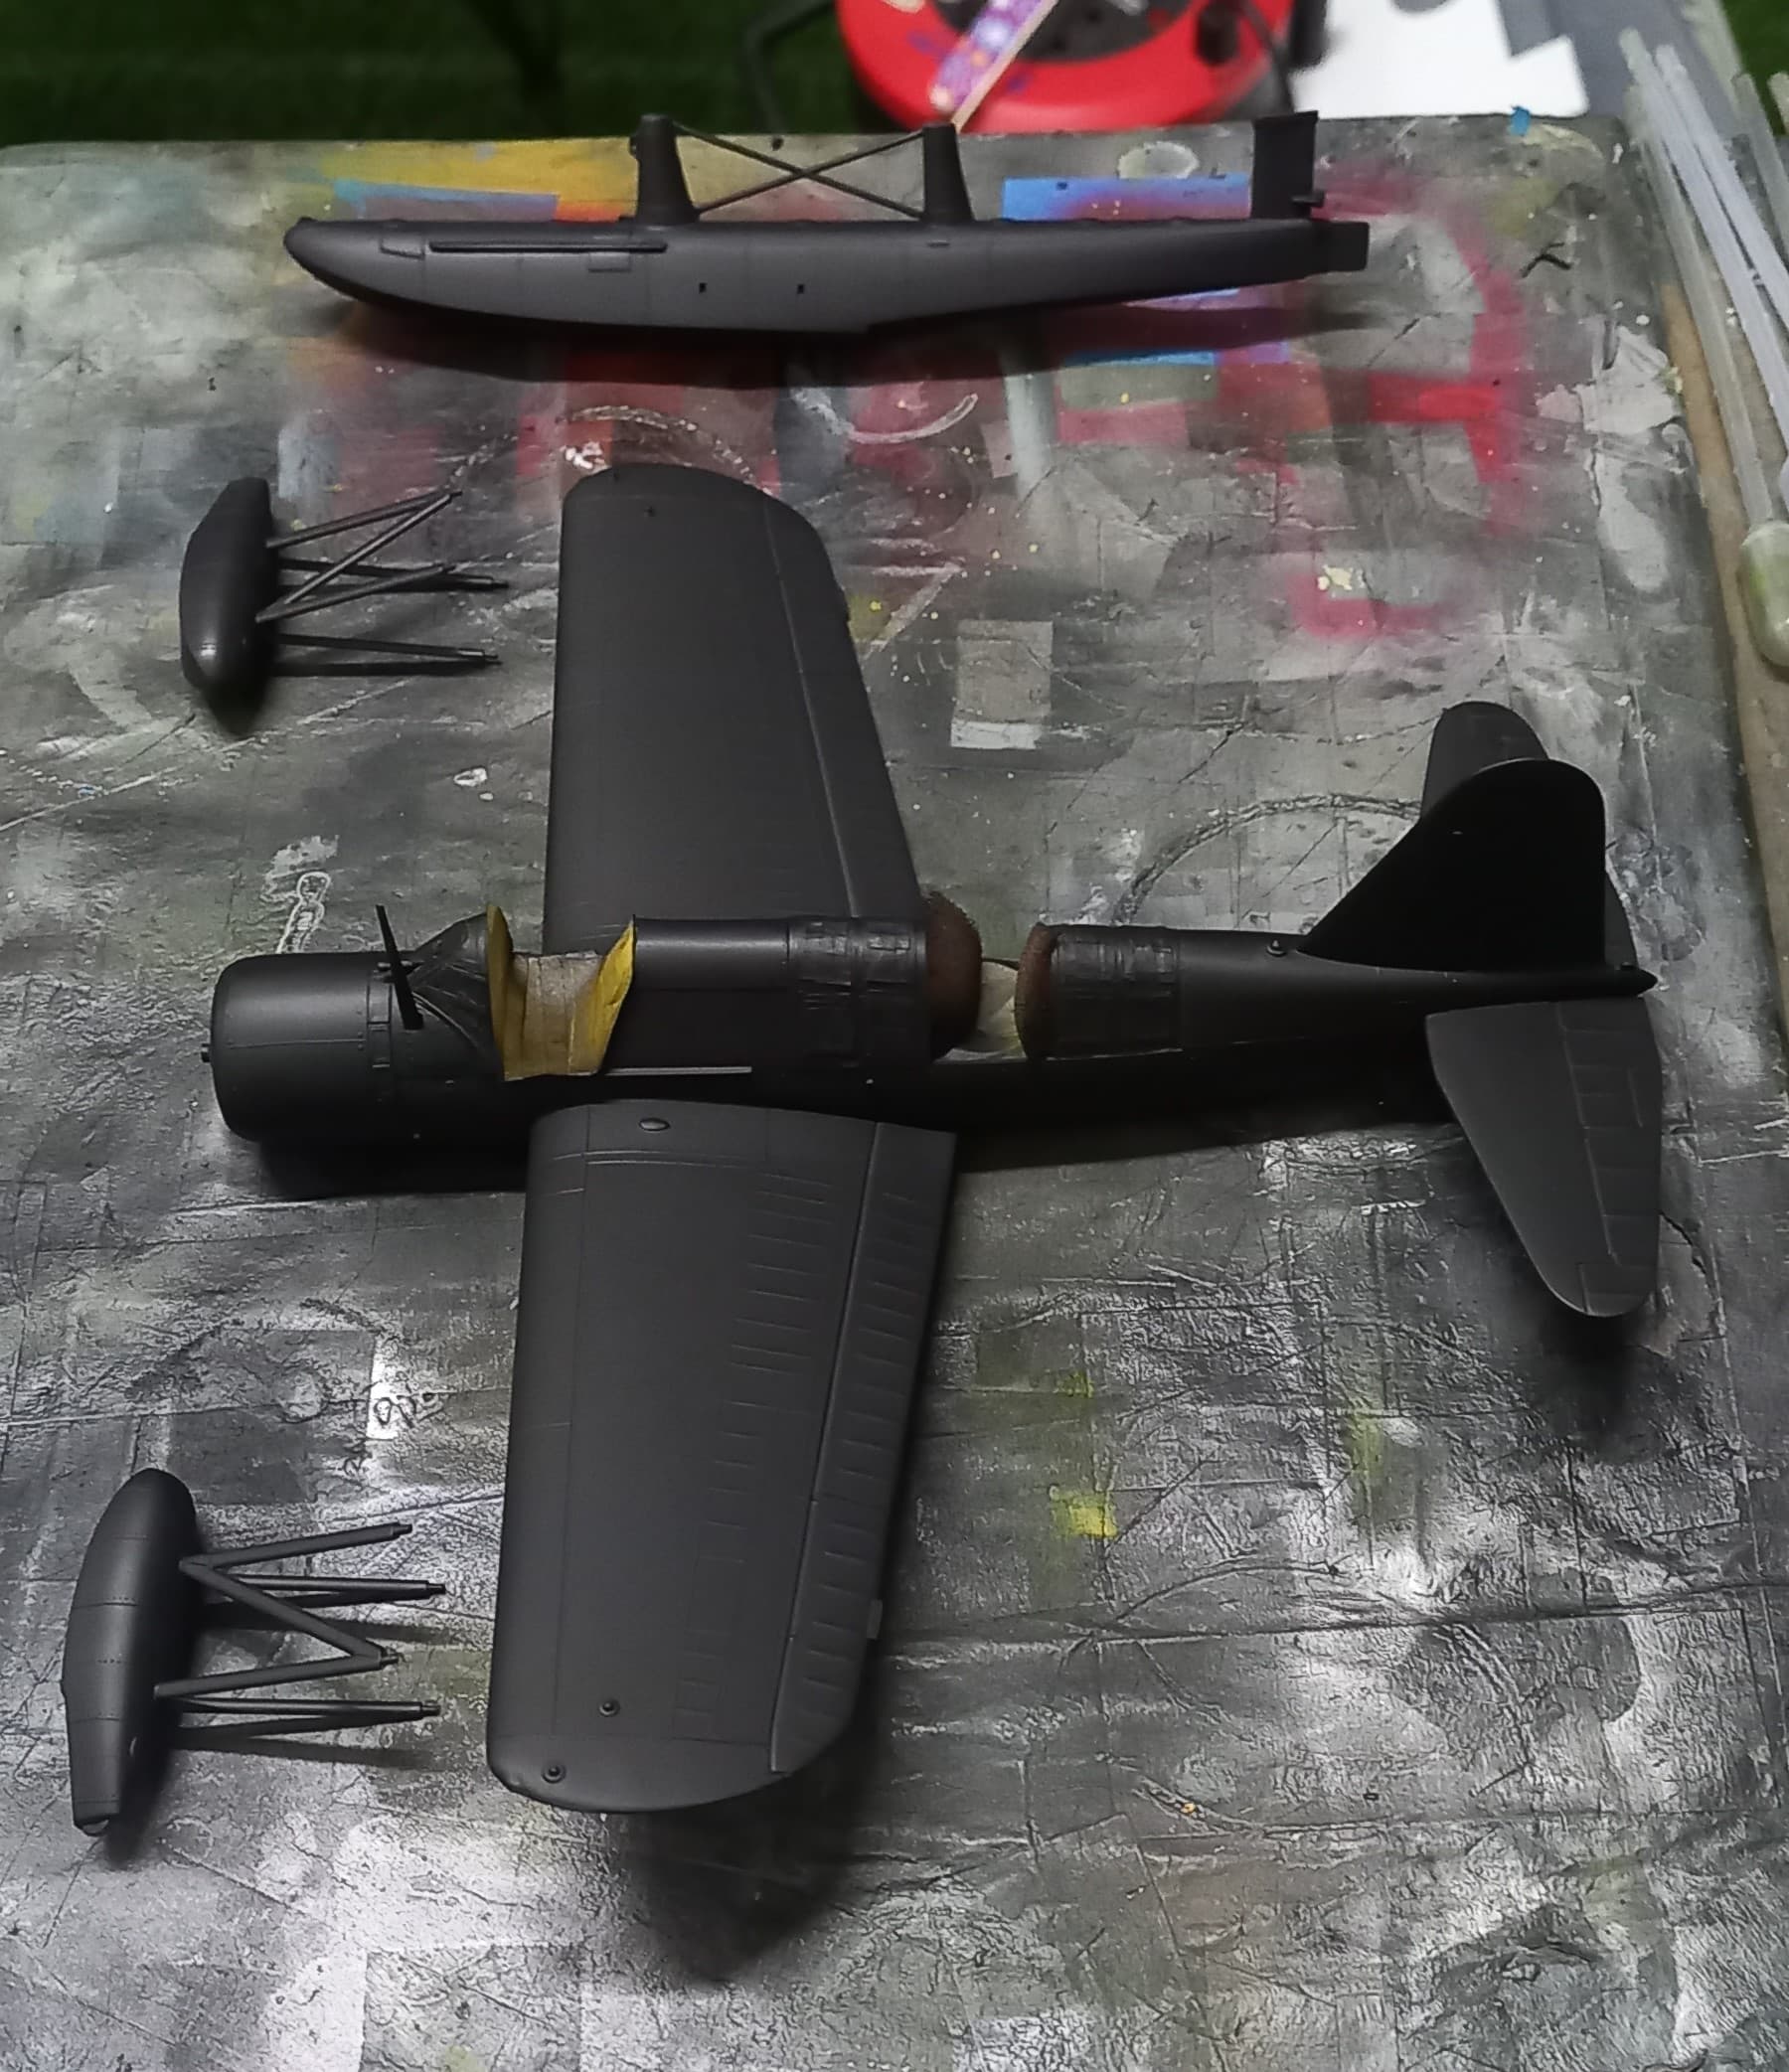
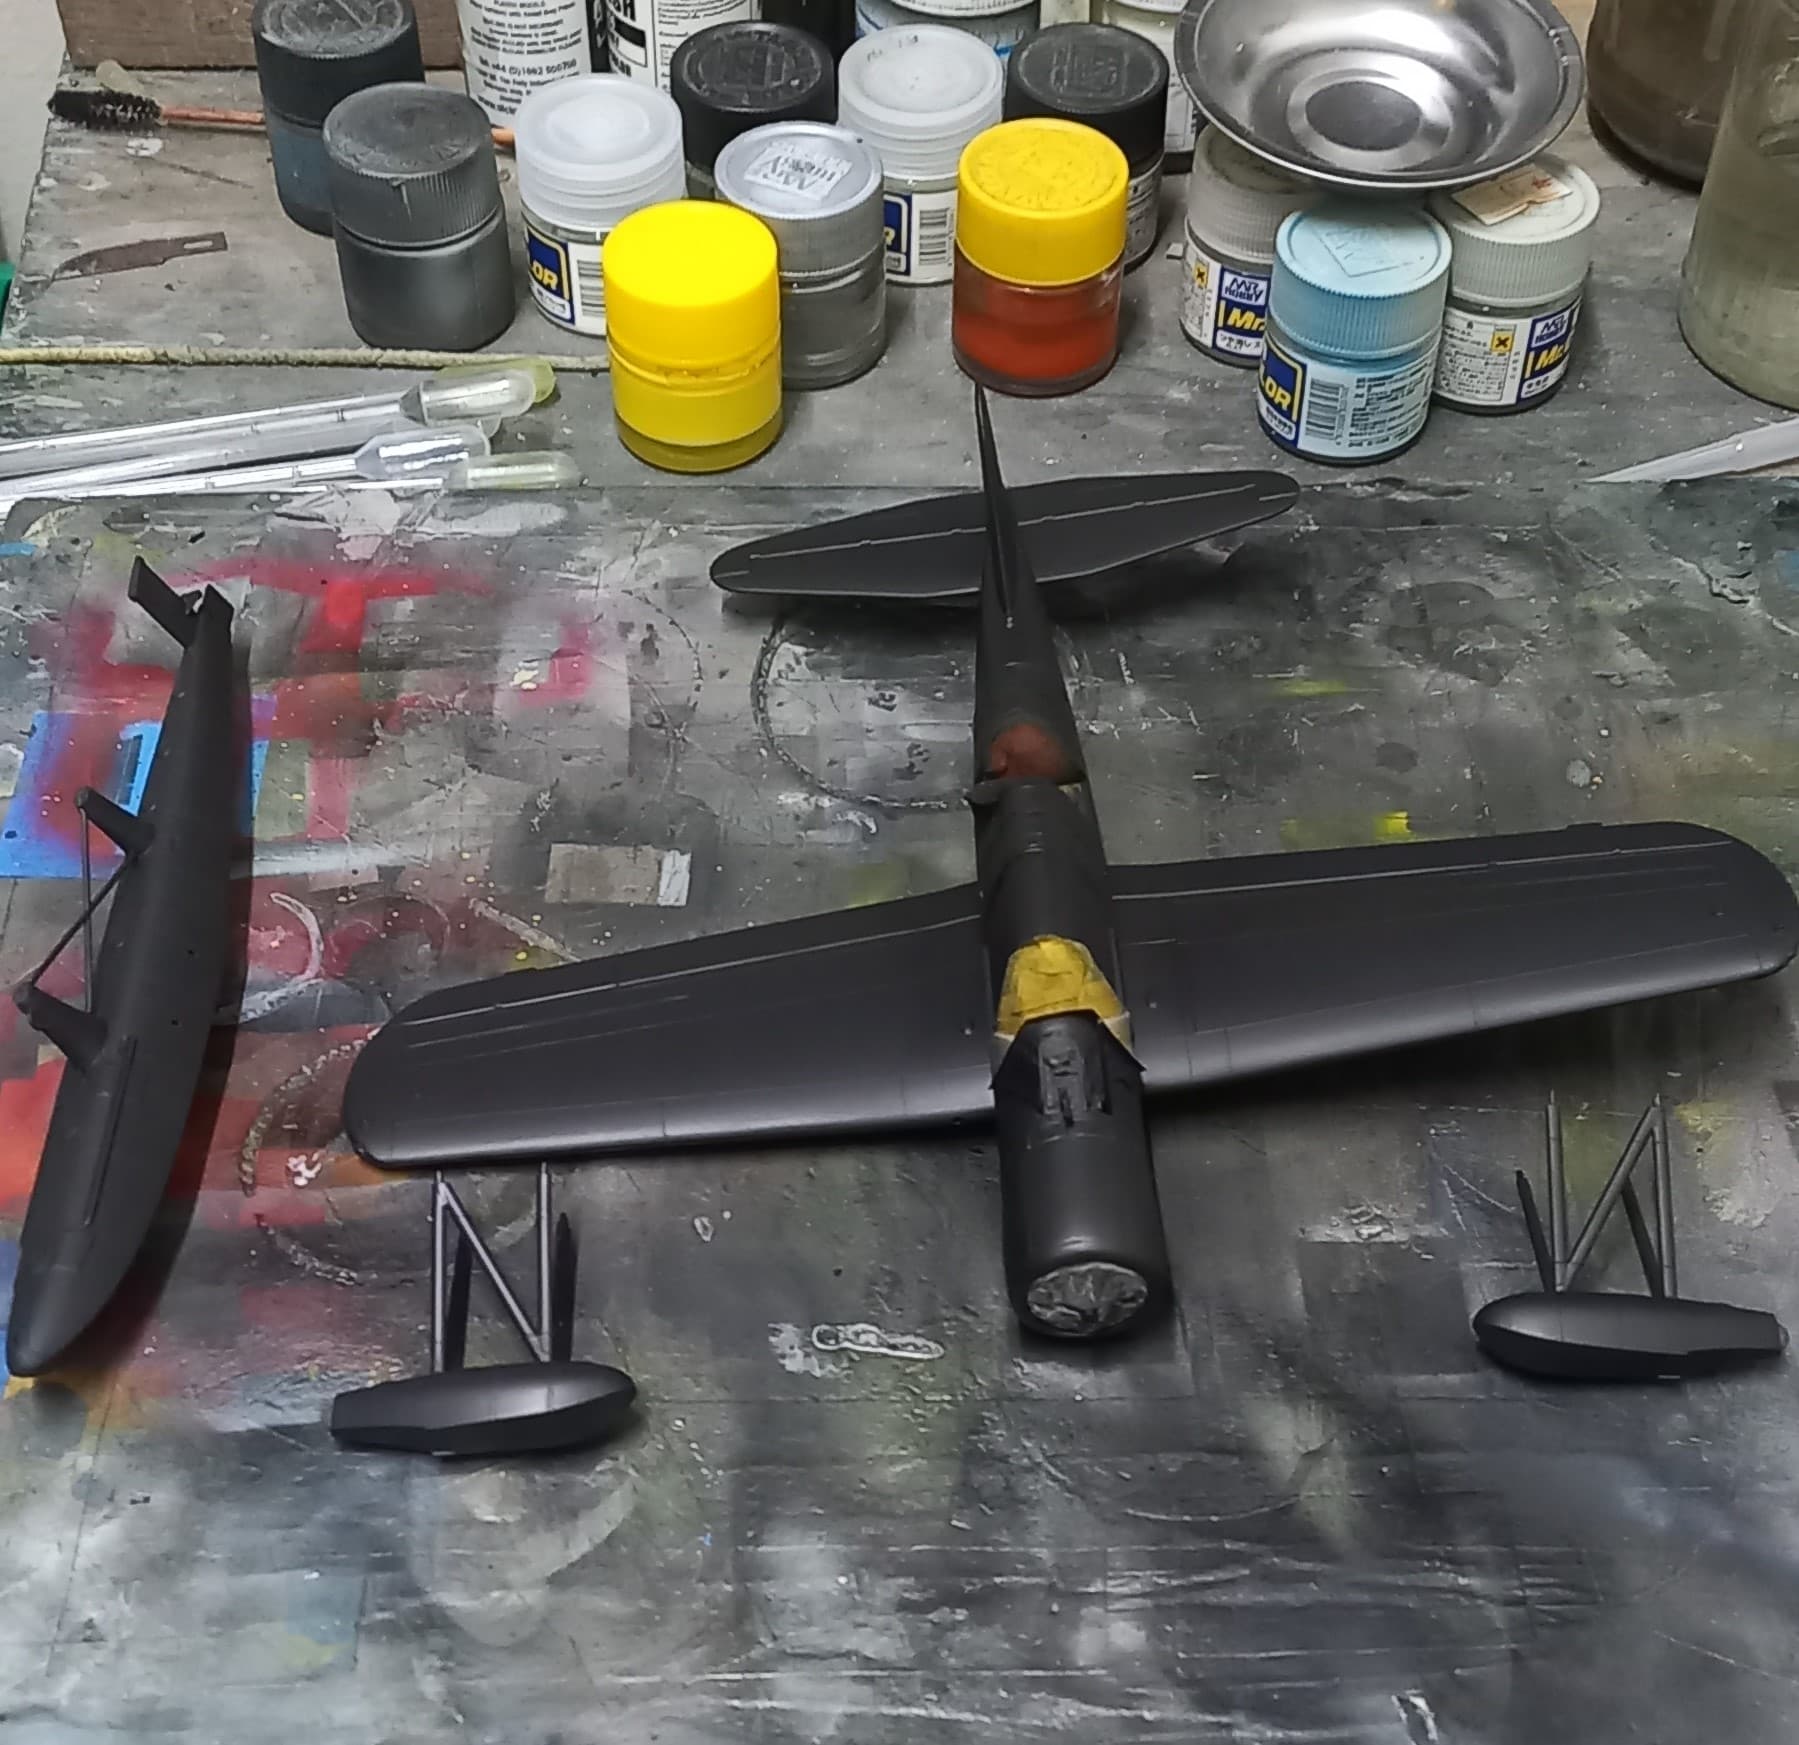
I then gave the bird a primer coat of Mr. Surfacer 1500 black. This will be the base for the black base coat I plan to do, and it additionally highlights any missed gaps and seams.
I found that the areas on the upper portion of the canopy’s all had gaps, which were dutifully filled using some diluted Vallejo plasic putty, I also found a few other areas that needed work.
A second coat of primer was applied to determine how well I’d done.
Looks like today will be a little more filling, followed by some black basing on the underside grey color. Of course this depends on whether the weather cooperates! It is the rainy season here, but should clear up by afternoon.
Till next time, be safe and have fun!