I just wonder if that was the case in the M29C Weasel - the life-preserver seats that is?
1 Like
Finally made some progress on the Schutzenpanzer Marder. Turret is done apart from the scopes which will be painted before final assembly.
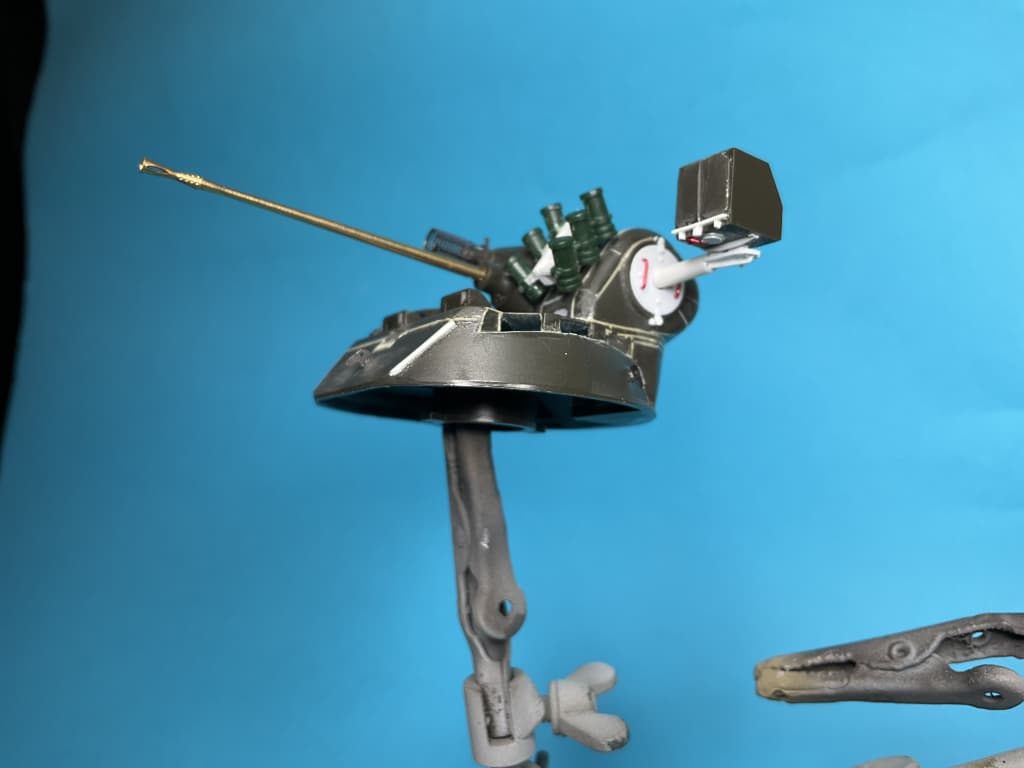
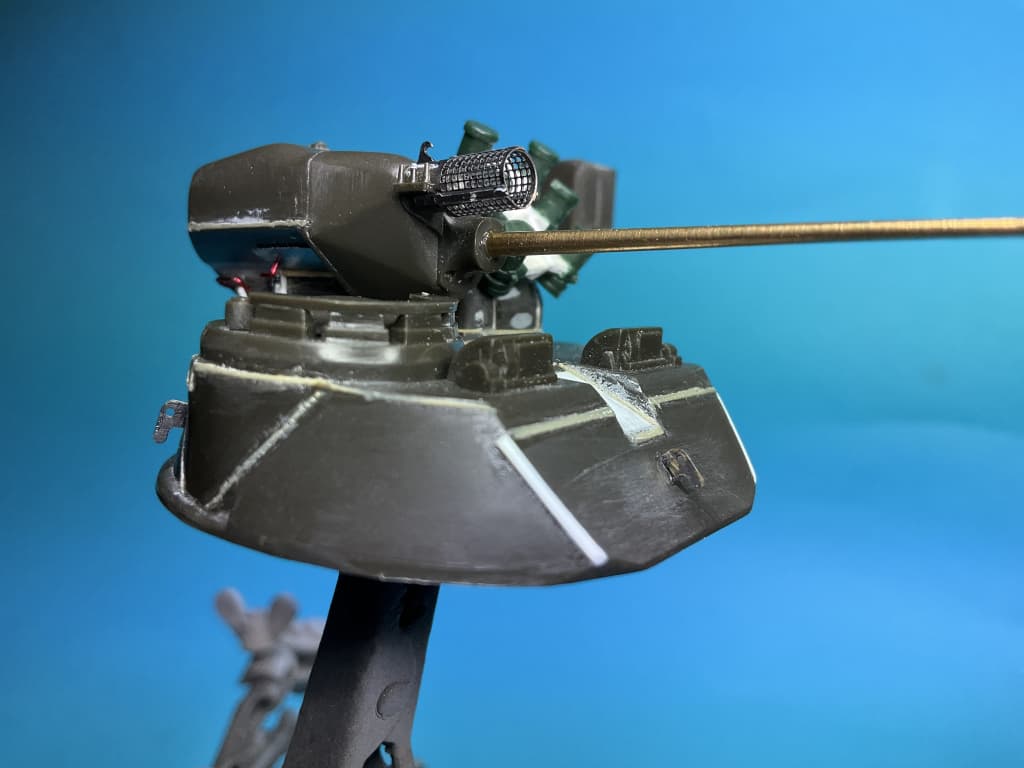
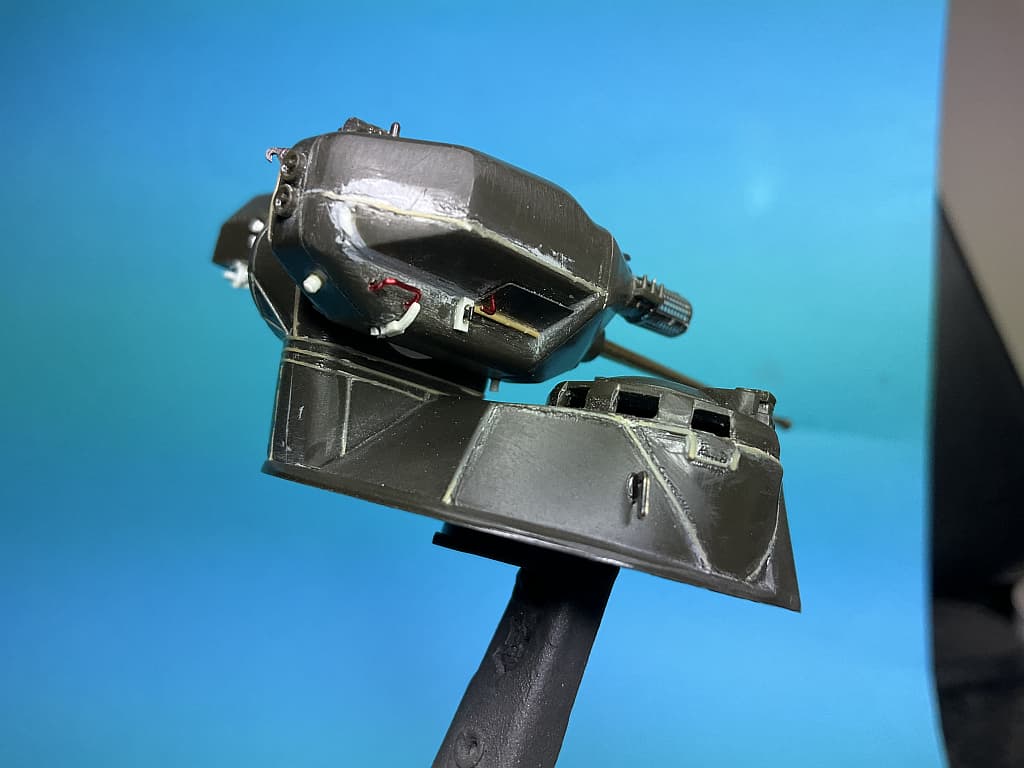
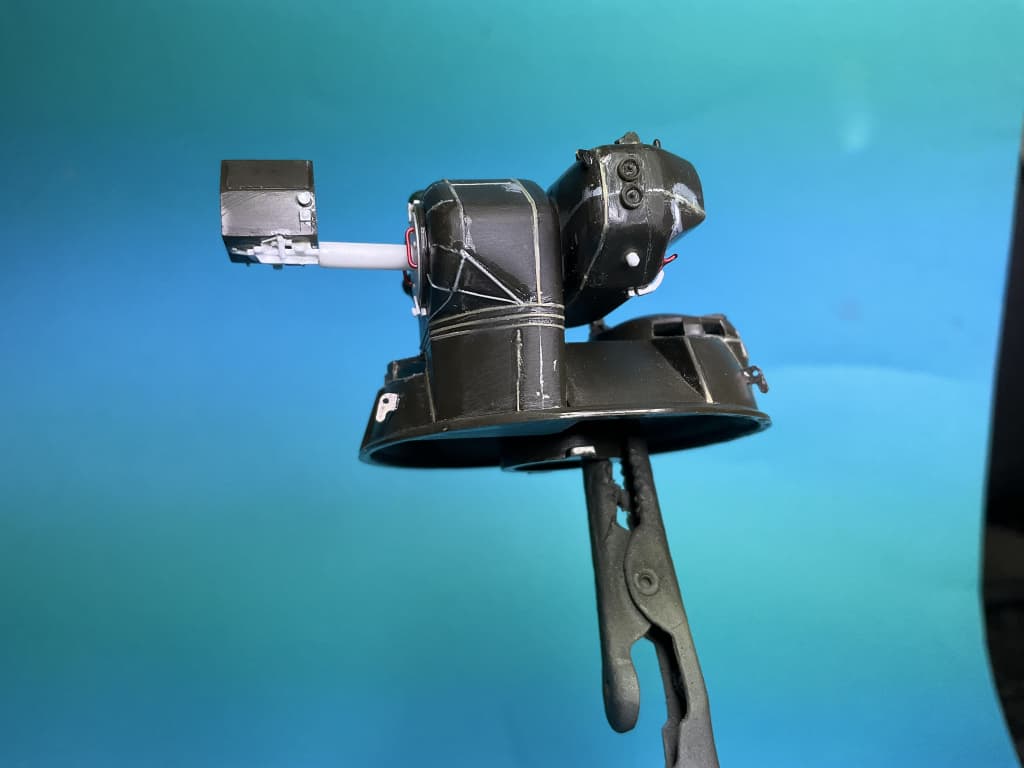
The spent shell shute area under the gun is virtually horizontal in the kit, but should be at a steeper angle so I cut that out and filled the resulting gap with styrene strip.
10 Likes
Very nice detailing Peter
2 Likes
Superb!
1 Like
Great work, Peter!
Now that is excellent and will be very useful to me; I have 2 x Marders in my stash and have plans (when? I have no idea) to depict them both with perhaps a Munga within a sort of “Quick Orders” scenario. Whilst mine will inevitably be swathed in cam nets and foliage, the detail you’re showing will be priceless.
‘Looking very forward - in due course - to identifying the actual socket for the searchlight cable; Google as I might, I cannot find a clear image of it. Anyway, I’m sure you’re all over it!
Well done, Peter, I’ll be following this one for sure.
1 Like
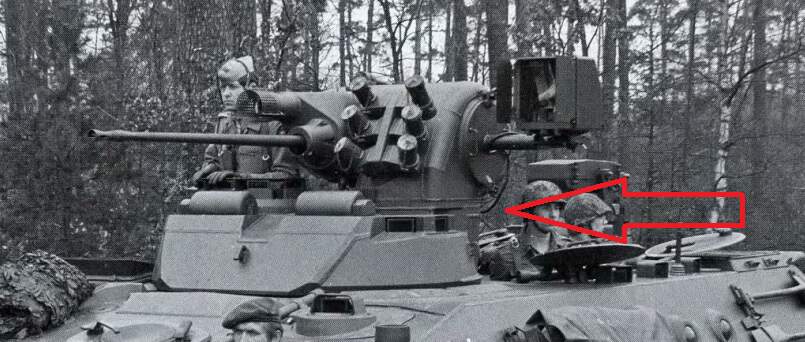
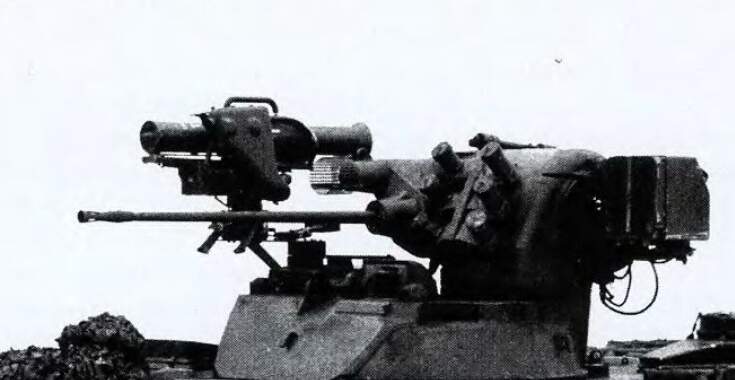
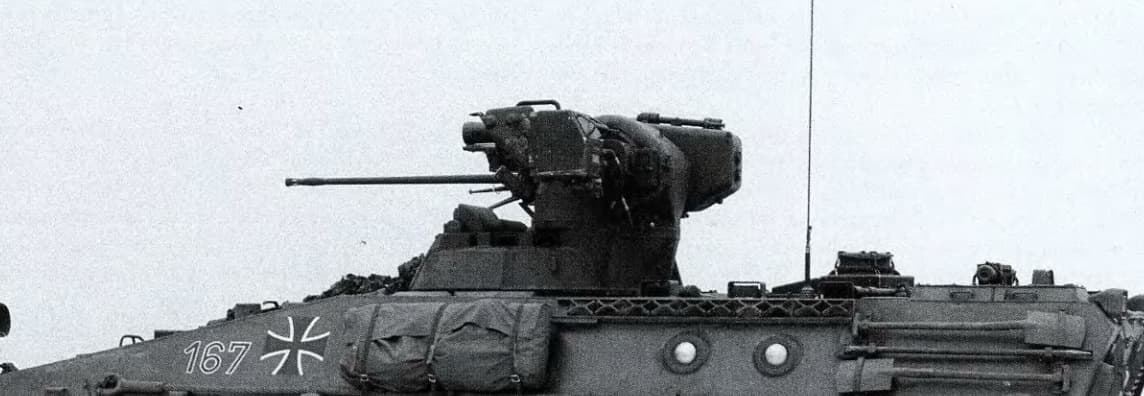
Yes, clear pictures of the Marder 1 in that area, without the added thermal imager and the L-shaped later mount, are non-existent as far as my own research has gone. The cable fits here in the later versions, I just don’t know what it looks like on the earlier mark. Given the ground down weld, it could be the later version was different, or it could possible it was all the same for all from the start:

Early Marder 1

1A2:
1 Like
Yeah, really frustrating; not that I’m about to start the build anytime soon, and given my propensity for adding scrim everywhere, I may be able to - once again - blag it. I find the Marder interesting, representing what was meant to be the collected wisdom of the whole Panzergrenadier ethos, from WW2 and beyond, and hardly any other nation in the West had anything to touch it, and didn’t for some considerable time.
I’m lucky I suppose in that as we were always bumping into other nation’s exercises, there was often a glimpse or more of such as the Marder, and fascinating it all was, but then, I was quite lucky I feel in most aspects of my career.
Thanks for the pics.
1 Like
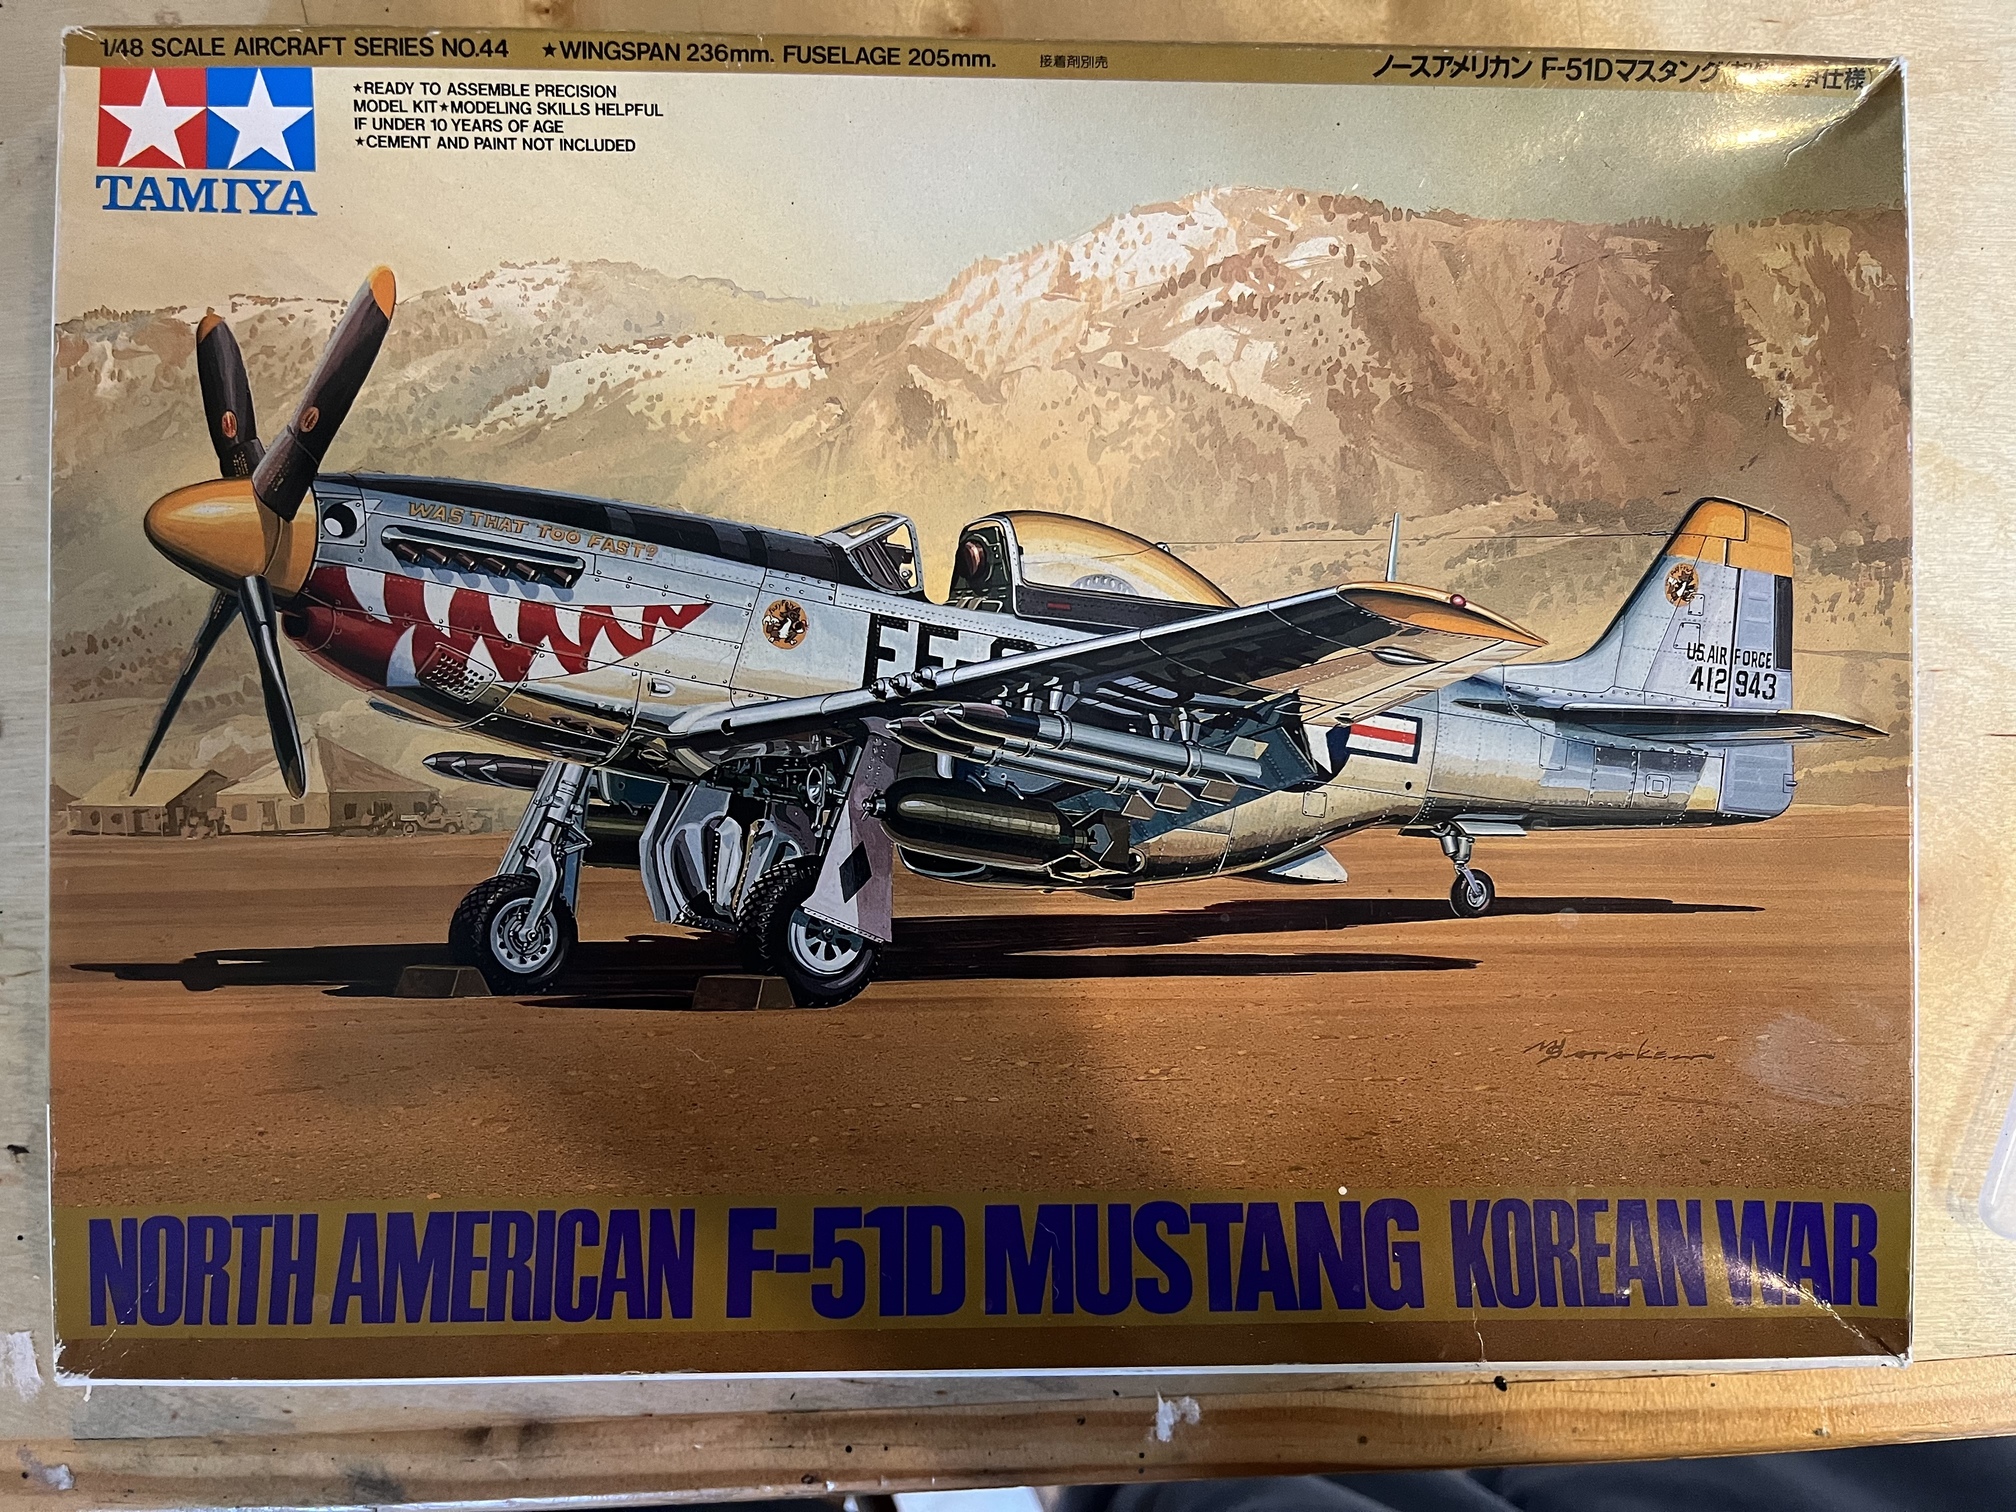
Looking a bit closer now… what kit is it that you have? The first Tamiya kit?
Work on my Jeep is moving along at a decent pace.
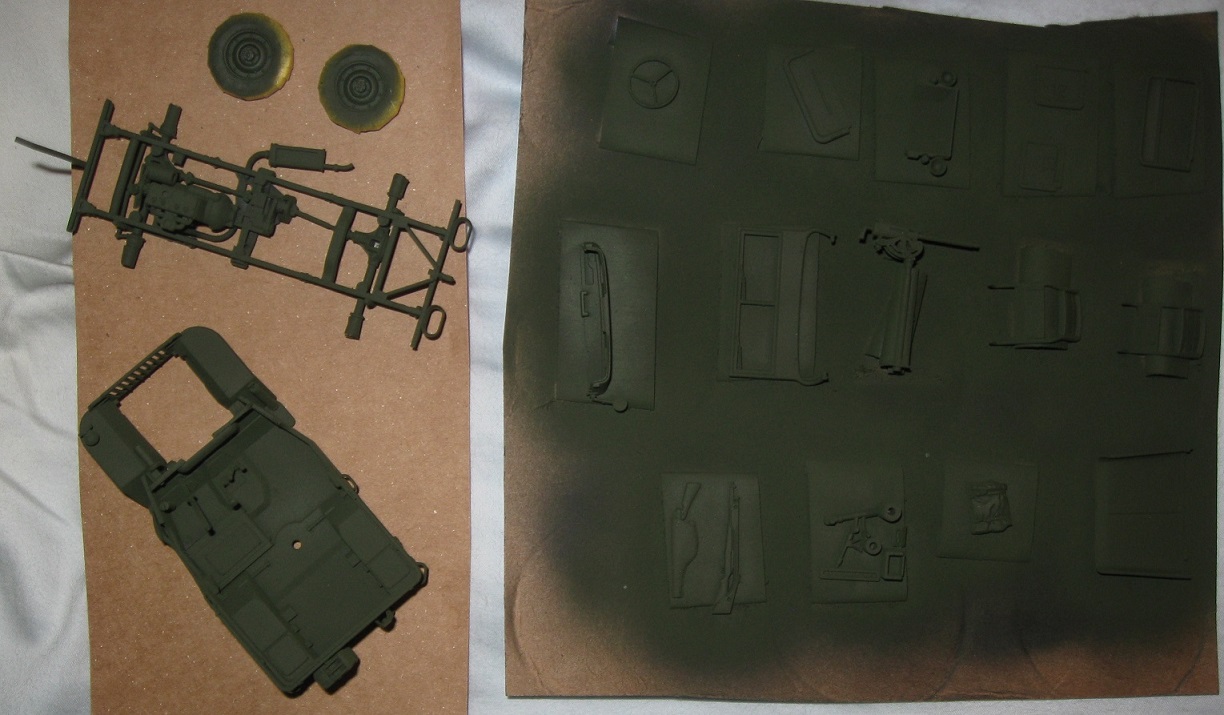
After two rounds of filling, sanding, and priming, everything was sprayed Tamiya XF-62. According to a Fine Scale Modeler article from many years ago, XF-62 is the best match for Olive Drab as used on US Army vehicles in World War II. To me, this color looks very green when compared to Olive Drab paints from other companies. I will run with it and see what happens. ![]()

The underside of the body has something like 17 ejector pin marks. I got most of em. Filling is probably my least favorite model building task but mastery only comes with practice. A few models back, I started making my own sanding flats and wedges, carved out of popsicle sticks, to help with this sort of thing.
I made some mistakes along to way. The wire cutter, steering column, and steering wheel have snapped. I also forgot to mask the stuff that ends up Black before spraying the Olive Drab. Oops.
This really is a fun little kit. If I recall correctly, the Army Air Force painted some jeeps wild colors as taxi vehicles to help bomber crews assembling for big raids. If I can find some pictures of jeeps in exotic paint schemes, I would definitely build this model again.
Edit: I remembered correctly! The jeeps usually wore checkerboard patterns and the words “Follow Me”. Civil Air Patrol used blue jeeps. Military police used some white jeeps. I am not a jeep expert but some of those would probably work for next time.
2 Likes
That is some lovely and inspiring detail work. I look forward to trying something like that in the future.
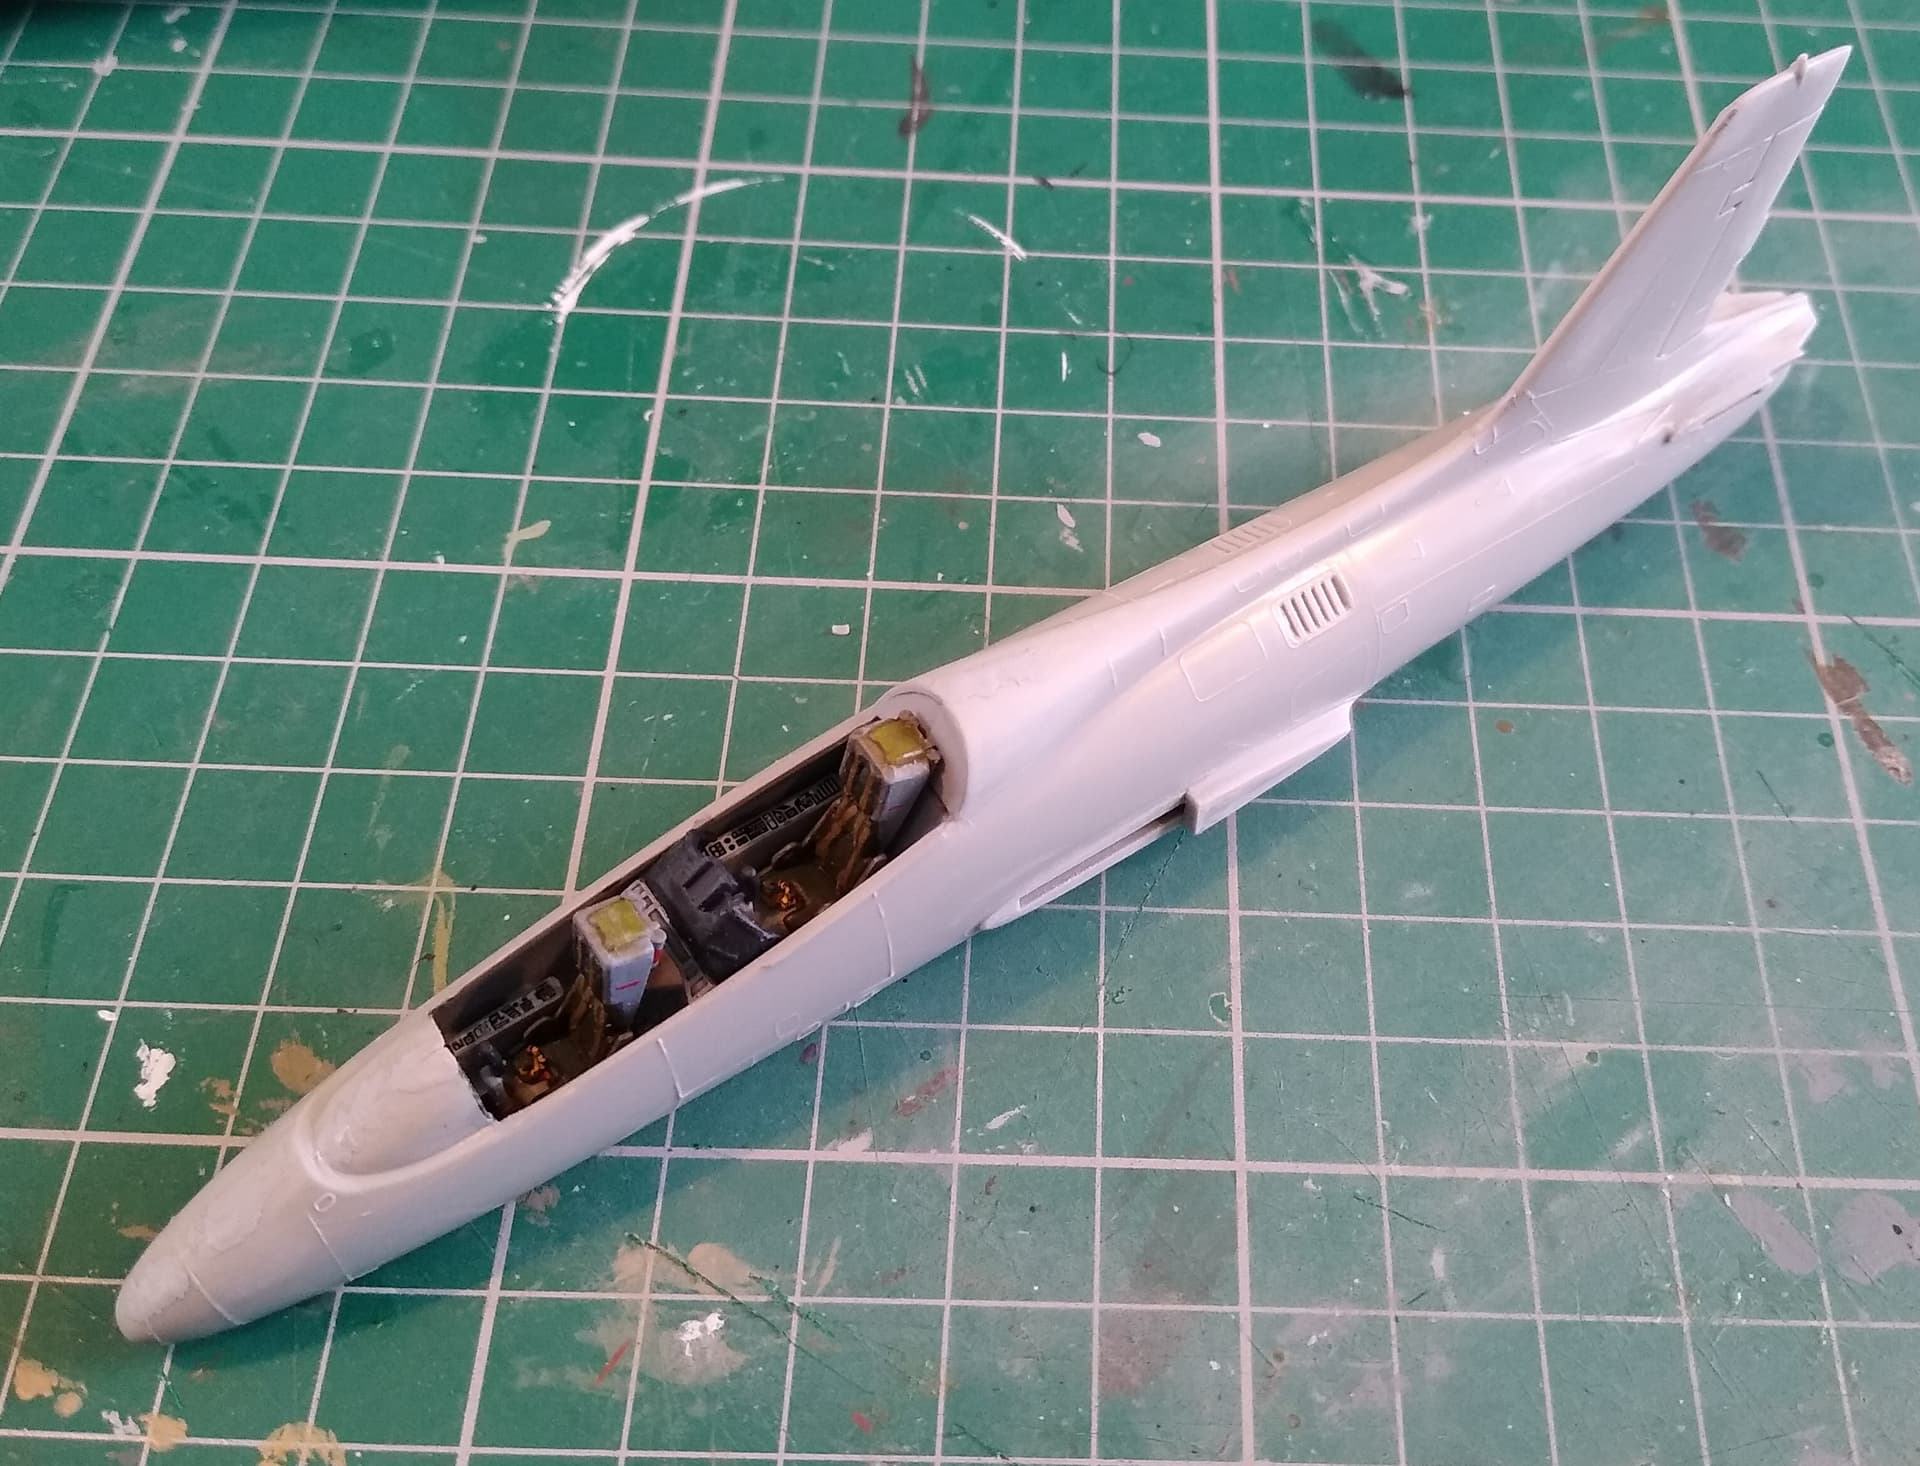
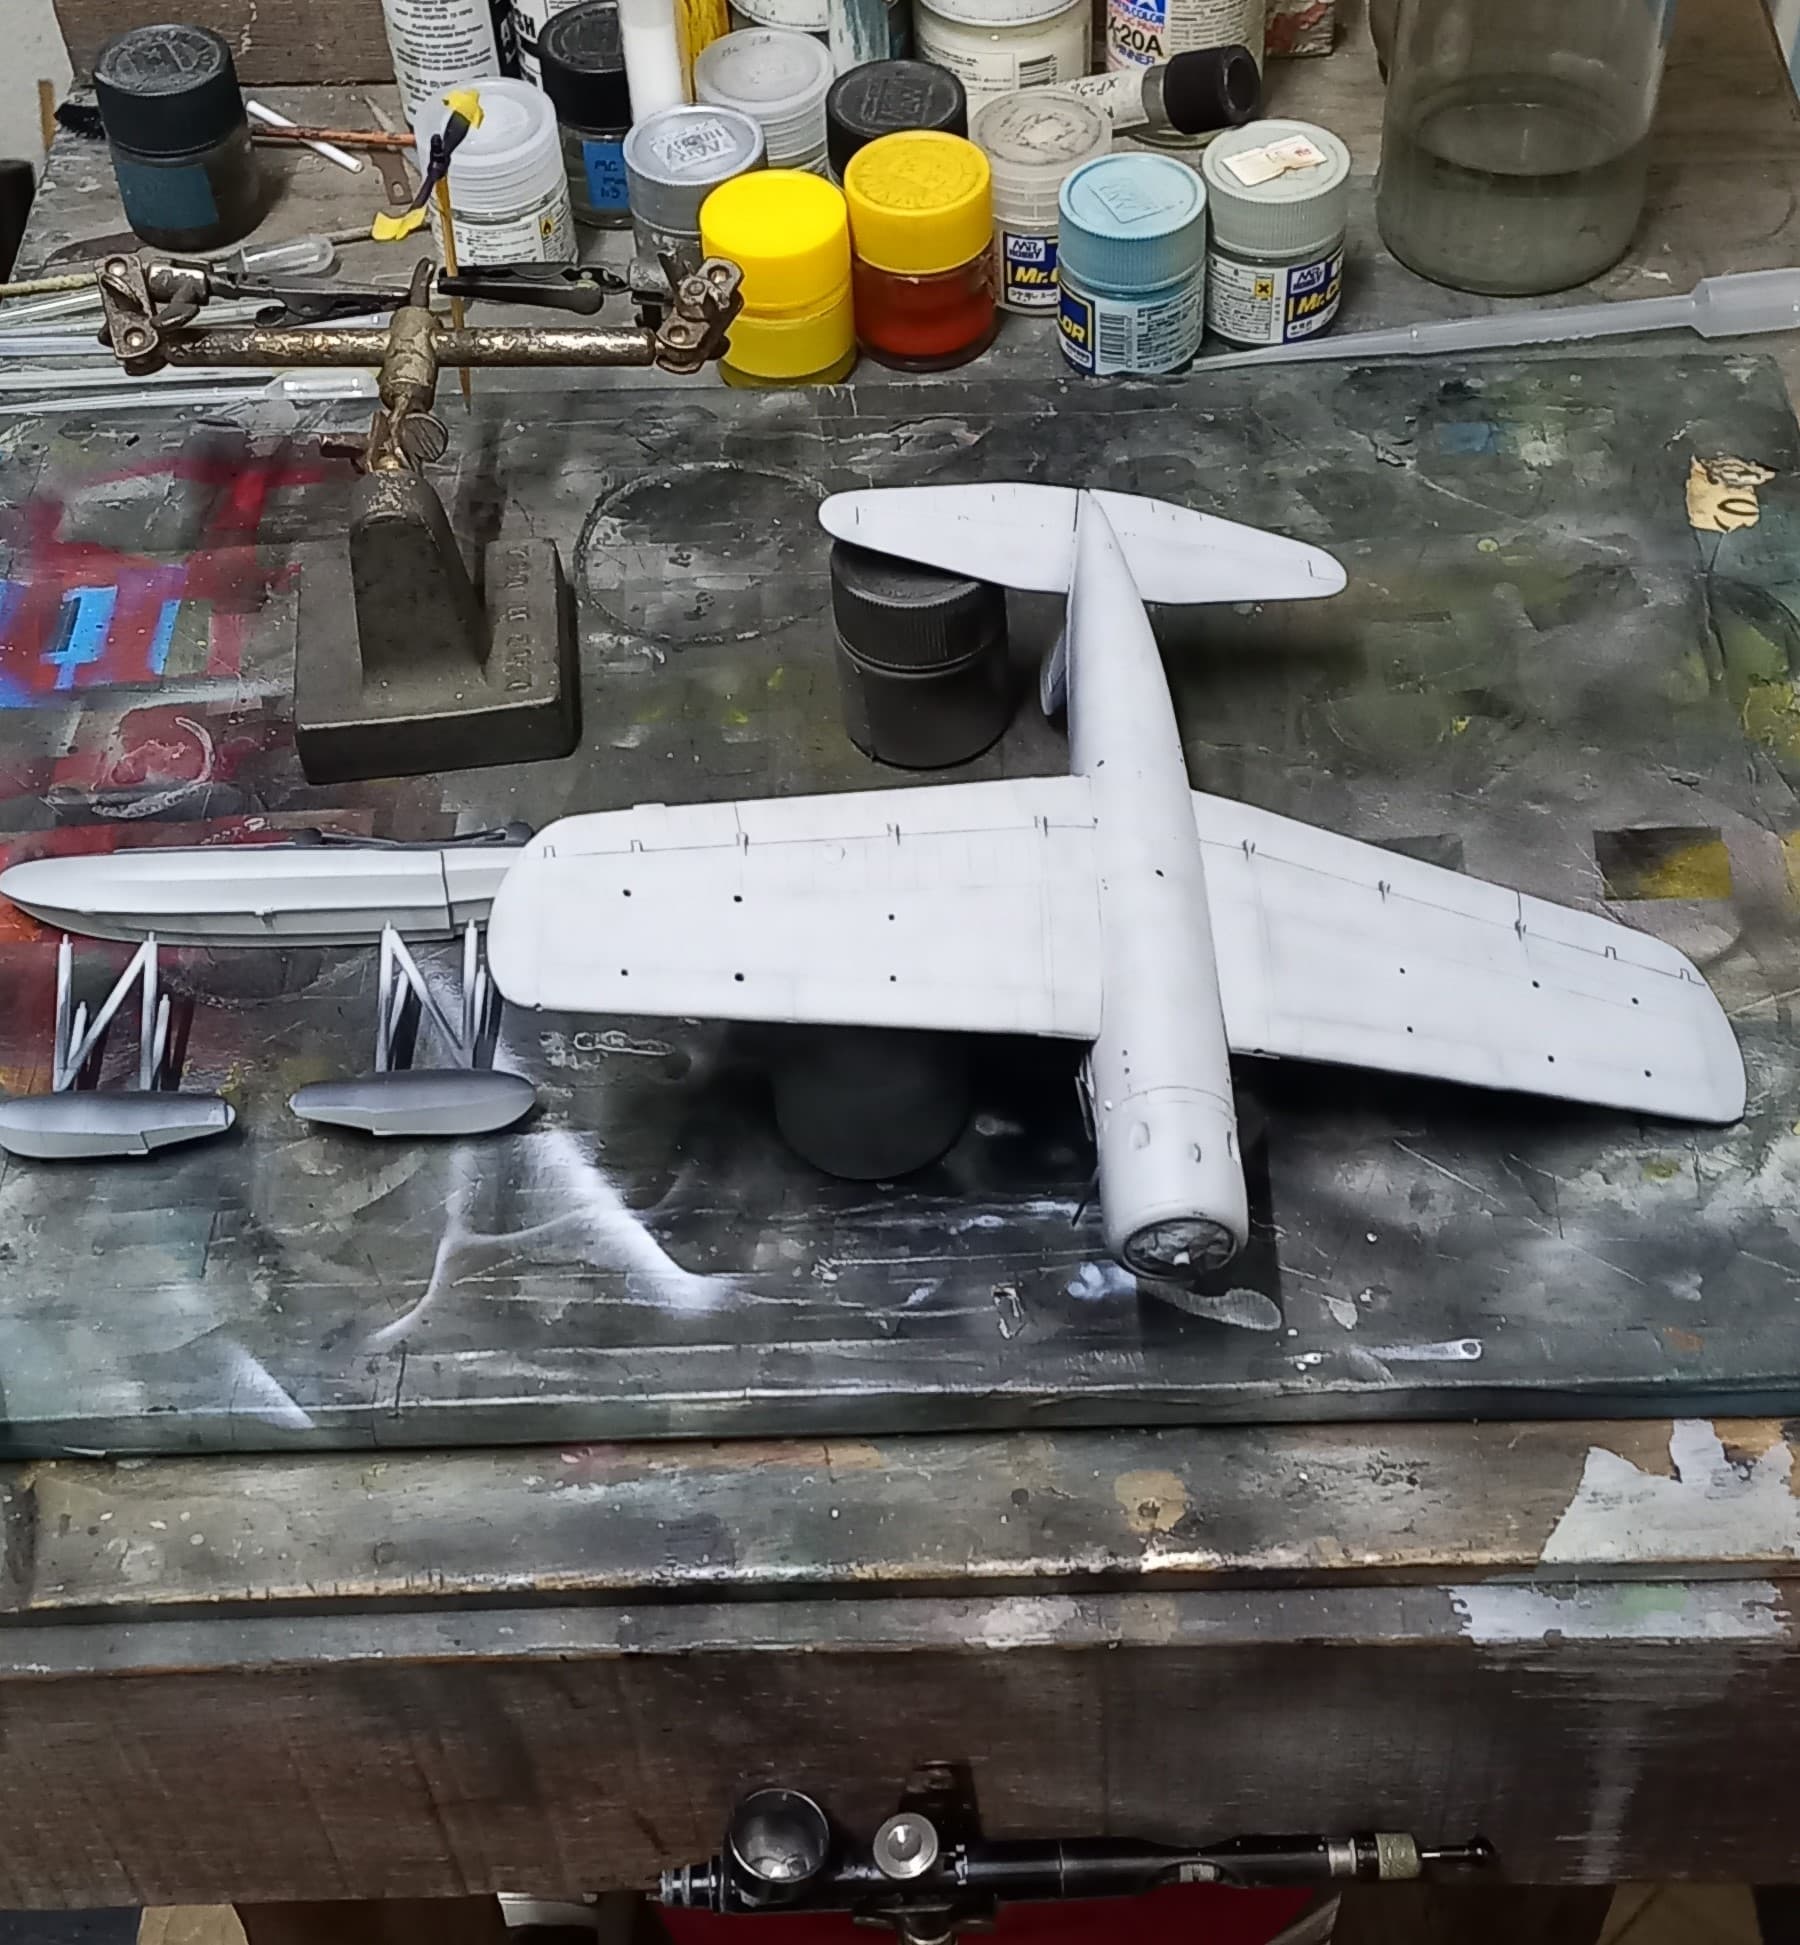
More work on the Aermacchi today.
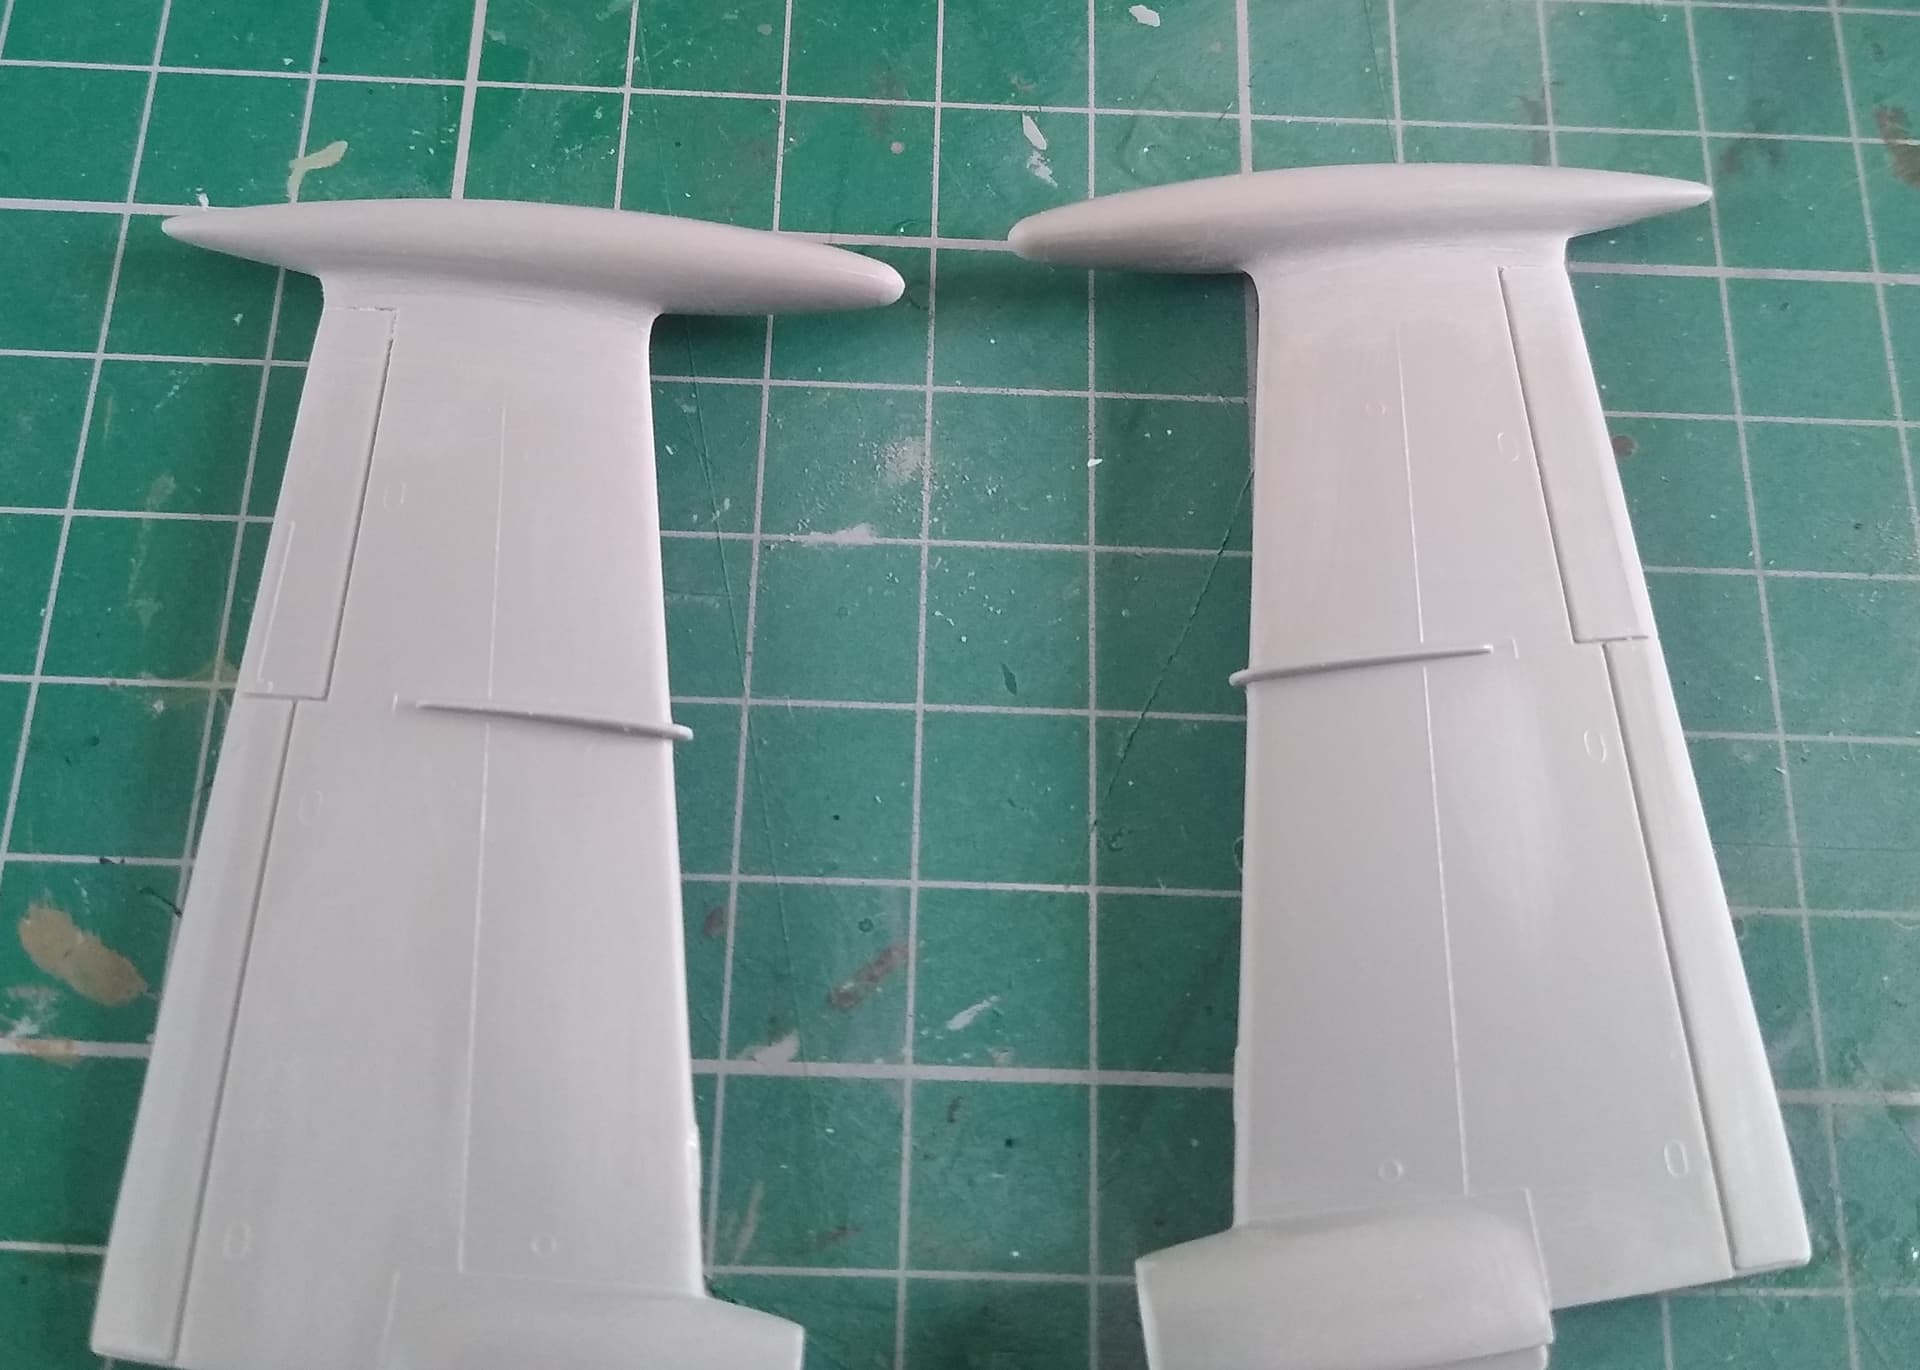
Fuselage is together. Fit was pretty good.
Joint between the tanks and wingtips needed a lot of work to blend in. Real ugly join and gaps here. I used a bit of sprue glue and finally some Mr Surfacer and plenty of sanding.
And finally the Zuni pods and drop tanks.
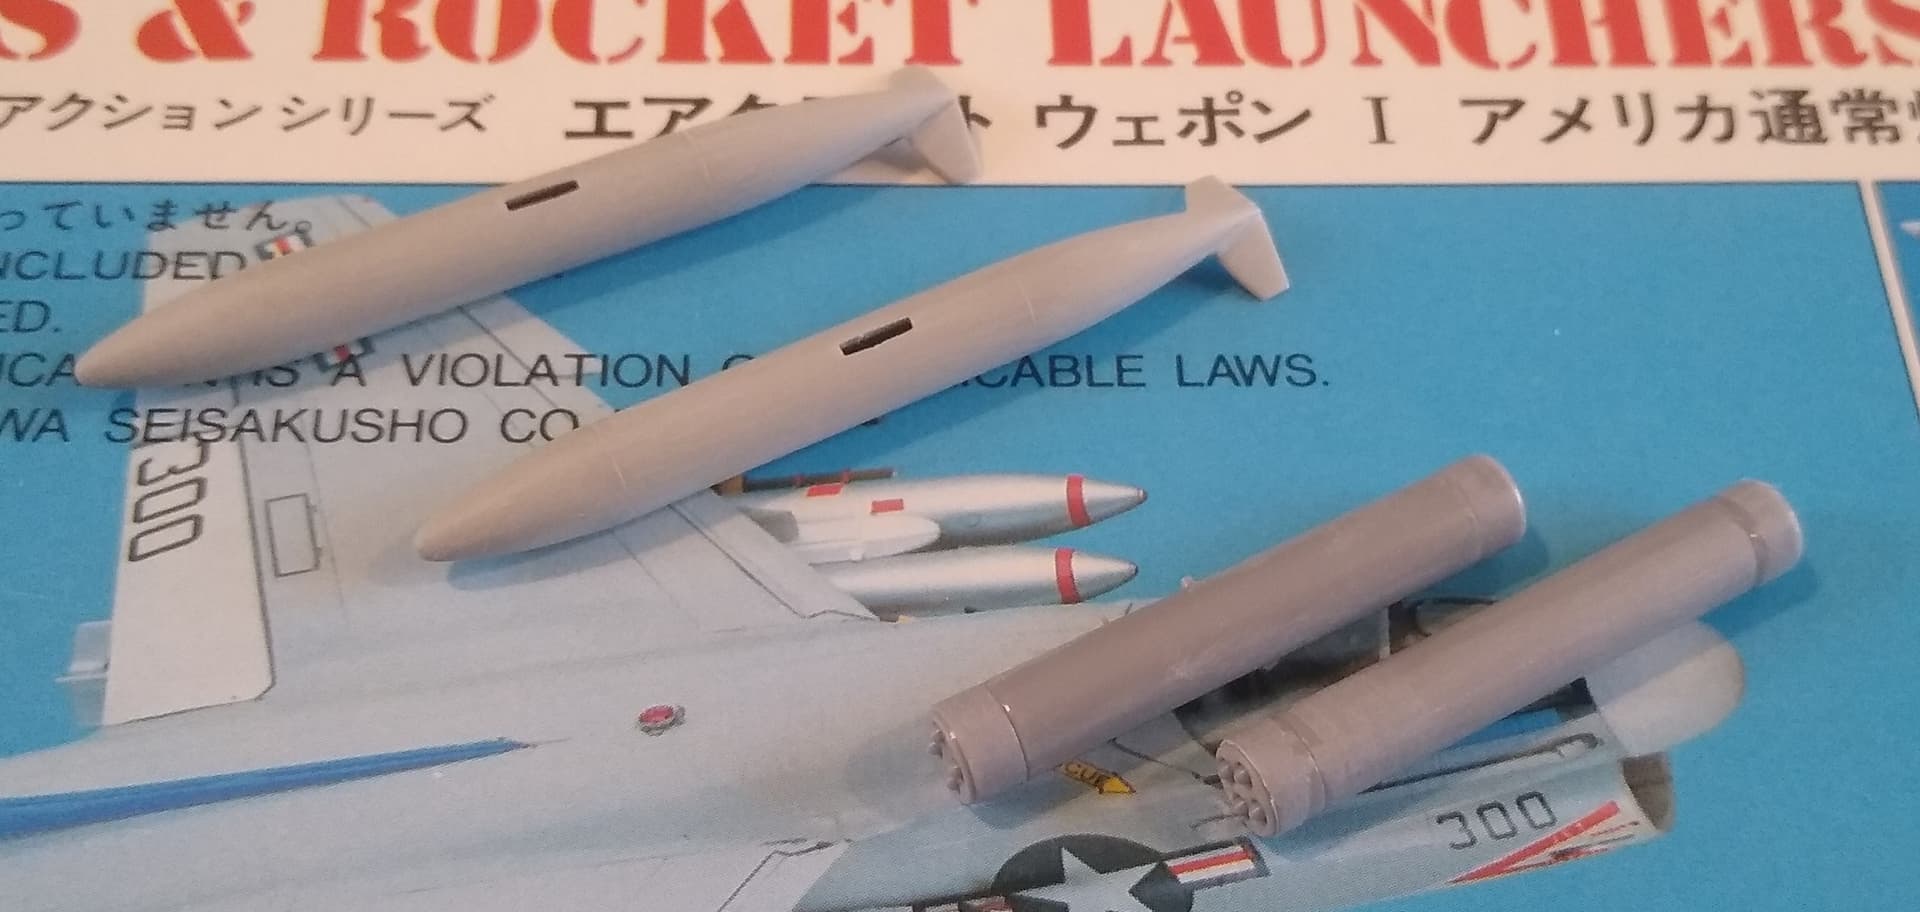
The Zuni pods are from one of those Hasegawa weapon sets.
5 Likes
Sometimes even painted overall yellow.
As I recall Tamiya has changed the formula a time or two on XF-62. Depending on when you got the batch it might be the reason why it doesn’t match expectations. I don’t think there is a way to tell which is the good ones or not.
2 Likes
Oh, neat! I found some blue ones, some white ones, and one in a diorama with a dinosaur!
Now that you mention it, I vaguely remember reading something about that. My bottle is about 15 years old and almost gone. Hopefully, I have enough to spray the last few parts before it runs out.
Vallejo makes three different versions of Olive Drab. I ordered them all as replacements.
1 Like
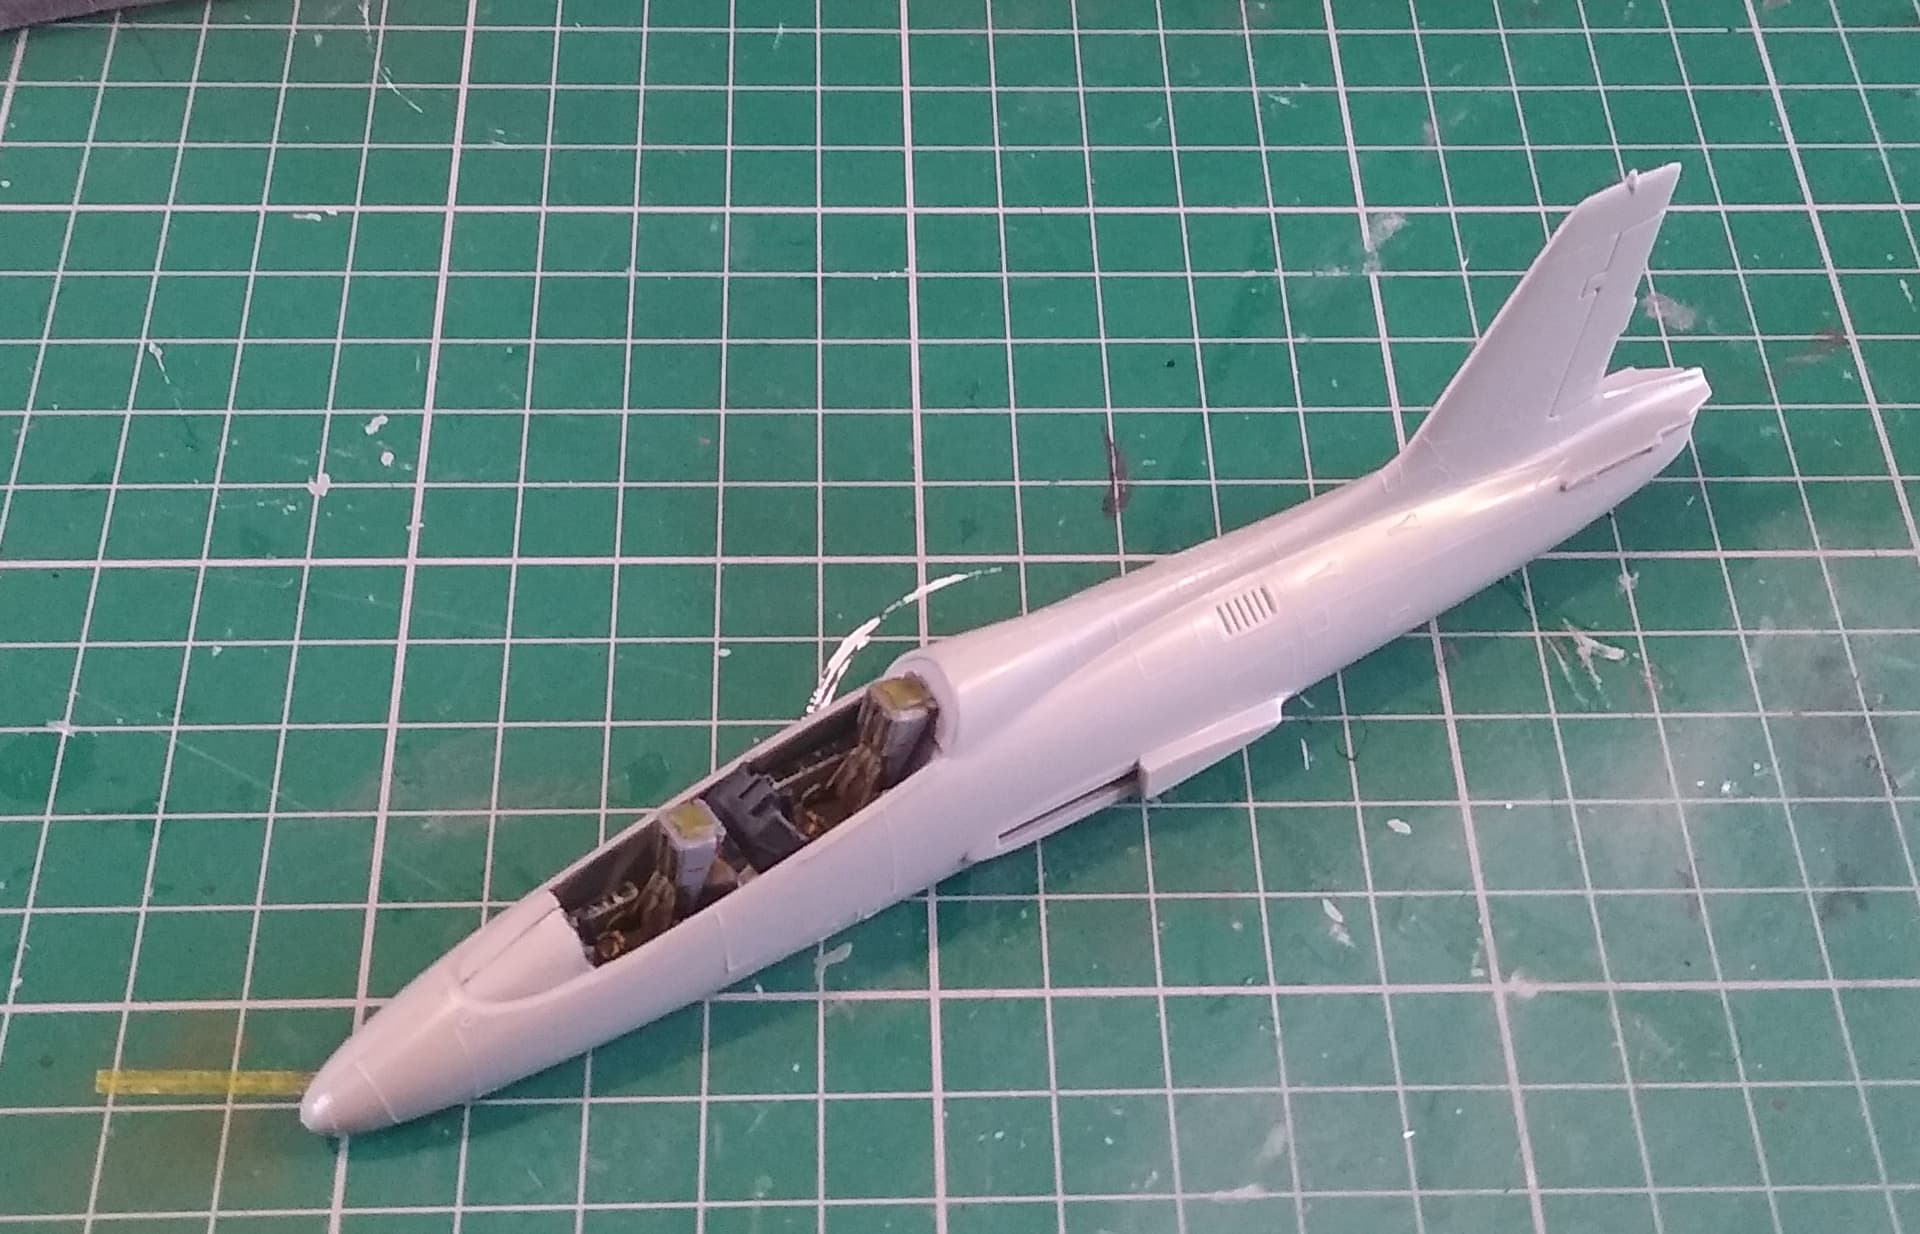
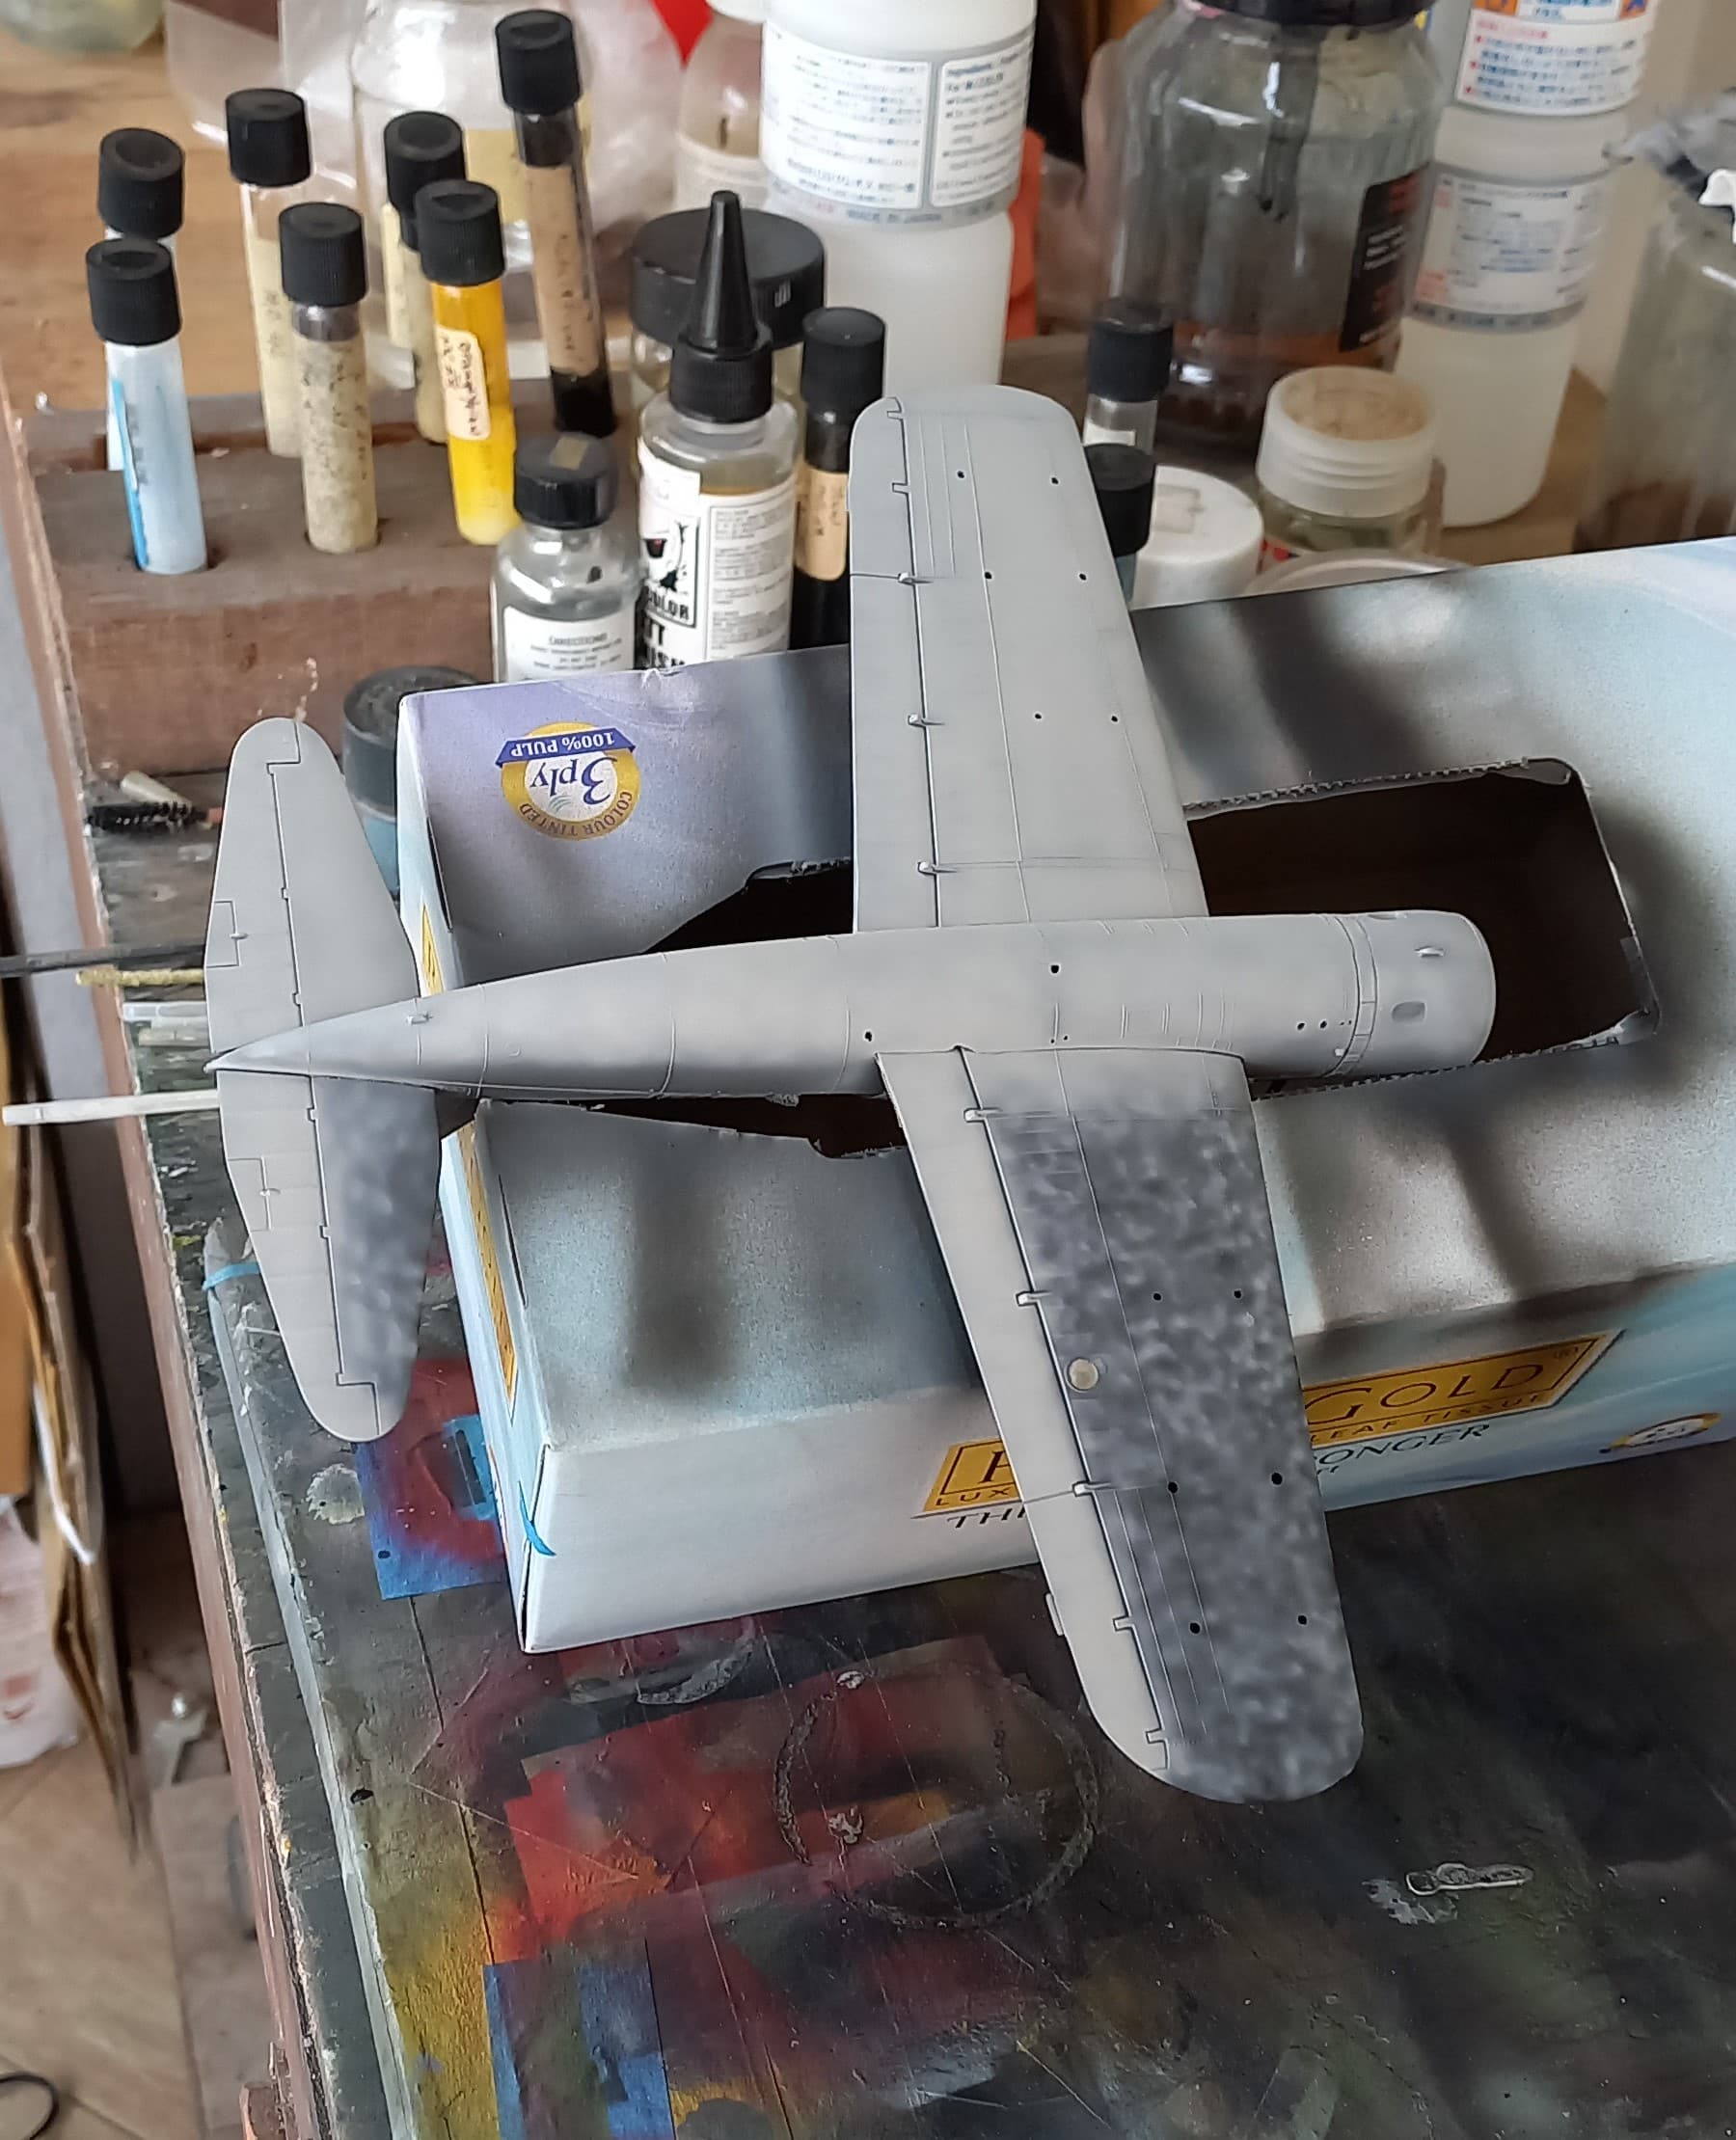
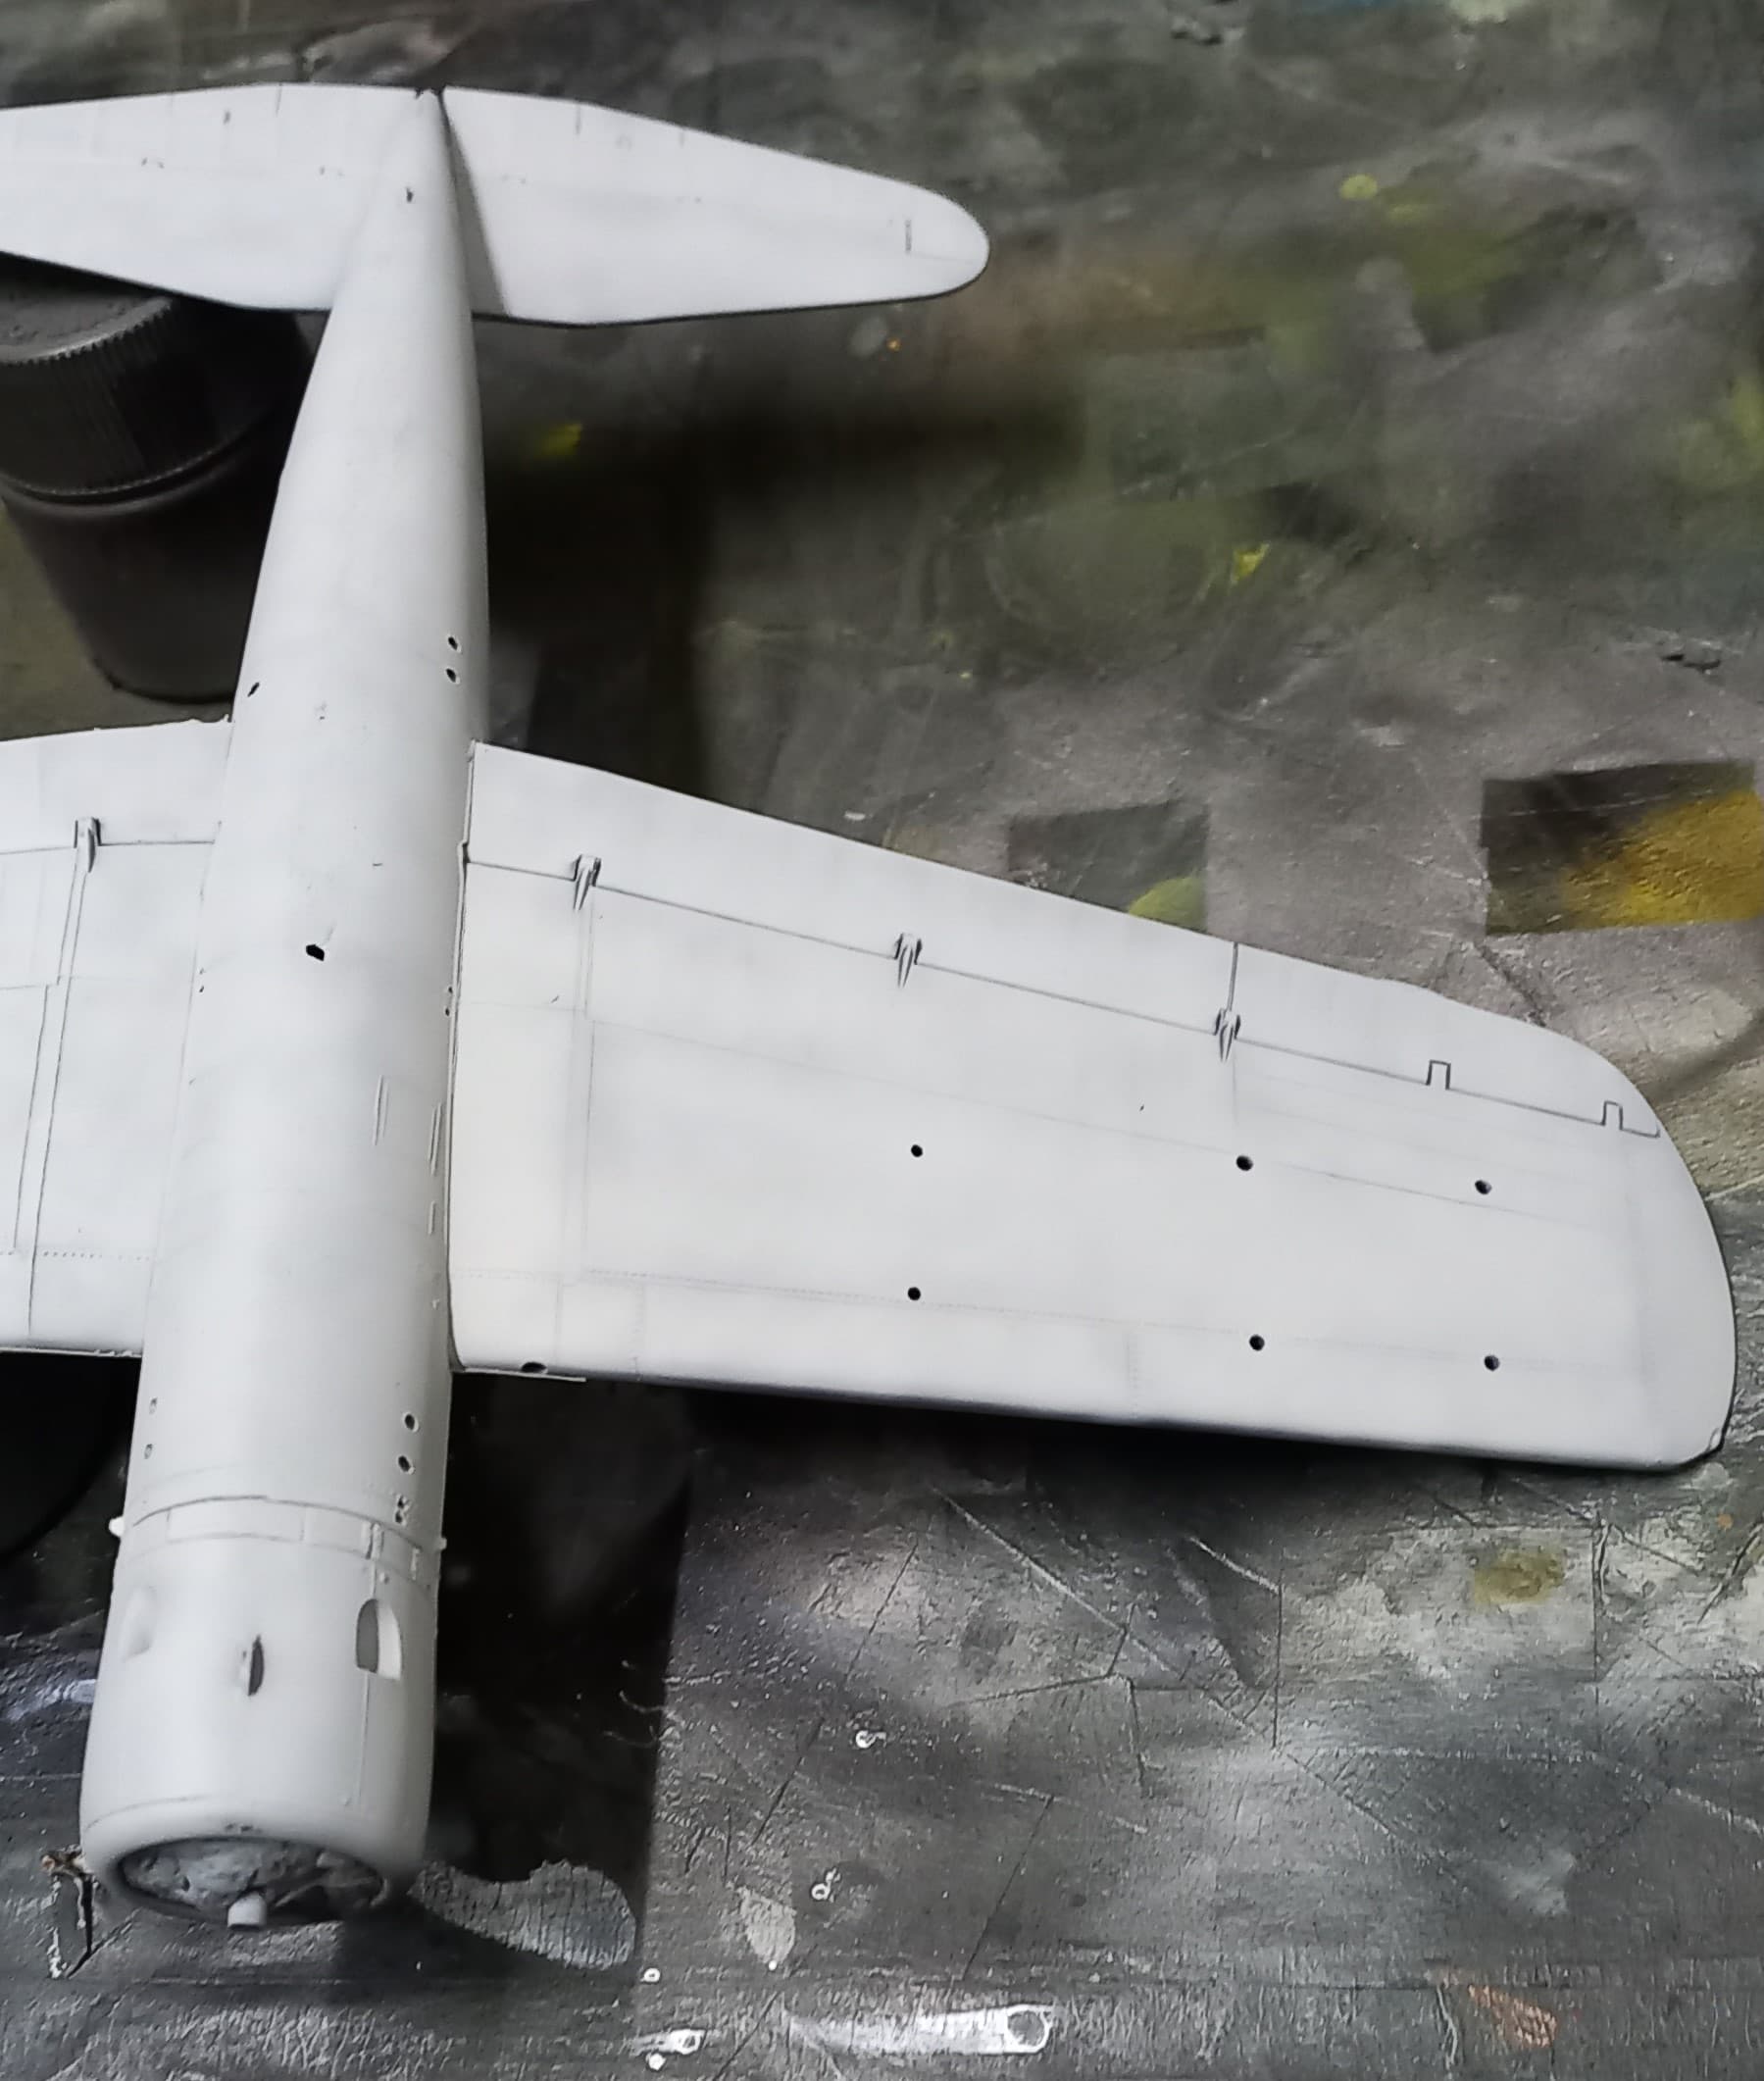
Fuselage tidied up. Fit was pretty good, only a couple of spots have needed some Mr Surfacer to fill some minor gaps. Tried to preserve the raised panel lines, but it wasn’t possible. I can live with it and felt it’s in keeping with the theme of the campaign.
Intakes are looking a lot better after a few rounds of Mr Surfacer and sanding the internal seams. Have given them a couple of coats of white primer and will gloss them tomorrow.

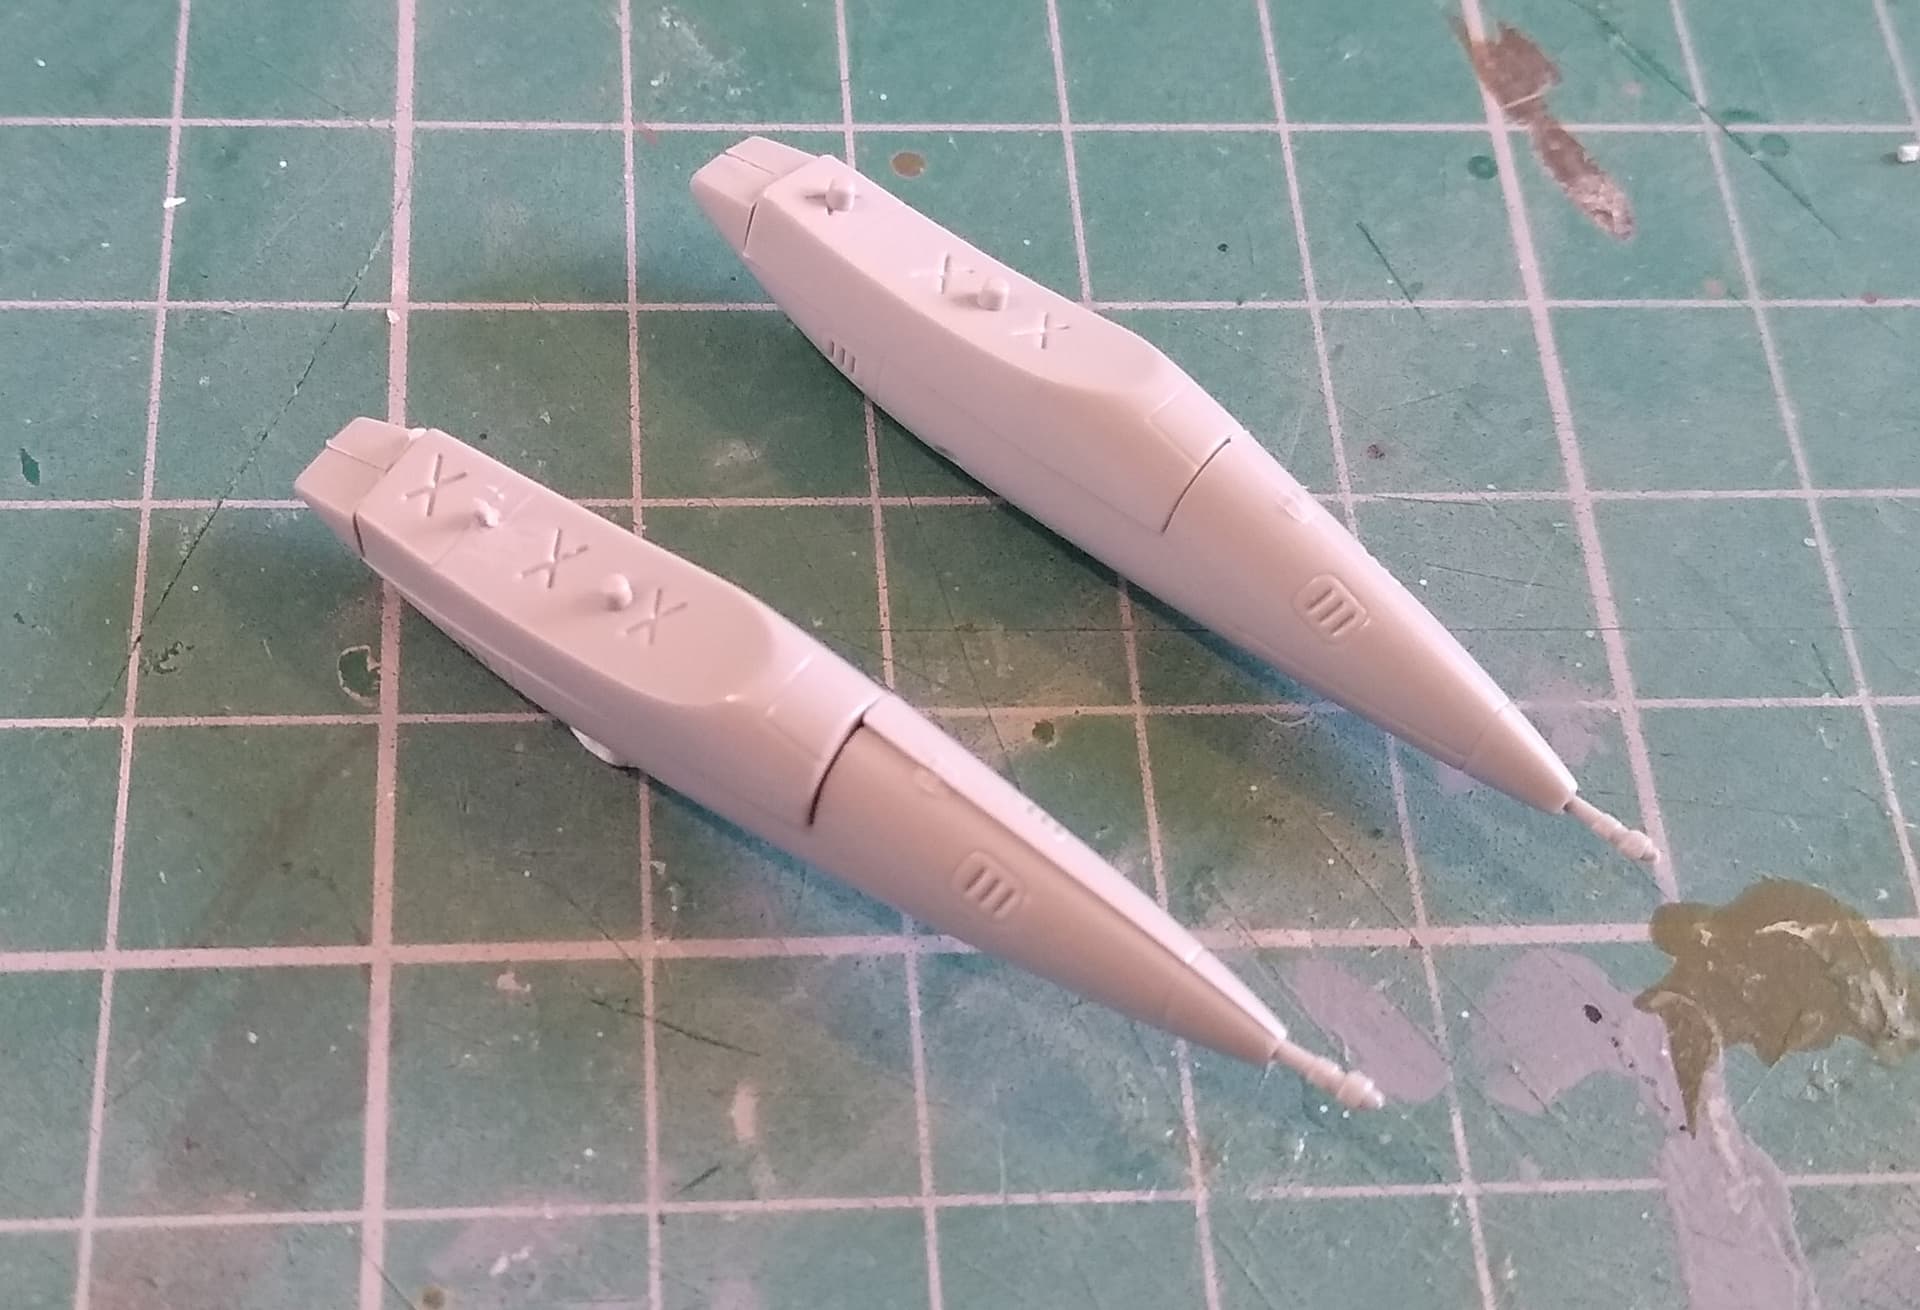
And test fitted the canon pods. One fits together quite well, while the other is going to need the location pins trimming to line up. It’s Italeri after all. I expect it.
7 Likes
Sometimes really funny things slow me down.

This is a spare tire for the Willys MB Jeep. While masking all the wheels to paint the hubs, I realized the back insert on the spare tire went in crooked. My poor eyes, dark green plastic, and black primer conspired to hide this fact from my attention. With a very sharp knife, I attempted to pop out the insert. It took about 15 minutes to get the stupid thing out and the back of the tire sustained a whole lot of damage. That led to a couple rounds of filling and sanding. Woops!
2 Likes
Hi Everyone,
So, I’ve got to ask if anyone else lost their updates from last weekend? I’m going to assume that the site was going through some sort of update, and I somehow added my updates prior to the update, but completed it after the update started (just a guess). Anyway, I’ll combine said updates, and add a little more!
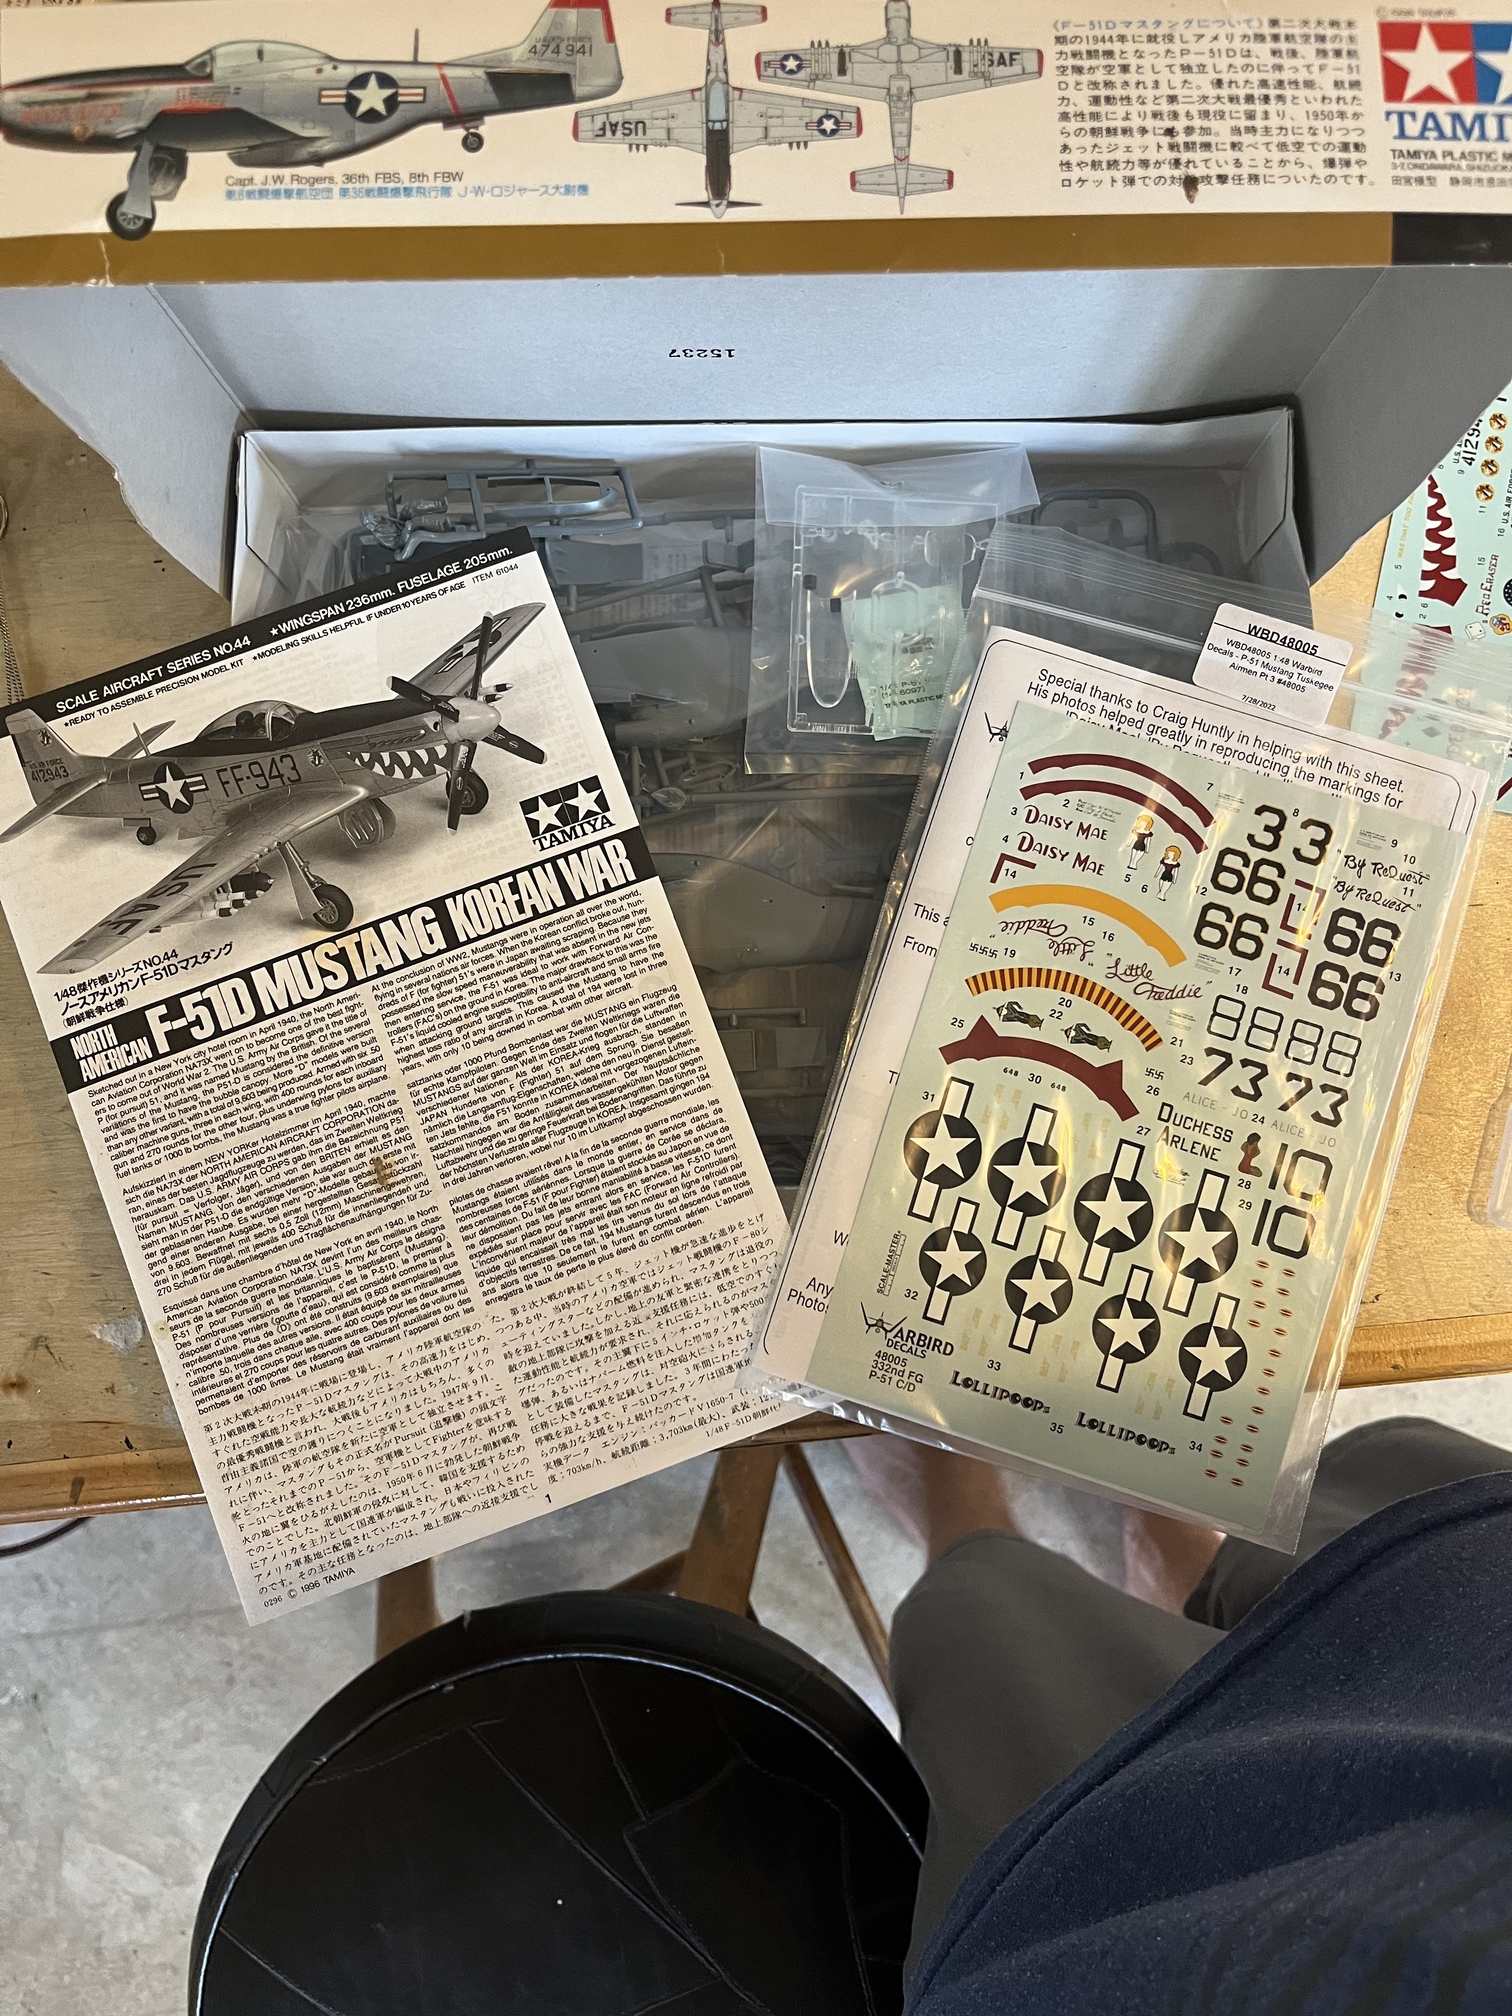
Mead, the Tamiya P-51 is a nice kit, and the Warbird decals are wonderful. Just a word of caution, matching the red is pretty difficult, while doing “Bunny” I found it easier to cut a mask for the front end to match the tail. Have fun with that one, should be a nice fun build!
In my last update, I had completed the airframe, and was preparing to paint. Since then, I’ve accomplished some headway. I first used my PTO mix of grey (Tamiya XF-19 Sky grey, and white 2:1, diluted 1:4 with MLT) and black based the undersides of the floats and airframe.
It’s true what they say about practice. In this case it’s good practice of a good technique, and I’m seeing some really nice tonality of the paint, and a good break up of the monochrome grey color, and even able to get some of the panel lines to show. Granted on Kingfishers, they were kept in very good condition. I believe there is an old Navy saying, “If it moves, salute it, if it doesn’t, paint it.”. Therefore, on this build weathering will be kept to a minimum with the exception of some sun fading. That said, I do like how the black basing turned out on the underside, despite how it shows up in the pictures.
Satisfied with the undersides, I moved onto the tail section. I intend to give this project a 1942 Pacific look. So, I cut the tape to lay out a 13 red and white stripe tail, and then painted the tail section white.

Then laying the stripes (2.6mm wide) all 13 edge to edge, and removed the stripes that would be red. The red was Mr. Color 385 (intended to be hinomaru red, which is a very close match to insignia red). This was then painted, sadly there was some bleed. These areas would need to be reworked, sigh.
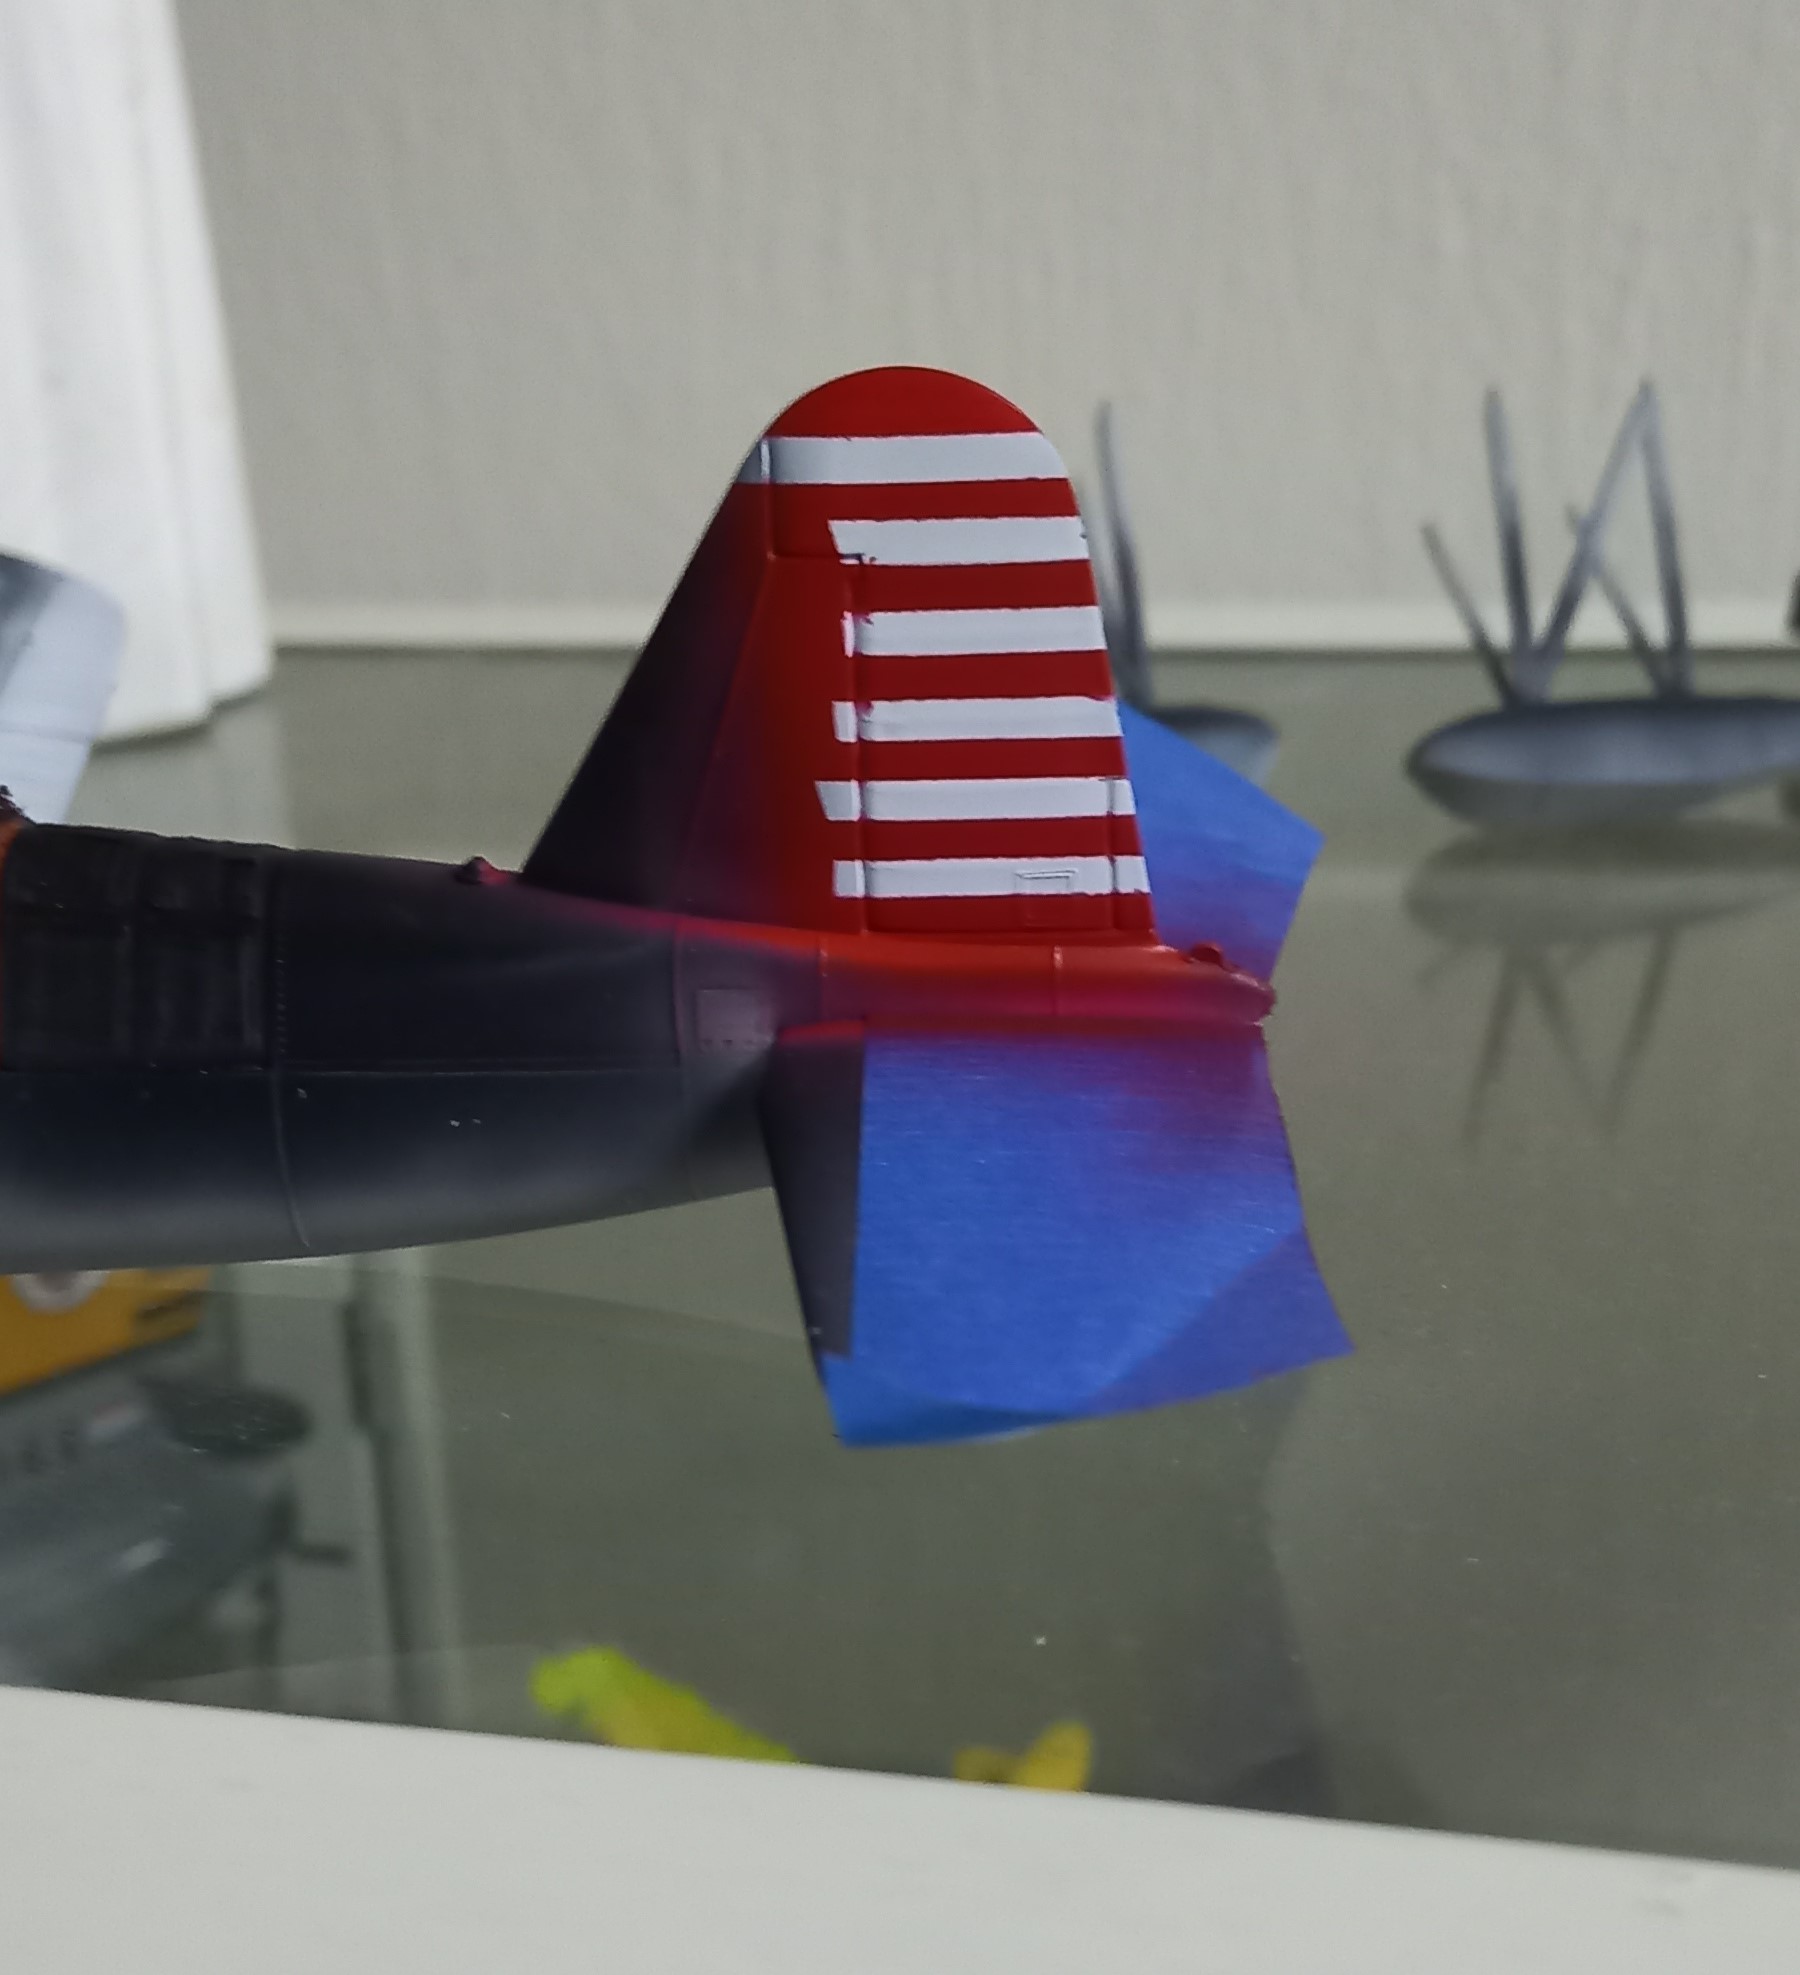
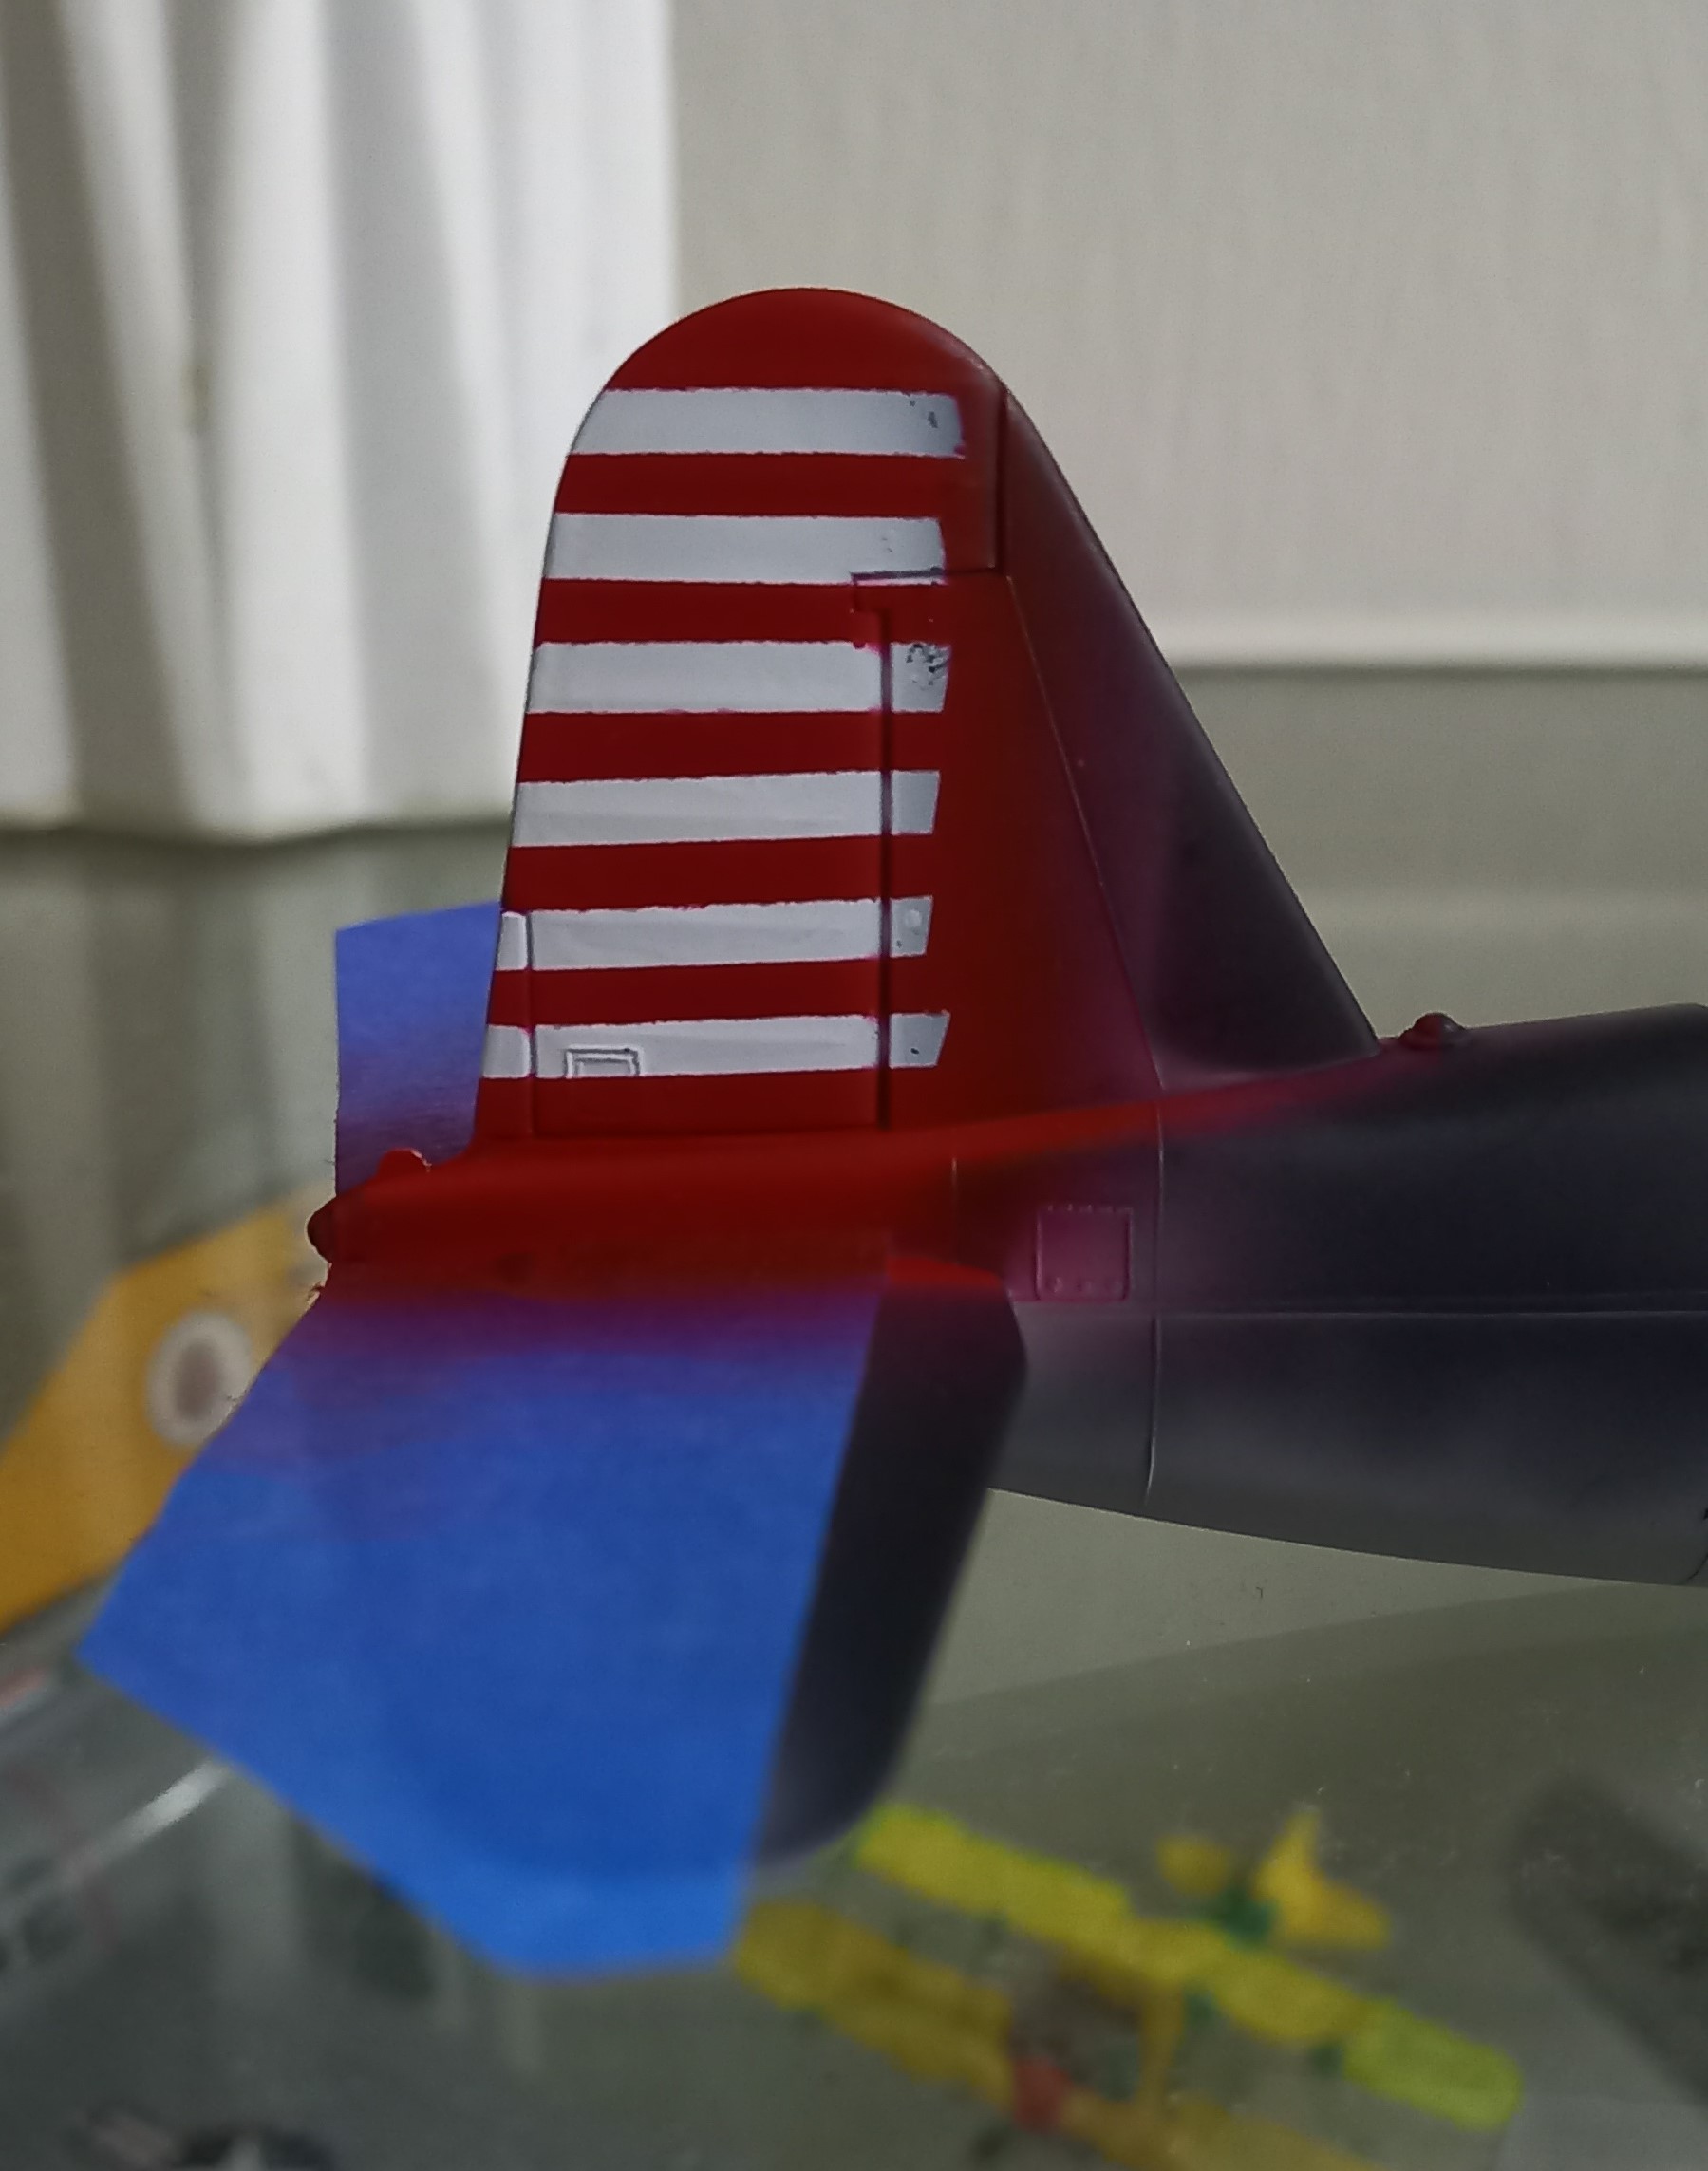
The areas of the tail were repainted, using a good technique for dealing with white. Taping the area to be repainted off the white area is first painted using a light grey (in this case light ghost grey), to cover the overspray/bleed through (note this method covers most colors, especially red). The effected areas can be painted white, in this case it took two coats due to not letting the grey dry long enough and getting the grey mixing with the white. So, allow for the grey (primer) coat to fully cure.
With that self-inflicted wound healed, I moved topside to lay the light grey blue color. Kingfishers have quite a bit of cloth covered areas, these were given a mottled white base, allowed to cure and then a highly lightened coat of grey/blue (2 parts Tamiya XF-18 medium blue and one part MC 1 white, diluted 1:4 with MLT). Since these will represent cloth covered areas I chose not to mottle the blue, saving any work on it for post weathering.
These areas were then masked over and the main coat was prepared.

Ironically, there’s been a lot of masking involved with this build! Once complete the bird was given another coat of black (Mr Surfacer 1500 black, diluted 1:4 w/MLT). This was then black based, once satisfied I took a deep breath and pulled the tape.
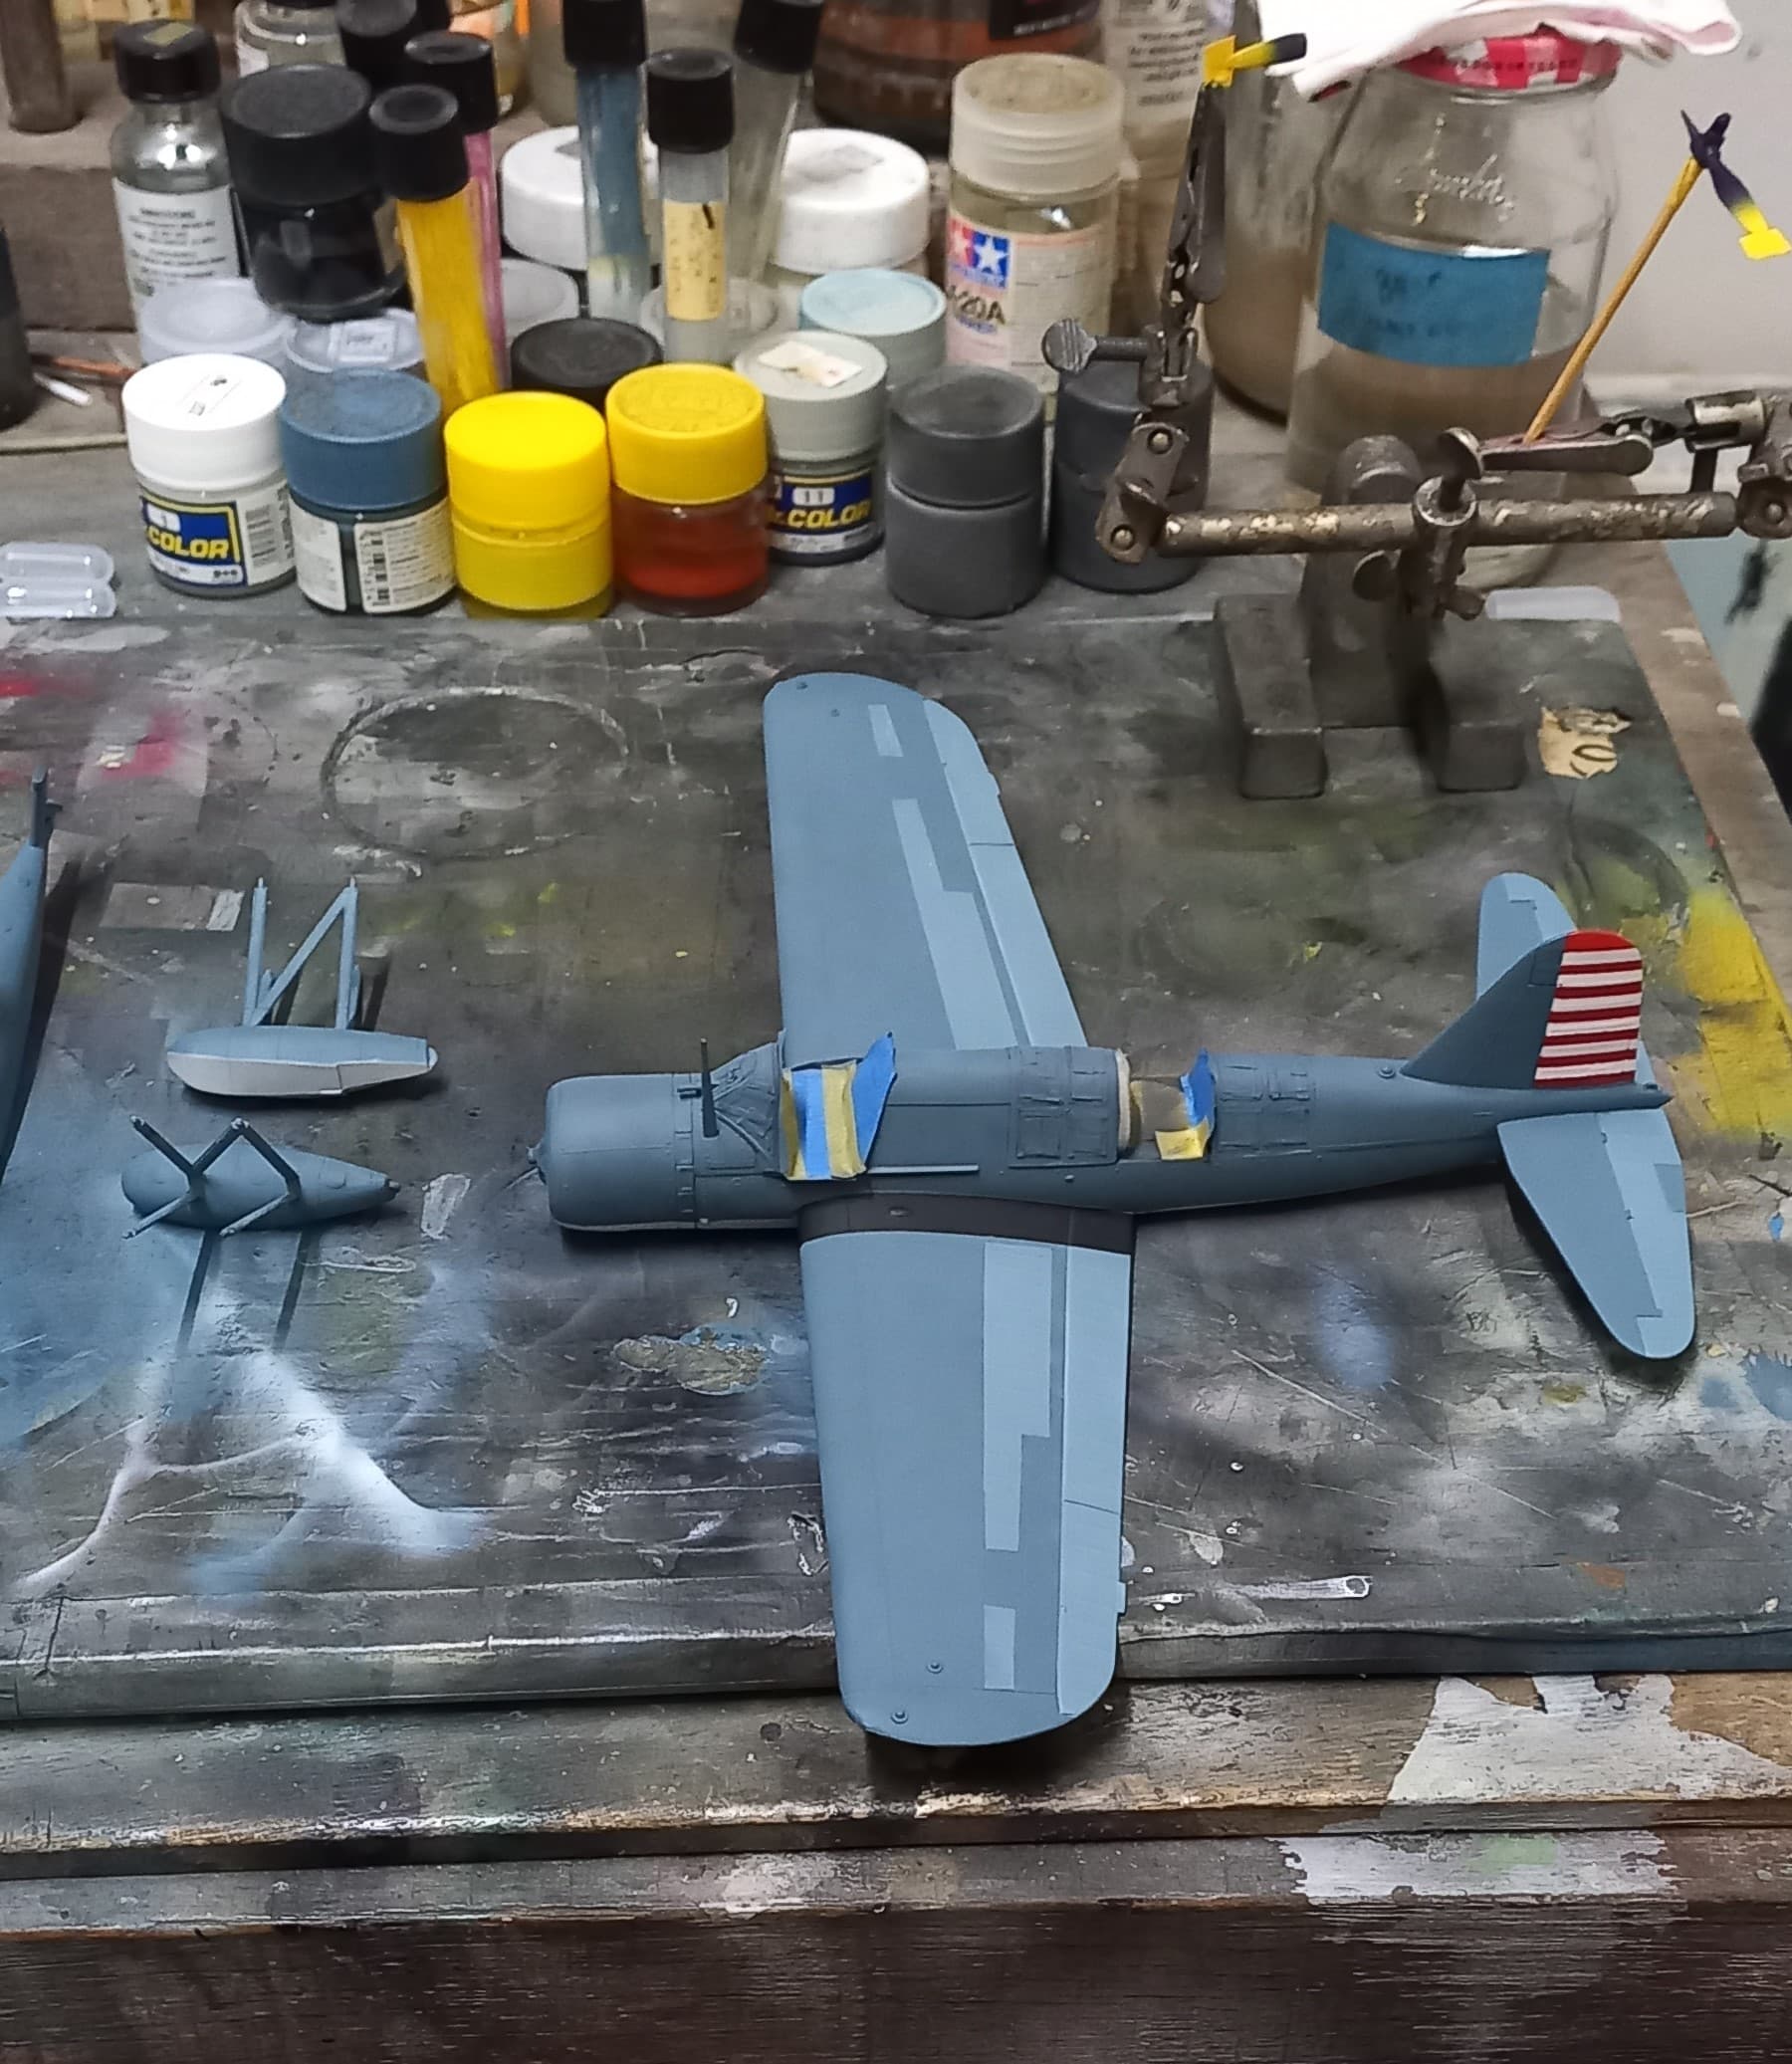
The propeller on this bird will don the red/yellow/blue prop tips, unfortunately, the kits propeller was warped really bad. Using boiling hot water I was able to straighten the prop out. Sadly while taping the tip post red, the prop broke. This will require some surgery. More fun!
That’s where we’re at for now. Up next will be minor touch ups of black and grey, followed by clear coats in preparation for decals. On the side will be the fiddly things like the dolly gear, tail gun, exhaust stacks and prop! Despite the setbacks this is a very enjoyable build, mostly because of the memories its evoking, which are quite good!
Till next time, stay safe and have fun!
9 Likes
First of all sweet looking paintjob!
And secondly; yes. The forum lost about a day, day and a half of posts, due to server issues.
2 Likes

5 Likes