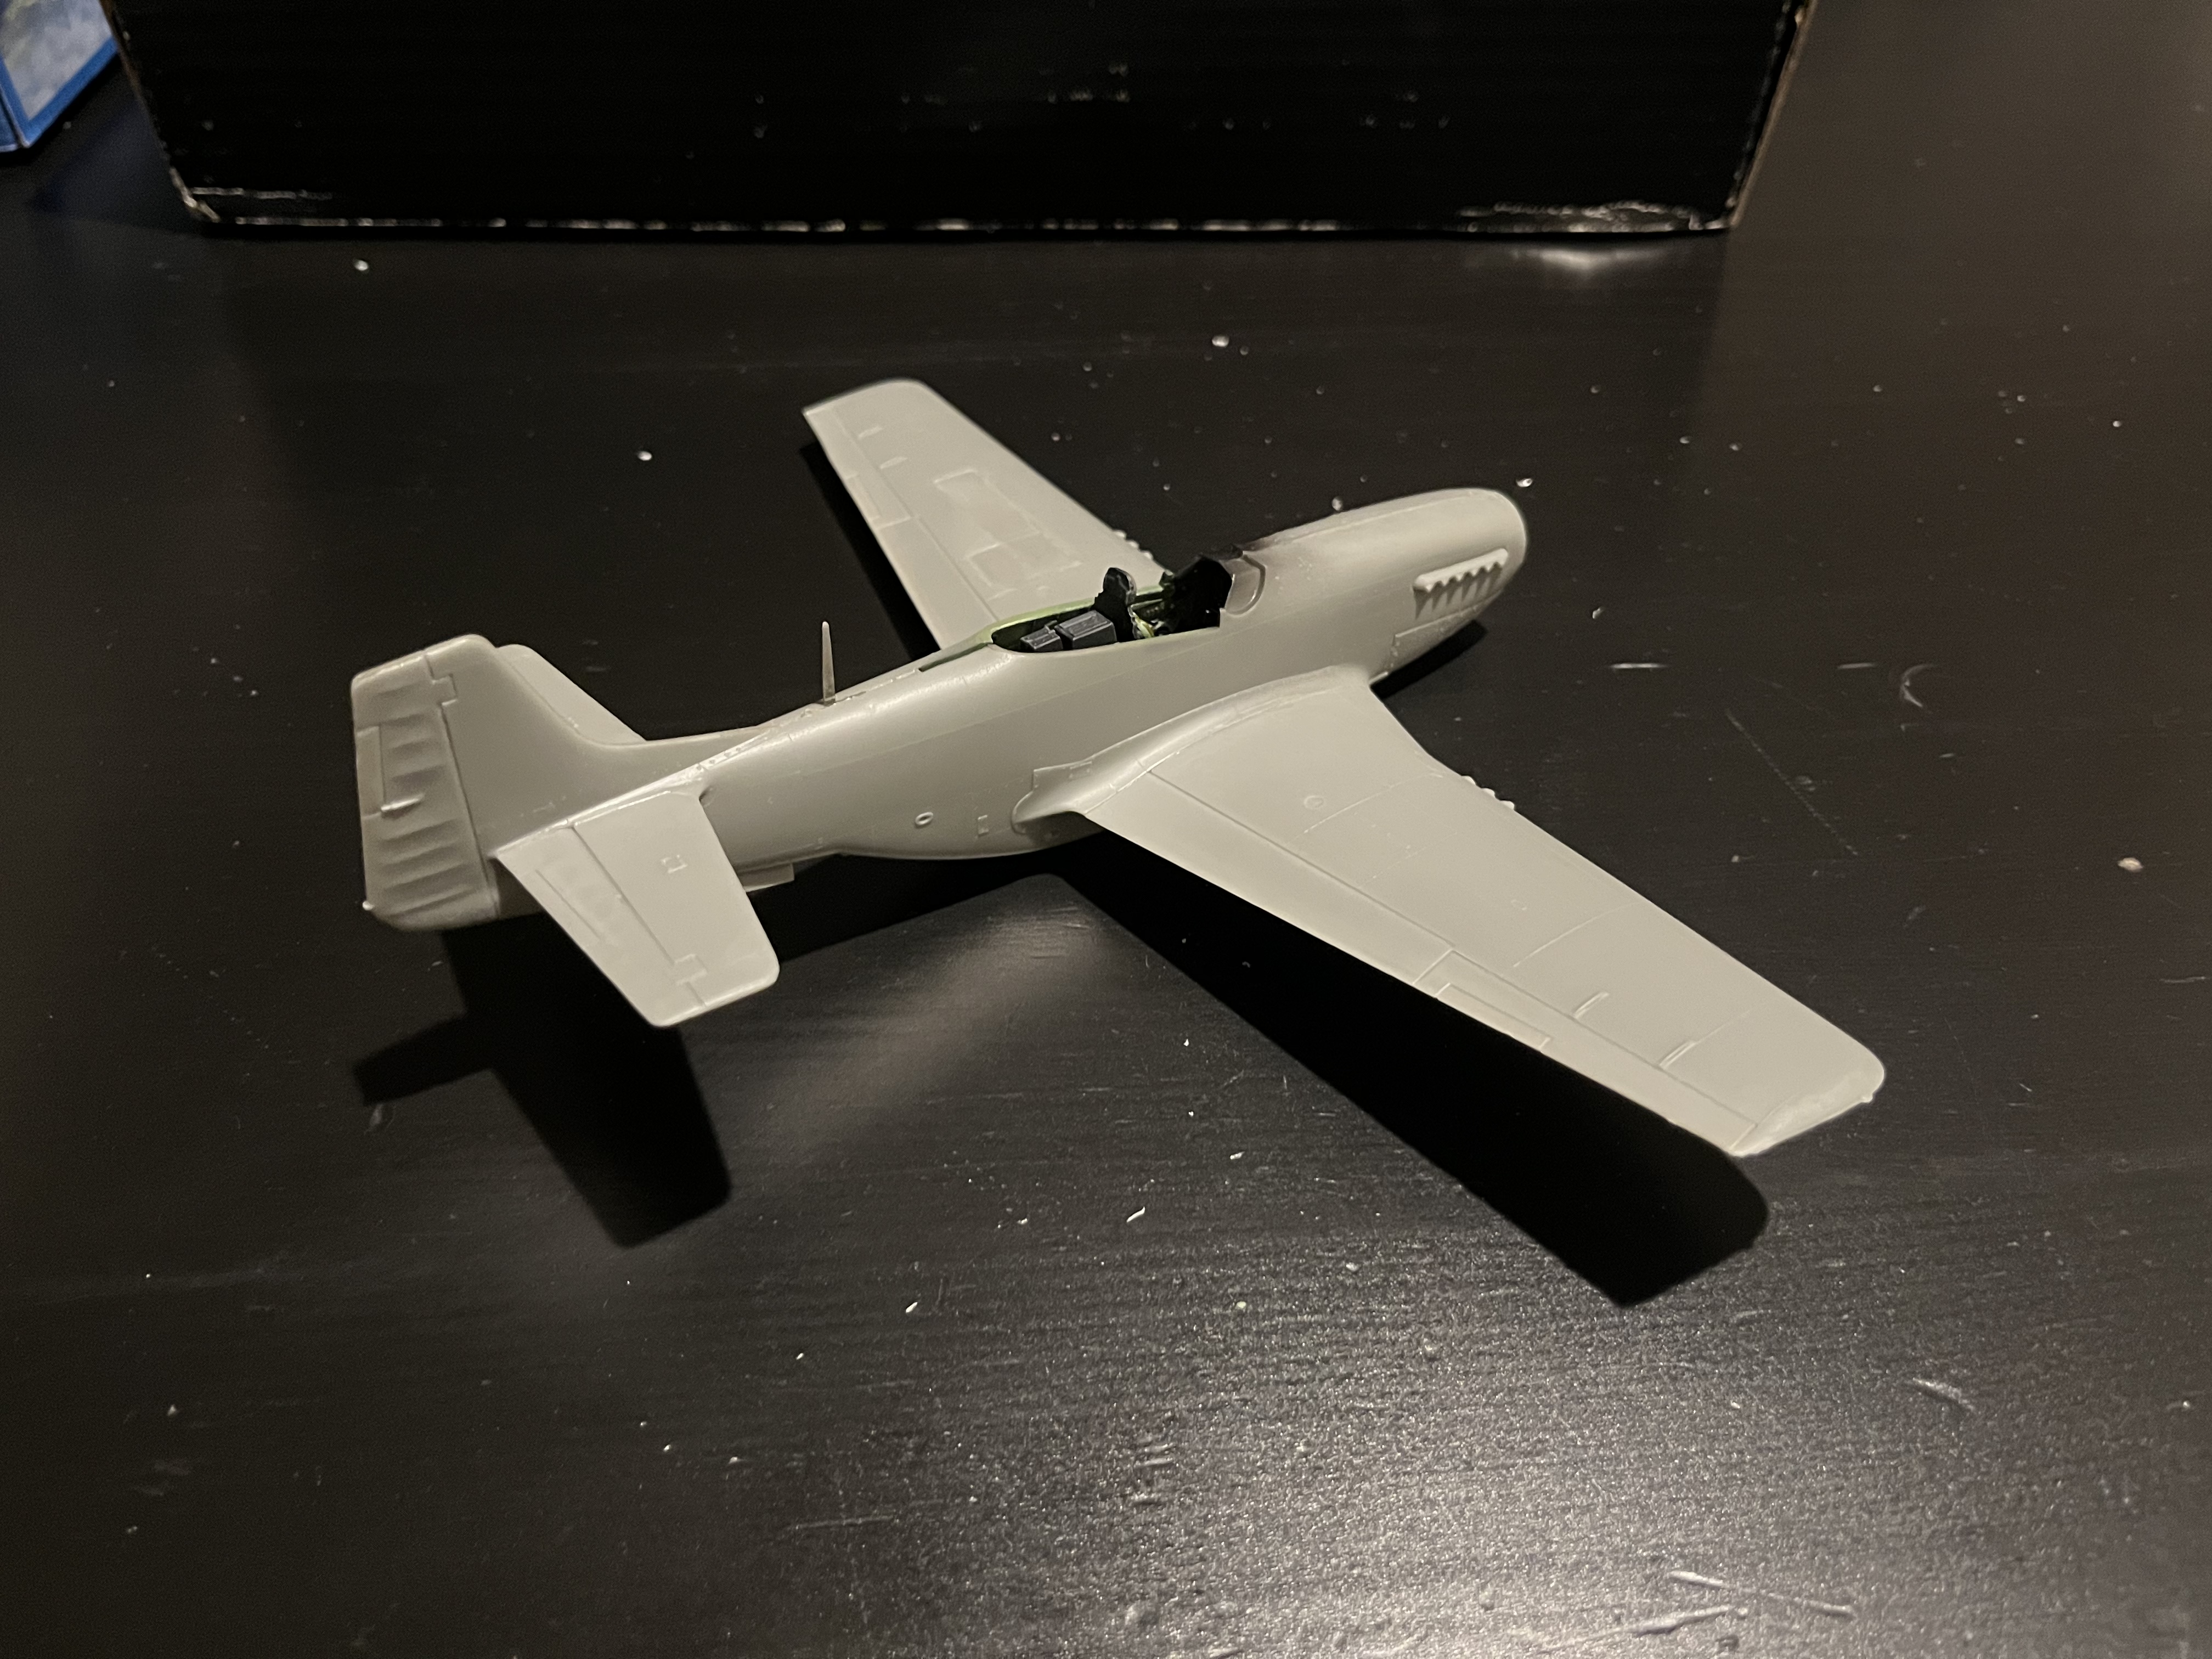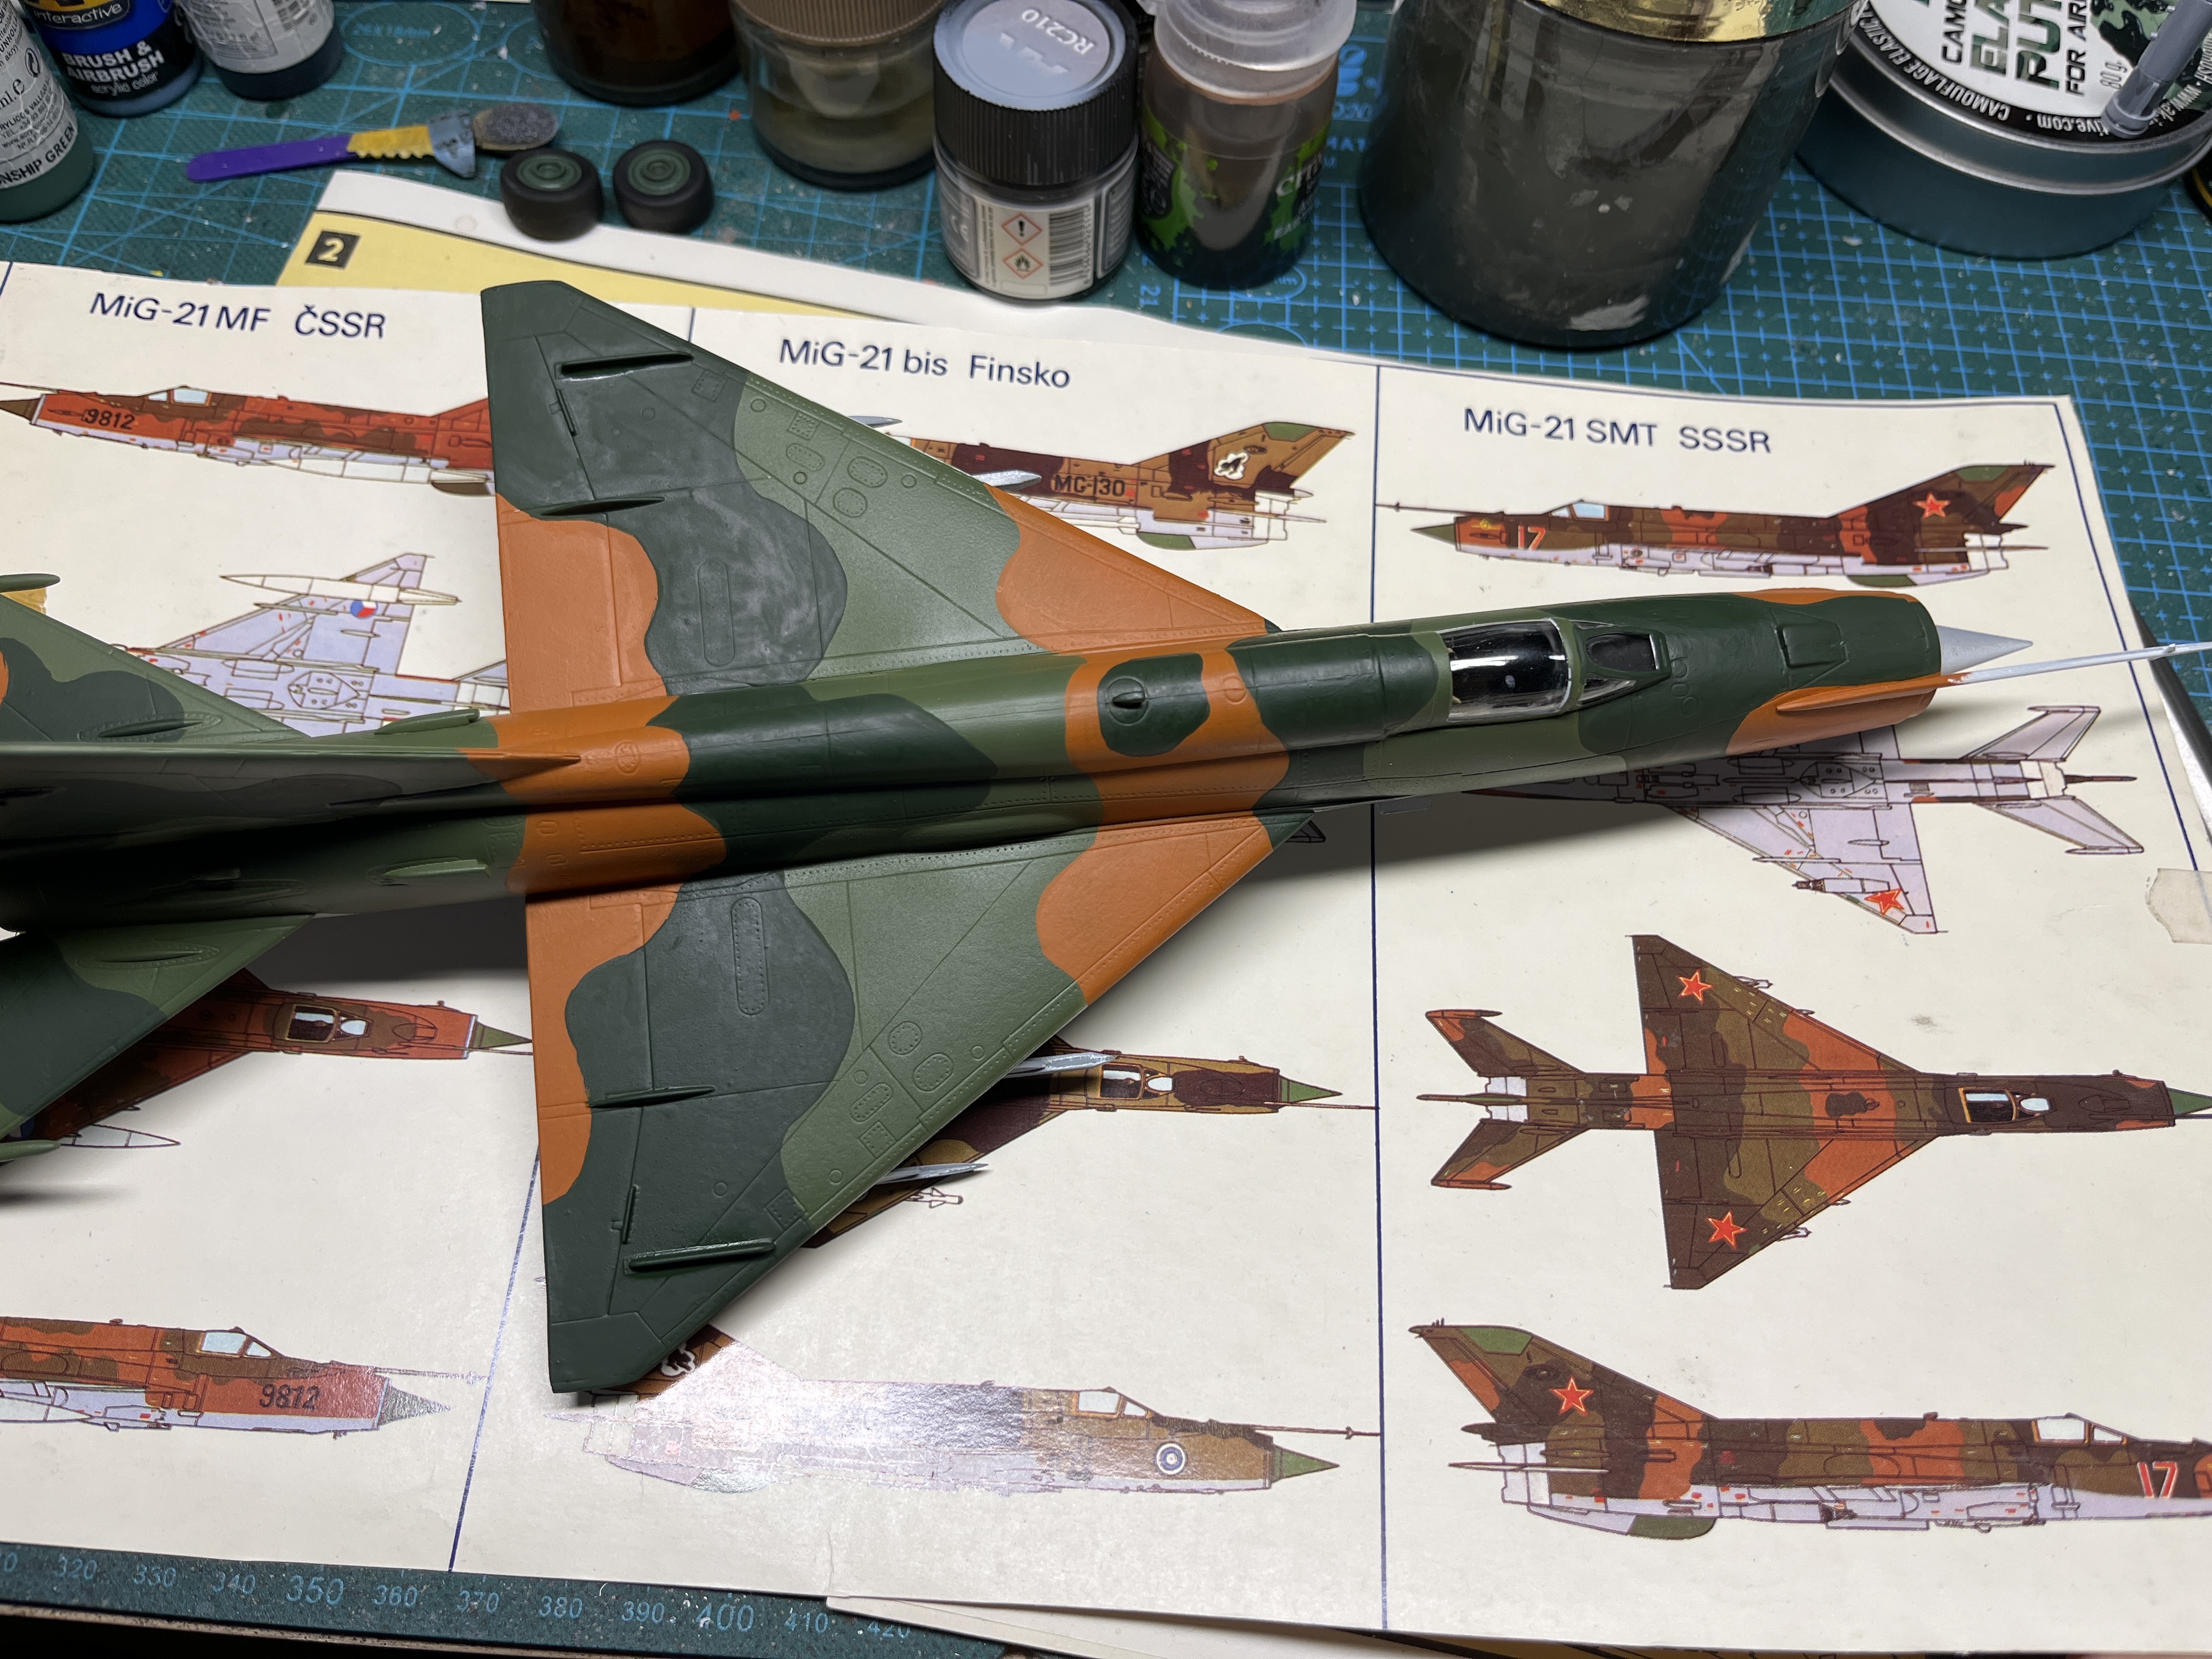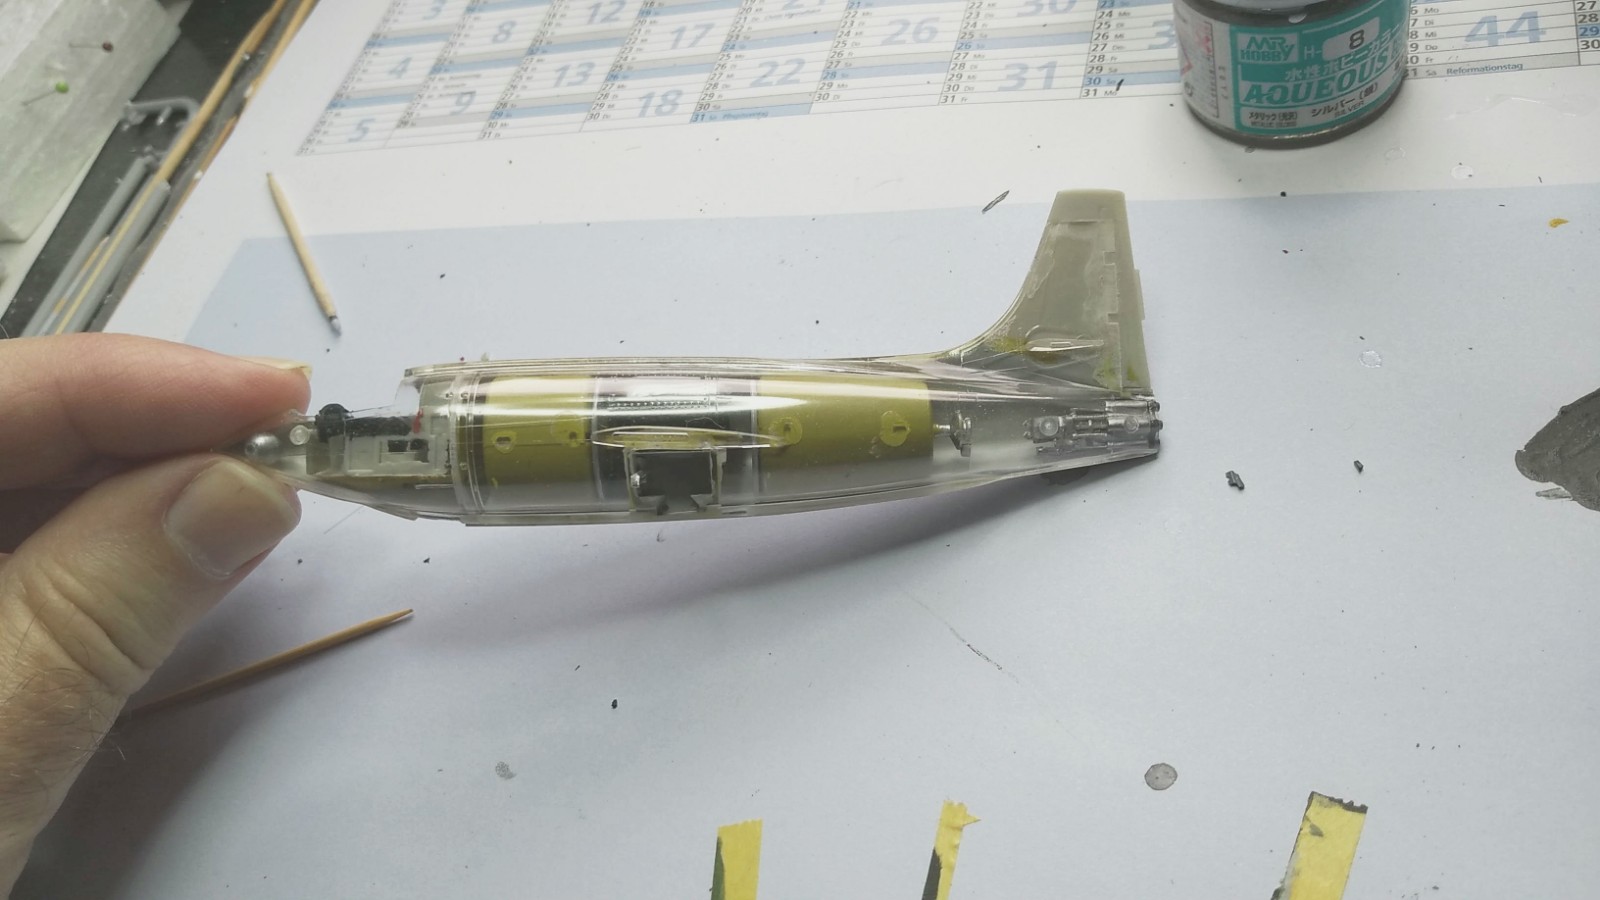
Fuselage is completed. I will paint app. 50% of the clear part up to the wing roots, so you can see the tanks, but not the ugly joints and the gap to the rocket engine, also fin and rudder. Maybe it helps with some decals, too.
Peter
Ahhhh, DML figures sure bring back student Summer memories!
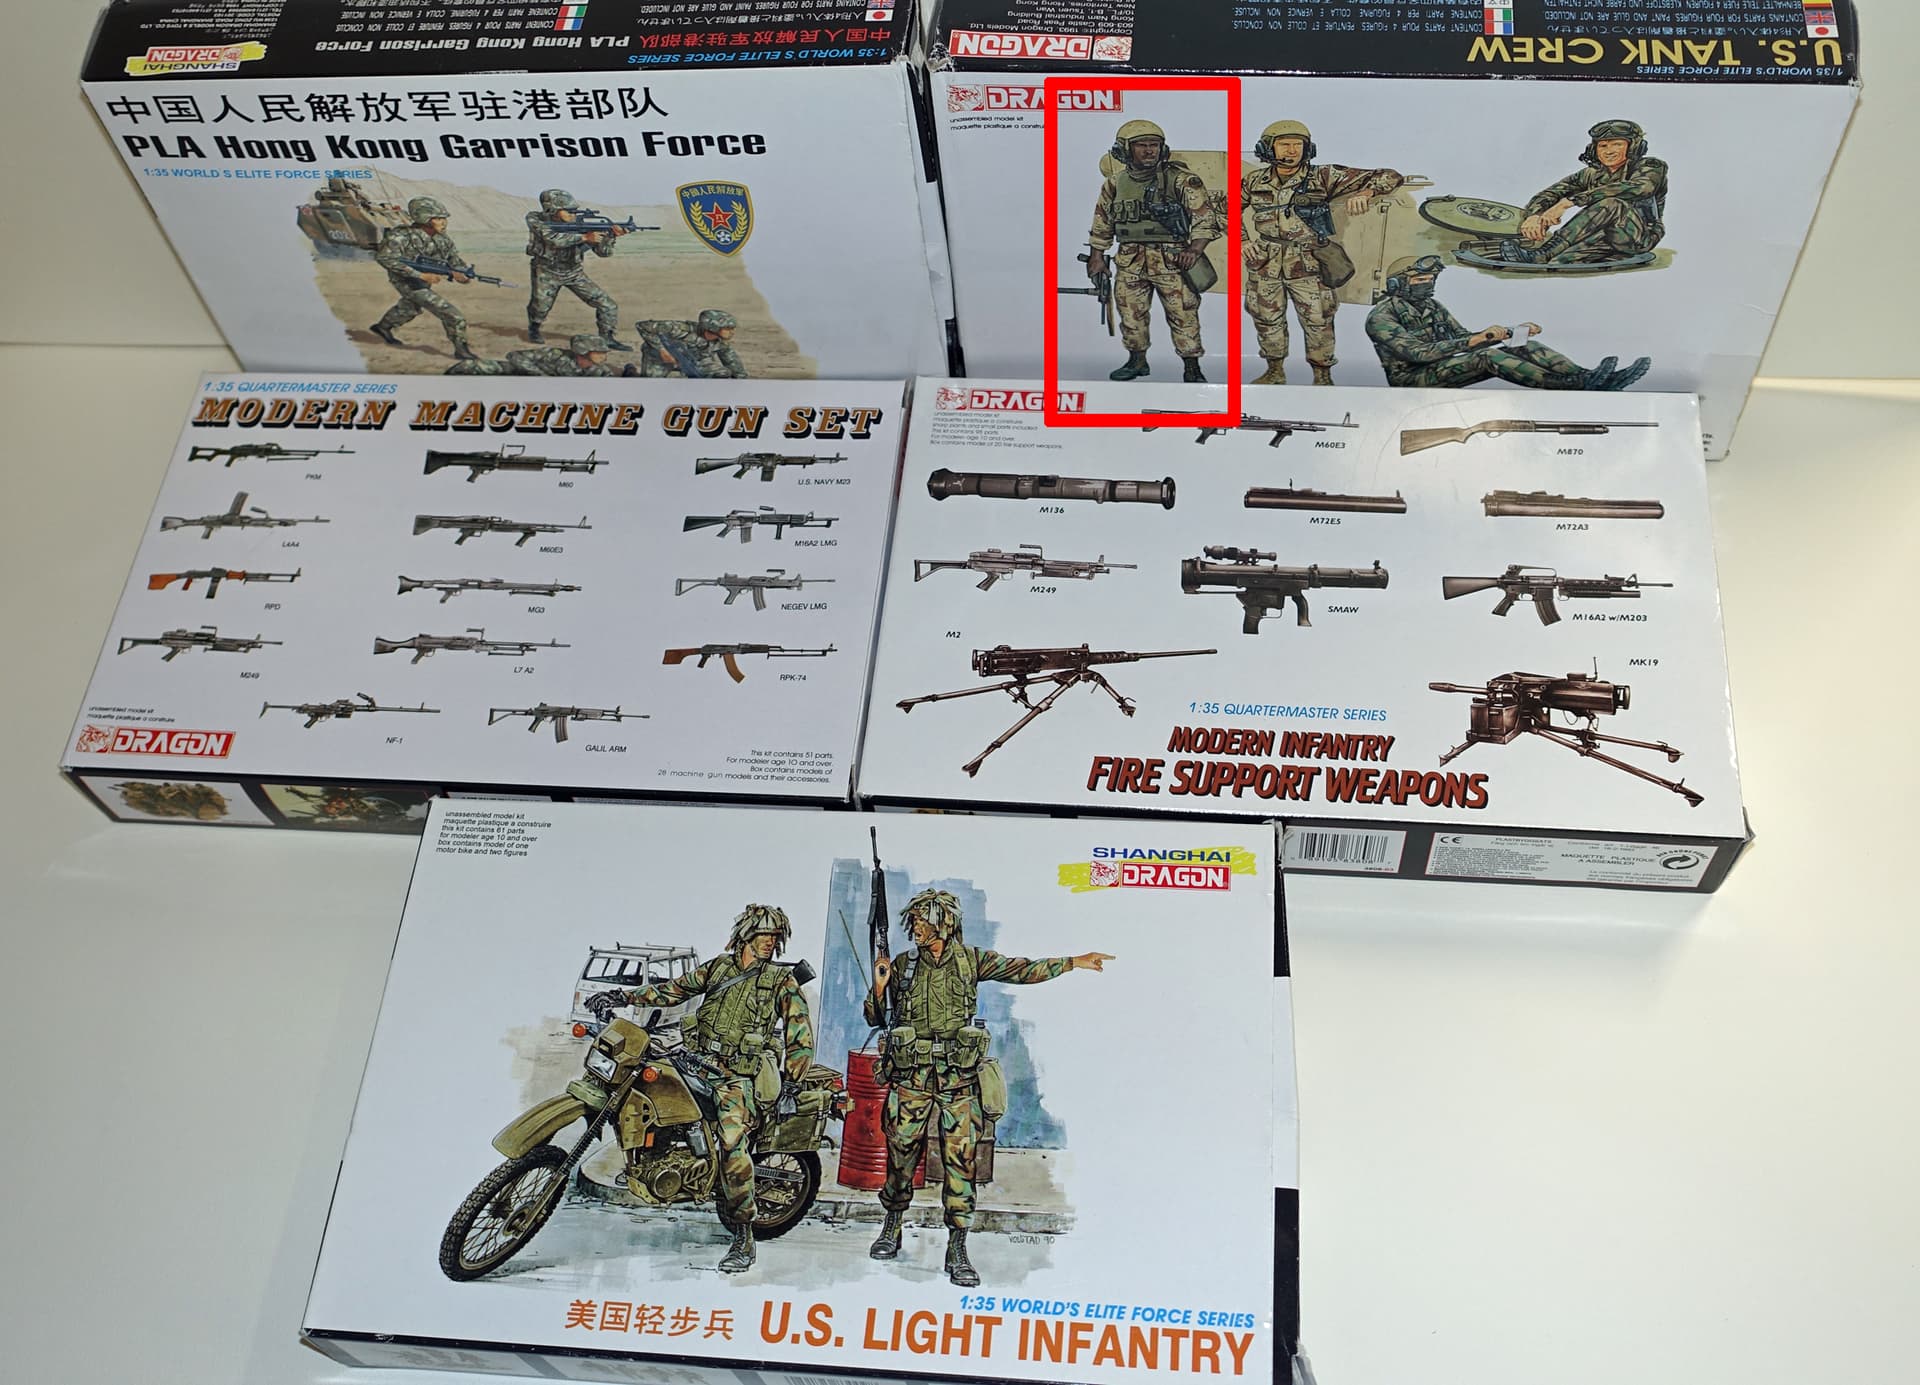
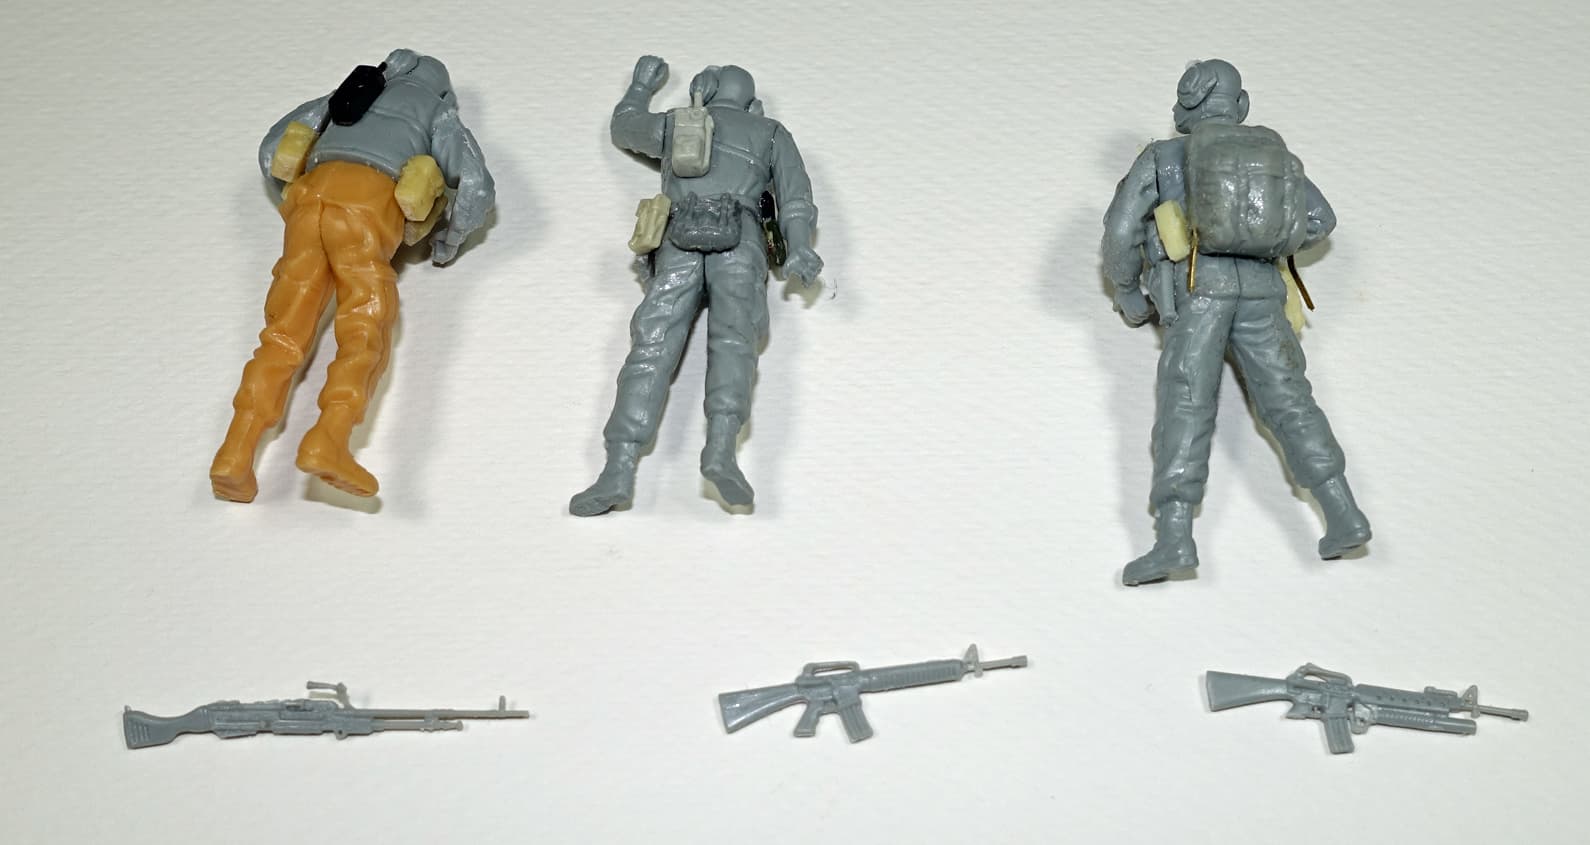
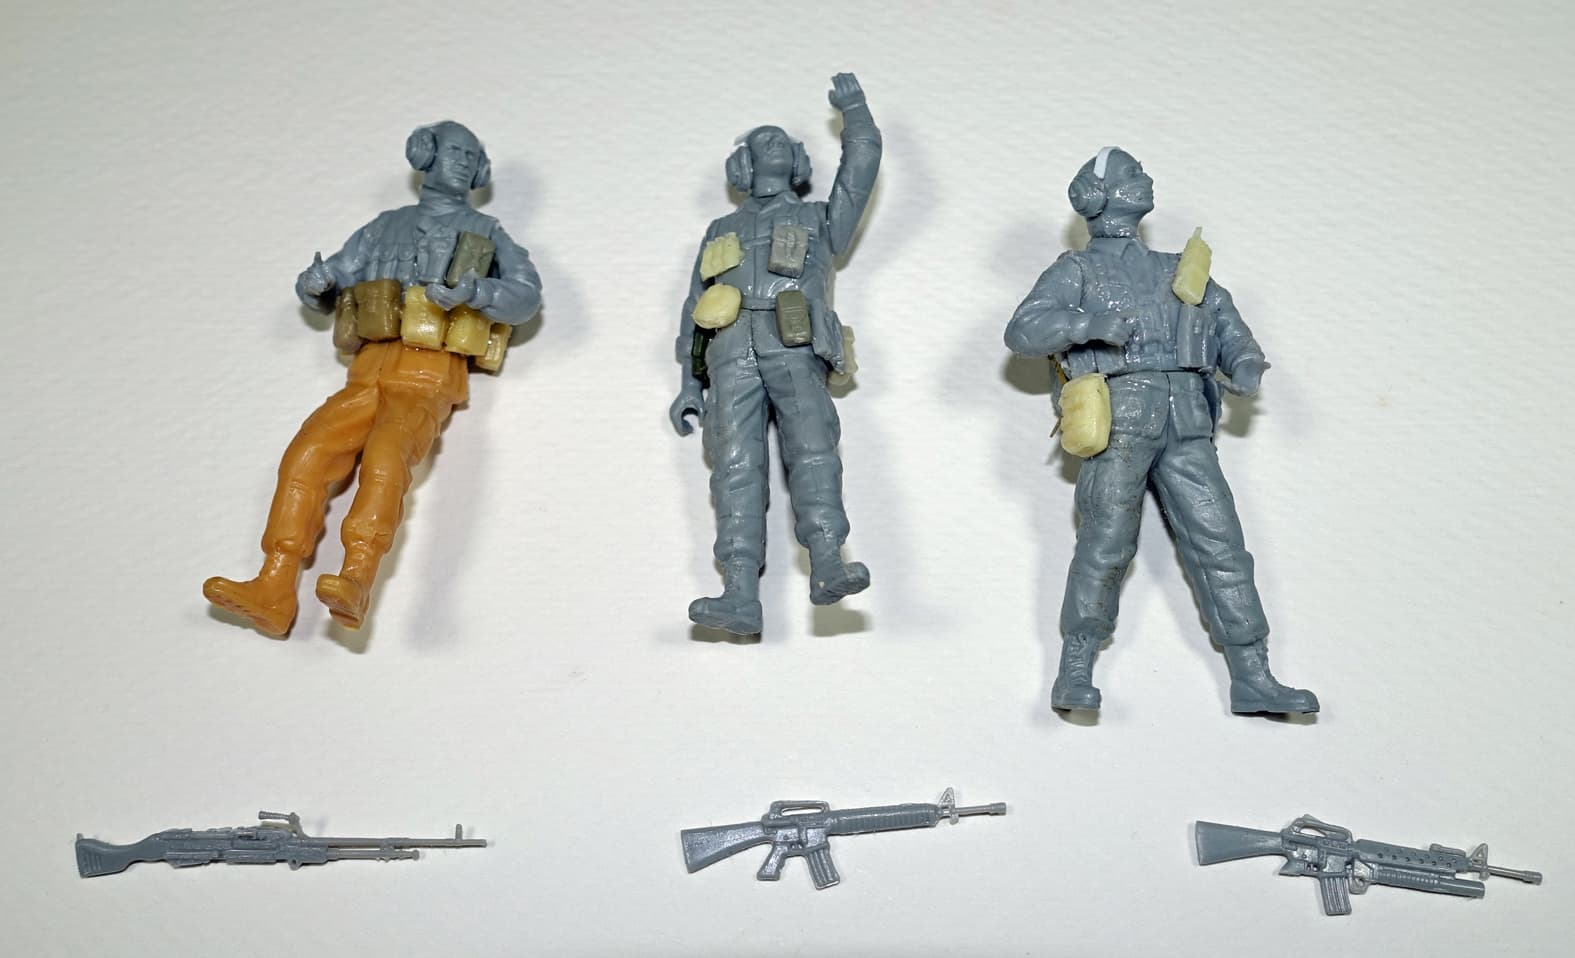
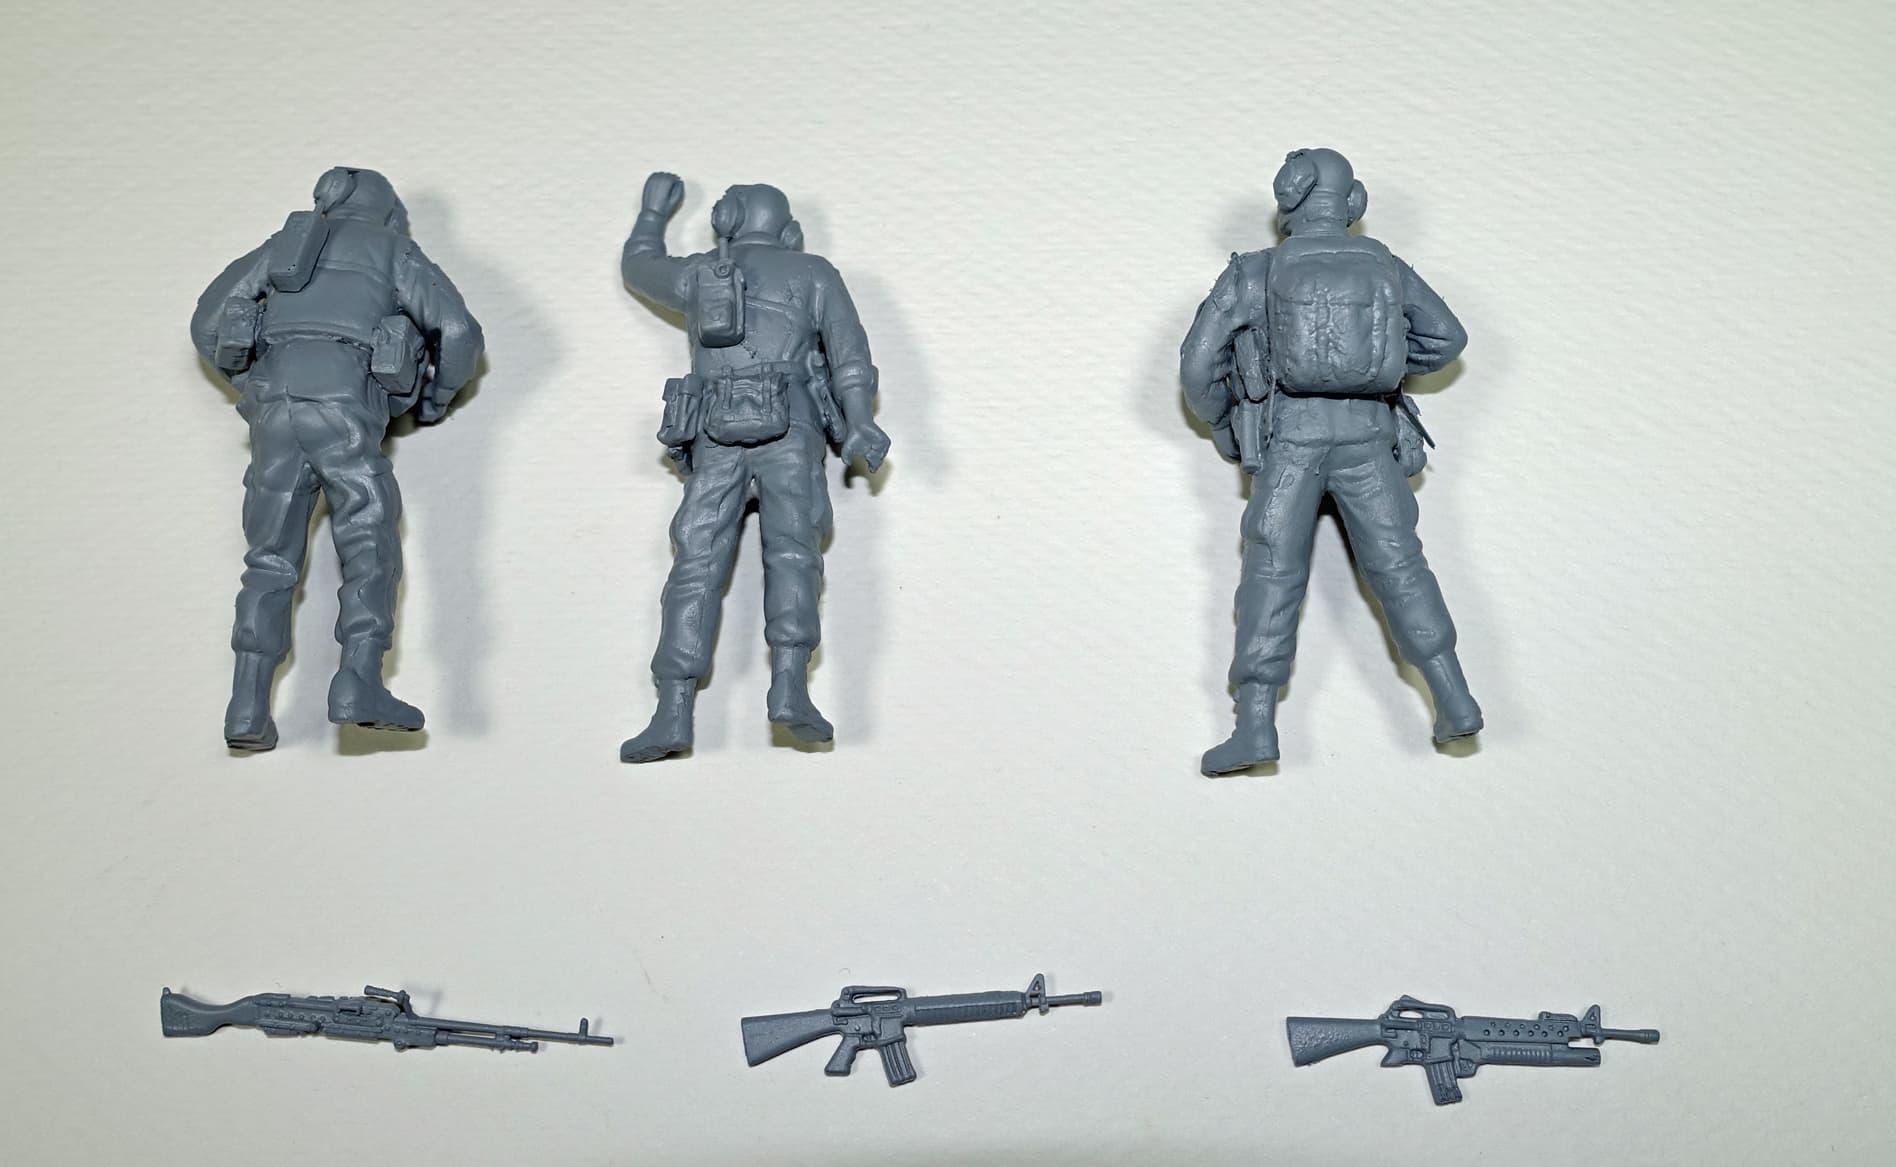
Neither too detailed or crisp, I used up a lot of spare parts assembling three figures from the 1/35 DML U.S. Tank Crew Set: One M-16A2/M203 grenadier with medical backpack, one commander with raised hand and M-16A2, and one machine gunner with M240.
I kitbashed the torsos with some spare DML legs and added various DML gear to the straps and belts. The grenadier used PLA torso and arms with Tank Crew legs and head. The commander was OOTB with arms posed differently, and the machine gunner used DML U.S. Marine legs, U.S. Tank Crew torso and head, and PLA arms.
I am pretty surprised that all fit and lucked out that the guns lay in the hands pretty well (always a problem with DML kitbashing).
The resin parts are from OOP figures from Think 180, Verlinden, and Airborne Miniatures dating pre-2000.
I’ll putty the gaps, wash, and then prime the figures.
Cool!
Tell us more of the background to this build, please.
None of my figures represent anything realistic. In fact, I kind of consider the figures PMCs from the movie “Expendables” in that anything goes in terms of guns and gear.
Since I can’t use Live-Resin parts dating post-Y2K, I had to resort to bits and pieces that are outdated…no rifle scopes, no modern radios, no fancy body armor or vests.
One thing’s for sure…I made sure that I included plenty of ammo pouches for all three figures. I built most of my DML kits OOTB back when I was a student in the 1990s so I used up a lot of parts, and the U.S. Tank Crew kit comes with no ammo pouches, so Verlinden, Airborne Miniatures, and Think 180 and the 1/35 DML PLA HK kit supplied the M-16 ammo and grenade pouches. There is an Airborne Miniatures pouch for M203 grenades, six Verlinden pouches for 7.62mm ammo, and all three figures have some form of radio, pistol, and headset. Not entirely modern and realistic, but it’ll do well enough if the figures were real PMCs.
I’m pretty happy with the results considering how soft in details DML figures were those days.
I’m basically building these figures for the Campaign. If I will display them when finished in my display cabinet is another story as I haven’t built kitbashed DML plastic figures in decades… ![]()
@Spitfire, Excellent cockpit, looks very nice with the good details.
Peter, cool figures. Nice to go a bit crazy on weapons and gears.
Slowly making progress, only a few more small bits before it has to move to the paint barn to progress further.
Looking good @Tank_1812 and @RonW
Ready for putty now…lots of it. Made the mistake of trusting the locating pins while gluing. Even that aside, it becomes obvious why we have the wonderkits we have now. This thing is misaligned and out of shape in about every way possible!
It’s fun though, and that’s what this campaign is about. And these old kits make you relearn basic skills you’d long forgotten.
Thanks. Your mustang despite the issues is looking the part. ![]()
![]()
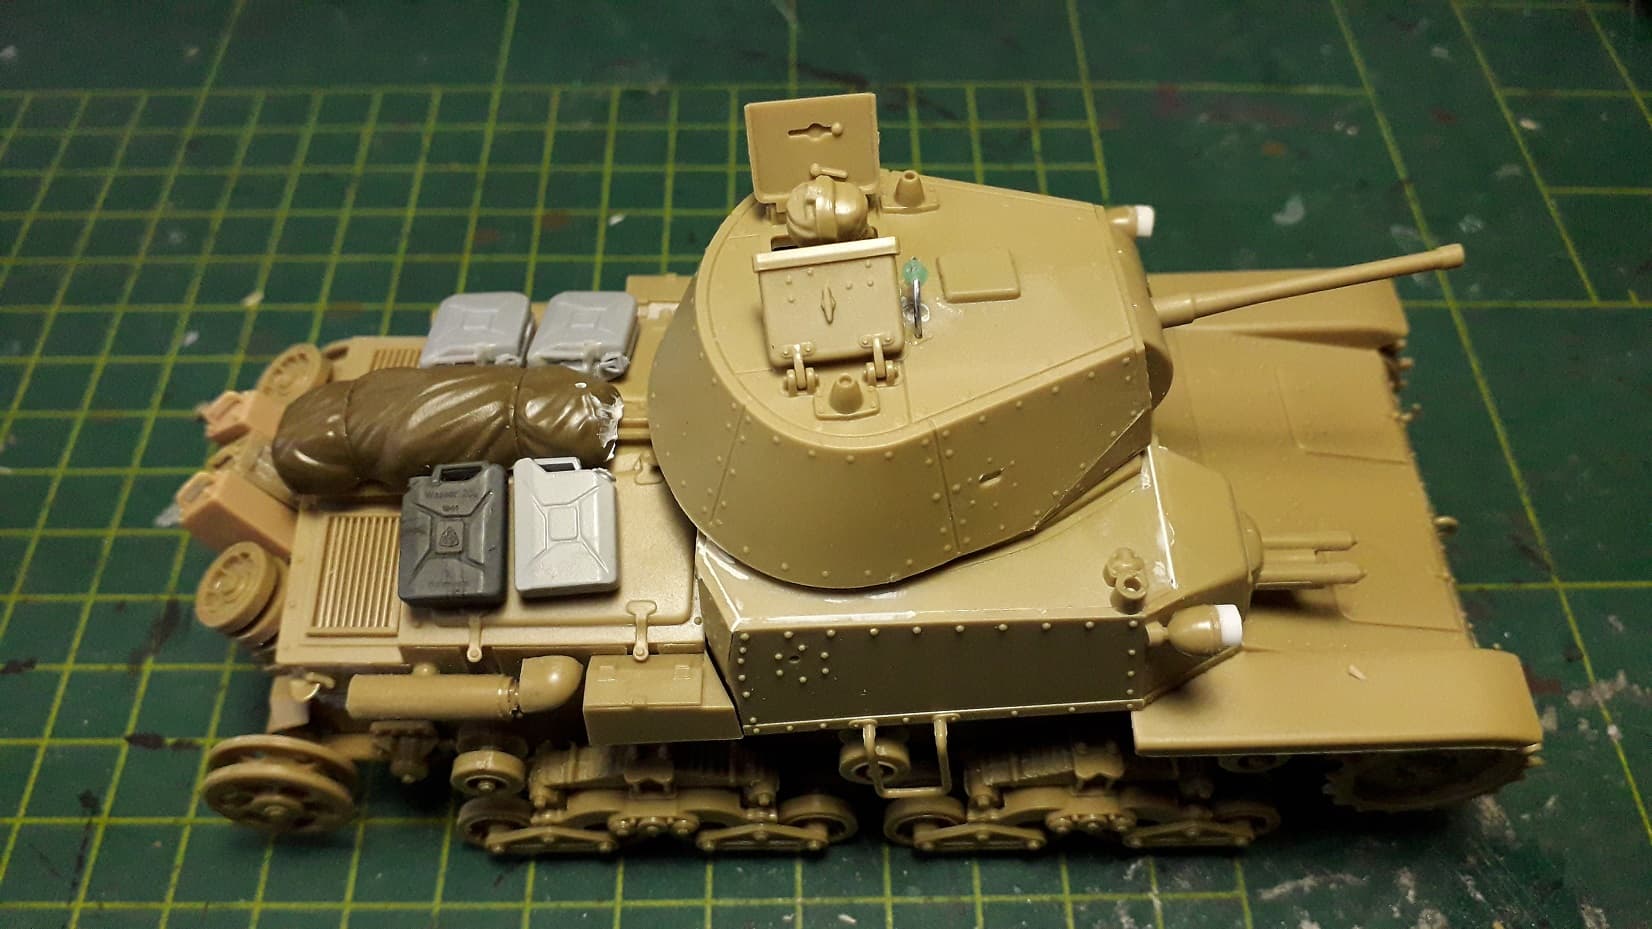
One afternoon of tinkering later:
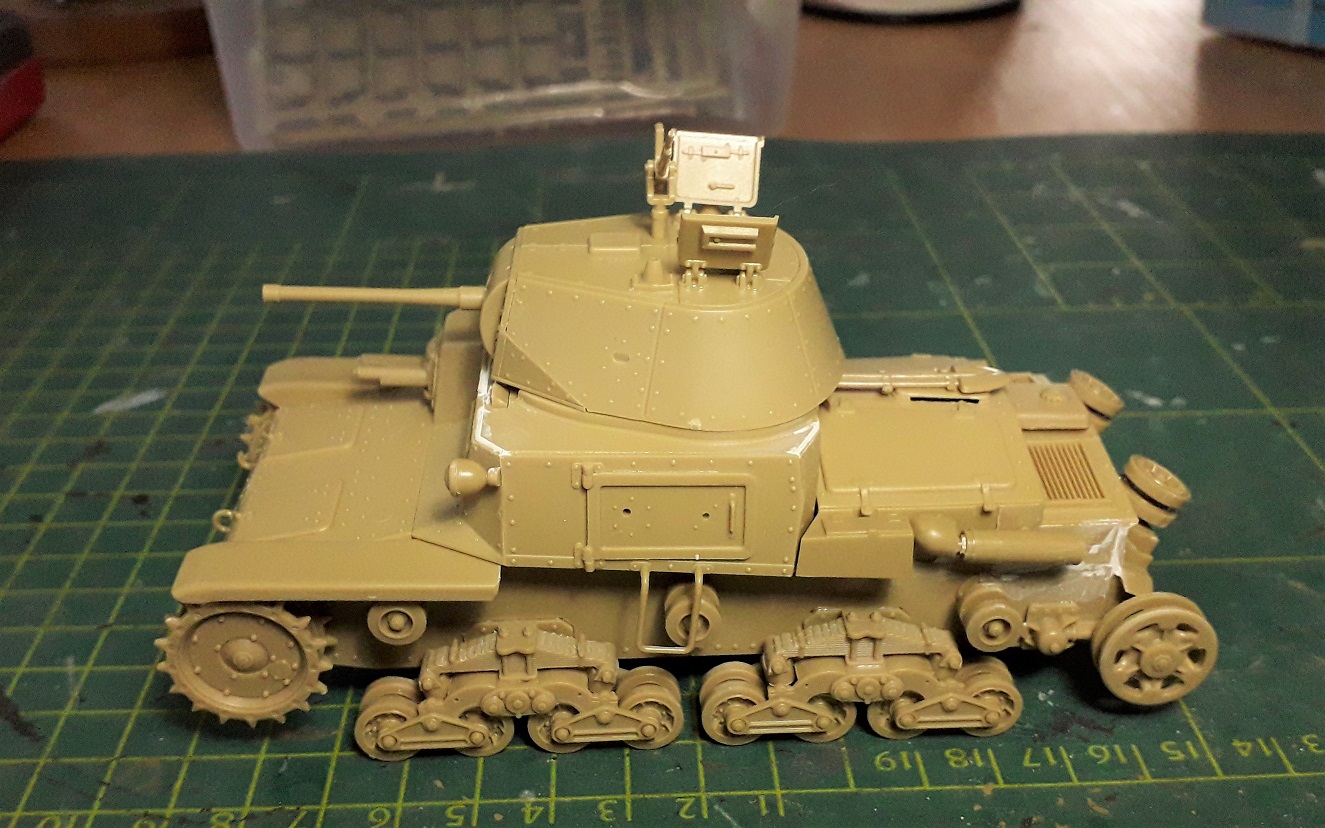
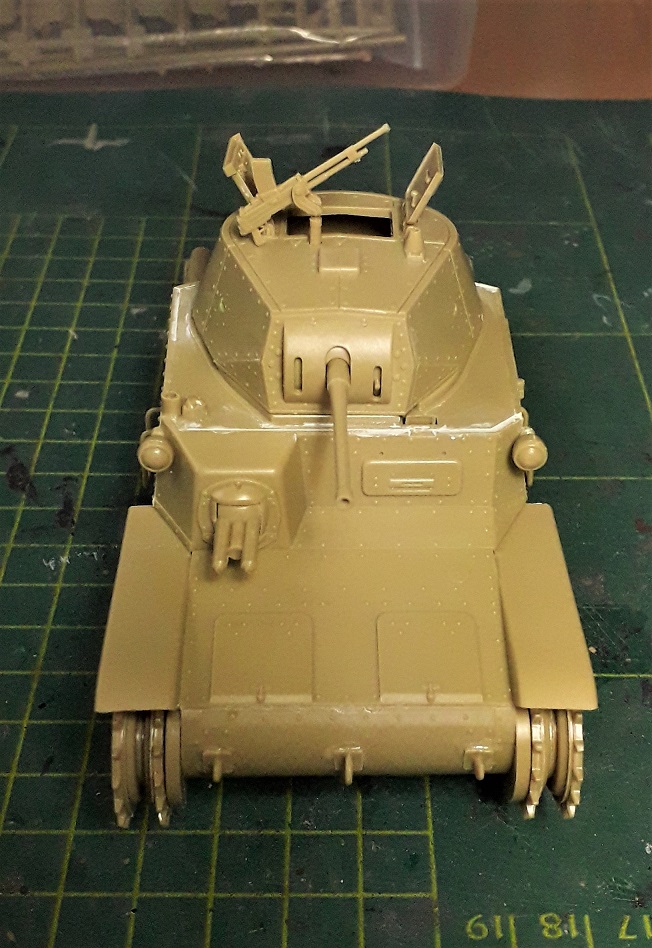
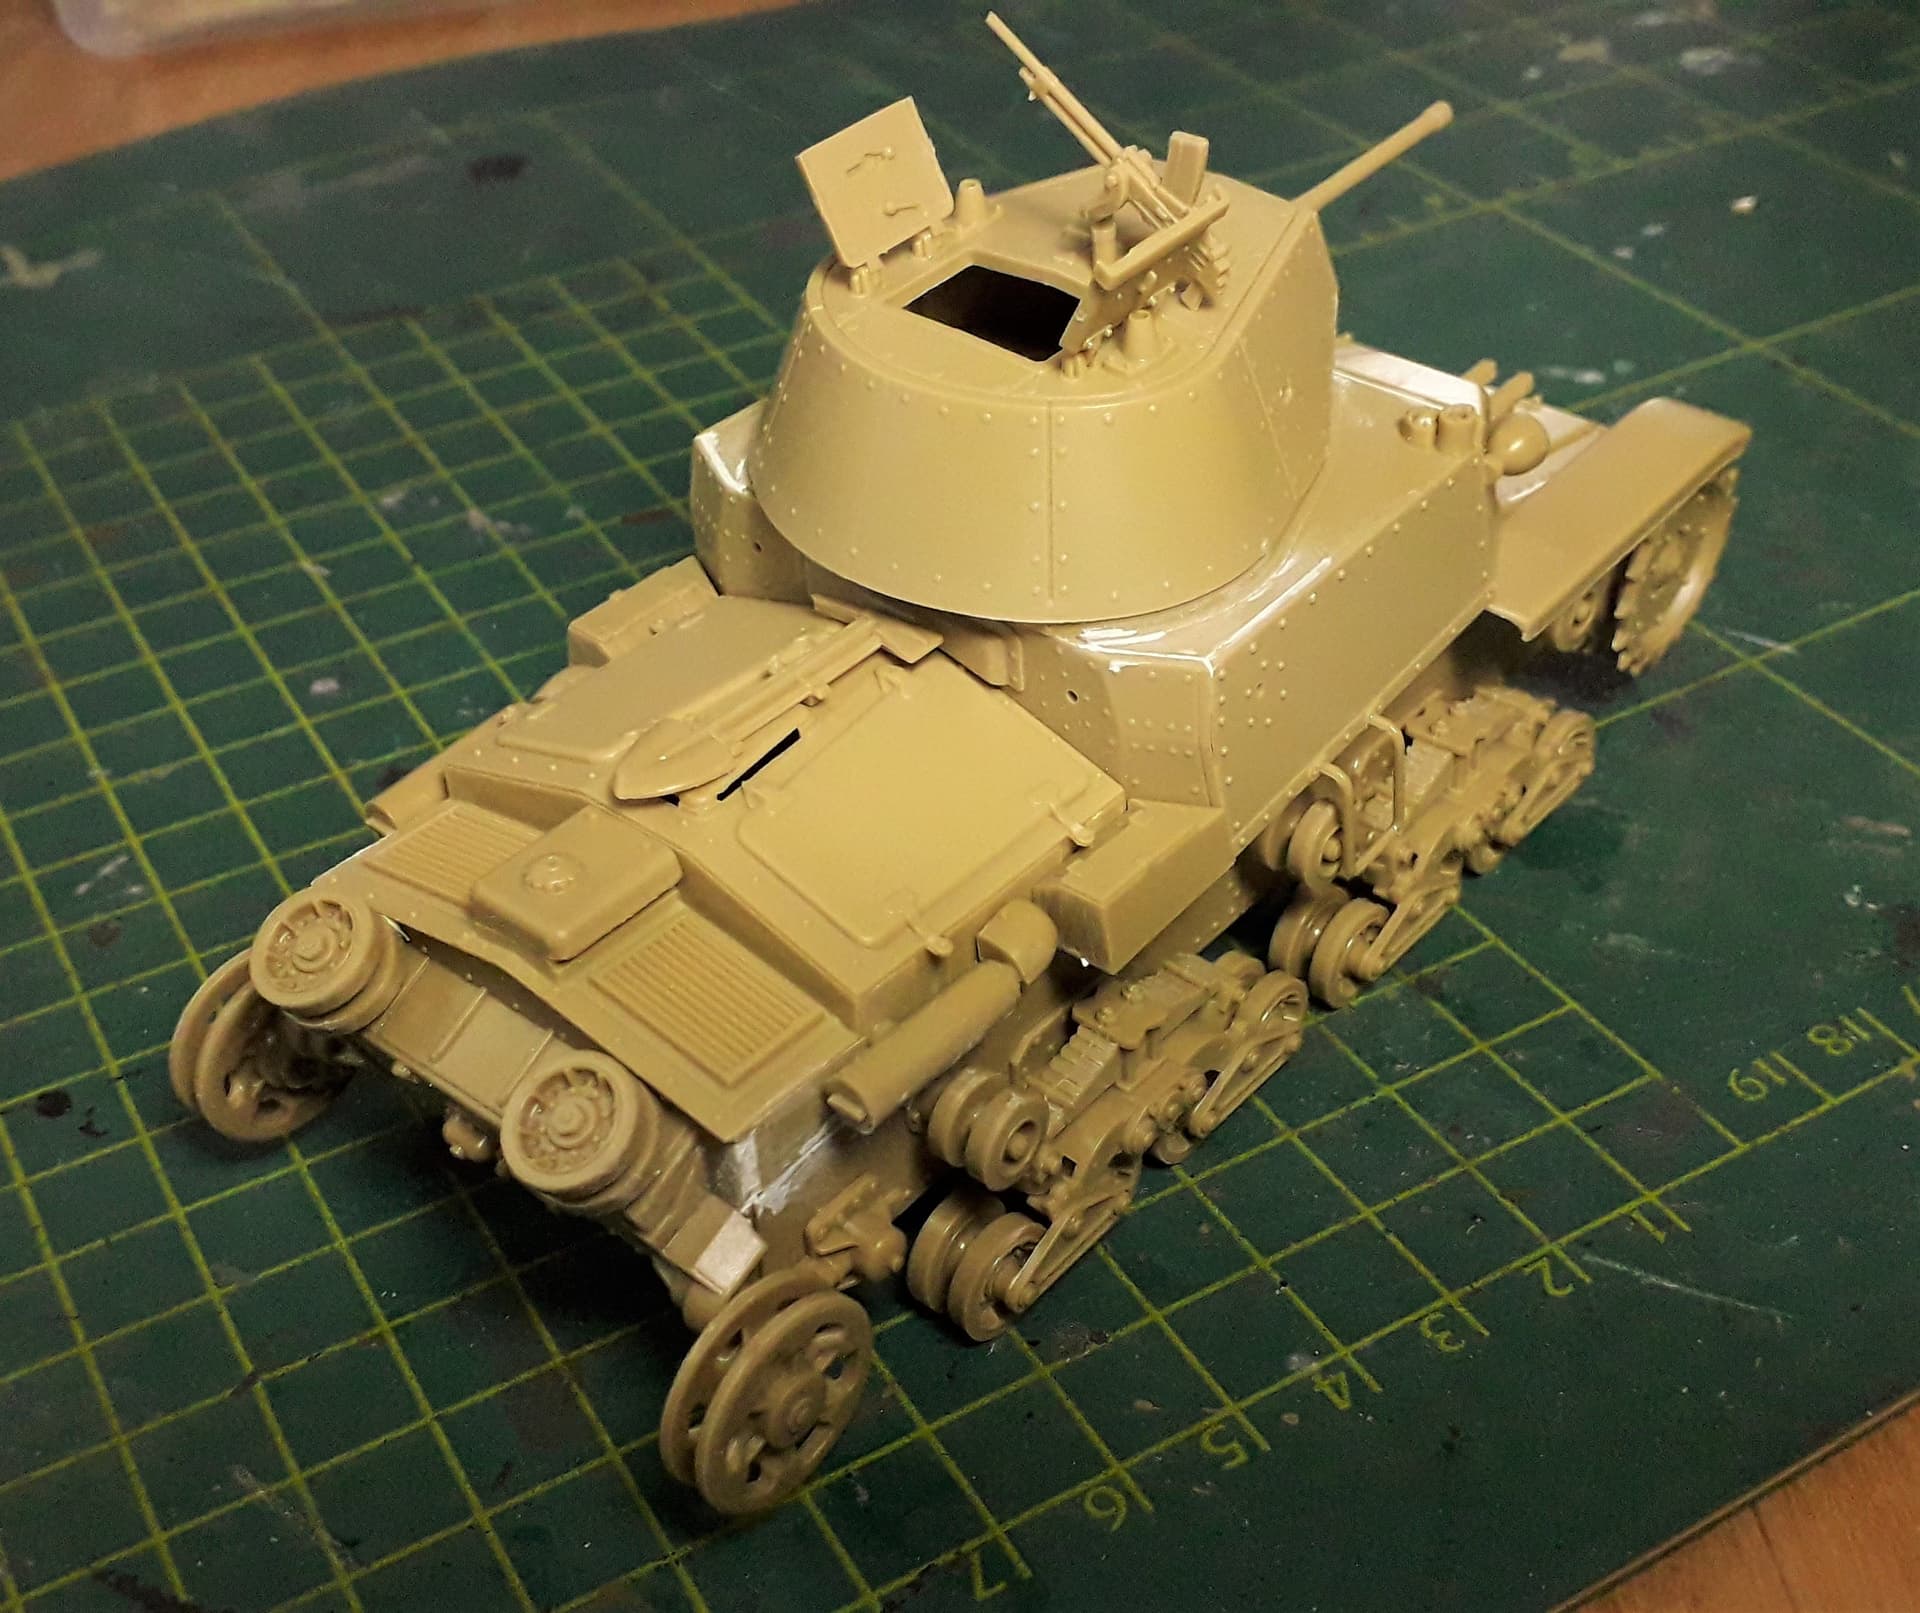
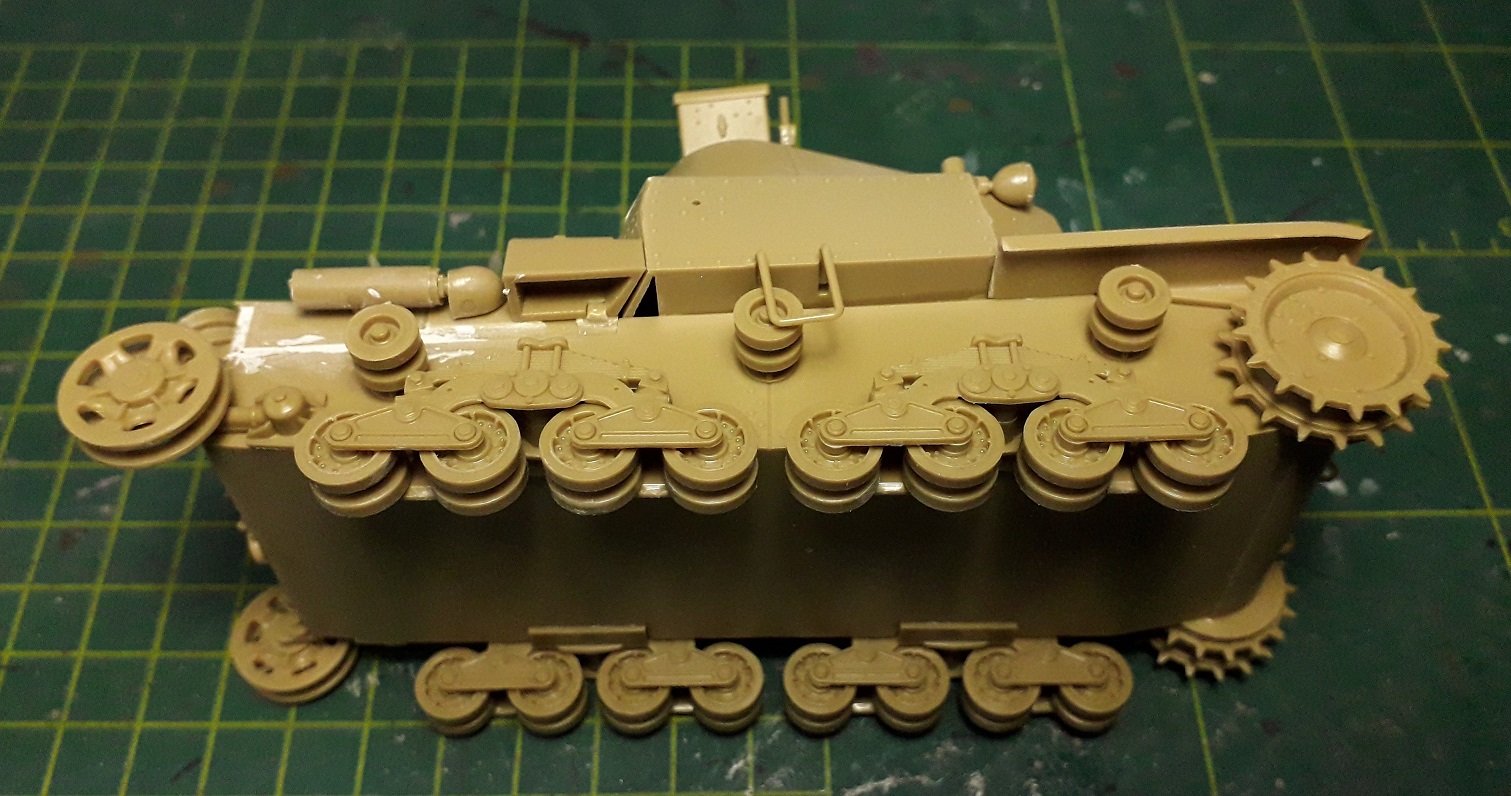
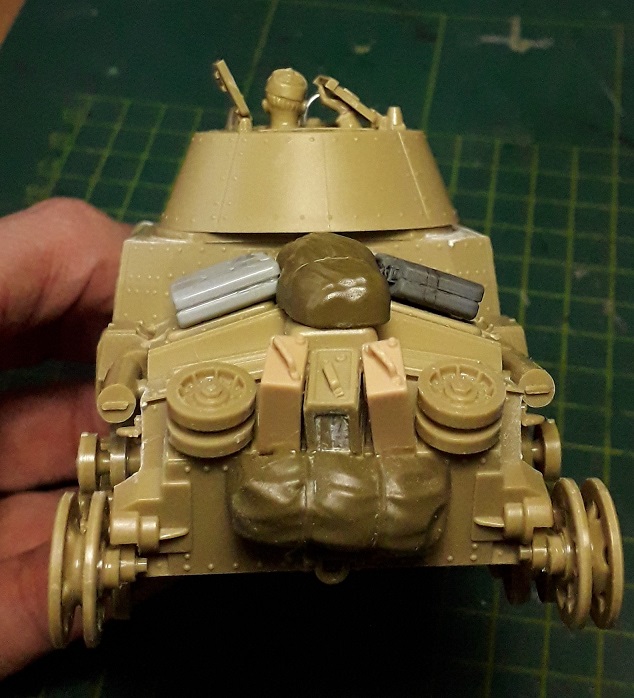
Stowage, a new mg-mount, as this was shown in many pictures and some lightcovers, since I really disliked the original plastic blobs and these covers were used too.
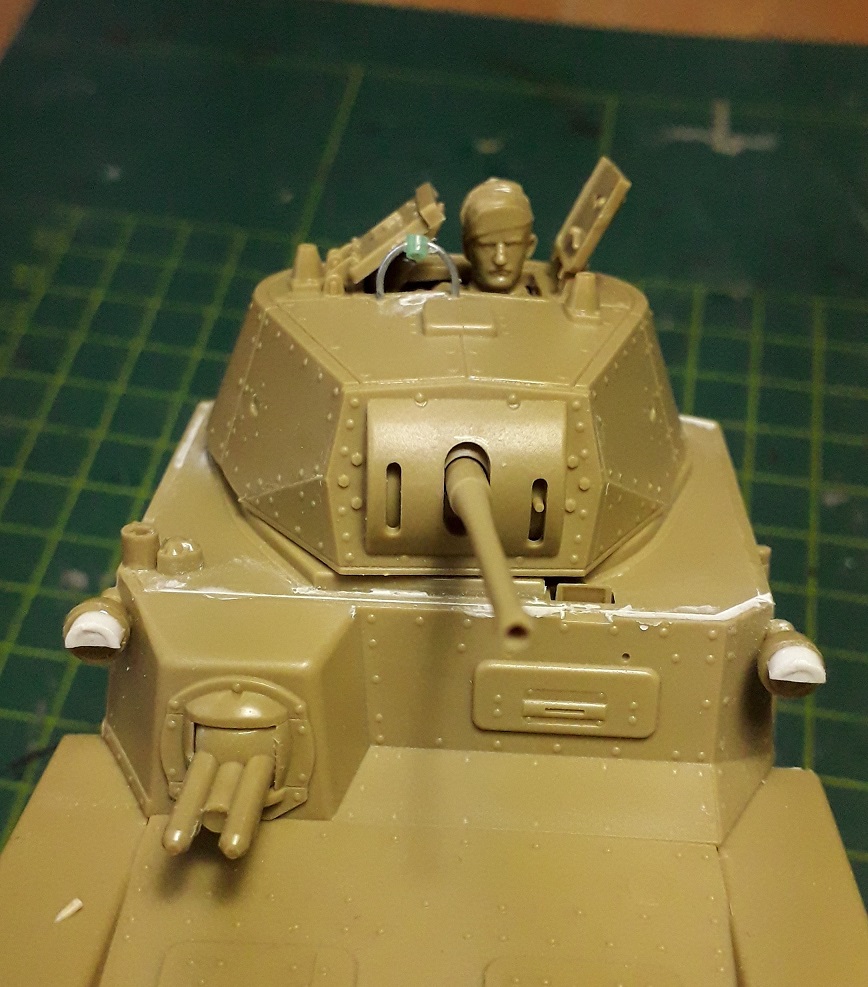
Since the figure was too poor to be used as such i cut him in half, altered the arm and hand and now he is looking out, holding the hatch. Need to clean him up before painting though.
And the rear stowage with some conquered British cans. The whole thing will be tied down after painting.
Eccellente Ron.
Ryan and Spitfire, looking very nice too guys.
Great builds - and Great progress ![]()
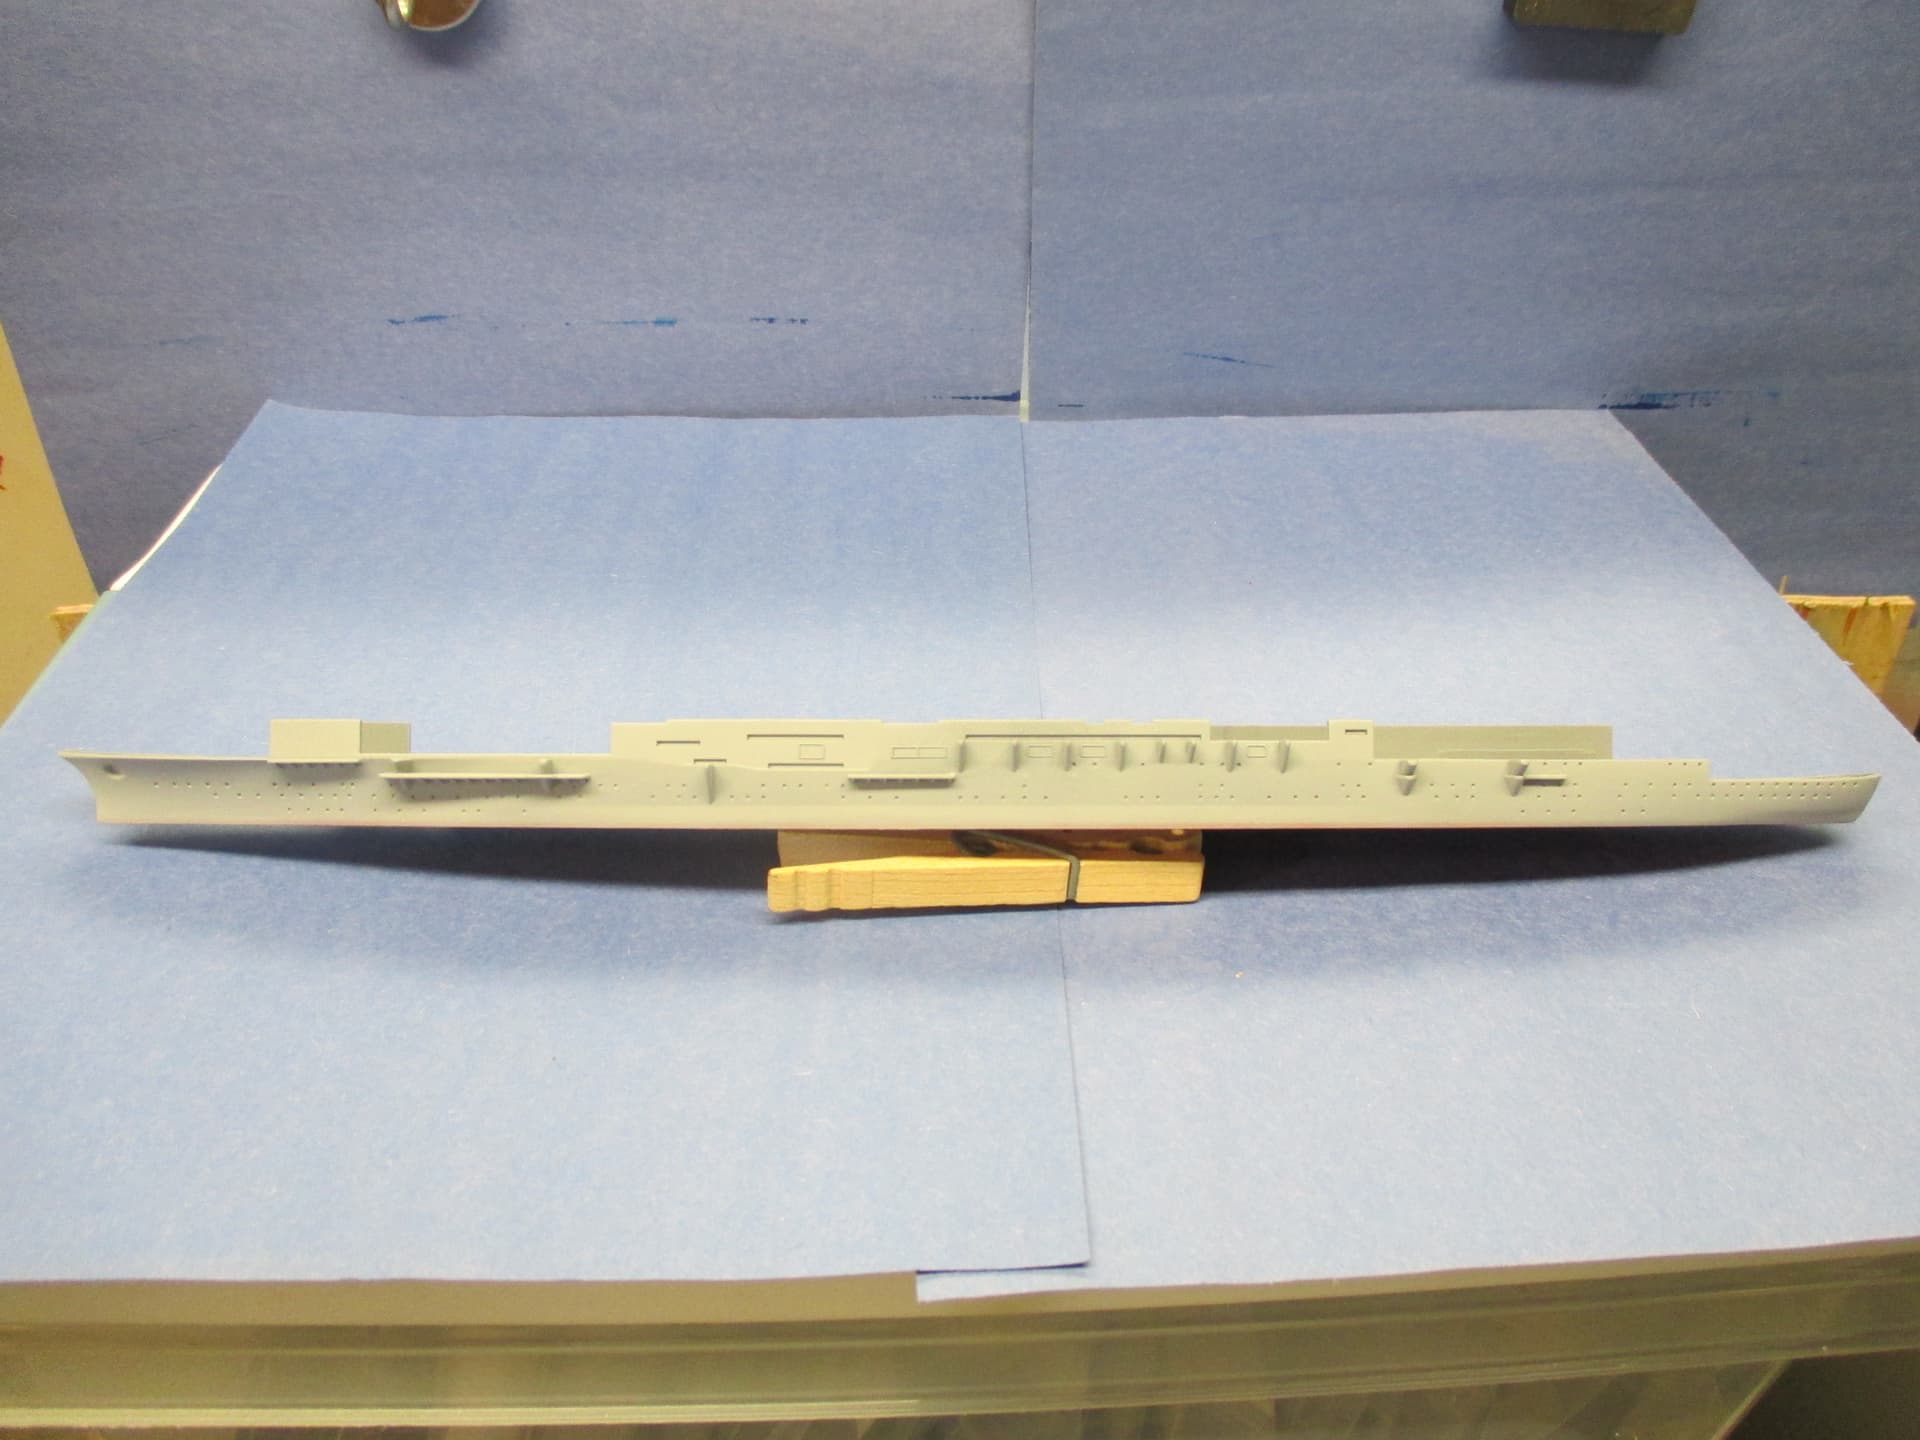
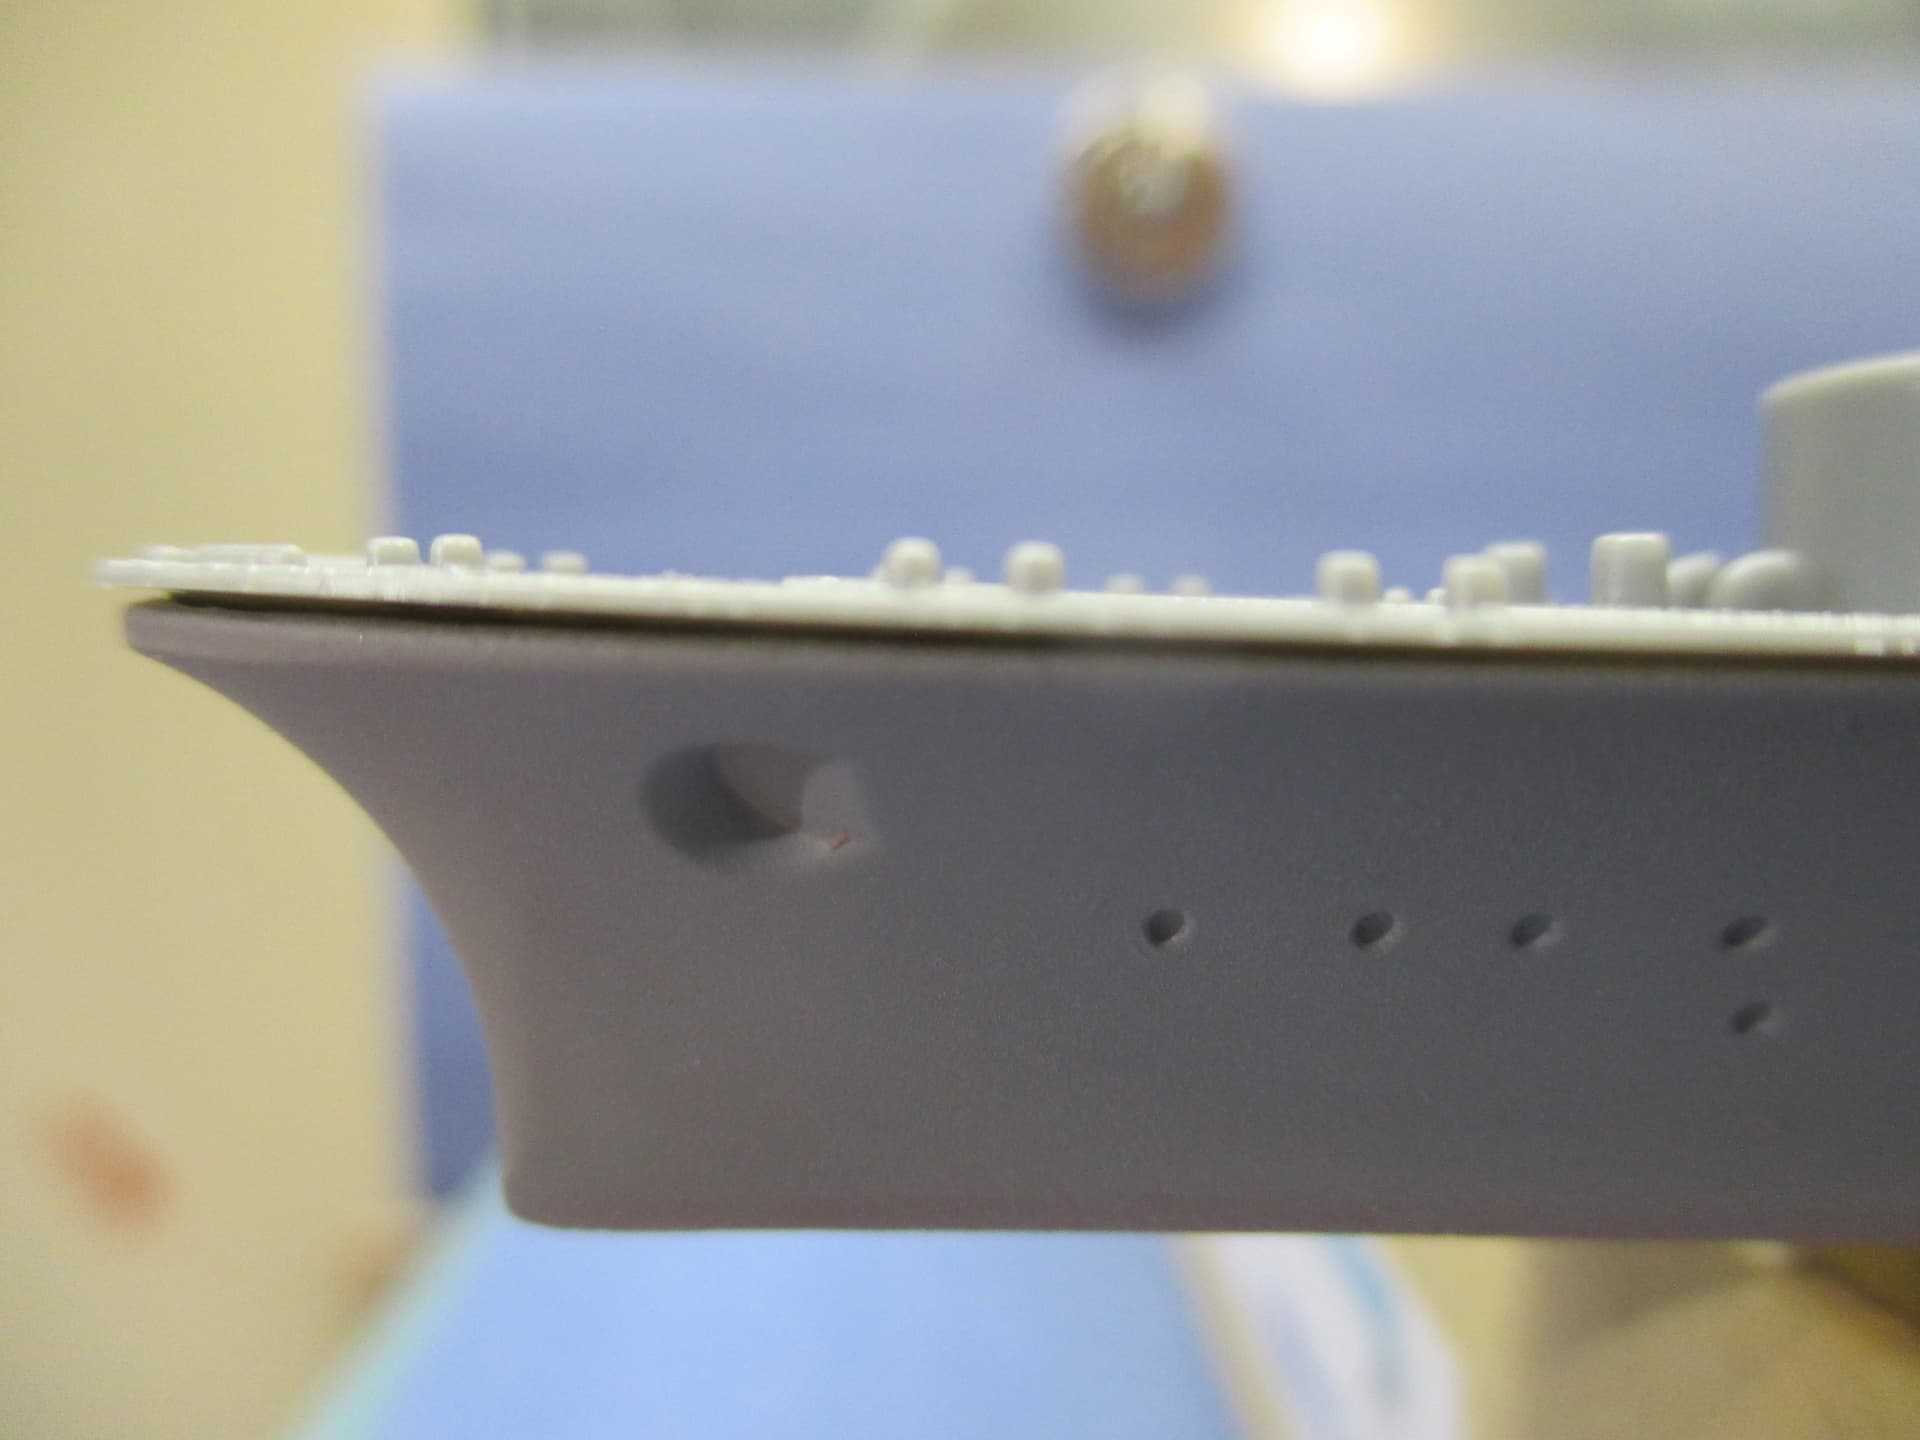
The hull of the Shokaku sanded then primed and re-sanded to flush the bottom plate to the hull. The worst feature of these older ship kits are the horrible fit of the bottom plate to the hull
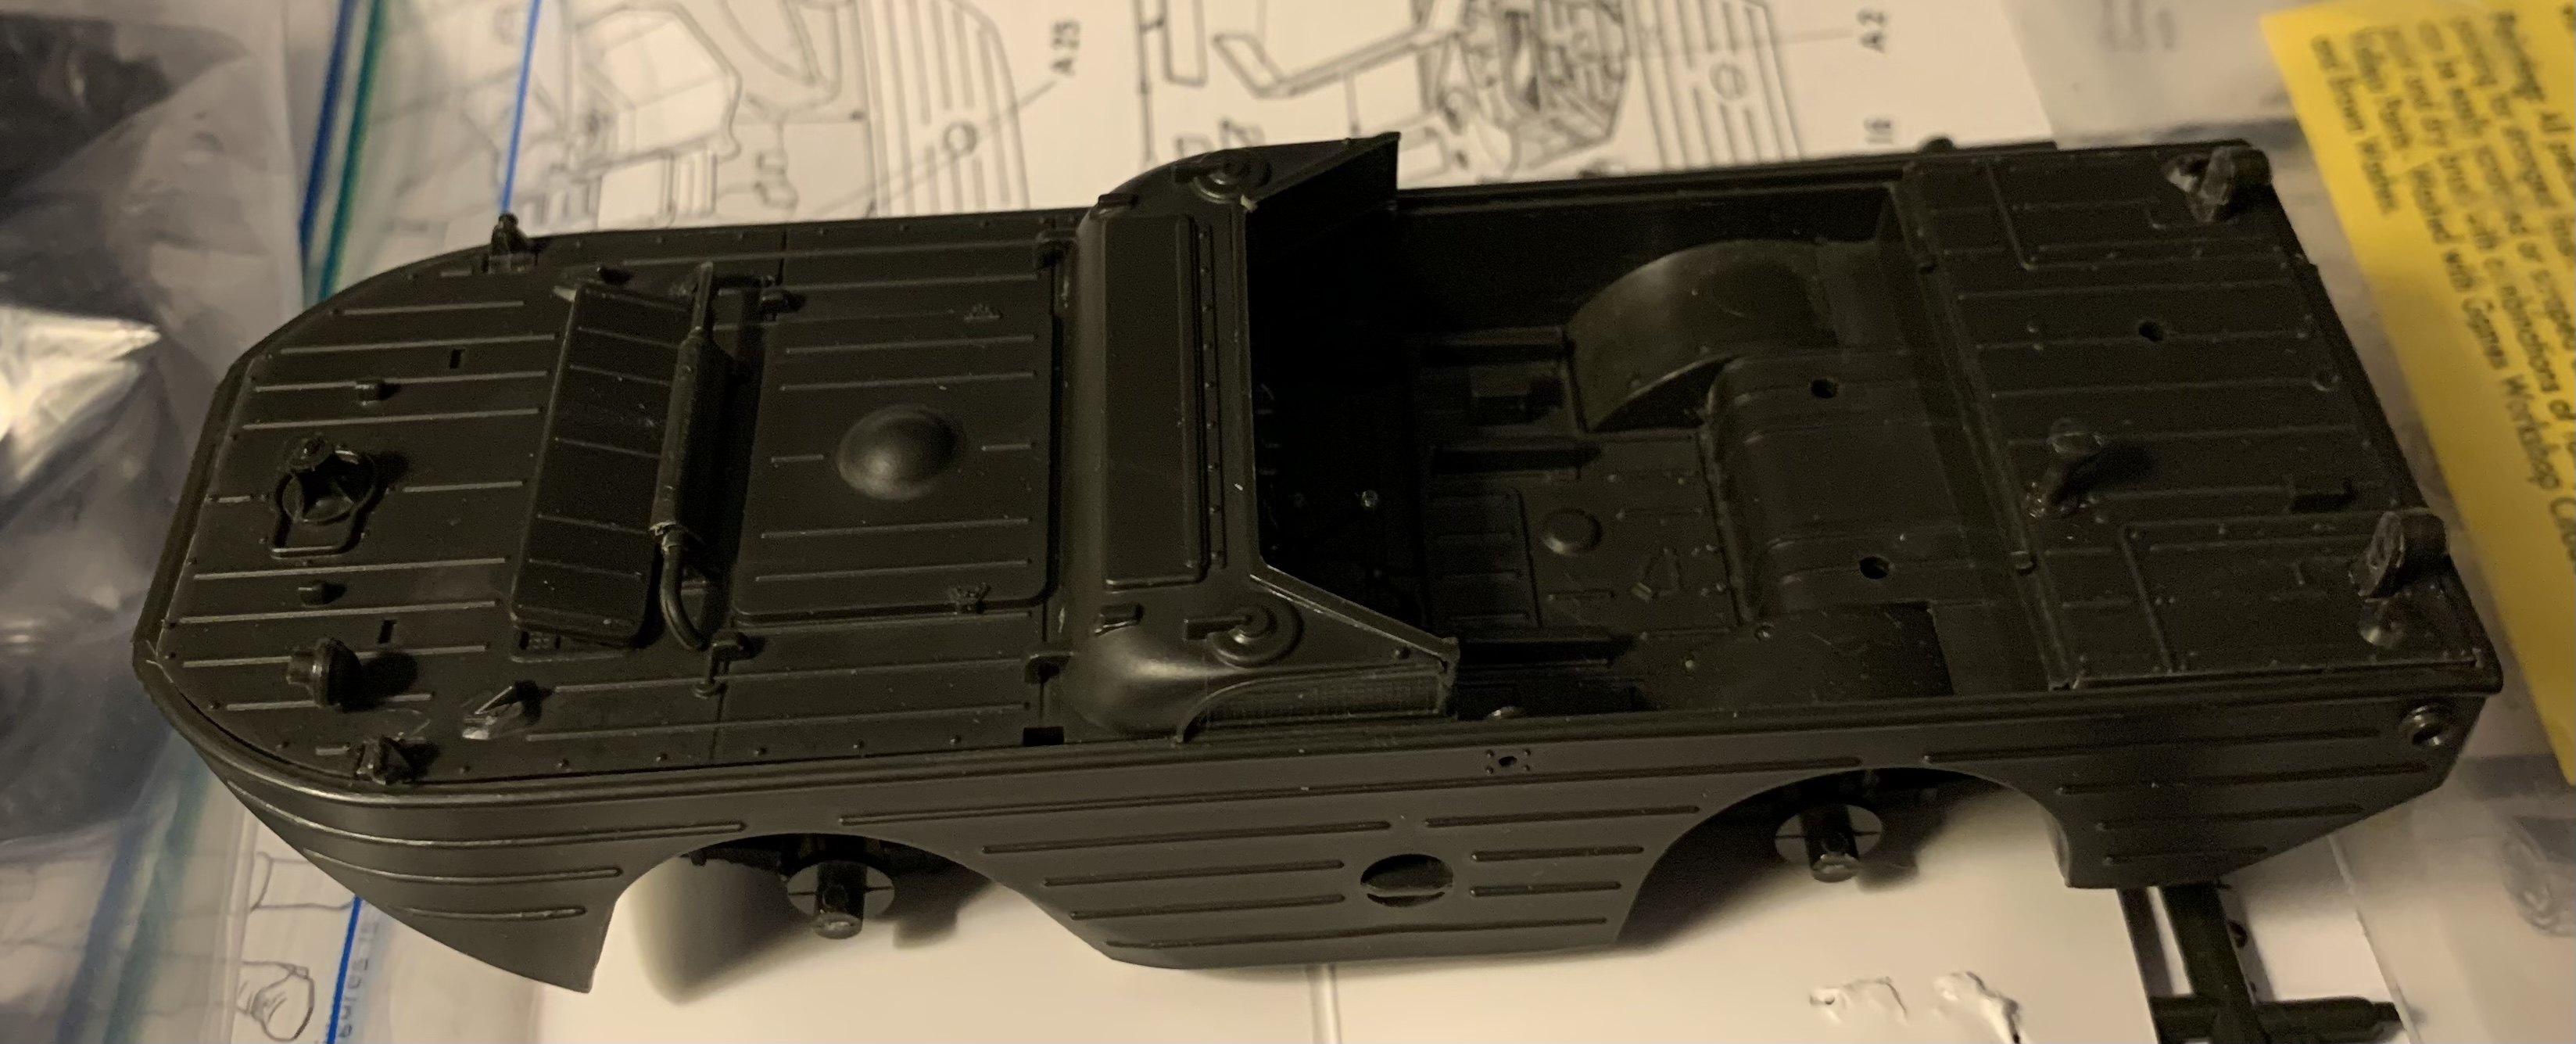
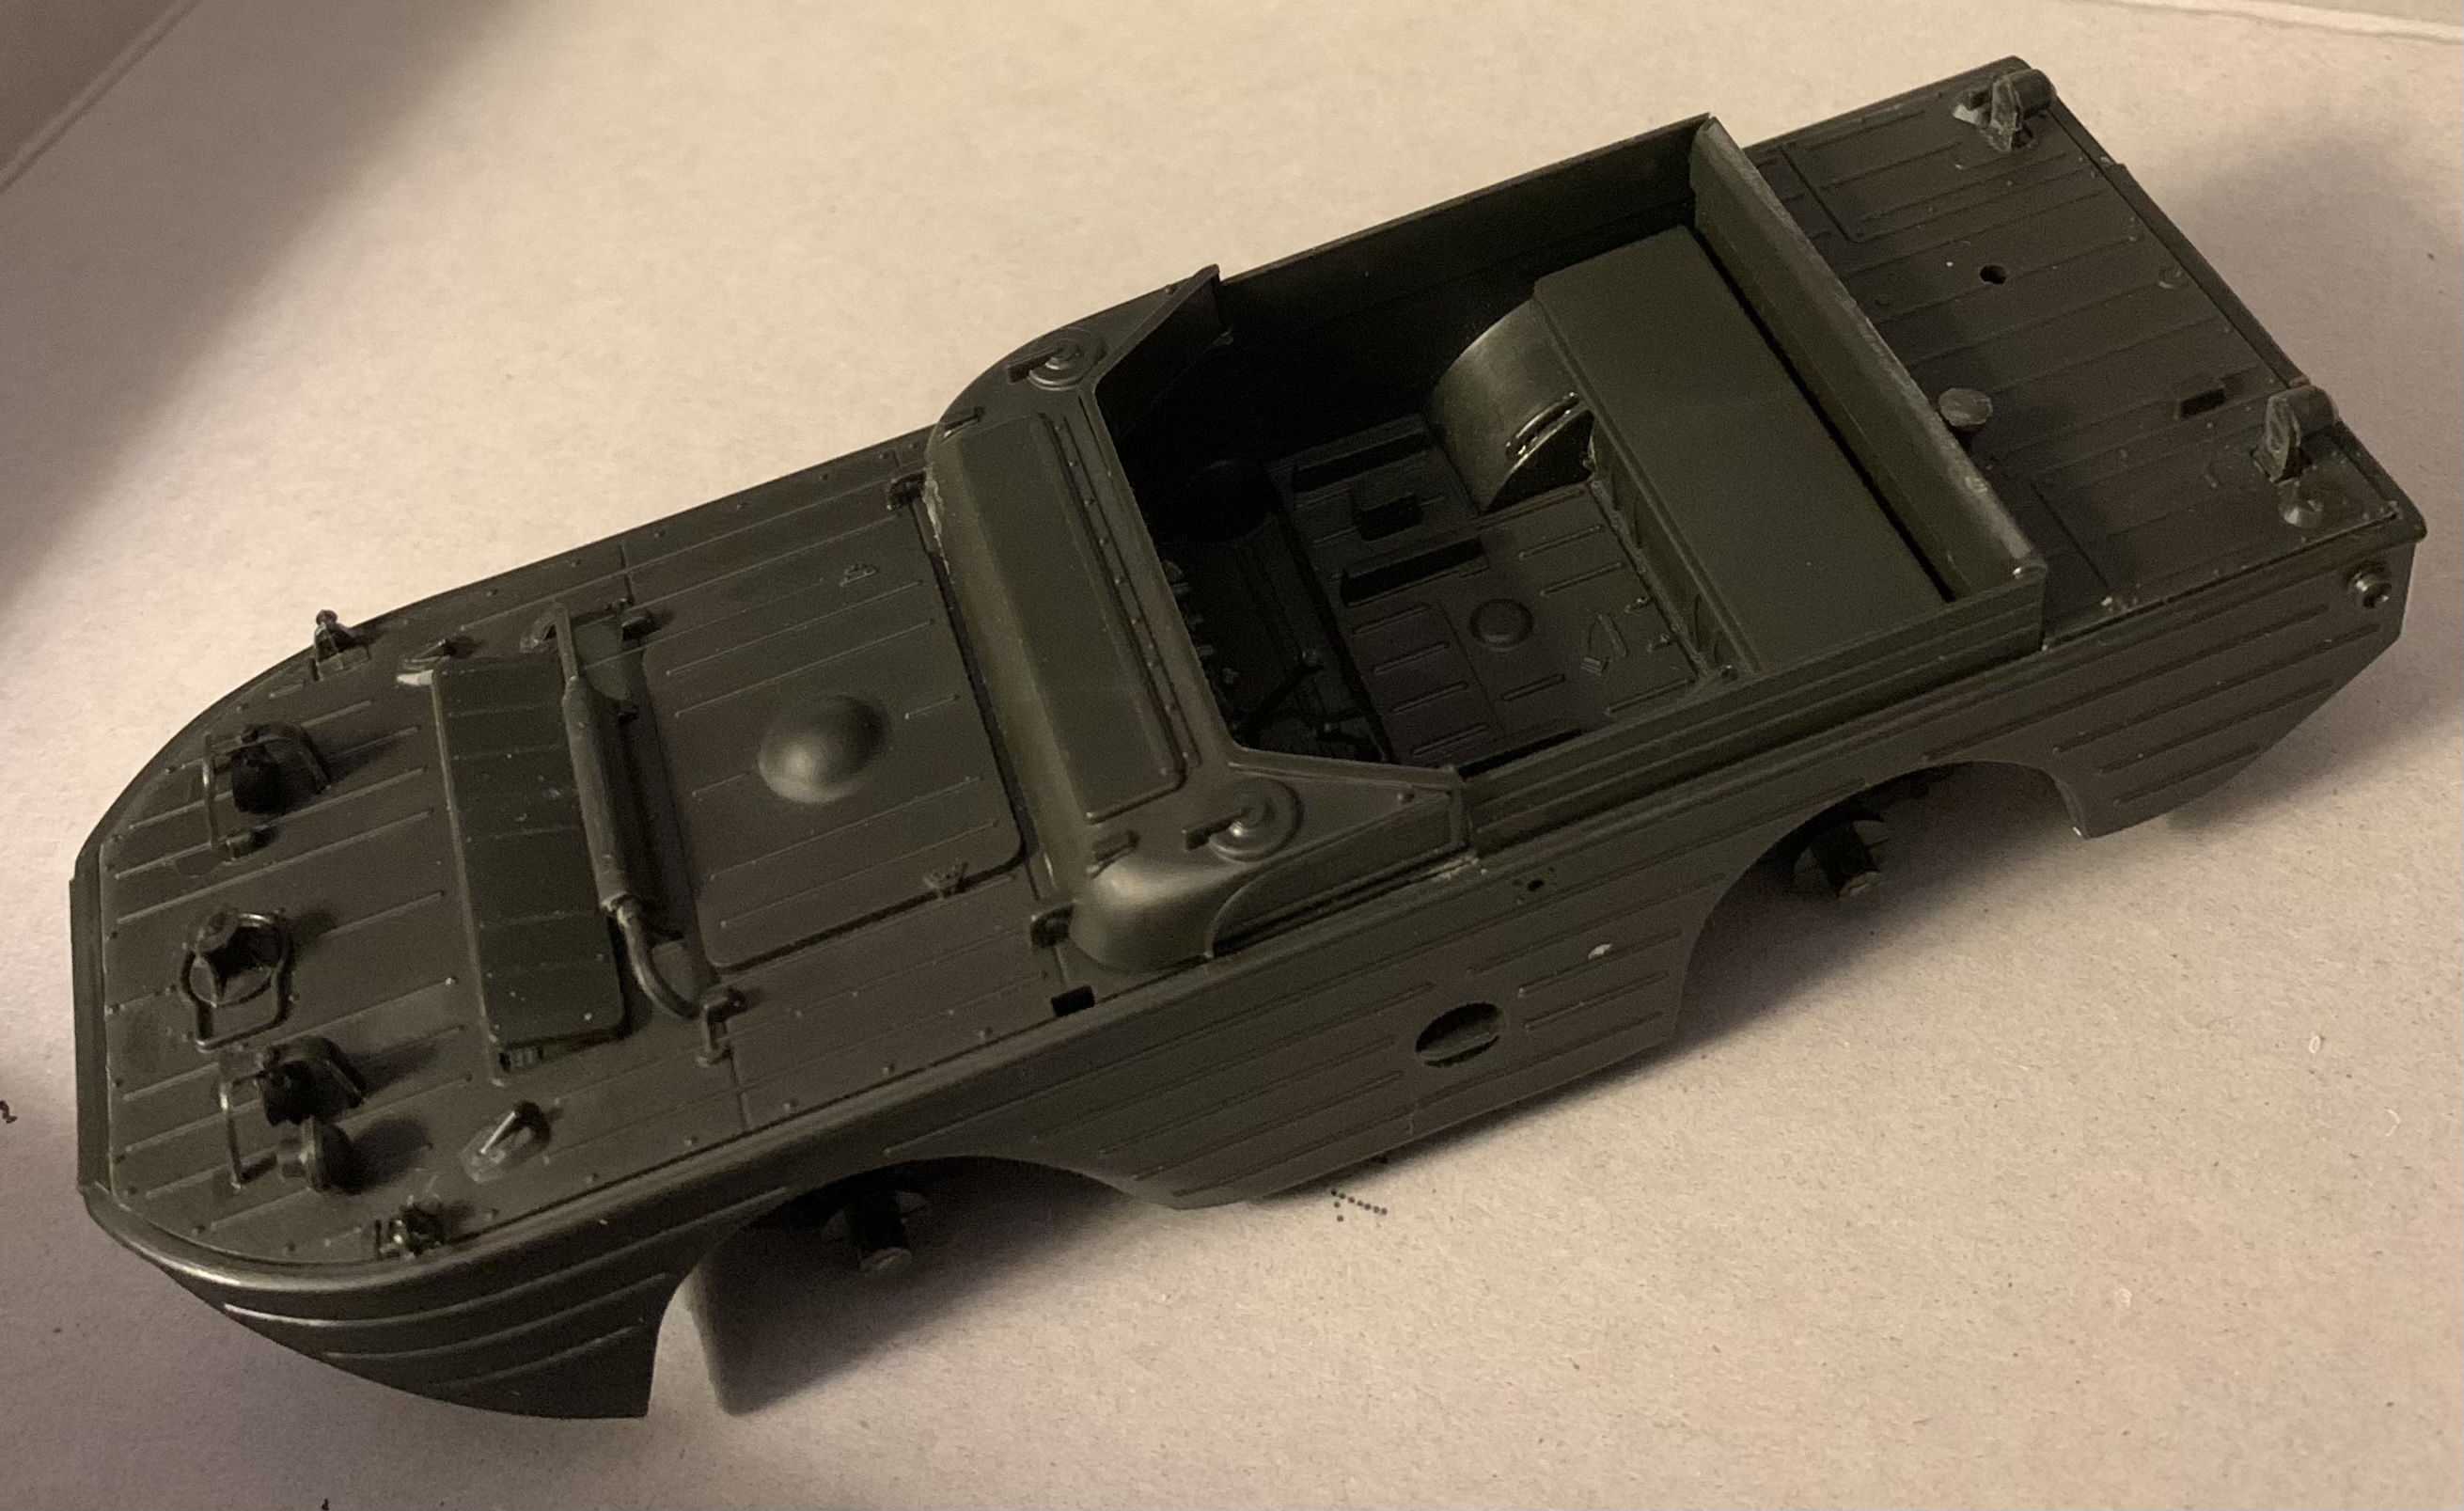
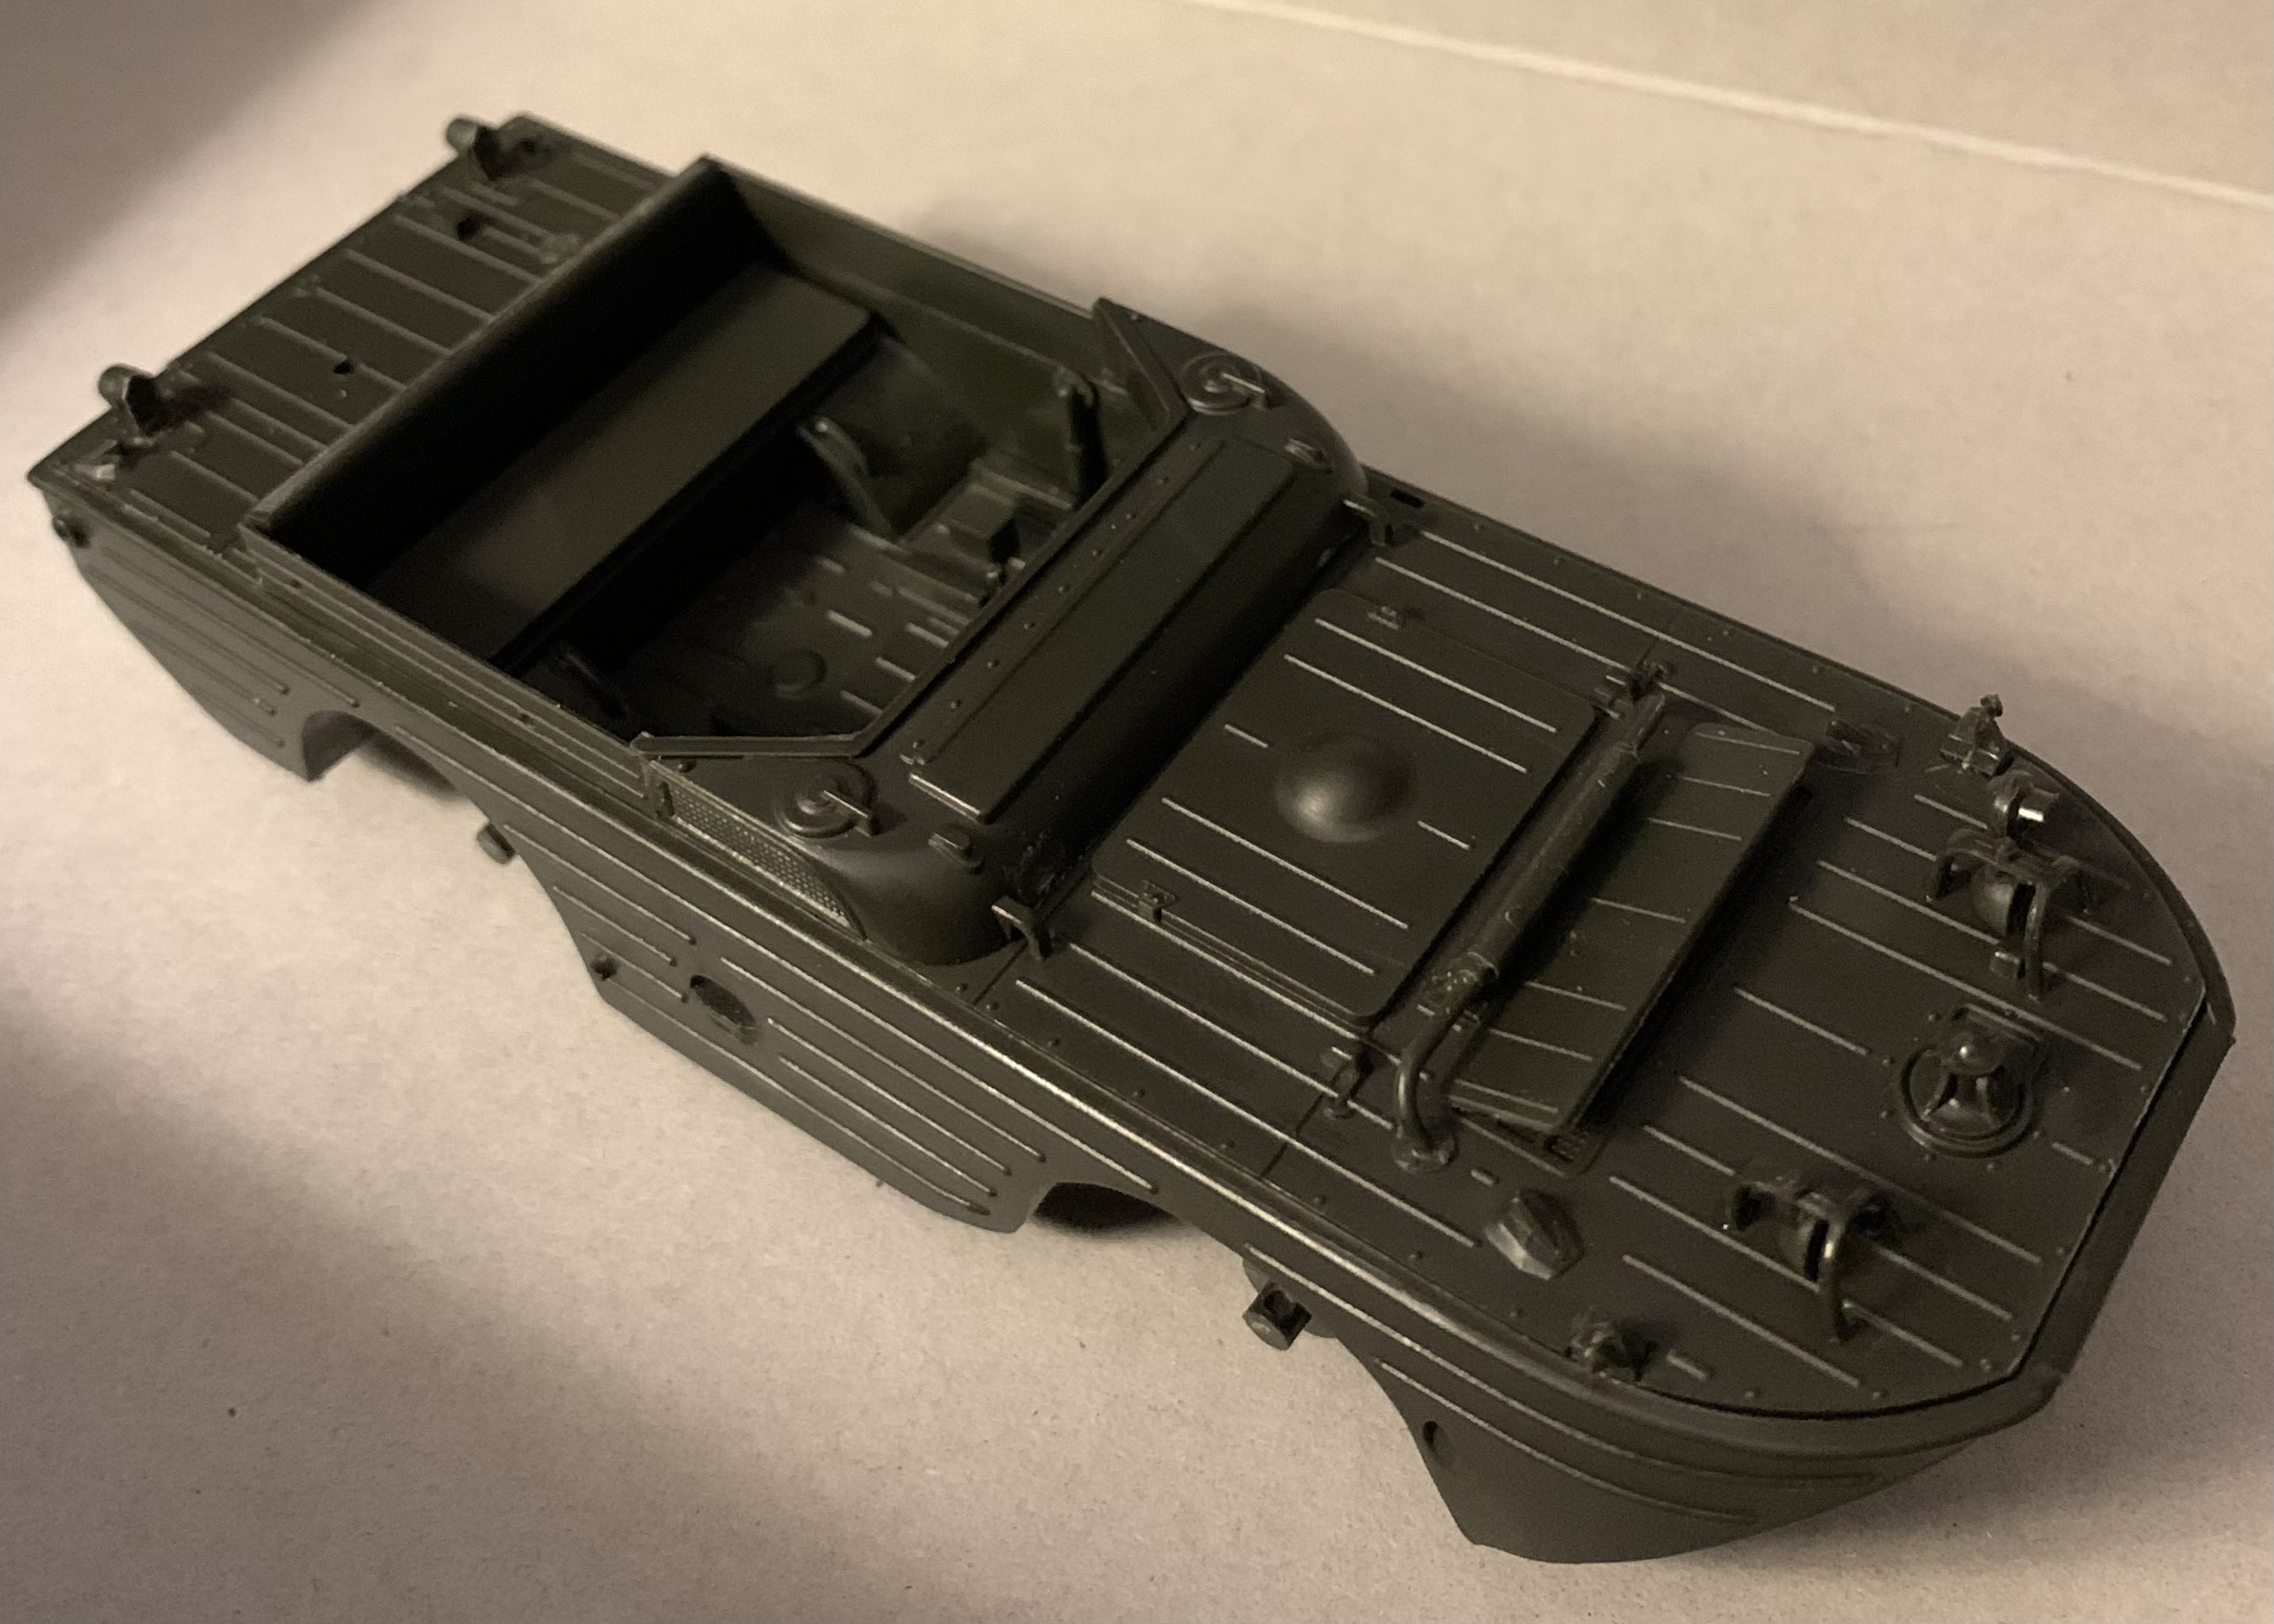
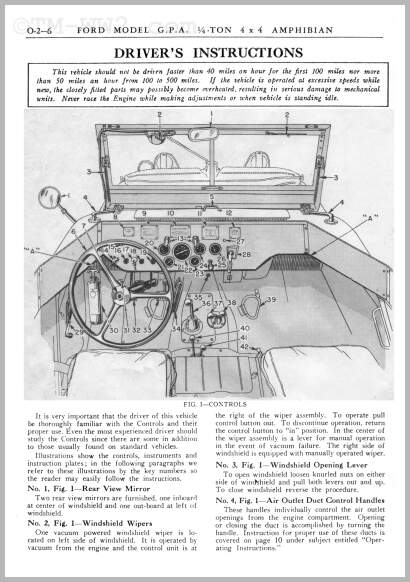
Little more detail, boat hooks (?) by the windshield.
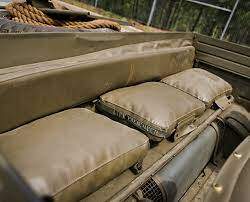
I think bench cushions are the last detail to add.
I believe these are handles for seals Ryan. They are turned so the opening in the vent in the side gets closed.
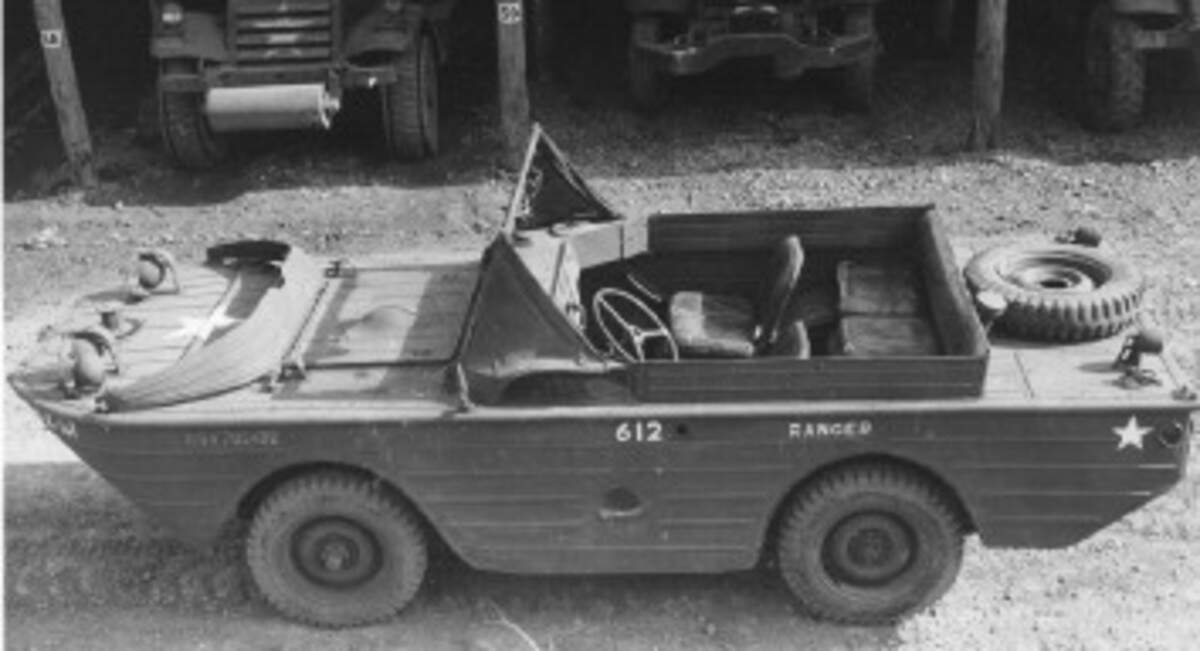
And the rear seat was not a single bench type. They were 3 separate OD leather cushions stuffed with Kapok that could be pulled free and, as they floated, they could be used as a form of life preserver :
Thanks a bunch Peter. I was using your build photos to guide me on what might need updating that I could do without sets and realistically within the campaign timeframe.
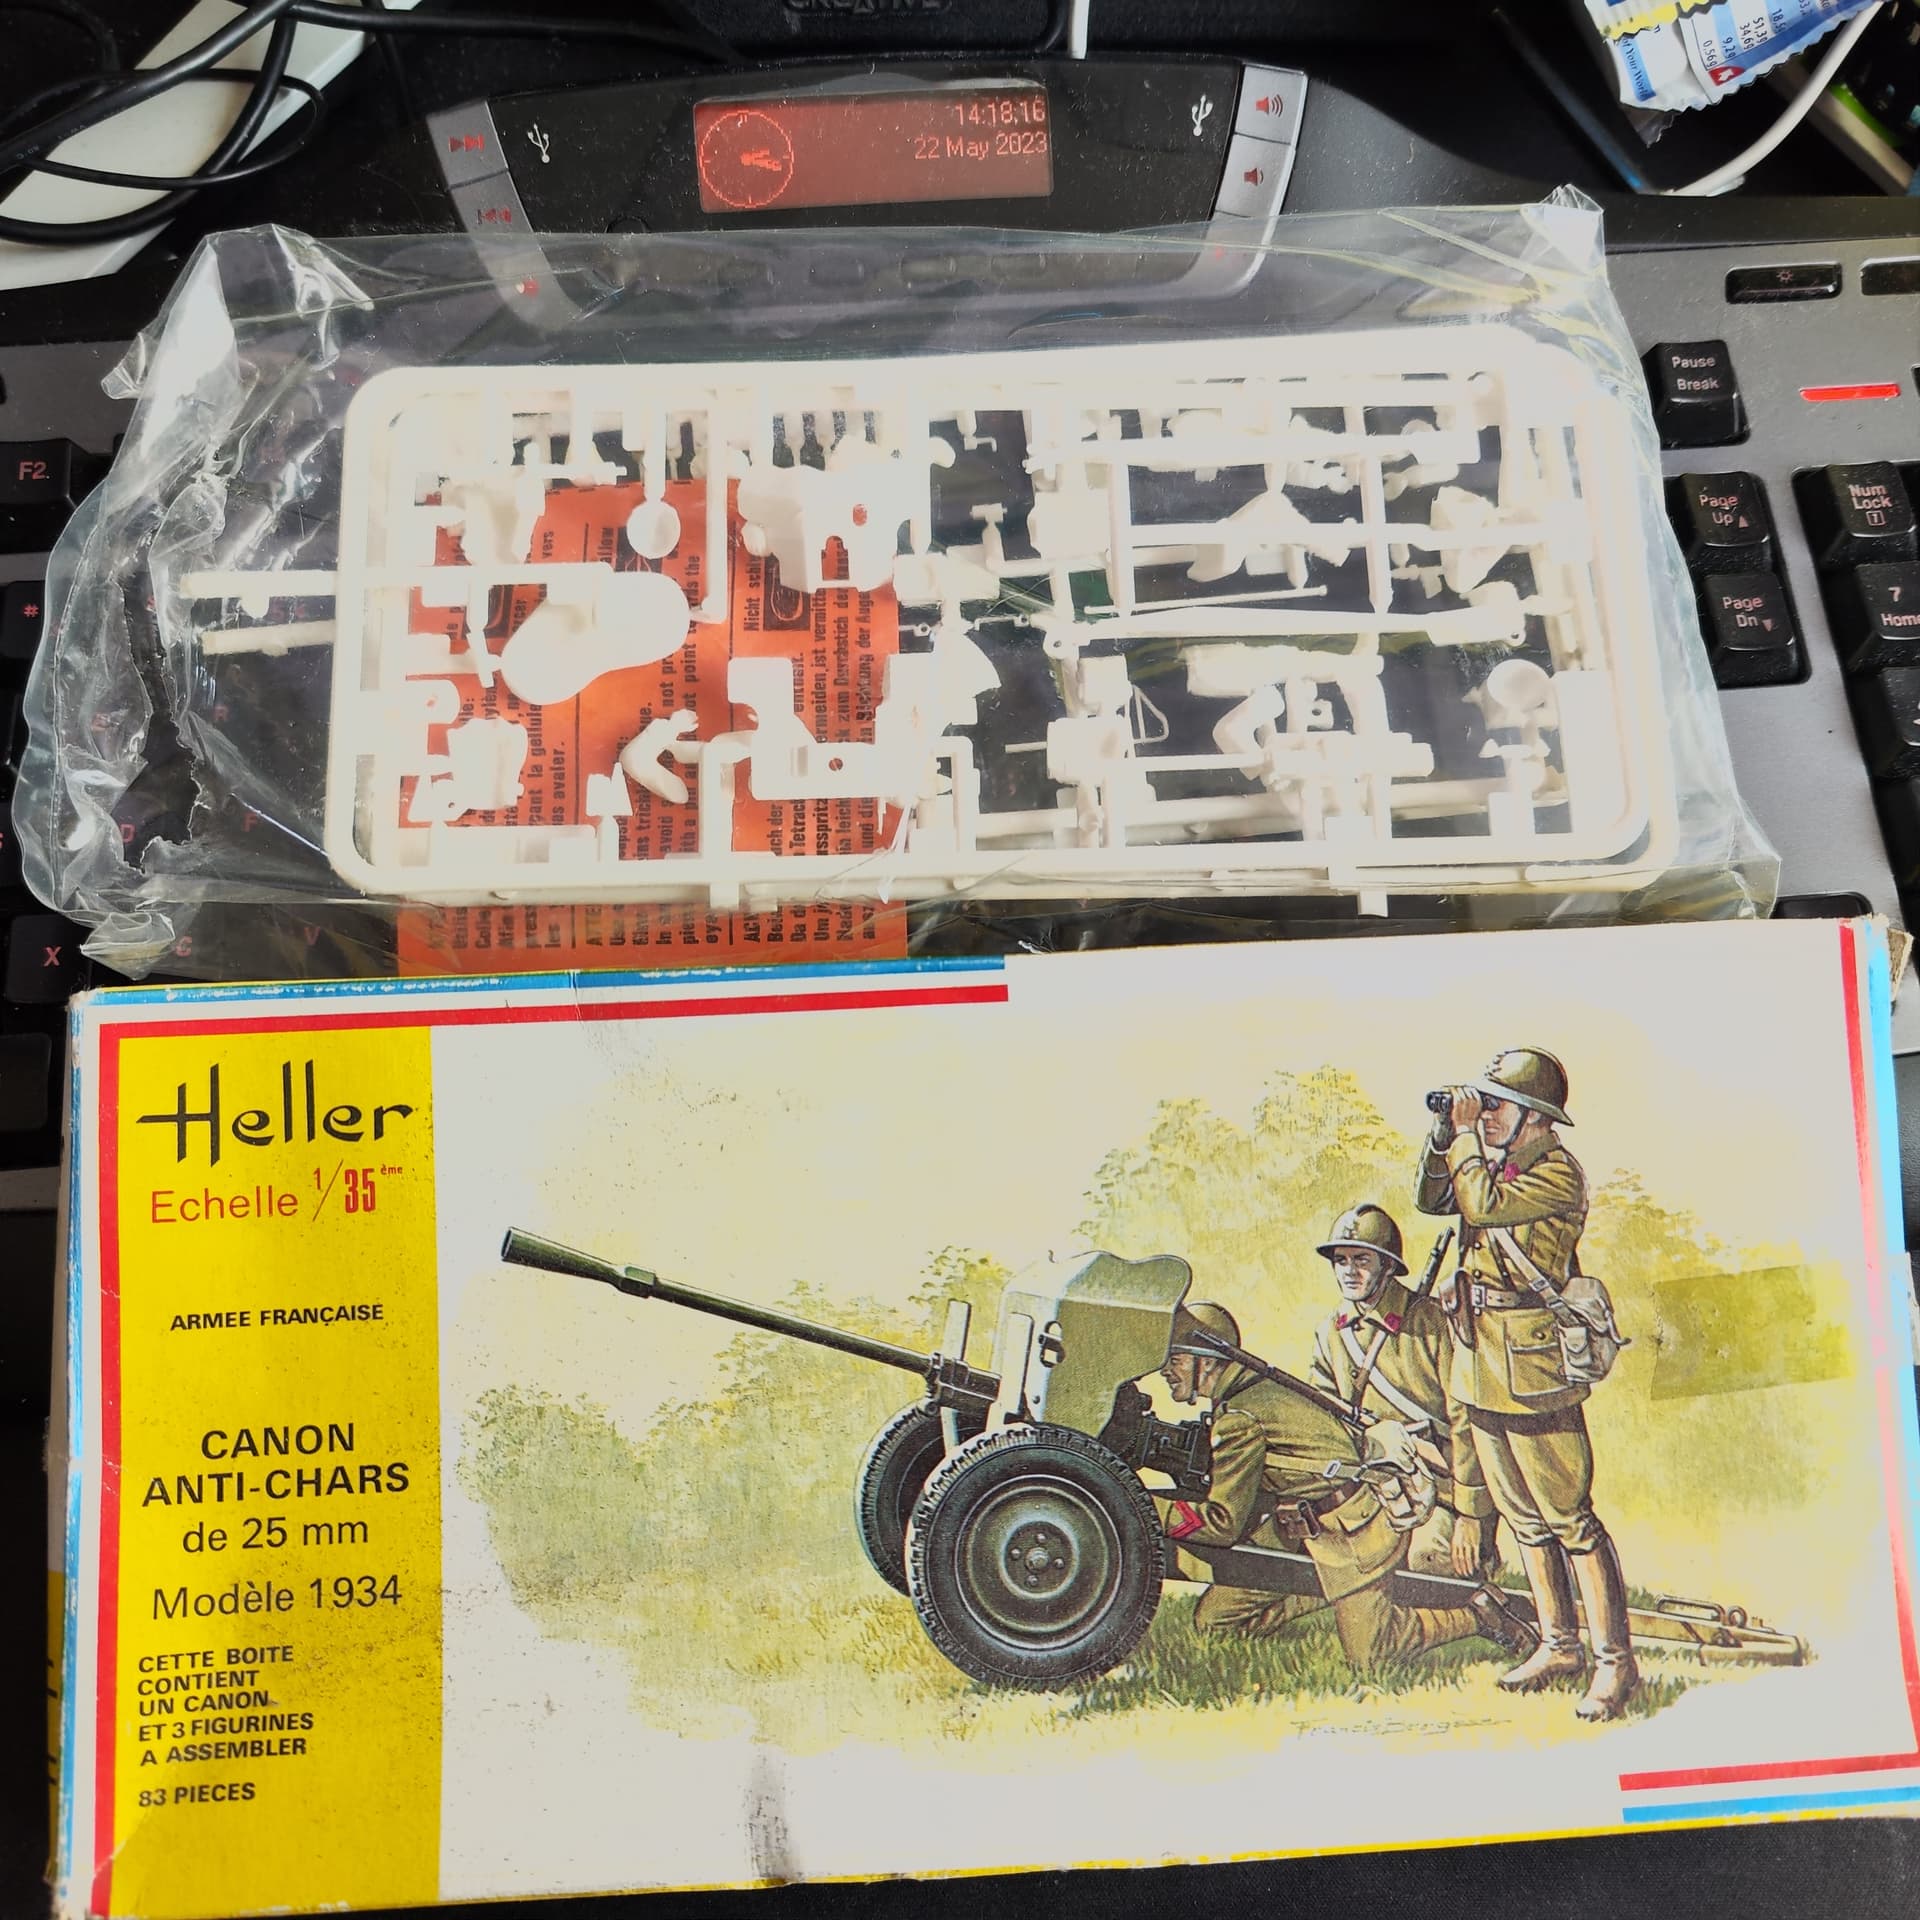
I think I will enter this one too with an ancient Heller kit (1978, according to Scalemates). It will be featured in the near future in a small diorama with the Stalingrad refugees, as was not uncommon in those May/June days of 1940. The first thing that struck me when opening the box, was the tiny rifles, but upon searching, these appear to be Berthier carabiner, which were less than 1 meter or 37.2" long.