They are in the Convoy campaign.
Probably best to filter on my name when in the thread and then scroll through the 48 posts.
They are in the Convoy campaign.
Probably best to filter on my name when in the thread and then scroll through the 48 posts.
Loving the build HG! I am certain I will love it!
Hi Friends,
Took a few hours, or three, to work on @ColinEdm heavy lifter.
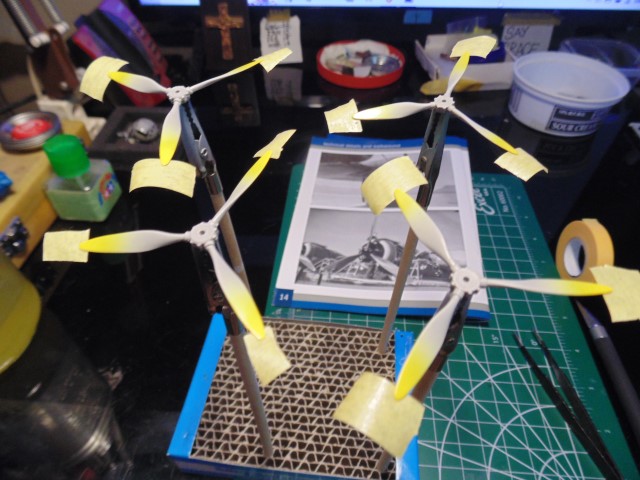
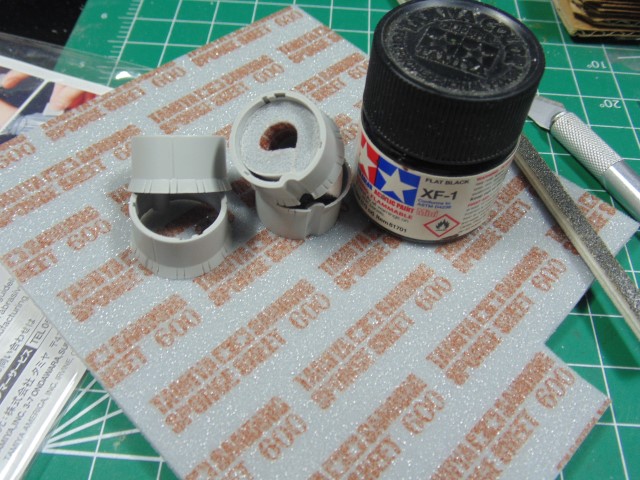
I tape one side on one prop and get it just right then keep checking the next and the next so they are all the same. Then other side gets masked. I sprayed these NATO Black, but the hubs will be flat black.
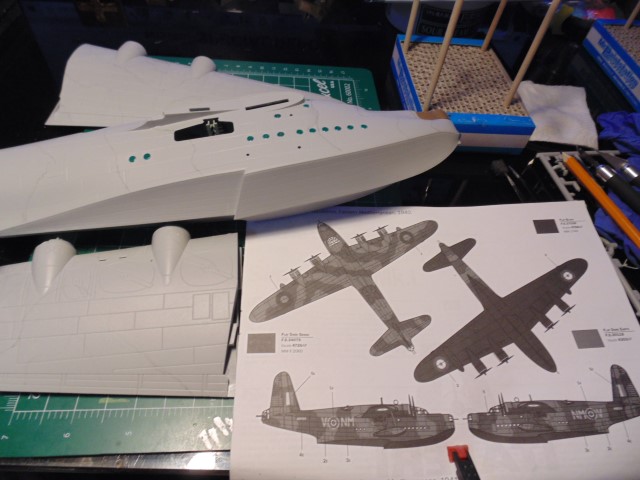
Then the gong show… forgive the squiggly lines. Parkinson’s sucks and I find doing complex camo challenging. Regardless, this is just a guide for the RAF dark earth. The RAF dark green will be mask painted.
Plenty left on this one, but hopefully it’s fun to watch.
It’s fun to watch HG ![]()
H.G. Regardless of the outcome, I have looked at enough of your build threads now to definitely say they are entertaining to read and watch. The beauty of model building is the amount of time and effort, dare I say love, that the builder wants to put into it. You have this vision of what you’re after and regardless of obstacles, you find a way to get it done.
I would also mention that four engine aircraft can be an exercise in patience. Having to do all that extra detail work, and finish work makes it challenging. I have been reintroduced to that myself, with my Havoc and Constellation builds as well as a P-38 Lightning build. I can see why single engine models are so popular, and I will be going that route for the next project as a change of pace.
Anyway, thanks for sharing your build. I look forward to seeing more of the Sunderland as it progresses.
Nice steady update HG… Always a treat for anything from your bench, as we all know the care and attention that you put into each part of each build … ![]()
Thank you Carl @mrintense56 for the kind words. You must be watching Brian’s 1/48 B-17 extreme build I’m finishing for him. I have a Conny as well I really want to get at, but so many other projects for others, sigh. There will be more soon on the Sunderland. Cheers and will look at your builds.
Thanks again @Johnnych01 there’s a way to yet will be a nice looking replica.
I am in awe of the work you do HG, and the fact that you are dealing with Parkinsons makes it even more awe inspiring. I can only dream of doing what you are capable of!
Thanks Colin. I only mention the disorder because it shows anyone can make nice looking things and hold up a certain finger to it ![]() Working on your project right now. Cheers.
Working on your project right now. Cheers.
Hi Everyone,
I wonder if Sunderland is a real place… hmmm. Ok, bad joke. I’ll use that name somewhere in a future novel.
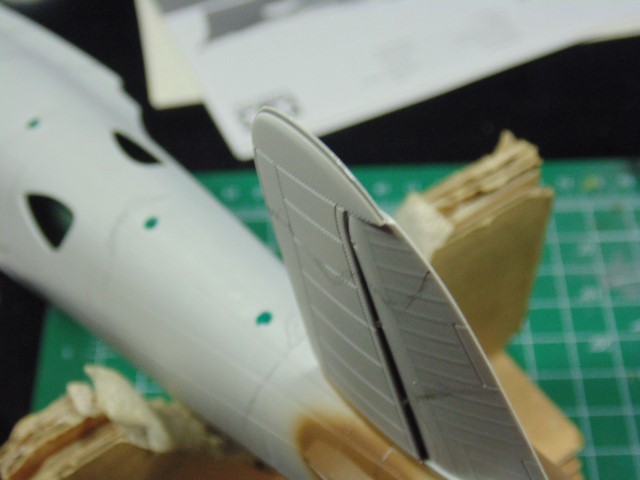
Masking fluid job all done. I love SOL R. The brush, however, is way too big so wipe half it off and use a tooth-pic/cocktail stick as your applicator to scoop up a droplet.
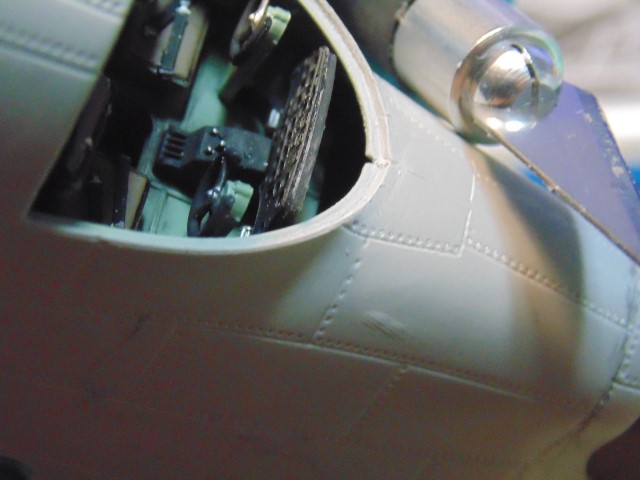
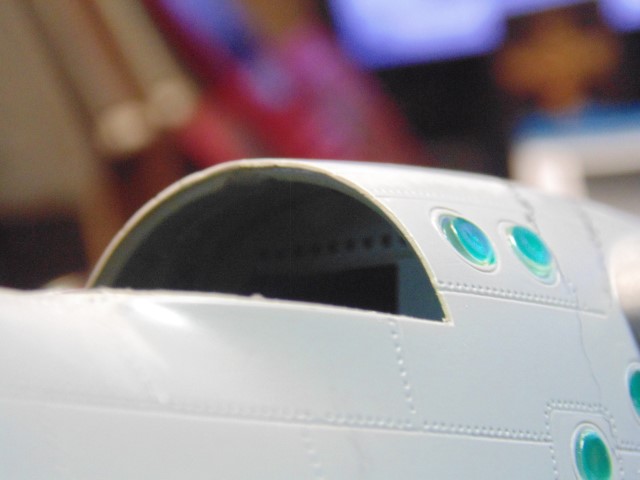
To get the canopy to sit flush you need to do two things.
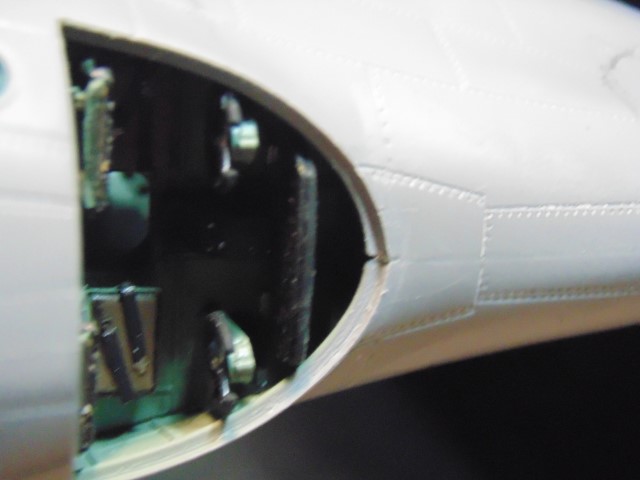
First, from the back of the instrument panel to the front middle you need to hog out some material. Especially the top rim because the clear part is molded to slip into the body. Sure you can file the clear part, but I didn’t want to risk the obvious. You’ll see the files I used in a moment.
Second, you must remove the middle of the connection channel in order for the black upper instrument part to lay properly.
As you can see, once you pull this off the fit is terrific. Now @ColinEdm can simply use a fingernail or a blade to pop off the part to have a better look at the interior. To replace it Colin just has to angle the part from back to the front and press it back into place… vous-ah-la!
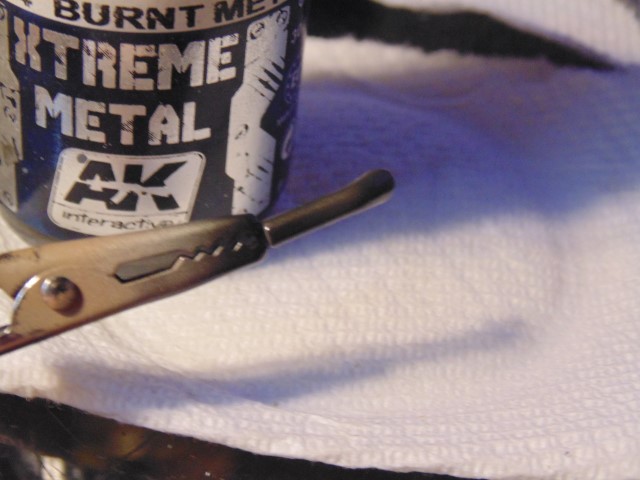
The instructions call out for gunmetal for the exhaust pipes… ya right LOL.
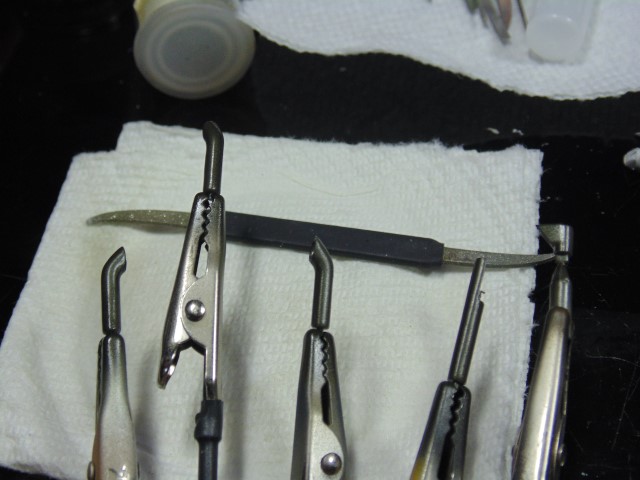
Note the file used for the canopy, but use what works for you, just go slow and test fit often.
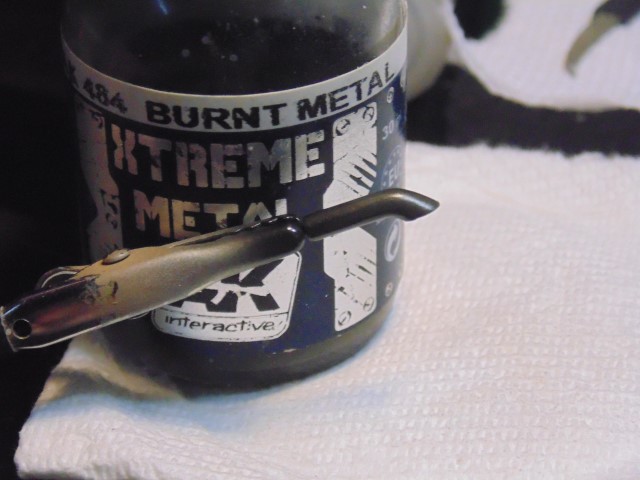
This is much better option or any company’s burnt metal product. You can see the difference in tone.
Sadly, the camera and lighting don’t do this justice, but I have to wait for 24 hours for the enamel to fully flash off before the dull coat is sprayed. You’ll see that in the next episode of “Sunderland”.
God bless!
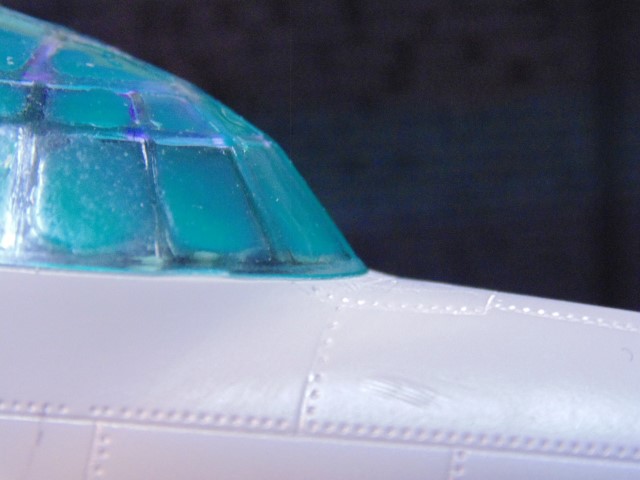
Great tips on the canopy. It’s also a nice idea to leave it free so it can be removed to view inside… The burnt metal finish looks neat…now where’s the wallet lol… ![]()
Don’t ask how many years it took to collect all this stuff. Food… what’s that? Don’t use the “F”. ![]()
Hi All,
No pithy comment this time.
PE in the top gunners wind shields.
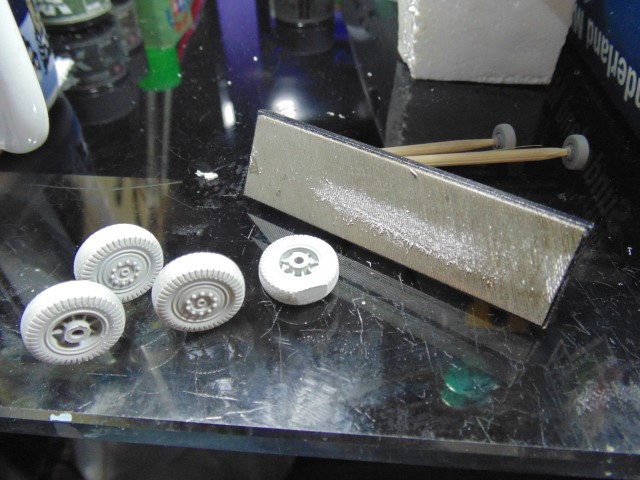
Cleaning up the wheels plus a flat spot.
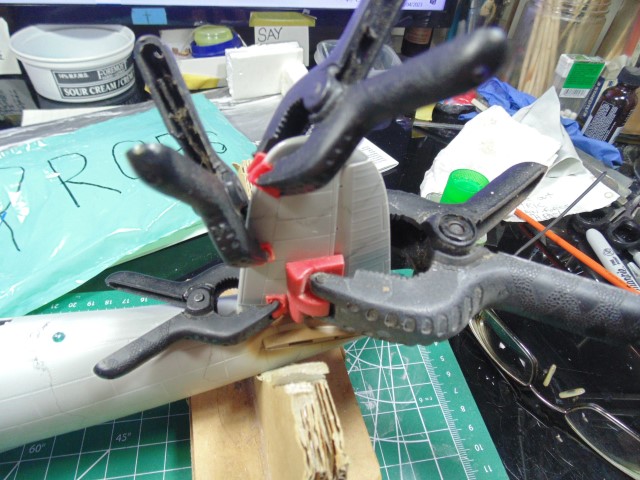
Took a solid hour to clean, test and shoehorn in the stab half.
No need for words here, HA HA.
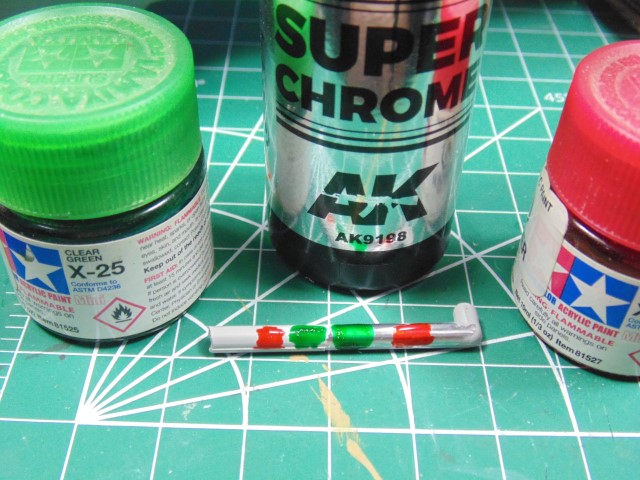
I’ll ask y-all which looks better.
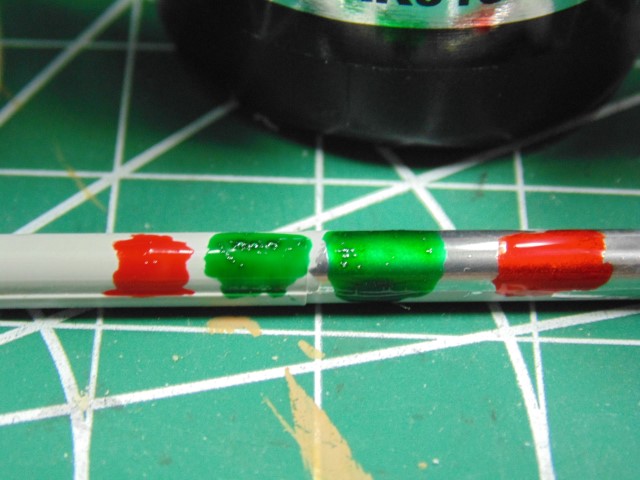
Over chrome or plastic? I did make it a bit heavier than I should over the chrome…oops, but that’s why we test things. The lights will be polished to a mirror shine then masked for painting. After paint the color will be added.
Trim the key or it will not fit.
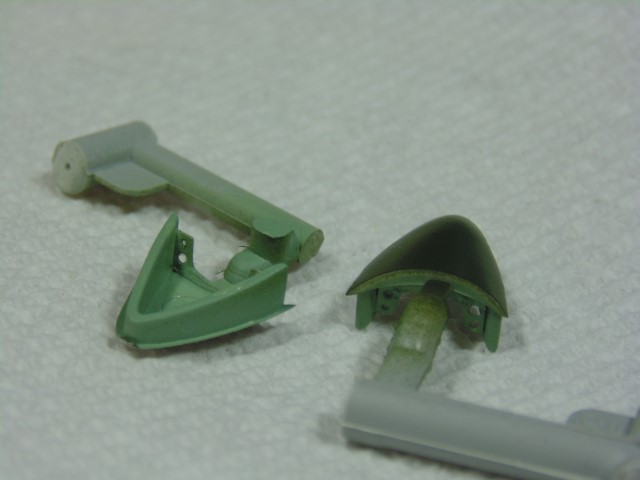
Cowl flaps now have more definition and the inside have plenty of flash.

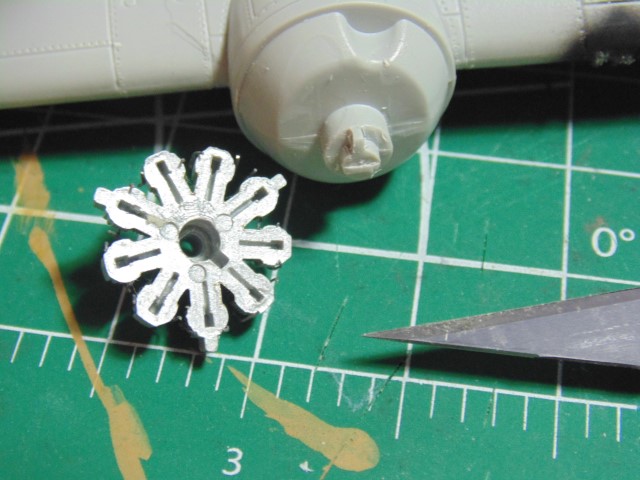
They didn’t include the correct prop hub center parts, just cones… sigh. @ColinEdm what colour do you want the rims of the large wheels?
More when time permits. Cheers Everyone and God bless.
Looks really good over the chrome. ![]()
![]()
—mike
Coming along great. You really do put in so much effort to making these builds something special…
For my input ref the lights… For the paint over the chrome wins it…
Thanks Mike… one vote for chrome.
The over Chrome option has so much more depth.
Super! Thanks John for the continued kind words… 2 votes for chrome. Wait for the rigging ![]() It’s truly interesting, funny and wonderful how some modelers loath aspects of a build yet love another and vise versa.
It’s truly interesting, funny and wonderful how some modelers loath aspects of a build yet love another and vise versa.
Well that settles it! Thanks @golikell , you pushed it over the top. Time to get out the polisher Hee Hee. I need to do this prior to painting, otherwise afterwards the paint would get messed up and I’d have to re-mask. Cheers.