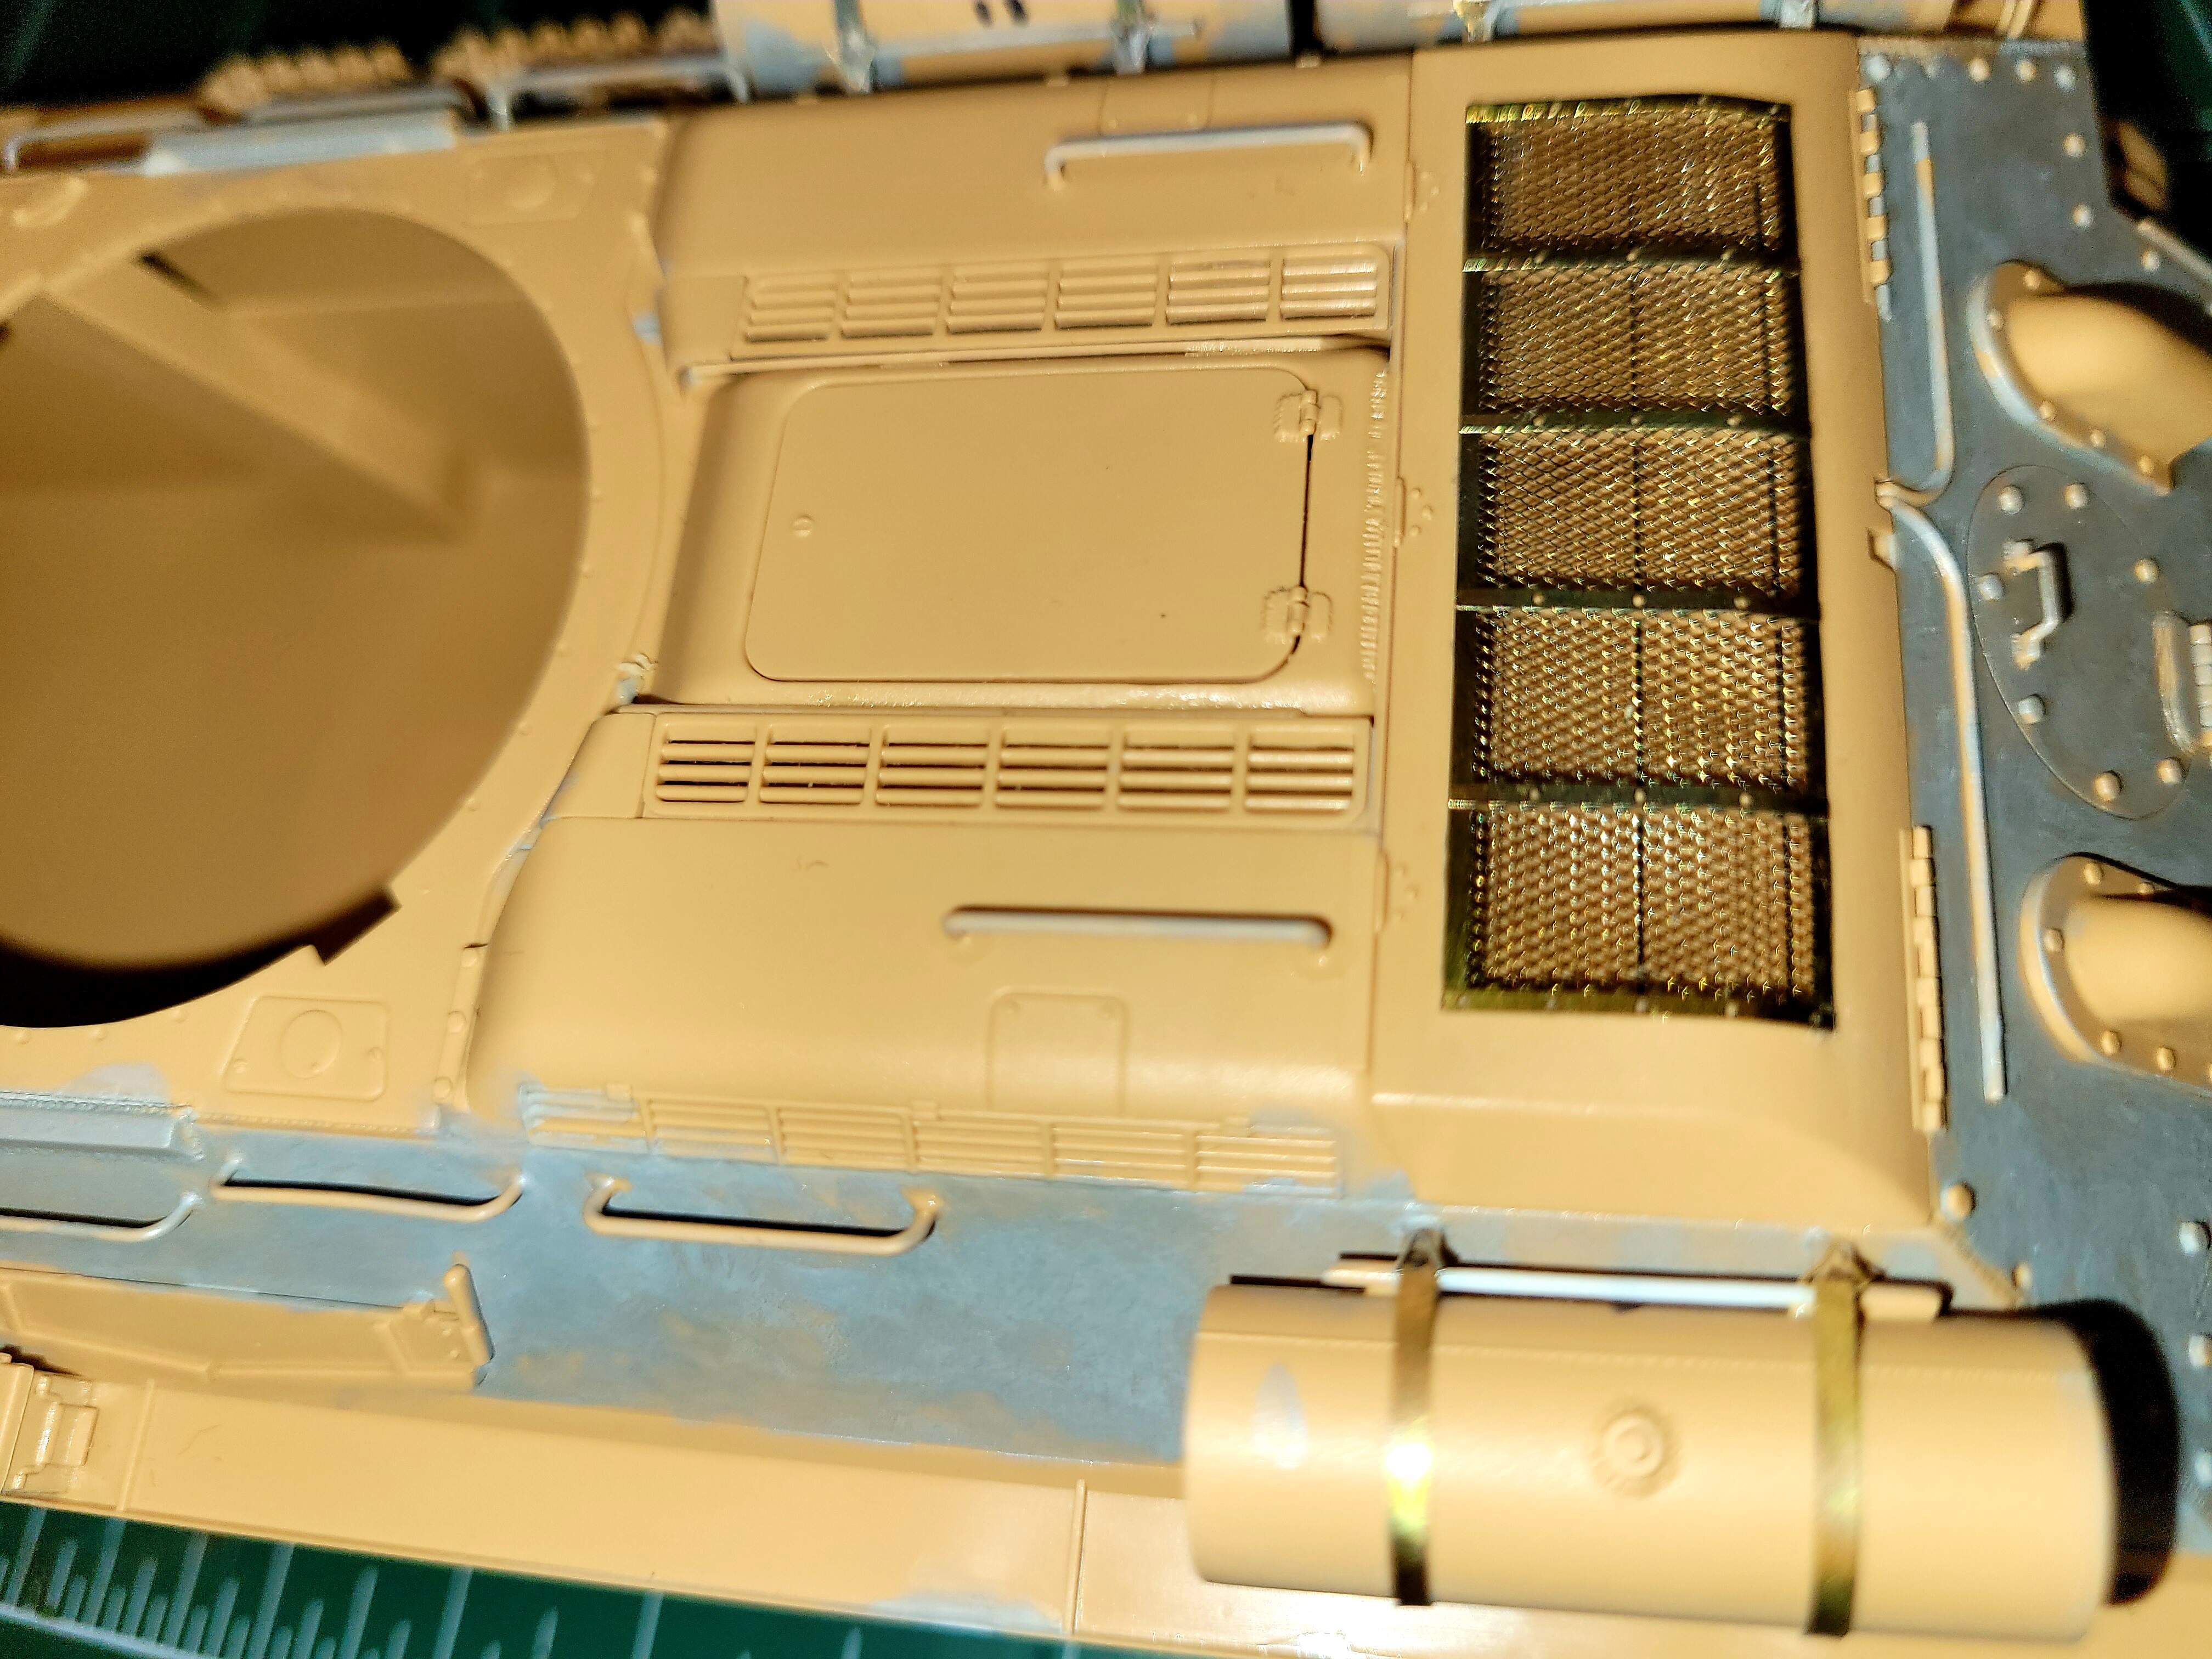
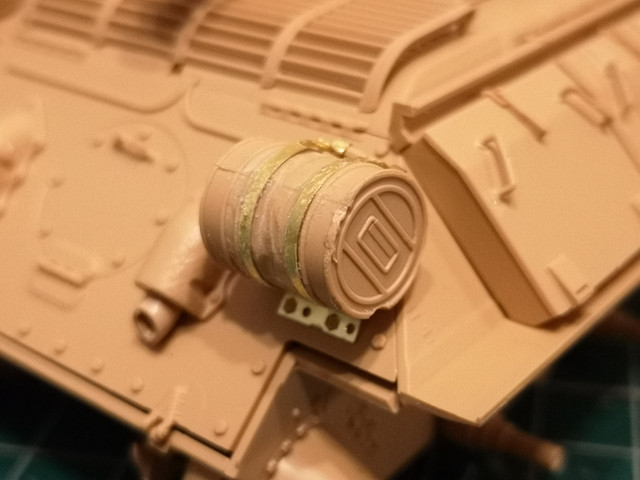
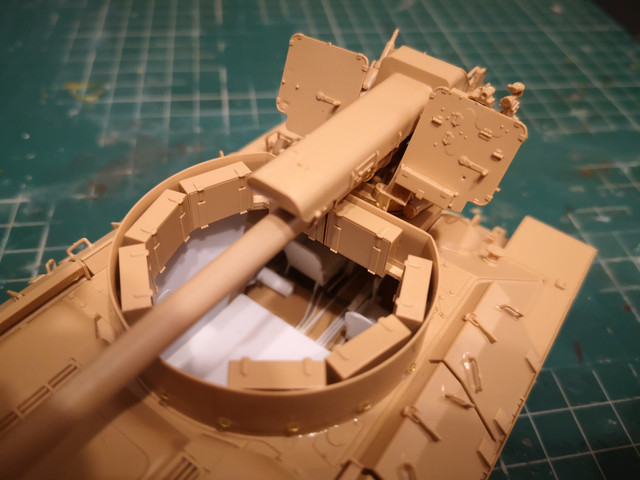
I realised that the distance between the lines on the smoke drums and the distance the pe straps go is not the same, one strap goes on the drum line and the other next to it (if you look at the photos you will see what I am talking about) and this made it a lot easier.
yeah i noticed that (rare for me to be so observant)… the D30 build almost complete, need to add rear mudguards, weld beading round the opening and then do the tracks bit I think I need to paint the interior first. May be able to get paint time this weekend but need to prime the Pz III first
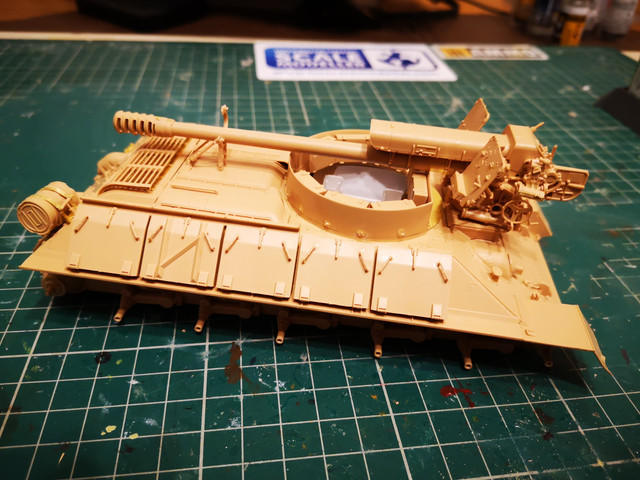
struggled with the rear fuel tanks so one on (damaged), one showing a broken bracket… and some damage to front fenders
1 Like
Hey Rob I have some spare T-34 PE that includes the rear drum parts. PM me if your interested and I’ll send you them.
thanks for the offer but am OK with it being damaged in action… had intended to leave one off anyway
1 Like
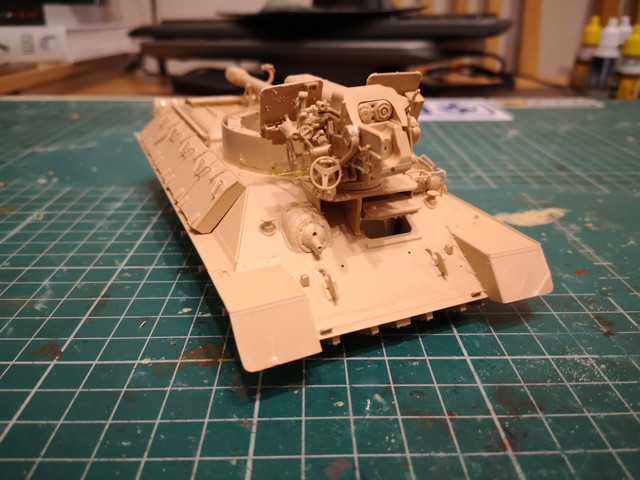
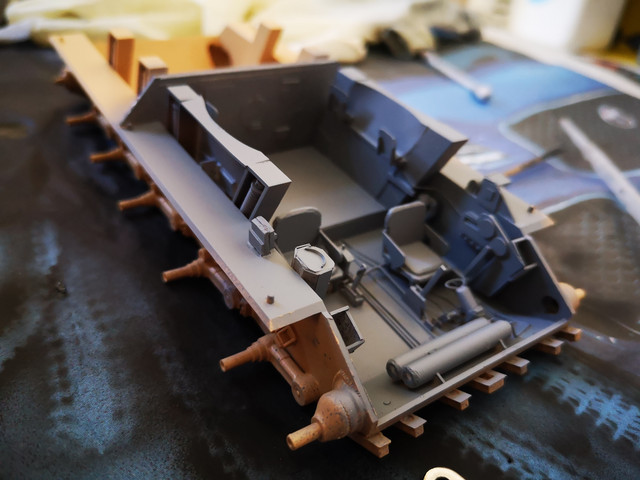
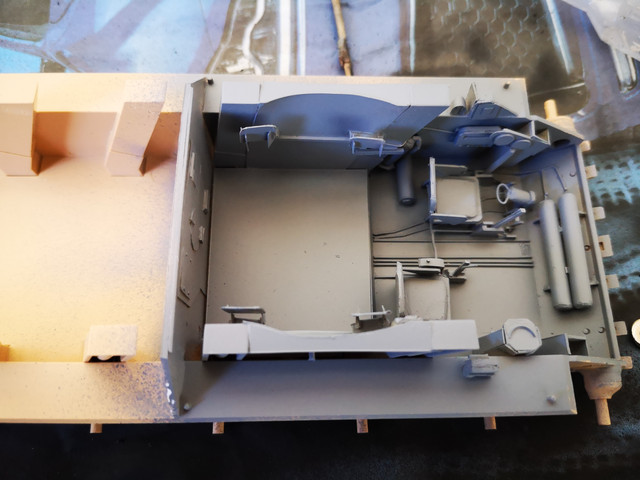
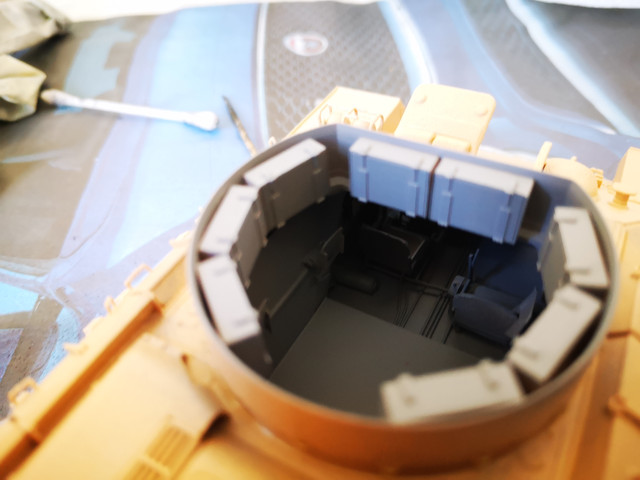
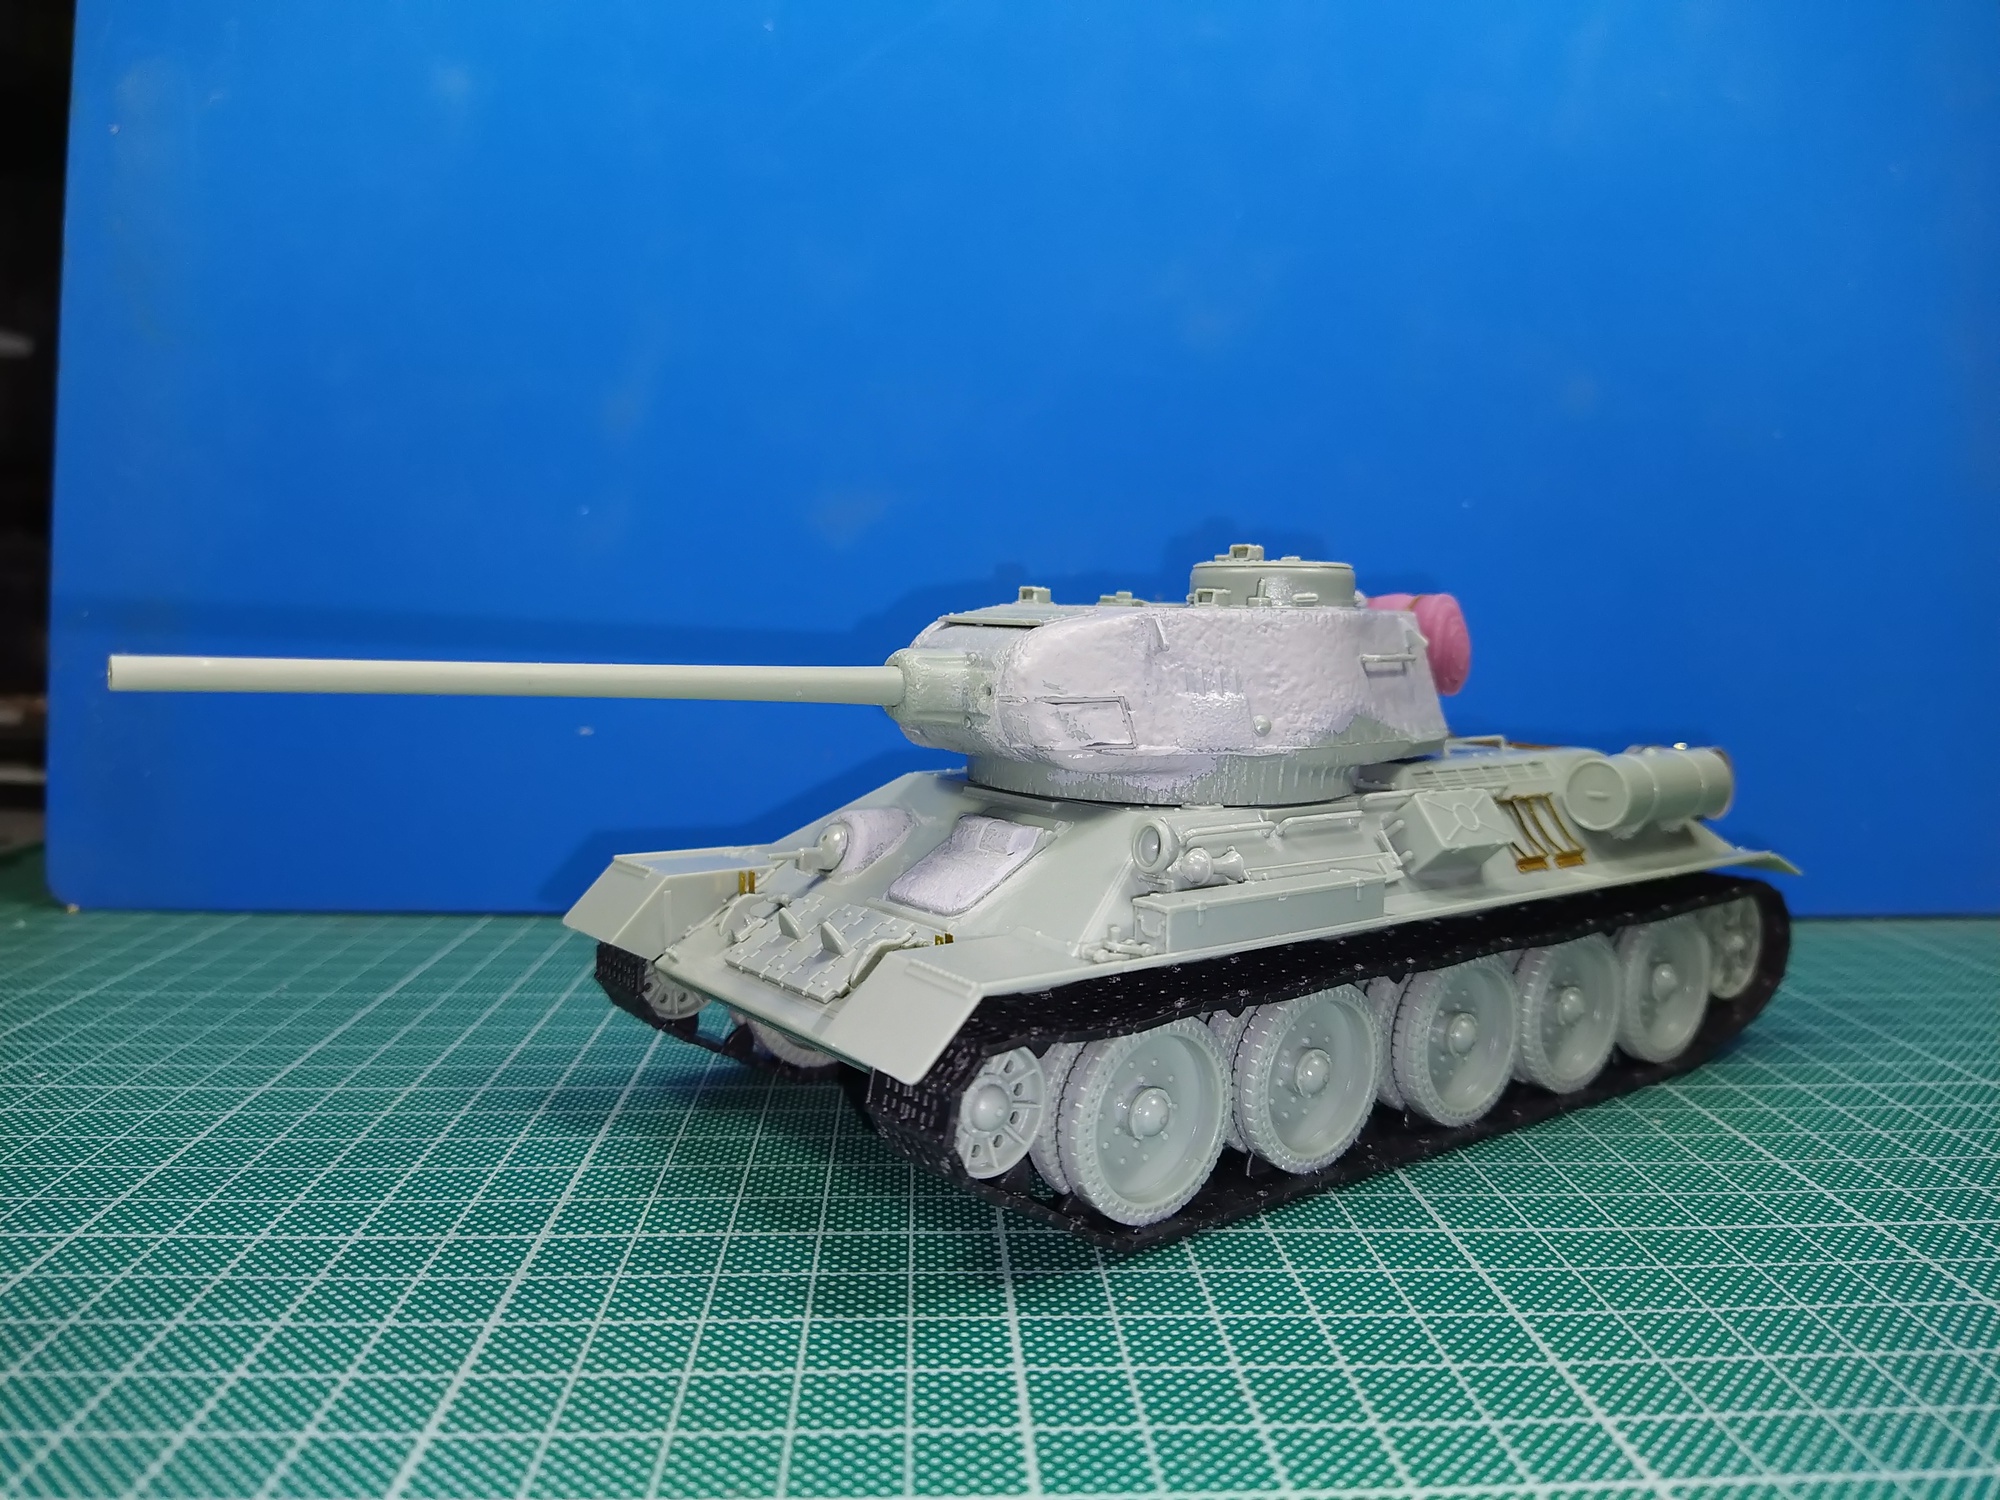
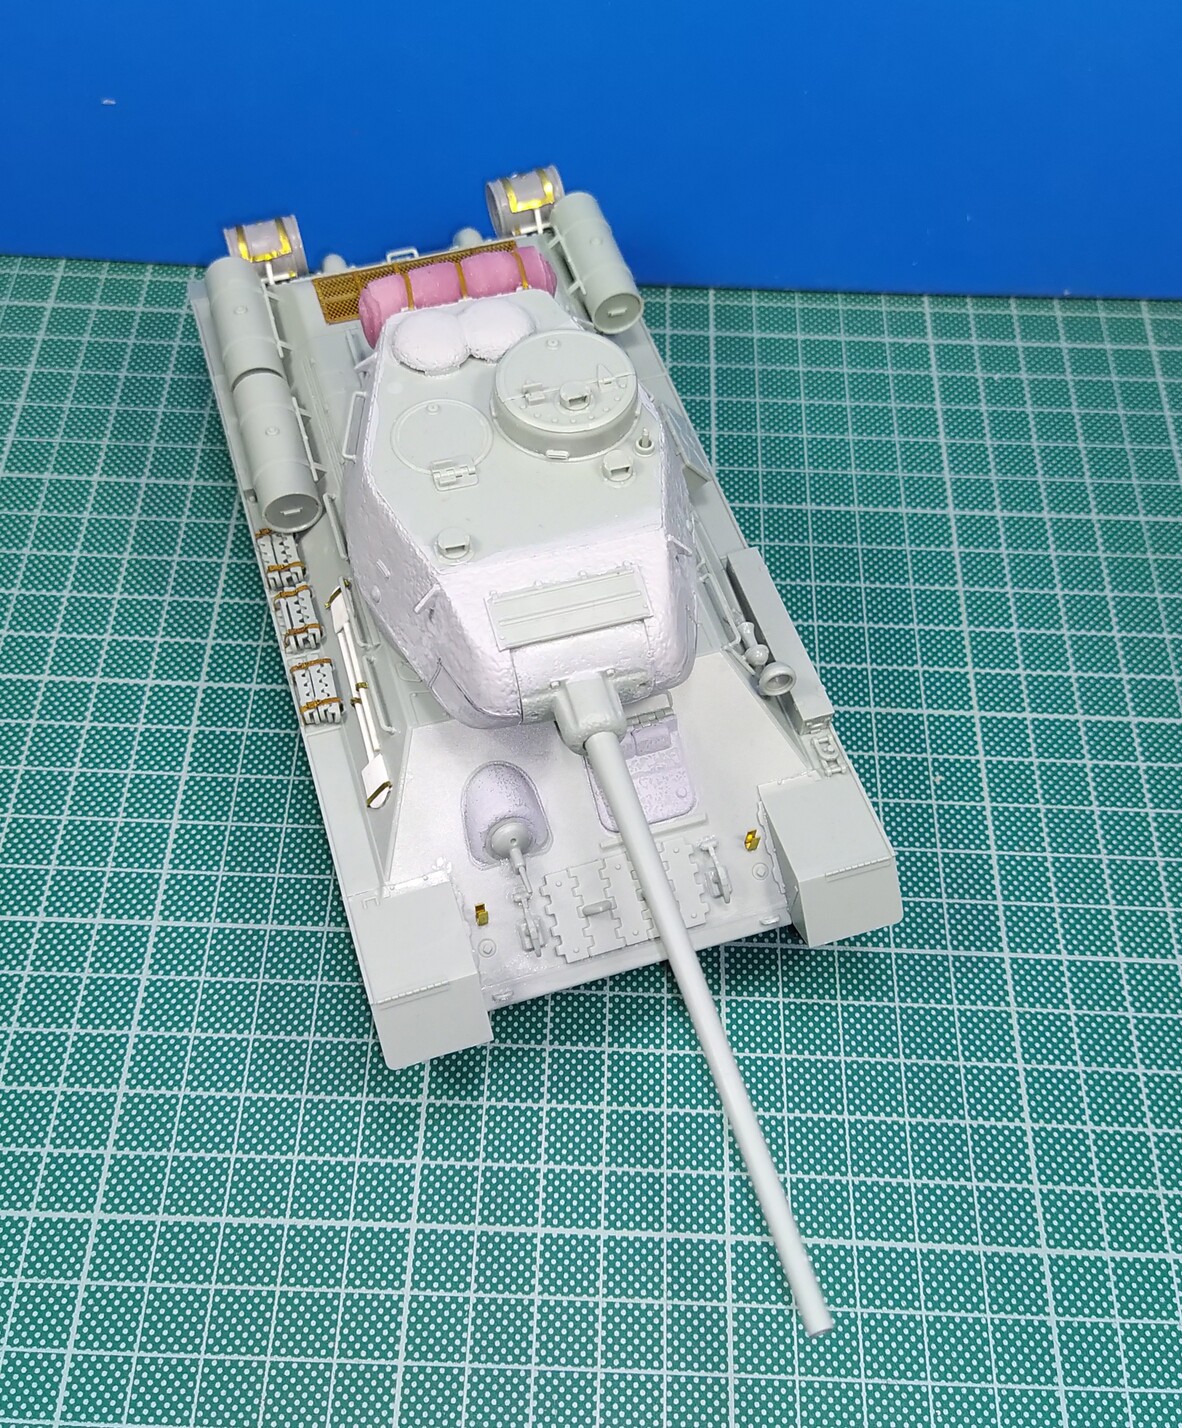
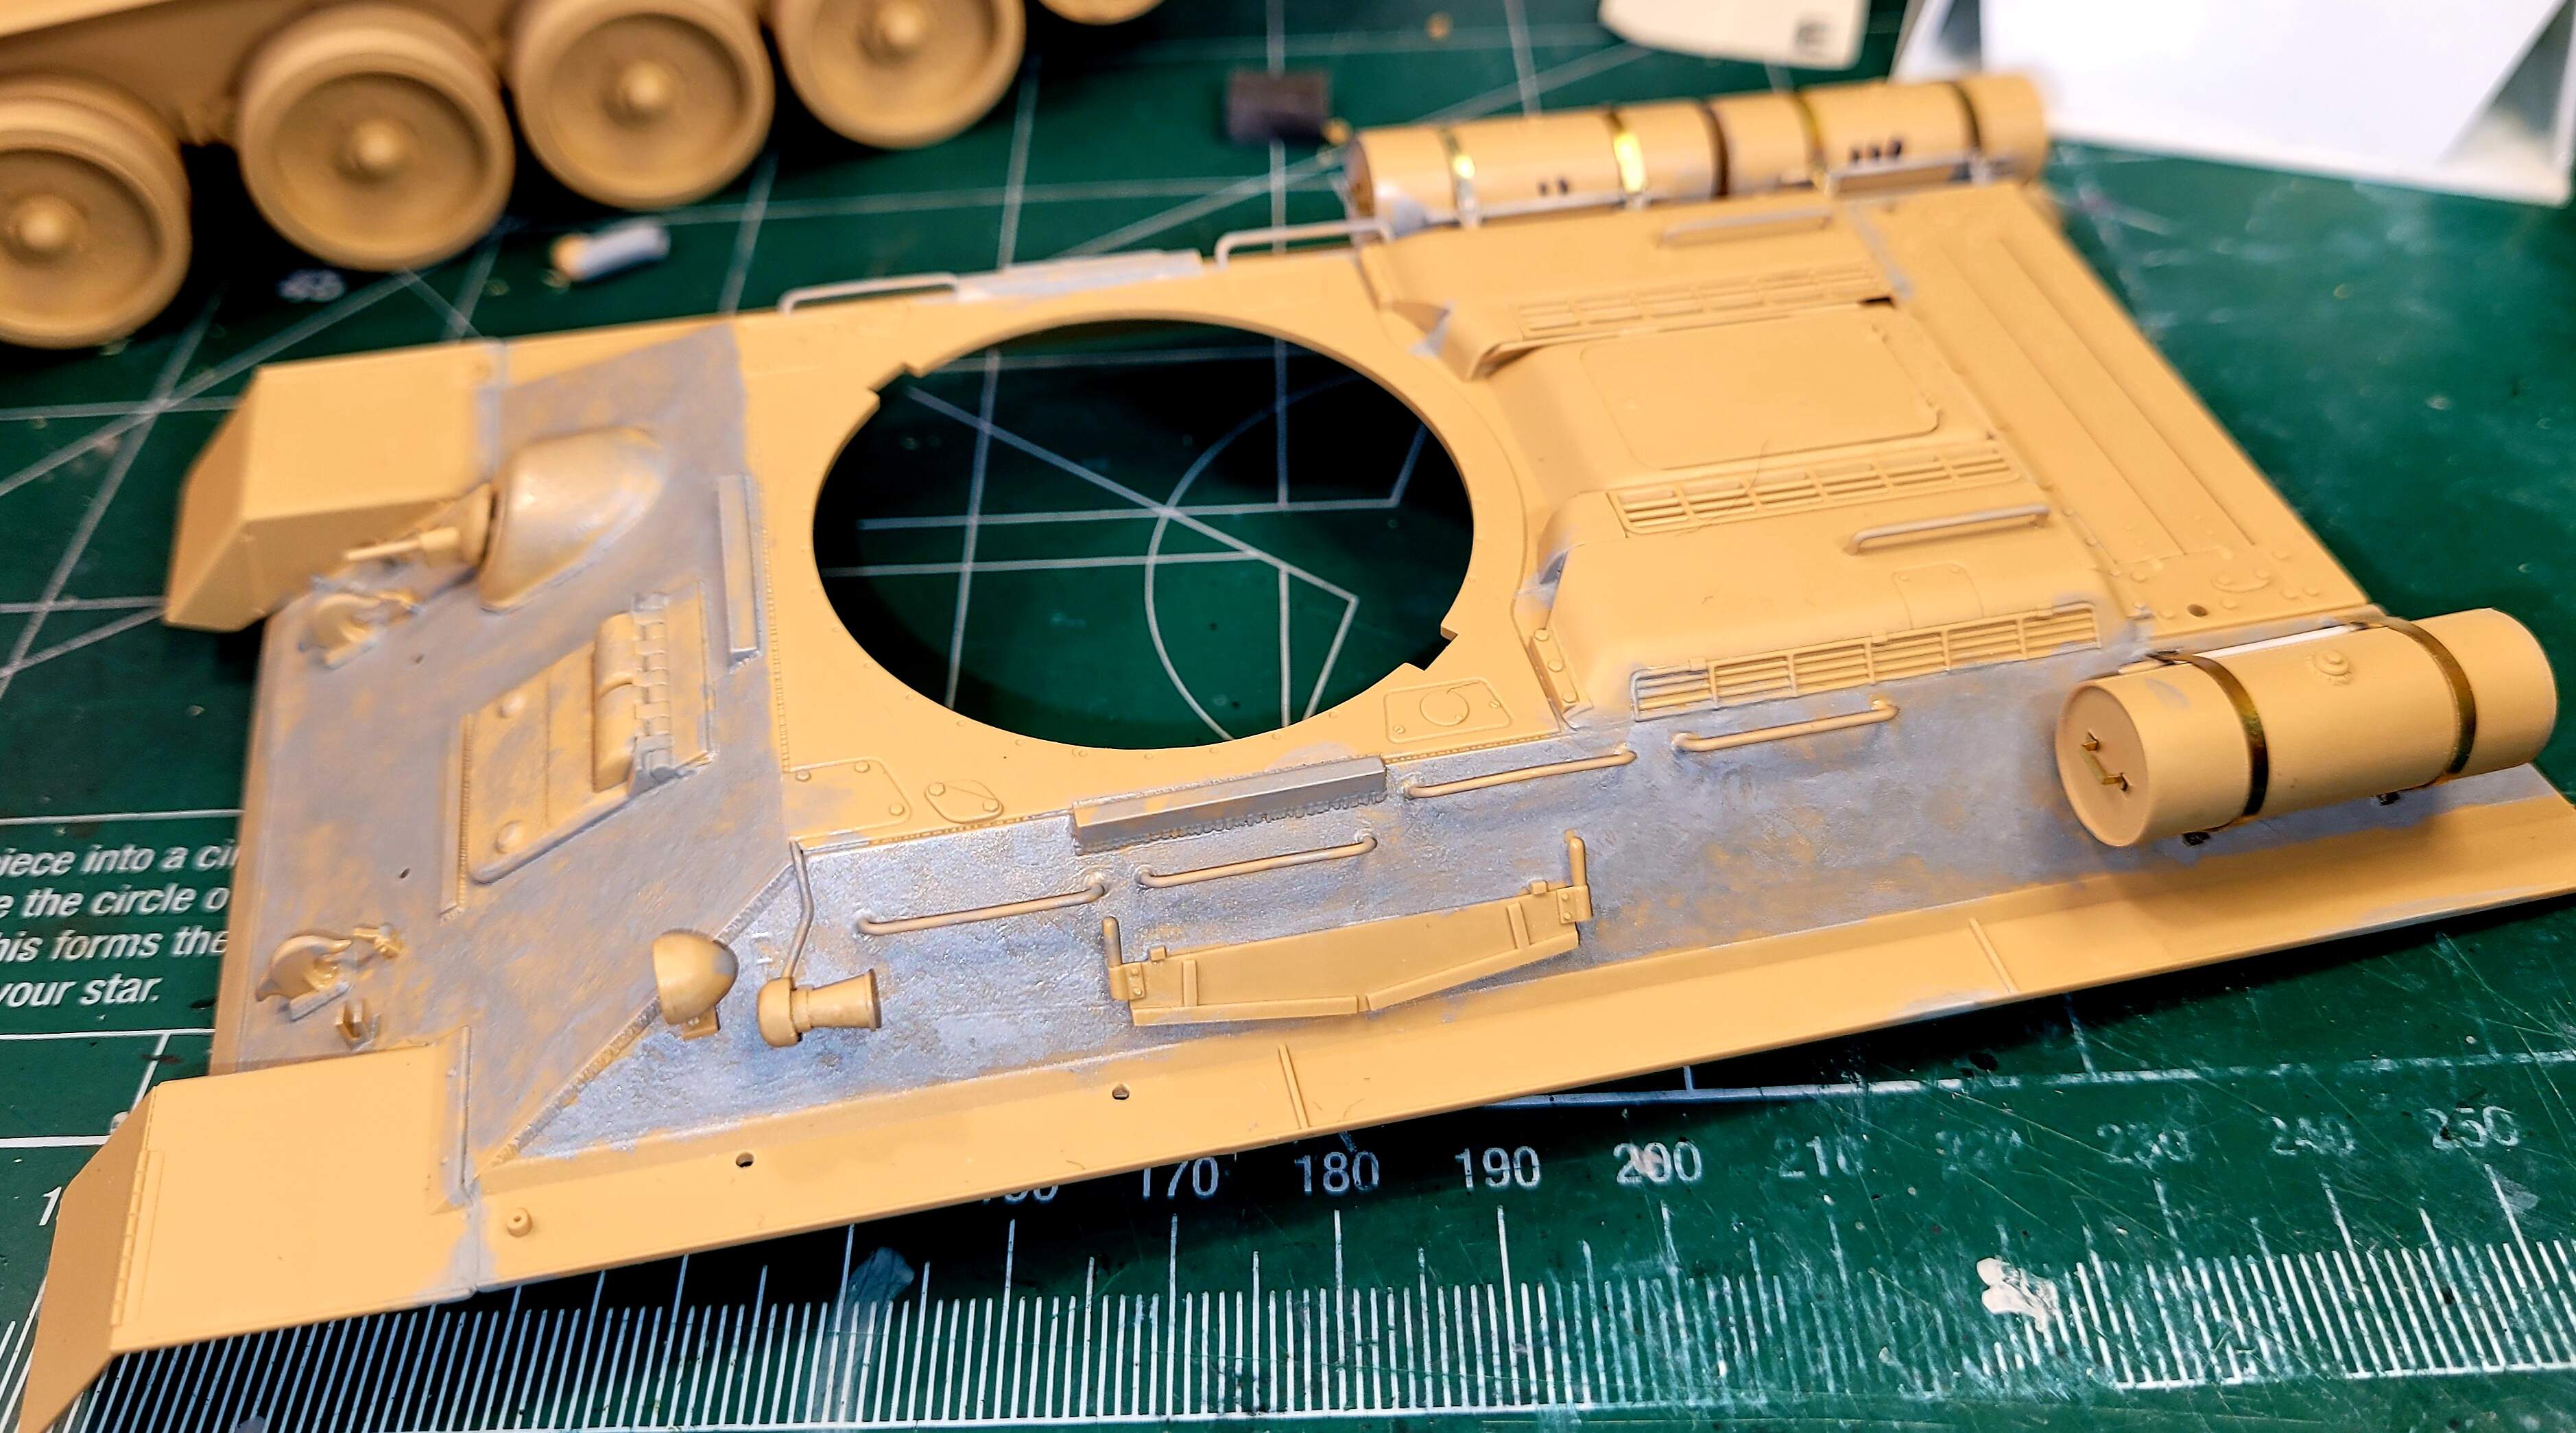
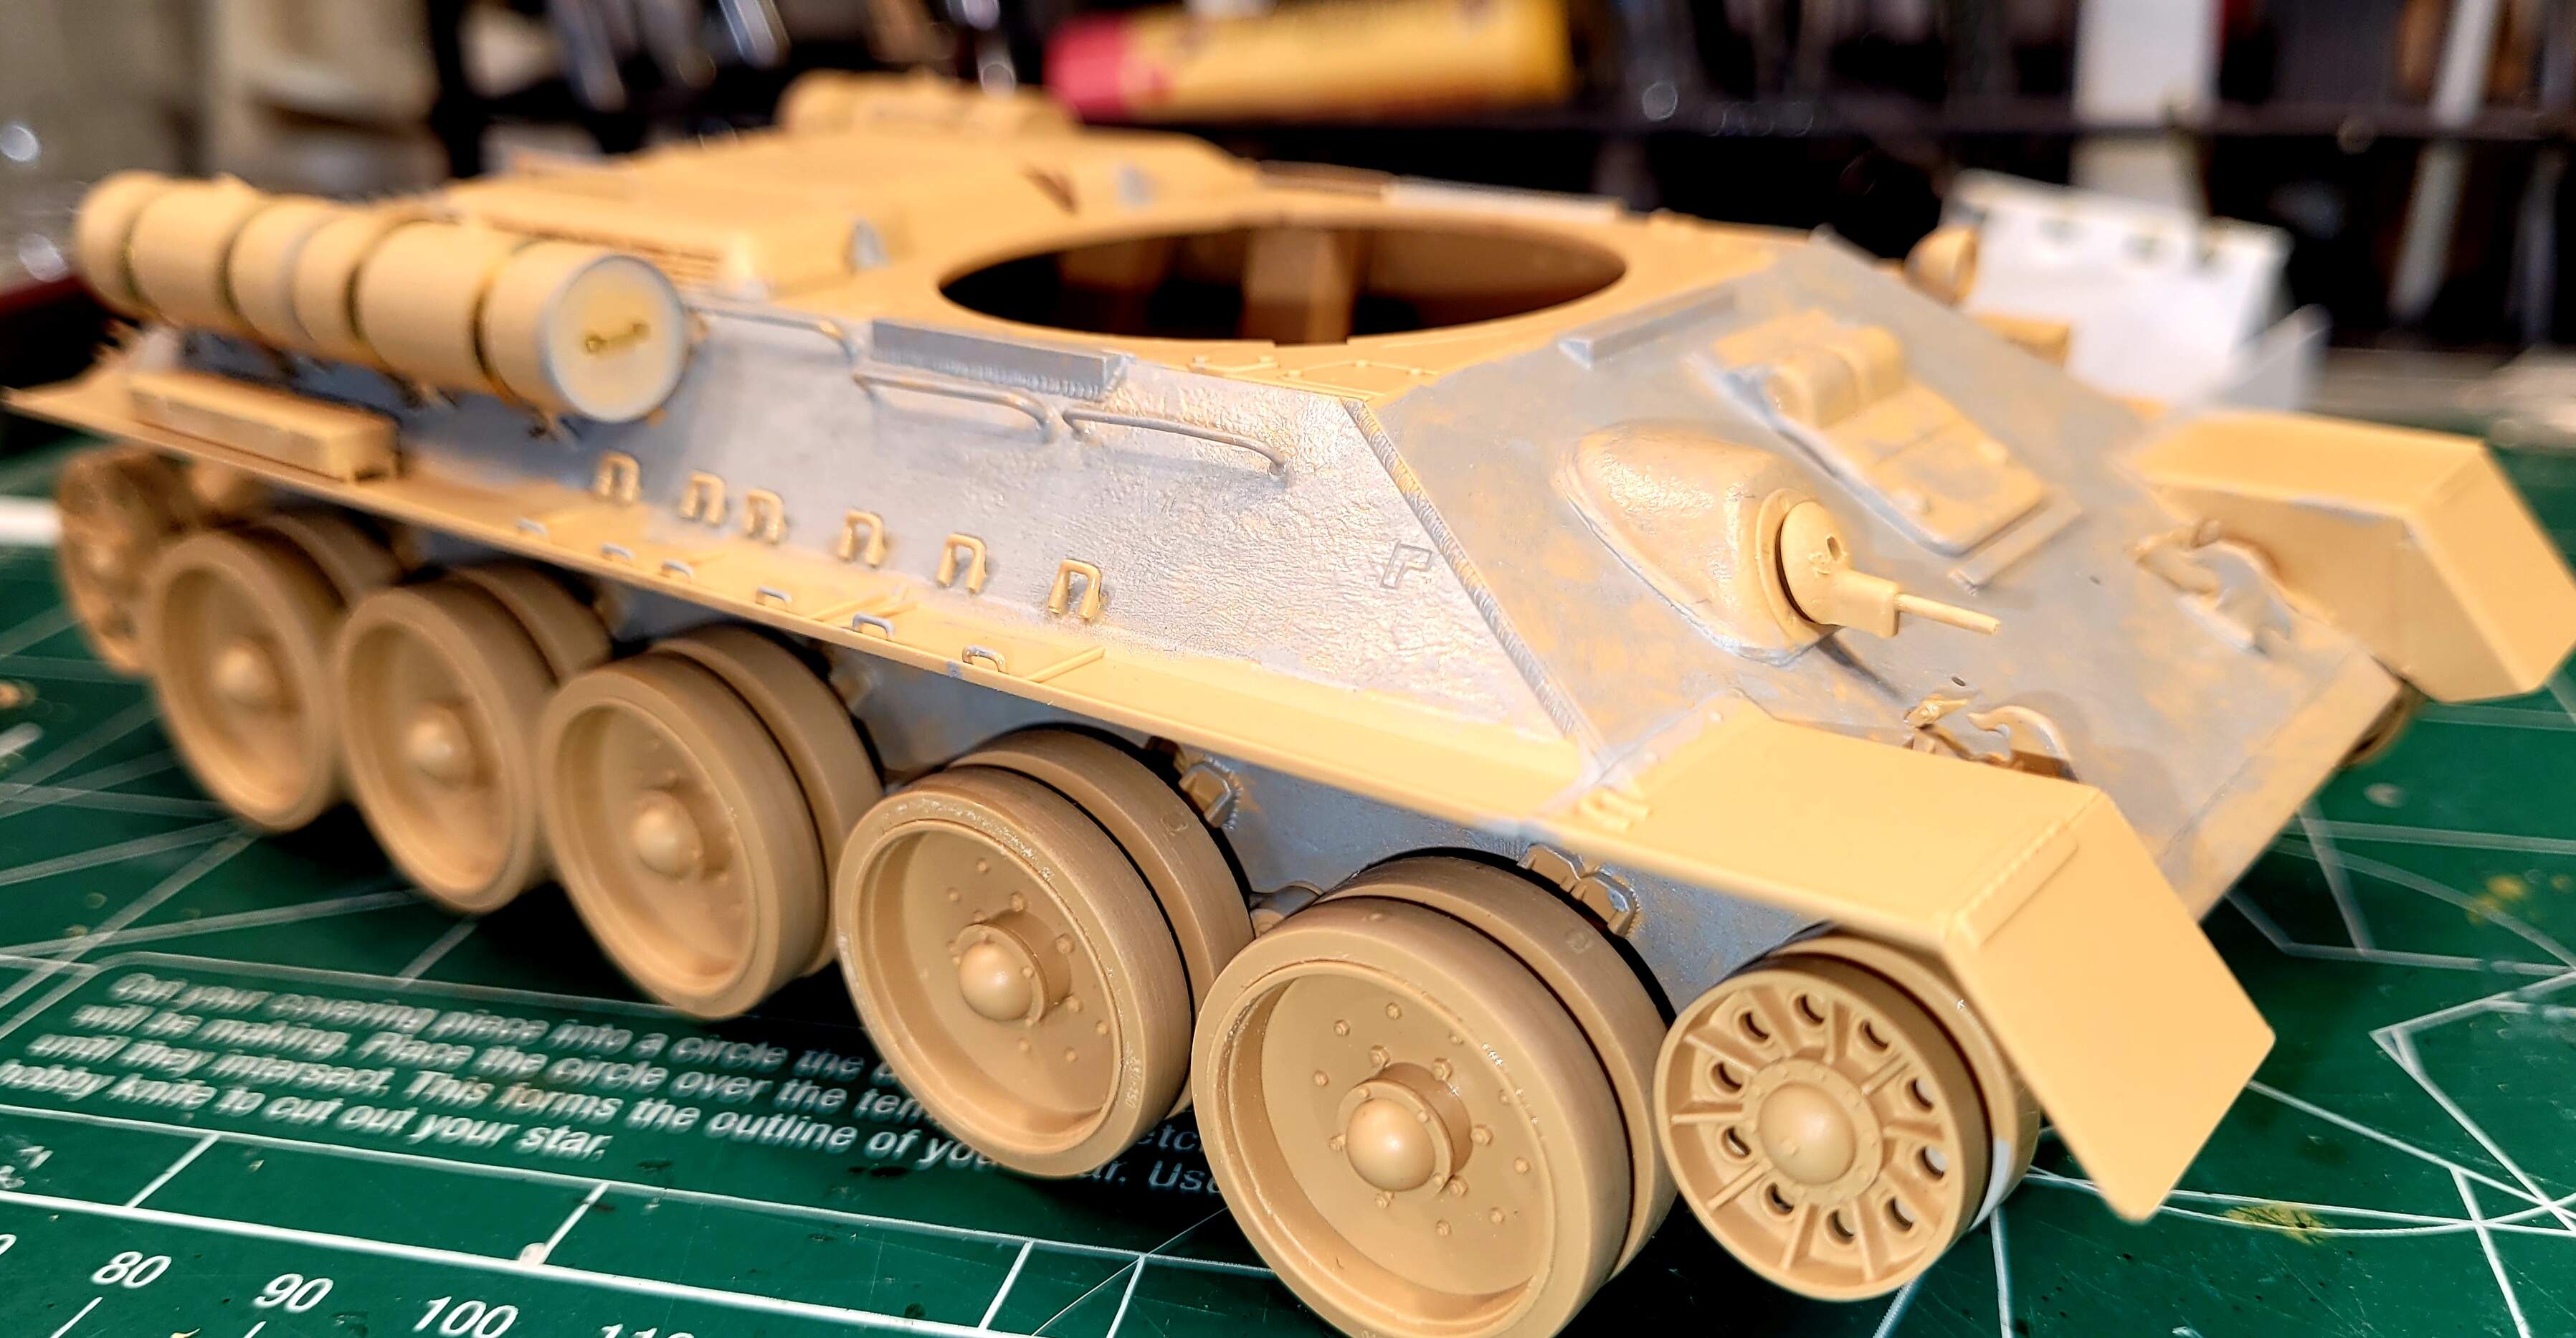
T-34/D30 Interior primer on, now it is starting to come together. Front part will be white, rear will be same as external (sand grey)
4 Likes
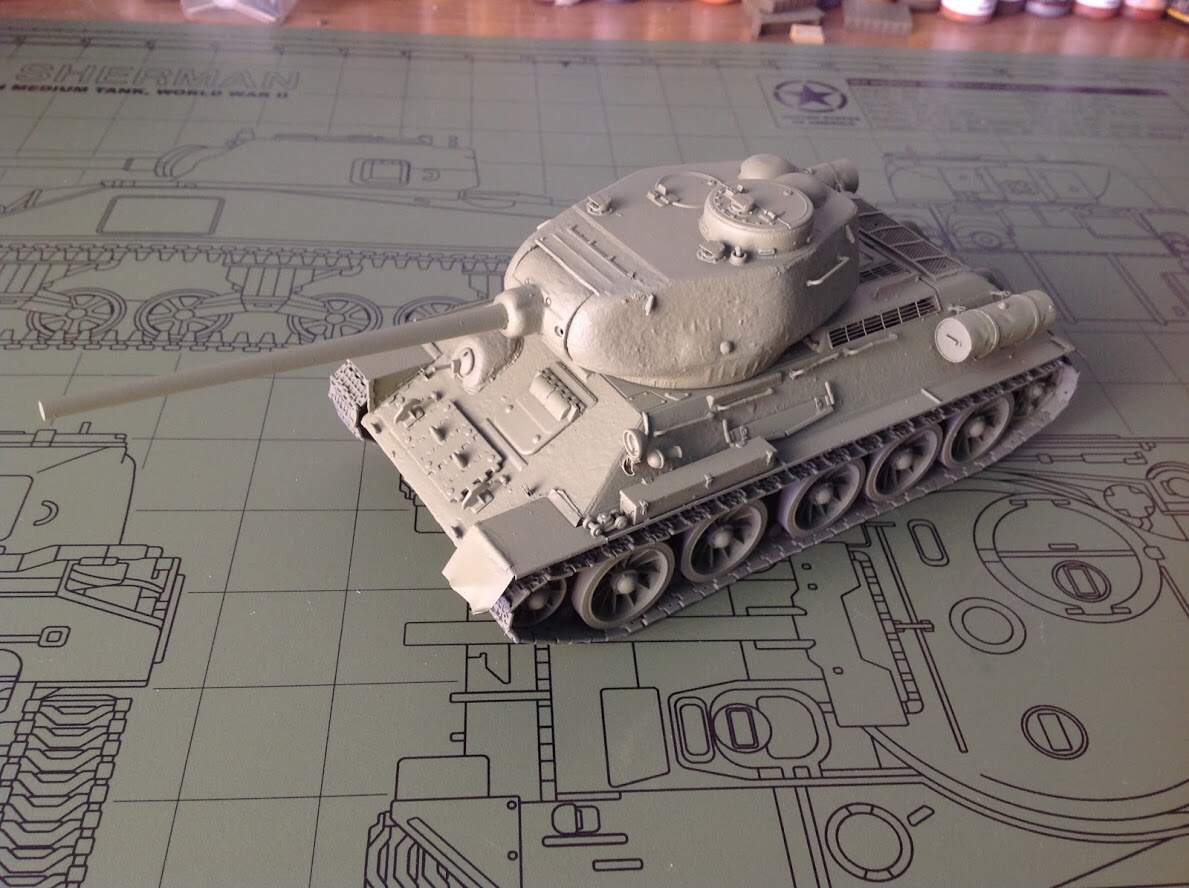
Come to that, the hull was also rolled plate. Not all the cast parts were very textured either - turrets show more than the engine cover or final drive bulges, for example.
2 Likes
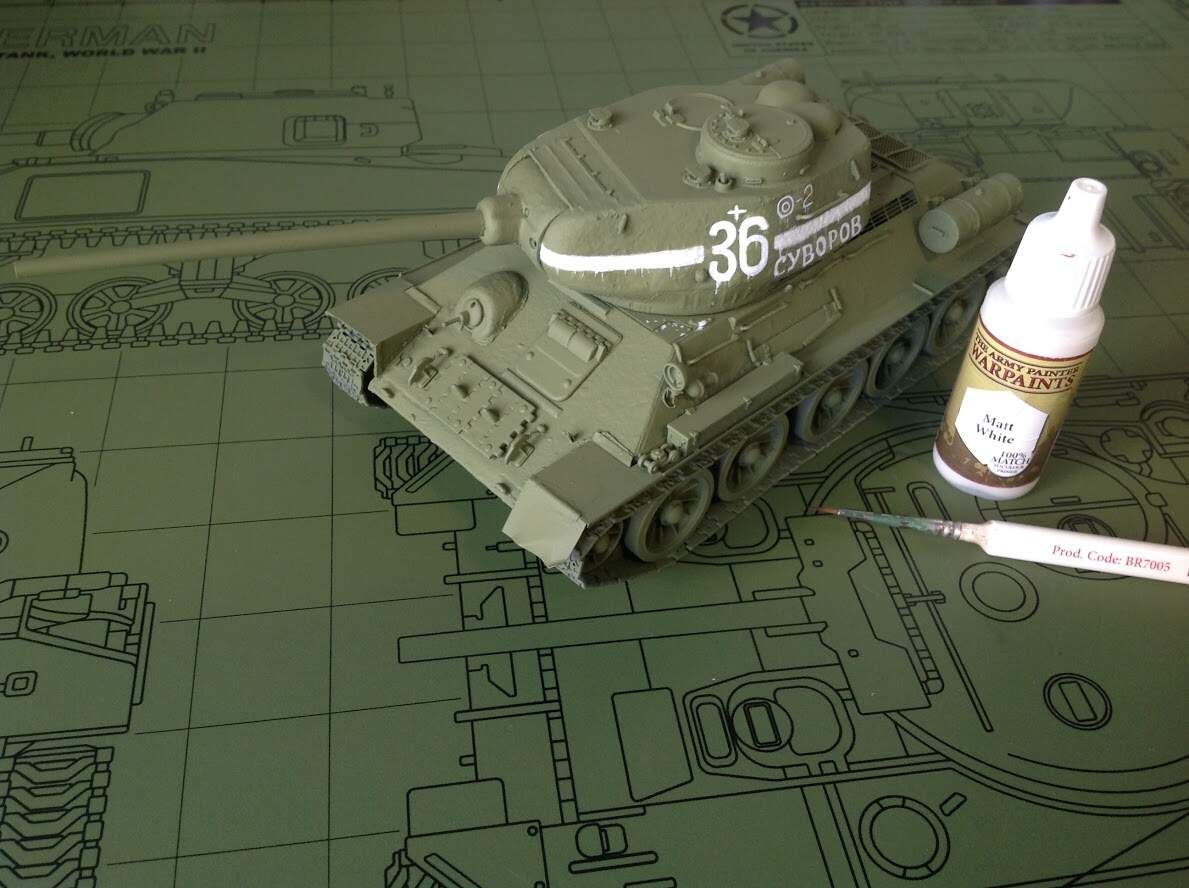
Marking 100% hand painted with Army painter white.
( Just eyeballed the correct size for everything using the painting guide and decals.)
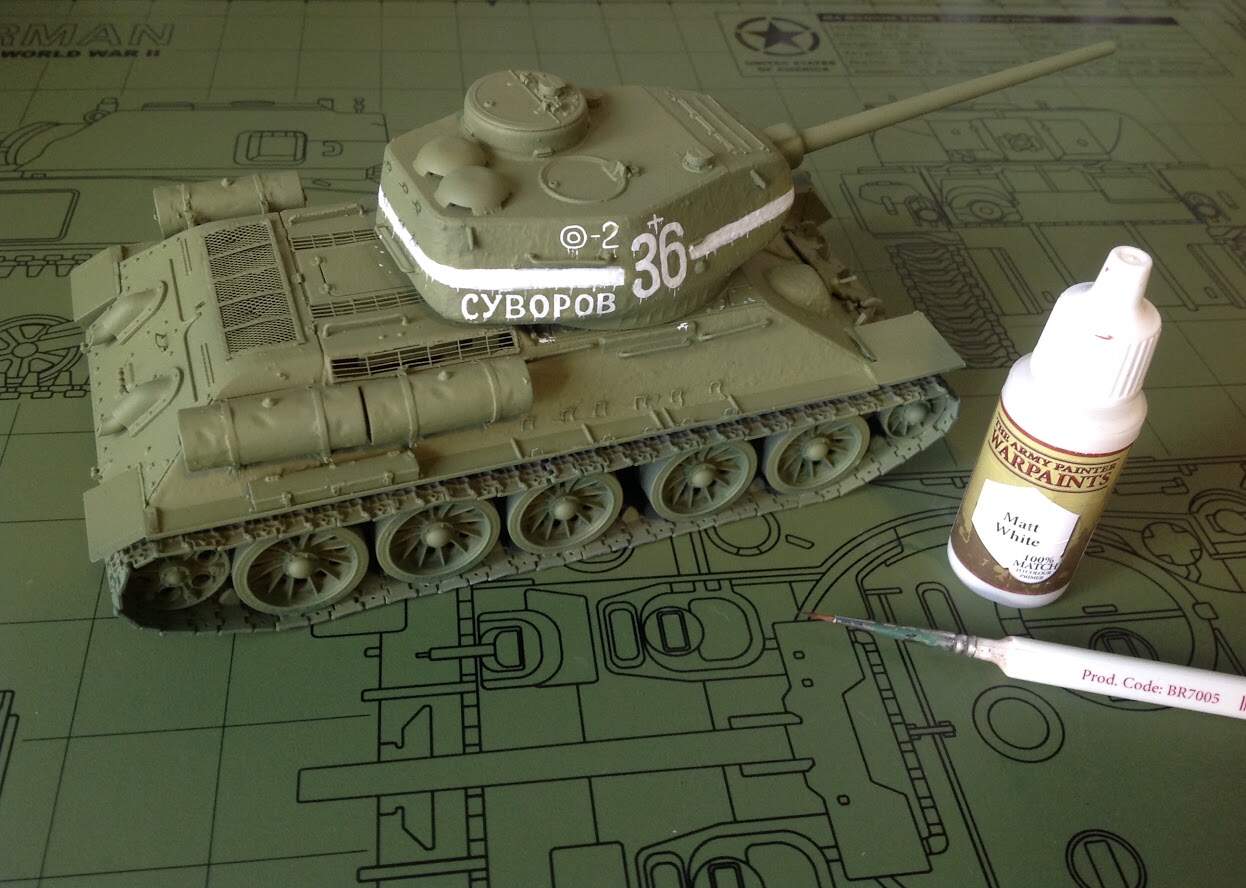
7 Likes
@Panzer_modeler Ezra, very well done painted markings!
@Panzer_modeler very nice paintjob overall!!
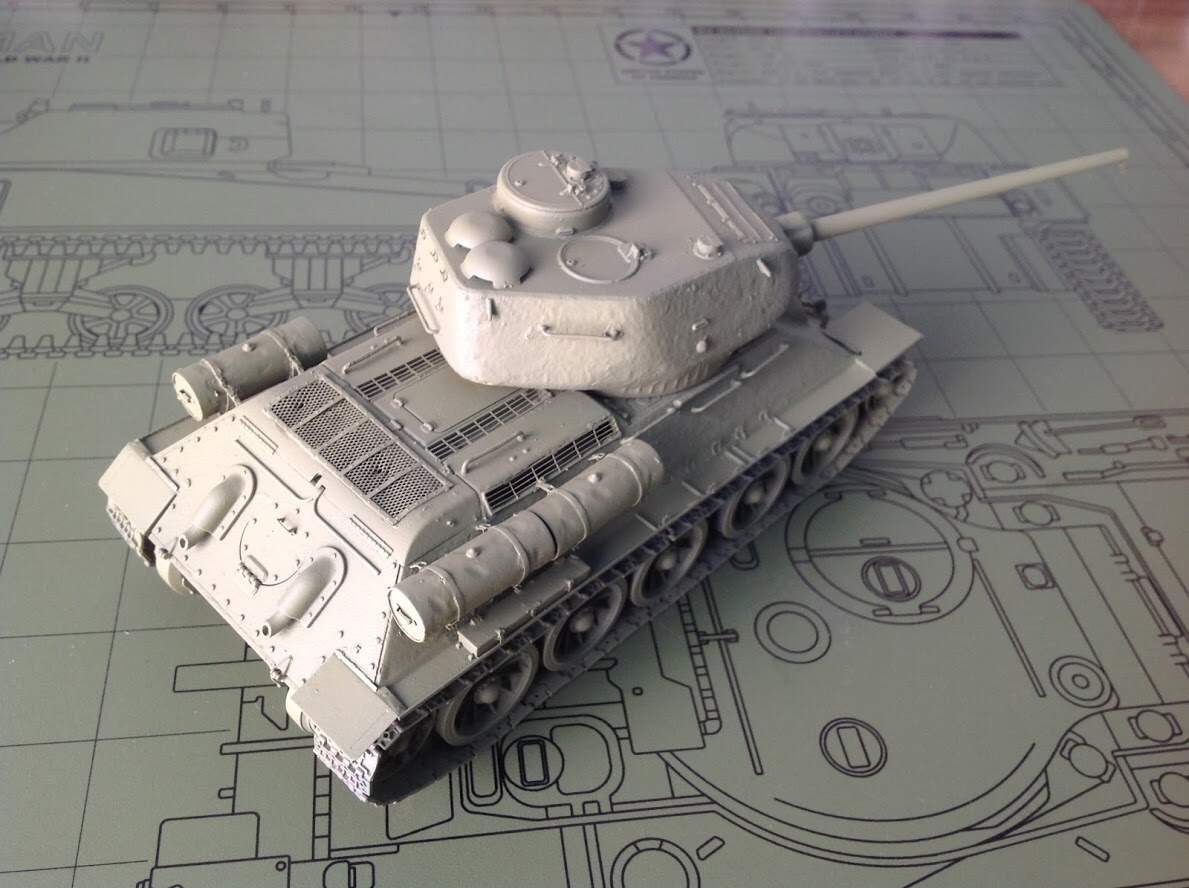
I finished the Academy kit, all three kits ready for primer.


4 Likes
Thanks Wade and Nikos!
Nikos, the Academy kit looks great!
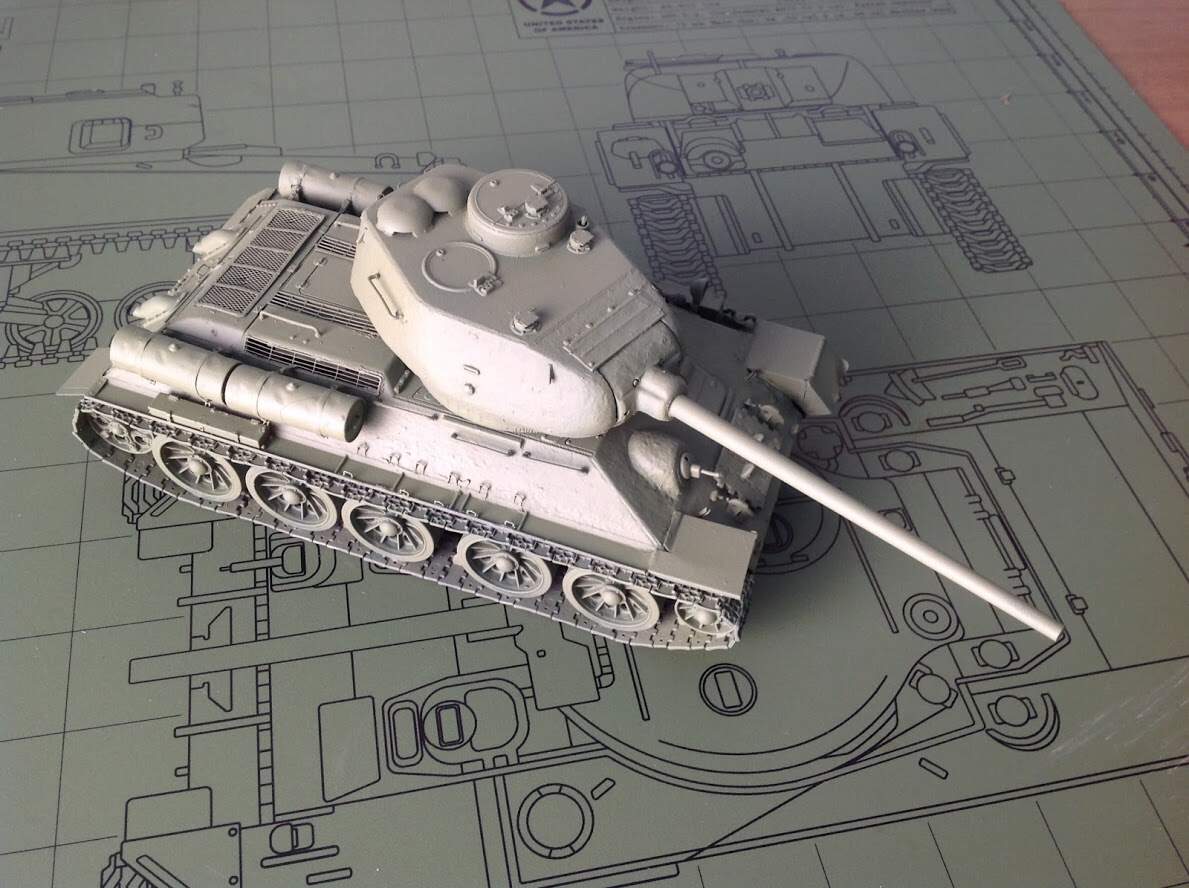
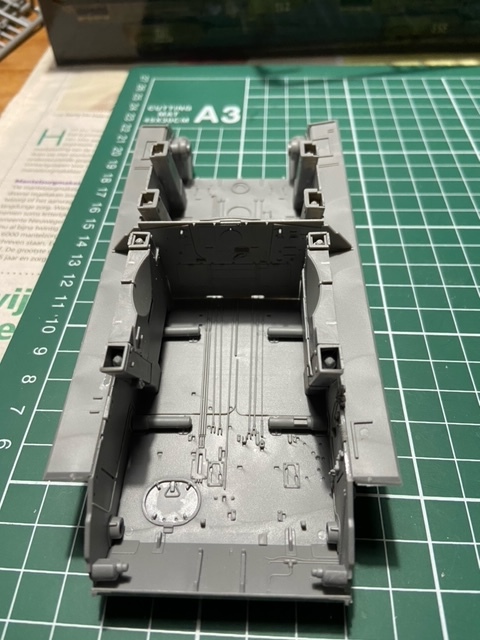
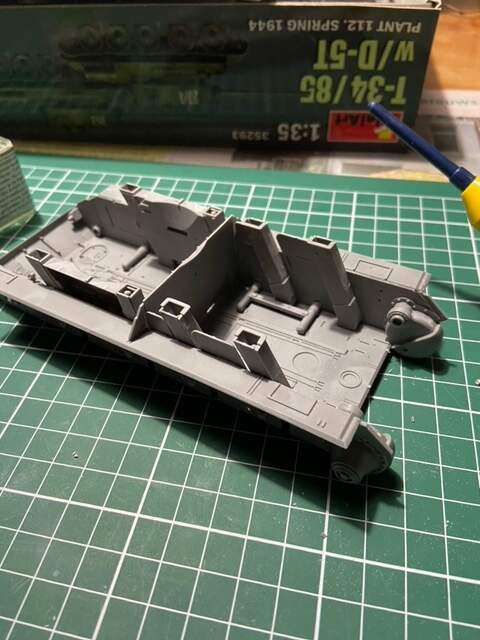
Started today with my T-34/85:

The plastic is a lot different than the plastic from the Miniart T-70 I am building for the Miniart campaign. The plastic of this T-34 is harder and more fun to work with.

The side panels are not glued yet, just a dryfit.
3 Likes
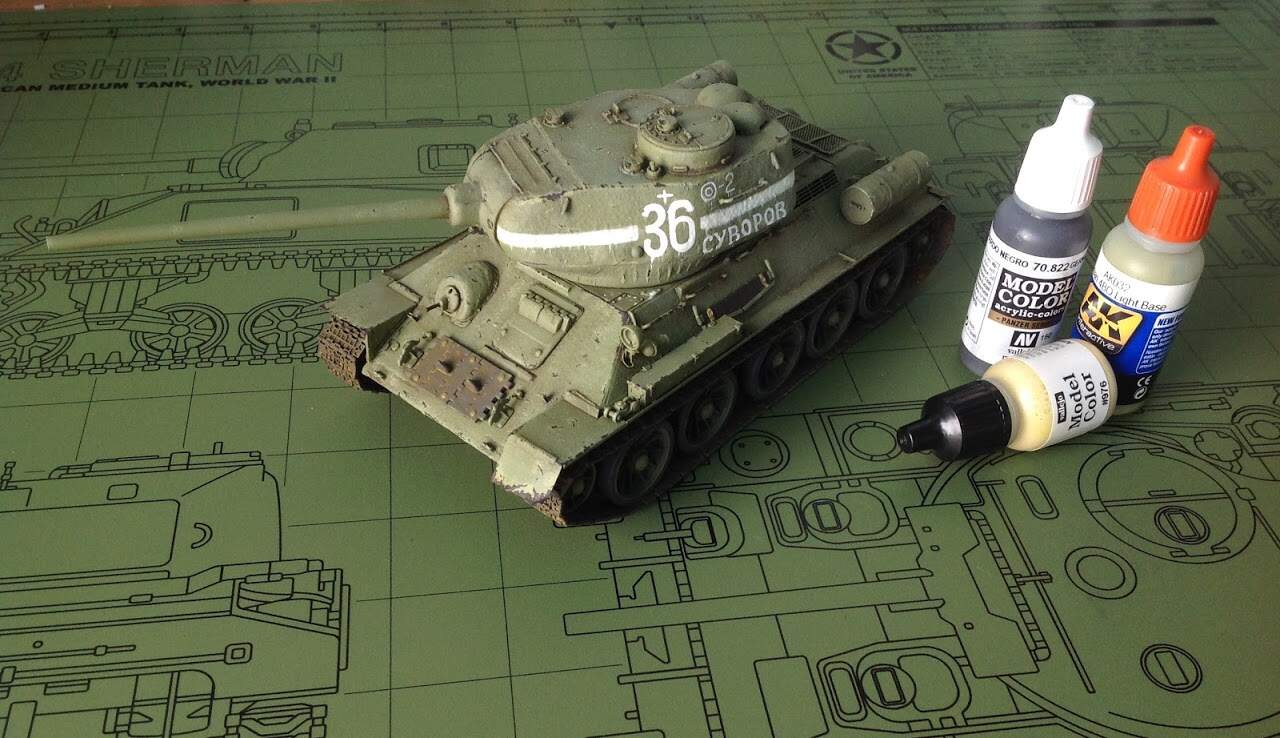
Starting weathering.
First I painted all the wheels a dark grey and the tracks a darker grey (You will see why soon.) then I applied a brown wash and a dot filter and let it sit over night, now I’m starting the chipping with a mix of the 4BO and buff for the scuffs and German black brown for the steel chips. When finished I will go over the steel chips and add a slight bit of rust. I also added the first rust wash to the tracks.
5 Likes
Sharp looking build. 
1 Like
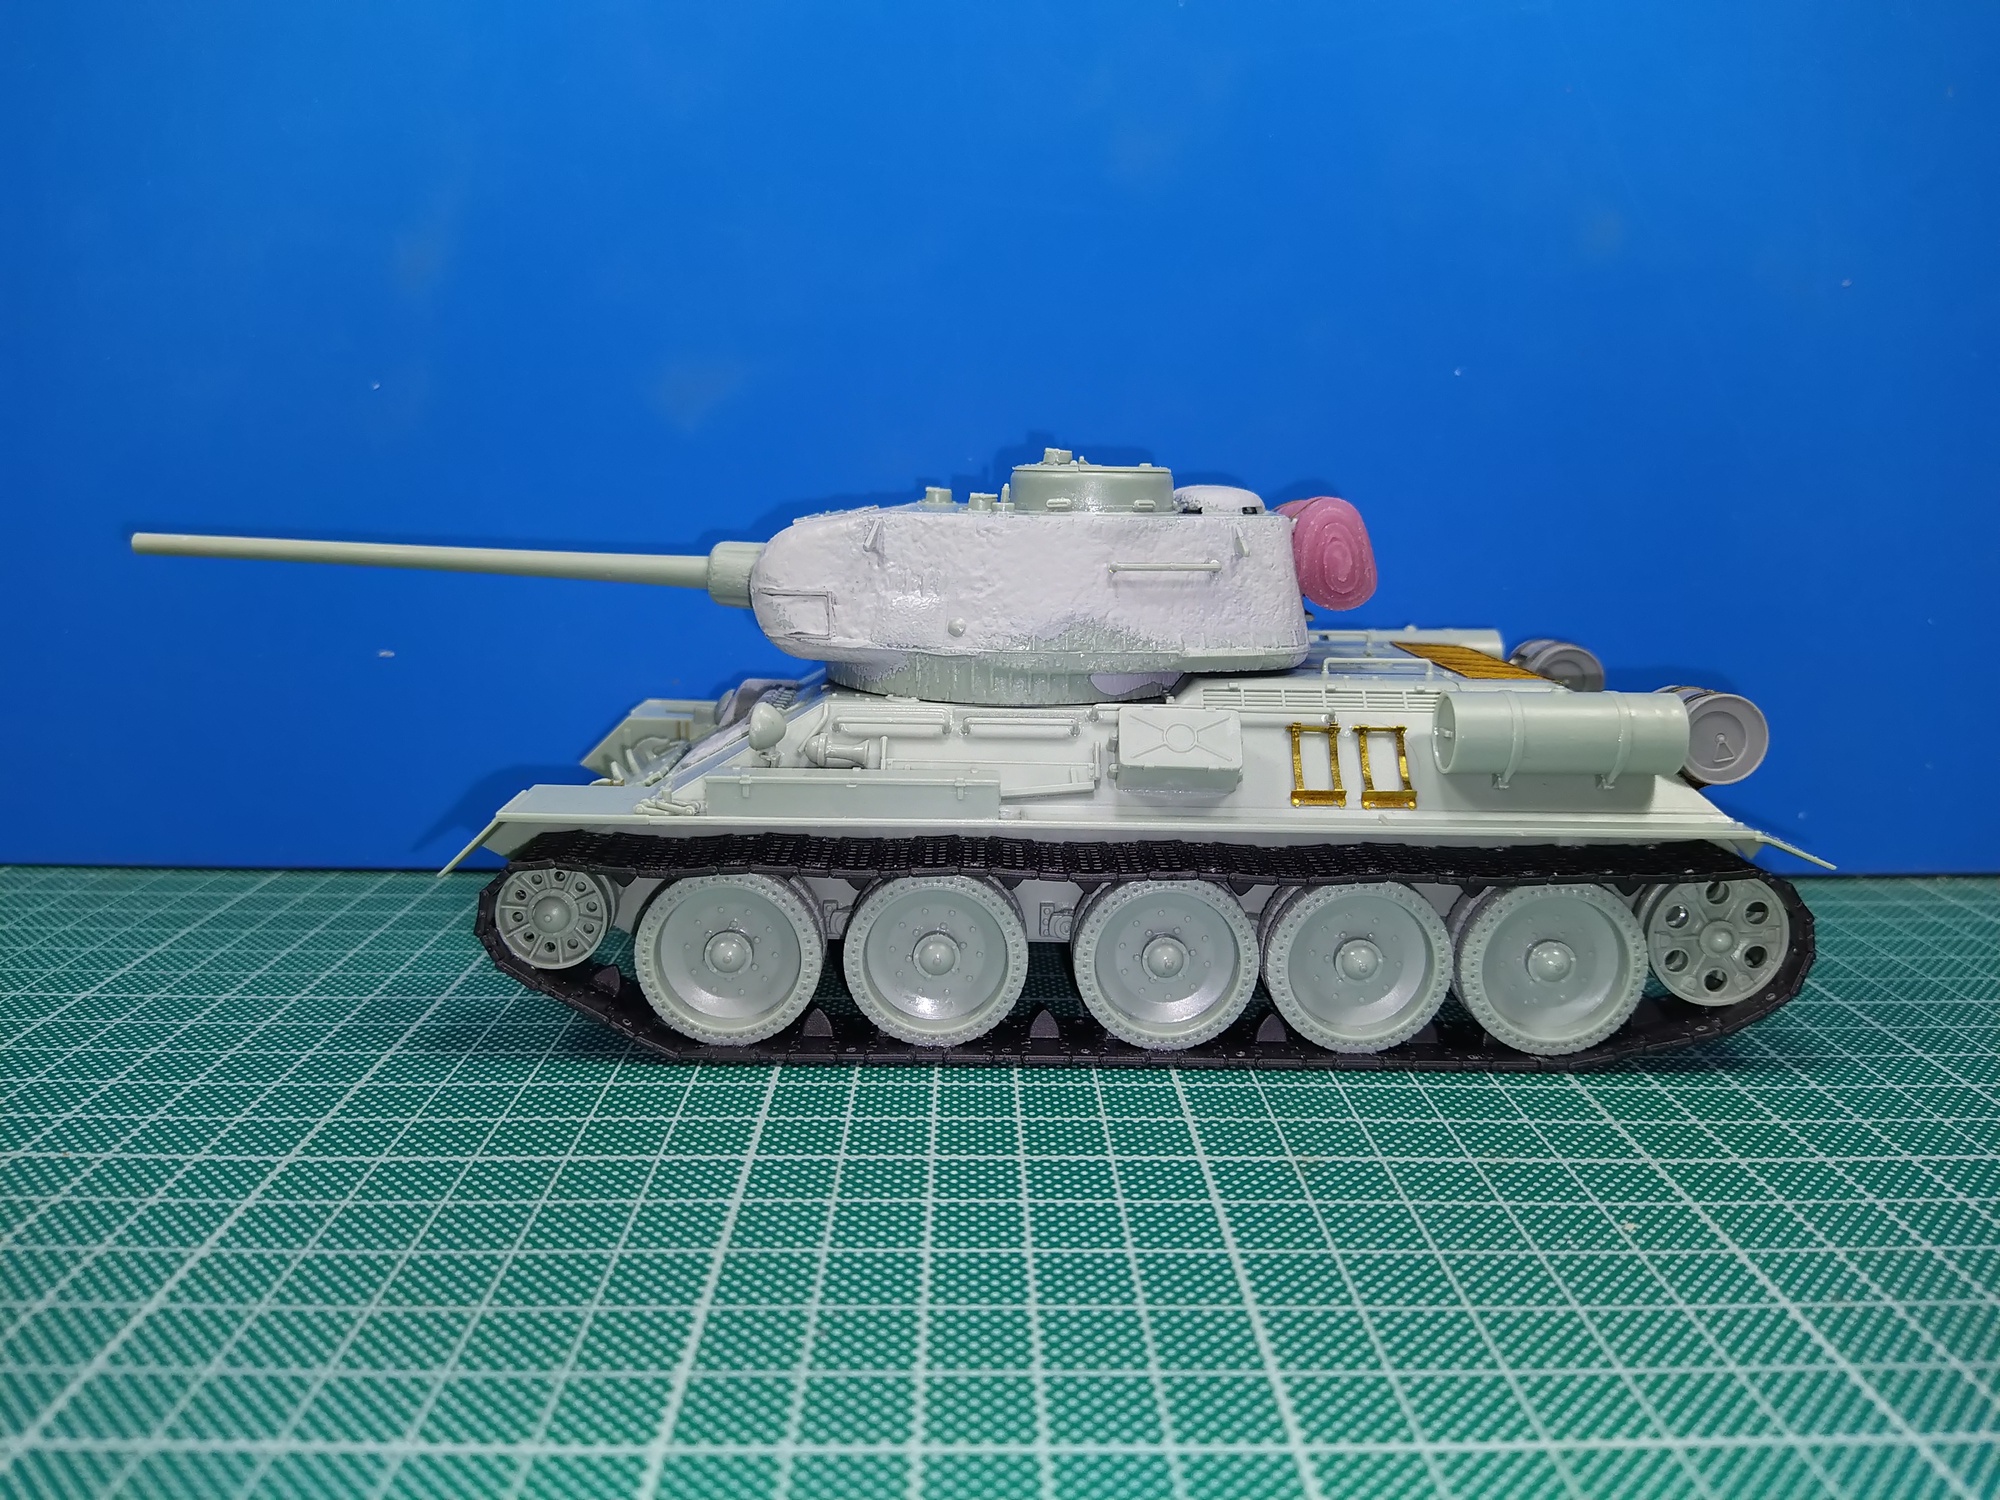
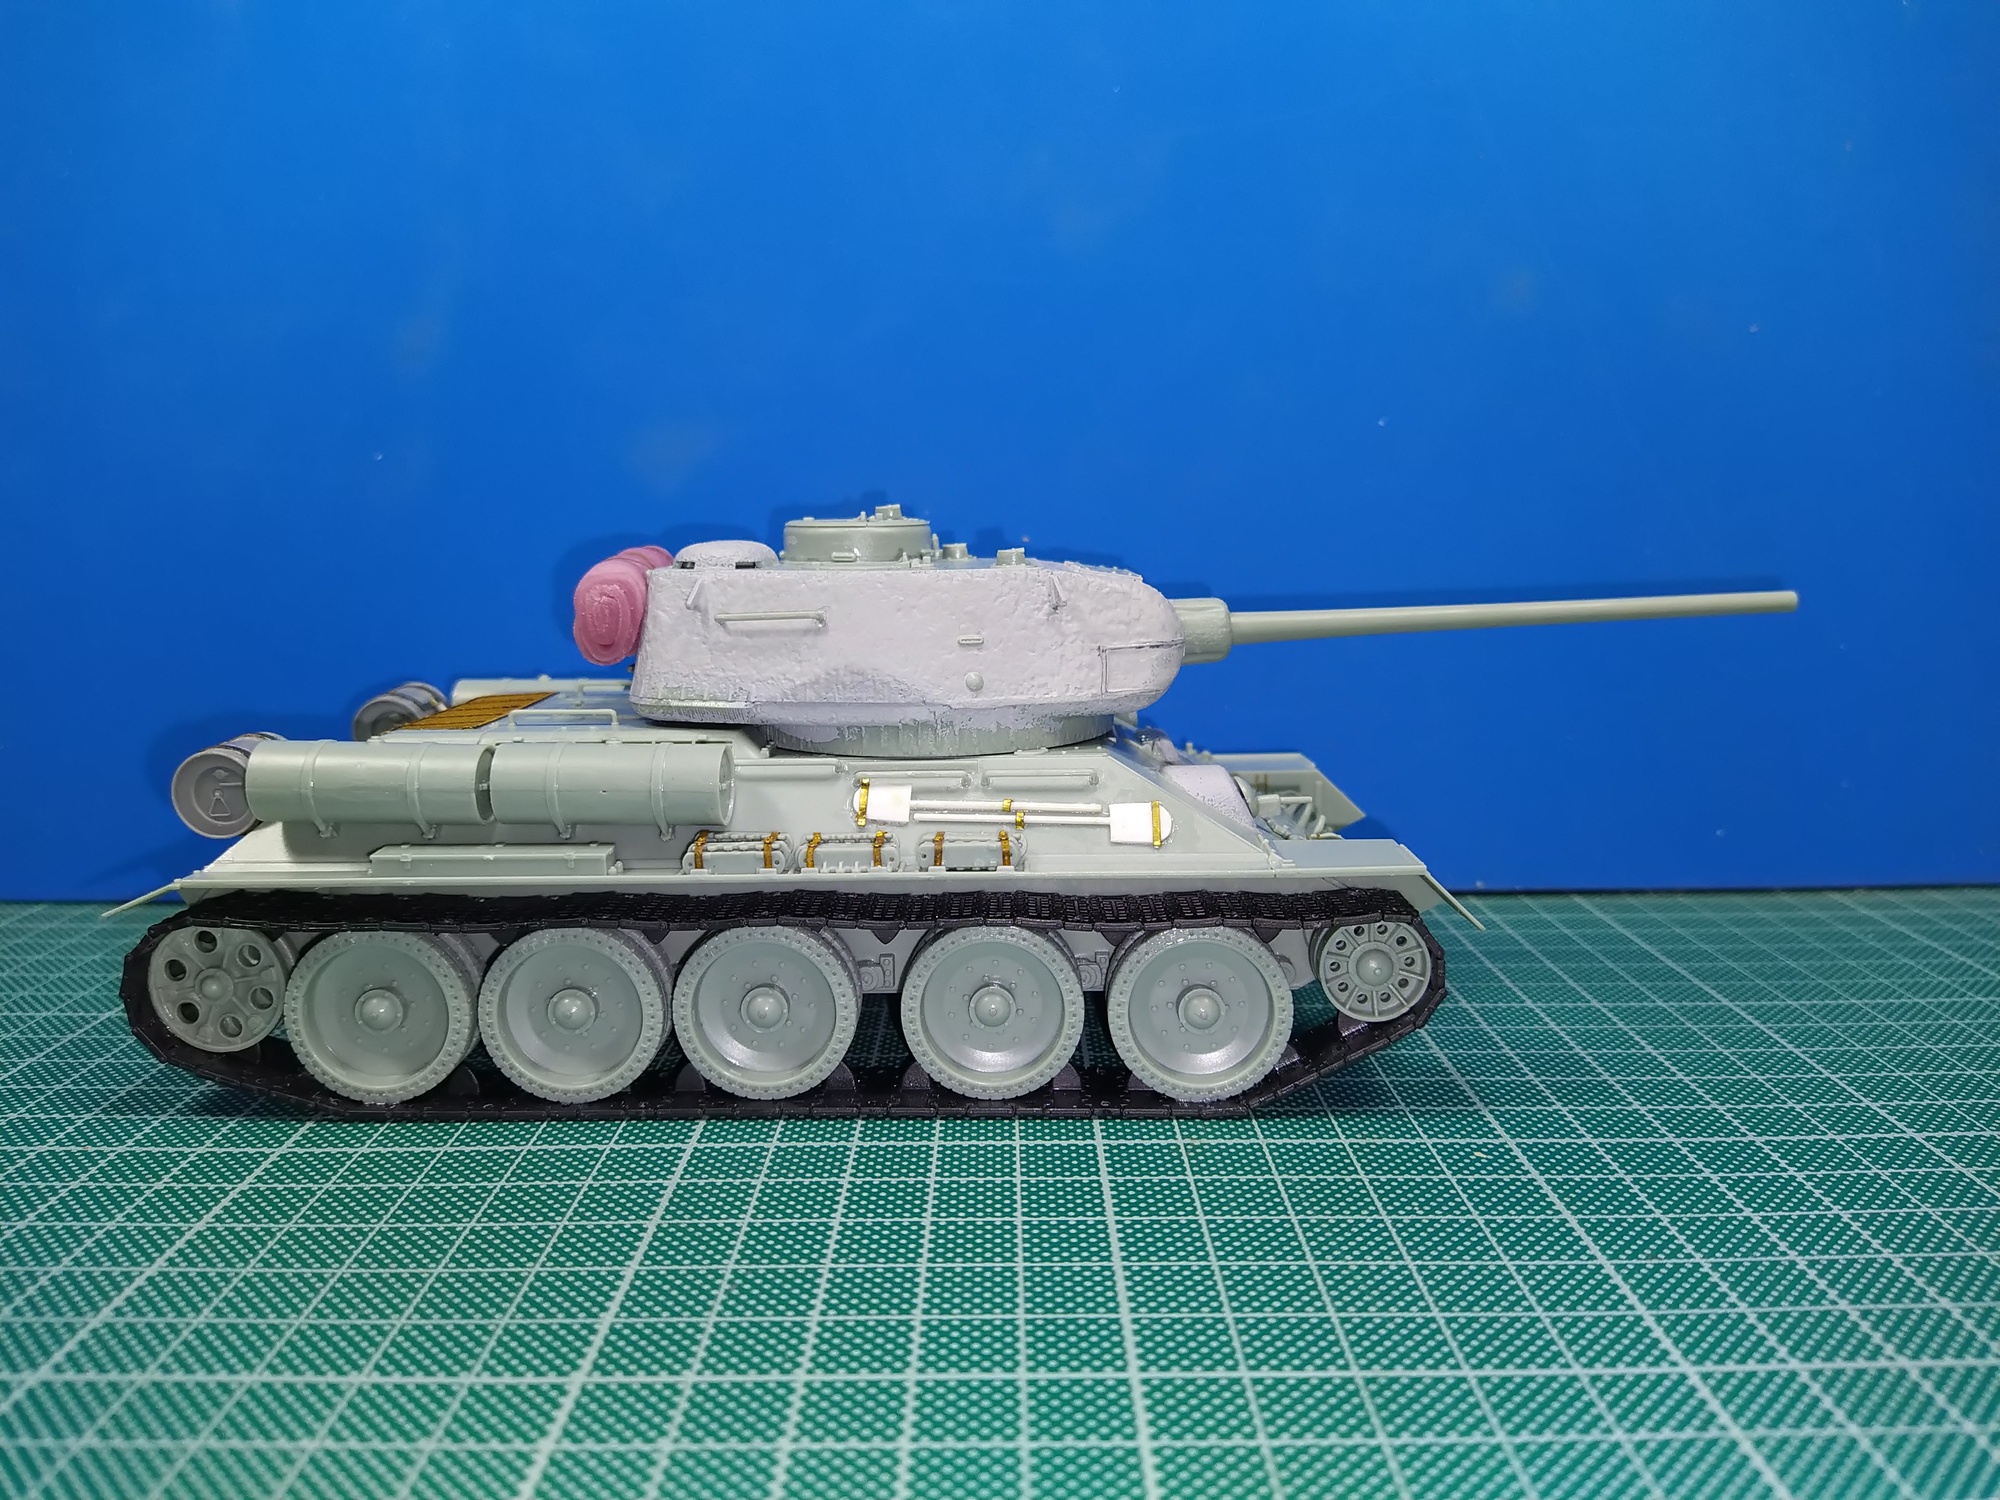
Moving along on the RFM T-34-85 #174. I think RFM hit the right combination of kit detail, PE used where needed, part count, decent instructions, alternative parts and price. It’s being an A+ kit and an excellent build experience for me. 
FWIW random thoughts - my T-34 references are limited and try to avoid getting bogged in reference checks etc. However C41 & C40 seem to me to be reversed in the instructions. I also believe J52 the rear plate should be D22 since there’s not a J52 part. I don’t think J9 is right for the 1945 era driver hatch - I think it’s a post 1945 hatch. I picked one of the other driver hatches.
Likewise, took some artistic license on the hull by adding a bit of texture. Sitting on the shelf, I want the rolled plate on my WW2 T-34’s to look a little rougher than the rolled plate on the Pz IV’s beside it.
5 Likes
I agree D22 for the rear plate, J52 is the stand alone rear transmission cover. D2 is used for the 122 gun. Not sure about the hatch.
1 Like
 pins.
pins.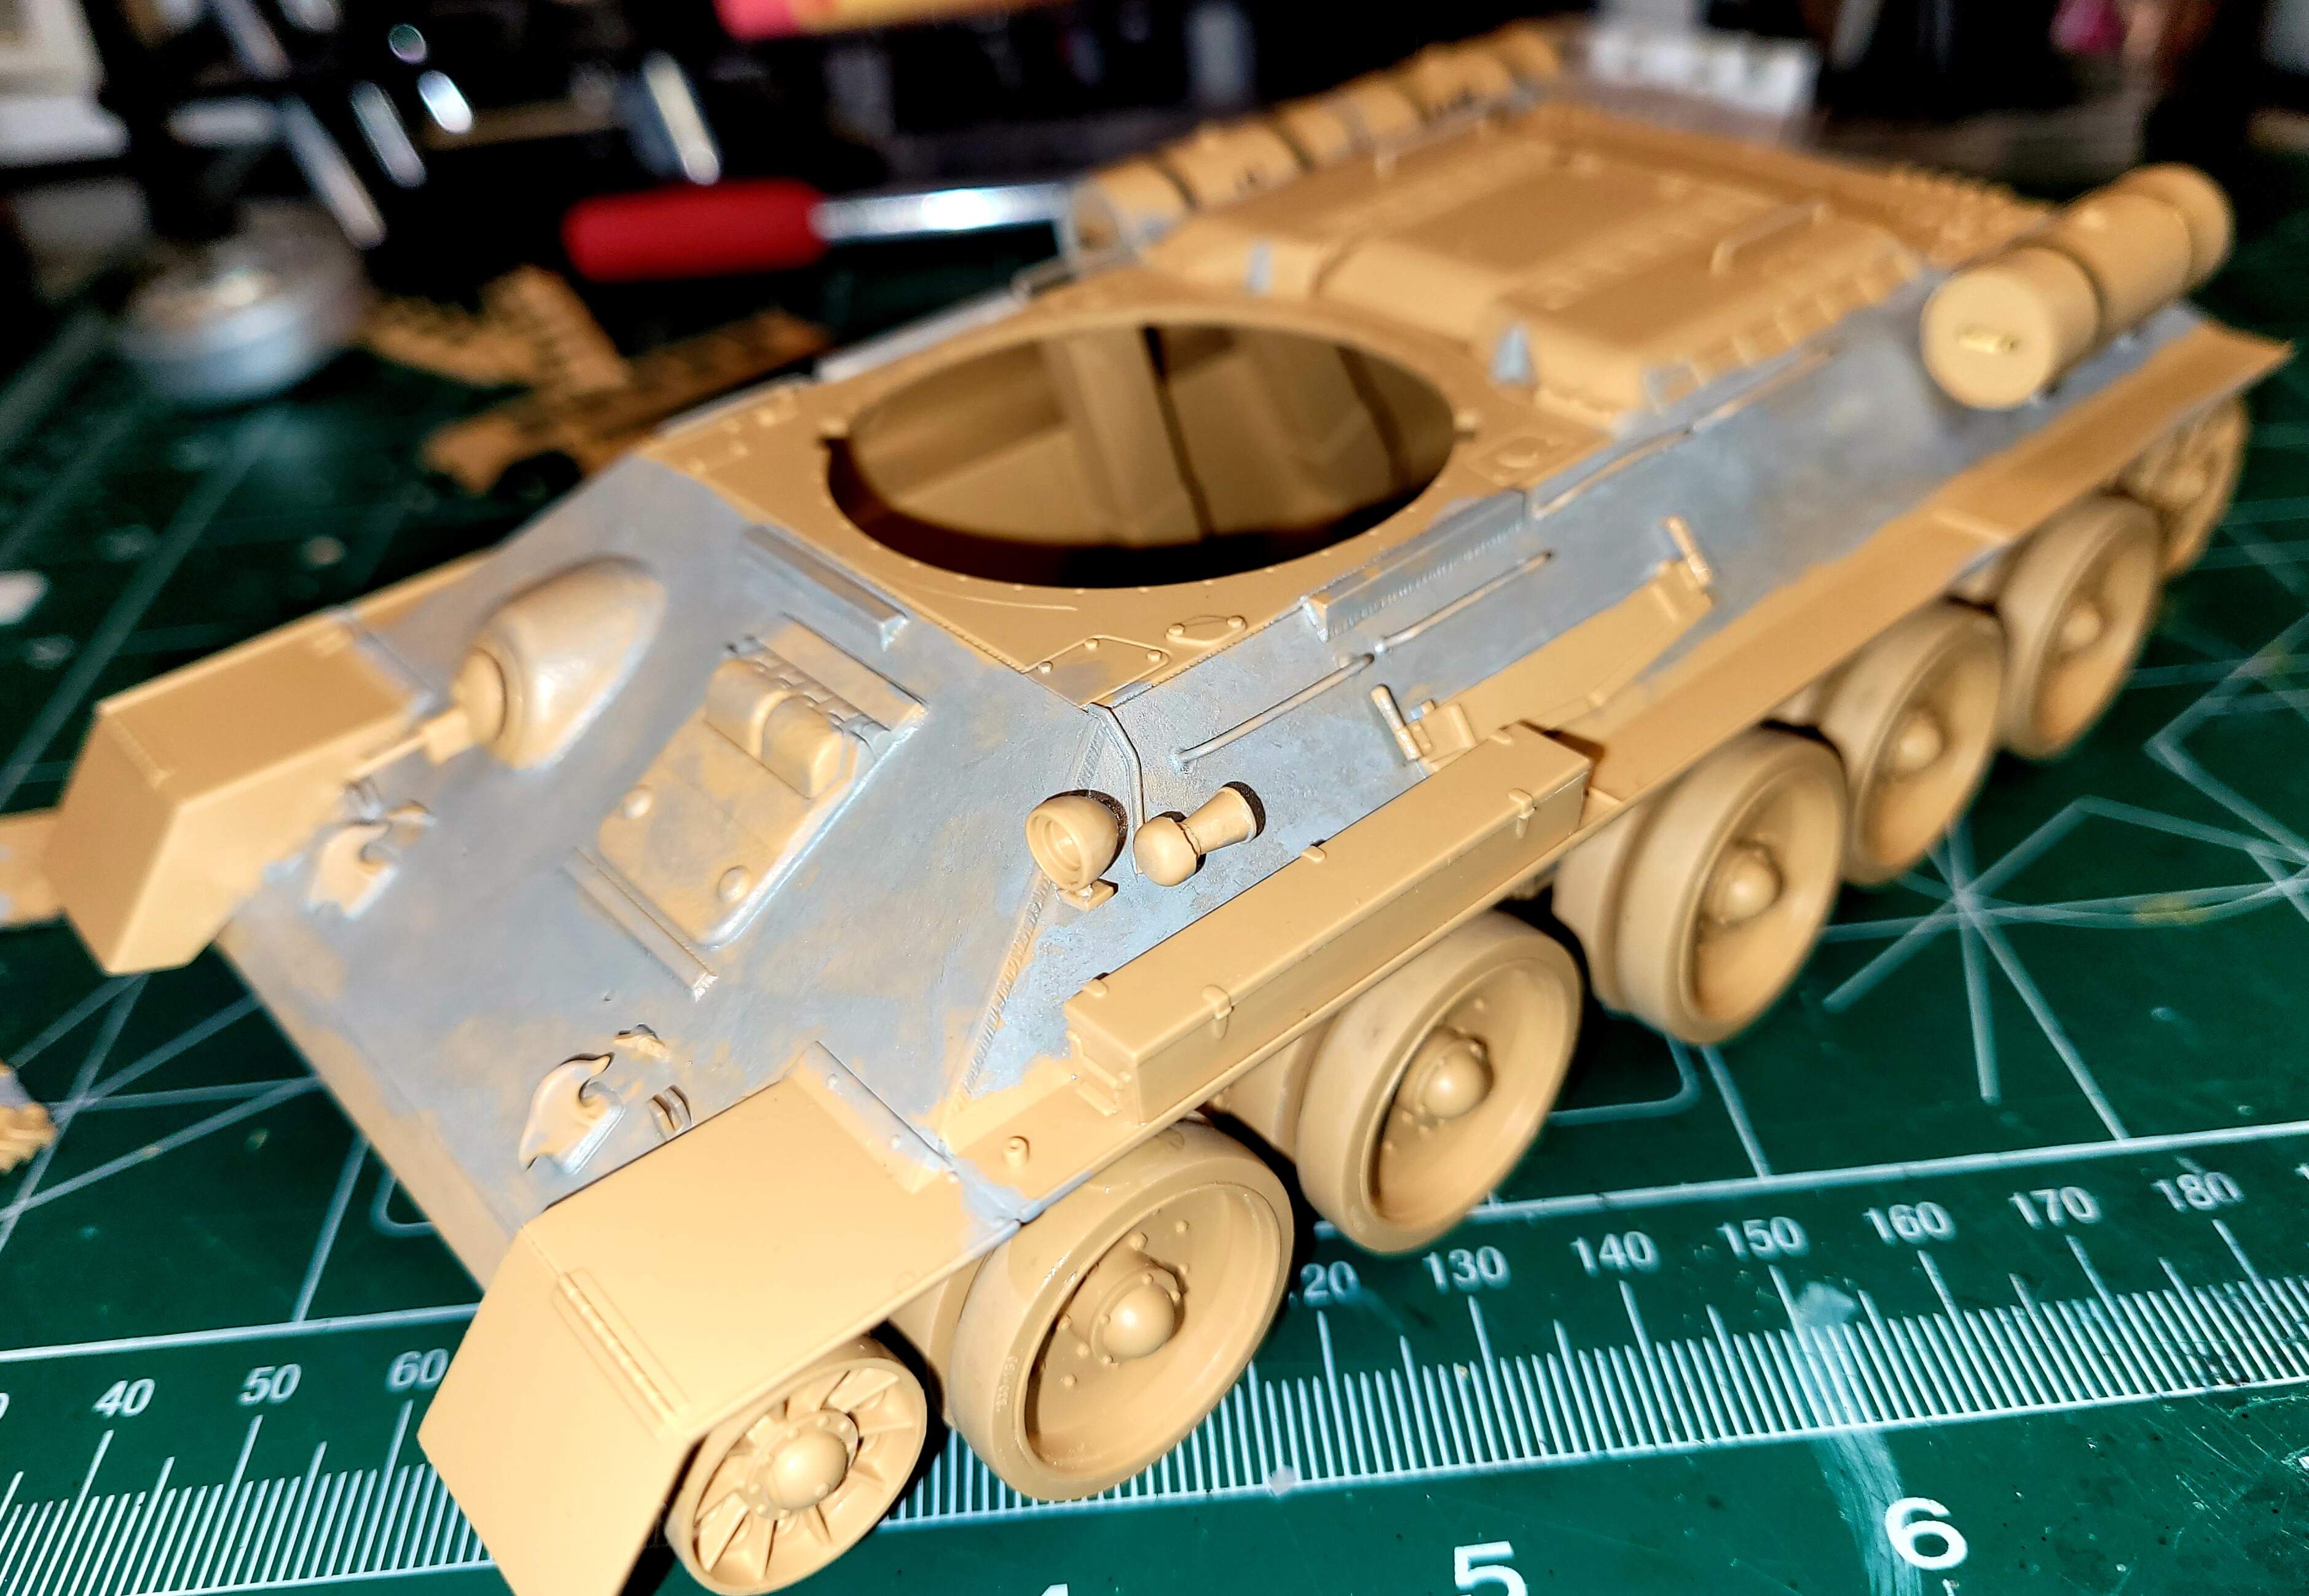
2 Likes
What is your process for adding texture?
Ryan, I’m stuck in the past with mid 1990’s technology:)
I like to mix a few drops of Testor’s Liquid Cement onto my Putty palette (bottom of empty paint bottle) with a little dab of Molak Stucco Putty or Tamiya Basic Putty. I like Tamiya Basic for Russian stuff and the slightly finer grain Molak Stucco Putty for everything else.
Makes for a very thin paint like mix to stipple onto model with brush. I have to mix up several times and work in small areas but that helps create more variation for each surface.
I like the Mr Hobby LC bottle brush and keep Testor’s LC in the bottle. The Mr Hobby brush isn’t as petite as the Tamiya bottle brush but it isn’t Godzillia sized like that terrible Testor’s brush.
For German/USA/UK stuff less putty say half as much so its more like tinted Testors Liquid Cement. I don’t like using pure LC seems a little too aggressive or may be I just work too slow to use it well.
I’ve used Mr Surfacer 500 etc that works nicely too.
2 Likes