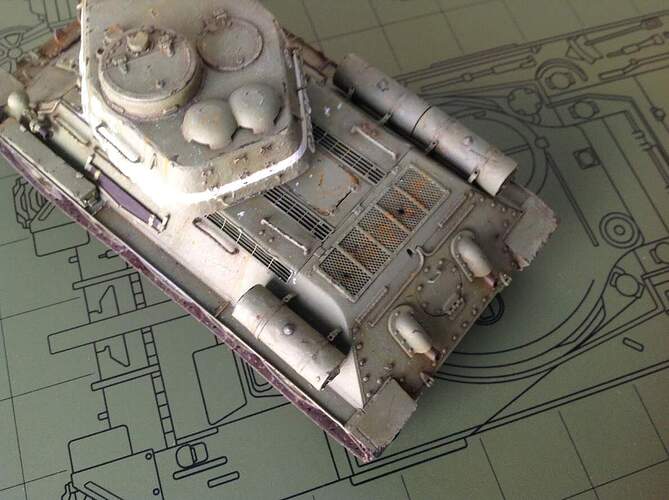
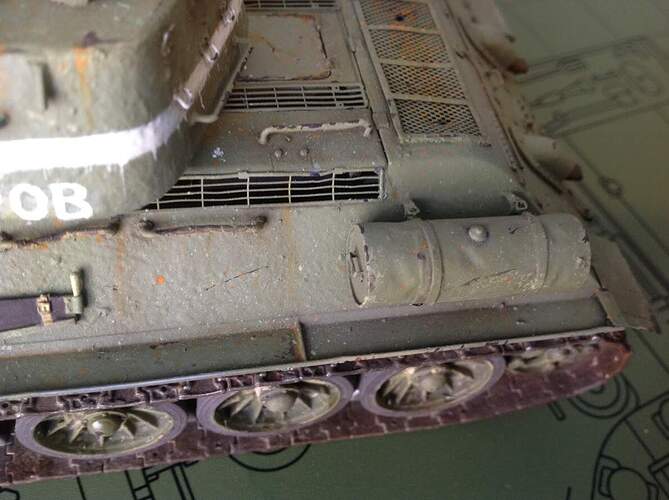
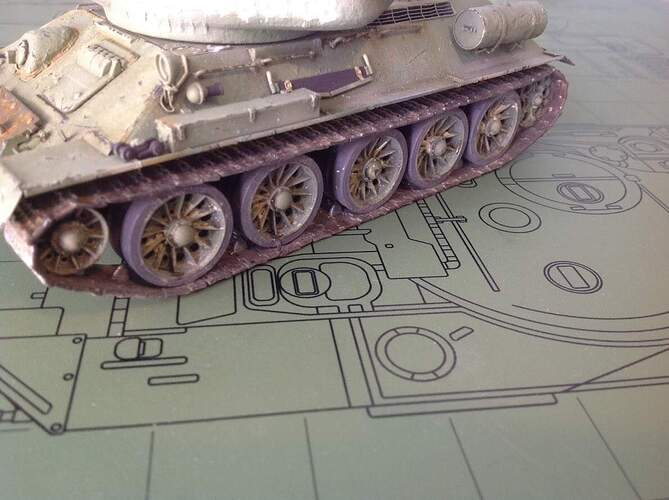
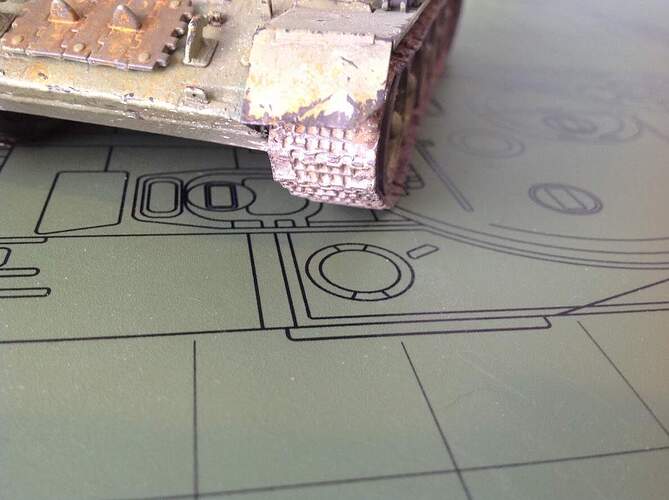
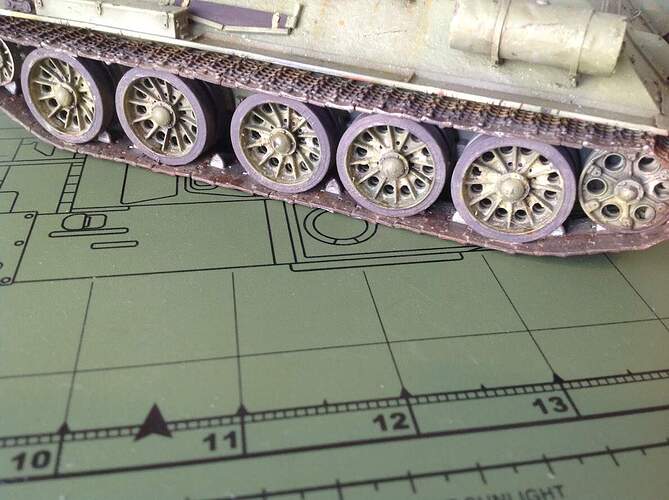
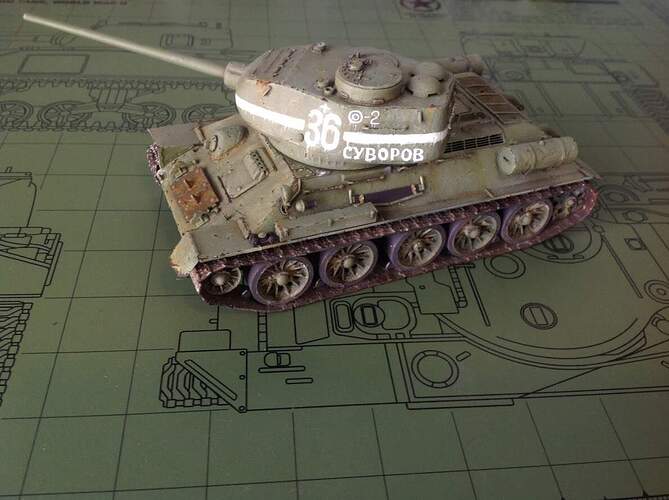
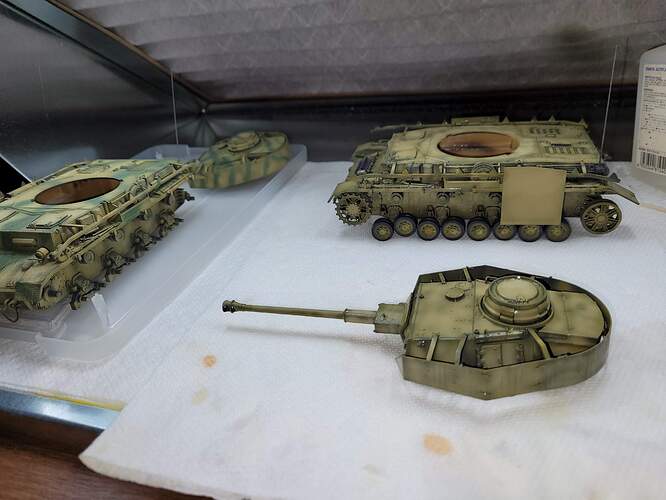
Question: what is the purpose of the patchy pattern?
@RonW, Hi Ron,
It’s an old school way of working to add interest to the paint. We called it Shadow Painting back in the day. Now it’s called Post-Shading etc.
Purpose to color contrast, color variety, (what’s called modulation now days) highlights, helps pop details and lays ground work for the next step washes & dry brushing.
Several members had asked about it. We have an active thread for discussion. Please stop by and check it out.
Old School Shadow Painting Finishing Primer
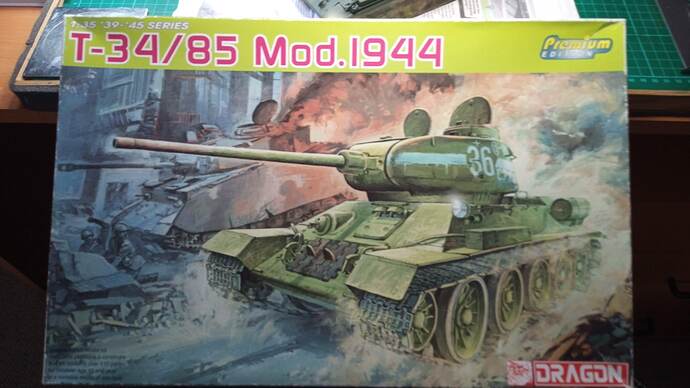
Bit late to the party I guess but was put onto this by my nephew a fellow modeller. Have just built a couple of T-34/76’s and was about to start a third, the AFV Club with full interior. However an 85 might make a welcome change. I’ve got a Dragon 1944 model in the stash which would be perfect. Am I too late to join up?
@Jon_Holliday
“Start time is 1 March til 1 April to give you that year to build. No small bore (ie 76).”
It seems that they started building on the first of March but the campaign doesn’t end until first of April 2022 so you have almost a whole year to finish the build.
Post a photo of the unstarted kit (any T-34/85) and post at least two times reporting progress during the campaign. Finish off by posting images of the completed build painted and finished before the end date.
Ask questions in the meantime
Jon as @Uncle-Heavy pointed out your not and welcome aboard look forward to seeing your build.
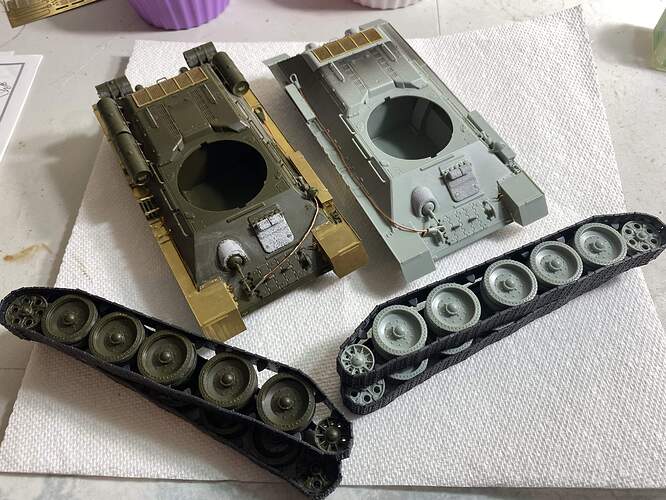
Great to join the campaign. This is going to be be my kit:
I might have a go at fitting a Miniart engine and transmission too. That’s been part built but I guess that shouldn’t present a problem.
It will have to be a quick build because I am committed to a mini group-build with my model-making nephew which starts at midnight on 21st June to mark the 80th anniversary of operation Barbarossa. That campaign was delayed back in 1941 and didn’t end quite as the Germans had hoped…
Looking forward to it.
Very cool! Im working on the same kit right now.
You shouldnt have any probs building it, it pretty much falls together.
Slowly making more progress…
I noticed from the start you could see unpainted plastic inside the PE parts on the rear but never wanted to tackle it. Last night I forced myself to paint strip of Evergreen black and slide it under the turret to cover the big PE mesh on the rear. Also I had to carefully peel of the PE strips and paint the inside black then try to re-glue it as cleanly as possible back on. The result looks 1000% better.
I also tried to push on with the mud effects on the lower hull. They look a little out of place right now but will look better when the upper hull has had dust and stuff added as well. I tried to go pretty light on the mud 'cuz this T-34/85 served in Berlin.
Any comments welcome.
Ezra, I think you did excellent work with the rear cover PE screen. That silly screen is one if the most challenging parts to sort out… Very nice the T-34-85 is looking good! The exhaust and white ID band look sharp!
@Panzer_modeler Those fenders are amazing. Rest of the tank looks great but those fenders just pop out and grab the attention. Well done!
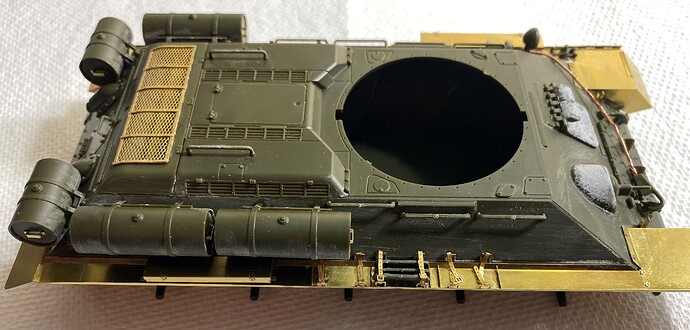
After a downtime of around a month I am slowly forcing myself out of my modelling slump. I have finally completed the hull of my 2 T-34/85’s. Replaced the string tow cables with some copper wire because string is icky.
PE was used selectively. The main bits I didn’t use were on the fuel drums. I didn’t think the effort of sanding off the plastic straps etc was worth it.
Next up, time to tackle the turrets.
@panzernl Erwin, that T-34-85 is looking great! Especially with the tiny PE details!
While waiting on these two after a good wash in dawn dish washing liquid & rinse, I had a little T-34-85 time today.
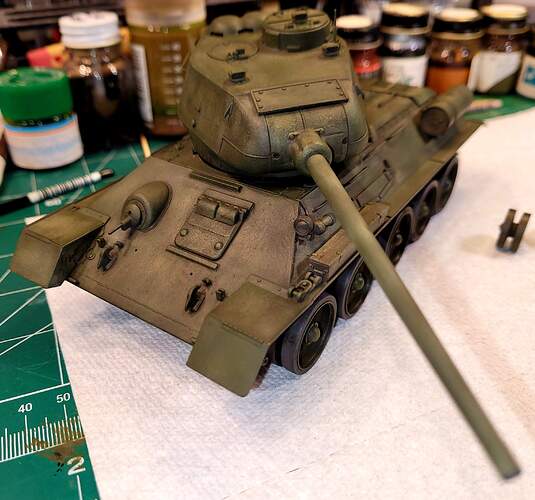
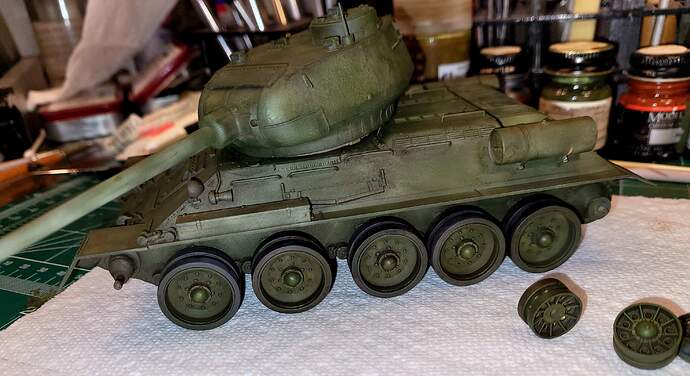
The RFM T-34-85 #174’s wash finally dried. I got a little too happy with the oil paints when mixing the wash and it’s seem like forever for it to fully dry.
Anyway, #1 round of drybrushing with the base color. I hope to get the T-34-85 ready for decals within the next week or so while mainly focusing on the two Pz IV’s. All three models are at stages where its work an hour or so and then wait 24 hours for drying before work resumes.
Nice work so far Wade. I’m in love with your new Pace spray booth. I looked them up and I’m itchin an twitchin to get the same one, but I don’t have the space in the studio for it right now. First I have to convince SWMBO to let me get rid of the guest bed. If I can accomplish that (big IF) then there will be plenty of space, coincidentally right in front of a window, for a permanent spray booth. 
Phrasing matters, it’s not get rid of guest bed. It’s breakdown when not in use and stored for future guests in a different location. ![]()
Aaahhh… When in doubt - spin it!
When a direct assault is not achievable to meet the goals, psyops needs to be employed.
@SSGToms Matt, I always had doubts about buying a paint booth because the good ones are expensive. However, the Pace paint booth is the best hobby purchase I’ve made in a very long time. My painting productive is easily 50% more with the dedicated paint booth.
Pace was excellent to do business with, he answers the phone, questions, builds quality and ships quickly. A++ in my experience.
While obviously useful for painting, it’s also amazing useful:
-
to vent fumes from doing a mineral sprit wash etc
-
have extra air flow to help accelerate drying model after washing it before painting
-
With the built in lights can act as a defacto photo booth with a little white card stock
Thanks Wade now I REALLY want one! 


About those idler wheel/track tensioners…
I’m working on the running gear for my mini-art T-34/85 for the miniart campaign. The idler wheel axle part is attached to the hull with a part that has teeth allowing you to adjust the position of the idler around the clock. This is fine, I guess. There is no guidance about where around the clock it belongs. I hope to be able to attach it sans glue, finish the tracks then glue it in at a spot that provides good tension. Has anyone done this on this kit? Is it possible? (Phil imagines fiddly here)
Regardless, what is the range of possibility for how this would be positioned on an operational tank?
