72 hours of work.

7 Likes
Rub-a-dub-dub…

3 Likes

Greetings to all, friends!
Had a photo shoot to write a short review. But, frankly, I can not decide - what to write? I have no experience writing reviews. I have already tried to do this on the tracks on the T-34-76. But I had to spend just a colossal amount of time writing this review.
This time, I would also be able to do an in-depth analysis, but then it would take forever to write it! Therefore, I will take a simpler path - I will ask you - what questions would you like to hear the answers to? It is clear that my opinion and my experience of assembling the model will be subjective, but perhaps it will be useful and interesting for you.

7 Likes
Your build looks great. I haven’t made it that far on mine. I will not be trying your track technique but it does look awesome. Your build did remind me of the clean up needed, not a huge amount of work but it did seem like every part could use a little work which is probably why it stalled.
For writing reviews I usually break the model into sections: turret, hull and tracks/running gear. I write out my frustration as raw as I have them. Then smooth it over in a rewrite cause they are not usually that bad and lots of times it is user error. I will ding a company on an issue but again probably softer as one doesn’t know all the input factors.
1 Like
Thank you, Ryan!
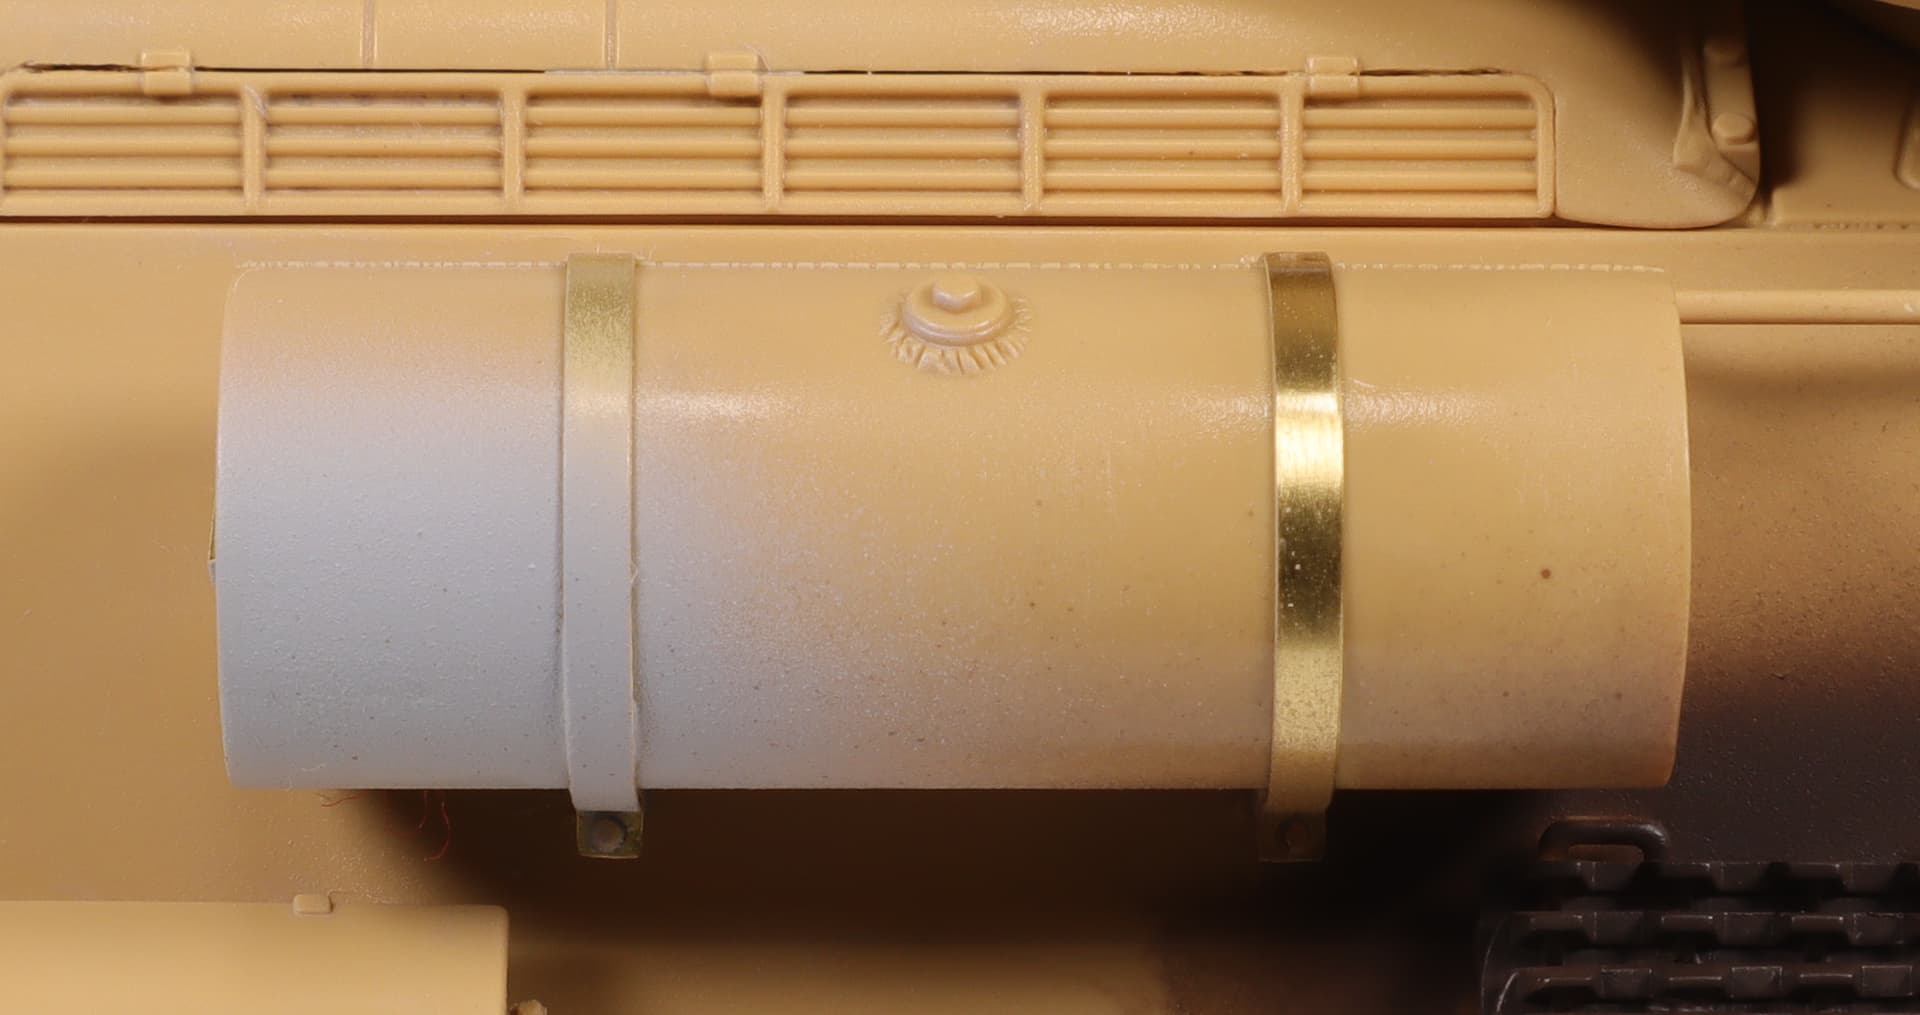
Exactly. Most of the time was spent on the processing of parts. Cleaning, and removing traces from the joints of molds.
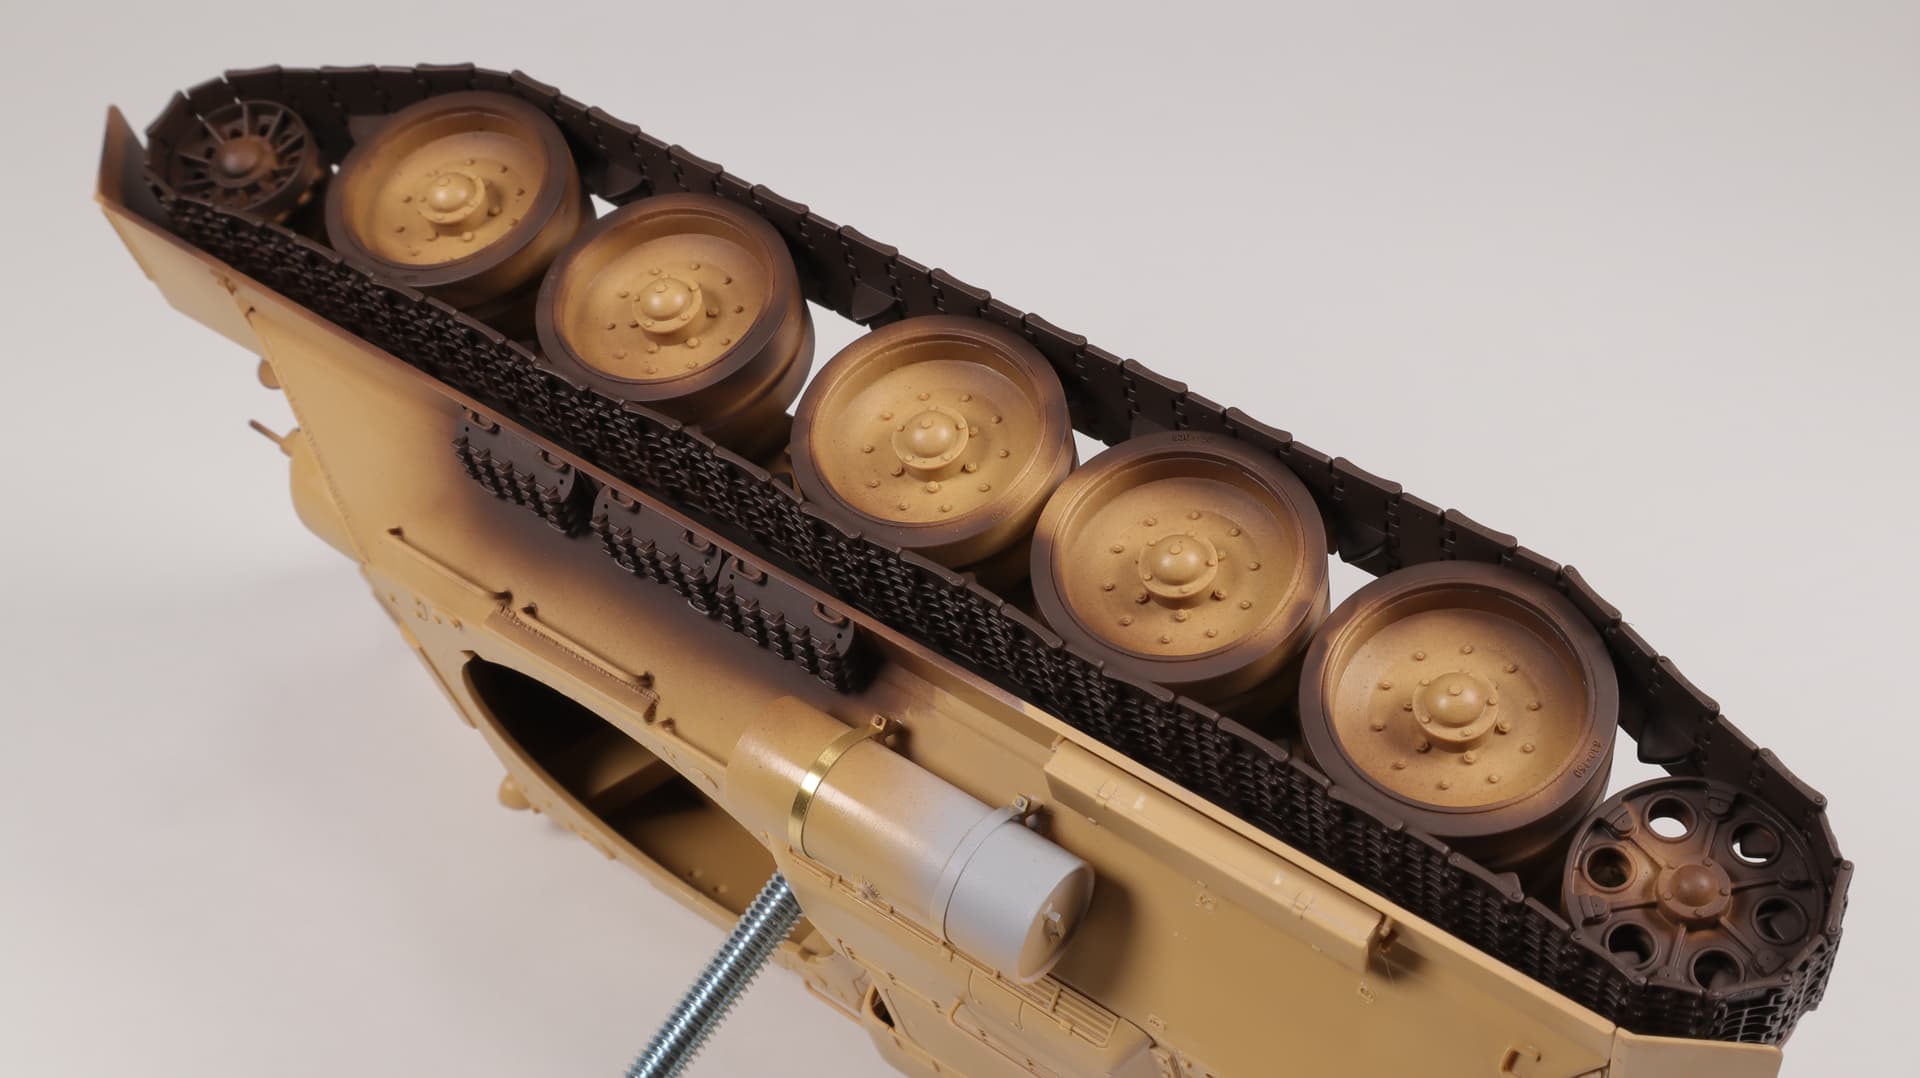
Tracks. It was an experiment in automating the process. ![]() As a result, it took more time than if I had done it manually from the very beginning!
As a result, it took more time than if I had done it manually from the very beginning! ![]()
![]()
Yes, I think in the same direction. I thought to write focusing on the steps of the instructions. And break the review into two general sections - “like” and “dislike”. In general, thoughts are slowly coming to order and a scheme for writing a review begins to line up.
2 Likes
I’ve definitely enjoyed following your build and results! I’d like to hear your summary on the following for the kit. With each item rated 1 to 5 with 1 being terrible and 5 being excellent.
5 Price ~$47 (I paid ~$28, was on sale)
4 Instructions - very good
5 Molding Quality - very good
4 Plastic Quality - soft
4 Parts Clean Up -
4 Ease of build - kit tracks stalled build
4 Accuracy - seemed very good
4 Fit - overall excellent
3 Doesn’t Require Aftermarket - tracks suck
4 Details built Out of the Box - very happy
40 points out of 50 was my impression building this RFM kit. I slapped Fruil’s on mine otherwise pretty much stock.
A total of ~20 pretty unsatisfactory product to the builder.
A total of ~40+ an overall very satisfactory product to the builder.
4 Likes
Thanks, Wade!
As free time appears, I carefully read your topic about the construction of Pz-3. And I paid attention to how you described the final impressions regarding each kit. And I will take into account your desire regarding the review sections and the scoring system for each of them.
The outline of the review structure keeps clearing up for me! ![]()
2 Likes
This second photo is every so slightly sharper than the first one. The background, on my monitor, shows as off-white/grey. Do remember that white is a relative colour. If you want your background to be whiter you can adjust that in whatever editing software you are using…but… it will also affect the colour of the model (to state the obvious). So you may end up chasing your tail, as they say. For the record, your photos look great as is. Your build, also for the record, is remarkable. Cheers.
2 Likes
Thanks, Evan!
Currently, I am posting photos without editing, as is. And I’m not always satisfied with what I get. It is clear that with the help of a photo editor, you can make a masterpiece out of any photo. But, I want to learn how to photograph the first time. Without further processing steps in the photo editor.
As I already understood, the magic wand has not yet been invented here. ![]() Only practice, experiments, hundreds of failed photos, etc.
Only practice, experiments, hundreds of failed photos, etc. ![]()
2 Likes
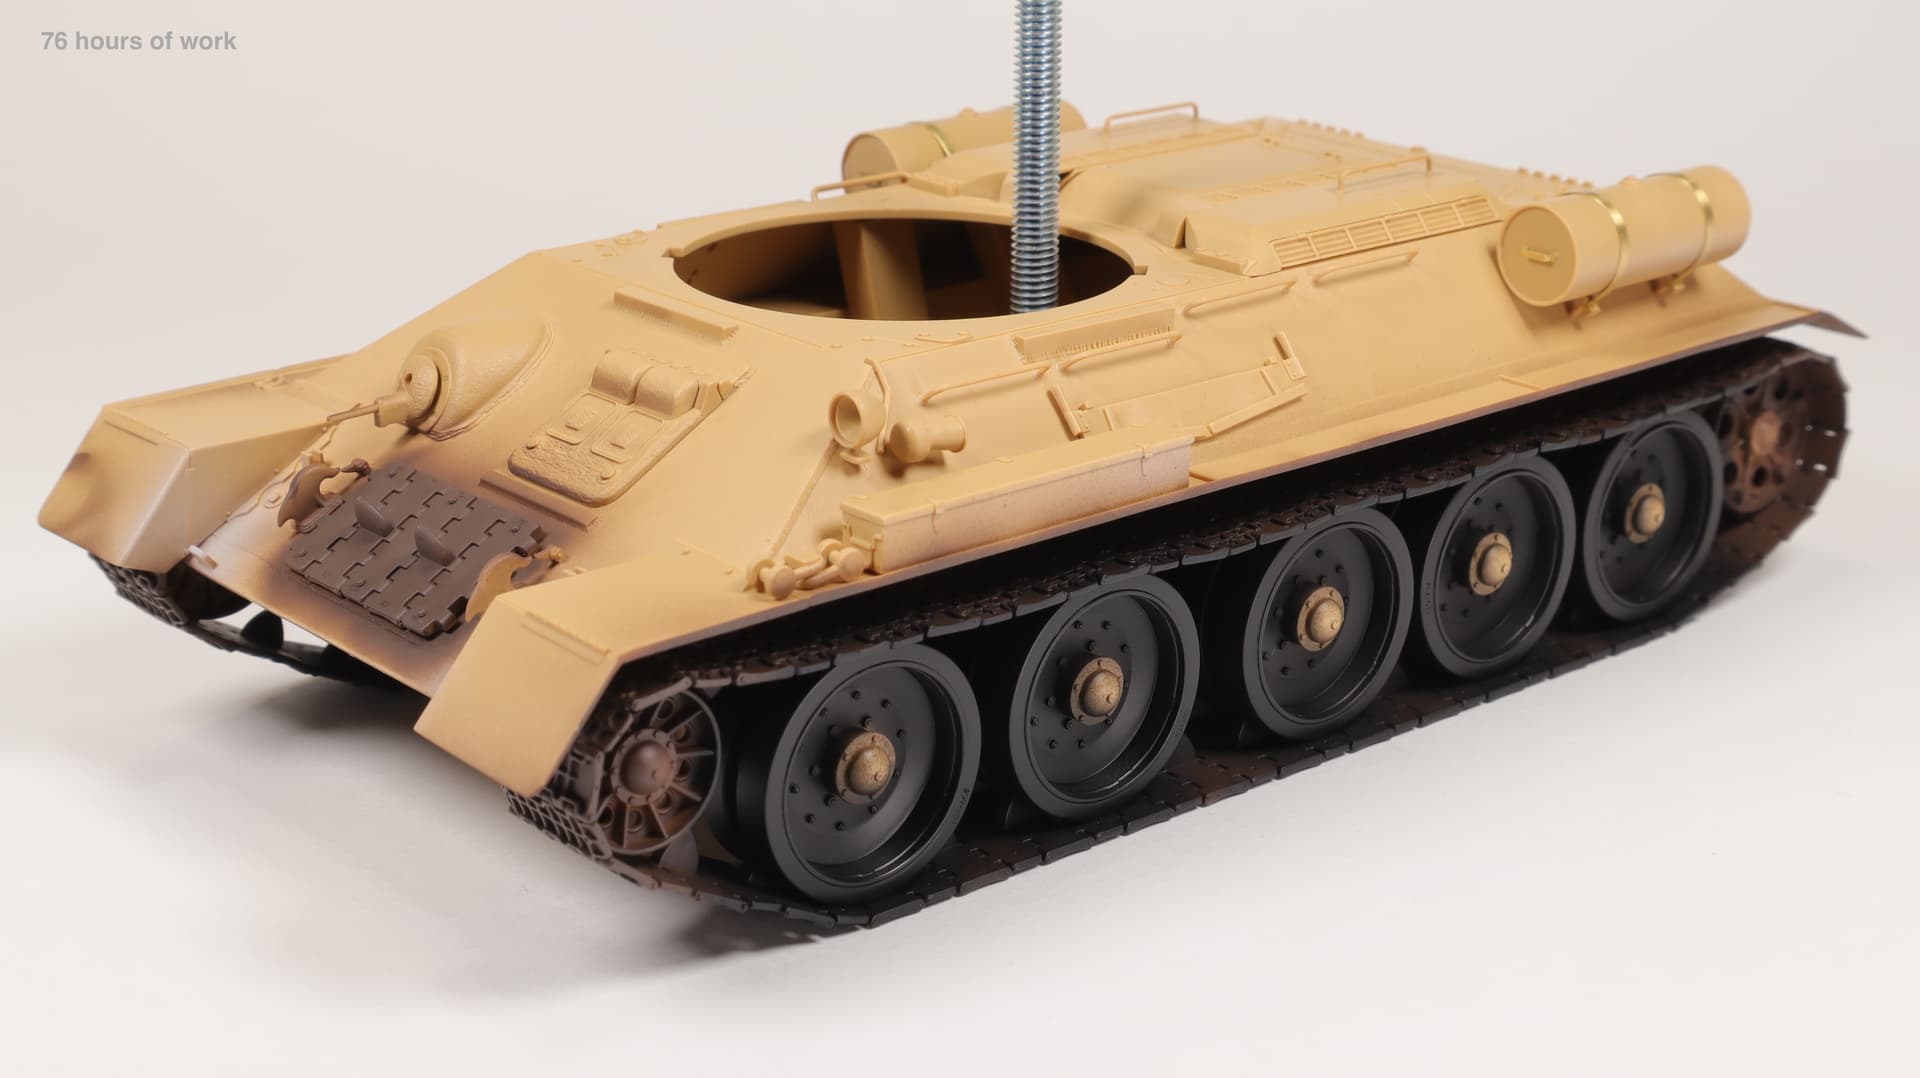
74 hours of work.

I WILL NEVER PAINT A FULLY ASSEMBLED MODEL AGAIN! ![]()
![]()
![]()
The priming of the tracks took 2 hours! ![]() Instead of 30-40 minutes.
Instead of 30-40 minutes.
And it’s just not realistic to paint them qualitatively! I had to do such miracles of airbrushing that even in a dream I would not dream! ![]()
Here’s how to paint it all?
6 Likes
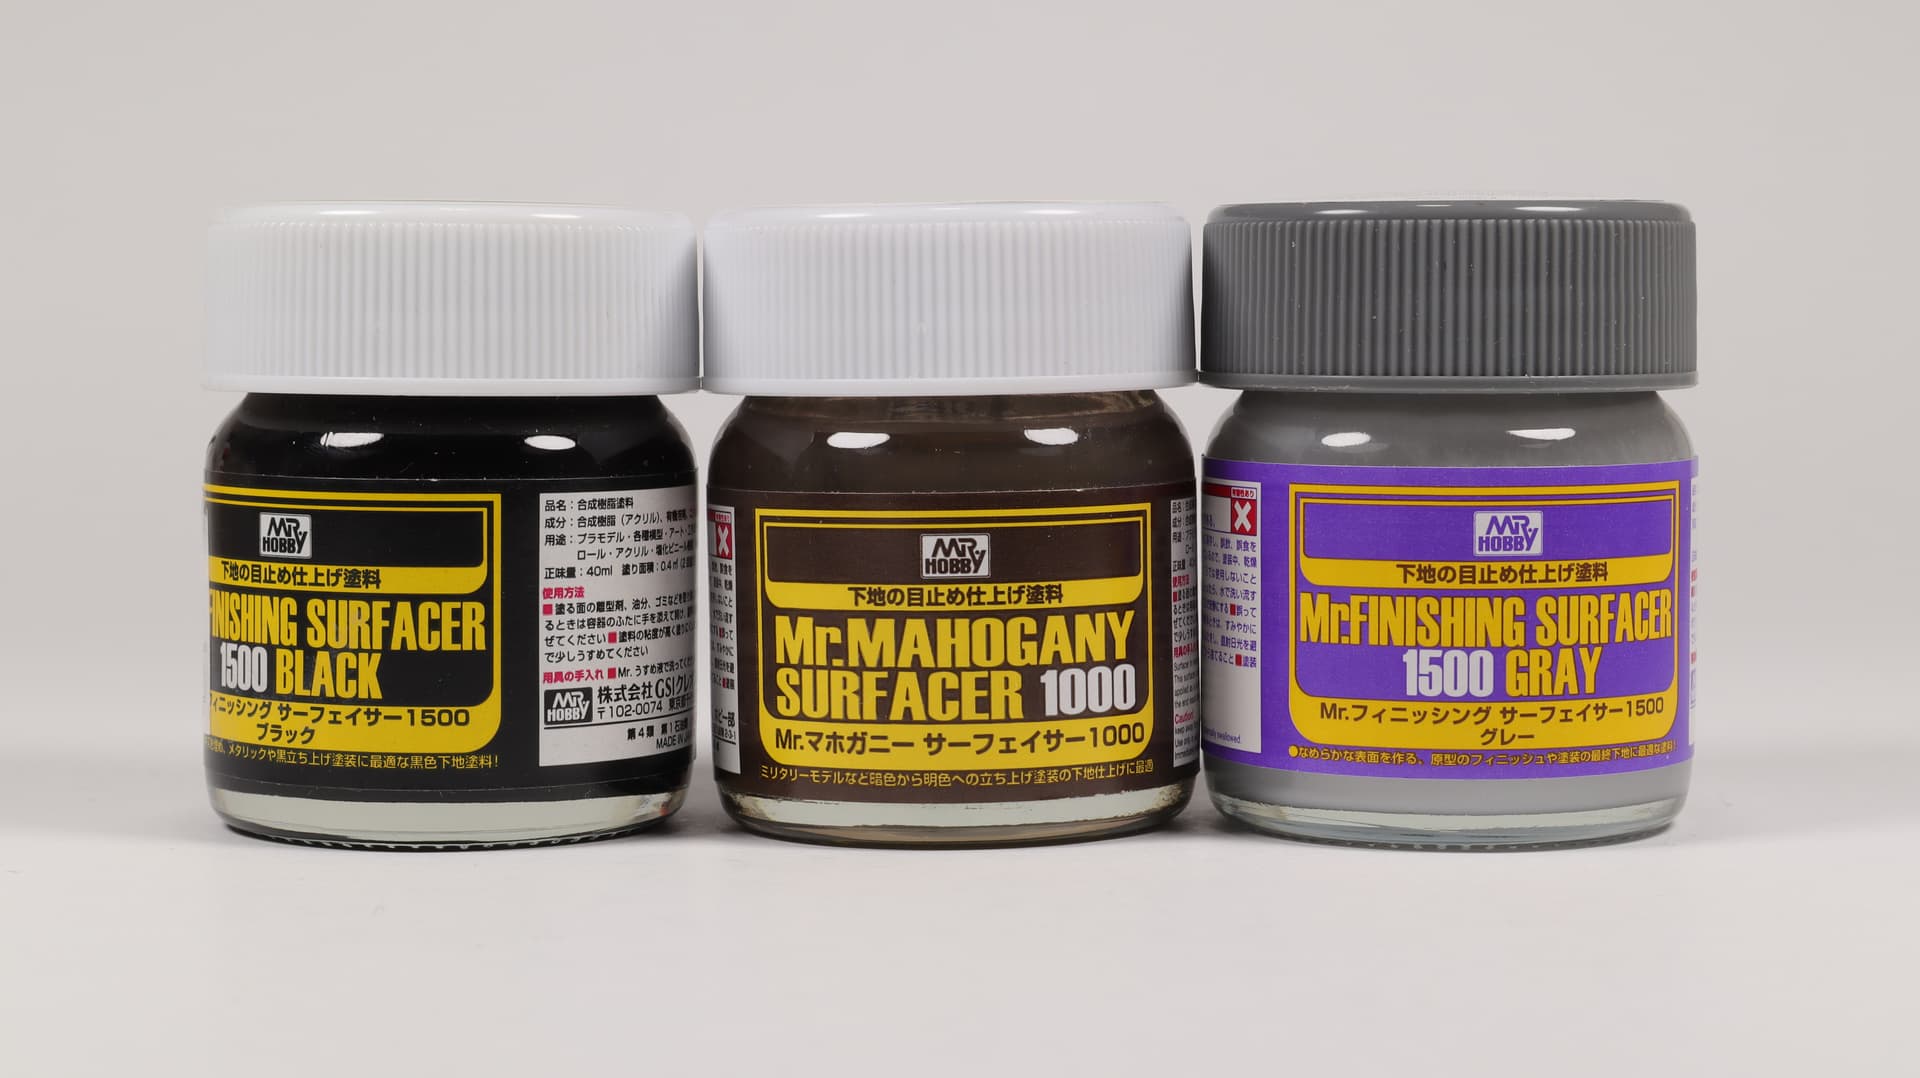
Working with GSI surfacers is a pure pleasure! They are great! ![]()
But! You have to be very careful when using surfacers with long age. I ran into a problem when trying to use a Surfacer 500 that is probably 10 years old.
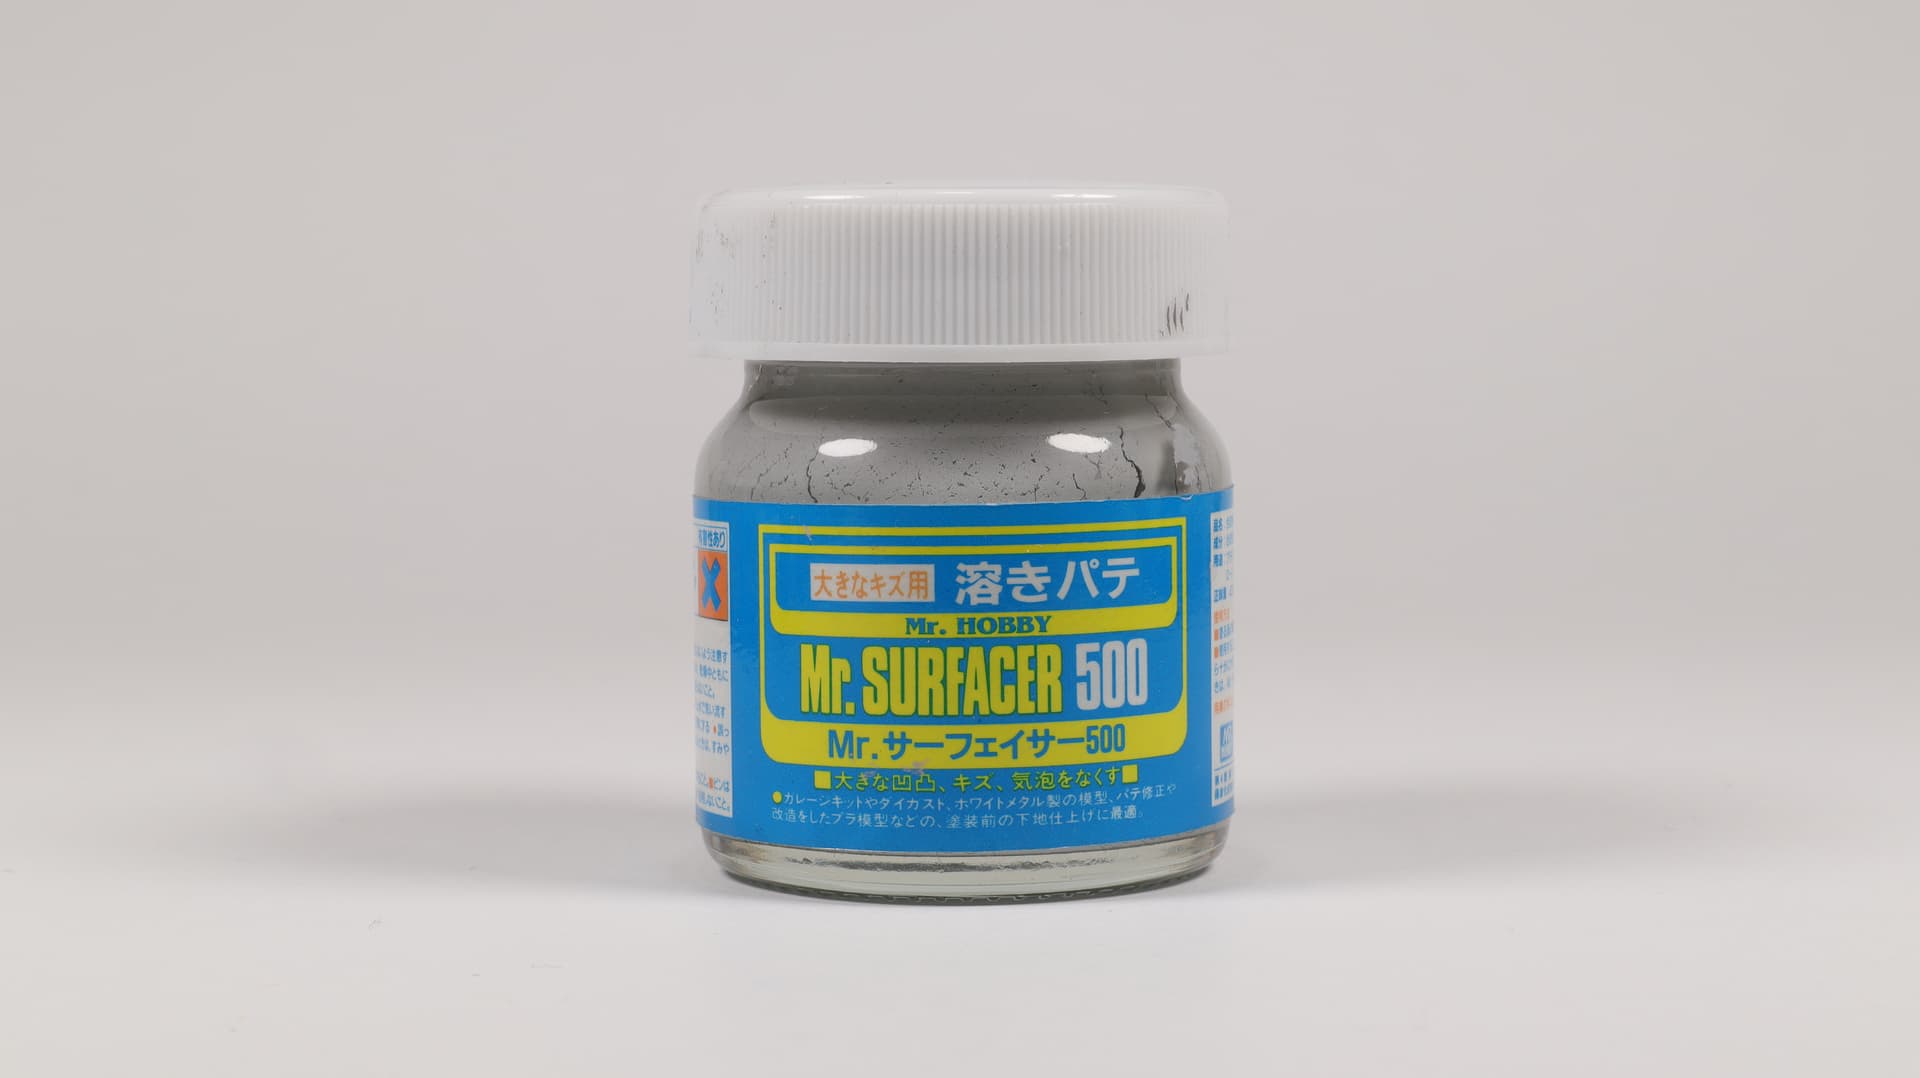
I opened the jar and saw the contents similar to mayonnaise mass. I thought - well, now I’ll dilute it with a thinner, mix it well, and everything will be ok. It didn’t work out. Already diluted on the photo. It was 10 times thicker. On the shoulder blade, you can see insoluble lumps.
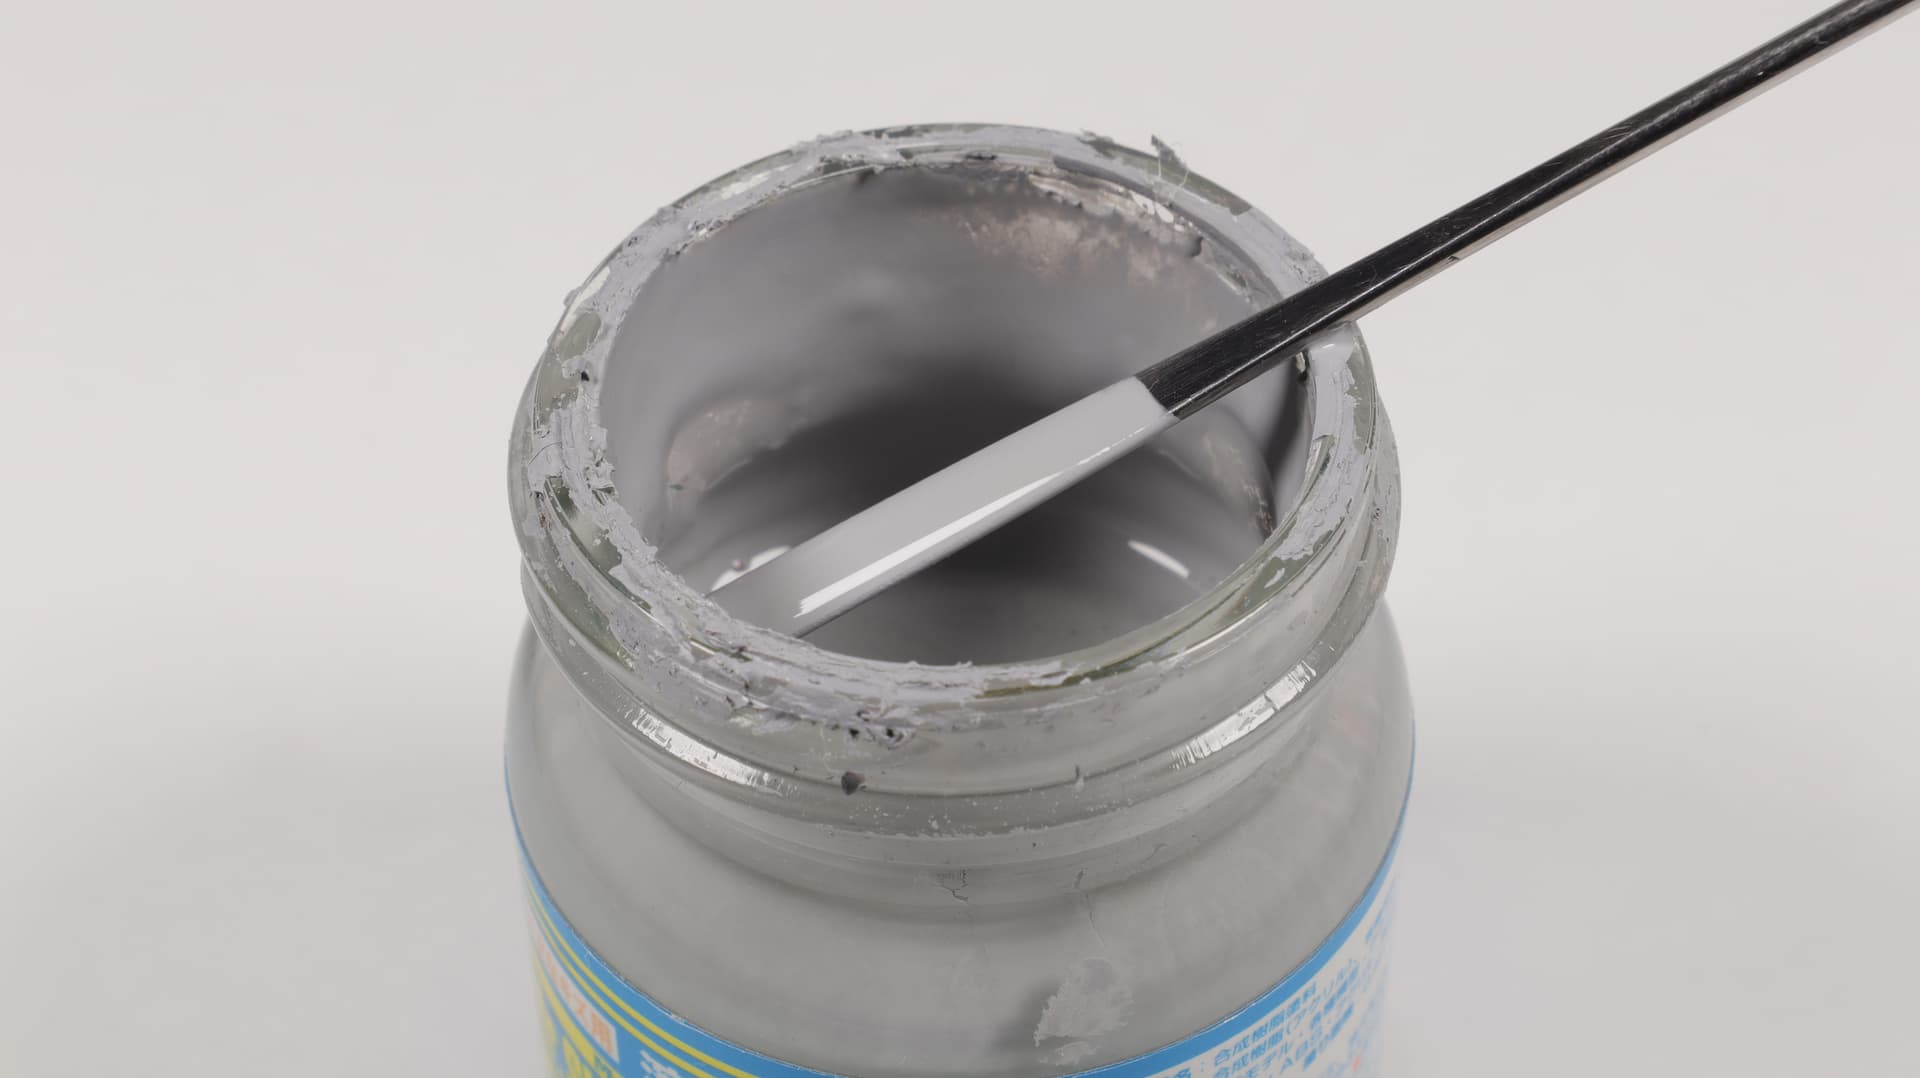
The result is in the photo.
5 Likes
5 Likes
In the process of work, I made typical mistakes of airbrushing - a “dry” layer and a dirty airbrush! Droplets of primer that flew off the protective cap of the diffuser slightly spoiled the final result. Well, what prevented you from taking and washing it ?! ![]() And I know - laziness!
And I know - laziness! ![]()
2 Likes
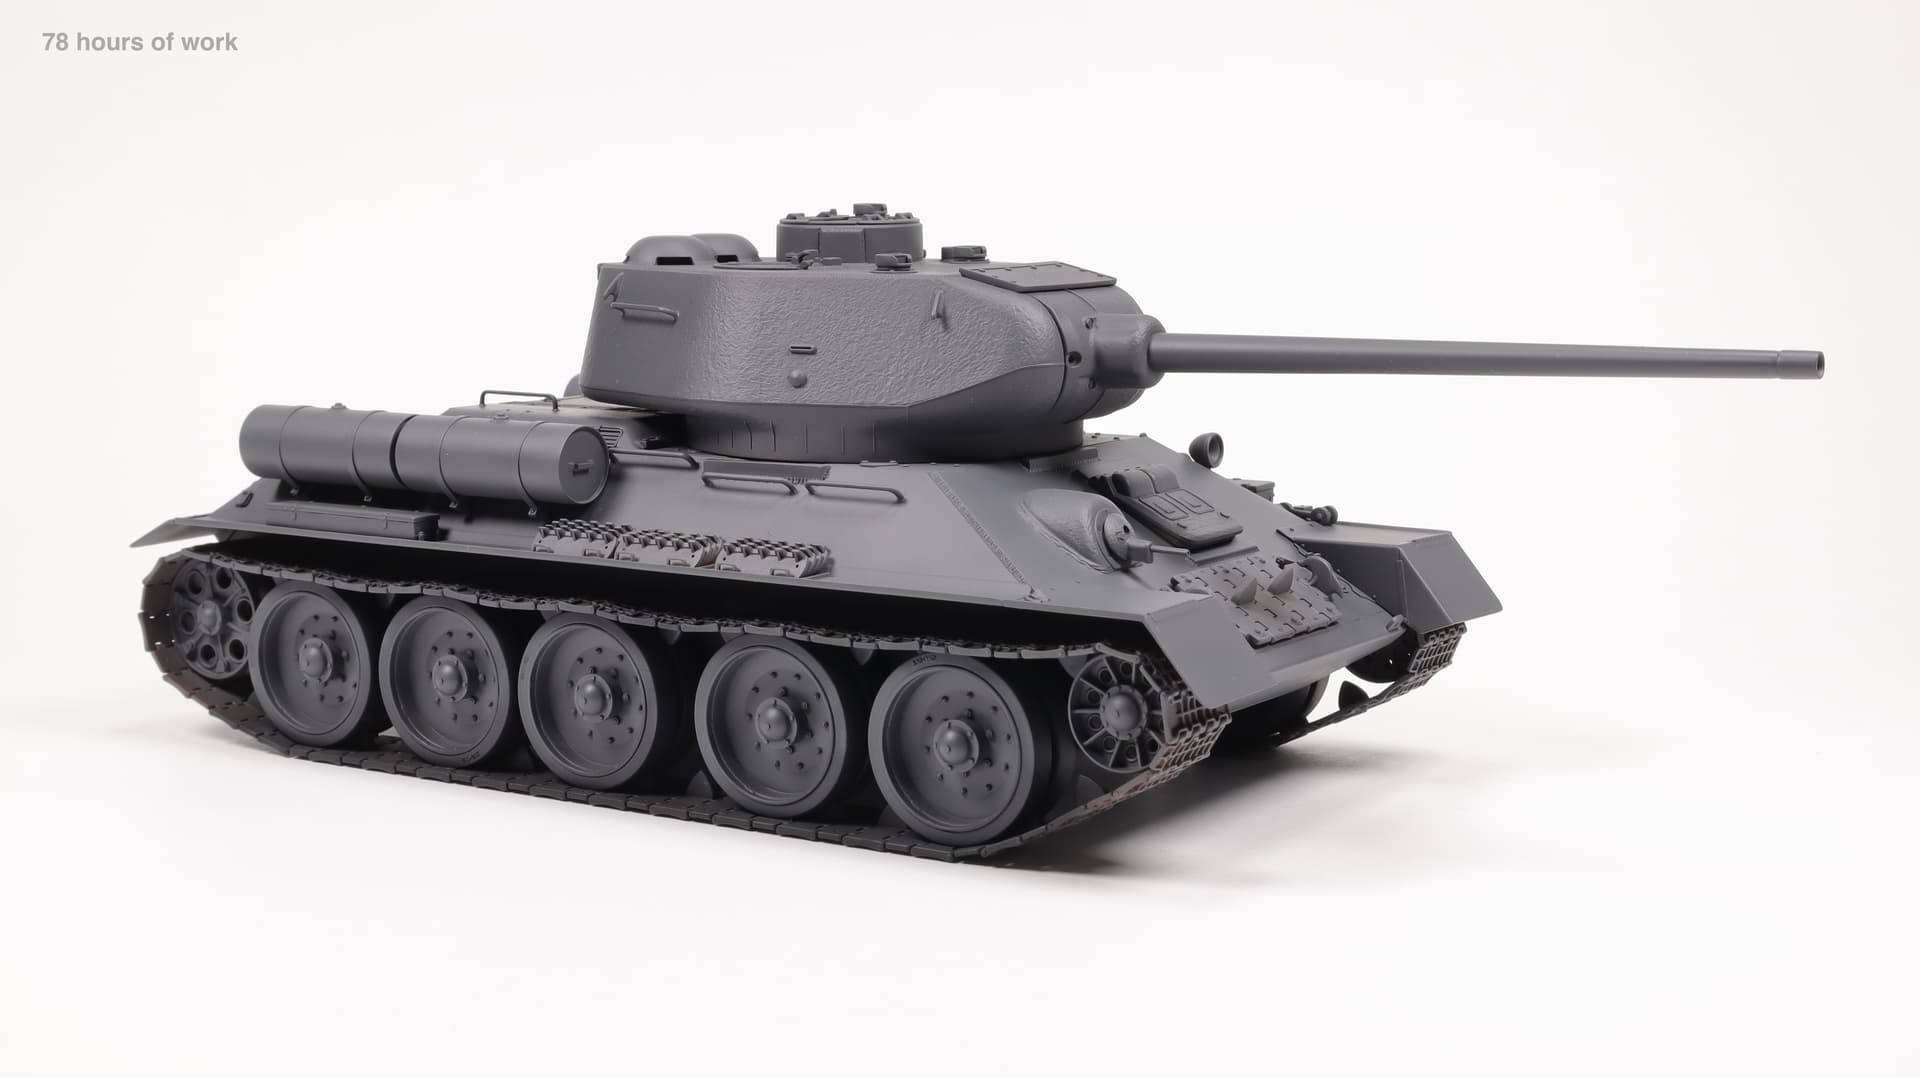
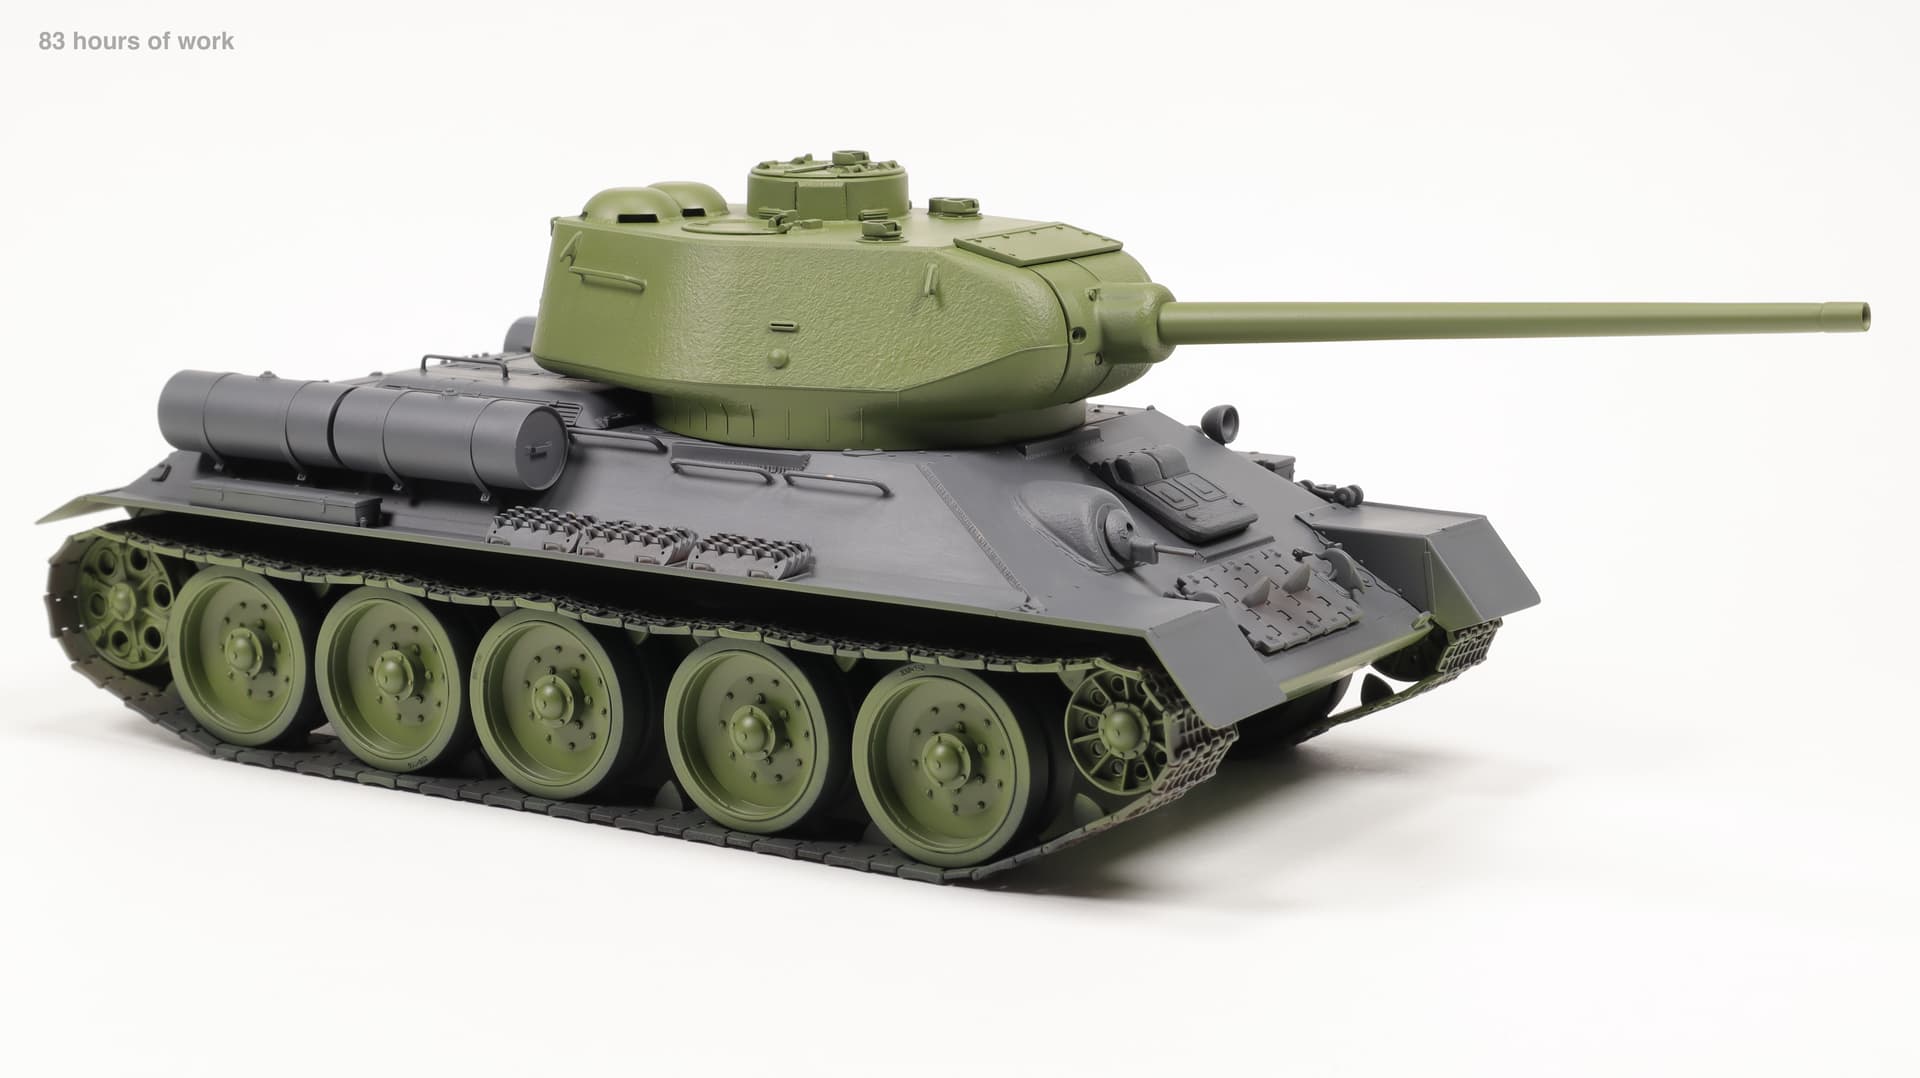
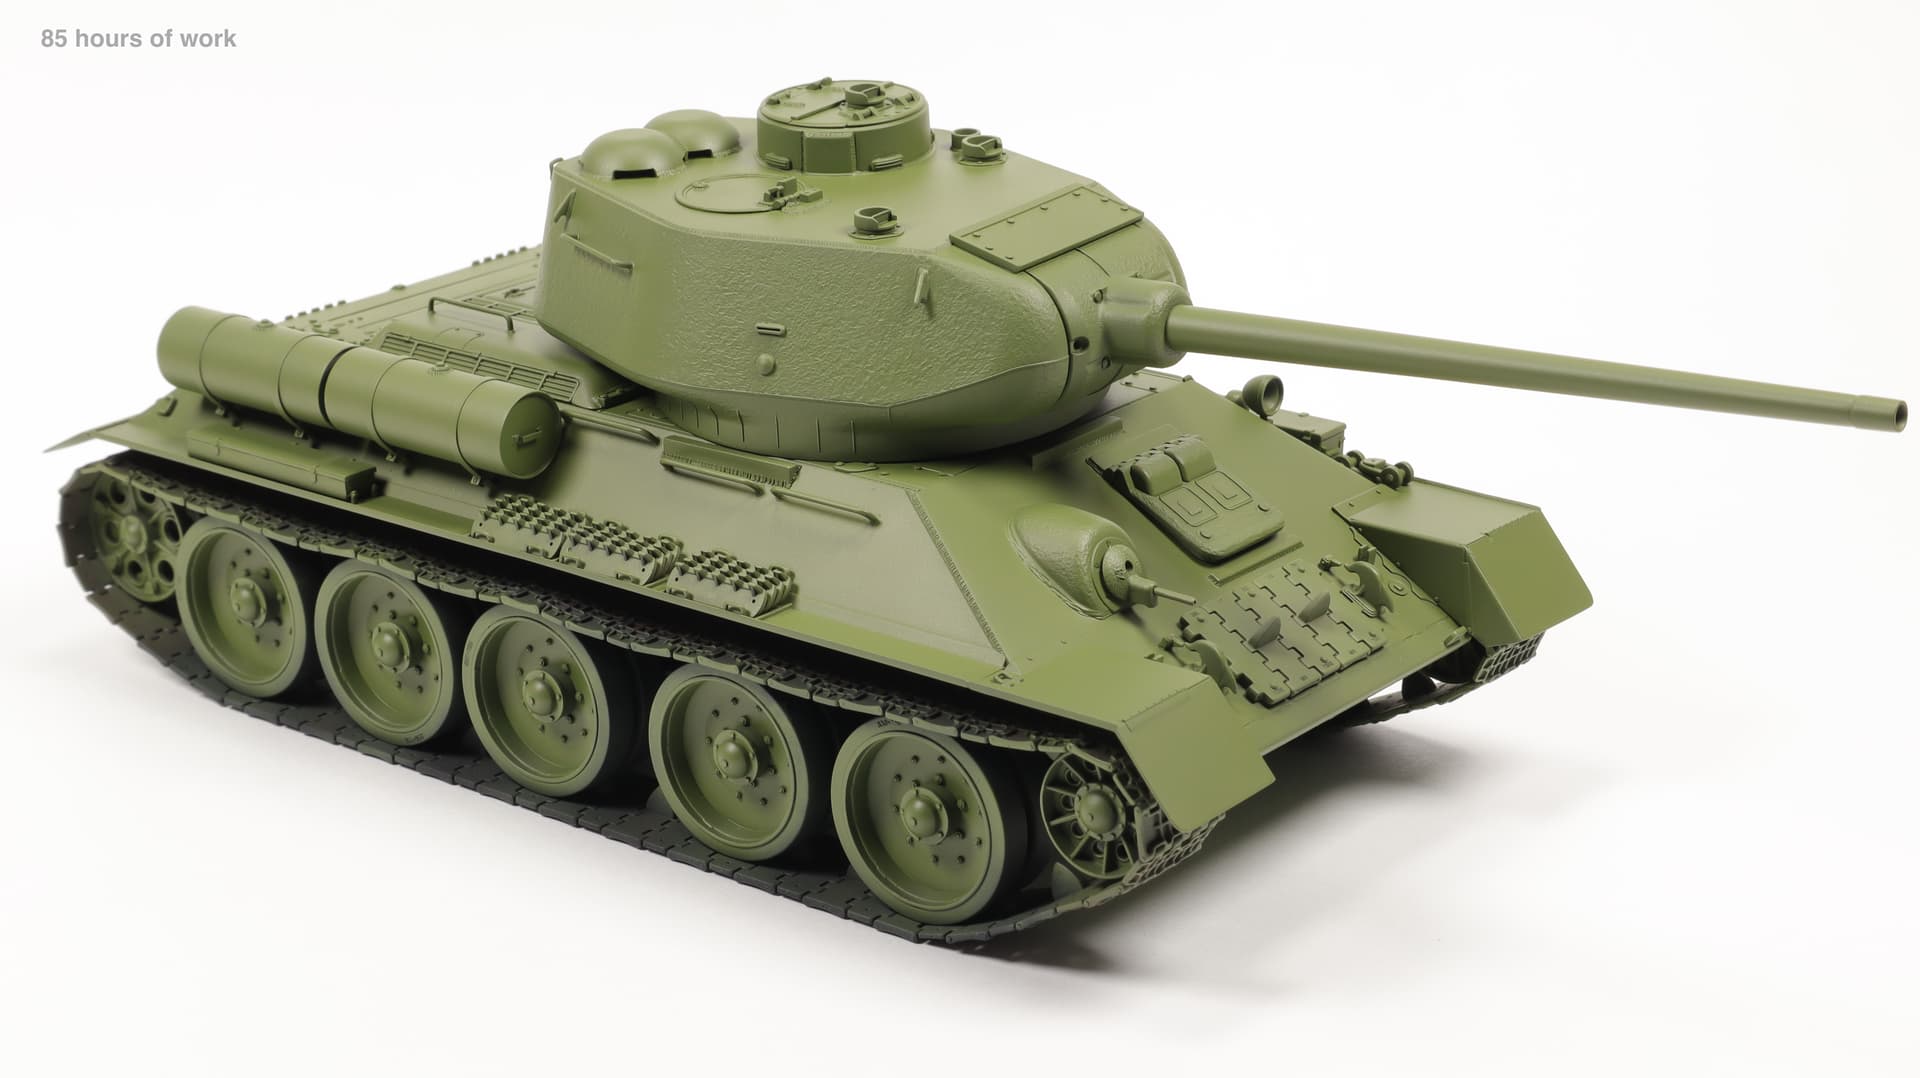
81 hours of work.
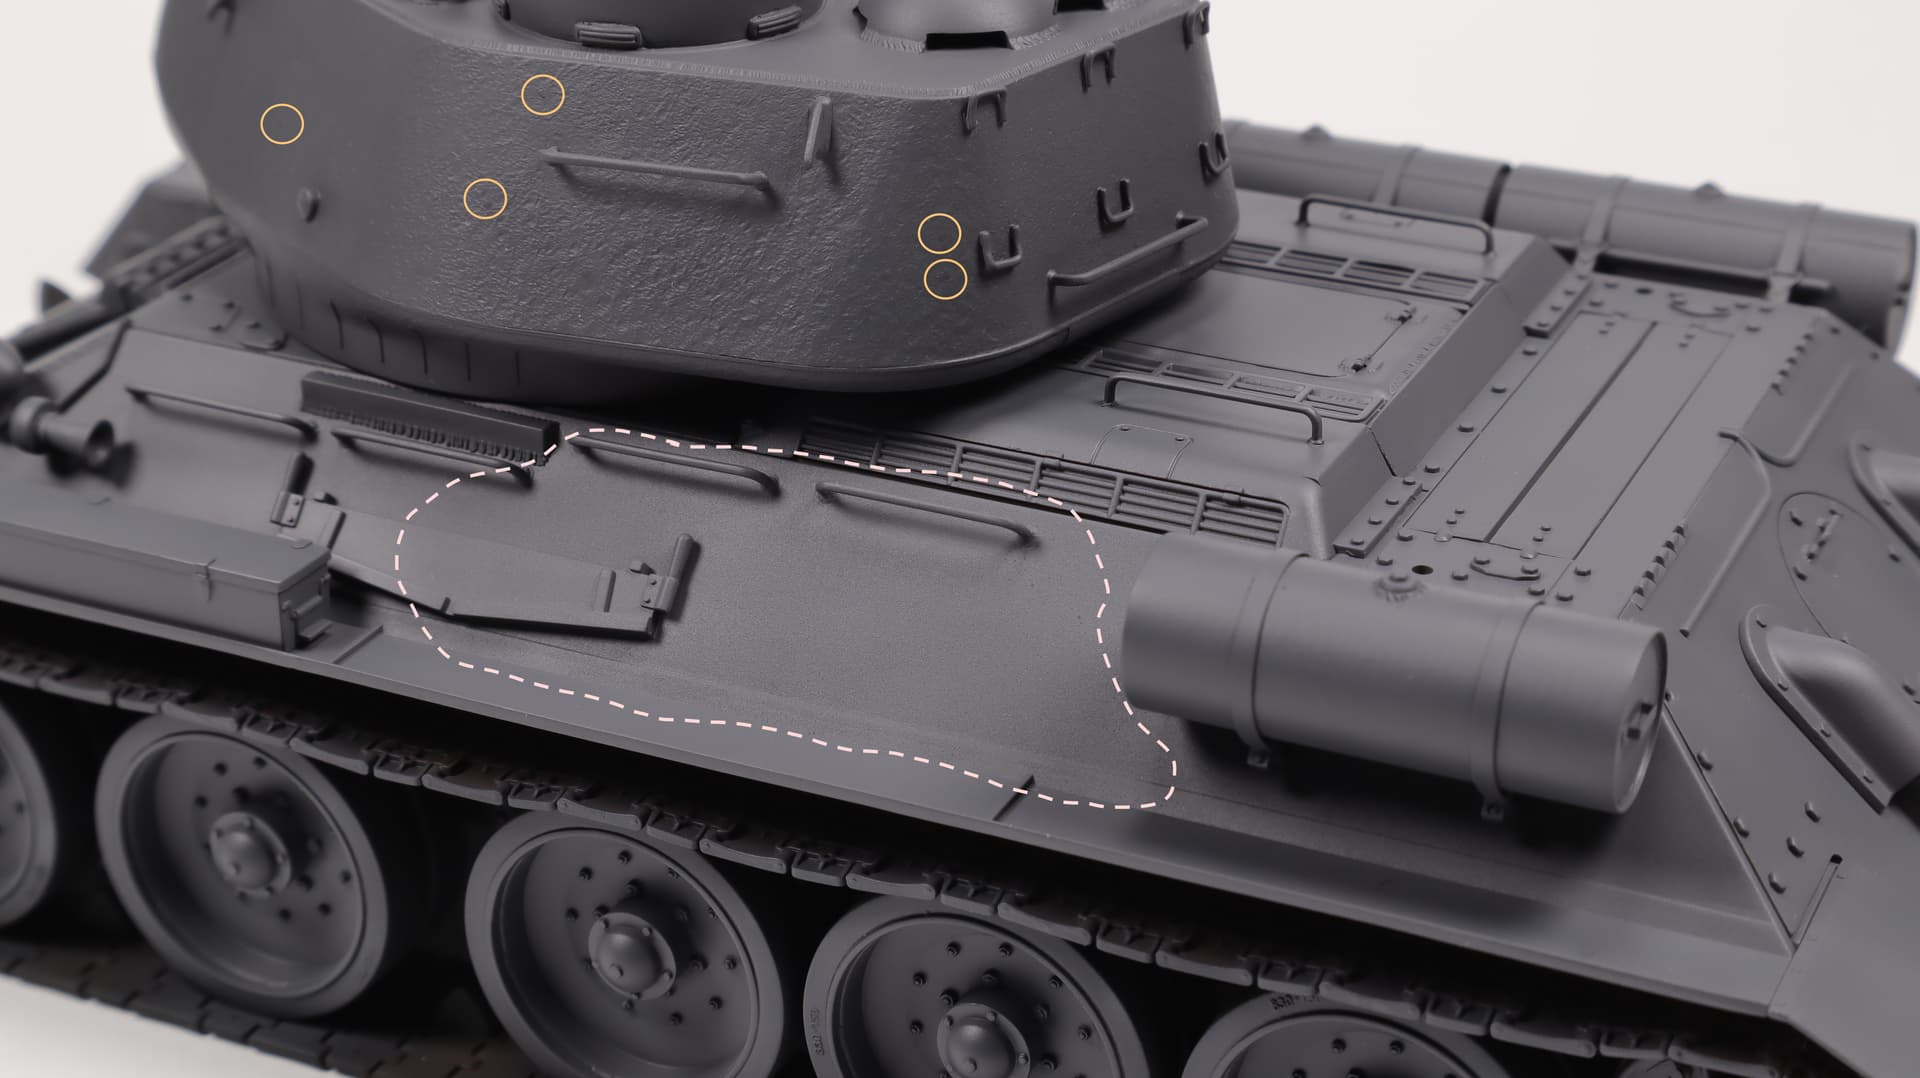
Corrected some shortcomings, and removed the “sand” and droplets.

The only two parts that I did not glue were the towing cable and the cover of the engine compartment.

6 Likes

Looking good. ![]()
![]()
2 Likes