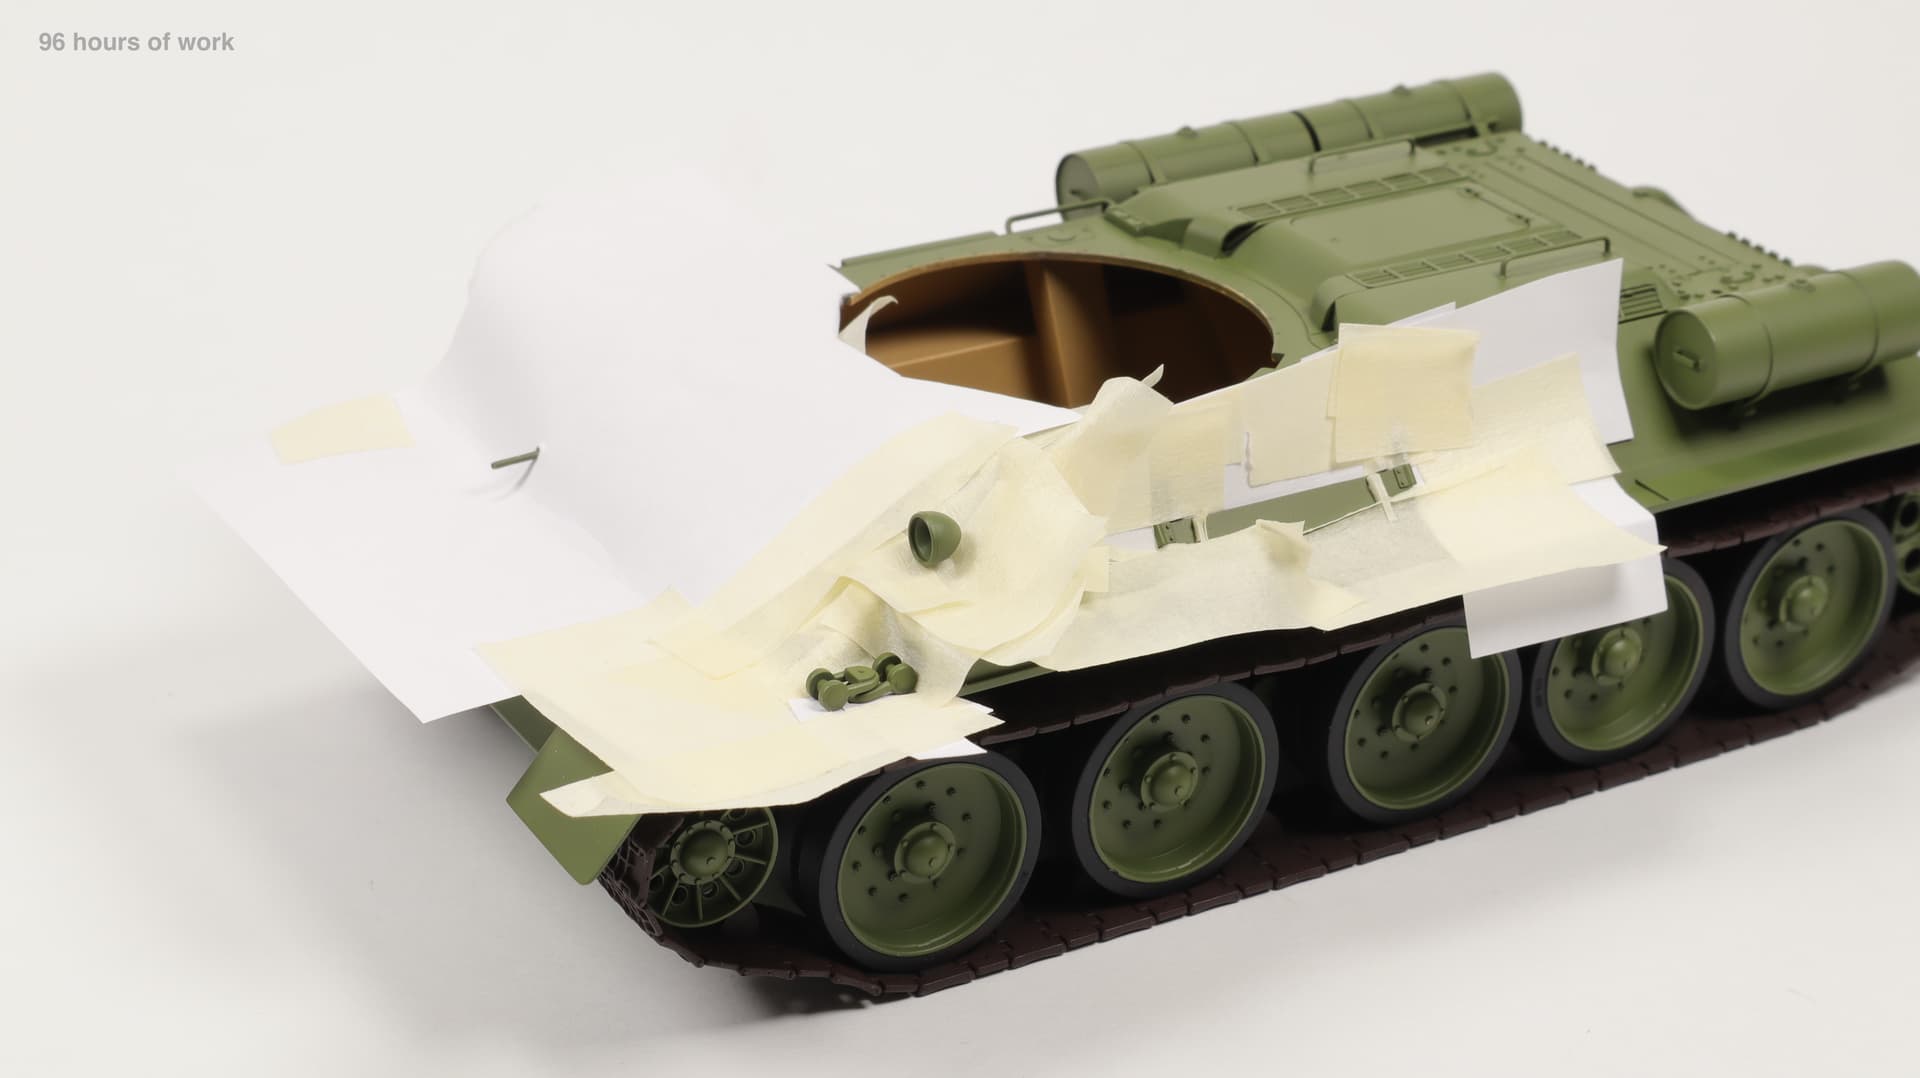
95 hours of work.

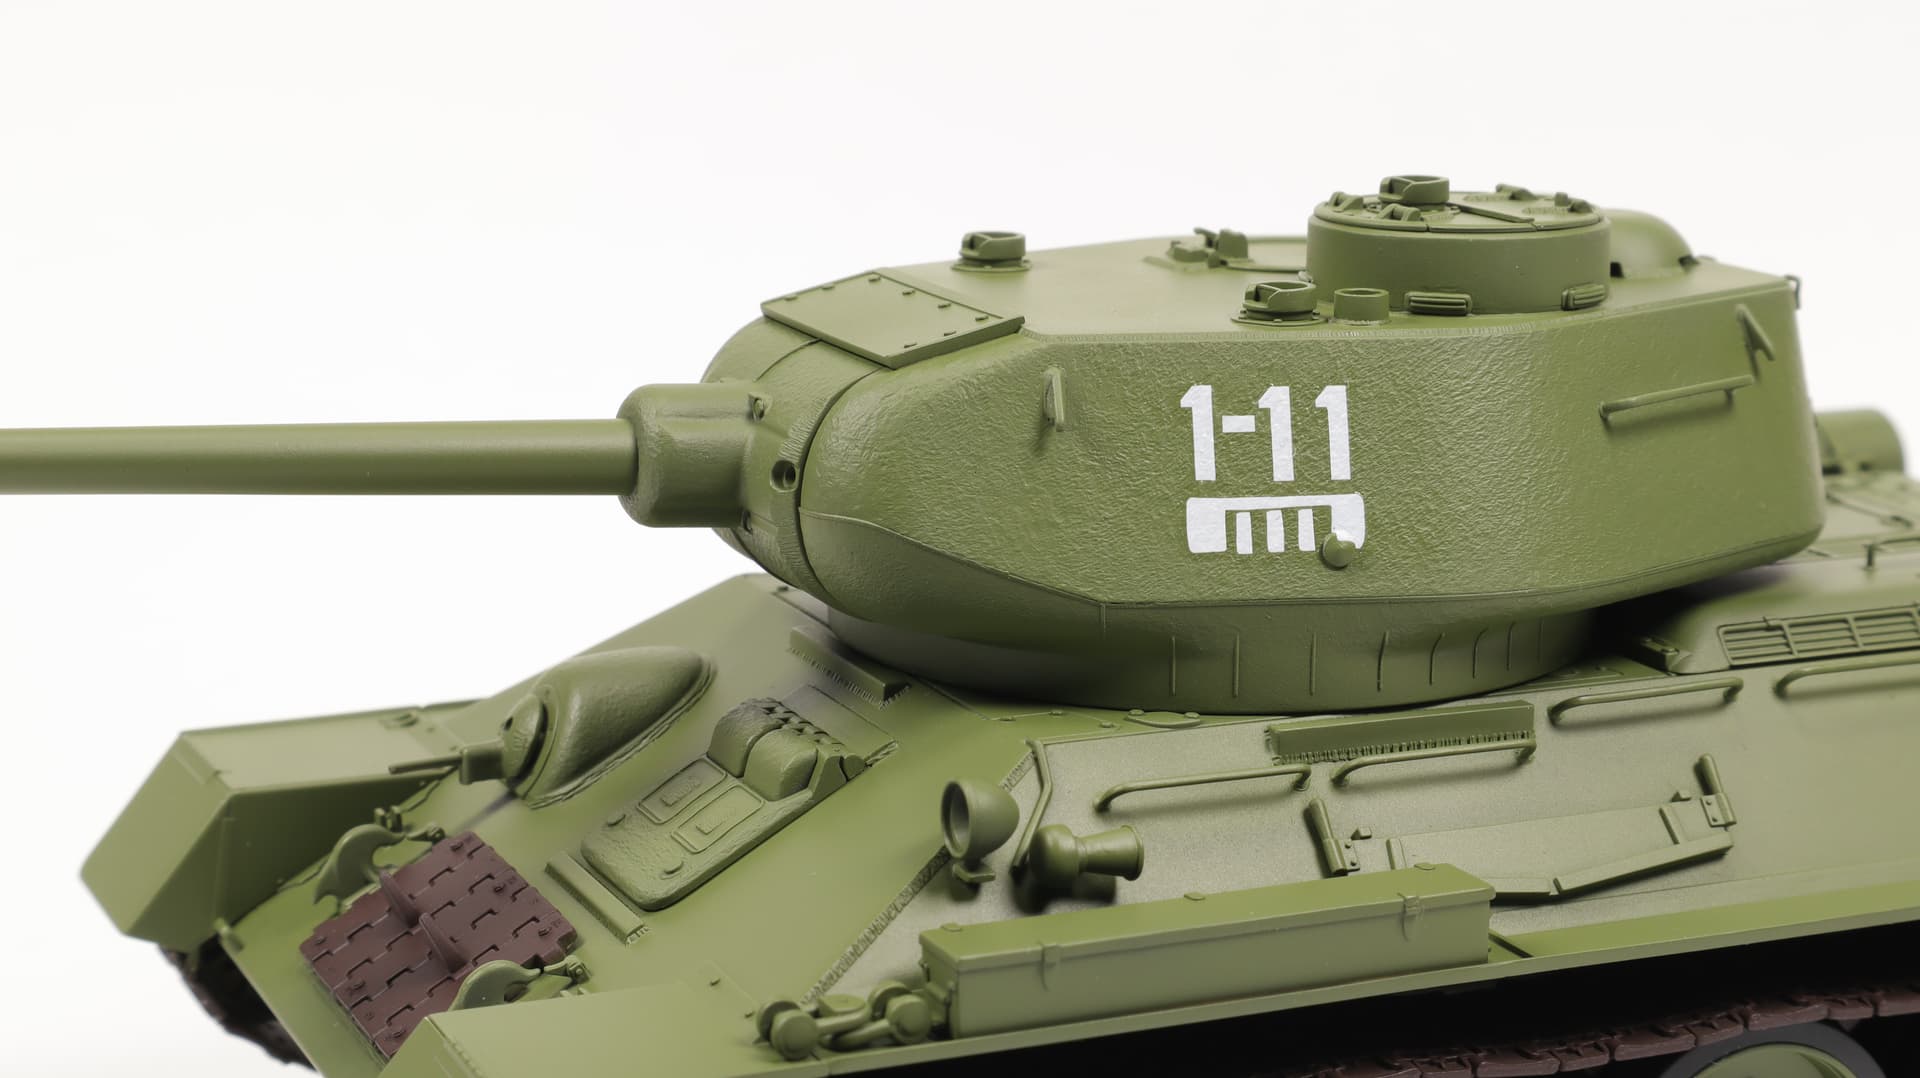

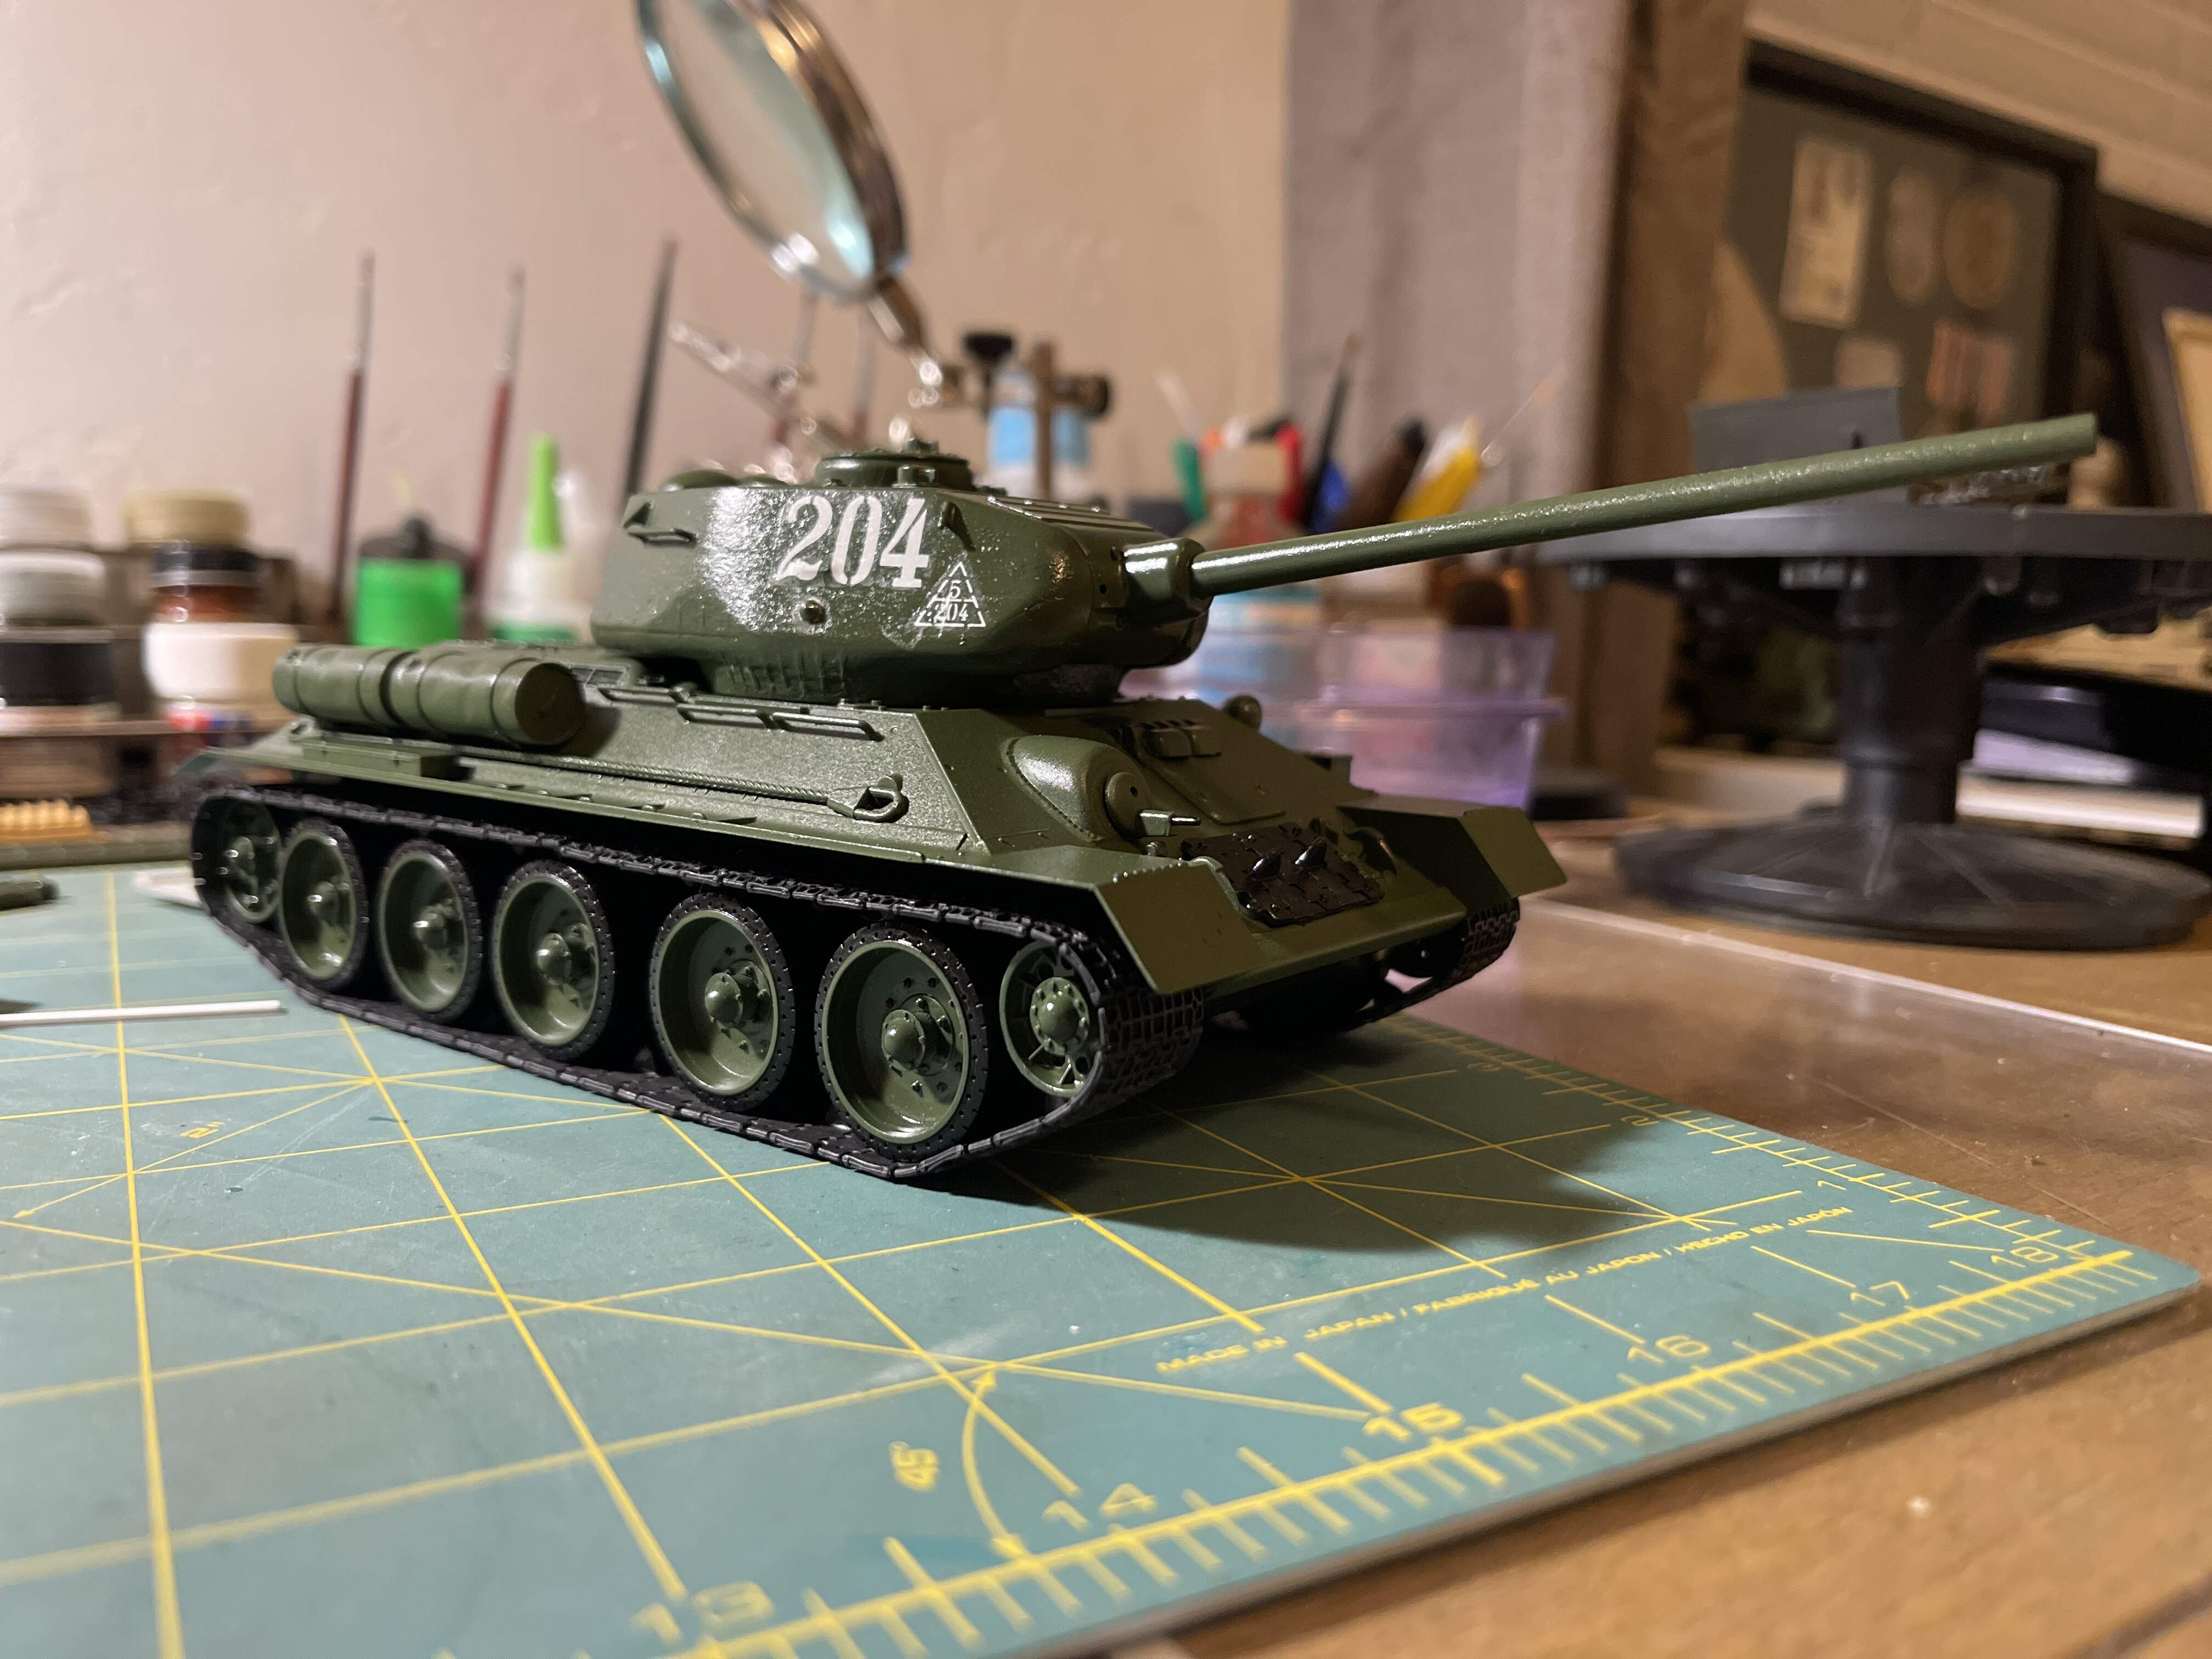
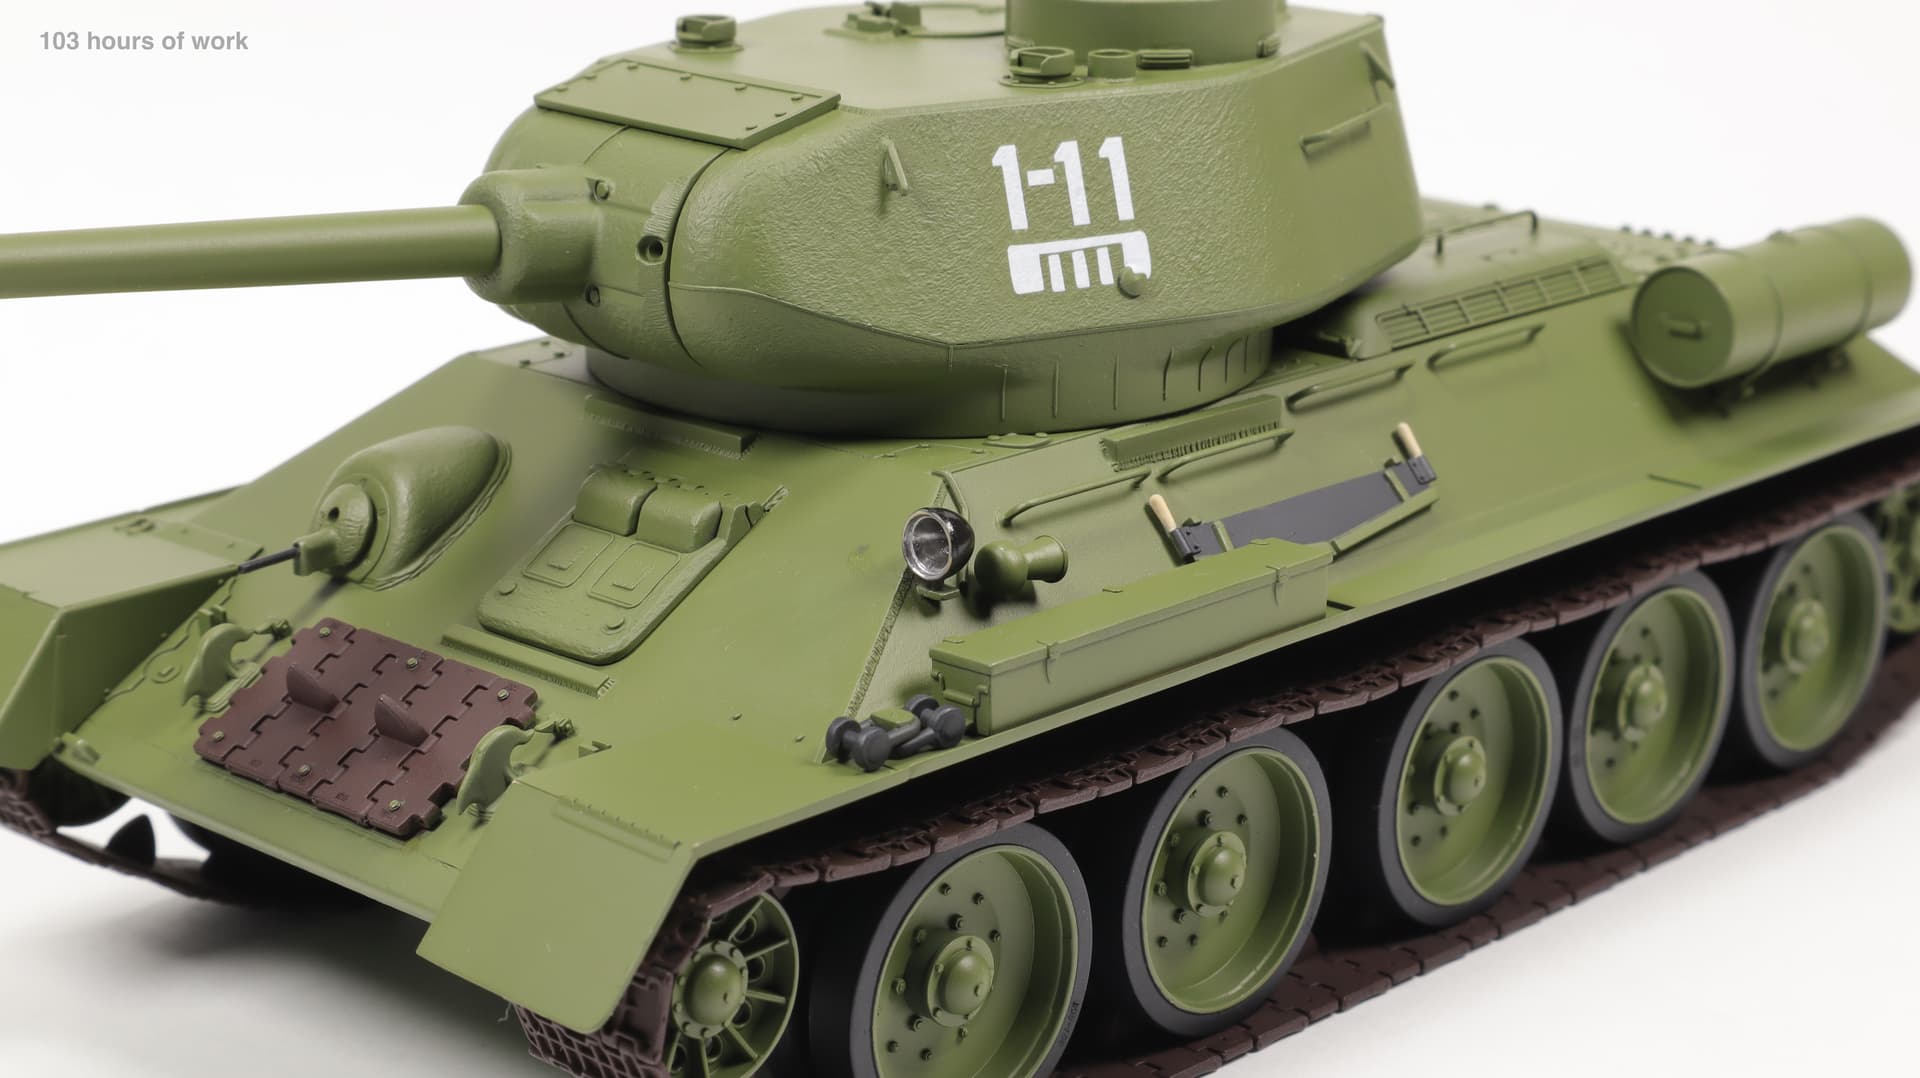
When applying the decals, I was guided by the instructions, and these photos
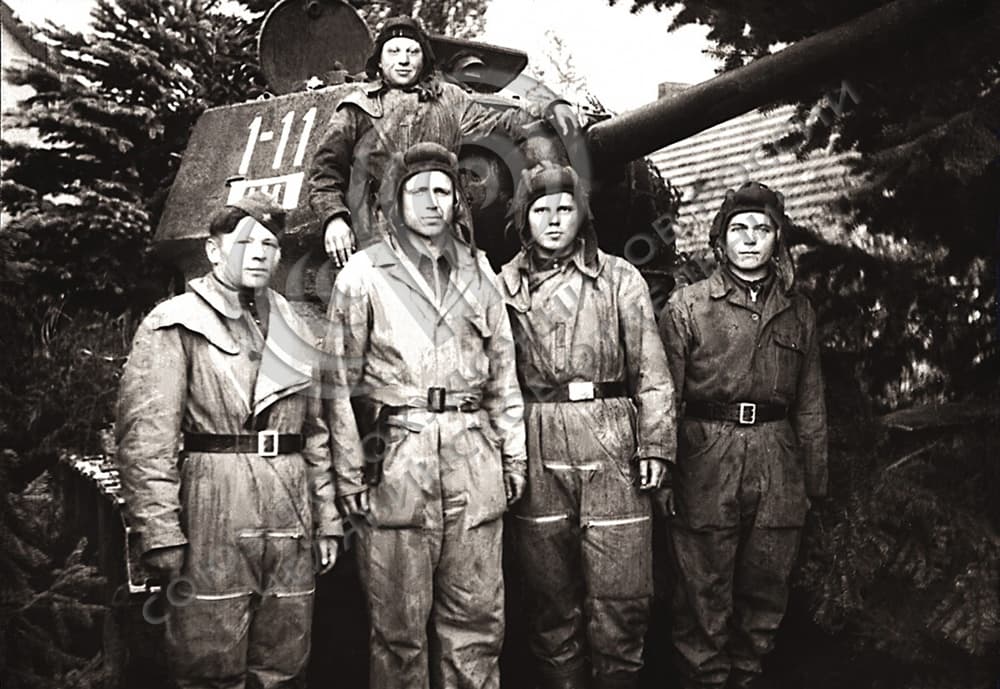
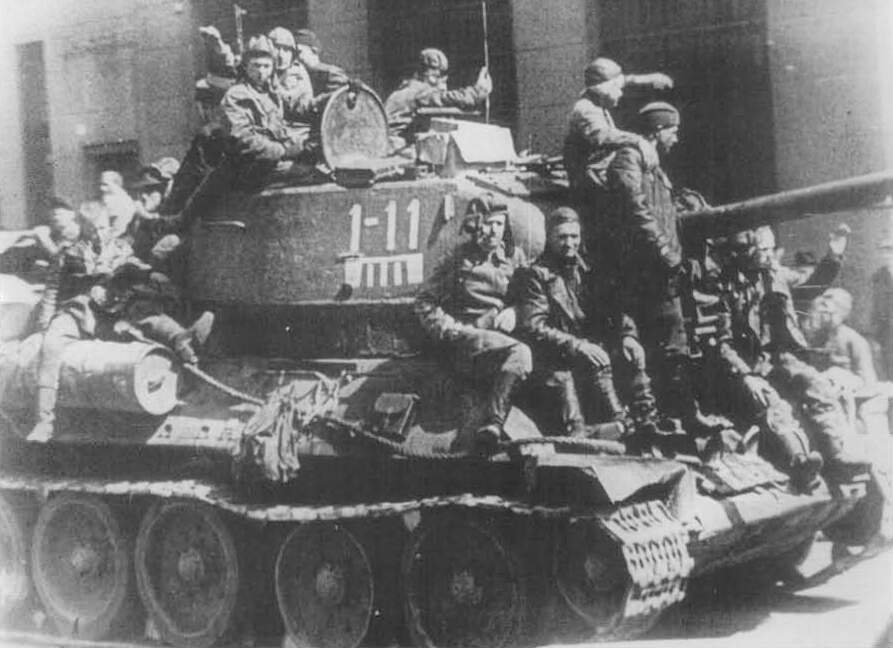
The photos are taken here:
95 hours of work.
When applying the decals, I was guided by the instructions, and these photos
I am really liking the results. ![]()
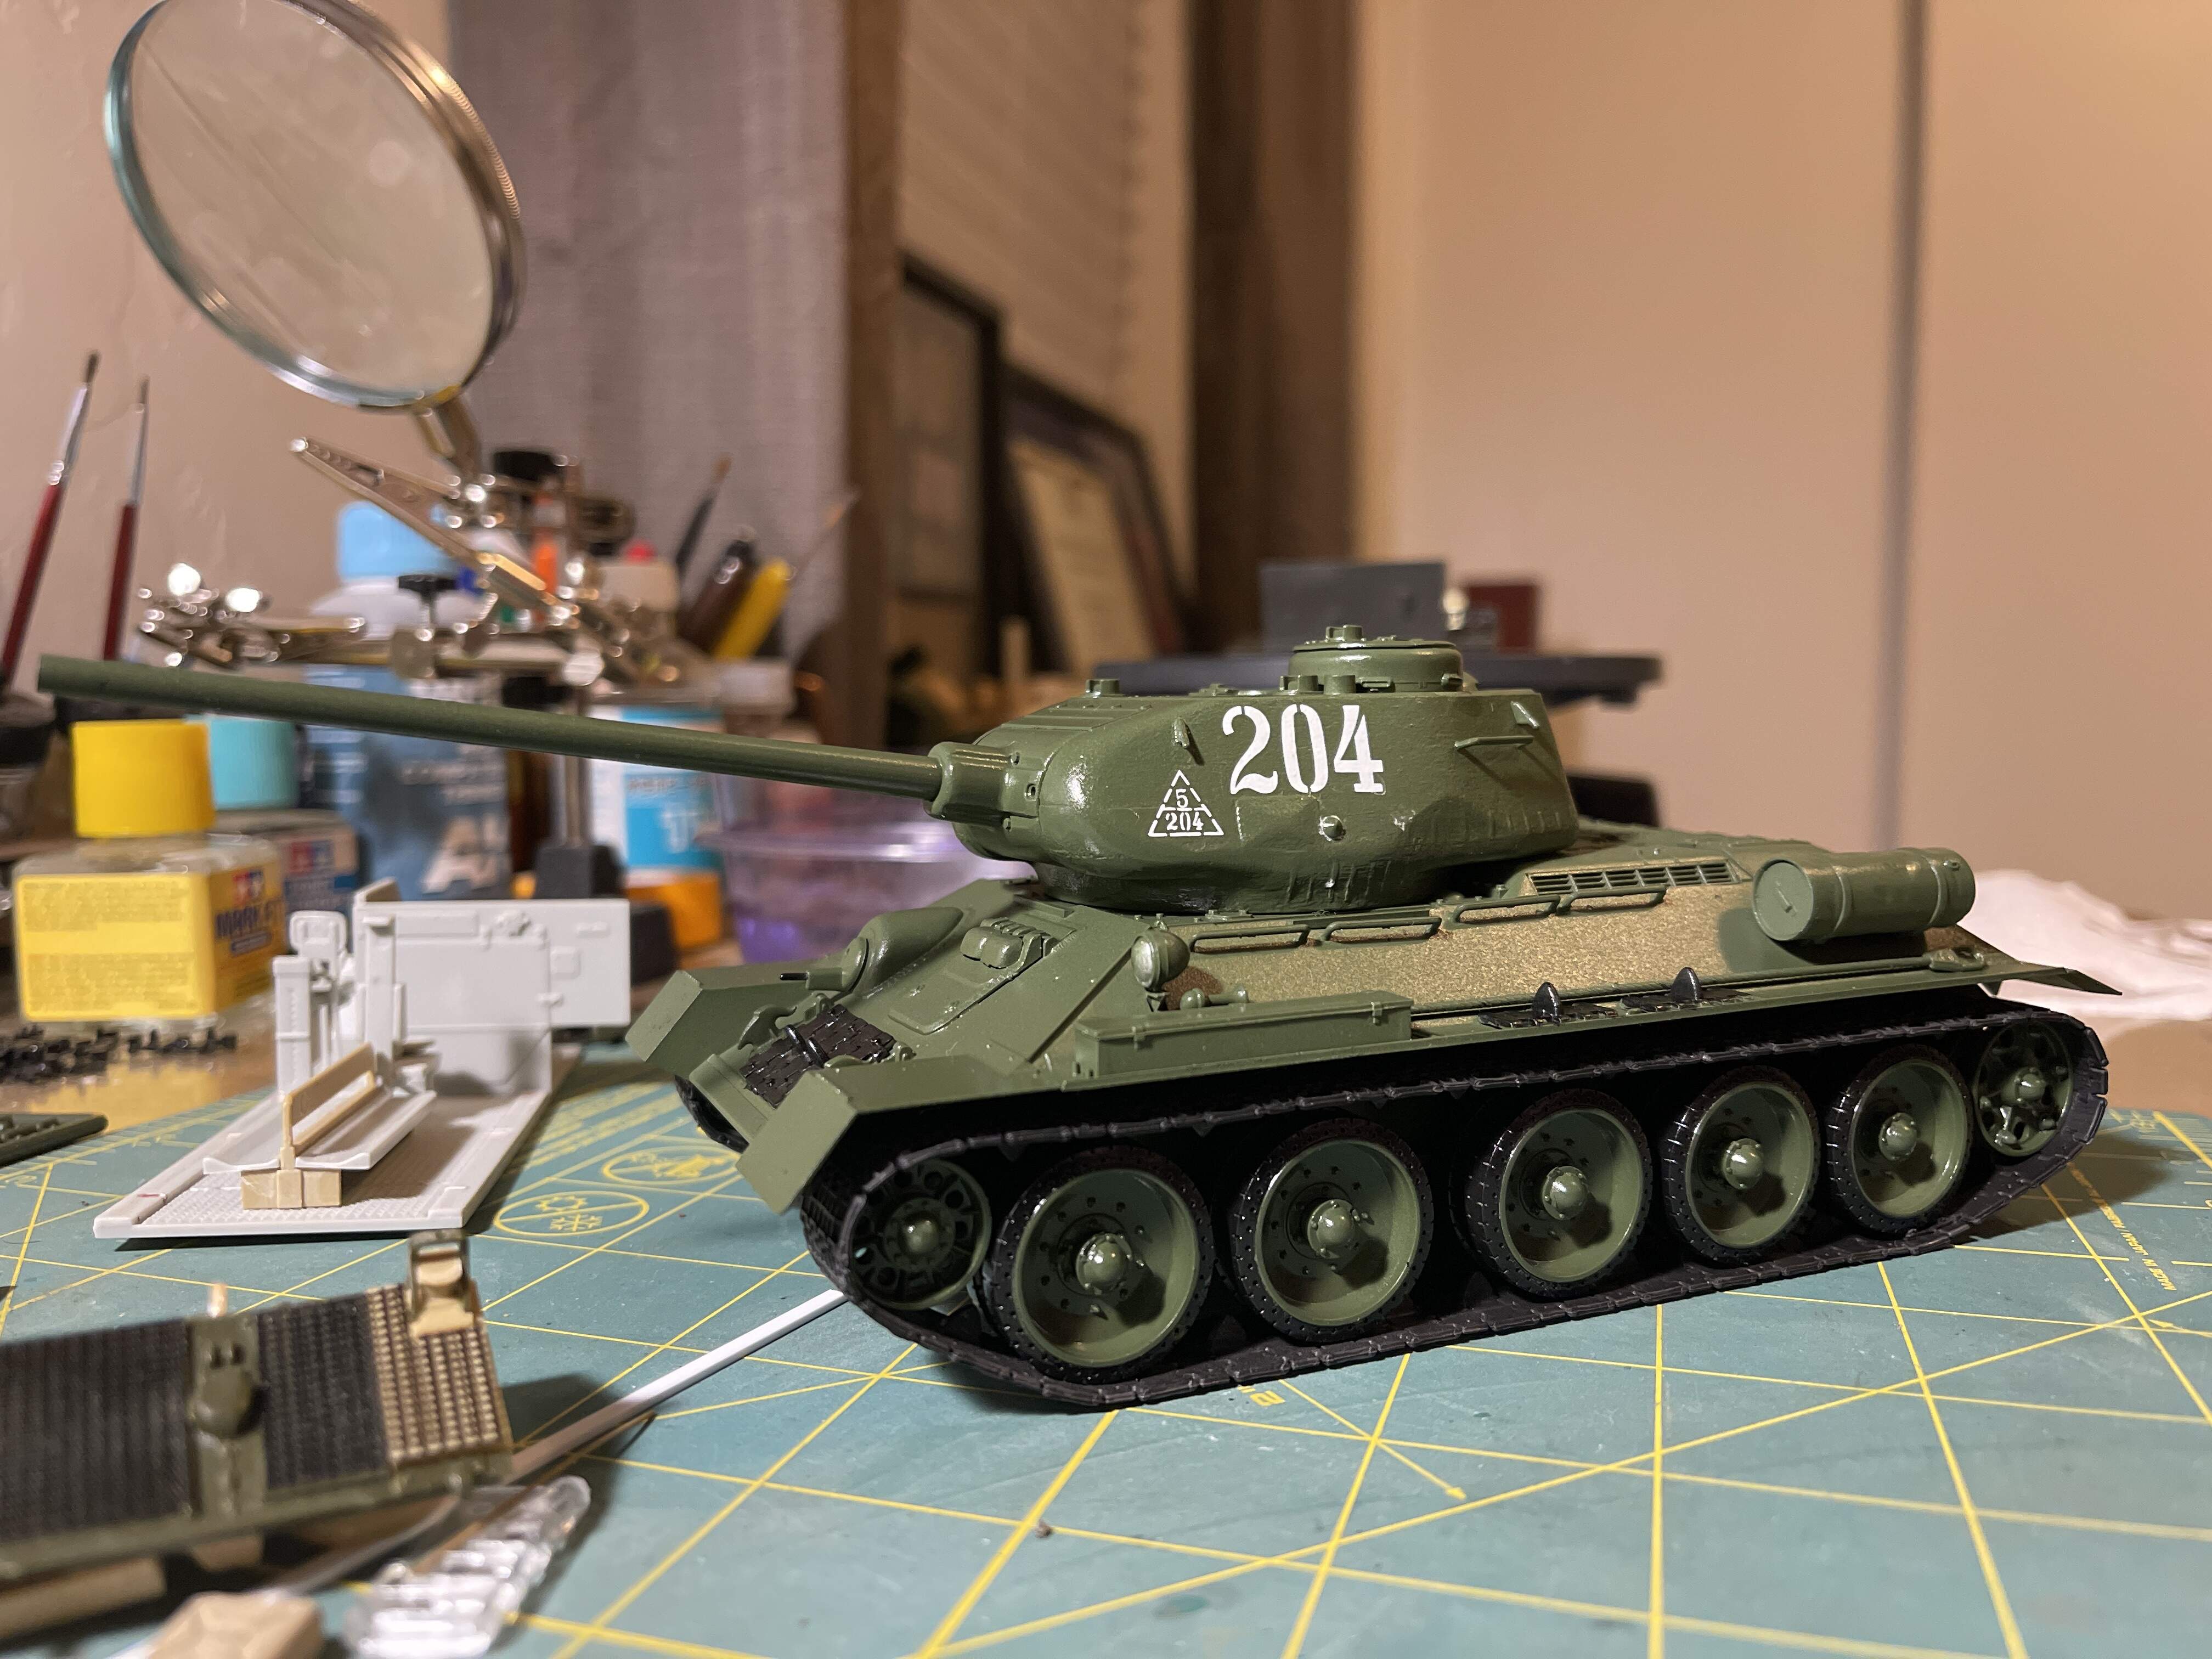
Jeez, I really need to get working on my T-34/85. I got all the base coat on, but still need to paint to stowage and do some more weathering.
Great! Your build is progressing much faster than mine!
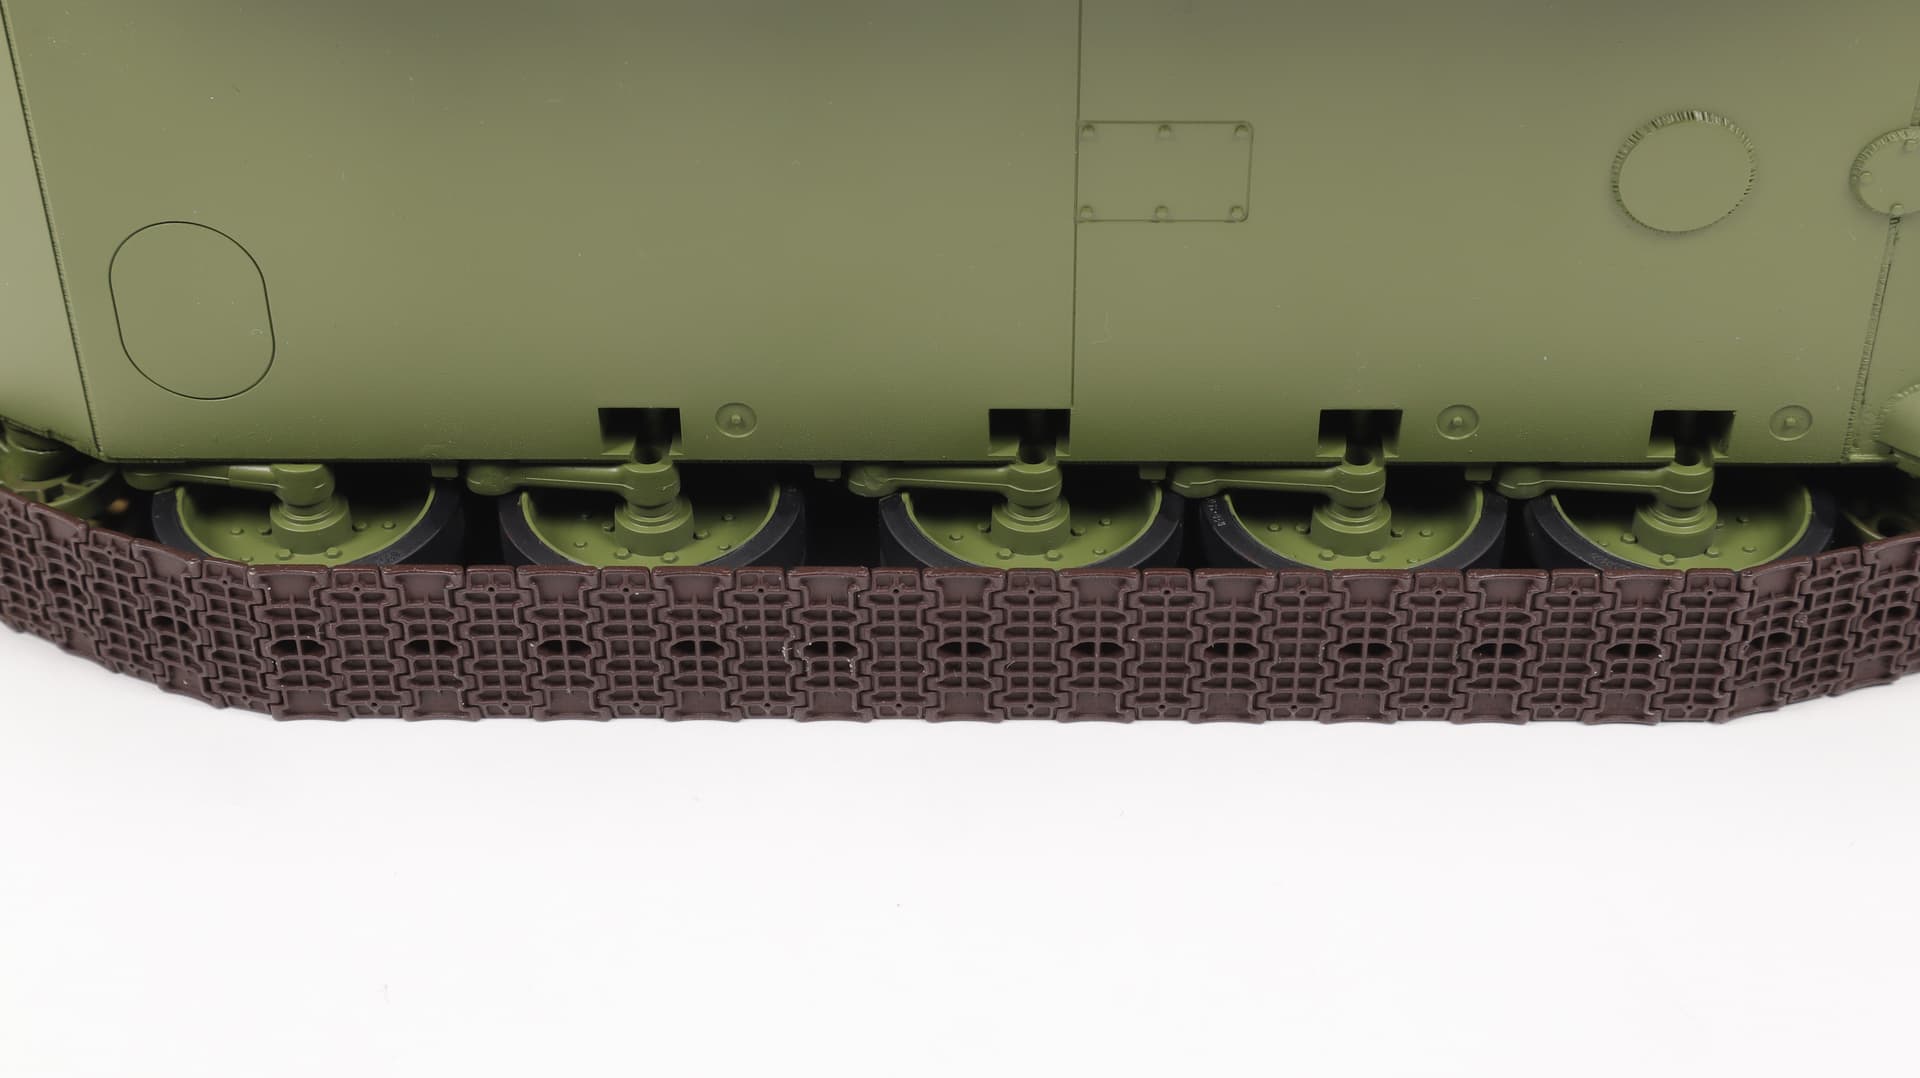
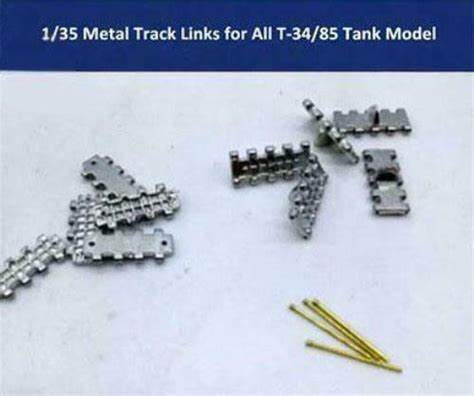
For now, at least. i plan to replace the rubber band tracks with metal tracks from San Xin.
My build was a quick and dirty build; yours is more painstaking. ![]()
Is the vinyl in your kit hard? Maybe after weathering just glue the tracks in the right places?
It is, but it folds around the sprockets.
Interesting, where did you get those?
I have these from Taftraft, not sure which kit I will put them on but I will probably get a few more sets.
Thanks for the link. i might buy these as well. As for the rubber band tracks, is the tracks that come with the kit; typical Tamiya tracks.
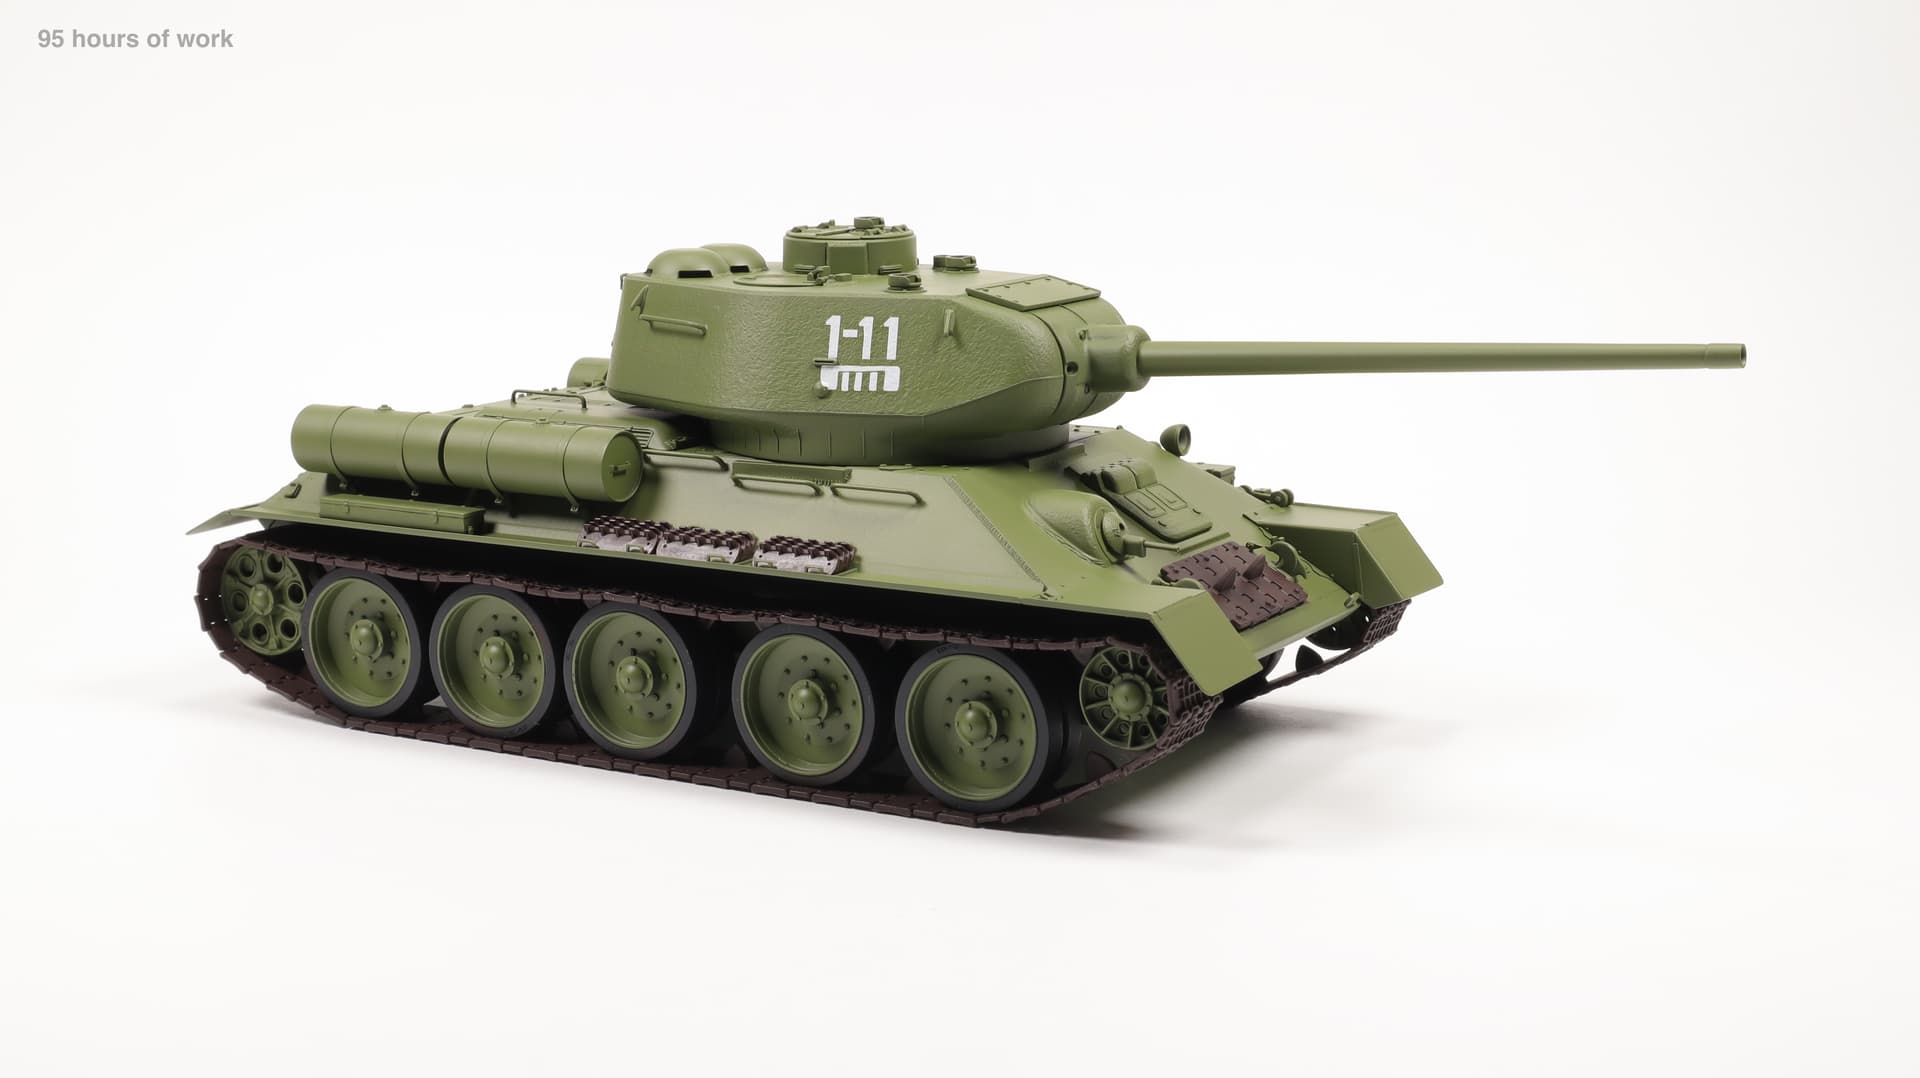
97 hours of work.
Looking good!
Thank you, Colin!
6 hours! Just awful!
Most of the time was spent on the headlight. It turned out to be a whole epic with her.
By order.
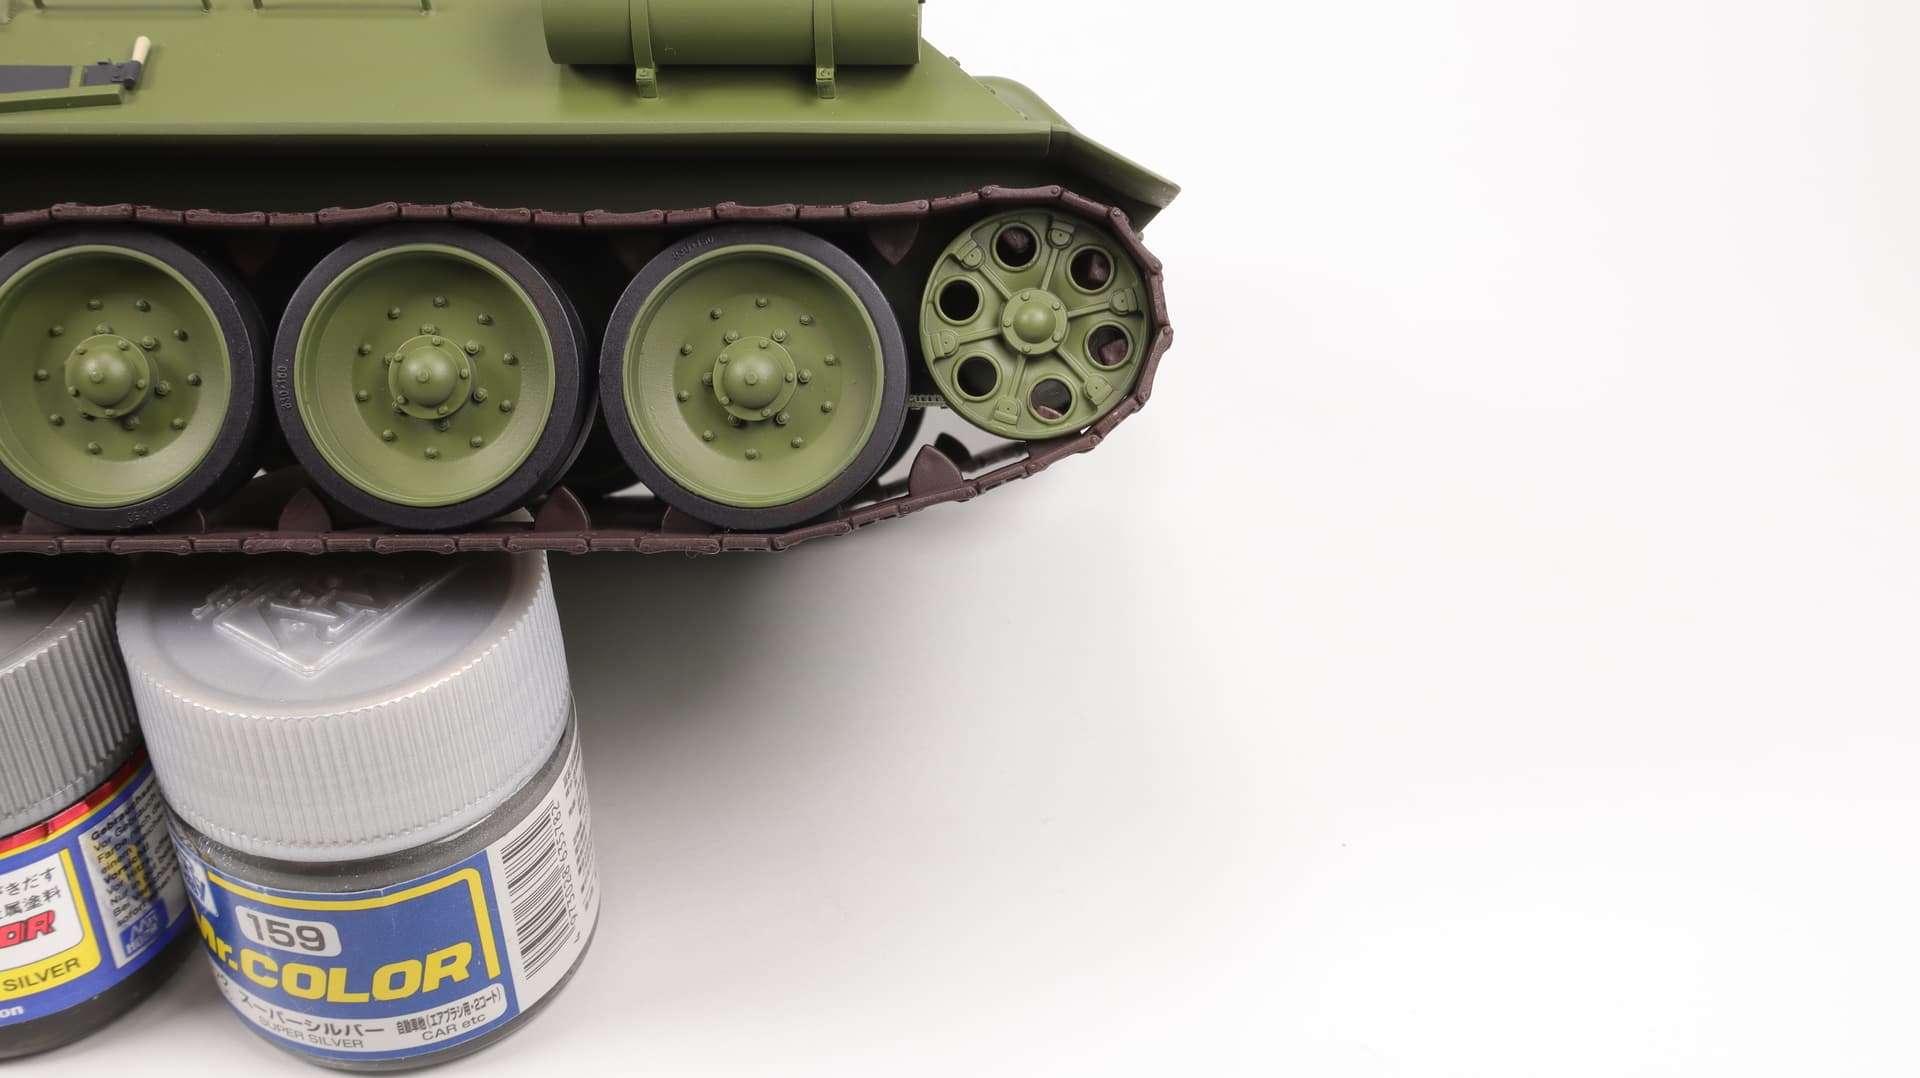
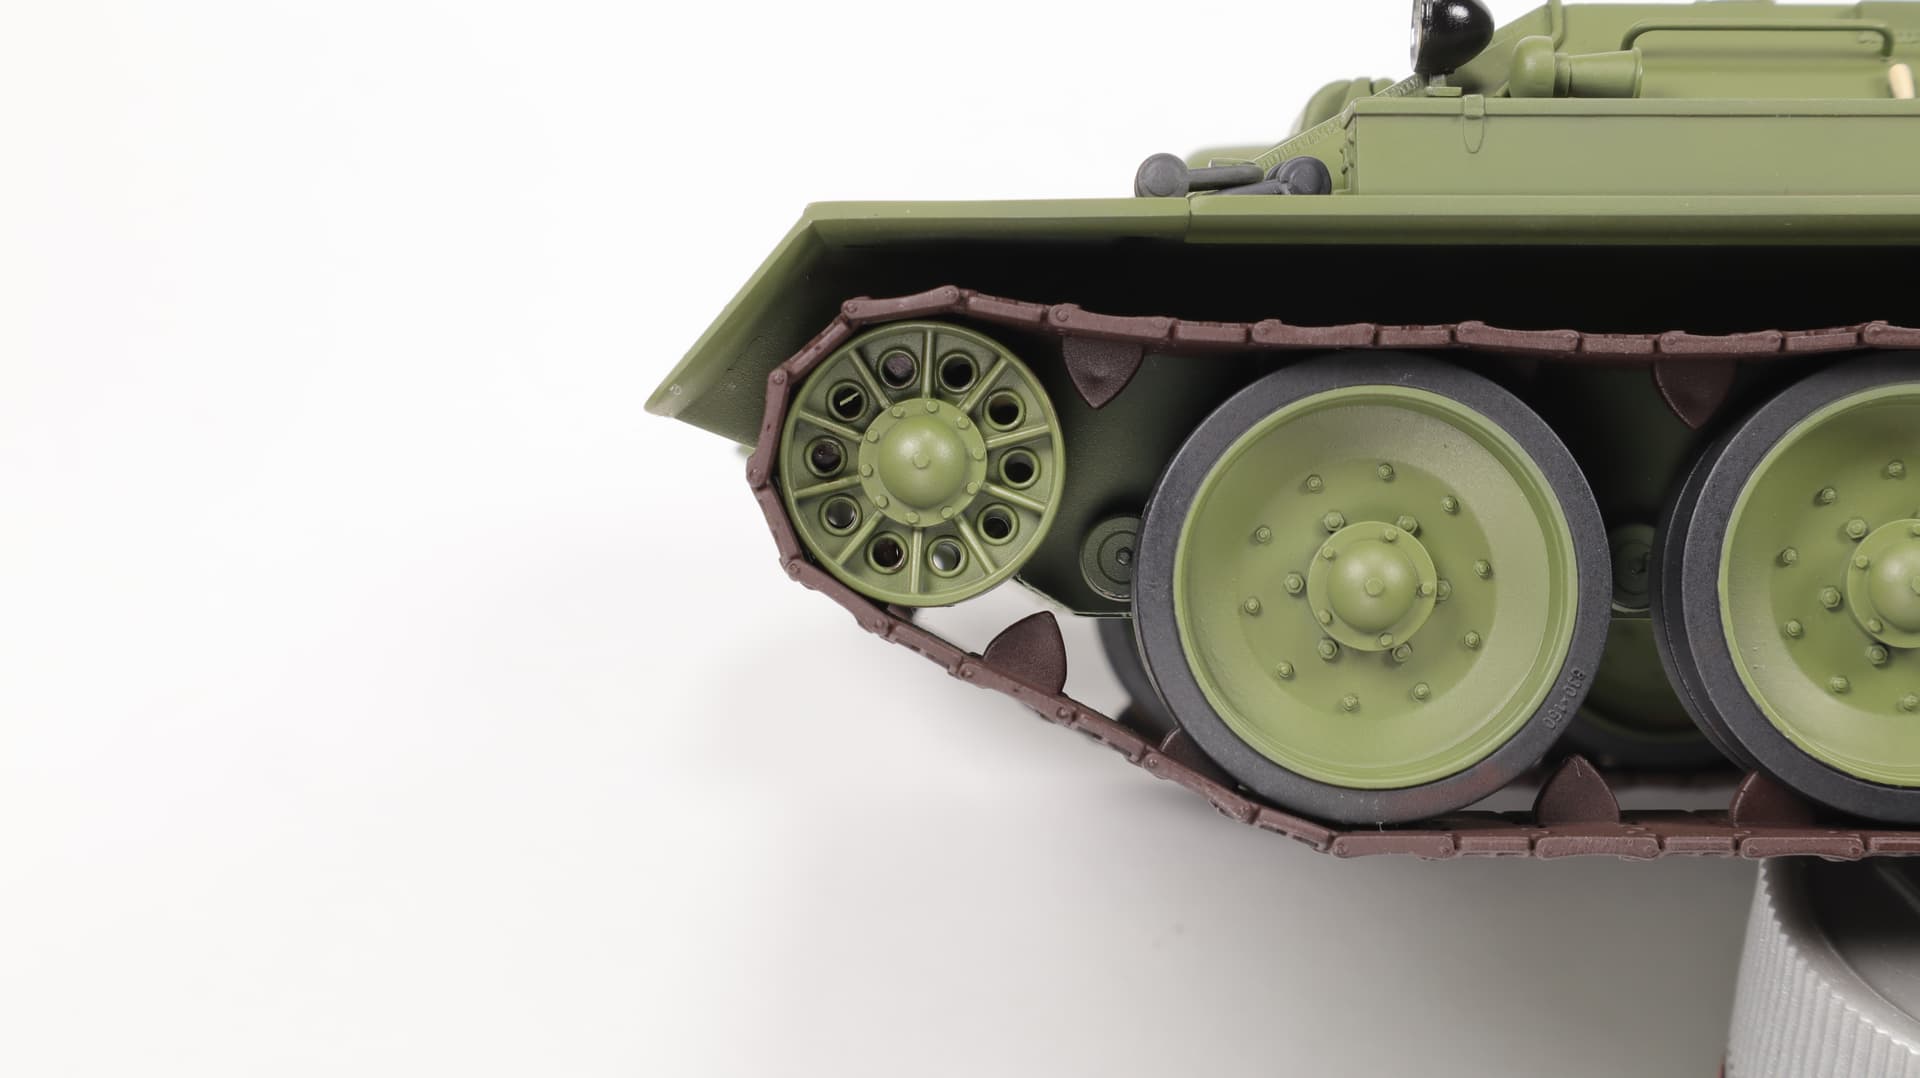
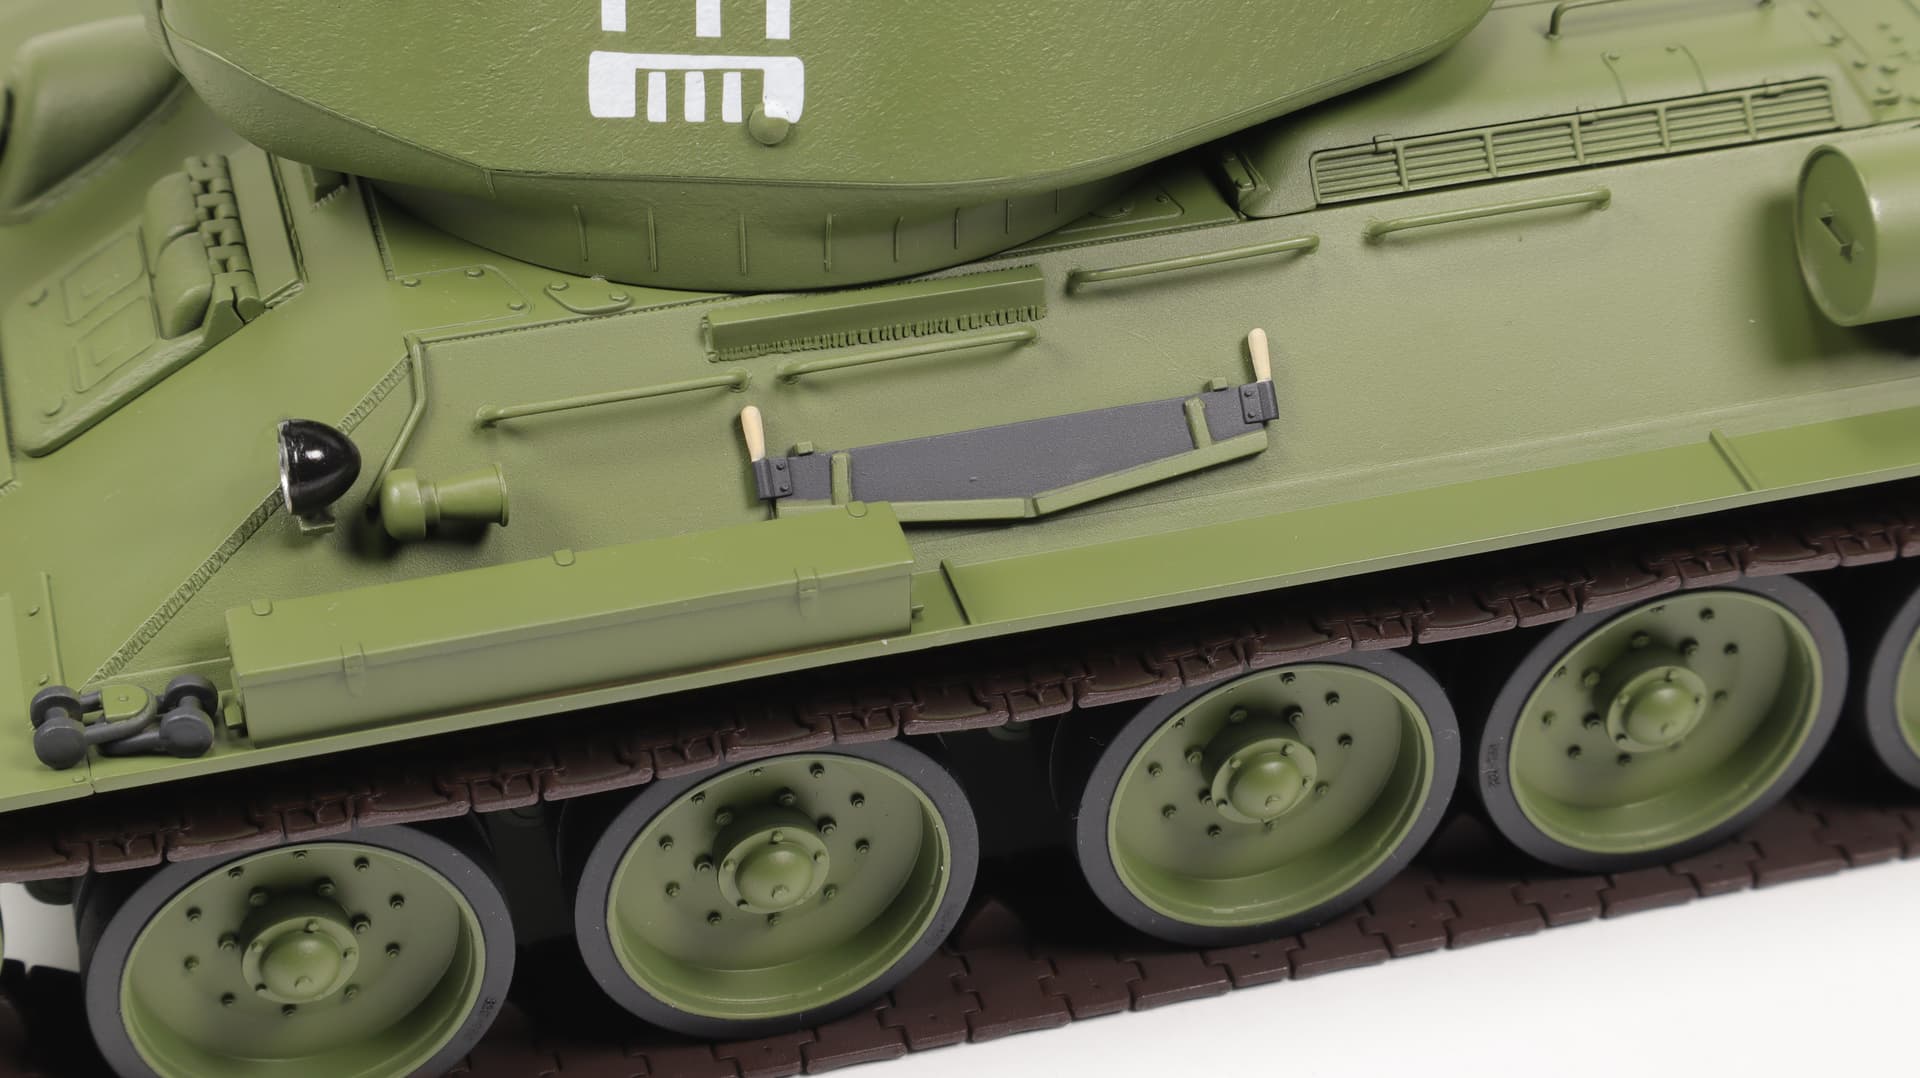
I finished painting the road wheels on the reverse side and in some places on the front.
It looks outstanding though!
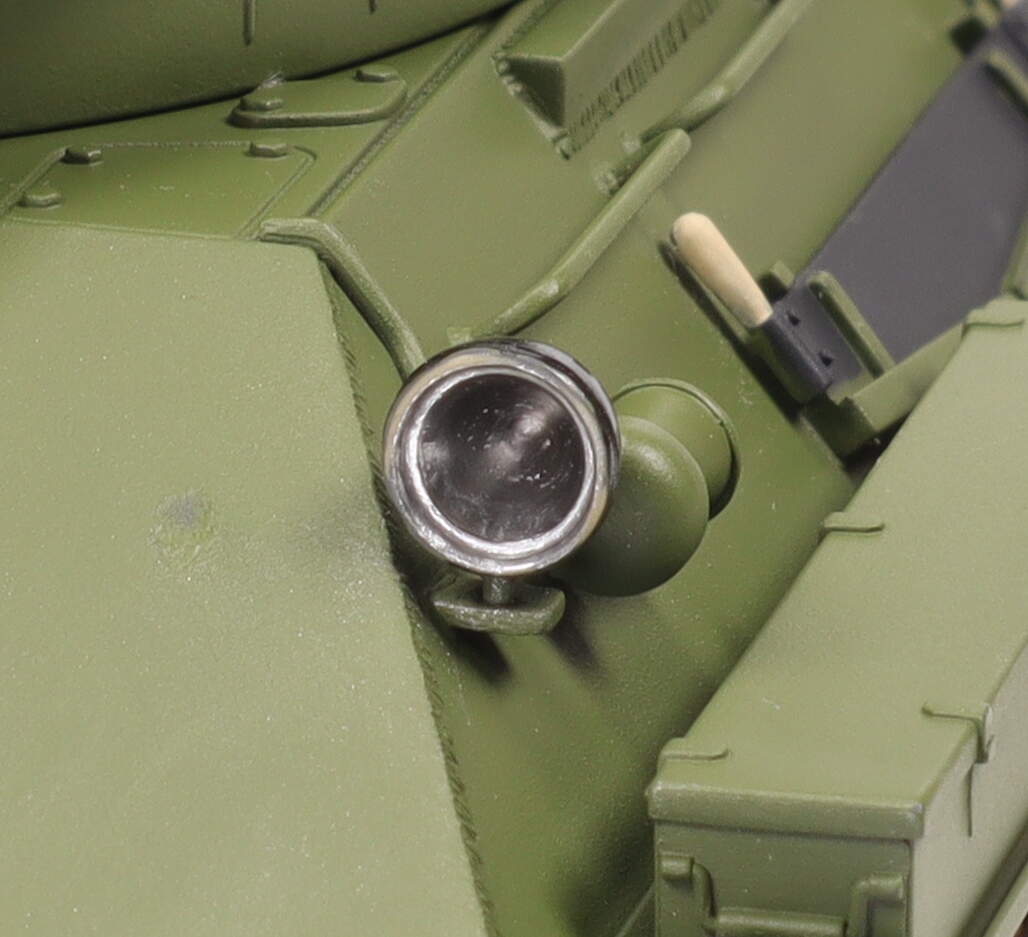
And, of course, the headlight itself.
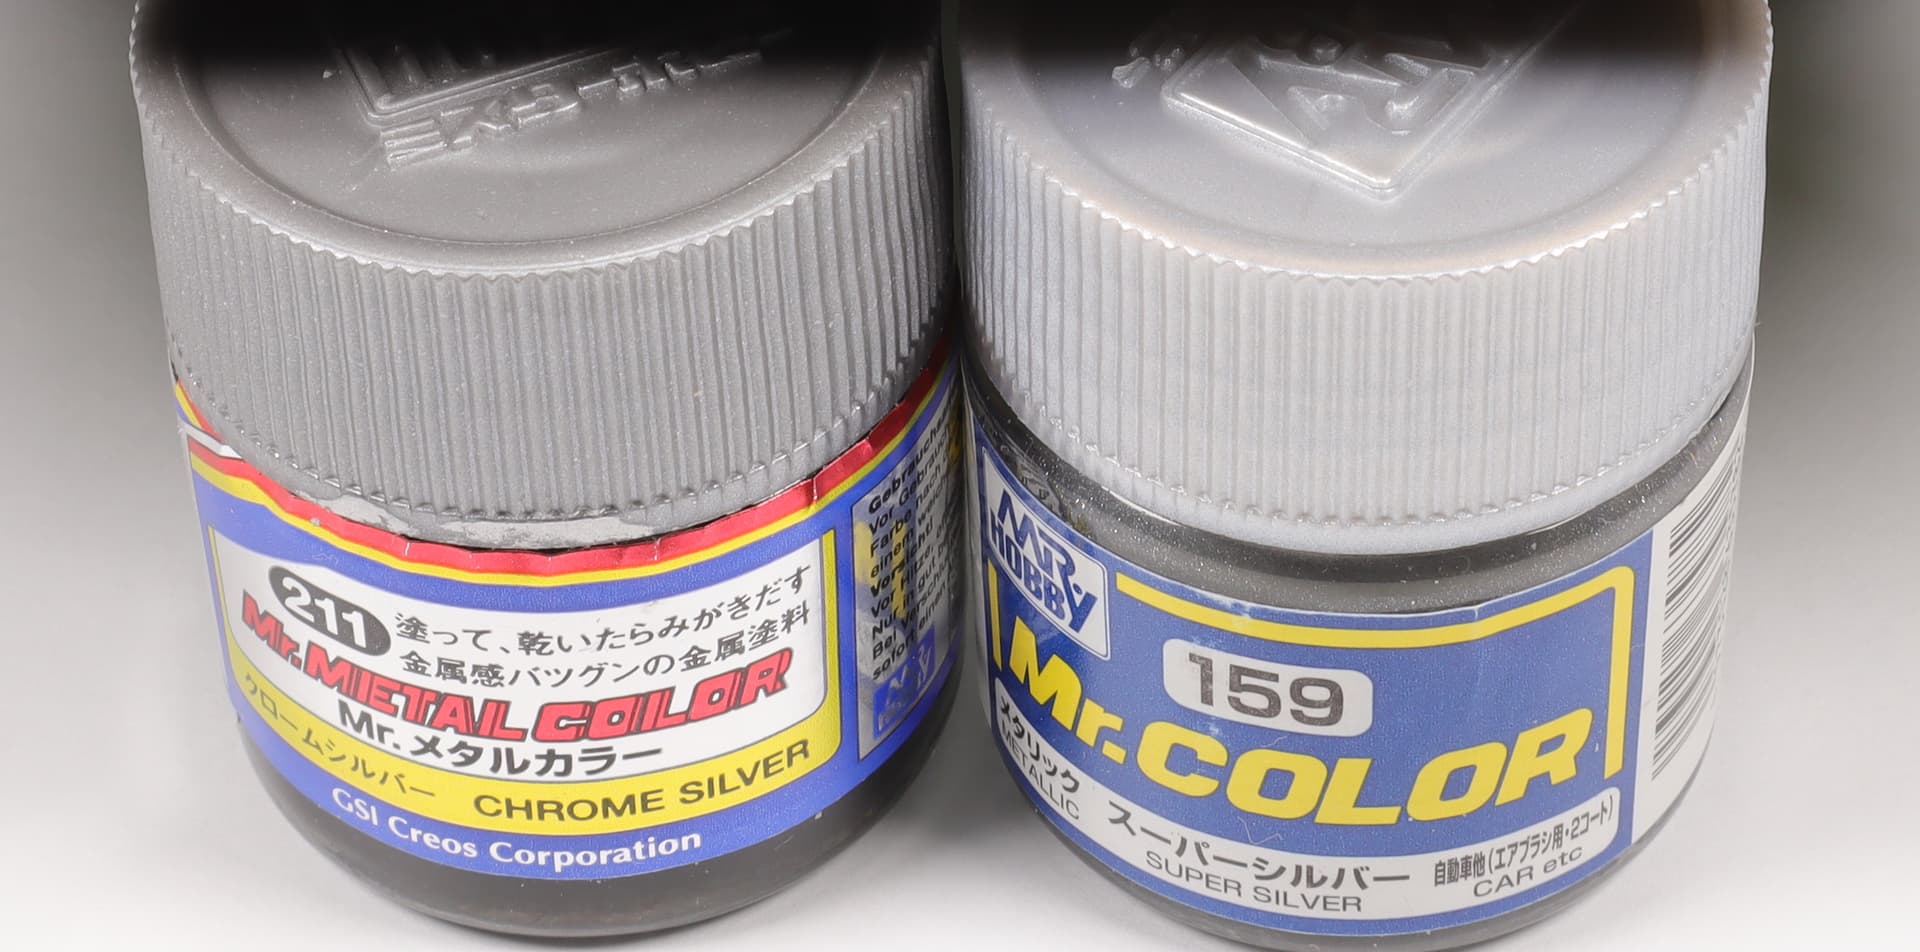
Trying to imitate a reflector, I painted Mr. Color 159 Super Silver paint inside the headlight. The result was so disgusting that I didn’t even take a picture and immediately washed everything off with thinner. Naturally, the primer also washed away. After that, it would have to be re-primed and sanded inside. But! Laziness! Laziness kills any result! Laziness is evil!
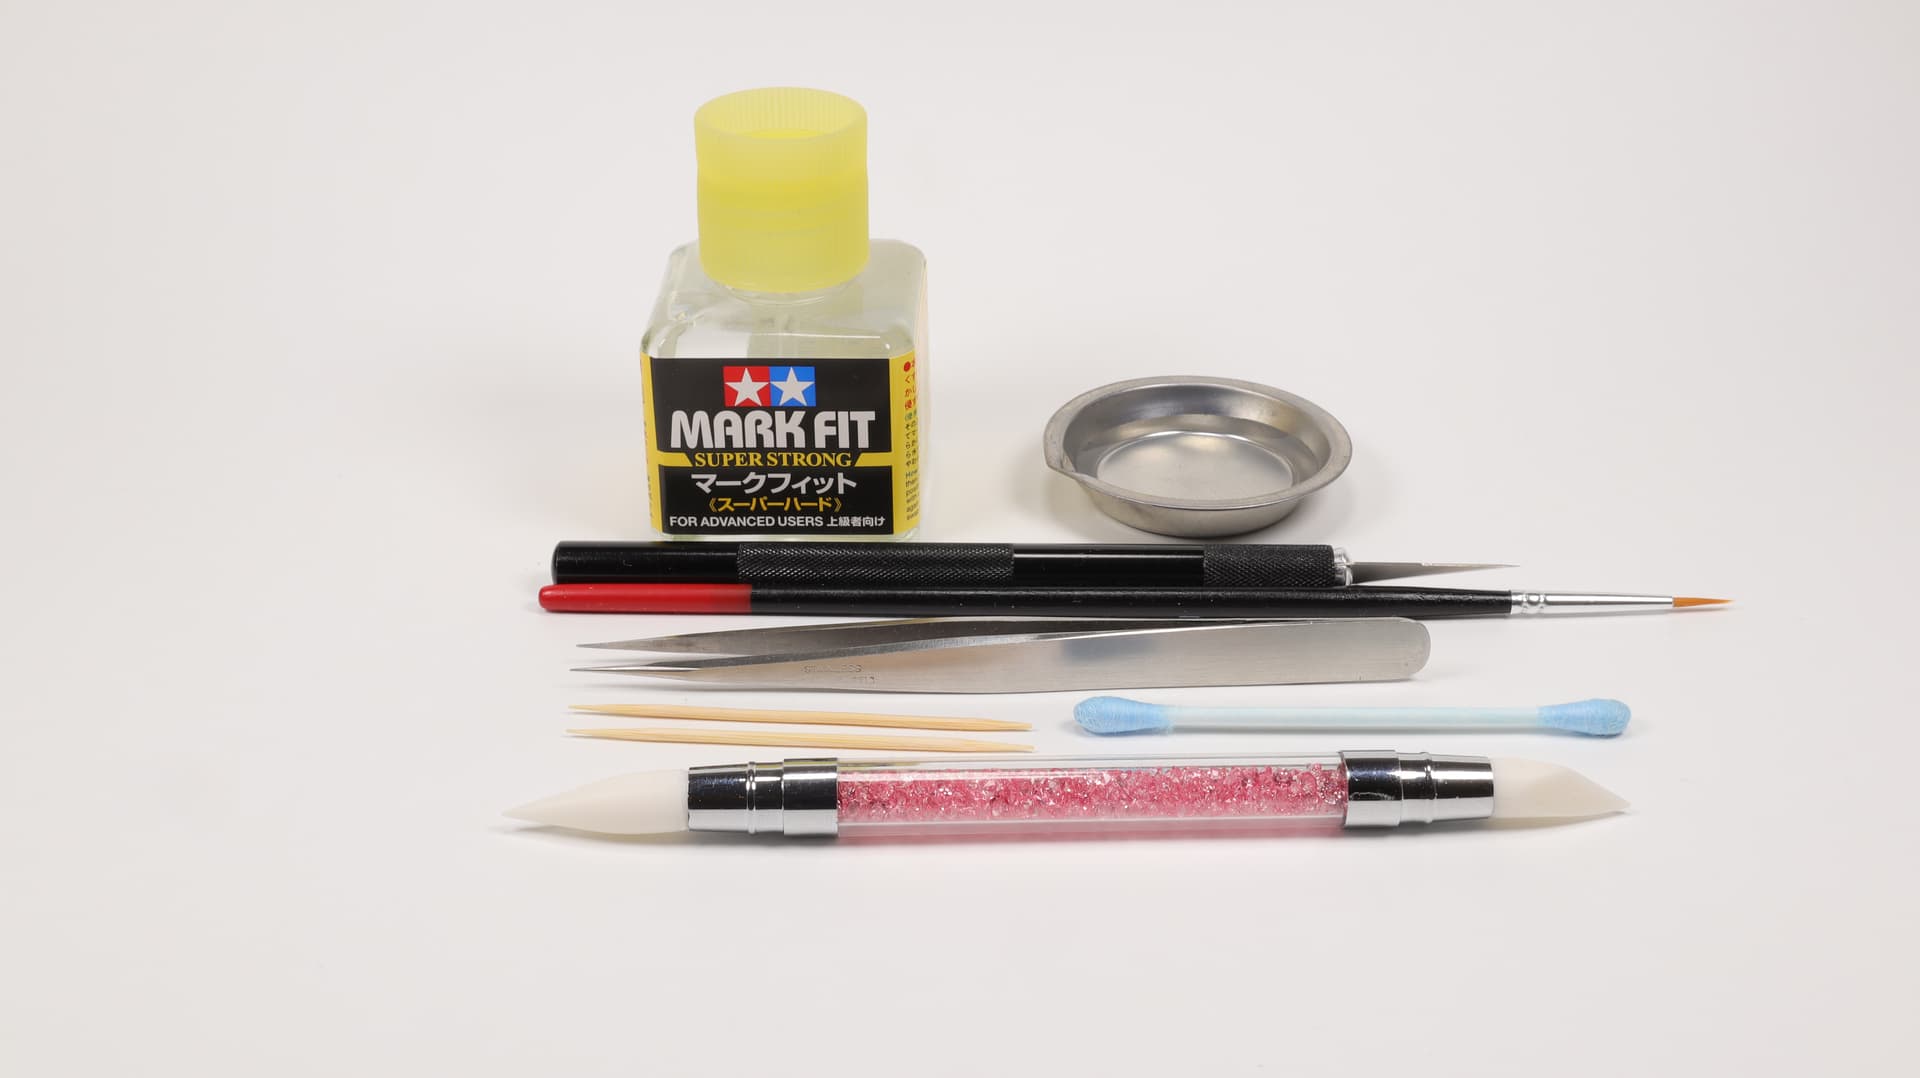
Briefly speaking. Painted the inside of the headlight with Mr. Metal Color 211 paint. After drying, I polished it with “cotton toothpicks”.
And immediately defects became visible, which remained unnoticed during processing with a bur and a model knife, but were hidden by primer at the priming stage. I needed to reapply the primer. Laziness. Haste. Laziness. In the photo inside the headlight, there are not dust particles, as it might seem, but processing defects.
And it had to be primed. Wasting that much time on the masks and not spending some time on the priming inside the headlight? It remains a mystery to me.
Gorgeous work. ![]()
![]()