Thank you, Matthew!
Thank you, Ryan!
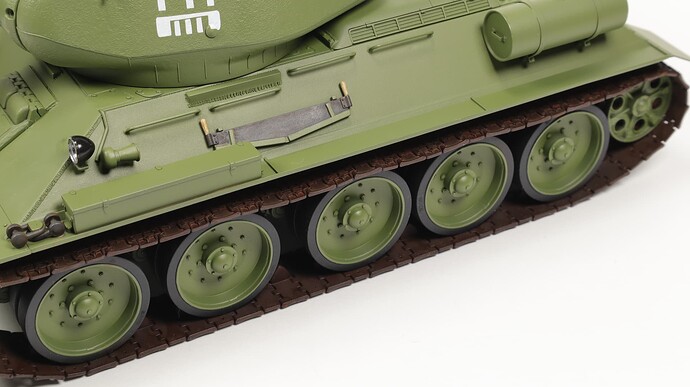
Interim analysis of the work: half the time went nowhere! It is impossible to paint a fully assembled model with high quality! If I had painted in separate subassemblies, I would have finished both painting and weathering long ago, and I would already be somewhere at the finish line!
Painting a fully assembled model is just some kind of torment! I don’t know how others do it. But it’s definitely not my way. ![]()
While no doubt painstaking to paint, the results are fantastic!
Thank you, Wade!
I think, taking into account not only the painstaking work but also my craving for experimentation, another hundred hours are waiting for us! ![]()
![]()
Hello Vladyslav,
I have been lurking all along from the beginning. Forgive me, but I was waiting for the magical “100-hour” before making any comments. Well, here it is… Your build along with the photography is absolutely stunning. You’ve put a lot of effort into your build and even though you may have made a few personal errors along the way, you have displayed great talent and you have shared many techniques with the KitMaker community.
Thank you for sharing! ![]()
![]()
![]()
—mike
I share @justsendit’s sentiments. I’ve really enjoyed your build and running a build of my own alongside yours. I eagerly await your next steps, to see where I can use your skills on my own build.
Great job. ![]()
Mike! Thank you very much for such a high appreciation of my work!
I really enjoy creative work. And I am ready to spend hours on end doing interesting things, not noticing either the time or what is happening around me.
Photographing each stage, of course, also requires a lot of time. And sometimes I wonder - am I taking too many photos too often? But, as I understand now, the more detailed photos, the better. It’s interesting not only to me but also to other members of the community.
I have a lot of mistakes. But sometimes I even like to make them. At the same time, I always analyze - what am I doing wrong? Without them, I would not be able to progress in my work.
Regarding great talent, my position here is much more modest. Based on my own creative experience, I came to the conclusion that the more I think about a certain step, the more carefully I do a certain job, the better the result I get. At the same time, I am guided by my personal rule - today I must do better than yesterday.
As for the techniques, I don’t think I’ve made any innovations. It just seems to me that I do some things not as it is customary, but somewhat differently. In any case, a wide variety of techniques, methods, and approaches themselves, in my opinion, give us all the opportunity to choose something better for ourselves. Looking through different works of modelers and finding something interesting for myself, I always wonder - how is it done? And then I ask myself the question - how would I do the same?
All our creativity is a space of options. I am very glad that my work benefits both the community as a whole and its individual members in particular!
Thanks to all of you, friends!
Thank you, Reynier!
Have you decided not to wait for the review I promised and start your assembly? ![]() Then - welcome!
Then - welcome! ![]() I hope this topic will be useful to you and you will follow the beaten path!
I hope this topic will be useful to you and you will follow the beaten path!
And I will also add regarding the question that you asked about the model of the tank from the movie “T-34”. I am slowly studying this issue. So, in this film, as many as THREE different tanks were involved as an actor of the T-34-85 tank! Specifically, the one whose model you want to make is Czech-made. I’ll send you a link on this matter. As for which model to choose so that it matches the prototype, there is such a model. This is a model that Zvezda produced a very long time ago. Finding it for sale is very difficult. Plus - it is very ancient, with vinyl tracks.
I will wait for you to finish your build and review to start my Hero tank from the movie.
Great!
Just, my build will take a long time. Will it be acceptable to you?
I have all the time in the world (on the weekends when I am not working ![]() )
)
![]()
![]() Ooh! How I understand you!
Ooh! How I understand you!
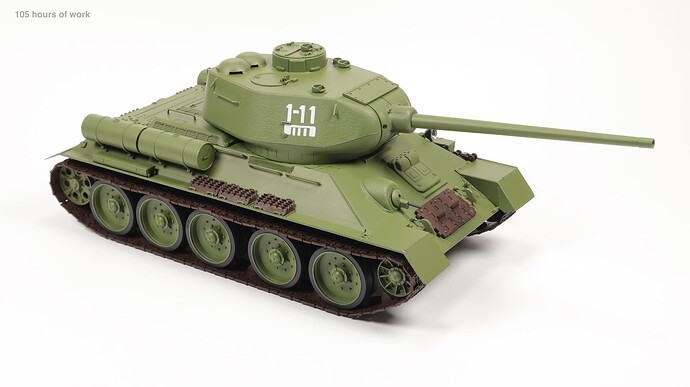
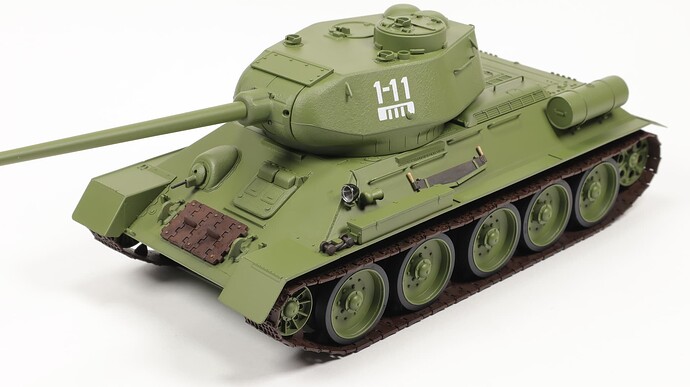
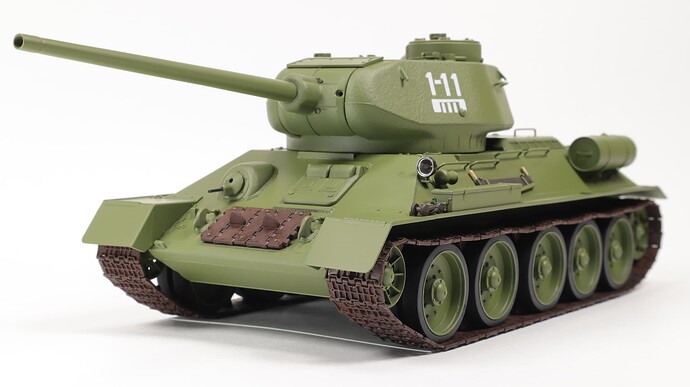
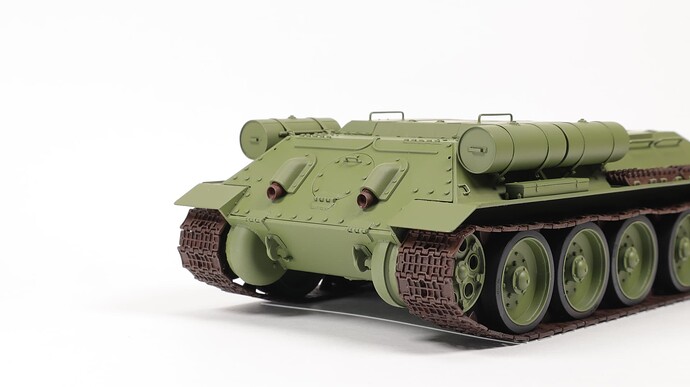
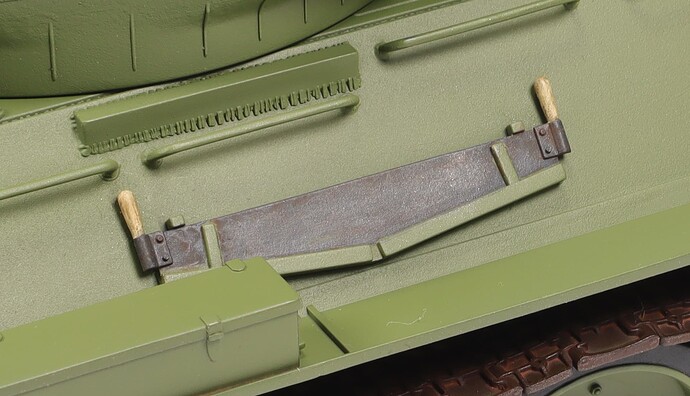
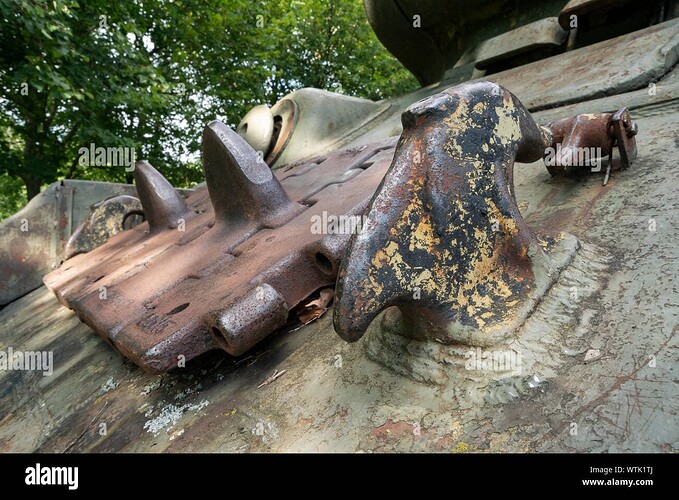
I applied a wash on the tracks, towing earrings, saw, additional grousers, and exhaust pipes.
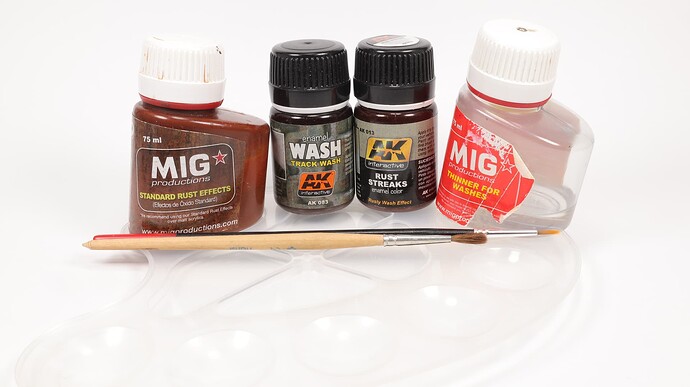
In my work, I used such washes and tools.
I applied it according to the following scheme.
On tracks, additional grousers, and exhaust pipes:
Step 1. Mig Production Wash “Standard Rust Effects” - diluted with the original thinner and applied with a soft round brush on all surfaces, completely covering them.
Step 2. AK Interactive Wash “Track Wash” - diluted with Mig Production thinner and applied with a round synthetic brush pointwise and randomly on different areas.
Step 3. AK Interactive Wash “Rust Streaks” - diluted with Mig Production thinner and applied with a round synthetic brush pointwise and randomly on different areas.
Step 4. Mig Production Wash “Standard Rust Effects” - diluted with Mig Production thinner and applied with a round synthetic brush pointwise and randomly on different areas.
On the towing earrings and saw:
Mig Production Wash “Standard Rust Effects” - very thinly diluted with the original thinner and applied with a soft round brush on all surfaces with a very thin layer, completely covering them and additionally shading. After the wash dried, the saw was simply rubbed with a finger. A slight metallic sheen appeared. (We are not looking at the metallic on the right side of the saw yet! More about that later.)
I applied AK Interactive’s “Wash For Wood” on the saw handles.
Oh; I’m taking notes on that. ![]()
Wash and thinner Mig Production. These jars are probably 20 years old! ![]()
But they are still awesome! ![]()
![]()
I will make my own analysis of this stage of work and the result obtained.
