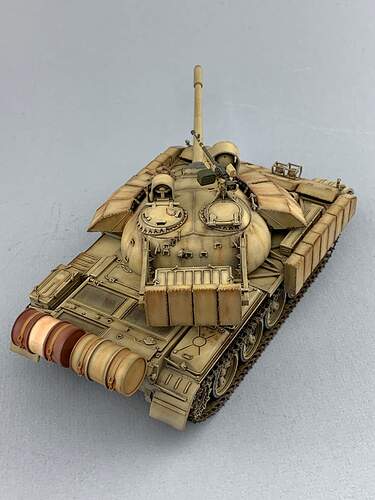
This will be my first attempt at a “build” log.
Unfortunately I have no pictures of the original build. The kit is the venerable Tamiya T55 Enigma. Nice, easy, trouble free build typical of the Big T. I did address a couple of issues with the kit. The barrel was replaced with a metal one from DEF. Likewise the tracks were replaced with metal tracks by Fruil. The Tamiya roadwheels have grooves on the tread and sidewalls rather than ribs. I sanded the treads smooth and used strecthed sprue to fill the grooves on the sidewalls and create the ribs. The armored blocks on the turret cheeks and rear are molded as one piece. I separated these and filled the sides with sheet plastic. Photos show that the additional armor was roughly cut so a file was taken to all the edges. I did use the supplied nylon mesh for the engine deck screens and they actually look ok.
1 Like
This sounds like a fun log DV.
Watching with interest!
First step in the rebuild was to remove the tracks which went off without a hitch. As I use Tamiya paints the model got a bath in Windex for about 15min. During the rinse the TC hatch came loose and made it down the drain. Fortunately I had another in the spares bin.
One of the things I was not happy with in the initial build ws that I didn’t think the cuts in the add on armor were rough enough. The side blocks were carefully removed and given the file treatment albeit with a rougher file. The turret cheek armor and the rear armor were left on as were too firmly attached but the file was taken to the exposed sides.
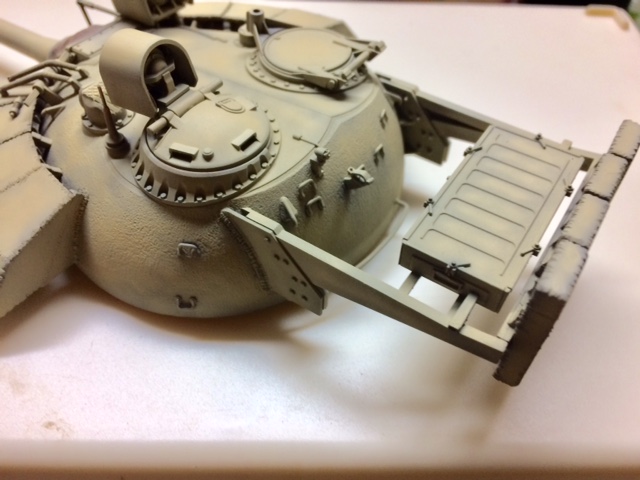
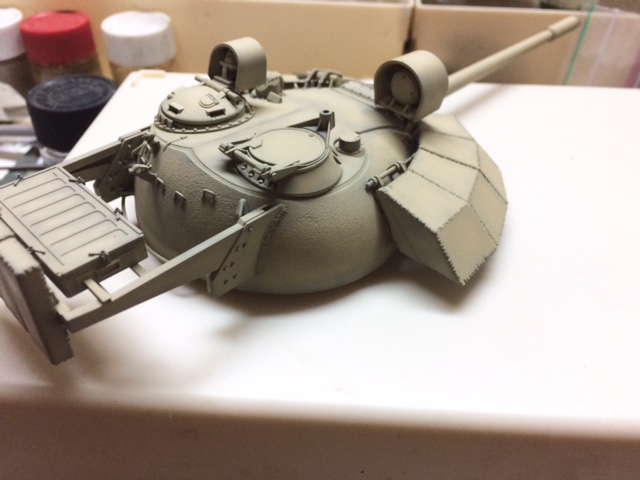
I decided to paint the turret first. The initial pictures show the brownblack preshade. The photos aren’t the greatest. I borrowed SWMBOs I phone.
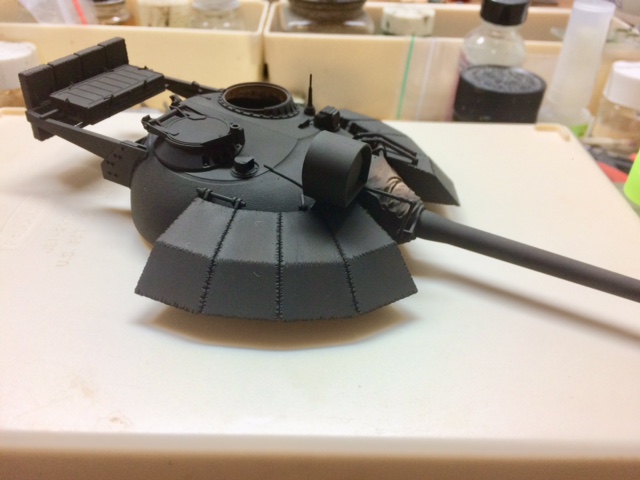
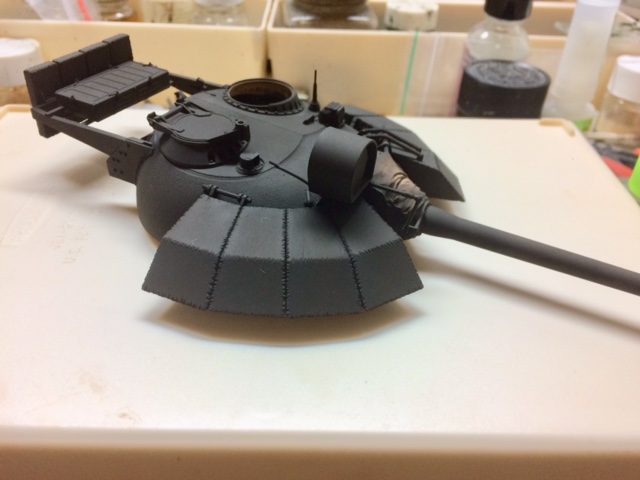

These next shots show the addition of the white preshade.
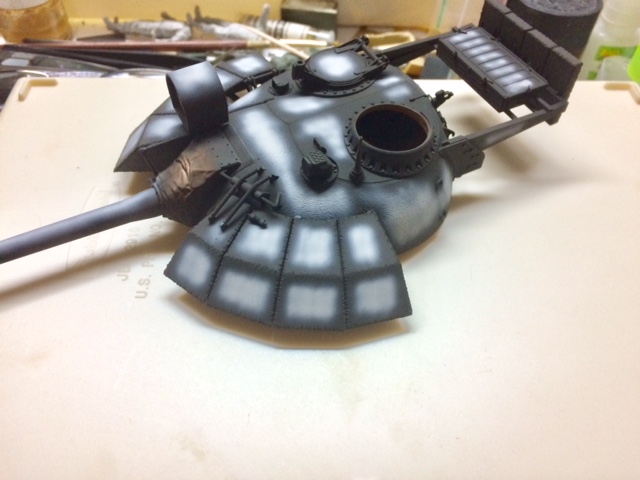
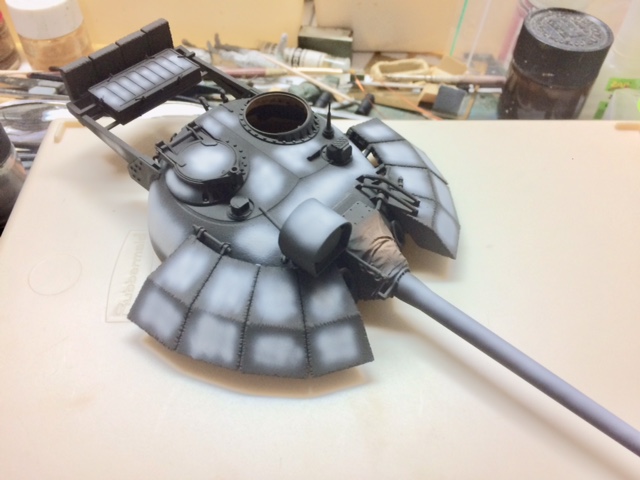
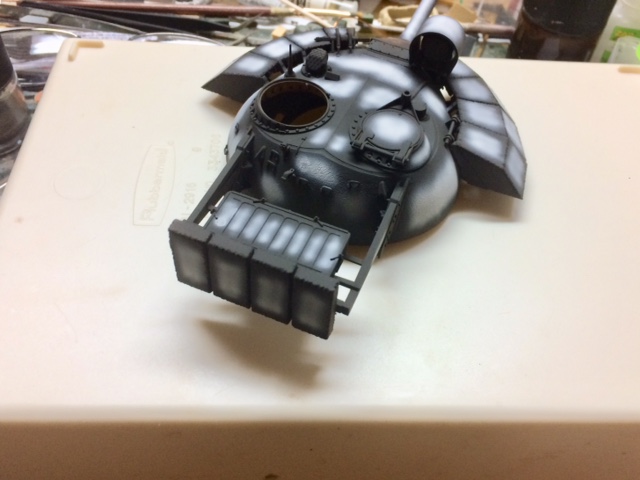
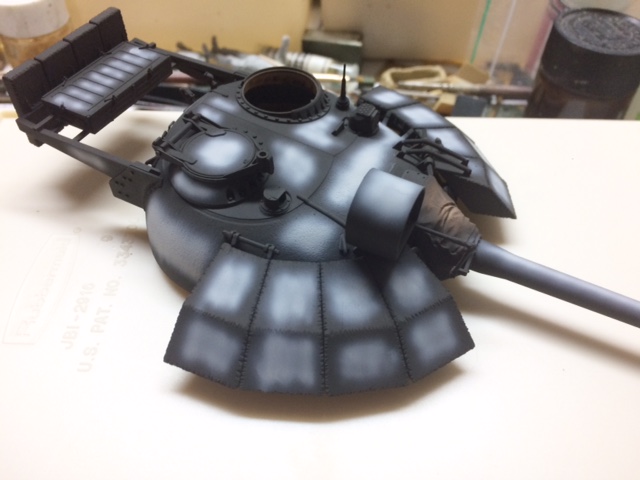
I use this method of a dark preshade and white on most of my mono colored builds. Next step is to base coat using a very thin custom mix.
10 Likes
The job on the welded edges of the armor blocks is top. The paint job is promising.
Olivier
This looks like an interesting thread. Watching with interest.
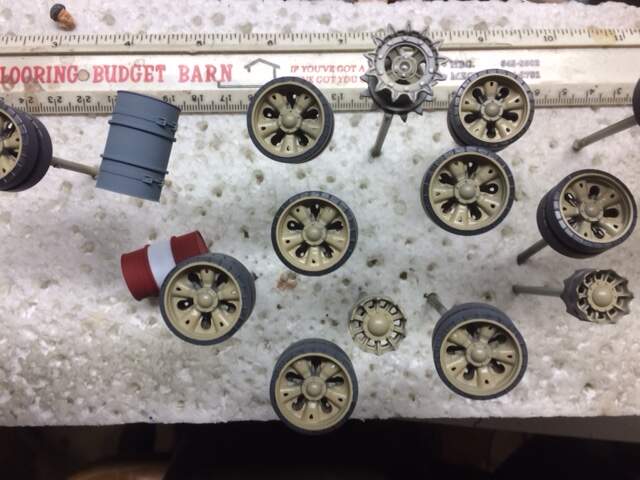
Wheels and lower hull painted and gloss coated prior to the oil wash. Also visible in the second photo is one of the rear fuel drums painted up for a splash of color.
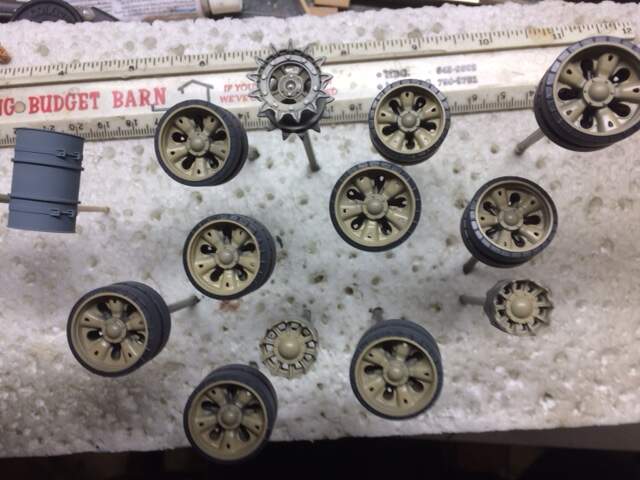
Next up is the turret with the base coat. The color is custom mixed Tamiya Deck Tan, Dark Yellow, and White. No particular ratio as I just eyeball it knowing it will darken over the preshade and with the oil wash. I AB with a AZTEK 470. When applying the base I heavily thin the paint and spray in random patches rather than using even strokes as I am not too concerned with even coverage.
Looking at the photos I realize that they are much brighter/lighter after they are uploaded. I’ll try to adjust for that in subsequent pictures.
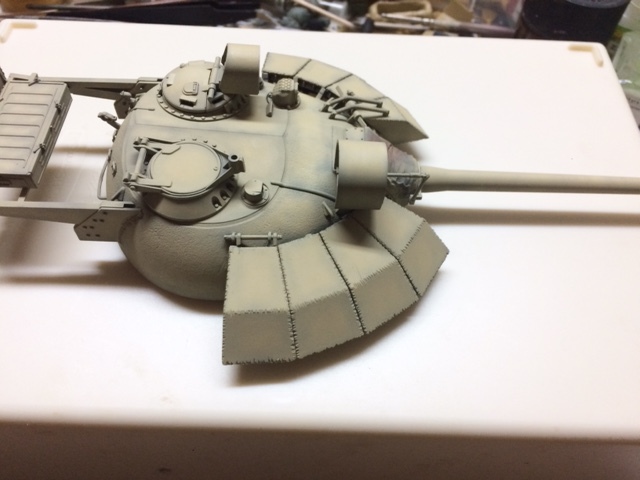
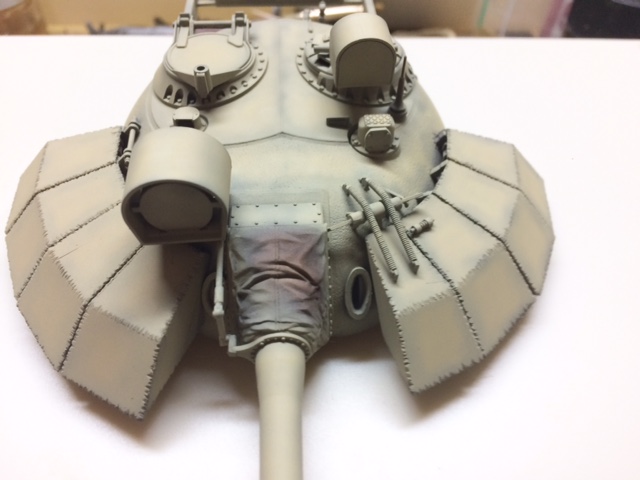
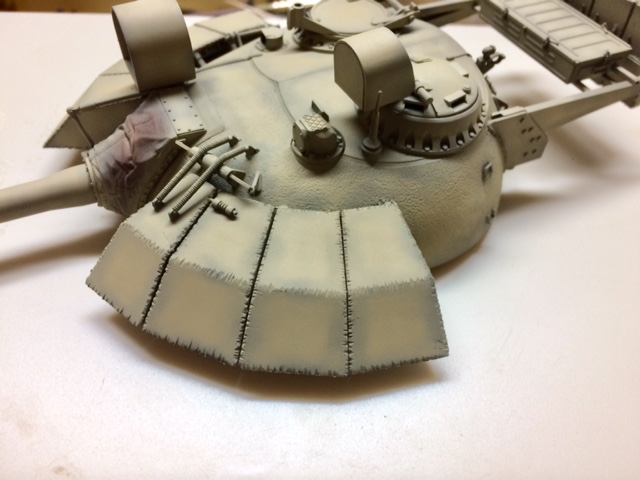
I’ll let the turret sit for a day or so looking at it from time to time to decide if it needs more work.
If needed, this usually takes the form of some post shading with a lightened base color if I feel there isn’t enough contrast in some areas. While in some areas the contrast may look ka bit stark, filters and weathering eventually blends everything together nicely. At least in theory anyway. 
3 Likes
Looks great so far. I’m a big fan of post/ preshading as I feel it gives the model real depth. Can’t wait to see the rest!
Thanks to all who have checked in. Hope to have mote photos soon.
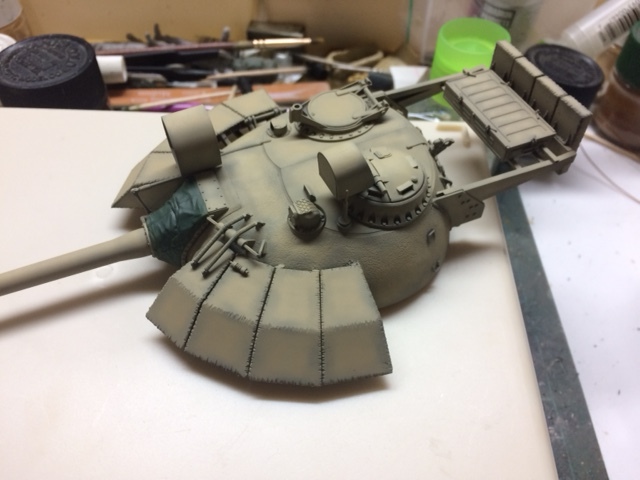
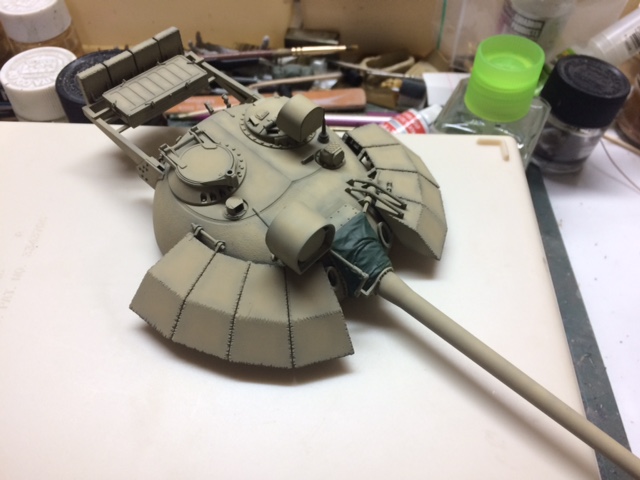
A bit more progress on the rebuild. The first two photos are of the turret, now with the dust cover painted. Hopefully the lighting is better than the previous photos. Once finished the MG will be added as will the vision blocks which I will have to fabricate as none are supplied in the kit.
The next photos show the running gear attached. The wheels have been given a dark oil wash and subsequently lightly drybrushed also with oils using a lighter shade of the base color. The tracks are Fruil. The armored blocks have also been refitted.
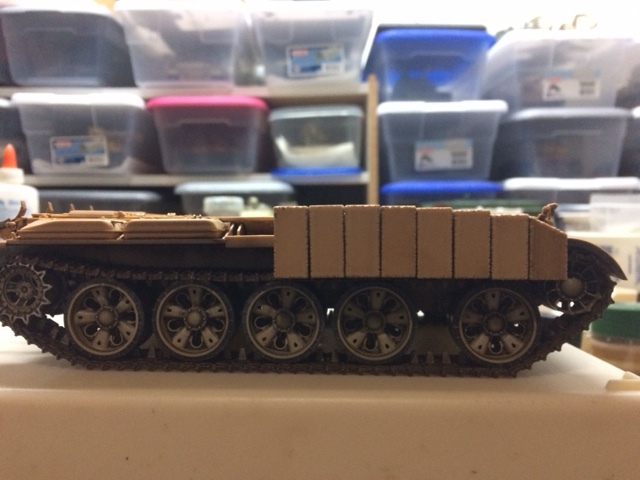
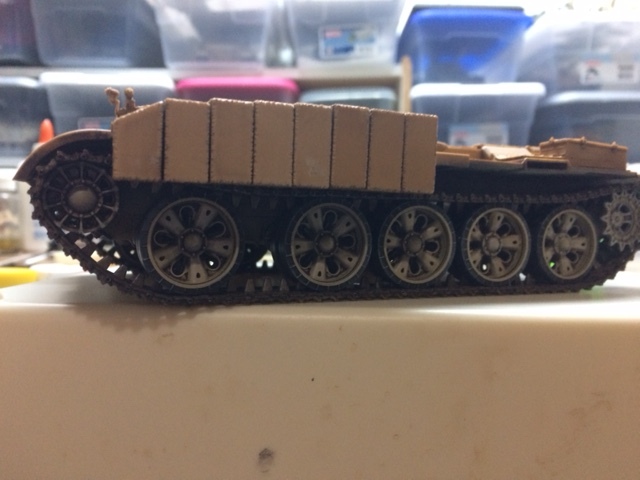
The last set of pictures give an overall view of the hull sans turret. You will also note in the last photo that I plumbed the fender mounted fuel tanks.
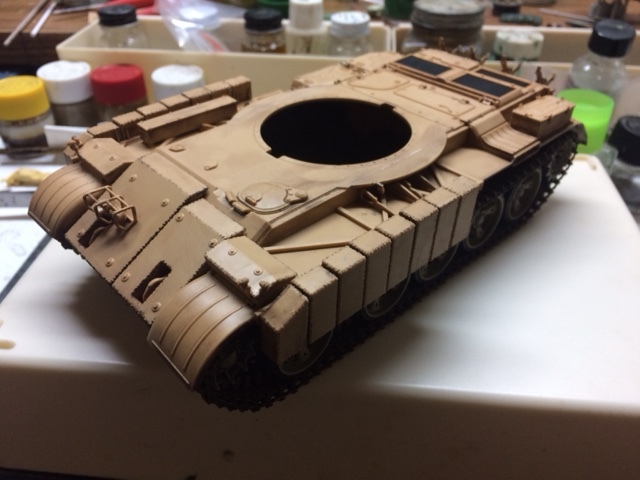
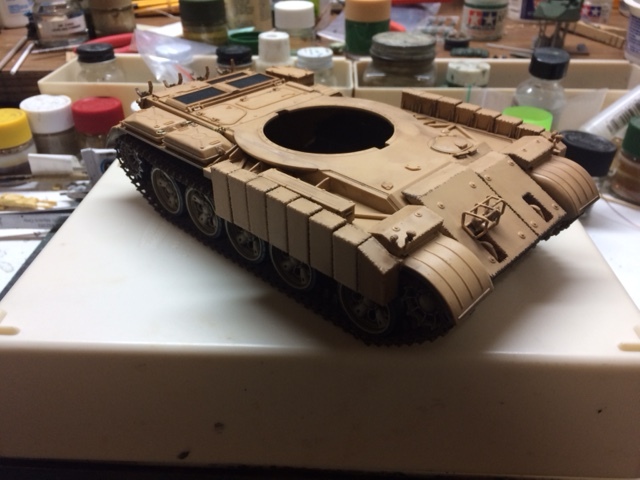
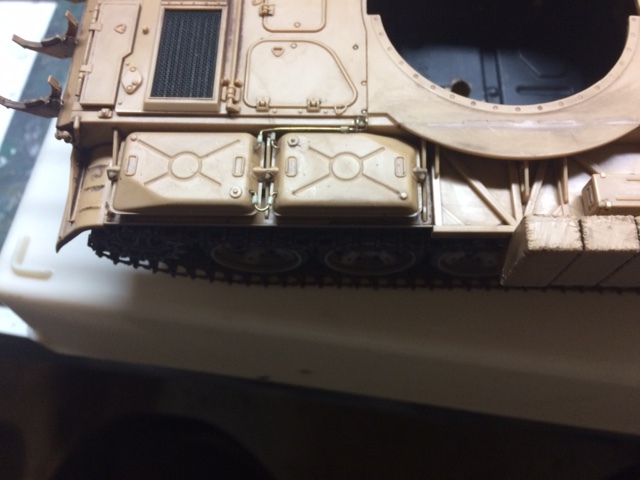
Thanks for checking in.
5 Likes
Painting is now complete. I did add some post shading with a lightened base color as there were some spots that I wasn’t happy with. I have seen some photos where the fume extractor is painted yellow or some other color so I might add that before weathering. The rear mounted fuel drums are only dry fitted and I may omit the sand one.
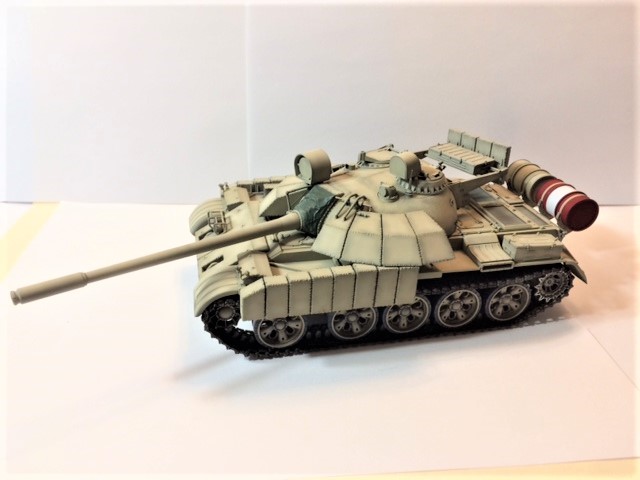
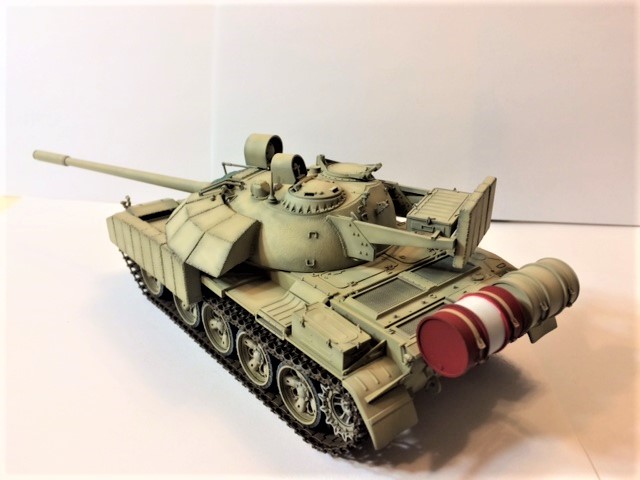
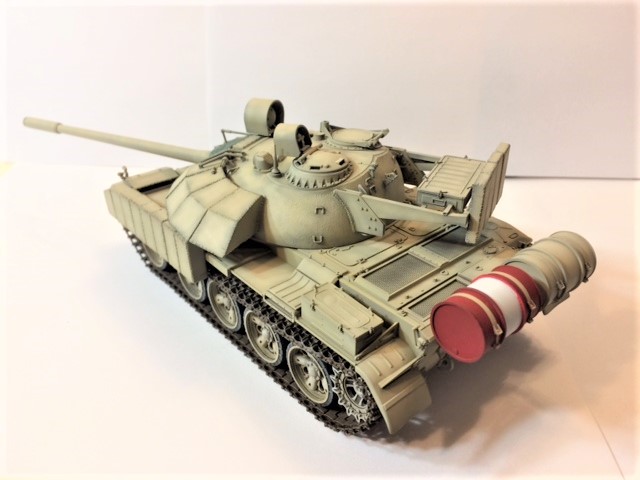
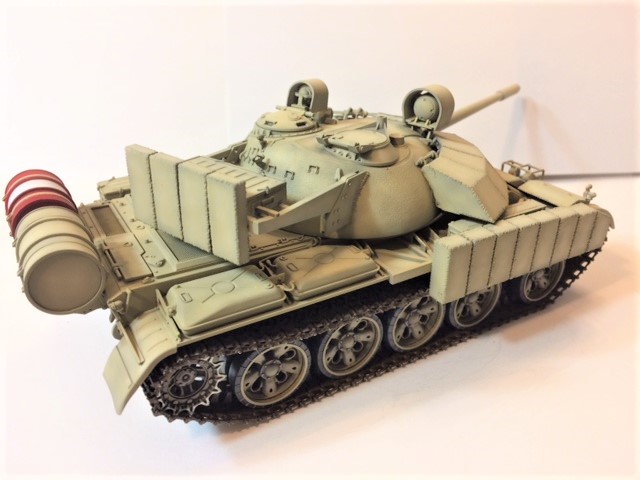
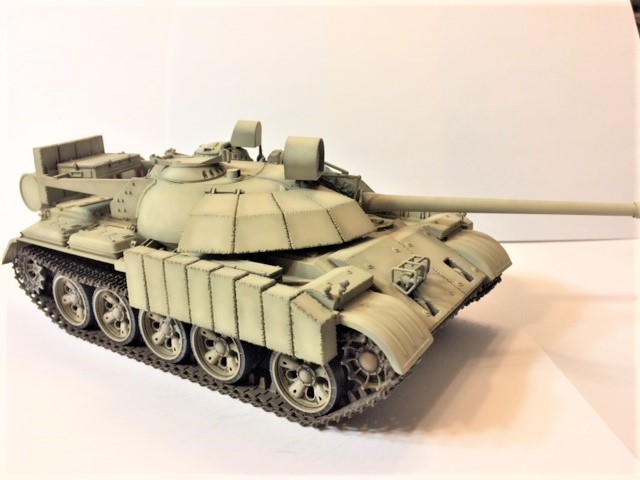
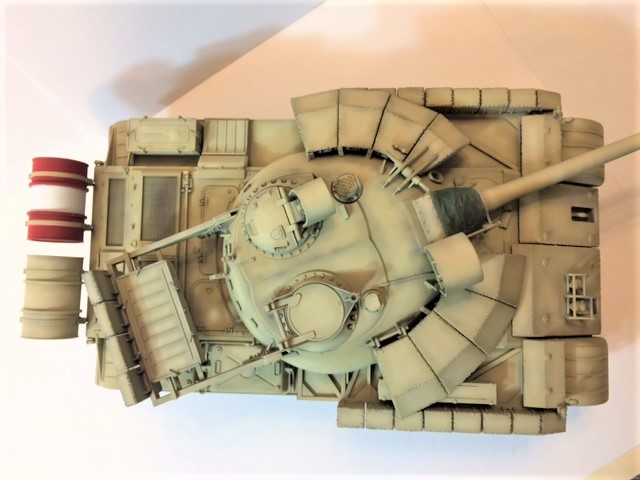
Once again the photos are a bit washed out. I apologize. I will try to have my friend take the finished photos.
Next up will be the weathering so it might be a few days till the next update.
Thanks for stopping by.
7 Likes
Nice touch with that civvy barrel 

Thanks Robin. I like to try to add a splash of color, especially to a monotone scheme. Adds a bit more visual interest.
Looking fantastic- really great paint job on it- plus the bright color barrel adds a nice bit of visual interest toward the rear of the tank.
Fantastic repaint looks great.
DV the Enigma repaint looks fantastic!
Very nice detail work on the fender fuel tank connections, civilian fuel drum and paint work!
@Karl187 @Armor_Buff @SSGToms Thanks for checking in guys and thanks for the positive feedback. Pictures are a bit washed out but you get the idea. Hoping to have much better photos of the finish. Gotta get to my buds house for those.
Finished with the preliminary weathering. A dark oil wash and pinwash and after 24hrs or so light drybrushing with a lightened base color. Over all the finish is much lighter than the initial paint job but not quite as light as I was shooting for. Was going for a much more pale sand color. Just a bit too much Tamiya XF60 the base color. Nothing I can’t live with as it is an improvement over the original.
The wash is left to set anywhere from 2-4 hours after which I start to work it using a cotton swab. I find that using the cotton swab I have more control than using a brush. The down side is that it tends to leave behind tiny fibers that have to be picked off later. Once I’m satisfied I apply the pin wash around the raised detail.
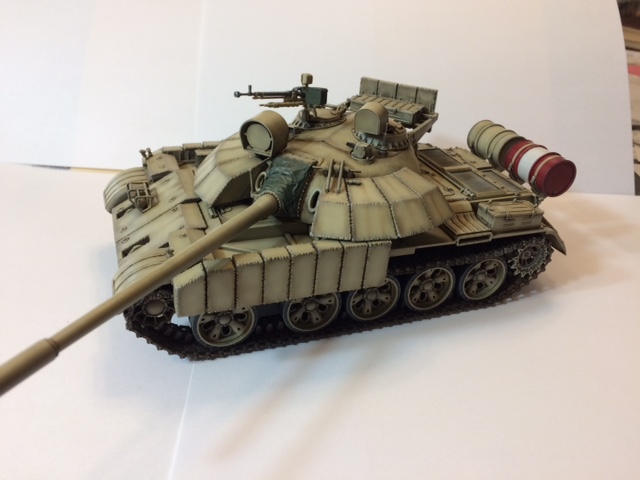
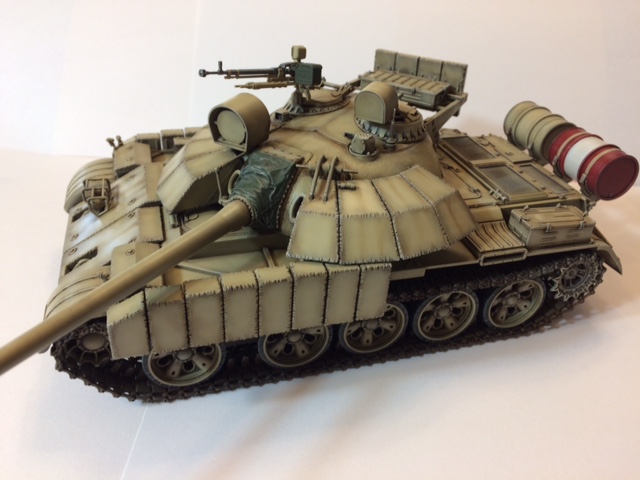
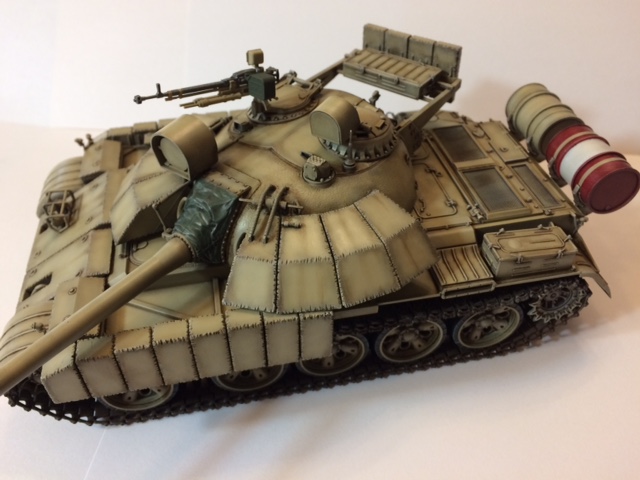
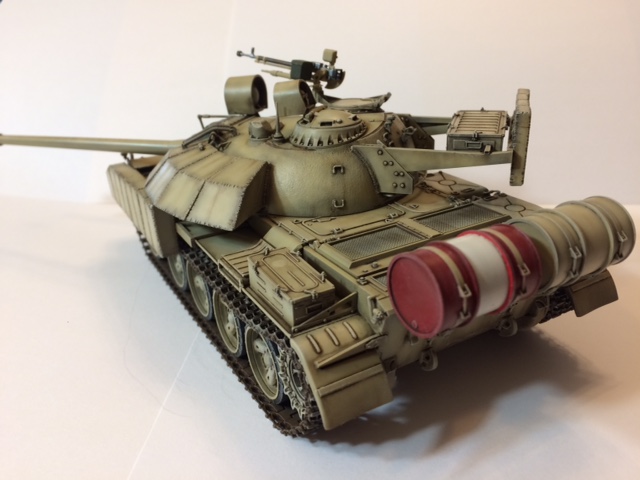
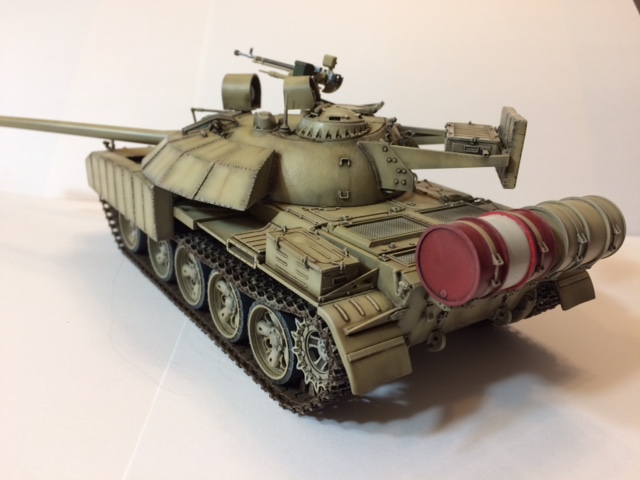
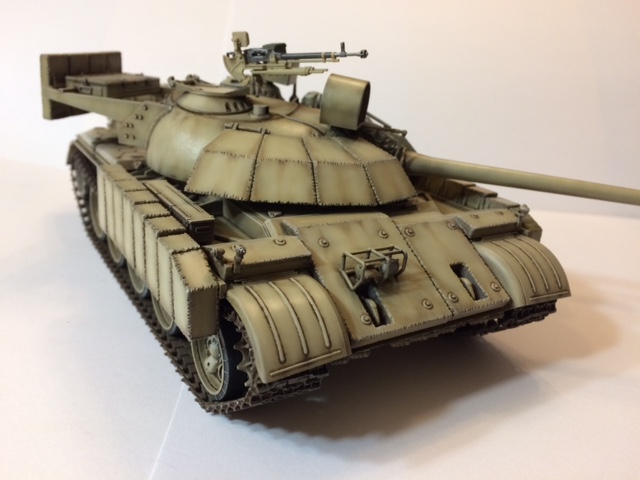
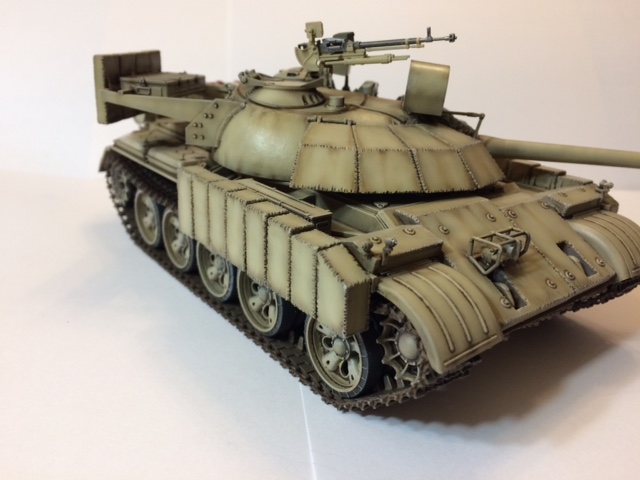
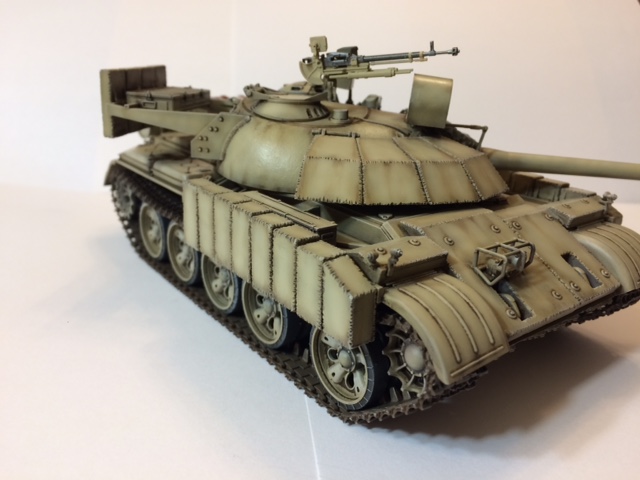
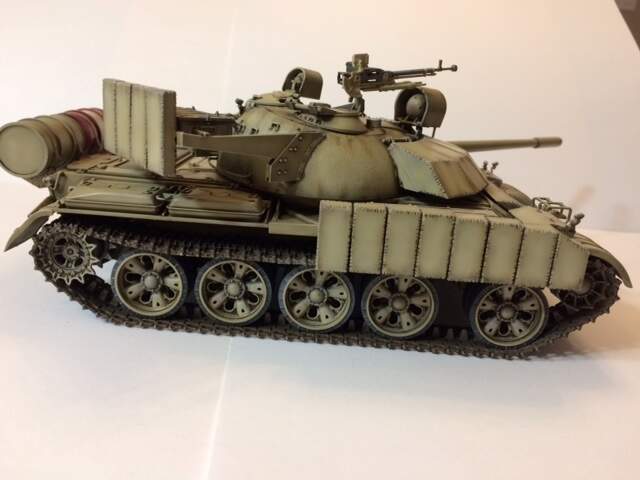
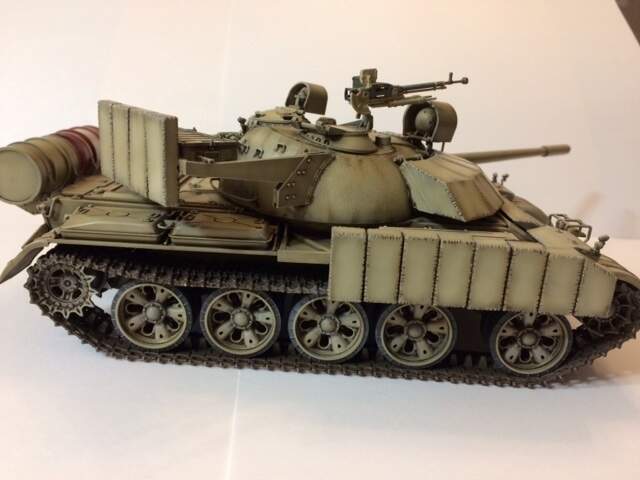
Next up will be a flat coat an then AB work and pigments to create soot, dust, rust, etc.
Thanks for looking
5 Likes
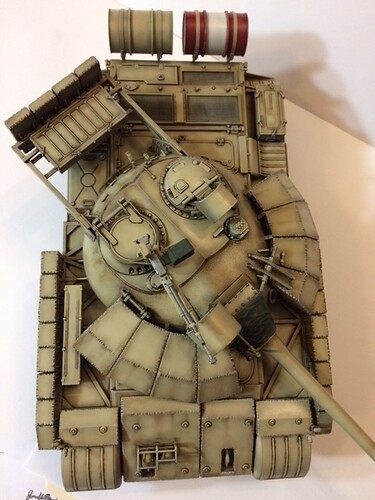
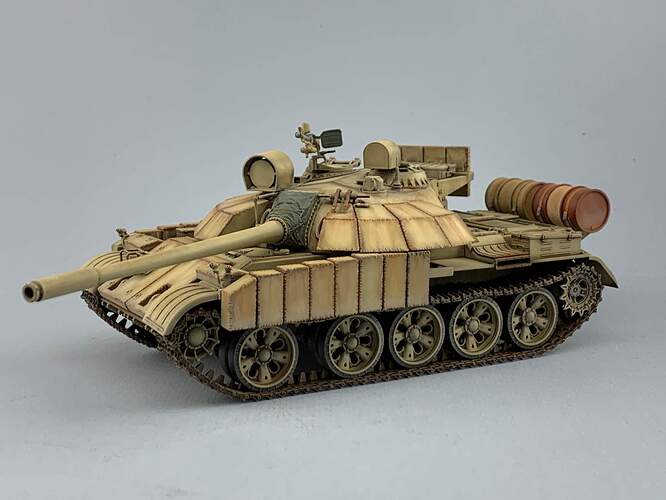
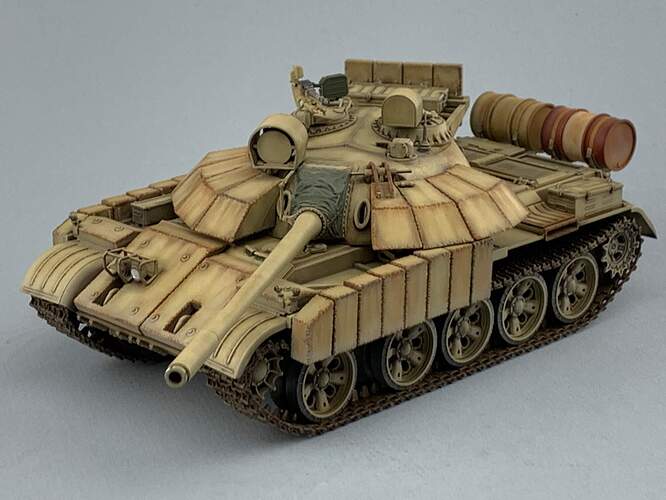
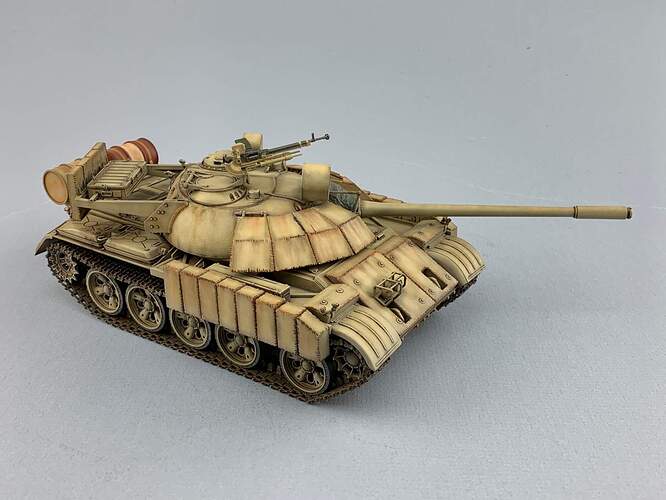
Finally got the finished pictures. Lightly weathered. Dusted with the AB and pigments. Added various colors of rust to the cut edges of the armored blocks.
Seems the rust doesn’t show up real well on the photos. Oh well.
Thanks for looking.
7 Likes


