Good stuff! I’m starting another one, going to be able to add a lot of stuff from the get-go this time, rather than re-doing things.
1 Like
Hi Russ - let me know if that order doesn’t work out for any reason. I’ve mostly moved away from 1/35 scale down to 1/48 so whilst I can probably re-purpose some of the decals, most of them are over-scale for me.
I’m currently playing around with Tamiya’s new 1/48 Challenger 2 ‘Desertised’ - I want to see if I can backdate it to a KFOR vehicle but that means backdating the armour package and scratchbuilding the older (unducted) exhaust units, plus some smaller detail changes.
I’d like to see a build thread on that. I have the Tamiya 1/35 kit on the way, Plus the Trump kit with the dozer, wanting to do the same thing.
I’ll let you know on the decals,thanks.
It builds into a great CR2 Desertised - but it’s impossible to backdate it to anything else or leave off the armour package without some plastic card, Evergreen strip and patience (and probably some swearing too). Once I get my act together and take some photos, I’ll start a build thread on here.
1 Like
I have plenty of plastic stock and a well rounded repertoire of swear words. I’m working on the patience part. I like seeing the running gear on my tank models, and the frilly dust skirts on the desertised version block all that. I’m hoping to be able to build it with just the “short” side skirts and “maybe” the dozer from the Trumpeter kit. I was also planning to rob the Trump kit for the side armor that does not have the dust skirts… or modify the Tamiya parts, whichever works best. Matter of fact, I plan to use the Tamiya kit as the “core” model, and pirate the Trump kit for anything that’s better or closer to what I need. Clearly research is called for. That’s also why I want to see your progress. ![]()
Quick question here: I’ve got the base green on, and before I do the black, I was wondering if the edges were hard-masked or feathered? In other words, “hard edged” or “soft edged”? I’ll get a pic up soon, right now off the the PO to ship out a bunch of built models. Gotta love Ebay, it’s funding my modeling at the moment.
Also, I have a good start on Cr!, #2, need to get a couple of pics of that one posted. And, and, I’ve gotten a couple of Cr2 kits in lately, more goodness.
It could be either, if sprayed in base workshop then a soft edge would be usual. Once at a unit if touch ups were to be done or even a complete re-paint then they would typically be done using a brush and so it would end up hard edged.
Well, when we had them new, they are not masked in the factory like we do or even when resprayed in a proper overhaul, so it is a sort of soft edge - but not lol … if that makes sense. When they are sprayed, its very precise so it really gives the impression of a semi hard edge ( I had to watch my typing then lol).
When repainted by crews you would have a definite hard edge.
This one has been painted by hand by the crew.
Although this one is a privately owned/run one, it has been been sprayed very well & pretty much what a new one would look like
so you get a better idea of the demarcation lines between green and black … its softish, but there is an obvious line there in my mind and not a soft feathering between them … hope that makes sense.
1 Like
I can do that. Was the pattern the same tank to tank or each one different? I would think the same tank to tank, and if so, any ideas where I might find a diagram?
Thanks so much y’all!
Pretty much all different to varying degrees…so artistic measure is yours ![]()
I think it was about 2/3 green and 1/3 black or a similar type ratio
1 Like
That makes me happy!
@rfbaer just curious…… what tracks are you planning of using ?
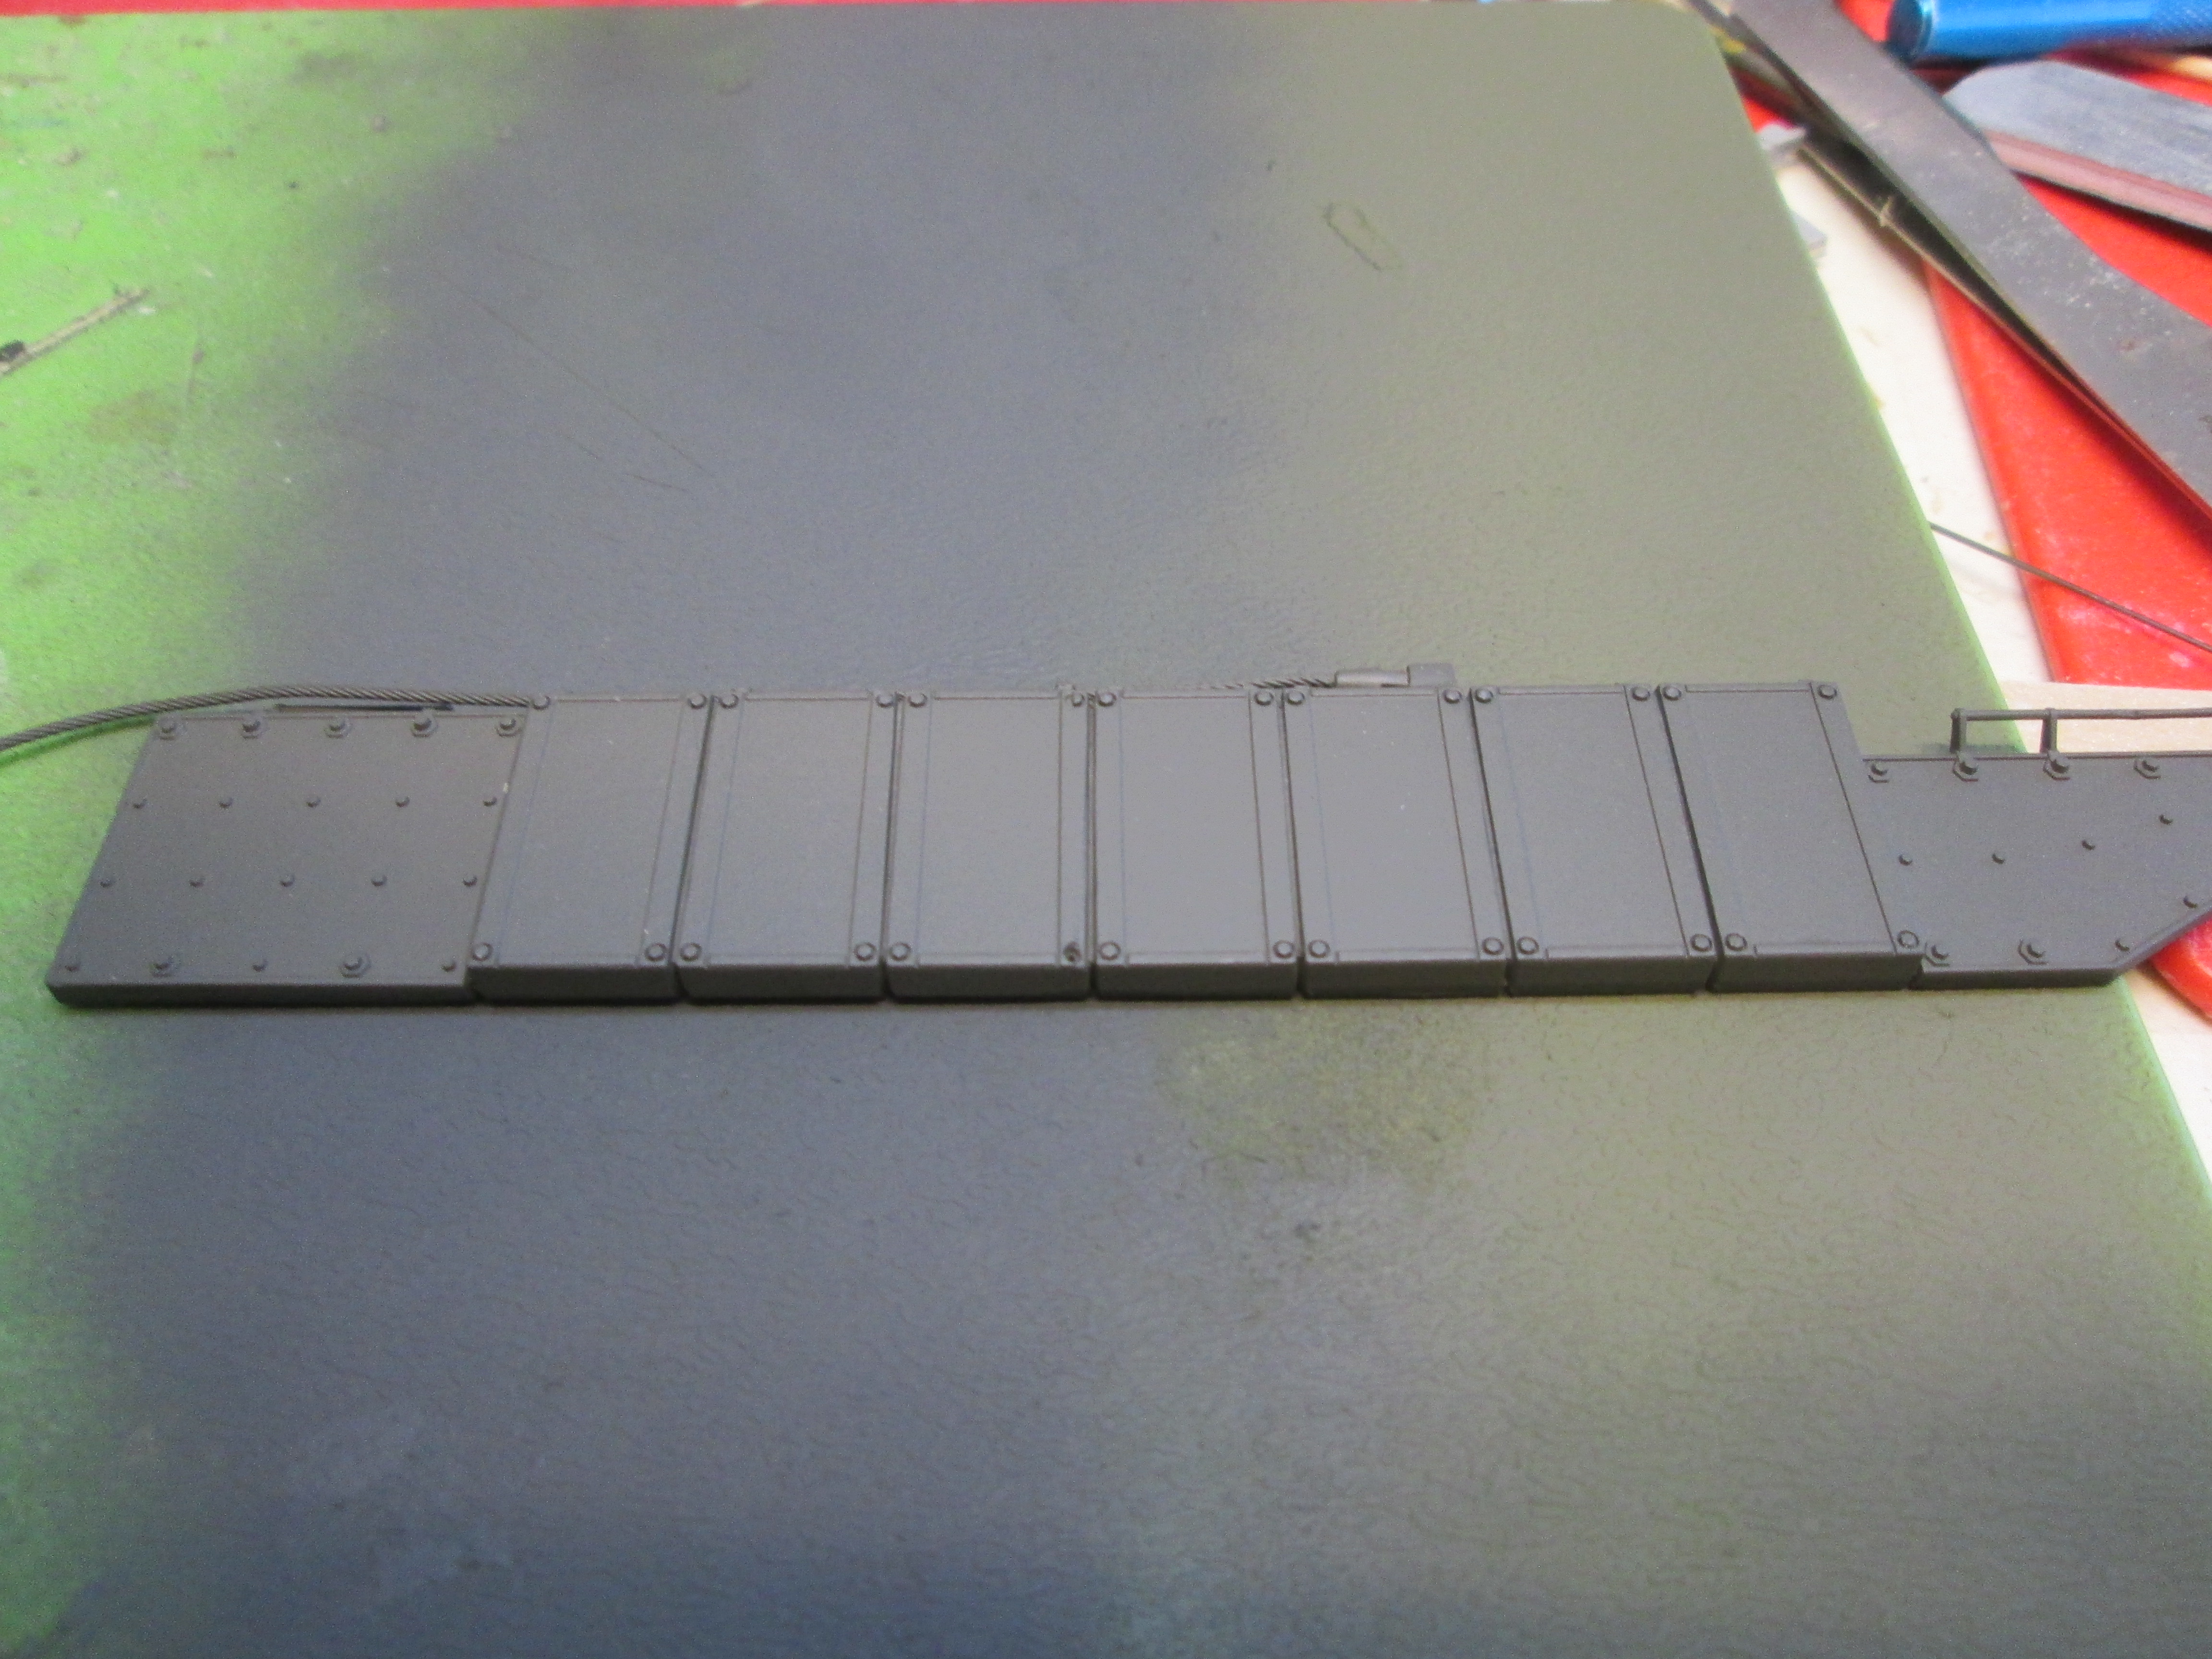
During the last days I started to build the Master club Challenger tracks.
Now At 85 links per side, 4 double holes to drill per link (= 680), 2 plastic linking pins per track-link (=340), 1 rubber block per track-link (=170)
Few more to go to close tracks per side. Status of sanity ……… ![]()
But they look cool ![]()
For the Challenger 1, I’m using Friuls, for both. One very nicely detailed and cast part per link, .020" piano wire goes through without drilling, and bingo. I did both sides for the second one (pics soon) in a little over an hour.
It’s green! It’s also dark and almost gray/green…
 IMG_3234 by Russel Baer, on Flickr
3 Likes
What colour is that Russel ? If Im honest, it looks a bit to dark as is ?
I think it’s dark too. It’s Rustoleum camo green, and will defo need lightening. I’m going to do the black first, and then as per my usual apply light earth dry pigment and see how it looks. I do like the fact that it’s a gray/green, which will work for the Leo2A4 I shot at the same time, but not for the M60 also in this color. That one will get a green filter first, using a Vallejo acrylic wash. It’s different, but since I use rattle cans, my methods are different from the “norm”.
Fair enough if you are just using rattle cans. I think once you get the black down and with the pigments it may tone down enough. Also, the front sand coloured hull armour pack, the various other areas of different colours will end up with being ok.
Also, dont forget the front part of the thermal sleeve is a light tone all over so that will give some contrast as well.
1 Like
Here’s an interesting comparison: The side armor is the Rustoleum, while the tow colors on the cutting board are Vallejo spray can. The lighter is US OD, while the darker is UK Bronze Green. Hmmm… I’m thinking maybe a light coat on the upper surfaces of the model with the UK Bronze green as the US OD looks really light. The Bronze Green is almost the same color as the Rustoleum…Thoughts anyone?
 IMG_3237 by Russel Baer, on Flickr
The BG is to dark. Ideally, a shade slightly darker than the US OD. Are you doing the black first then the overspray or other way round ?
The Rustoleum Cam green does look about right for modern British Green like on the Cr2 TES.