Thanks all. Yup, on the fire extinguishers, I got in a hurry, thanks. Good to know on the application methods for markings, mainly because decals give me fits.
I’ve been looking at pics I have of the gun tube’s thermal wrap, trying to pick colors. It kind of looks like the wrap is a dust magnet…
1 Like
Not overly. They just attract all the crap that gets thrown up through the engine decks when you were gun rear or have it in the clamp. Then all the other crap attracts to that.
The main bit that needs a different colour is the heat shield which is the obvious panel that runs along the bottom. I usually go for a Buff xf57 or you can use wooden deck tan xf78 or a bit of a mixture of the 2.
The gun clamp pads are a sort of khaki xf49 and you can also use that for the heat shield mixed with a bit of buff.
The bellows need to be a Matt black.
1 Like
US vehicles are the same, everything painted up using stencils, hold the stencil in one hand, can of spray paint in the other.
Ken
2 Likes
I think not only when you drive gun to the rear, also happens when you back up fast with the gun to the front or slightly to te left or right in tactical situations. With the longer L55 main gun, they added rubber extensions to the front mud guards of Leopard 2A6/A7. Build-up of dirt also affected the mirror of the field collimator.
Andreas
1 Like
8 Likes
Looking good there Russel ![]()
1 Like
Was having another look and I do like the dusting/thin layer of dirt on the hull, its nicely done and doesn’t hide any detail.
Was also thinking about those 4 sandbags on the front in the pics I posted above and they were bugging me. While I was looking at yours above and the front side plate which has the straight bar on top, I can only think the sandbags are there purely as a anti trip hazard. The area around the front is the main point for getting on and off the wagon, and around the headlights people were always catching their feet and tripping and the top area around the front LH & RH side plate is also very uneven and the bar will be a magnet to tripping people up … so sandbags on top of them and placed to the rear of the headlight guards makes sense.
2 Likes
Thanks. I wanted to show use but not hide the work I’ve done, and I’m also of the train of thought that in-service tanks (or any in-service vehicles for that matter) get maintenance. I mean if it breaks or something wears out and isn’t caught there’s very little worse than being immobile. Accumulated mud and grime hides potential issues and makes normal servicing much more difficult. I used to park on the hiway bordering Fort Hood and watch crews pressure washing their rides after a day in the field. Even the fine dust there (unless it rains) gets in places that could cause a problem. I know this from on- and off-road competition. In other words, clean your junk so you can see if it needs fixin’. That’s why I prefer to be very restrained with weathering, except in unique situations.
I like your thoughts on the sandbags- makes perfect sense, and falling off a tank would hurt.
Yes, on exercise it was different and they would be filthy for days on end, sometimes weeks unless the rain cleaned them. Day to day and driver training etc they were kept clean. They would look dirty, but its more of an ingrained dusty/ dirty look if you know what I mean.
I do.
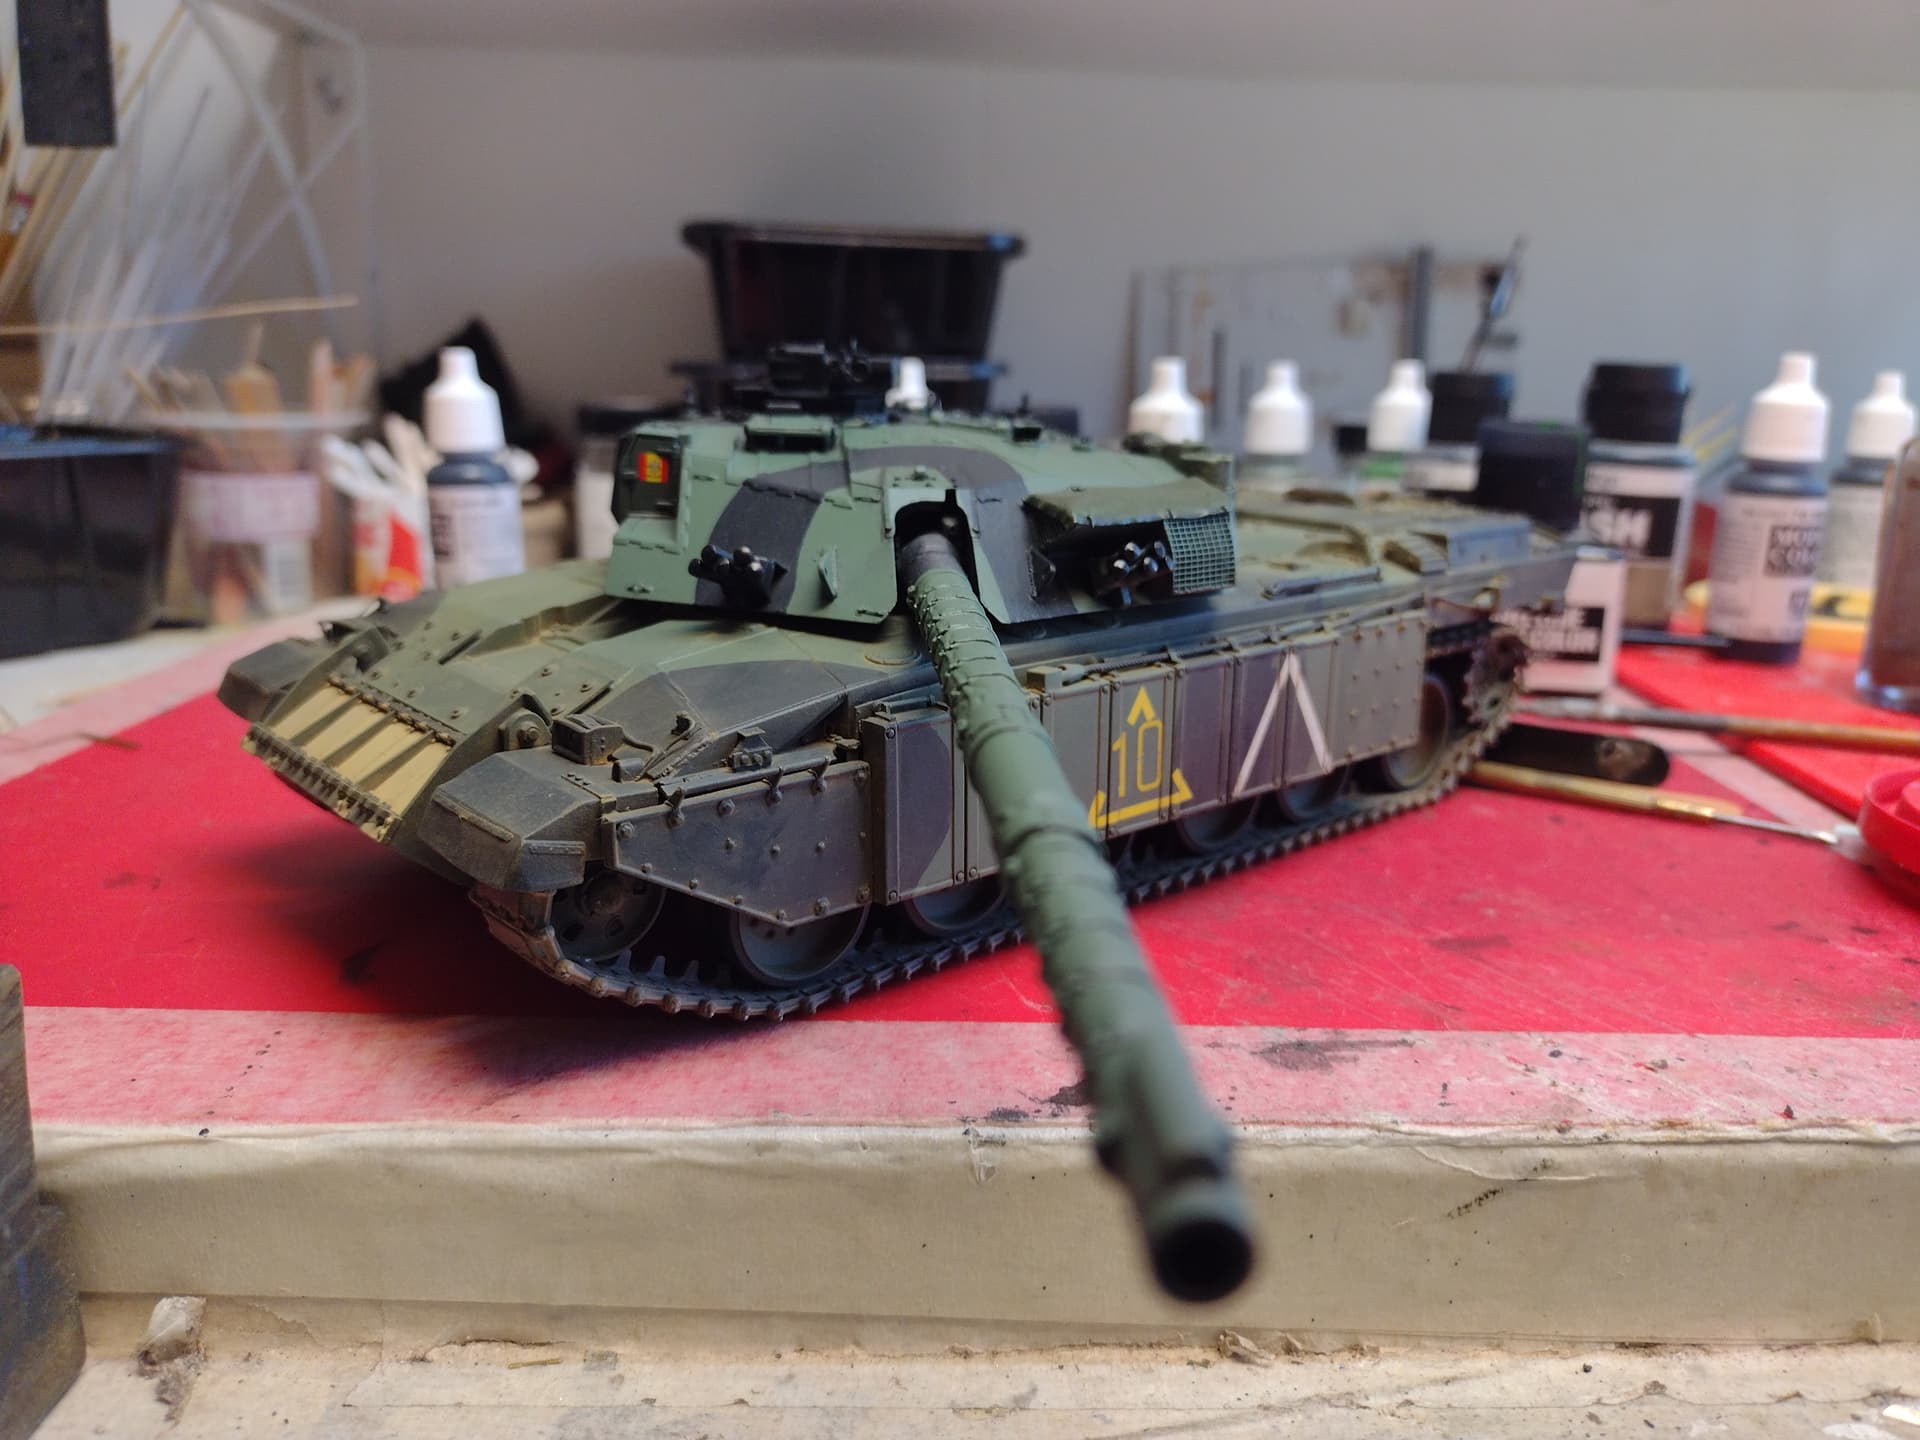
Thermal covering on the barrel painted, still needs a pin wash and then I can dust the whole turret.
 IMG_3503 by Russel Baer, on Flickr
I used colors as close to the pics I had as I could get, but with dust on it, it will all blend a bit.
4 Likes
Looks terrific Russ, and nice job with the barrel…really looking the part now ![]()
1 Like
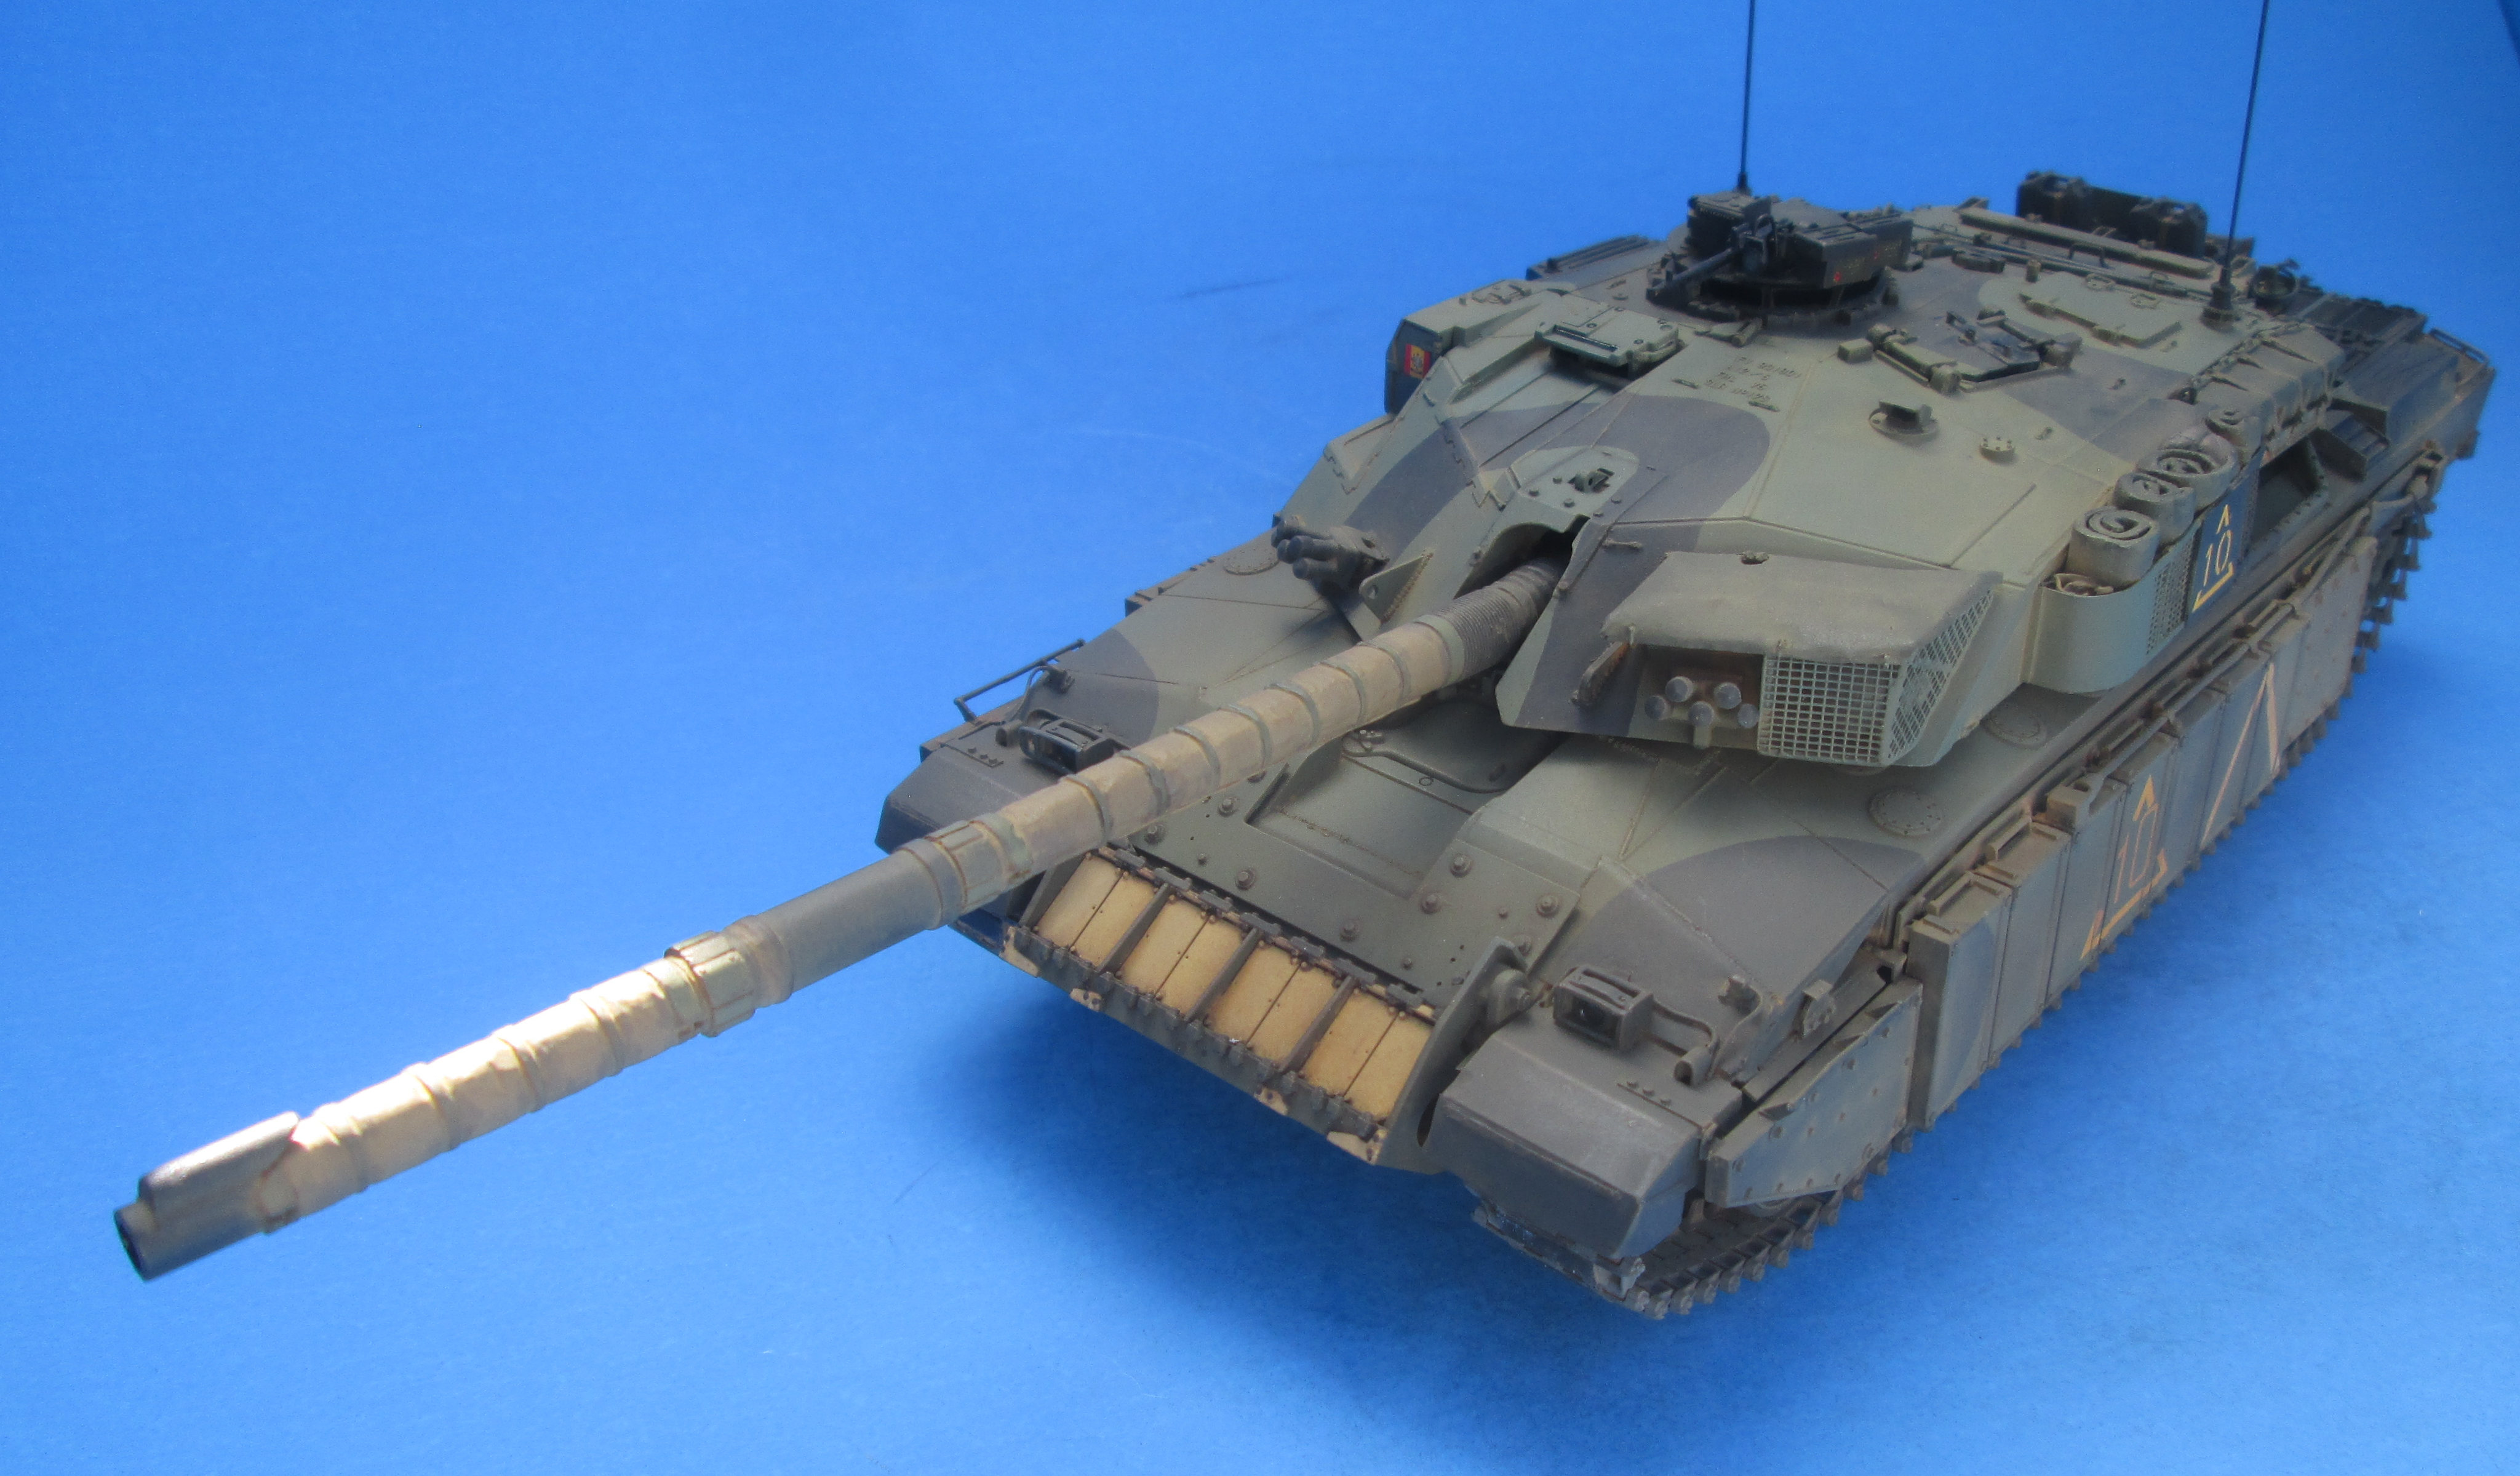
I’m calling this done now, every time I try and “fix” some little boo boo I end up causing more boo boo than fix. I kept it pretty clean, tried to make it look “lightly used”.
A big thanks to all who gave me pointers on this build, it hugely improved the end result.
 IMG_3519 by Russel Baer, on Flickr
 IMG_3514 by Russel Baer, on Flickr
 IMG_3509 by Russel Baer, on Flickr
 IMG_3508 by Russel Baer, on Flickr
 IMG_3507 by Russel Baer, on Flickr
 IMG_3506 by Russel Baer, on Flickr
 IMG_3515 by Russel Baer, on Flickr
The next one is almost ready for paint, but since I’ve got the bench all set up for detail painting and weathering, I’m going to finish two others first, an old HB Leo2 and an M60 slick w/ dozer, both in basic green.
Edit: The clear gloss in the tail lights and the TC’s spot is still foggy, it should be clear in another 24 hours or so.
10 Likes
Smashing job Russ. Looks great from every angle. The paint is very nice and the hull weathering and the waythe dust fades out the hull black is very good and realistic.
The scratch building although hidden with paint makes it stand out and true to the real deal.
Im actually itching to do my ride now, so I will have to order the few bits I will need form SMM soon and begin my 42 C/S. Only thing Im annoyed about is for the life of me I cant remember the VRN, but it will be finished as per what it was like in 1989, with the correct bins fitted in the correct areas.
Great job and it was a pleasure to watch it build up and help out where I could. ![]()
![]()
1 Like
Thanks tons for your help, I very much appreciated it during the build, still do every time I look at it, now in the case.
I’ll be watching for your build, who knows, it may motivate me to try another one. I’m very curious to see the build!
In the meantime, I have an old HB Leo2A4 to finish up, and a seriously kit-bashed M60 slick with a dozer to do the same to. And then there’s those two Challenger 2 kits up there…
Thinking of doing a Chally 2 in BATUS colours… after my Chally 1
1 Like
Which C2 kit has the perforated road wheels? Or would you do one with the older wheels? I guess the time period is the determinant.
I think both RFM kits are perforated, but you wouldn’t be able to use the TES version so it would be the RFM 5062 kit, same one I did as NOMAD. I think the Tamiya one has plain roadwheels but that’s desertised and I’m not sure that kit has the normal side skirts included or just the up armoured TELIC ones. You can find Chally 2s from BATUS with both types of roadwheel.
The tamiya challenge 2 is only the desert version, it can be converted with a bit of work,
Good to know. I have a pic of a Challenger 2 “desertised” I’m going to copy, but it’s missing the fabric dust skirts and front mud flaps, very neat looking. I’ll use a Tamiya kit for that. I also have a Trumpy kit, with the dozer and both types of skirts, but it has the solid wheels. Not sure where I’m going with that one yet.