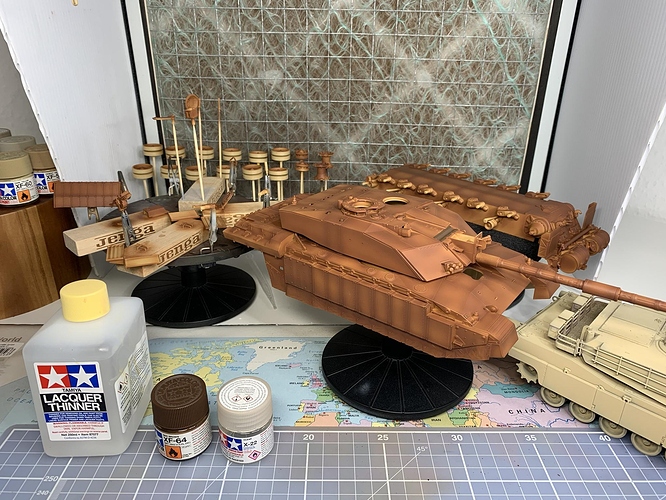
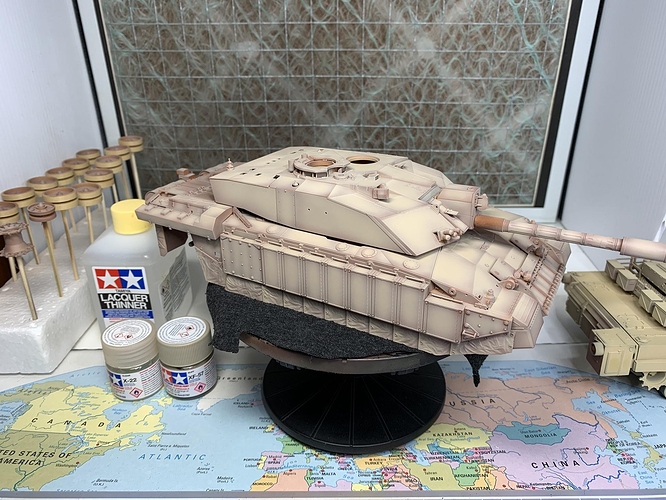
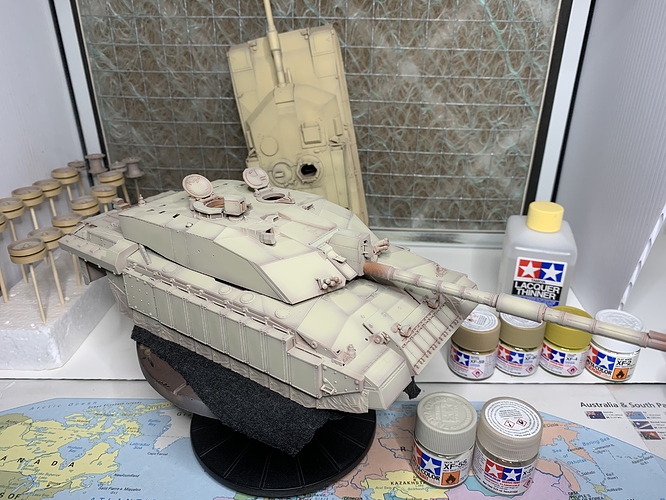
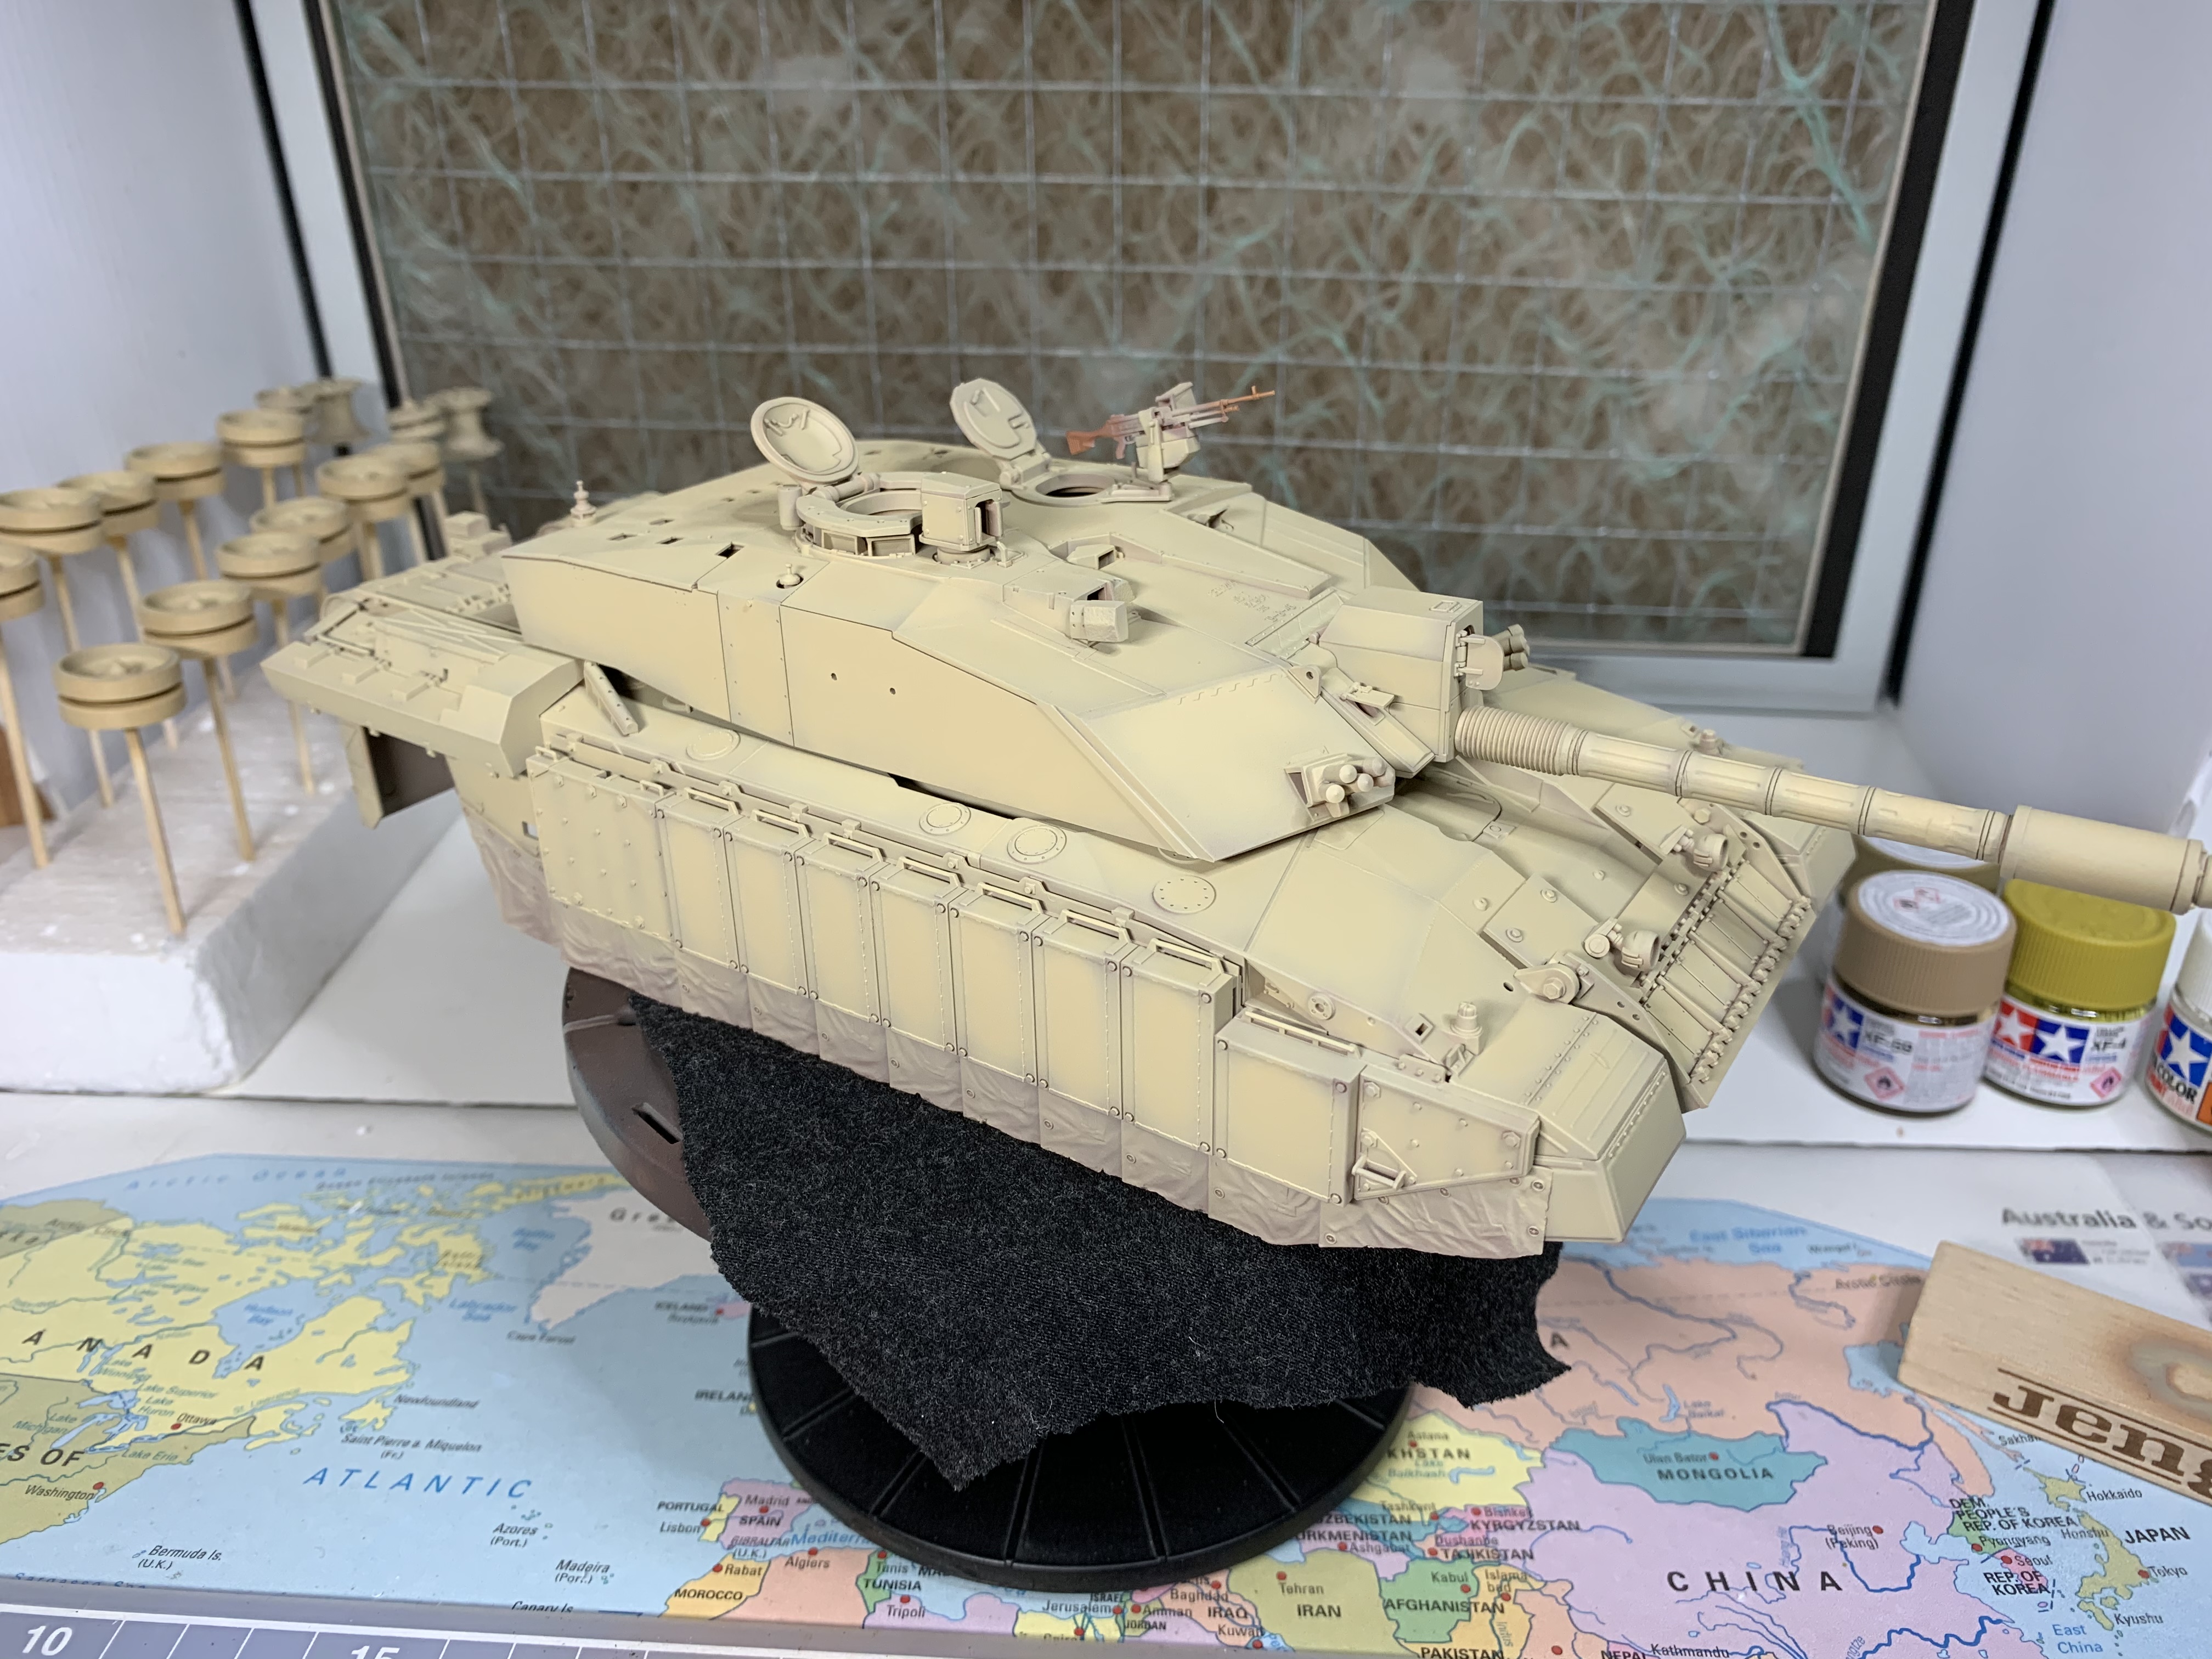
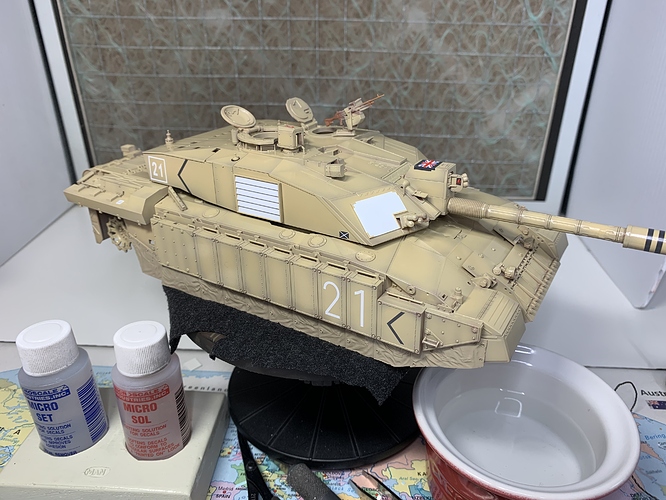
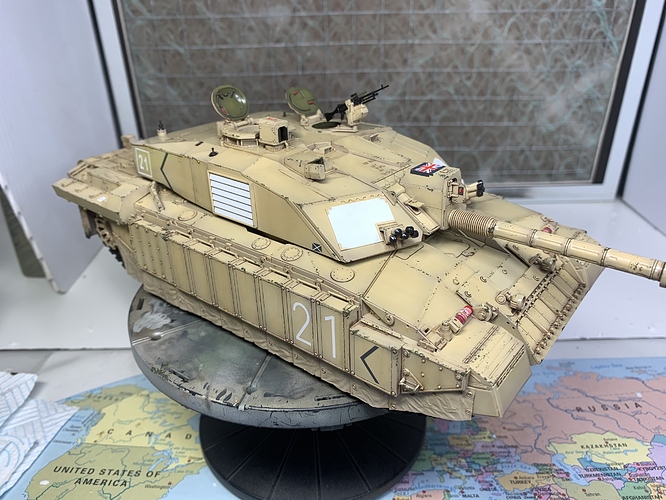
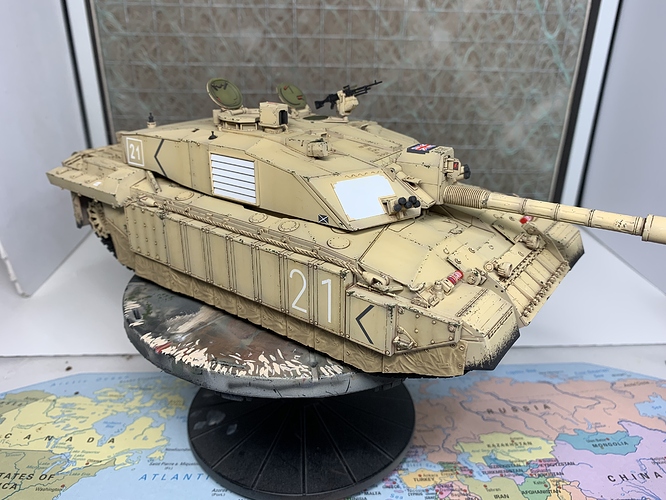
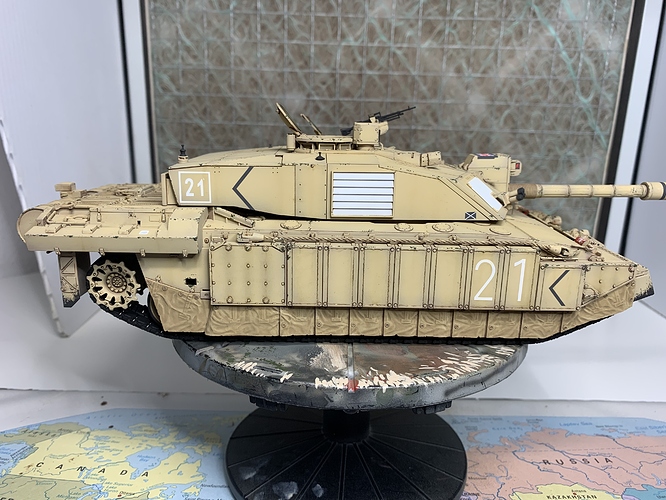
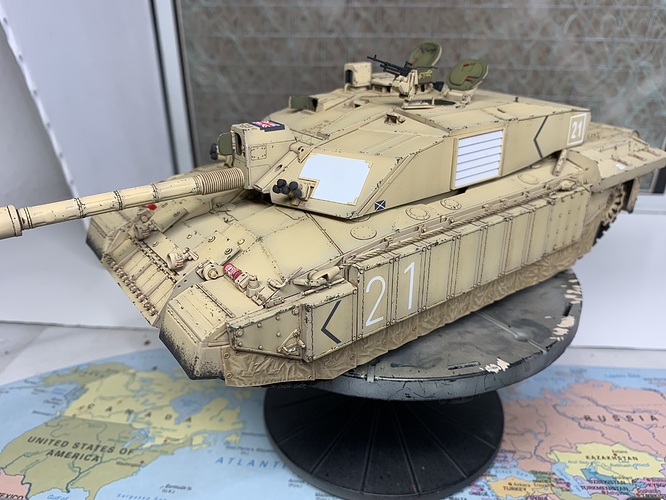
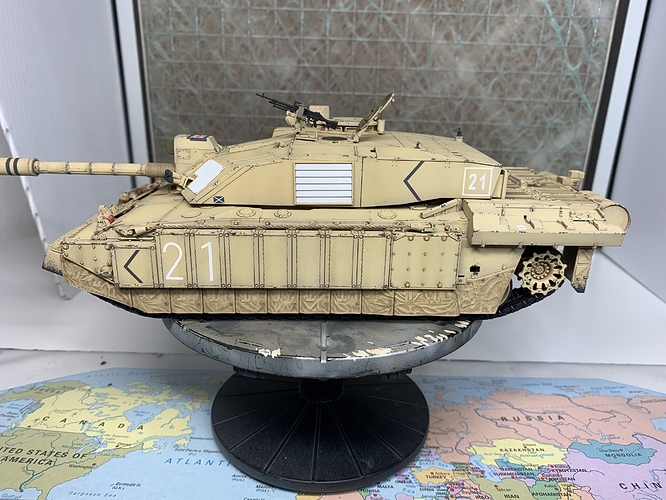
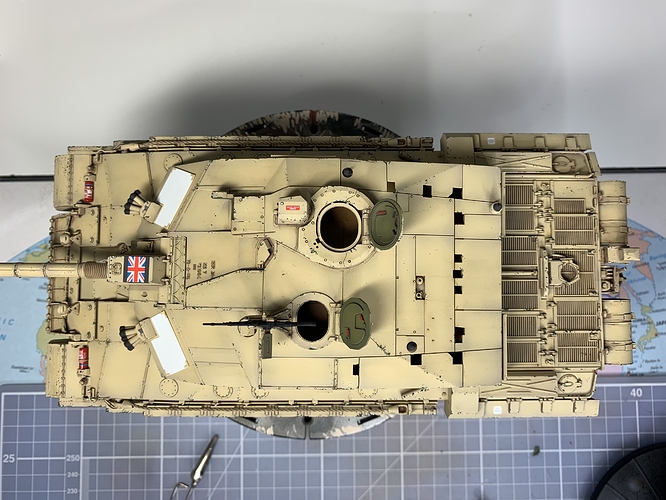
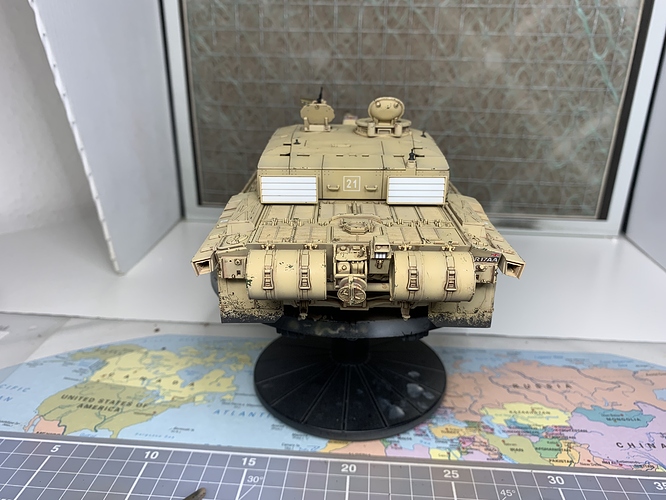
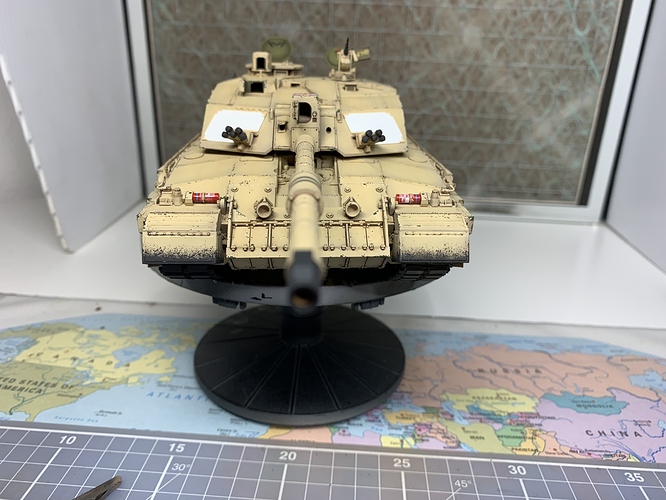
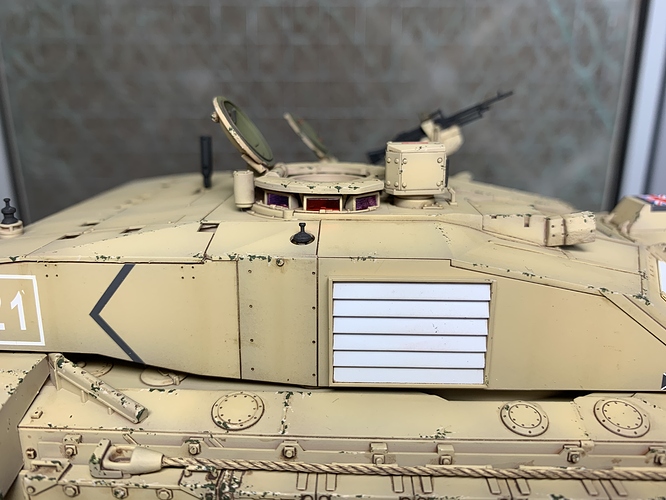
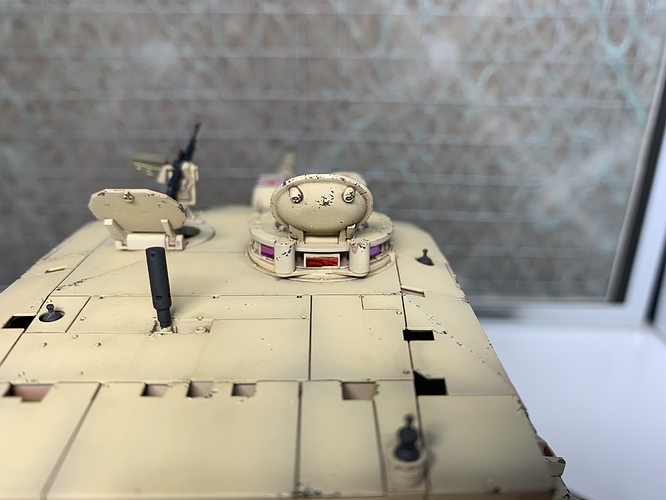
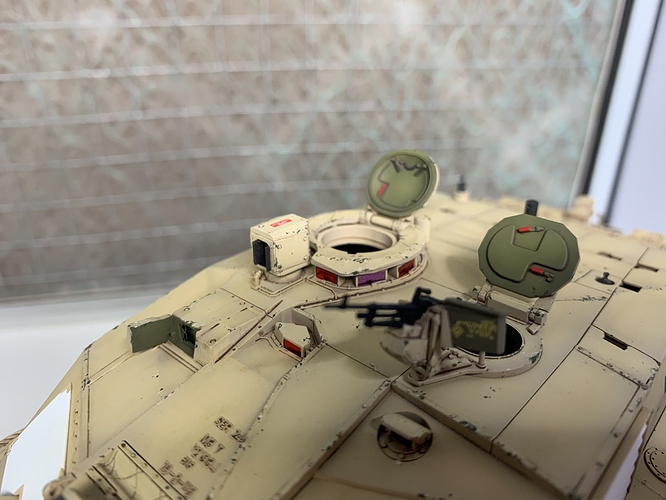
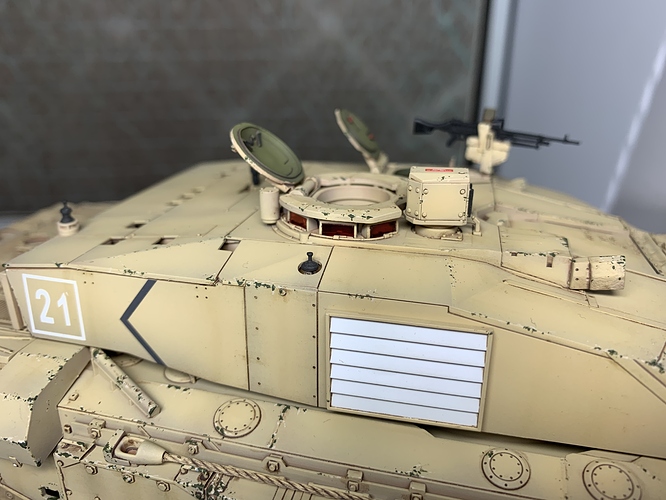
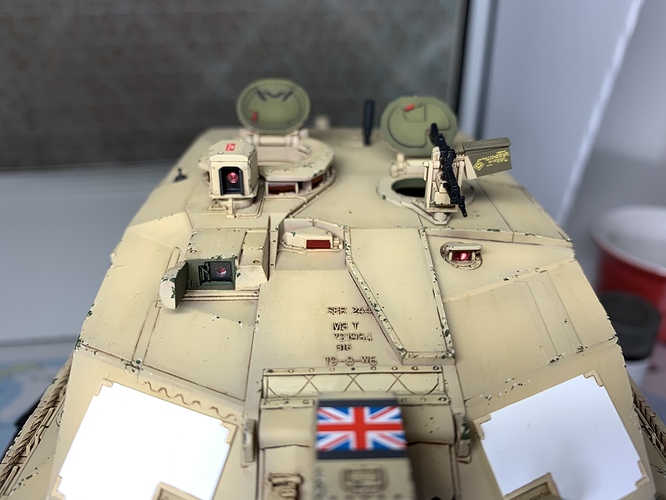
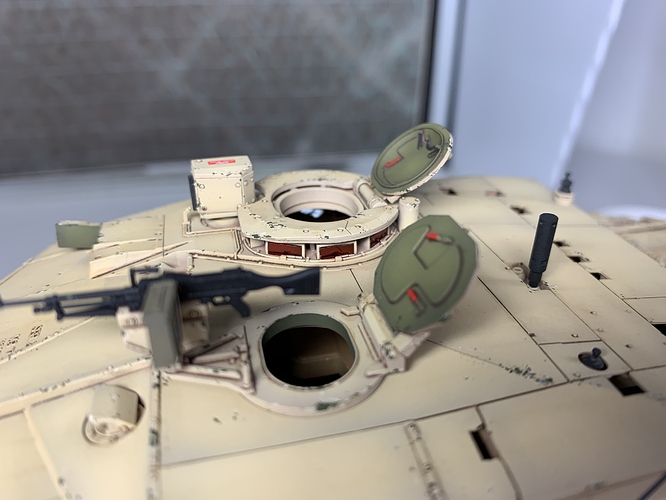
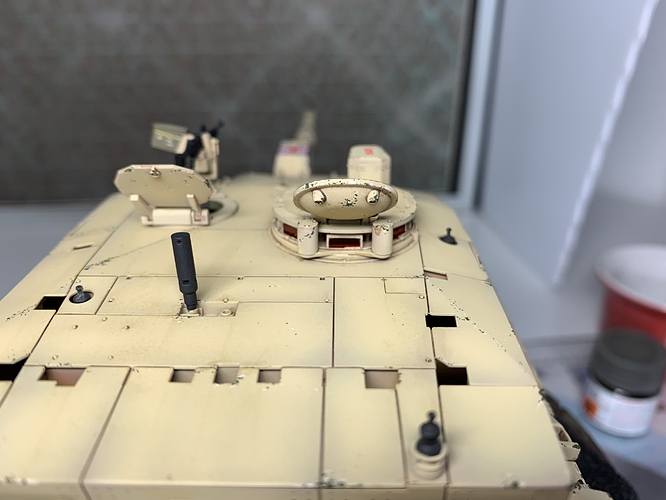
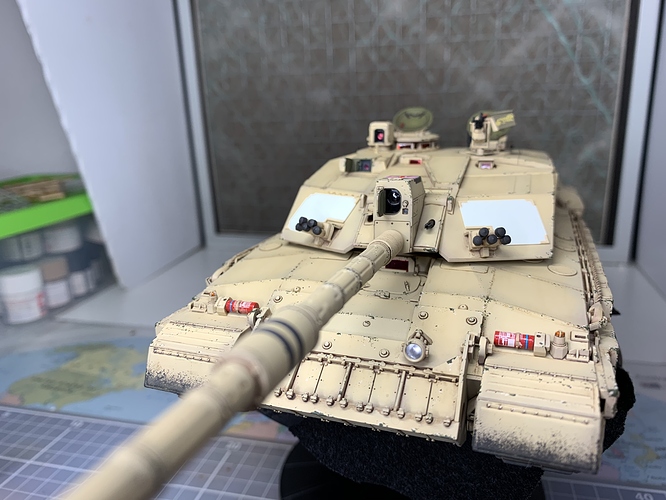
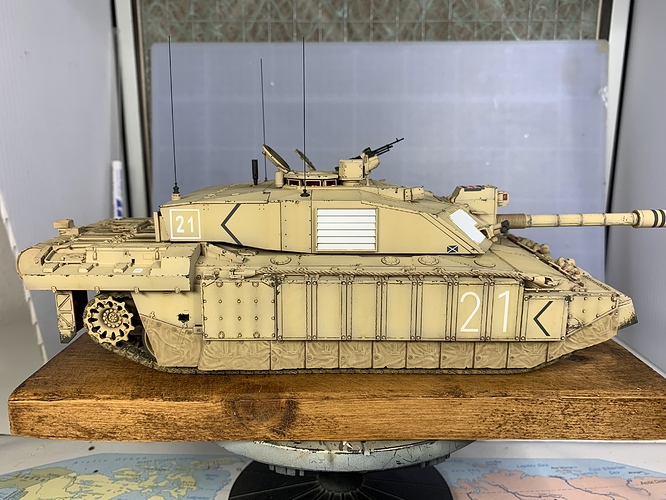
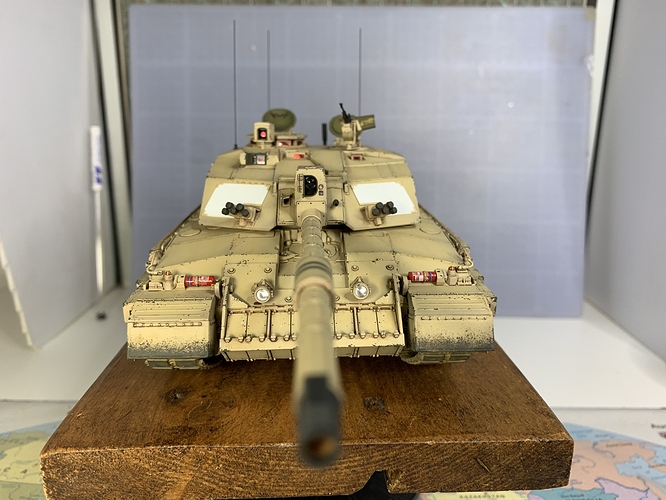
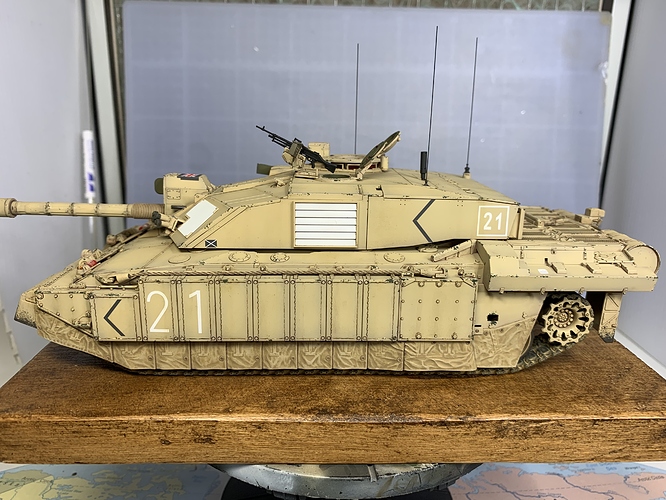
Tamiya Challenger 2 Op Telic, OOB

Hello again,

I thought I would copy over the first post on my current build from the old place so I can continue on here if the switch happens before I am fully finished. So here it is with single pics of all the progress steps so far with full info on the old place;

https://armorama.kitmaker.net/modules.php?op=modload&name=SquawkBox&file=index&req=viewtopic&topic_id=288040&ord=&page=1

Ok so onto a nice simple single colour paint job after the Berlin Brigade shenanigans.

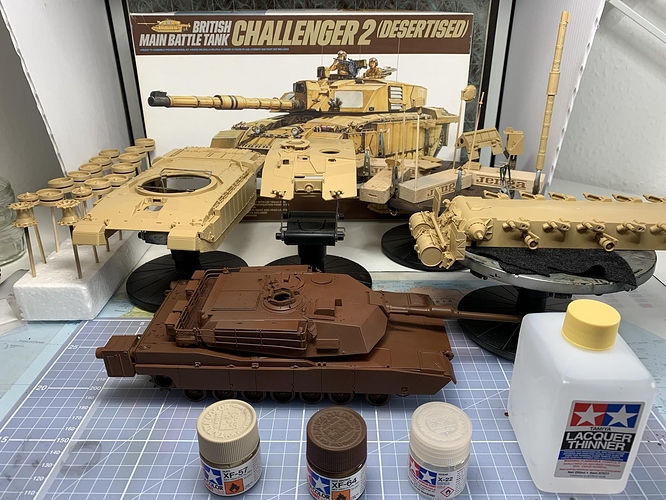
Tamiya Challenger 2, mostly built, rather badly, almost 15 years ago then boxed up before paint and forgotten. Fished out and resurrected as a test bed for various painting and weathering tequniques.

So, I have primed with Tamiya red brown, mixed 50:50 with Tamiya lacquer thinner. Then a highlight coat with Tamiya Buff, 70:30 thinner to paint. Both mixes had some x22 gloss clear added for a more satin finish. I’m working on the ratios for the clear, probably using 5 parts paint to 1 part clear at the moment. The reasoning being less gloss needed for clear coat later, as tamiya paint can be very matt.

The plan is 25 Tamiya Dark Yellow, 25 Tamiya Desert Yellow, 50 Tamiya White, with the above ratio of x22 gloss clear and thinned at least 70:30 thinner to paint and see if it comes out anything like it does in my head…

I know the “correct colour” is much debated, but this base colour will change significantly with the weathering, and the pics I have studied go from an almost orange hue through to a very light sand, so I’m not too worried about it.

I’m just playing around with these techniques and thought some of you may be interested in the process.

And the old abrams makes another appearance as the test bed for the test bed!

Thanks, Jim.
10 Likes

How many coats of paint will it take to turn that old Abrams into a blob? :wink:

1 Like

Ha! Yeah I know, it must have at least a couple of dozen coats on it. But you know what, i think I can get a few more builds out of the old workhorse yet, although thinking of doing a 1/32nd Tempest next. The abrams would look great in RAF cammo’ and invasion stripes!

2 Likes

Difficult colour to get right. Looks like you got it.

Nice paint job. I don’t know how accurate it is but it looks good at least to me.

Olivier

Really nice job! I love the colors.

Thanks guys, somehow the colour I had in my head actually materialised on the model, and all it took was a few drops of tamiya yellow green!

Some more pics of the current state of play.

4 Likes

It has the right look. I really liked the paint/ weathering process you used.

1 Like

Jim, this build is hot, hot, hot! The color and weathering are beautiful. Your washes are perfect.

Jim, when you get a chance, and I admit to save me back tracking through the posts here and the Chieftain build, could you list which washes and pigments you used for both as both finished builds the washes give them such a real look… I may have to do some ordering this weekend lol

Thanks guys, it’s come out better than I hoped for I think.

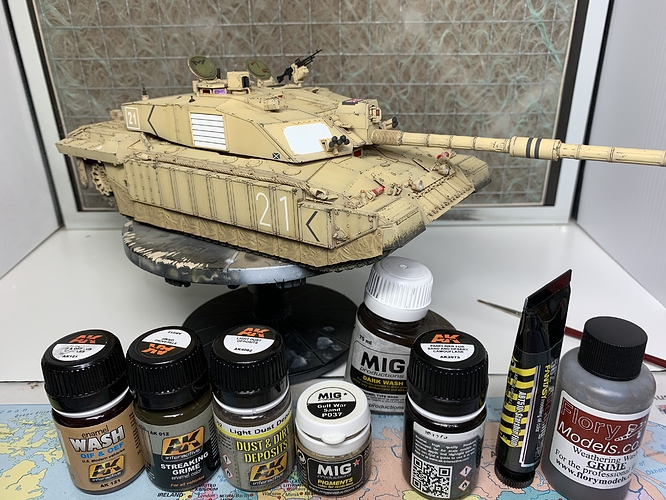
The weathering has been really simple for this John, and for the Chieftain, just trying to keep it subtle is the struggle… anyway, here’s a quick rundown, I hope it helps.

AK 121 wash for oif and oef, applied as a pin and panel line wash. When cleaning it up with cotton buds I used the residue on the buds to alter the rest of the finish, kind of like a filter but rubbed on.

Then I used AK 012 streaking grime on the sides and some of the upper panels. And blended using a brush with mig thinner. The brush has to be practically dry or you just remove it all straight away.

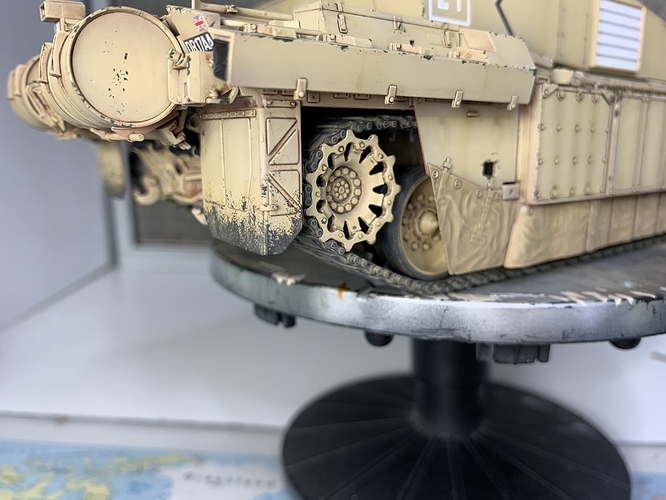
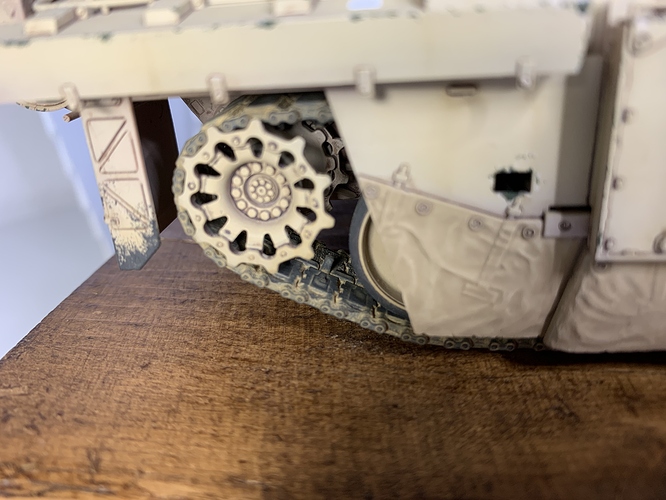
Then AK 4062 dirt and dust deposits as a wash on the canvas skirts, layer on thick with the hull on its side so it didn’t flow to the bottom. I then left this on the right side as is, but on the left I used a cotton bud to remove it from the high points. I liked both effects so just left them slightly different. The darker 121 wash was then sort of painted lightly into the joins for a shadow.

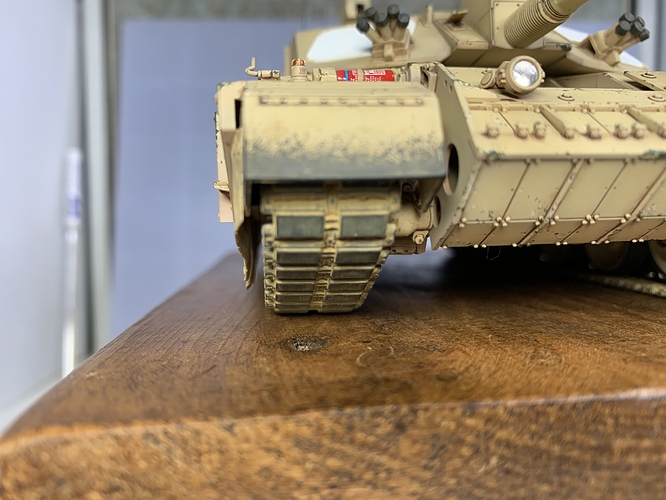
The AK 4062 has been used on the tracks too, and has given a finish I am pretty happy with so that’s staying too.

The Mig gulf war sand pigment has only been used to tone down the rubber black on the mudguards so far, and to do the same to the one road wheel you can see in the pic below!

I’ve also had my first attempt at the anti reflective vision blocks, using red mostly but using alternating red and purple/lilac on the commanders cupola for a sort of forced optical effect. Don’t know how I feel about that yet but nothing is stuck permanently so still playing with it.

More to do but not that much…

As for the Chieftain, I mostly used the Abteilung Starship filth oil paint made into a wash. Once again using the cotton bud method to alter the finish when cleaning up. I also used the AK 2073 paneliner for sand and desert in certain places and to alter the finish using cotton buds and sometimes using both colours with a bit of mig dark wash and some thinner to manipulate using a large sort brush. And the flory grime wash was used on the tracks as the mig dark attacked the glued links. No pigments used on the chieftain.

Most of these methods are done when the gloss coat is still on so easy to remove and start again. Oh, and the abrams was indispensable as the sacrificial lamb of both builds!

First pic shows the washes etc. Oh, and I got almost all my weathering supplies from AMS paints and supplies, they are based near me in Glasgow and have been great, you might have seen them at any shows you’ve been to. I have no affiliation with them, just a happy customer.

Here we go;


2 Likes

Thanks Jim, I will be looking at getting some of those. They have given both a great overall finish, and very realistic. I also ordered a set of those Albion rods Max mentioned as I want to see what they are like. Thanks again. John

No worries John. Yeah I ordered some 0.3mm brass tube and some 0.2mm brass rod for starters! Looking forward to trying them out.

I think Santa will be bringing some of those washes and weathering bits, if not all of them !! … However the wife doesn’t know yet, so there may be some buttering up needed lol

Yeah, all that money we aren’t spending going out and about has to be used somewhere!

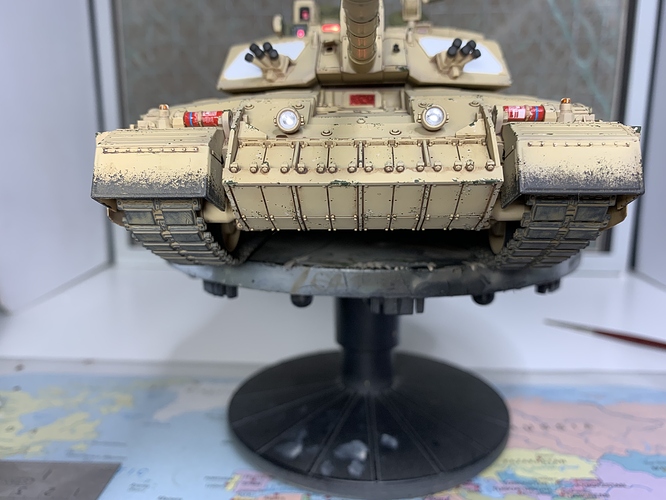
I decided I didn’t like the vision blocks, either the red and certainly not the forced effect purple ones. So I sprayed the red confetti type stuff I was using with multiple layers of tamiya smoke, which is still gloss but has toned them down nicely. They are darker in the flesh than the photos. And I painted the recess of the gun sight chrome silver which, believe it or not, makes the lens look deep and dark.

Just some light weathering on the hull and the antennas and it shall be done,

Cheers,J.

3 Likes

Like what you’ve done with the Comds cupola scopes, alot more muted and realistic now, great job.

Thanks John. Well, I used the 0.3mm brass tube, cut to length and painted rubber black. Many thanks to Max for the suggestion. Also used mig Middle East dust pigment, 3018 on the tracks.

Still a couple of little things to sort out then will do some nice pics when I finally get round to purchasing a nice big piece of card for the background.

Thanks,J.

5 Likes

Looking better each time Jim. Antennas look just right. Mine haven’t arrived yet so will have to wait to try them. Top job.

It has a futureistic look with the skirts going to the ground. Hovercraftish looking.

Man that’s nice! That just looks like an imposing brute of a tank. The chipping really shows up on the desert sand schemes, my builds are all OD with red clay weathering and any chipping or rust wear gets lost in the mix. I’m curious about the apron below the track guards, this is for dust control I presume? You’ve got some obvious talent on fit and finish brother! I’ll be watching you, you got skills!