Thanks, this was really clear, it goes very close to the front.
1 Like
I’m surprised how poor those Tamiya instructions are; they are usually very good
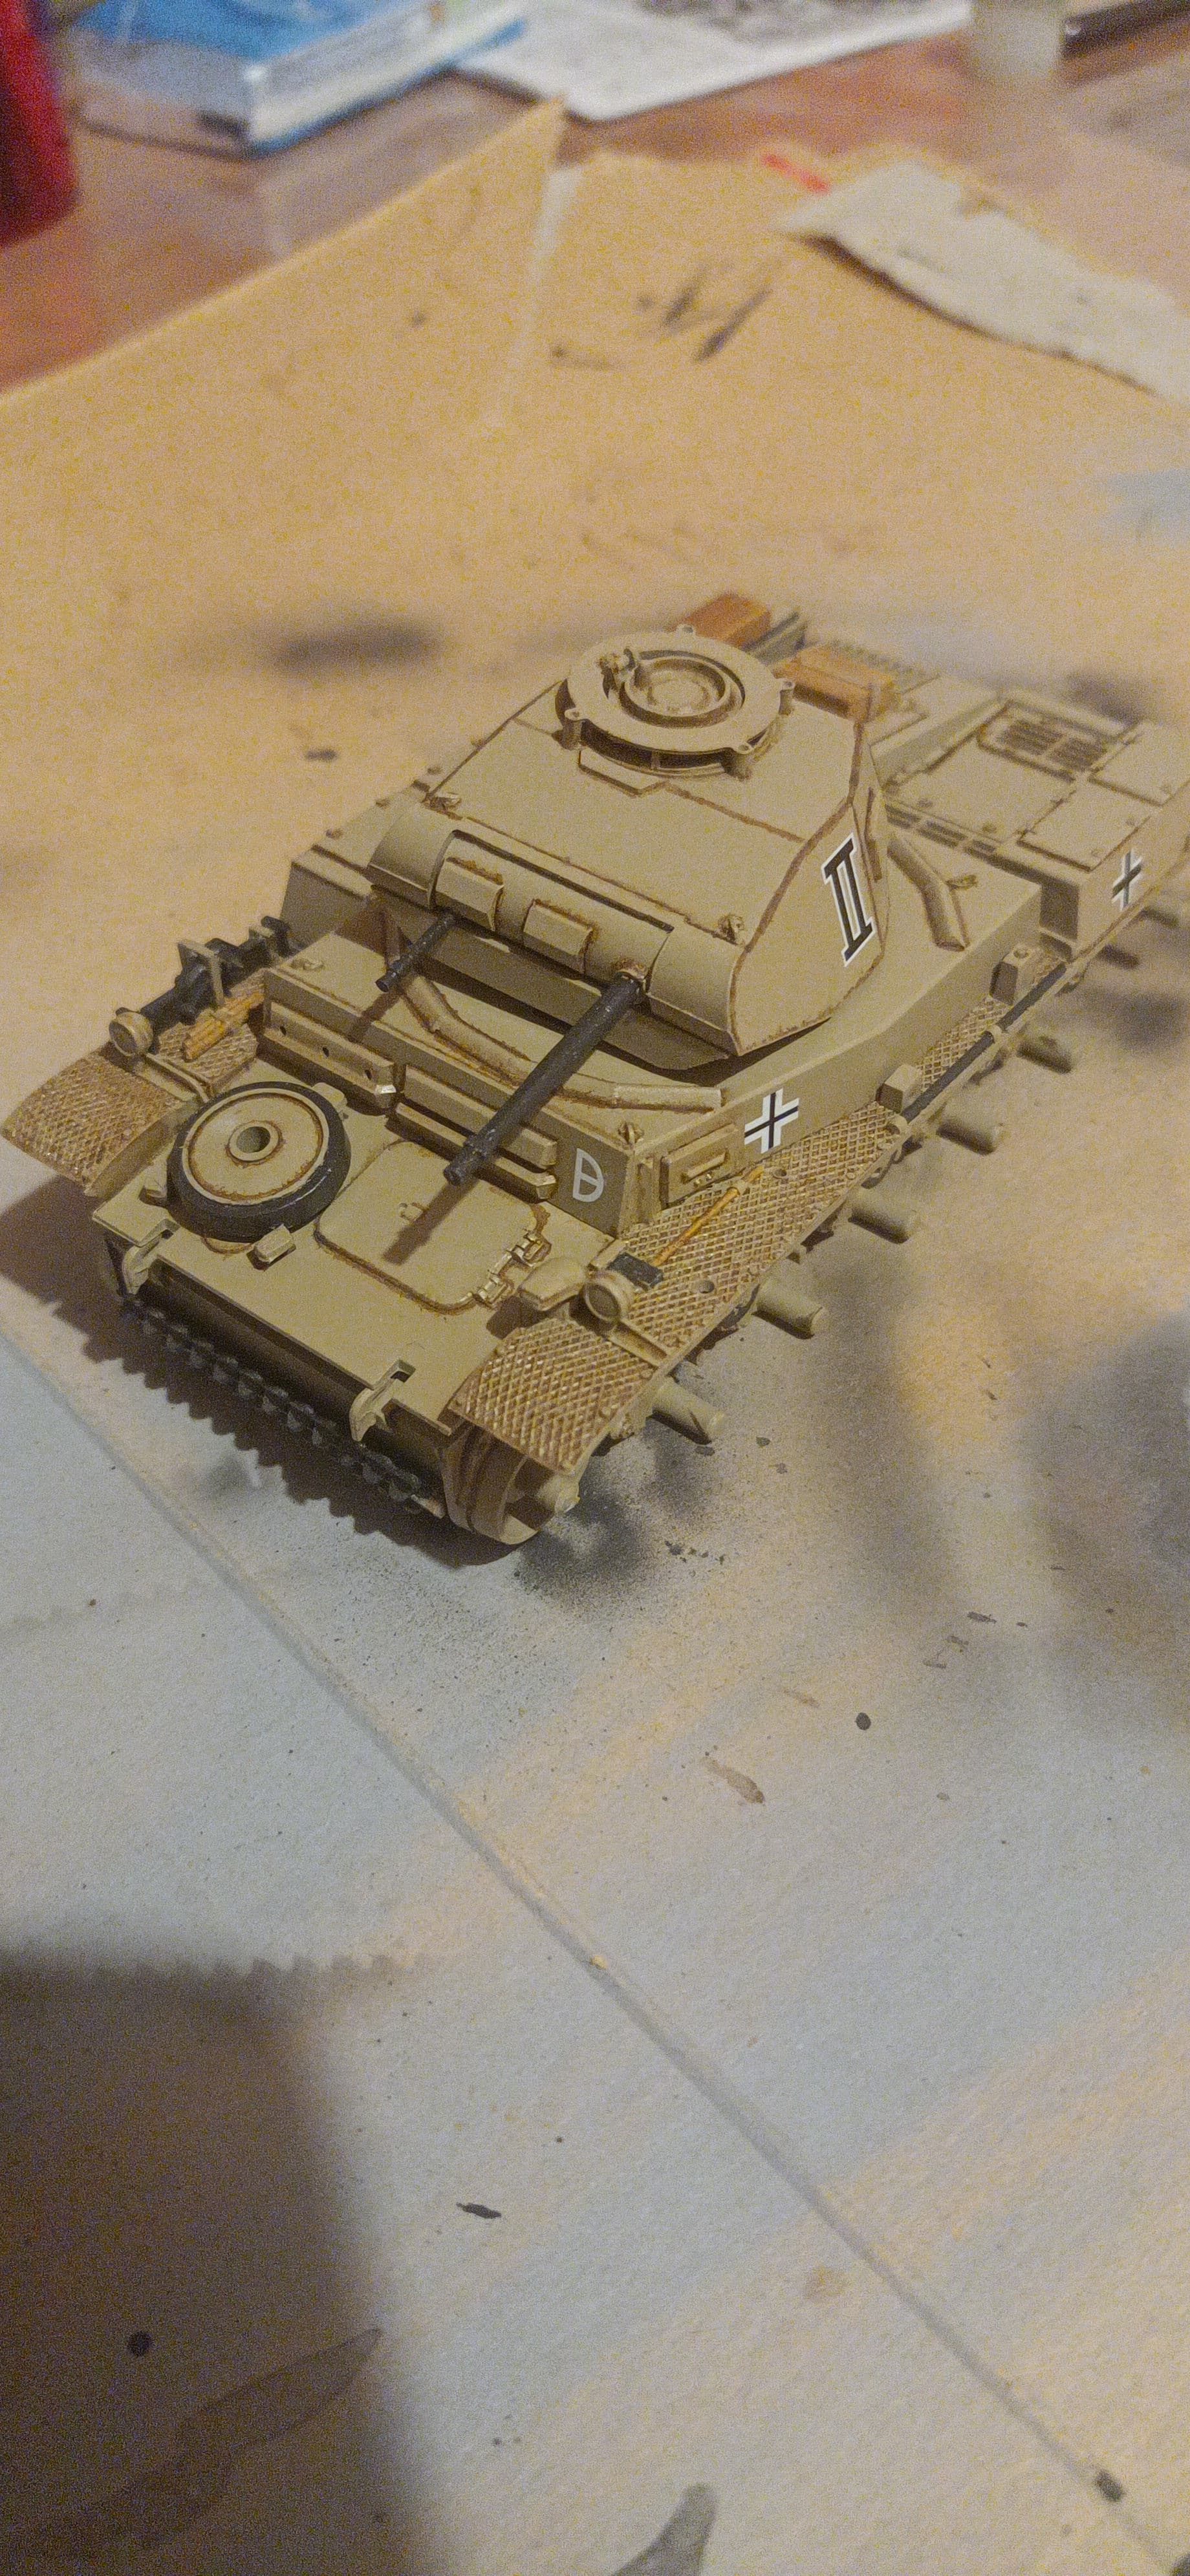
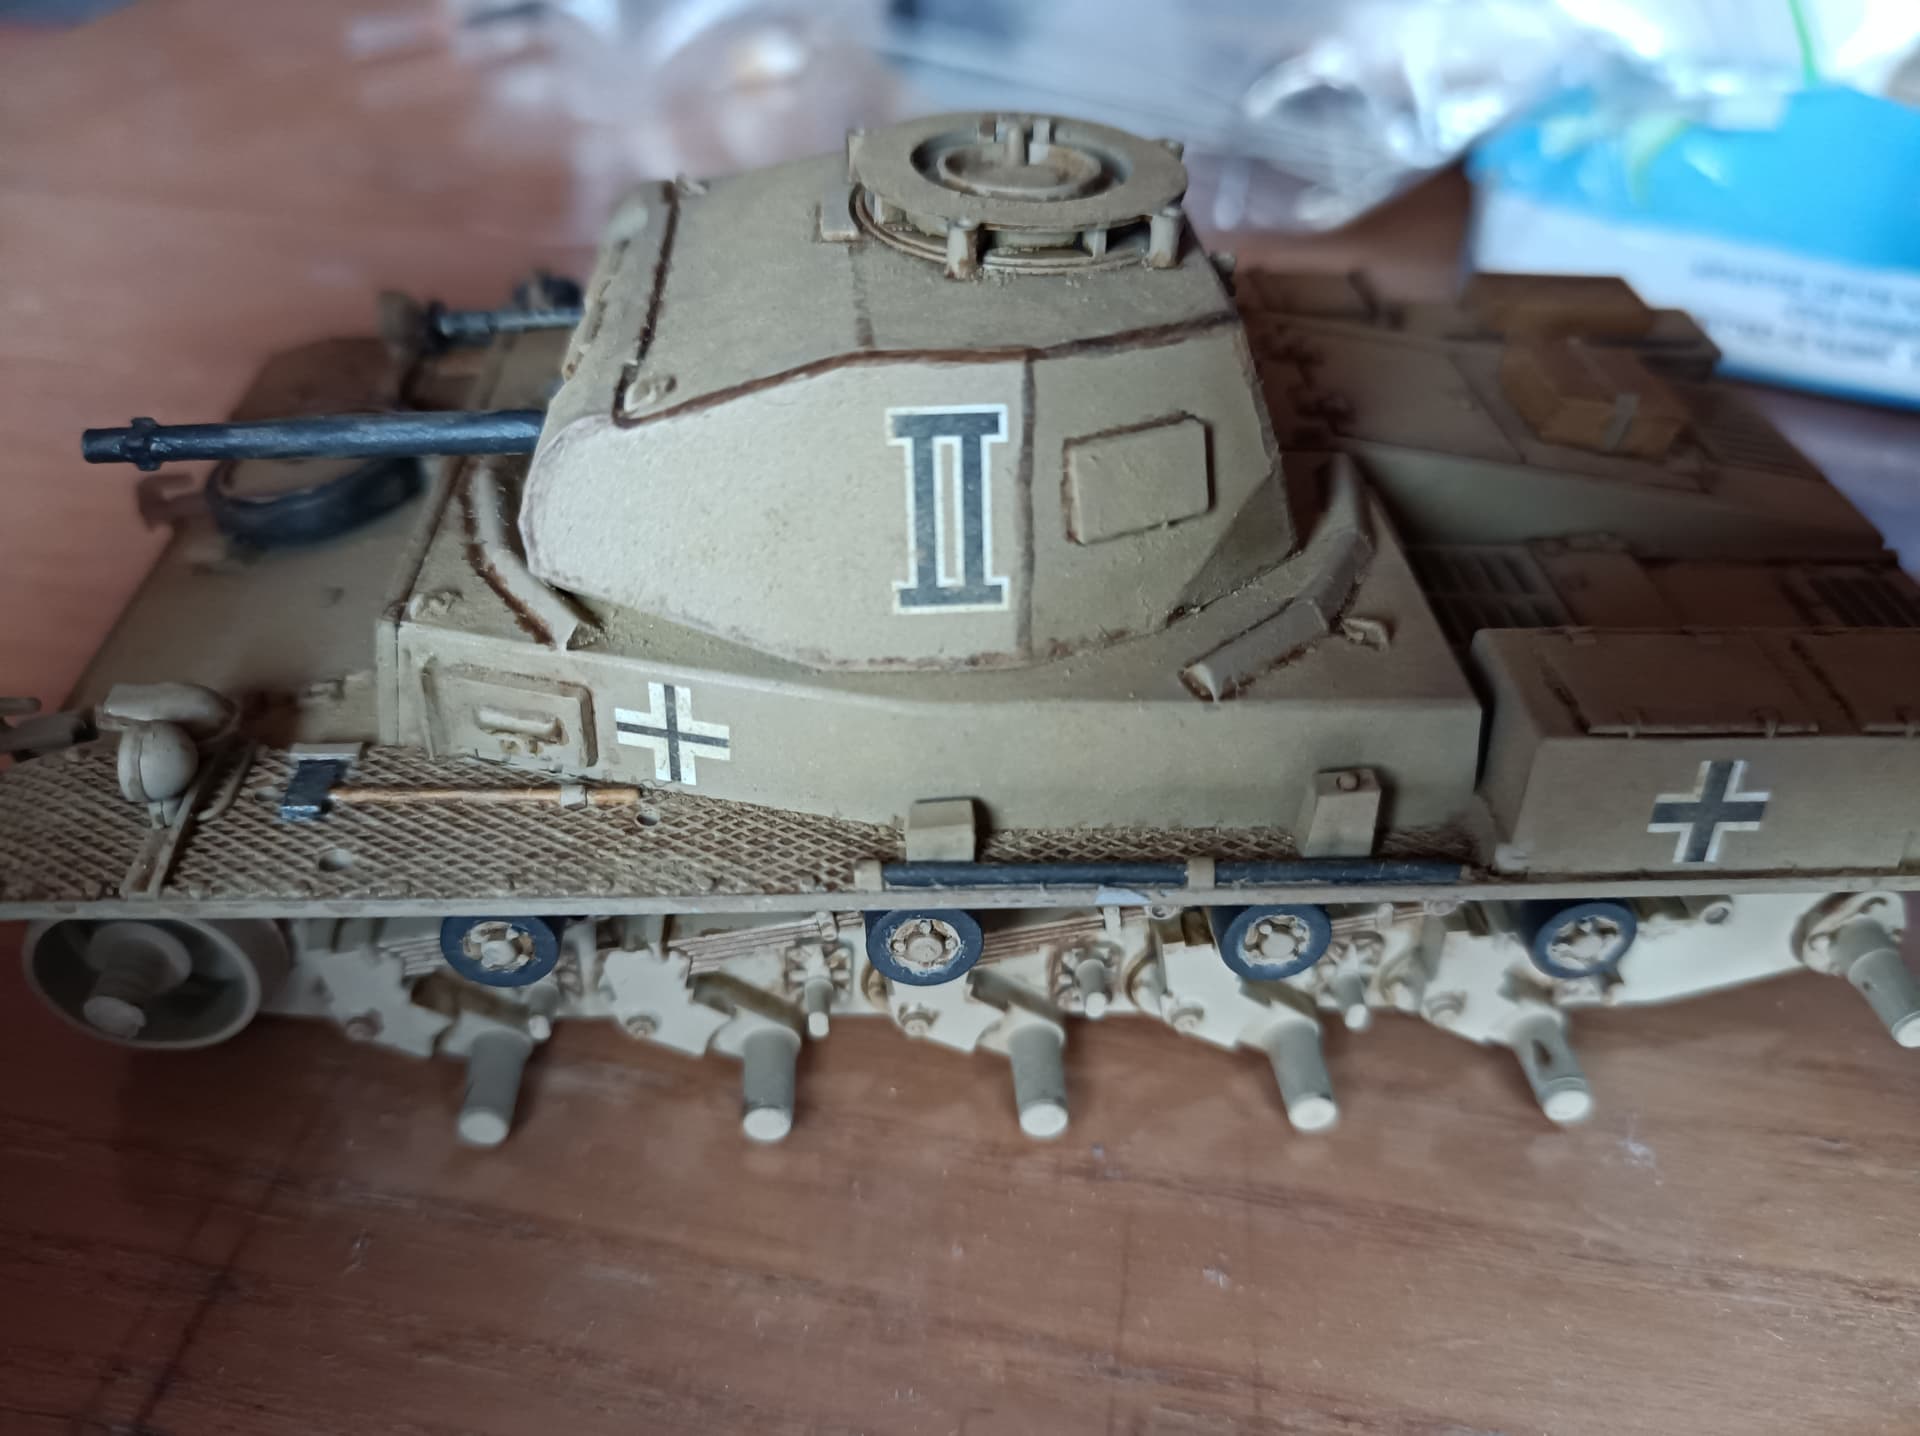
The cross should go smack dab in the middle of the storage box.
On the left side it goes closer to the front because of the antenna storage tray.
1 Like
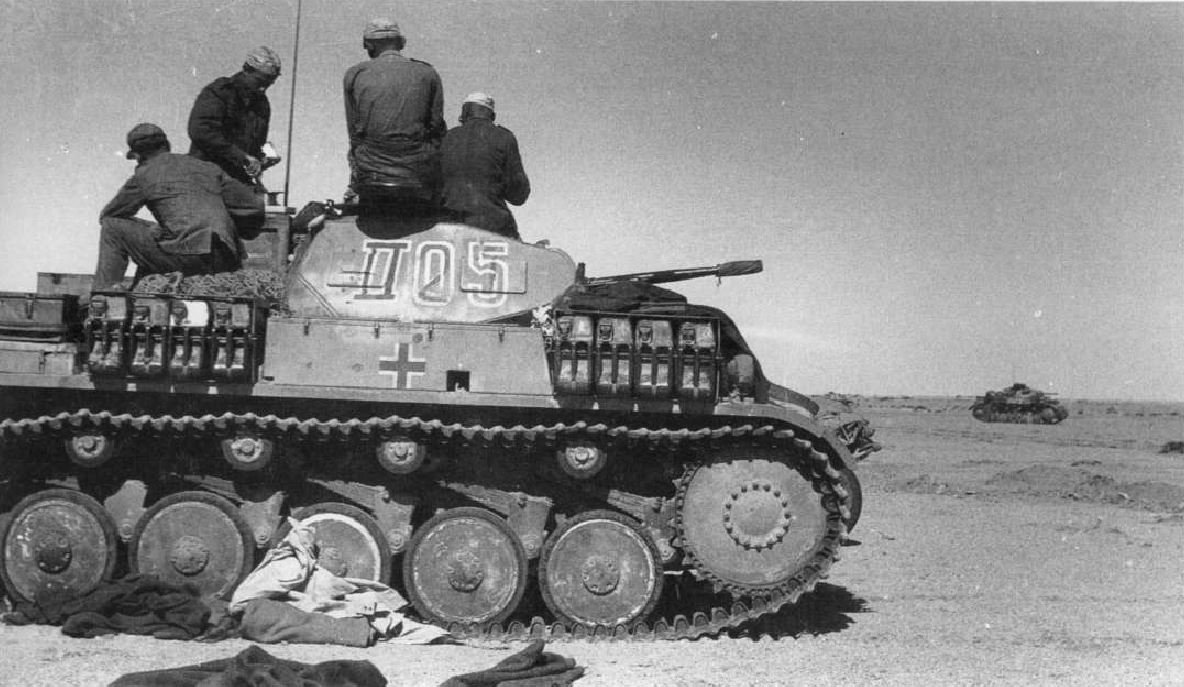
The drawing on the first page of that Dragon instruction sheet got the right side location correctly. But the markings diagrams are wrong. It looks to me as if they just mirror imaged the left side location.
Good to know when I go to build it! I’ll have to use referenc photos
1 Like
Done it.
Right now i am in the middle of the pin-wash, I guess I’ll resume in a few days.
Thanks everybody and merry Christmas to all!

1 Like
You’re welcome and a Merry Christmas to you!
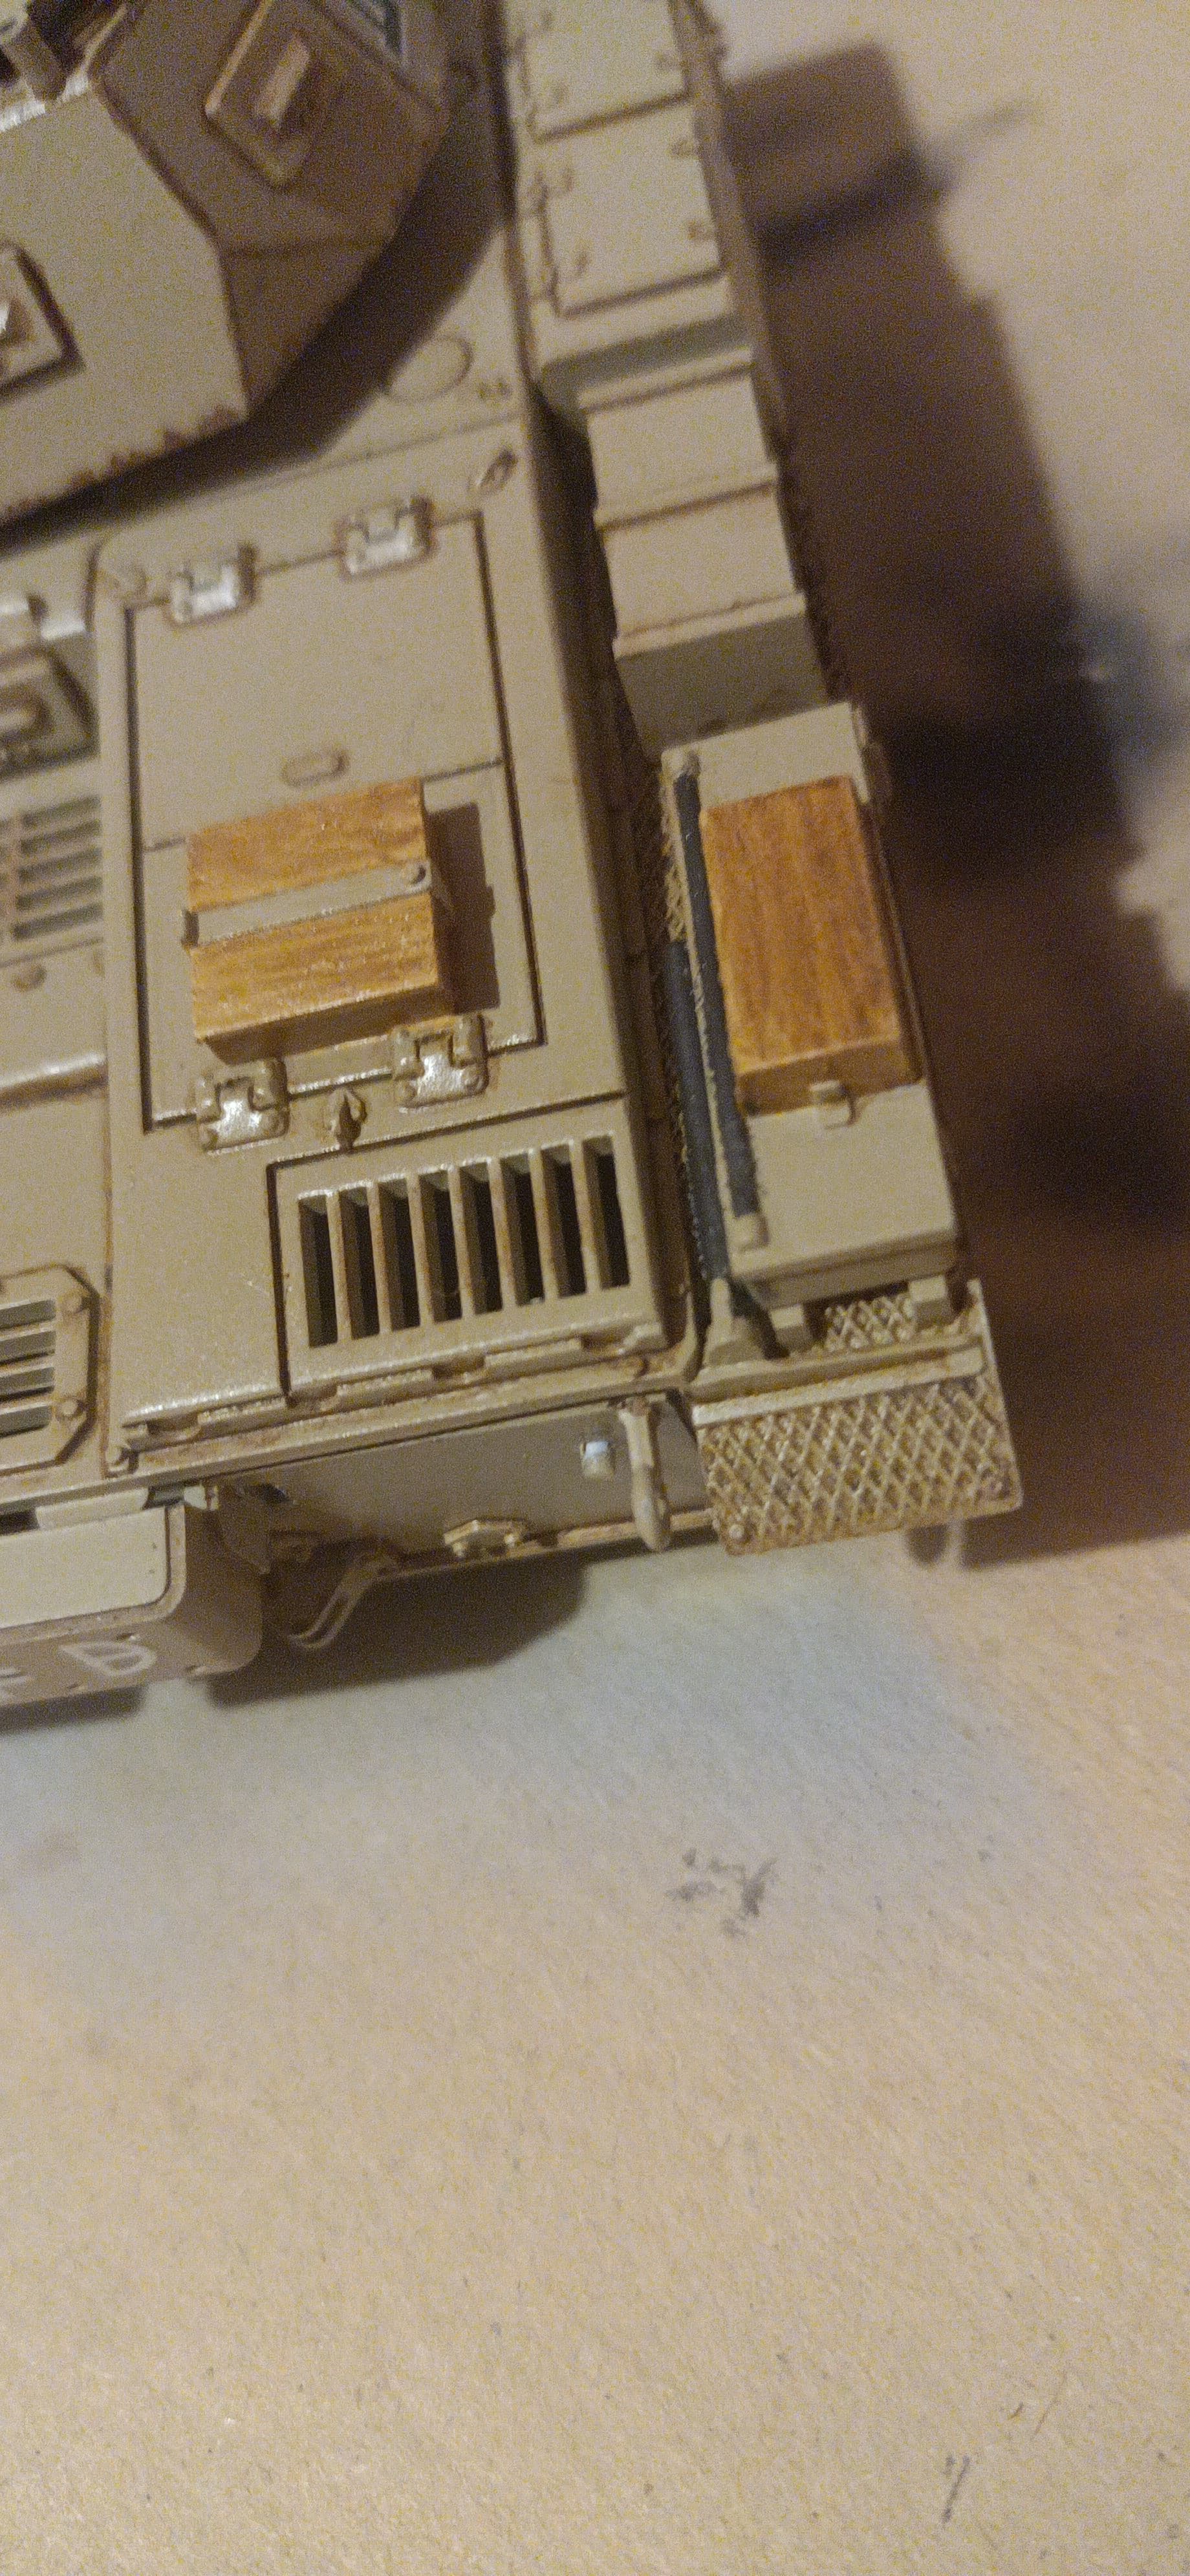
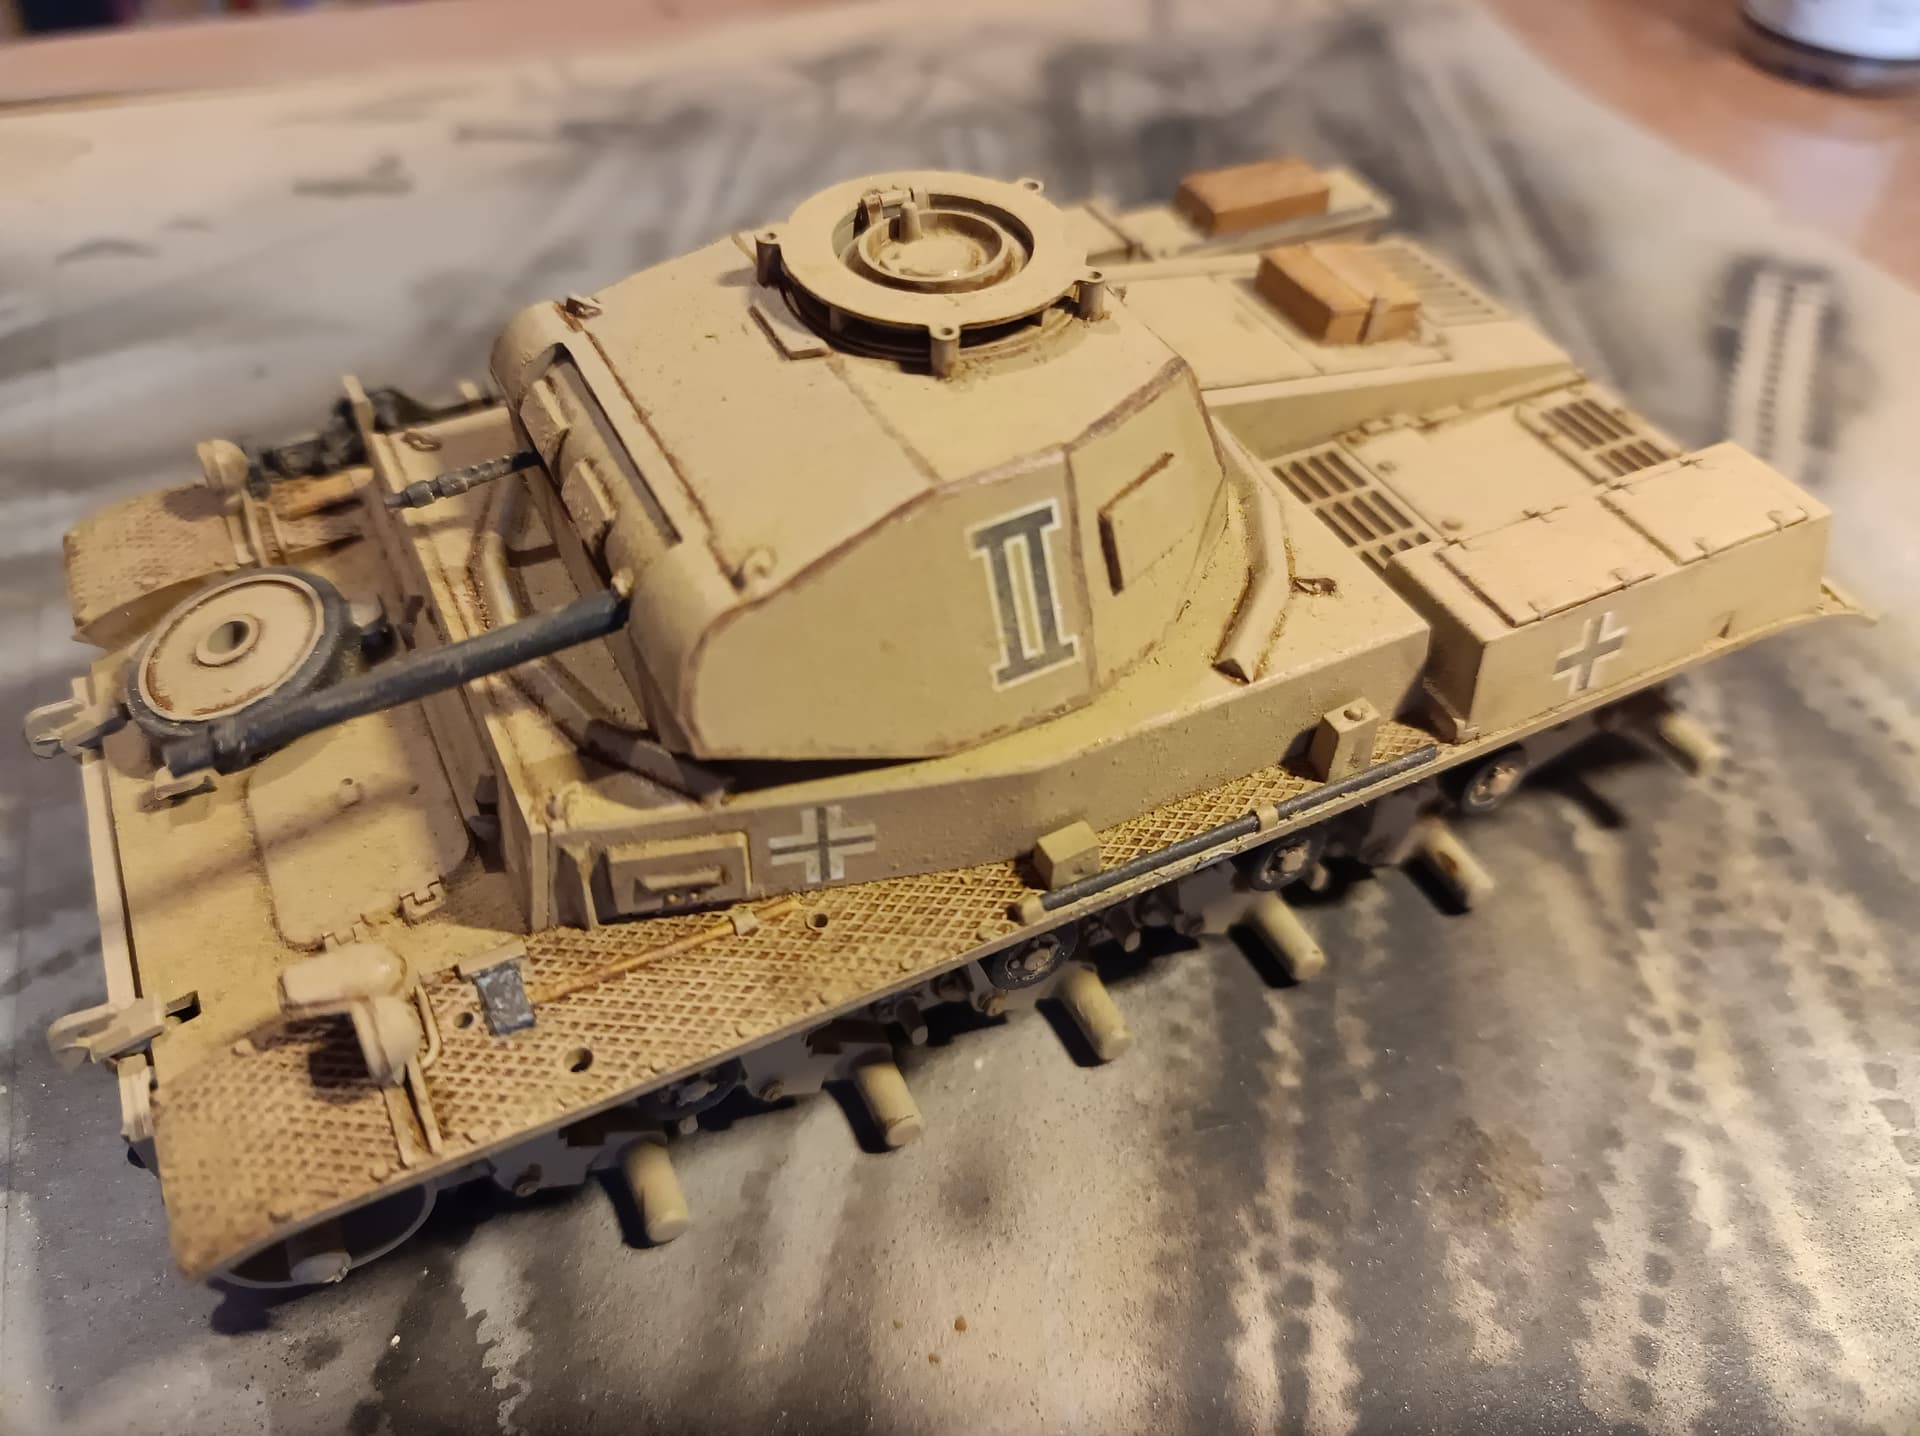
Pinwash done. Looks good enough for me.
In the second picture you can see the wooden boxes.
I figured out that I could have exploited my bad hand painting: I was expecting streaks and they did appeared so I tried to give them a natural look and then splashed the whole surface with the pin wash.
I think the result is decent.
EDIT: I just fixed those paint spills near the top wooden box, I didn’t noticed them before.
5 Likes
That wood painting sure looks like wood to me.

No opinion on the correctness …
Looks pretty darn good for a 50 year old kit.
Happy new year everybody!
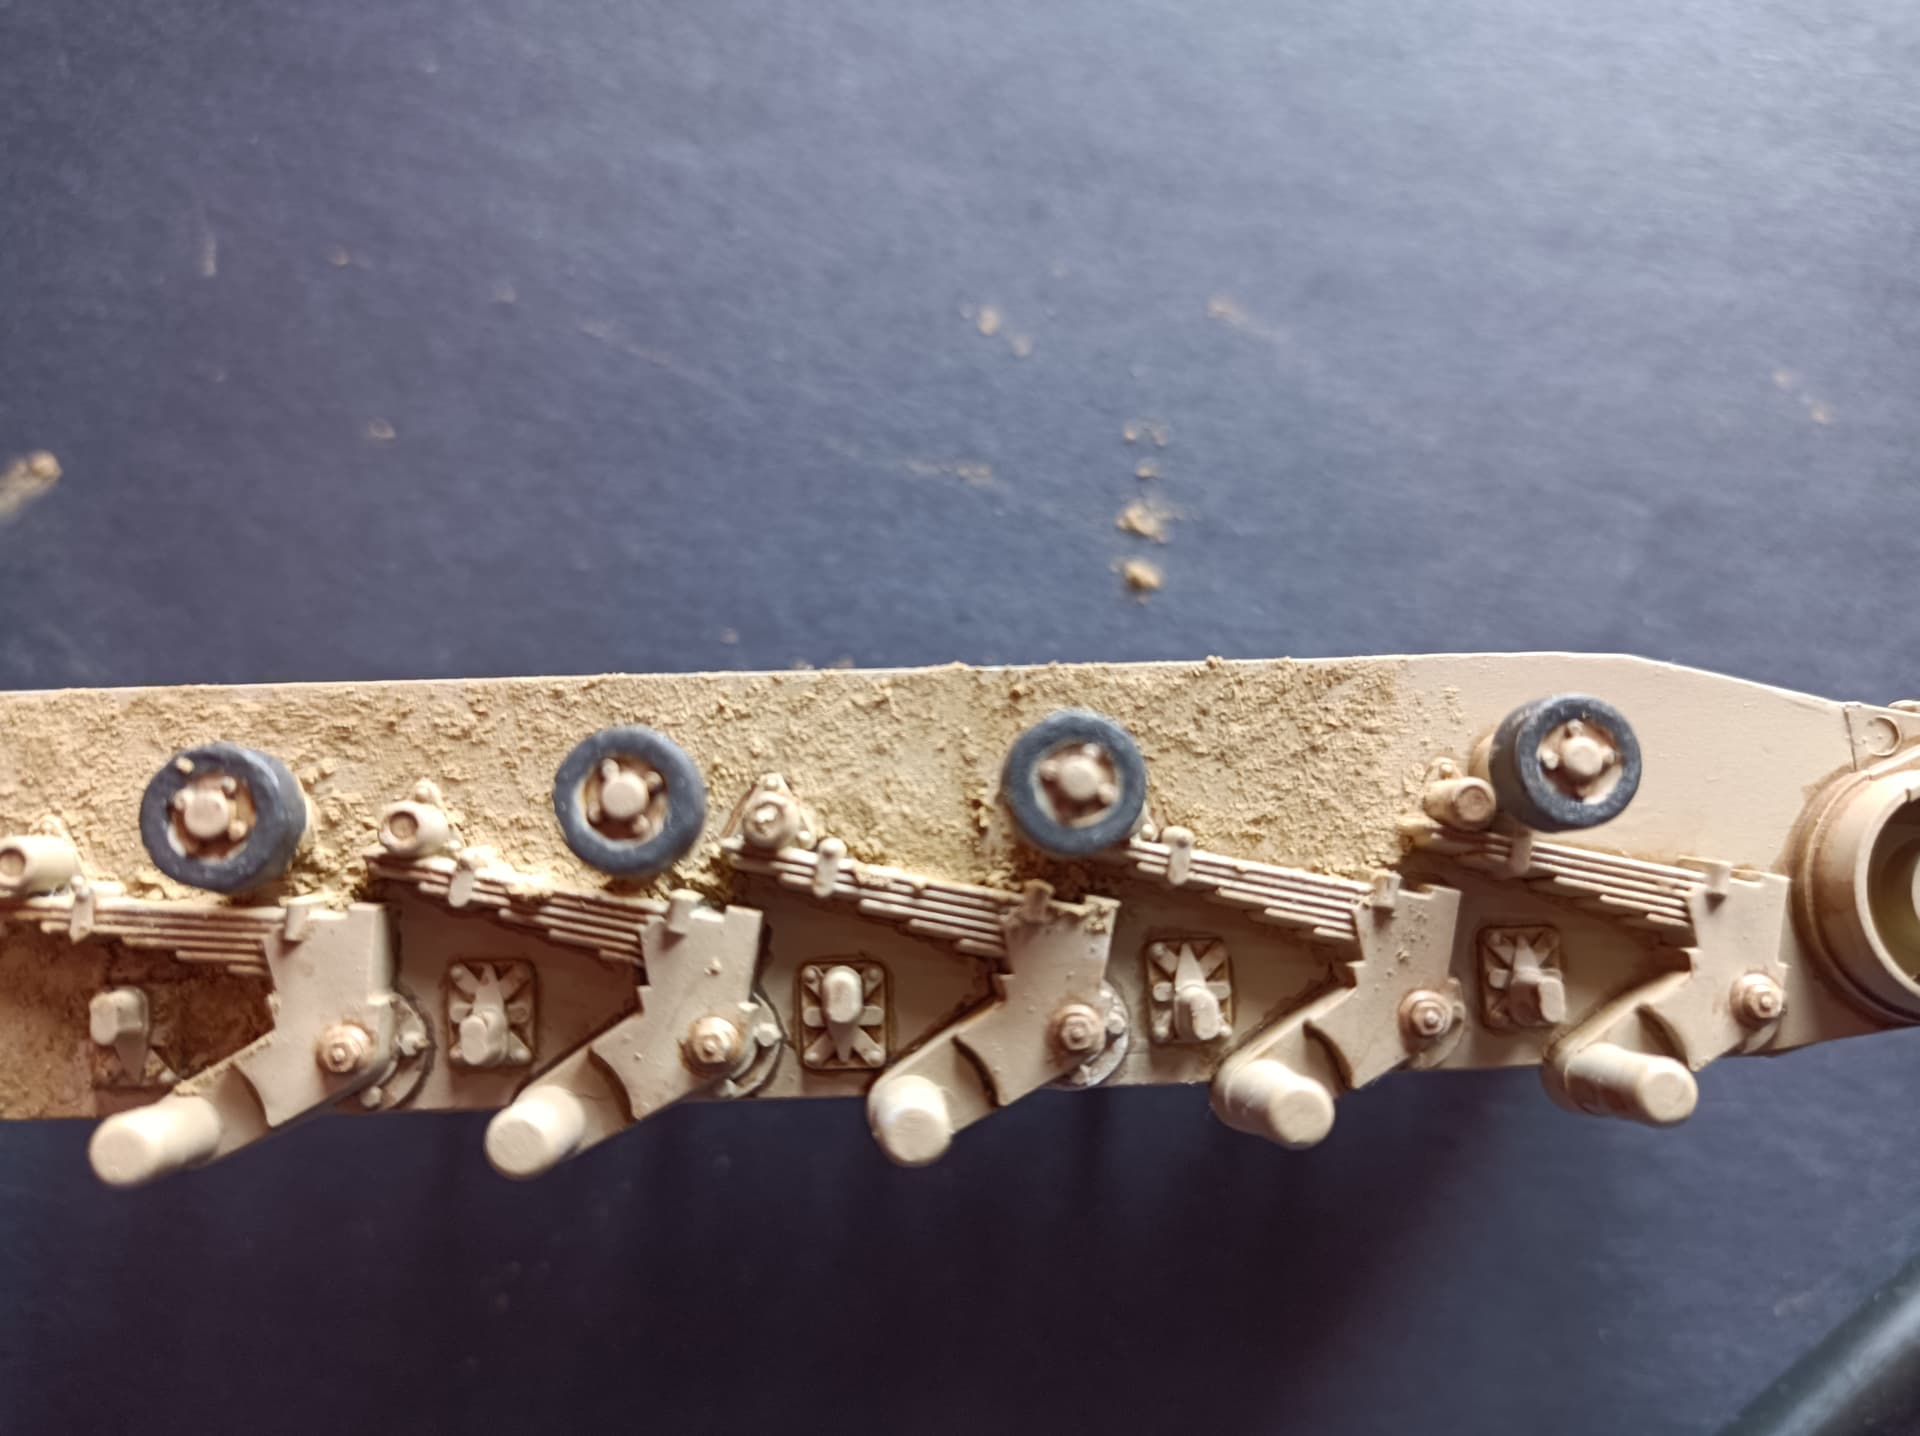
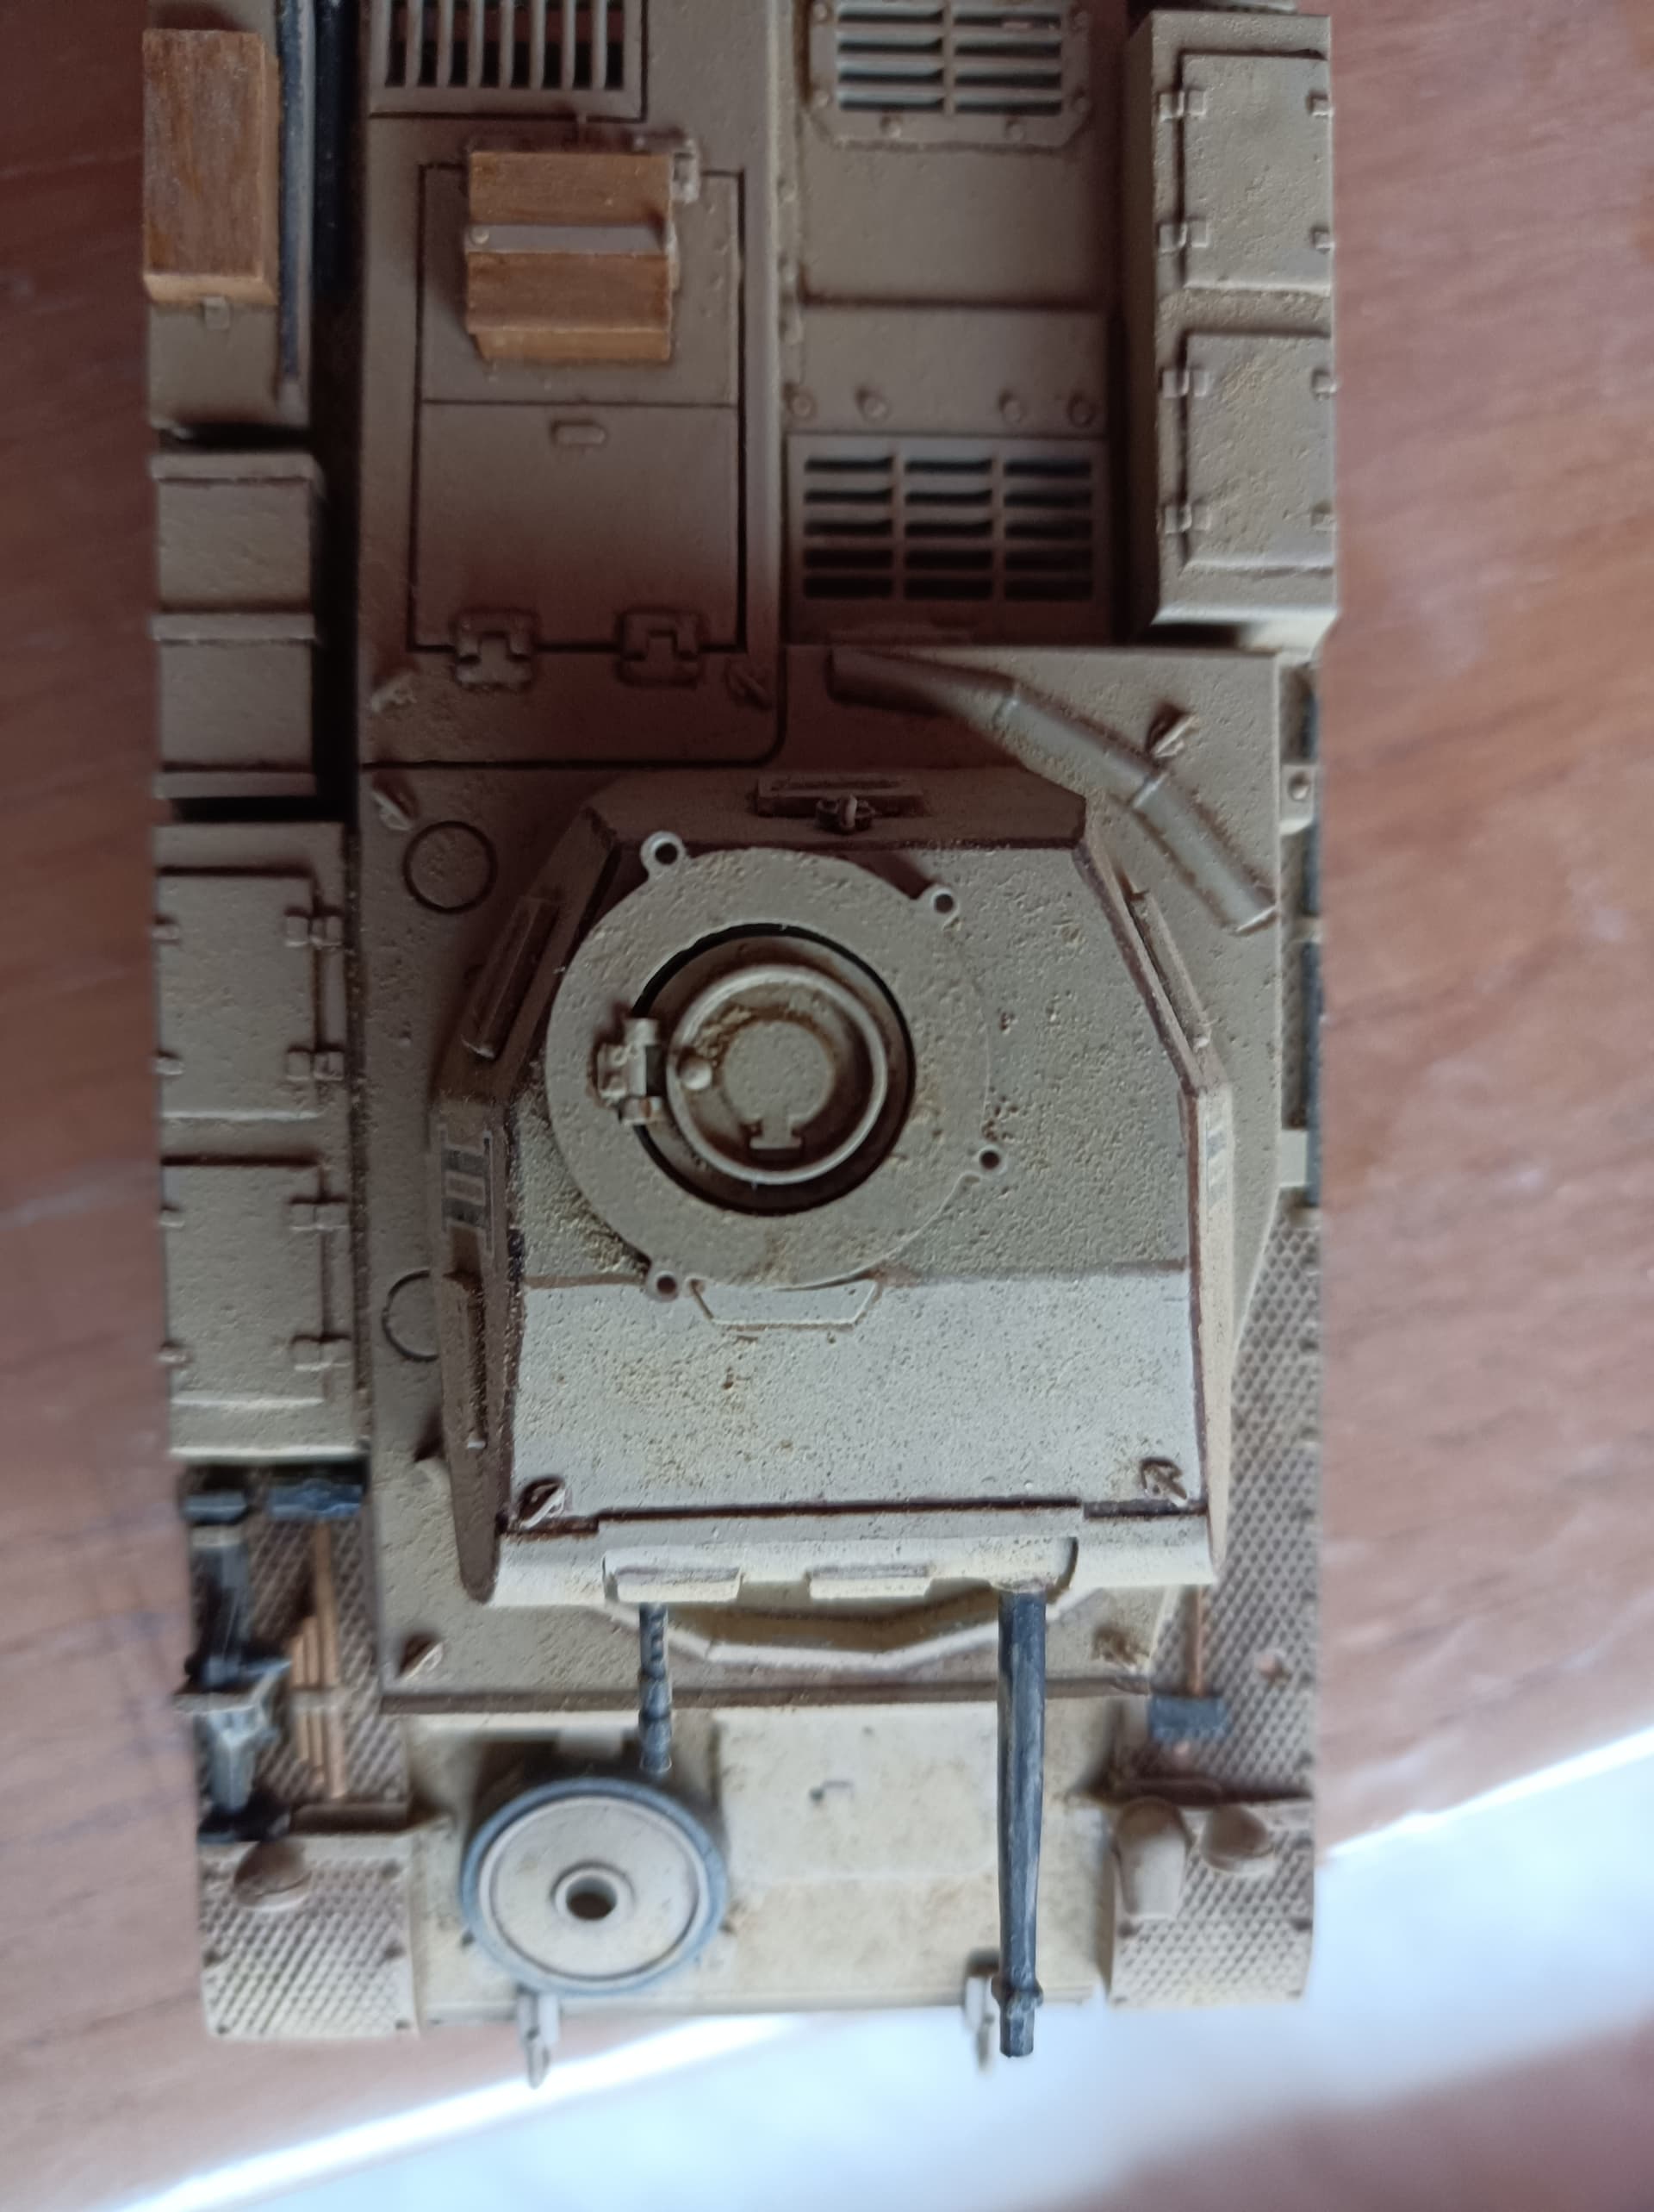
Now, I start the arduous task of weathering this tank.

My idea was to use pigments as I am already familiar with the medium.
The idea was to use a solid mud-like consistency on the front top hull and near the tracks and on the tracks themselves. Also, to give a general light dry dusting around, especially on the decals.
I thought that the Vallejo desert sand pigment would be good but frankly I am really not happy with the tests I made.
I also used a light sienna pigment and for both of them I tried dry smearing, water and Vallejo pigment binder.
Here are the results:
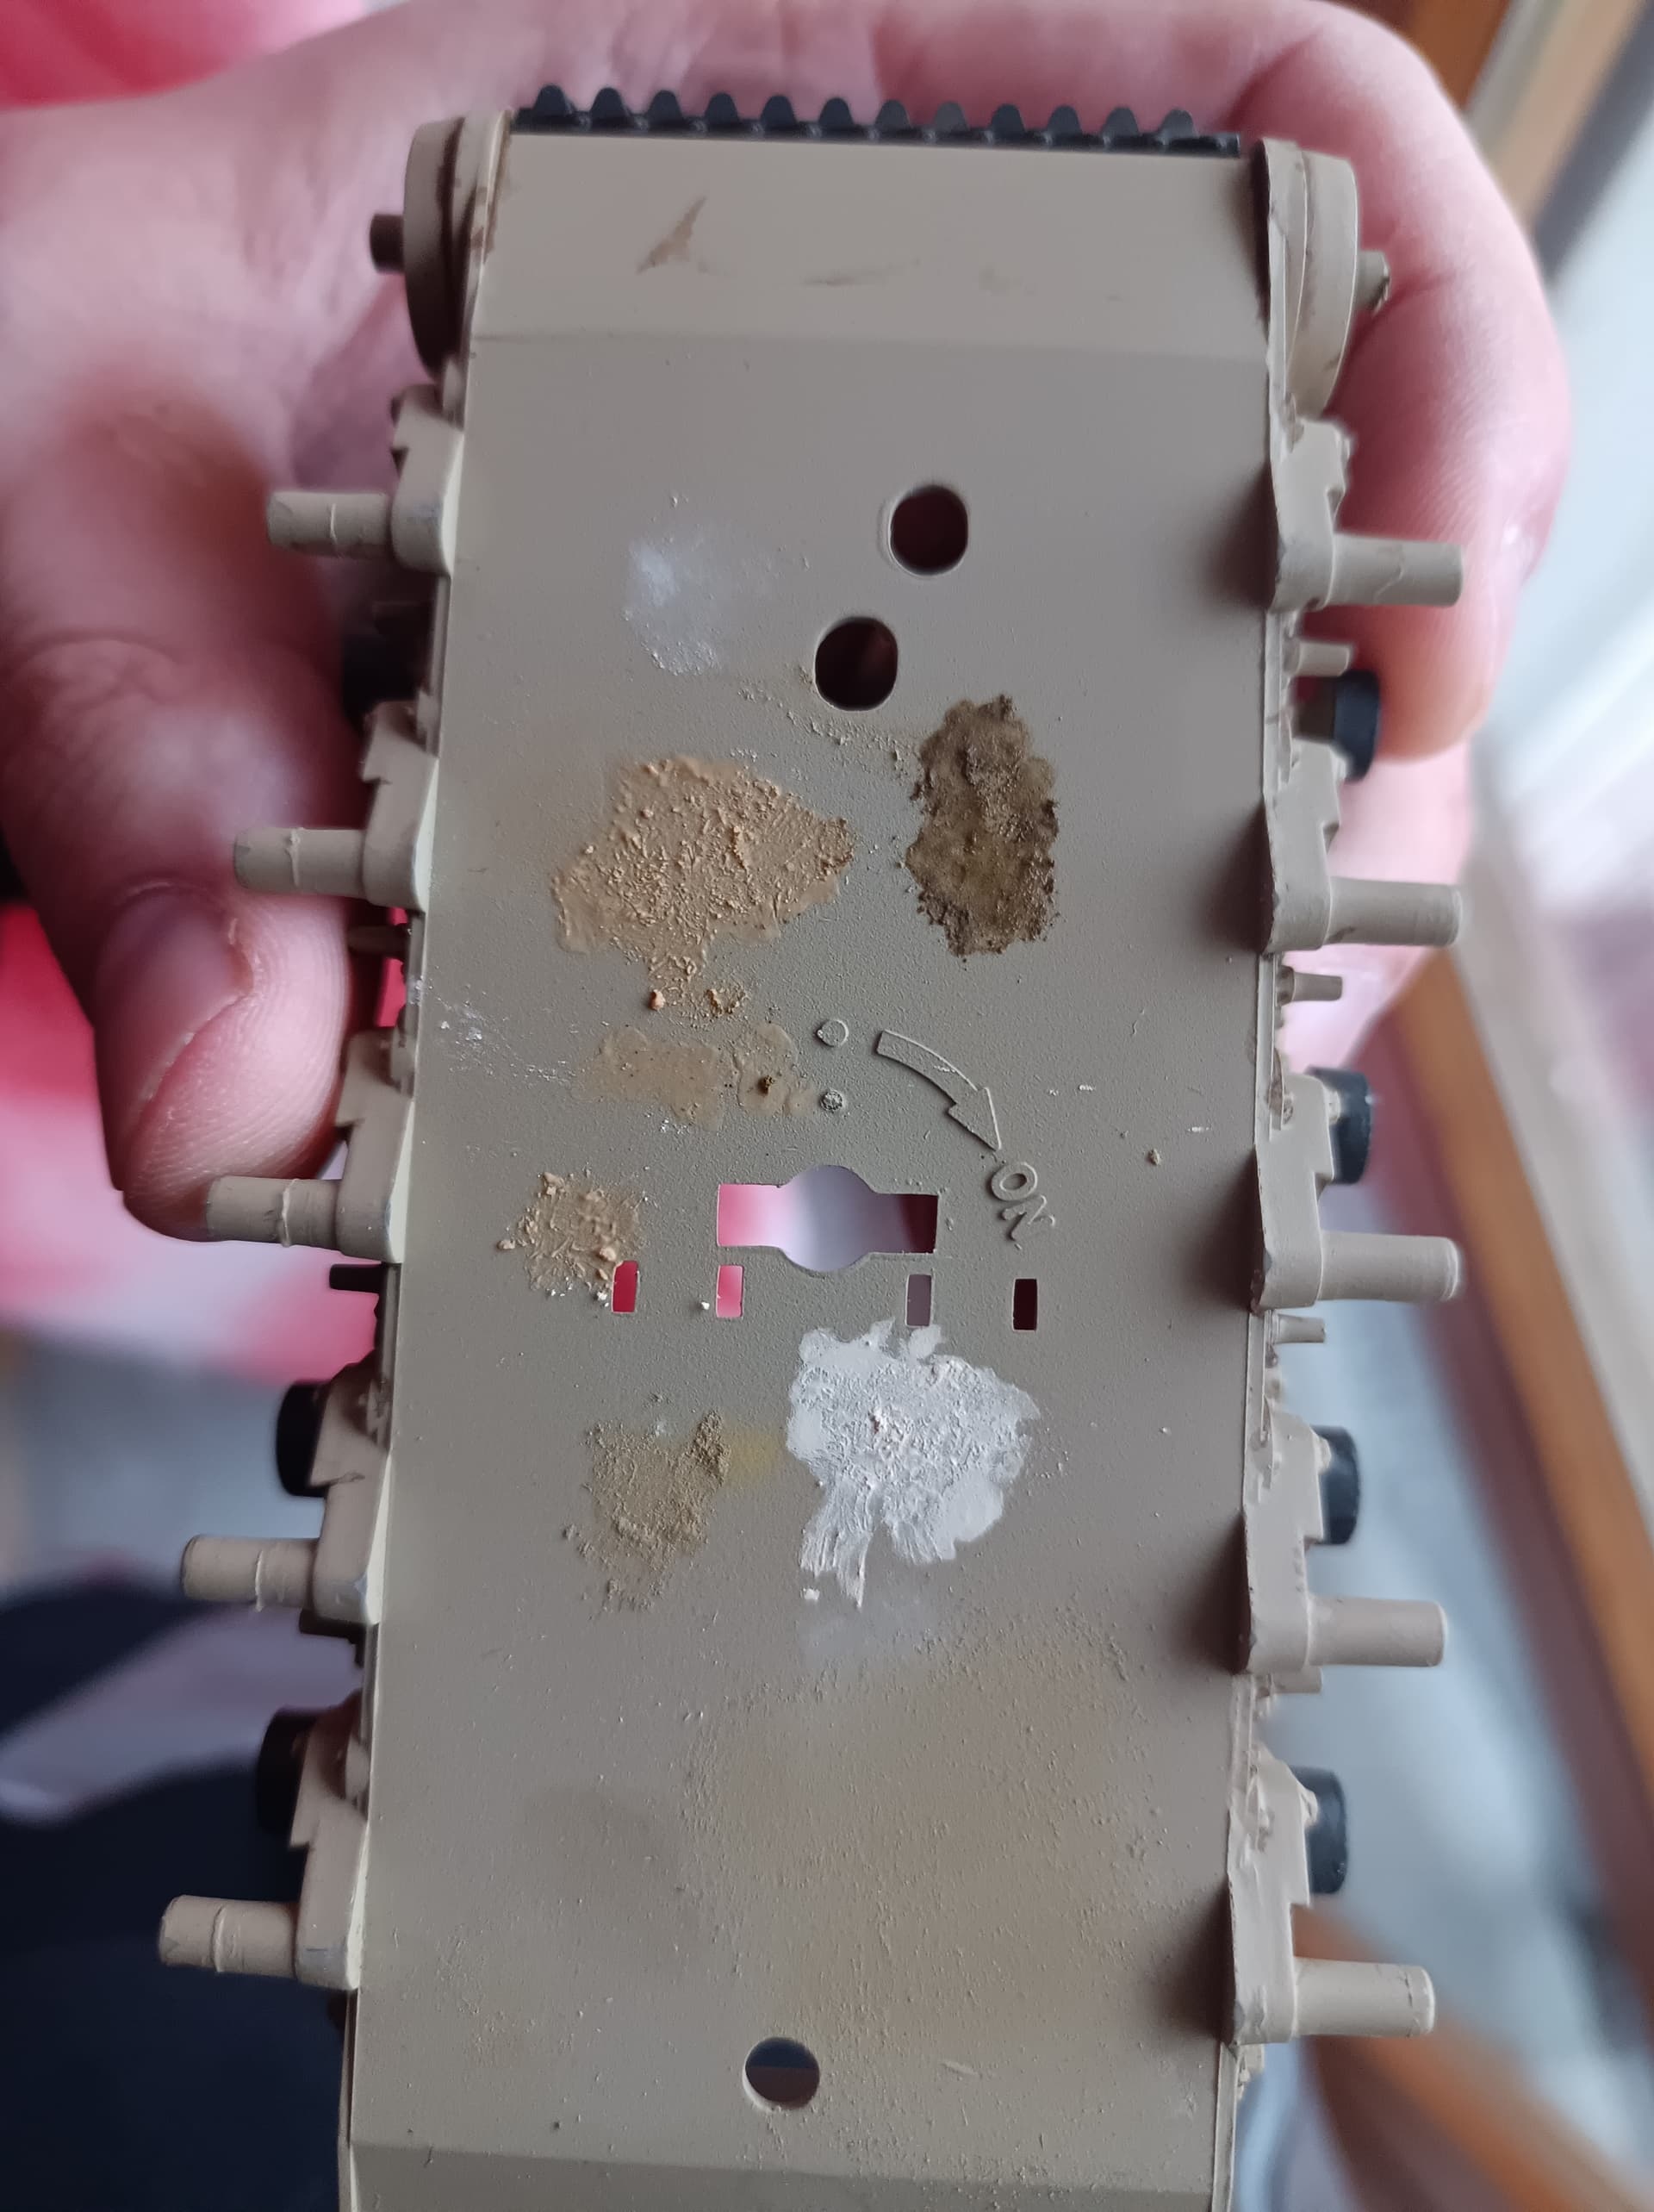
The smearing on the bottom is the dry applied light sienna which I think gives a good texture.
The very light, almost white smearing, is the Desert sand dry smearing…it looks a bit off.
The almost orange stuff is the desert sand with a very light application of the Vallejo binder. It darkens so much it almost turns orange. Light sienna with Vallejo binder almost turns to brown European mud.
Using water instead of the binder, it gives lighter colors, but still too dark I think.
Right now I really have no idea on what to do
What do you think?
It looks like your having fun with this little build! Trying out new techniques is always fun and your going a great job. Please continue, I’m looking forward to seeing more of this.

1 Like
Since you’re doing a desert scheme, and deserts tend to be dry, I would go easy on the mud.
You’re right, perhaps I should just make a light dusting with the light sienna…maybe with some “crusted” sand on the lower hull parts and treads.
Problem is, I cannot make this dry crusted sand effect with the sand pigment. The binder turns it really dark as you can see (orange part).
I applied the binder by moistening a brush and dropping it on a little mound of pigment…perhaps I need to increase the pigment amount and reduce the binder…
Ever hear of Artist’s Acrylic Gel? It’s a white paste that dries clear. It comes in either gloss or matte, as well as different consistencies. It’s used to add texture to paintings. I use a Medium one that comes with sand already mixed into it. You can tint it by mixing it with whatever shade of acrylic paint or pigment you want. I’ve also added fine model RR ballast to it for added texture. Then I can dab it on to the model to simulate any size accumulations of dirt or mud.
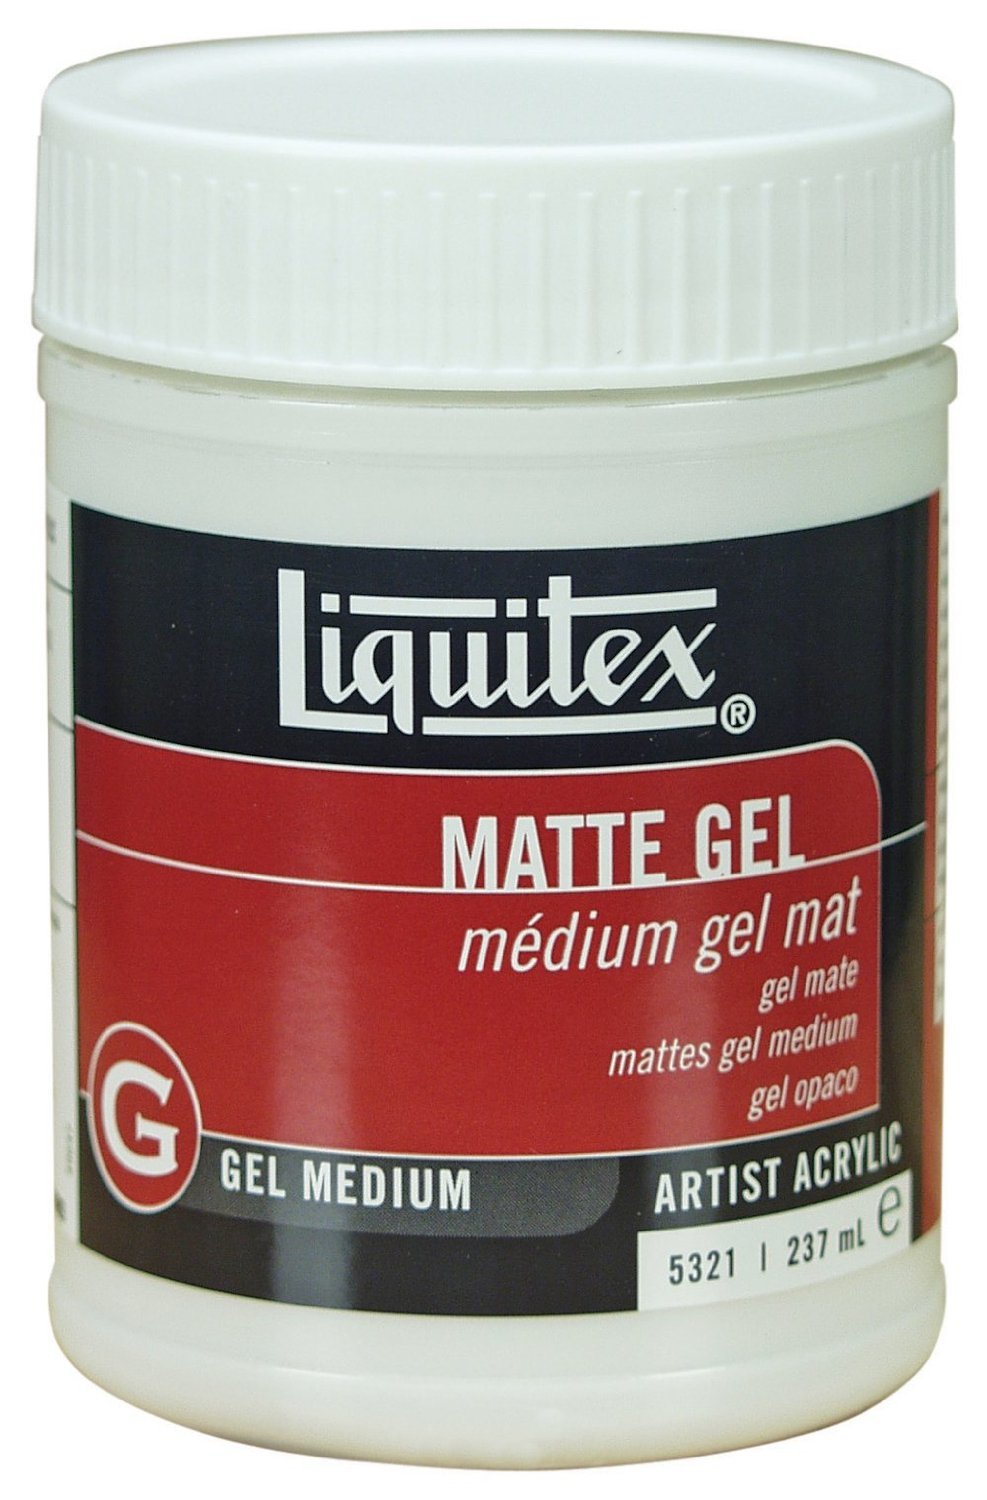
You can get it at any place that sells art supplies.
1 Like
This is a good idea, I’ll see if I can get one of those for future projects, I think it would grant much more control on the end result.
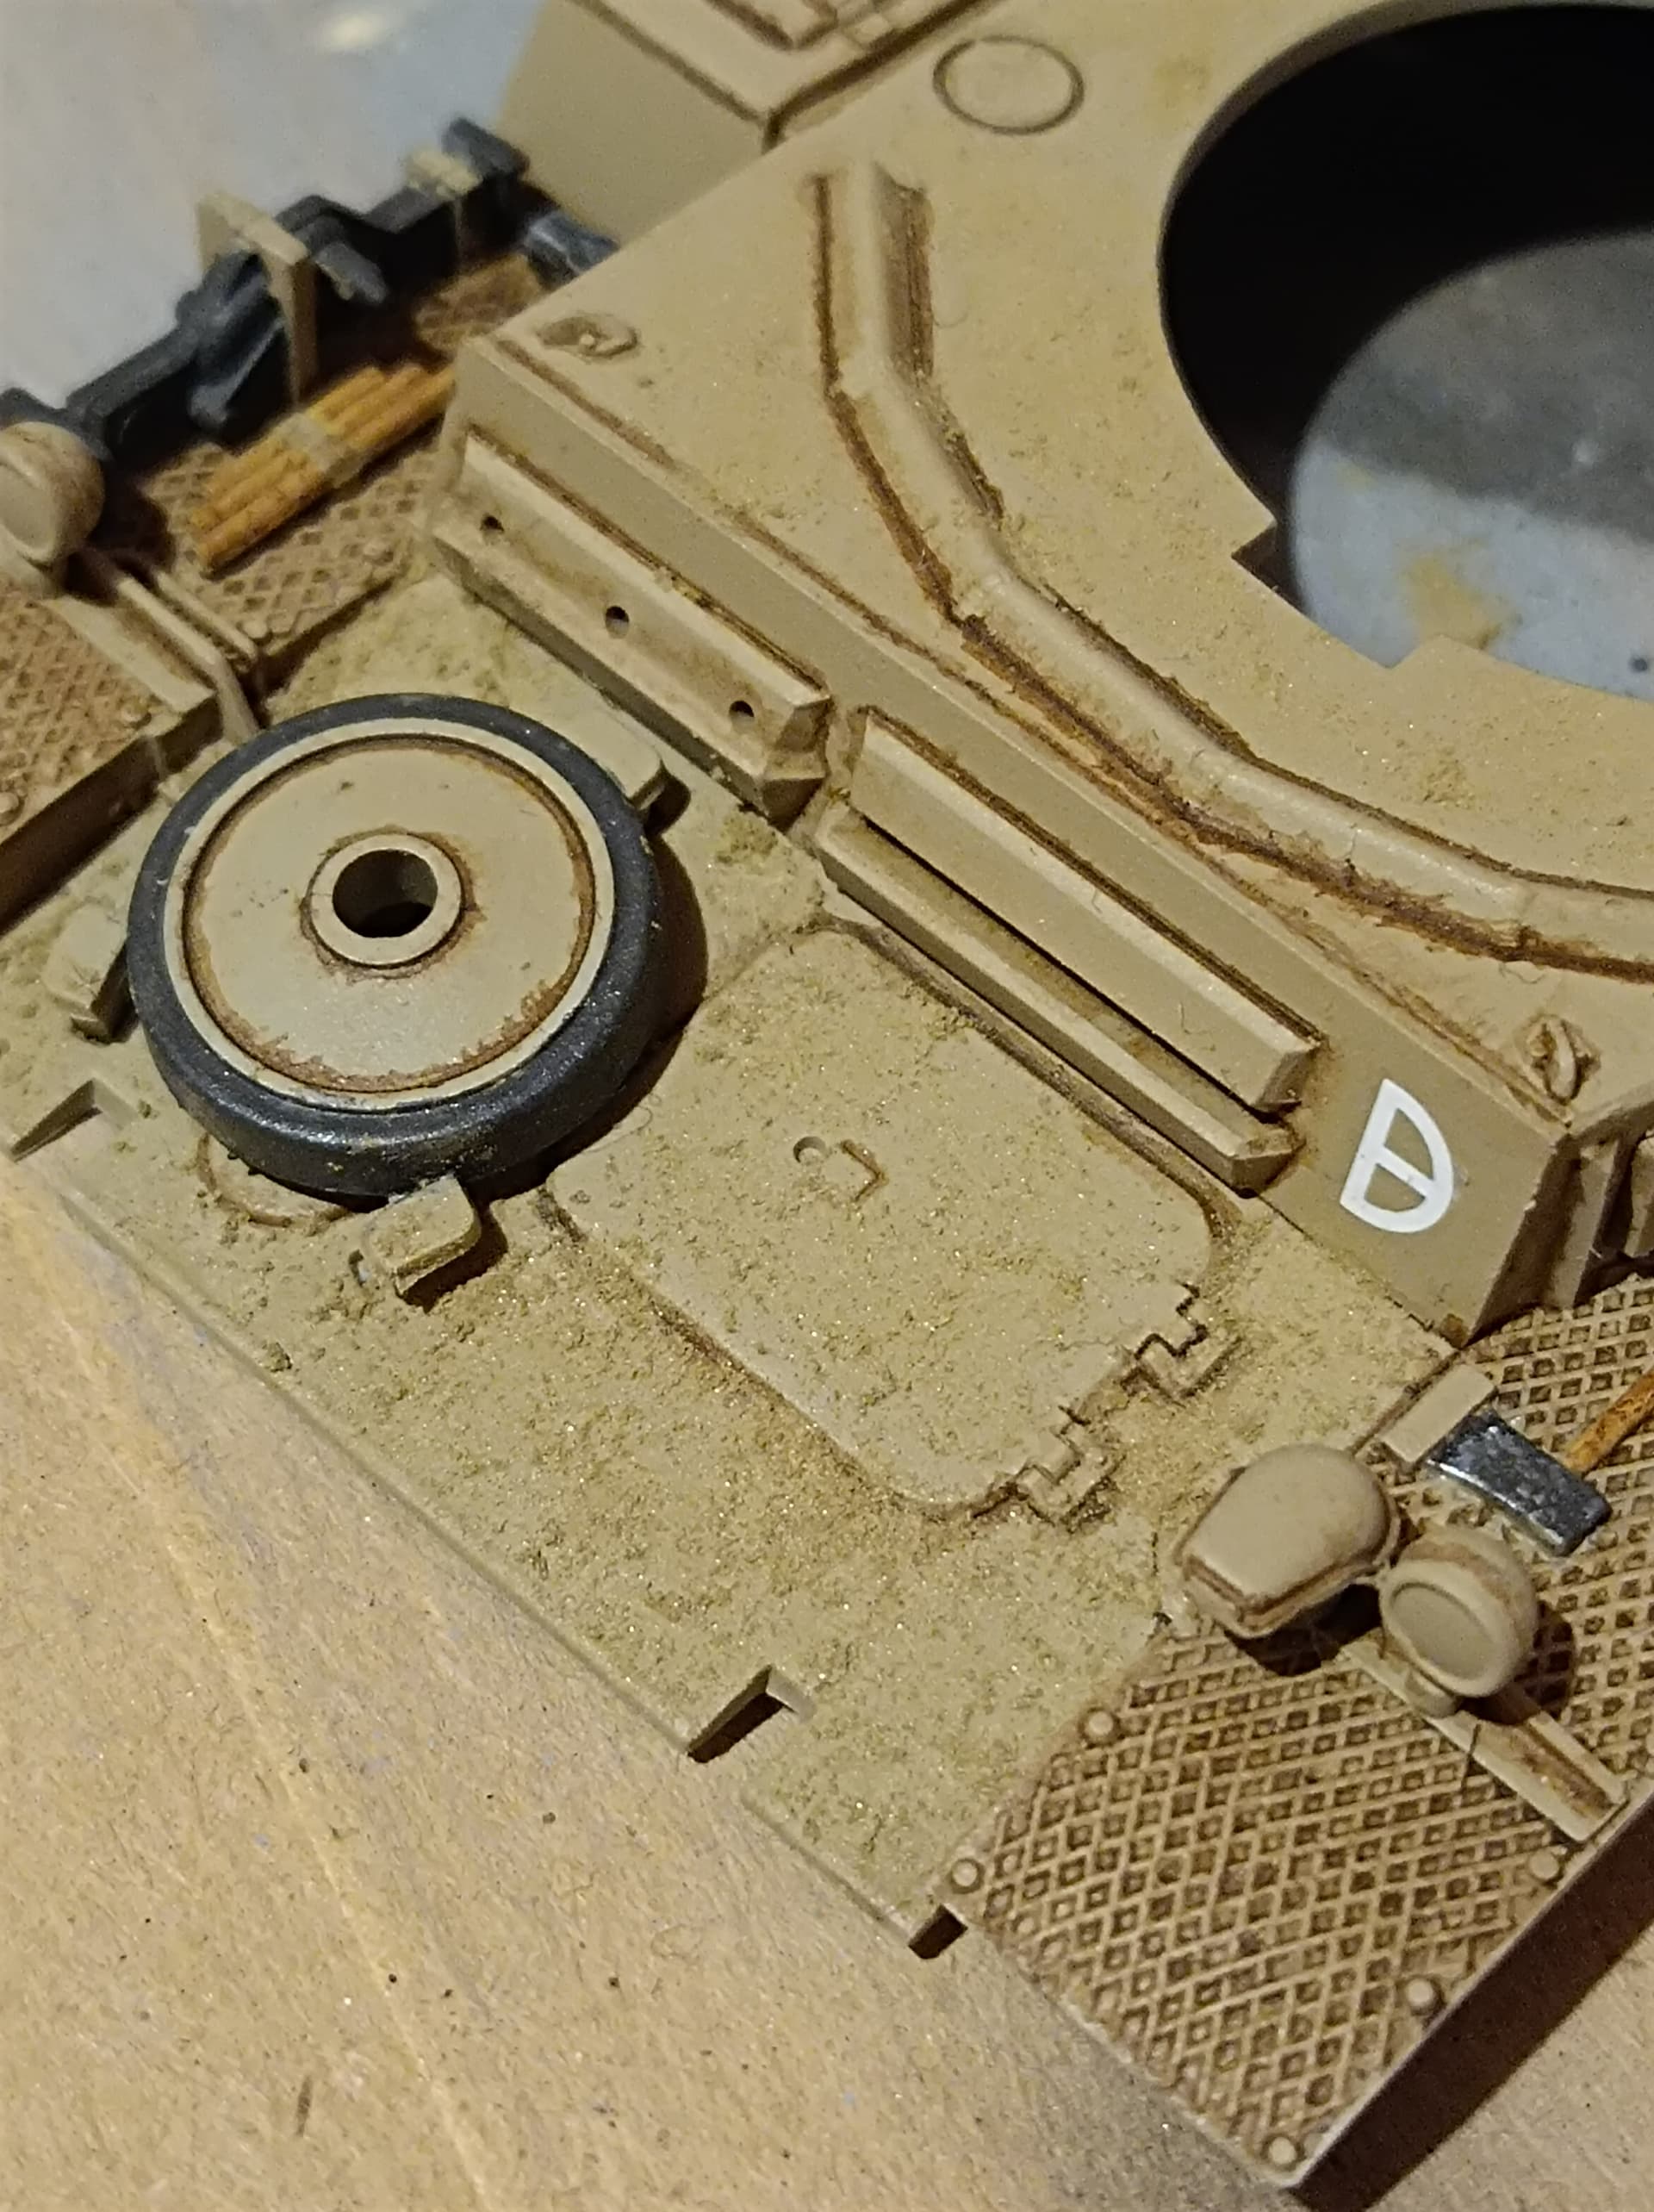
Anyway, I think that the best pigment I got for this job is the light sienna. It actually looks like sand more than the actual sand pigment (which is almost chalk white).
I made a test on the hull, I applied it with a toothpick and spread it around with a silicon make up brush borrowed from my sister and managed to create some volume on the front hull part by using a very slightly moist brush. This actually preserved the pigment color, unlike the expensive Vallejo binder which really changed it to orange.
So far, this what I’ve done, I wanted to show you guys before going all-in, what do you think?
3 Likes
Looks good to me.
1 Like
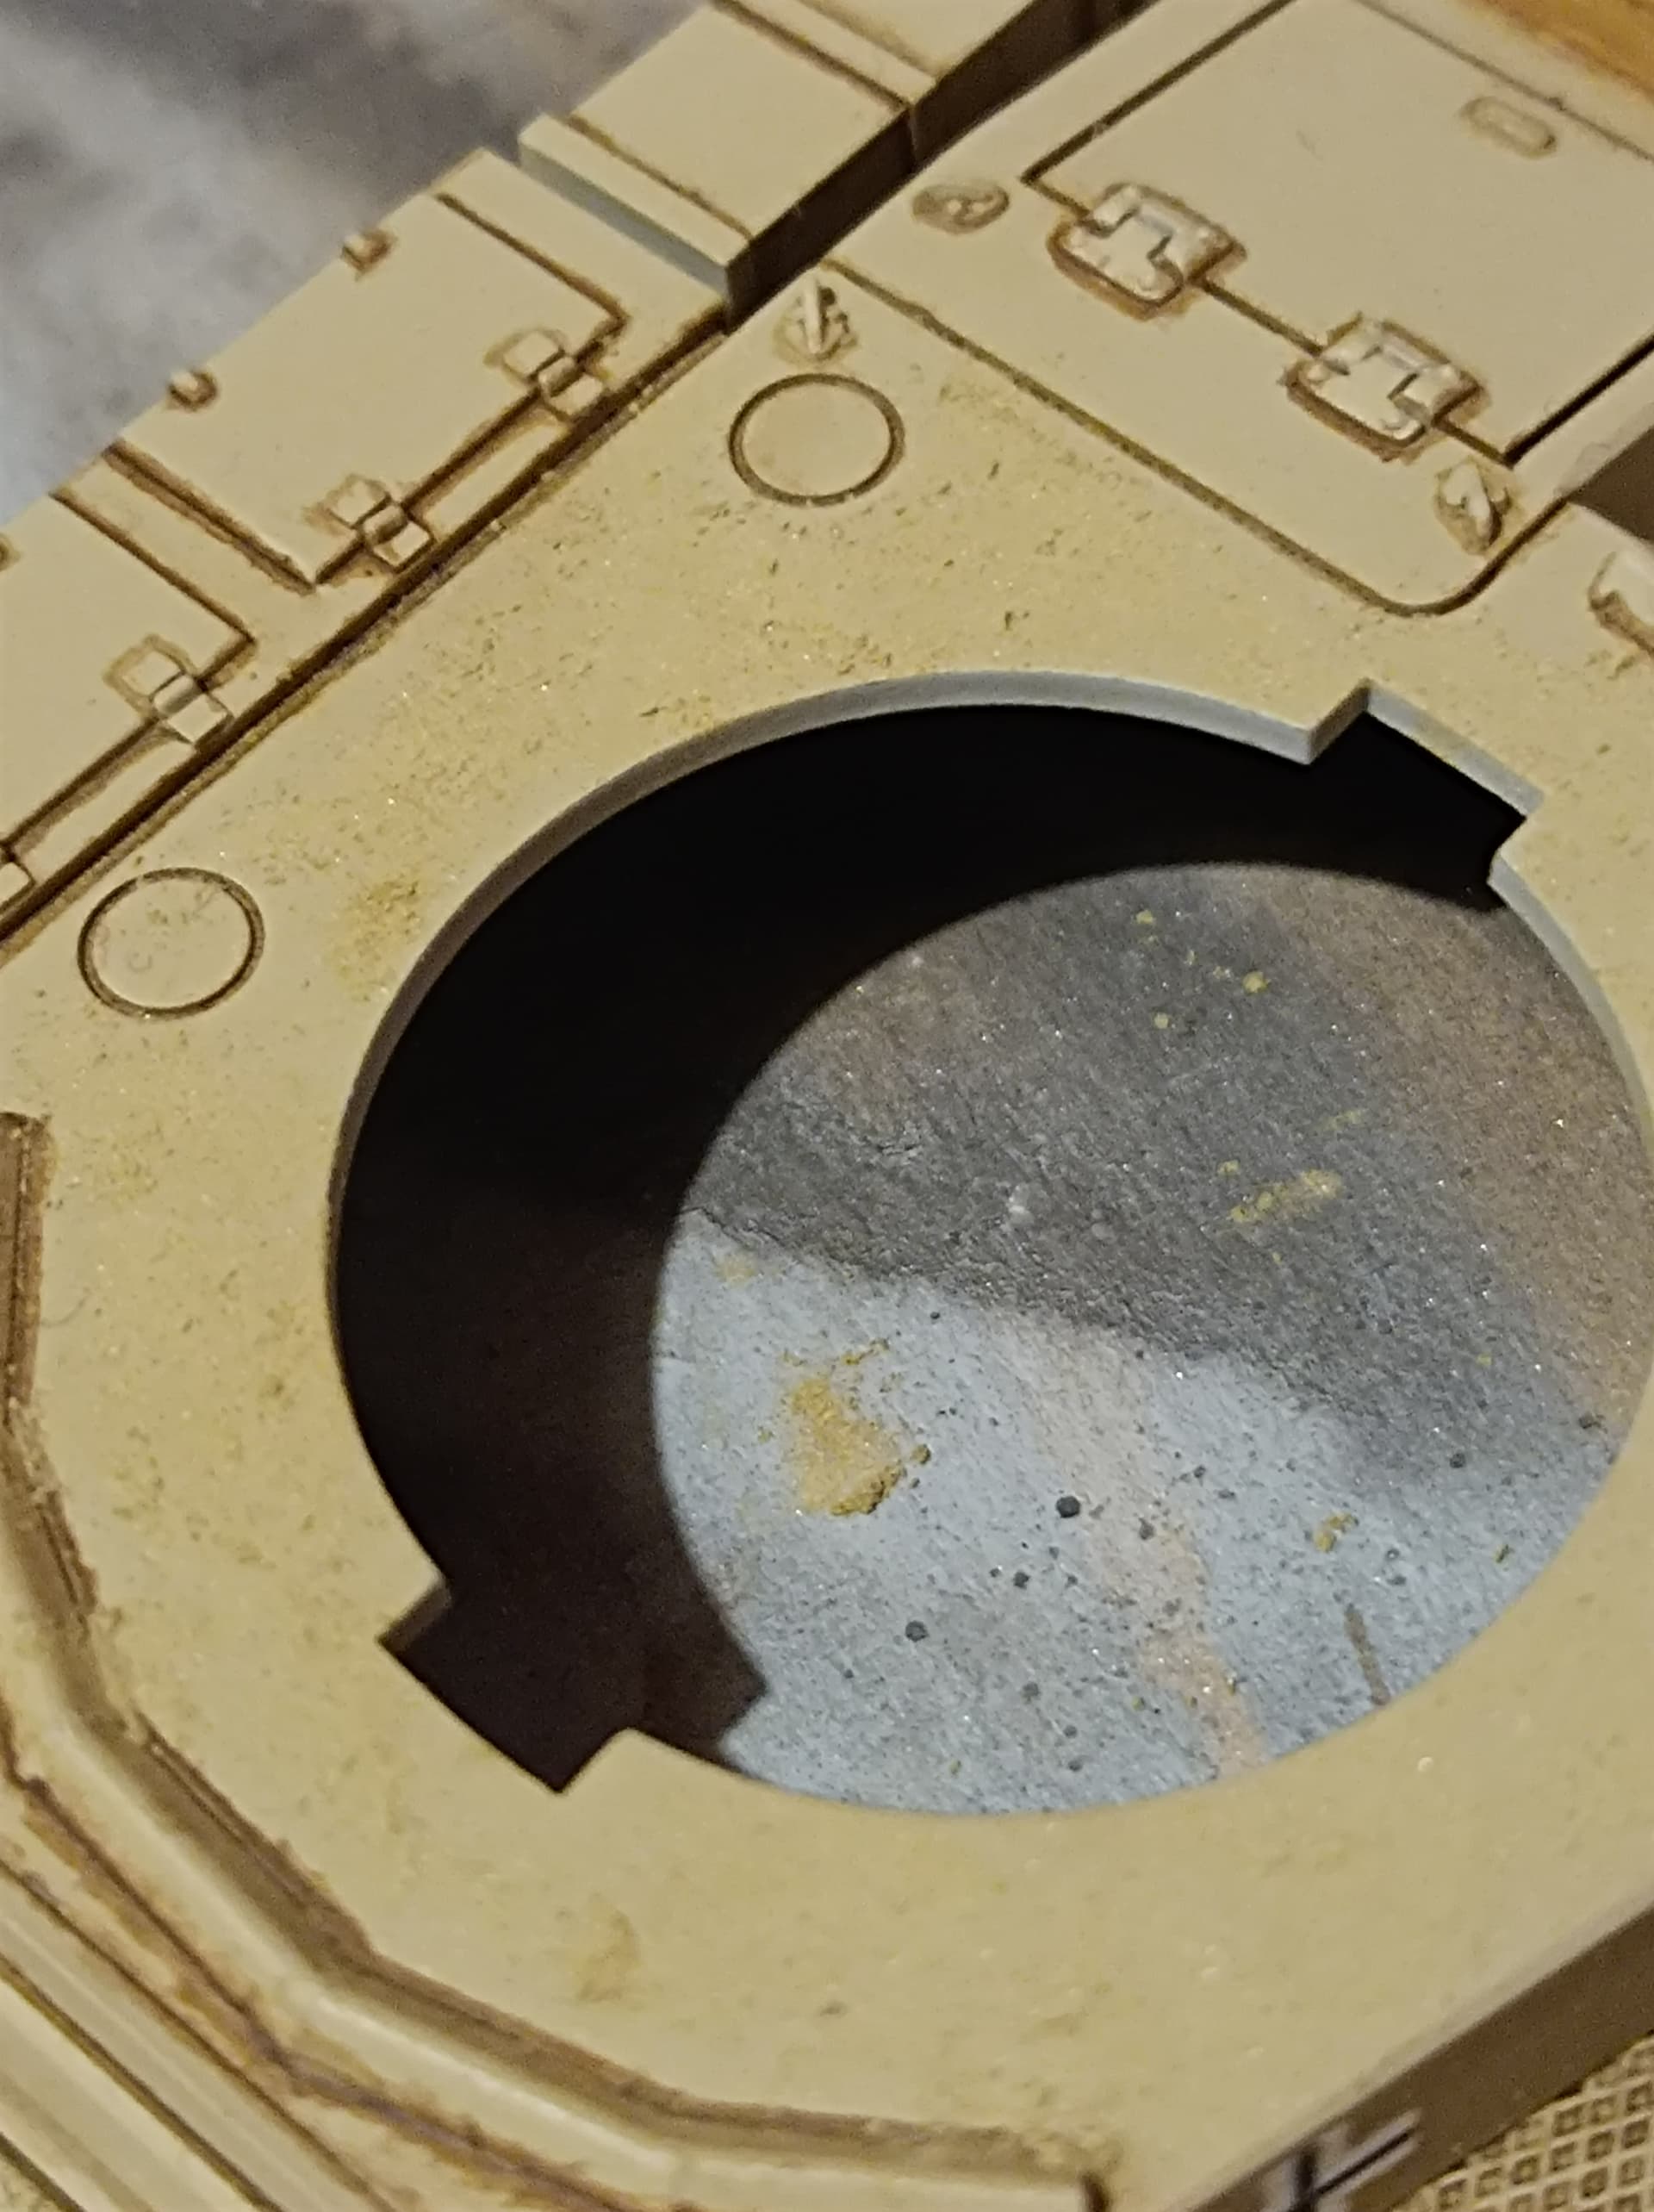
Forgive me, I still need to take a course in photography, I really cannot regulate the light exposure. Here’s the top hull and turret, it still need some tweak but it’s pretty much done.

1 Like
Rather late, but hopefully still of interest:
In Germany, the use of symbols of the Nazi Party and its sub-organizations was made punishable not by the Germans but right after the war by the Allied Control Council for Germany (of USA, USSR, GB, France), at the time the sole legal sovereign authority for Germany as a whole, replacing the extinct civil government of Nazi Germany. This addition to the German Penal Code was kept when Germany regained her sovereignty, so it’s not allowed to sell swastika, SS rune and similar decals or publicly showing them on models (the latter having been ruled by the German Supreme Court).
Peter