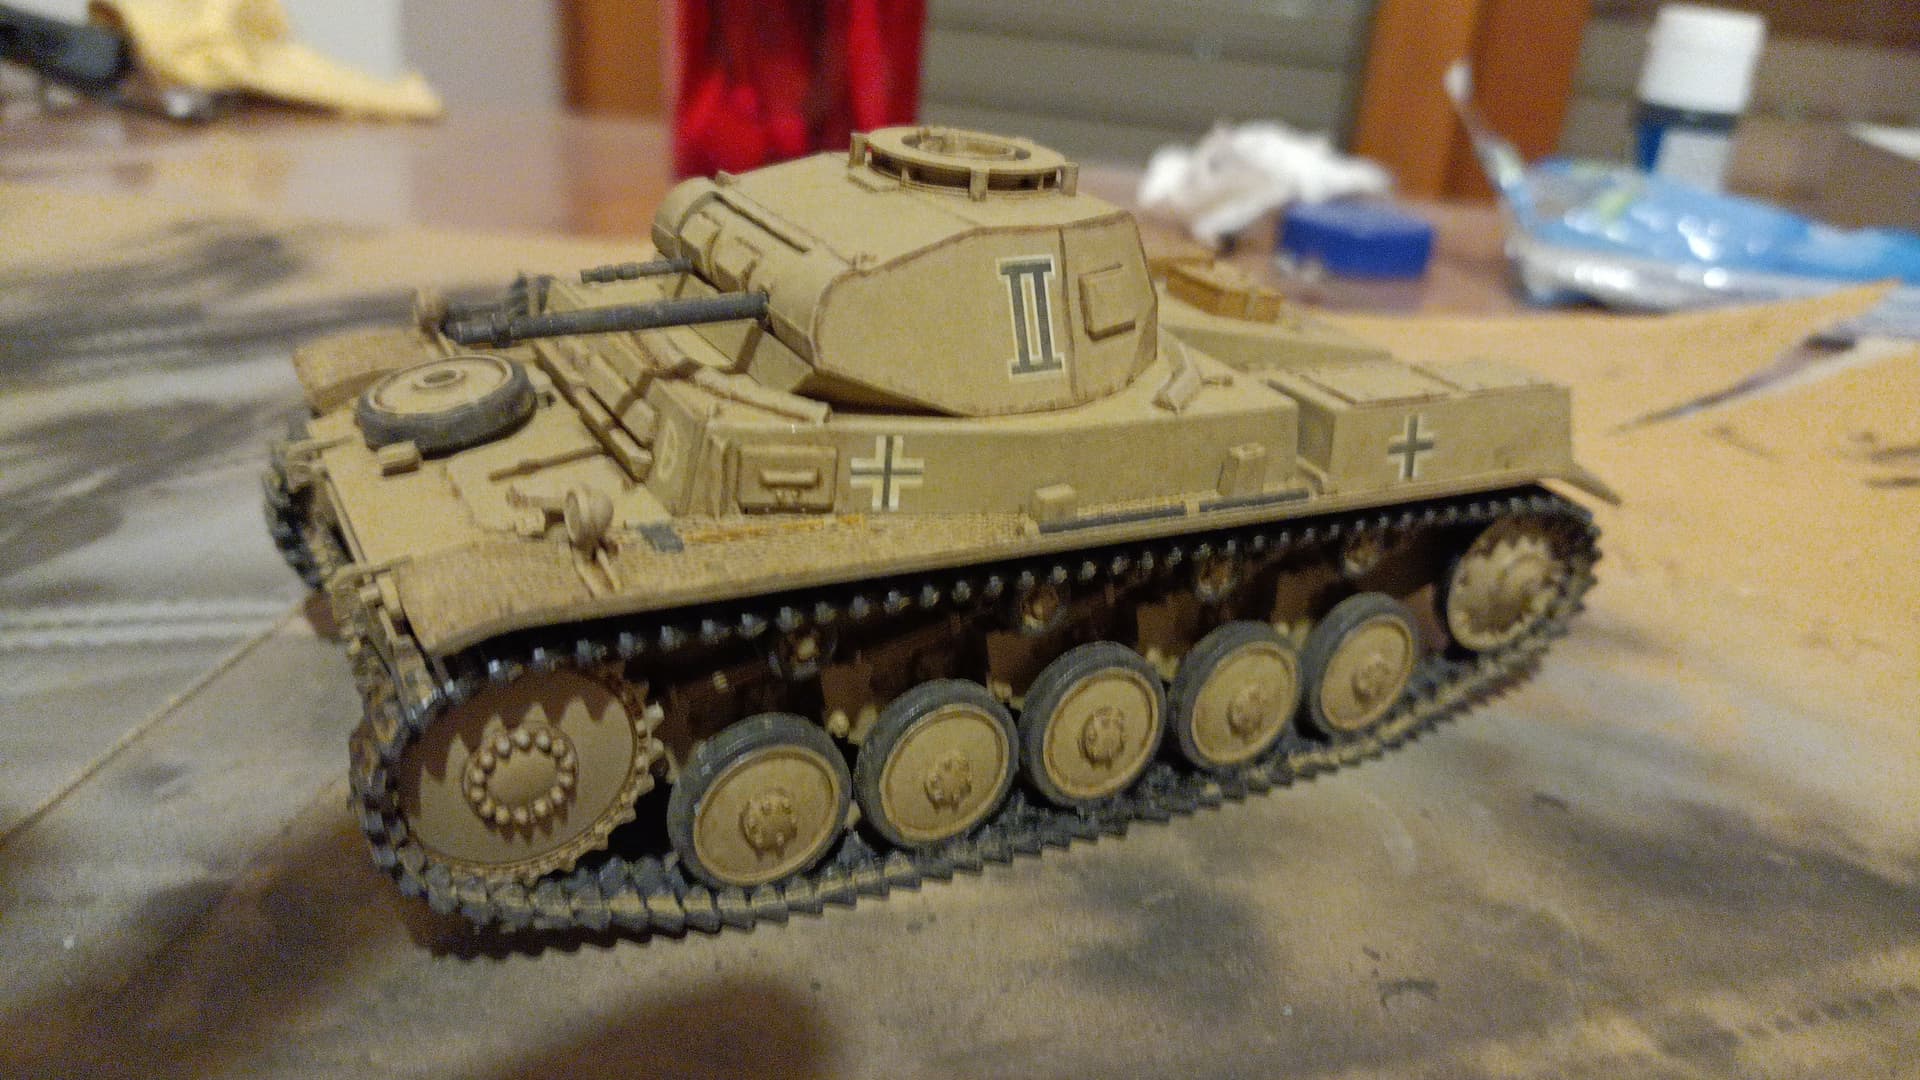
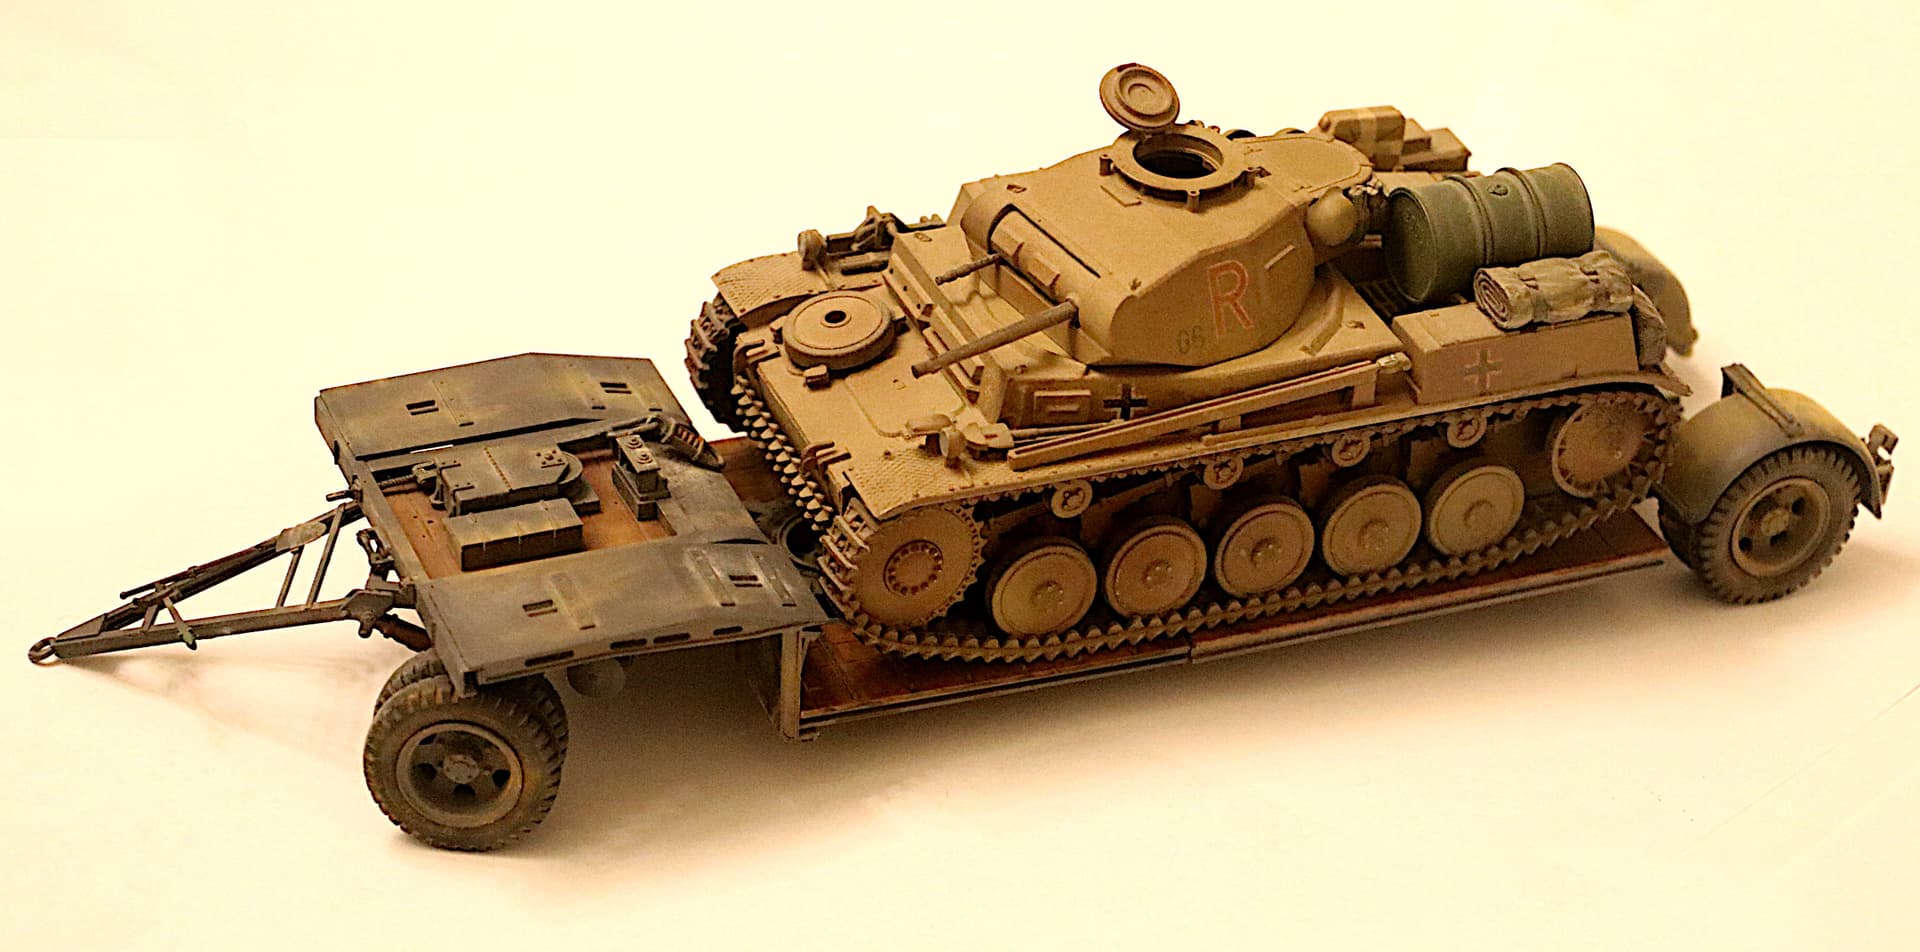
Done the tracks. Hull is still not glued, it’s just sitting on the tracks for now.
It was NIGHTMARISH.
The heated nail bent the pinions all wrong even if I was extra careful.
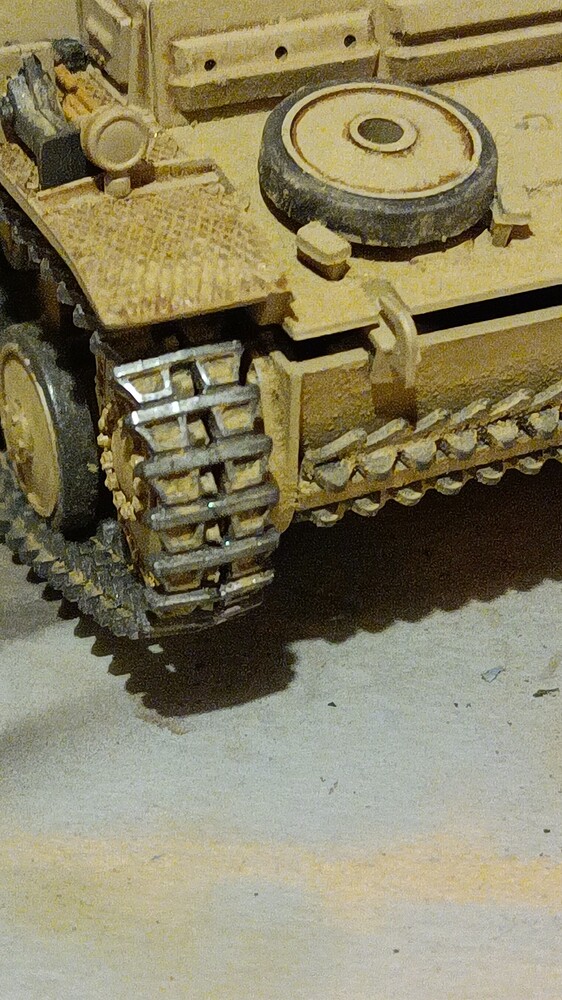
In the end I was forced to make some make-shift emergency fix: one track is stapled.
The other was ruined even when stapling, so I used thread.
I have to say that thread is the best solution, next rubber tracks I will make I’ll use it again.
I had to rough handle the lower part and the tracks lost some of the pigment wearing, I’ll have to do it again.
The tracks on all of my tracked Tamiya and Italeri kits have sewn-together tracks.
It is also possible to pull the guide tooths before and after the return rollers down
by pulling the thread under the axle of the return roller. Just a little and it will force
the track between the rollers to sag a little. Not sag like a burnt out tank, more like a
drivable tank
I’ve used those ties that you get with plastic sandwich bags to hold tracks together. I remove the outer ‘wrapper’ and just use the wire. It’s thin and flexible. I thread it through and twist, then trim the excess.
These are pretty good ideas for track sag on rubber tracks; I may pinch them! My last Tamiya tank has old school pins drilled and glued into the hull sides. I’ve been enjoying this build, I’ve got a bit of a soft spot for the Panzer II, it was one of my early Tamiya builds back in the '70s. Although it doesn’t really fit in with my late war collection, I recall 12SS PD “Hitler Jugend” had a few for reconnaissance which were destroyed at Carpiquet airfield.
Thanks, unfortunately I noticed that some tiny parts are completely broken.
It’s a very small deatail and I arranged the tracks to minimize the exposure, but an inquisitive eye is going to notice it.
Lesson learned, I guess.
From now on, I’ll use thread only.
By the way, the model is finished.
I want to wait for natural light to take a picture, so it’s going to be next Sunday probably.
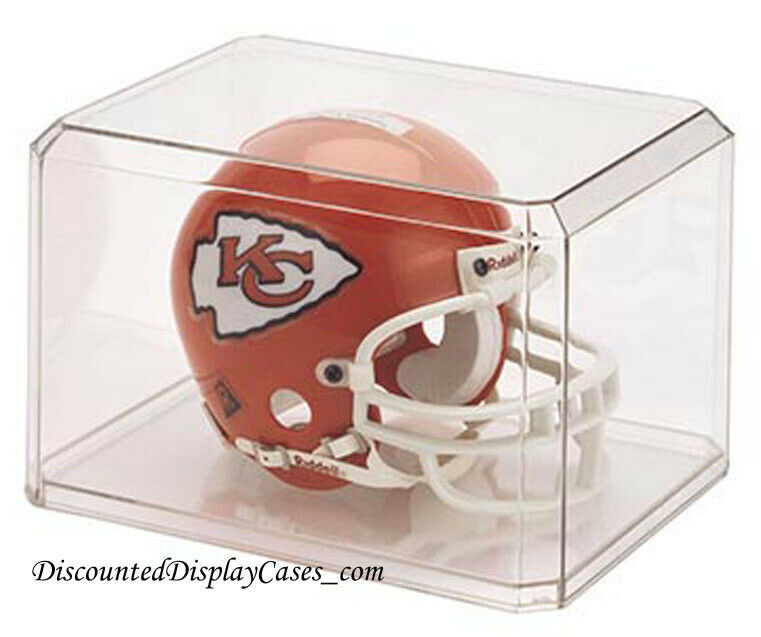
Now I got another problem…how to display it.
I used pigments, so I won’t be able to “dust” it.
For my previous models, I got acrylic cases, they were cheap enough…but this new tank is really tiny and it looks like a waste of space to use another of these.
Maybe I could try to stick my next model, the Sdkfz 223, in the same case but I guess I’ll never know until it’s made.
I was even thinking of building it myself, but I really have no clue.
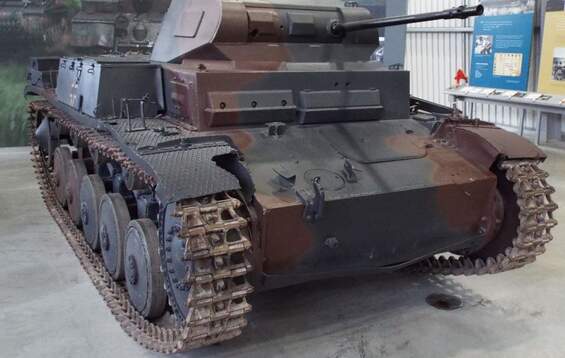
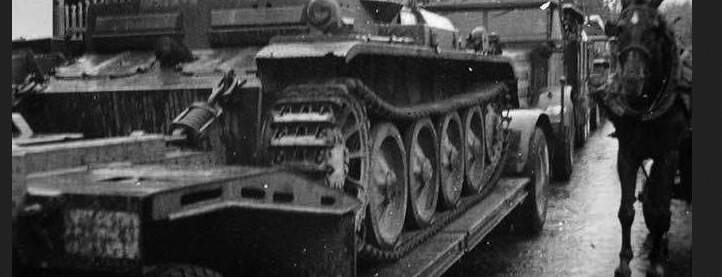
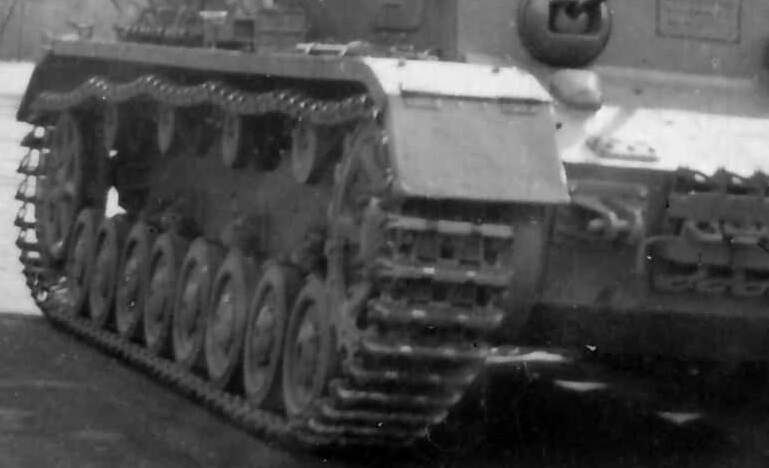
The one in the picture above appears reversed/backwards to how tracks are normally installed on a Pz II from the small number of photos I’ve seen.
That doesn’t mean it didn’t also occur in the field. Fair number of JagdPanther’s had the tracks reversed for better traction in reverse etc.
I’ve used superglue to bond the old Tamiya rubber band tracks together since the early 1990’s with success.
Test fit end without glue. Remove any rubber burrs or flash with sharp nippers. Apply superglue then press connector ends together. Securely clamp track ends together with clothes pin. Remove any excess that squeezed out with toothpick etc. Allow to dry overnight.
Tamiya rubber bands tracks from ~25 years ago, tracks glued with superglue.
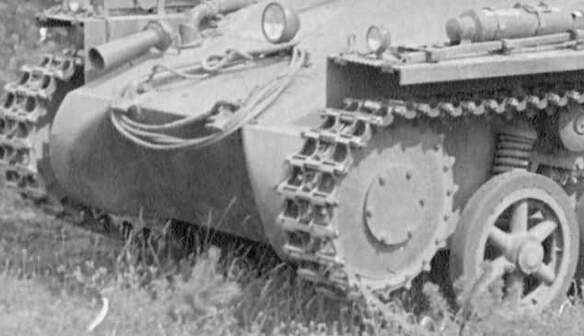
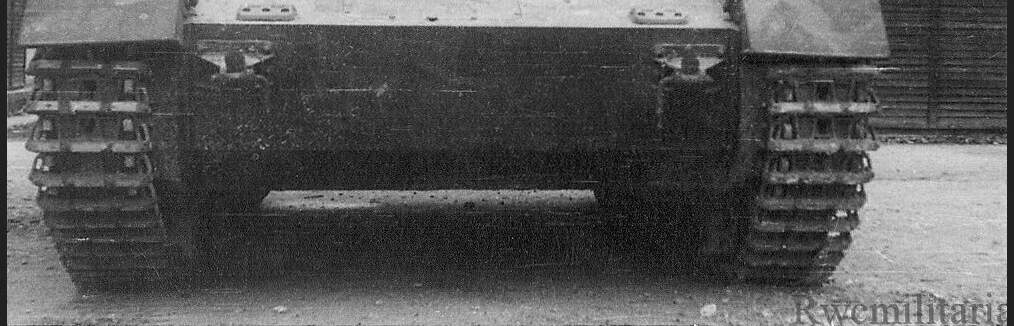
Looking at those pictures I think I mounted them right, I got the “teeth” facing inward and they make a groove which seems to be made just for the wheels to fit.
The Tamiya cover art also has them mounted like I did.
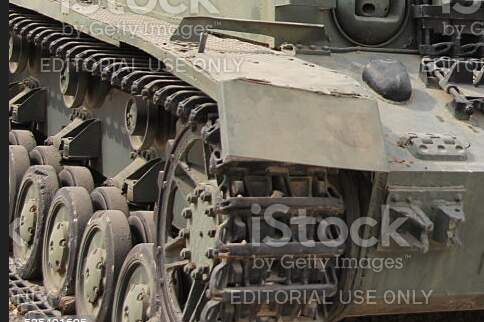
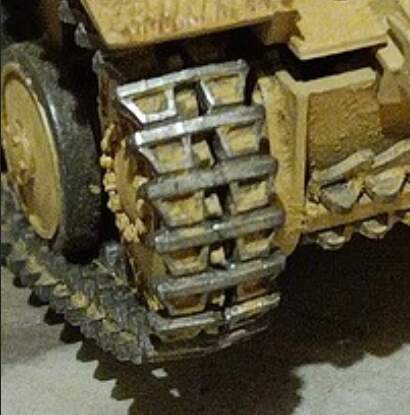
The questions isn’t about inside/outside, it is about forward/backward.
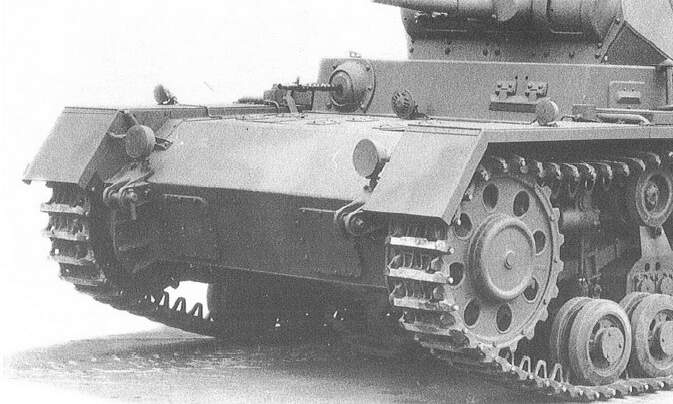
Look at the track on the sprocket when facing the tank (looking the driver straight in the face)
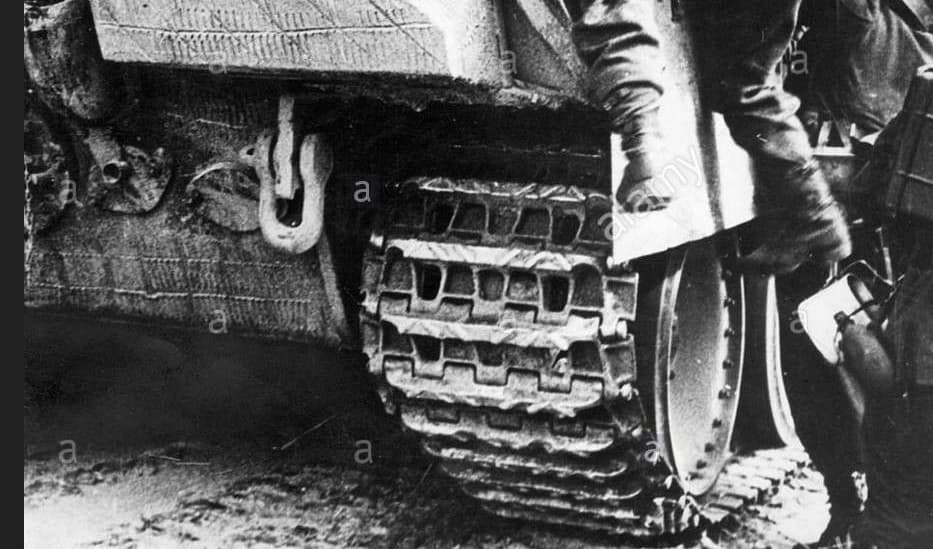
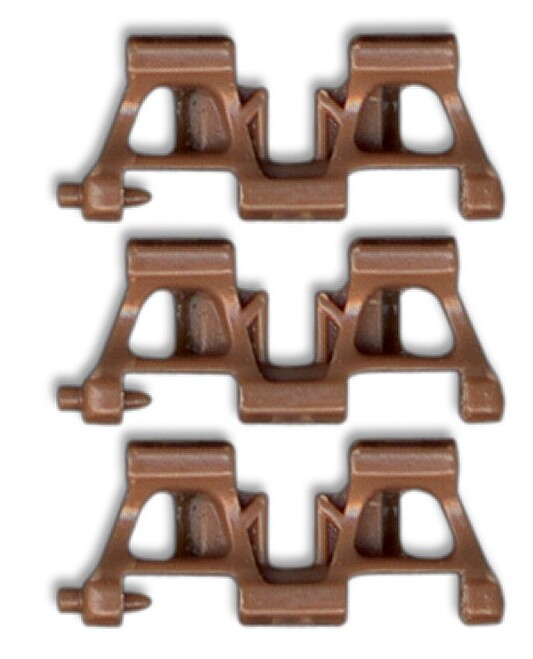
Do you see this pattern (correct and same as Tamiya box-art):
The track links look like truncated triangles. When seen from the front the
point (the removed part) of the truncated triangle should be pointing upwards.
Many modelers have put the tracks on backwards and possibly also a number
of German tankers …
Oh now I get it!
I didn’t even thought about this and I definitely mounted them wrong on both sides out of sheer bad luck.
Fortunately I can easily remove the wheels and fix this. I will try this next weekend along with the attempt at fixing the broken tooth with super-glue.
Another lesson learned, I guess.
Getting this cheap kit was a very good idea, and thanks for your feedback.
Yep, one nice thing about the one-piece tracks is that they are easy to get on and off. If those were link and length tracks, you would not be able to correct them.
Ken
Cancel Culture is nothing new, nor is it a “right vs left”" issue. This has been ongoing since at least the 1950s and began to my knowledge with the “red scare”. Teachers were not even allowed to teach about global issues without being accused or certain sympathies.
Of concern to me is that I own several kits released back in the late 1960s by a Soviet company that allowed manufacturers to print swastikas for German equipment of WWII, yet we in the NATO West could not. European manufacturers omitted this detail from their kits. Oh, well. Think about this next time we speak against Democrats and Republicans, Americans standing for their beliefs.