Done it.
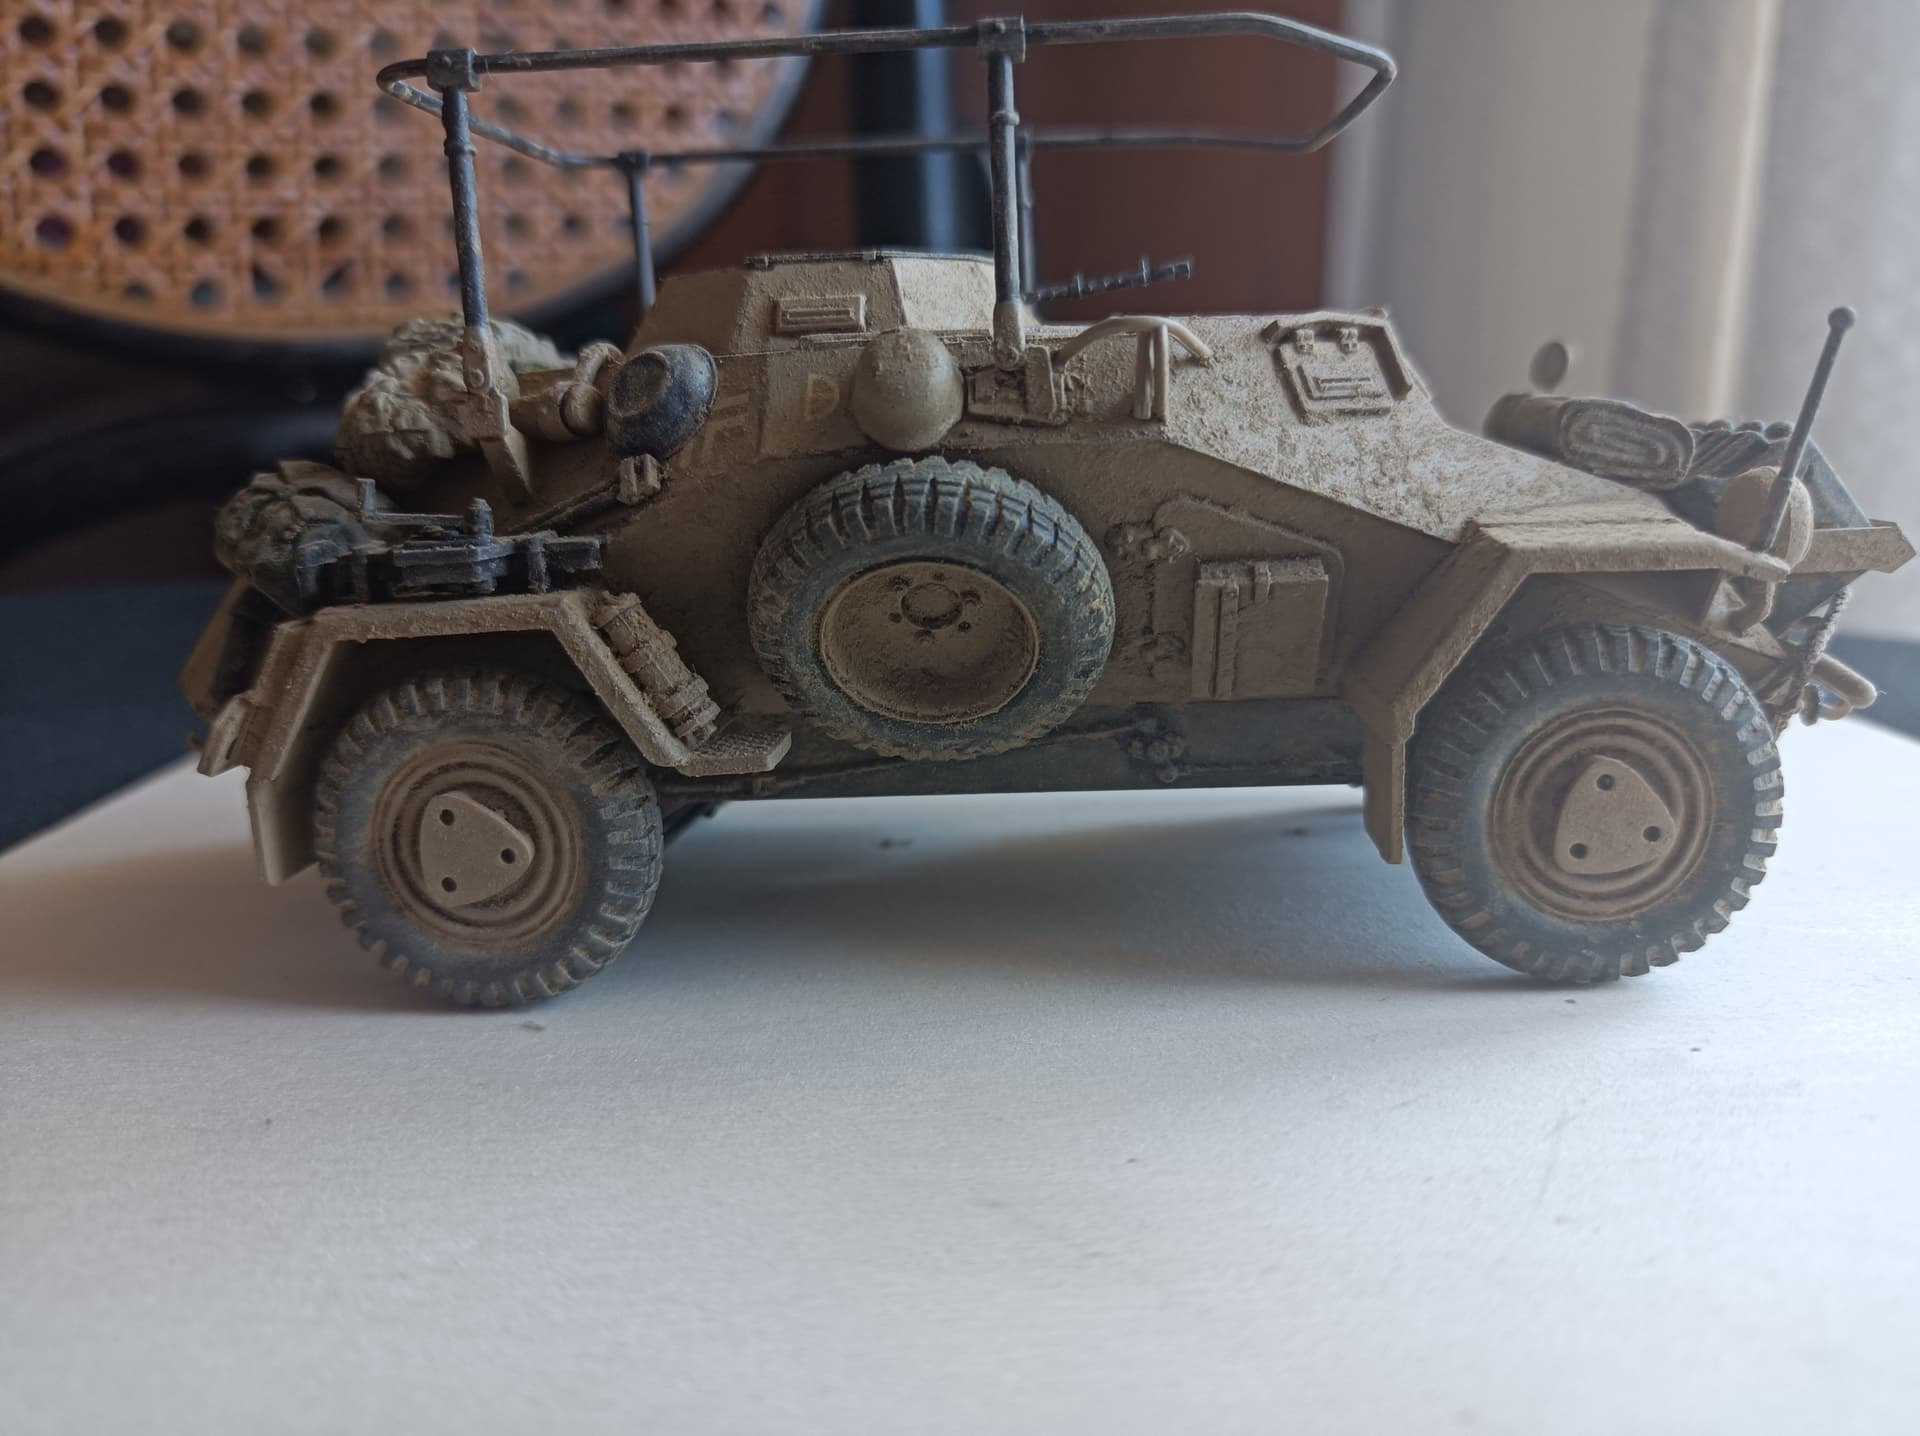
Maybe I went a bit too far with sand, but being a fast off-road recon vehicle I guess it’s not too bad.
I like it and that’s enough. It will share the same display case with the Panzer II.
If anyone wants to know, I made the sand with Vallejo light sienna pigment on top of an extremely thin layer of pigment binder.
Thanks everyone for the kind support and suggestions, it would have been much worse without you.
11 Likes
I love it! It looks good.
1 Like
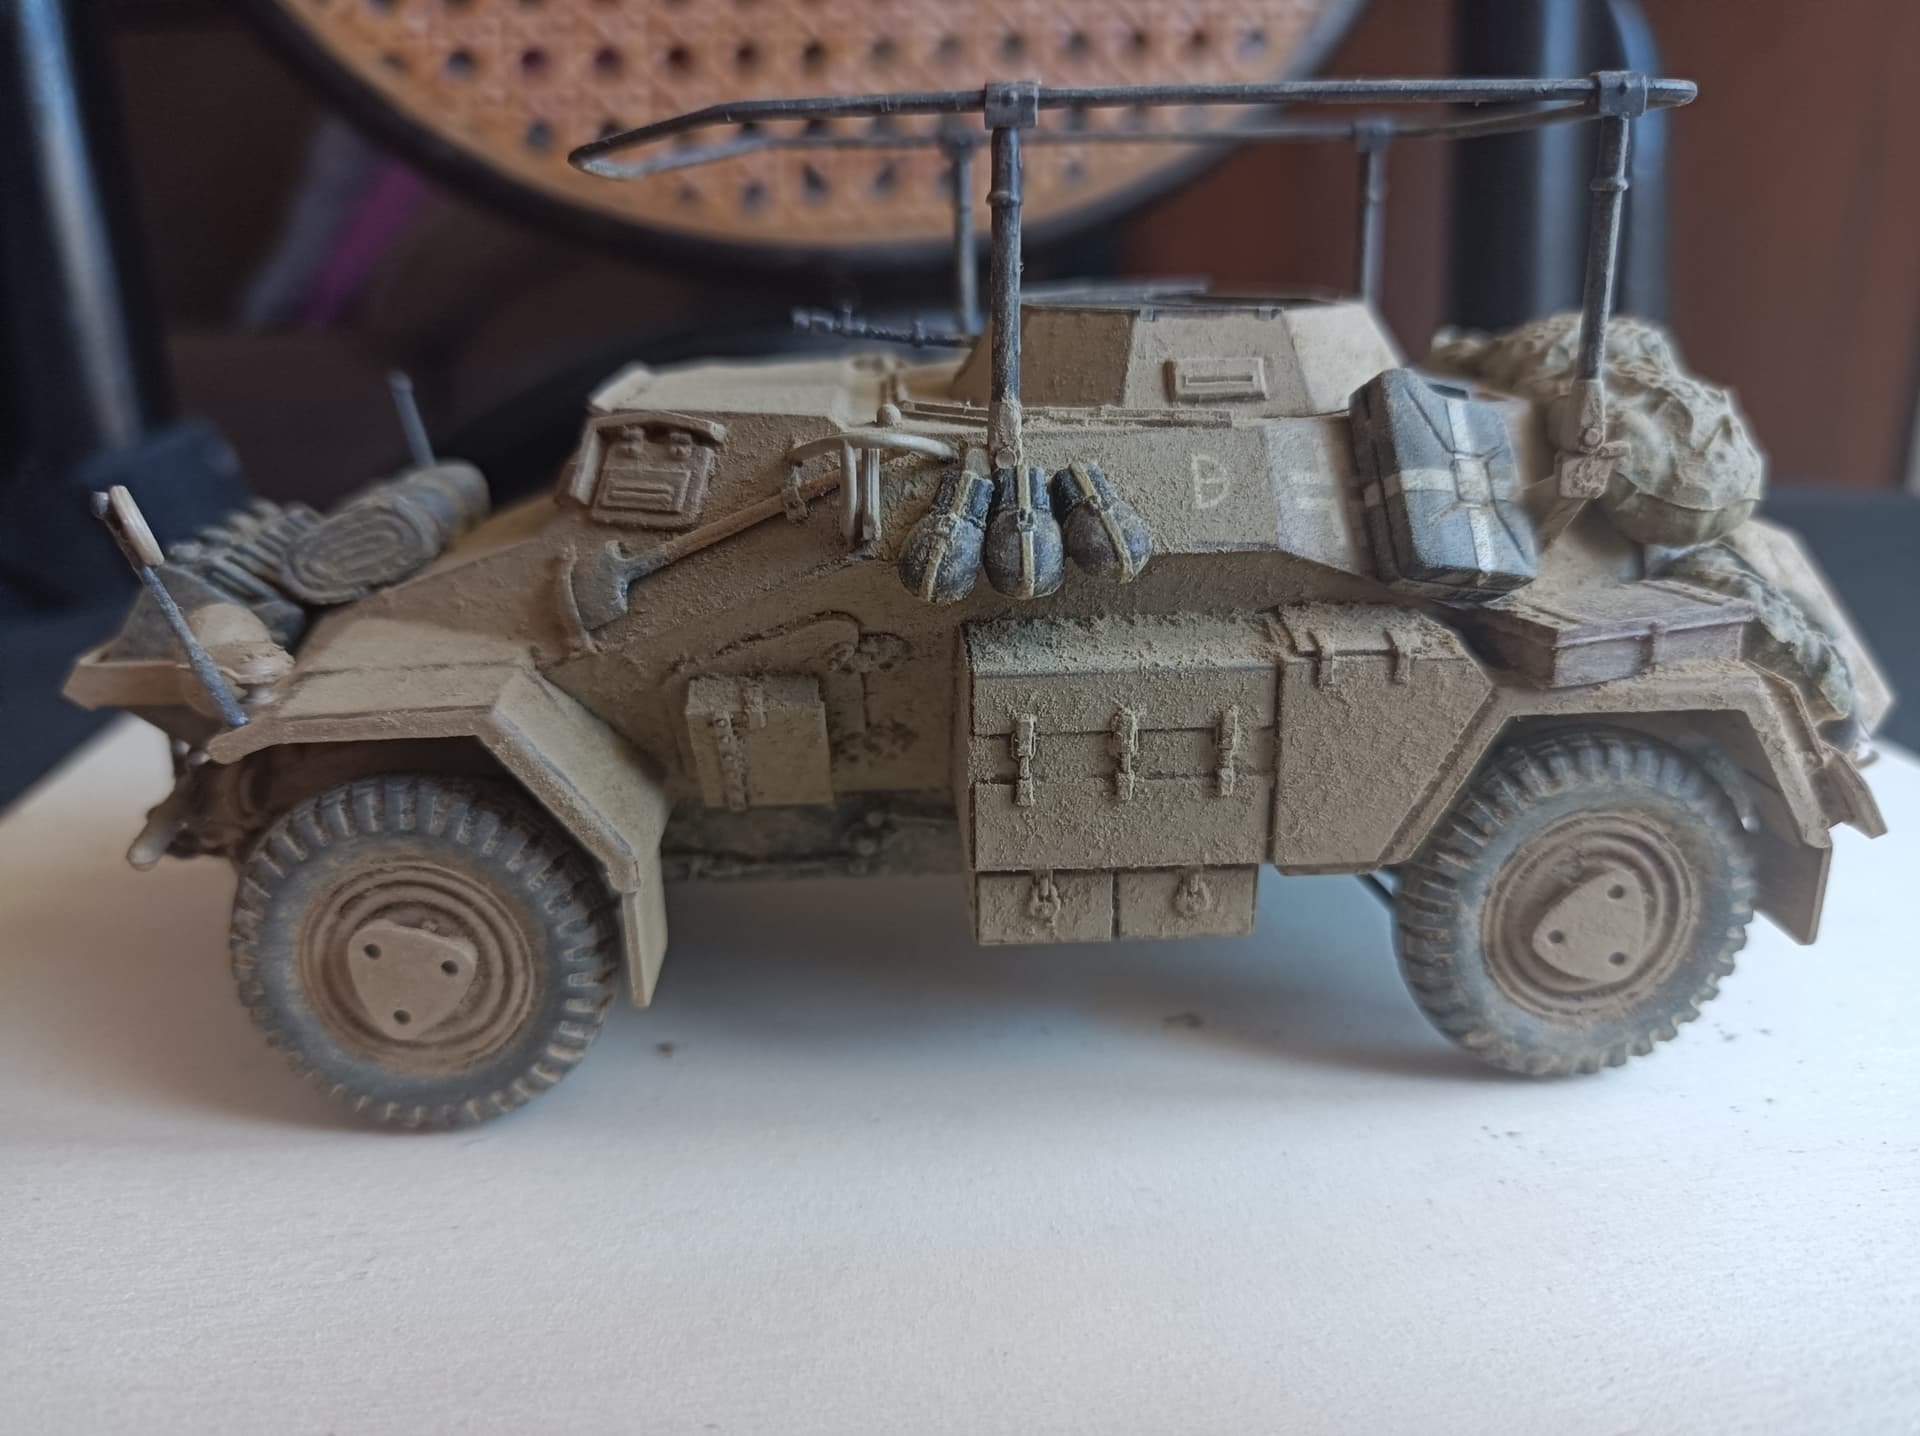
The dust ‘effect’ is grossly over done, but it doesn’t matter if you like it, that is what matters.
I swear it looks much better “live”, for some reason the camera really enhanced the “grainy” effect, it’s actually not that bad 
1 Like
The camera can be quite cruel sometimes. Personally, I just use my phone, and the results have been mixed. You’re right, the camera will enhance any effect - so, what has happened here is that the camera has highlighted a particularly unrealistic covering of sand - it almost looks like mud.
The whole vehicle would have been dusty - that is for sure, but dust doesn’t ‘clump’ like that, it just adds a veneer over the base vehicle, and is usually less prevelent on the superstructure.
The way to do this is to use dry pigments, ‘ghosted’ or brushed on and then ‘fixed’ with a very light overspray of acrylic thinner applied by an airbrush, set on a low pressure setting. Or, just apply the pigments and leave it at that, but bear in mind, that won’t take much handling before it comes off.
Mud is different, here you can apply the pigments (mixed in various blends) in clumps whre you want it and then with an eye dropper, simply drip thinner or pigment fixer onto the pigments and leave it to dry.
For both effects, the importance of the pre-painting cannot be over-stresssed. Start off dark, and counter-shade with modulated mixtures of the same colour, getting gradually lighter, this will greatly enhance any pigment weathering you’re going to do.
2 Likes
Good advices, thanks.
Anyway, I think that I could further blend in and break the excess by using a cotton earbud.
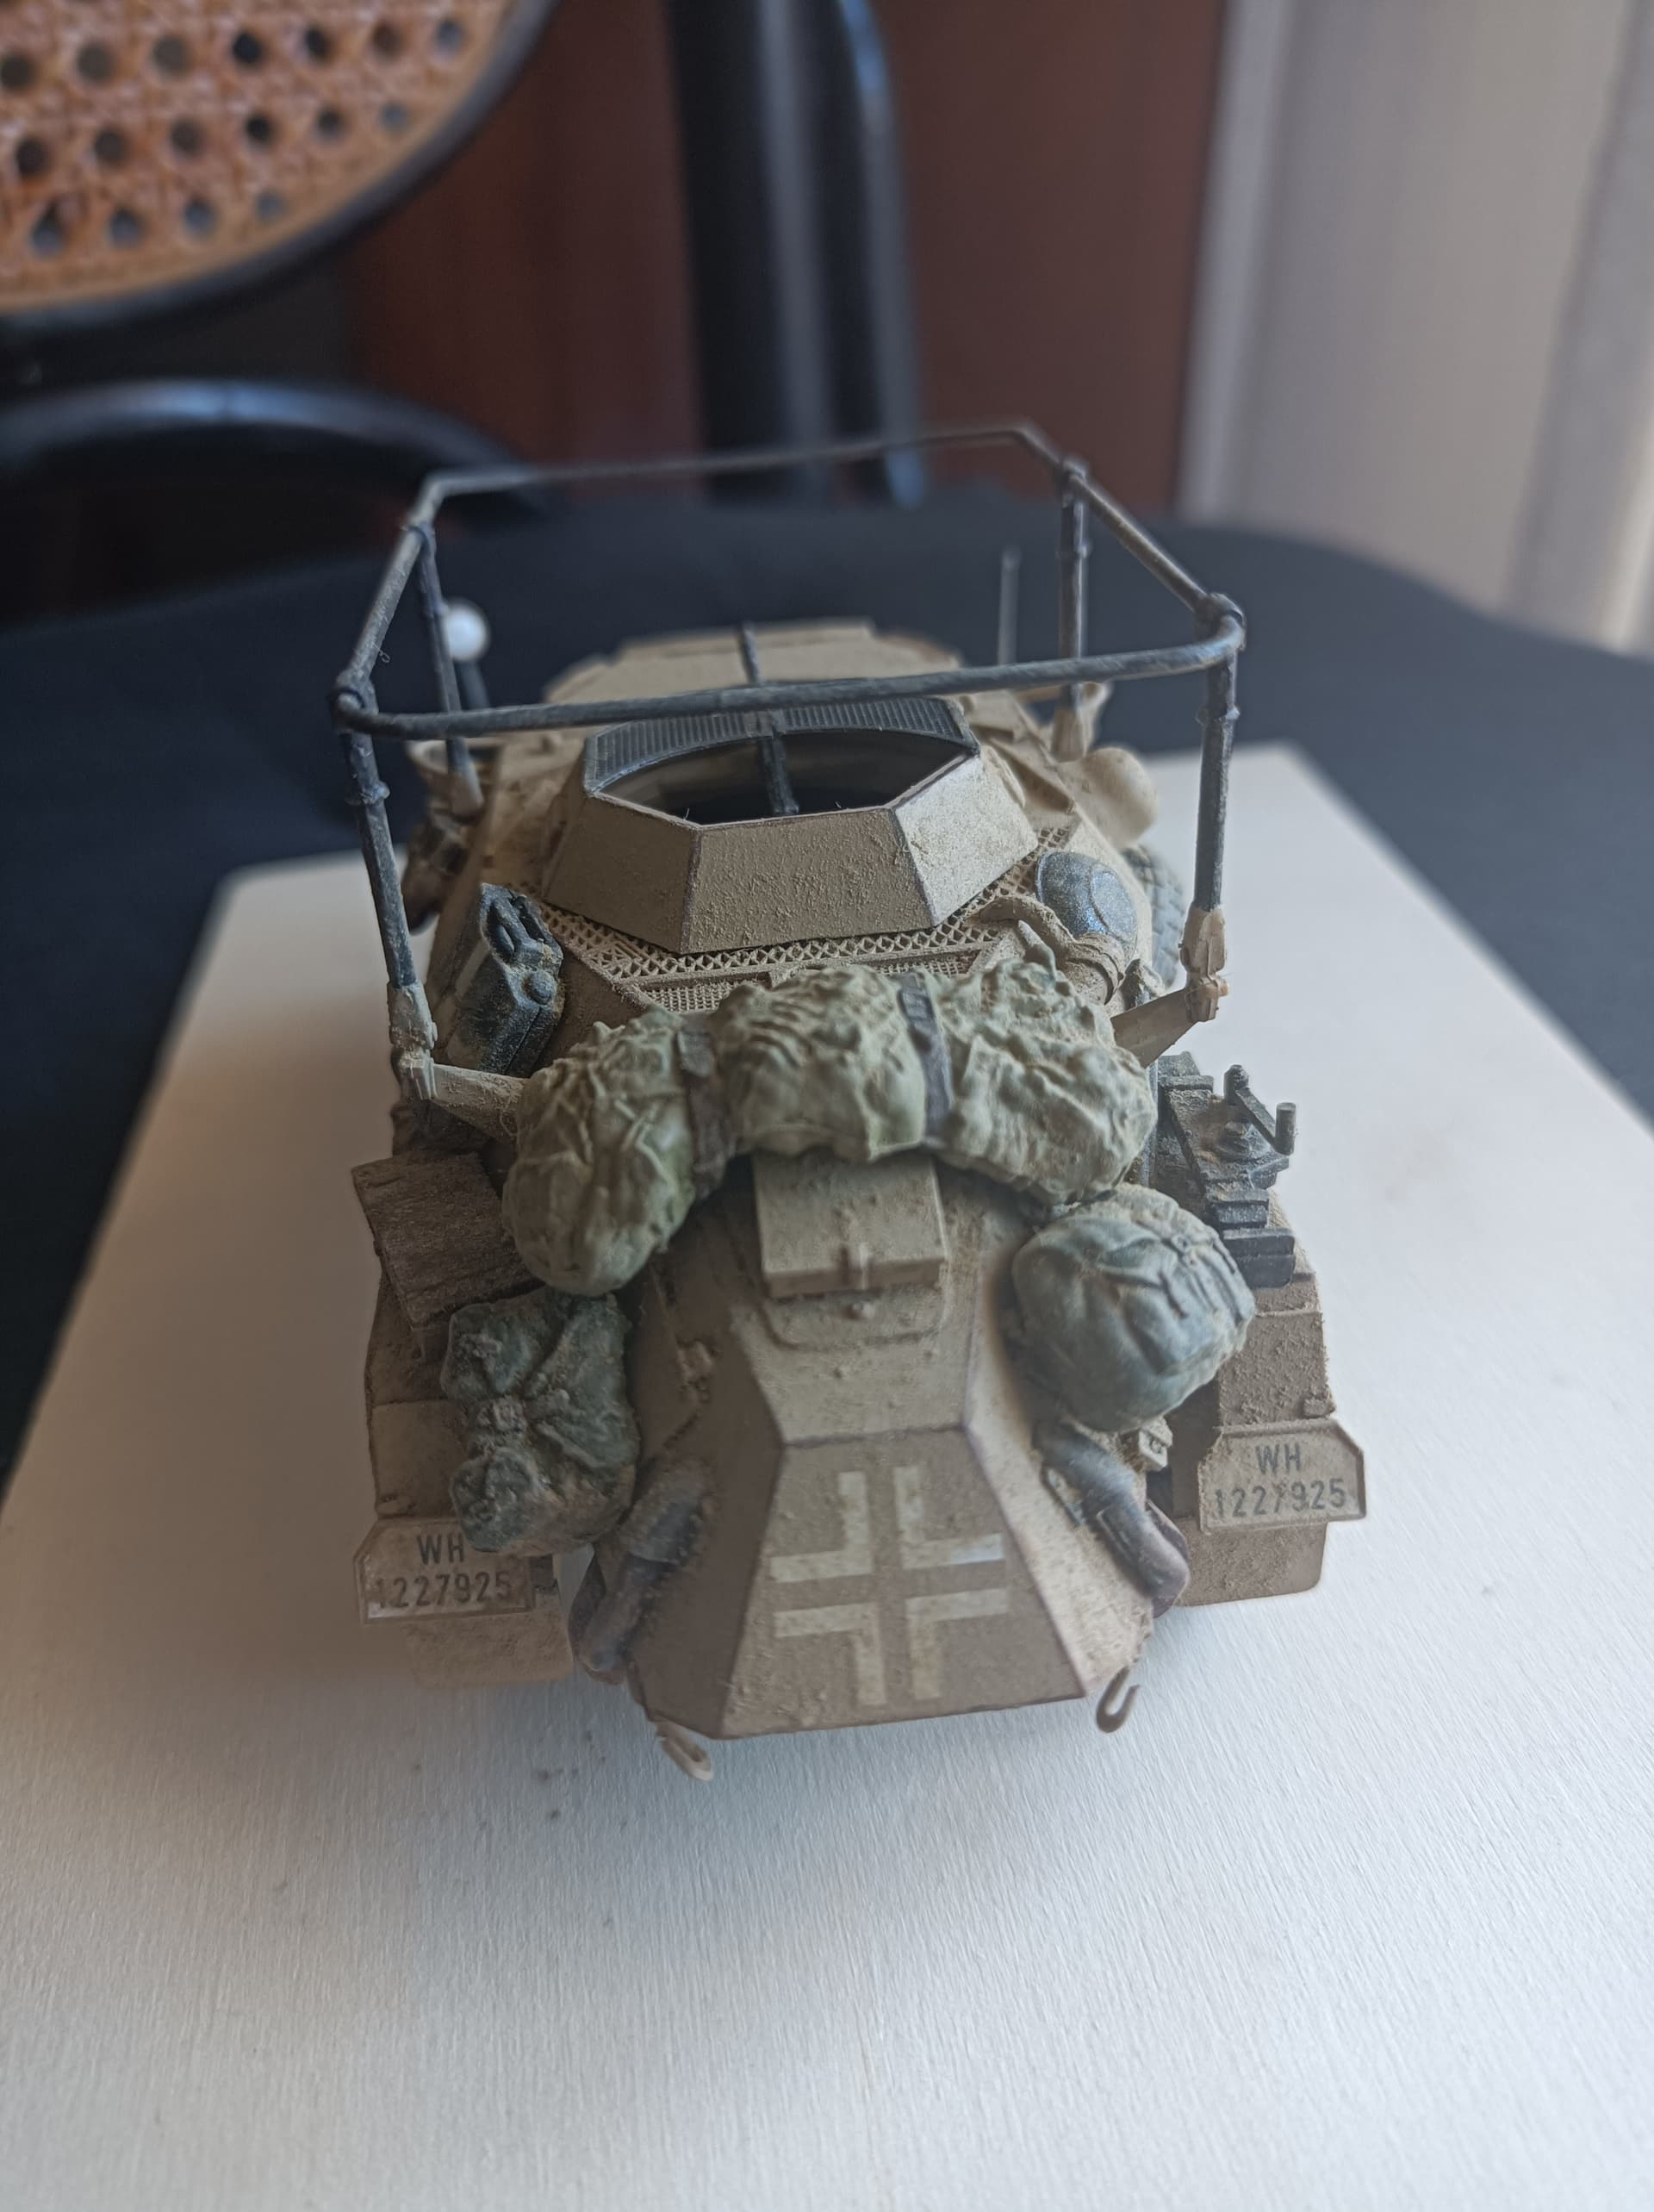
I do have some “experience” on desert vehicles, as I live not far from the Sahara and periodically we get desert sand blowing across the sea onto our buildings and cars.
To my defense, It does make little mud-like clumps, especially on stationary vehicles as it is really sticky. But anyway, I agree that with weathering “less is more” and will definitely do the blending as soon as I got some free time.
I was actually thinking of collecting some of that sand, I wonder how would it fare as weathering tool.
Actually, according to “Panzer Colours” (yes I know, much of what it says has now been discredited), DAK vehicles which arrived in North Africa painted in Panzergrau were frequently covered not by paint, which was in short supply, but mud, the book containing pictures of vehicles actually being spread with a “soup” of sand and water. This would produce exactly the grainy effect seen in the photos of the model, so don’t sweat it!
It wouldn’t because the base coat of this model isn’t Panzergrau.
Yeah, the Dunkelgelb vehicle wouldn’t appear such a color if covered in mud, but it could still be somewhat feasible. However, that source says that only Dunkelgrau vehicles were observed with such a field modification.
You should try increased lighting for your photos of this vehicle.
1 Like
Take it outside in the sun. Put it up on a stool or small table, maybe on top of white paper. That should get you some good lighting.
1 Like
I found this video helpful.
1 Like
You did really well, I always use natural light for final photographs – it often indicates improvements worth making. I’d suggest a very gentle random sanding might be all that’s needed, thoughtful in the sense of leaving what you’ve done in areas it would naturally collect i.e. not on vertical or sloping surfaces. (Don’t touch the wheels, they’re perfect) 

2 Likes
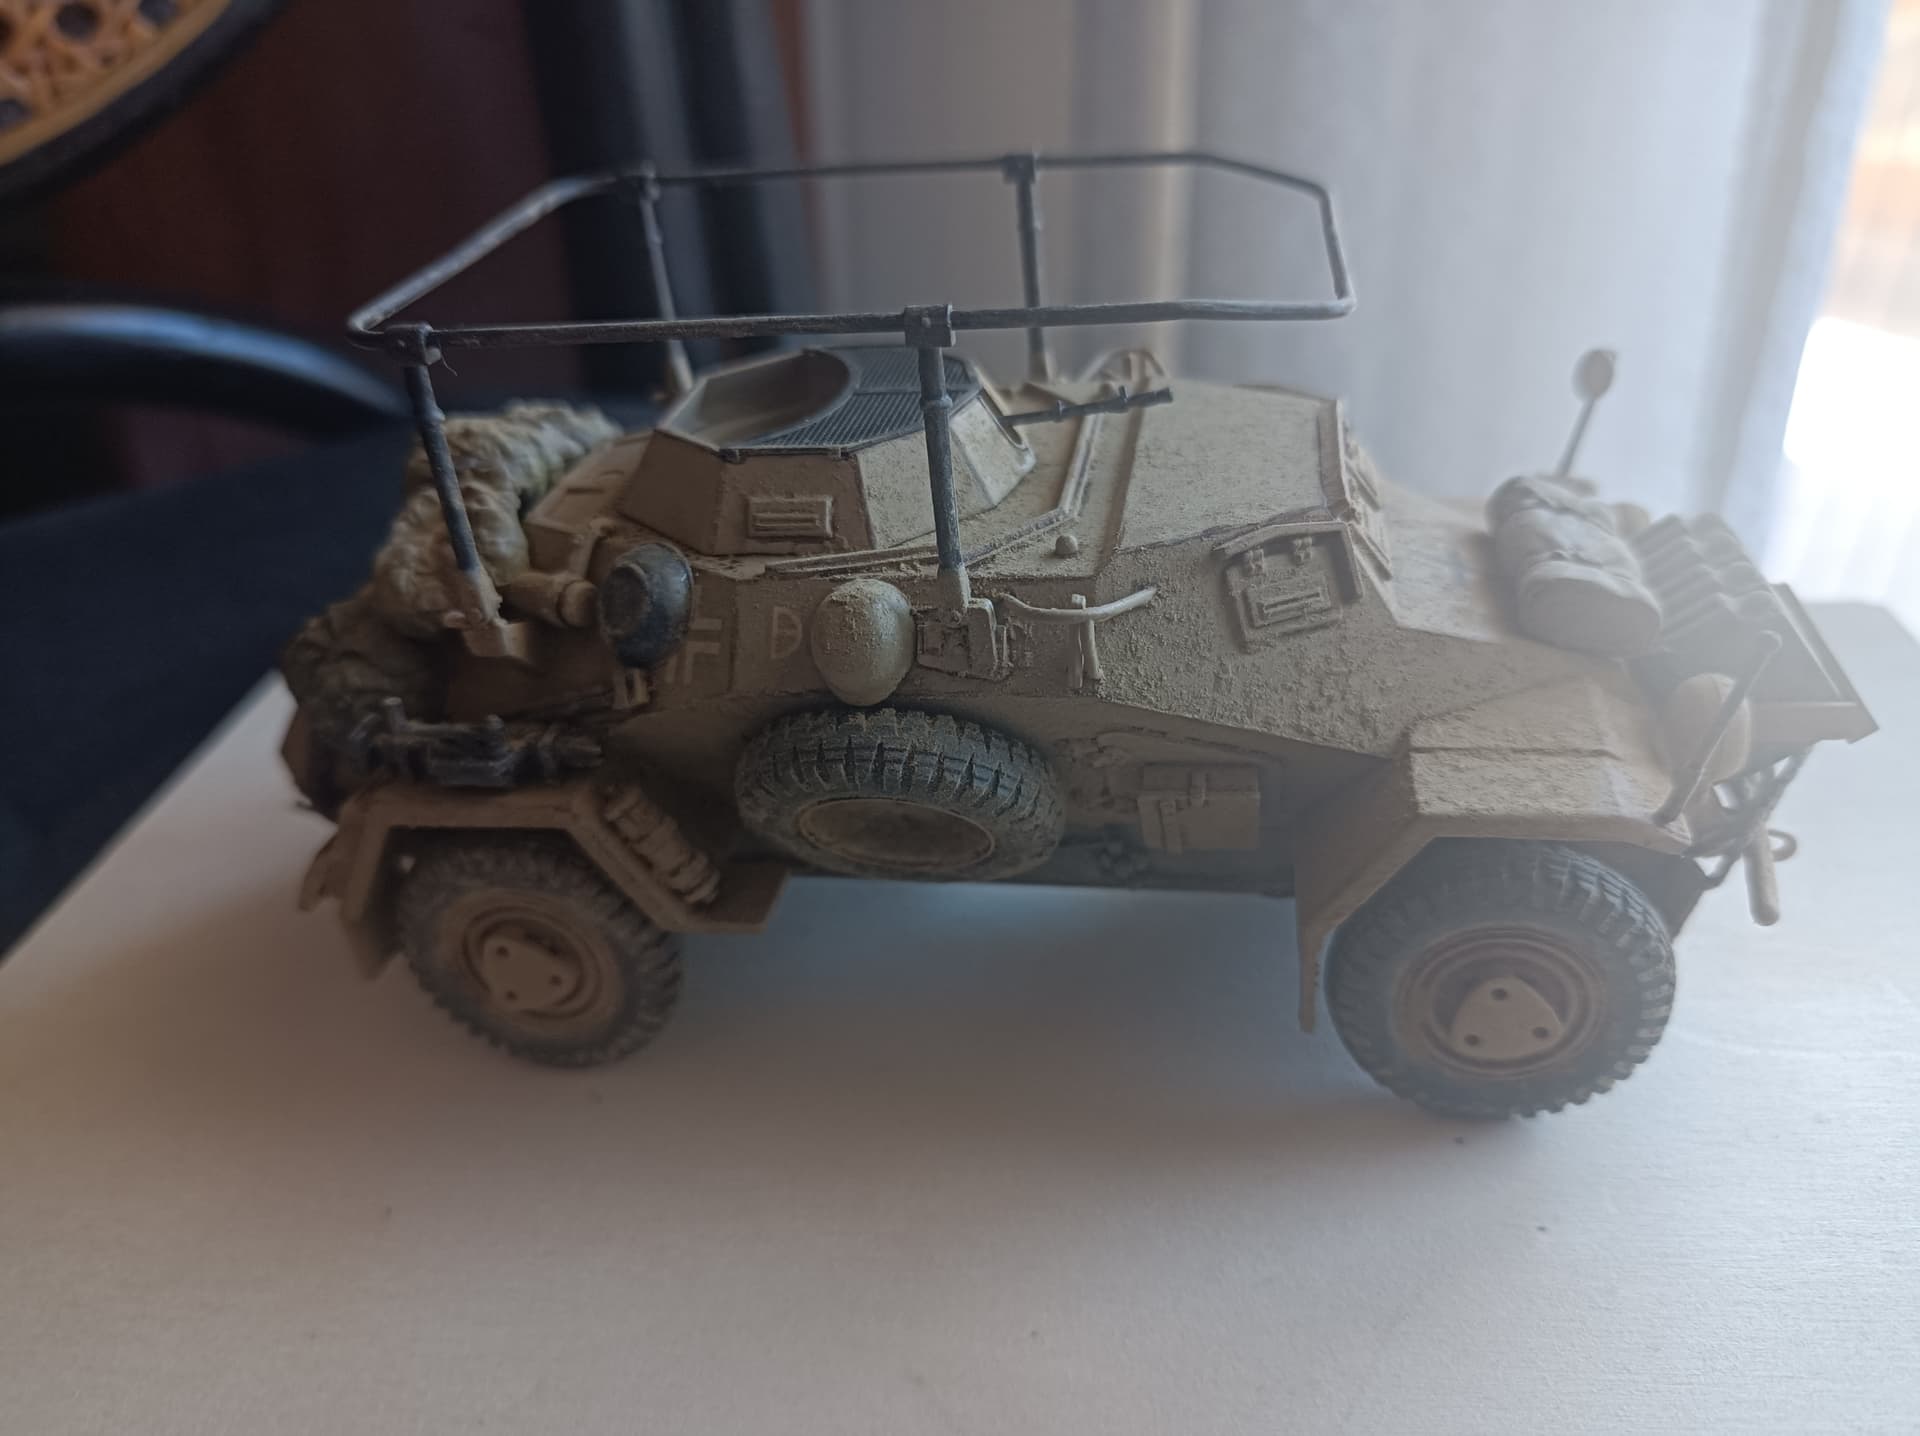
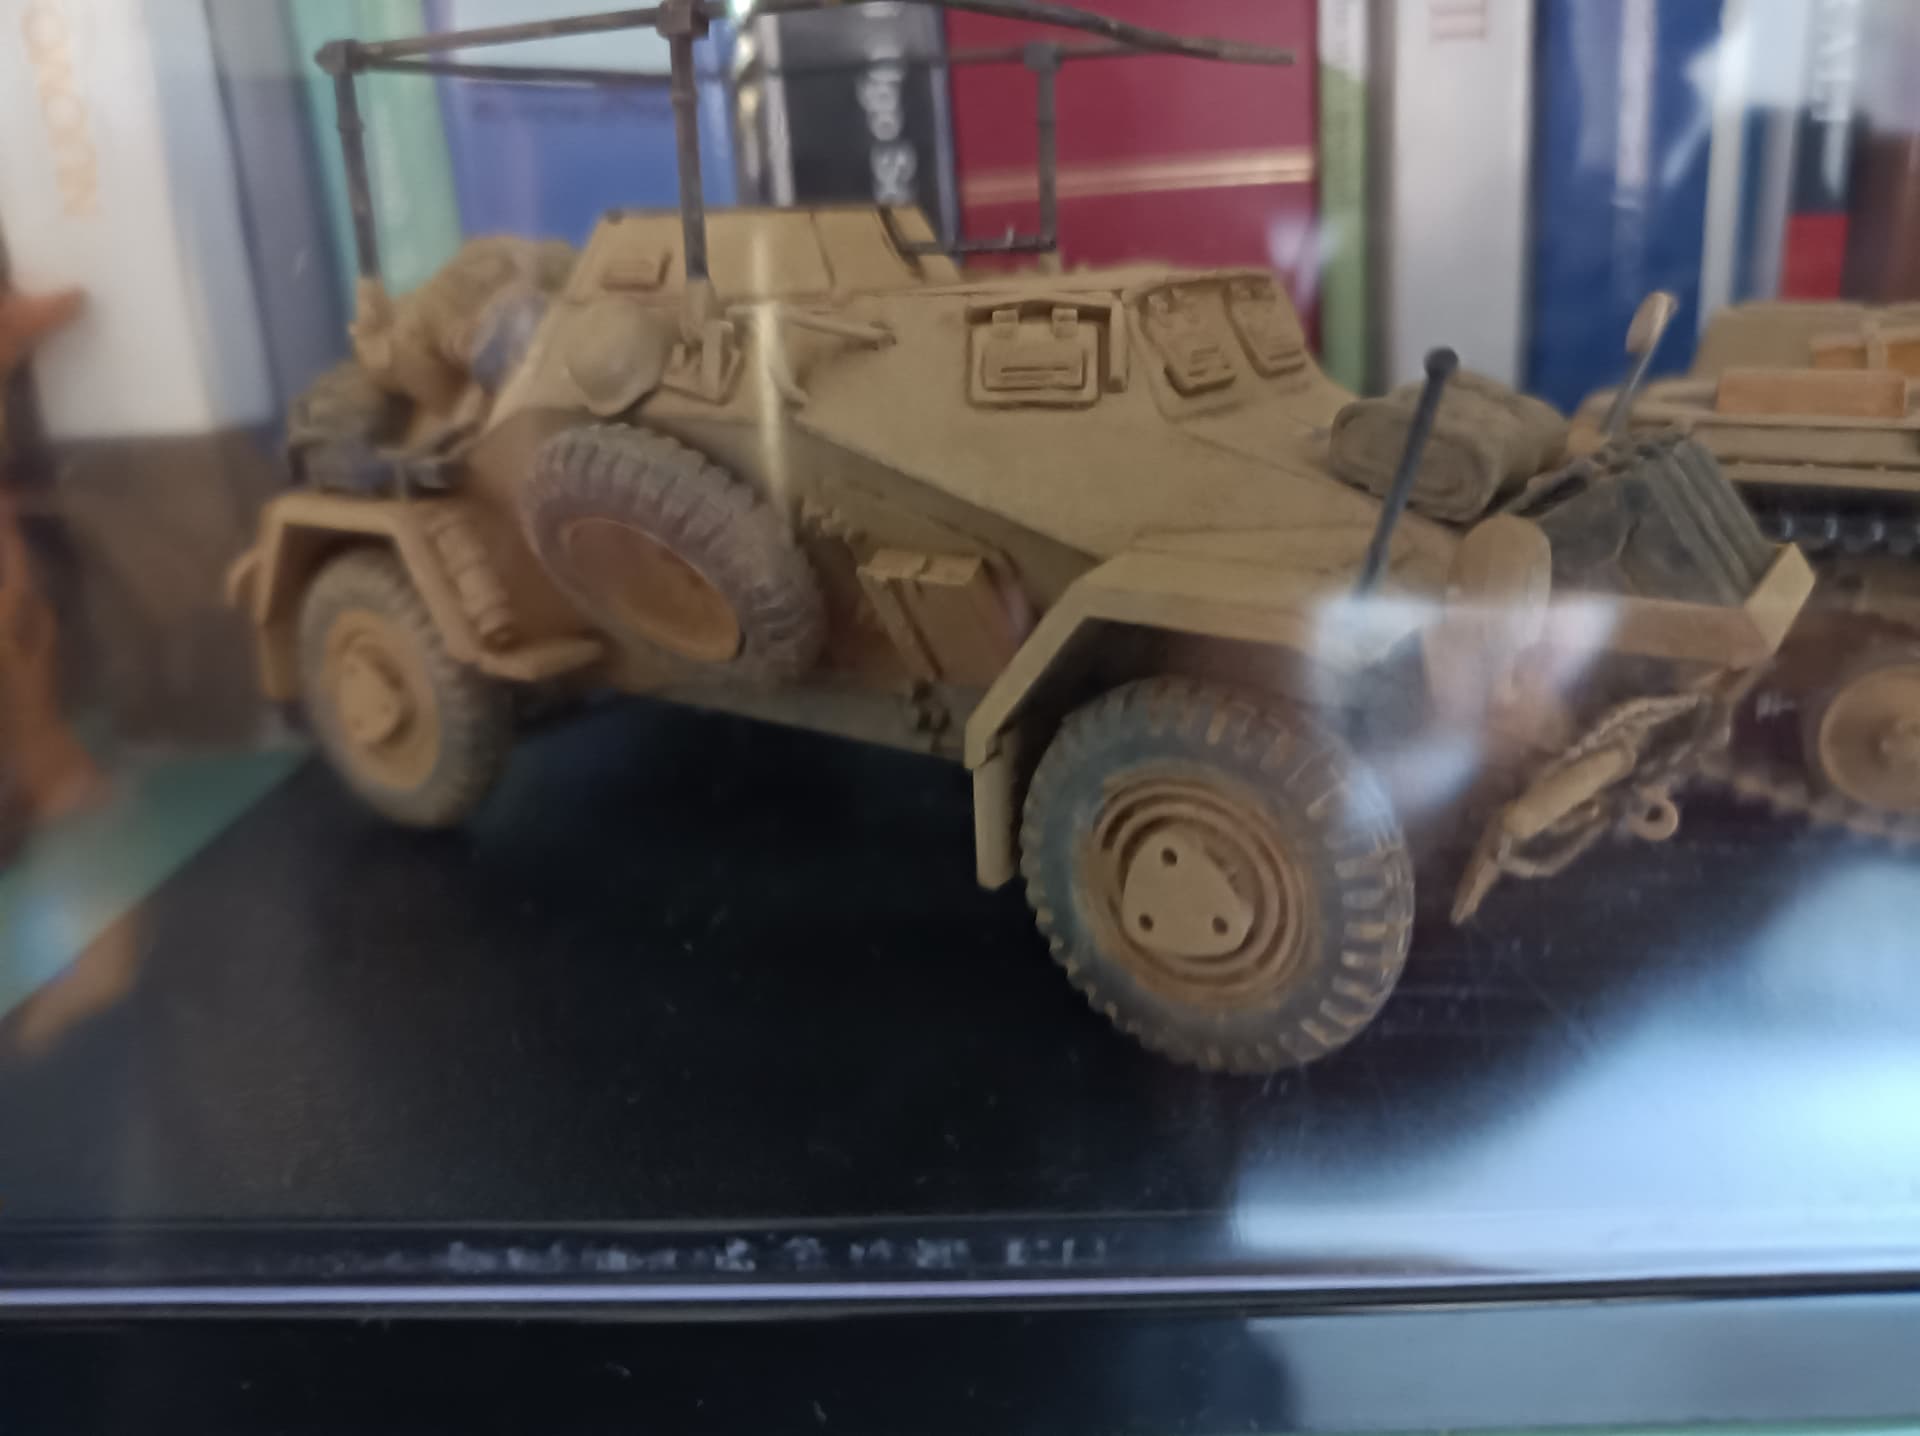
Finally managed to get back to this and removed the pigment excess.
It was really easy, just a very light touching with a fine brush and it just fell down, leaving a nice “dusted” look on the model.
Unfortunately I forgot to take the picture before putting it under plexiglass and I am not going to open it again, as it took me a good quarter of a hour to position it by the millimeter so that it doesn’t touch the case and the Panzer II next to it.
Here it is and sorry for the messy picture.
It looks much better now, thanks again everybody for the help and the feedback.
6 Likes
Looks much better now, nicely done.
I agree, it looks very nice. Make sure to update us with pictures if you ever take it out of the case, I’d love to see a better photo, perhaps taken outdoors.
Thanks, I will sooner or later.
Squeezing the two vehicles under the same case was really hard, I even accidentally bent the rear mirror pole of the sdkfz and had to carefully straight it again.
1 Like
I hate those poles, I snapped off both of mine a few times each.