Tamiya Sd.Kfz.223

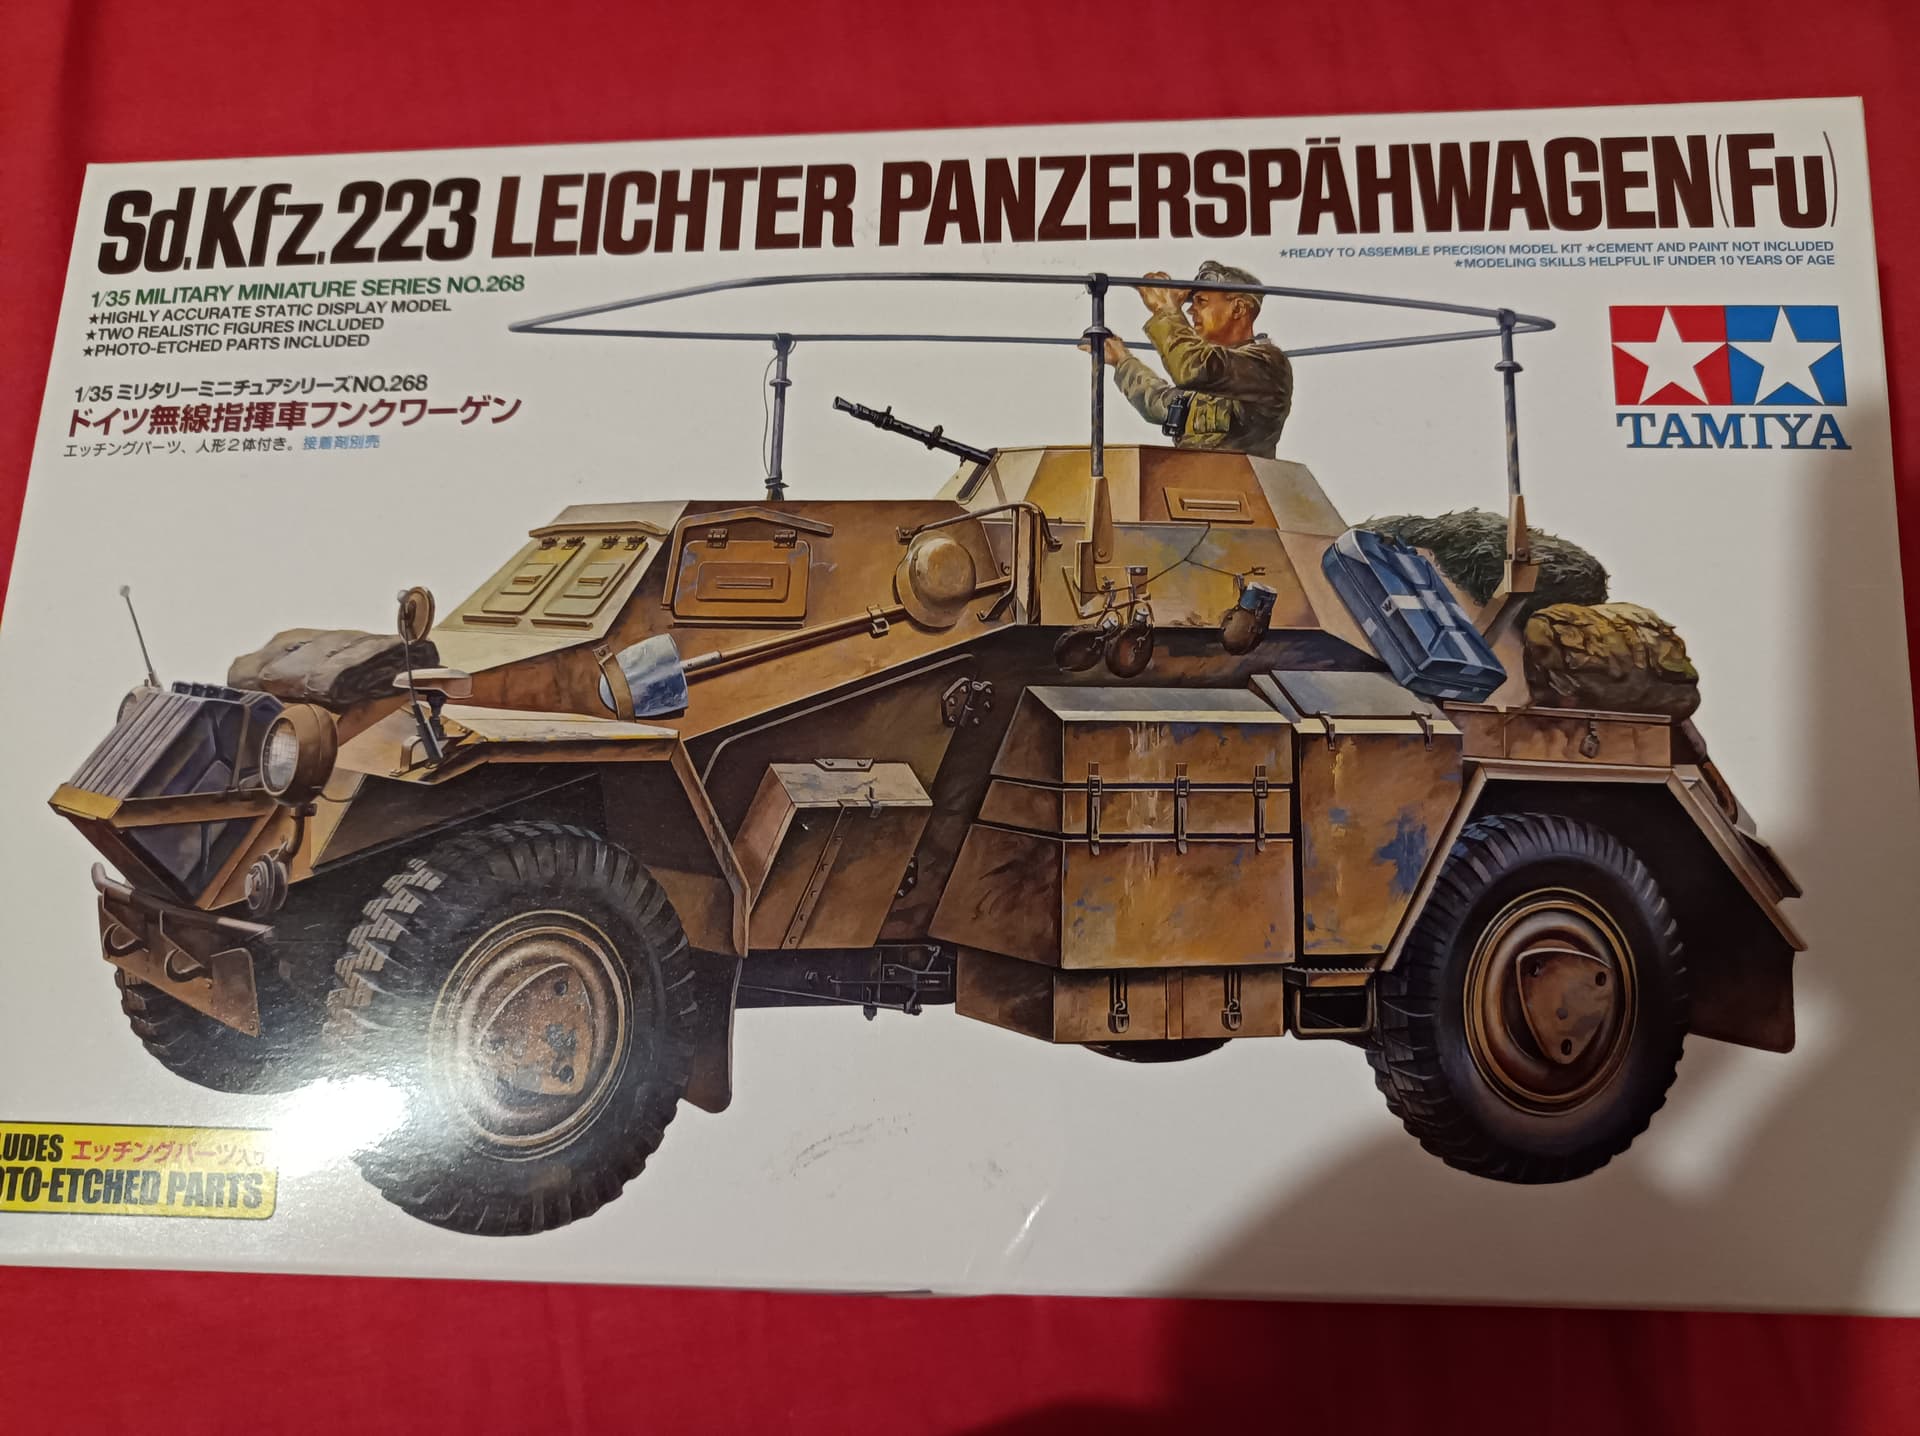
So, I got this little kit for about 20€ on Amazon.

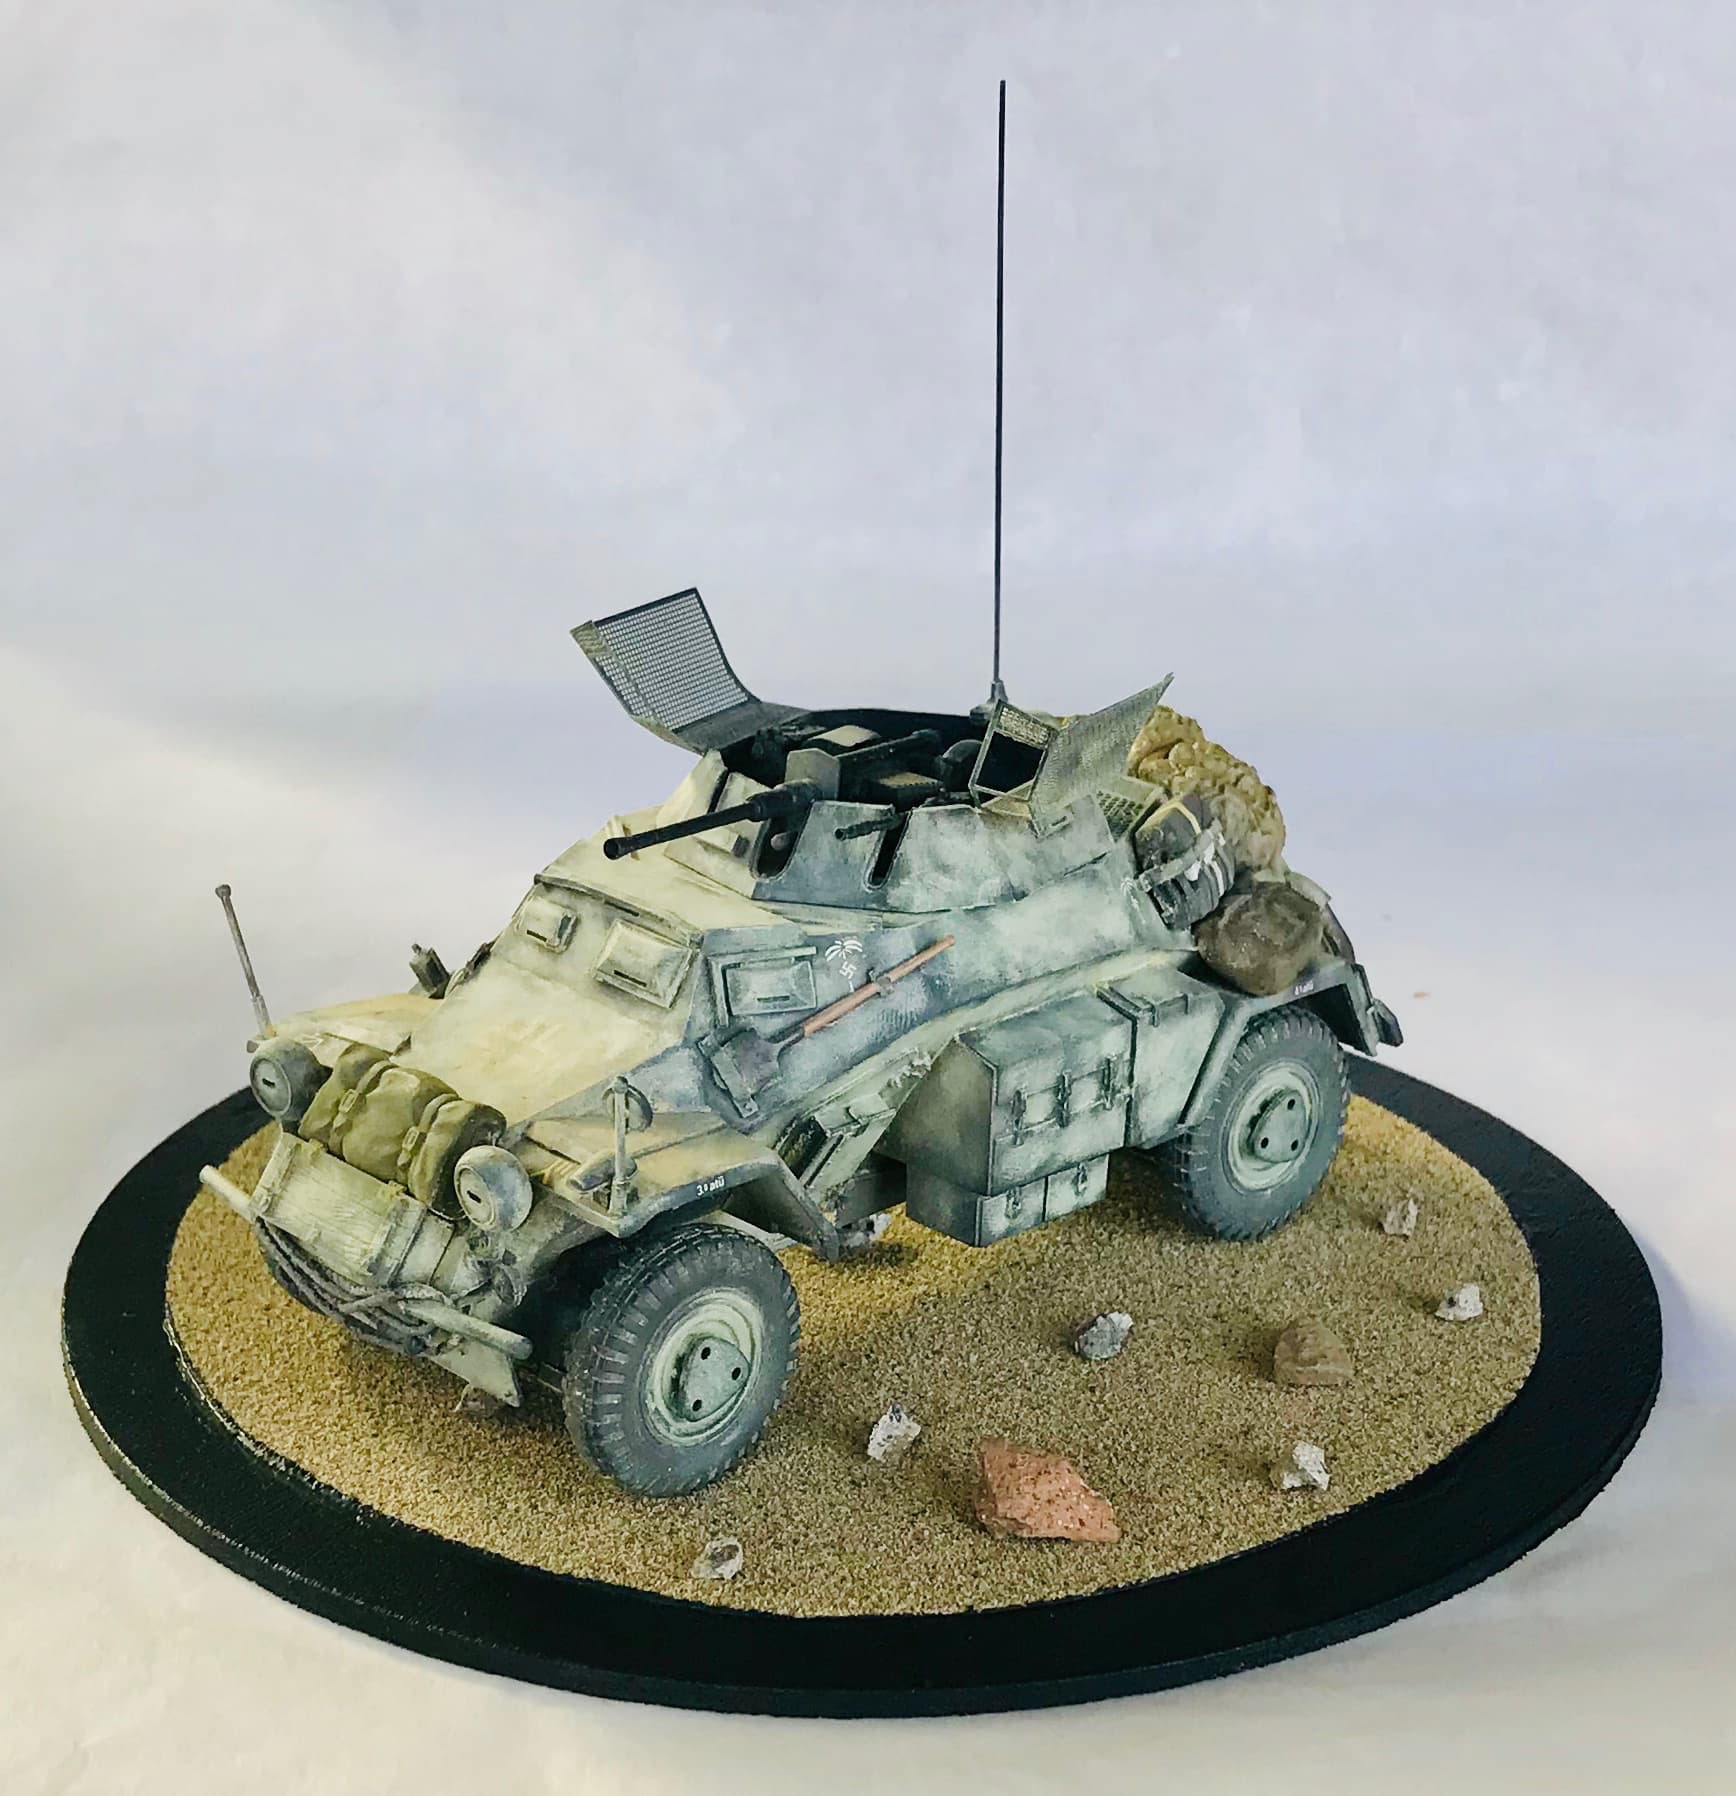
The idea was to give a little companion to my previous Panzer 2 model to share the same plastic case which ended up a bit too roomy for such a small tank.

I intend to make it an African theater vehicle too, using the same marking of the Panzer 2.

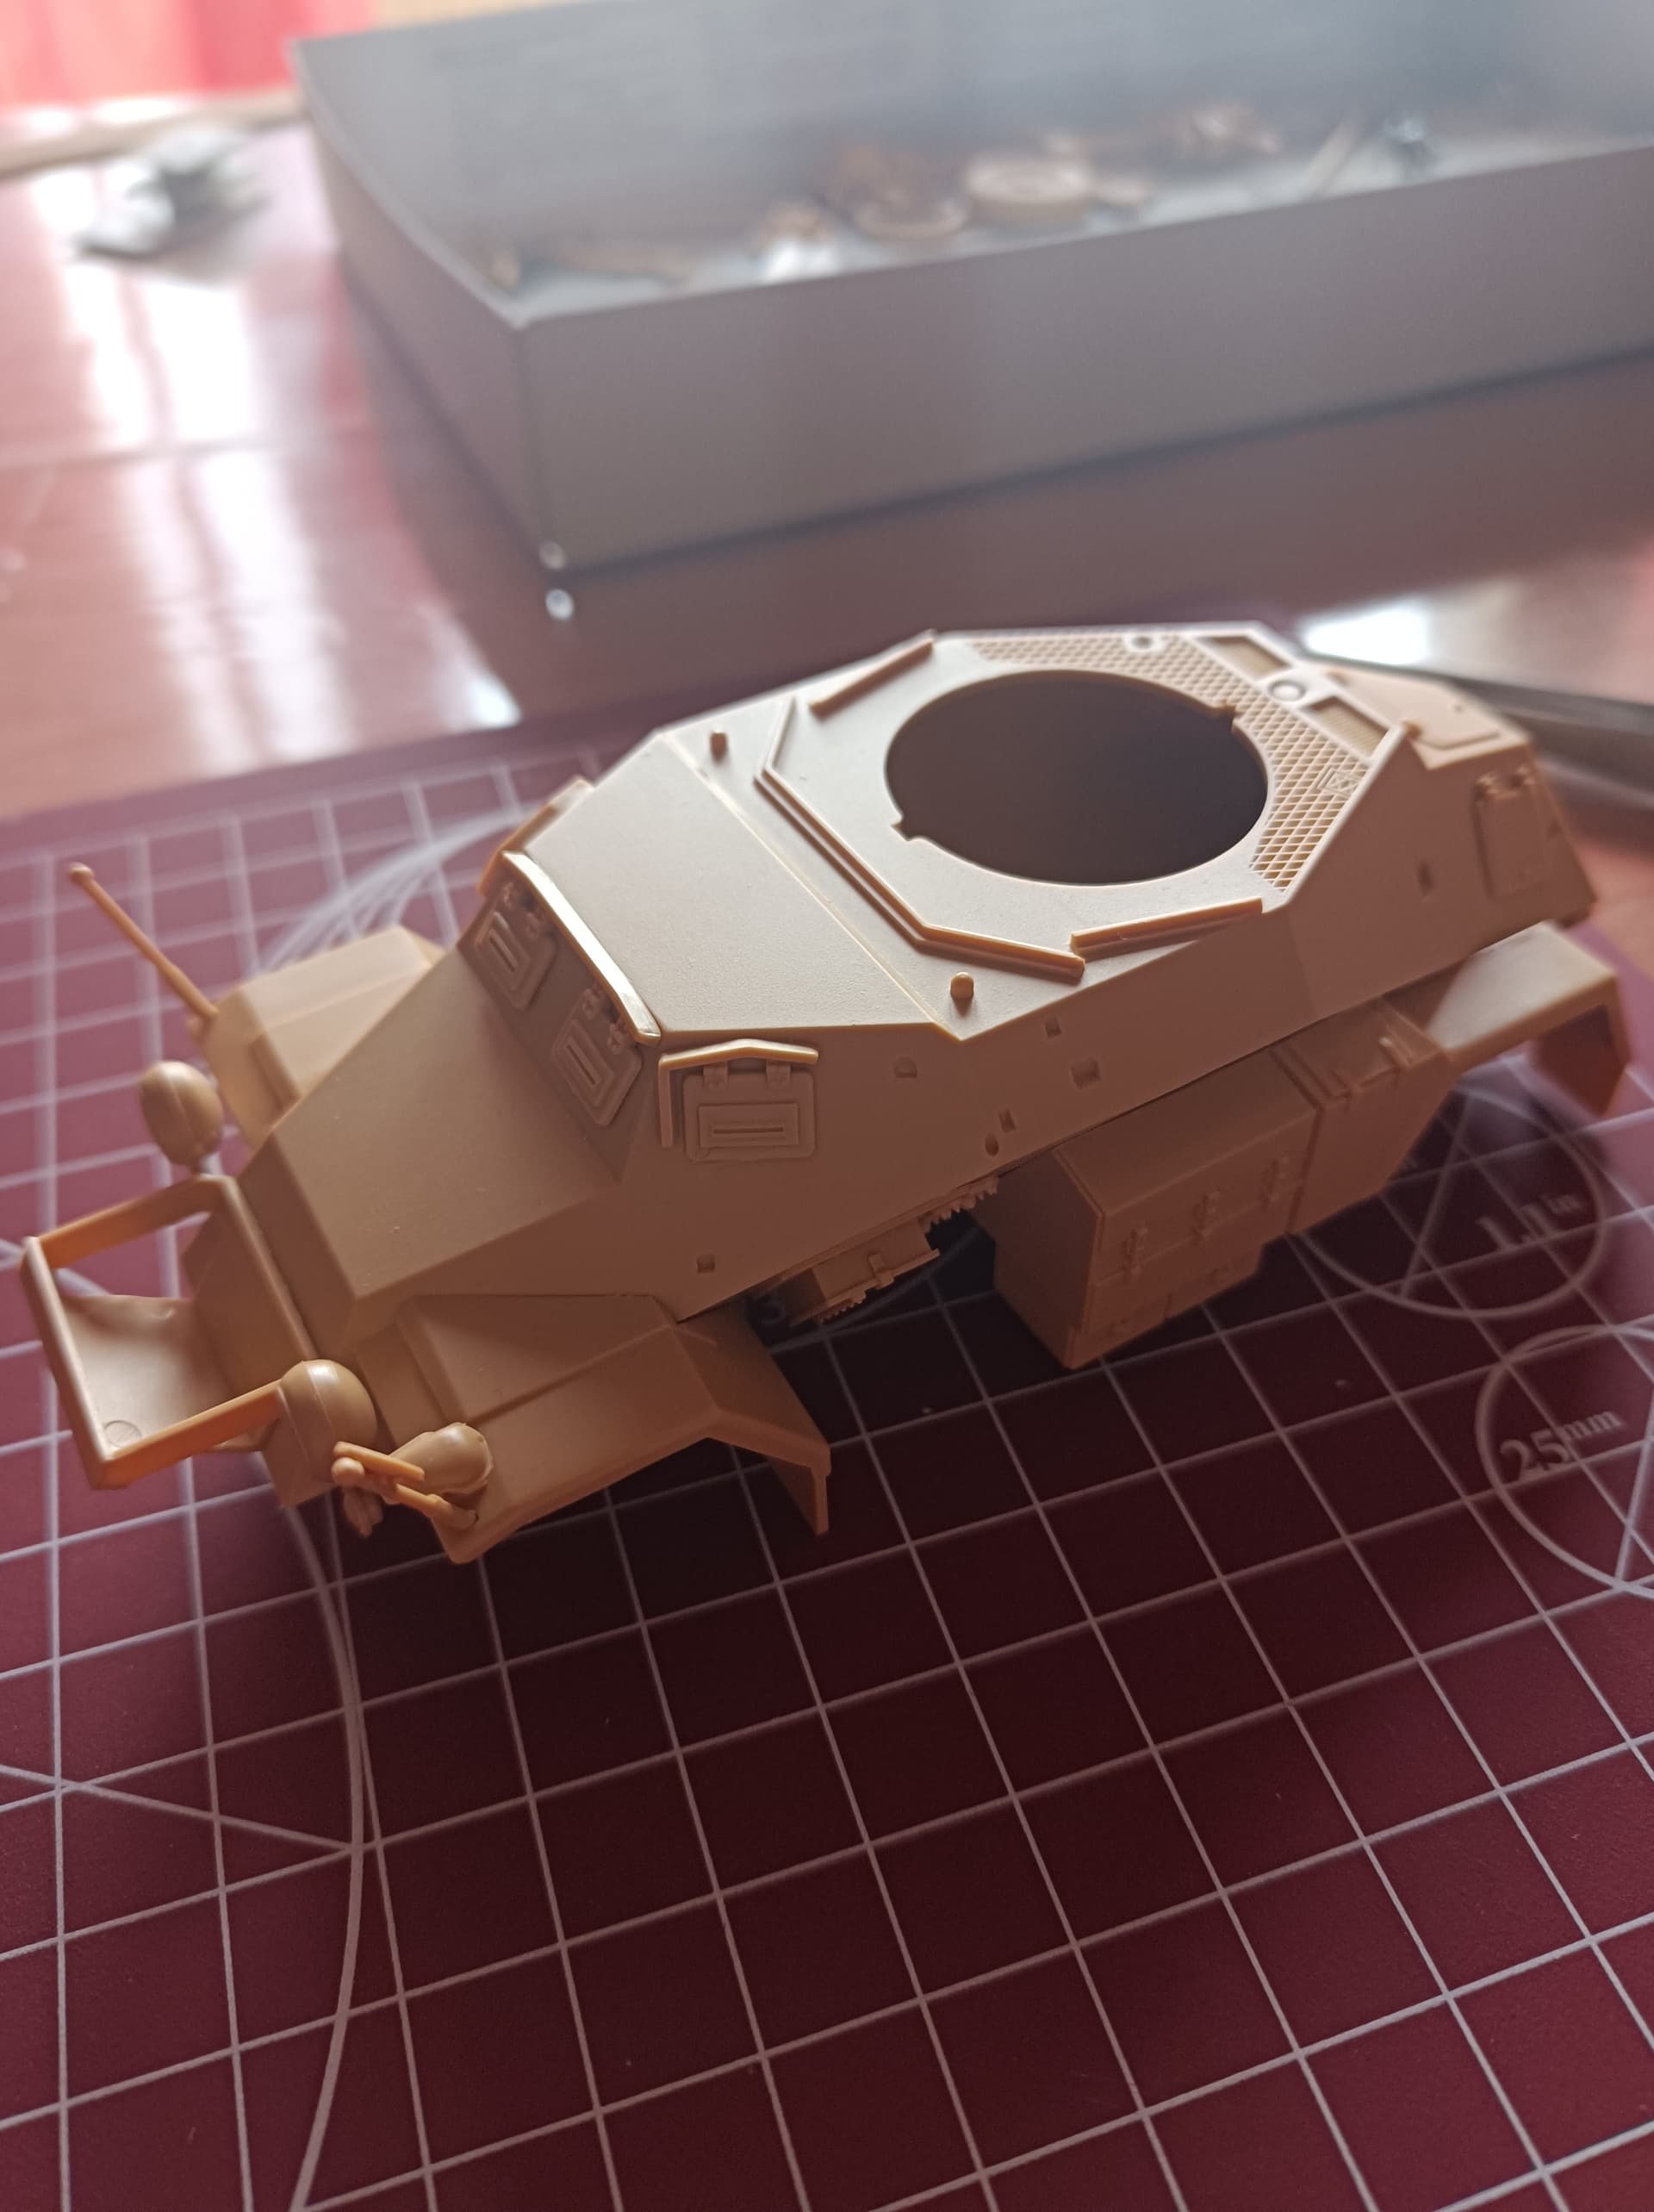
The kit appears to be much more complicated, there’s LOTS of small hanging bits of equipment and it has a detailed axle (this is my first wheeled model).

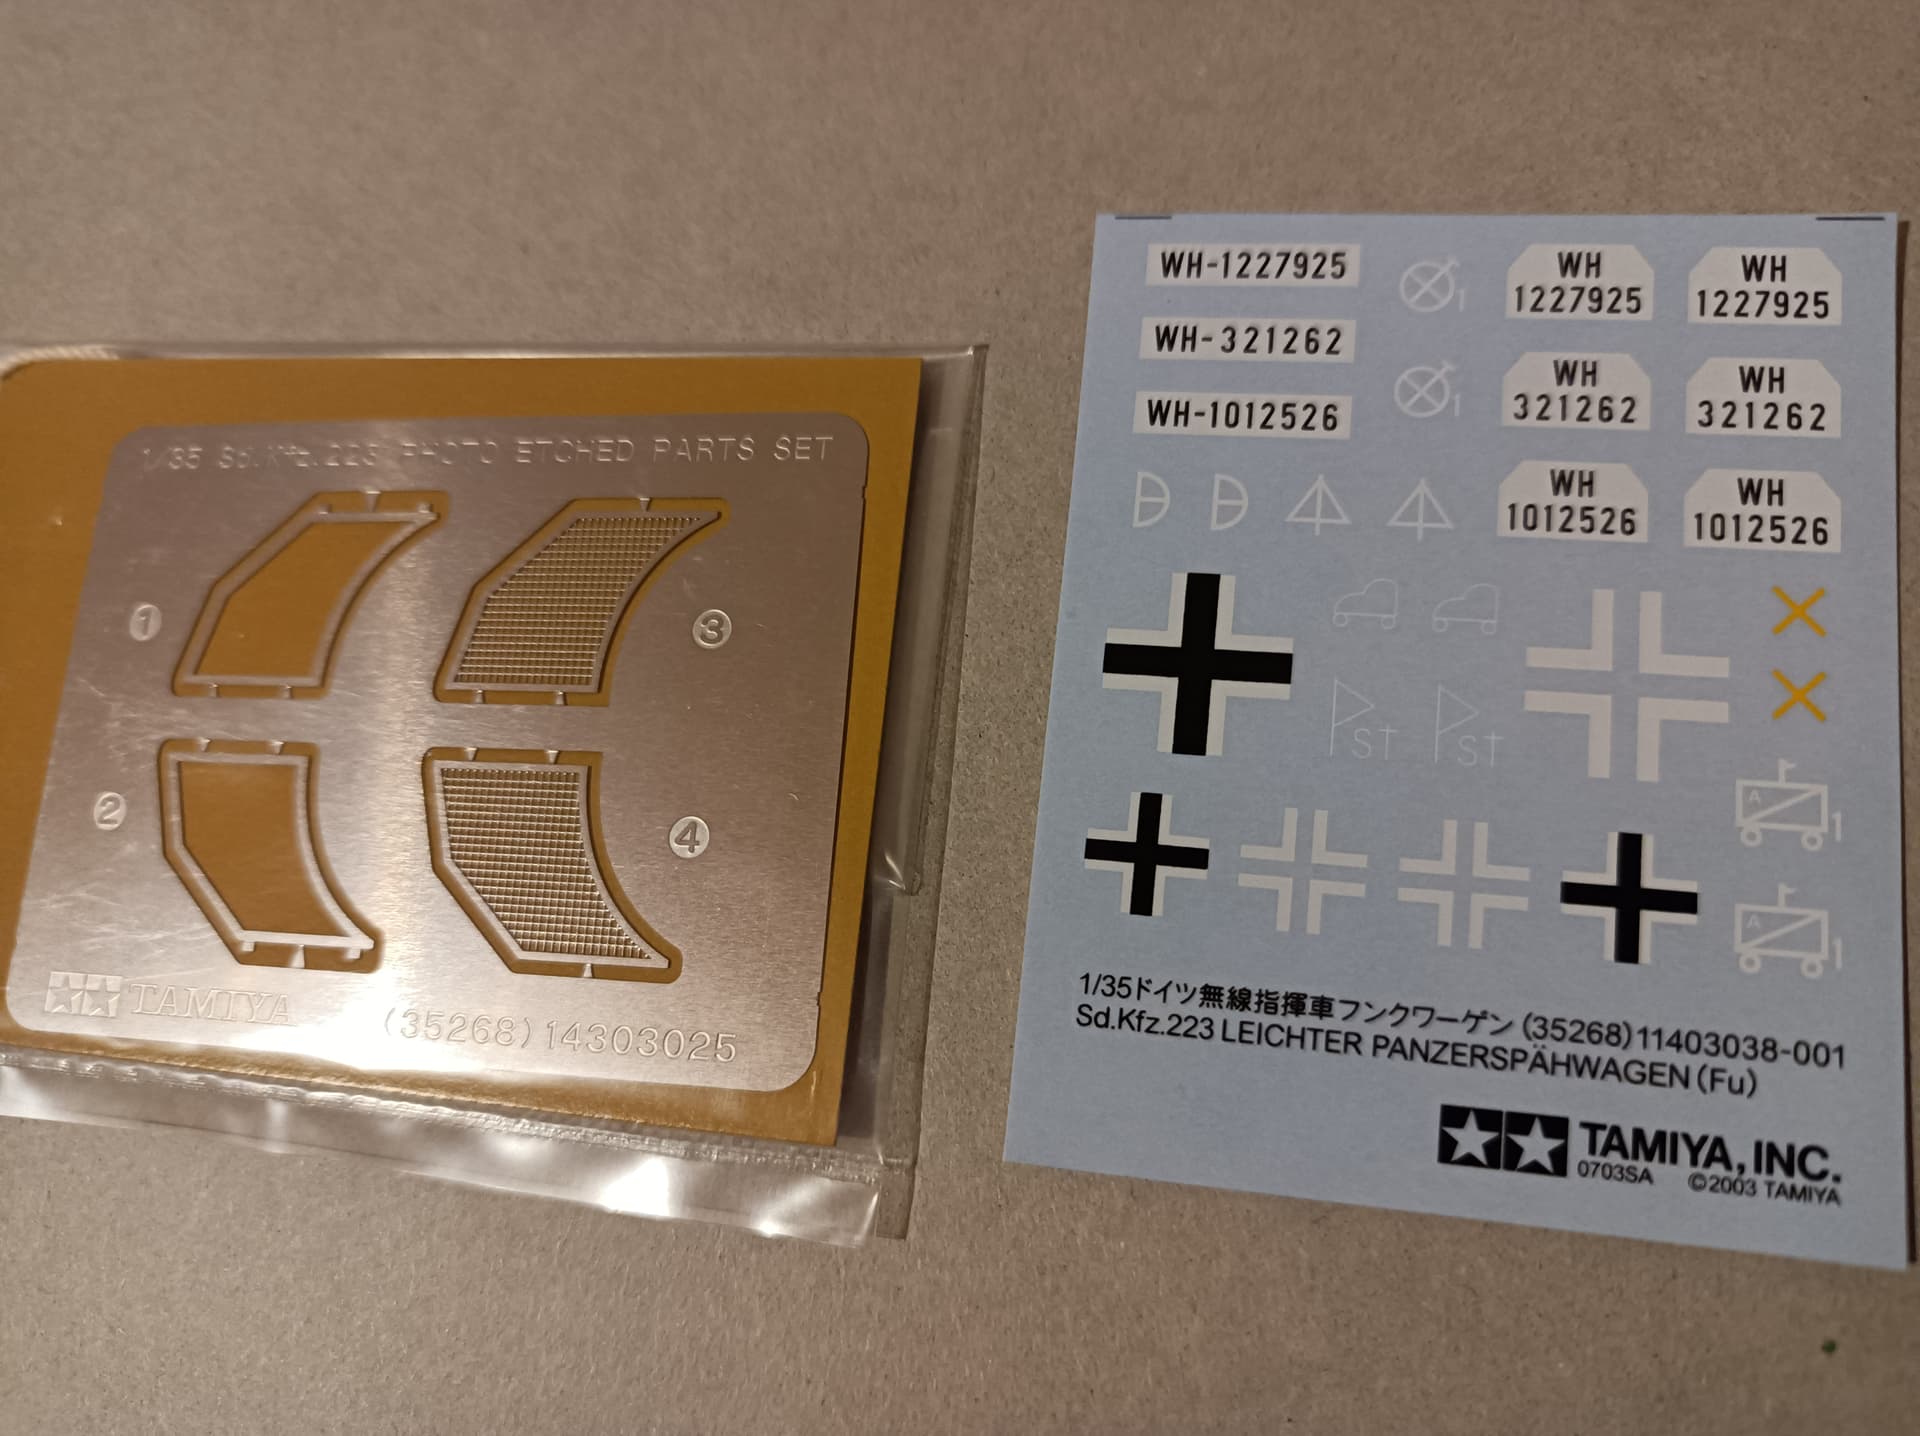
It also has some photo-etched parts which I have no clue on how to handle. Can I remove them with the shears/modeling knife or do they require special equipment? Do they require special primers or paint?

So far I just made the axle and glued some hatches on the hull. Now I am afraid to proceed because I think that many of these pieces should be painted before being glued, like the axle itself. And I also would need to paint the bottom of the vehicle before gluing it!
So far, I am really confused. I am quite bad at brush painting and I would prefer to minimize it.

How would you proceed?

8 Likes

If you try separating the parts with a knife you may bend them. I use shears but stay shy of the actual part. Then I carefully Dremel sand the remaining sprue with a fine grit disc.
Glue the PE before priming and painting.

There are special metal primers available, but so long as you’re using a decent one for your models already you should be fine. I would recommend cleaning the PE with either some windex or acetone if you have it to remove any grease and oil that might be left from the manufacturing process. You can also lightly sand them with a fine grit to help give the paint something to adhere to as they’re quite a smooth surface.

I’m not familiar with the vehicle/model but those look like relatively simple parts to deal with. I don’t see them being folded into complicated shapes, if at all as they just look like engine grills.

Is the ordinary cement (I use Tamiya Limonene) good for those PE parts?

No. Remember, styrene cement isn’t actually glue, it chemically melts and welds the plastic together. For PE you need either CA (superglue) or seeing as those have some decent surface area, you could probably get away with using PVA/craft glue

1 Like

Good to know, I already got the super-glue to fix the Panzer II tracks, so I am fine.
At this point, I think I will just build all the pieces separately, then prime and paint them and finally glue them.

If anyone has the same model, post yours, reference pics are really helpful.

Aside from the PE, this kit is actually fairly simple and falls together quite easily. As mentioned above, standard model cement will not work for attaching the PE to plastic. But your options are many: CA glues, white glue, epoxy, or as some guys have done in my old AMPS chapter, automotive products like JB weld.

If this kit is newer and the PE pieces are curved, tamiya may have included a piece to help bend the PE to the correct curve/shape, like the engine grilled on the new Tamiya kettenkrad. If not, it seems that the pieces won’t require bending.

The actual anti grenade screens are flat, no bending required on the PE parts. Just line up the screens to the frames and you’re set.
This kit has been out for several years and has no bending tool included. I have it in my stash.

1 Like

Cool subject. I may look for one myself.

When I have a question about a particular model (I am just starting into 1/16 scale) I go to YouTube.
Just find the video that matches your question, sit back, relax and learn.

Be really careful if using superglue.

you can very easily weld yourself to a PE part in nano-seconds if you’re a bit slap-dash with the glue. I always get some grease-proof paper and make a little ‘pool’ of glue onto it (for some reason, superglue doesn’t seem to set very quickly on grease-proof paper) and then use a cocktail stick to take a little of the glue and apply it spareingly the kit or the PE part. The first time you do this, I gaurentee you will not use enough, or too much glue…Then VERY carefully use tweezers (if you can) to pick up the PE and attach it to the kit.

The glue will dry in a very small amount of time, so if you get it just slightly misaligned, you’re screwed

Also, beware, PE attached to styrene with superglue doesn’t cause a chemical reaction to join the two mediums, the bond is reliant on the adhesive properties of the glue itself. Hence, if mishandled, PE parts will readily detach or ping off from the model. You’ll never see them again after the carpet monster has devoured them.

Nowadays, I tend to use Microscale Krystal Klear (essentially a PVA glue) to attach PE parts. It takes a lot longer to go off, but allows you to make small adjustments in alignment when attaching the parts, and sets clear, so there’s no ugly residue.

Also, to remove PE parts from the ‘sprue’, don’t be tempted to use a rubberised cutting mat as the base underneath. Use a sharp scalpel or exacto type hobby knife, place the sprue on a hard flat surface (spare kitchen tiles are good for this) and gently ‘rock’ the blade over the attachment point until you pop through. With very small PE parts, be sure you are holding the part to be removed with something, otherwise when it does detatch, it’ll fly off and that will be the end of that.

You’ll need to be very careful to remove excess PE at the join (unless you’re a surgeon, there will always be some). I use a steel ruler to ‘mask’ the part and a scalpel to get in and remove the burr, or sometimes, if the PE part is sturdy enough, use a small file designed to file down metal.

2 Likes

I love this vehicle. And I’m glad you chose the Africa Corps. I’ve done a couple of them and ran across a picture I think you should try. And it will make you a kit that it pretty unique.

When the Germans sent over their first panzer corps, all the vehicles were still Panzer gray. Of course, a big grey box sitting in the desert would attach a lot of attention. So the German crews mad a bunch of mud and covered their vehicles with it for camouflage.

You would still need to paint the base coat in gray and them mix a bit sand and make a very light “paste” Then you can brush it on.

It makes a nice finish for any early German unit in the NA theater.

1 Like

I did that on my Sdkfz. 222 that I built a few years ago and used Tamiya weathering medium light sand for the “mud coat”

8 Likes

I am really worried about these wheels, I see that the fitting space is very short and they wobble a lot when fixed without glue…plenty of room for mistakes.

Also I wonder why the instructions are so specific about front and rear wheels, I thought they were identical.

Anyway, I decided to use the Vallejo polyurethane primer on the small parts so I can comfortably use the airbrush instead of that Tamiya cans.
I bought one bottle last year but never used it, do you have any experience with it?
Does it need to be thinned? It looks to have a very watery consistency, maybe even too much.

2 Likes

My only experience with Vallejo primer is that it’s complete garbage and I tossed the bottle.
I could not, no matter how hard I tried, get that stuff to spray. Your mileage may vary, and someone on here may have trick/formula/ratio that turns it into magic, but you’d probably be better served going with a different primer.

As to the wheels, parts B6 and B10 are not identical at all and that seems to be what the instructions are highlighting.

What sort of trouble did you encounter with the Vallejo primer?

Clogs? Maybe it was too thick? Did you tried a larger nozzle?

All of the above.

Either too thick or too thin, patchy adhesion and coverage, very fragile coat once it was down. Tried 0.3 and 0.5mm tips. Used their thinner, retarder and flow improver.

Thanks for the heads up, I will make some tests on sprues when the time comes.

1 Like

If you want a good proof acrylic primer, get your hands on some Stynelrez or Ammo One Shot (same paint, different labels).

Sprays well (high pressure, big needle) and can be brushed as well. Decent self levelling properties. Reasonably robust once dry.

2 Likes

I am taking this assembly really slow, just few pieces per week because work is devastating me and I barely have the mental strength to do this on the weekend.

I confess I have to really force myself to get it start but after a while it gets pleasant.

This is what I have done so far:

The assembly itself it’s very easy and I like how these Tamiya kits have these “toyish” details like rolling wheels.
However my main trouble is how much stuff I need to skip because it needs to be painted separately and only then glued to the hull.
Also I noticed that the jerry cans have this cross motiv on them that needs to be painted “by eye”. That would be a first for me, do you use some tricks to get straight lines? I have some masking tape I could use…

Also, get a load of this guy:

5 Likes