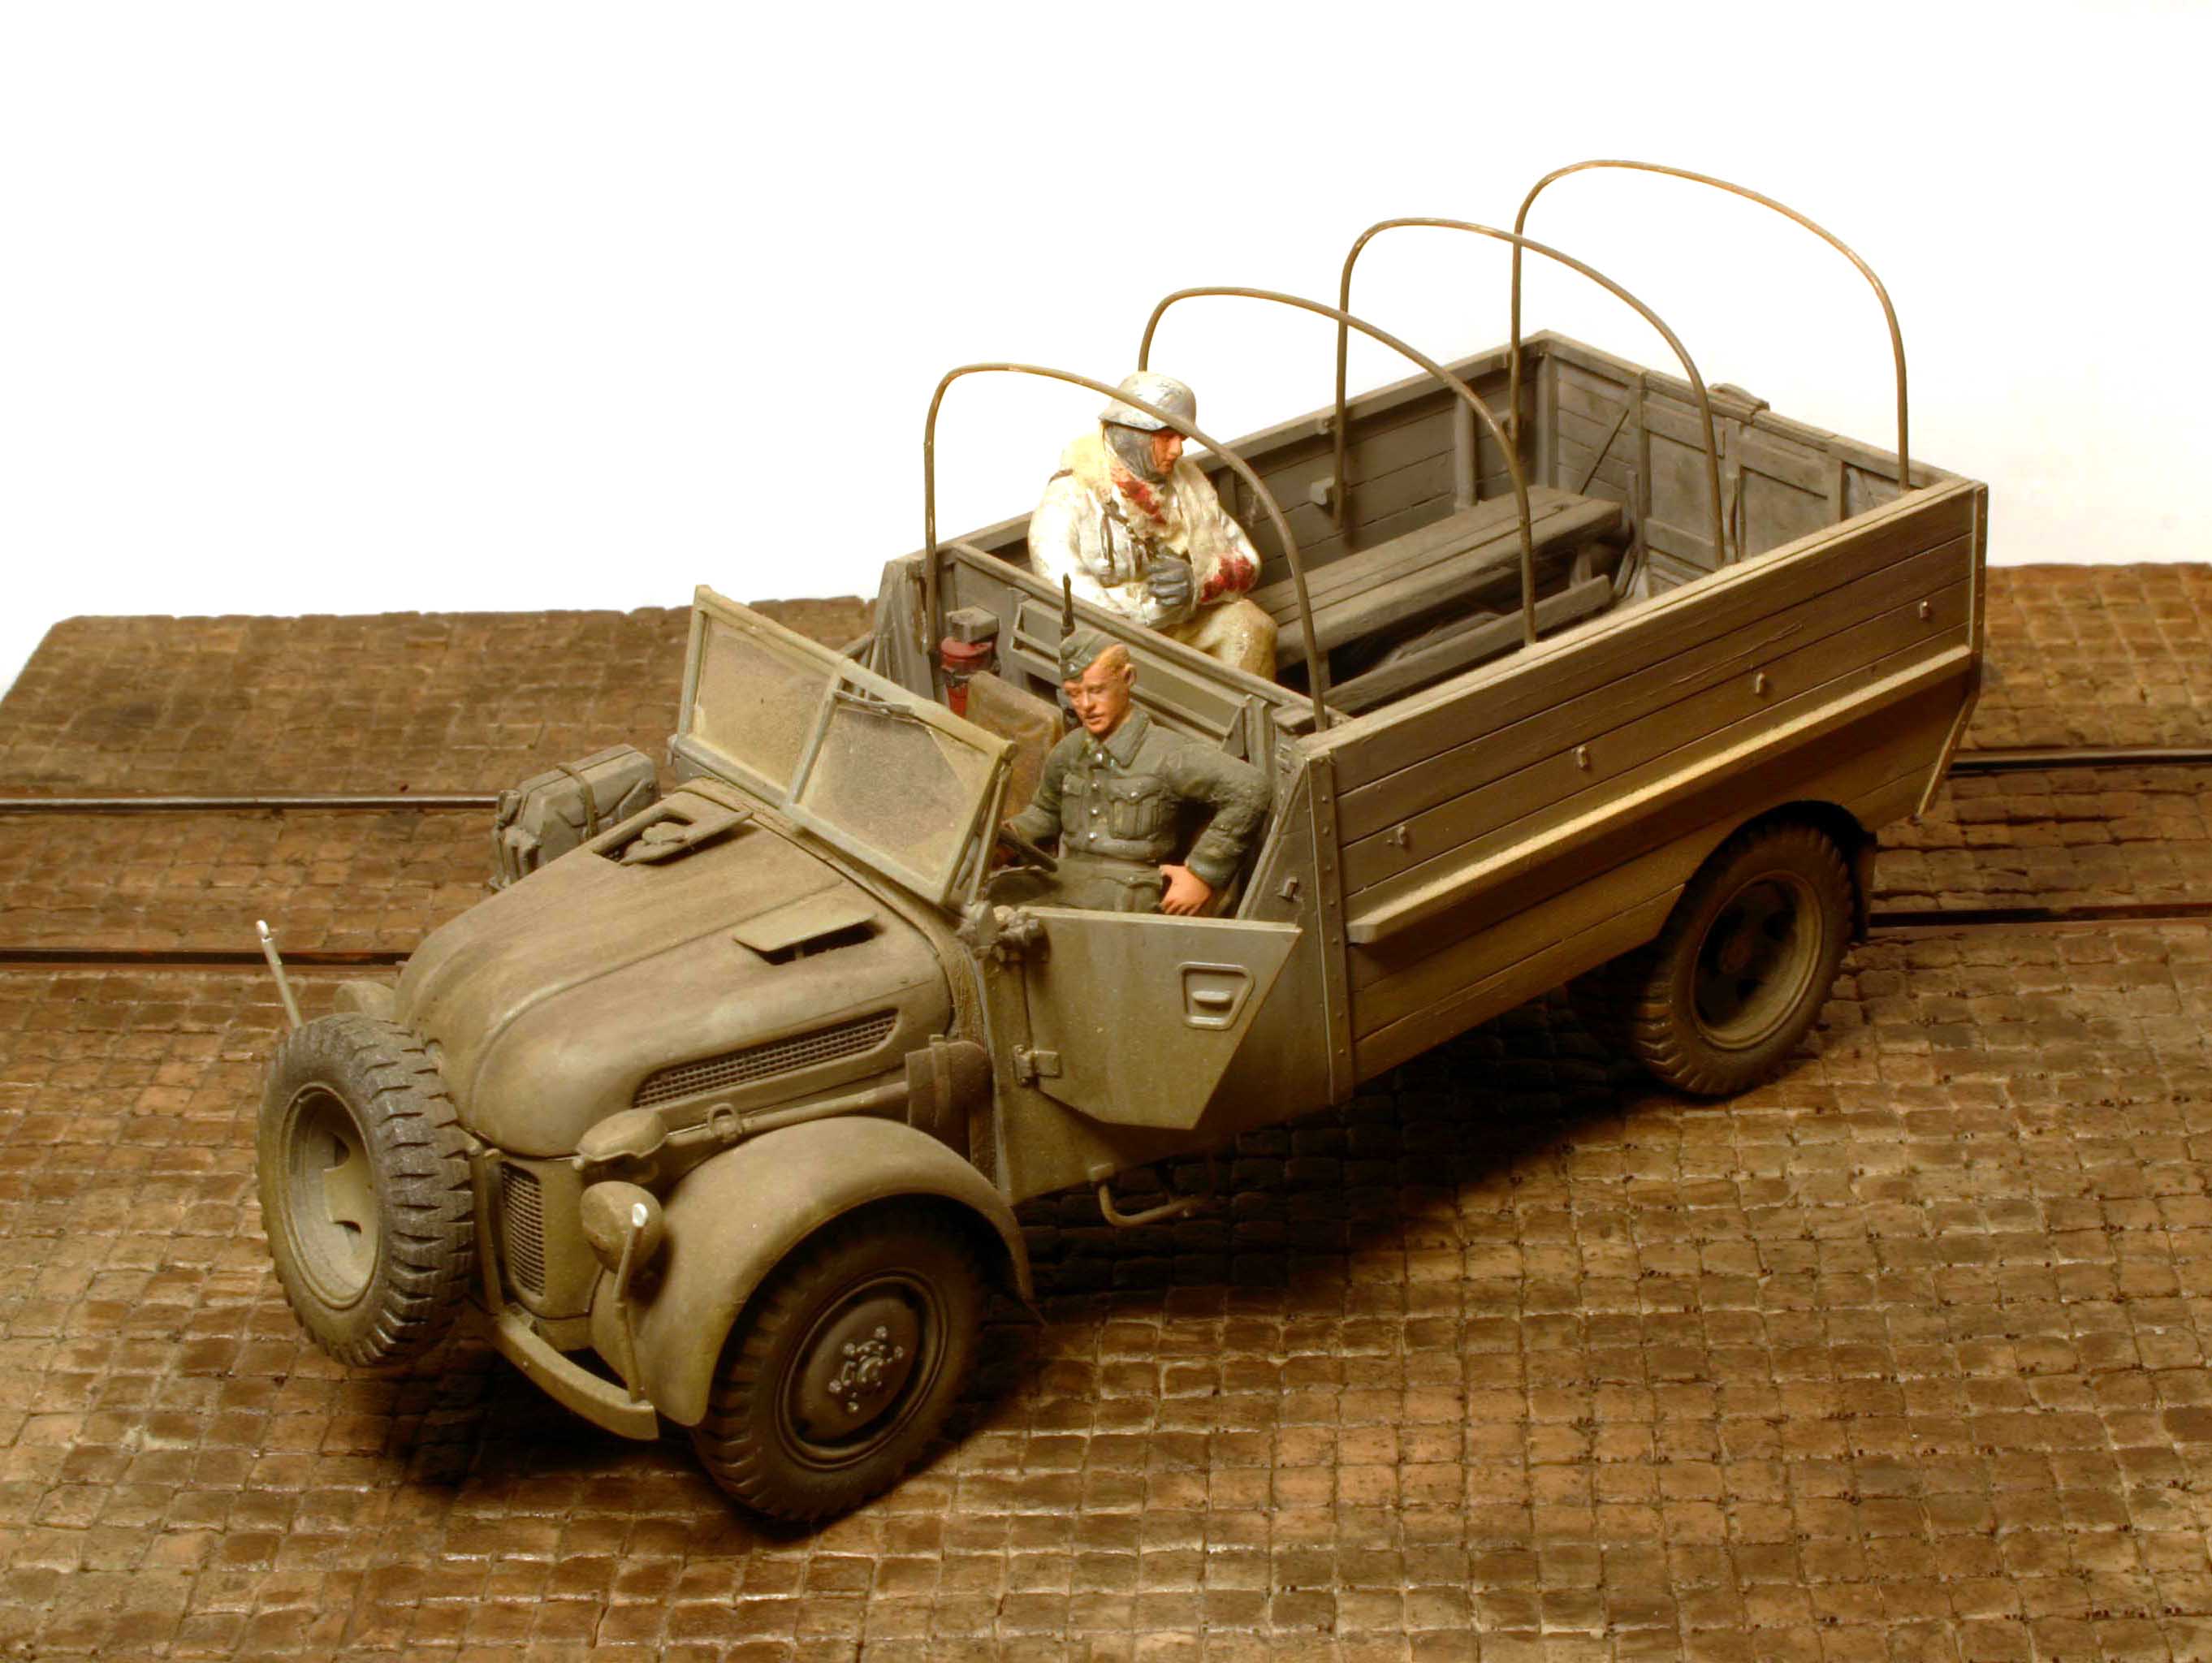
As far as those fragile “Width Indicator” poles go, there are many companies offering brass replacement for there.
Myself I usually replace these rods with small diameter lengths of Evergreen plastic. I dip the tips of these rods in several applications of paint or super glue before painting to form the ball on the end.
The rods that come with the kit are usually oversized anyway (to make them less subject to breaking) but at that small diameter regular model plastic is just too brittle for this job. The Evergreen is much more “rubbery” and usually just bends and then springs back if you happen to hit one.
Plus you end up with a more accurately sized indicator!
I have to start a similar build. It is a quick build just to test brush painting, because I have problems with air brush painting in the winter.
I have found this topic verry interesting.
Now a question: according to today’s knowledge, what is the best shade of sand for an overall sand vehicle in North Africa? For what I see, it should be different according to the timeframe, 1942 or 1943.
mid 1941 to mid 1942: RAL 7008 Graugrun over RAL 8000 Gelbbraun (base color)
mid 1942 to mid 1943: RAL 7027 Grau over RAL 8020 Braun (base color)
The color pairs listed above are close to one another. Under a layer of sand dust, the difference disappears.
Some vehicles ended up being dark gray (and possibly dark brown) with much lighter color(s) as over paint.
Therefore, the color will depend on when and to what unit the vehicle belonged. However, the two schemes listed above are regulation and used for sure.
Now I am considering what acrylic paints have I to approximate suitable colors.
Tamiya are unsuitable by brush, and Gunze are a bit better but not ideal.
Italeri and Valleyo are too frail without a primer, that would require spray or would add too much thickness if painted by brush.
Atom are well covering and resilient, but they can be chemically weakened by the contact of the hands or by washes.
For my limited experience with them, seems that Revell Aqua color are well resilient and cover well. Only, I have very few of them and it is not easy to find them here.
I have Ocker 88, Grau 57, helloliv 45, earth brown 87, plus some yellow, white, black and dark red. I would use some Revell, eventually mixed, at least for the base coat, then I could use paints of other brands over it if necessary.
So I would see if Ochra 88 is similar to RAL 8000, helloliv 45 is similar to RAL 7008, or if RAL 8020 is similar to 87, and 7027 is similar to RAL 8020.
I suppose that the RAL colors of wartime weren’t the same of present RAL catalogue.
It seems that there are not consistent ideas on how those colors appeared. After some tests, I think that the 7027 could be similar to revell 87, while the 8020 seems some sort of tan. I could try to mix the revell 88 to make it a bit darker and more reddish.
Or, I could paint all in panzergrau and splash it with a layer of mud- like paint, maybe washable. I’ll have to decide. In this case, I should put the decals on before the mud.
Only, the mud should be rough and somewhat thick, and this would make my experiment on acrilic paint less clear.