@D1GG3r321 nice work there mate
1 Like
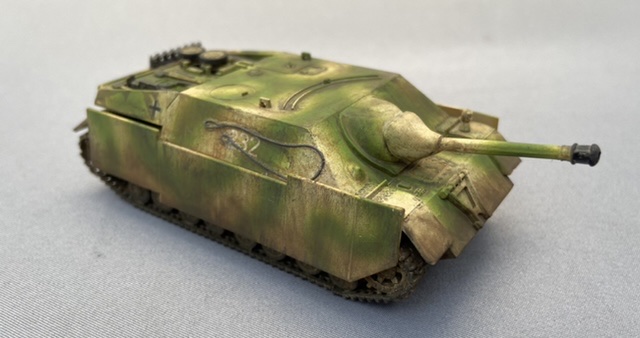
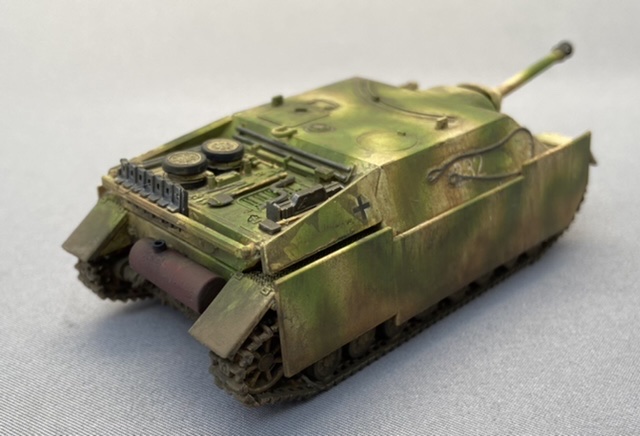
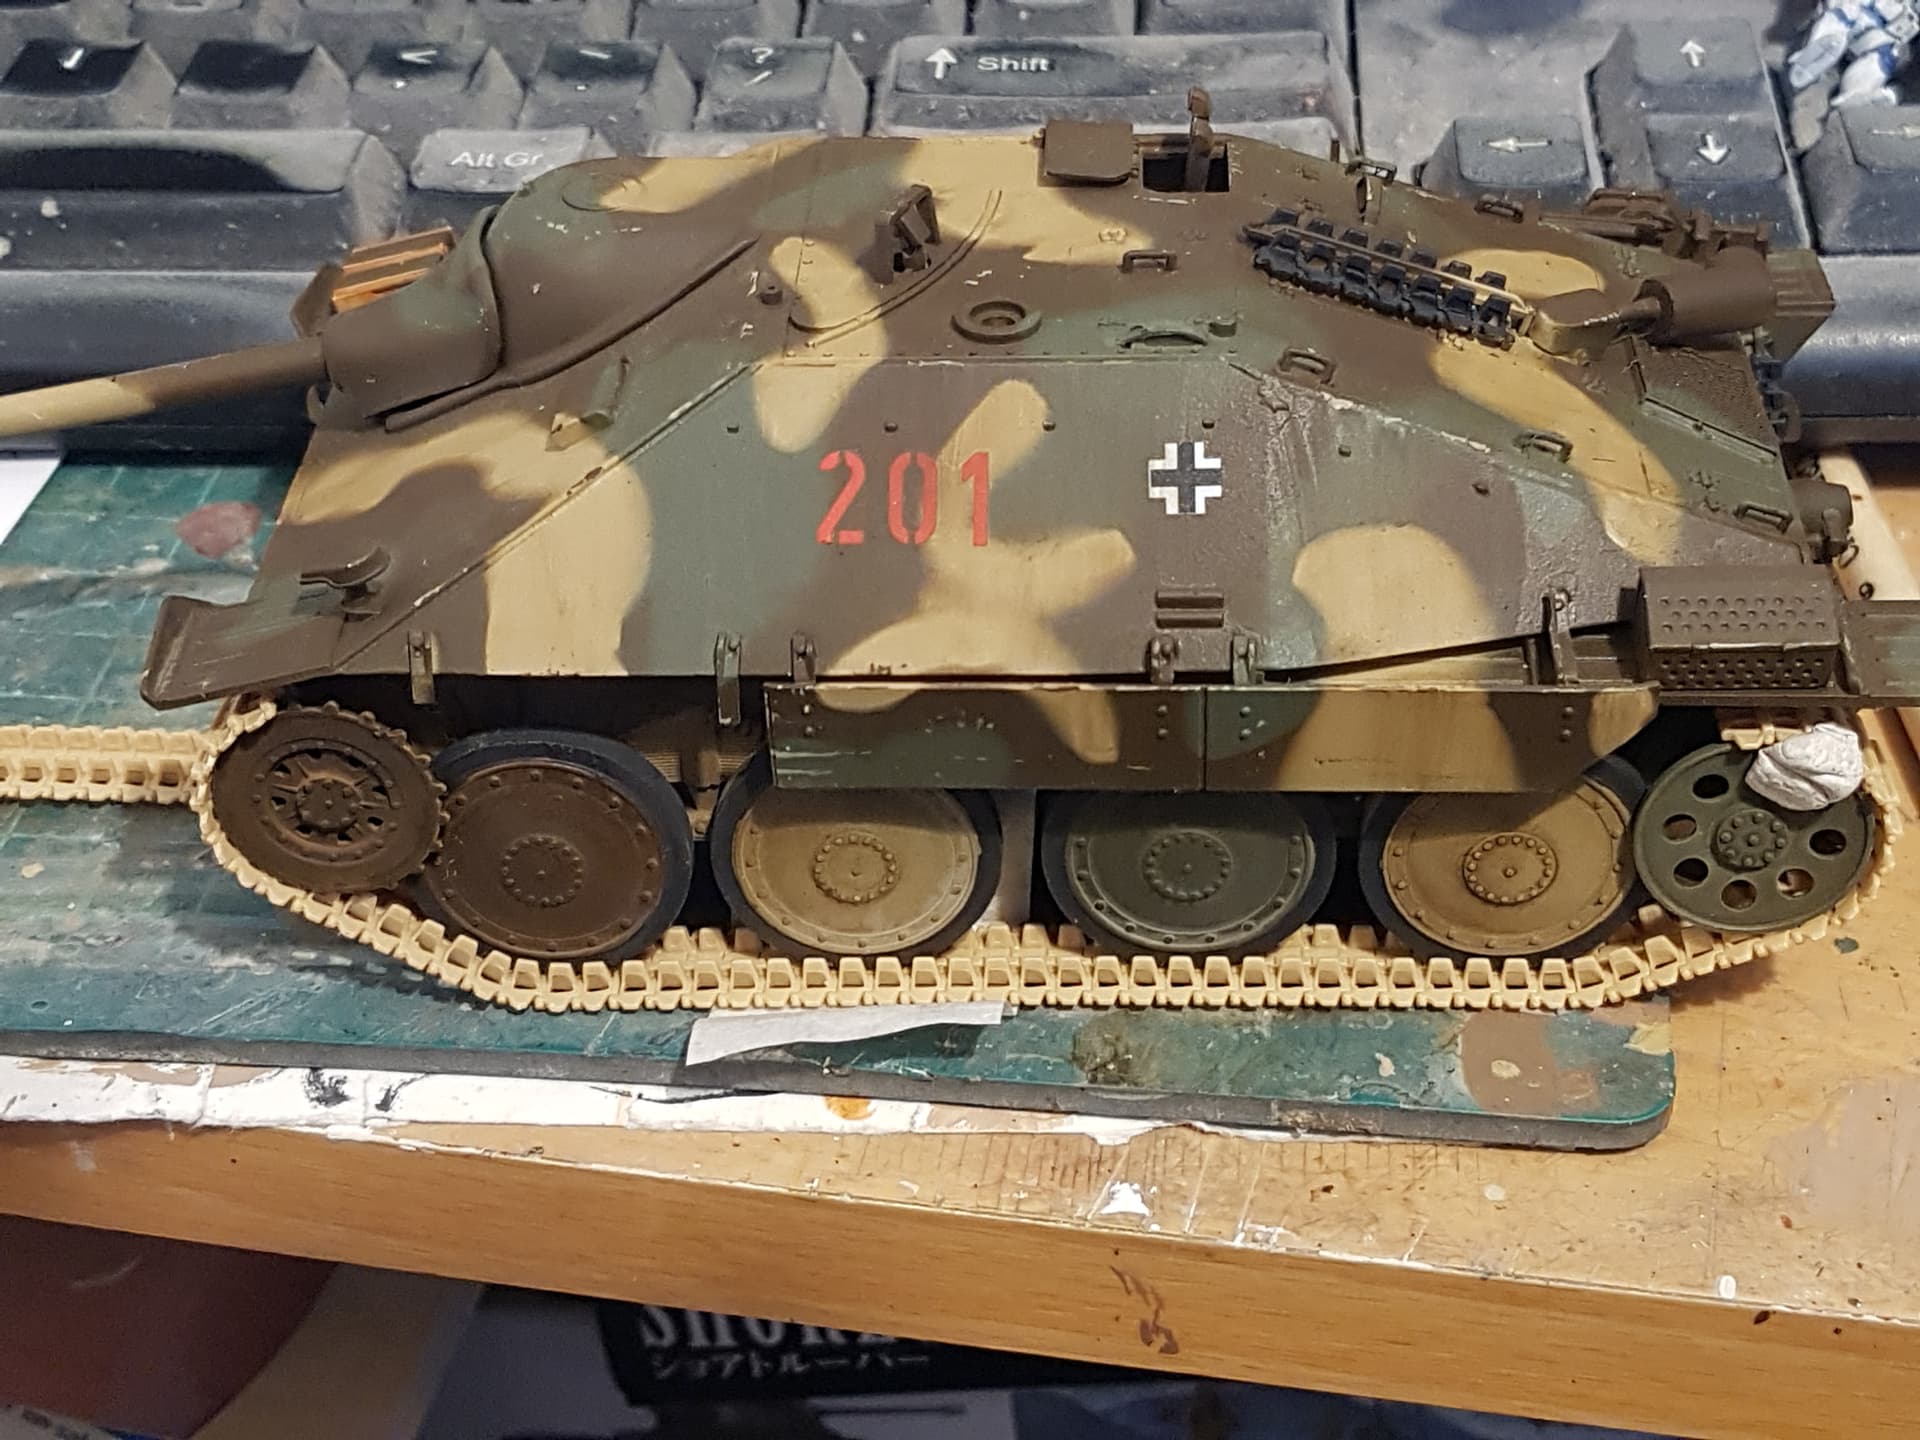
I am calling this one done. Very old school 1/72 ESCI jagdpanzer IV. A beautiful little kit that is clearly inaccurate in a number of areas, but still pleasant to build.
Looking forward to see what other entries will be in this campaign ![]()
10 Likes
Nice job Jesper
1 Like
Thanks for the comments, guys. Super nice and nostalgic build. I remember these ESCI kits from my childhood. The dimensions are significantly off in a lot of areas, but only matchbox compares in nostalgia in my world ![]()
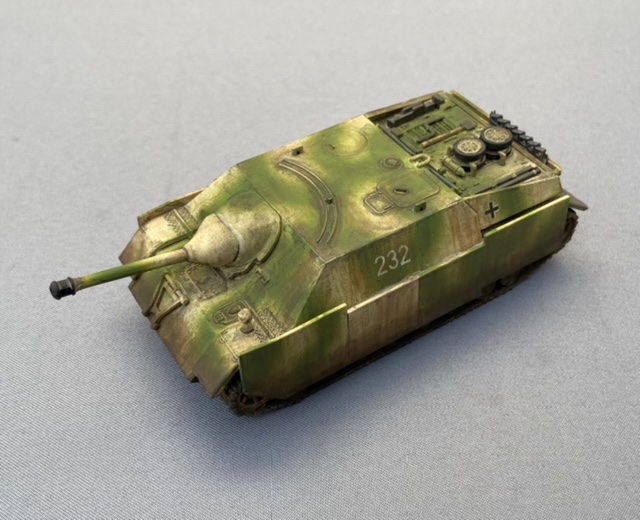
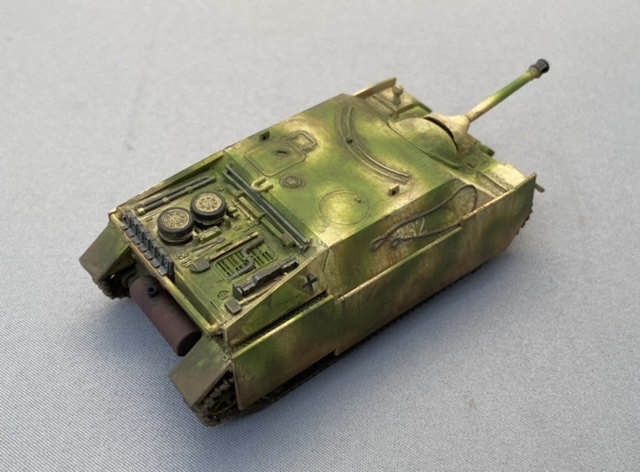
@petbat, I am still mustering the courage to leave the tools in the color of the camouflage. Old habits die hard ![]() Soon I will build a tank with all the tools in camo color, but weathered to show their use. It will be a nice little challenging exercise.
Soon I will build a tank with all the tools in camo color, but weathered to show their use. It will be a nice little challenging exercise. ![]()
2 Likes
Ha ha. US vehicle tools were painted the same colour but not all German ones had camo over the tools - usually just the field painted ones. Just remember the fire extinguisher was never over painted… I got that from an old German tanker. It was what they were taught - you never want that stuck down by paint.
1 Like
Nice work Jesper! Certainly looks used.
1 Like
Thanks for the comments, Guys. With German vehicle equipment it is basically anything goes. ![]()
1 Like
so ive been putting this off, doing the tracks that is. the war in the Ukraine put another problem my way as i planned on using a short cut by buy pre assembled fruil tracks for my hetzer but that company has shutdown due to the war.
this is only my second attempt at doing these indy link type tracks and i am focusing on one side at a time.
2 Likes
At first glance I thought those were DS tracks due to the colour! Getting the top run in will be fun with that side skirt in the way. I tend to build mine in three parts - the top run, the idler & bottom as a run, and the few links needed to go round the sprocket. And I like to do them before the model gets as far as painting, but I too have been caught out (like with my Italeri JP4) and turned to indy links after other tracks had failed…
Great work David. They are not as difficult as you think are they?
A long length if allowed to set a bit should be quite easy to slip in behind the skirts from the idler end. I have done this on my Matilda and Churchill tanks.
The real trick you will need to pull off David will be the join on the idler which will have no visible support and the drive sprocket as the link will need to go under the one on the sprocket. I usually join mine at the 3 o’clock/9 o’clock position as access is so much easier and the wheel/sprocket supports the tracks as you press the joins together.
I suggest that a strip of styrene blu-tac’d in place across the idler might be in order to help you align the join when you get to that.
1 Like
They are technically link and length and not individually tracks except around the sprocket and idler.
How I like to build them before adding the skirts. This is the Tamiya kit but Academy/Airfix is the same.
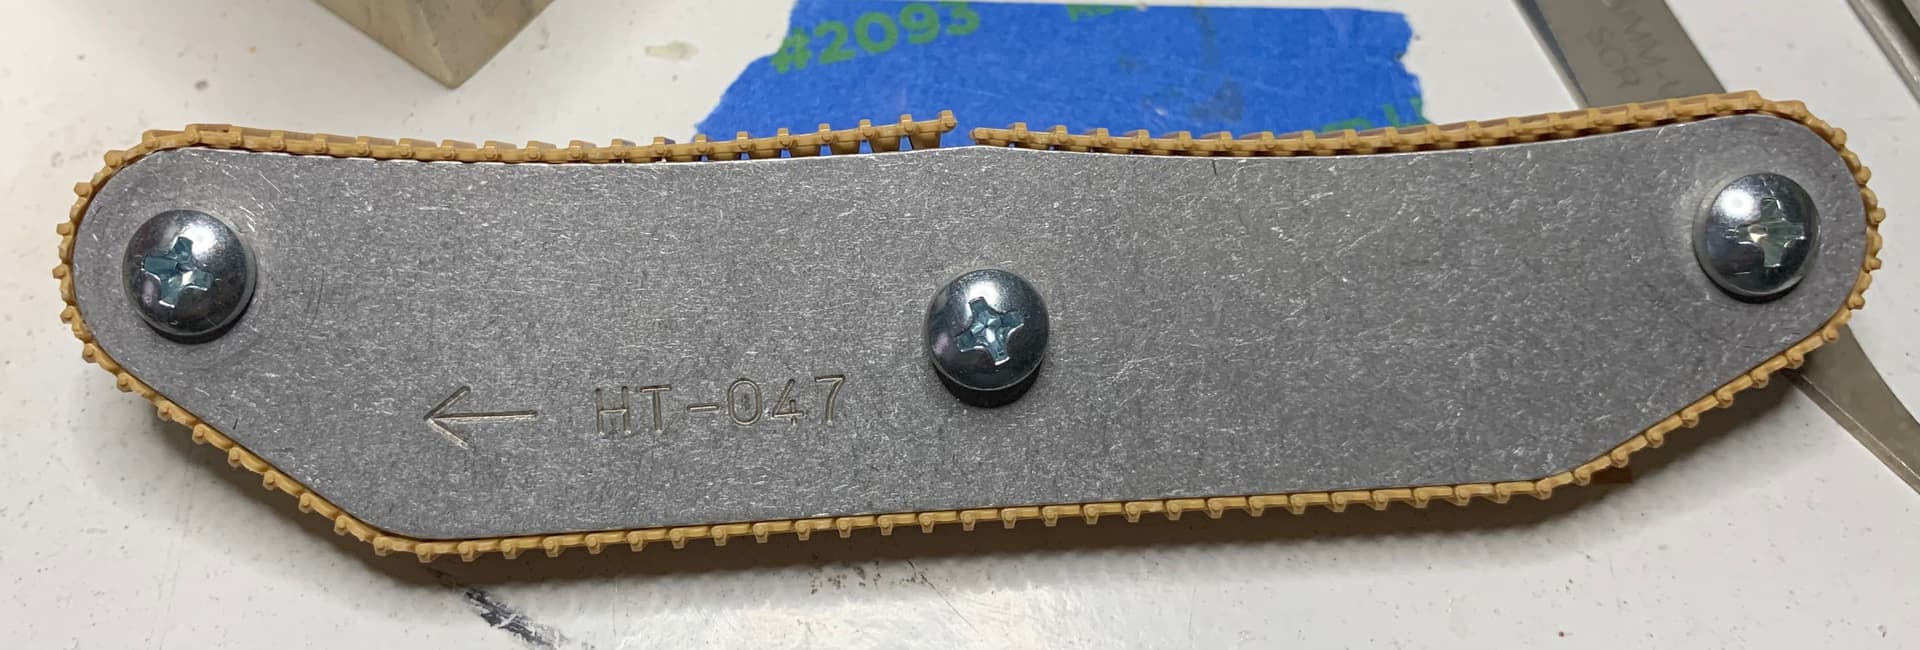
What’s going on with that jig? Did you make that?
Greatest thing since sliced bread. ![]() This one is made by Hobbytrax, https://www.hobbytrax.net/
This one is made by Hobbytrax, https://www.hobbytrax.net/
They have a general purpose set if you don’t want a specific vehicle. I think I have about 5 or so Hetzer kits so it seemed worth it to me.
2 Likes
@barkingdigger @petbat @Tank_1812
the track isn’t fully glued yet, there is a bit of tape holding some together. i plan to make two sections in the shape of the letter ‘J’ slide them in place once painted and super glue those two parts togerher, what say you experts?
1 Like
I think that would work.
That sounds good! Make sure the joints sit on the idler & sprocket so the links on both ends have support - if possible putting the joints at the 12o’clock position on each should do it. (I once tried a “floating” join between wheels and it was a nightmare…)
1 Like
This is solid advice, I did a floating join on my panzer I, not only was getting the join to like you a PITA, the join was weaker than one on the wheel itself
1 Like
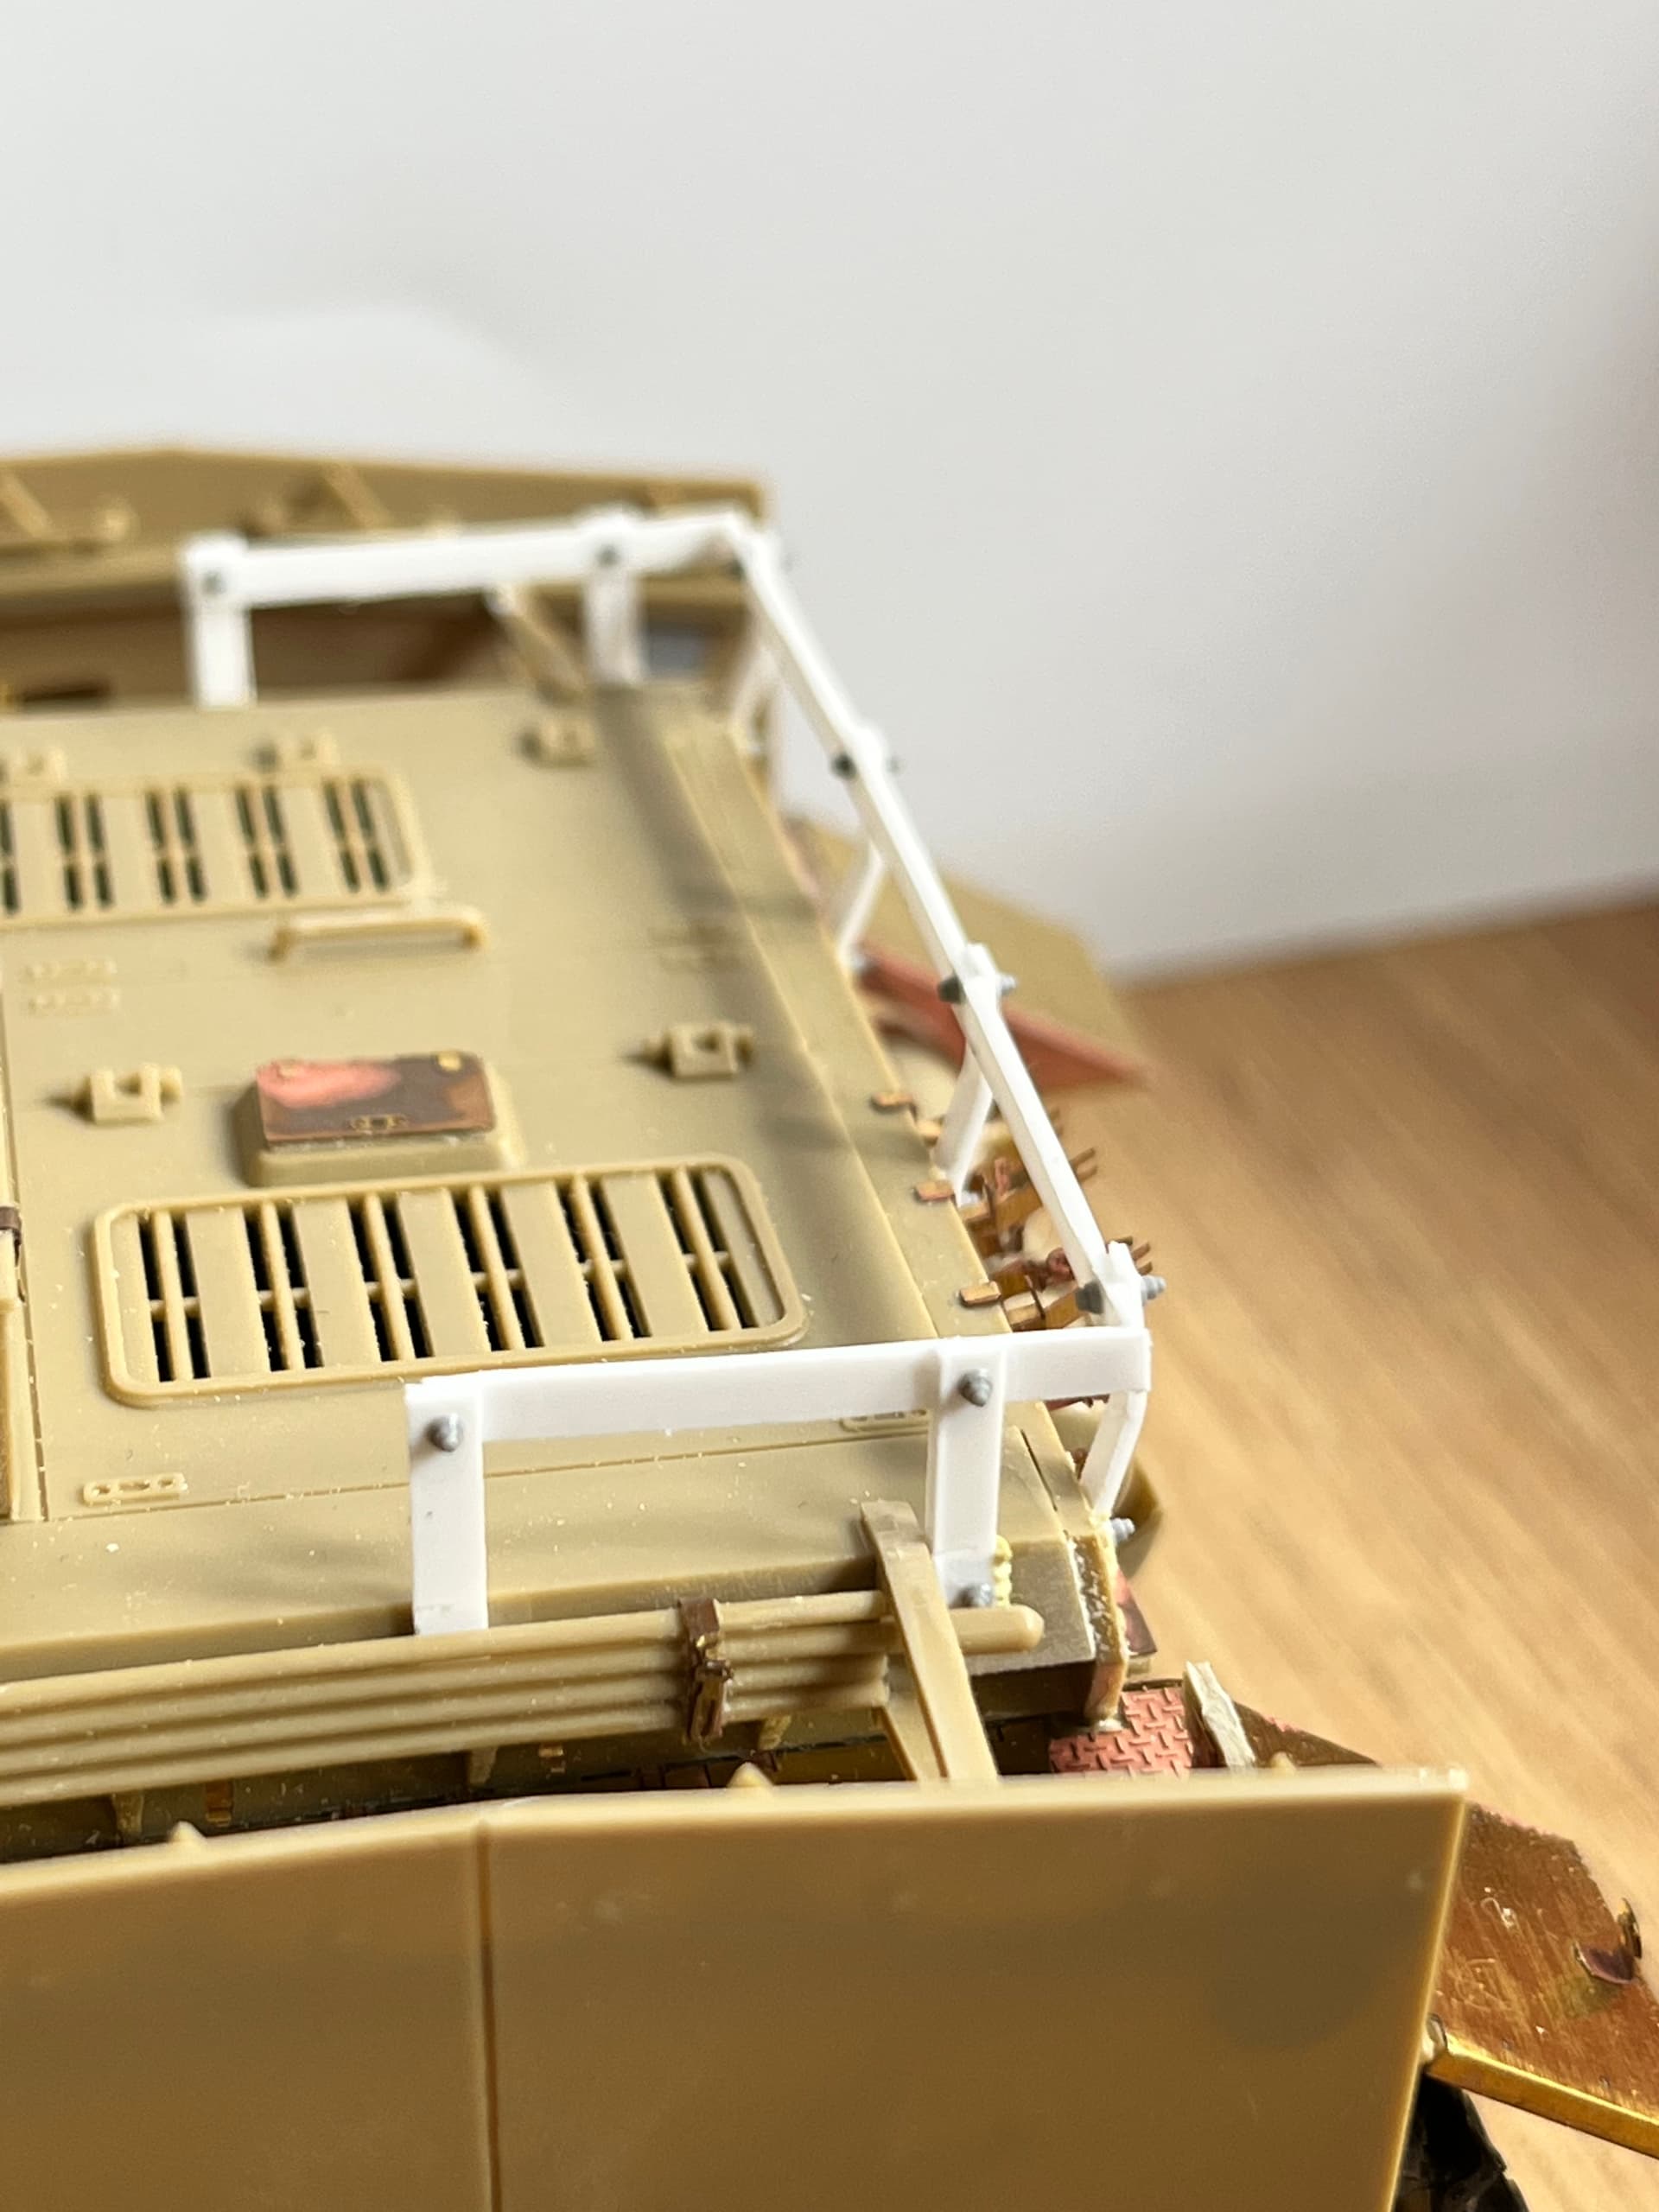
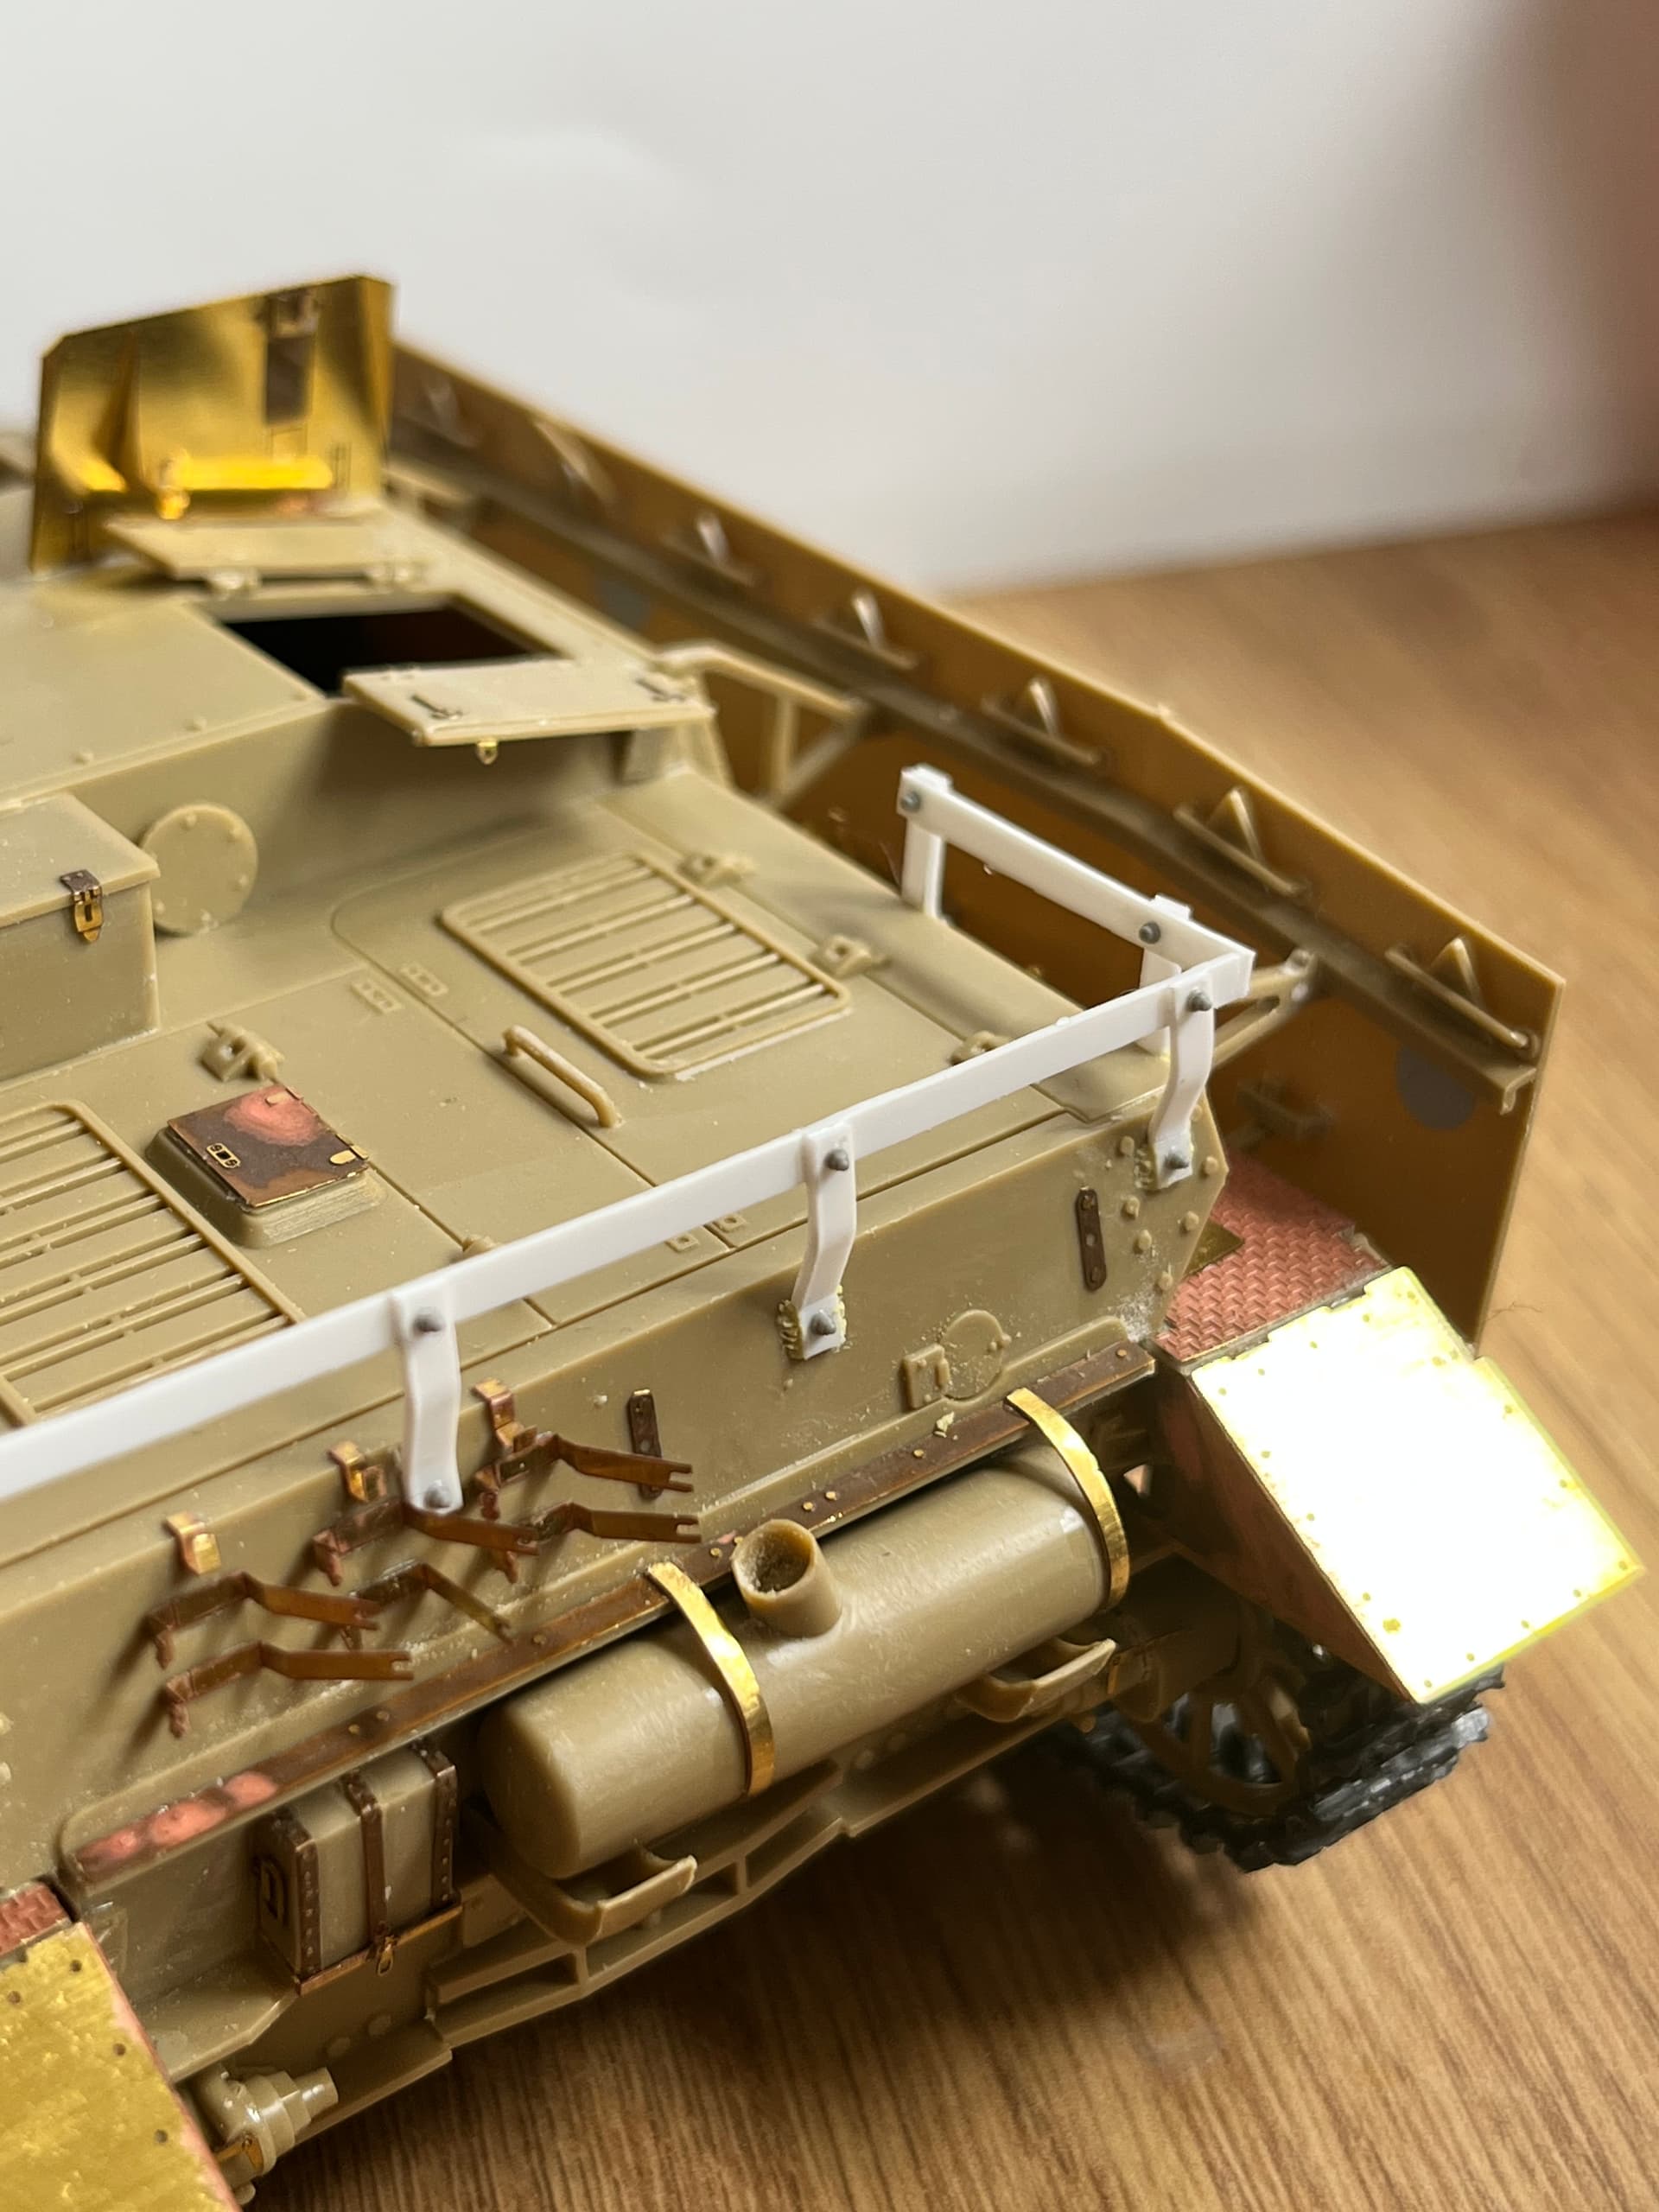
Thought I’d try my hand at a bit of scratch building for this build. First time so kept it simple and went for an after factory stowage rack. I couldn’t really find any source photos for a Stug IV, most stowage racks being for the III. Don’t imagine it matters too much for something field applied.
Also added a couple of weld beads, but my first attempts look a little more Soviet than German! Time to get some paint on and then add some stowage.
11 Likes
Looks good, Digger! Some very nice details and unique field modification.
1 Like