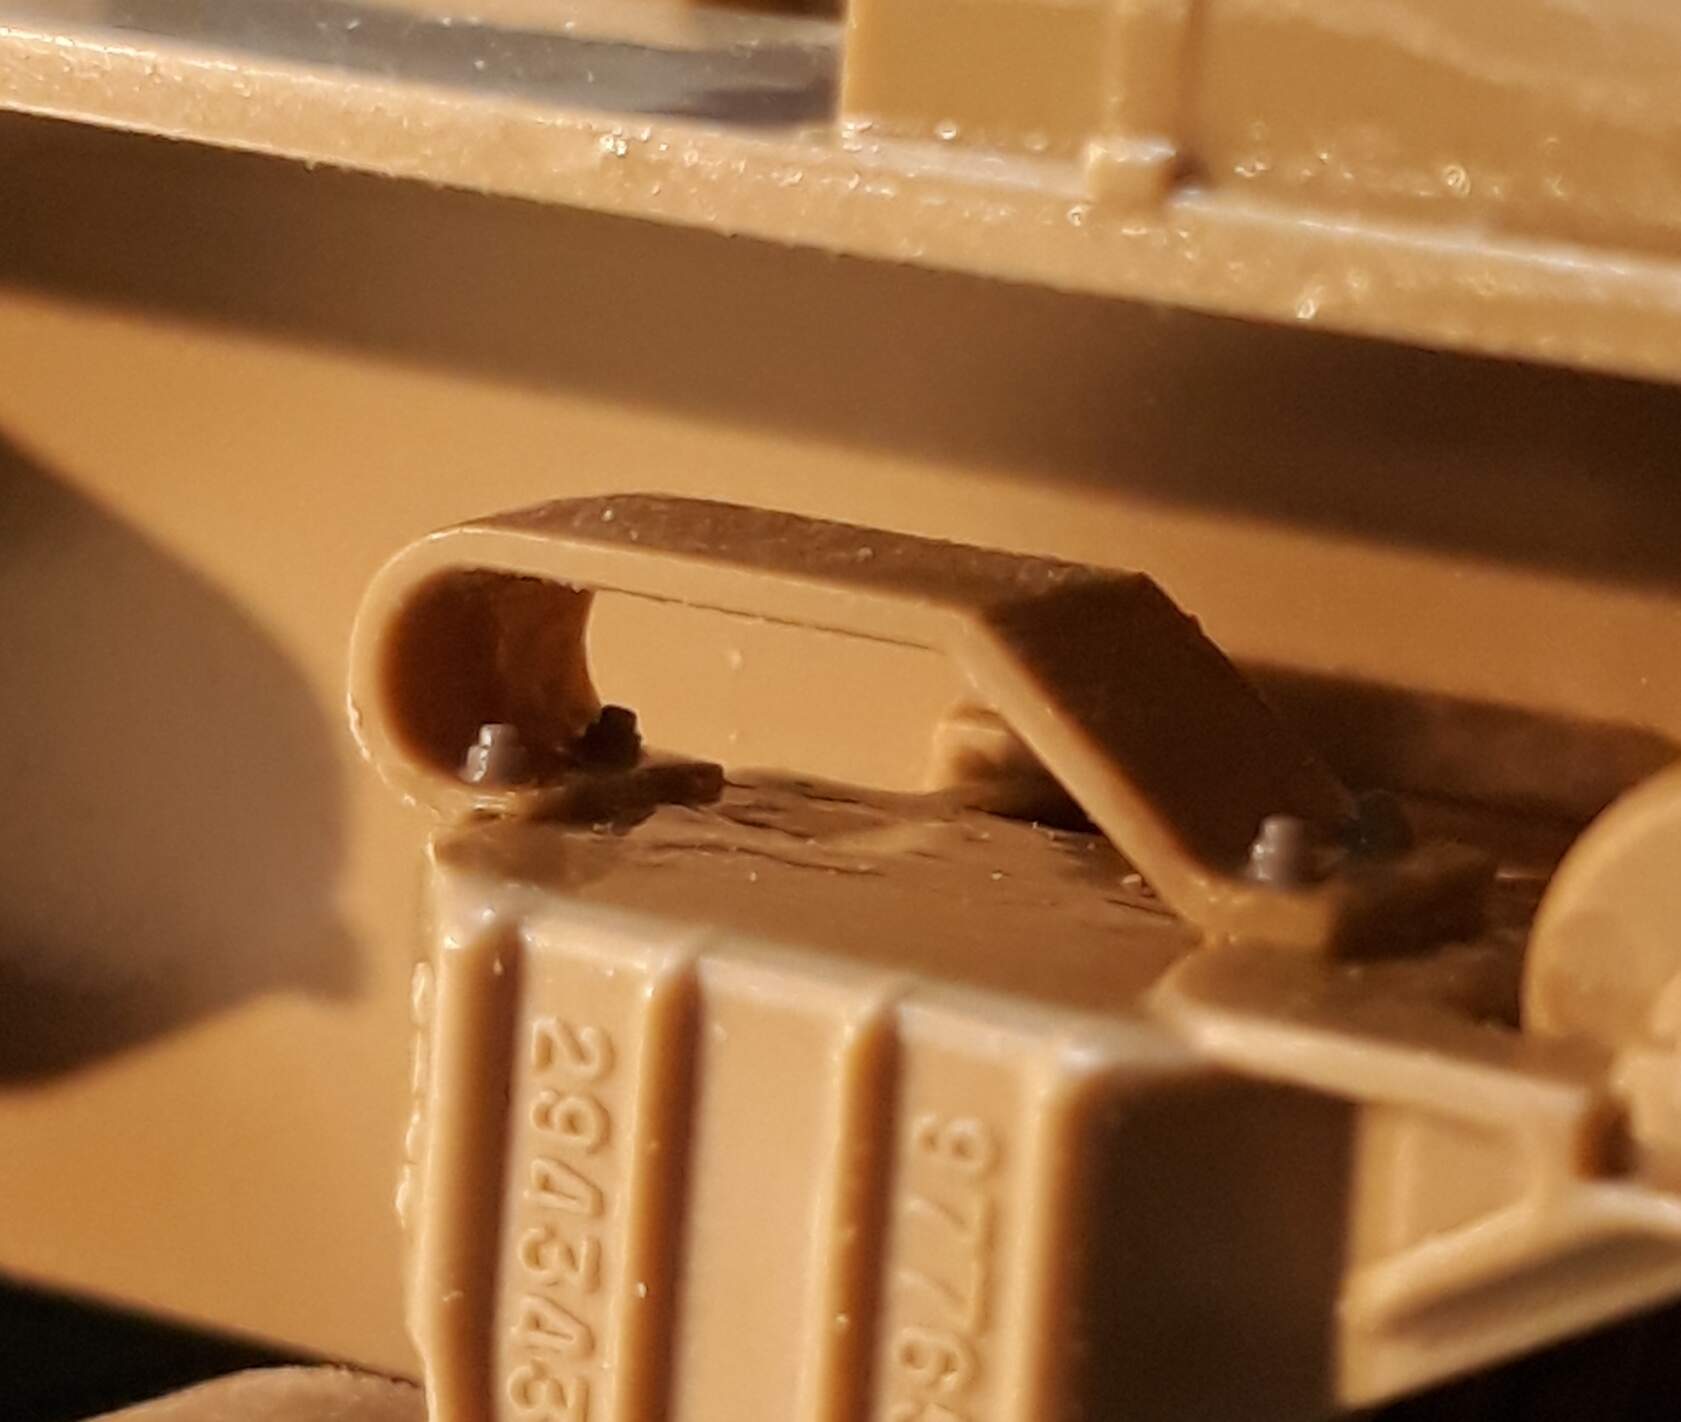
Looks great - what are the bolt heads? Must be absolutely tiny and a nightmare to get in
position?
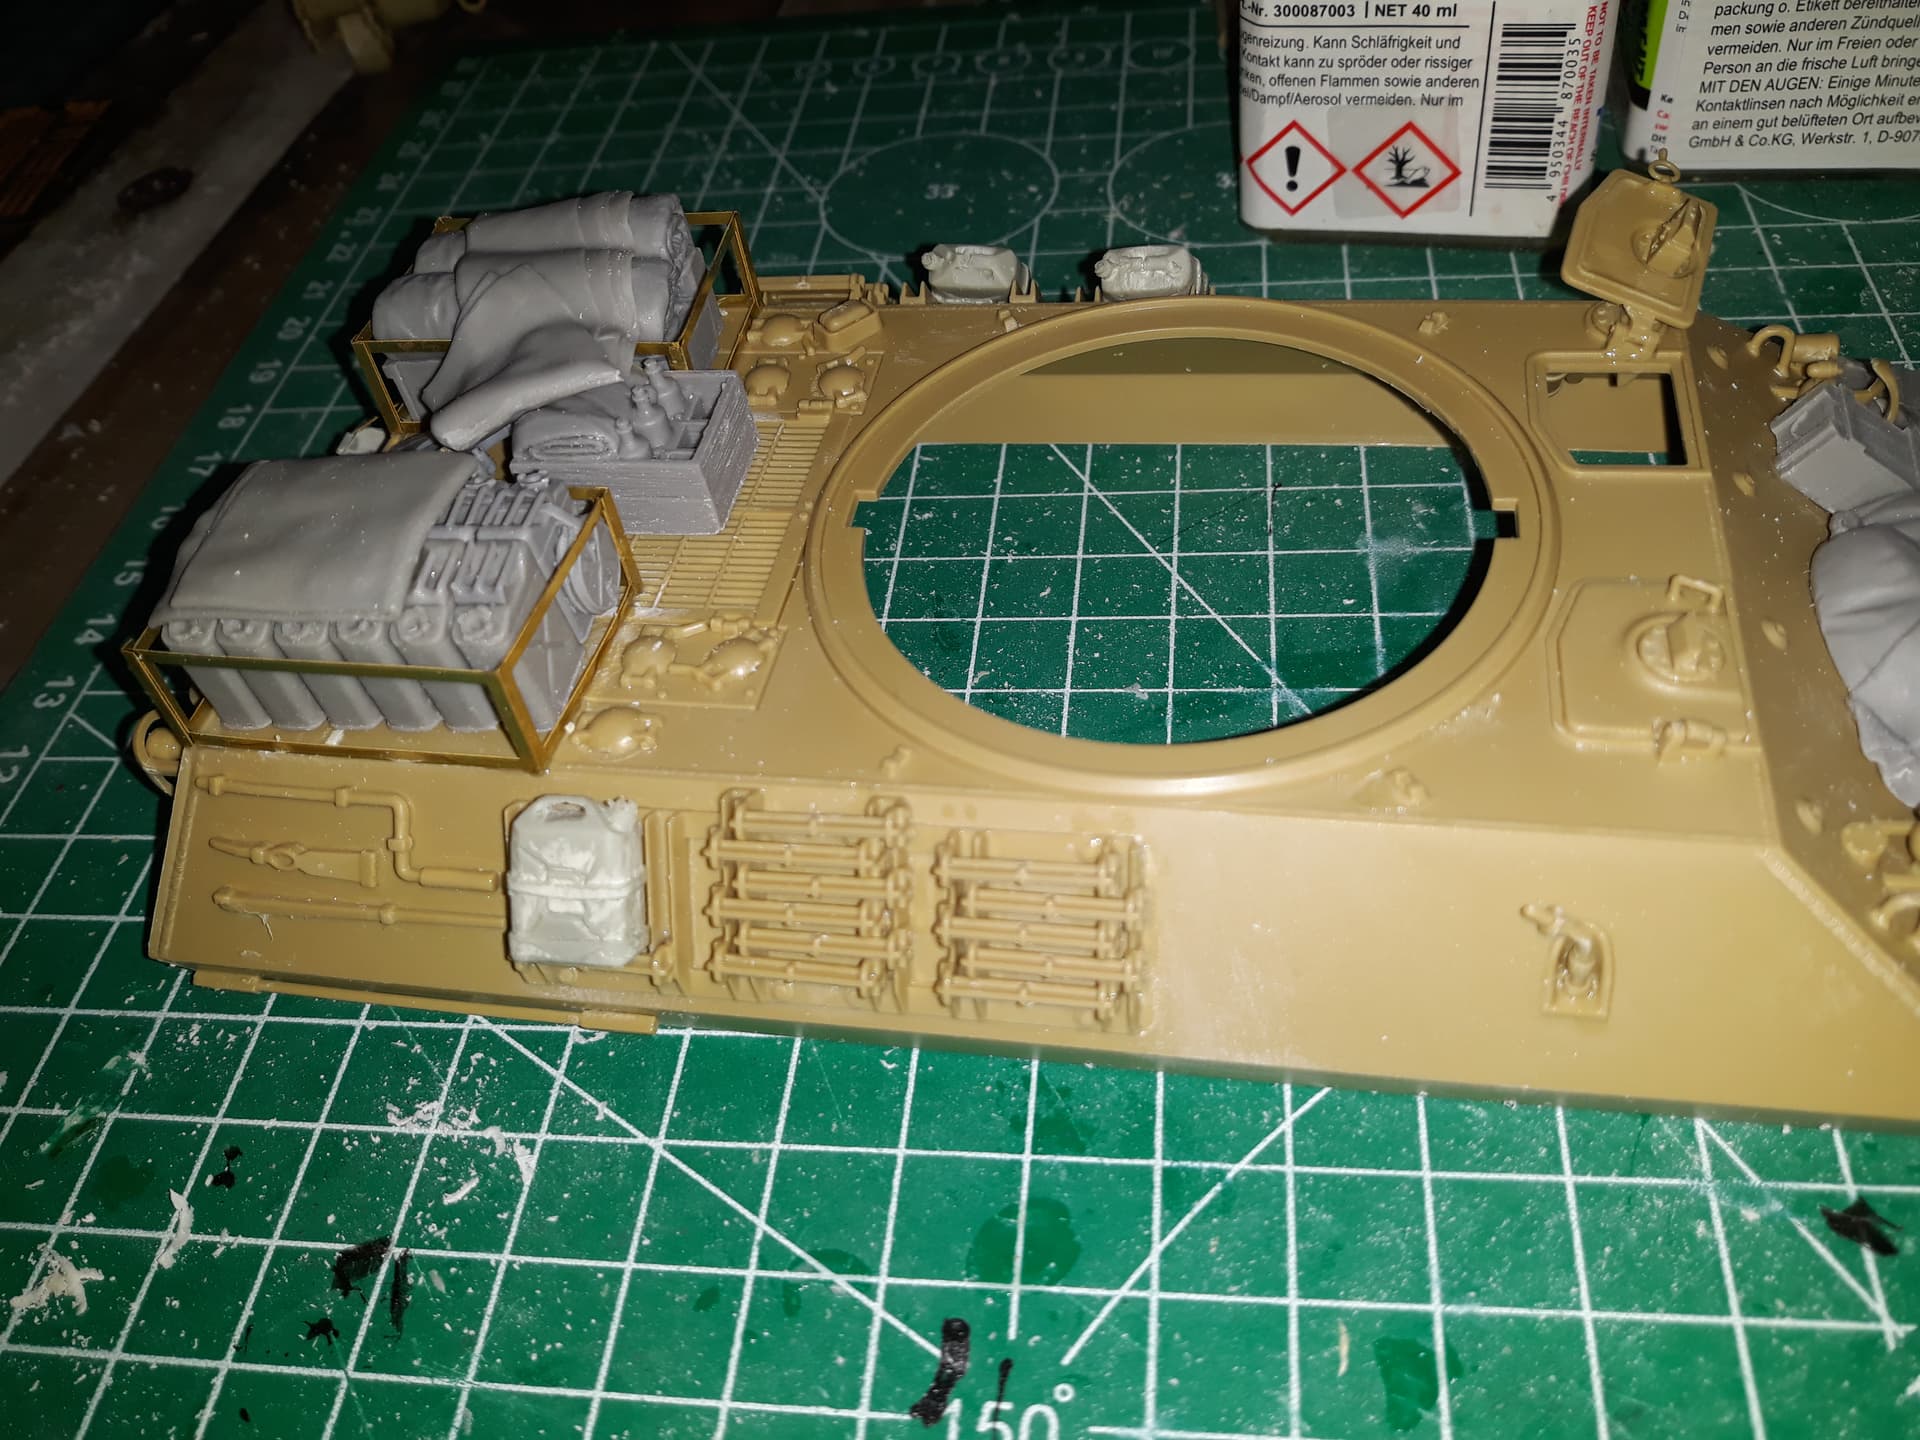
@PeteDoc meng nuts and bolts 0.8mm. Actually easier than you might think. They slice off well with an exacto knife chisel blade (#17) and pop in place with tweezers. Because their hex bolts you can grip and put in place with tweezers with gentle pressure.
2 Likes
Hi all, decided to enter this campaign… I have this to build:

Another kit I bought with some extra’s in it… and another one that I will be building to place in my IDF diorama.
I hope the 2 months will be enough, normally it would, but with the nice weather starting, other activities also come into one’s live…
4 Likes
Can’t wait to see you tackle that Achilles! That kit started me on an “interior” craze when it first came out…
1 Like
Interested to see how it comes out, especially in relation to the IDF Diorama.
AFIK the IDF never had these tank destroyers in service, but the did face them as Egypt got some from the UK
1 Like
WelI, acording to this article the IDF did use them… so that’s what I am going by…
Edit: it seems they were withdrawn from service in 1966, but… I like the model so I will most probably use it in my diorama…
Thanks, must say, it will be the first time I am doing an interior kit as well…


It’s an ex IDF Achilles so it’ll show some of the modifications, specifically to the sight arrangement
1 Like
Thank you for the article and the enlightenment. So you learn something new every day.
1 Like
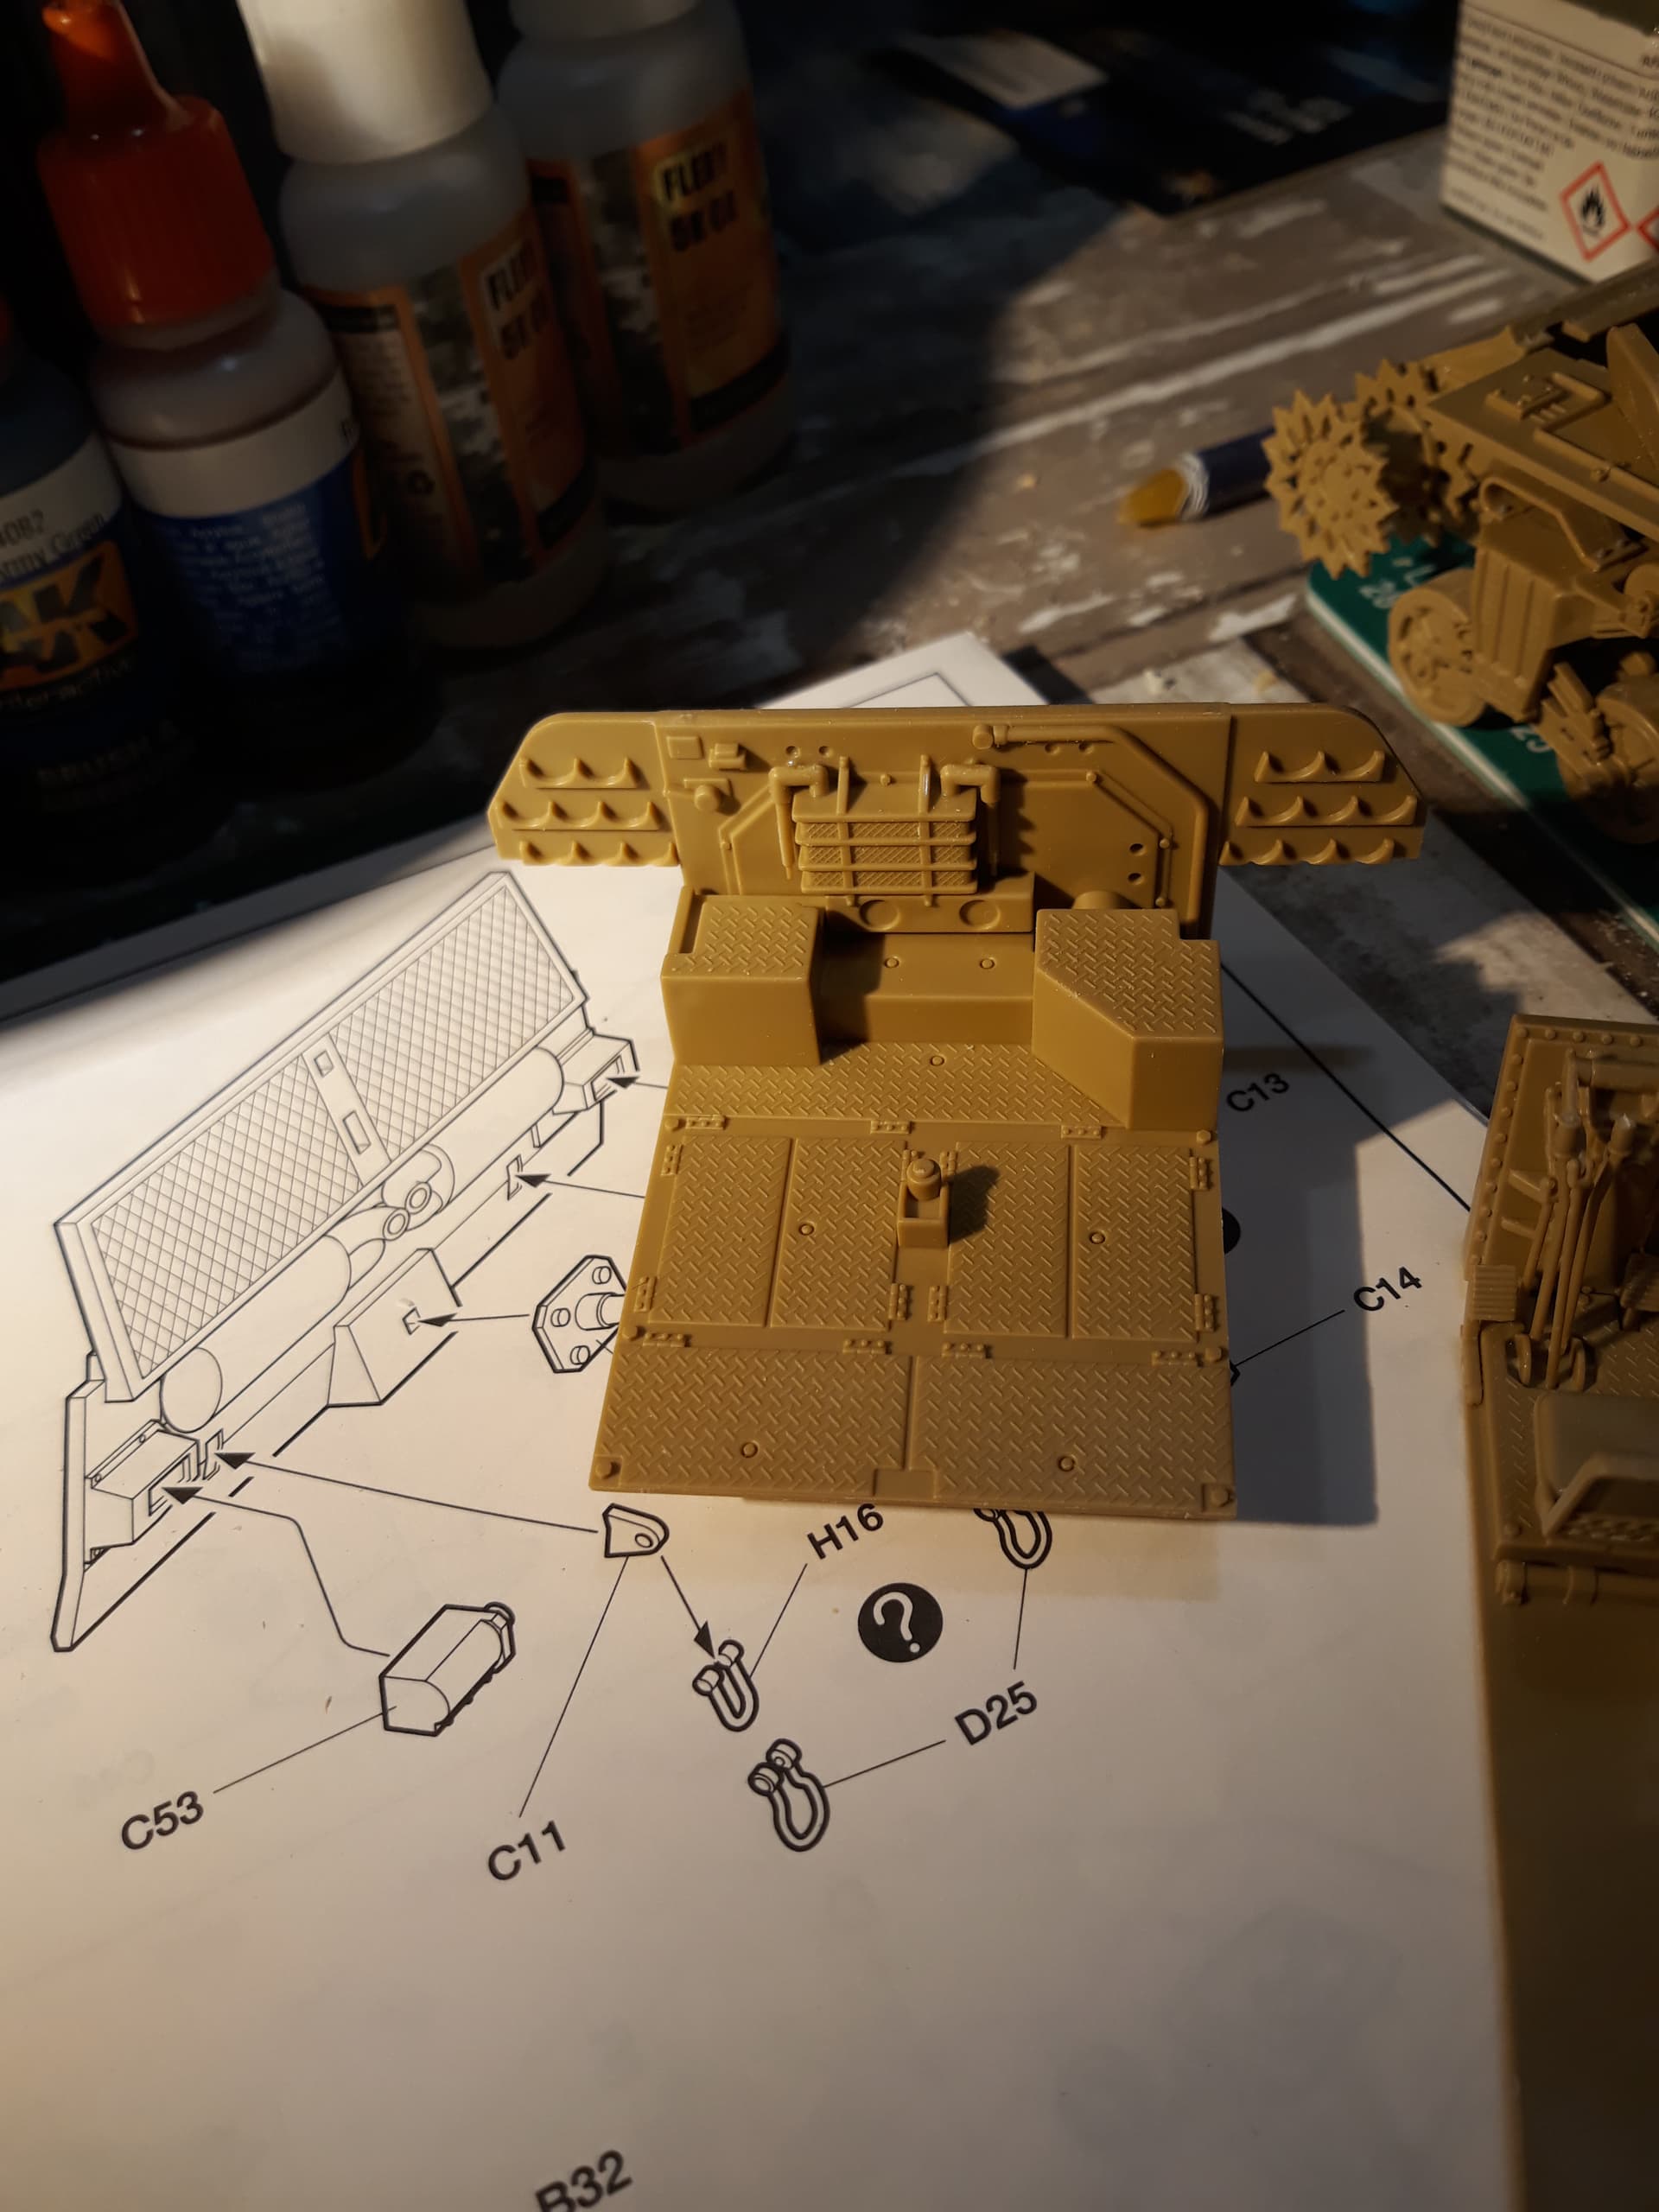
@Canmedic : thanks for the links, will be a good help as the instructions are not to clear on which parts to use for which type of Achilles…
@Armournovice : youre welcome, and we all learn something every day… I only noticed today they were taken out of service before the six day war…
1 Like
In fact it seems from this article that they were more trouble than their worth, and although Israel had them in 1956 they weren’t used in combat and finally withdrawn before the 6 days war.
1 Like
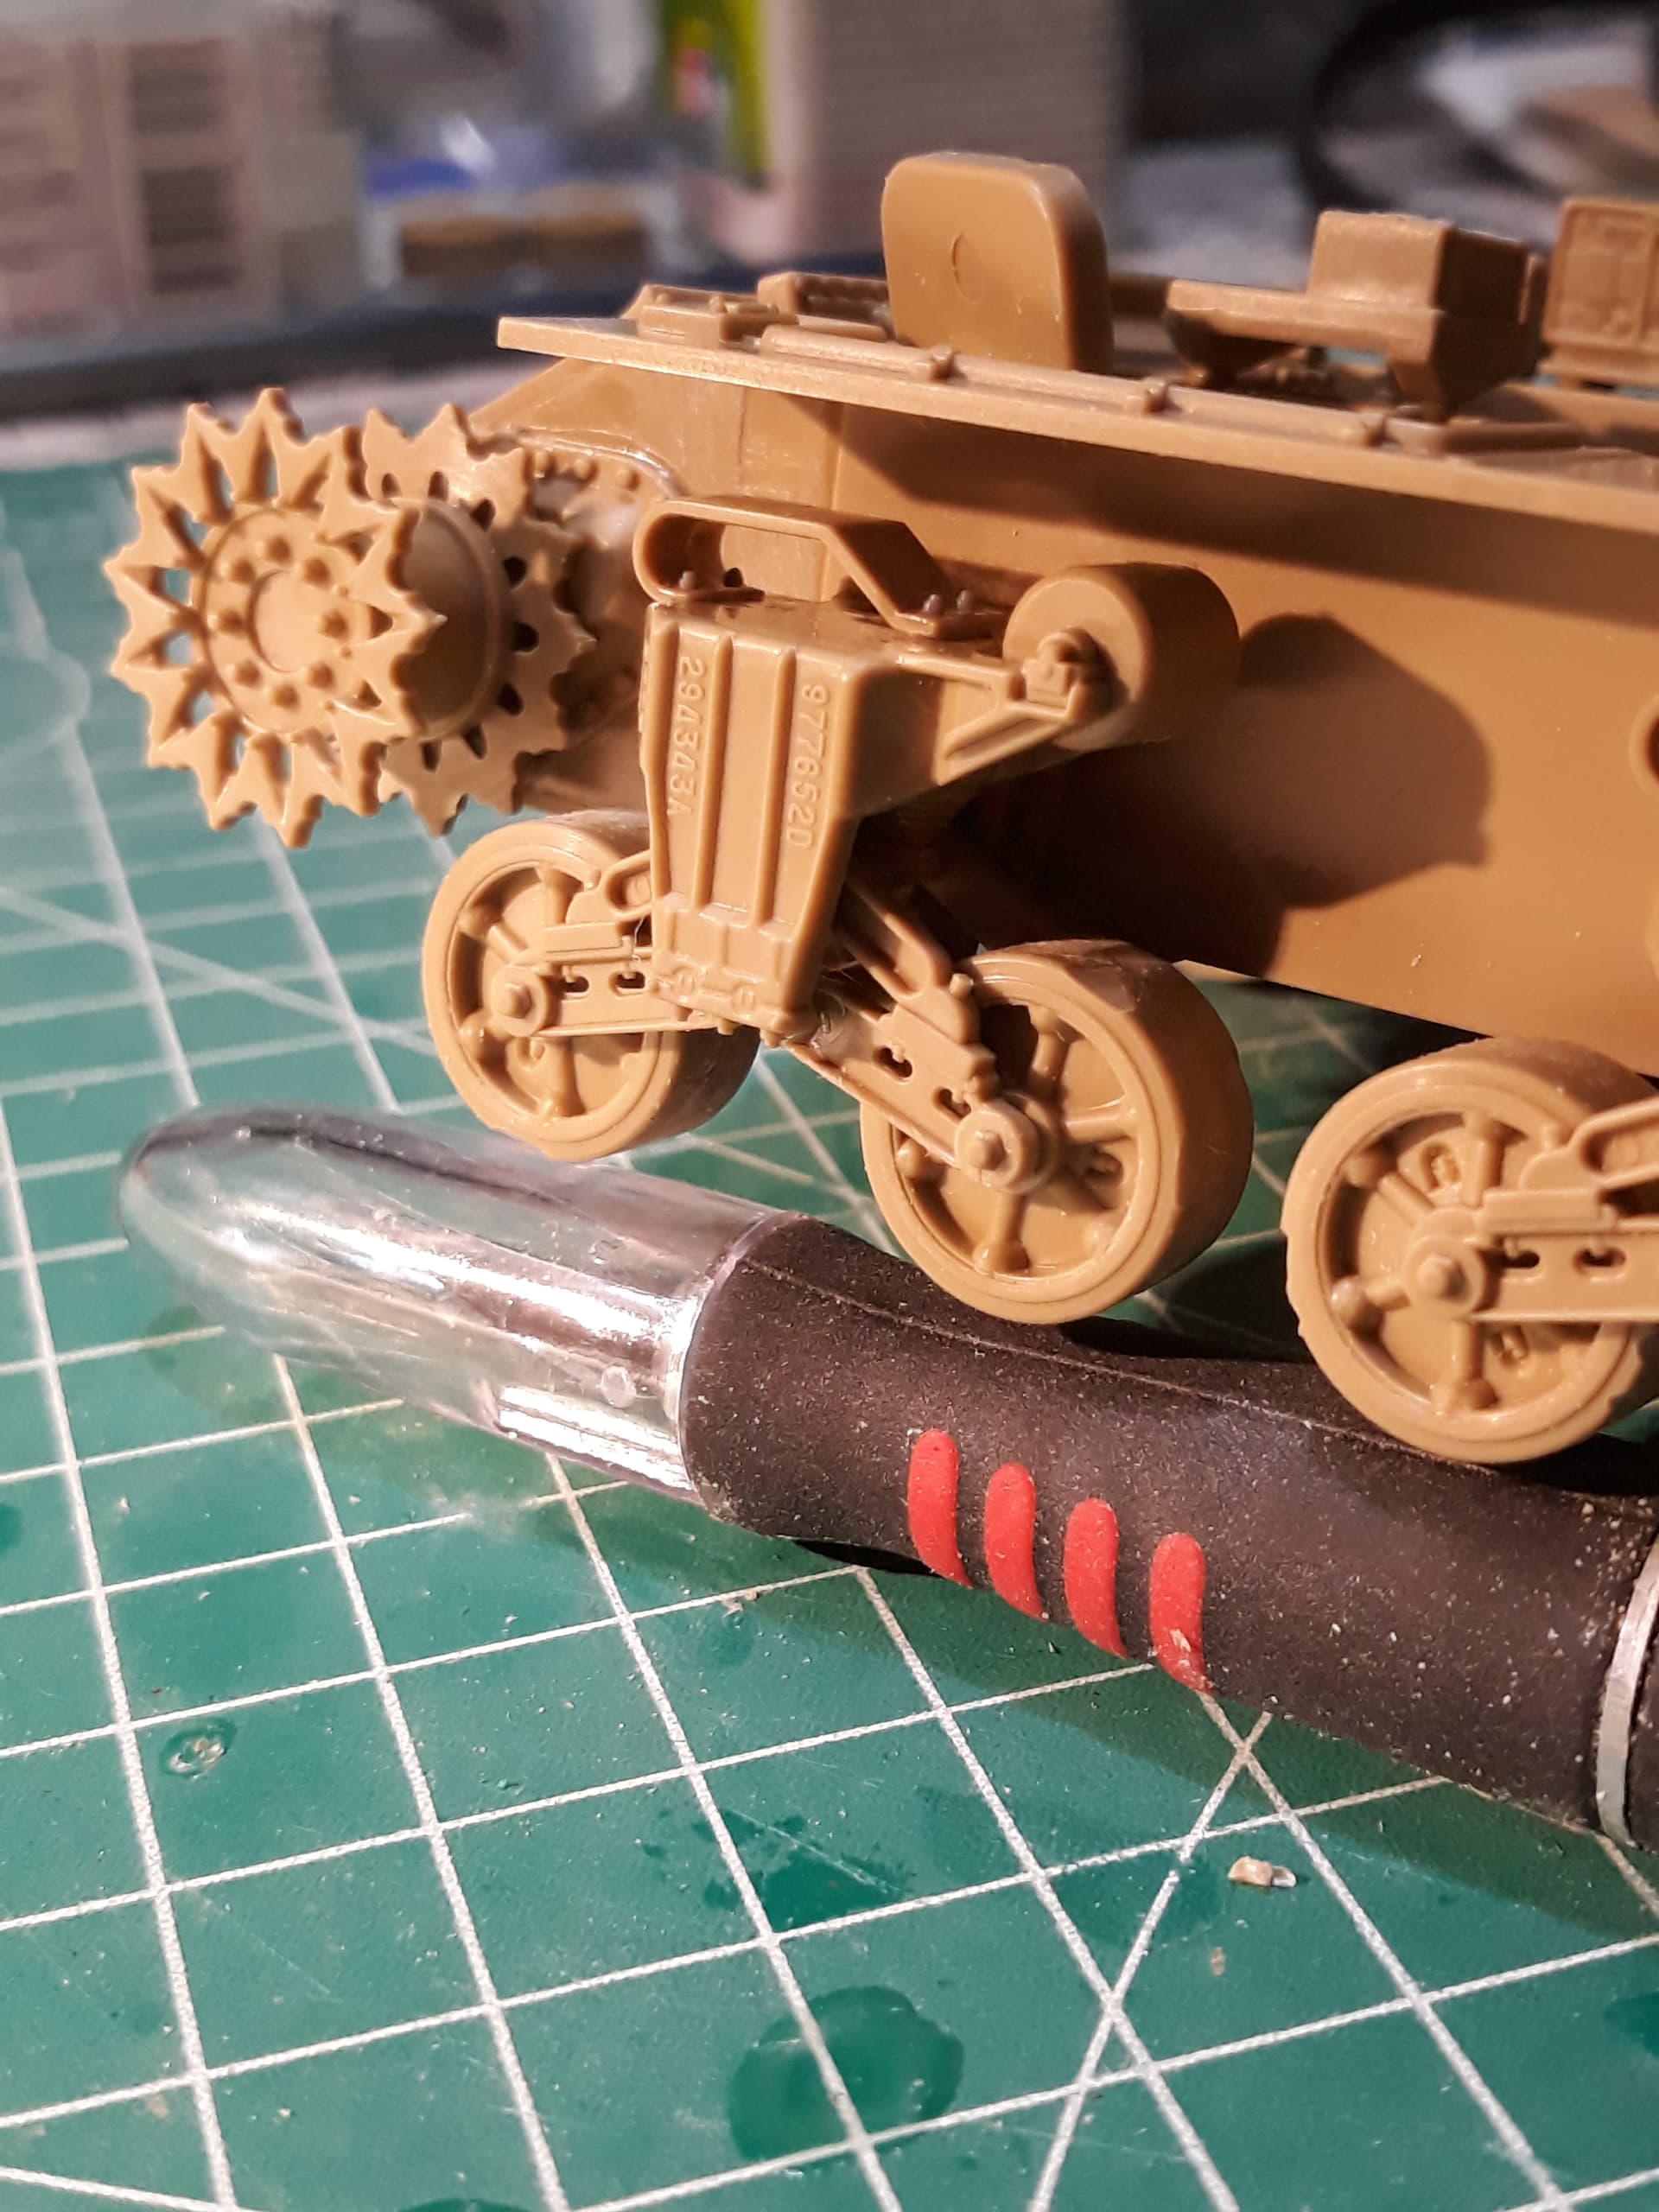
Thanks to that video and the pictures of the M10 in the Israeli tank museum at Latrun, I knew which wheels to choose… and which front…
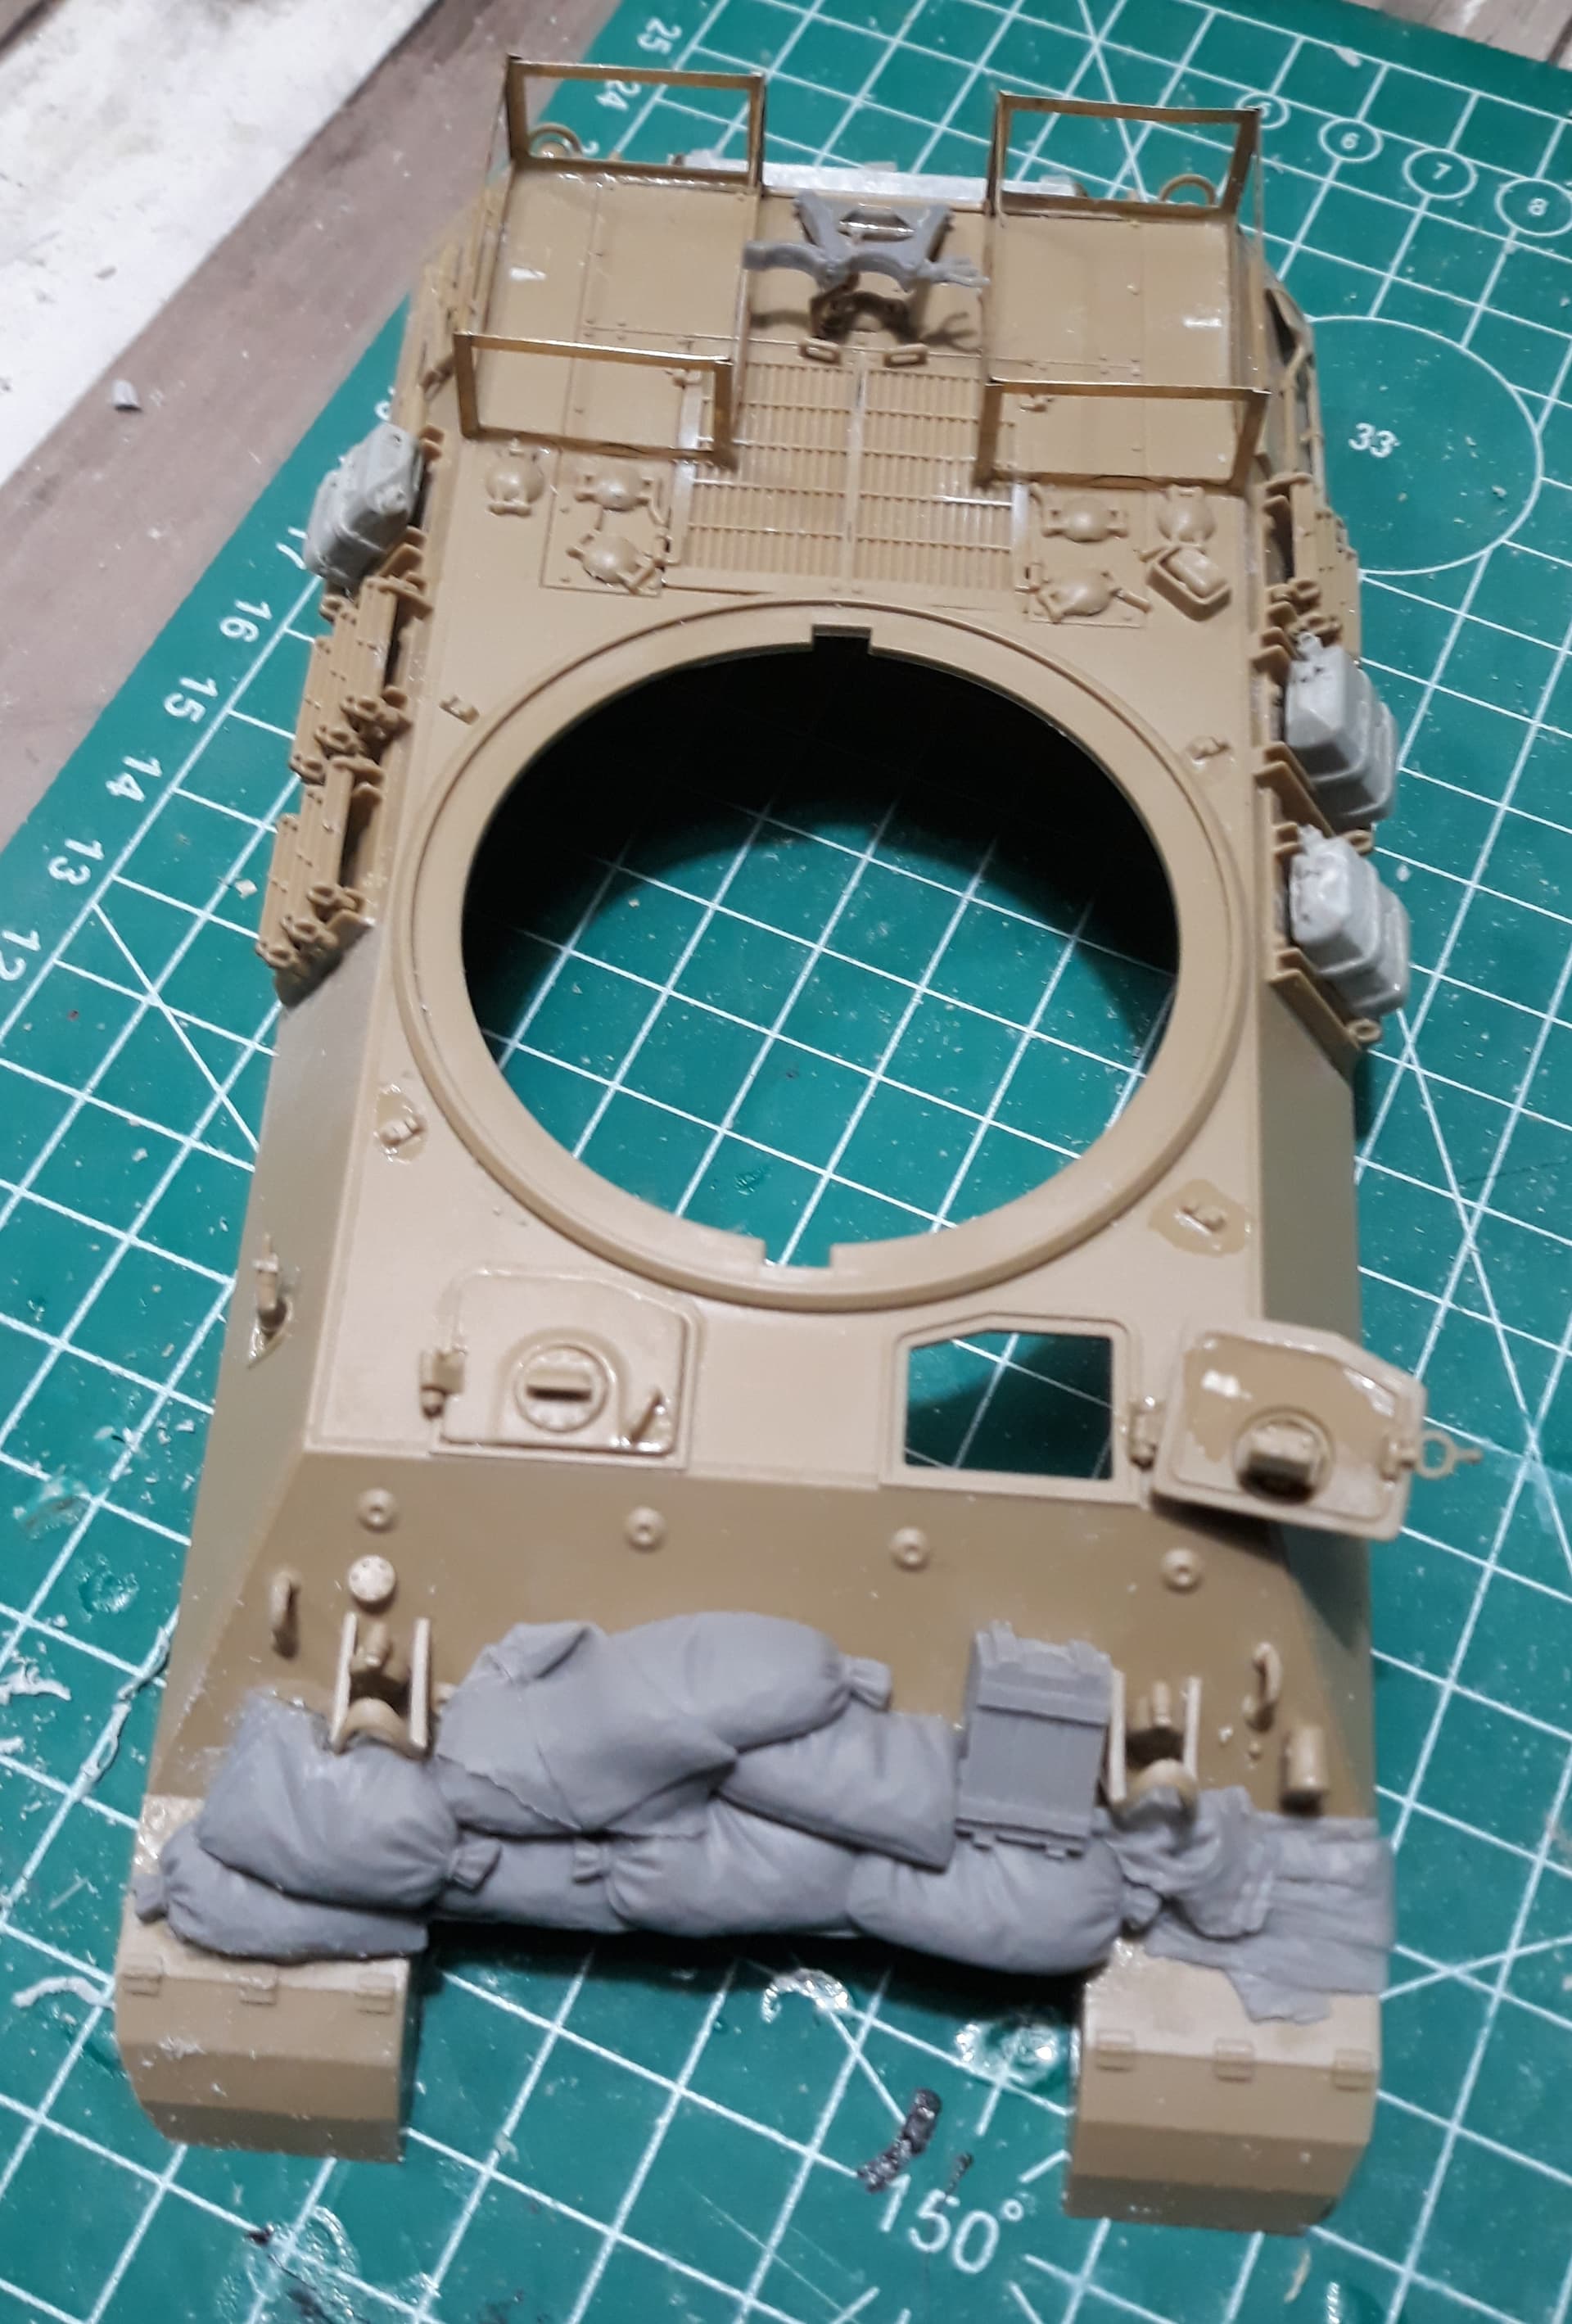
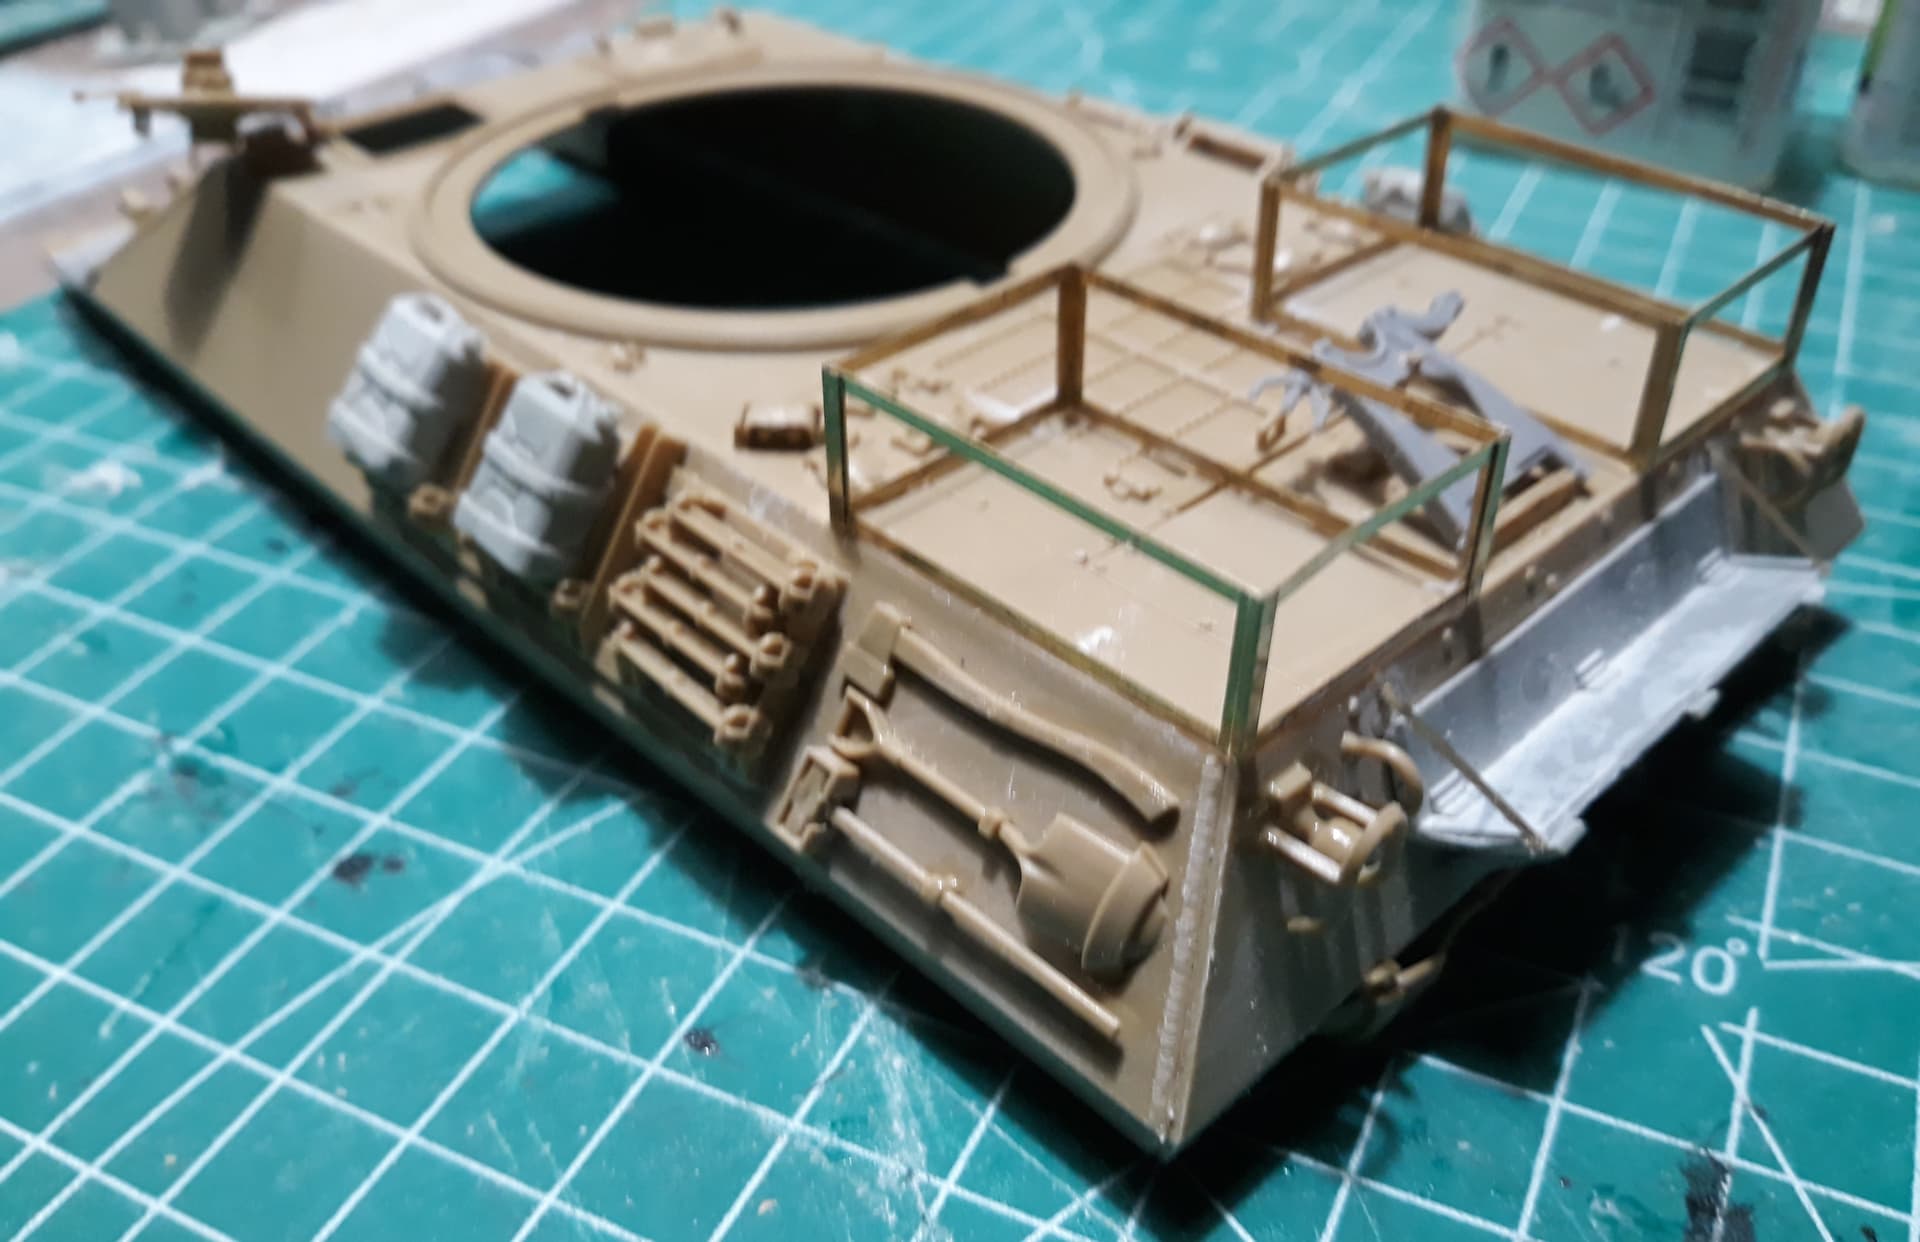
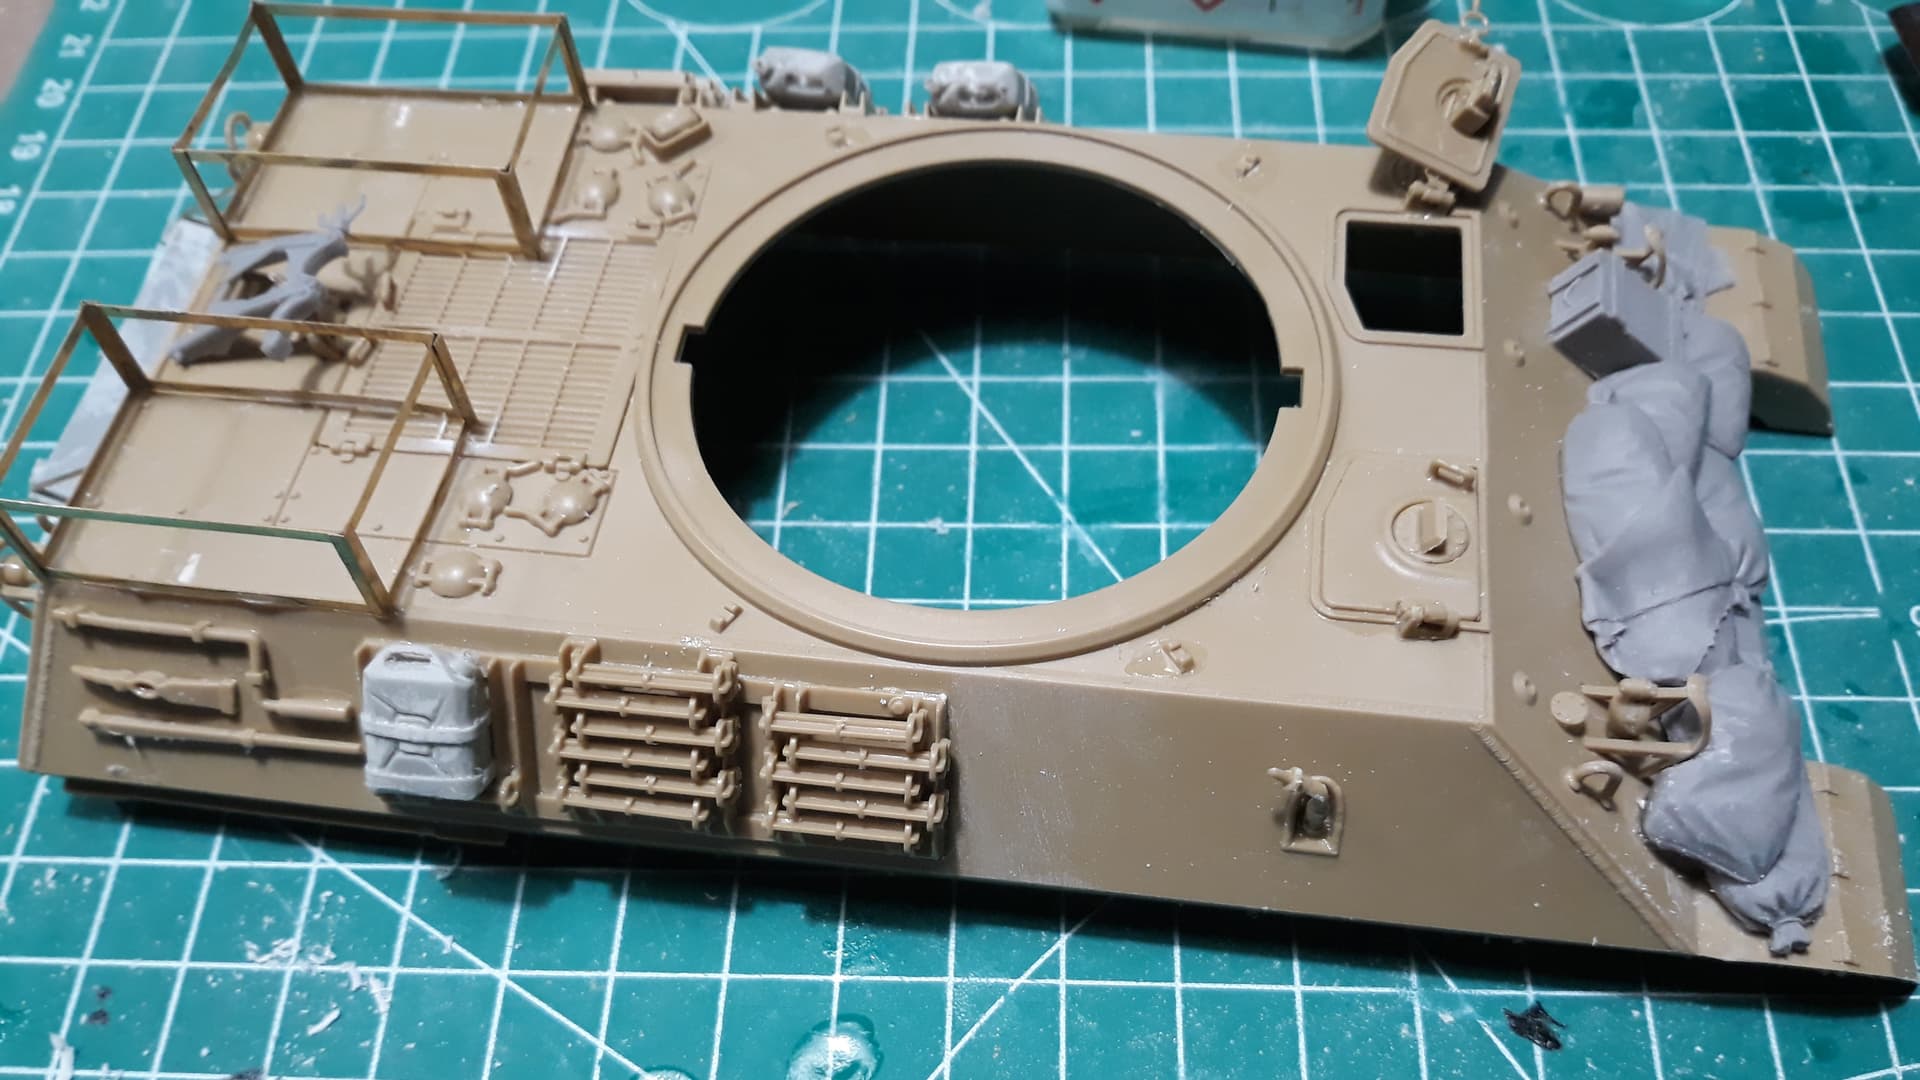
Great kit, fit and detailing are very nice, got this far
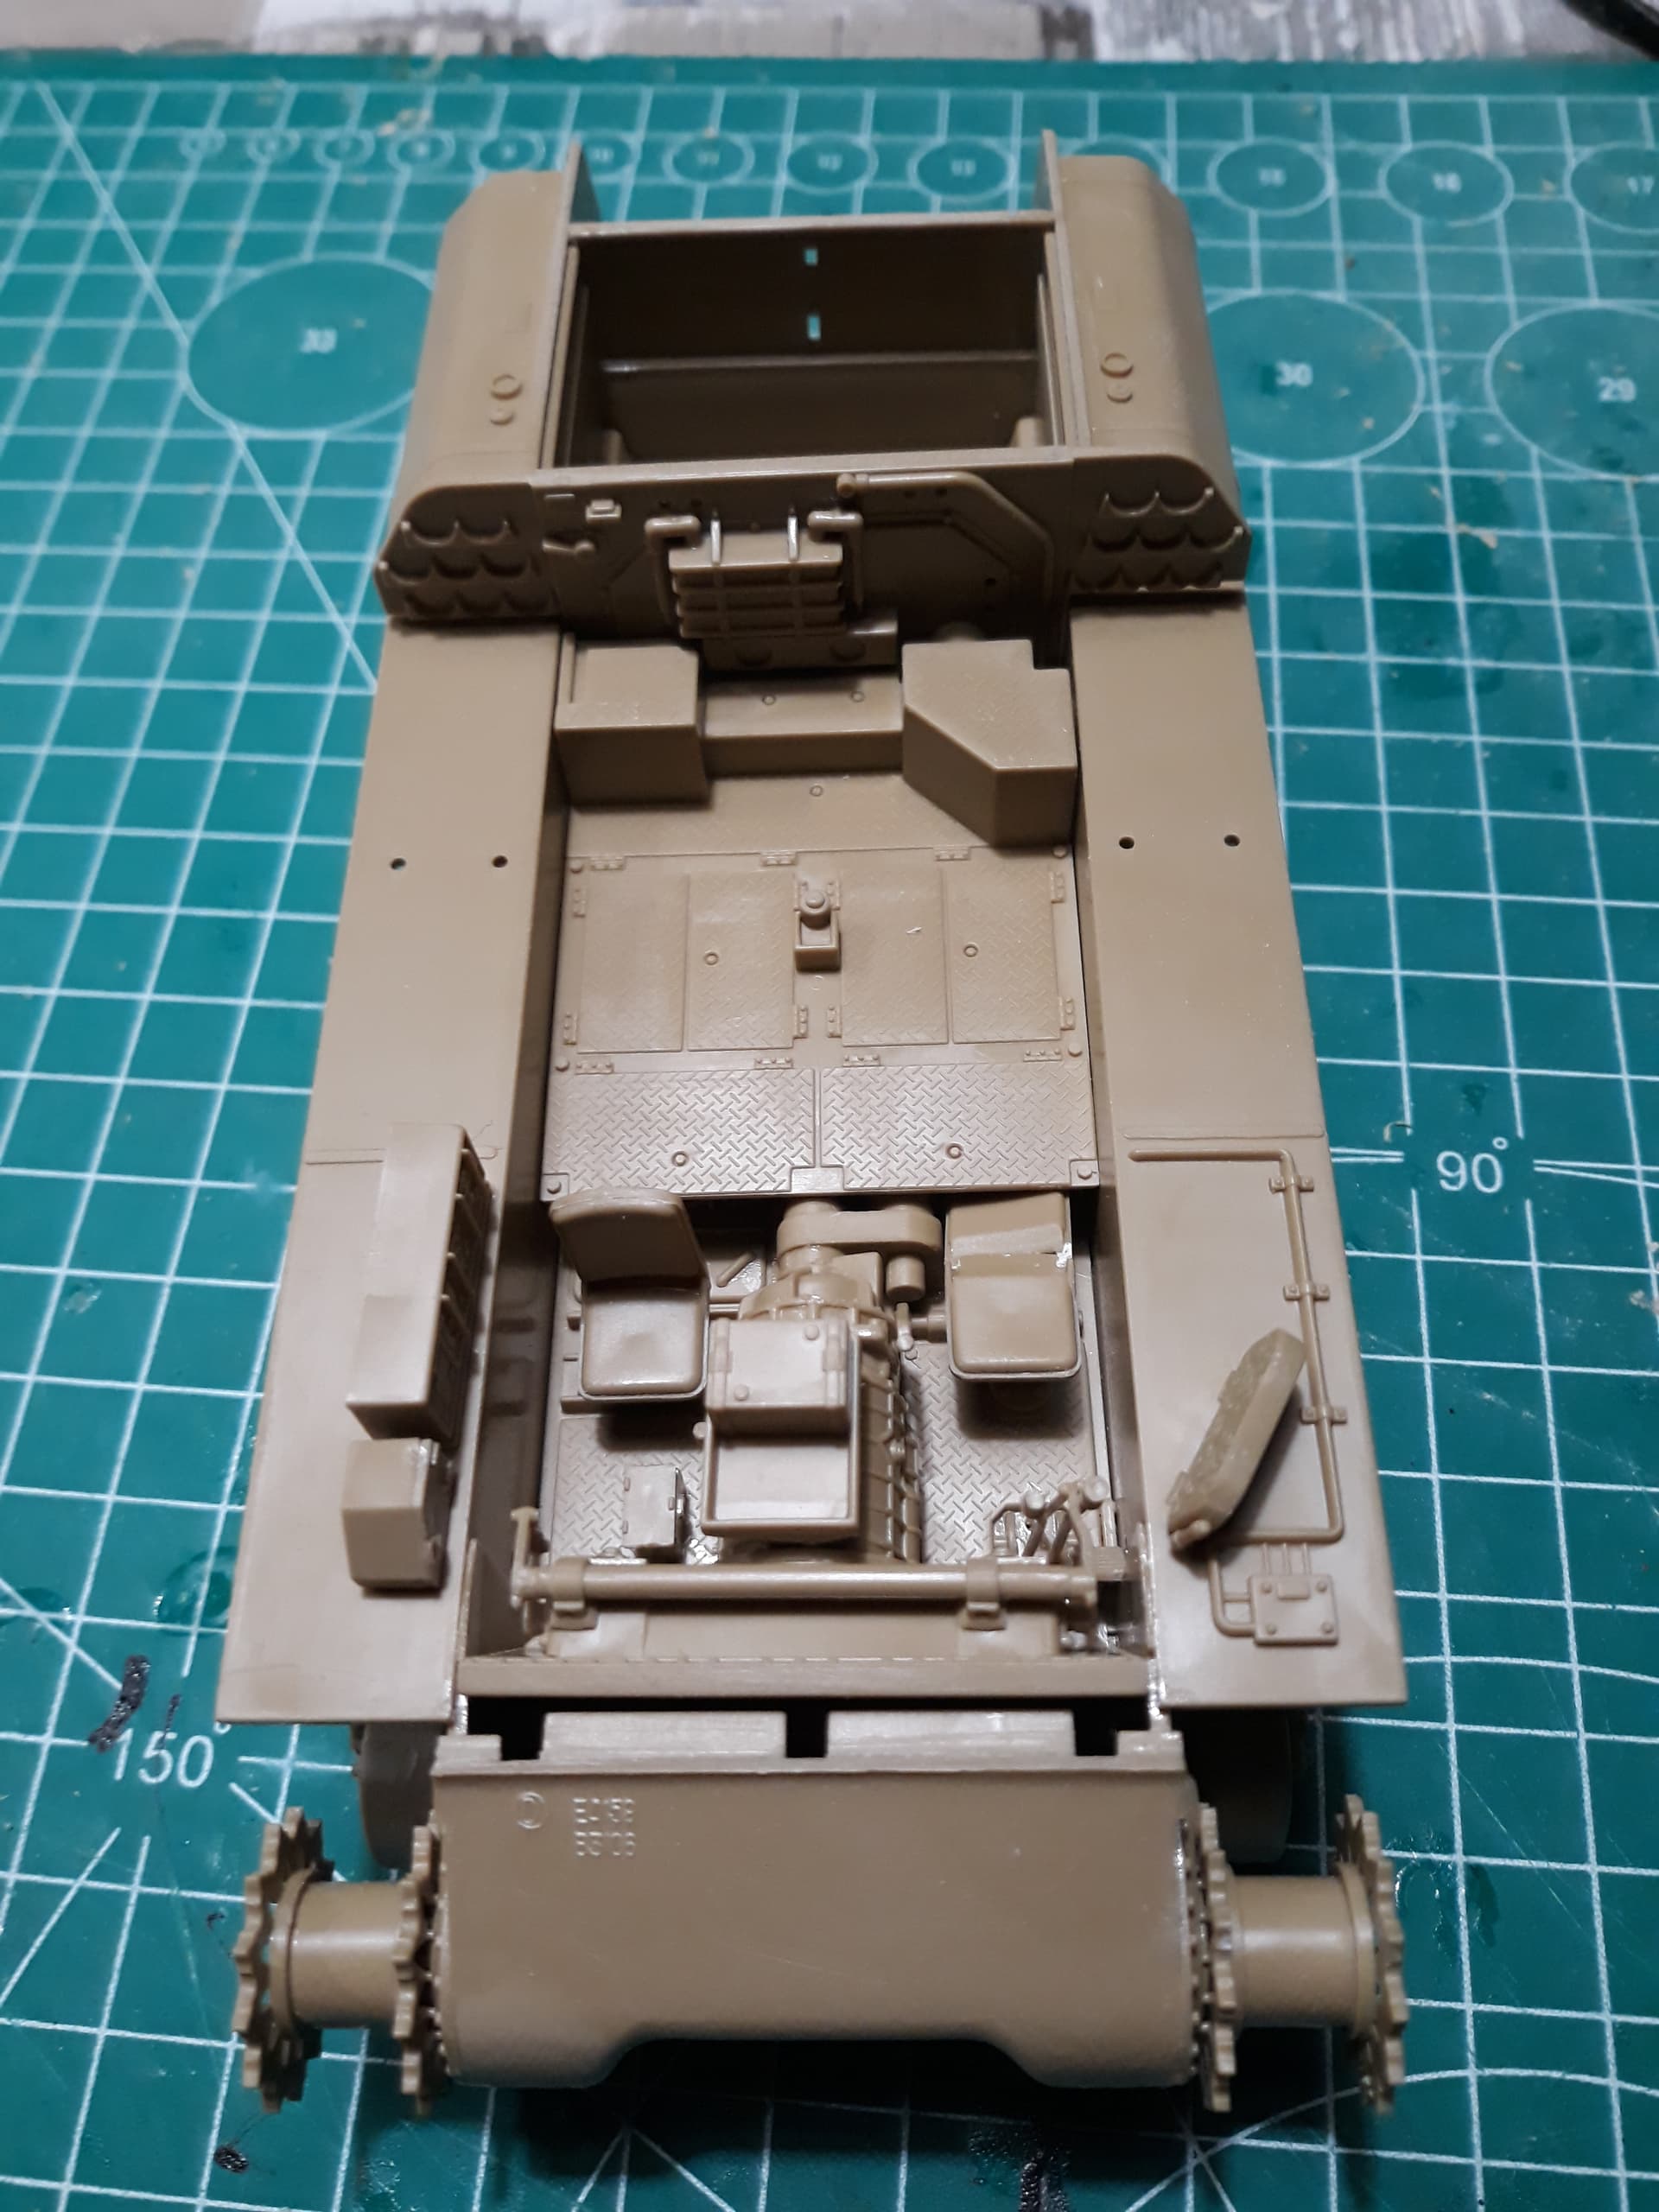
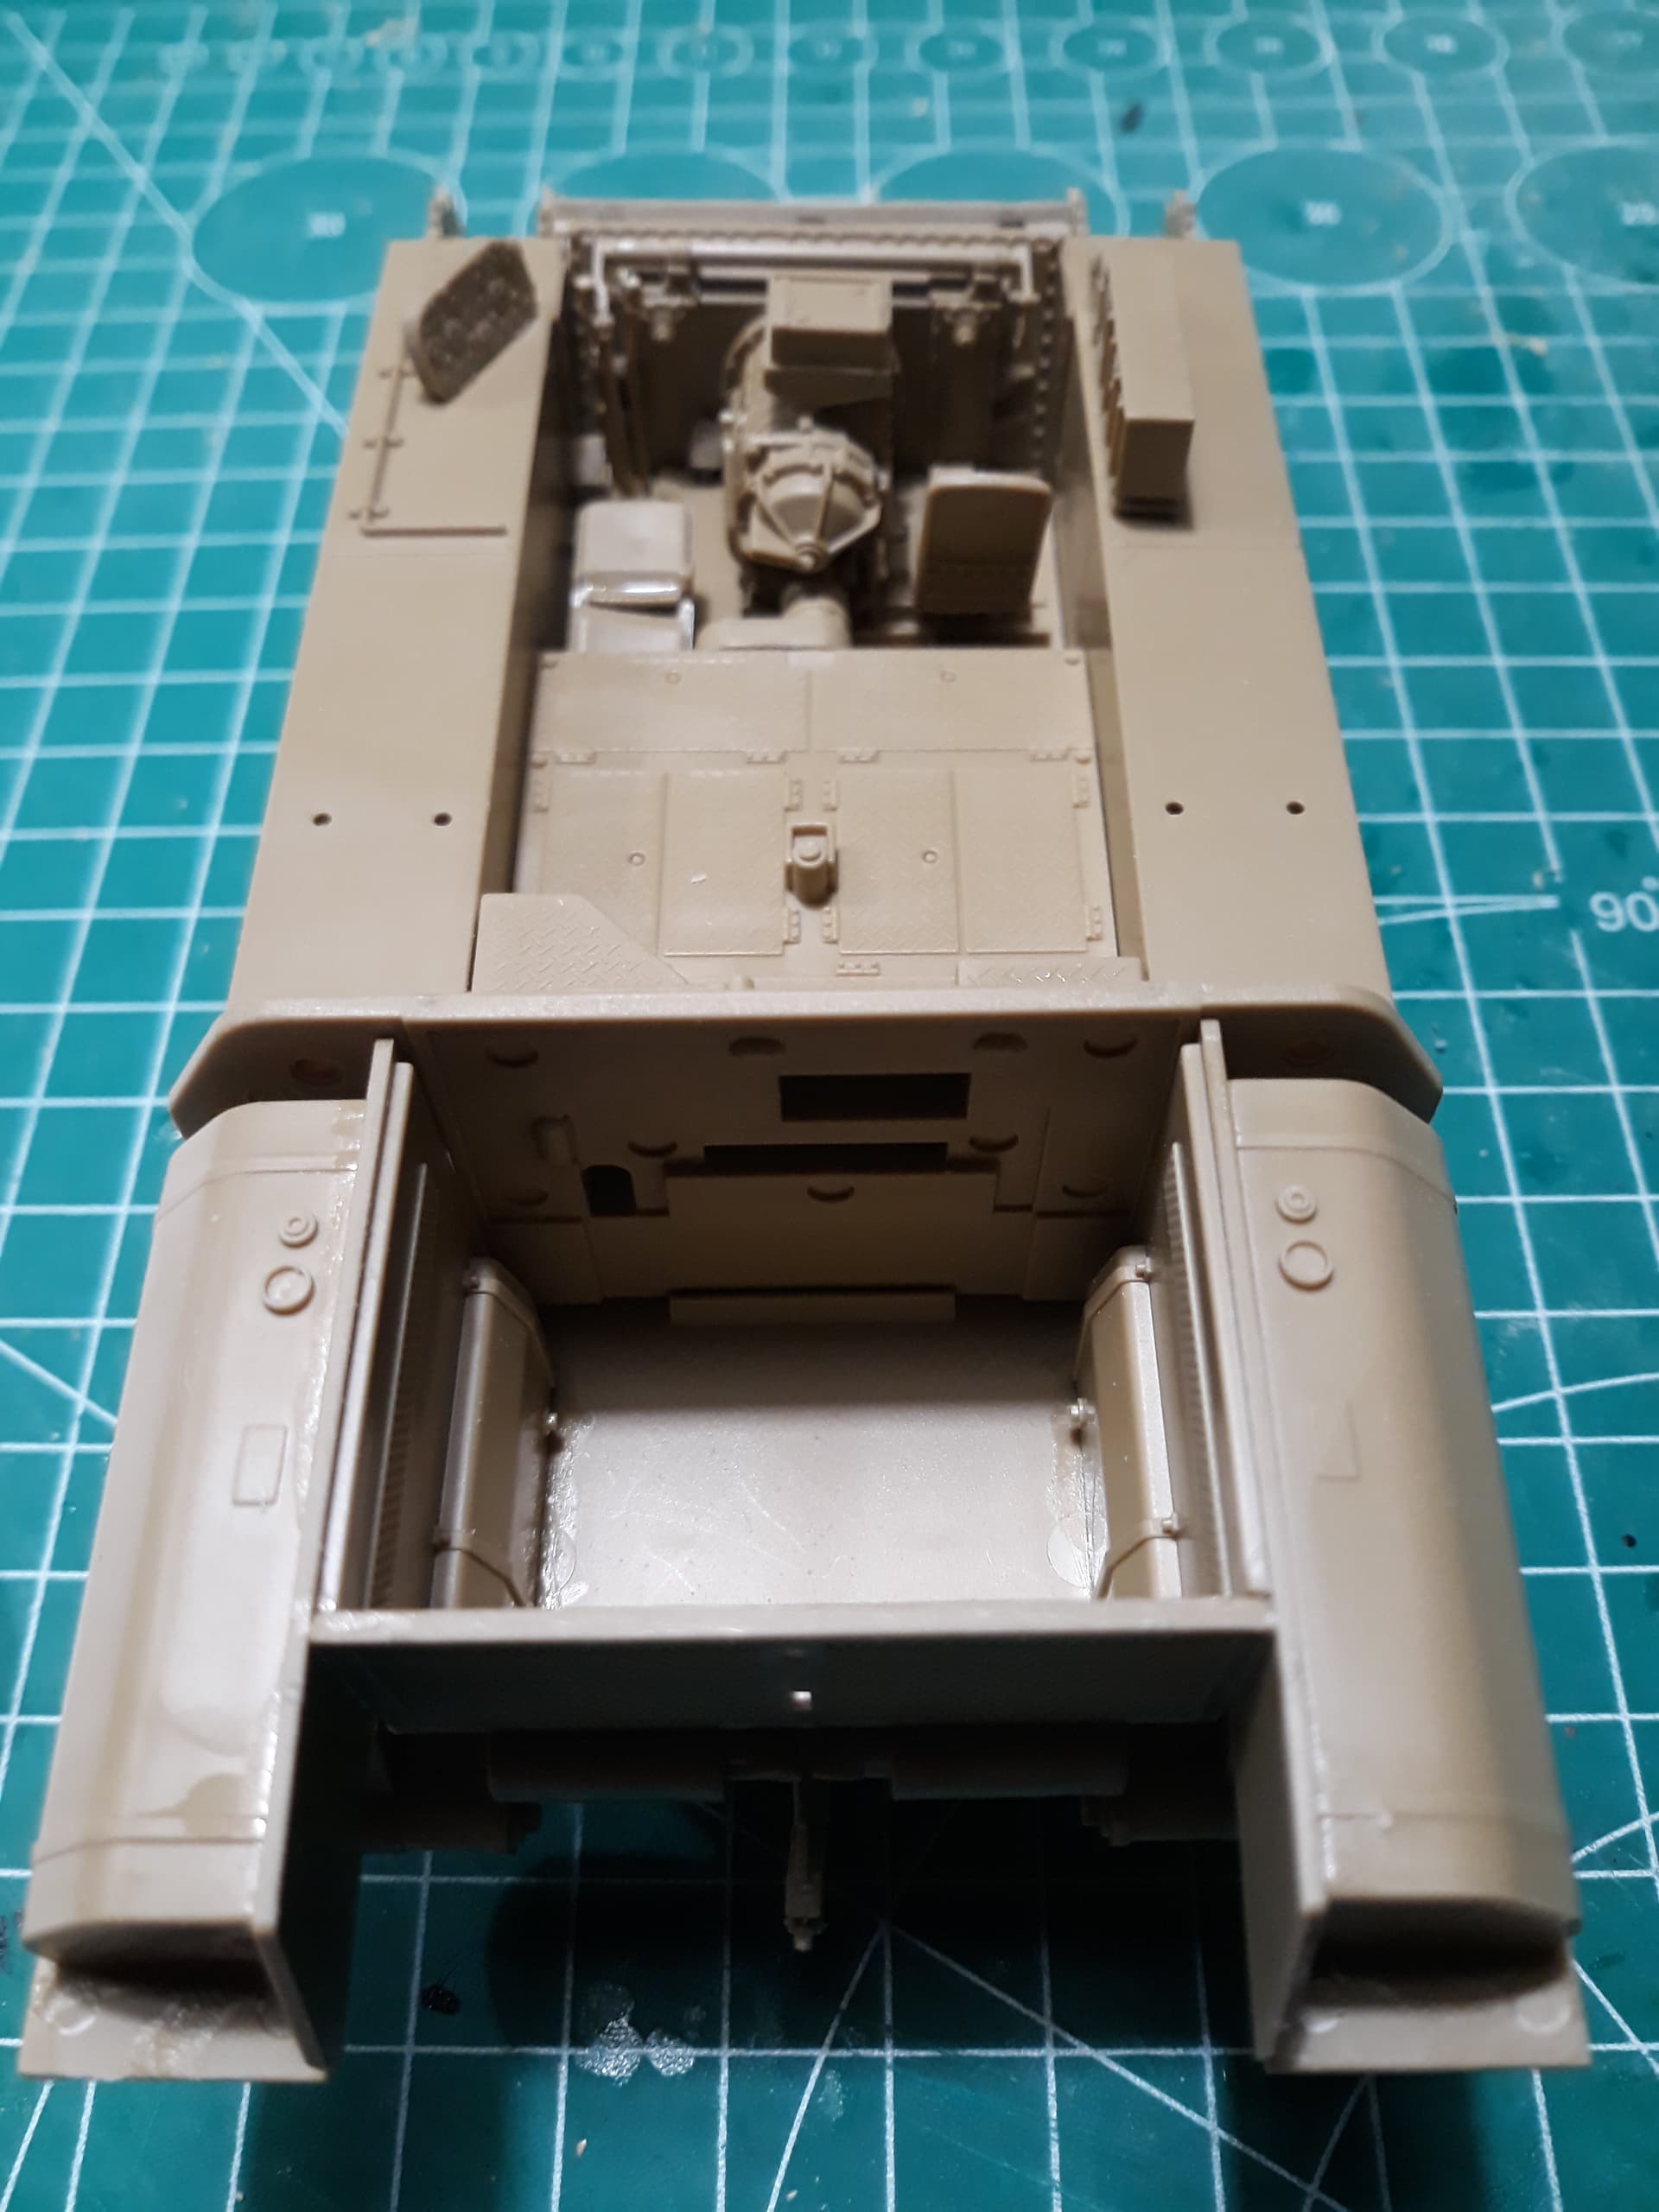
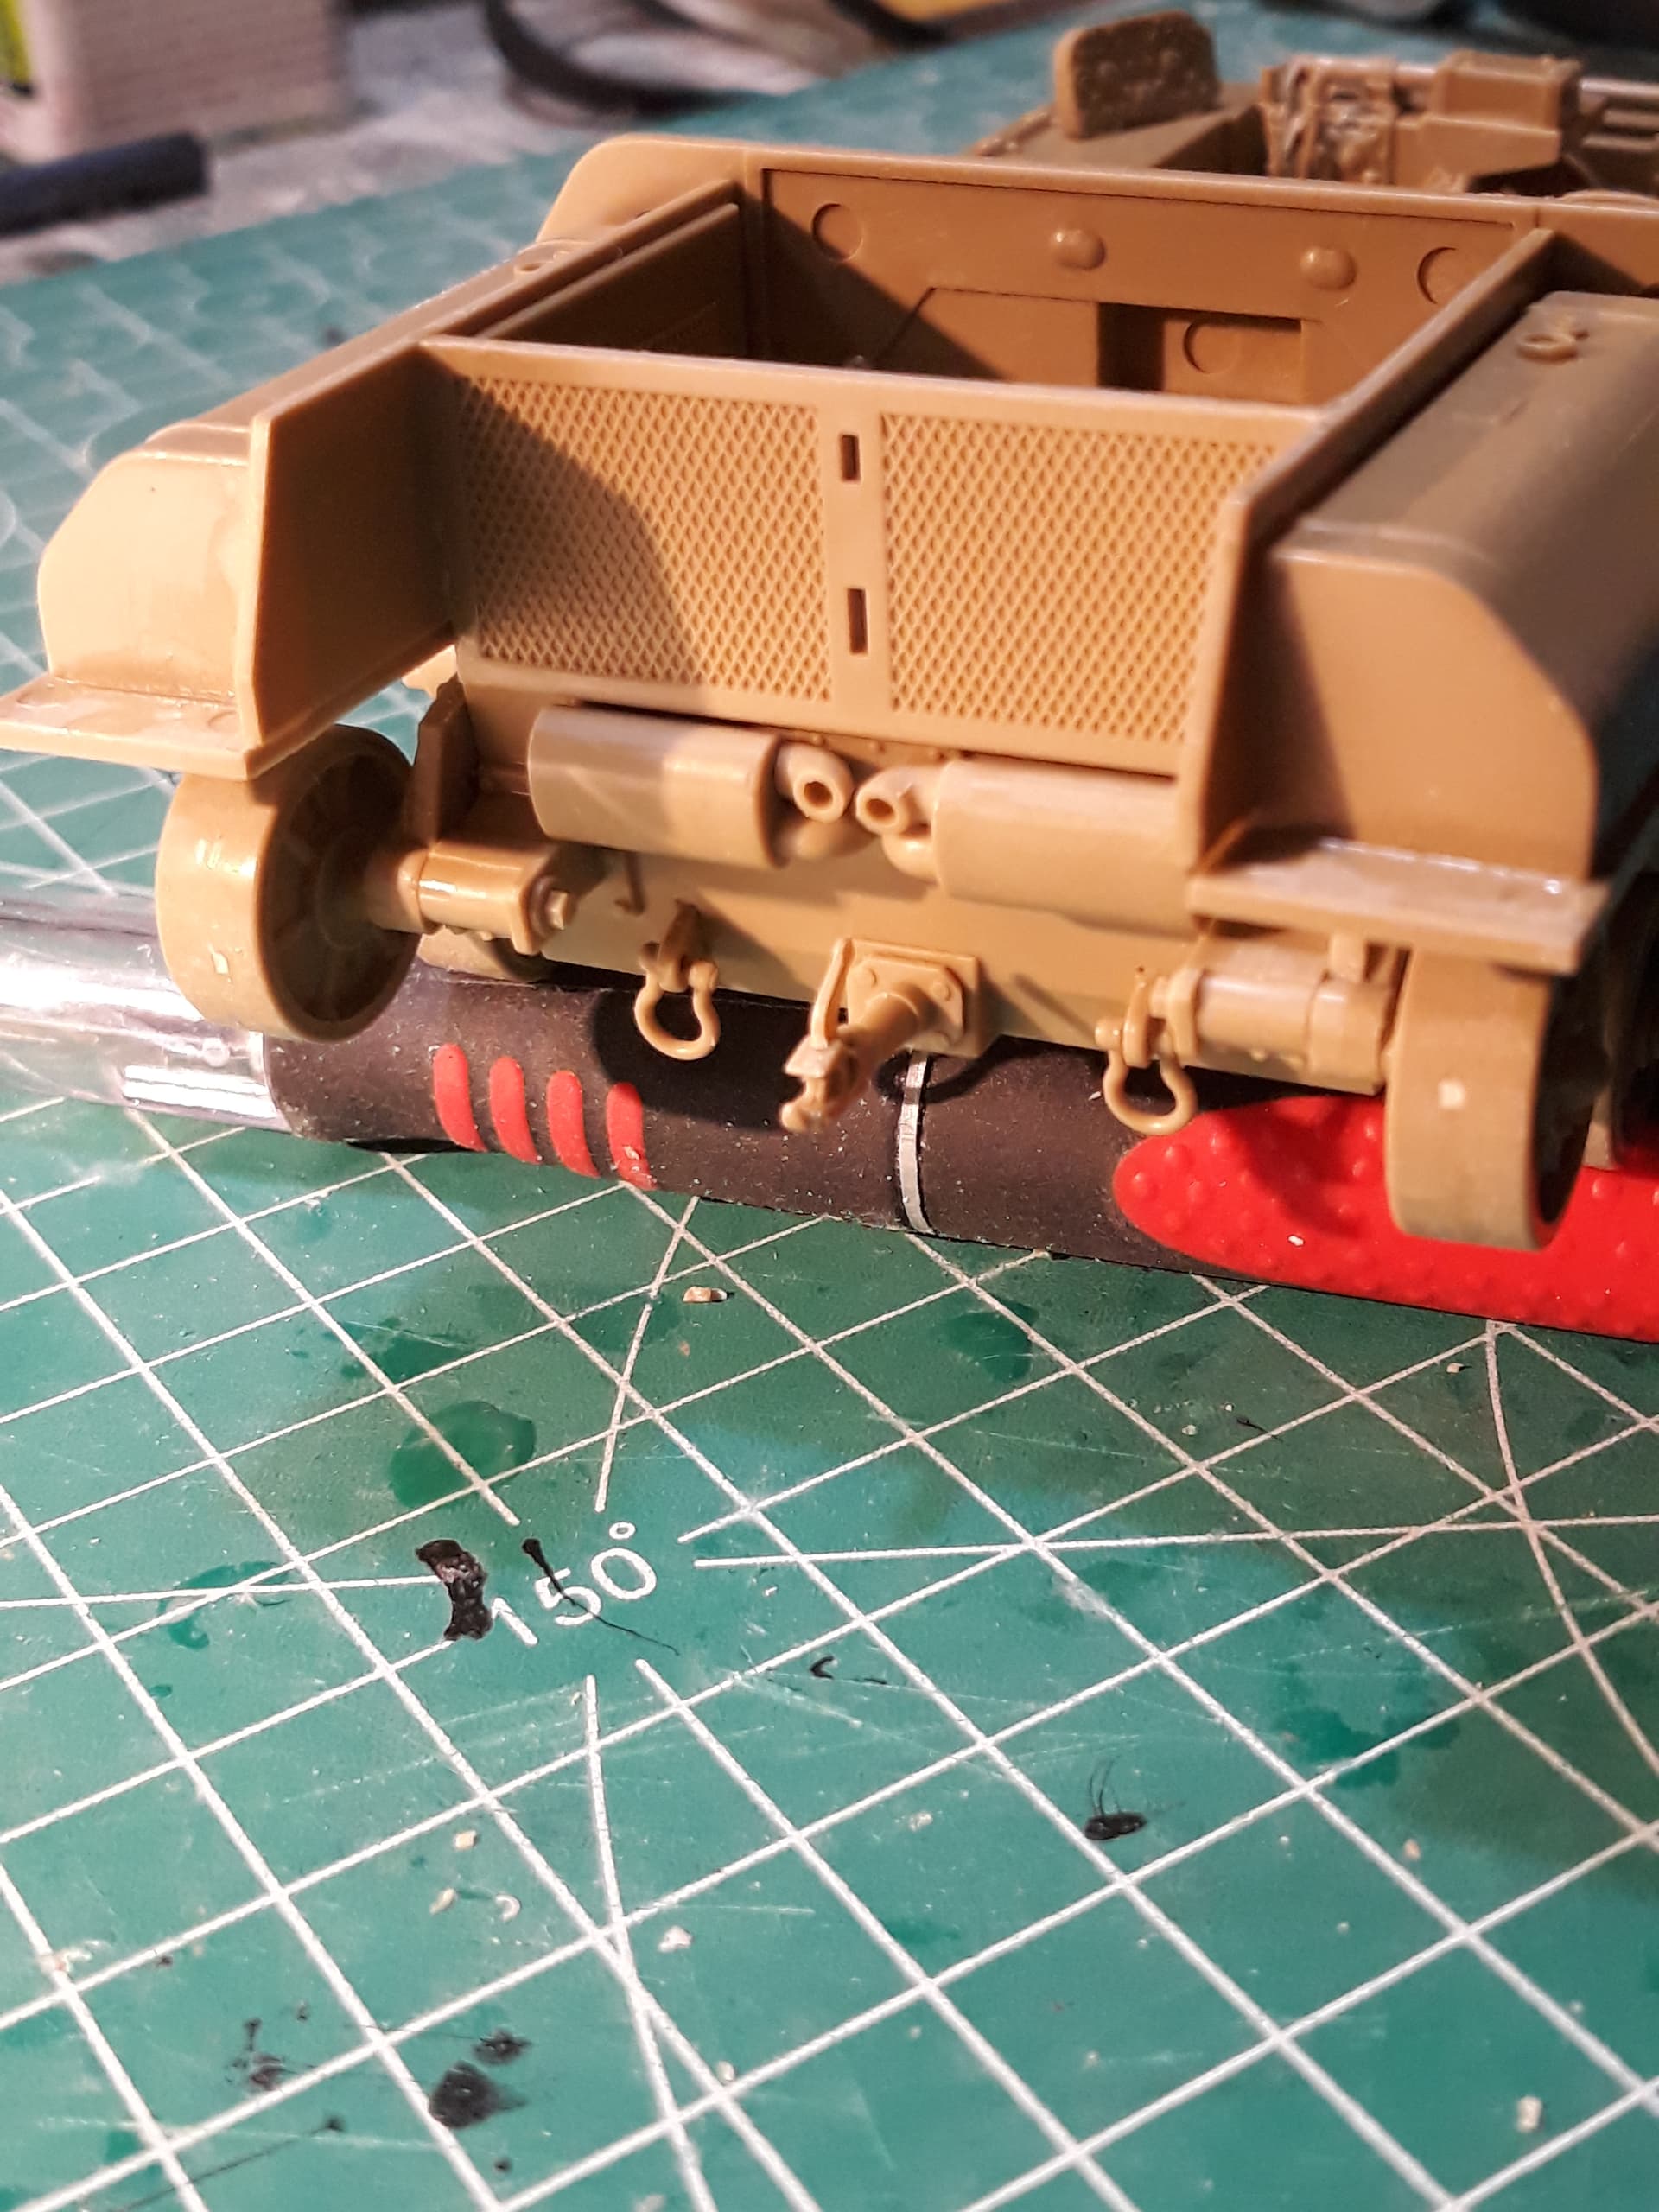
and can still take it apart, so I can paint it properly…
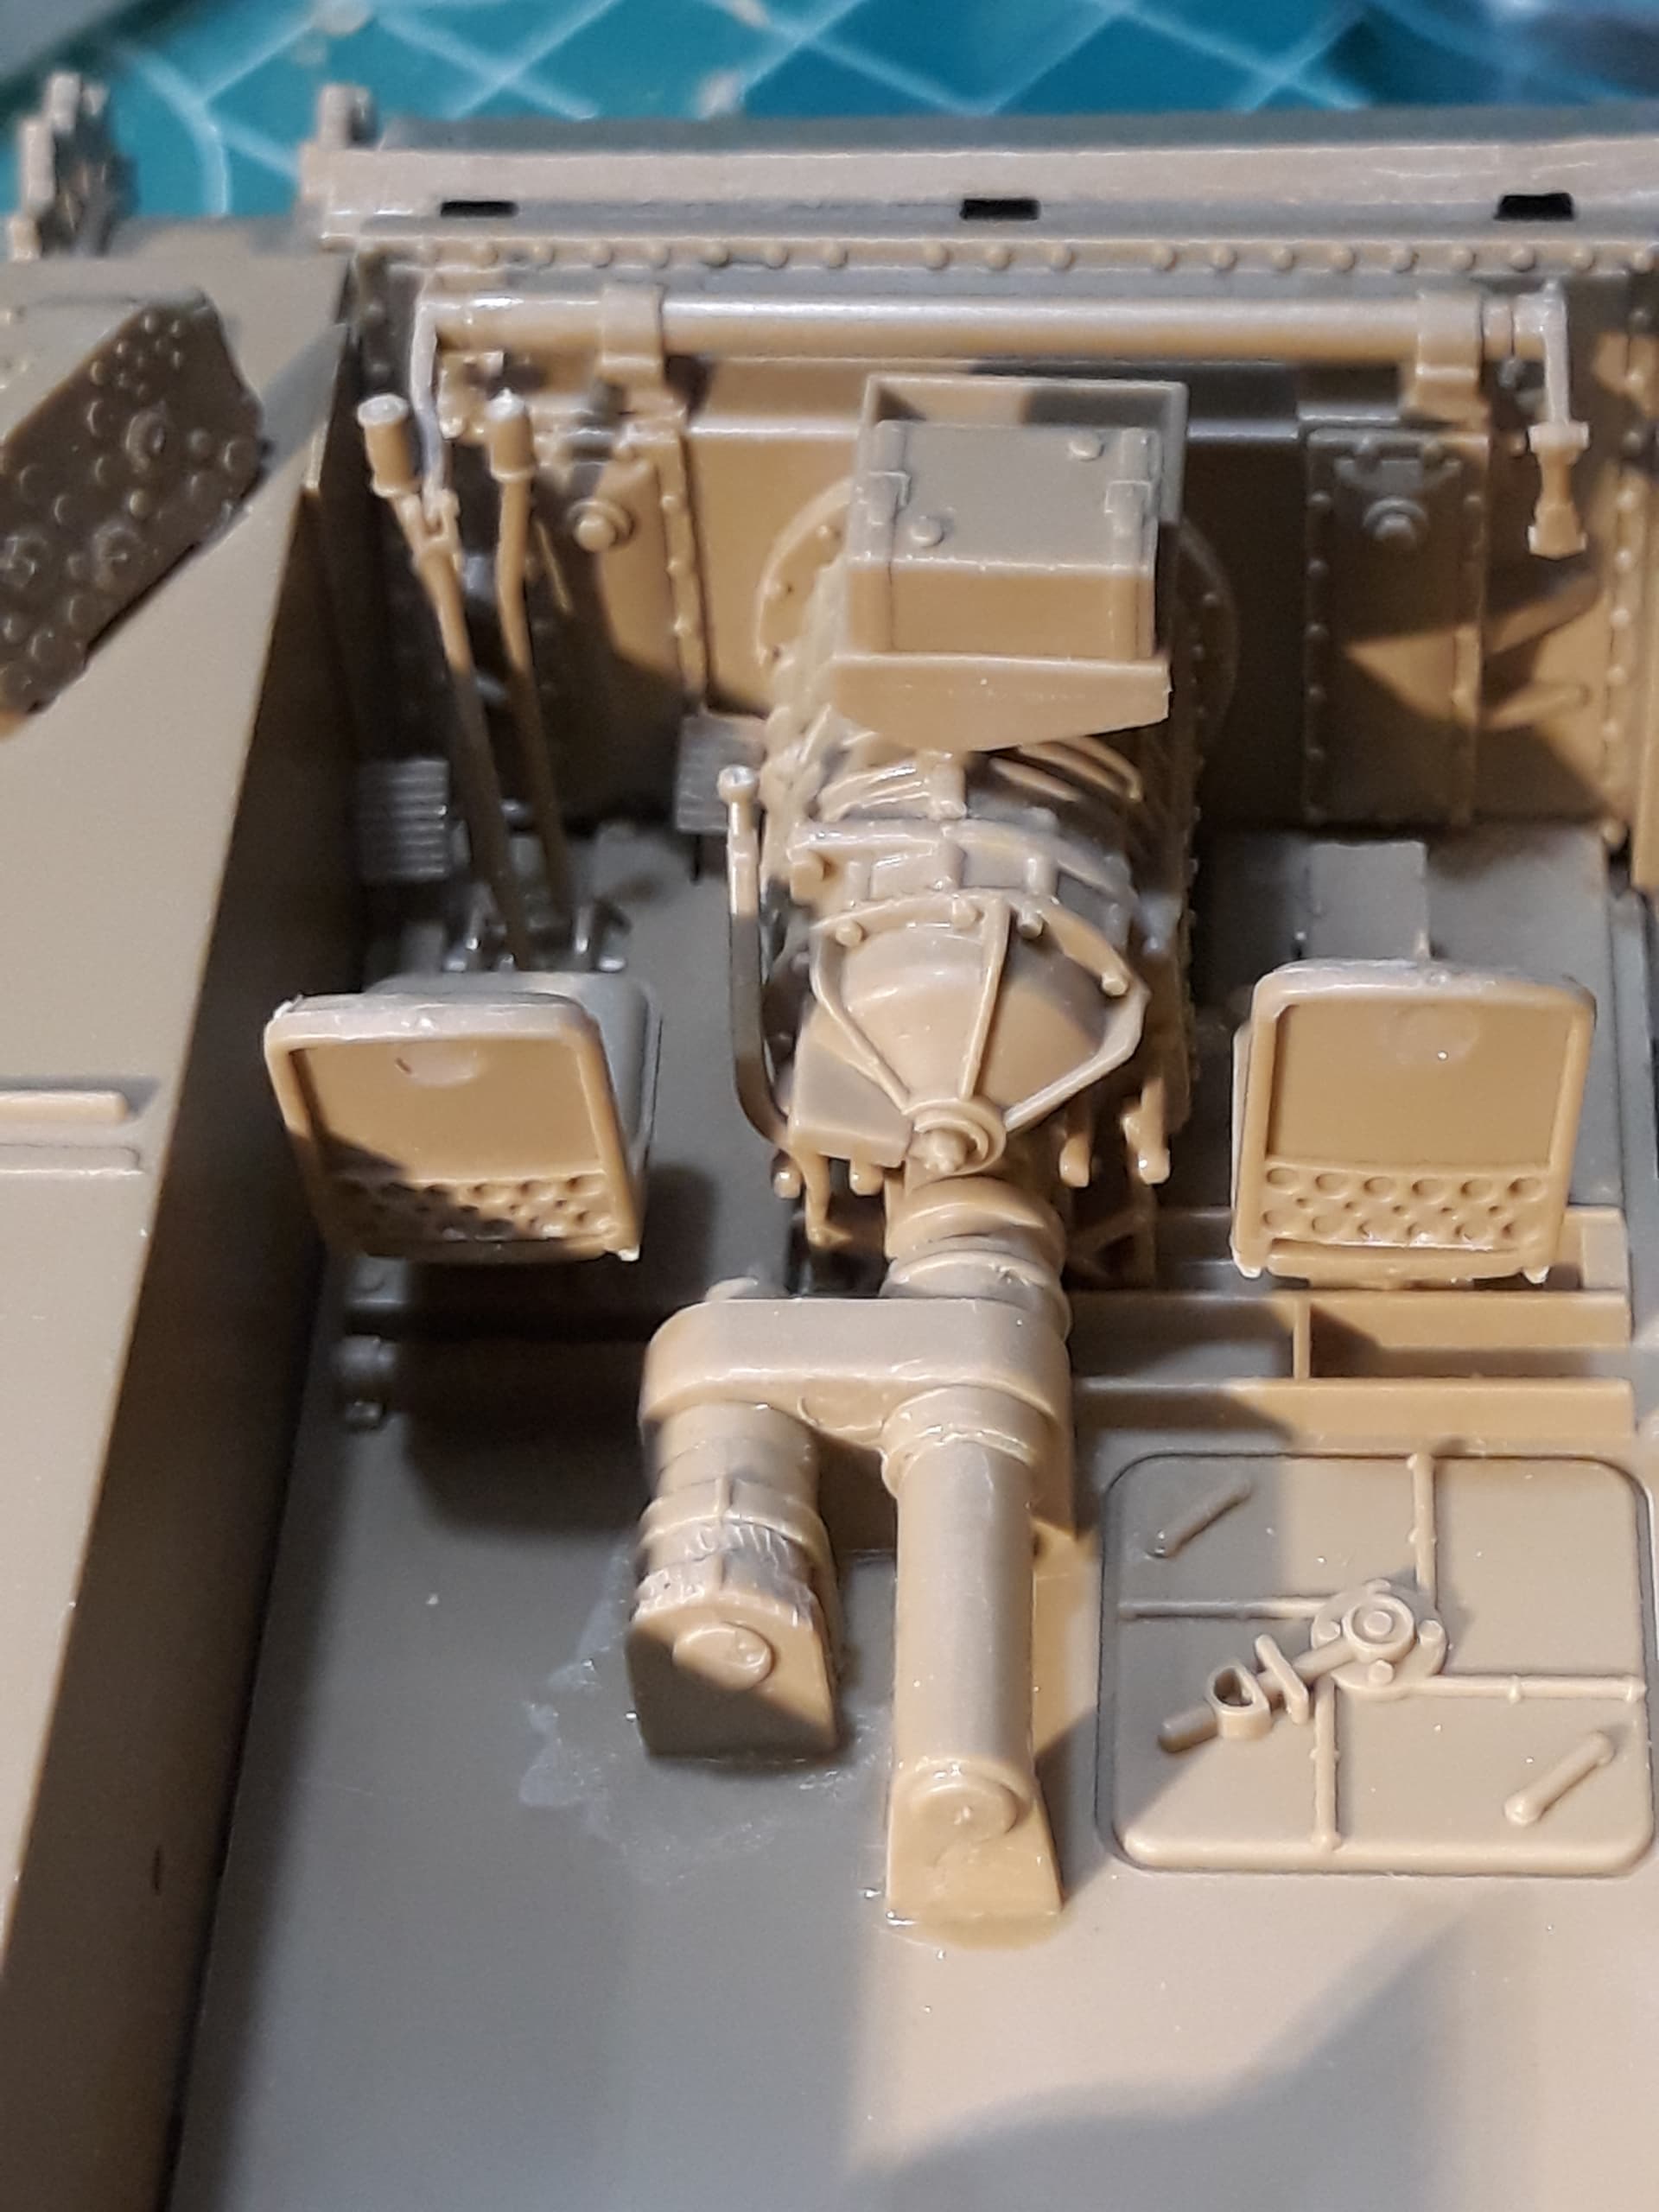
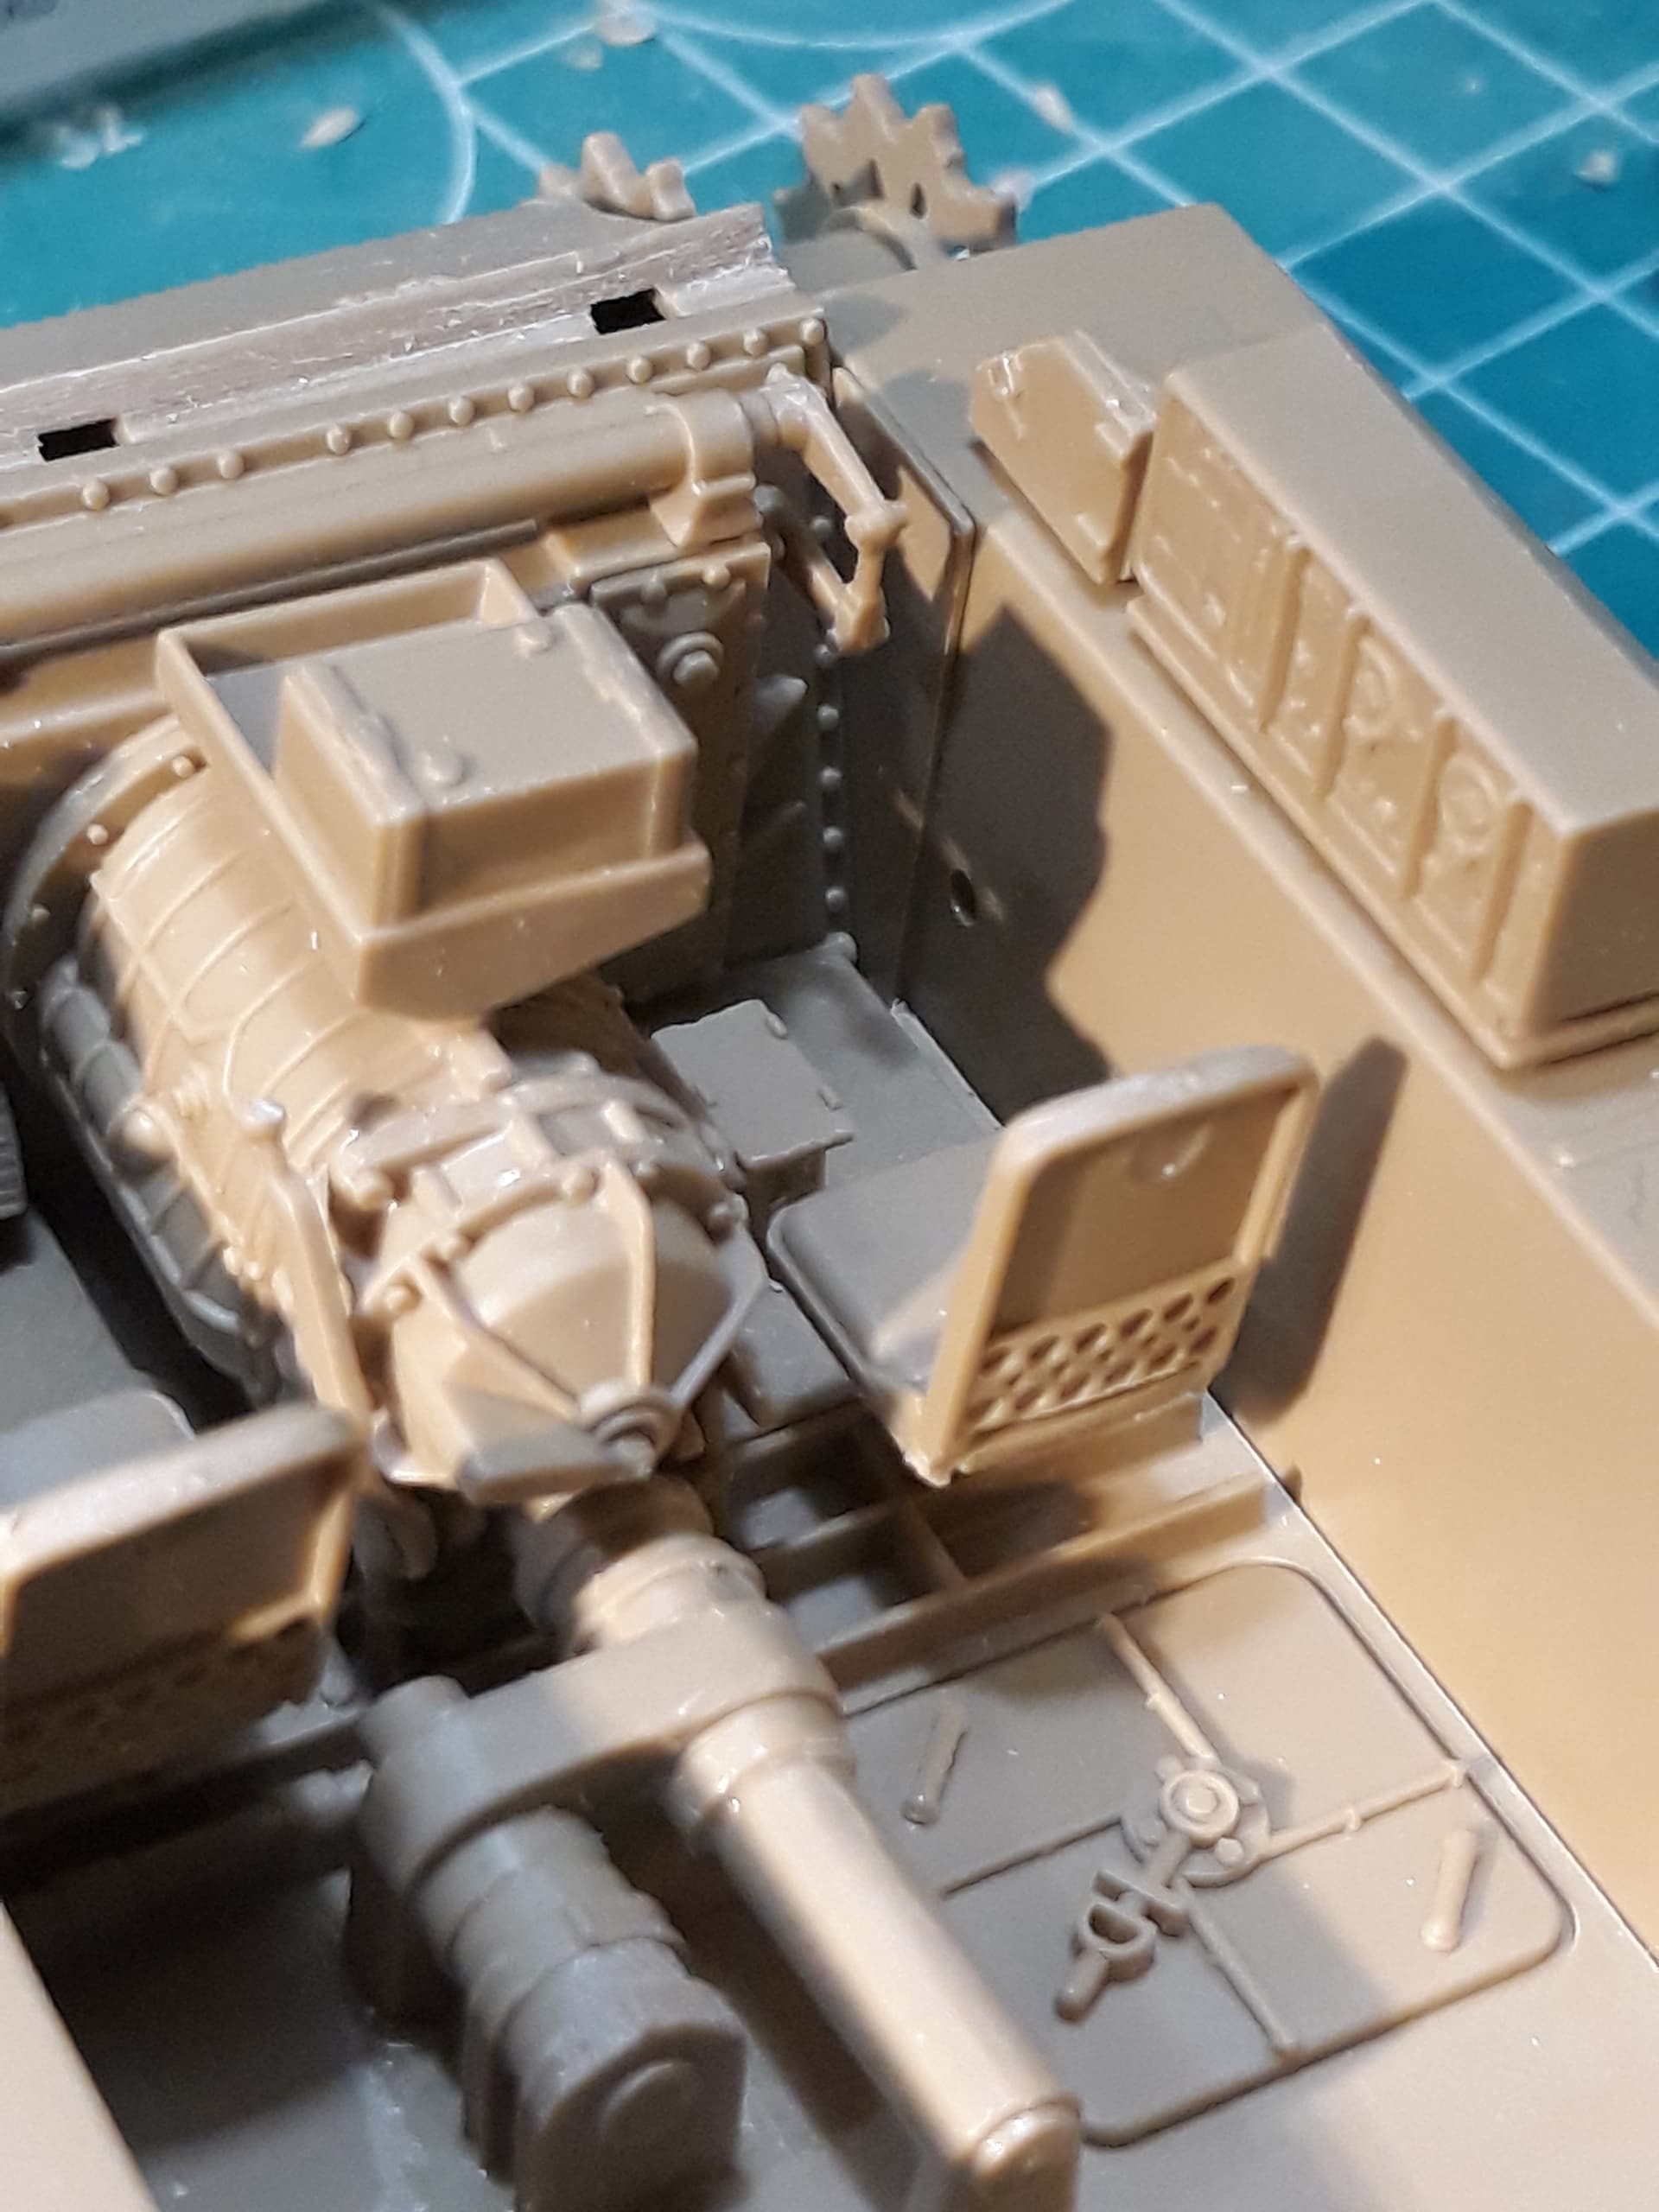
An Israeli adjustment was moving the gunner from the left to the right next to the gun, transferring the cranks, and placing a .30 MG to the old gunners position… so that is something I will have to do once I get to the turret.
4 Likes
… And they also added power train for the turret, controled by the commander.
1 Like
Nice progress, Bert. The details look nice, it should look great when painted.
1 Like
Thanks! And there is an IDF version of this kit, but not that many different parts, only the D sprue is different… smoke dischargers, bit of stowage, 2 figures, antenna bases… that’s about it.
1 Like
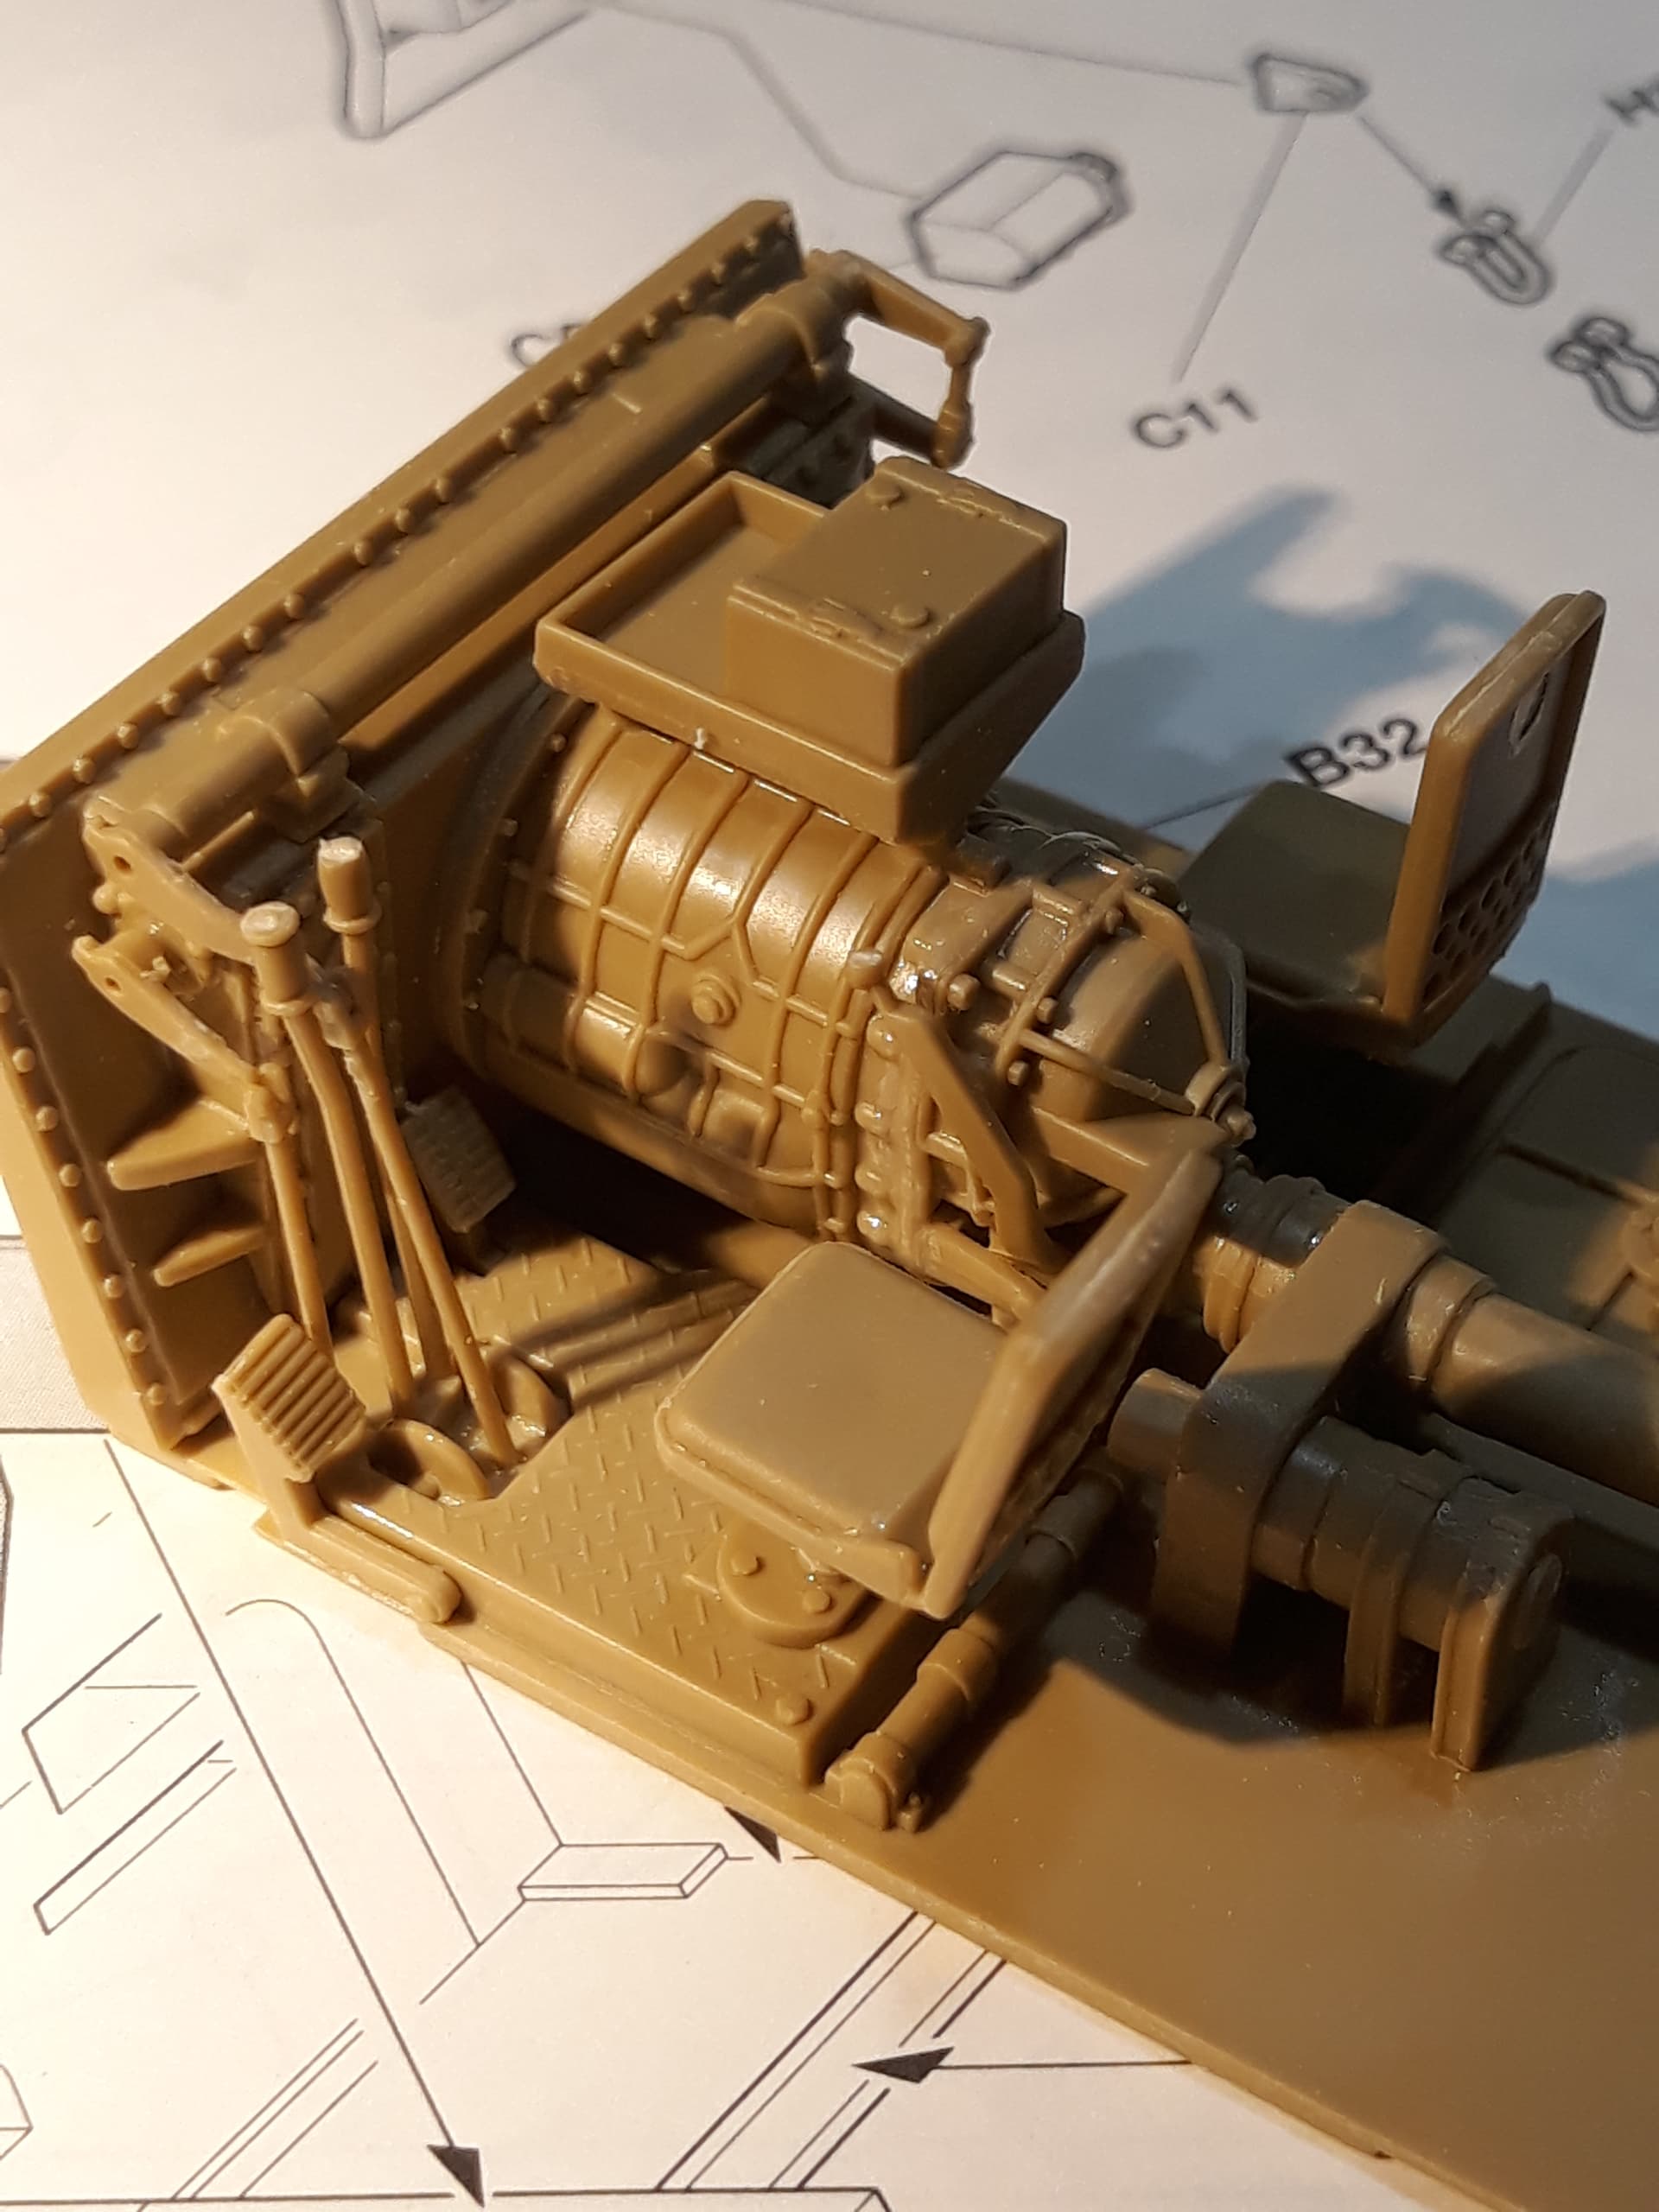
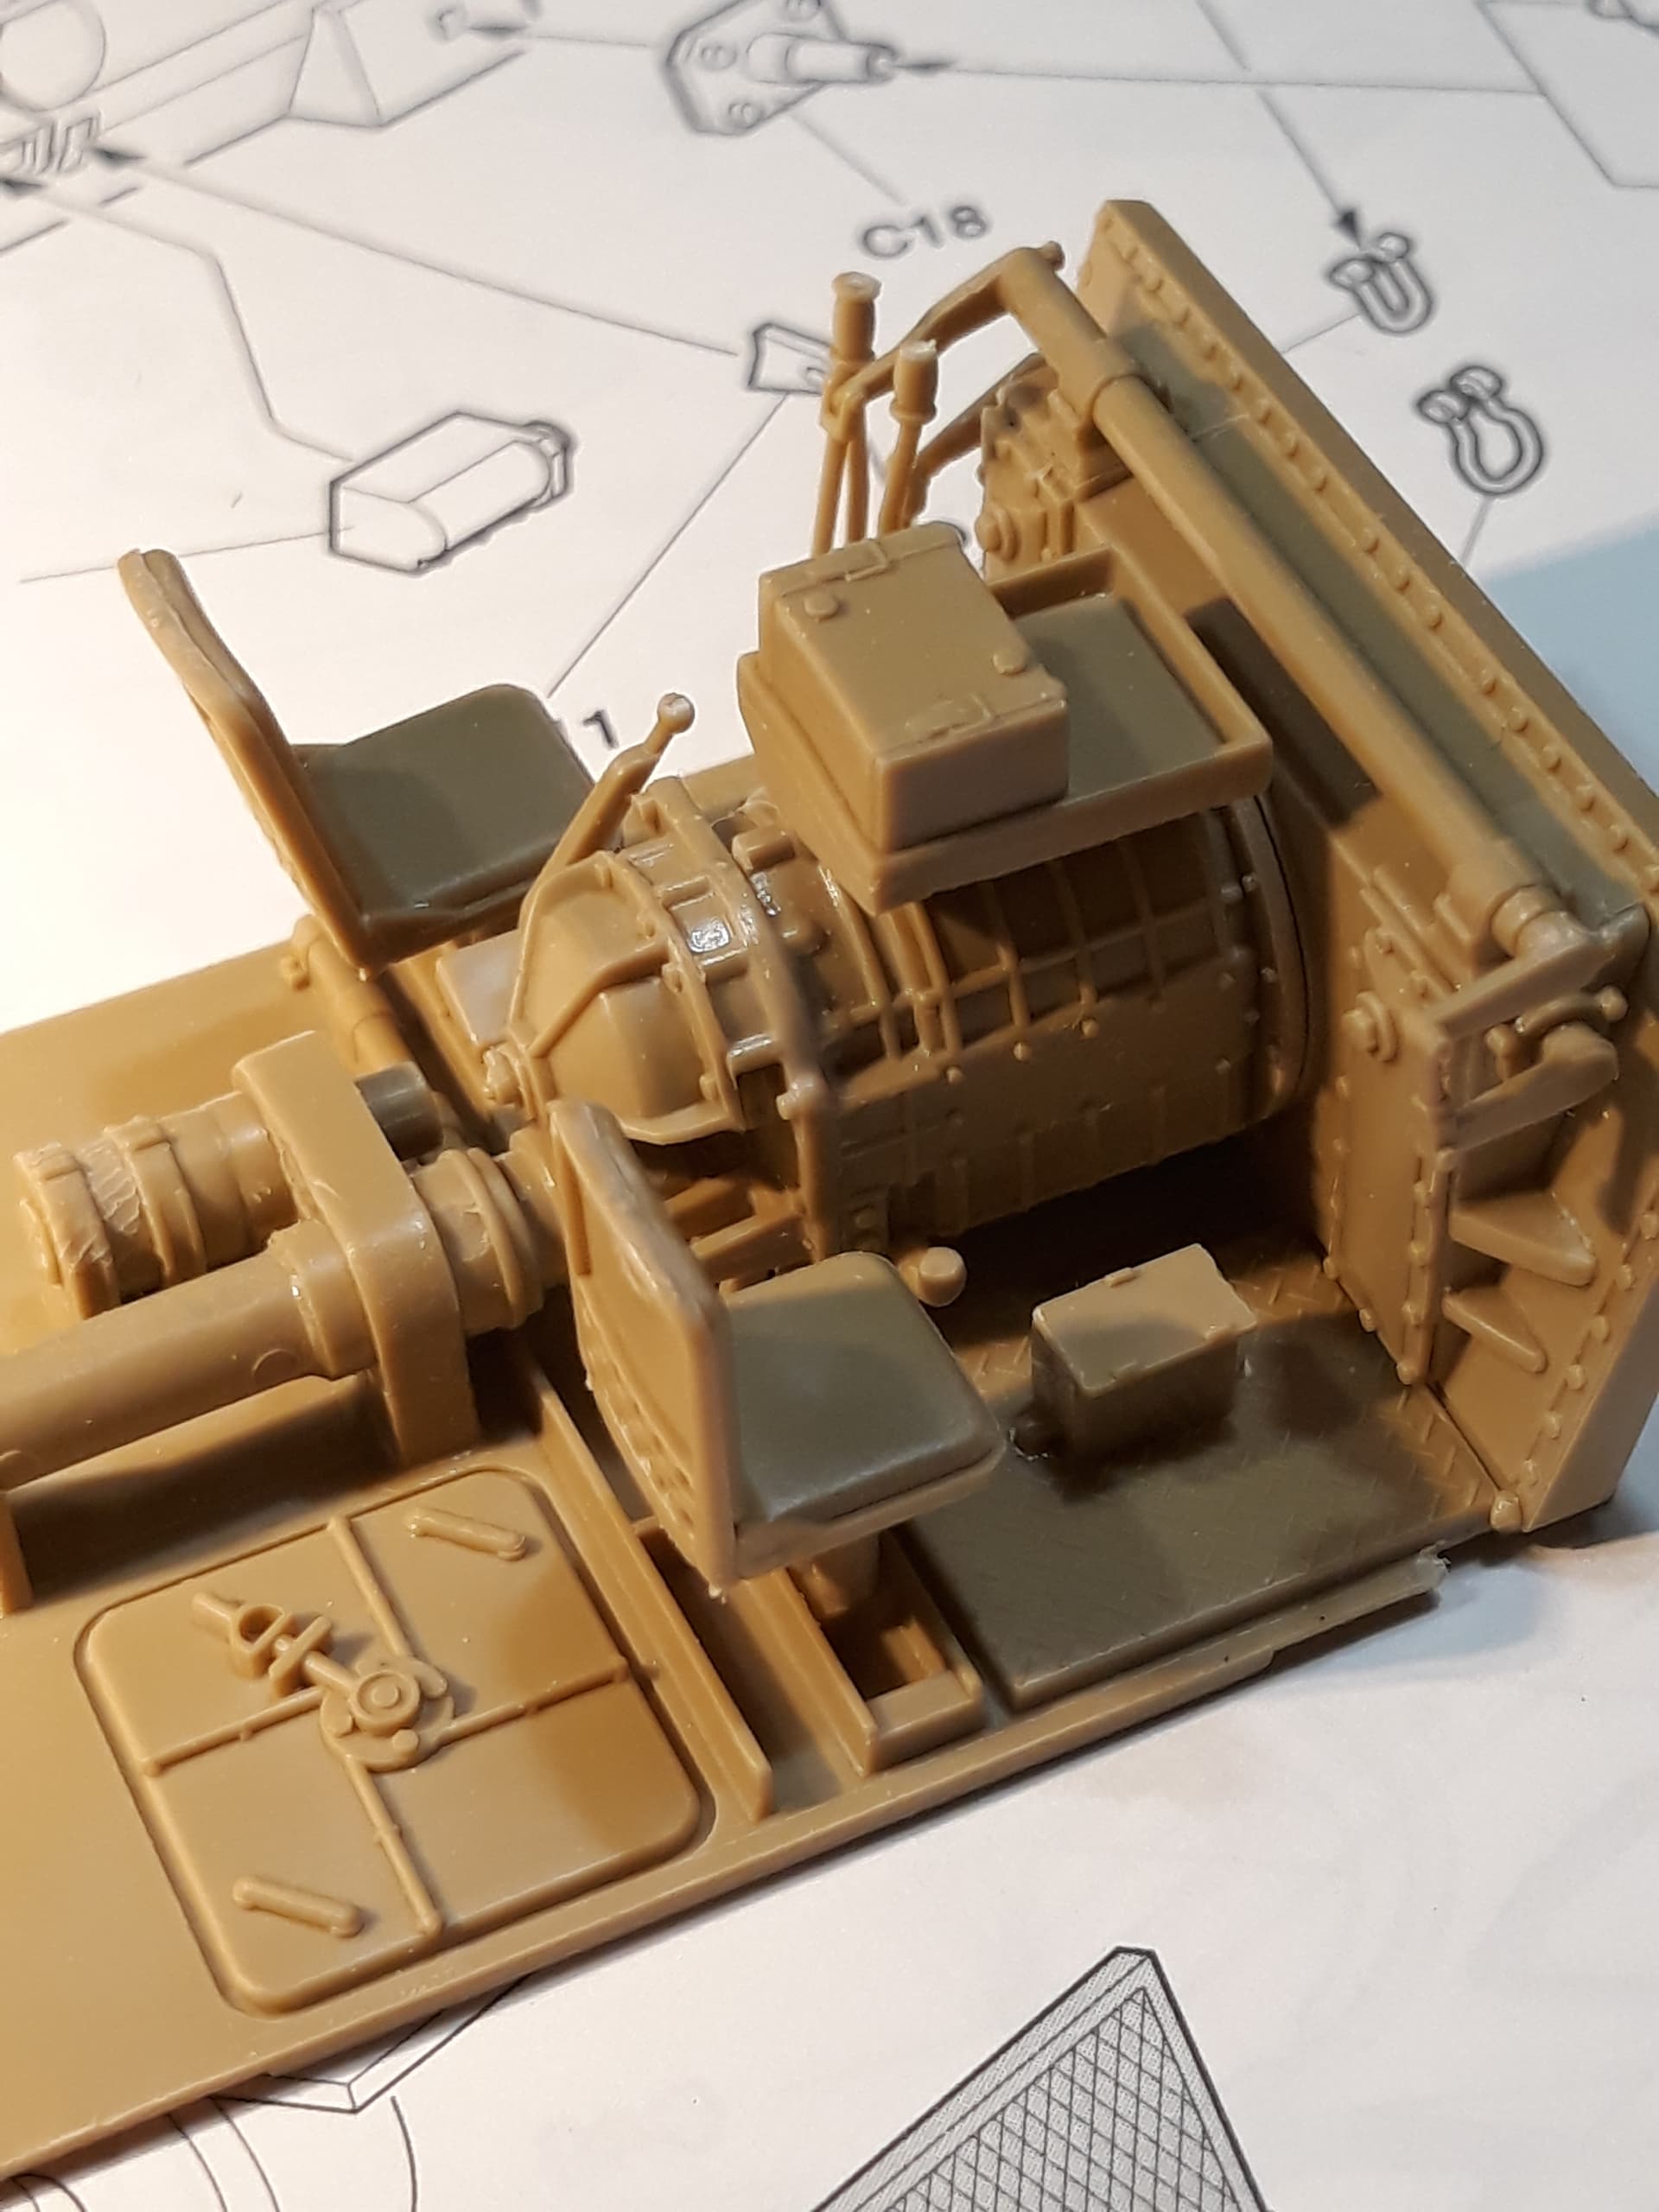
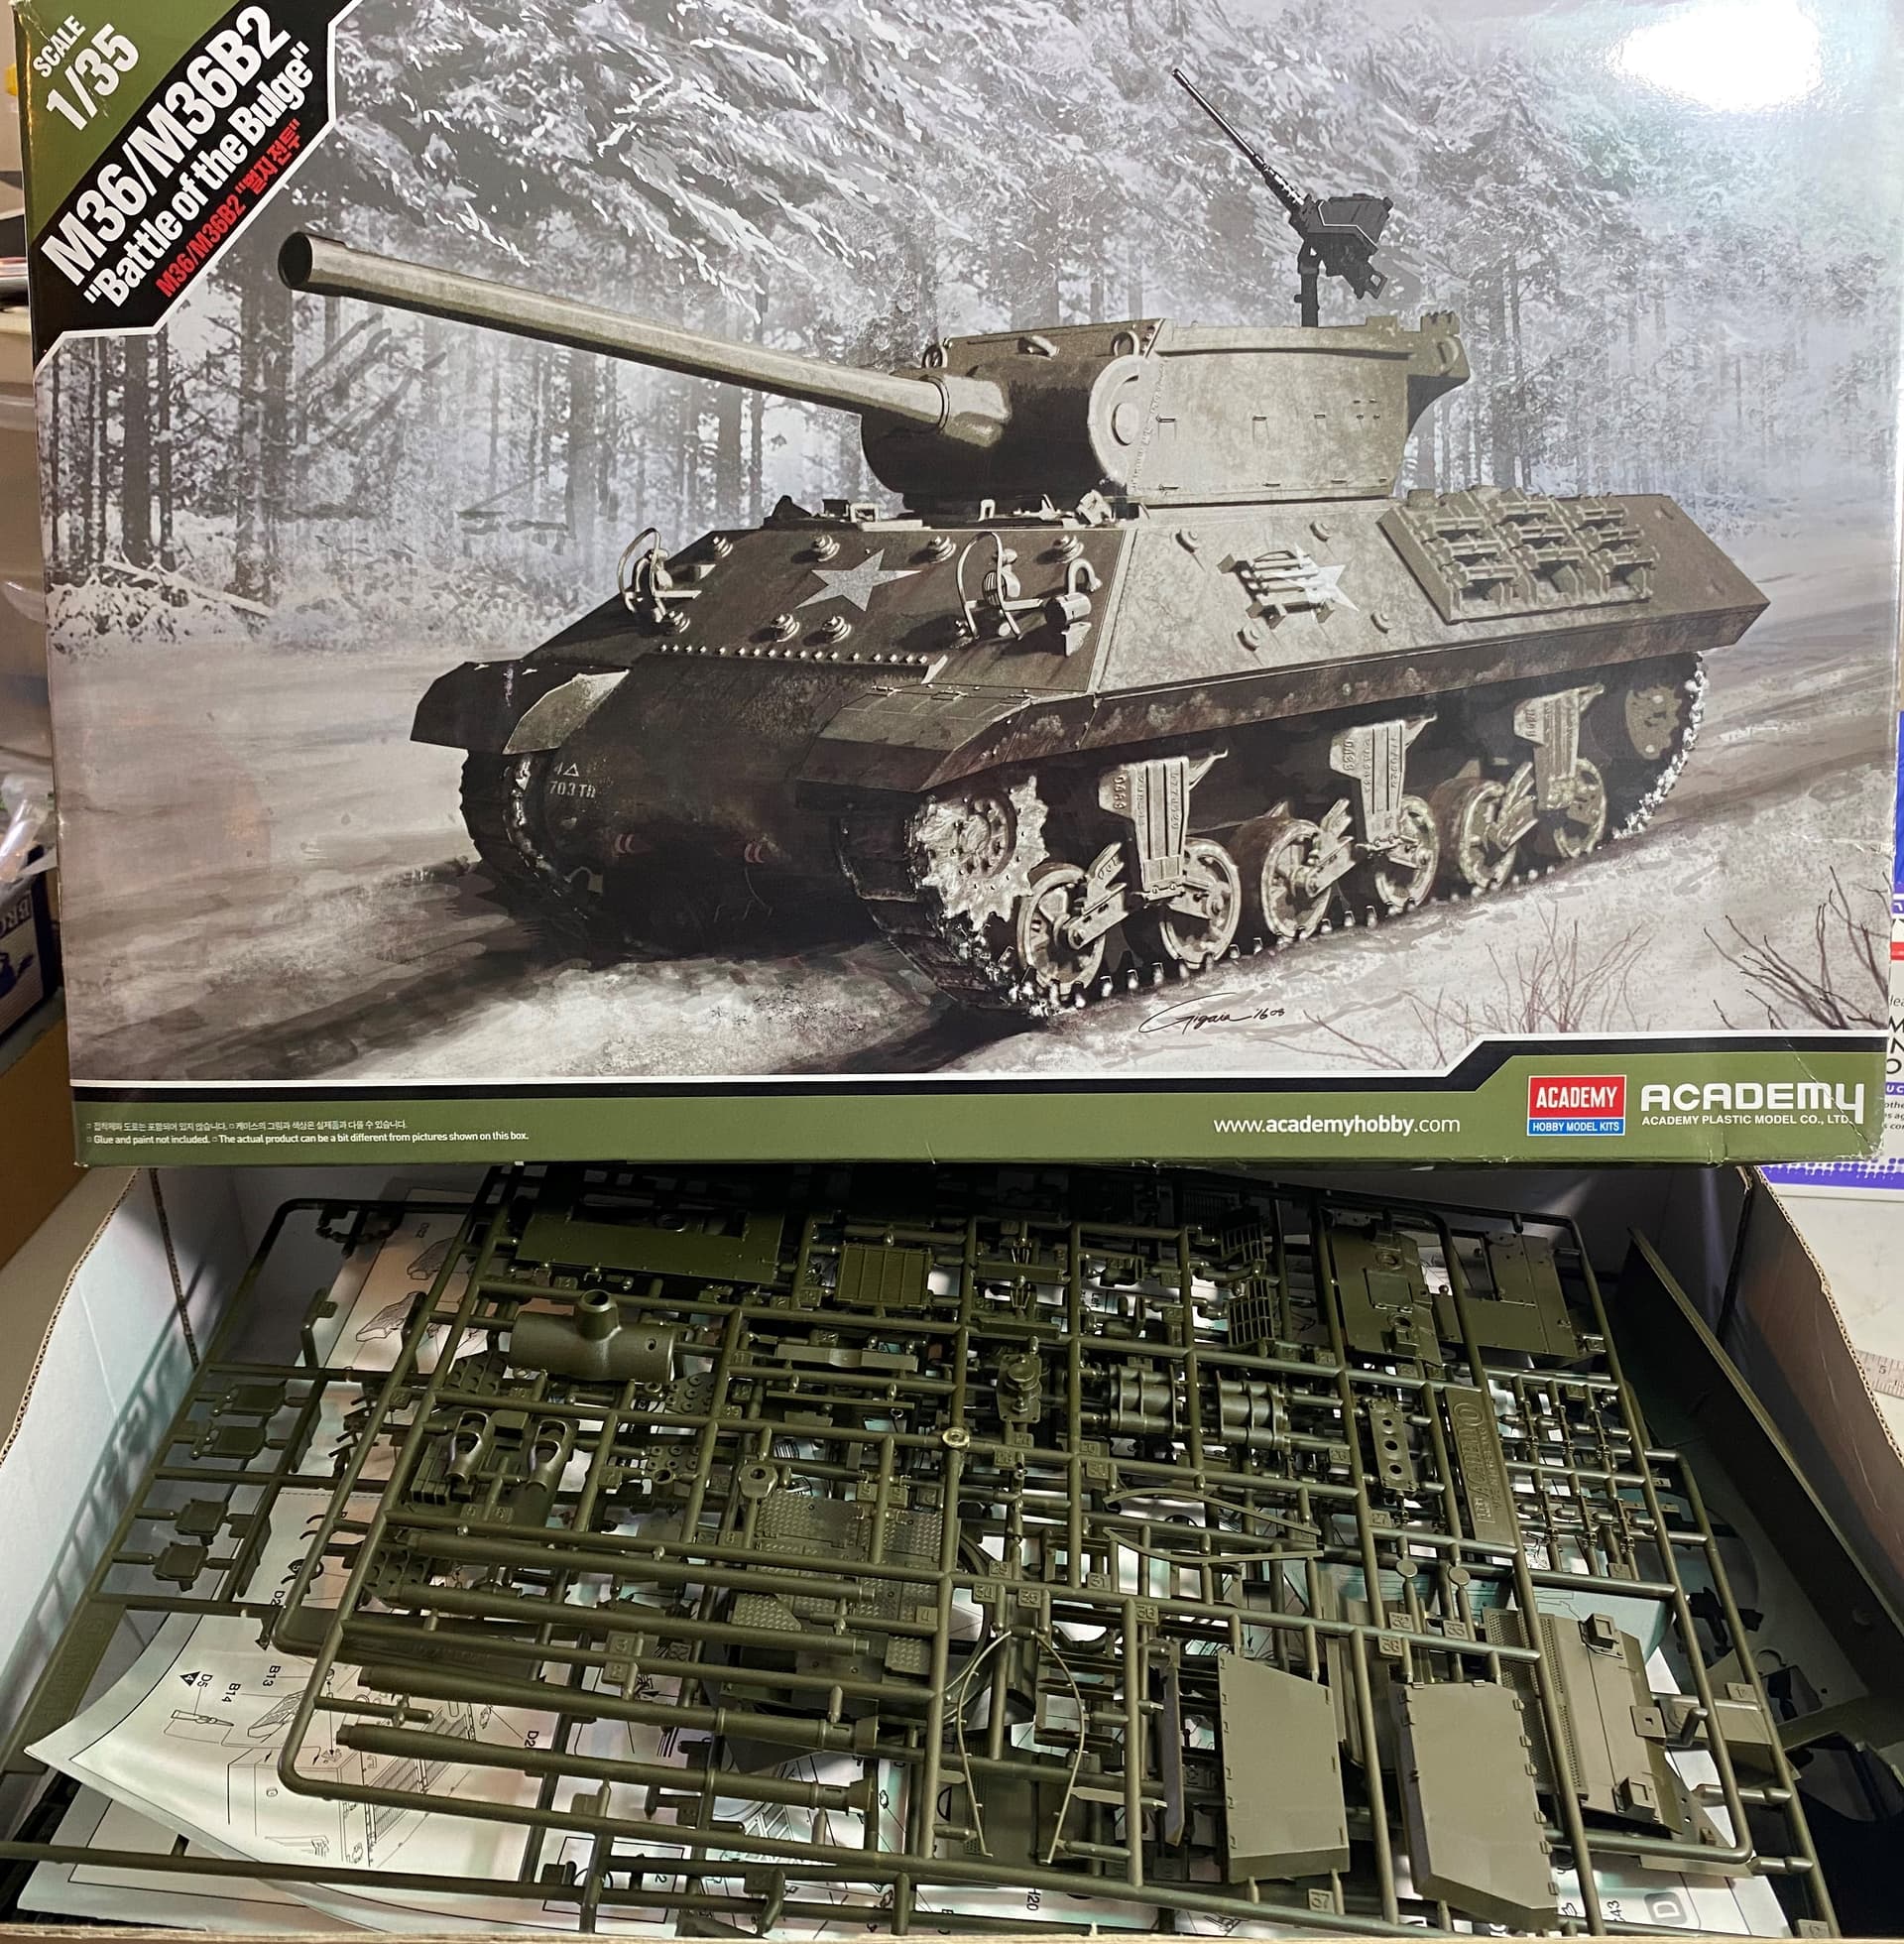
I have chosen to do Academy’s M36 Jackson.
Which so far looks identical in build to bwilts interior (makes sense since it uses the same M10 chassis and its from Academy)
6 Likes
Looks really good and indeed identical ![]()
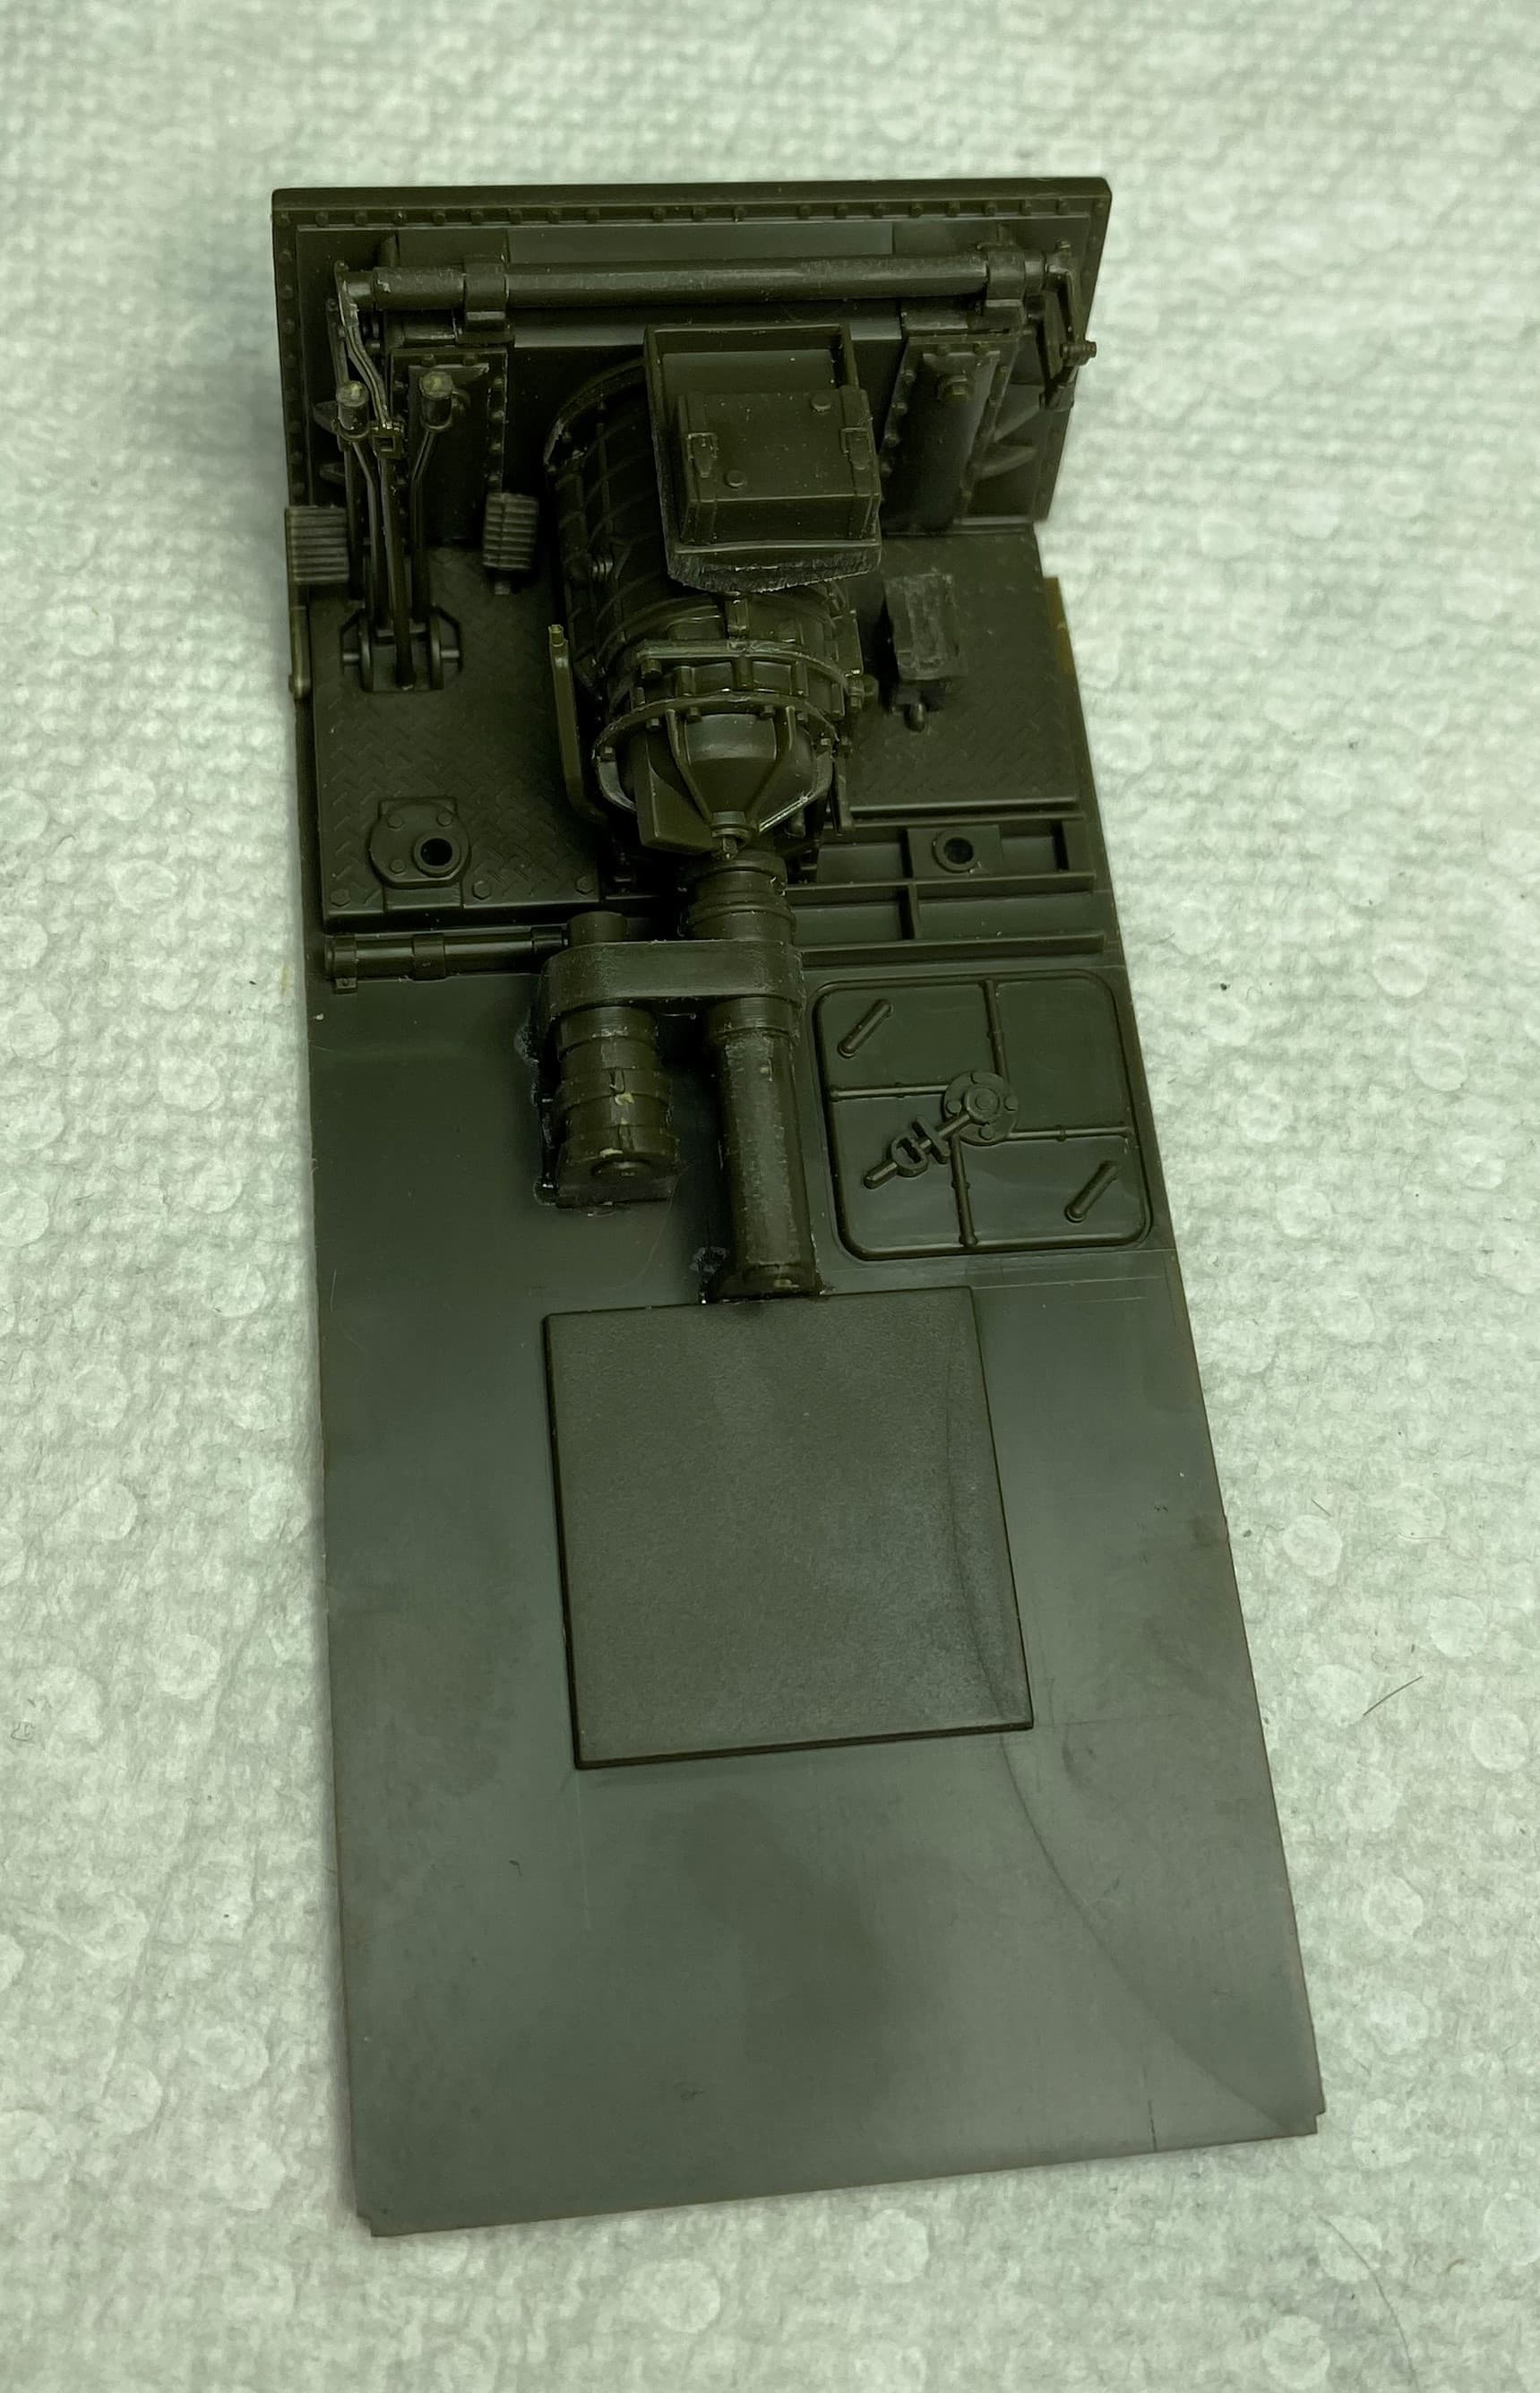
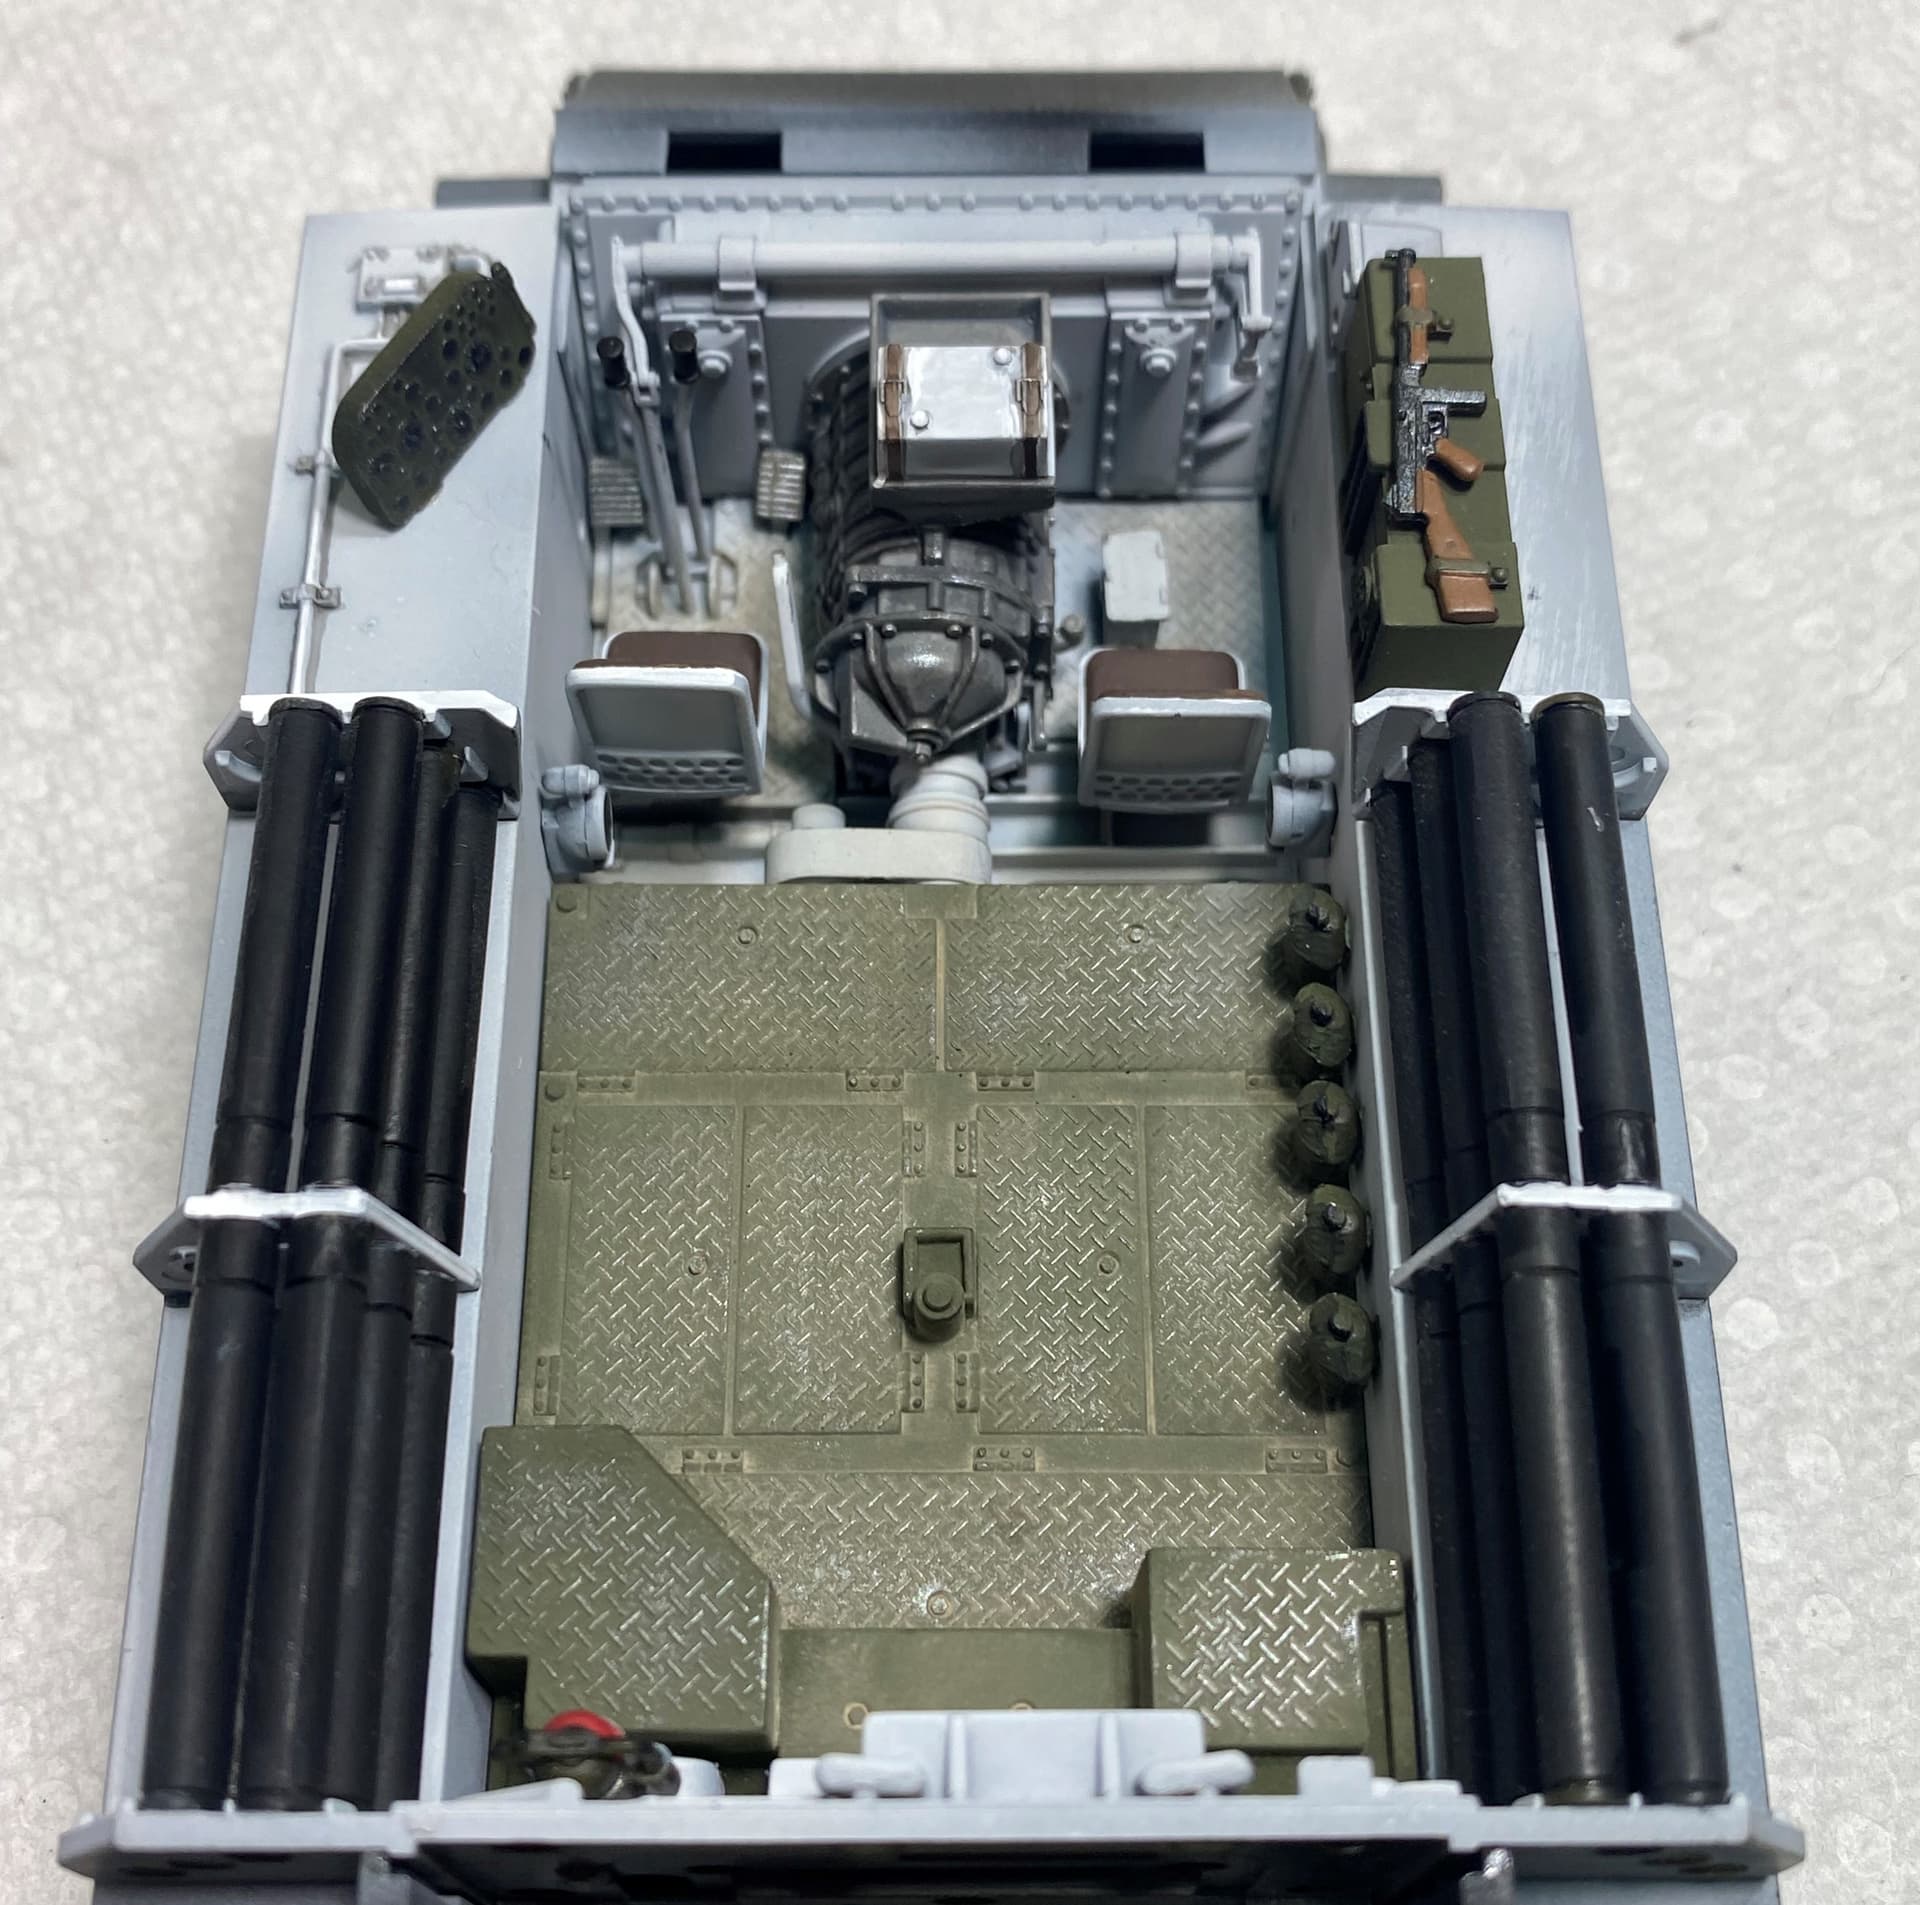
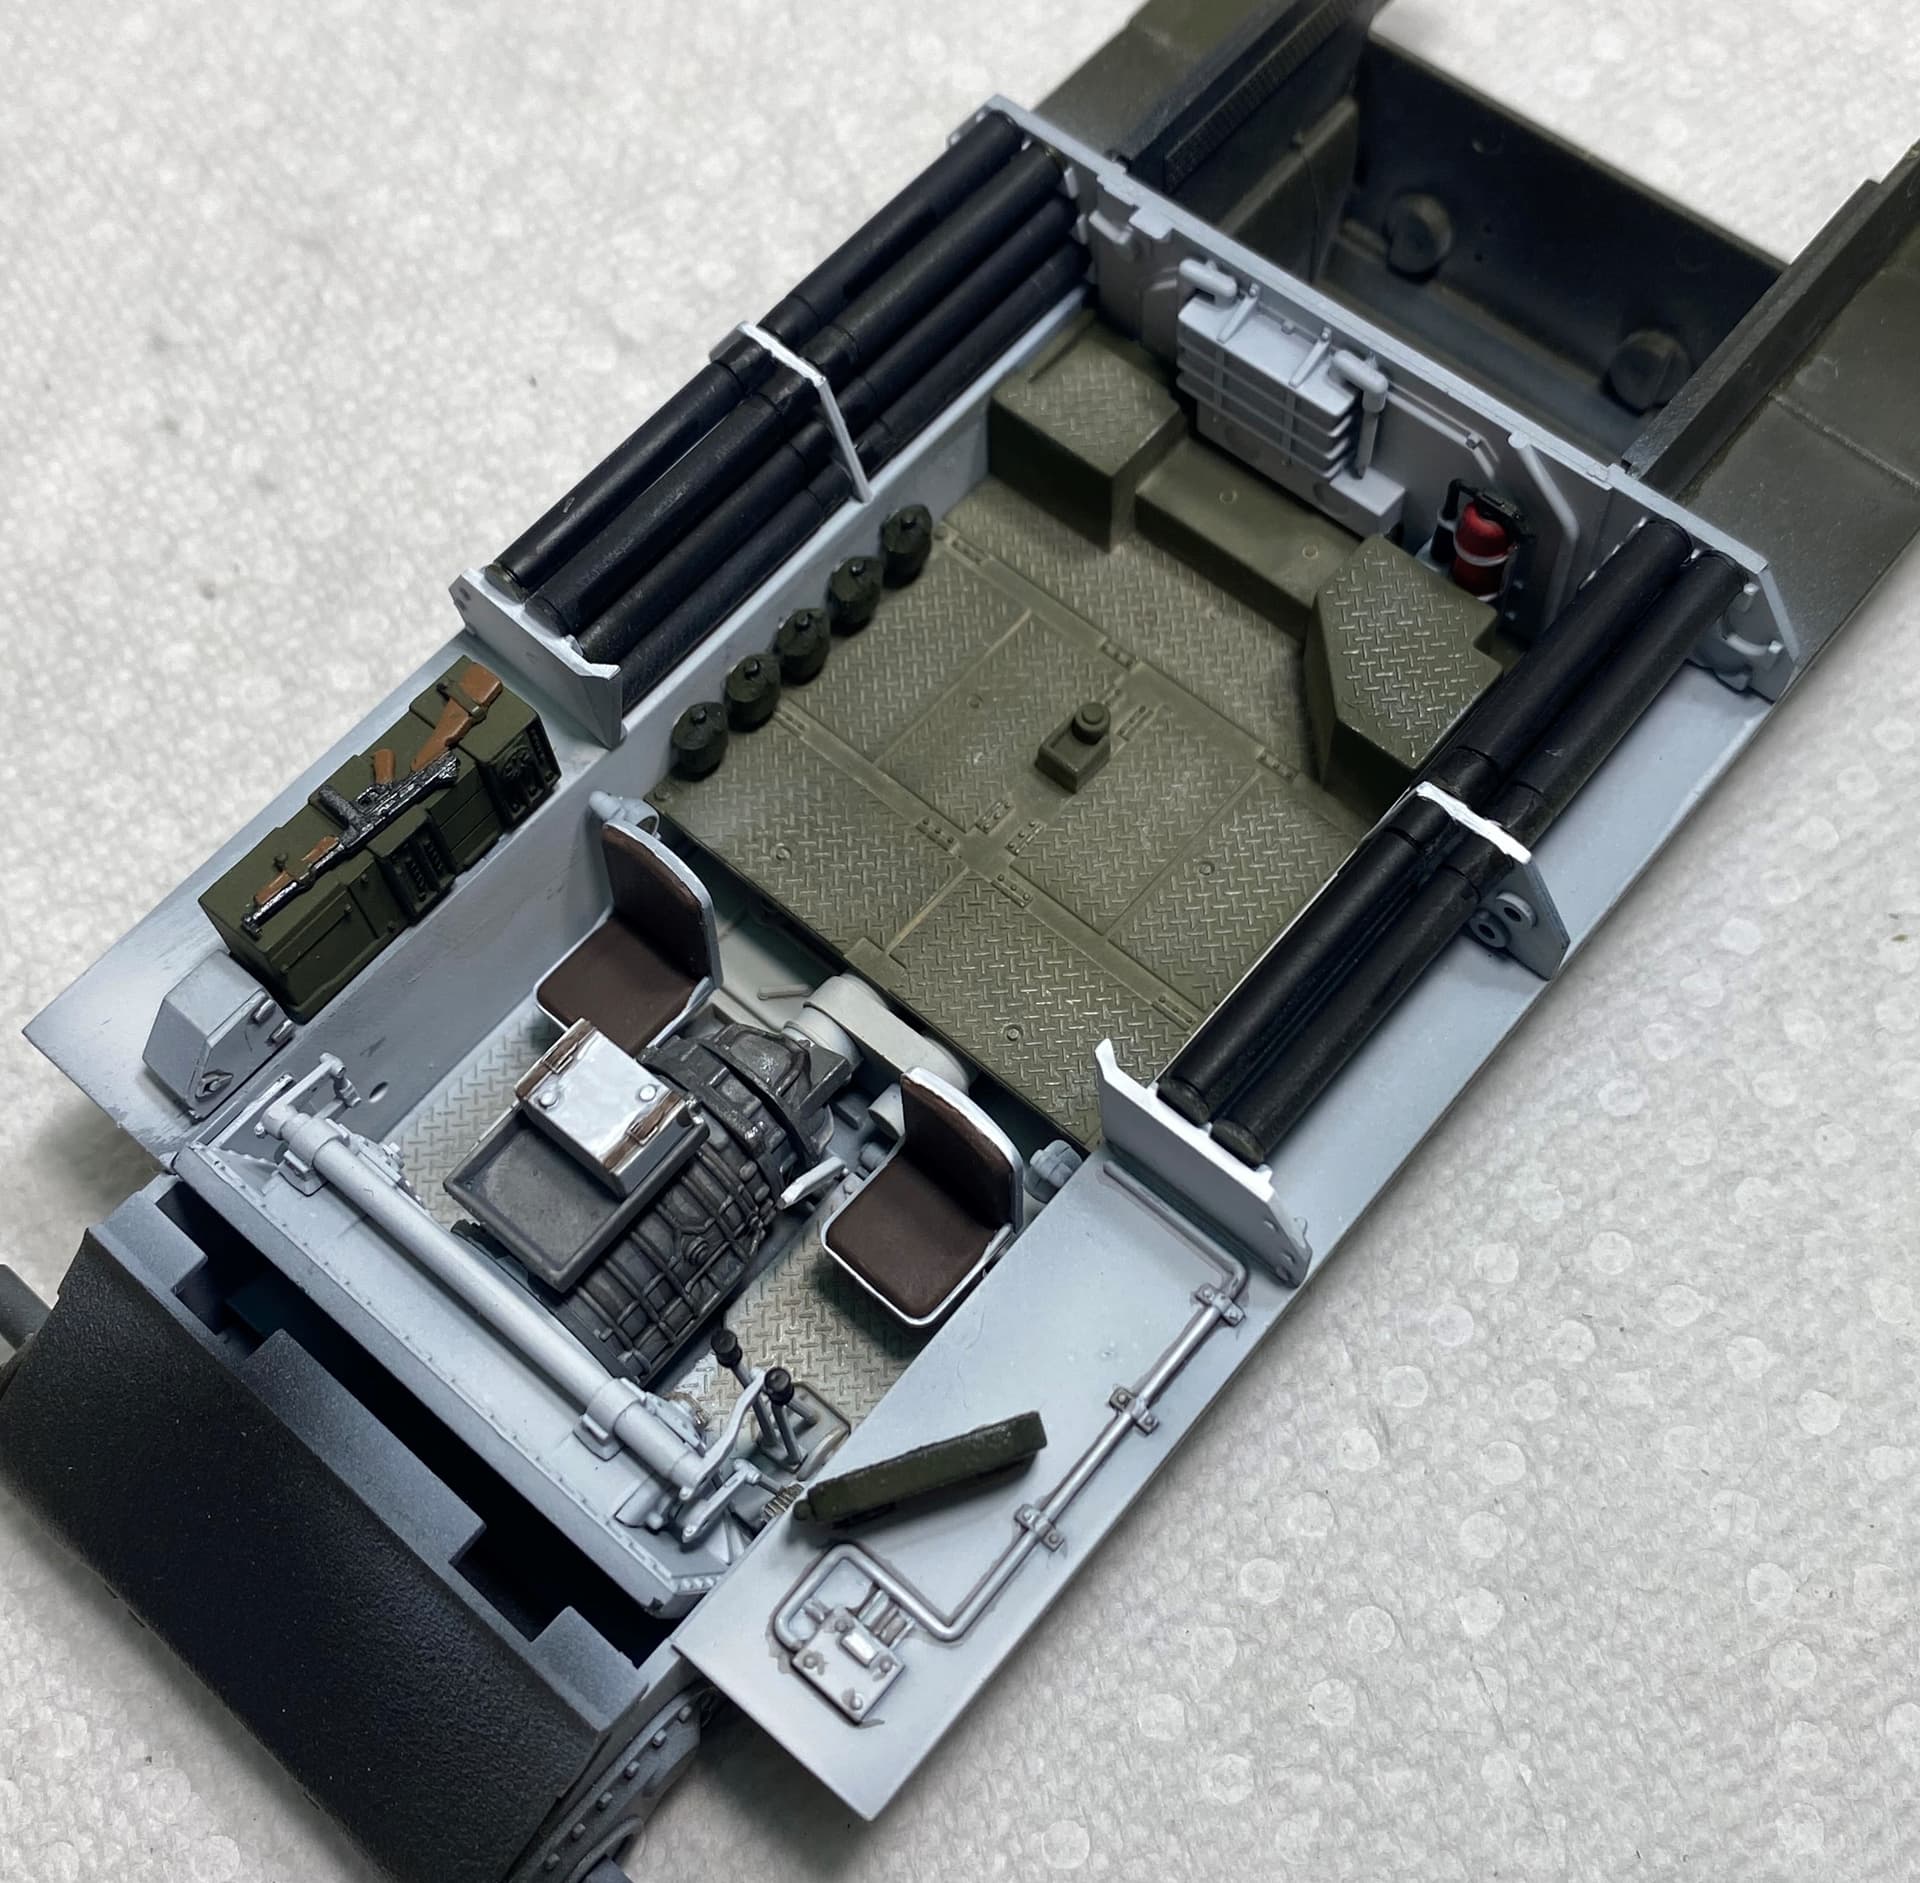
Work has progressed.
Interior is completed. If a part is never going to be seen once buttoned up, it was not installed or painted.
Drybrushed areas of wear in steel and once happy I dusted the interior with European Earth pigment where I felt dirt would accumulate.
7 Likes
That is fast, and really really nice! ![]()
It is a great example for me for painting mine ![]()