Tank Destroyers 2 Campaign Active

Looking good. Will make your vehicle unique!

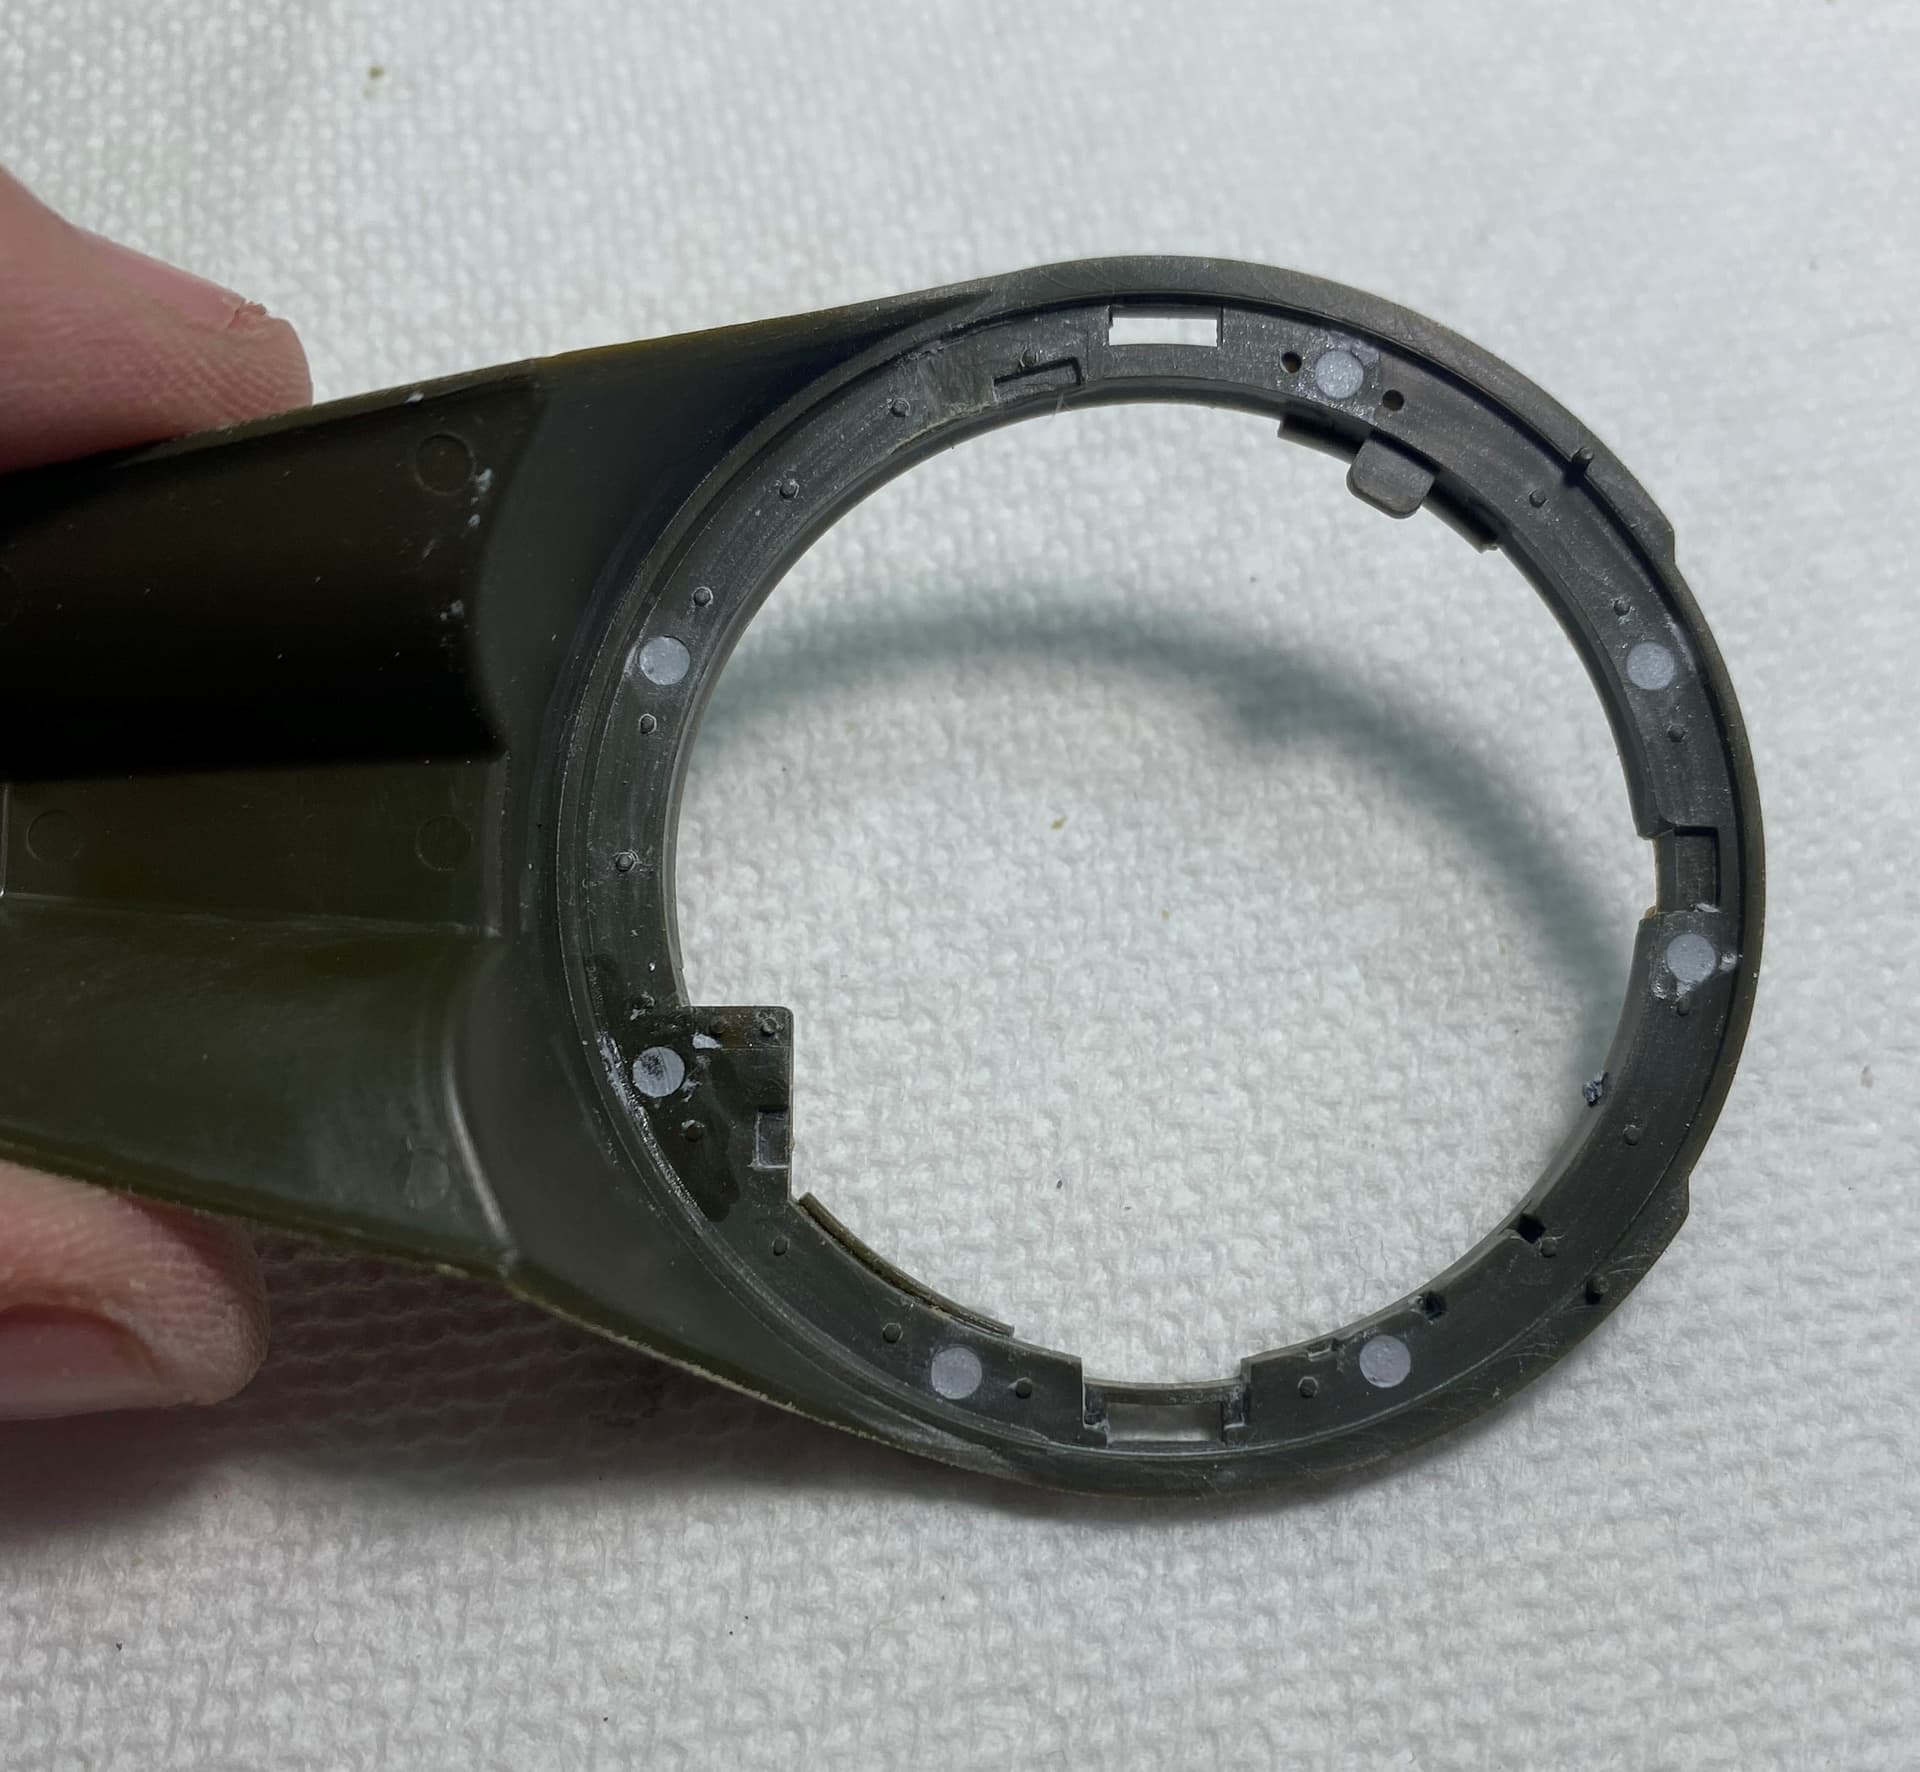
As for mine, hull construction is completed. No major issues though there was a gap between the rear plate and the engine deck. Nothing a bit of putty didn’t rectify. Honestly the biggest issue I had was that I want to pose the driver and radio operator hatches open and of course there are injection marks on the inside. Some putty and careful scraping later and I think I have them sorted.

Tools will be painting separately and added later. Bogies will be glued down into final position once they are attached to the hull after painting.

5 Likes

Nice to see the differences in building methods, especially with very similar vehicles…
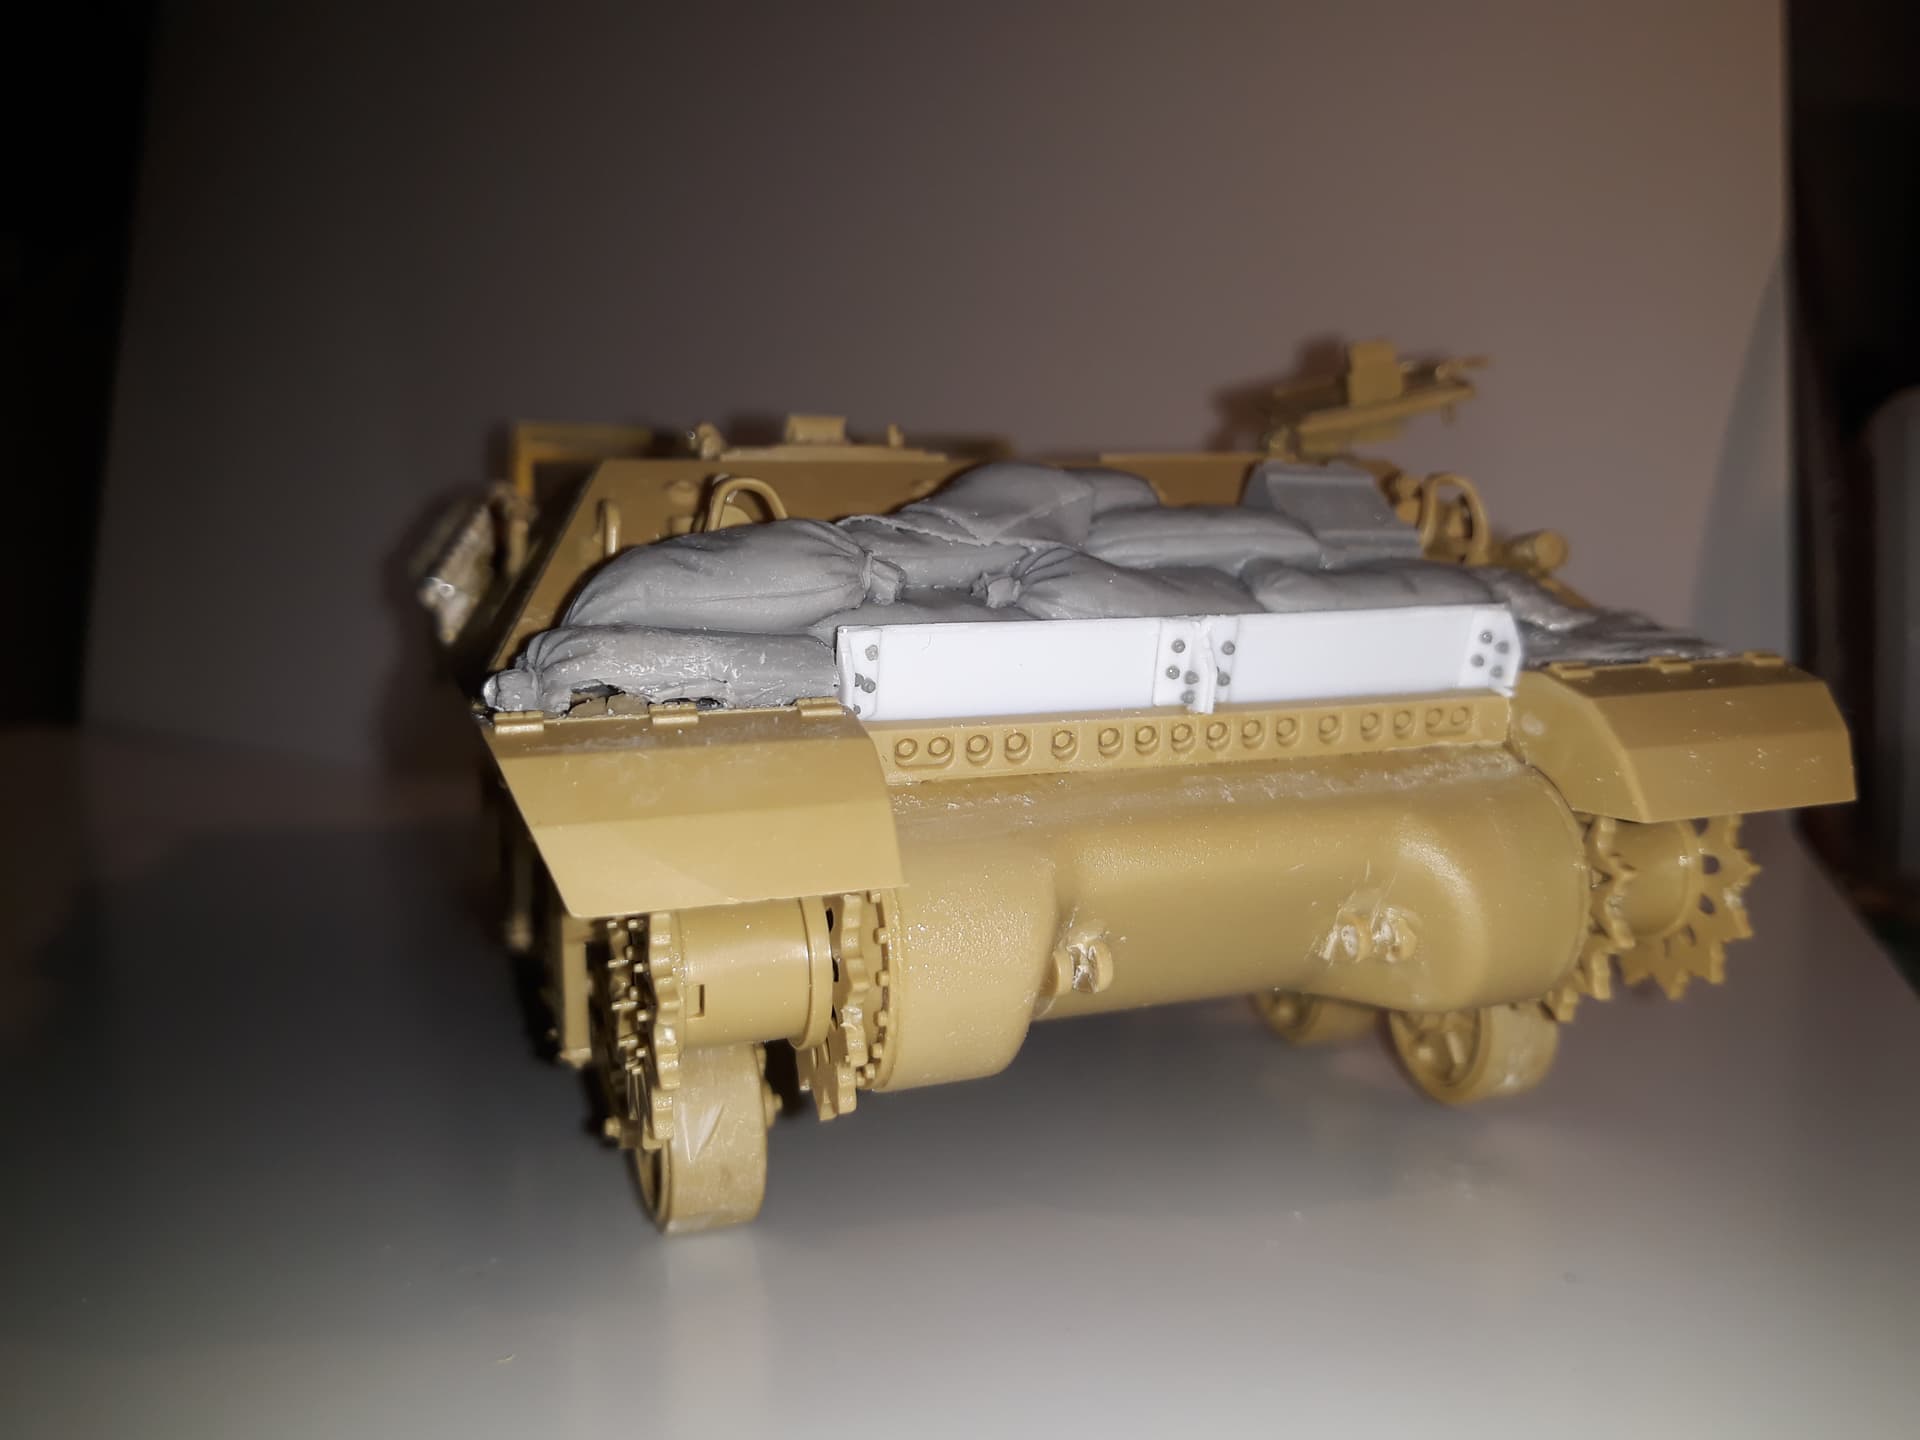
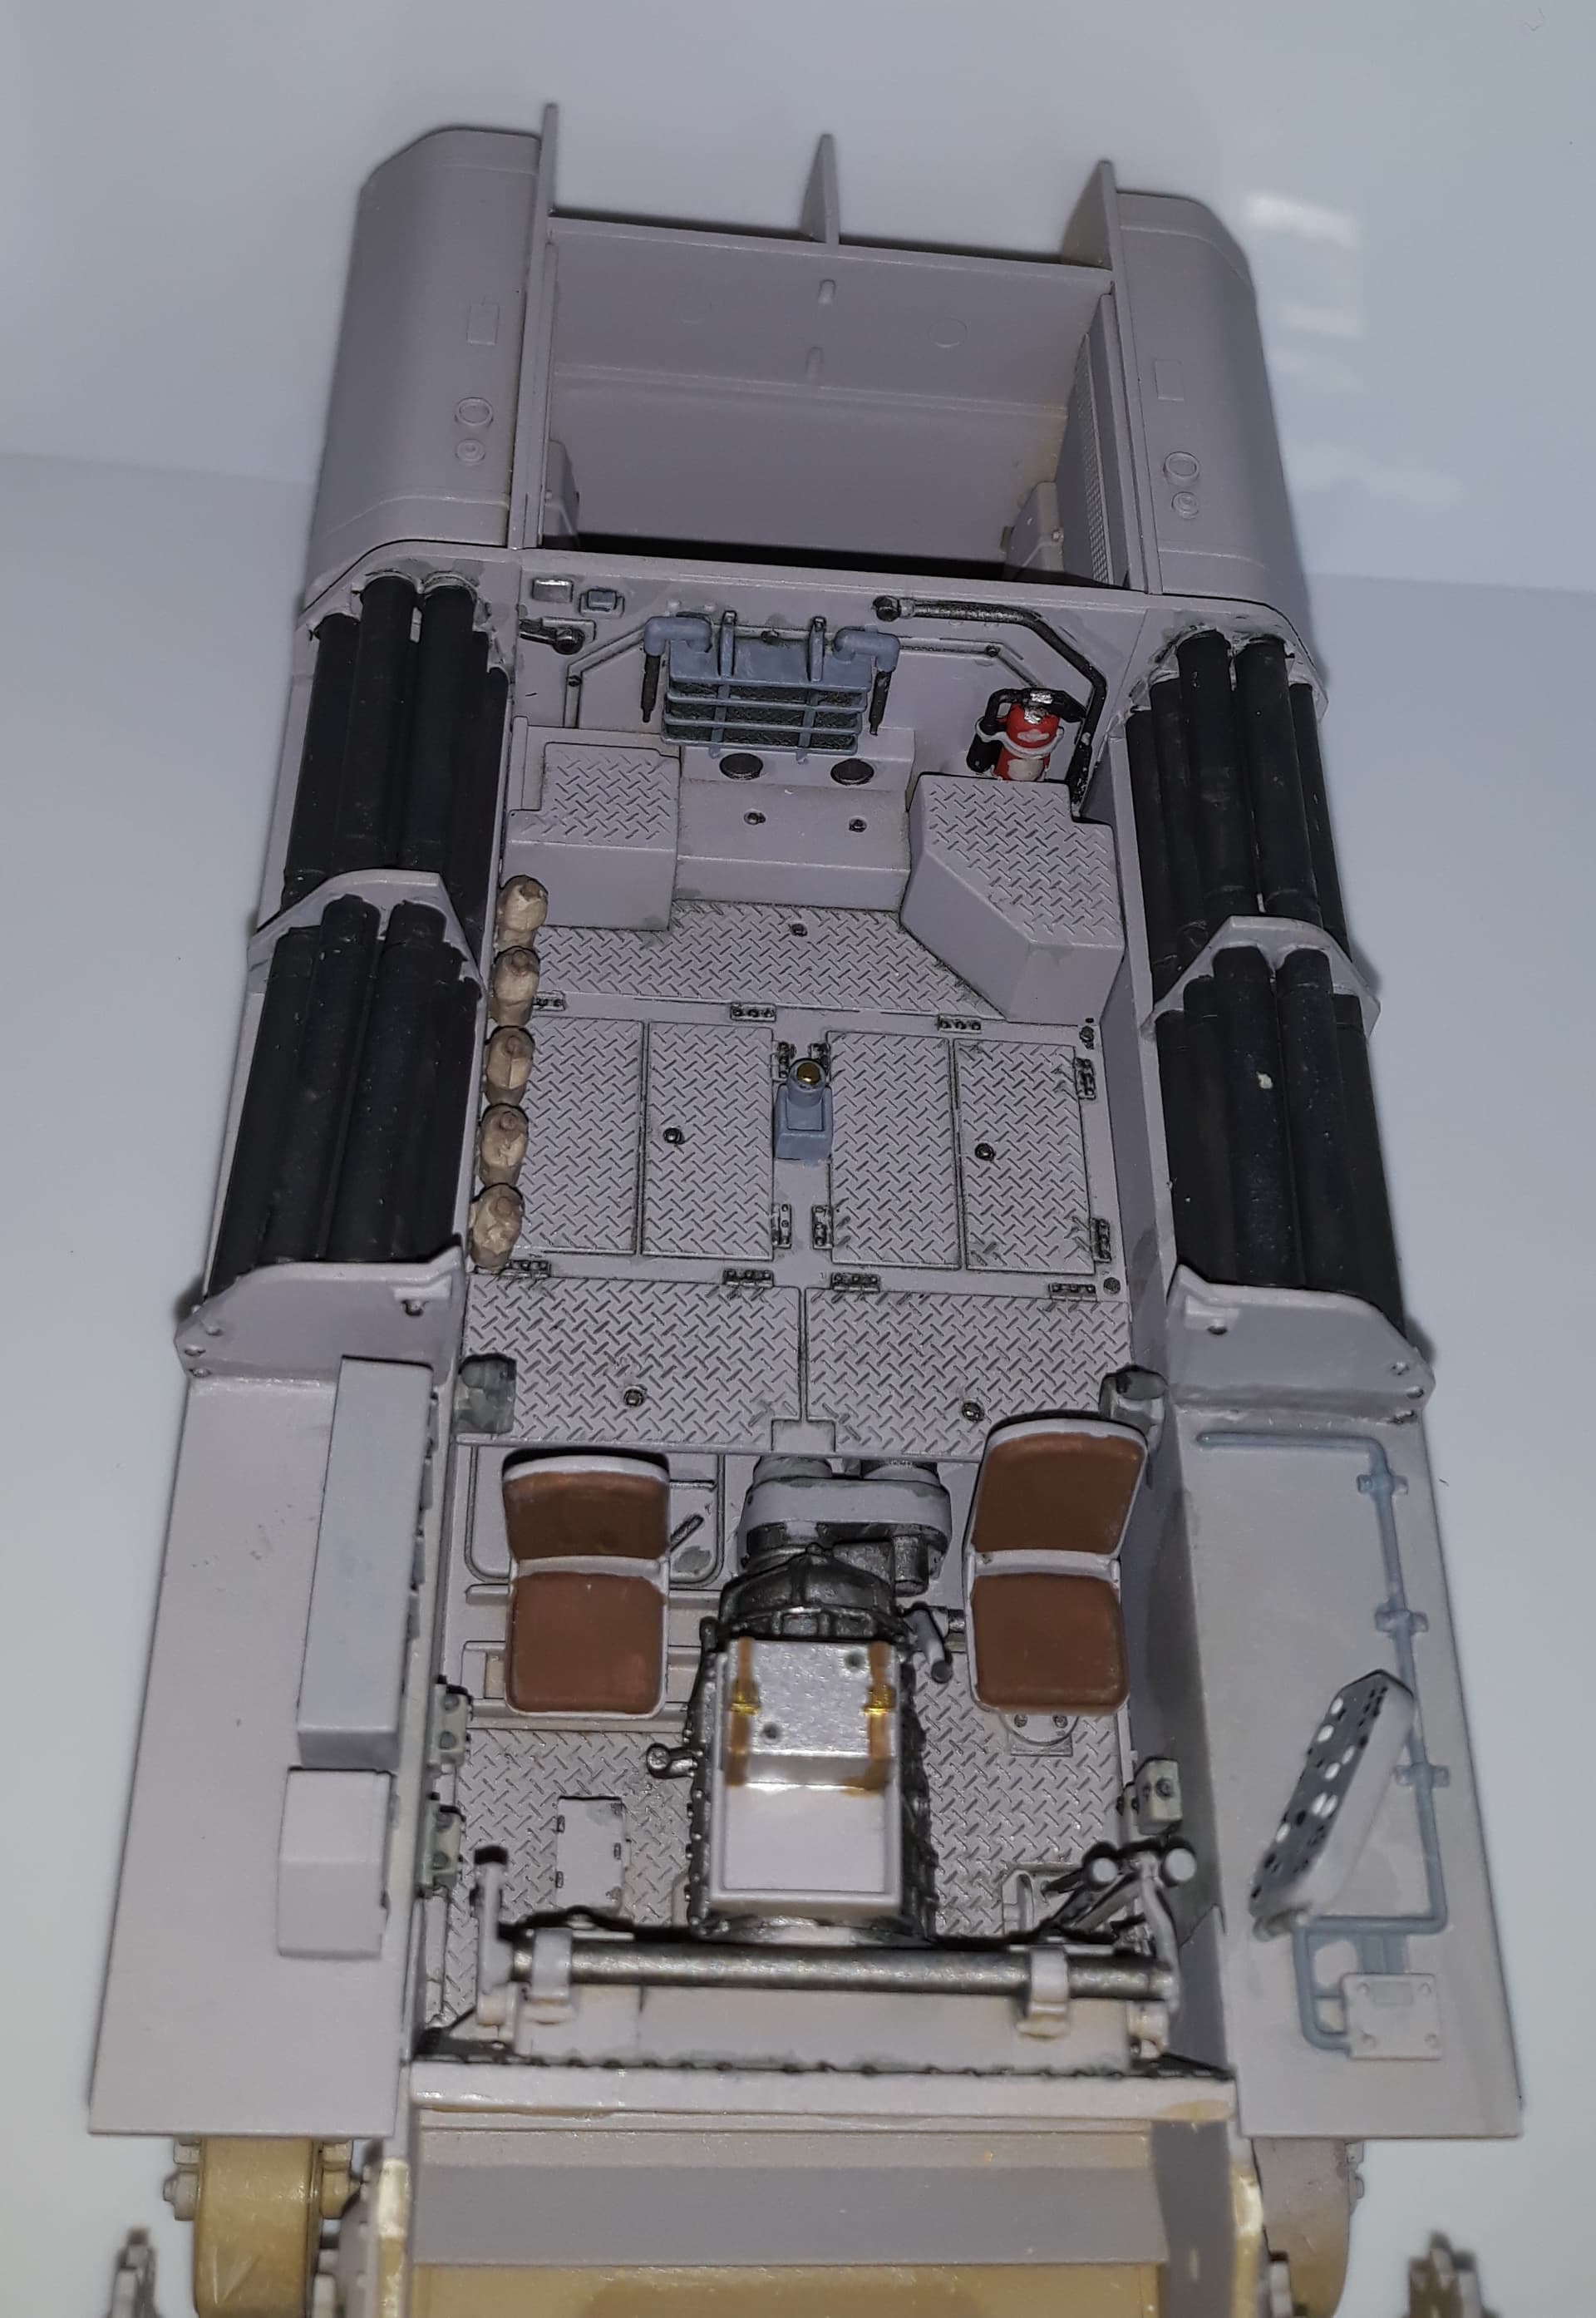
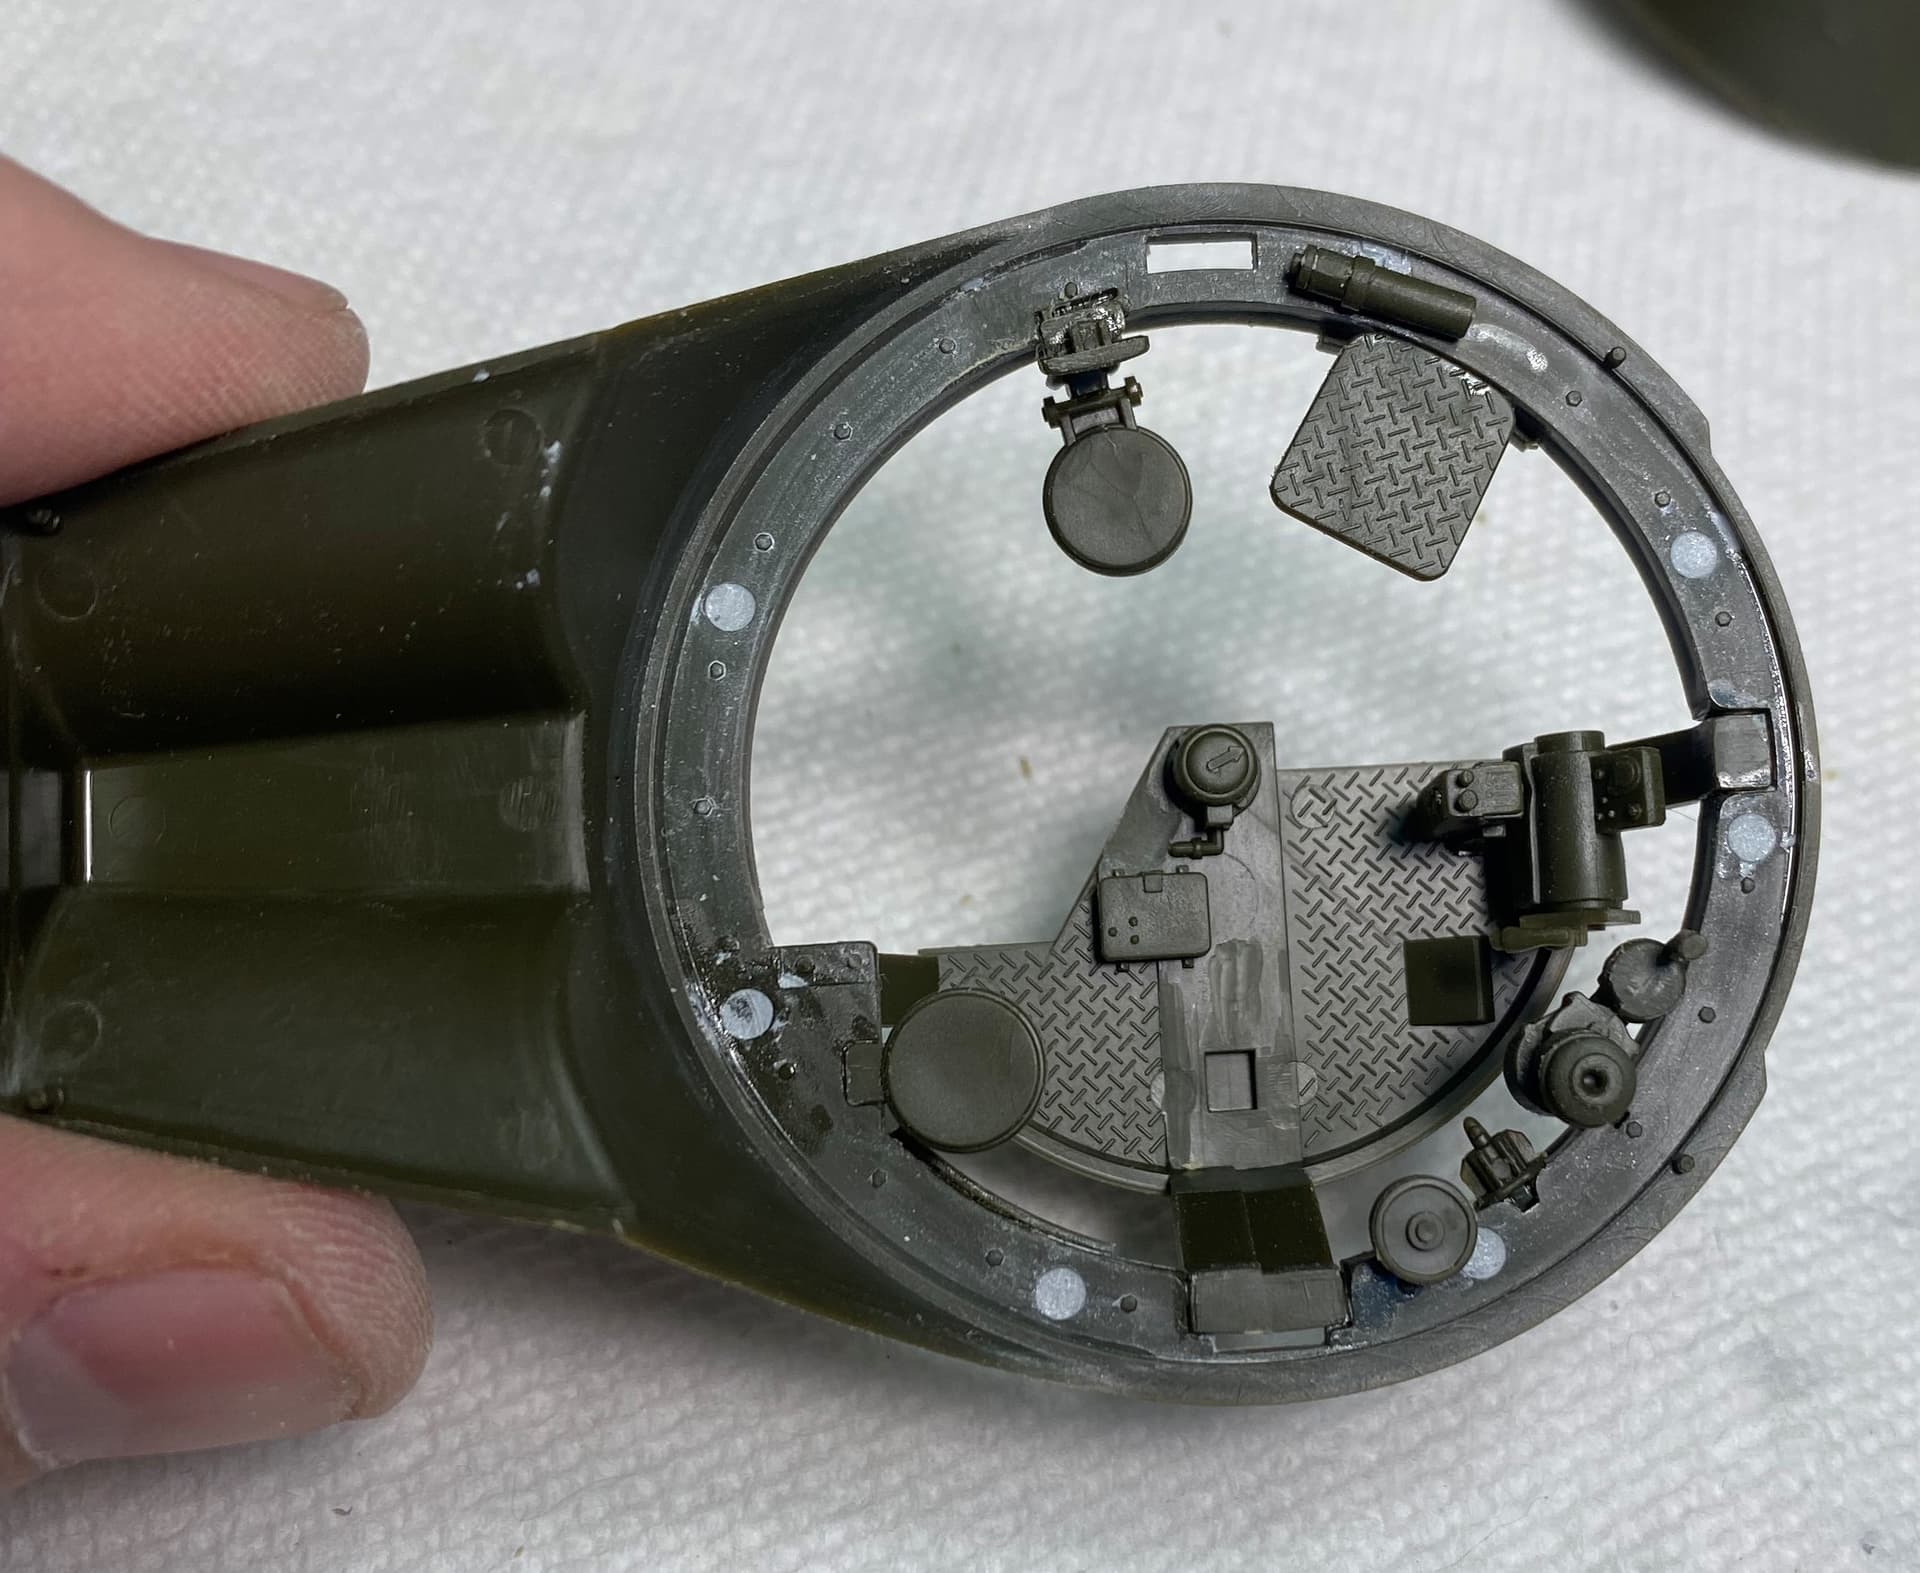
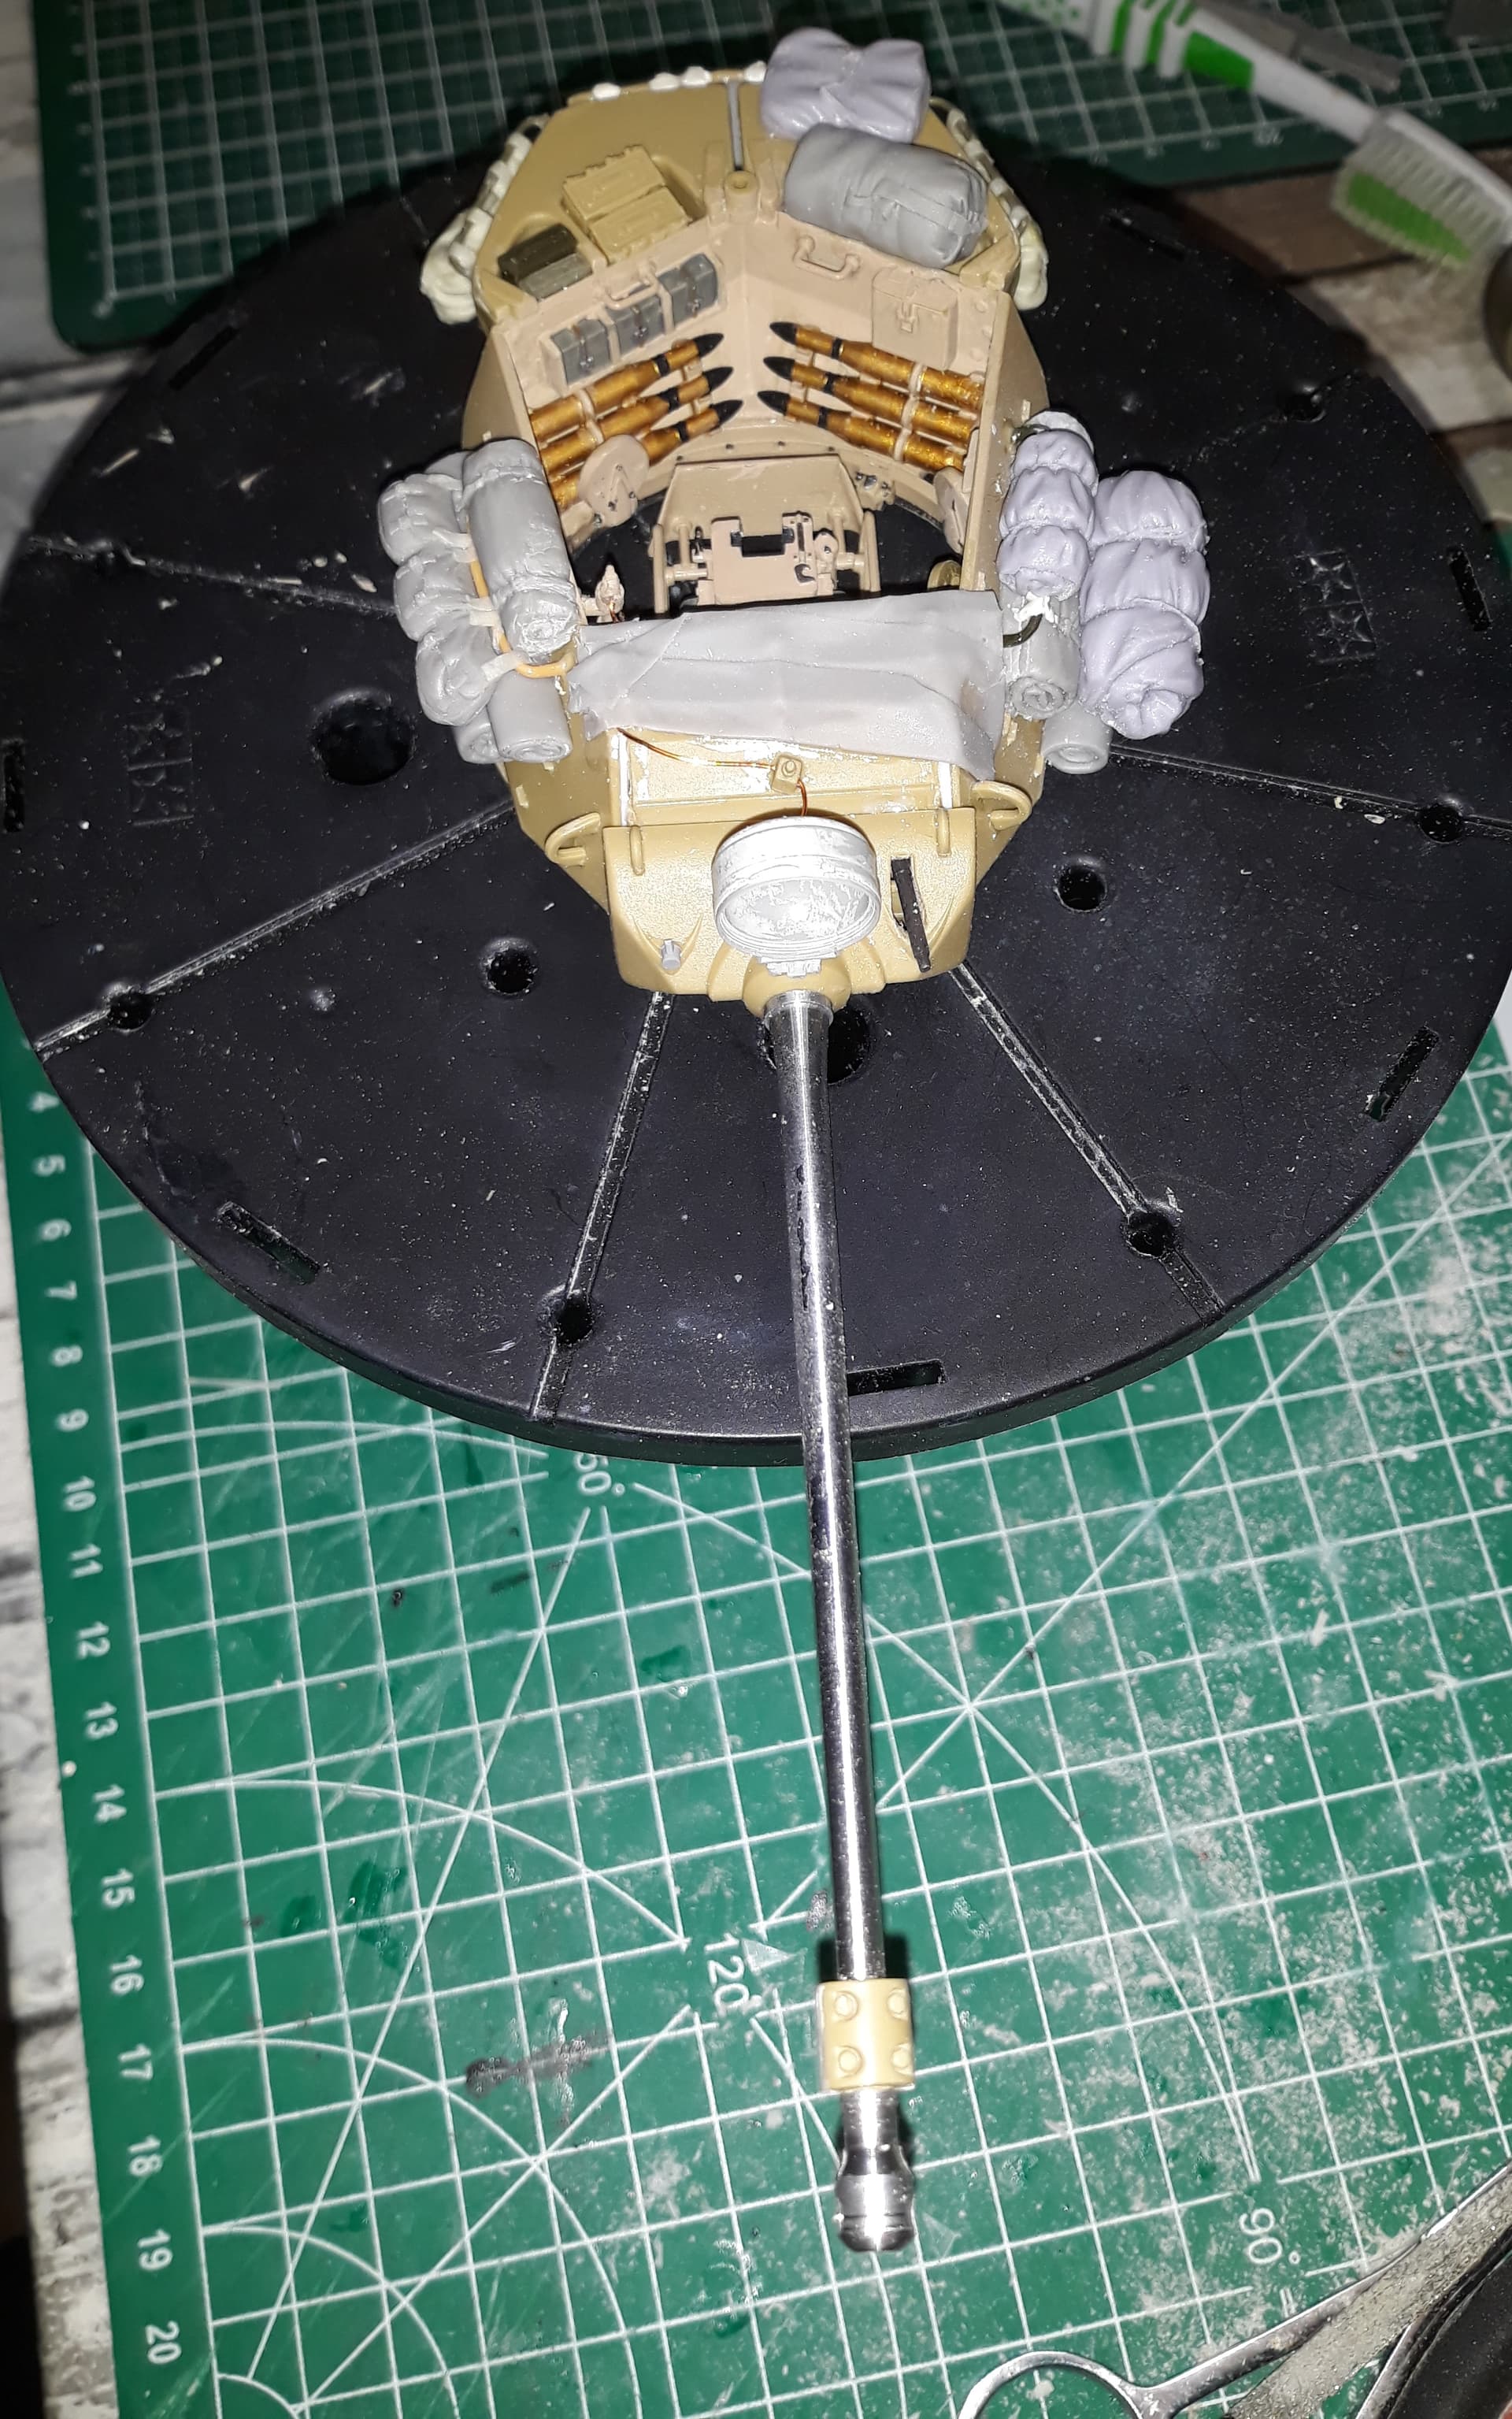
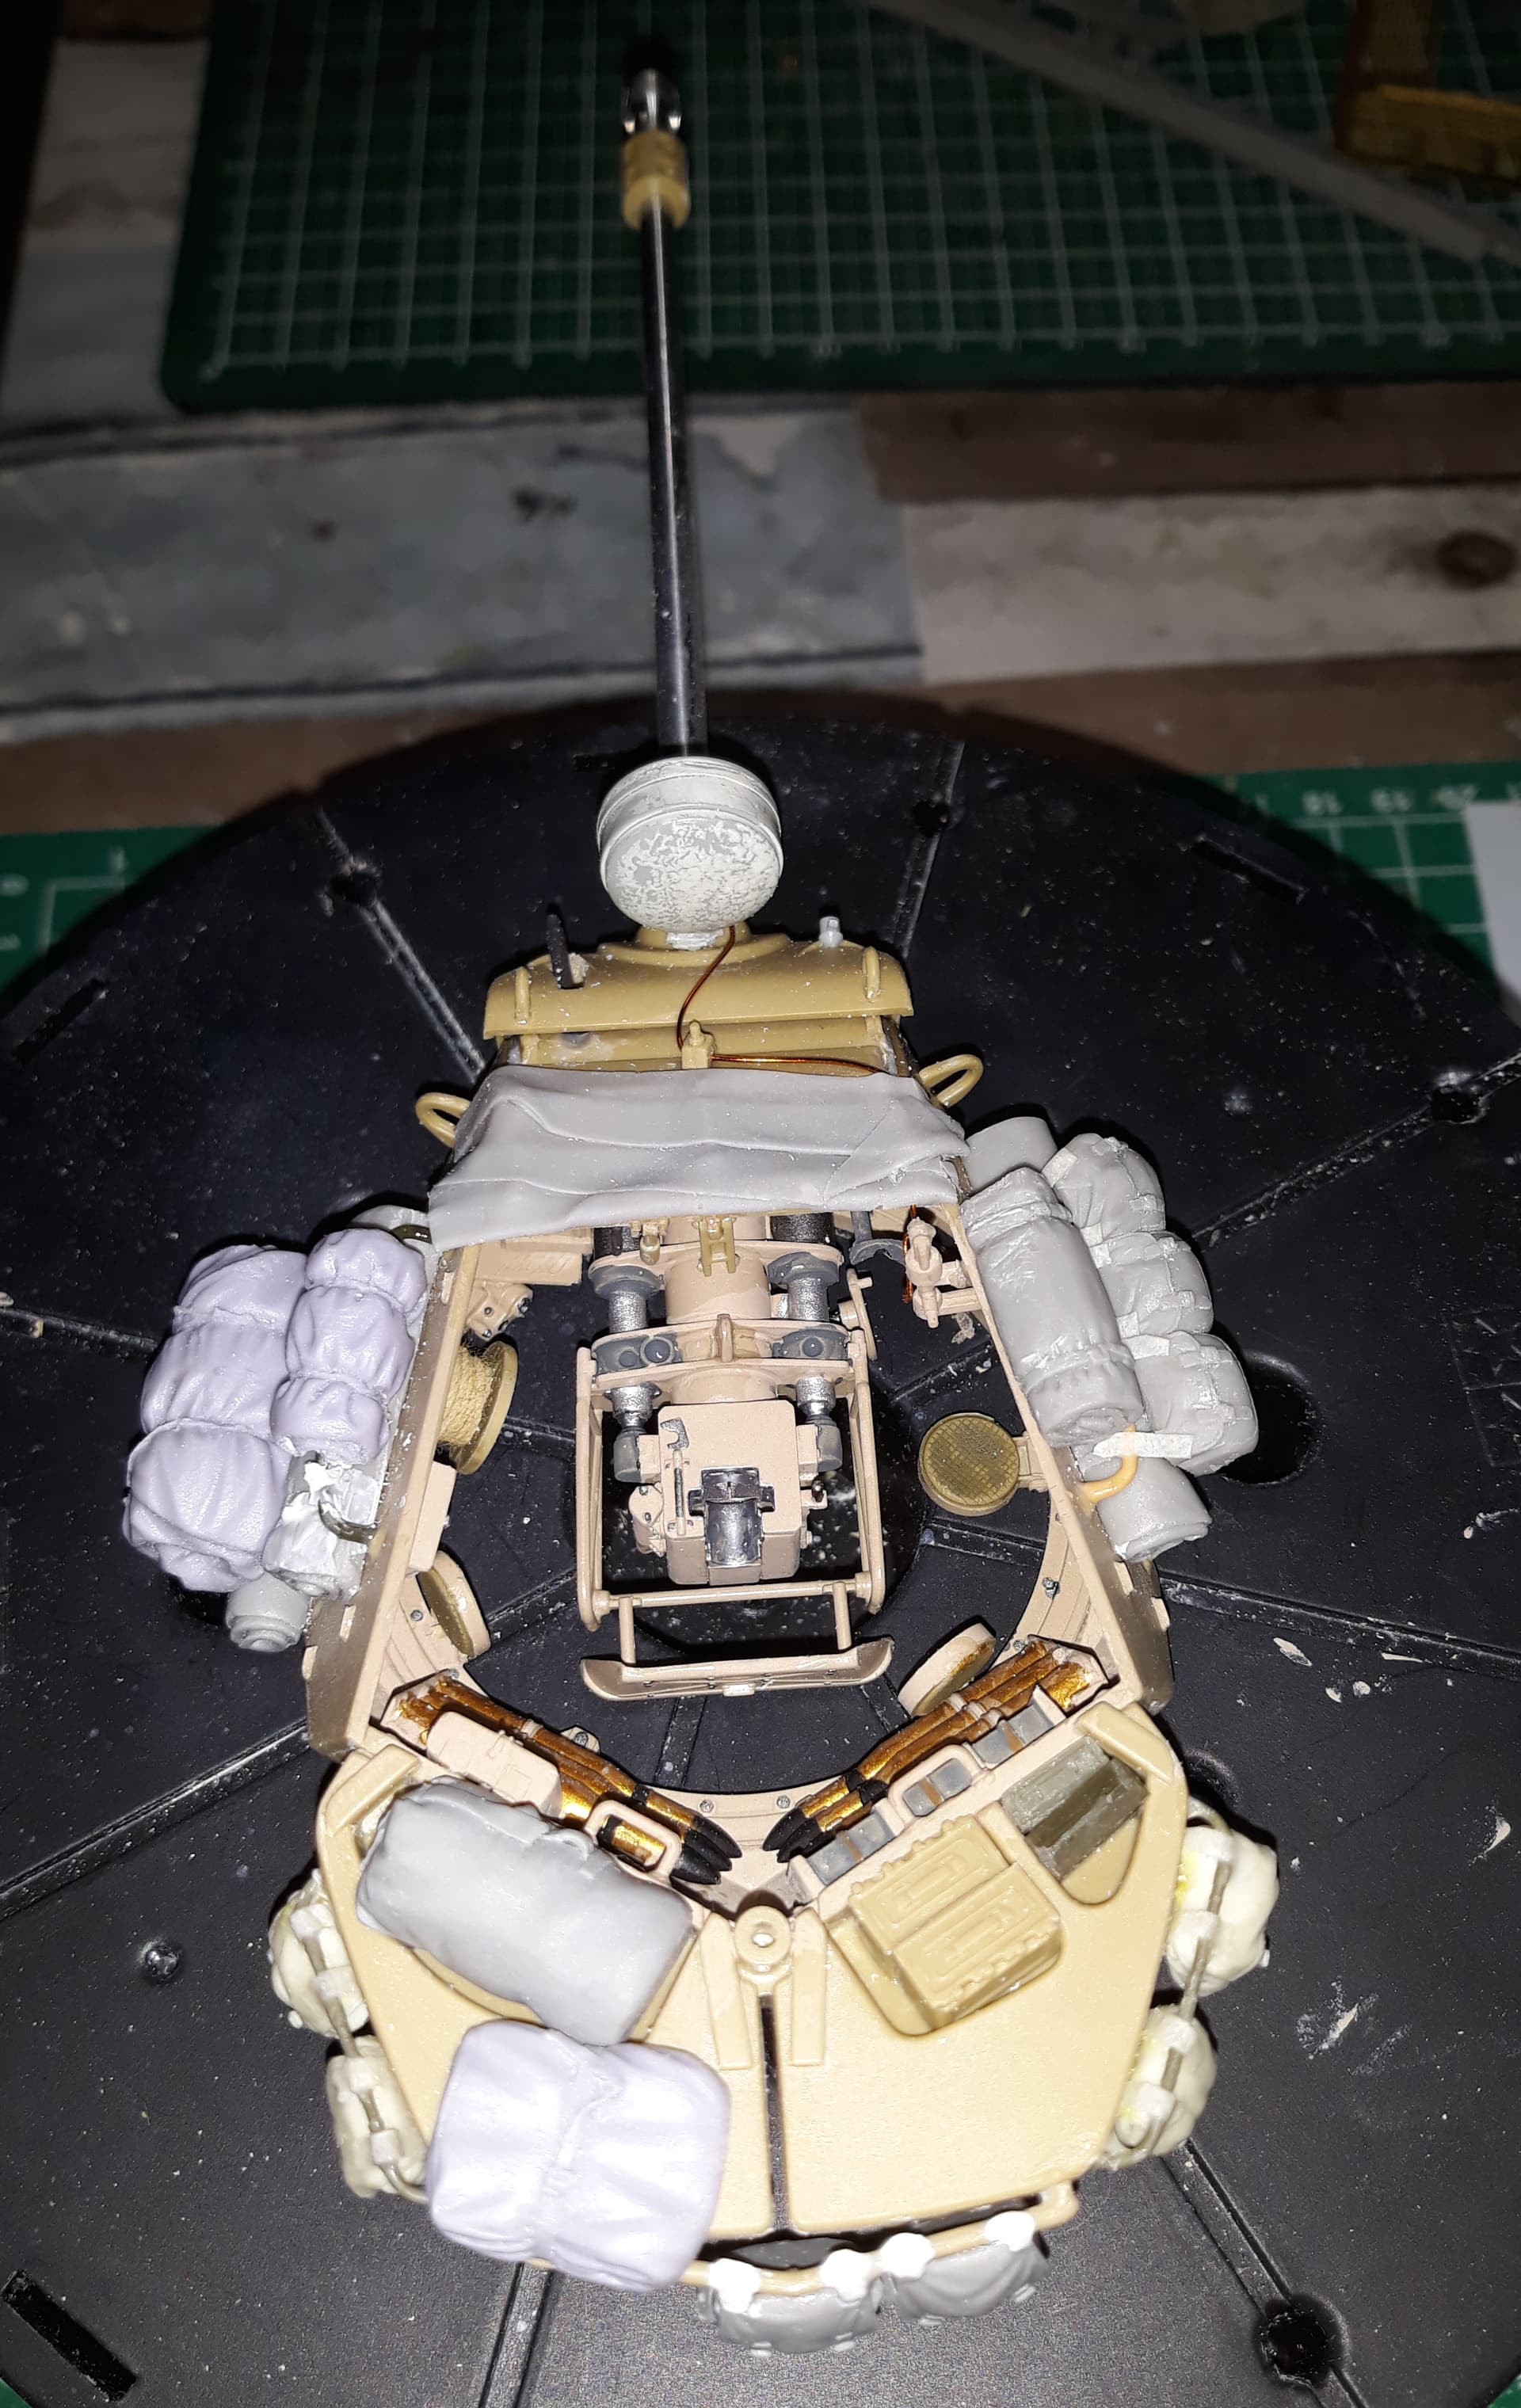
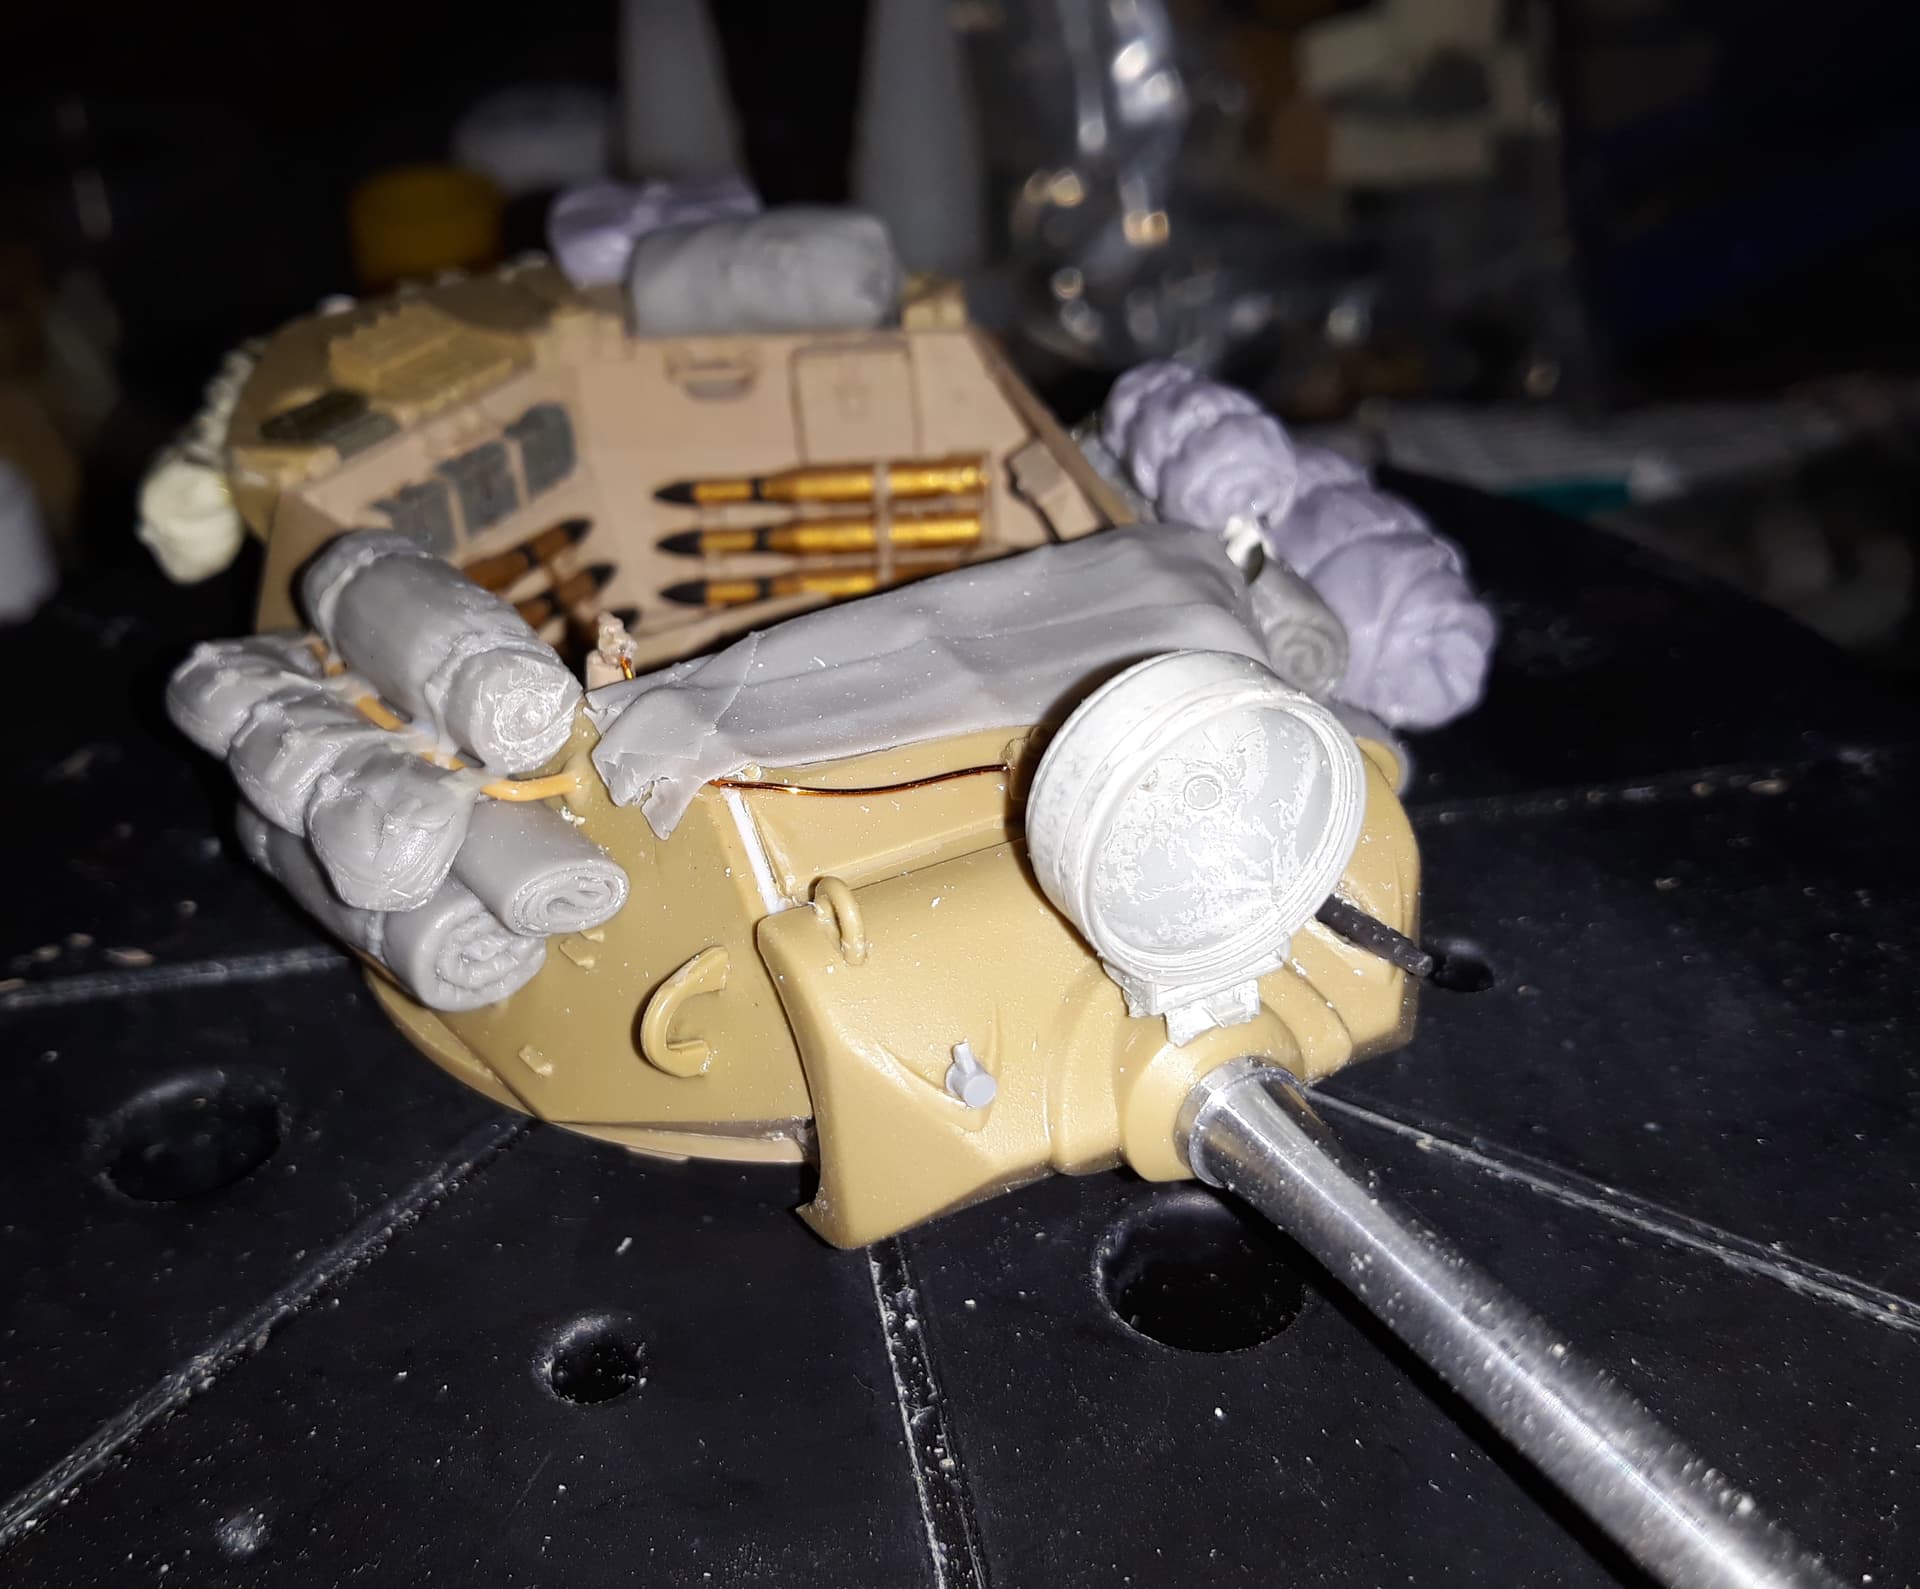
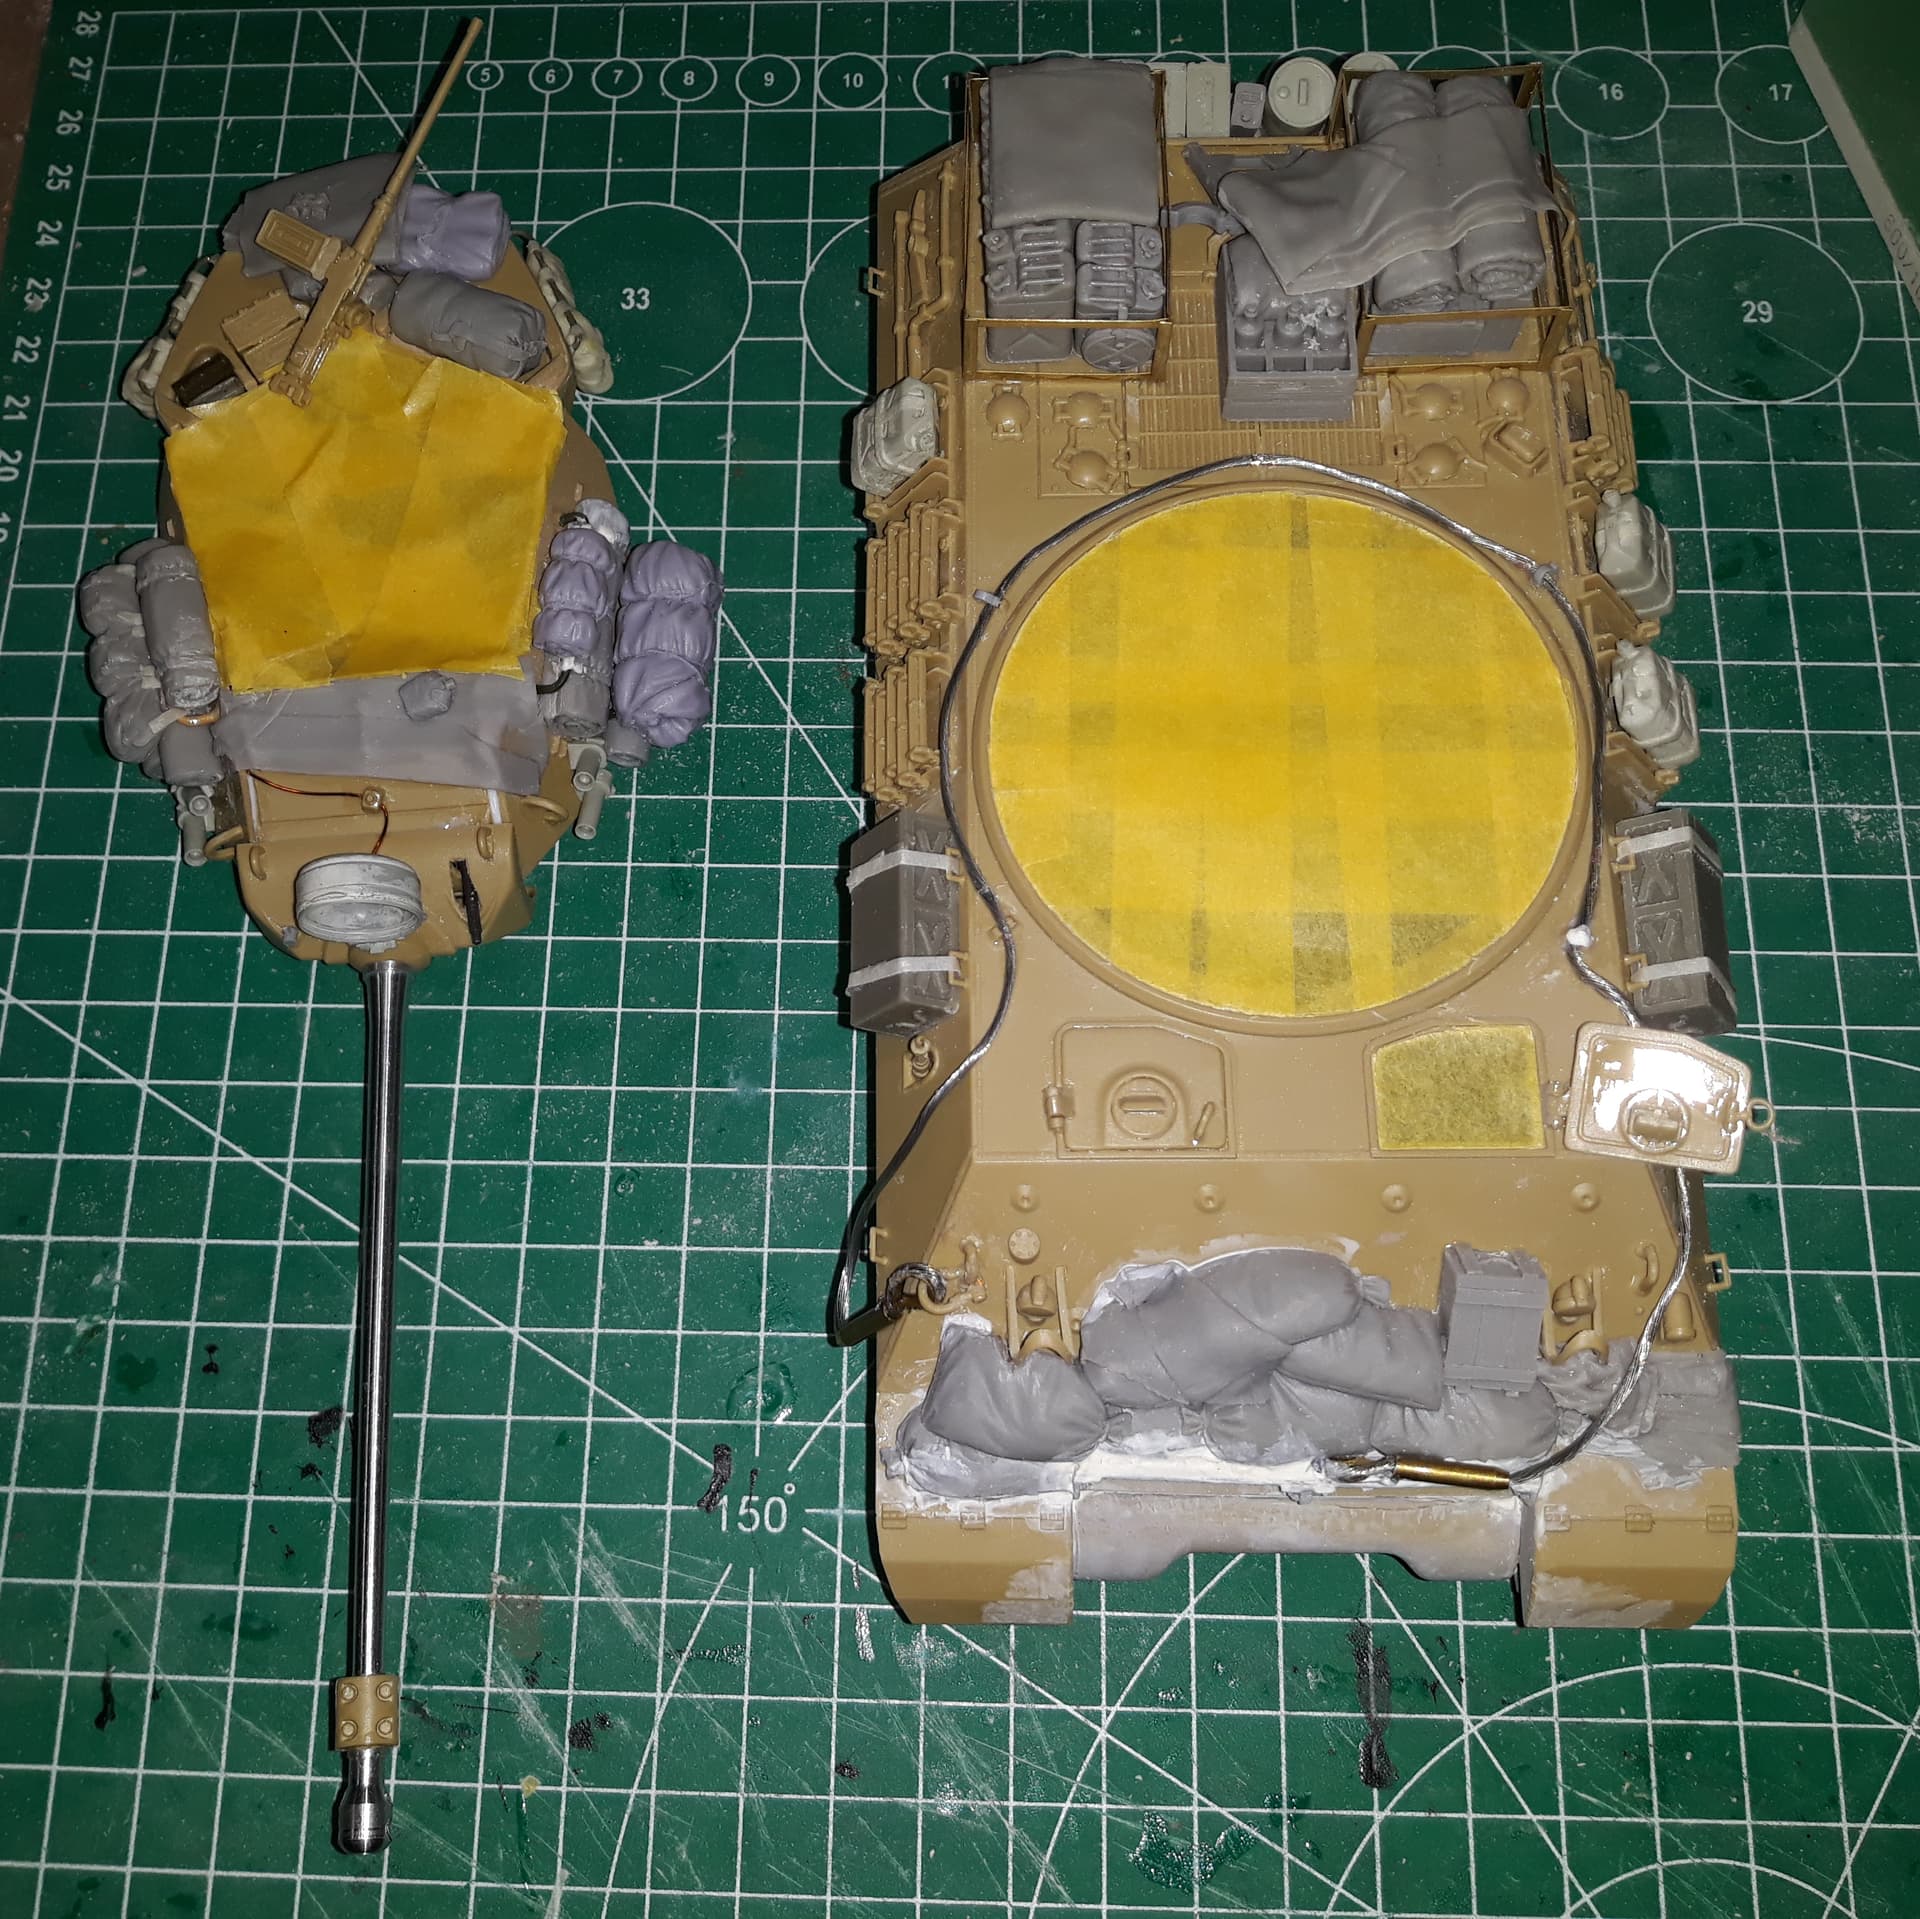
I have nearly all the stowage glued on, have the top and bottom of the hull seperate, have the interior still seperate, but have the wheels all glued on.
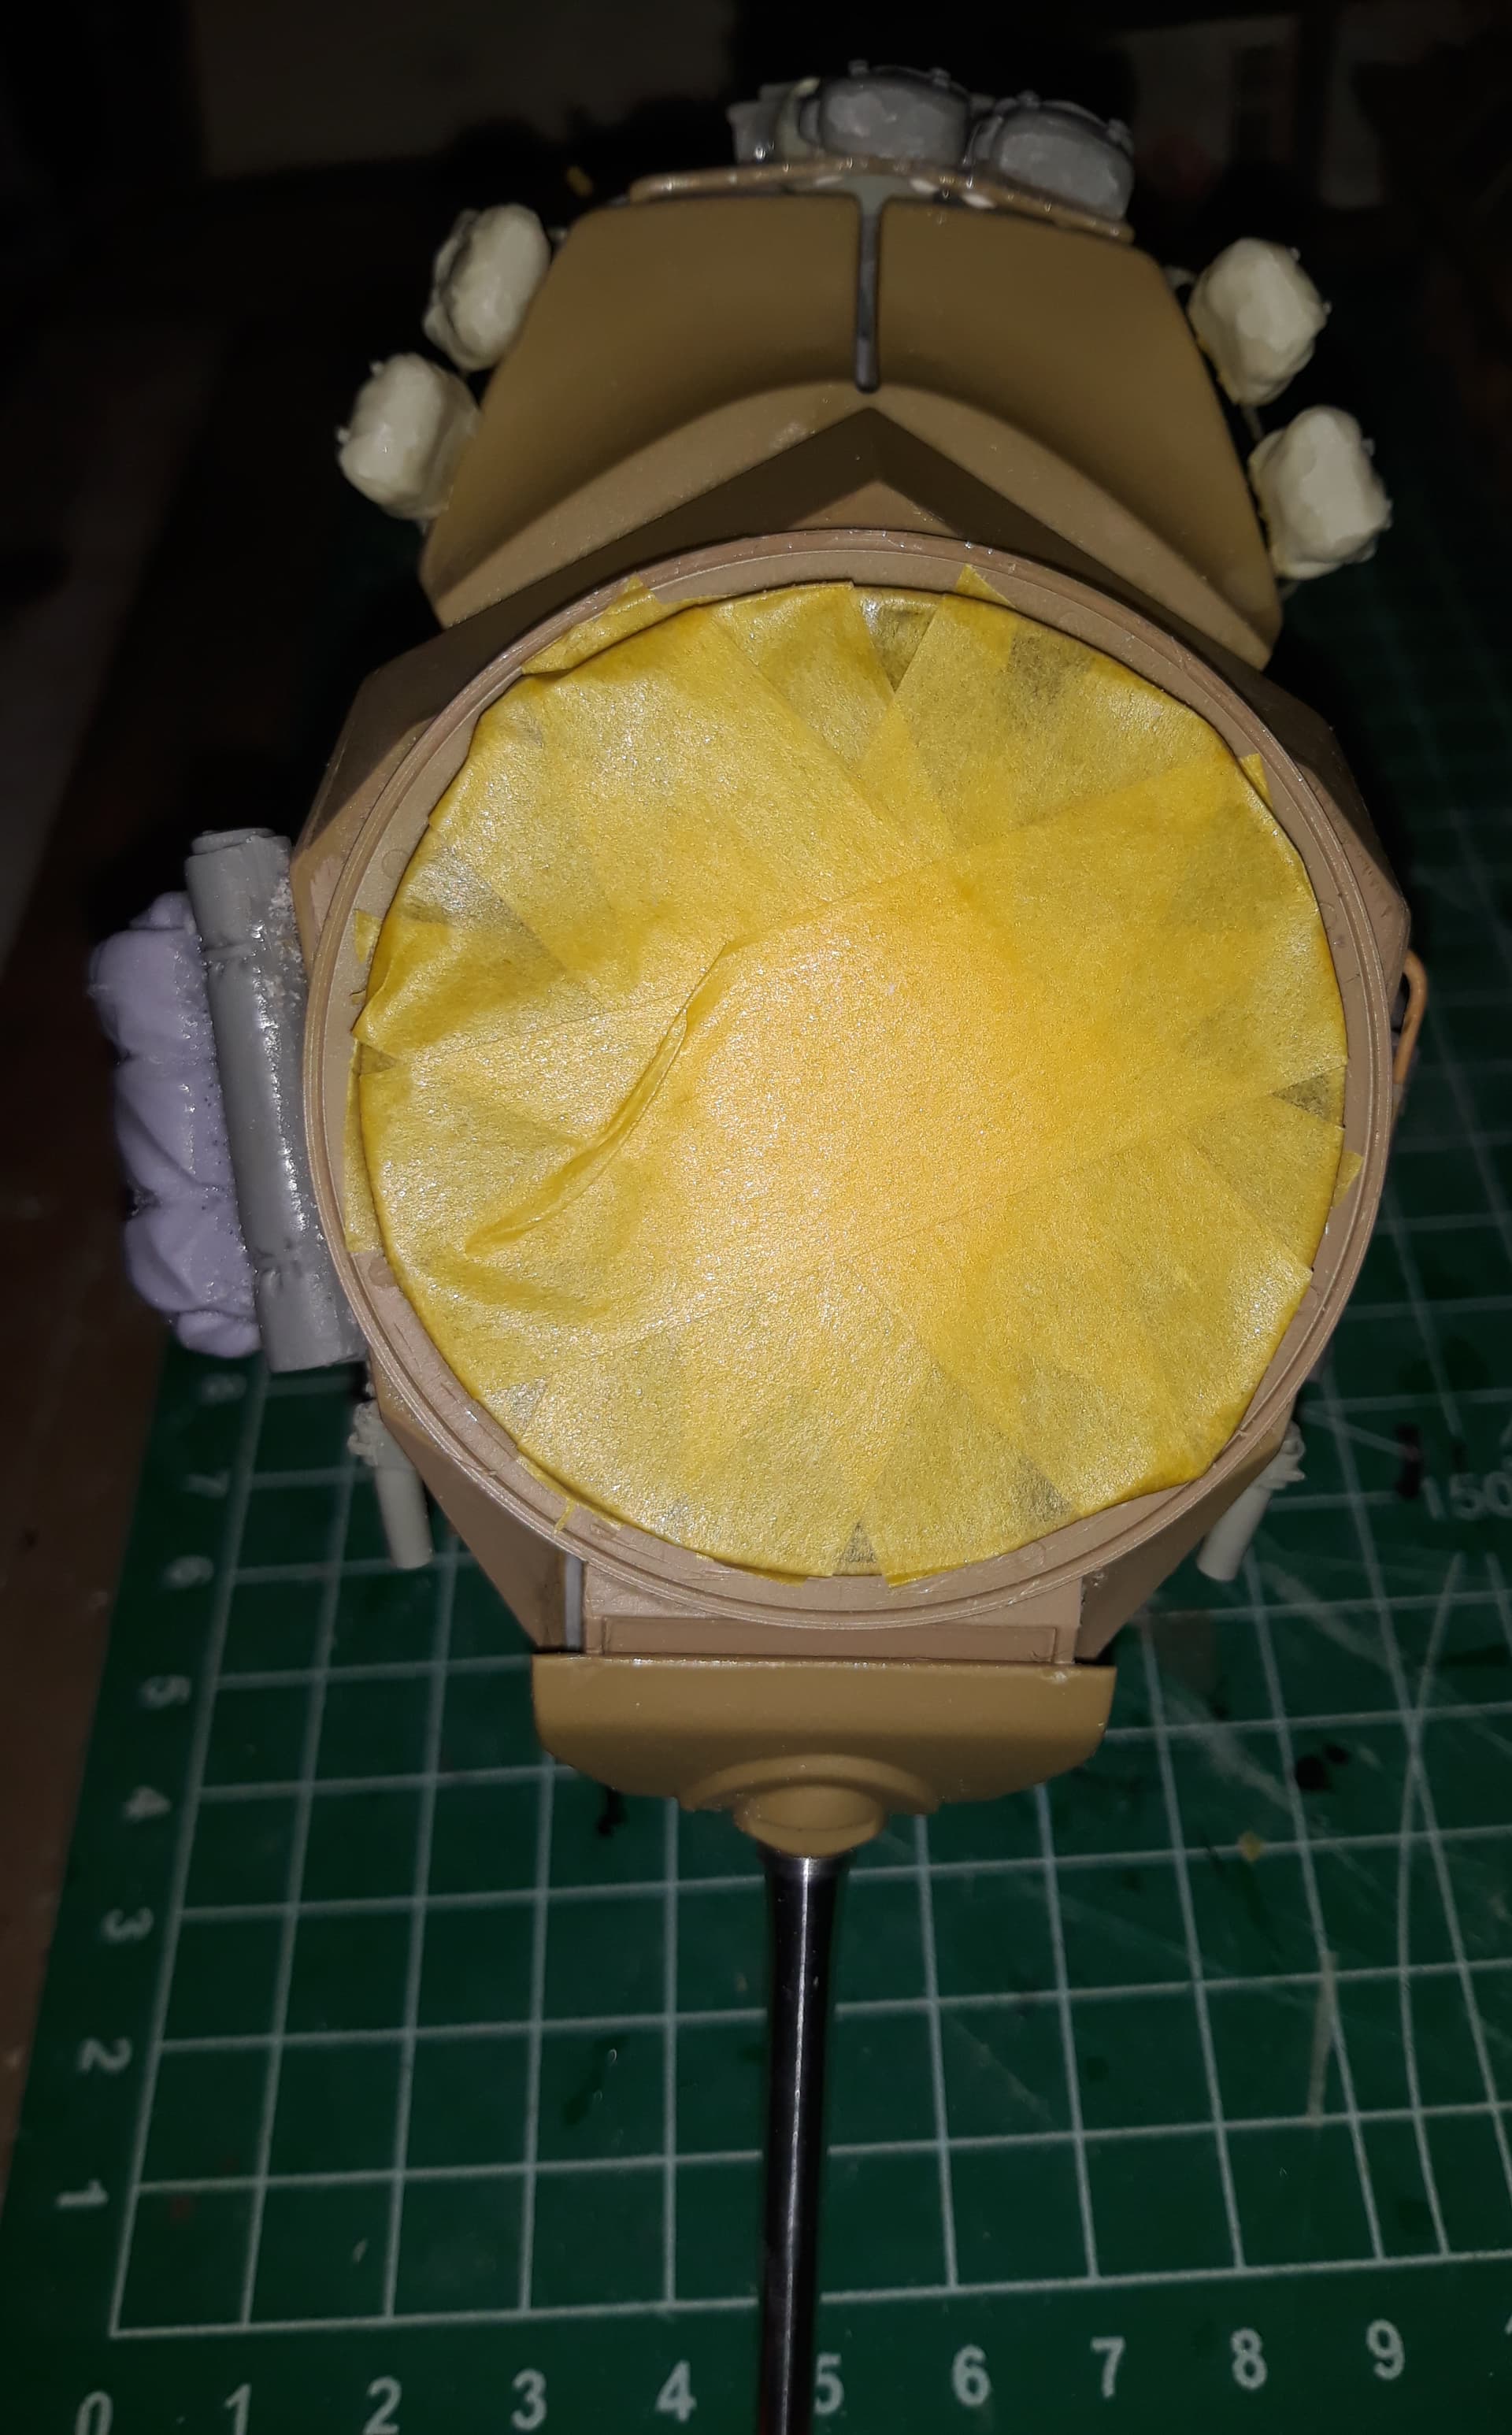
indeed nastyy spots on the insides of the hatches… I have one opened…, added something to keep those sandbags in their place…

and have started on the turret.

4 Likes

Late to the game but would love to get in on this. @Klaus-Adler, is it still possible and would an LAV-AT fit. Don’t want to cause anymore ruckus on the thread, lol.
Thanks,
Dave

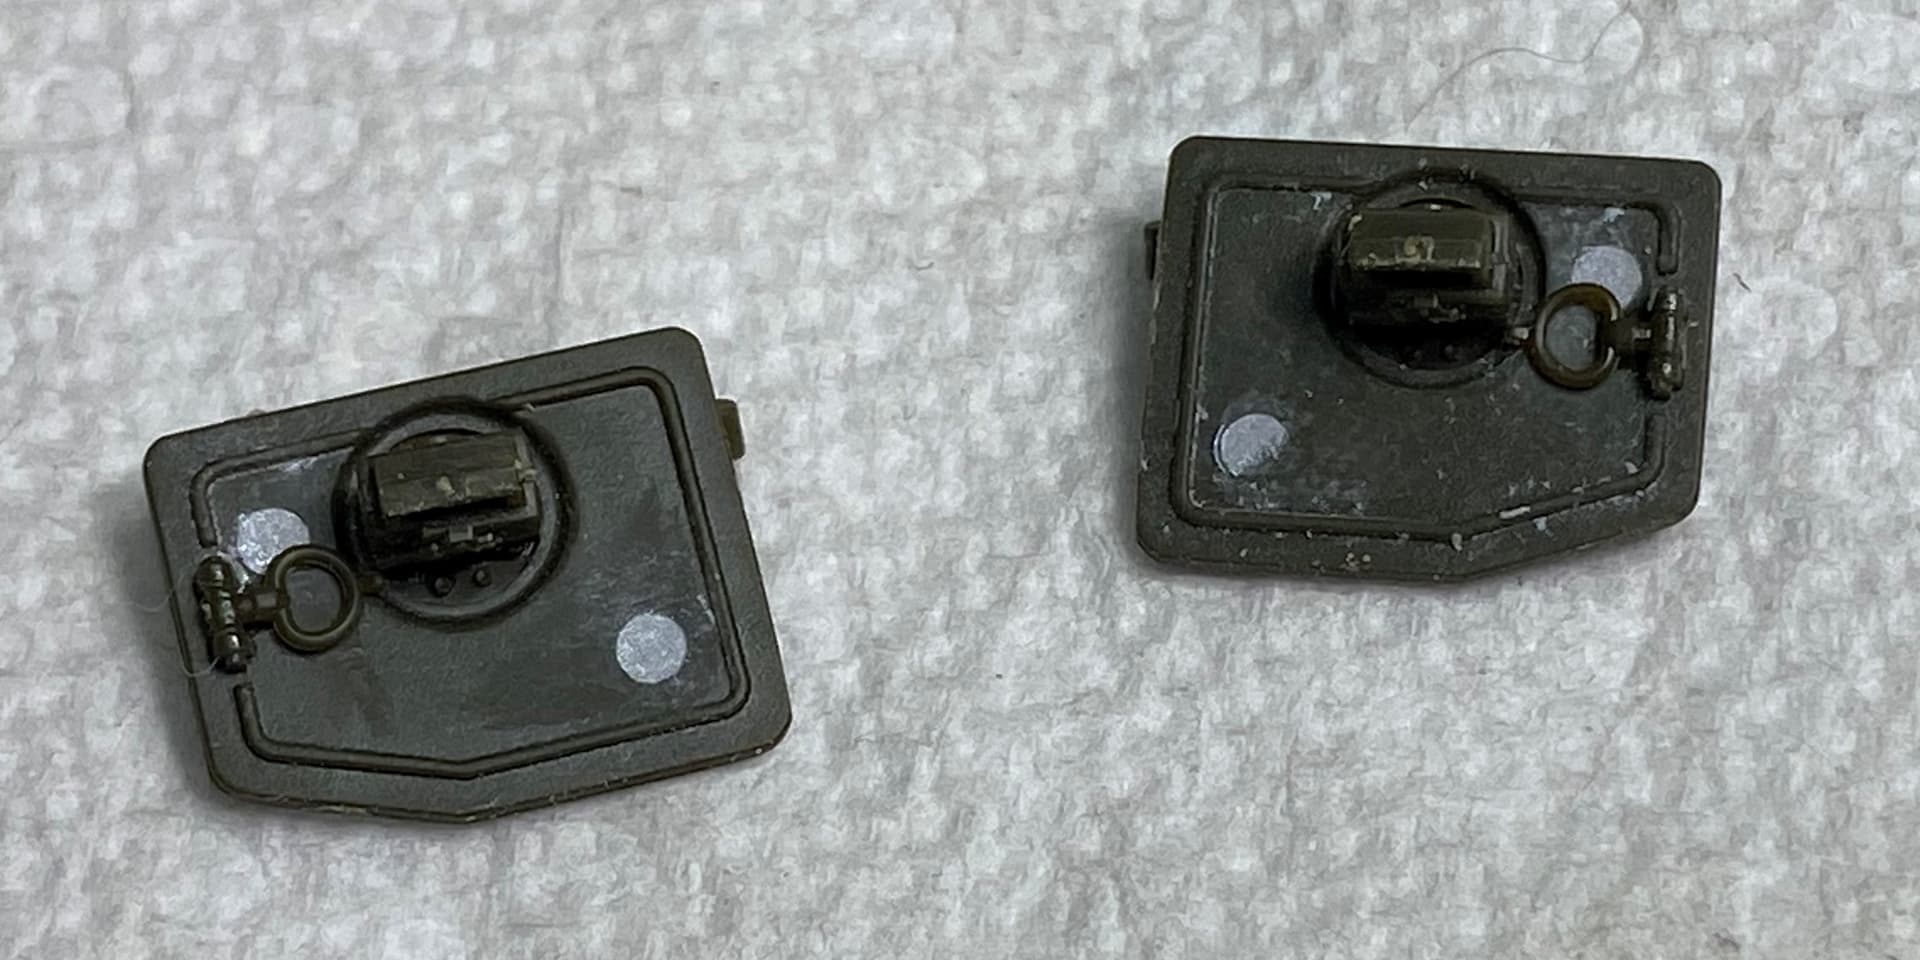
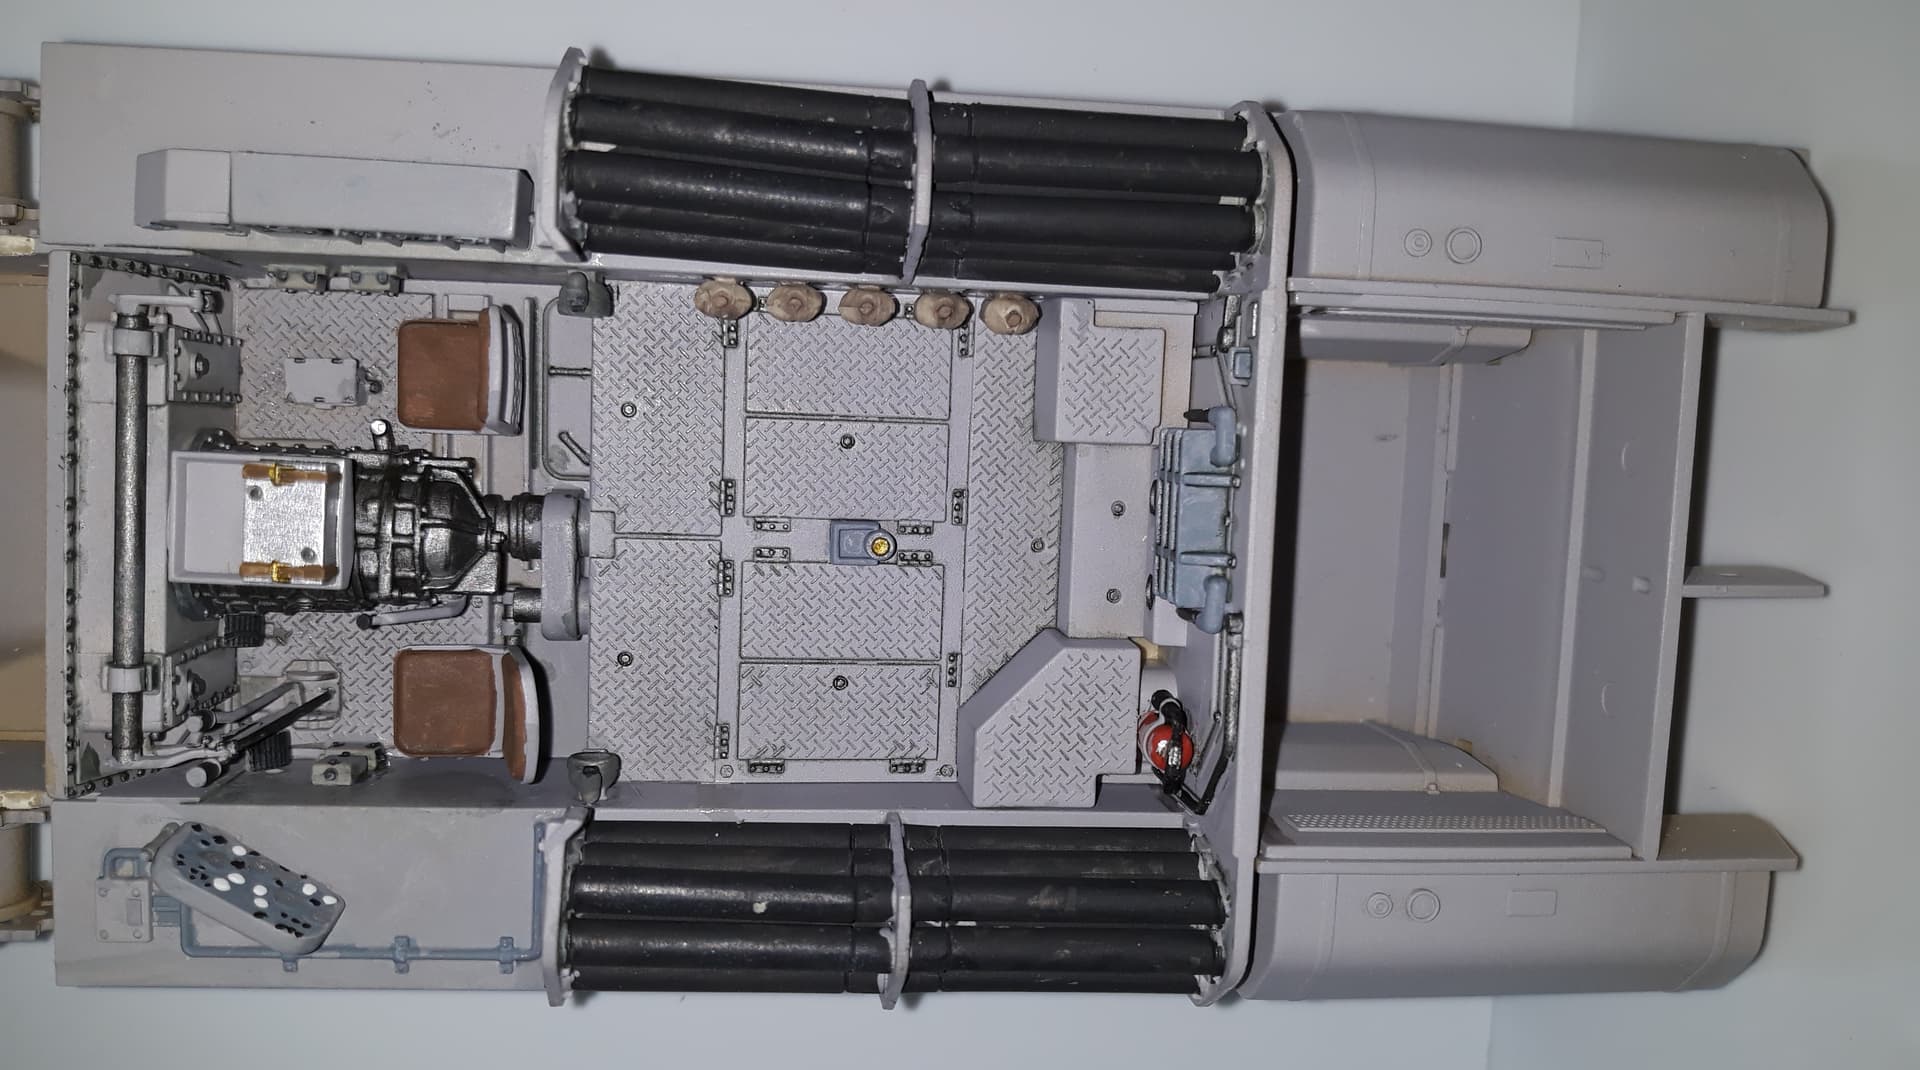
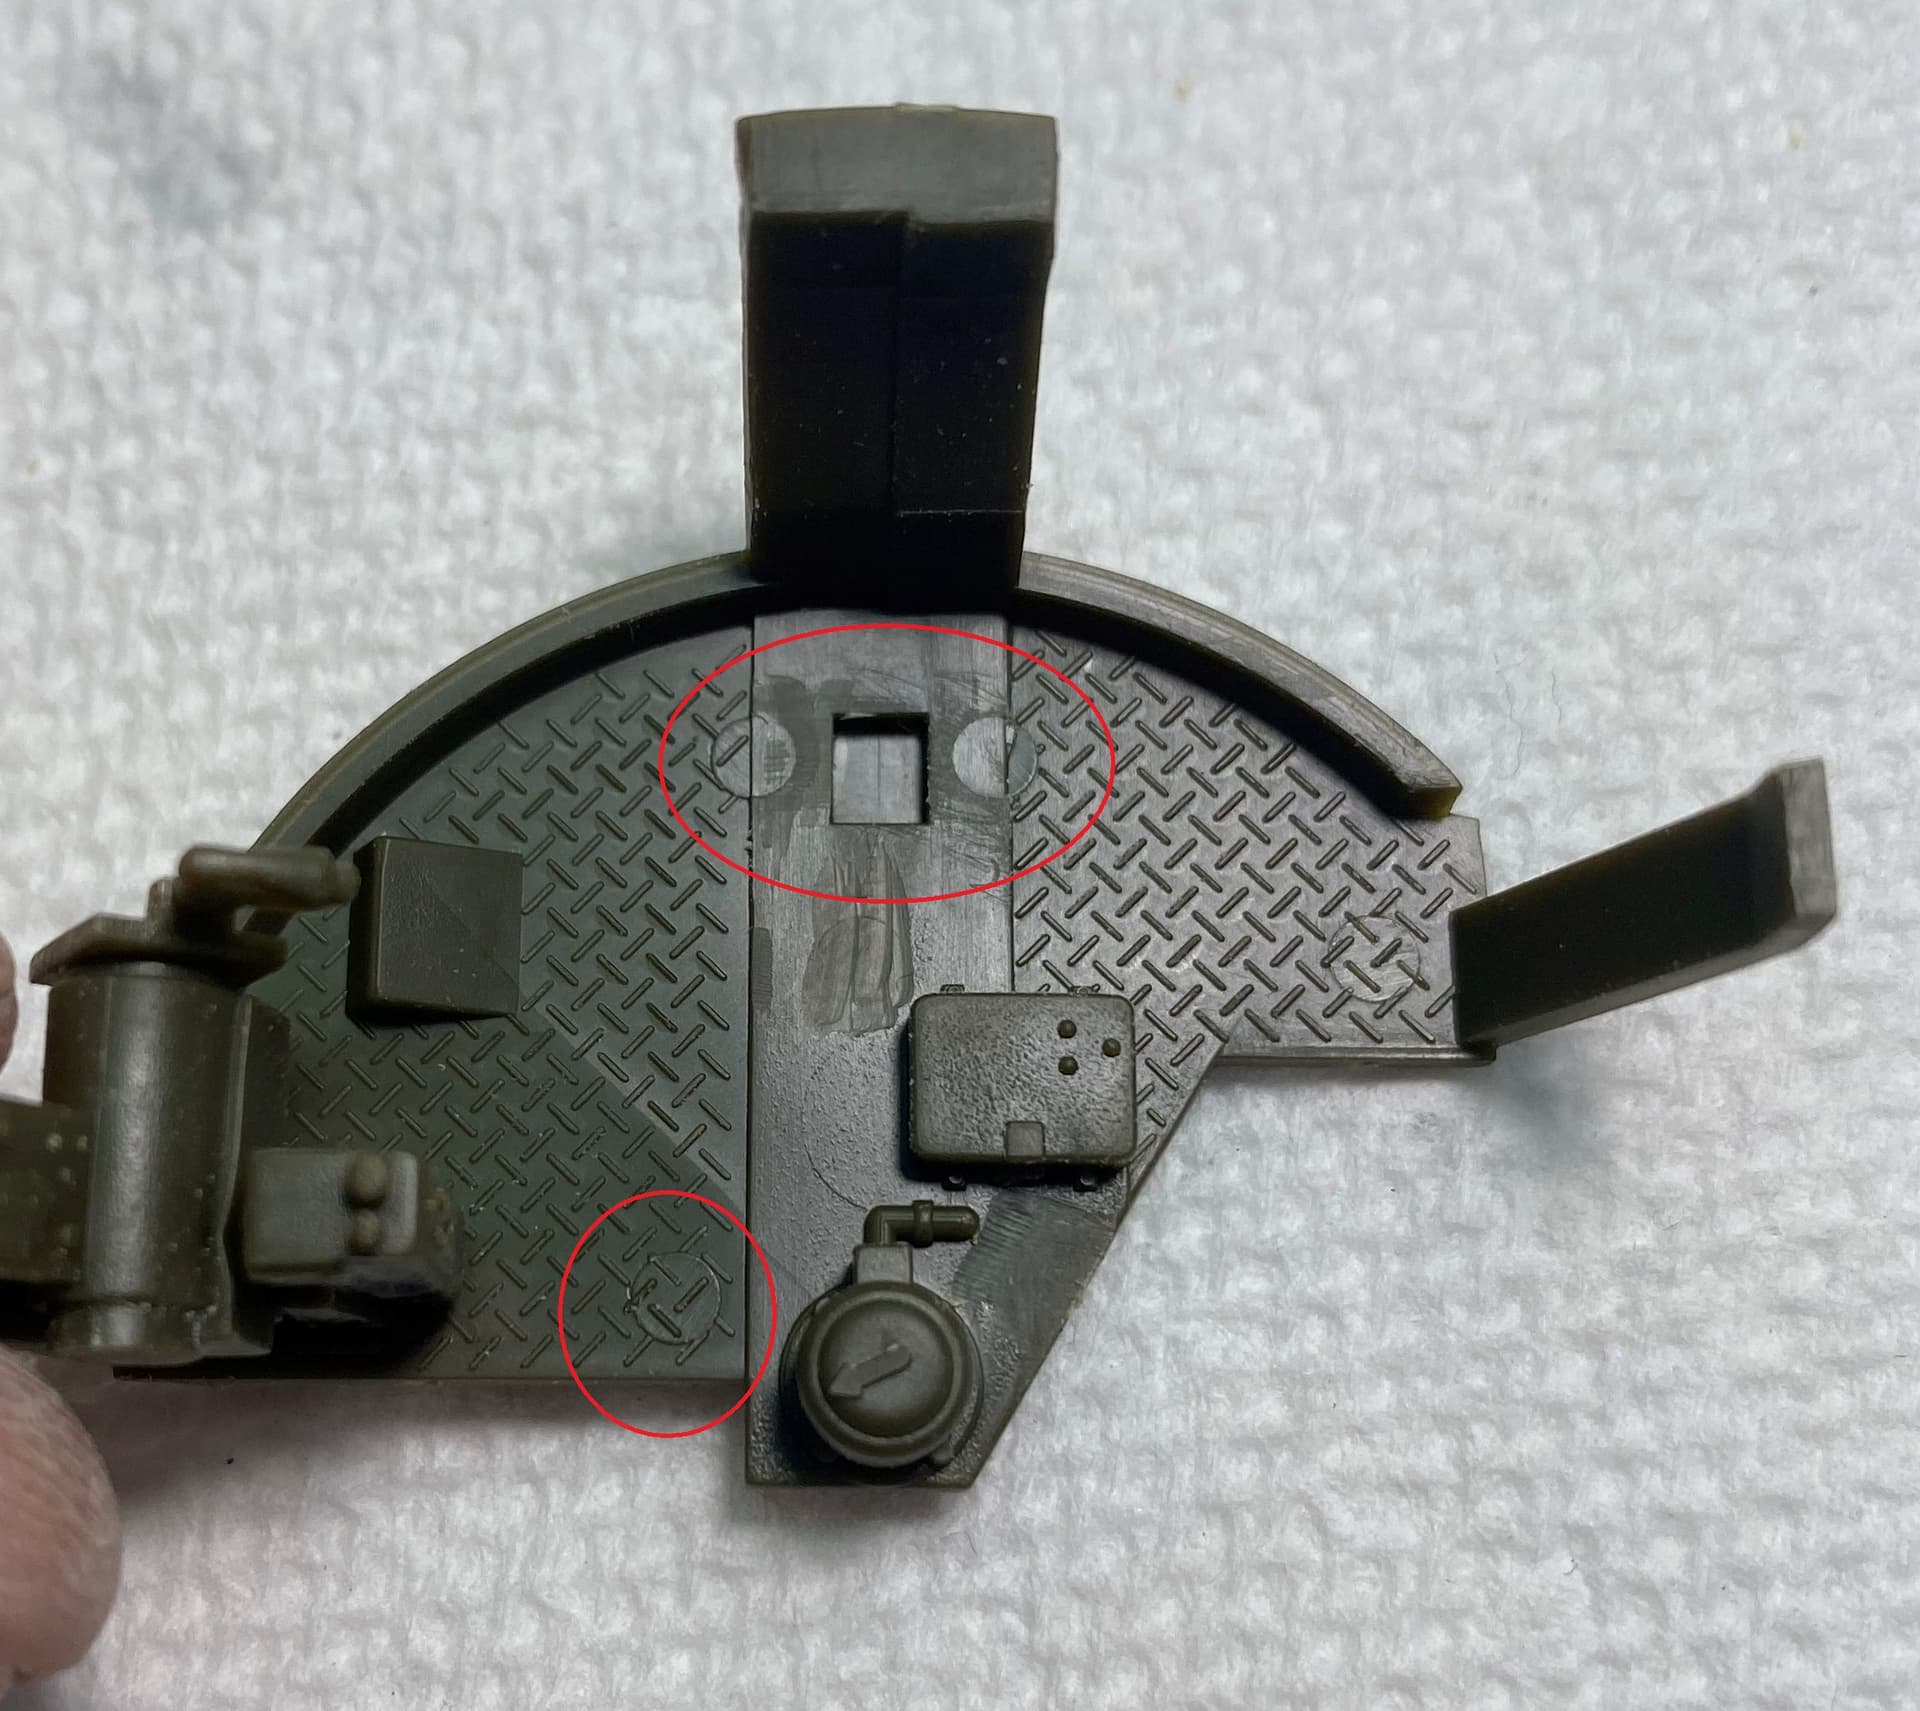
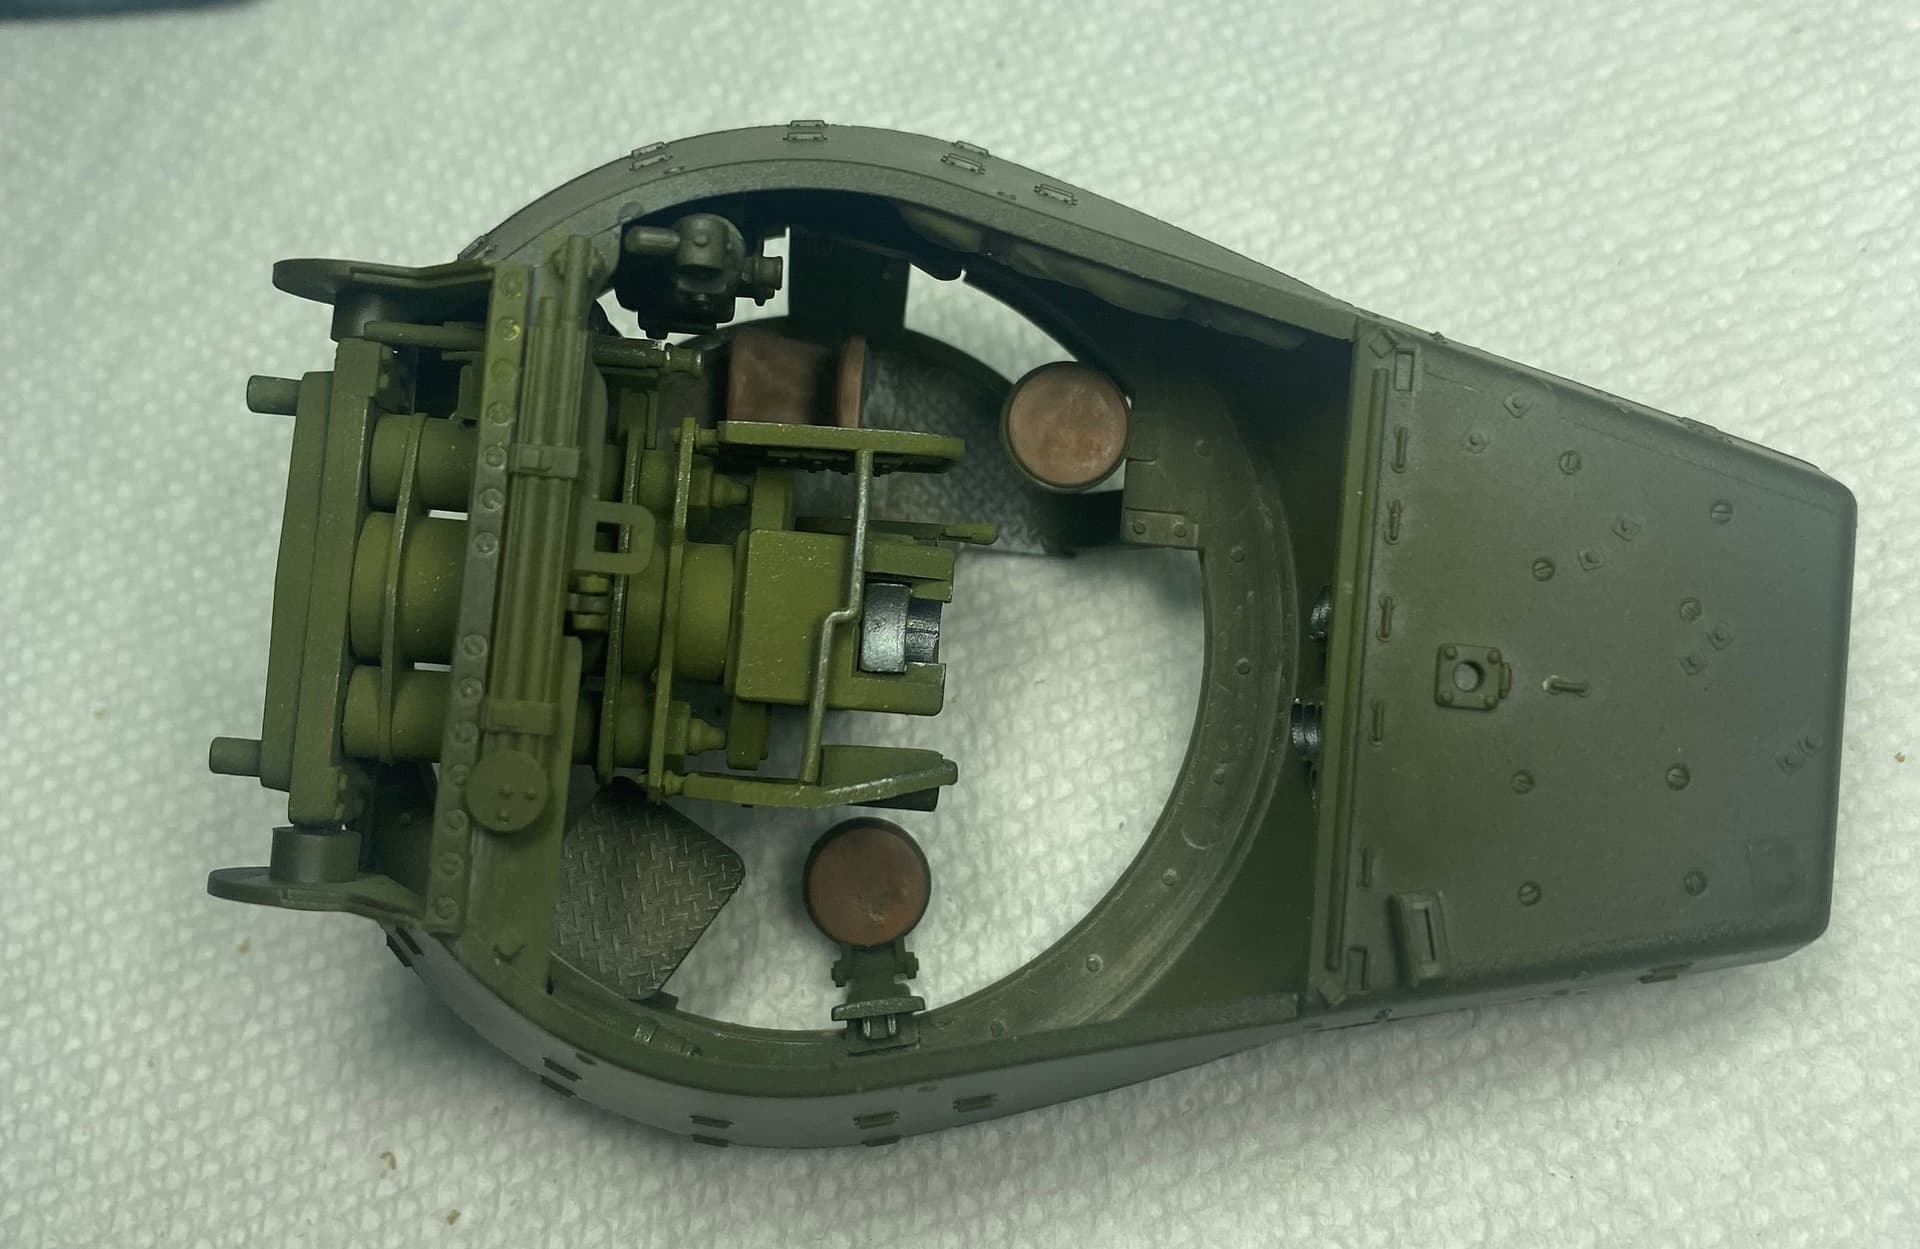
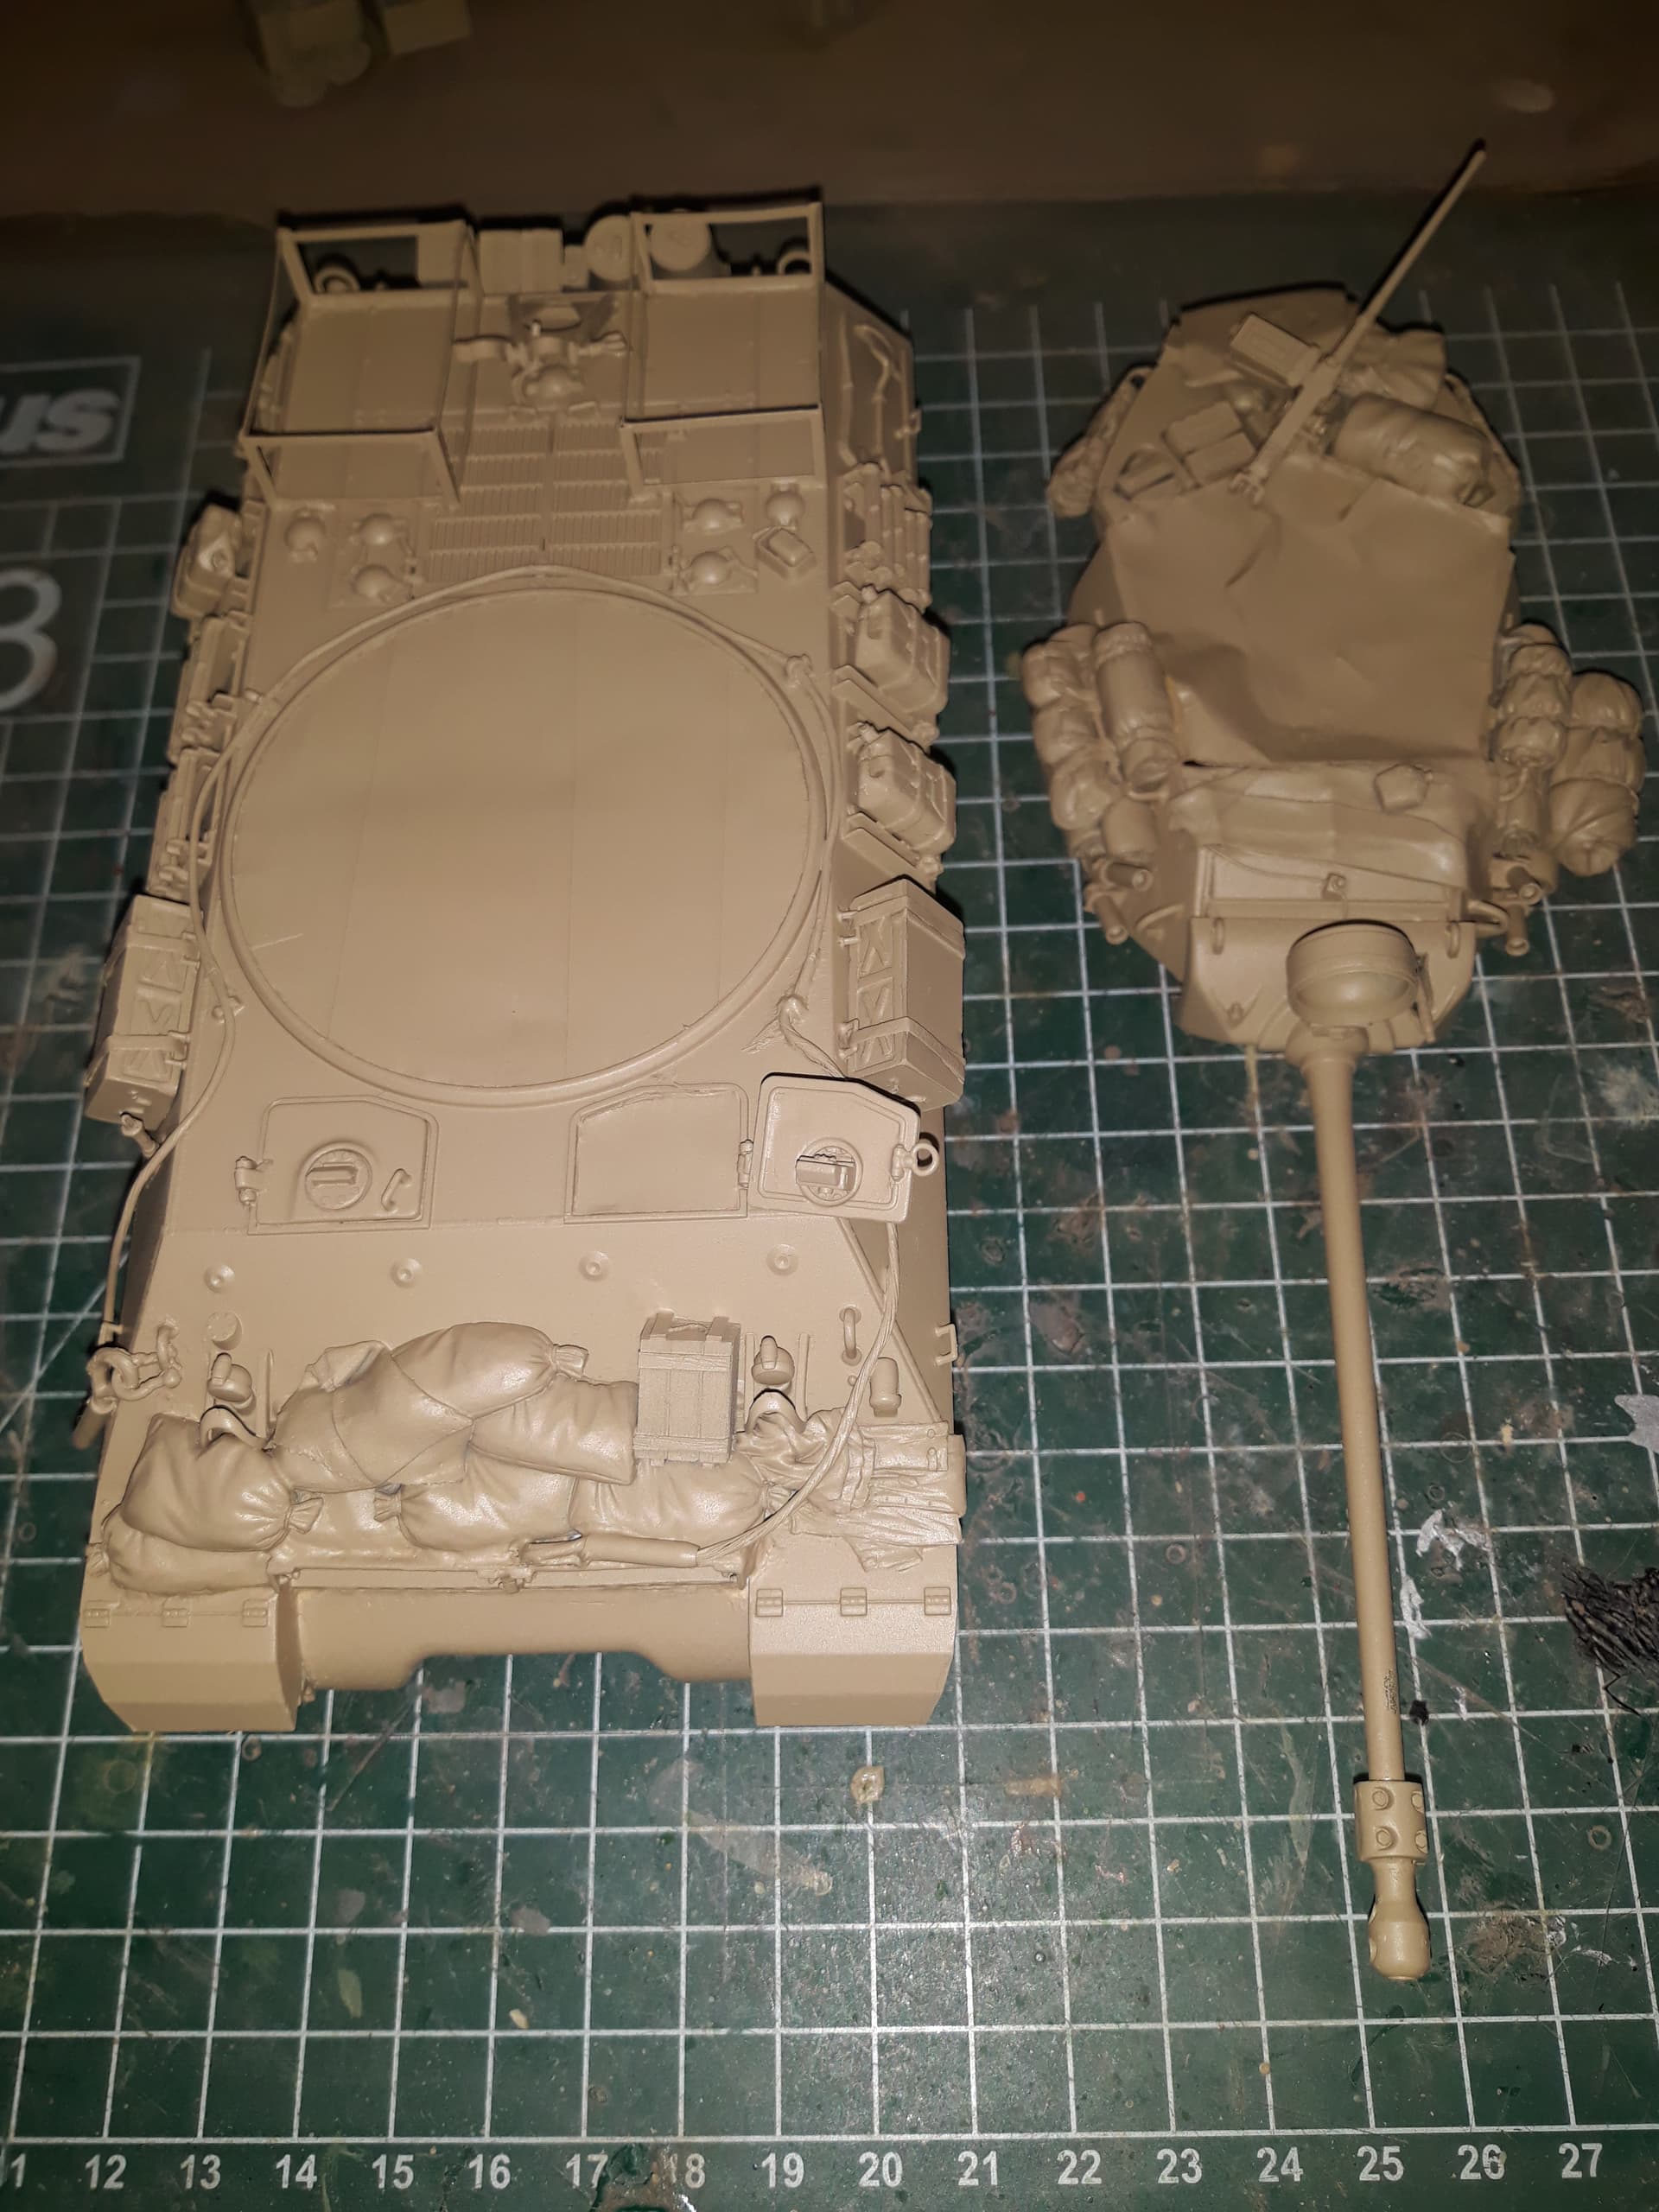
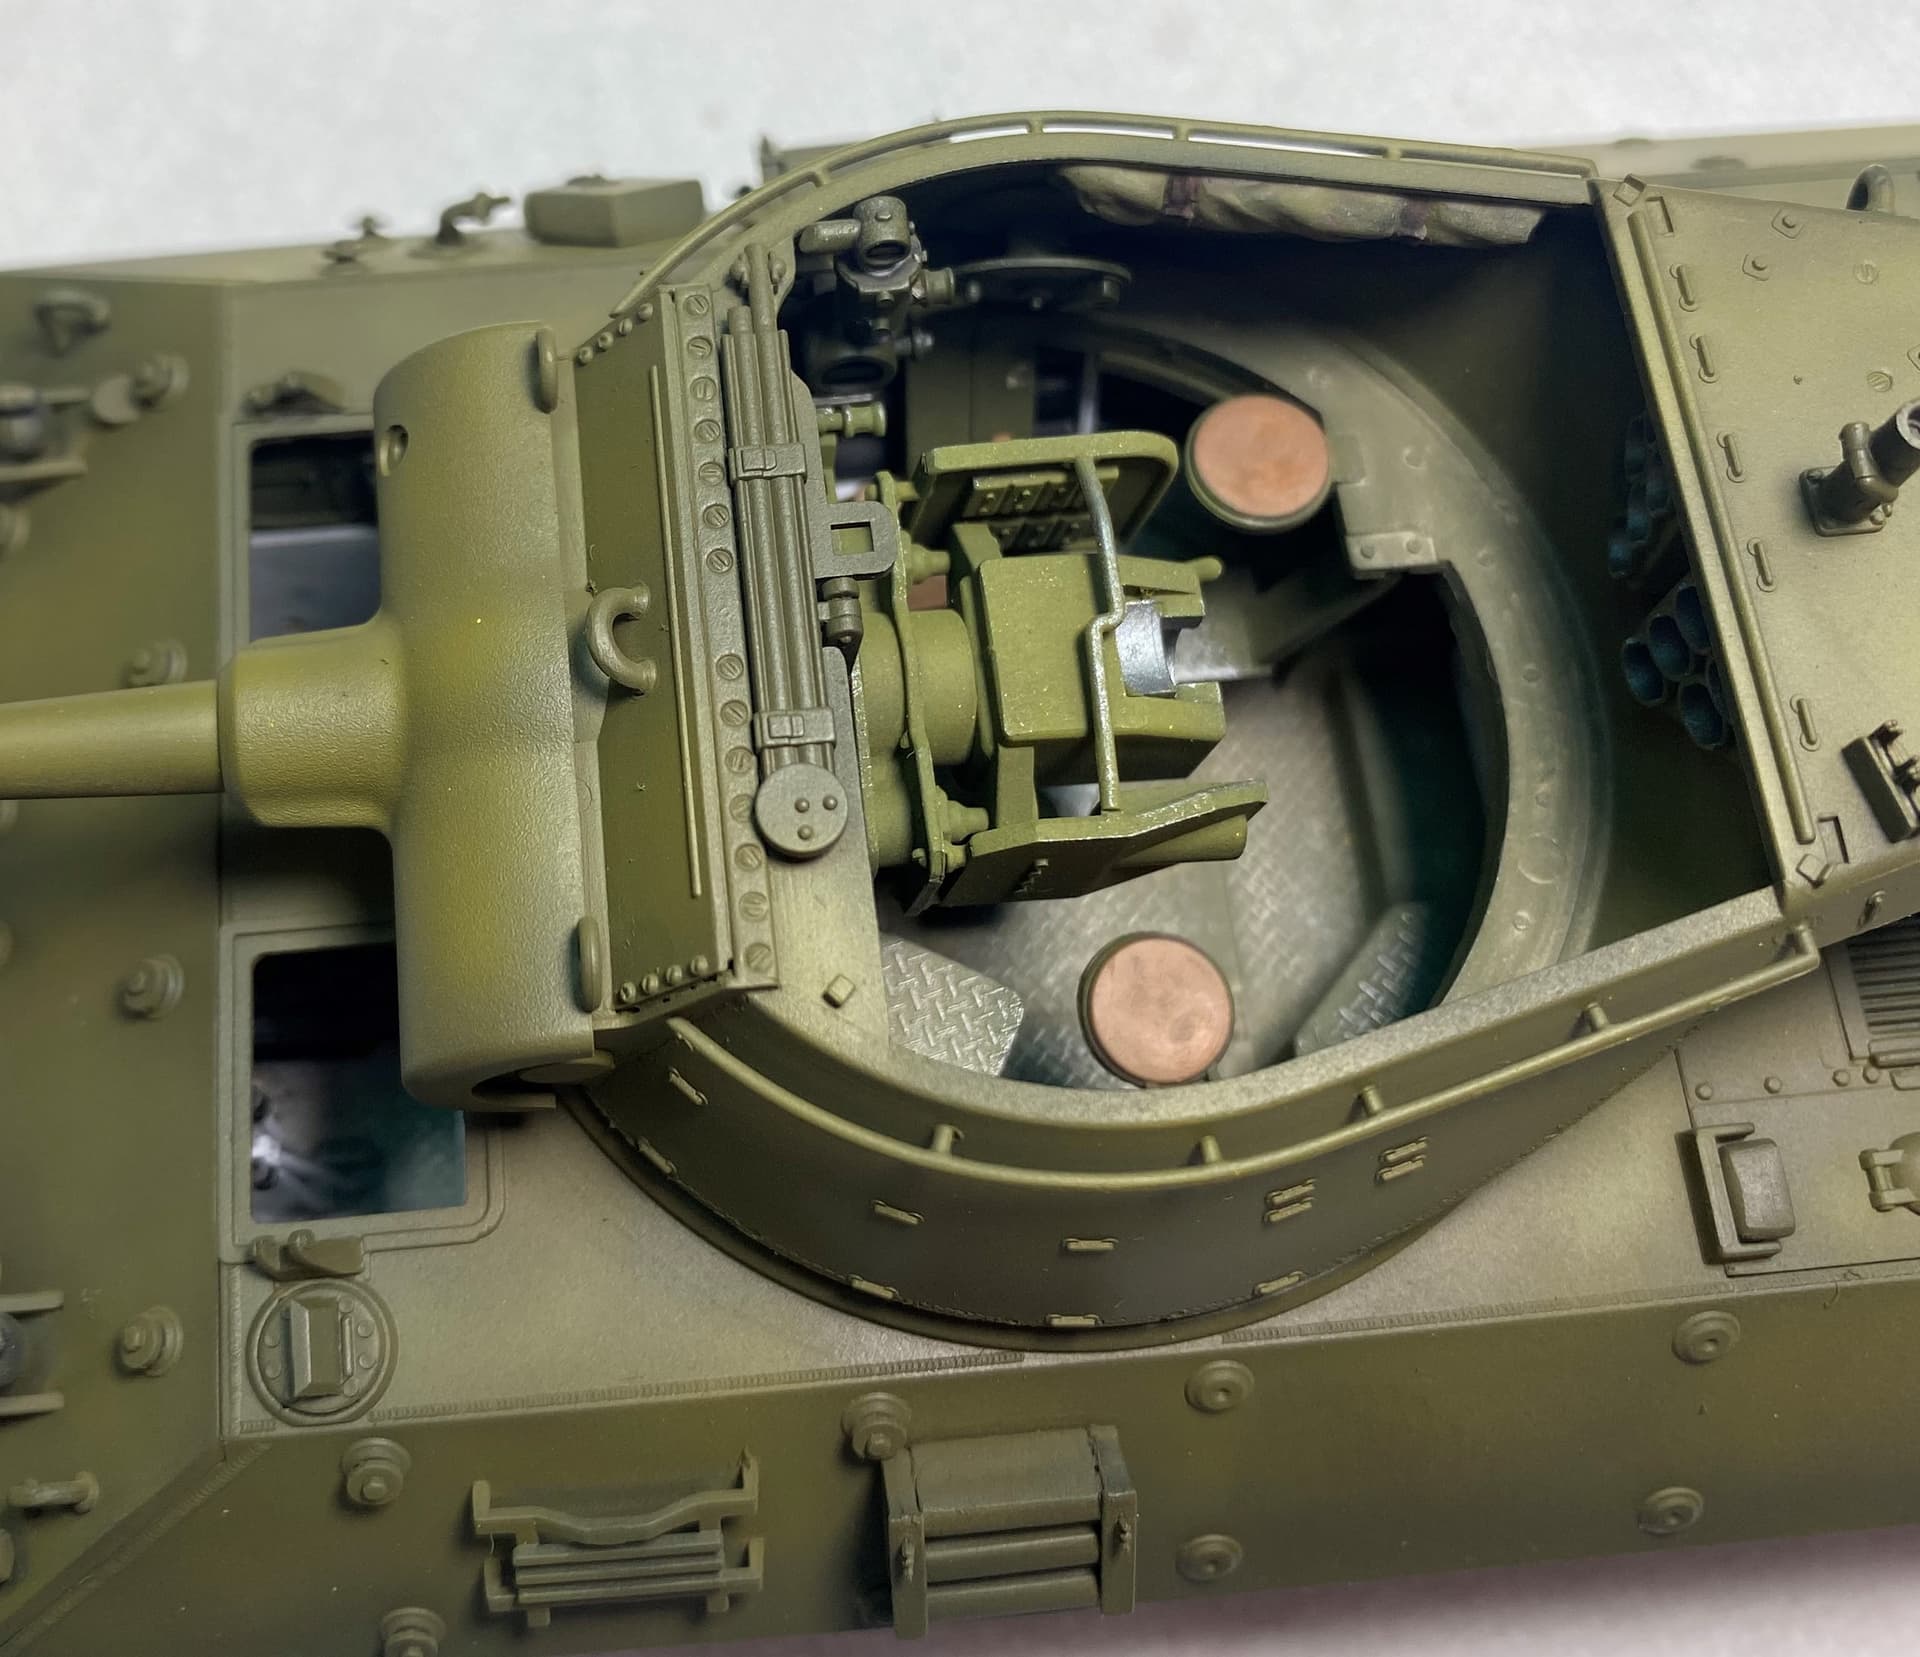
@bwilt Not sure if you have glued the transmission bolt strip in place but want to make sure you have them in the right place. They should lay flat between the transmission and the upper hull and not vertical like you have them.

Aloha All,

Some really great work going on here.

I’m catching up and have my Dragon 1/35th RSO w/ pak 40 base painted. Next will be gloss coat and weathering. Photos taken with the iphone and it seemed to be having trouble with the yellow. The model is less intense than what is shown.

Overall this kit has been a struggle for me, so I’m happy to be getting closer to the finish line.

Happy Modeling,
Zon

5 Likes

@Mr.Handy you are welcome to join, you have 2-3 months before it ends, so good luck.

1 Like

Thanks, I know it should be horizontal, its proper place is actually under the sandbags. That’s why I thought I could reuse that part as an attaching point for the white strip.

I suspected that was the case :+1:

1 Like

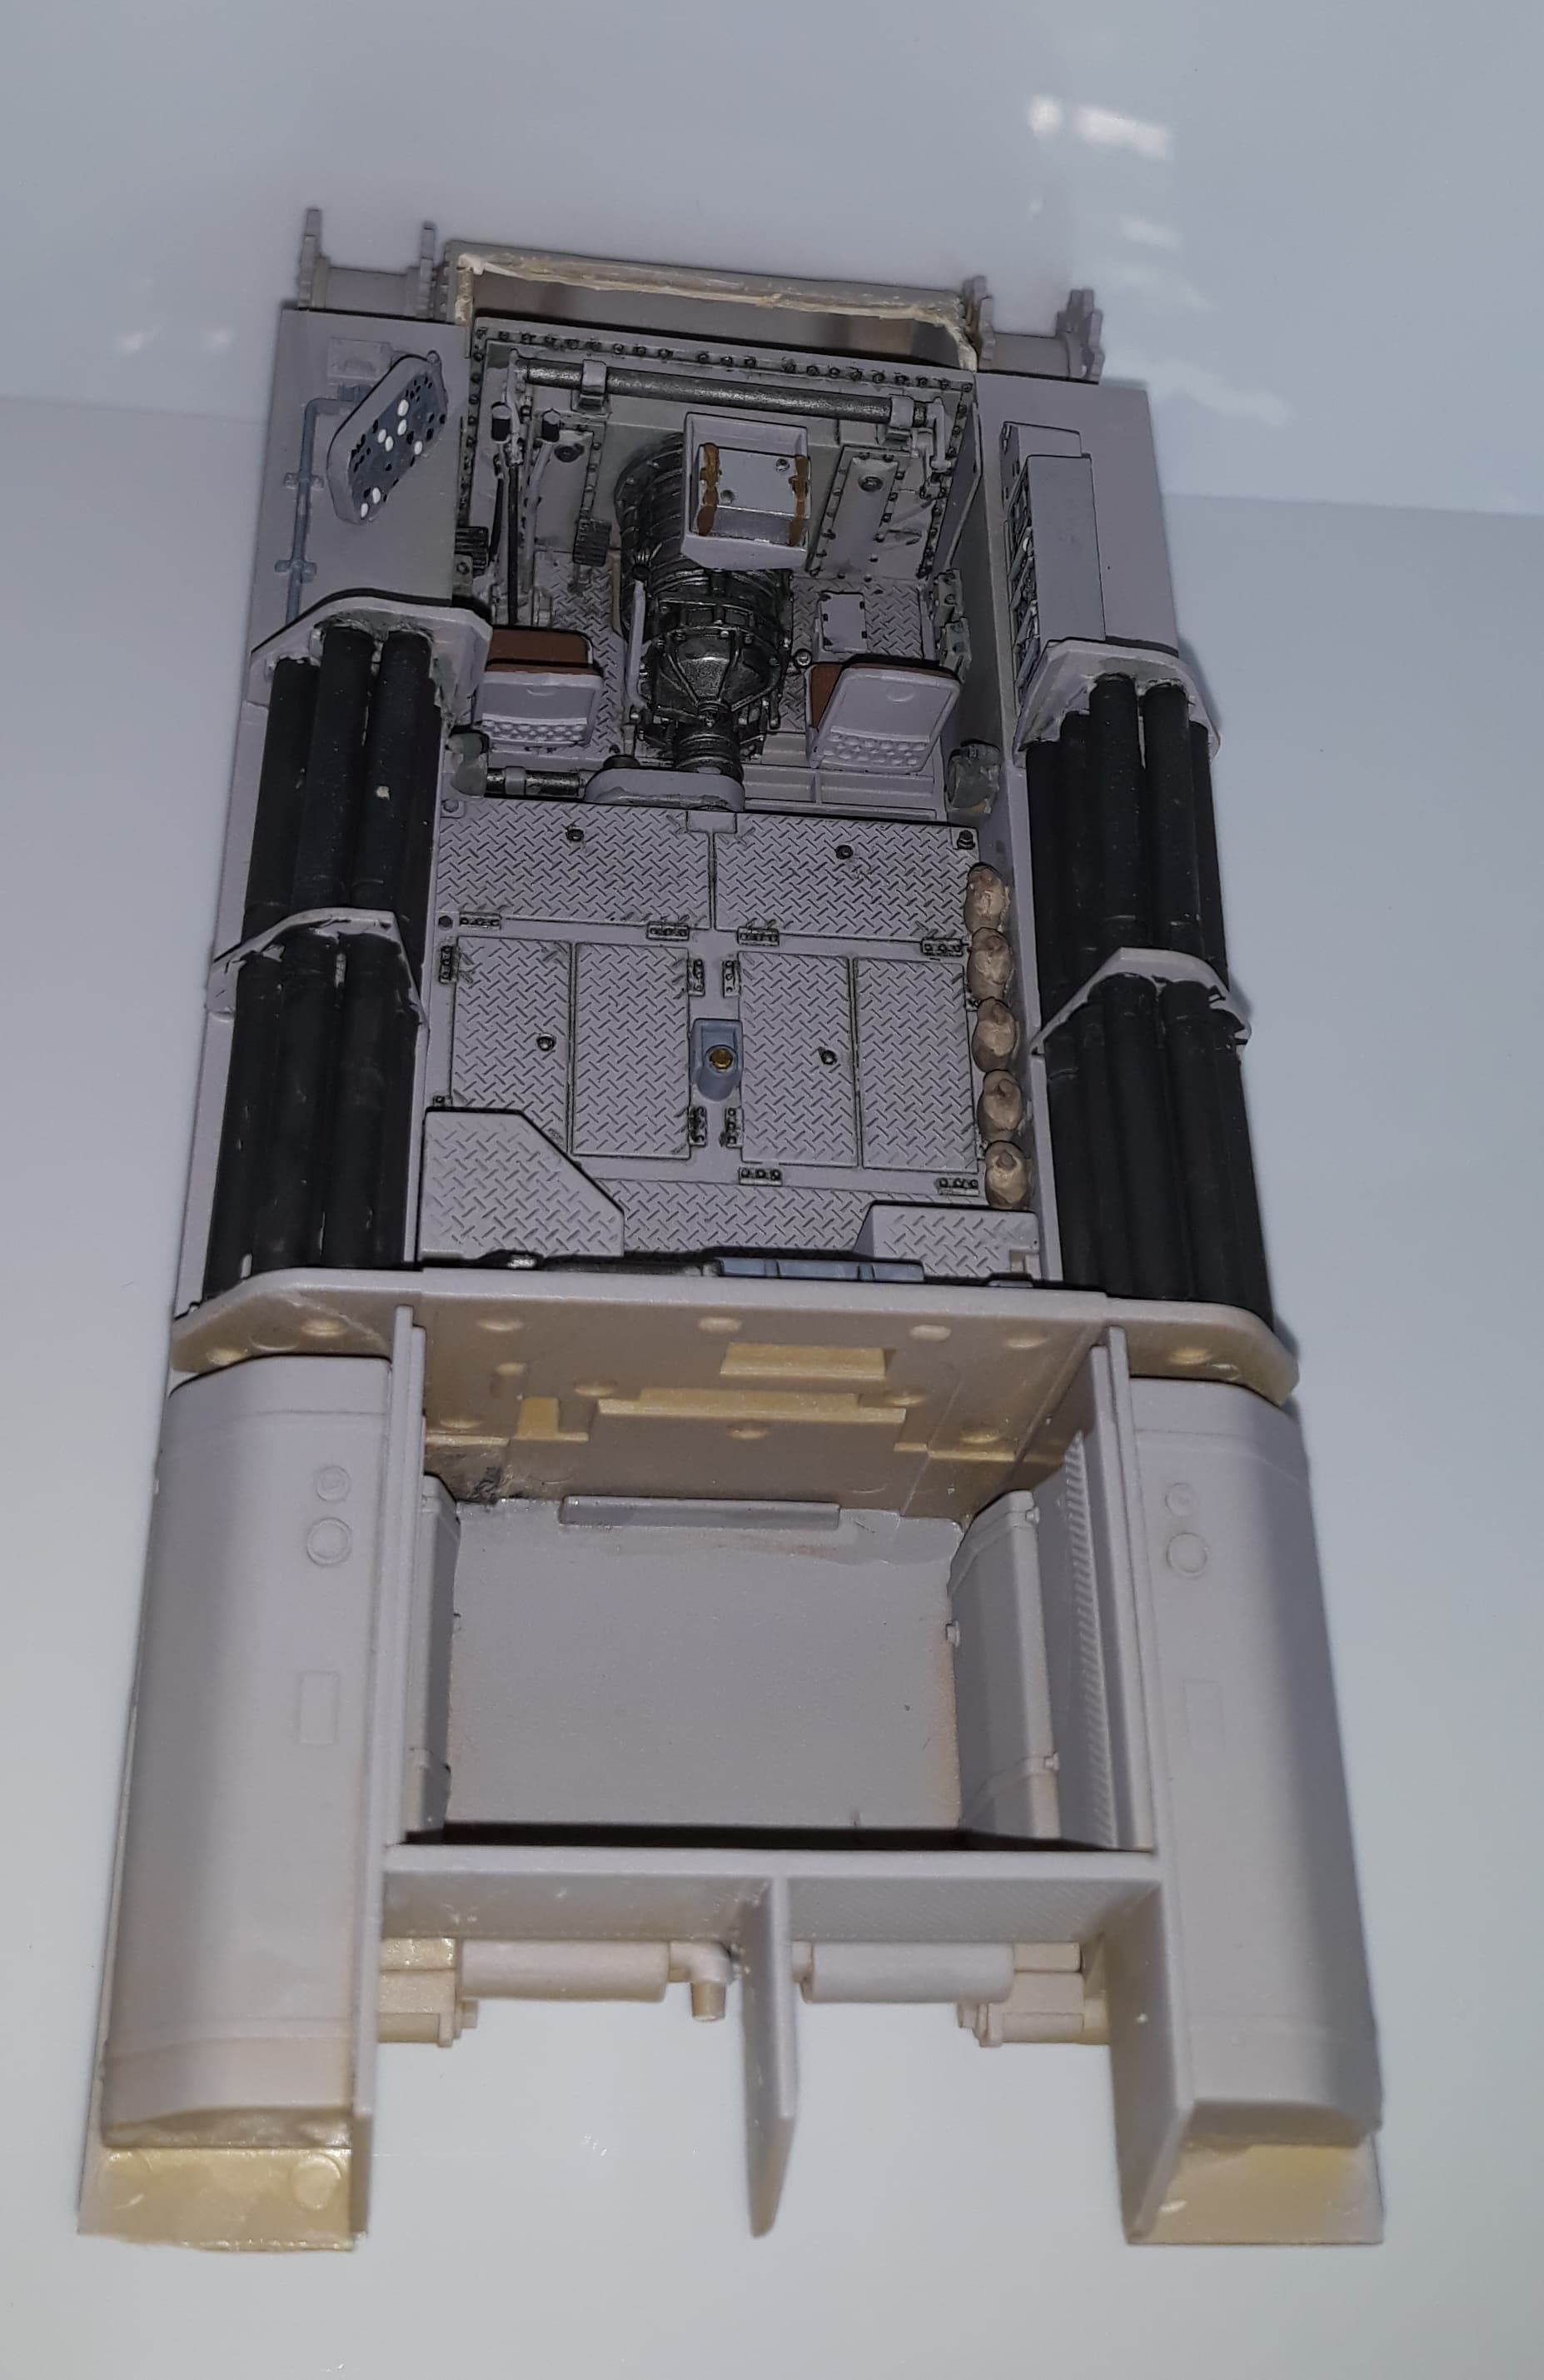
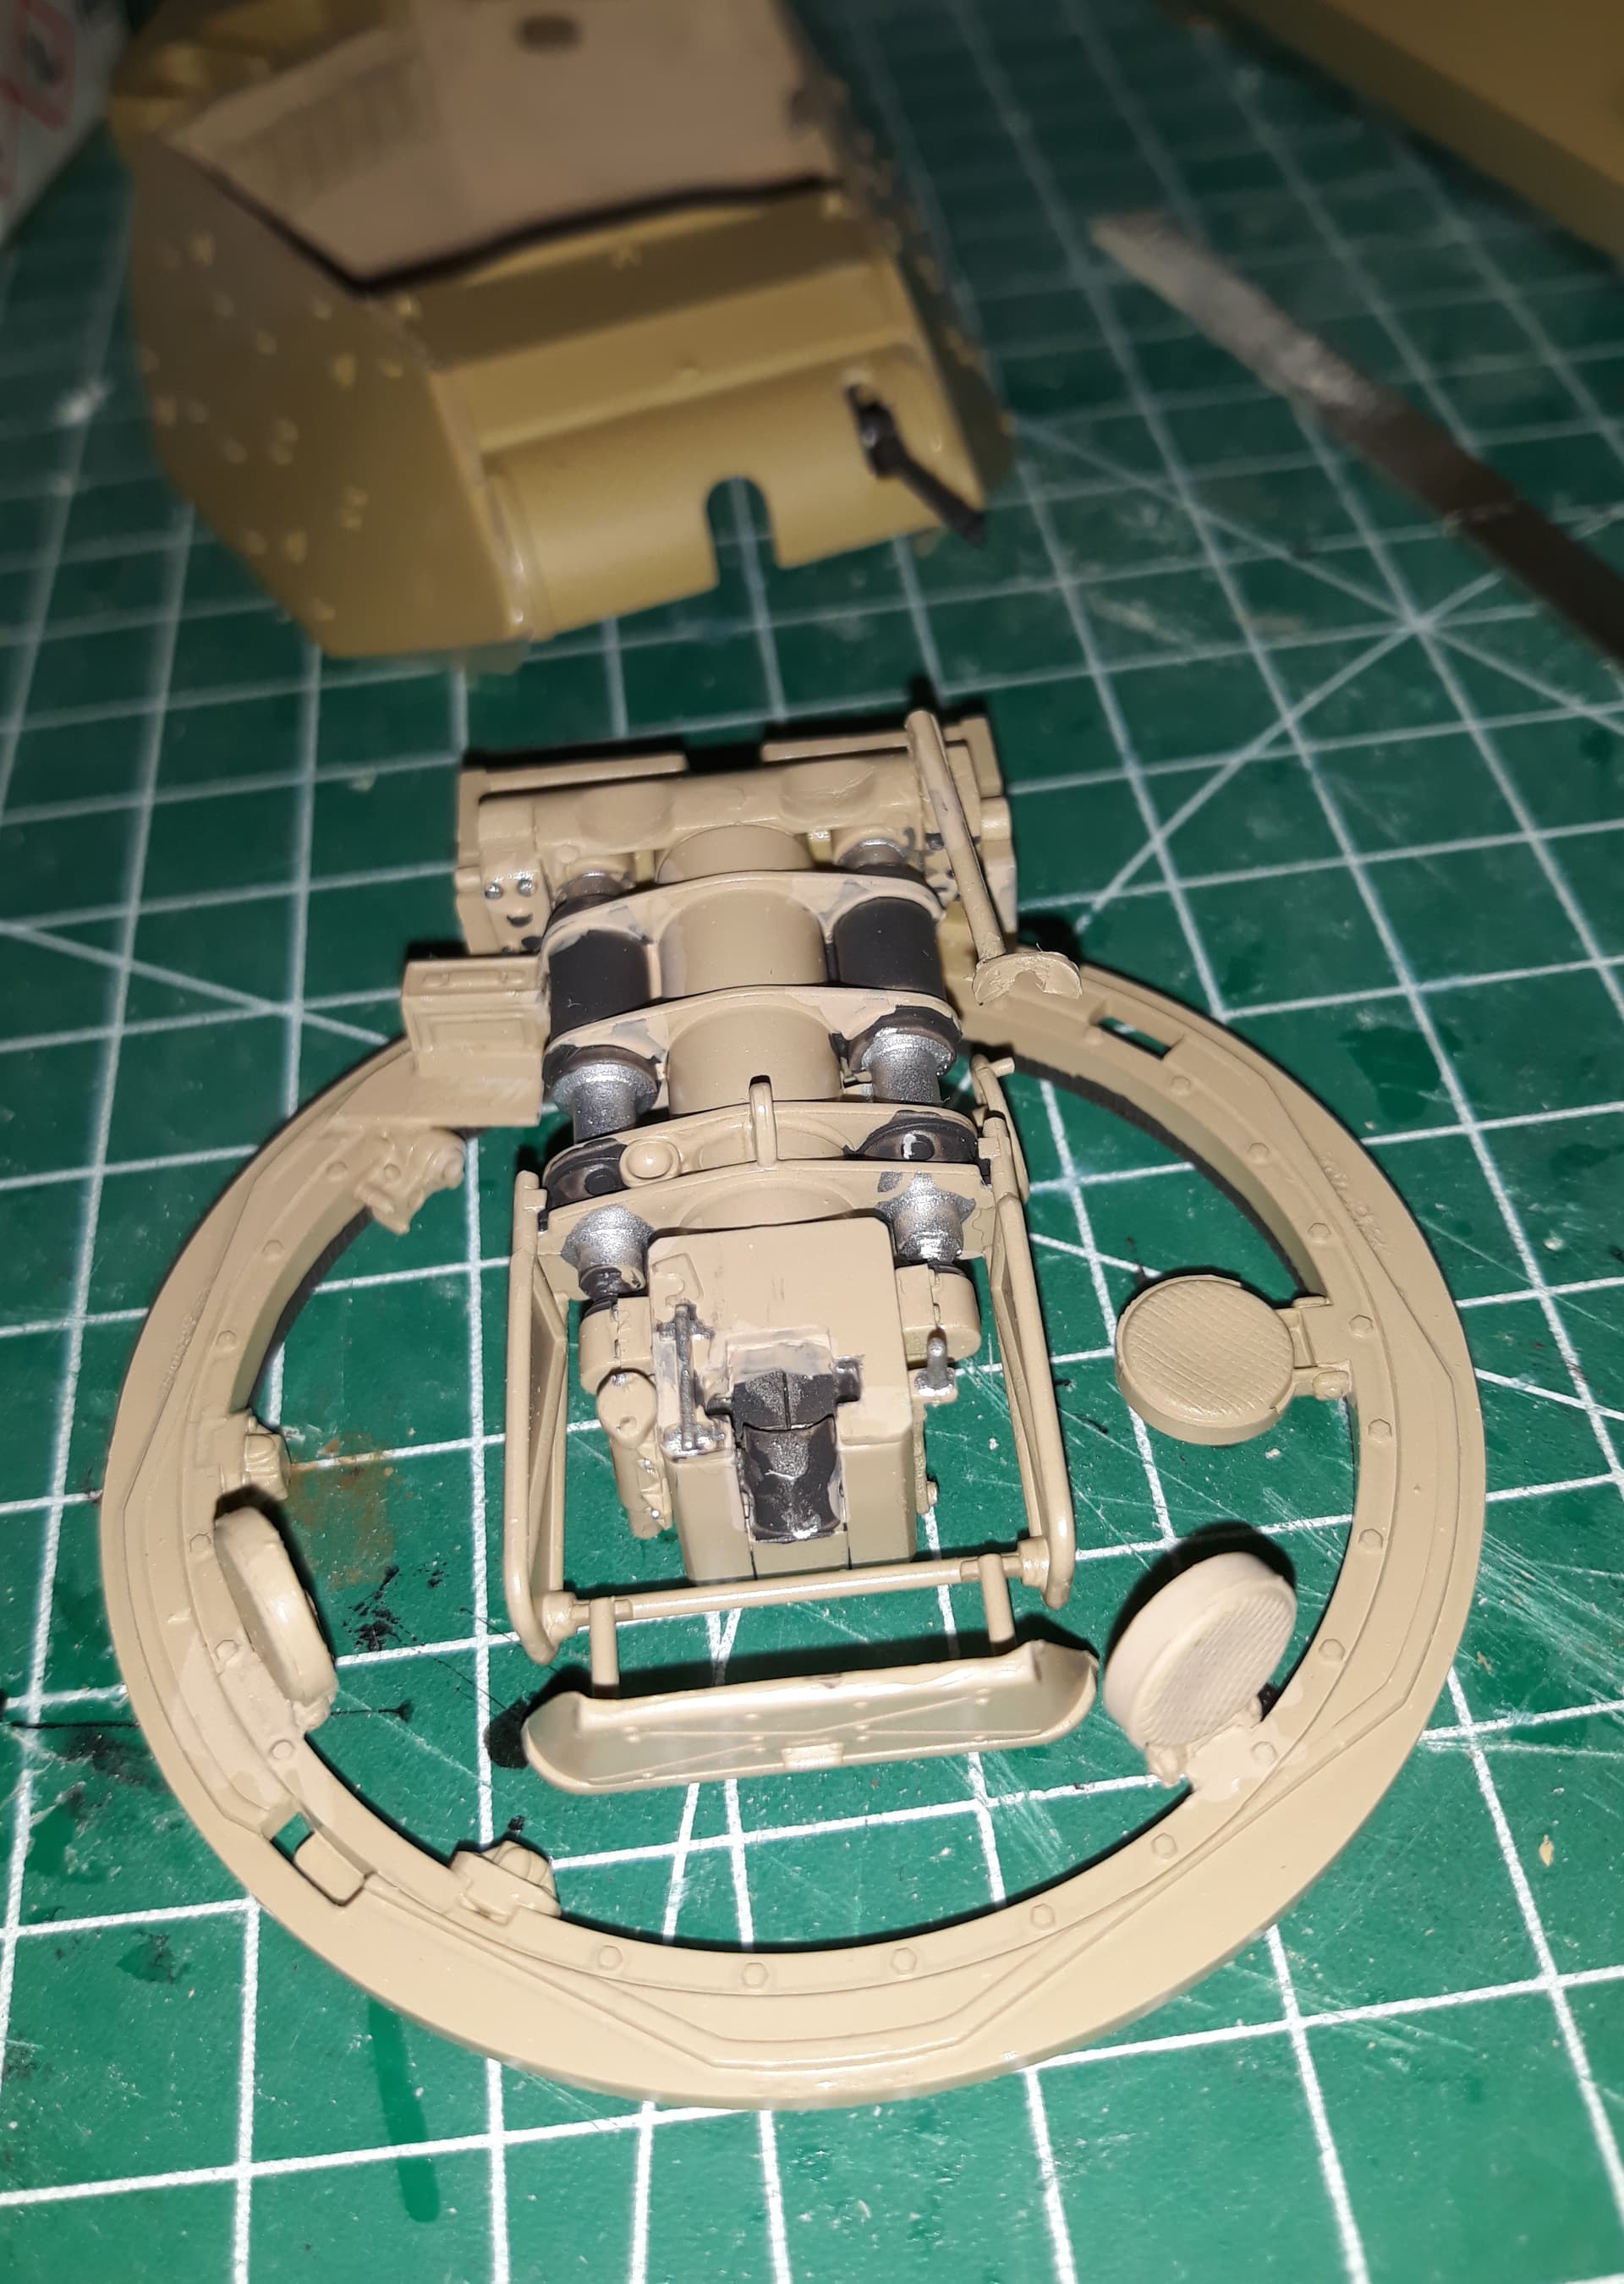
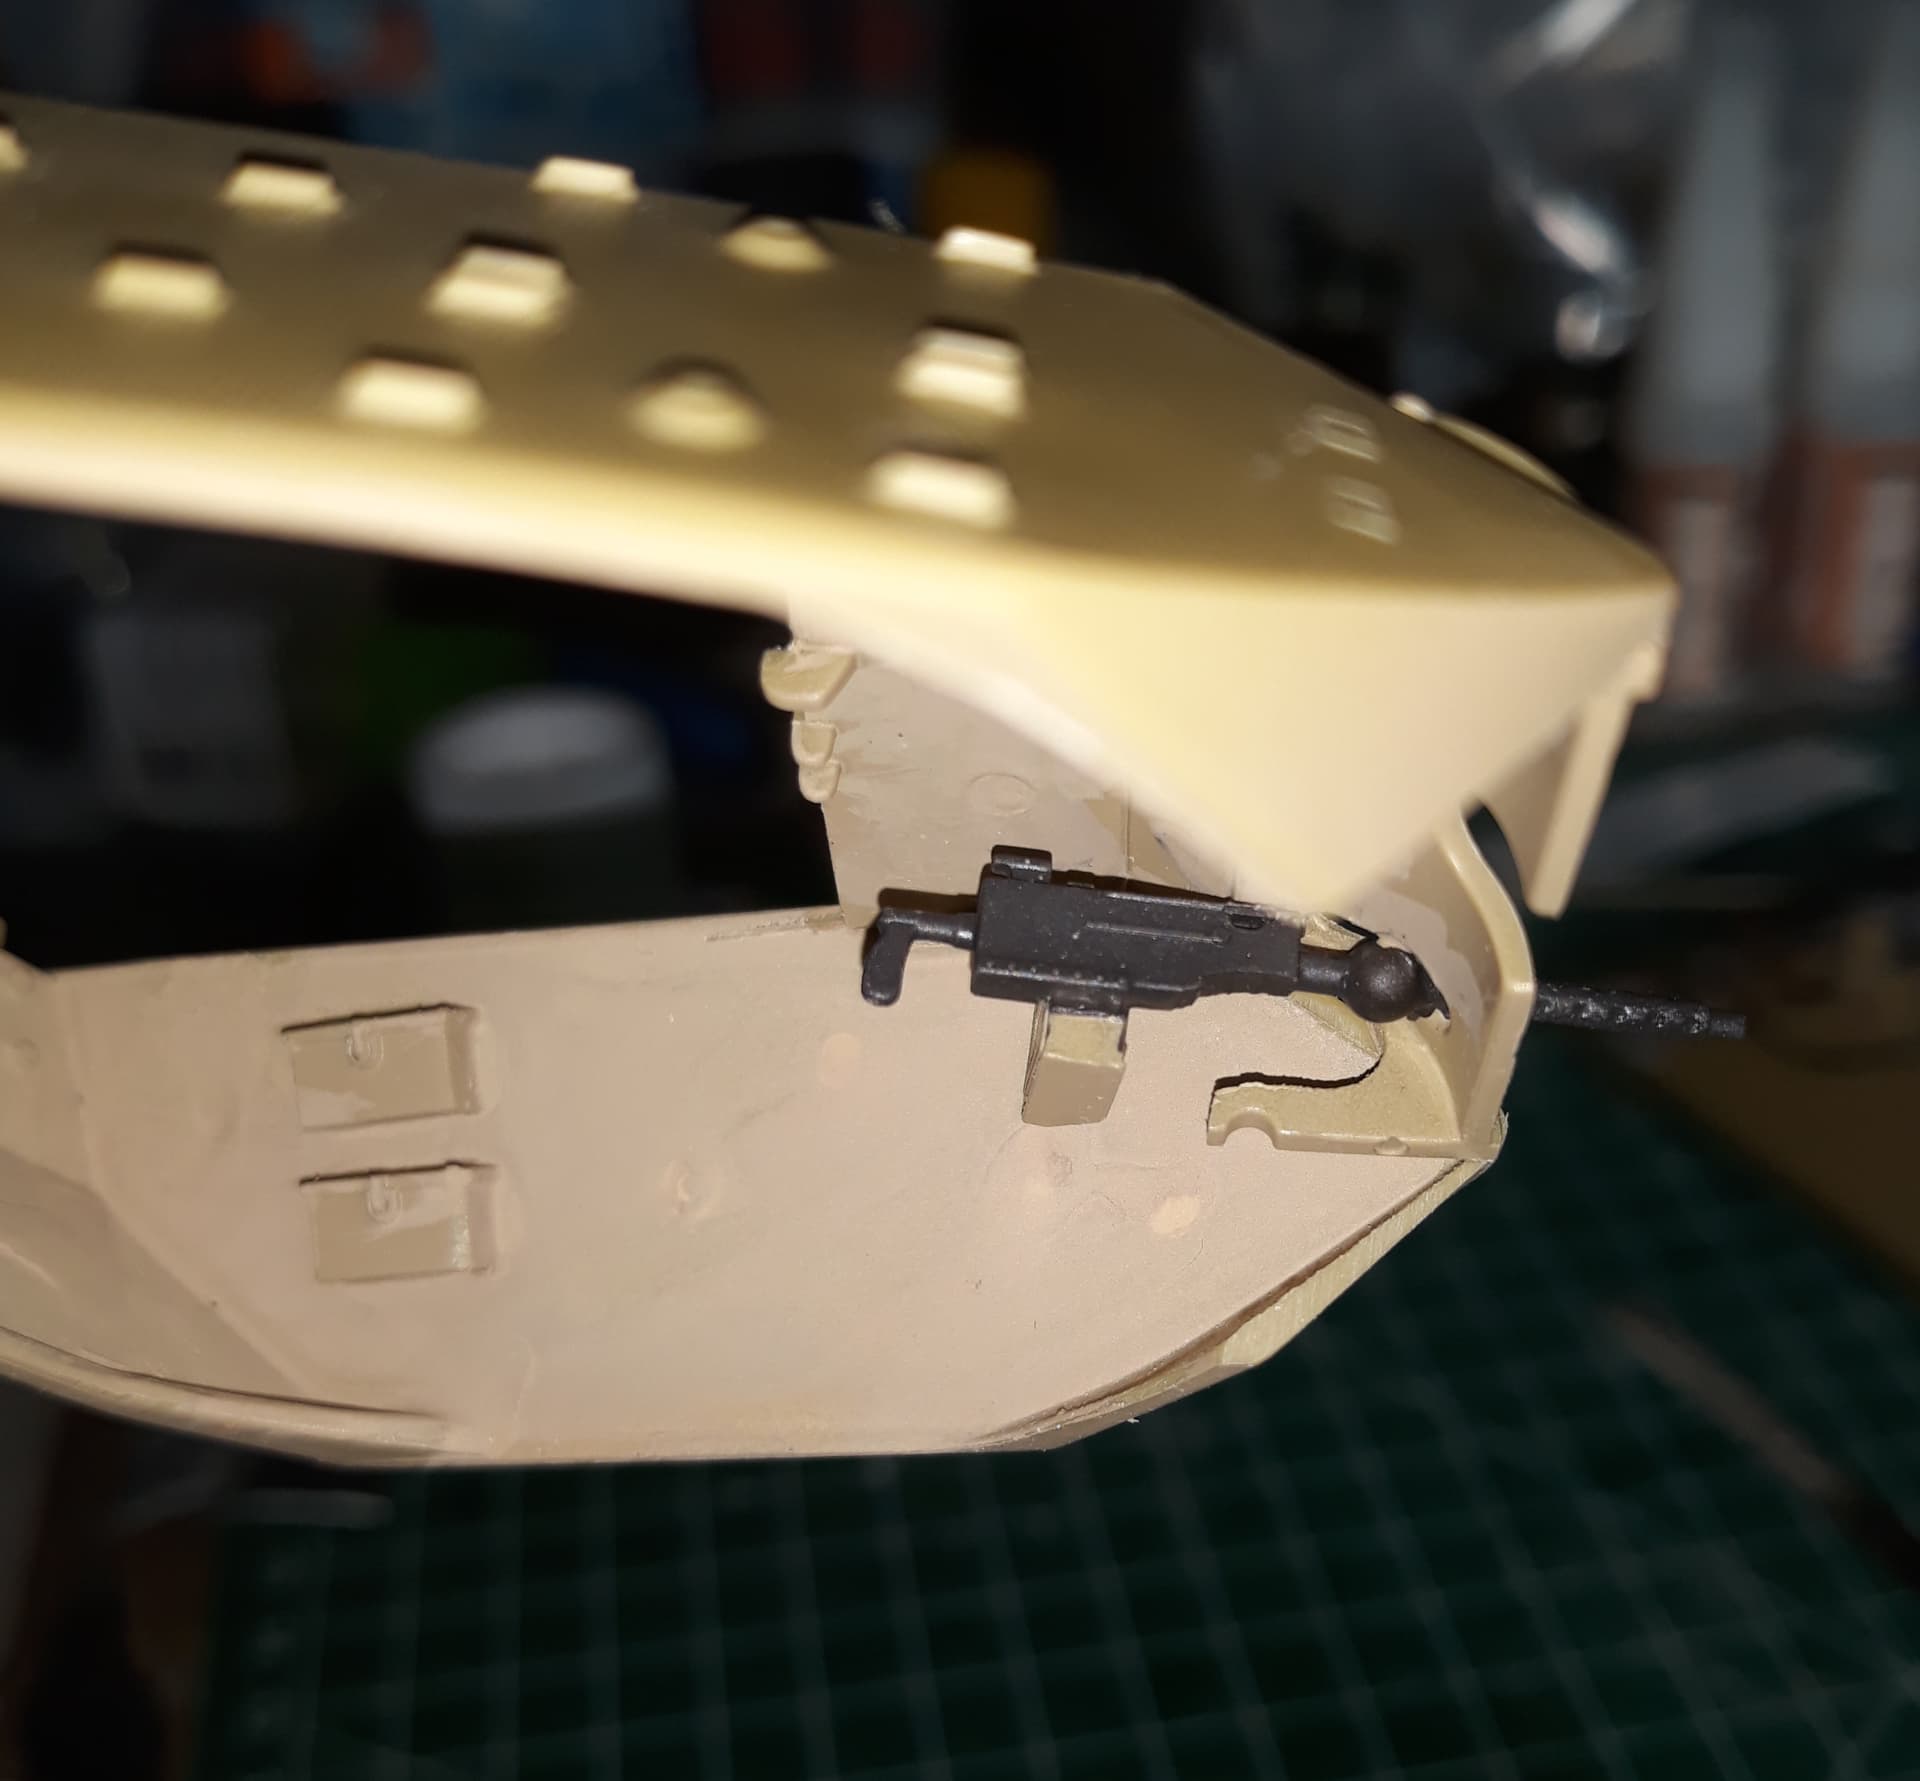
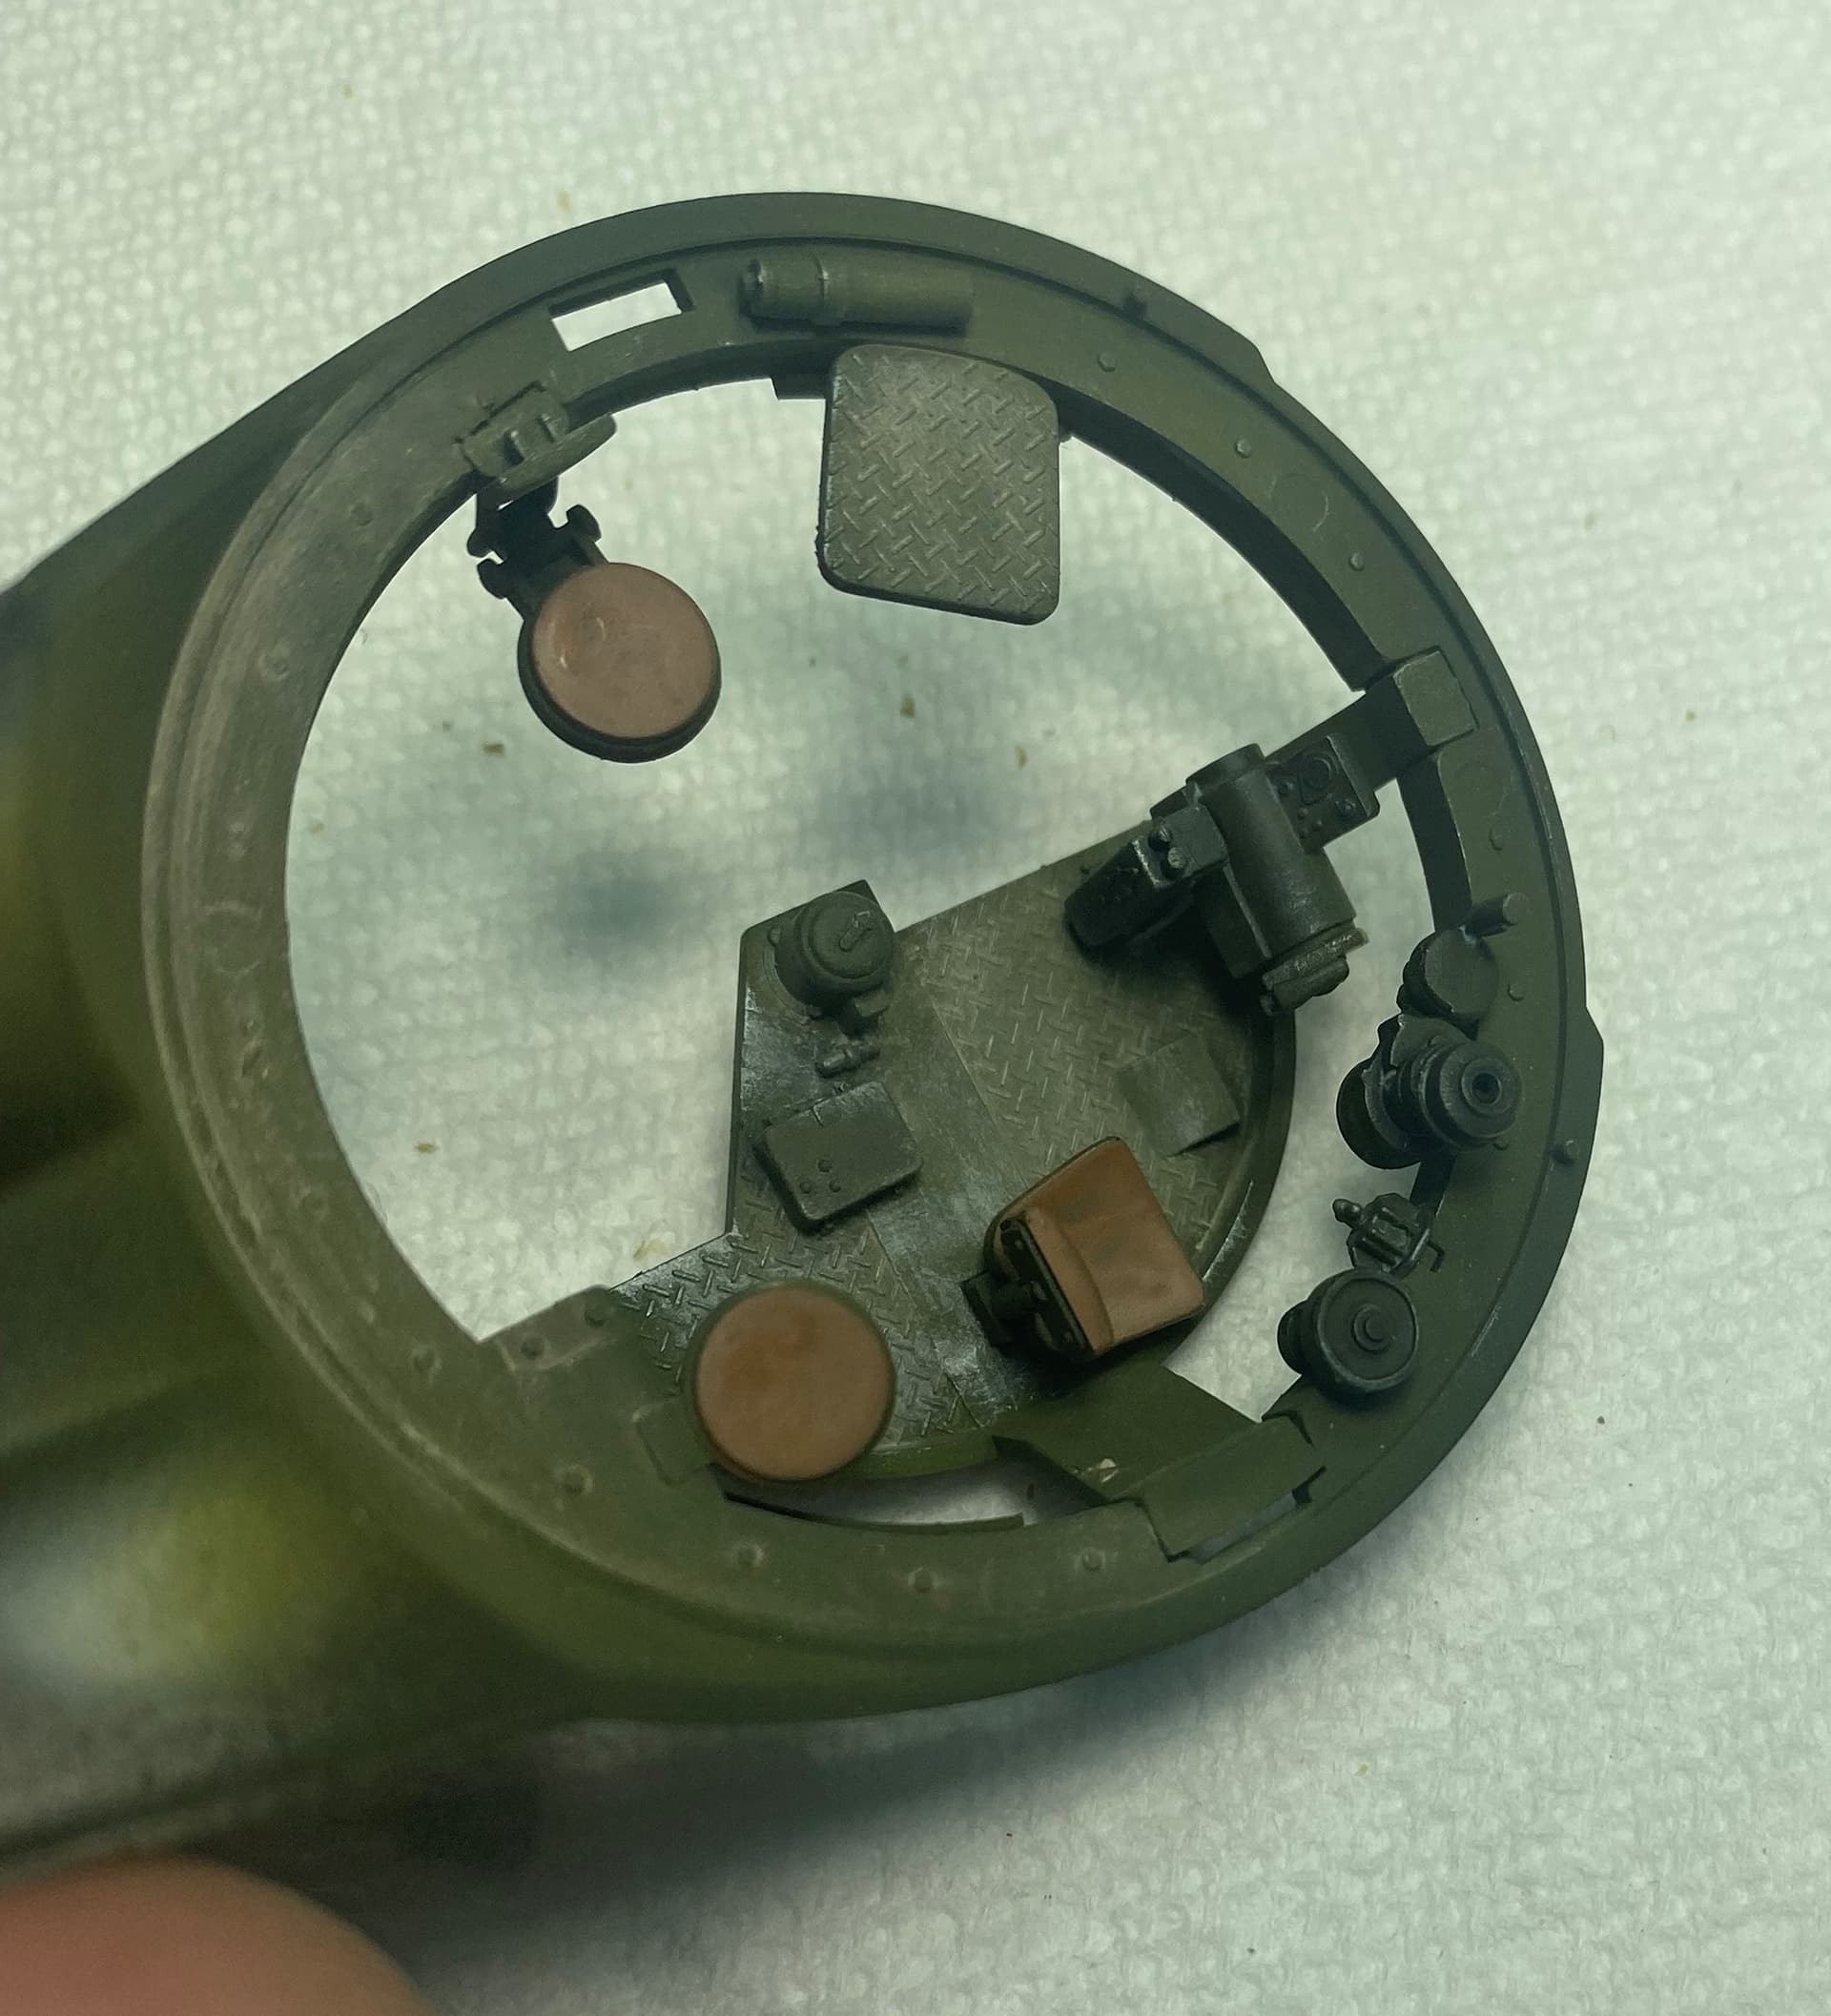
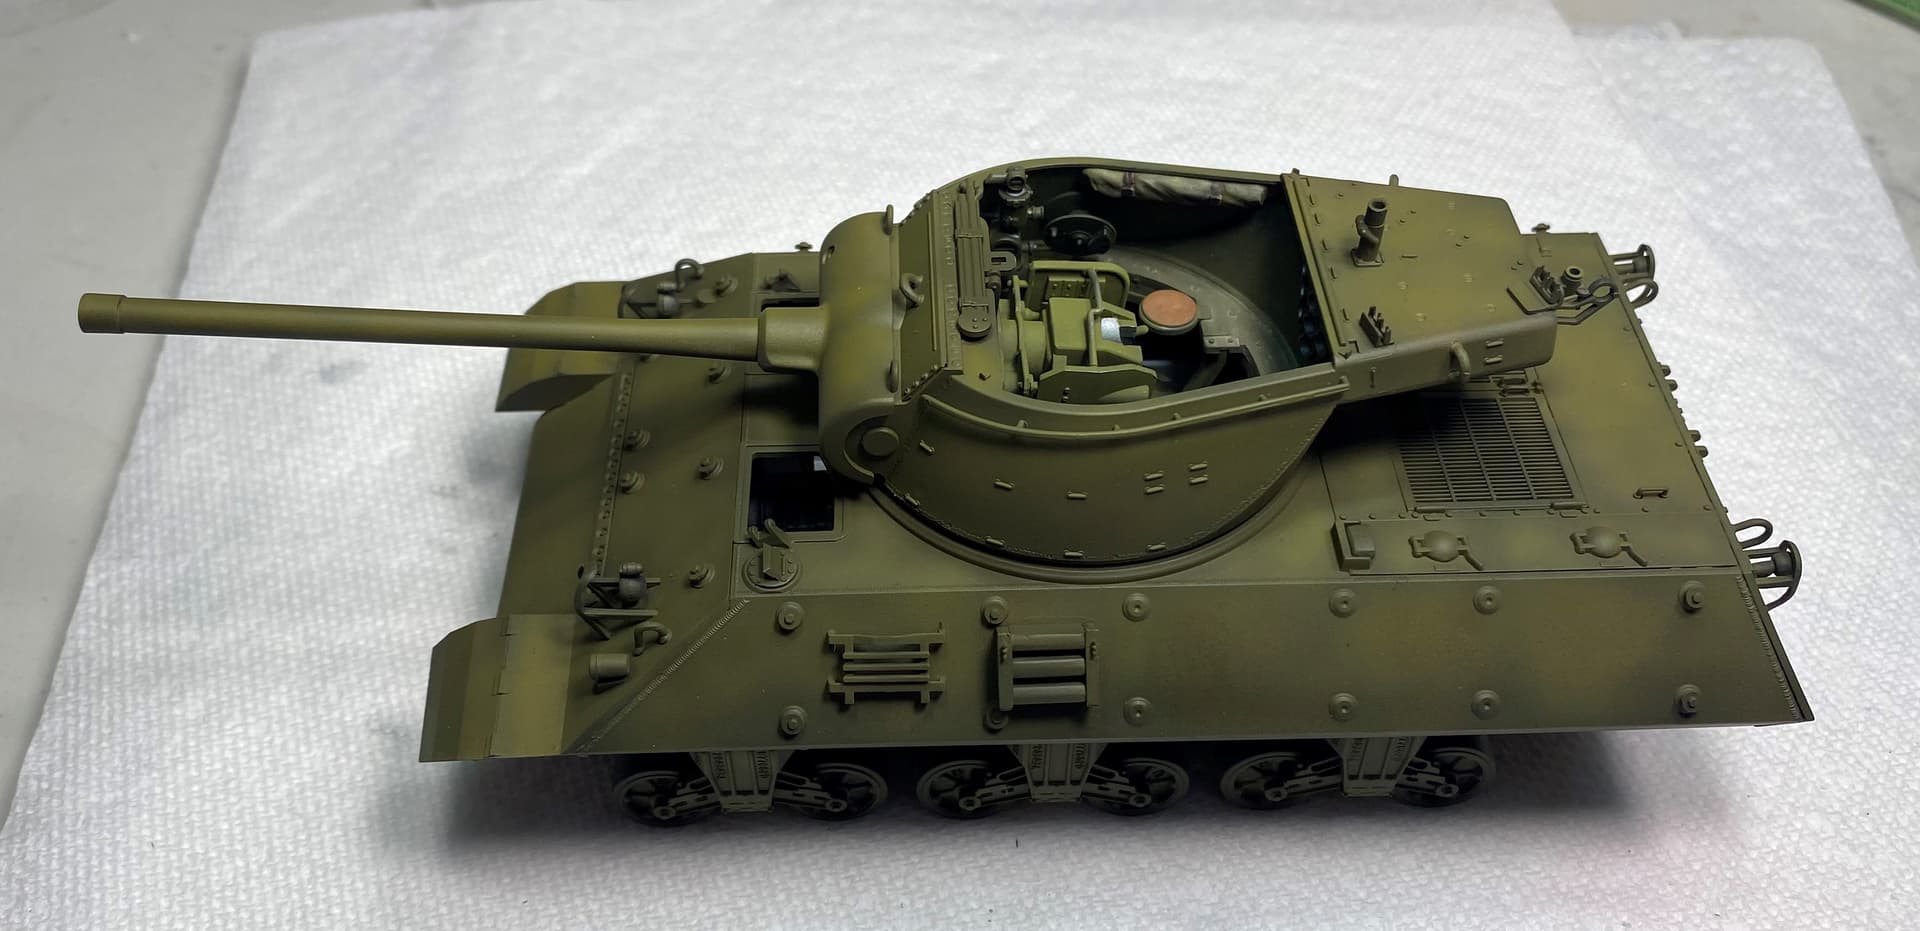
Time for a bit of an update here … interior painted… added the machinegun into the left side of the turret, moved the gunners position to the right of the gun…

3 Likes

While waiting for supplies to arrive for my SMS Konig build, I hopped back over to the M36 and began construction of the turret.

Was super happy to see injector marks around the turret base where they will be visible. Pulled out the putty and took care of them.

Turret basket also had them except they are on the textured floor. Fortunatly they will be hidden by a seat and the gun breach.

Got all the gubbins installed and will be moving onto the upper portion of the inner turret during my next session.

5 Likes

Not much building today but I did get the turret interior painted and the turret halves joined up.

Same as before. Dry brushed areas of wear with Steel and then dusted everything in european earth pigment,

Mated up turret. Breech hides many sins.

7 Likes

Bwilt: Nice work on the interior.

McRunty: Looks good, particularly the breech.

Happy Modeling,
Zon

1 Like

@Zonarch thanks!

Update on my turret…

5 Likes

Looks great, Bert. Love all the stowage. Gives it a very busy look. :slight_smile:

1 Like

Indeed, it looks great, and looks busy and lived-in. Maybe adding a personal weapon or two will enhance that.

1 Like

Thanks guys, and indeed, still have to add a personal weapon, and there will be a crew as well.

1 Like

Definitely what comes to mind.

Olivier

1 Like

The Achilles has been masked, and first layer of paint is on…

4 Likes

We really are working step by step together because, after commissioning my SMS Konig, I have had time to return to my M36.

Base layer of paint is on.

And after all that hard work on the interior, this is pretty much all that can be seen.

6 Likes